IOT DMX Controller With Arduino and Stage Monster Live
5197 Views, 3 Favorites, 0 Comments
IOT DMX Controller With Arduino and Stage Monster Live
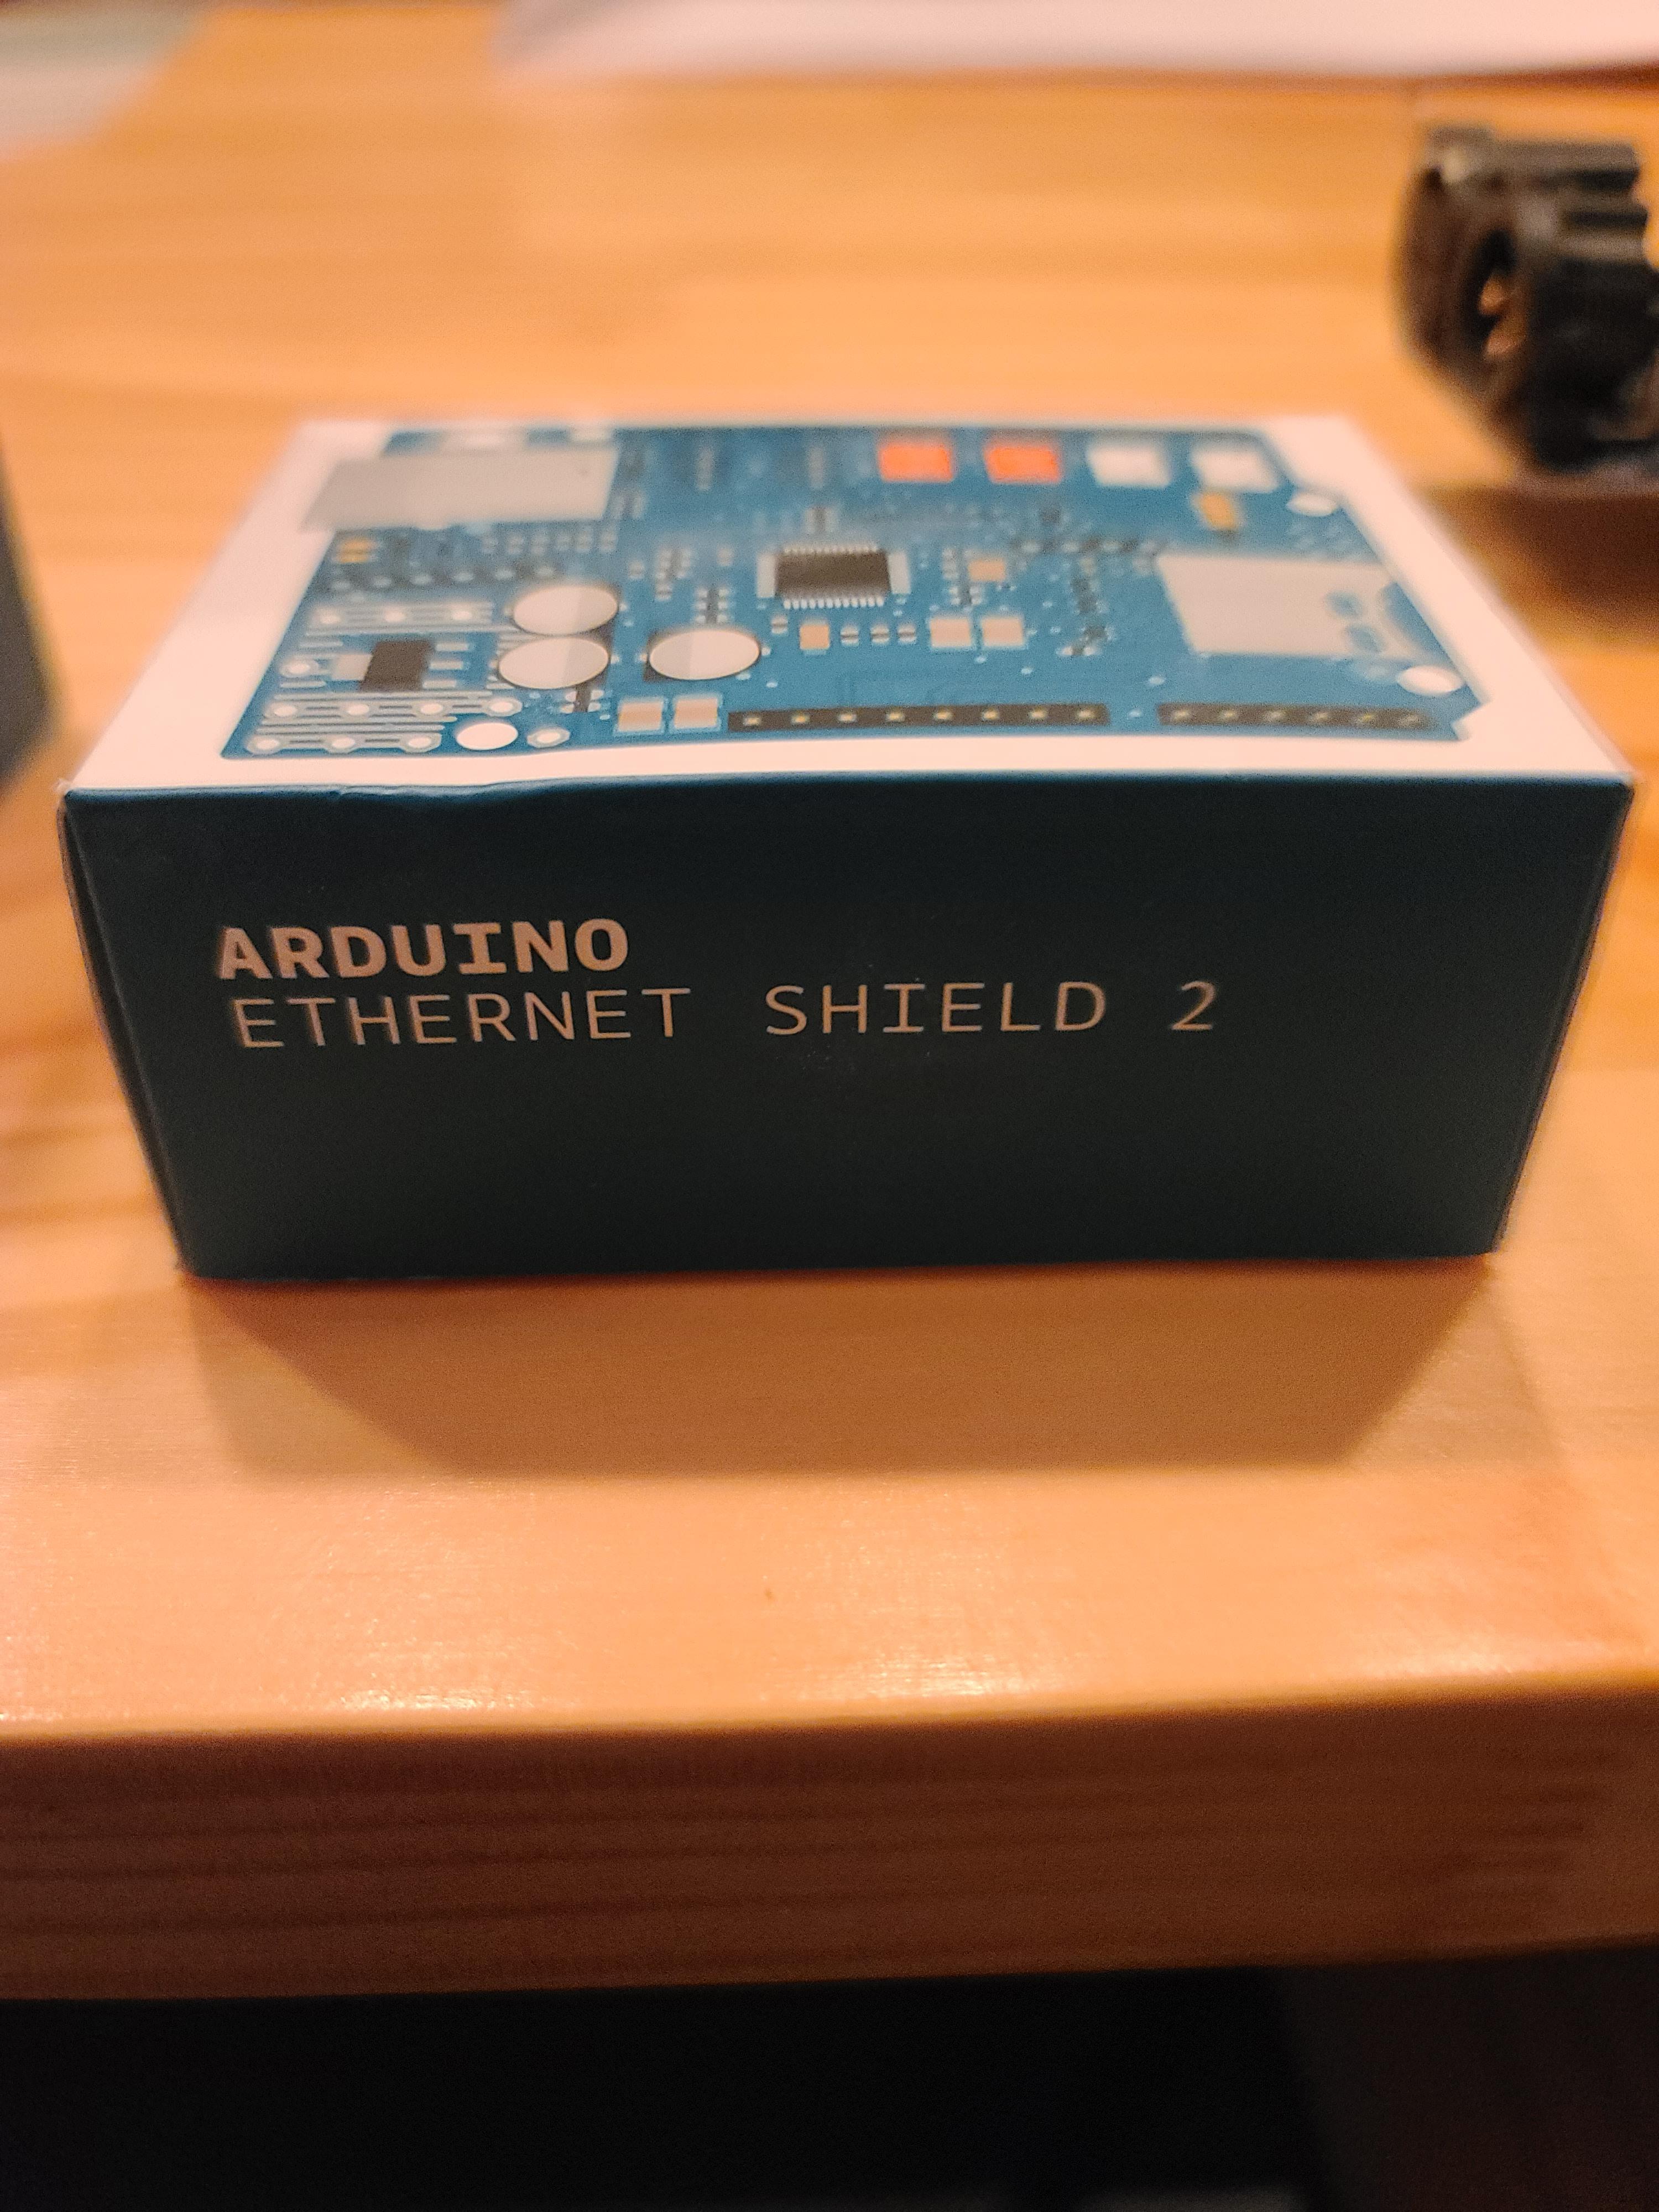
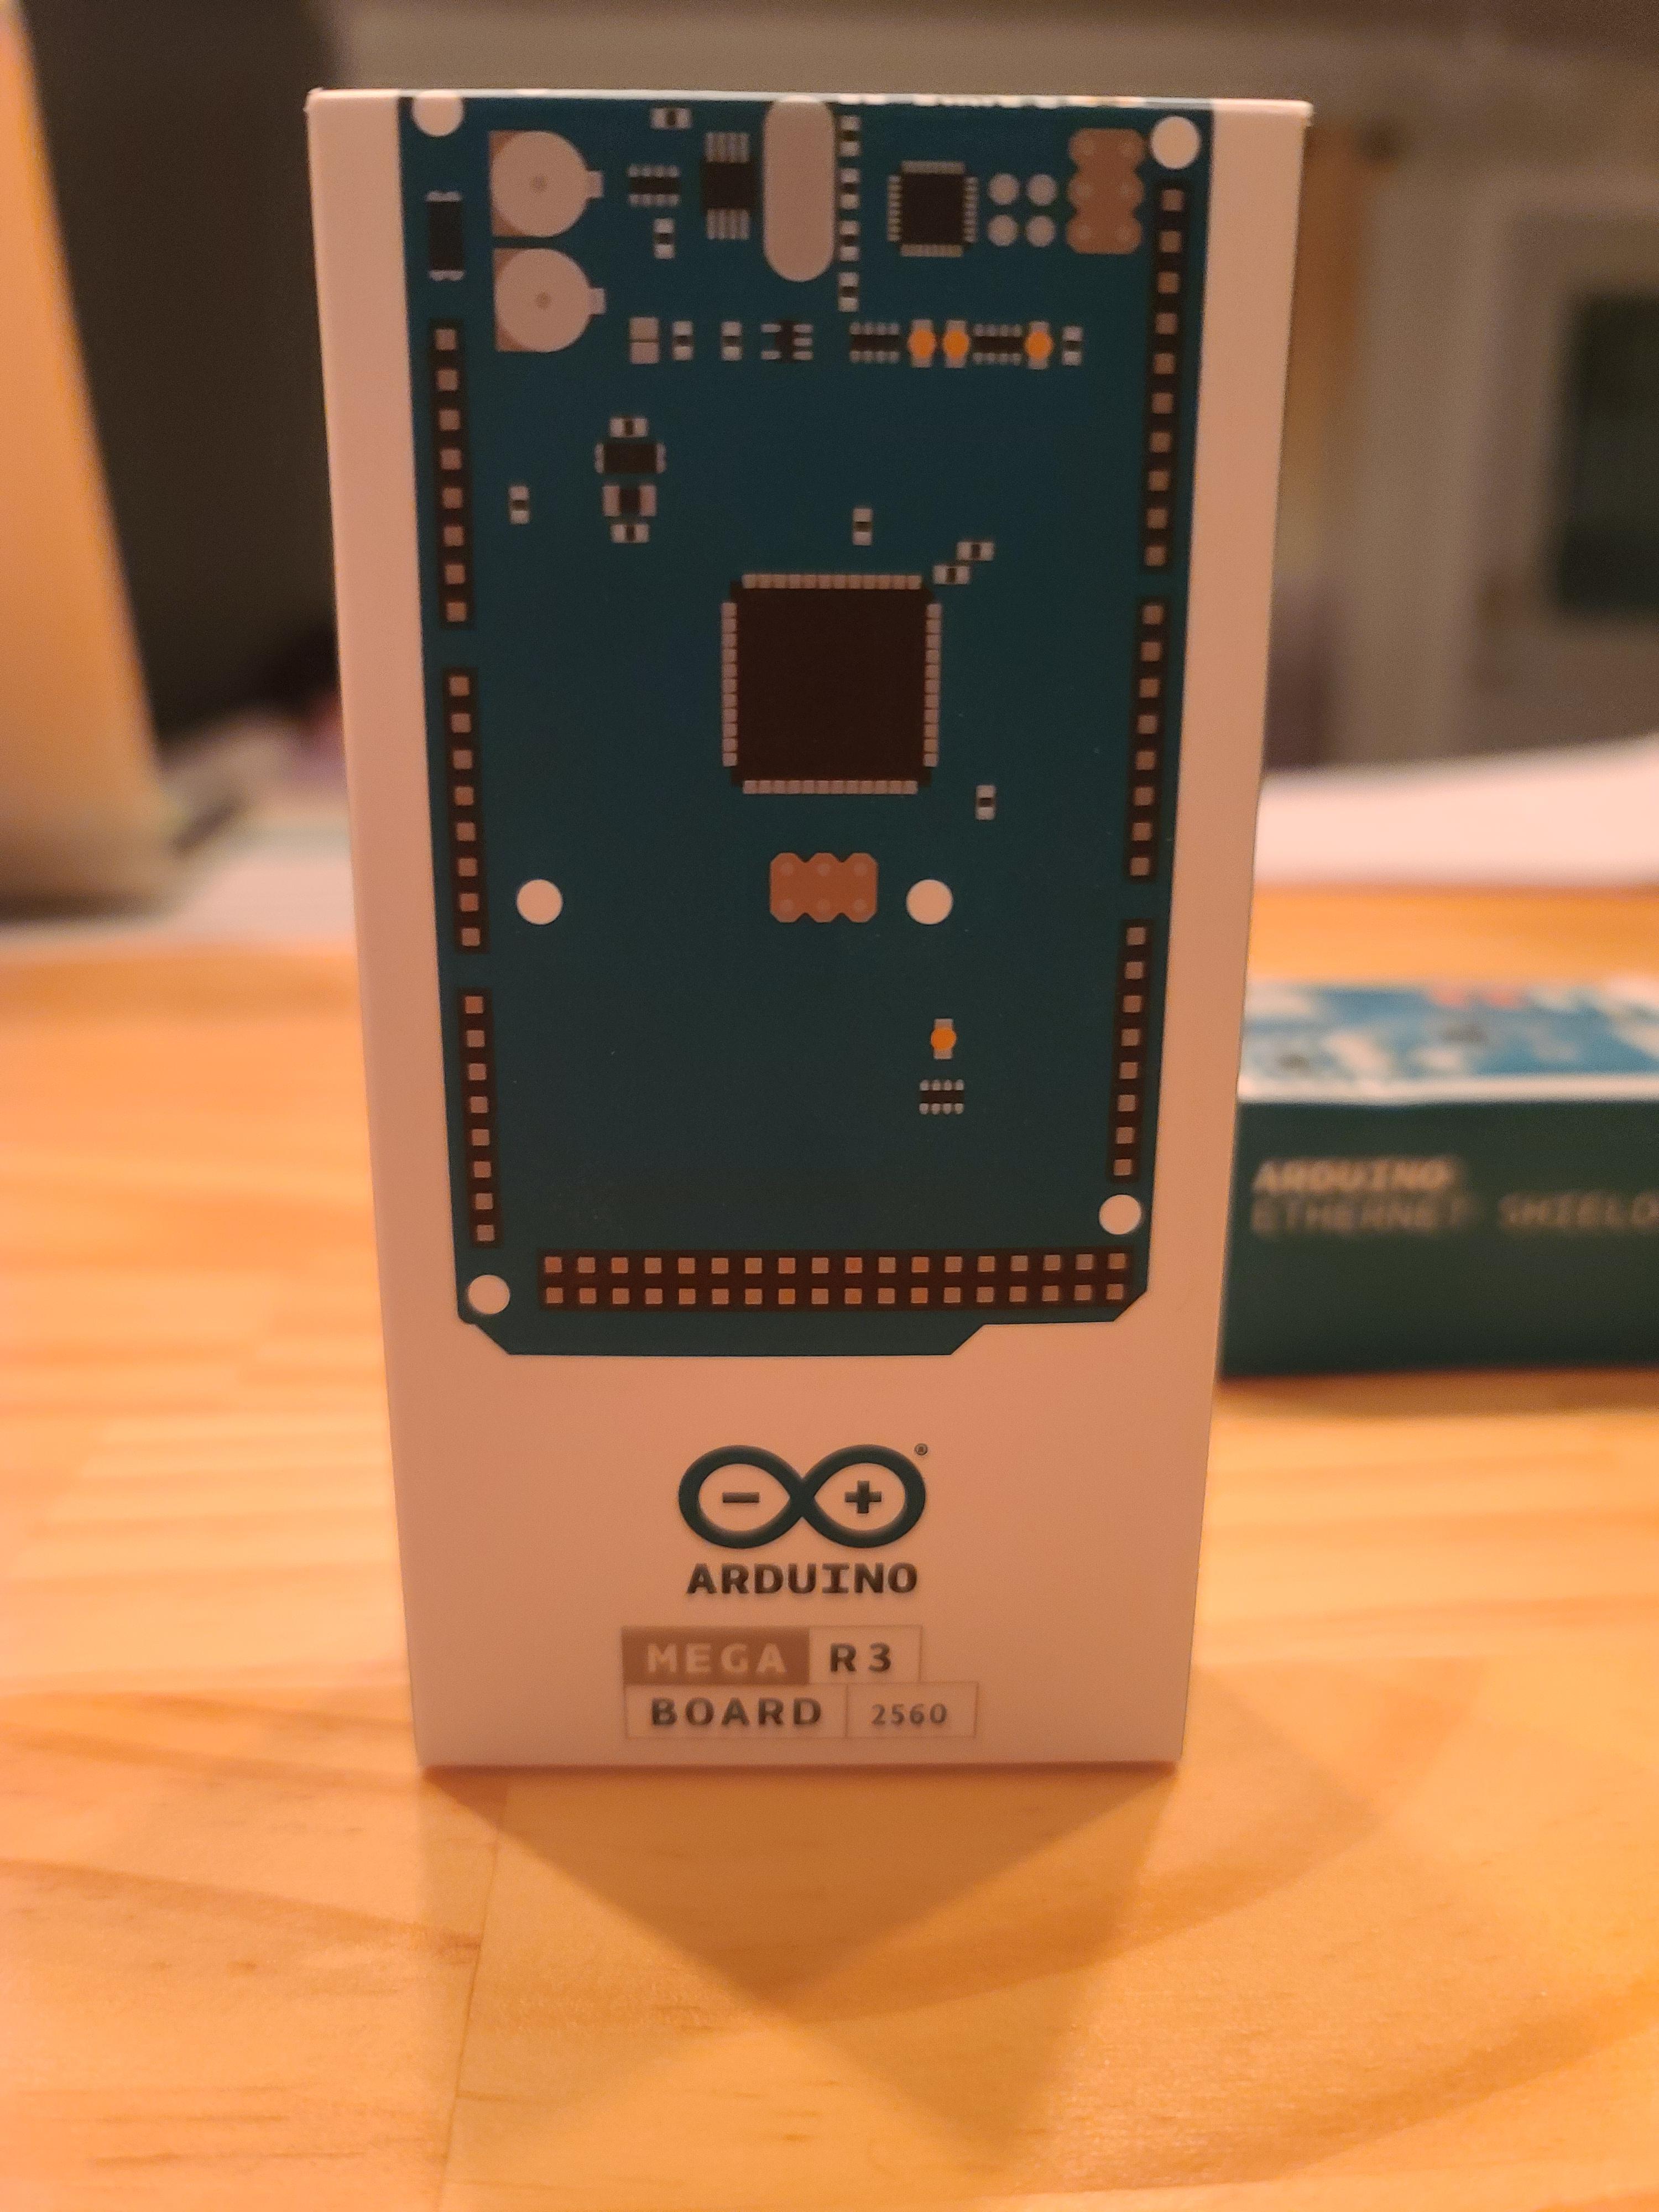
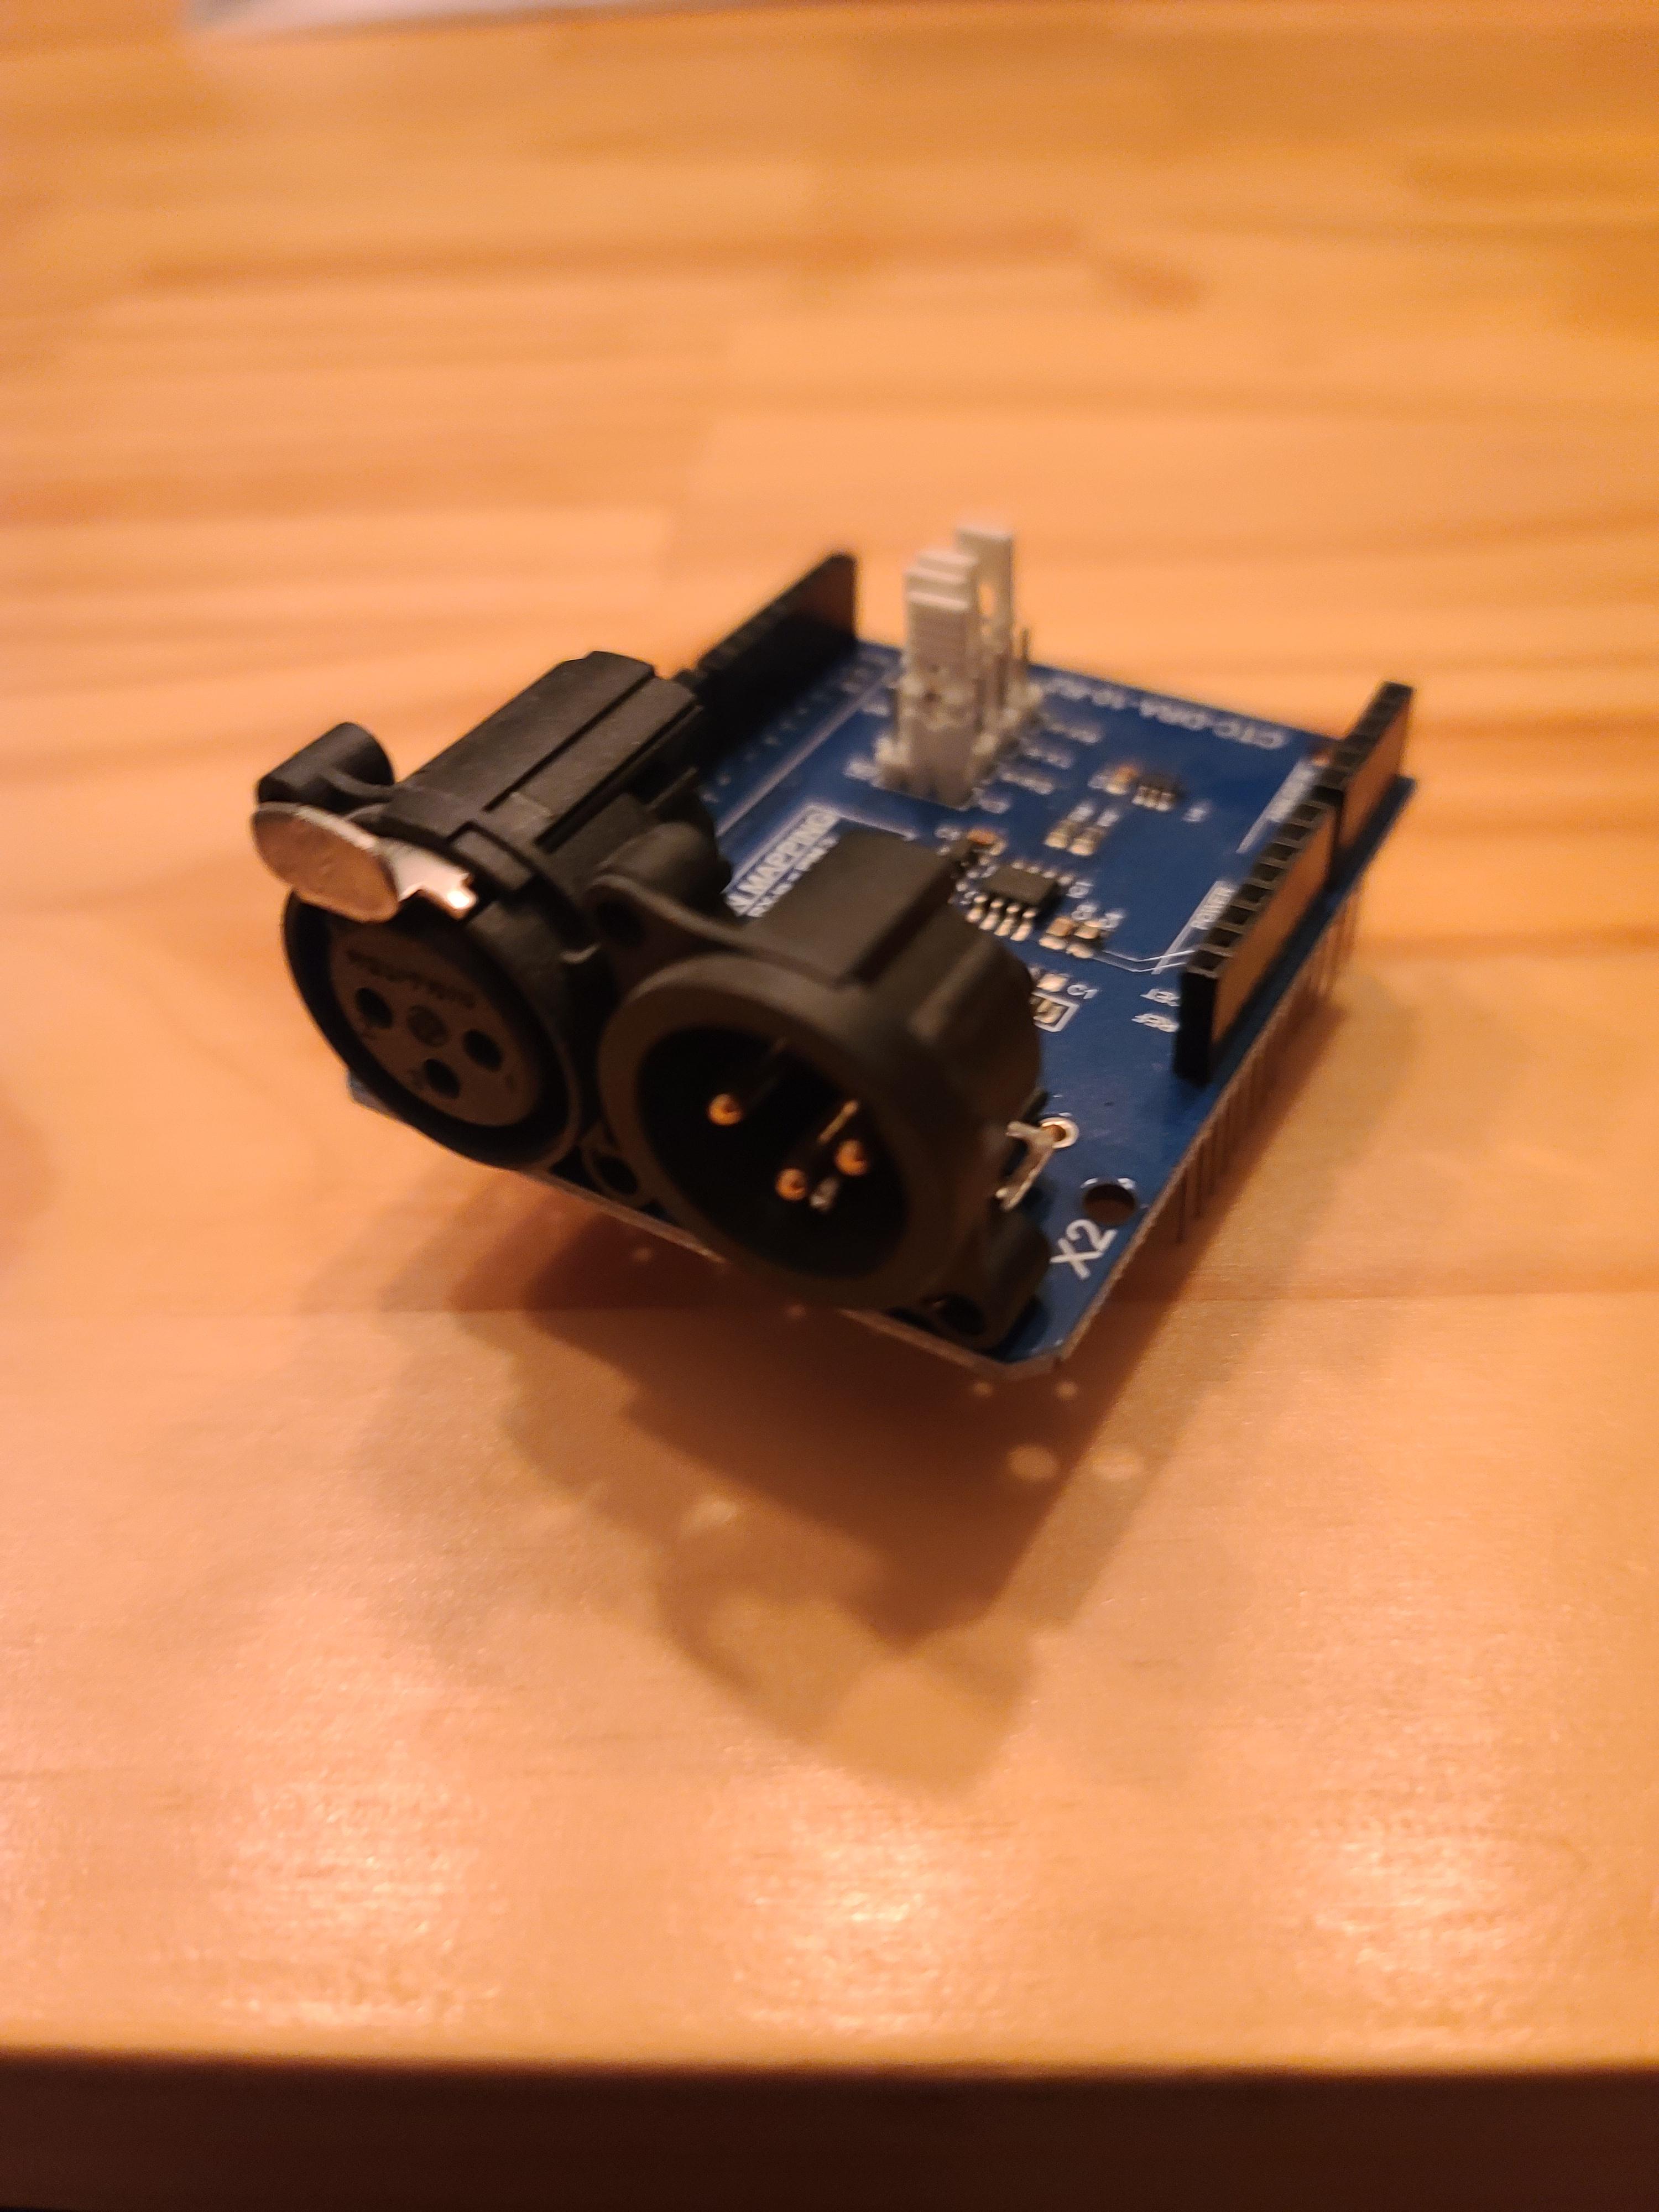
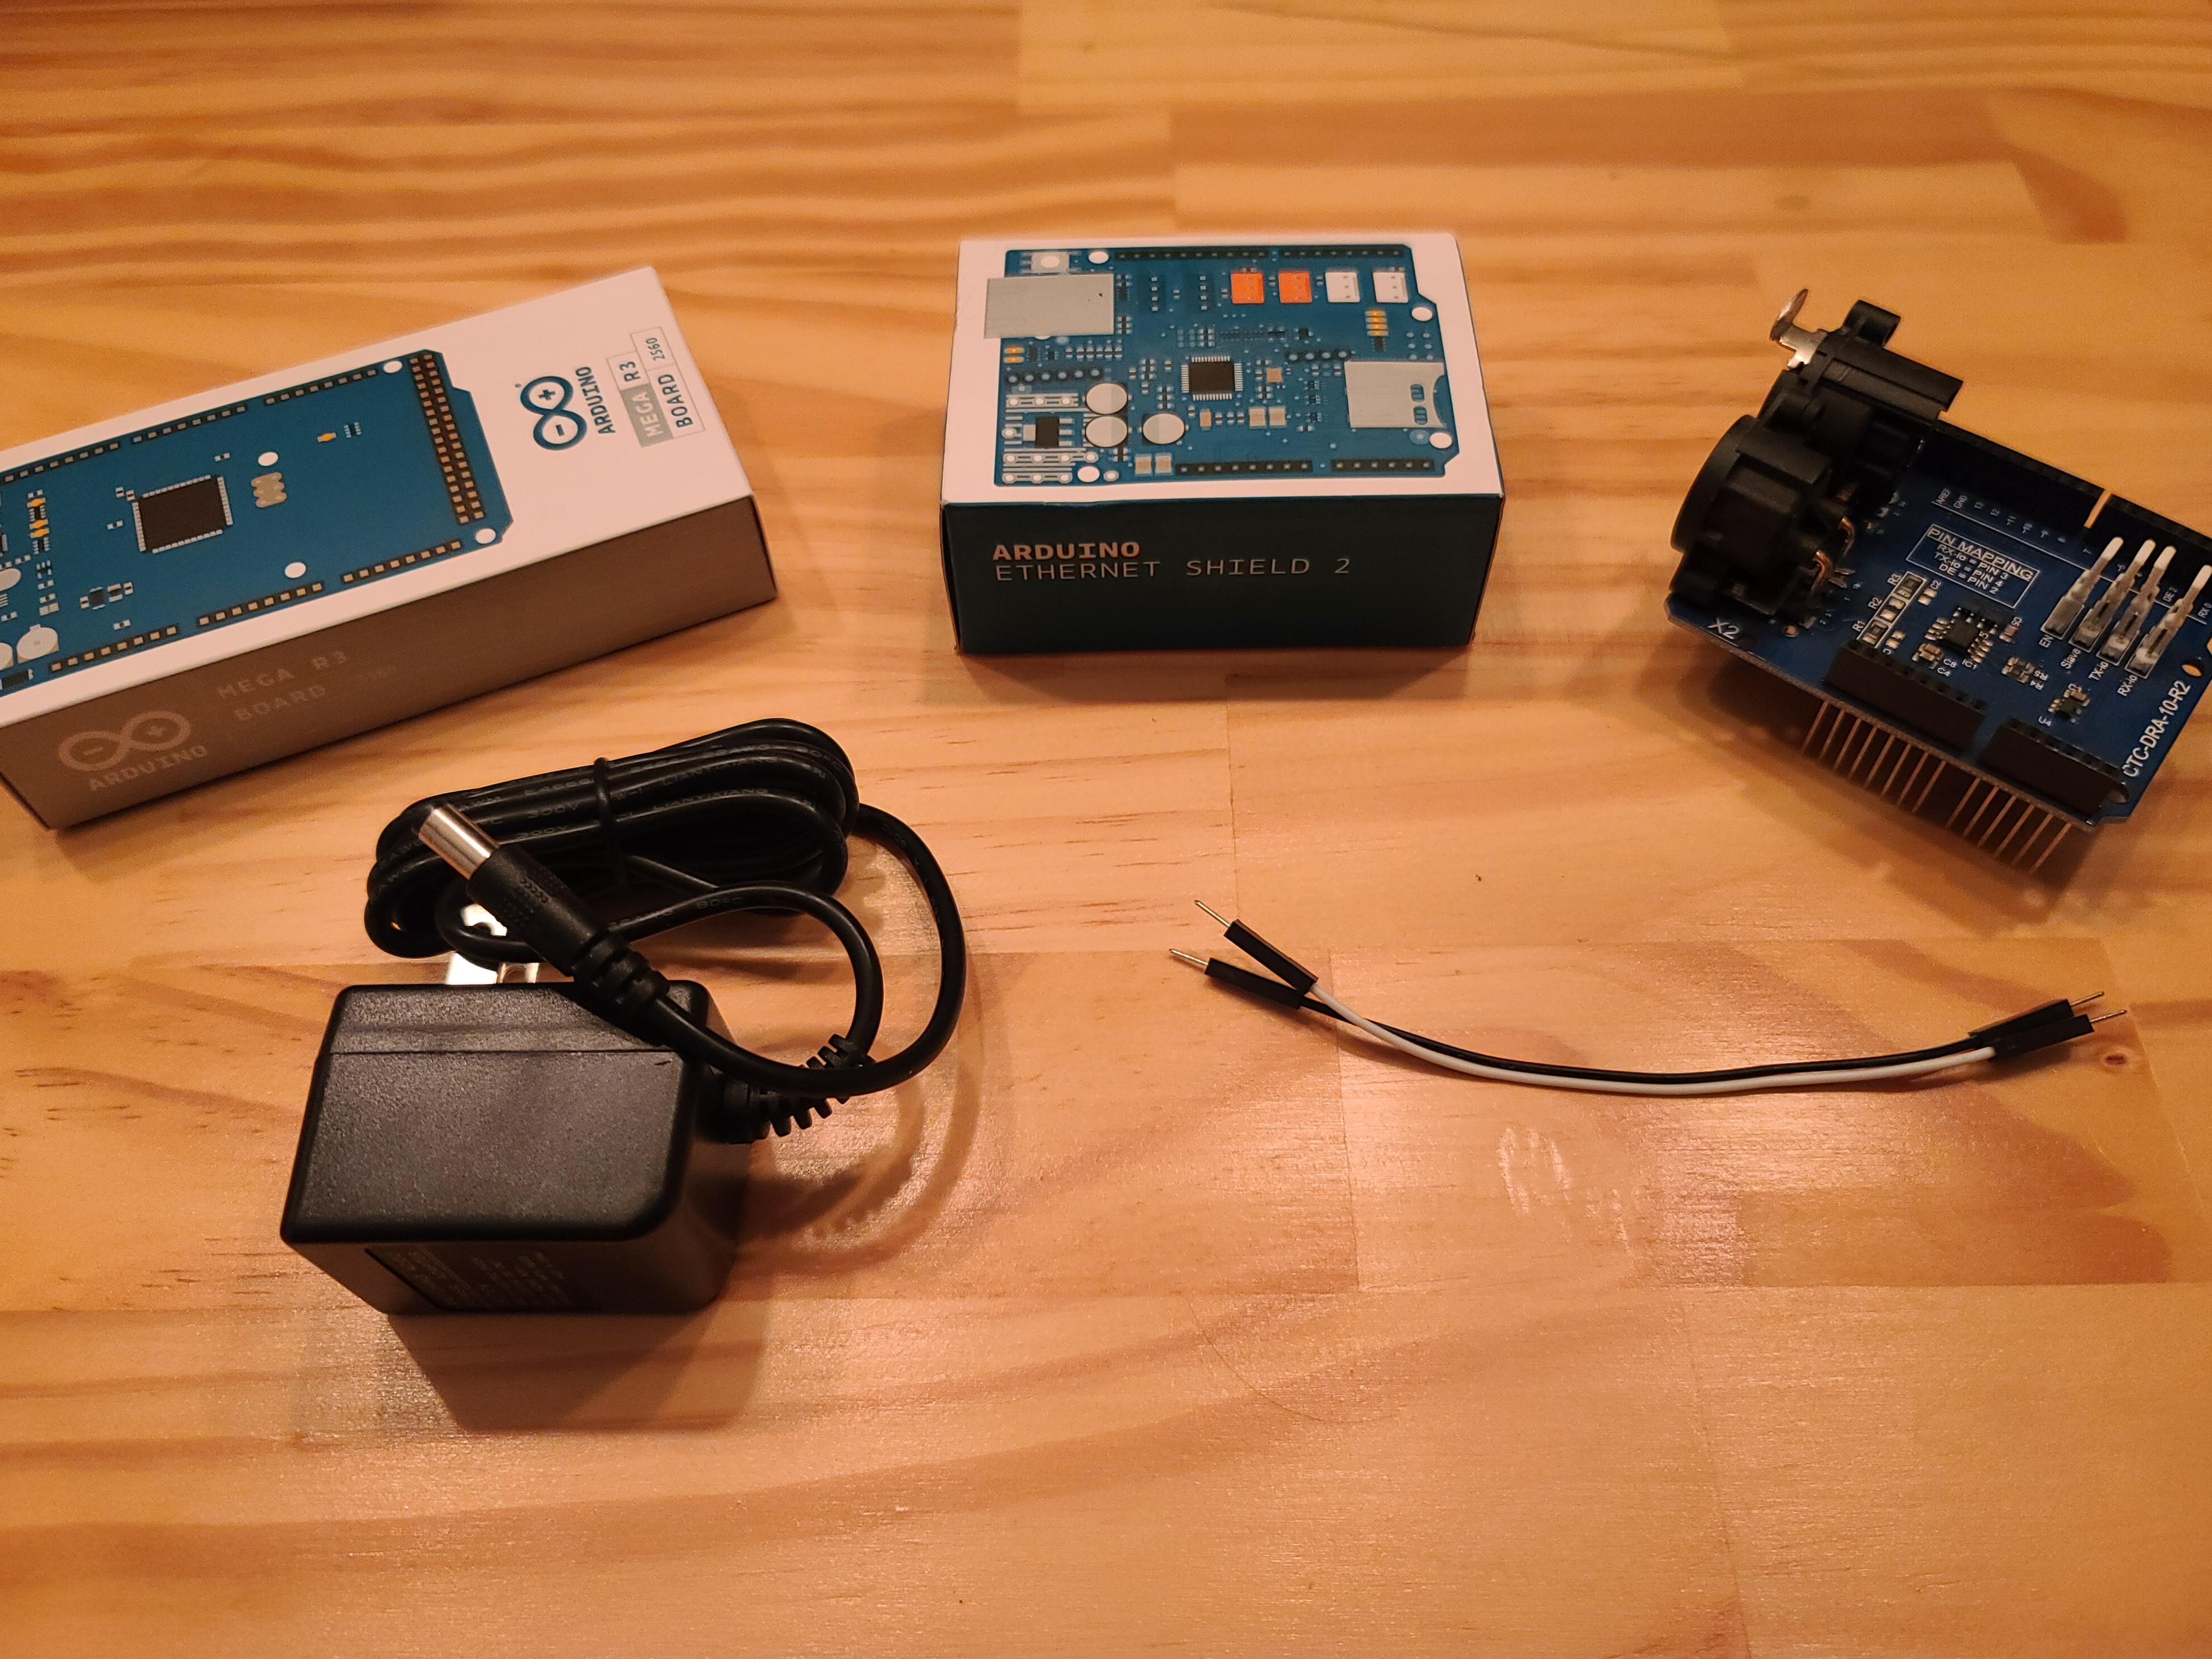
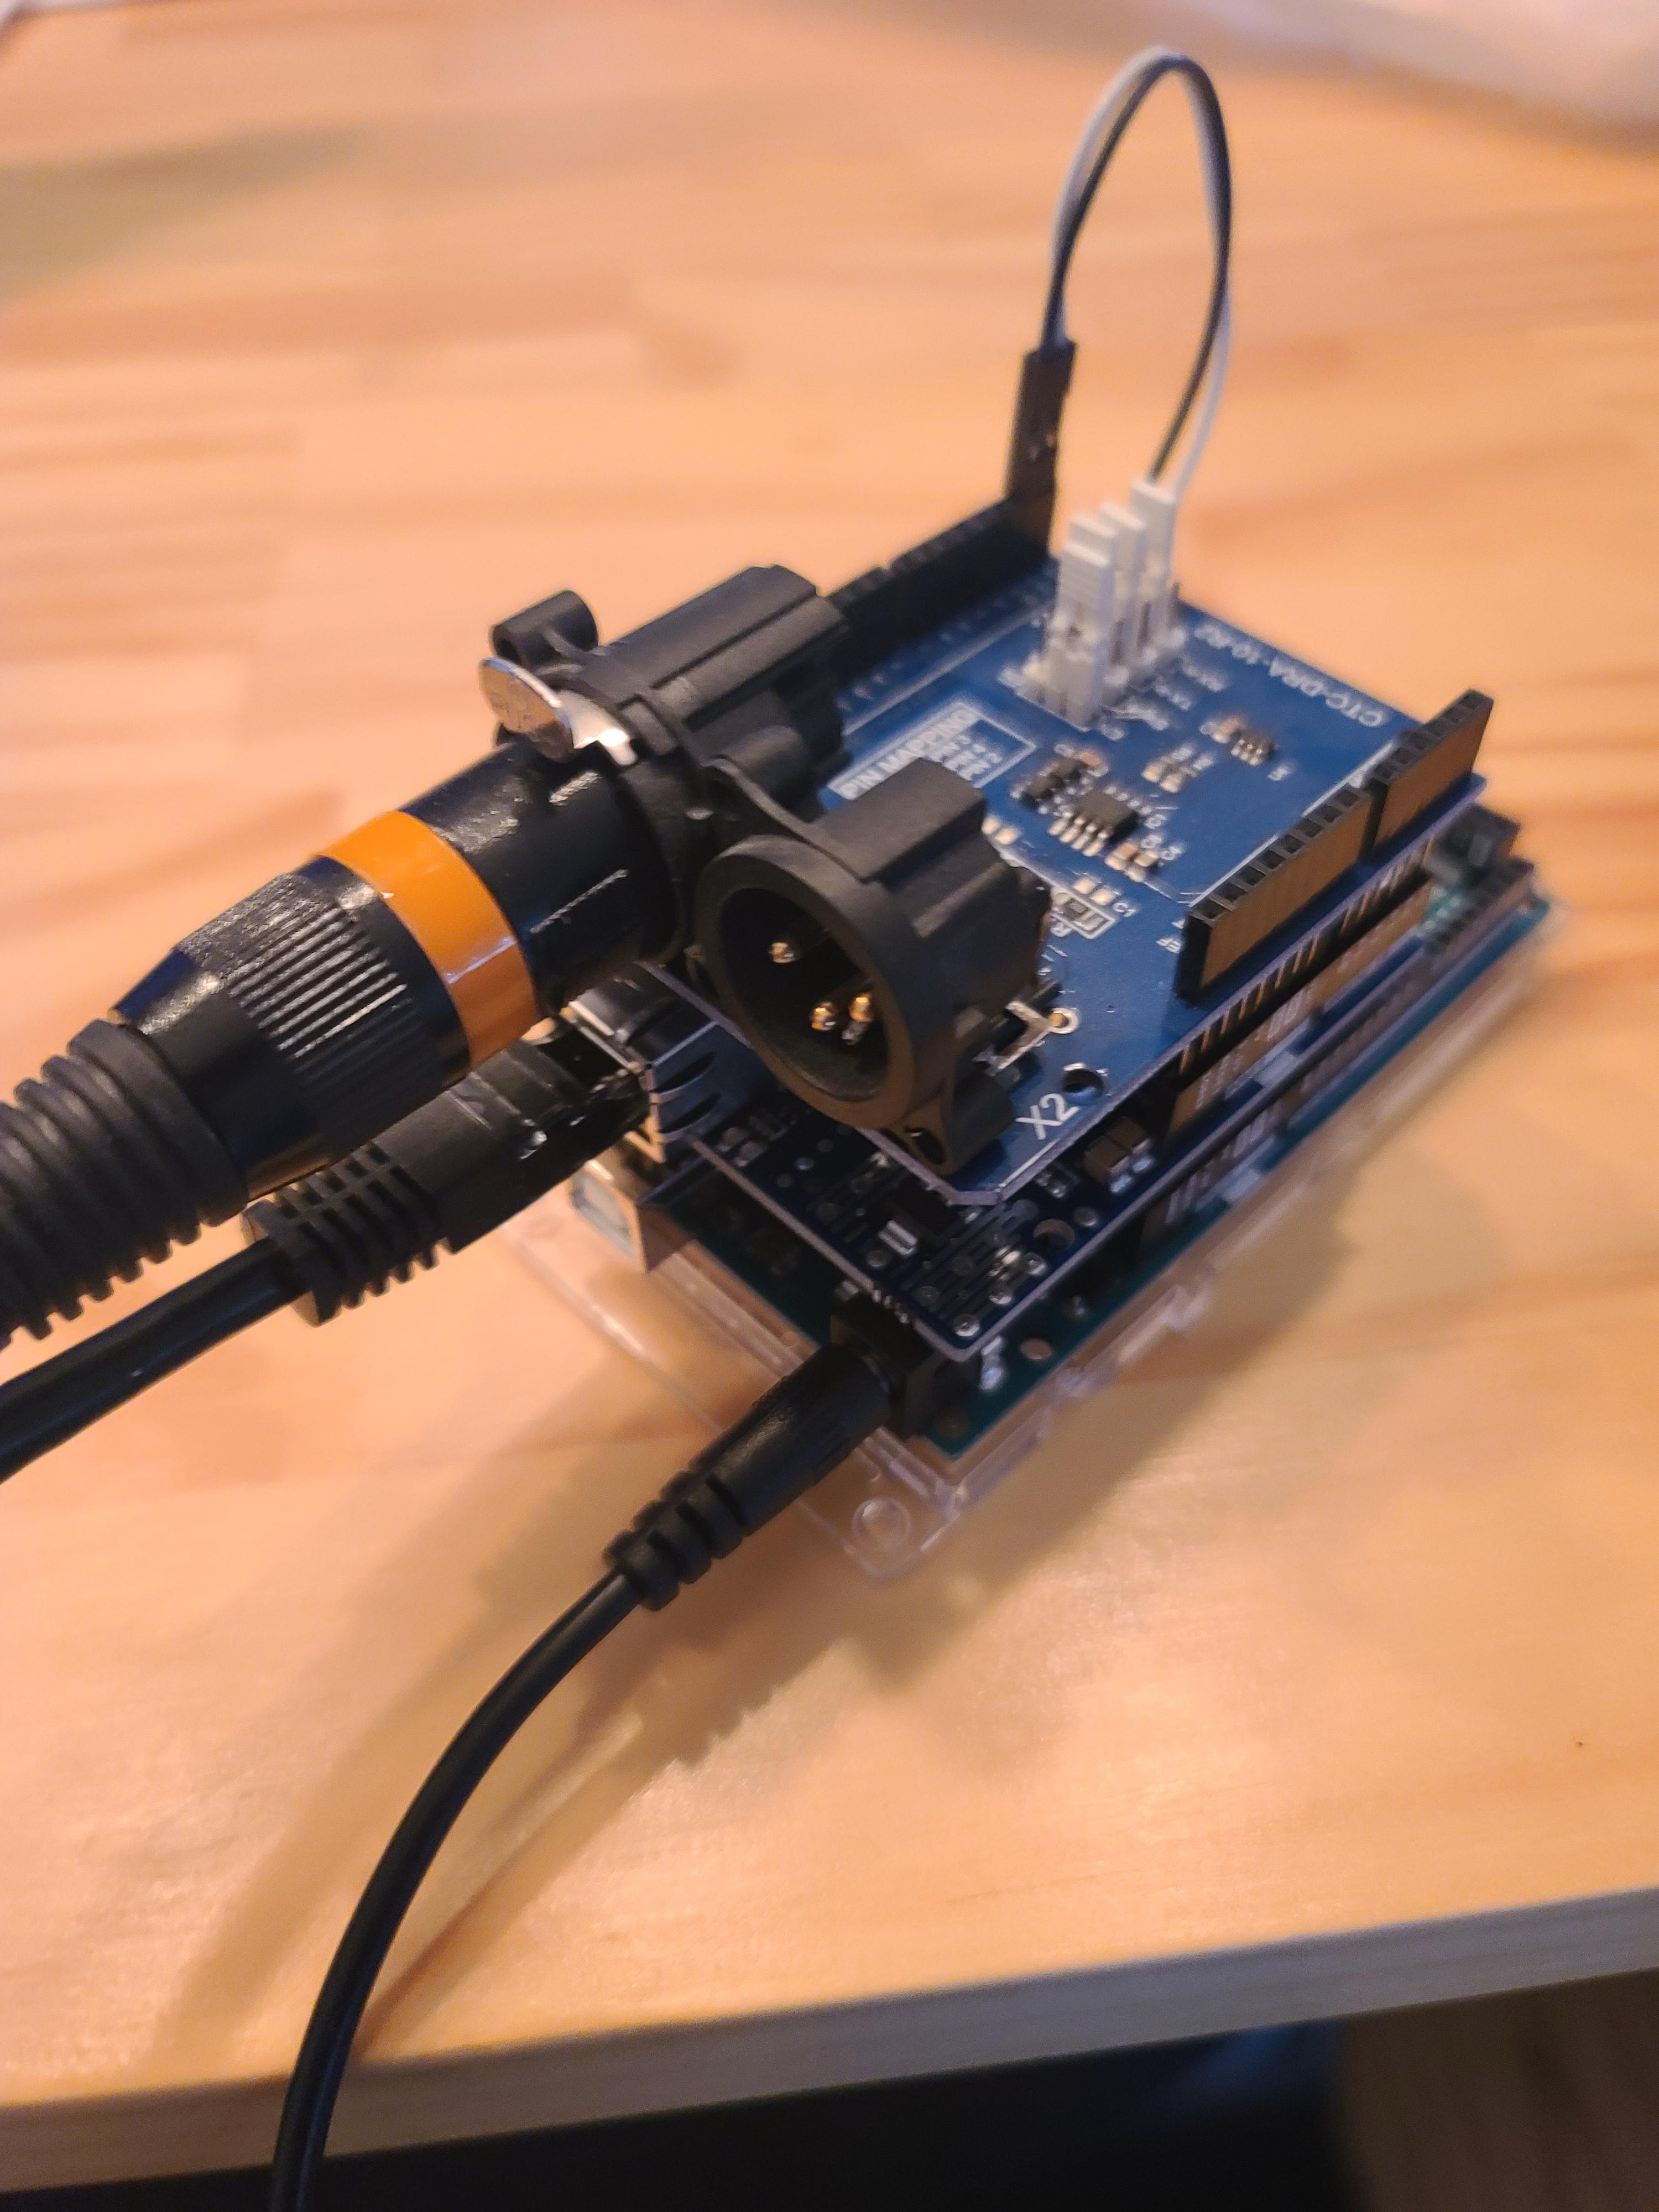
Control stage lighting and other DMX devices from your phone or any other web-enabled device. I'll show you how to quickly and easily build your own DMX controller that runs on the Stage Monster Live platform using an Arduino Mega.
Supplies
Arduino Mega 2560
Ethernet shield
https://store.arduino.cc/usa/arduino-ethernet-shield-2
DMX shield
https://www.dfrobot.com/product-984.html?gclid=Cjw...
Conceptinetics library for DMX shield
https://sourceforge.net/p/dmxlibraryforar/code/ci/...
Two (2) short jumper wires
One DMX cable for each DMX lighting device
DMX terminator
Power Supply (AC/DC Adapter, Battery Pack, etc.)
Stage Monster Live account (requires subscription, but offers 7 day free trial)
DMX Shield Preparation
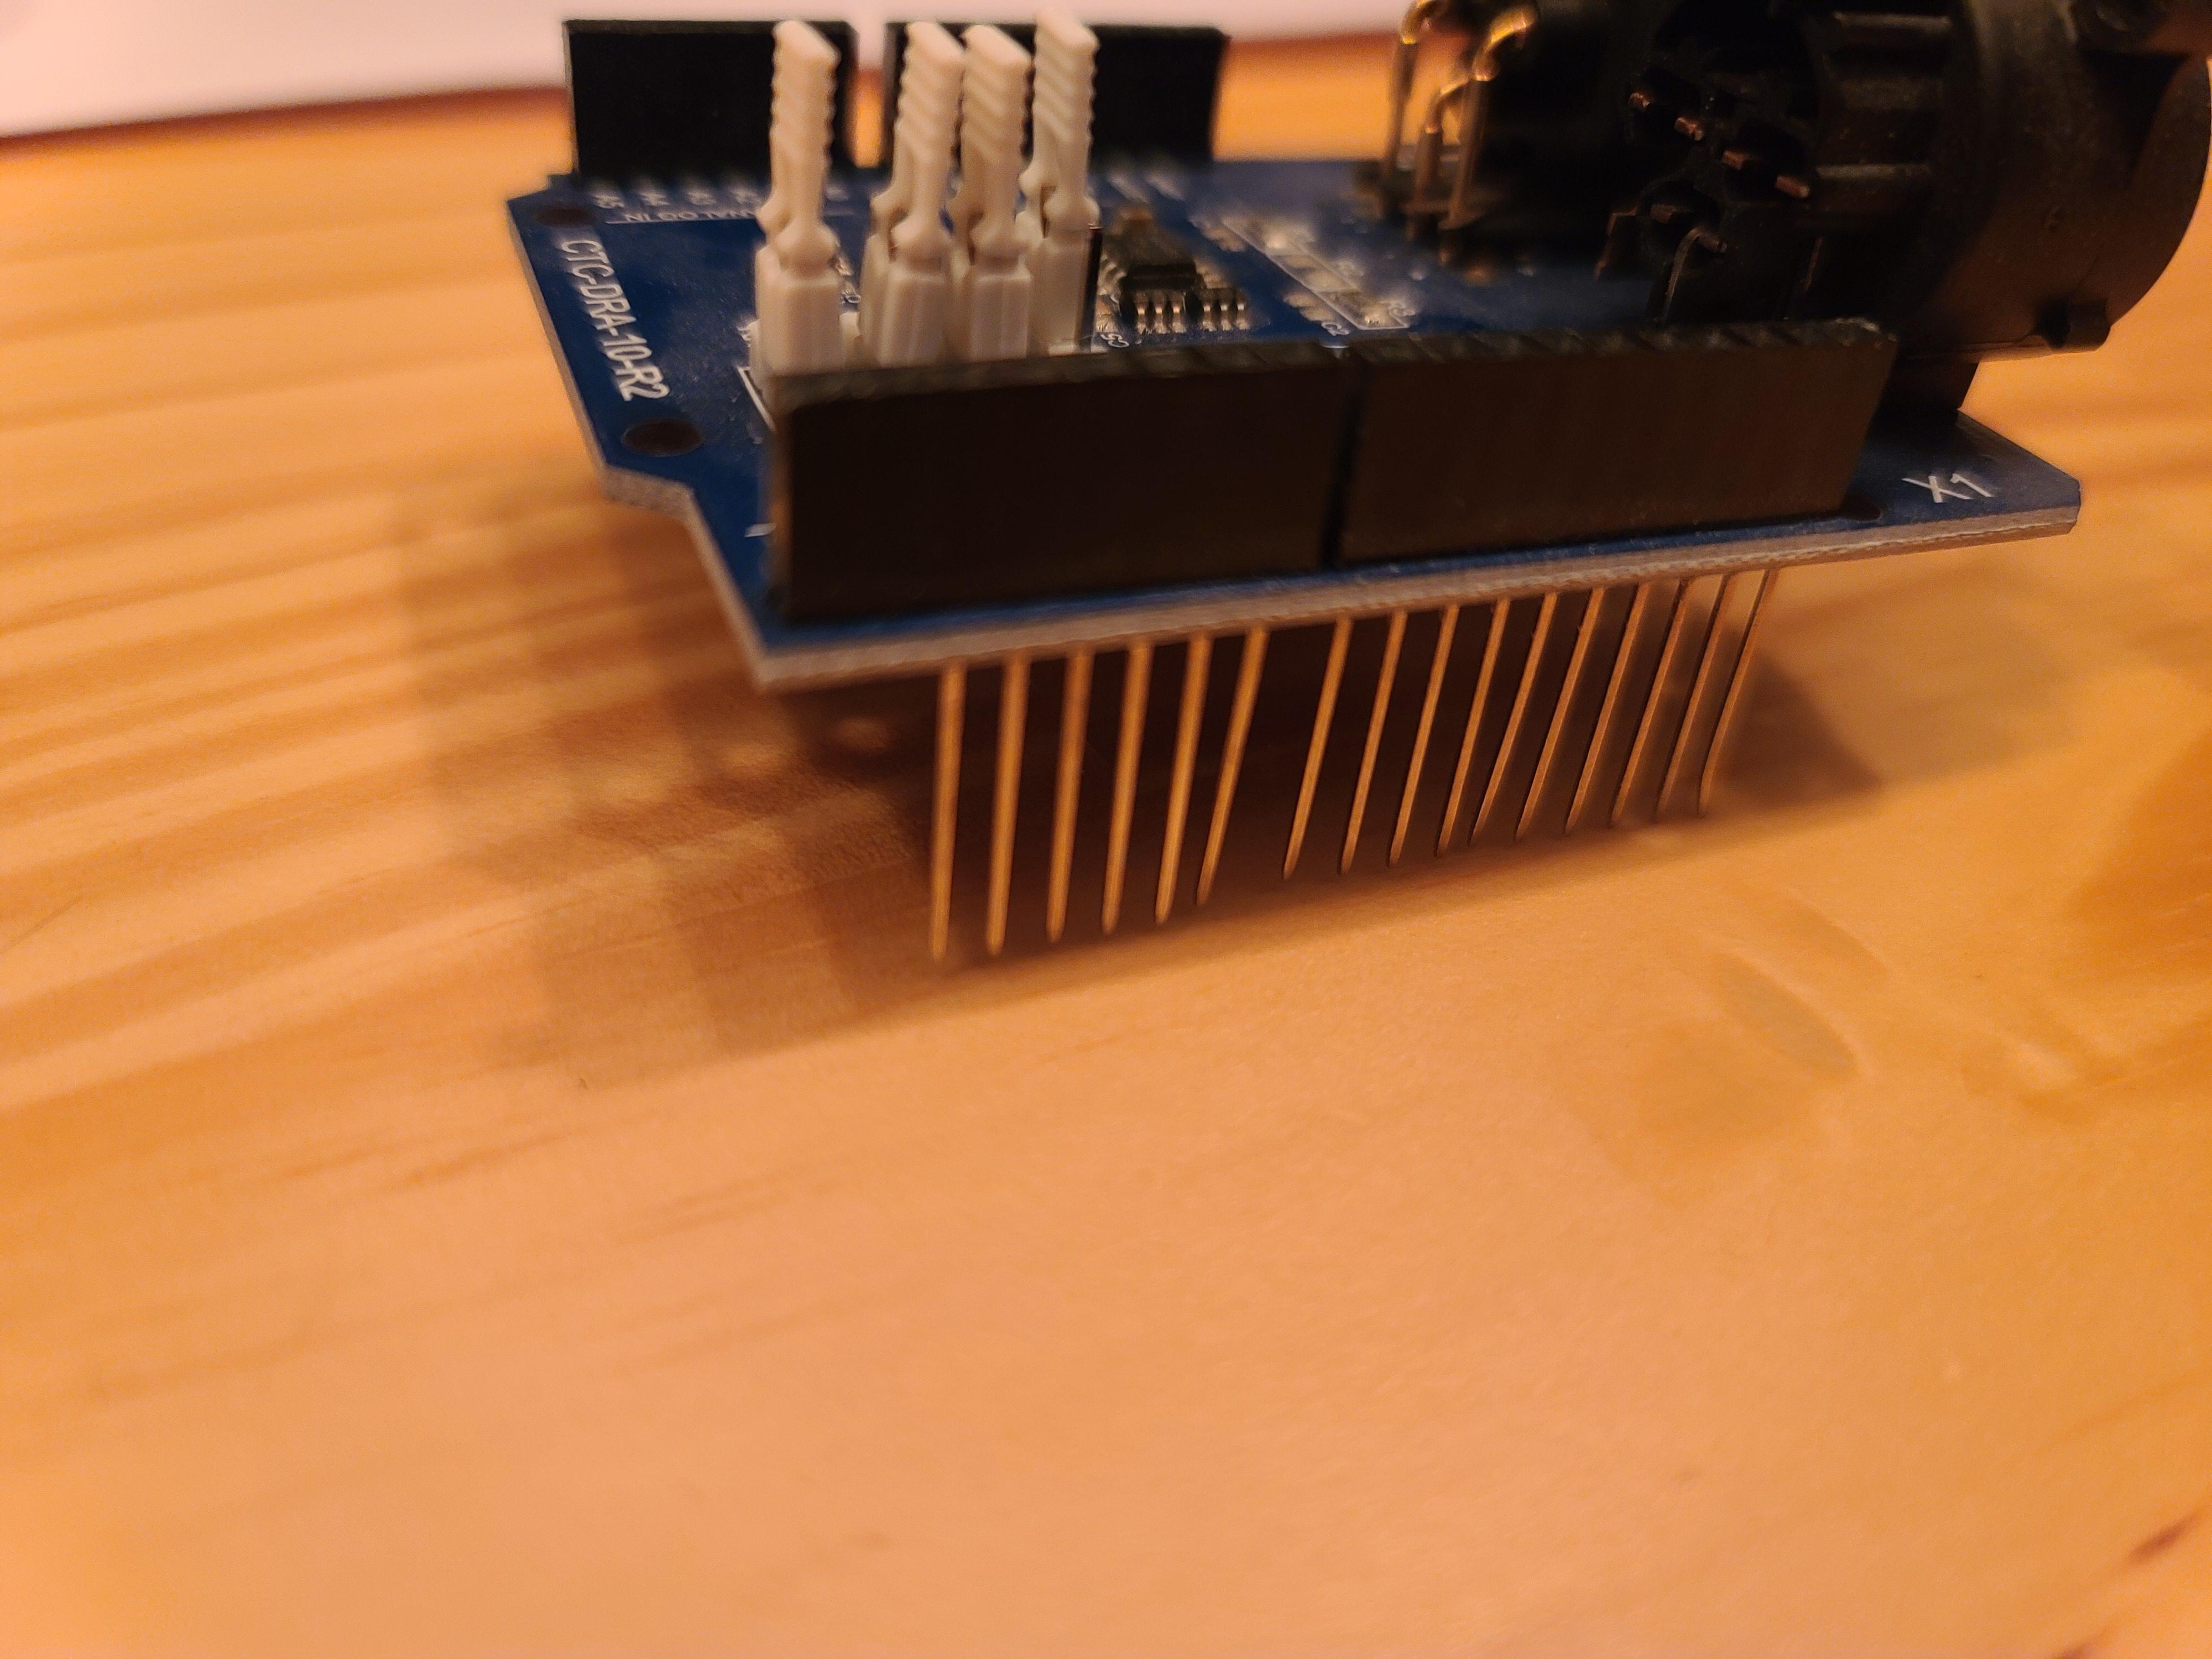
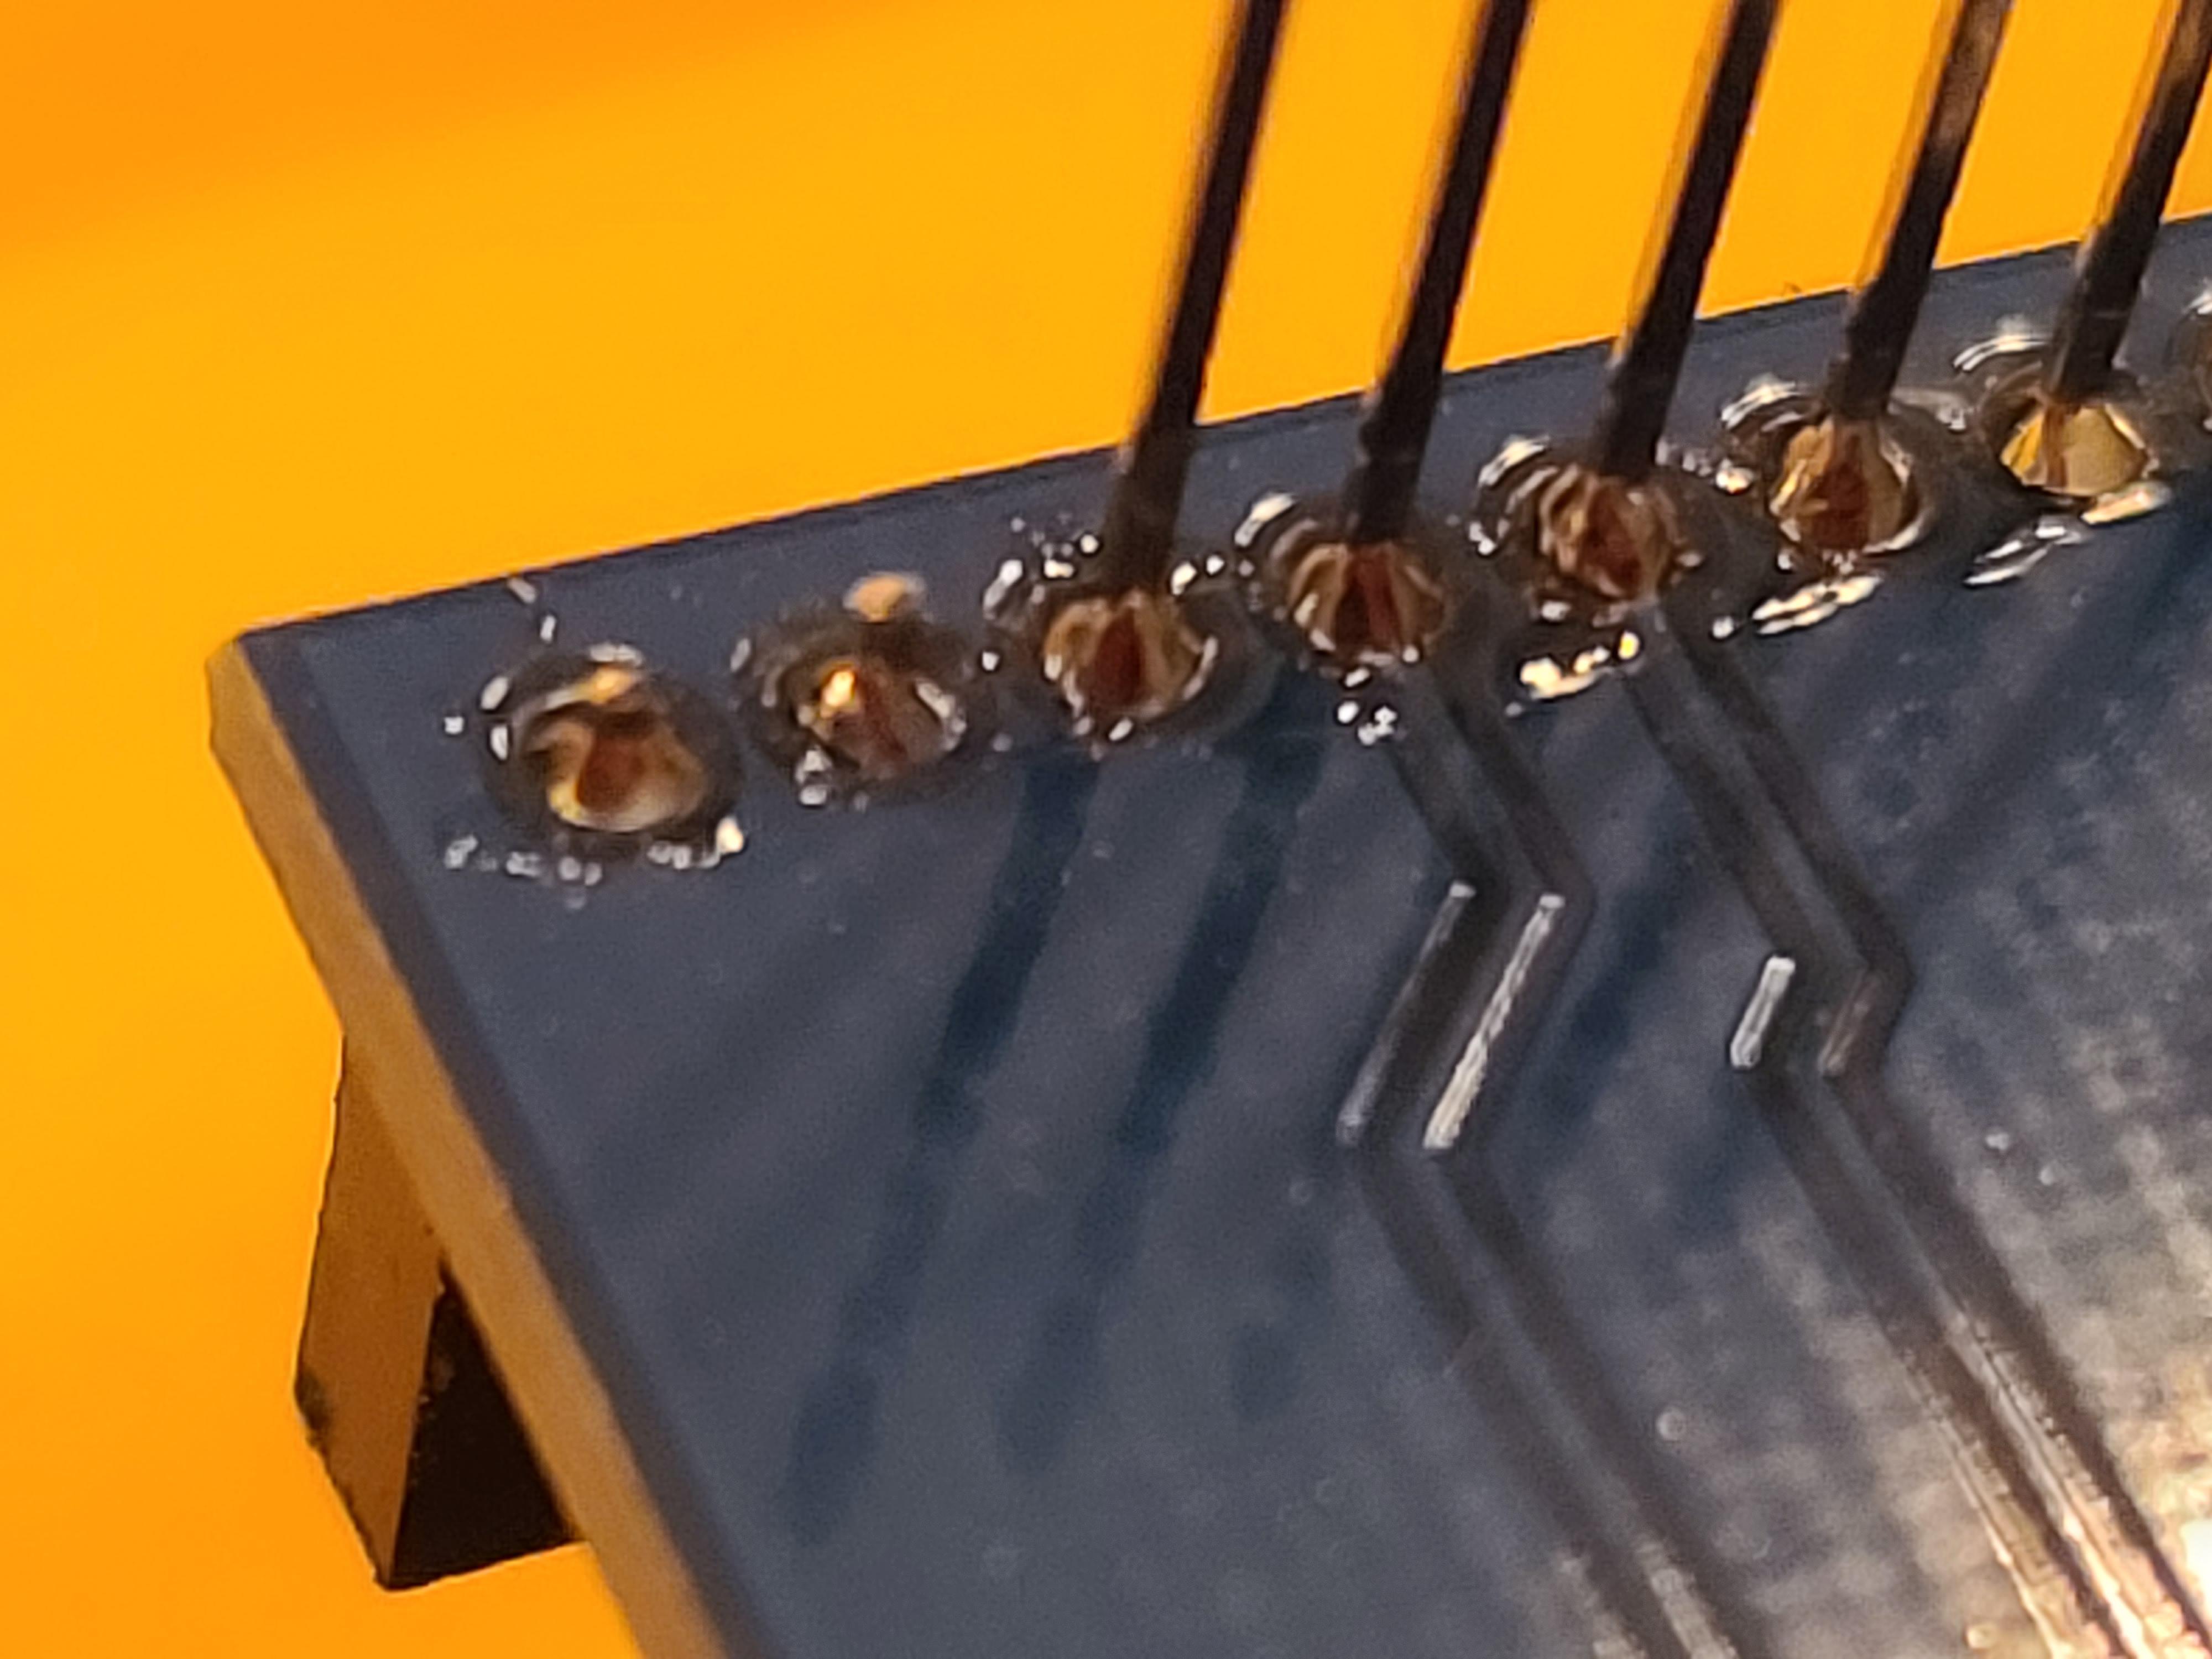
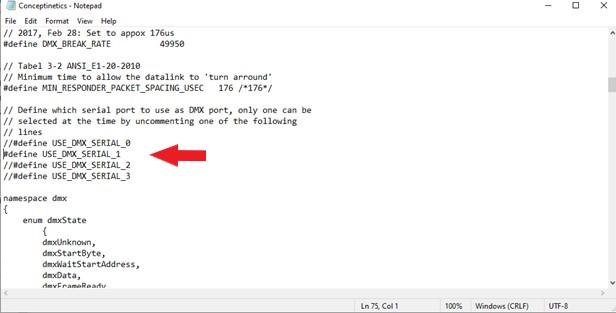
Both the ethernet shield and the DMX shield will try to use serial port 0 to communicate with the Arduino and they will interfere with each other if we don't fix this, so we first need to do a little bit of prep work for both shields to work correctly. Because the DMX shield is placed on the top of the stack, it'll be easier to make the modifications to it instead of the Ethernet shield.
The first thing we'll need to do is cut off (or bend back) the bottom pins on the DMX shield at digital pins 0 and 1 (RX0 and TX0) so that those two pins are not connected to the Arduino. Later, we're going to connect the DMX shield to the Arduino via serial port 1. For now, we can move on to a slight modification to the conceptinetics.h file.
You'll likely find this file wherever your user-installed libraries are kept. For me, it is under Documents -> Arduino -> libraries -> Conceptinetics. You can simply open the Conceptinetics.h file in Notepad. About 44 lines down from where the actual code starts in that file, you'll find a section for defining which serial port to use for the DMX port. By default, it will be set to 0. You can change it to whichever port you want to use by uncommenting the line for that port and commenting out the line for port 0. Then save the file. Now when we have both shields connected to the Arduino, they will both be able to run without interfering with each other.
Assembly
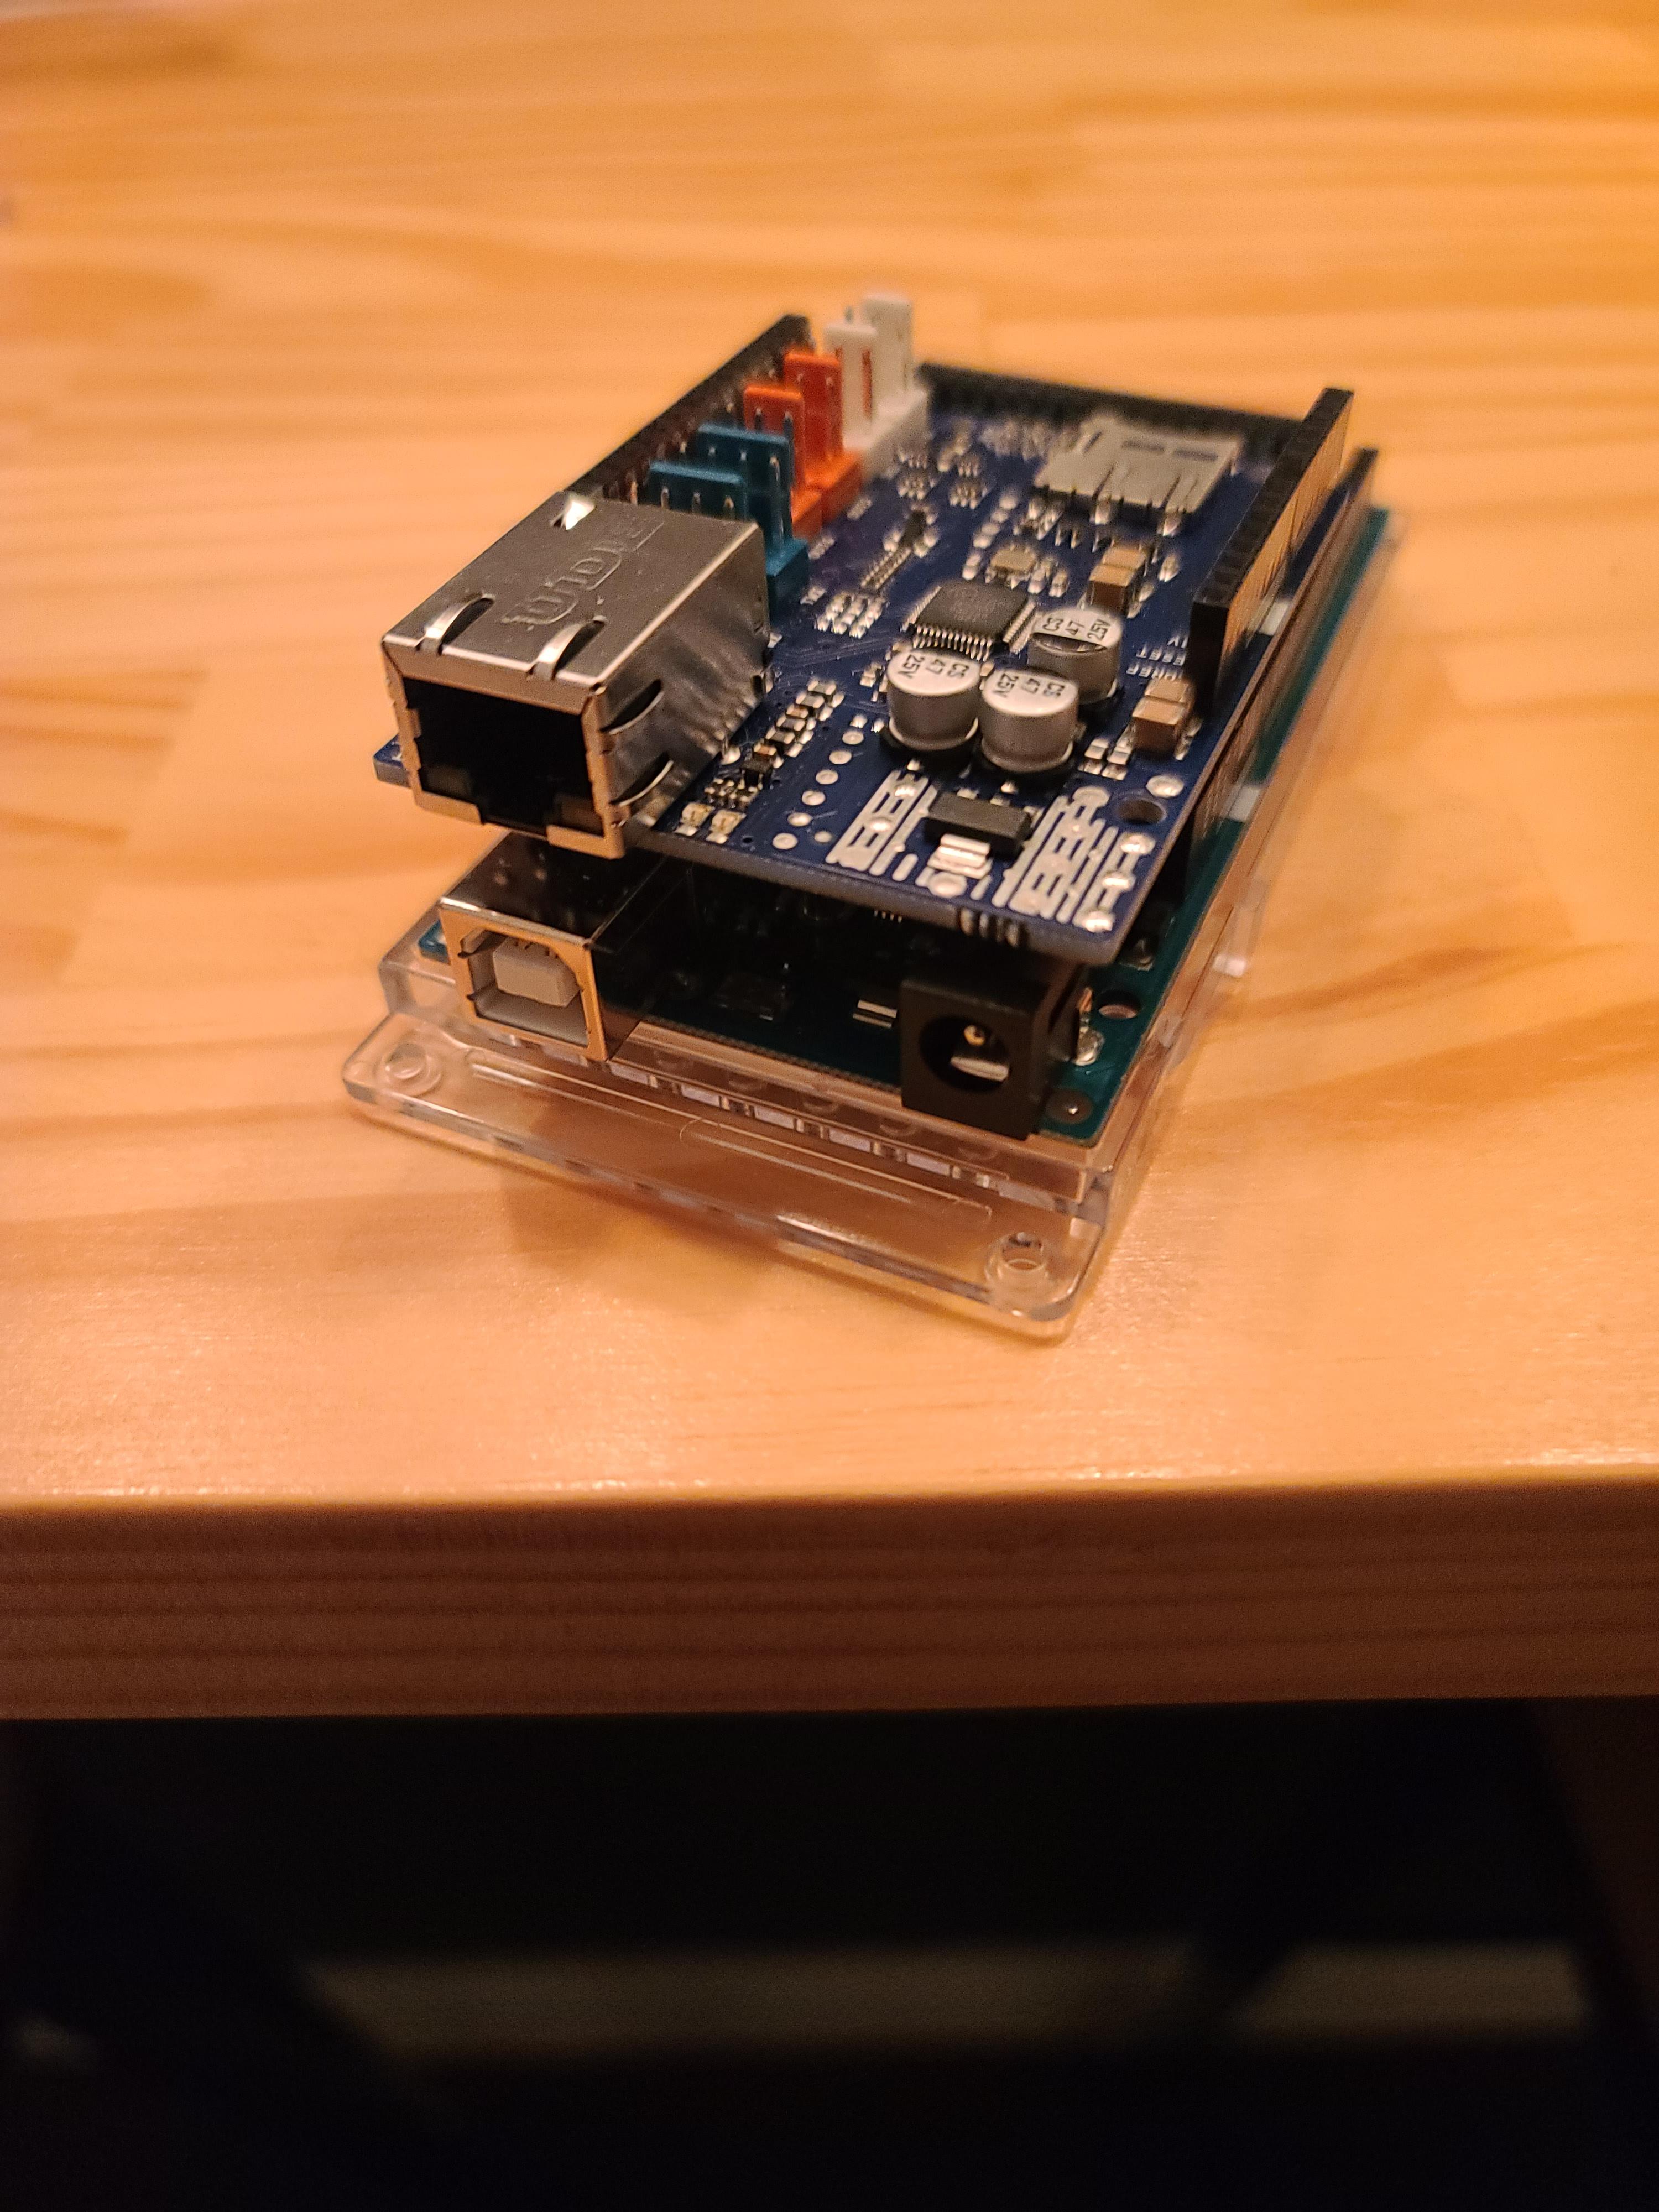
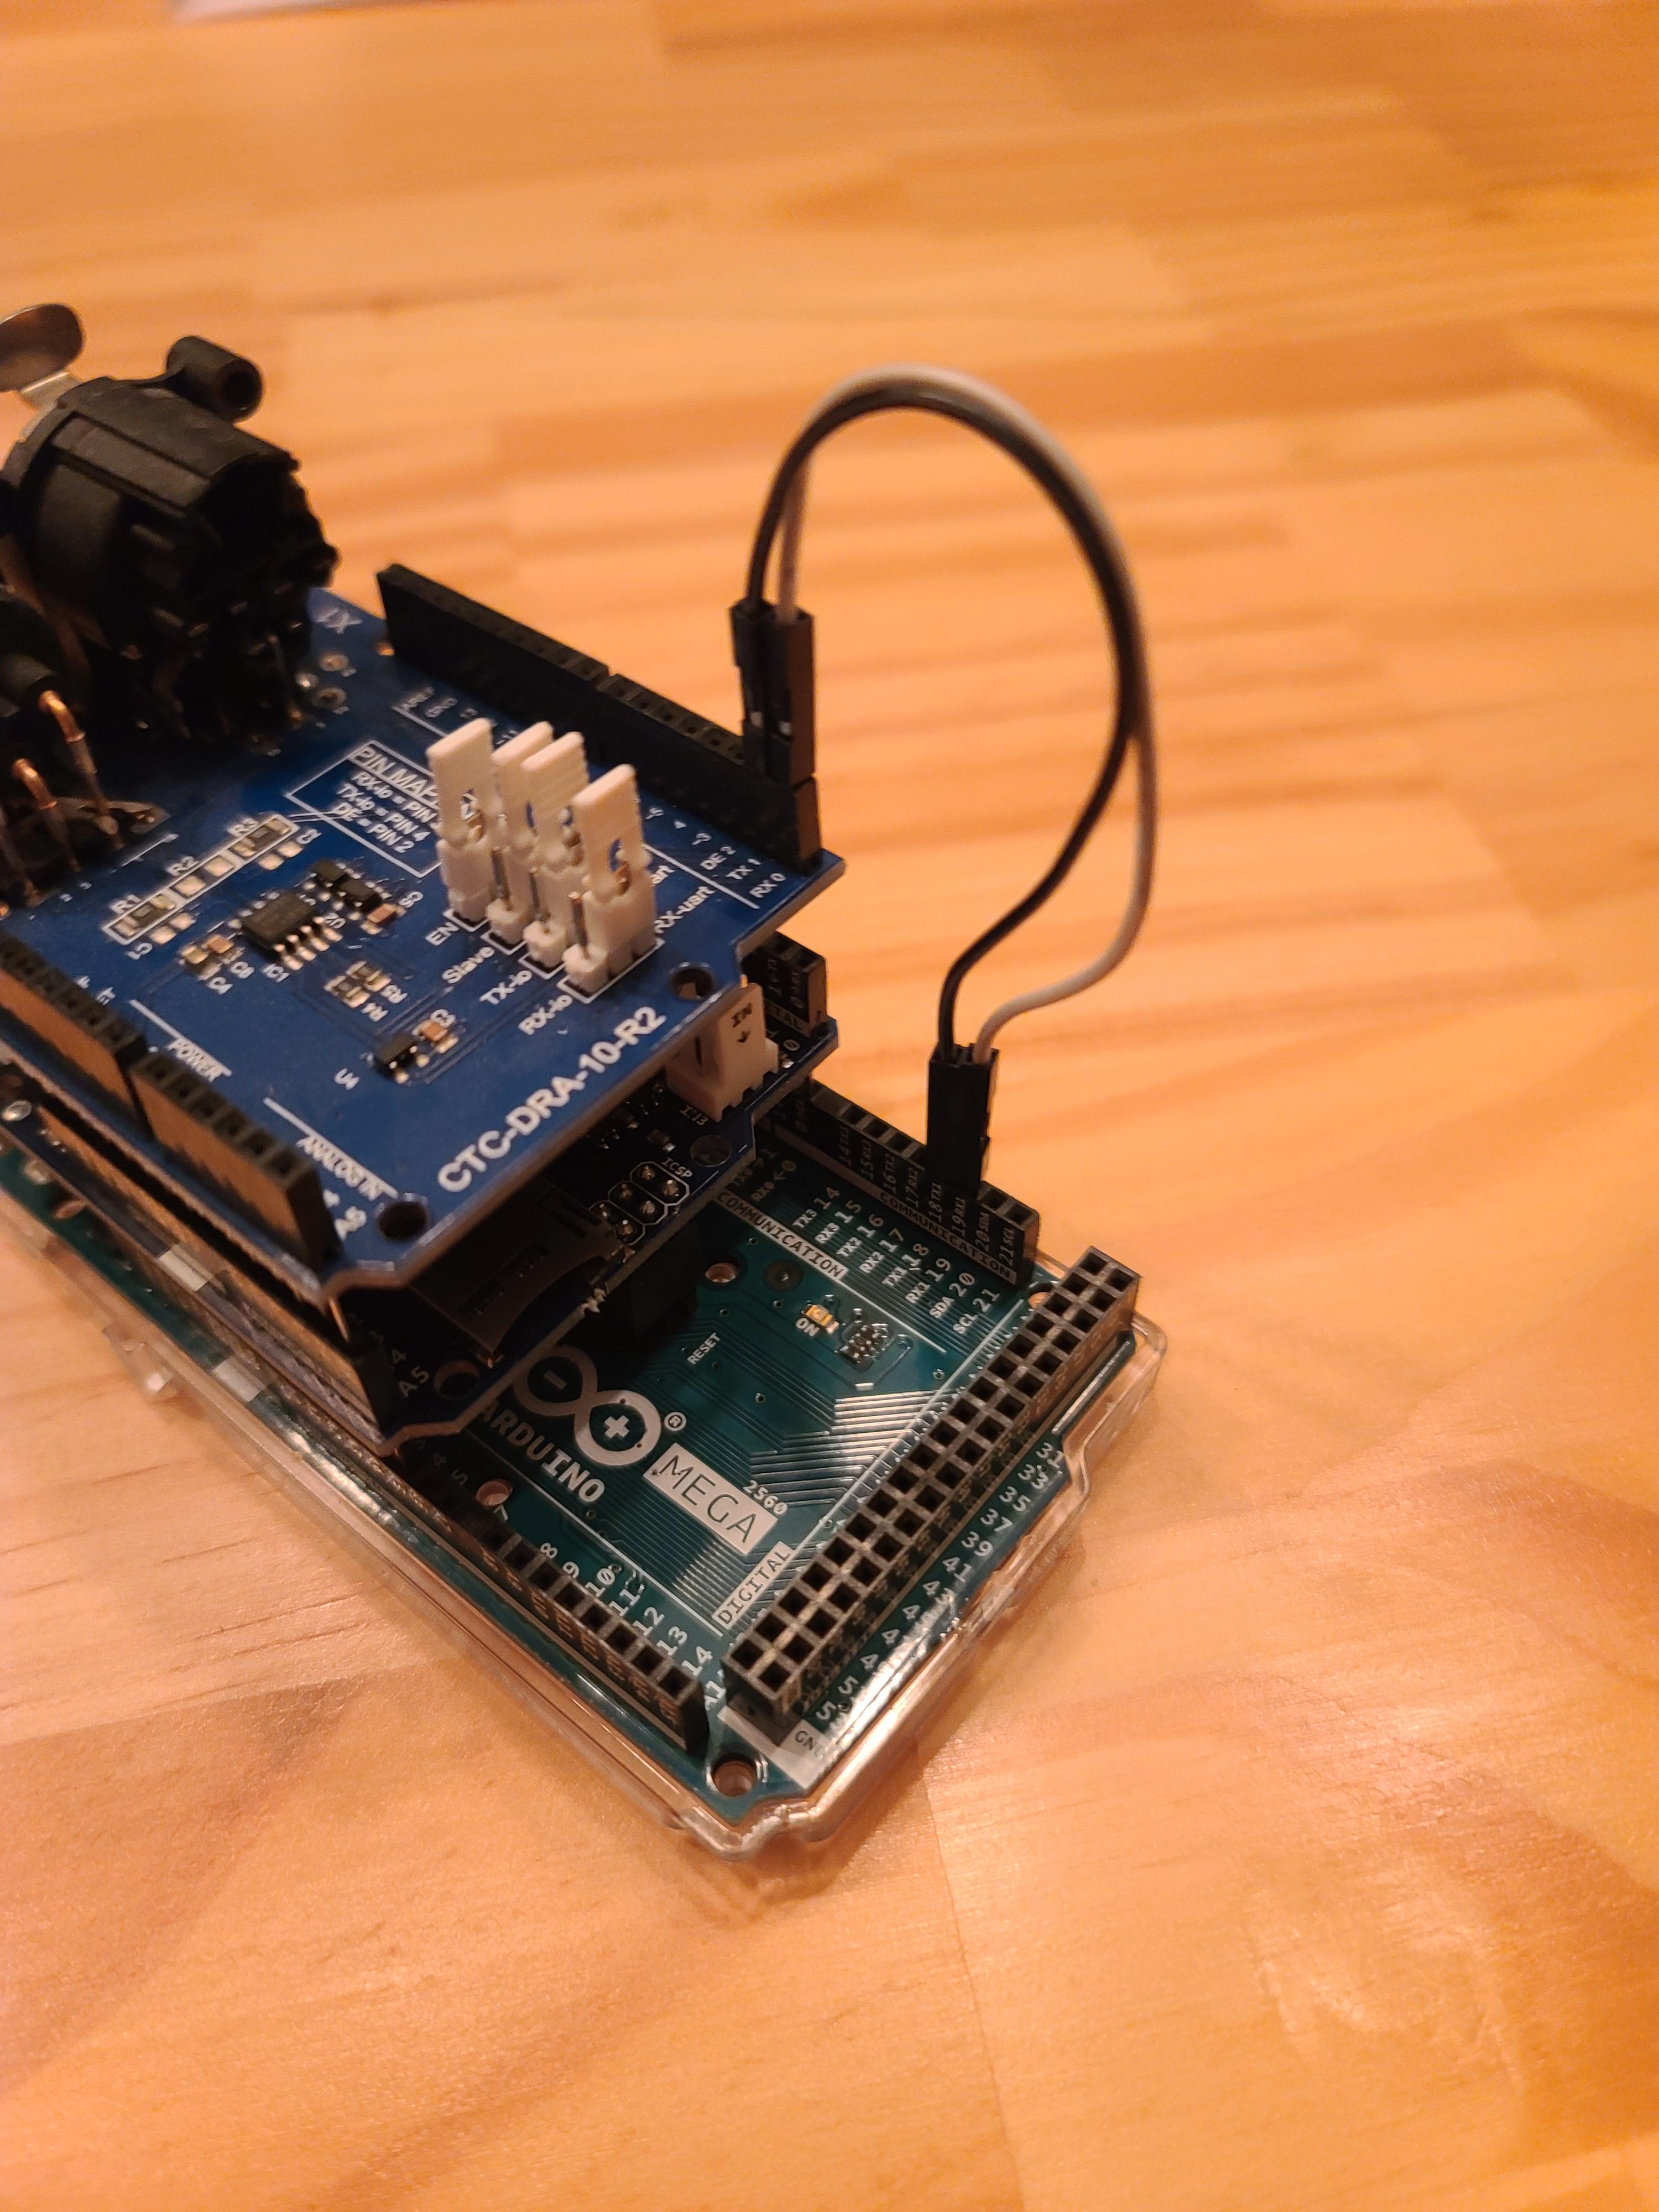
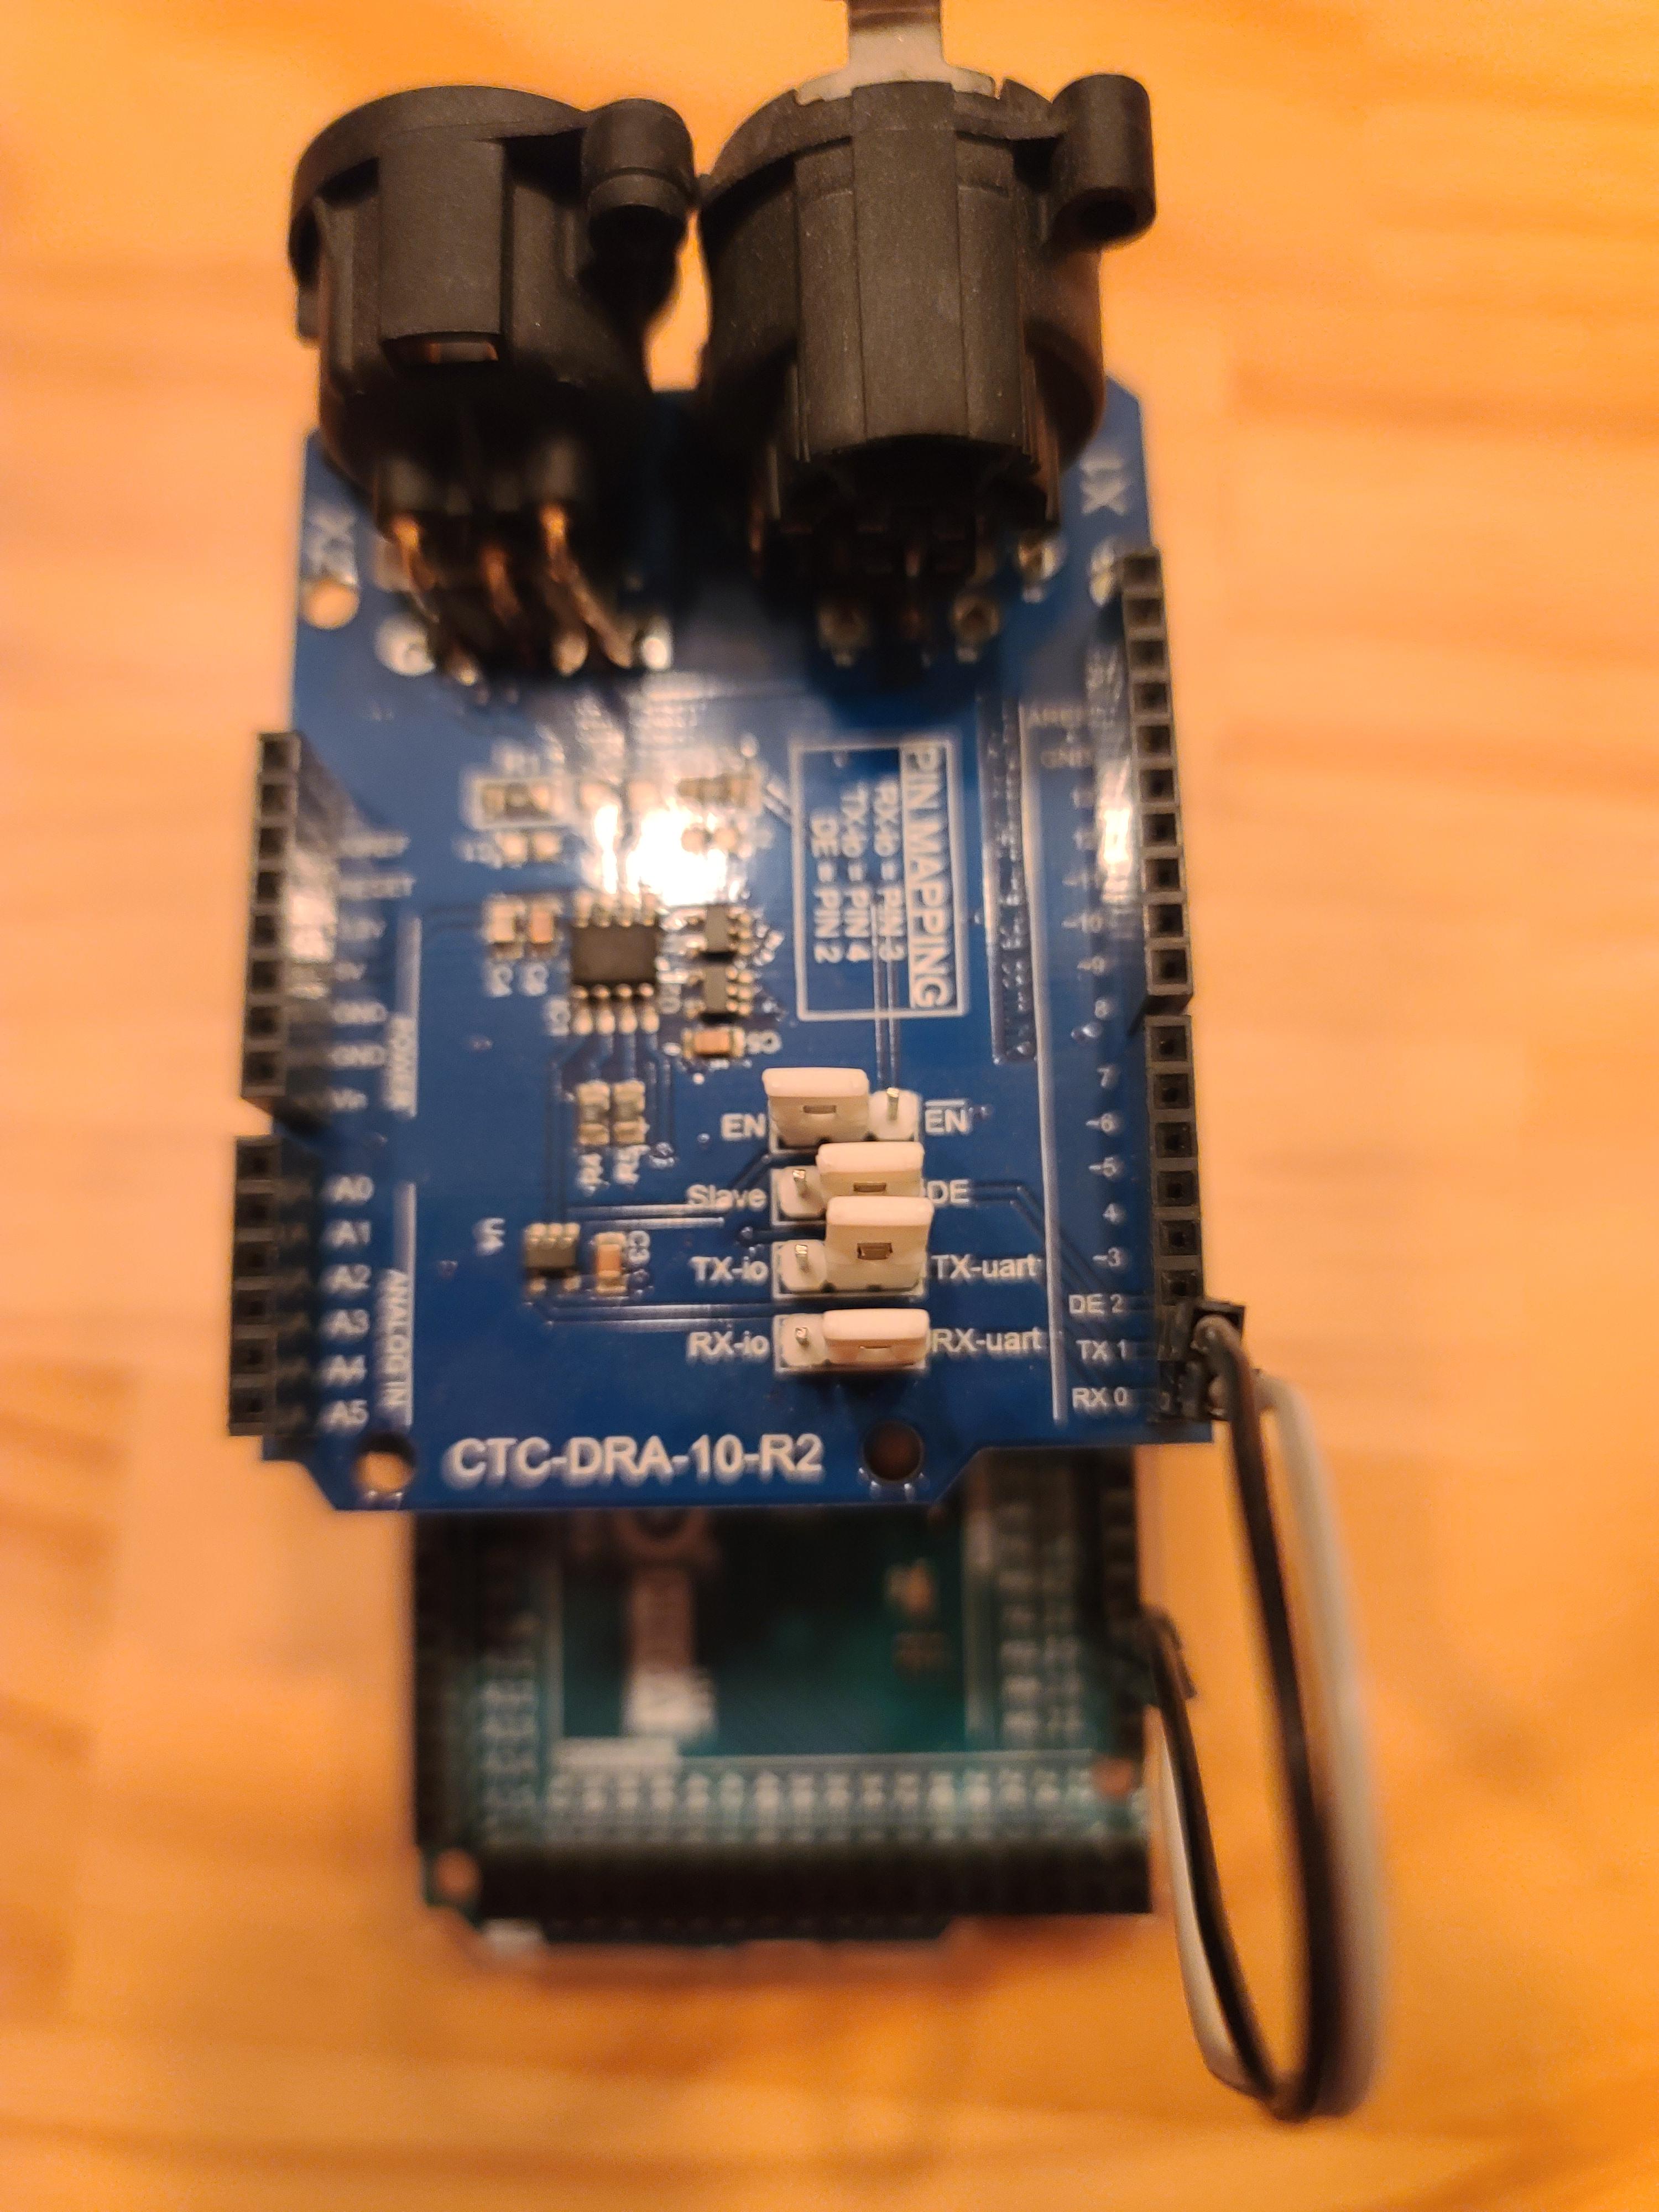
This is the easiest part. The Ethernet shield goes on top of the Arduino and the DMX shield goes on top of the Ethernet shield. Using your two jumper wires, connect the TX0 and RX0 pins on the DMX shield to the appropriate pins on the Arduino (TX1 and RX1 if you chose serial port 1, and so on). This allows the DMX shield to communicate with the Arduino via the port that you chose while the Ethernet shield communicates with it via serial port 0.
Code
Download the stmrfile.ino sketch and open in your Arduino IDE. Fill in the Stage Monster Live credentials in the variables titled Username, Password, and Api_Key (this is the Access API key that can be found in the Configure section on your Stage Monster Live account page), then plug in your Arduino, select your device in the Port menu (Under Tools in the toolbar), and upload the sketch to your Arduino. If the device has been assembled properly and the Conceptinetics library has been installed correctly, there should be no errors.
Downloads
Connect to DMX Devices
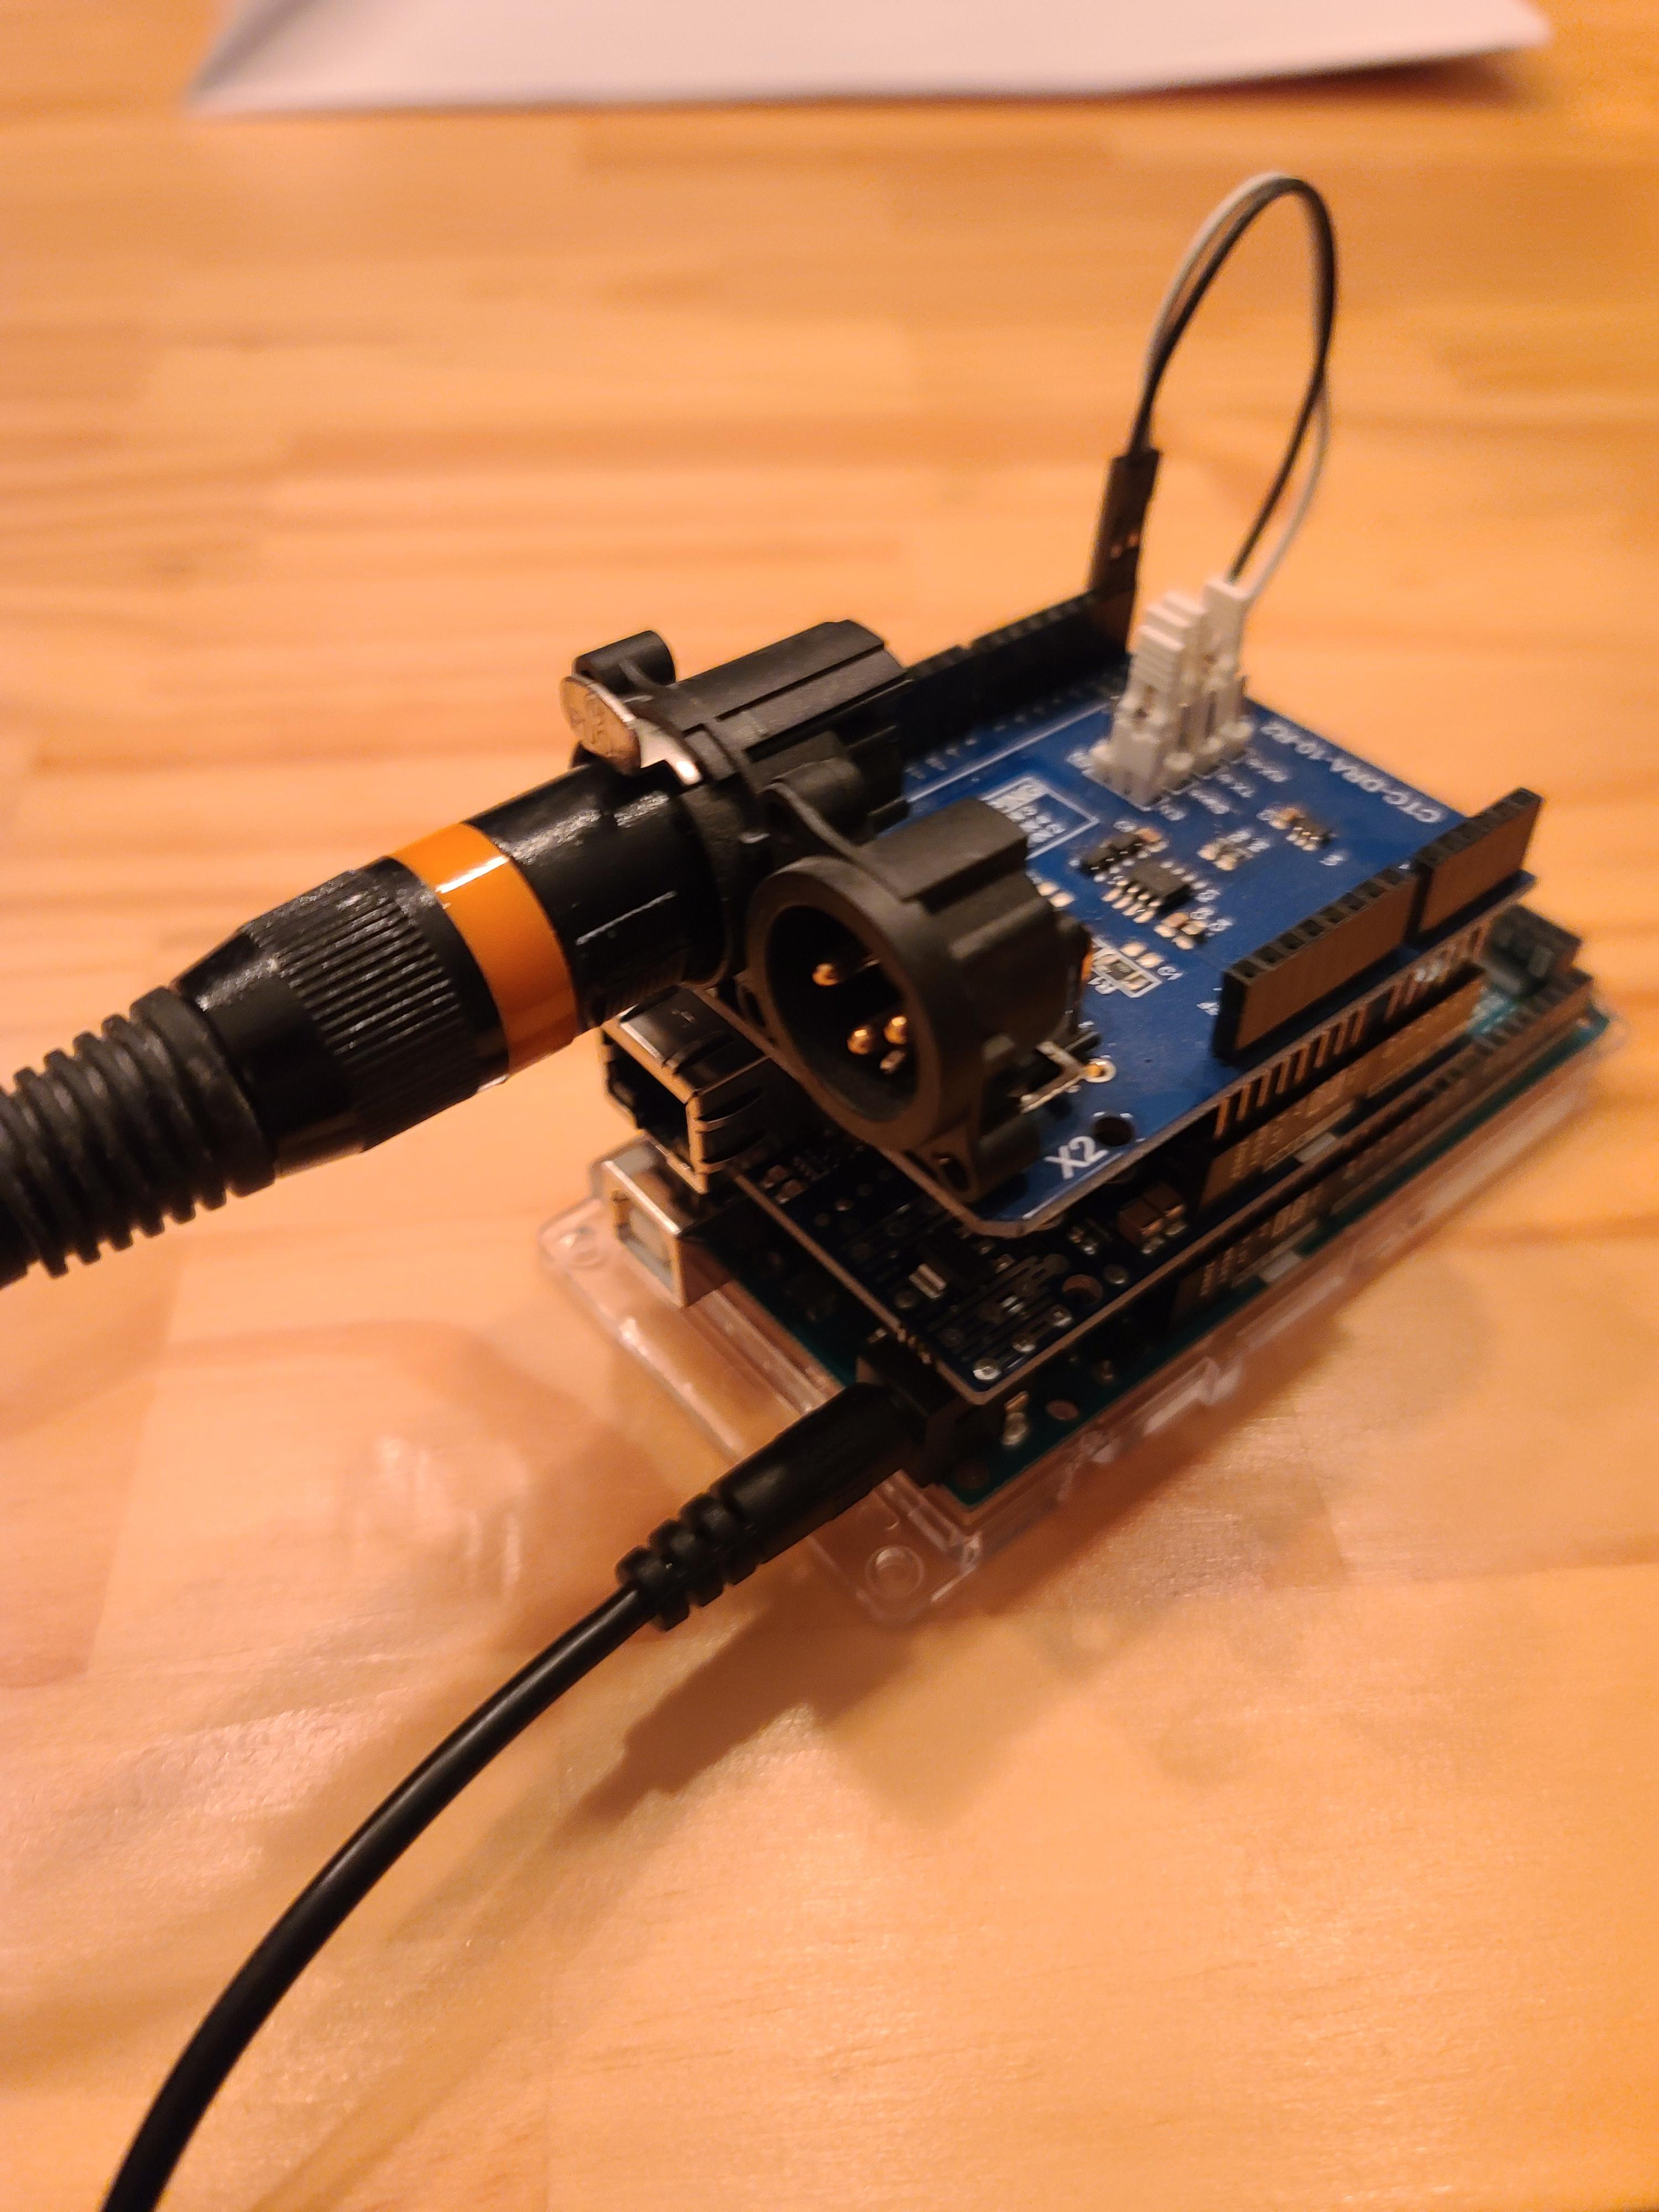
Connect a DMX cable to the DMX output on the DMX shield. Connect the other end to the first DMX device, then connect that DMX device to the next in the same way, and so on. Use a DMX terminator on the last DMX device in the chain.
Leave the Arduino plugged into your computer or unplug and use a separate power source to supply power. Using the ethernet cable, connect the Ethernet shield to your router.
Configure Lighting/Effect Devices in Stage Monster Live
Sign in to your Stage Monster Live account and navigate to the control interface.
For each of your DMX lighting/effect devices, do the following:
Check if your lighting device is available for Standard Mode by clicking on the "Standard Devices" tab and then looking through the available devices in each zone by clicking on the zone, then clicking on "No Device Selected." If it is available, you can set it as one of your Standard Mode devices. After selecting it, you can set the starting channel by clicking on "Starting Channel: None."
If it's not available on Standard Mode, you can still use it in Advanced Mode by going to the Advanced Mode sub-interface (if using the mobile interface, click "Control" then use the arrows to change "Standard Mode" to "Advanced Mode") and clicking "Add New DMX Device..." You can check whether your device is in the Advanced Mode database by clicking "Add Device From List" or just add it as a custom device.
Make sure the control mode and starting channel on the lighting device are the same as what you select in the Stage Monster Live interface.
You can check that everything is set up correctly by changing parameters on the Stage Monster Live interface. If the lighting device output doesn't change or changes in a way that it shouldn't, go back through these steps and ensure everything was done correctly.
For more on using the Stage Monster Live interface, there's a user guide at https://www.stagemonsterlive.com/interfaceguide.
Finished!
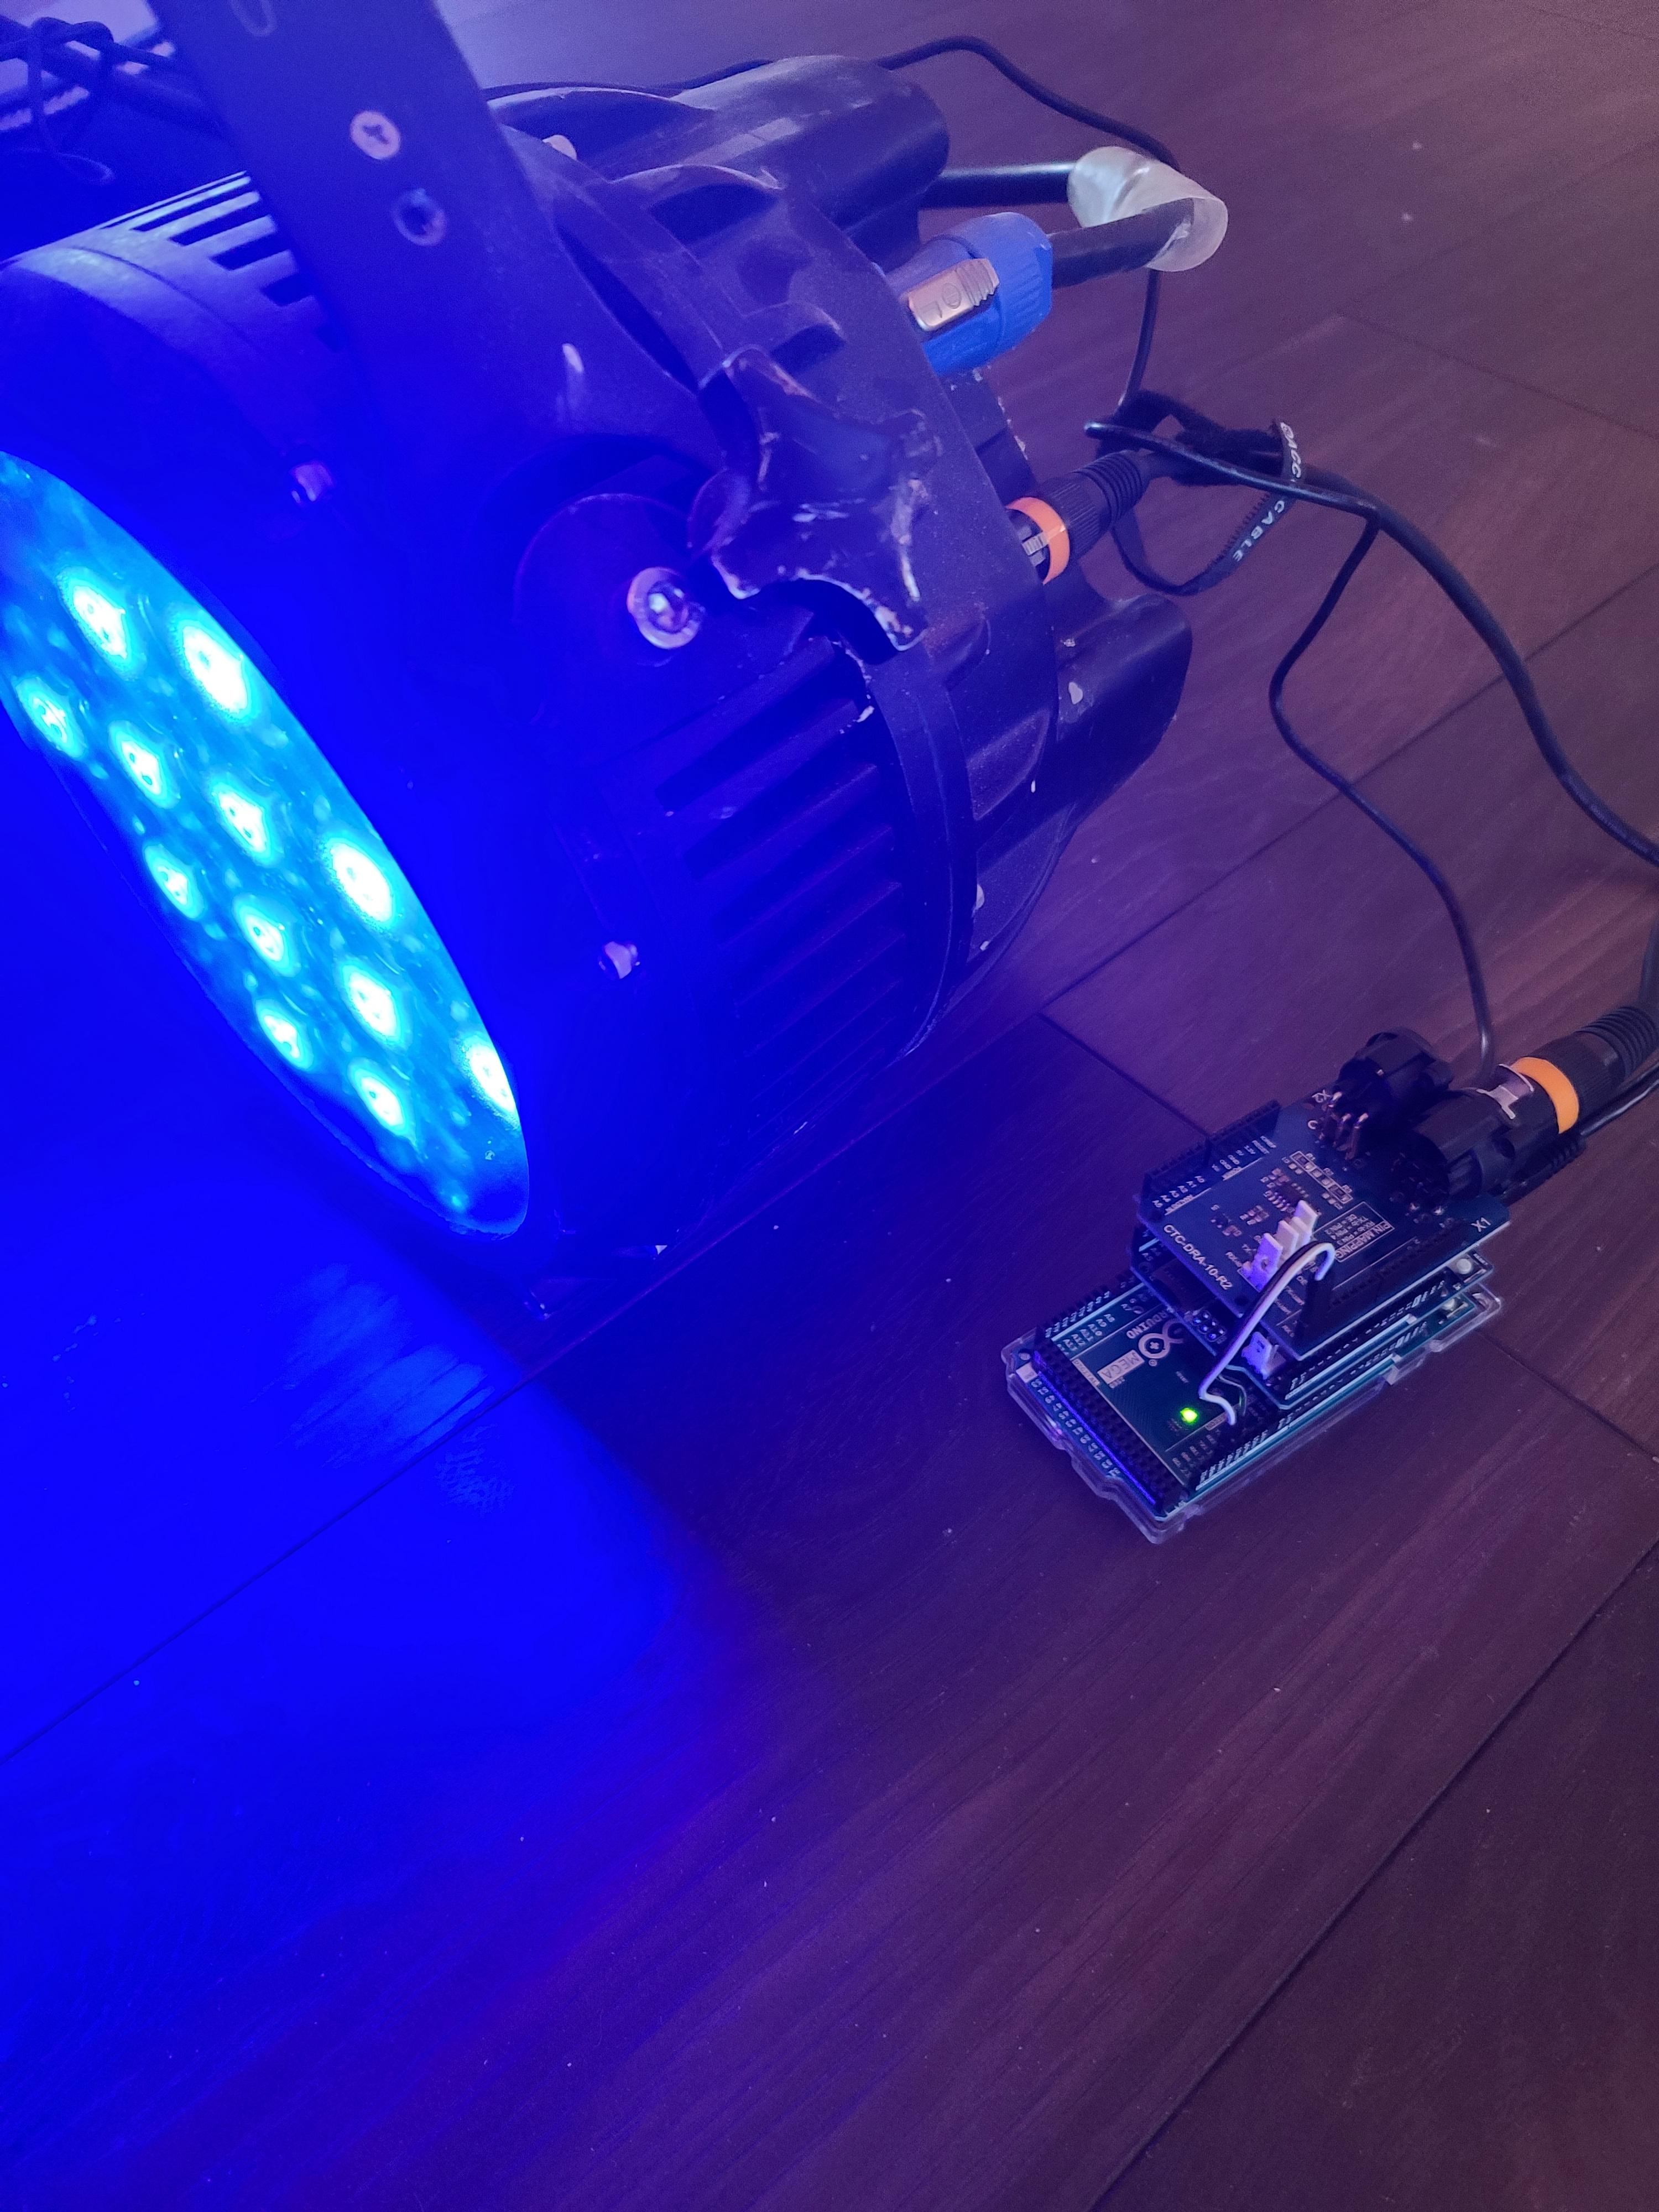
Congratulations! You now have a fully functional DMX controller running on the Stage Monster Live control platform.