Build Your Own IOT Device !!
by AXR AMAR in Circuits > Arduino
19045 Views, 46 Favorites, 0 Comments
Build Your Own IOT Device !!
Please Do vote :)
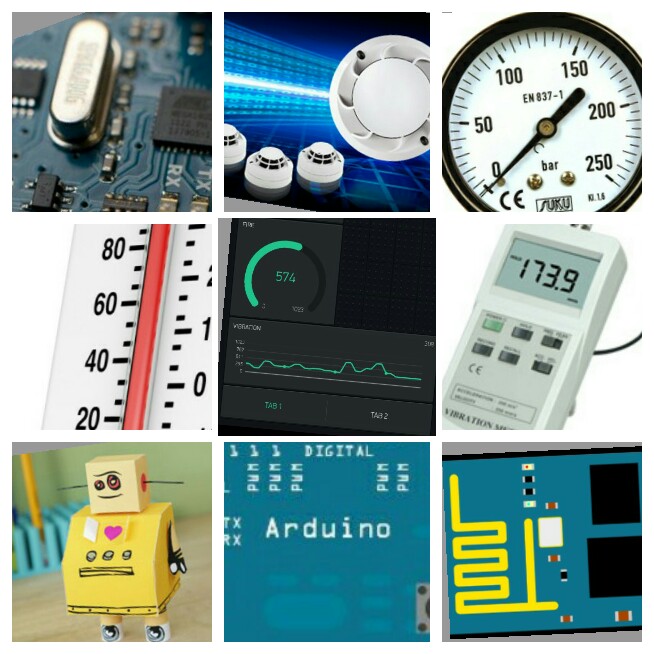
This is a simple project which you can build it in 30 minutes ,but it has lot of applications and advantages ,this project is basically an Internet of things project ,here I used a sensors like Vibration, pressure (pot),fire,temperature (lm35) and esp8266 n Arduino uno .this sensors will send the data through WiFi module and Arduino to the blynk app which is installed on an Android app which can be used to view sensor's data over the internet.
This is a simple project which you can build it in 30 minutes ,but it has lot of applications and advantages ,this project is basically an Internet of things project ,here I used a sensors like Vibration, pressure (pot),fire,temperature (lm35) and esp8266 n Arduino uno .this sensors will send the data through WiFi module and Arduino to the blynk app which is installed on an Android app which can be used to view sensor's data over the internet.
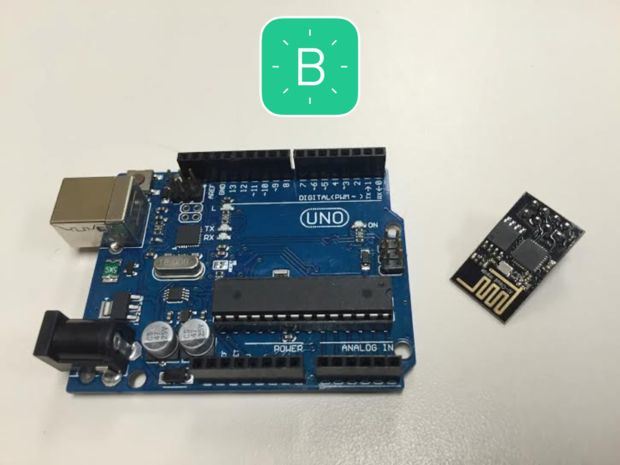
Components Required.!
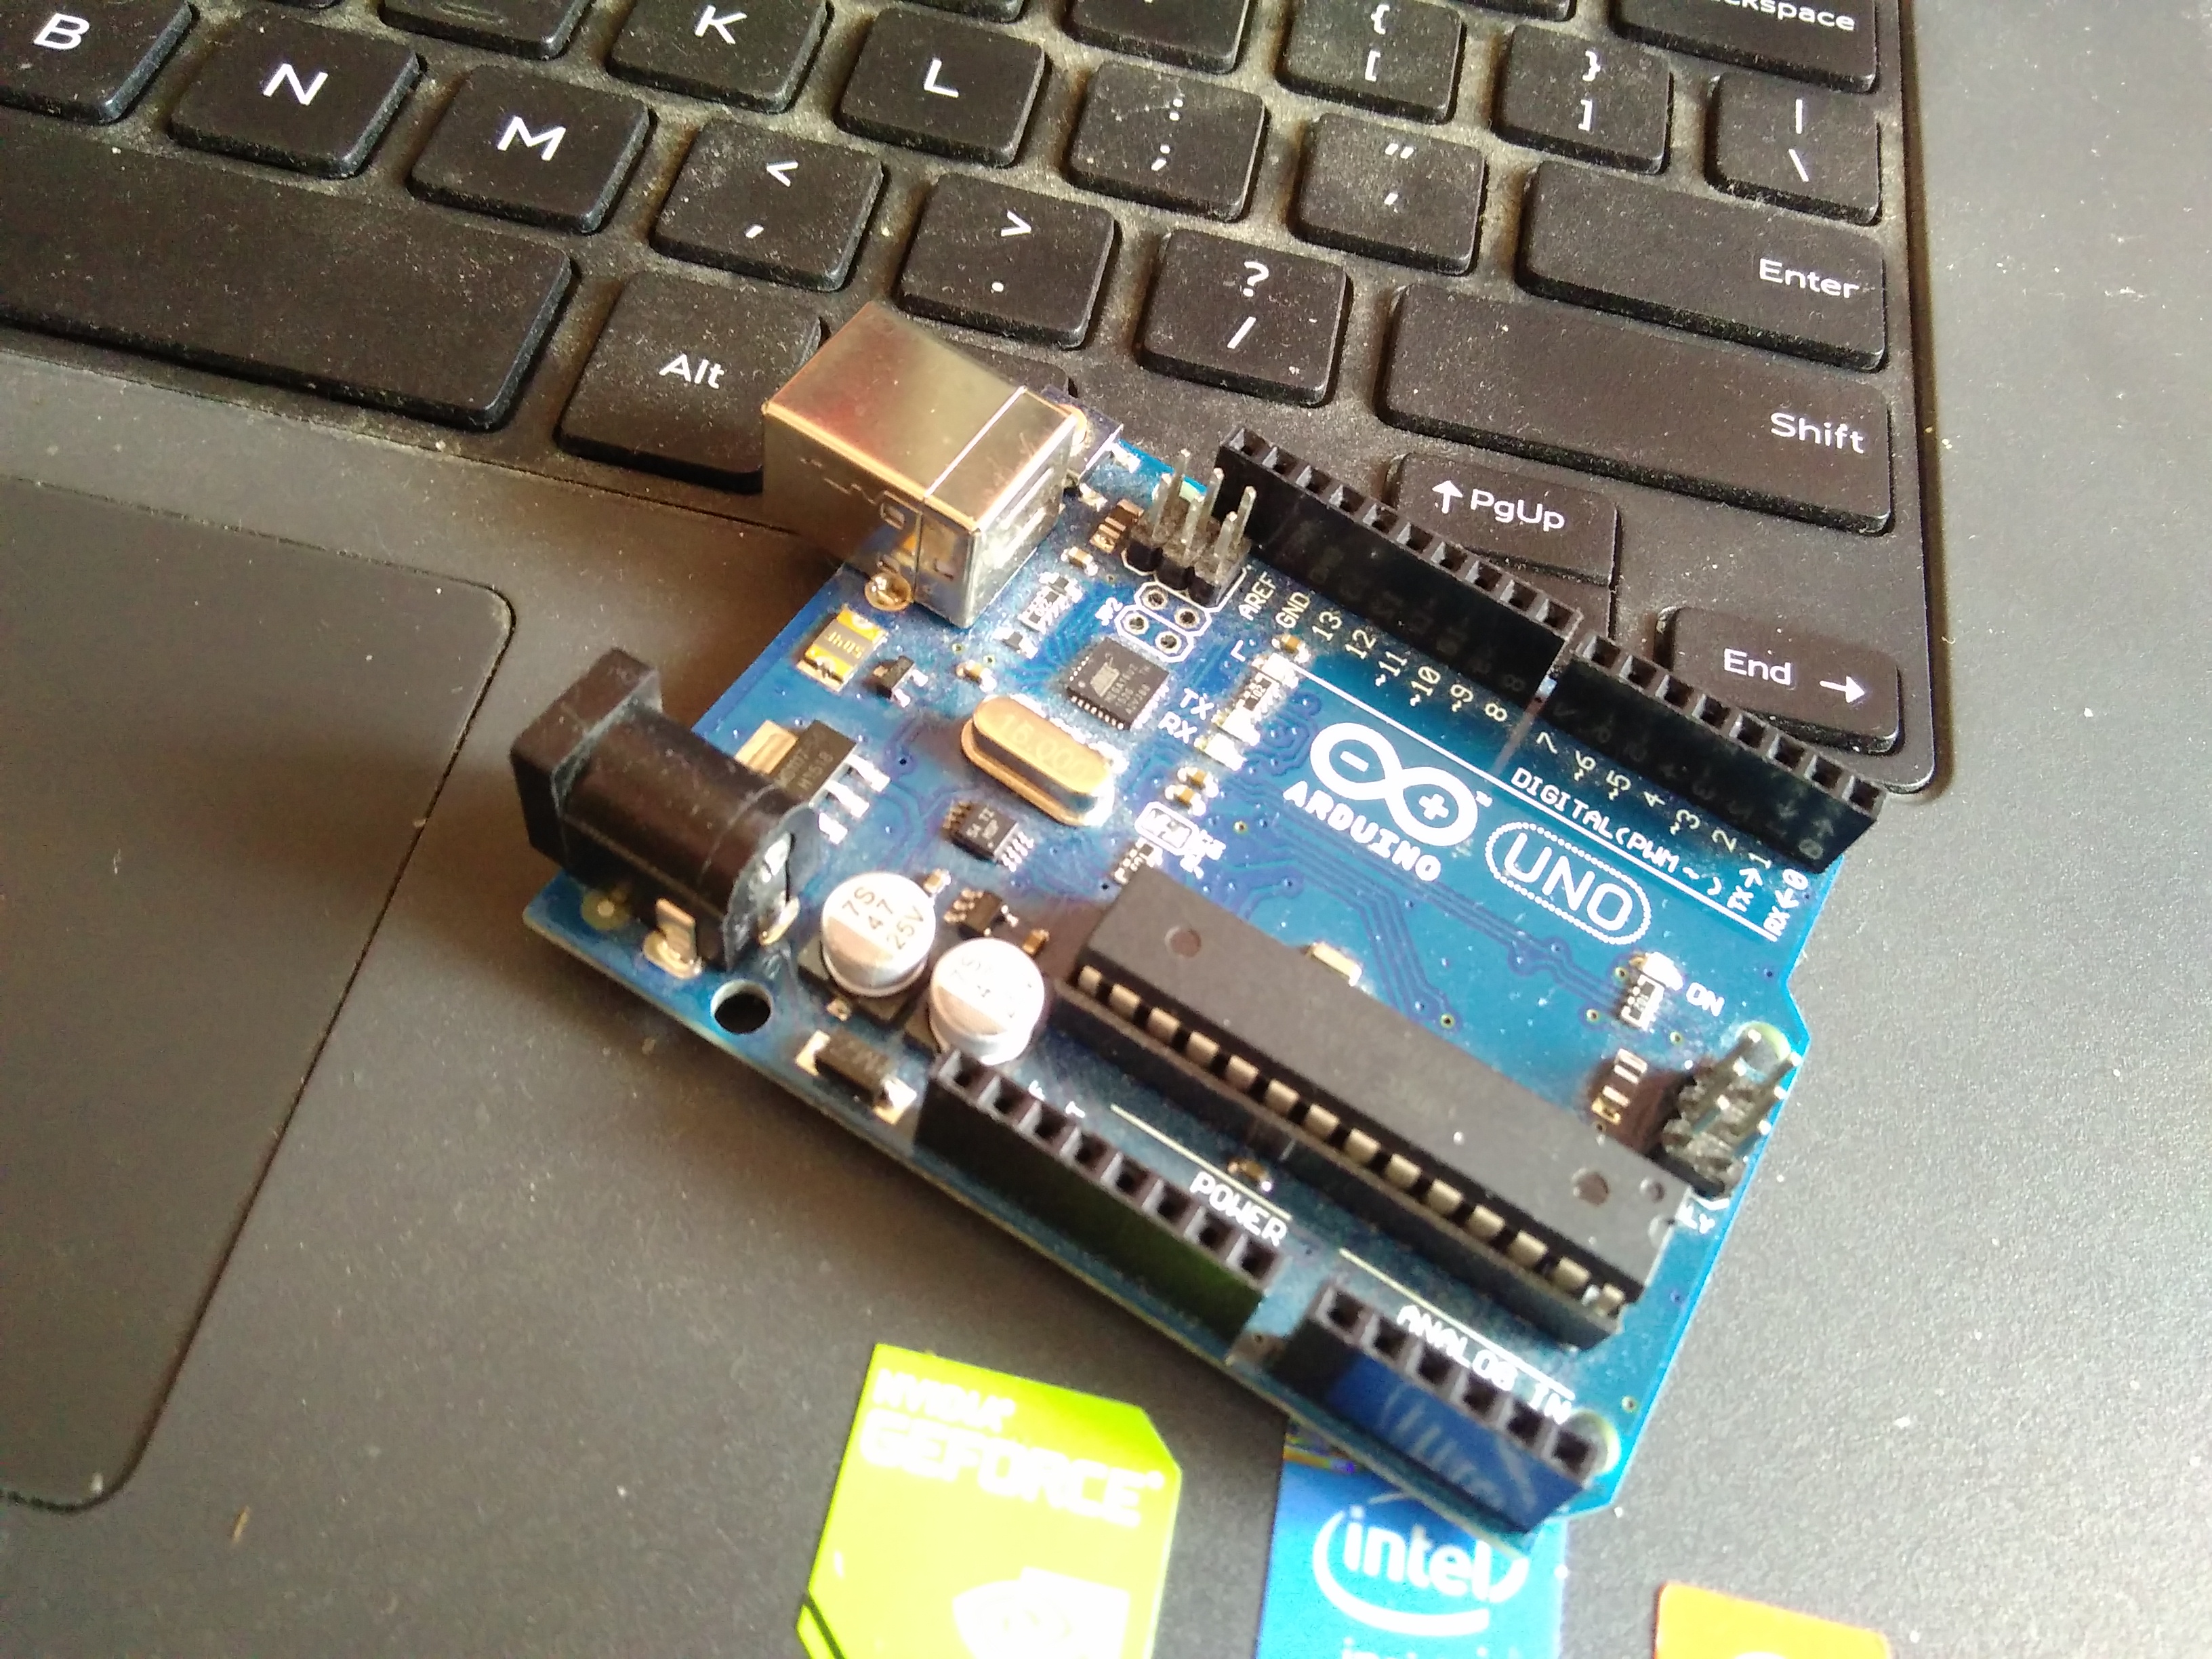
Arduino - 1
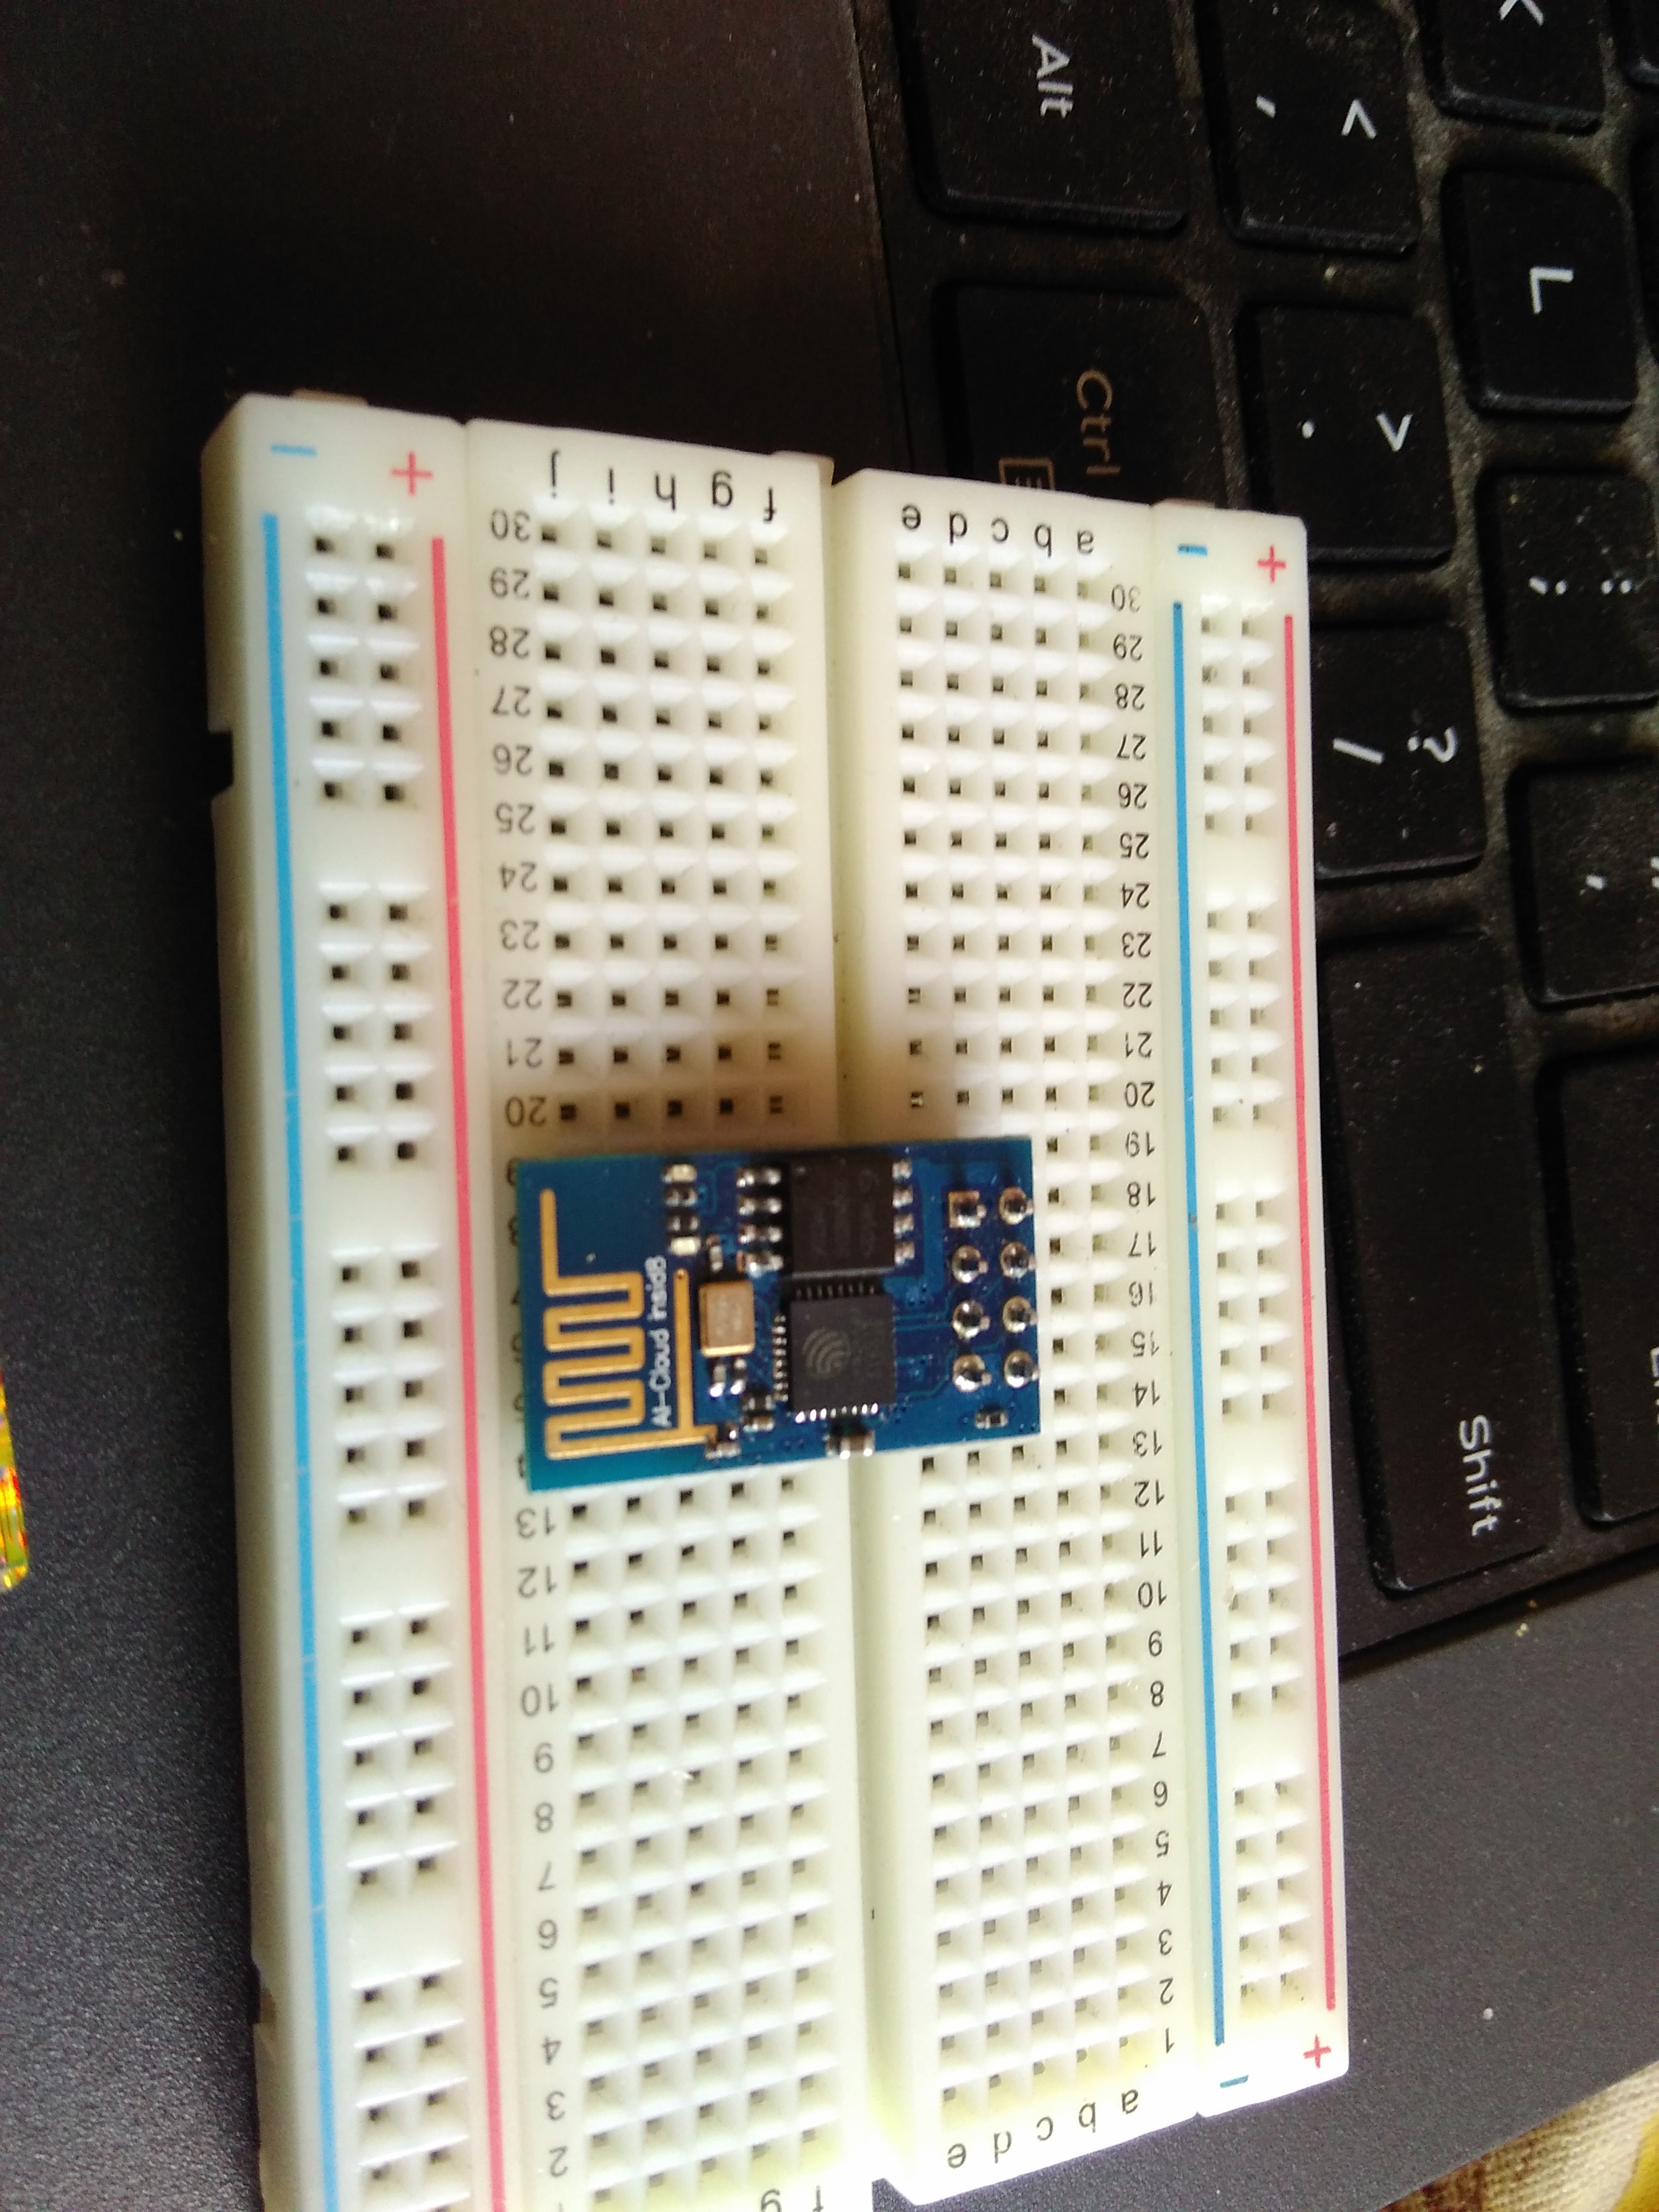
esp8266-1
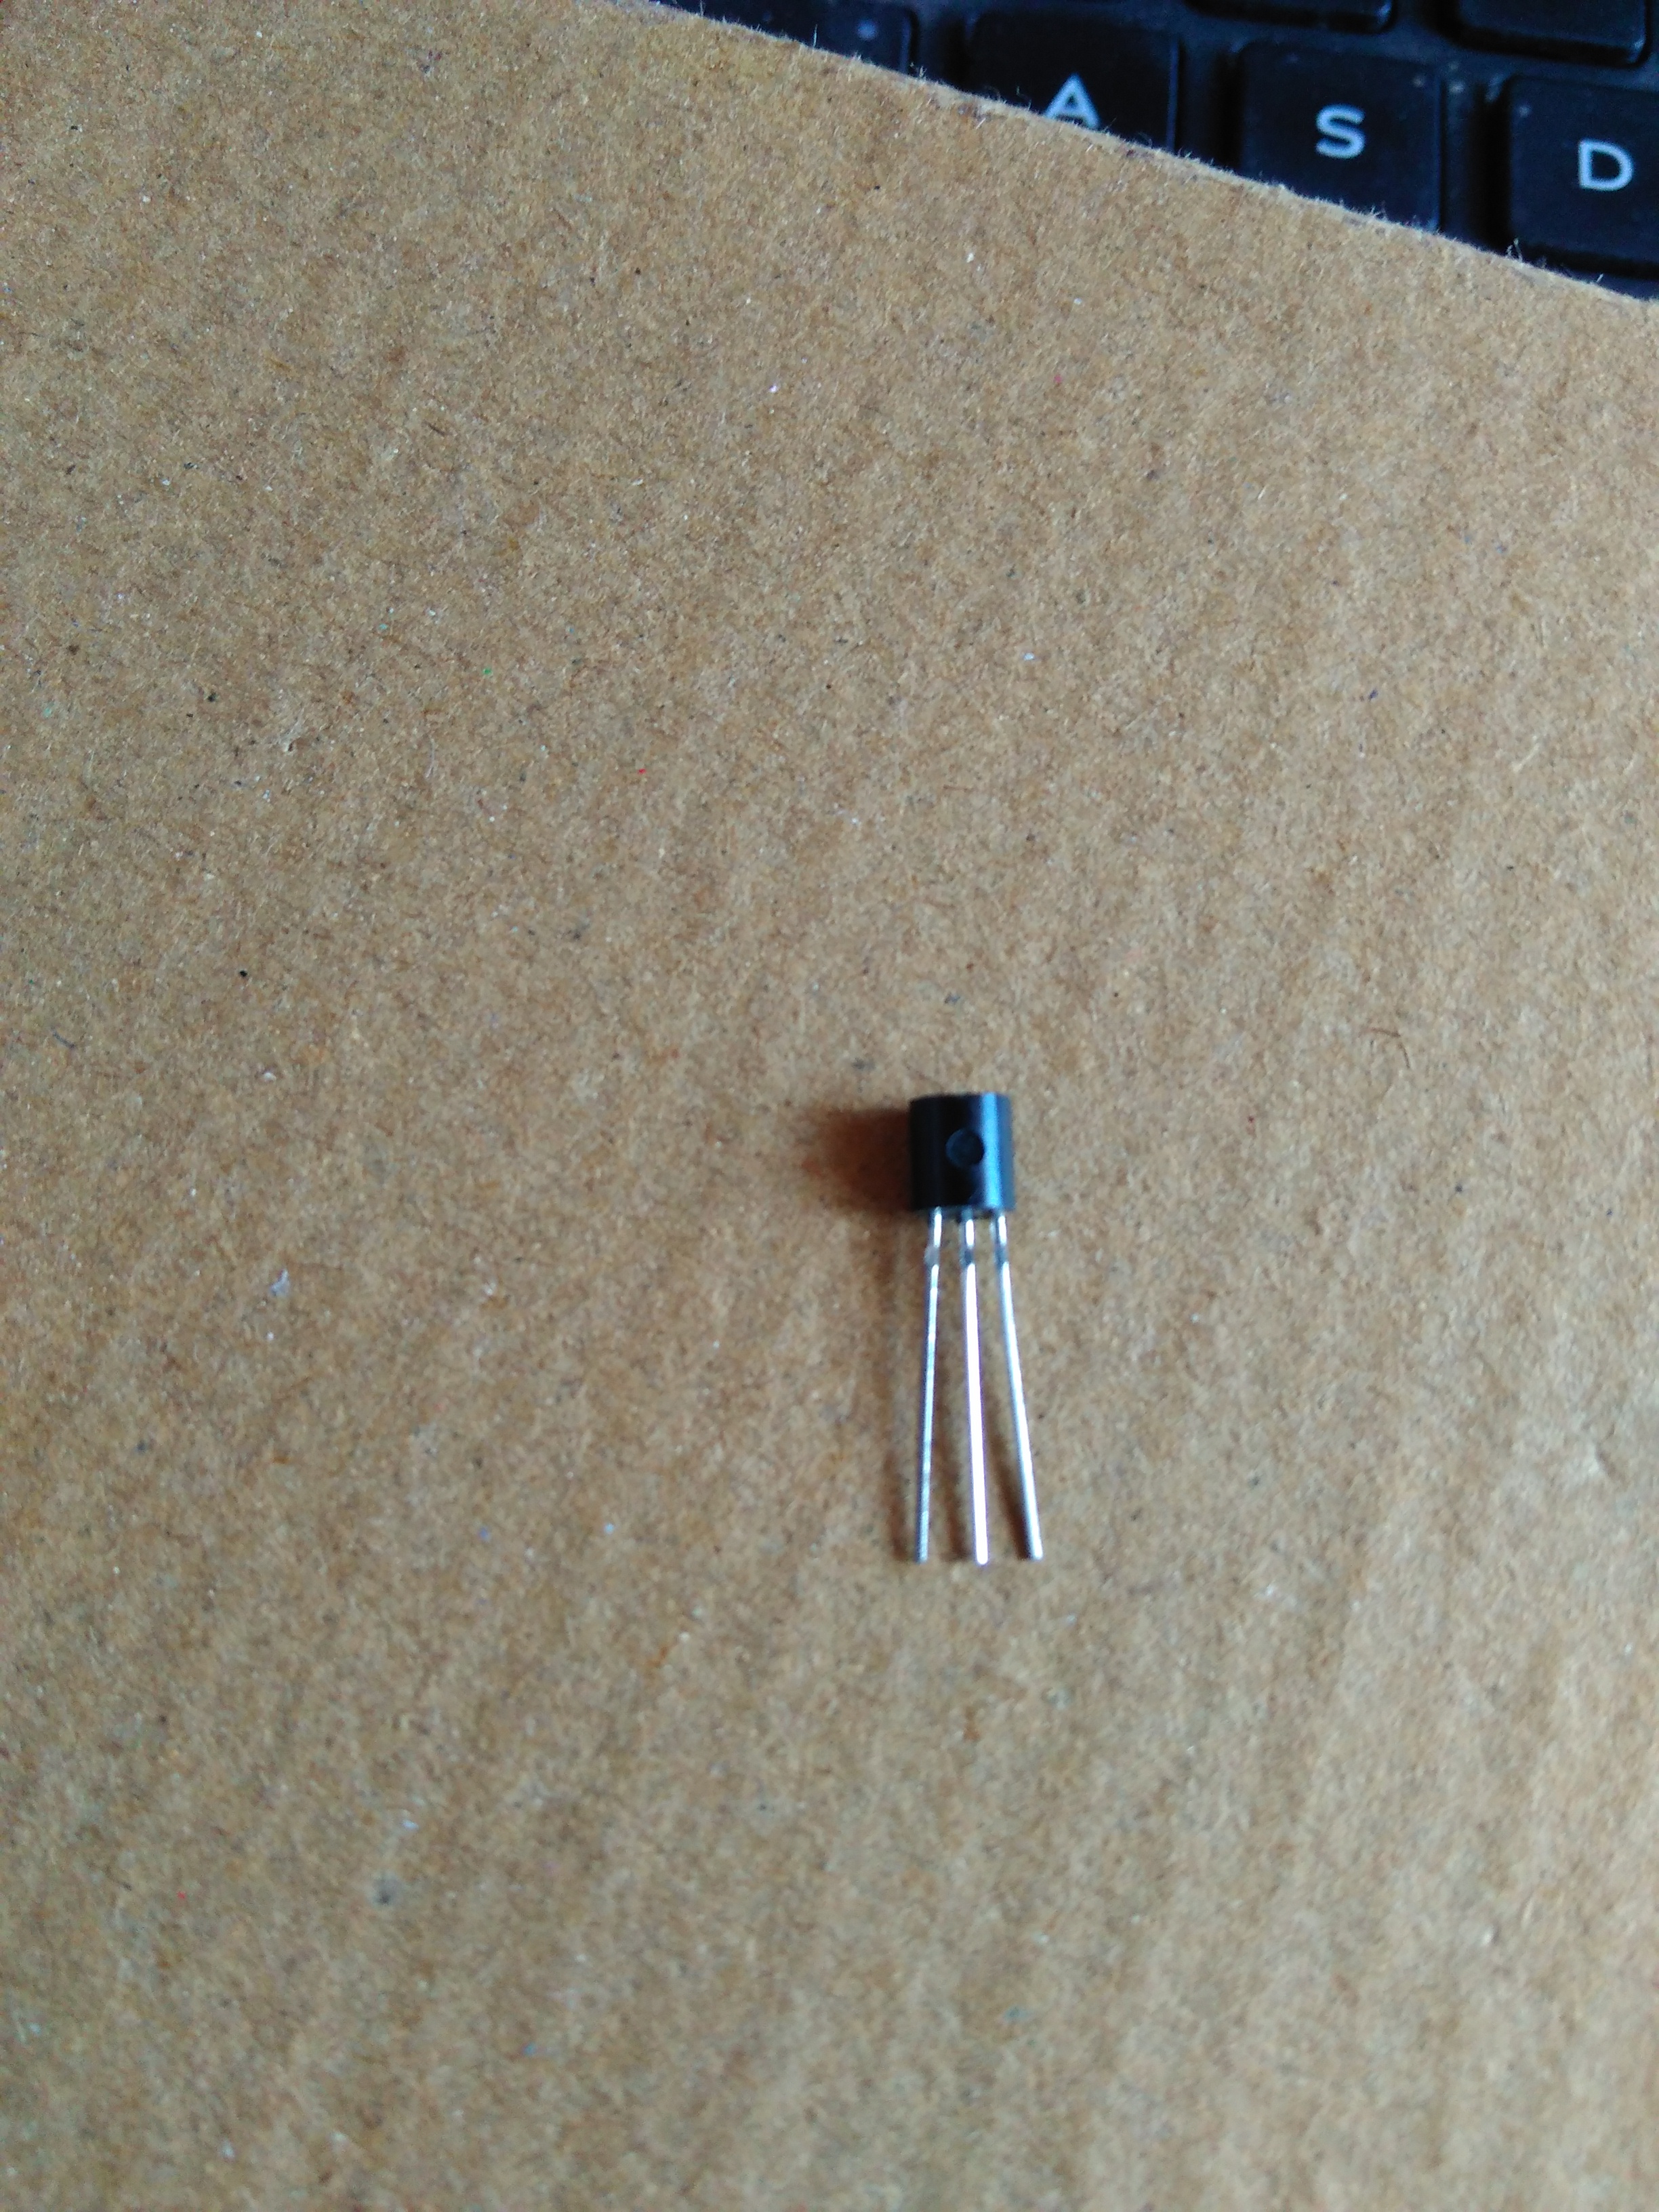
LM-35 -1
vibration sensor -1
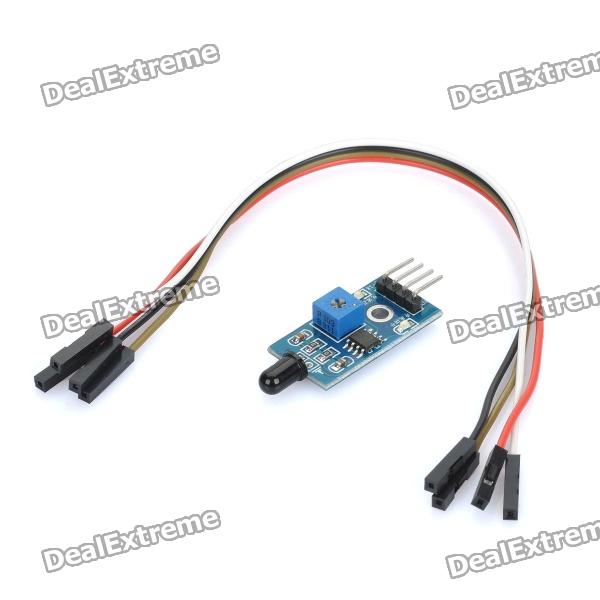
fire sensor-1
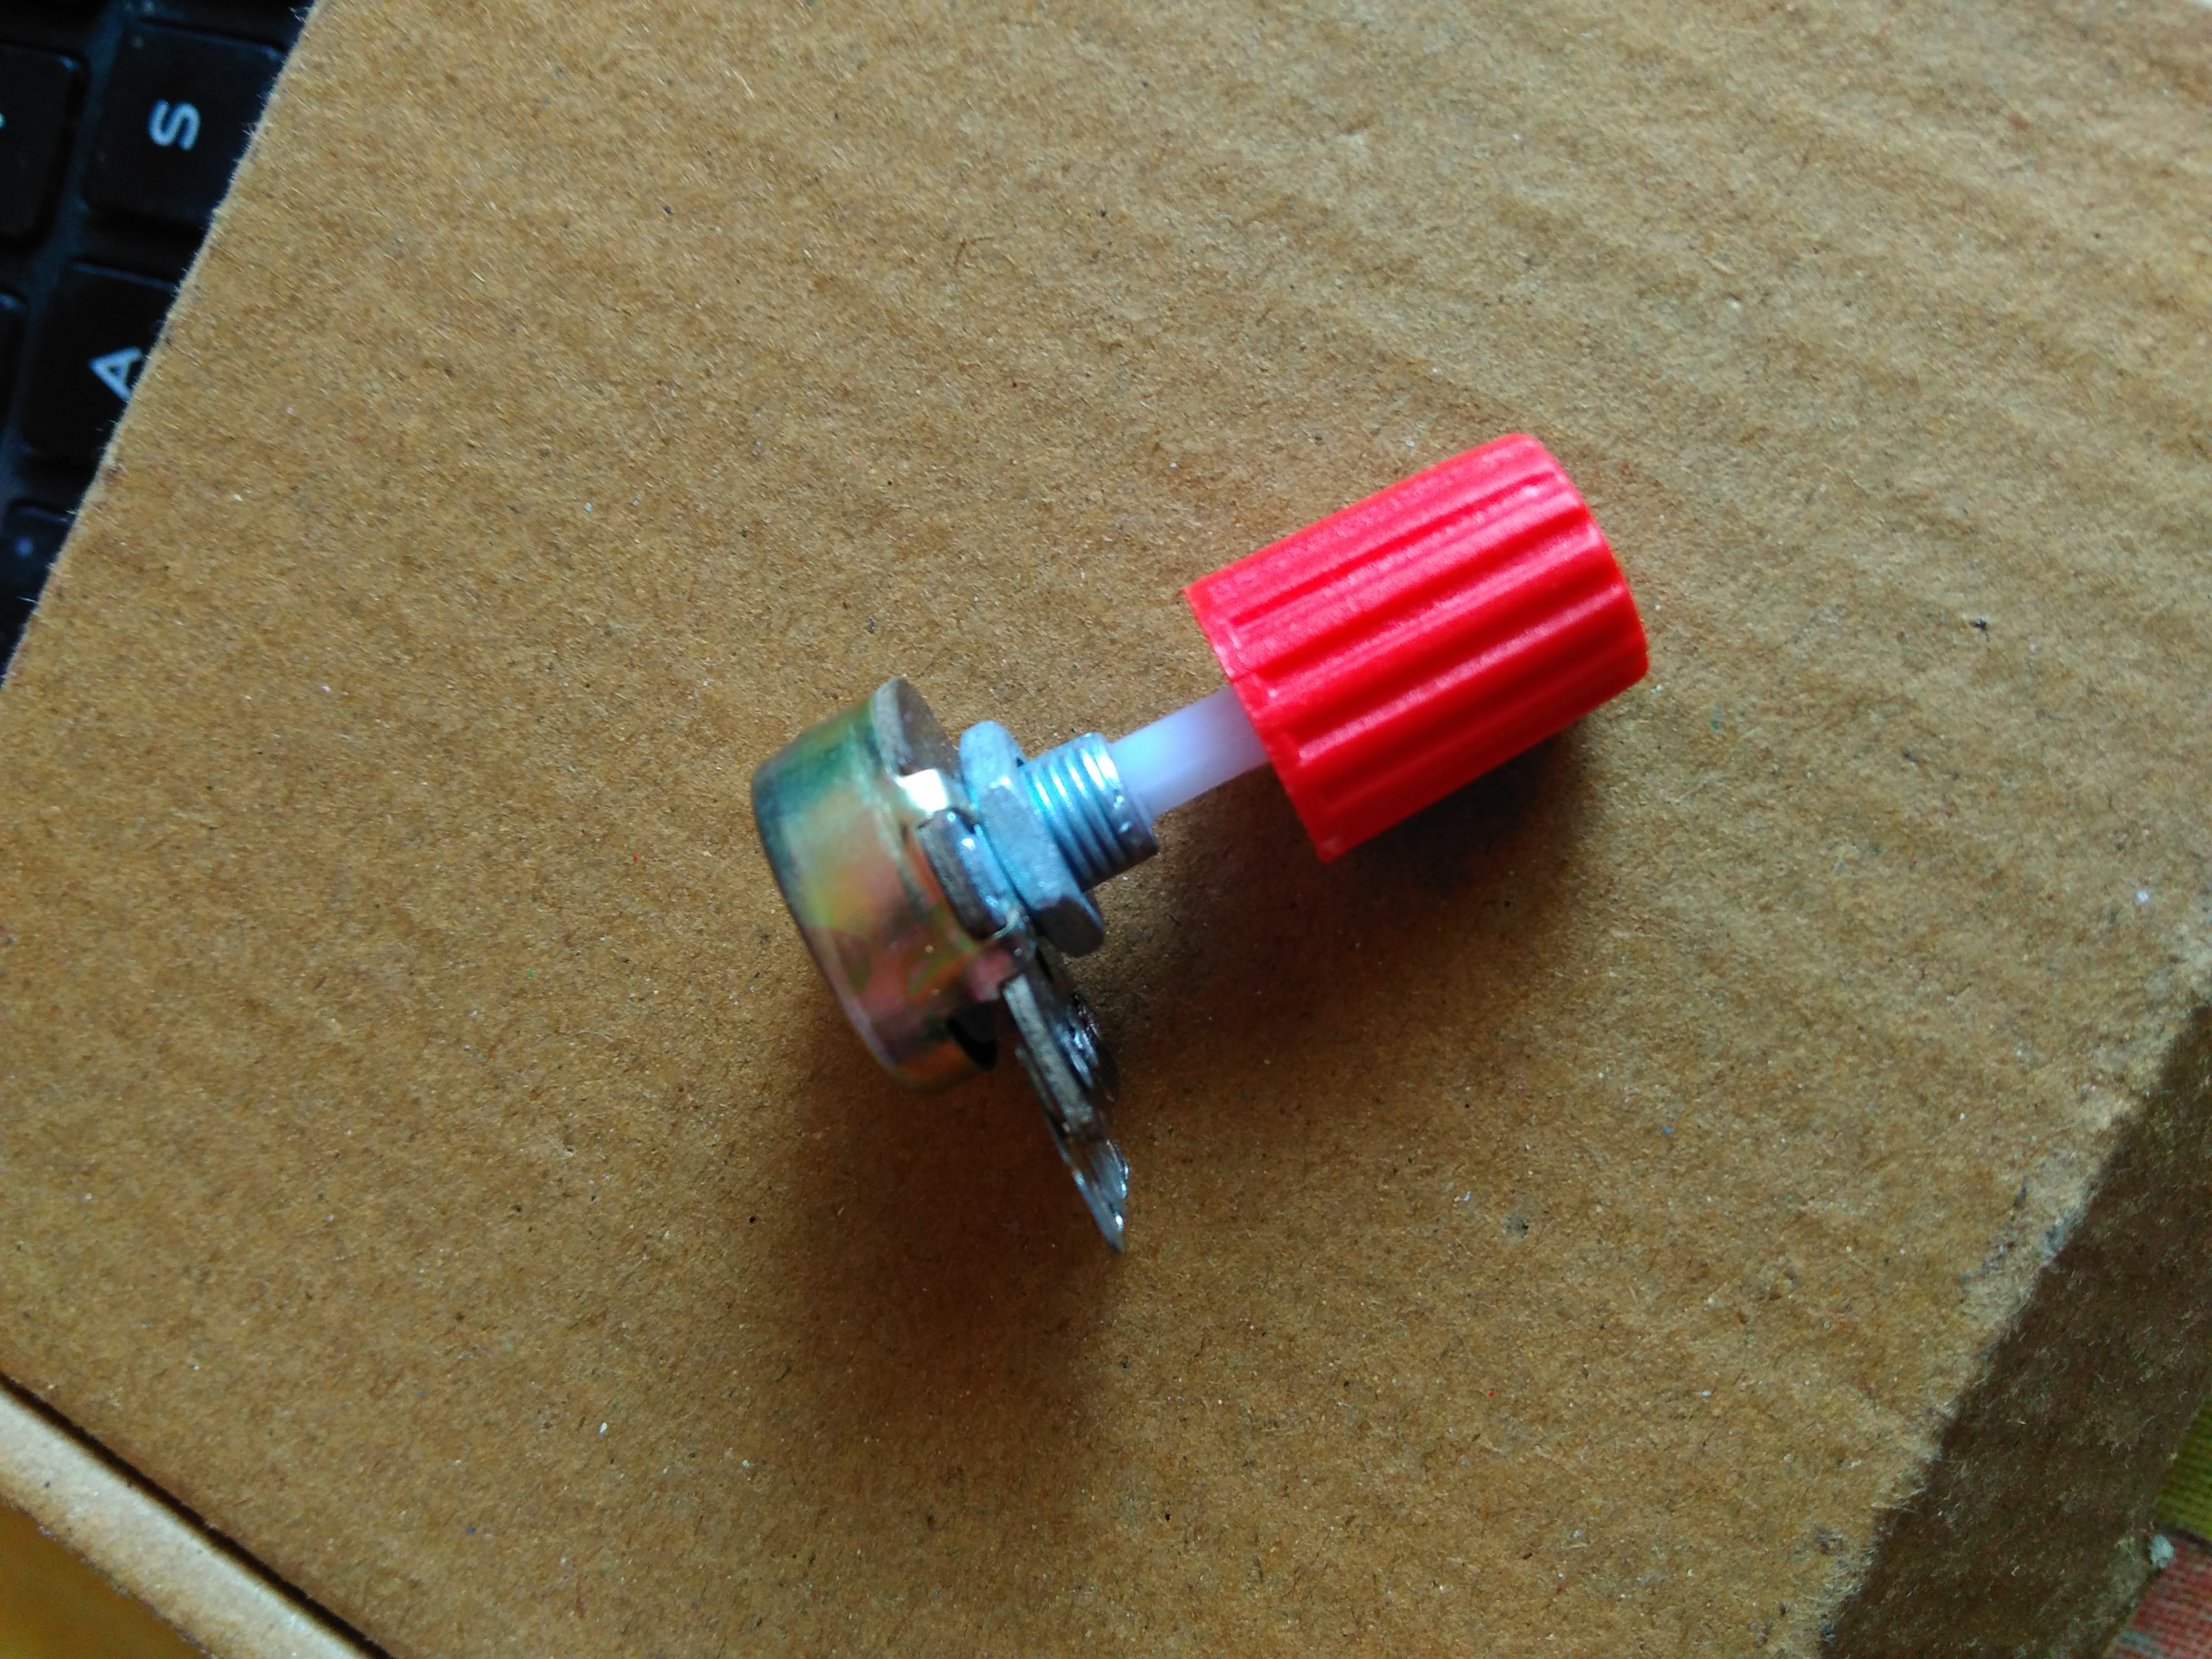
for pressure we have used potentiometer of 10Kohm-1 .
few jumpers
breadboard if necessary !!
esp8266-1
LM-35 -1
vibration sensor -1
fire sensor-1
for pressure we have used potentiometer of 10Kohm-1 .
few jumpers
breadboard if necessary !!
Connection !!
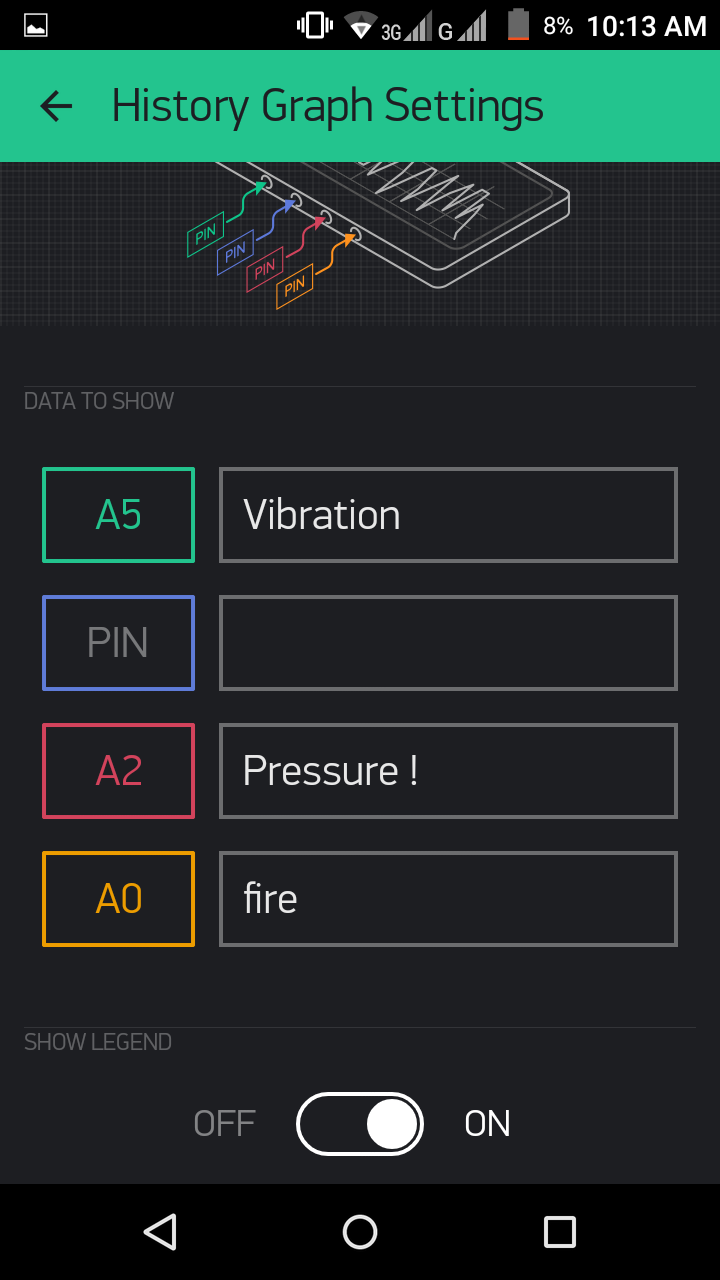
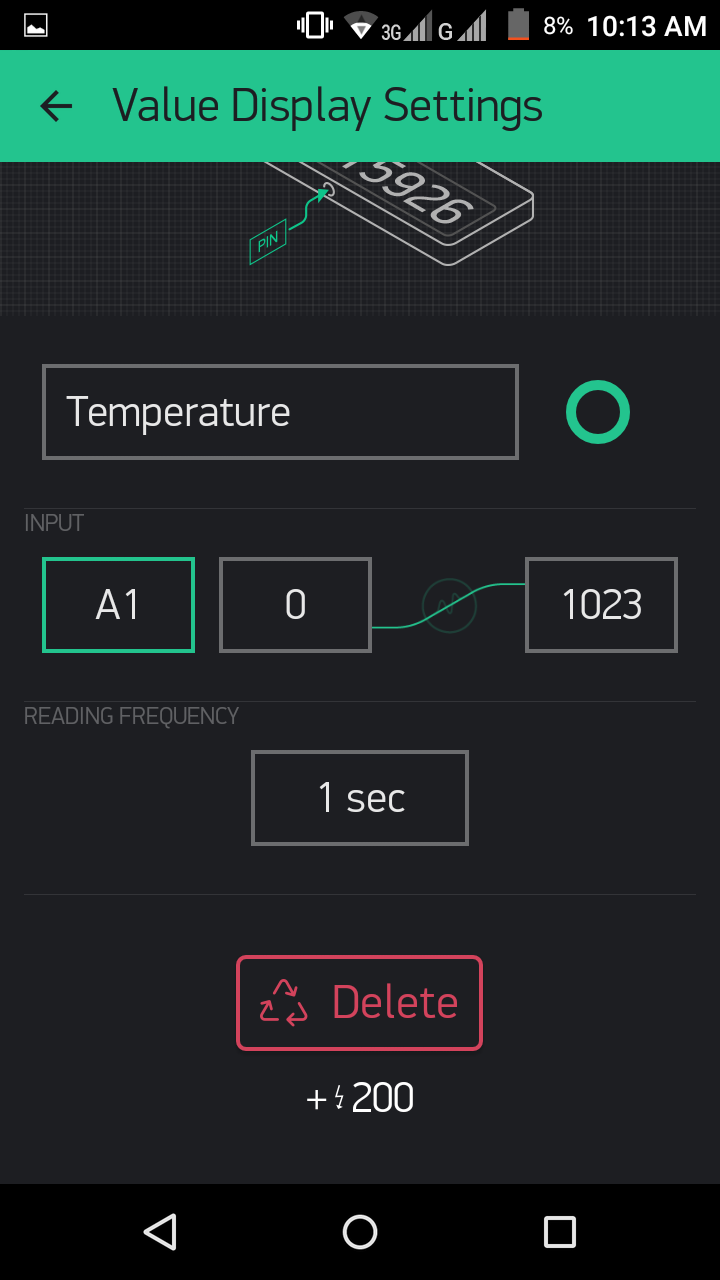
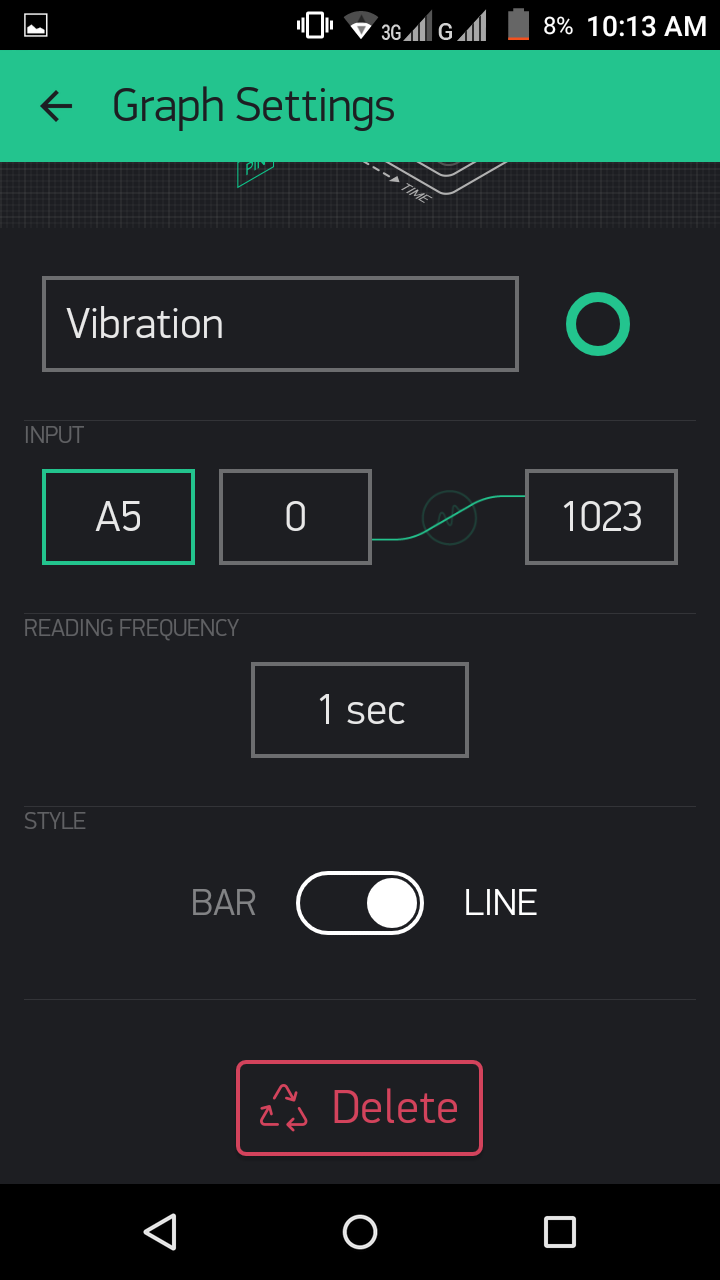
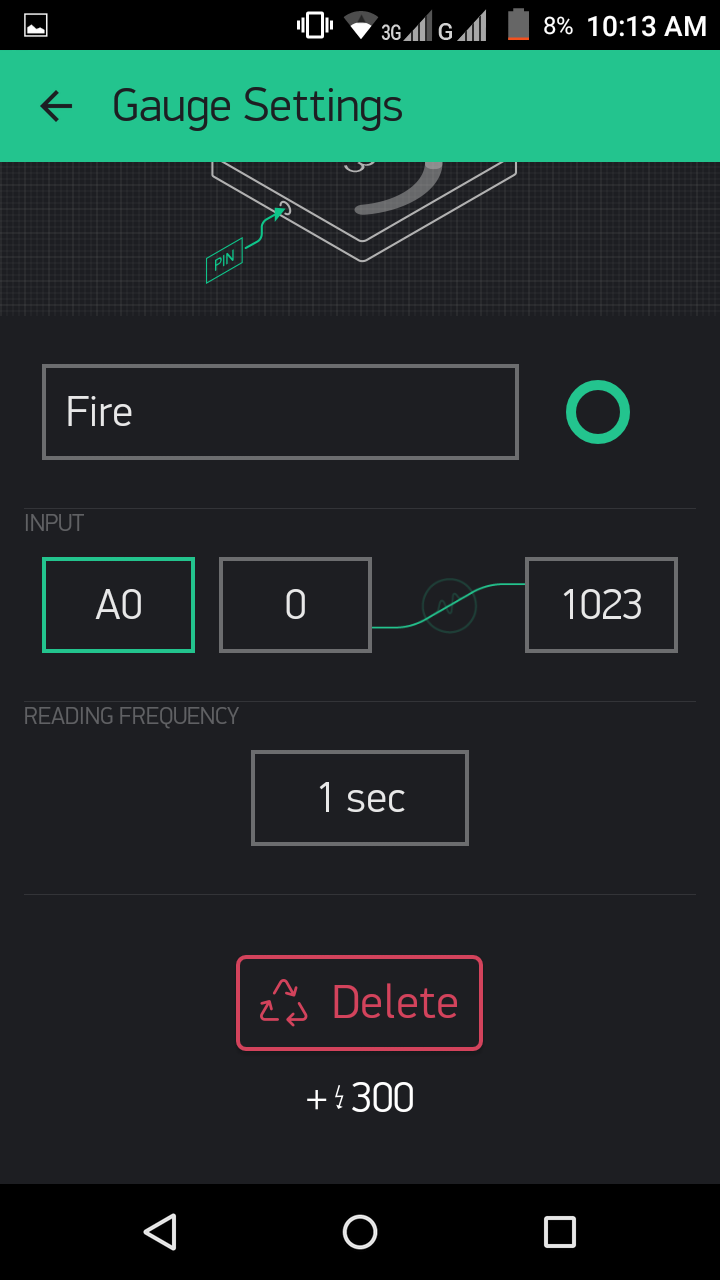
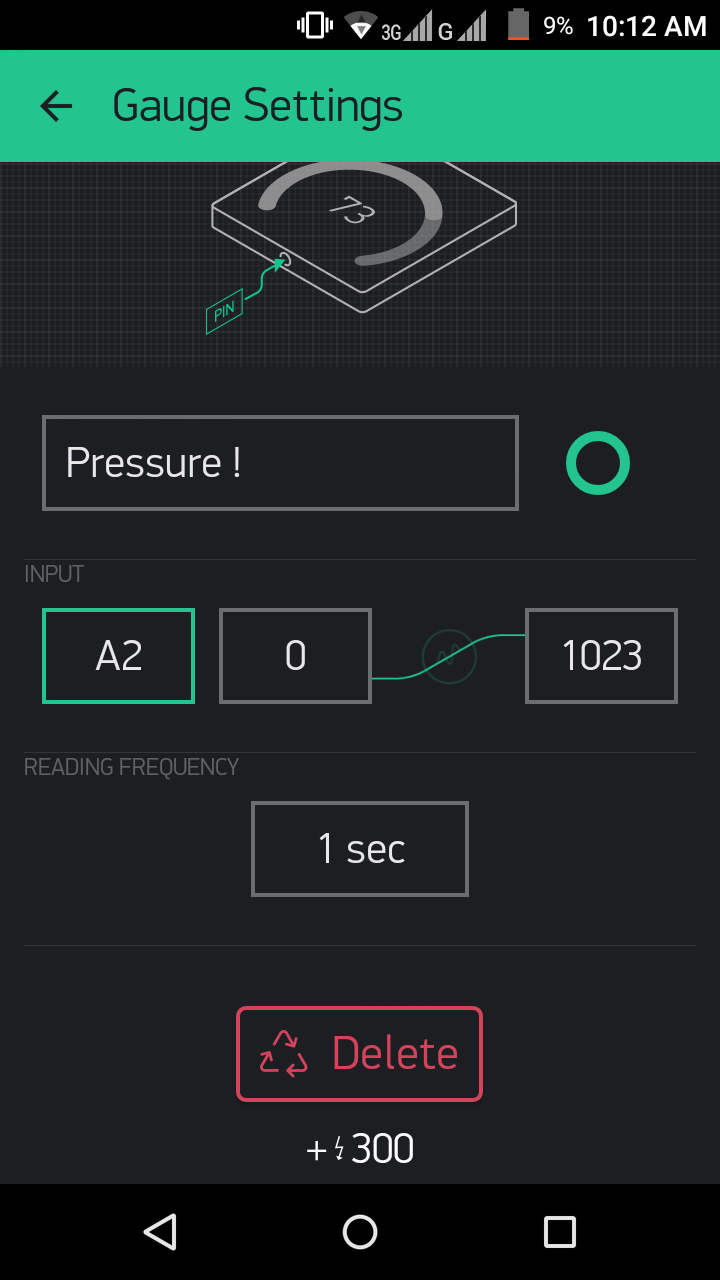
Arduino A0- Fire sensor
Arduino A1- LM35
A2 - Pressure sensor
A5-Vibration sensor !
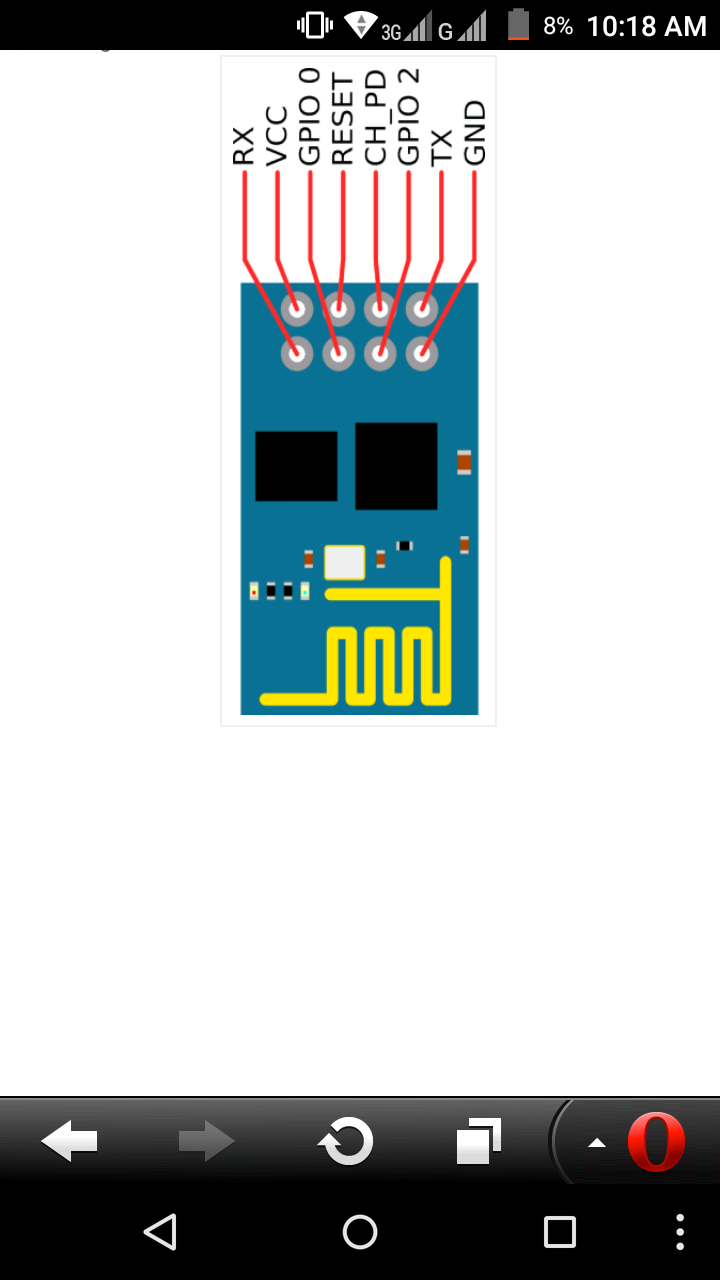
and esp8266
ch-pd and vcc to 3.3v
gnd -gnd
tx-2
rx-3
Arduino A1- LM35
A2 - Pressure sensor
A5-Vibration sensor !
and esp8266
ch-pd and vcc to 3.3v
gnd -gnd
tx-2
rx-3
Coding !!
/#define BLYNK_DEBUG
#define BLYNK_PRINT Serial // Comment this
#include
#include
// Set ESP8266 Serial object
#define EspSerial Serial1
// This can be a SoftwareSerial object (rememb
//#include
//SoftwareSerial EspSerial(2, 3); // RX, TX
ESP8266 wifi(EspSerial);
// You should get Auth Token in the Blynk App
// Go to the Project Settings (nut icon).
char auth[] = "YourAuthToken";
void setup()
{
Serial.begin(9600); // Set console baud
delay(10);
EspSerial.begin(9600); // Set ESP8266 baud
delay(10);
Blynk.begin(auth, wifi, "ssid", "pass");
}
void loop()
{
Blynk.run();
}
Blynk App !!
Blynk was designed for the Internet of Things. It can control
hardware remotely, it can display sensor data, it can store
data, vizualize it and do many other cool things.
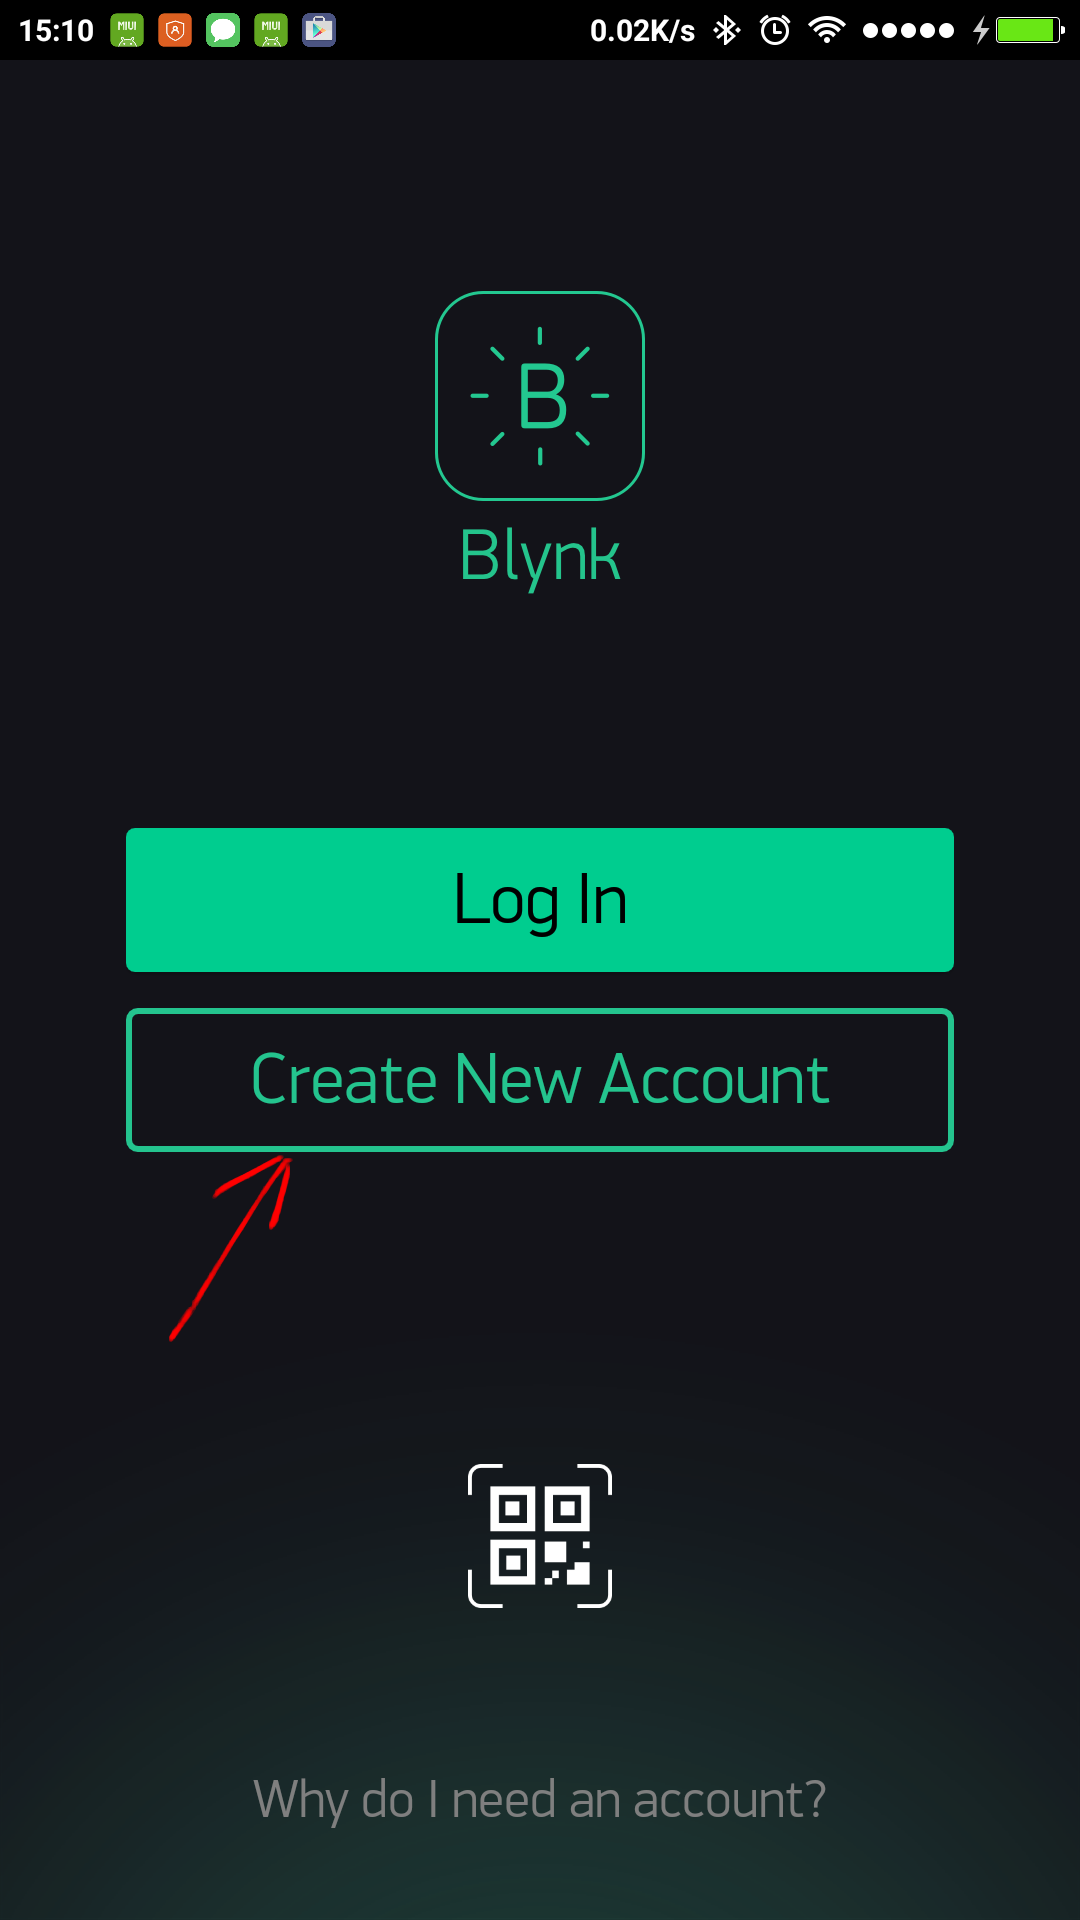
open the app
create account
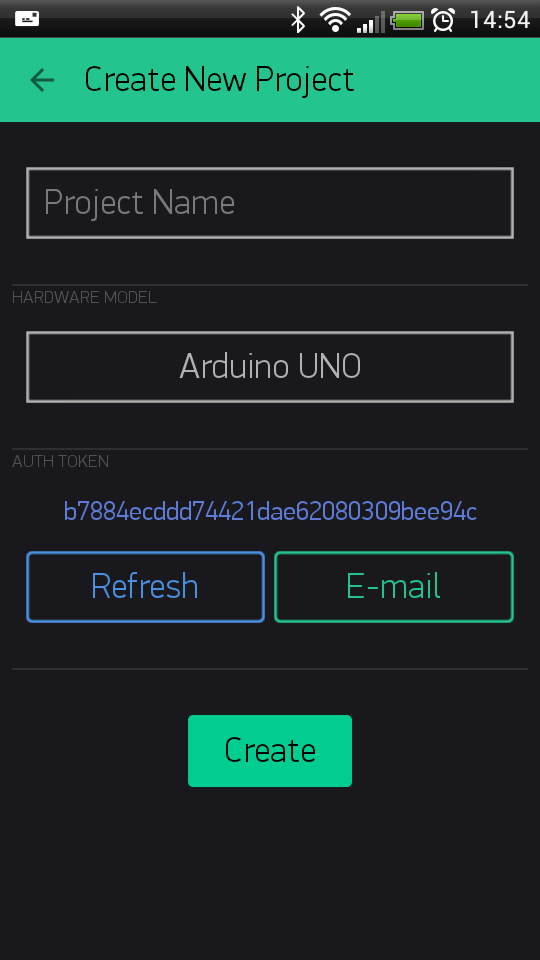
select board type
copy auth token & insert into your program
connect all the sensors !!
and run app
hardware remotely, it can display sensor data, it can store
data, vizualize it and do many other cool things.
open the app
create account
select board type
copy auth token & insert into your program
connect all the sensors !!
and run app