IOT Base Computing Using Nodemcu and Micropython
by shubhamtrivedi95 in Circuits > Electronics
2299 Views, 8 Favorites, 0 Comments
IOT Base Computing Using Nodemcu and Micropython
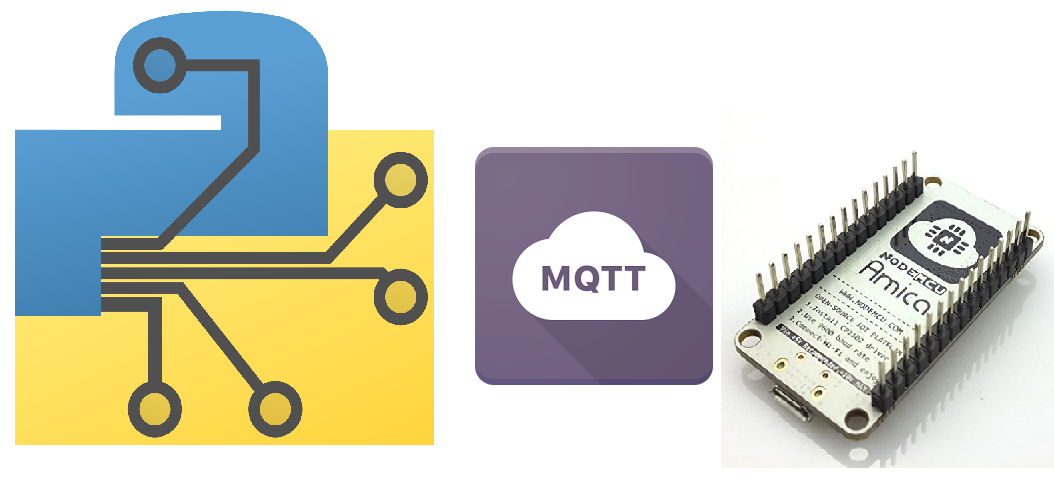
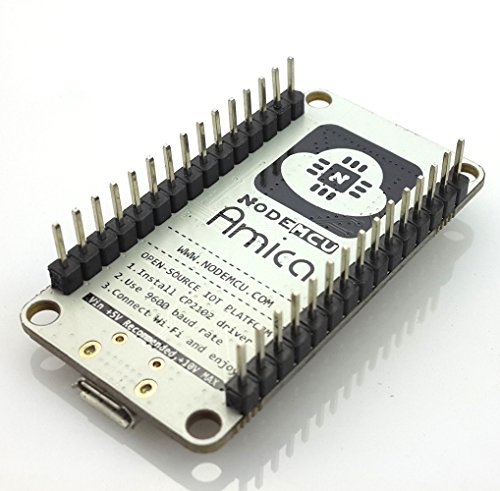
In this tutorial I am going to use NodeMcu, micropython and Mqtt connection to connect the server.
This tutorial is using https based mqtt connect to connect from Nodemcu to Adafruit.io Server.
In this project i am using micropython programming language which is almost simillar to python.
Components Required

Getting Starting.
Procedure:
- Download and install espcut software for debugging .
- Download files from this link. which is stored as github repository. All program is available in this repository..
- Download and install the micropython firmware from this link to the NODEMCU
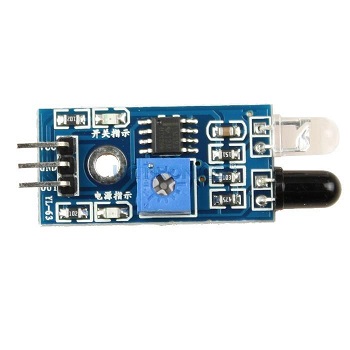
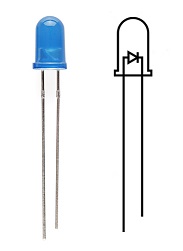
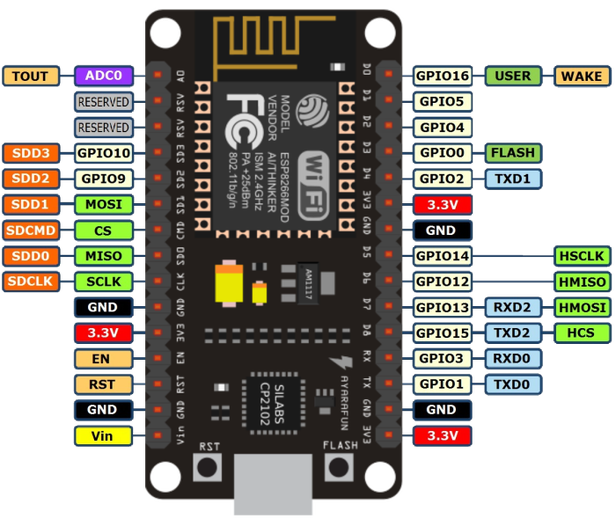
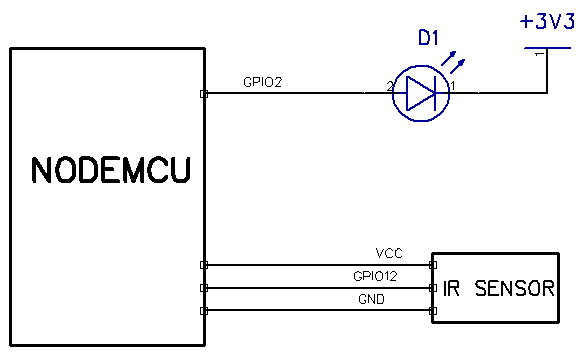
- Connect IR sensor to GPIO12 and LED to GPIO 2 of Nodemcu.
-
download this webrepl software
Adafruit IO
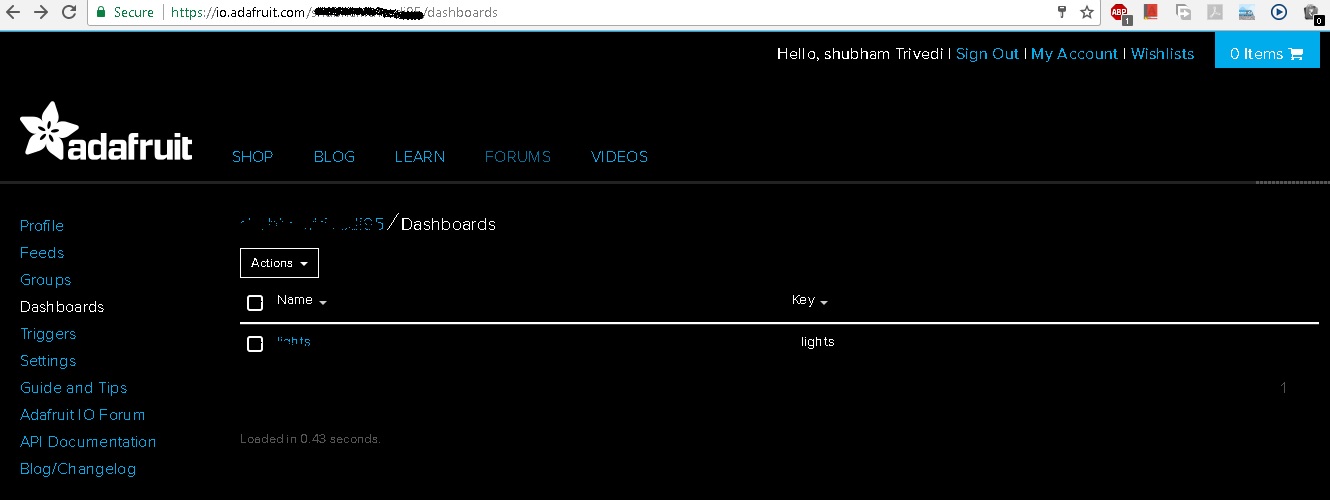
- visit to io.adafruit.com and log in to go to your dashboard.
Create Dashboard
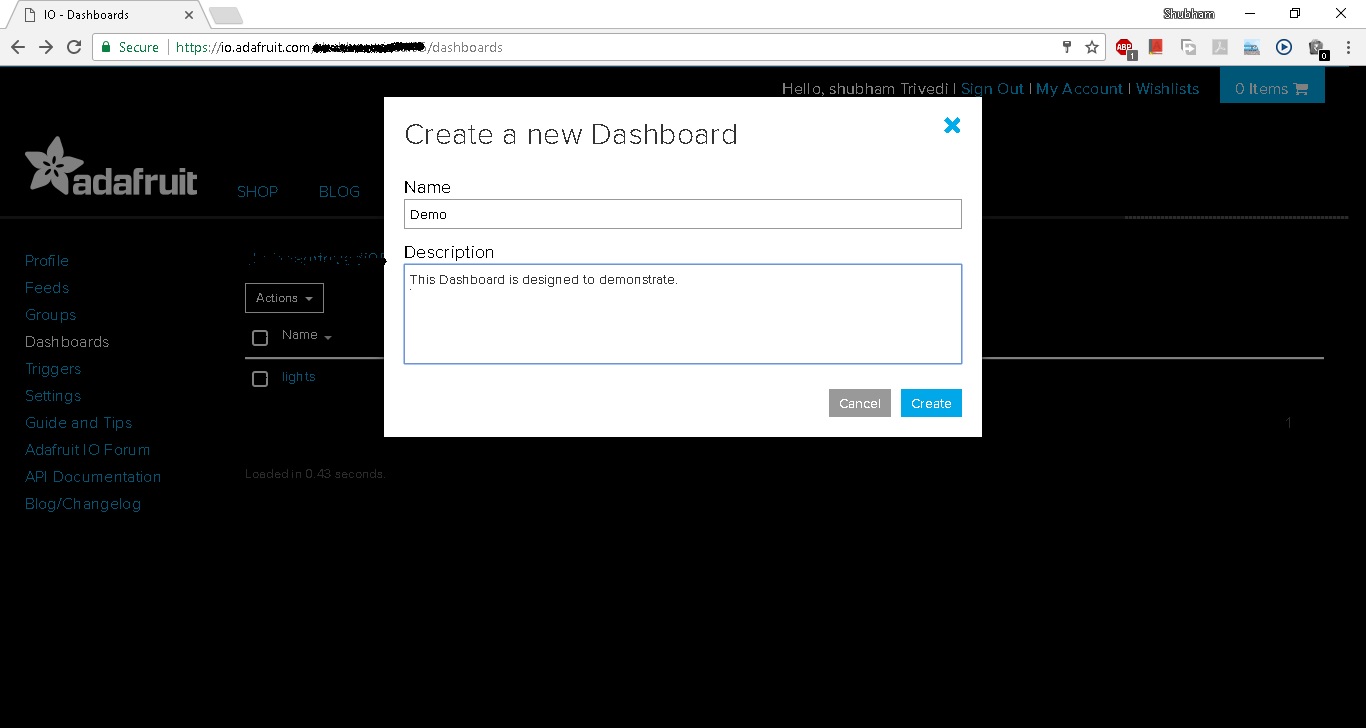
- Click on action and create new dashboard
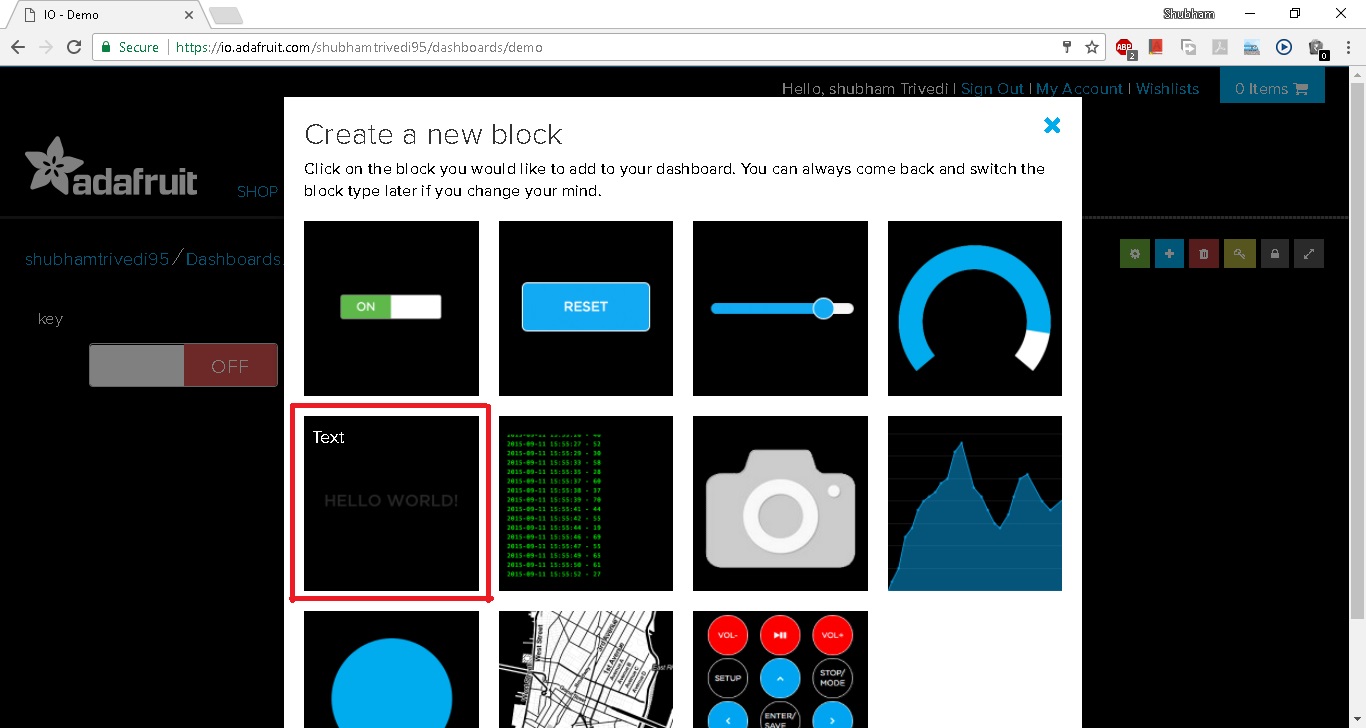
Creating Blocks
- Click on the Dashboard name.
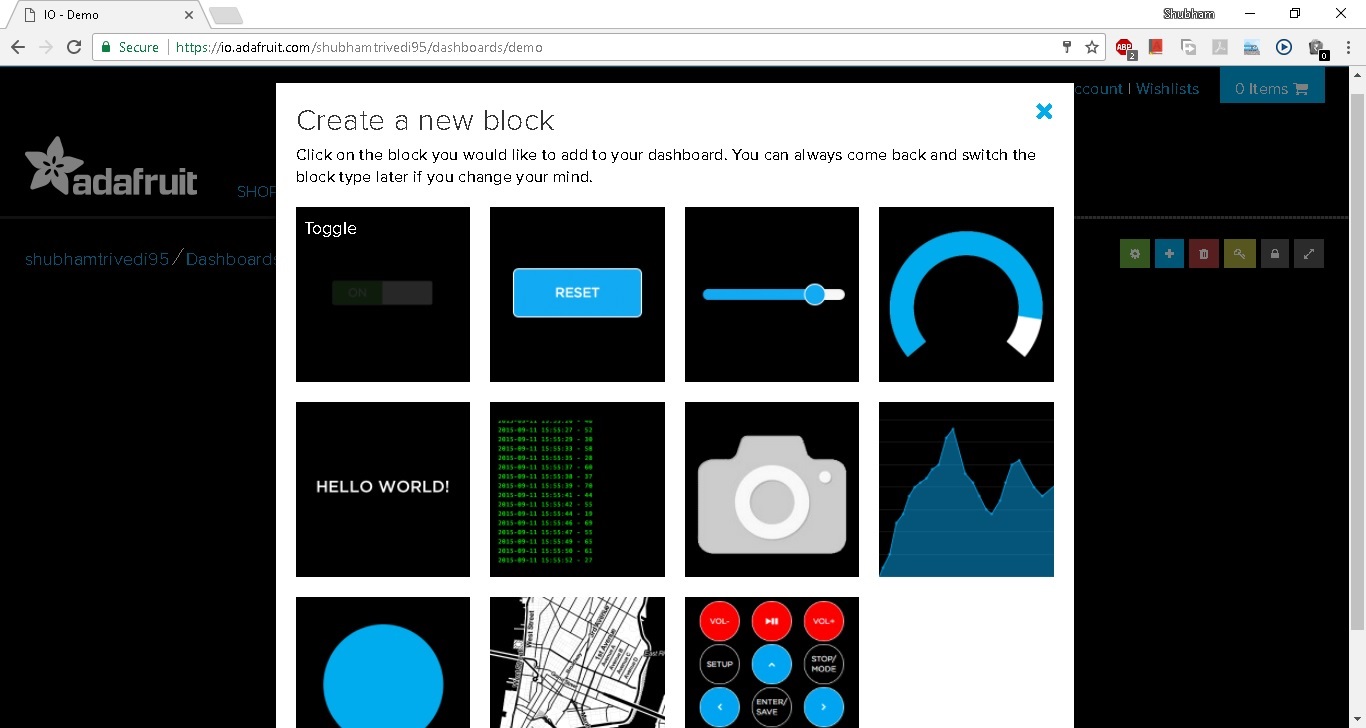
- again click on +(plus) button to create block
- Now Click on Toggle and give it a name.
- Now click on create button
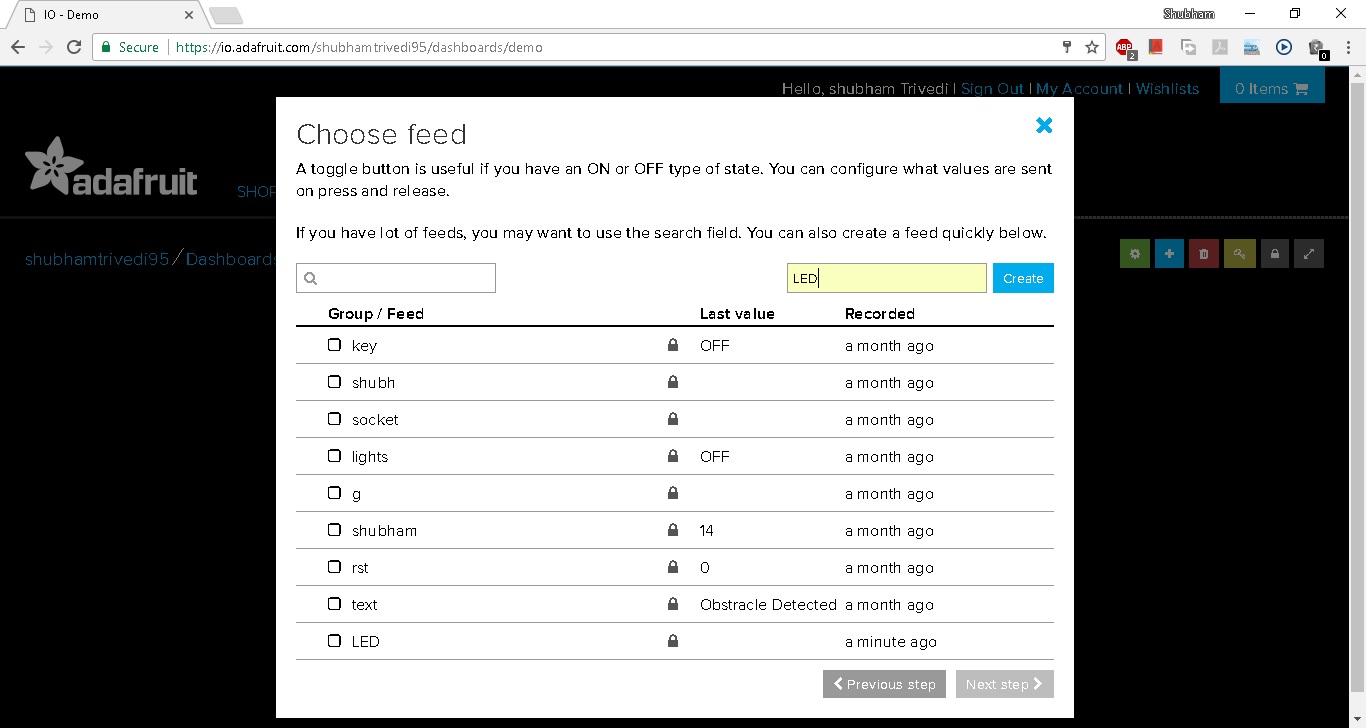
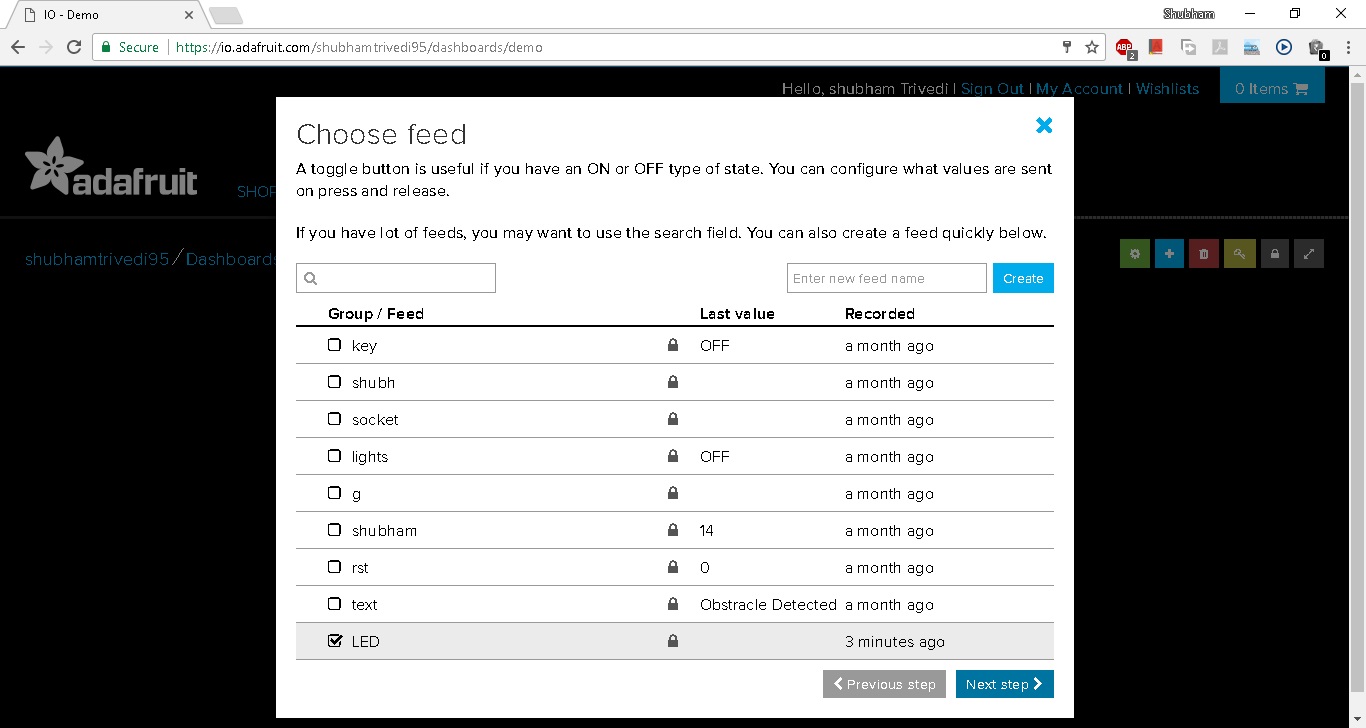
- Next select your block and click on next step
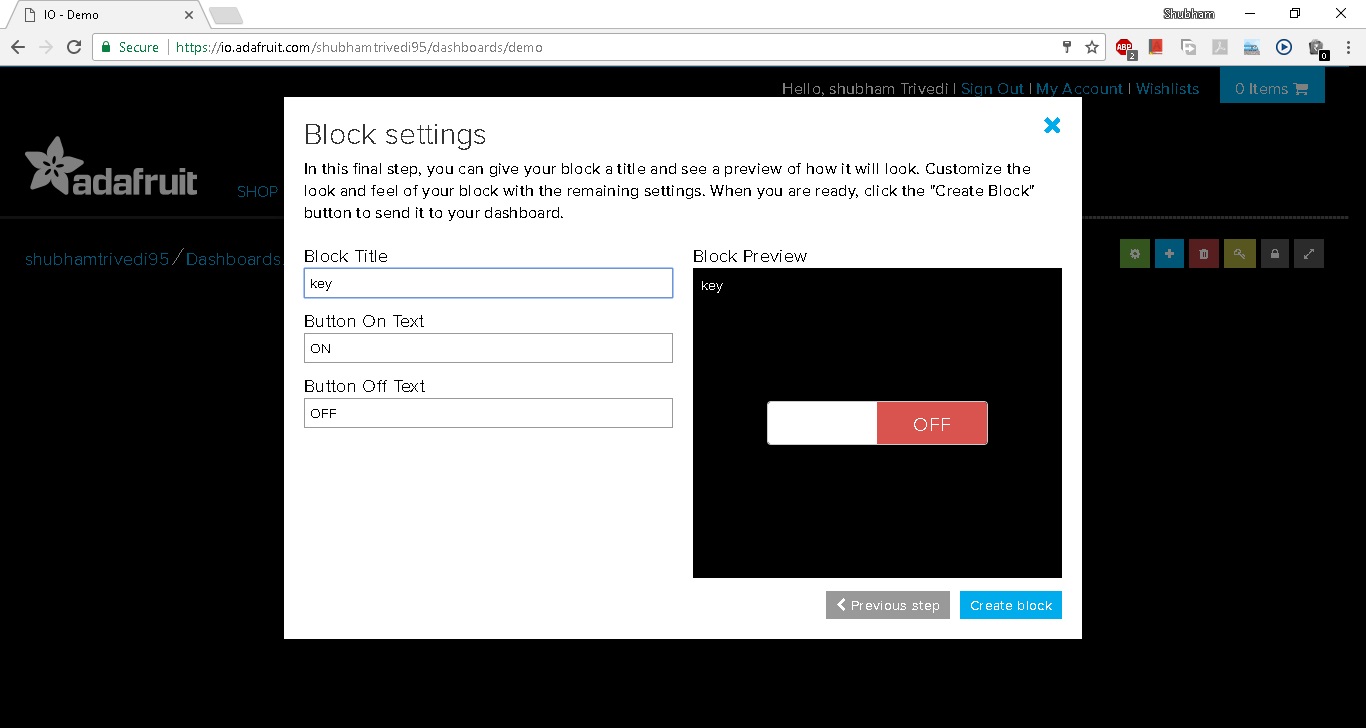
- Give name to this block and set the names of ON state and OFF state.
- After that click on create block.
Repeat the process from 2nd step select text and create one more block as shown in figure.
Final Dashboard
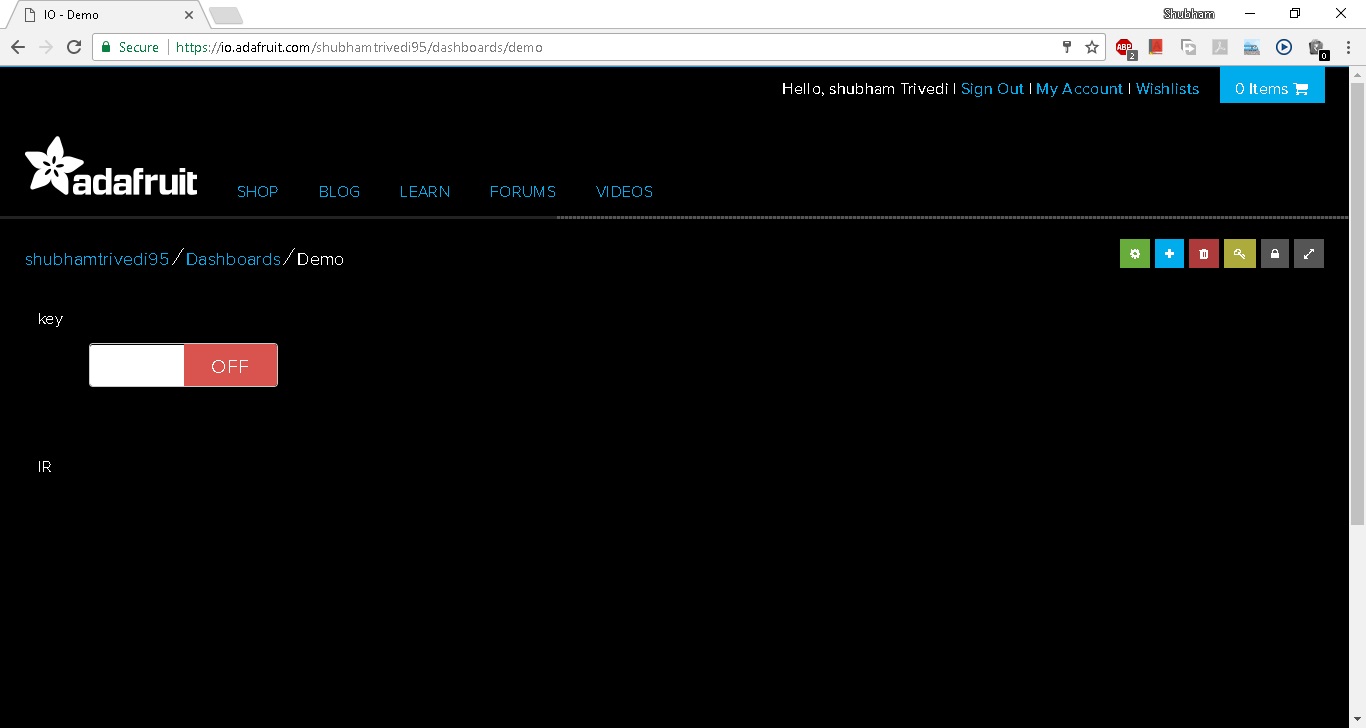
Your Final Dashboard will look like this.
Get Username and Key
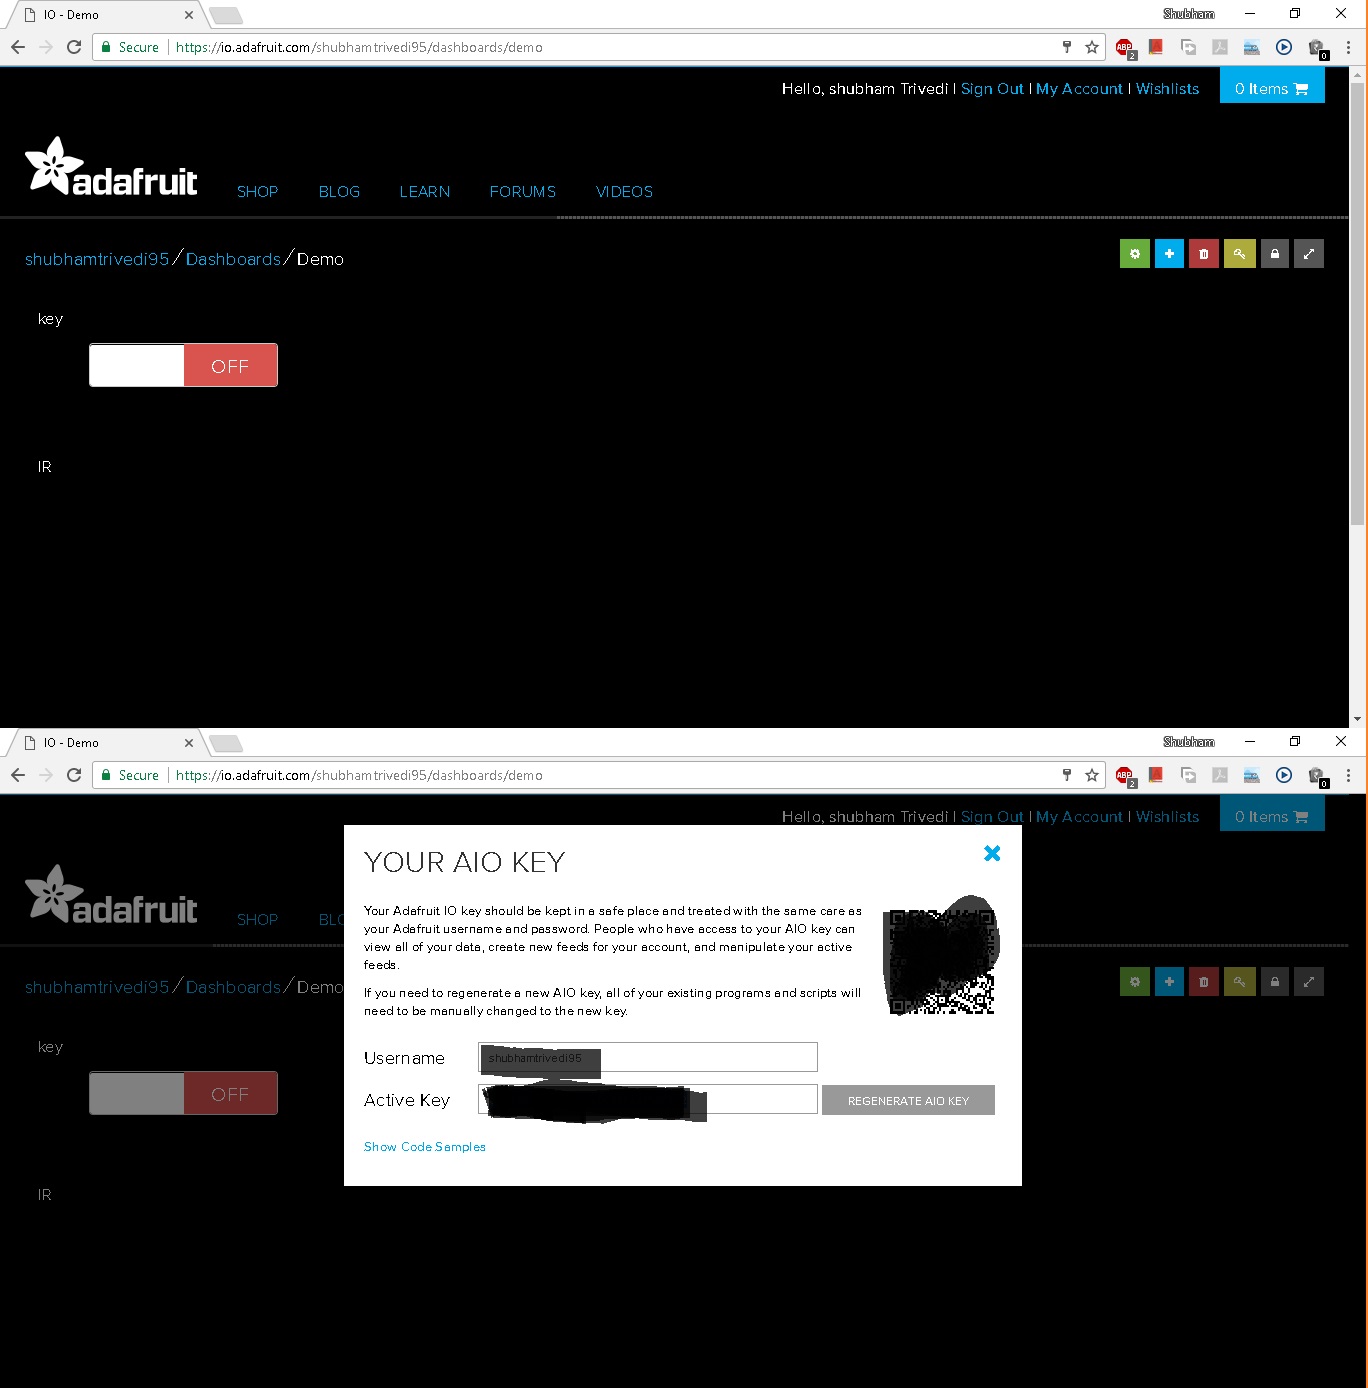
Click on key icon on left side of screen and Copy the username and Active key
Enable WEBREPL
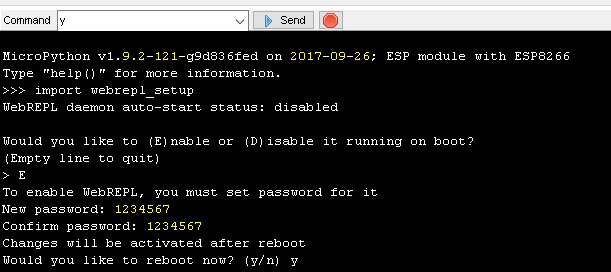
- Open the espcut software
- send this command "import webrepl_setup"
- read the text on console and configure the webrepl.
Connect to Webrepl
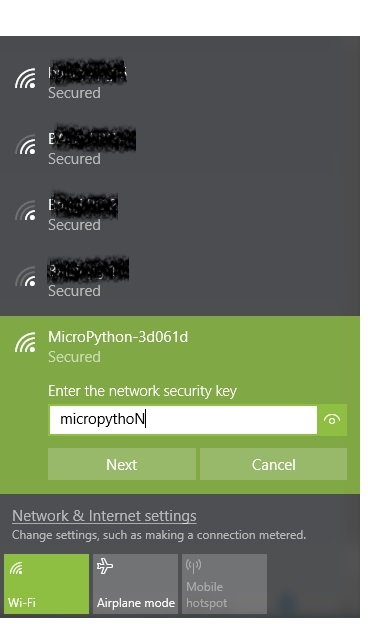
- Find the wifi network who's ssid starts from micropython
- connect to that ssid with password "micropythoN"
- you will get the screen as shown in above figure.
Add the Code
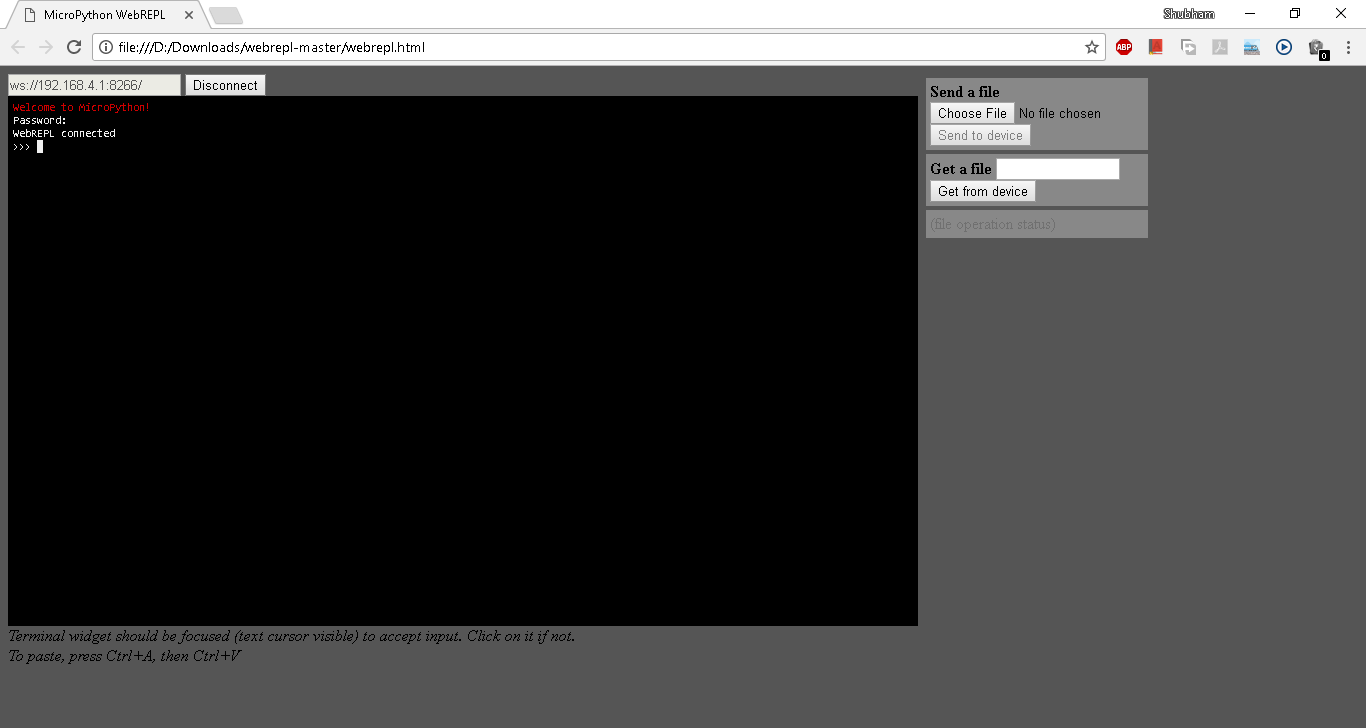
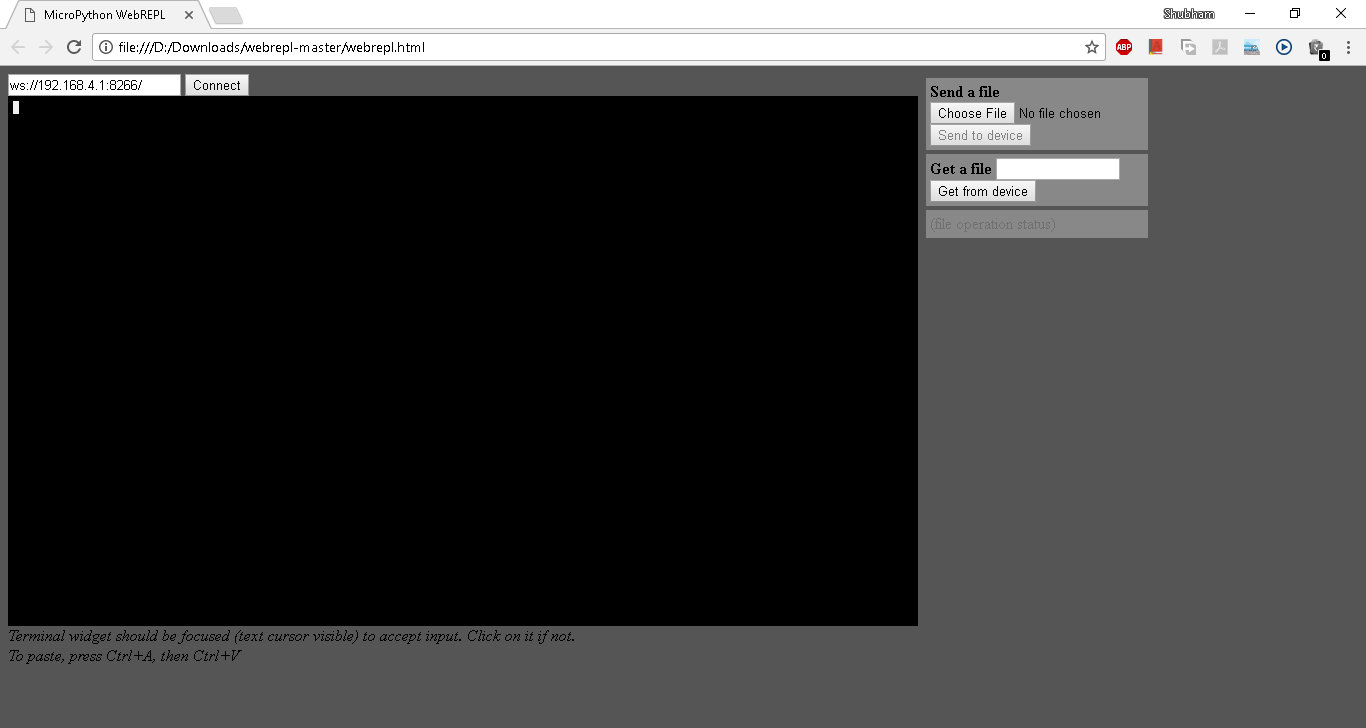
- extract webrepl software, open webrepl.html and click on connect
- it will ask you to provide password
- in my case the password is "1234567"
- wow you are connected.
- upload the files which was downloaded from github repository.
- upload main.py ,mqtt.py,boot.py and data.txt using webrepl.
- now press reset on button on your nodemcu. and check output on io.adafruit.com
- if you want check code execution then again you have to connect to micropython wifi and login.
Working Video
The working video of this tutorial is available here.