IOT BMI Indicator and Mood Light Using Feather Huzzah and IFTTT
by wellsey1972 in Circuits > Microcontrollers
2290 Views, 15 Favorites, 0 Comments
IOT BMI Indicator and Mood Light Using Feather Huzzah and IFTTT
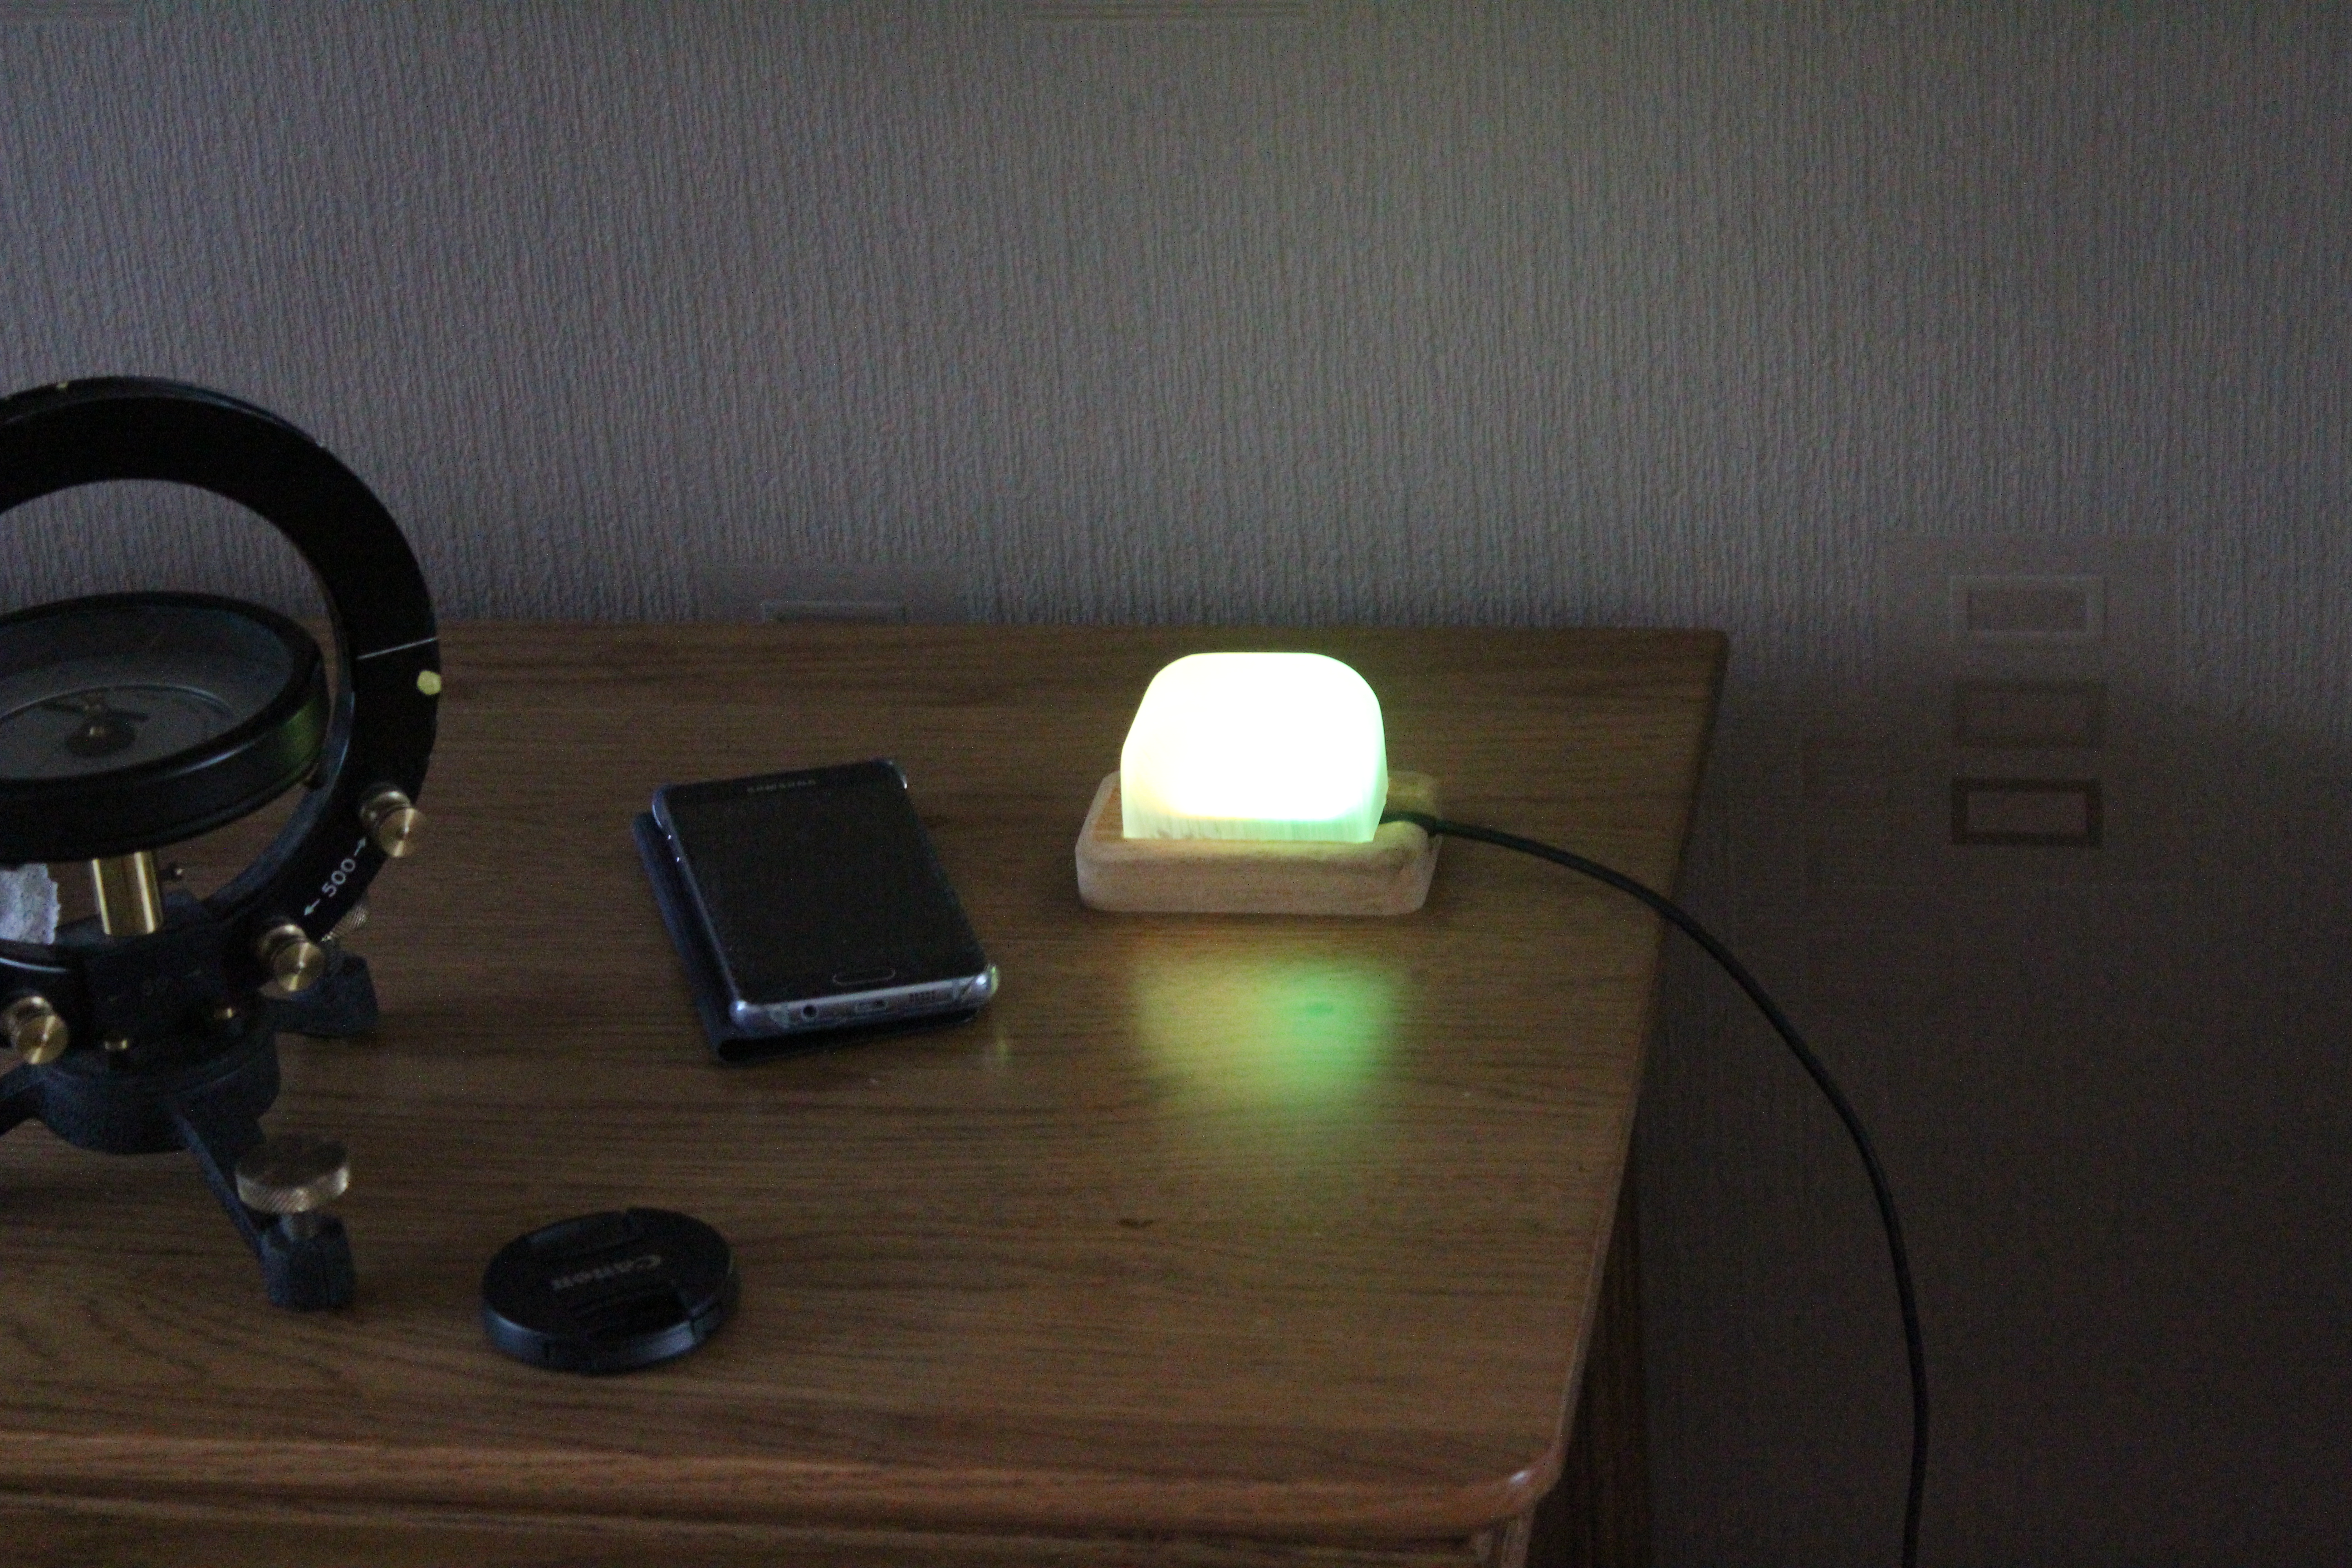
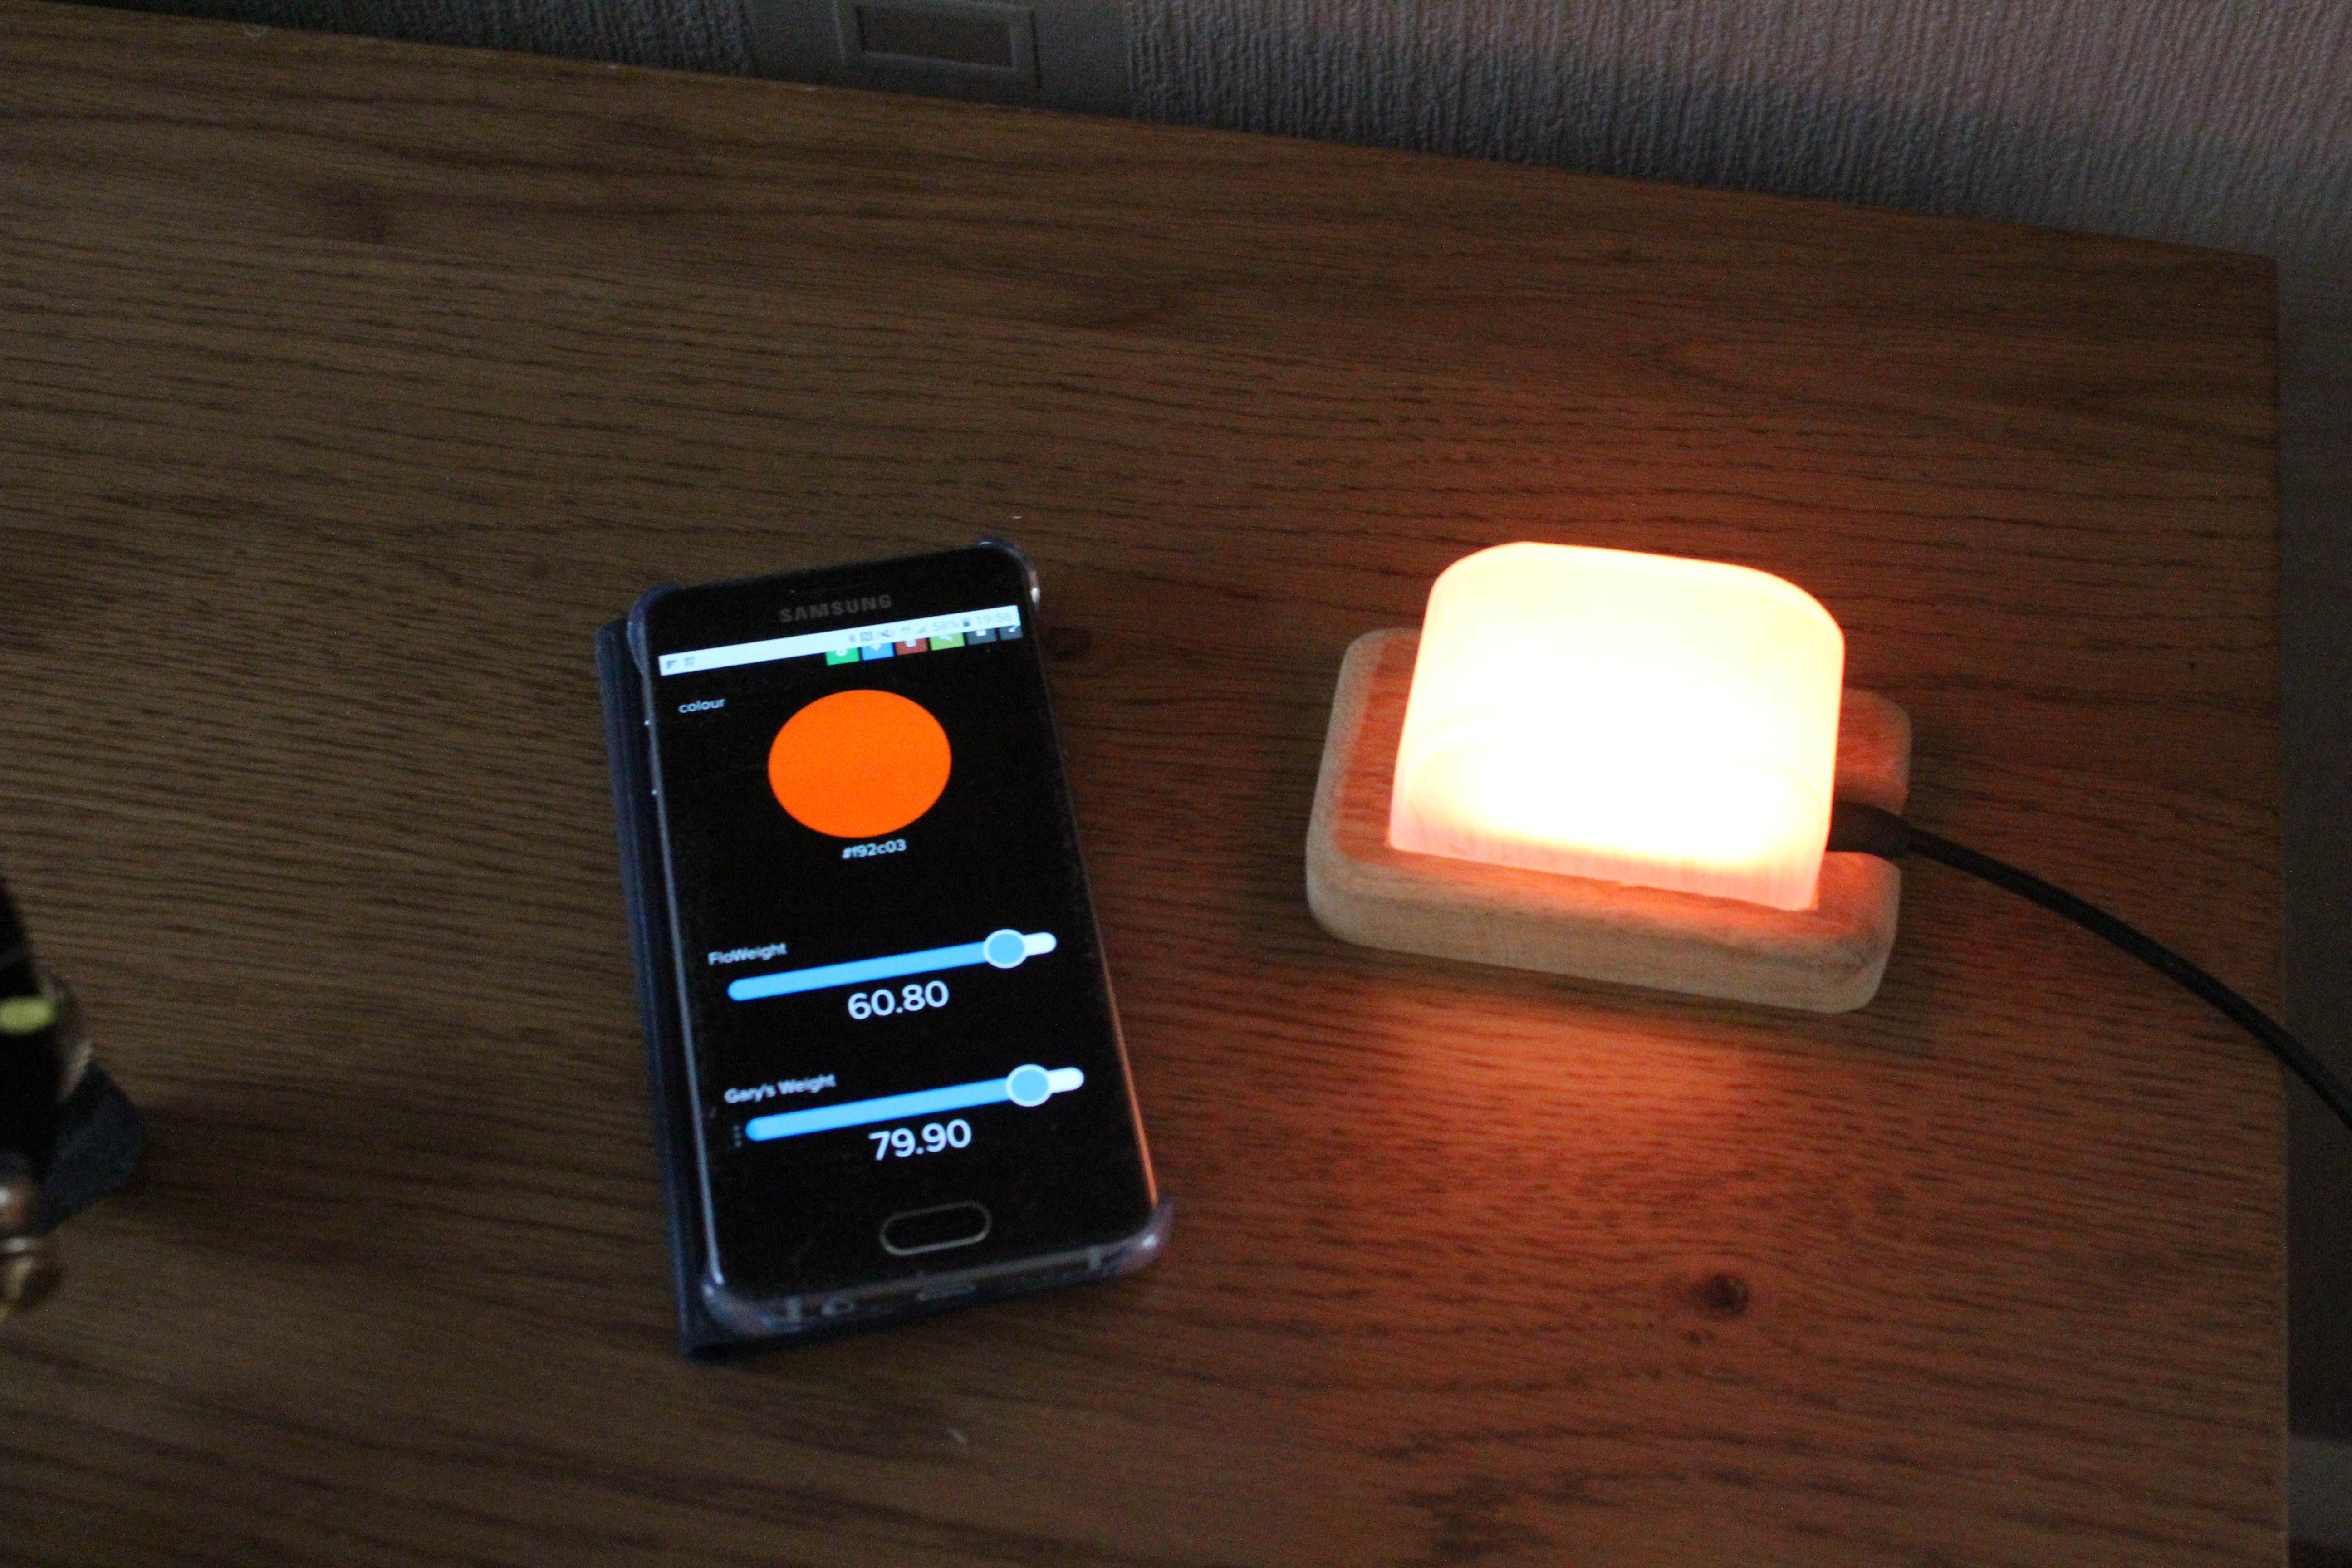
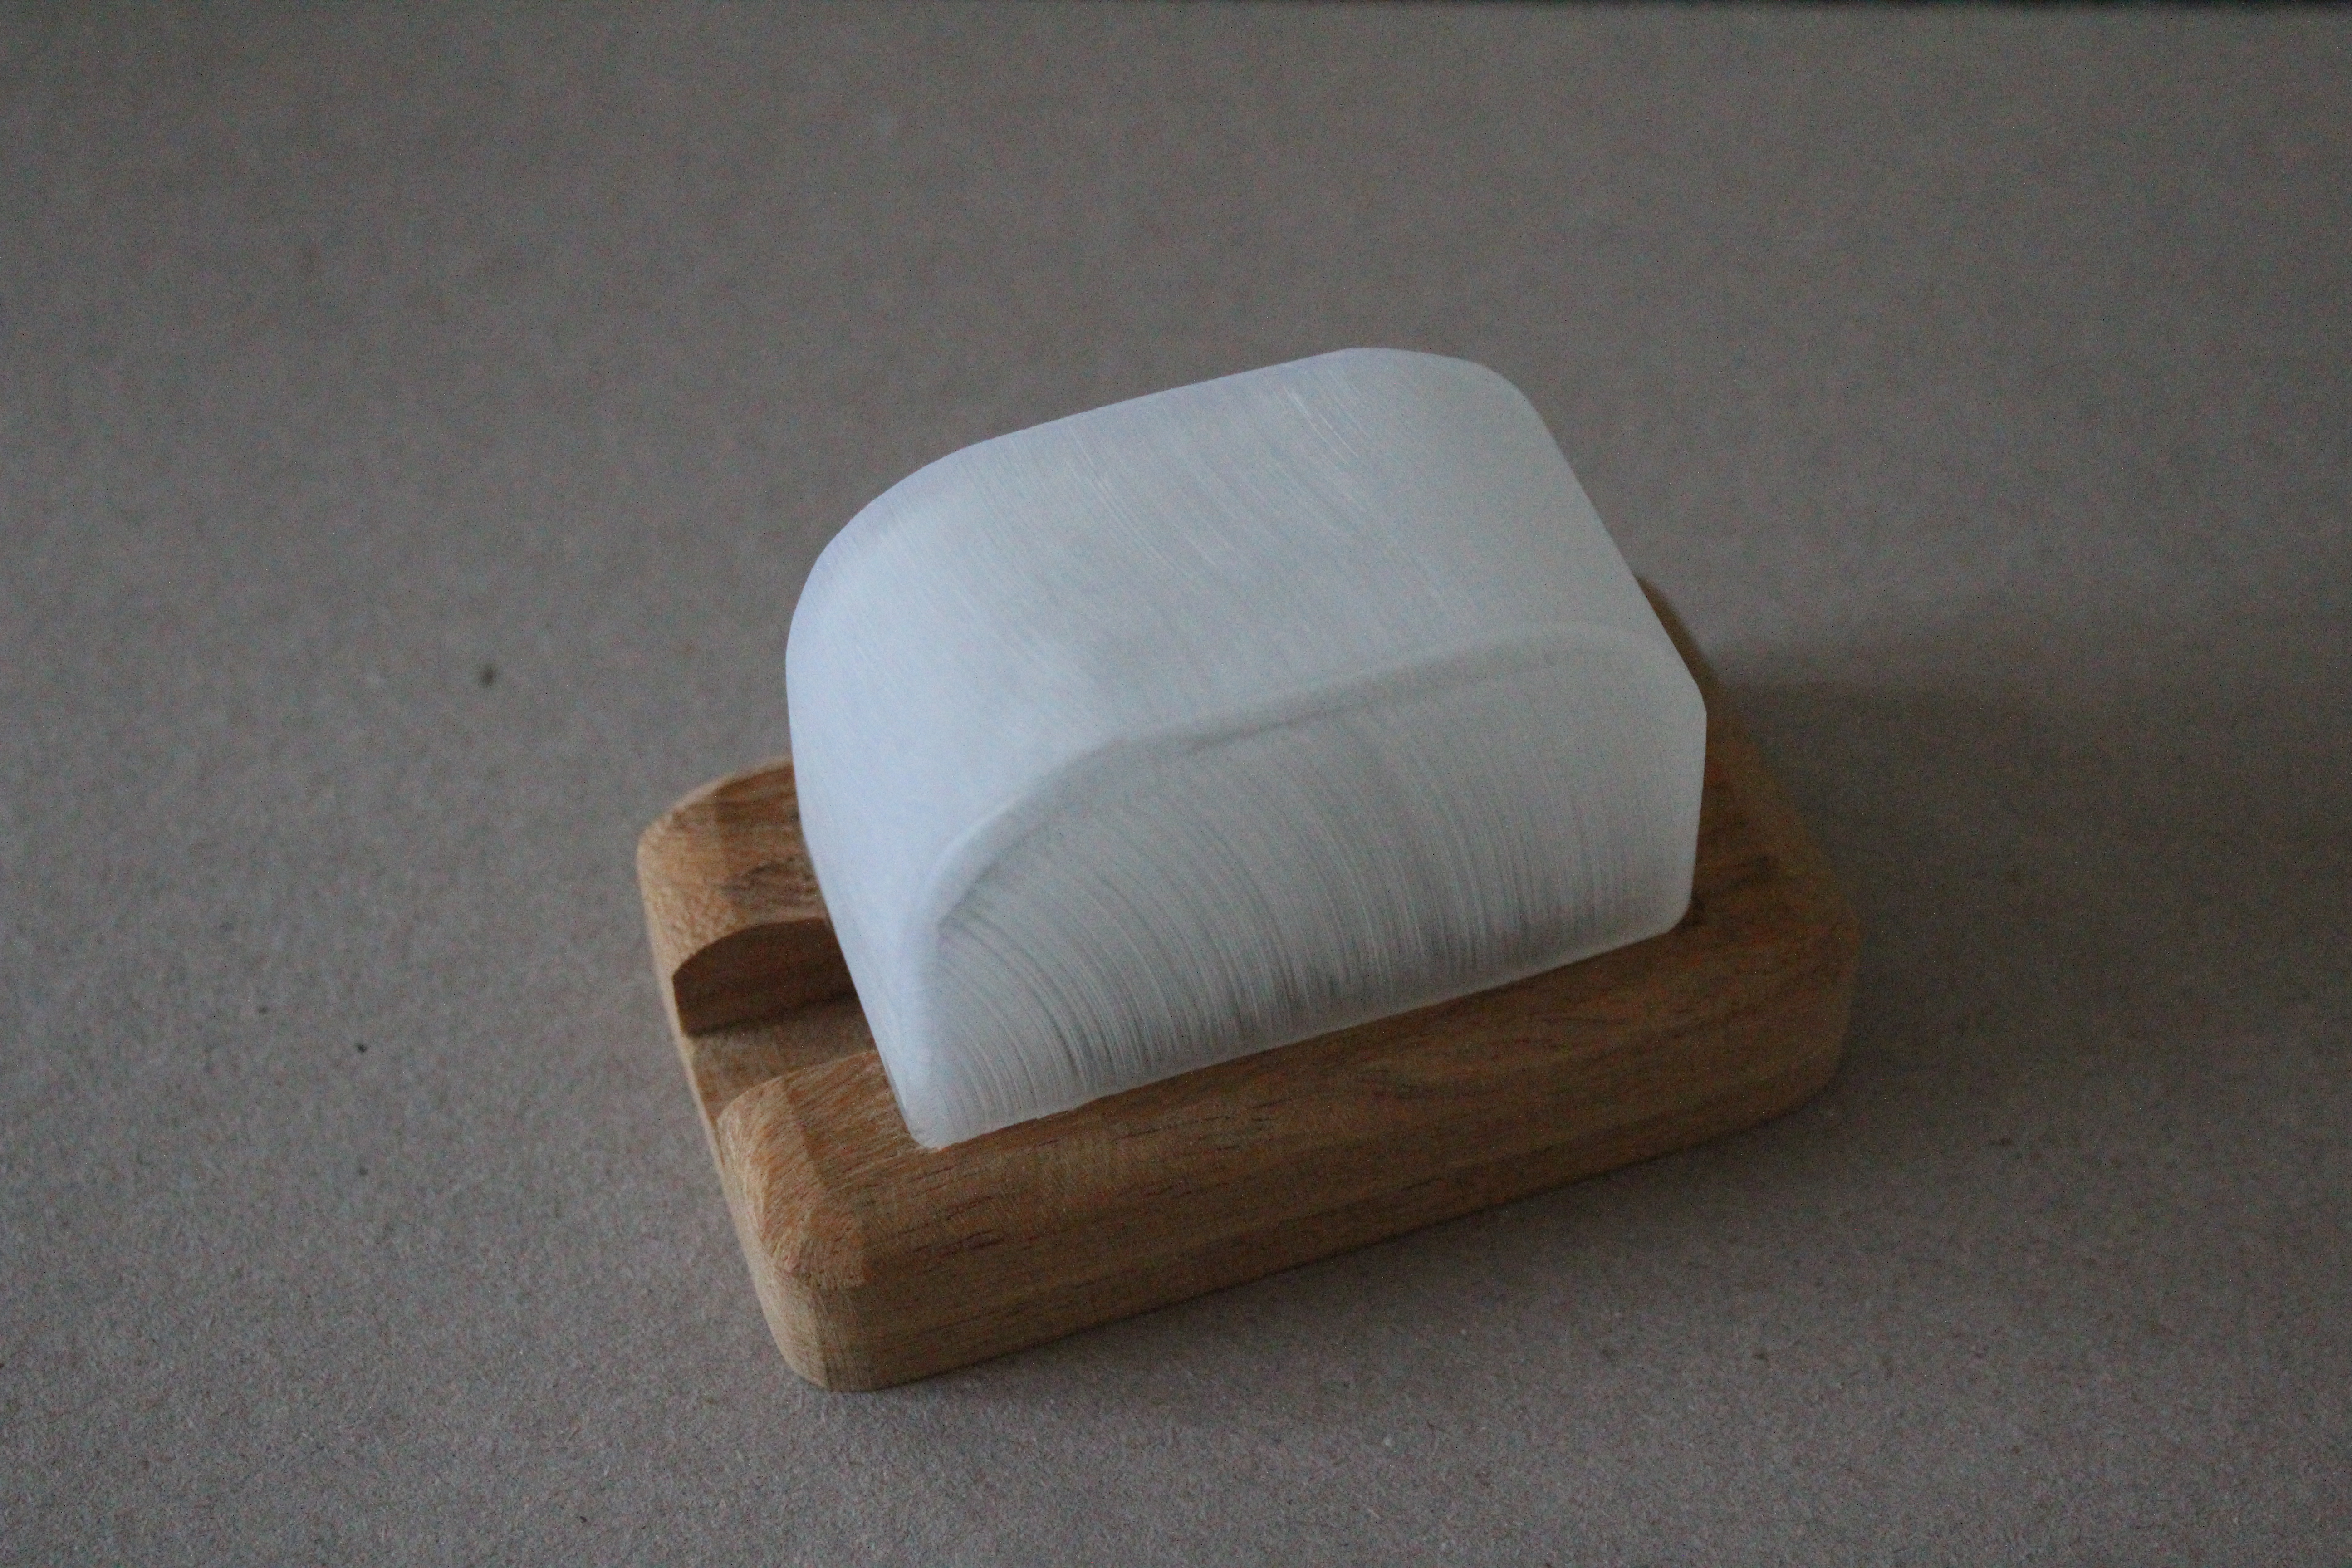
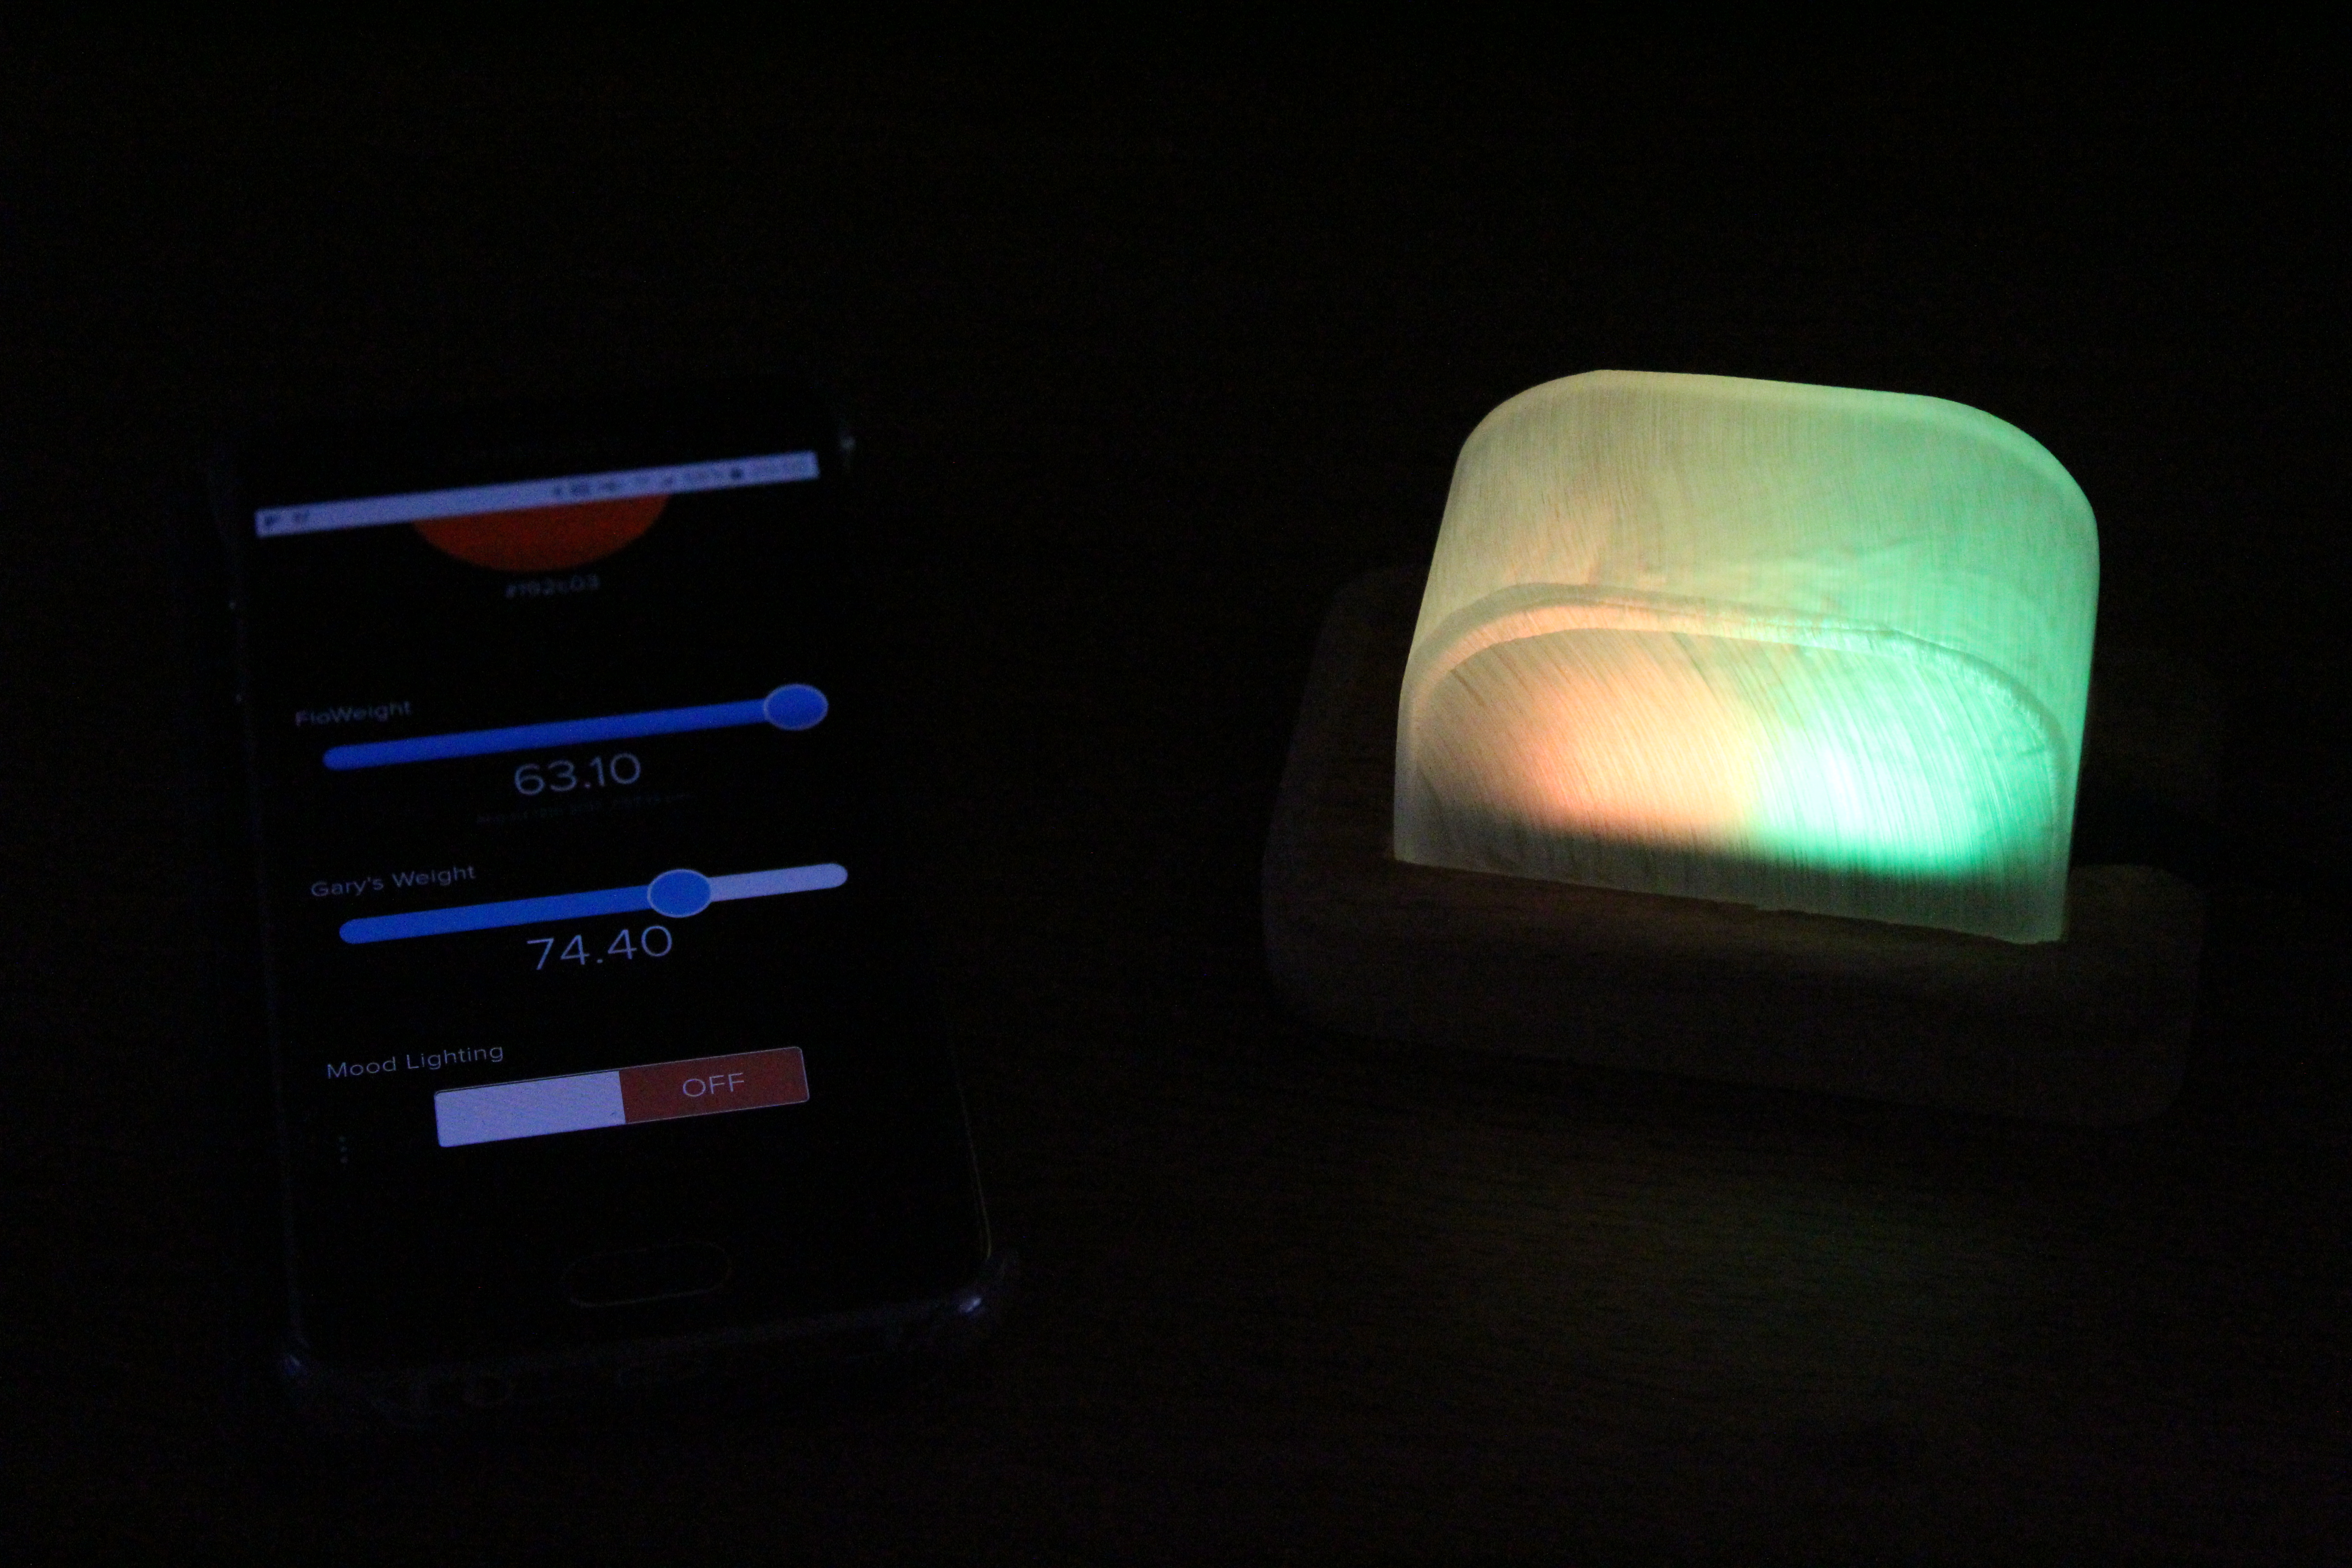
Recently my wife has suggested that I should lose a few pounds in weight (too much time geeking out and not enough time in the gym). With that in mind -and in true nerd fashion- I wanted to create a method to see my progress, as well as having a constant reminder to stick to the program.
To do this, I created the Fitbit connected BMI indicator and mood light. The idea is simple, I already track my weight using Fitbit and after reading a post on using IFTTT.com I wondered how easy it would be to create a simple light that changes color according to my BMI. Ideally I wanted Green when I'm in the right zone and red if I'm under or over weight.
Anyway, I think it turned out pretty nice, so I thought I would share it with the Instructables community.
As for improvements I would like to make:
- It currently only works when the feeds are updated. I would like to find out how to fetch data before update. I am not sure you can, but here's hoping.
- I think I have found how to read text from a feed, but I am yet to test it. If that works I might combine and LCD to add a weather forecast.
- I should probably change the toggle switch to a momentary press button on the dashboard because the device as yet doesn't remember the last state if it is switched off.
I hope you enjoy this Instructable and feel free to comment, suggest improvements and ask questions.
Parts Required
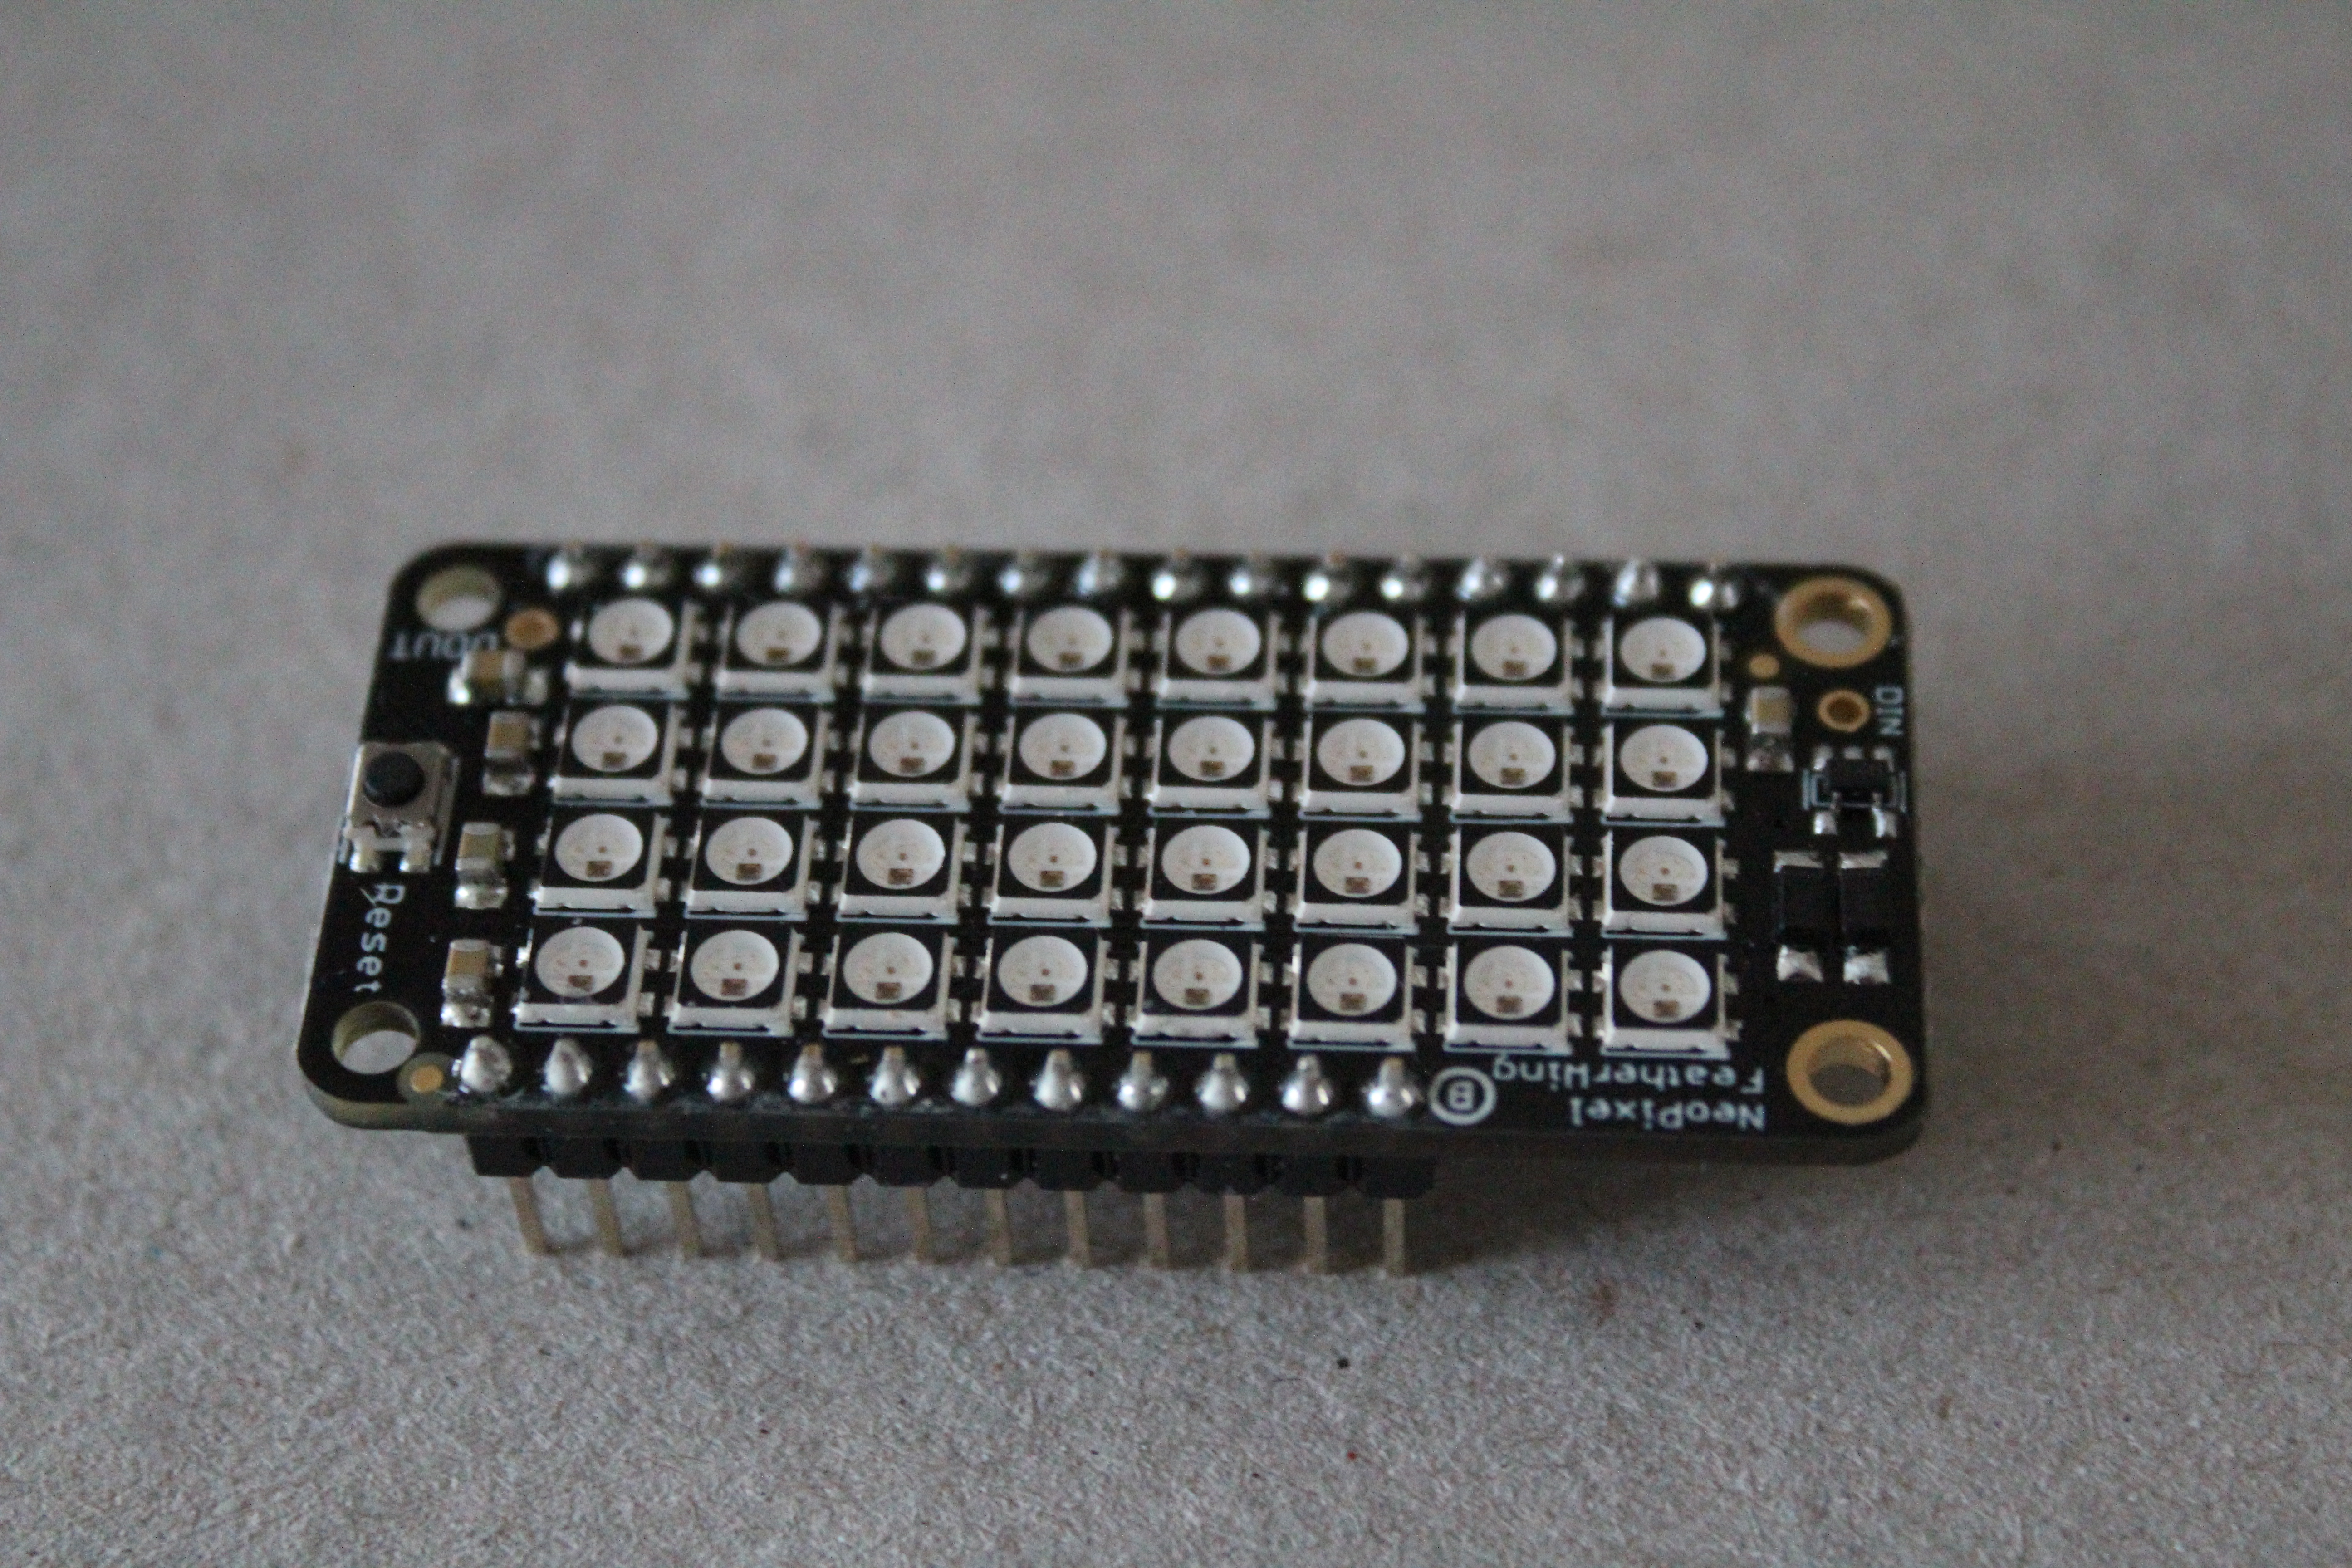
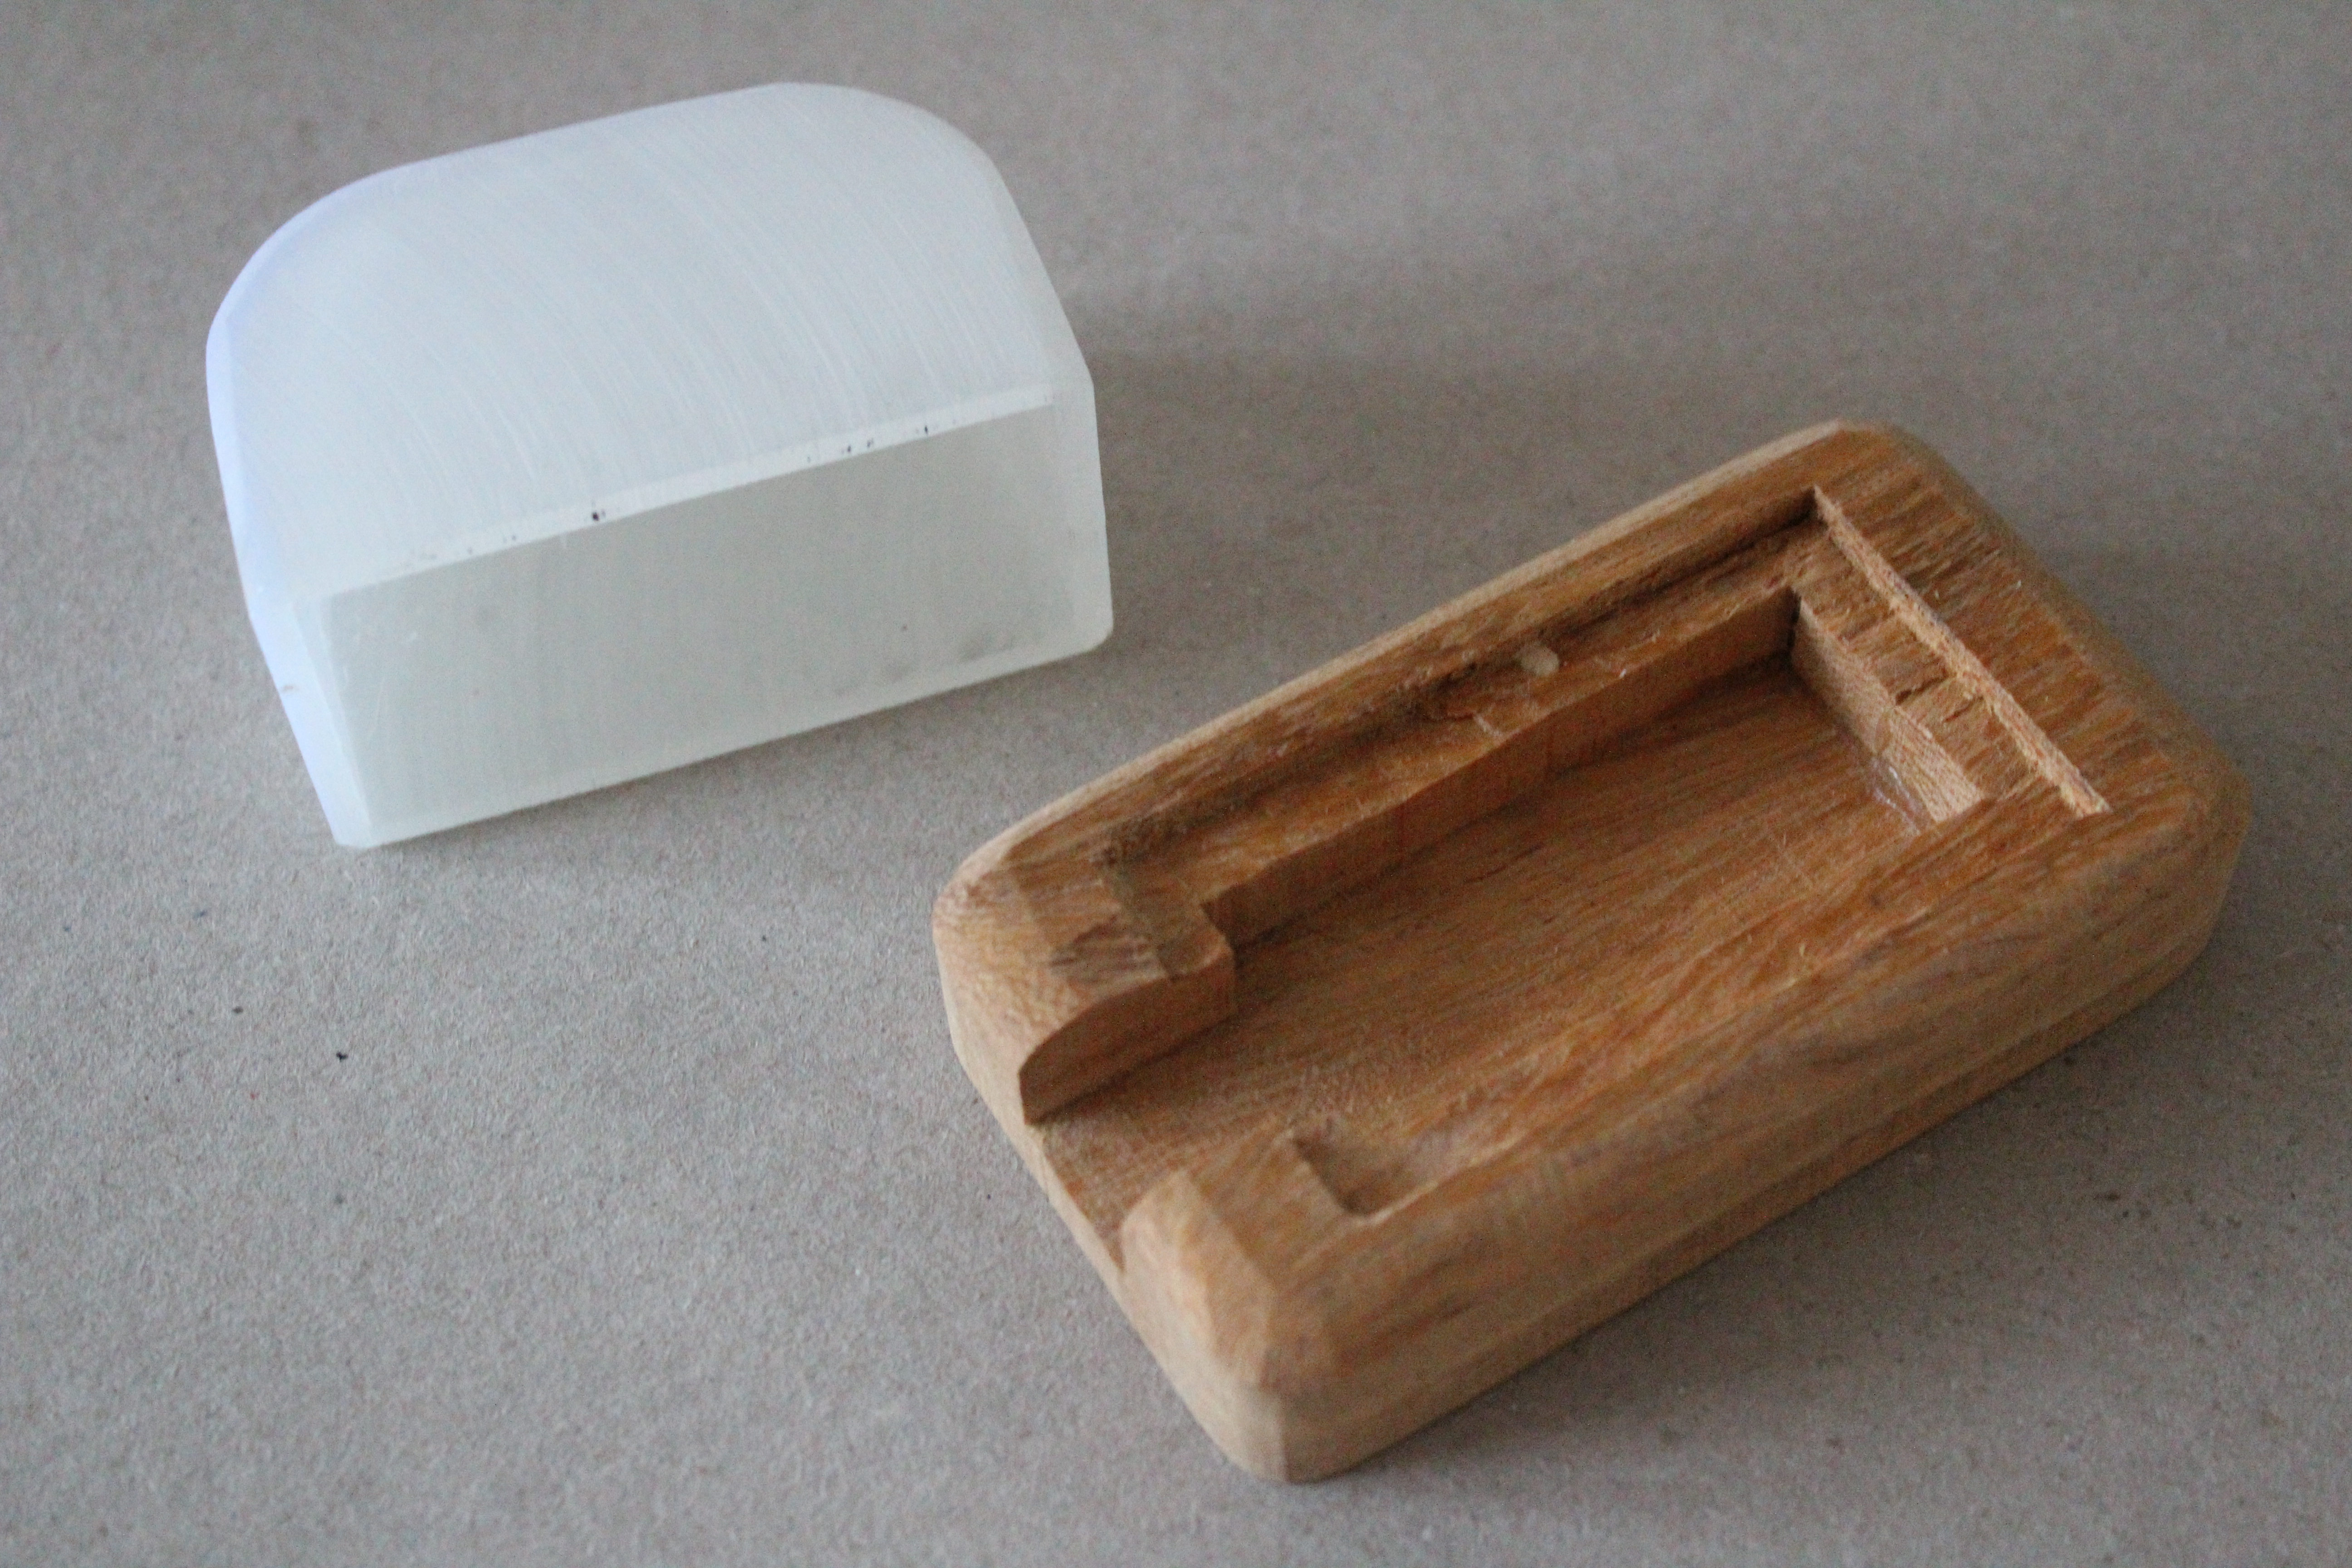
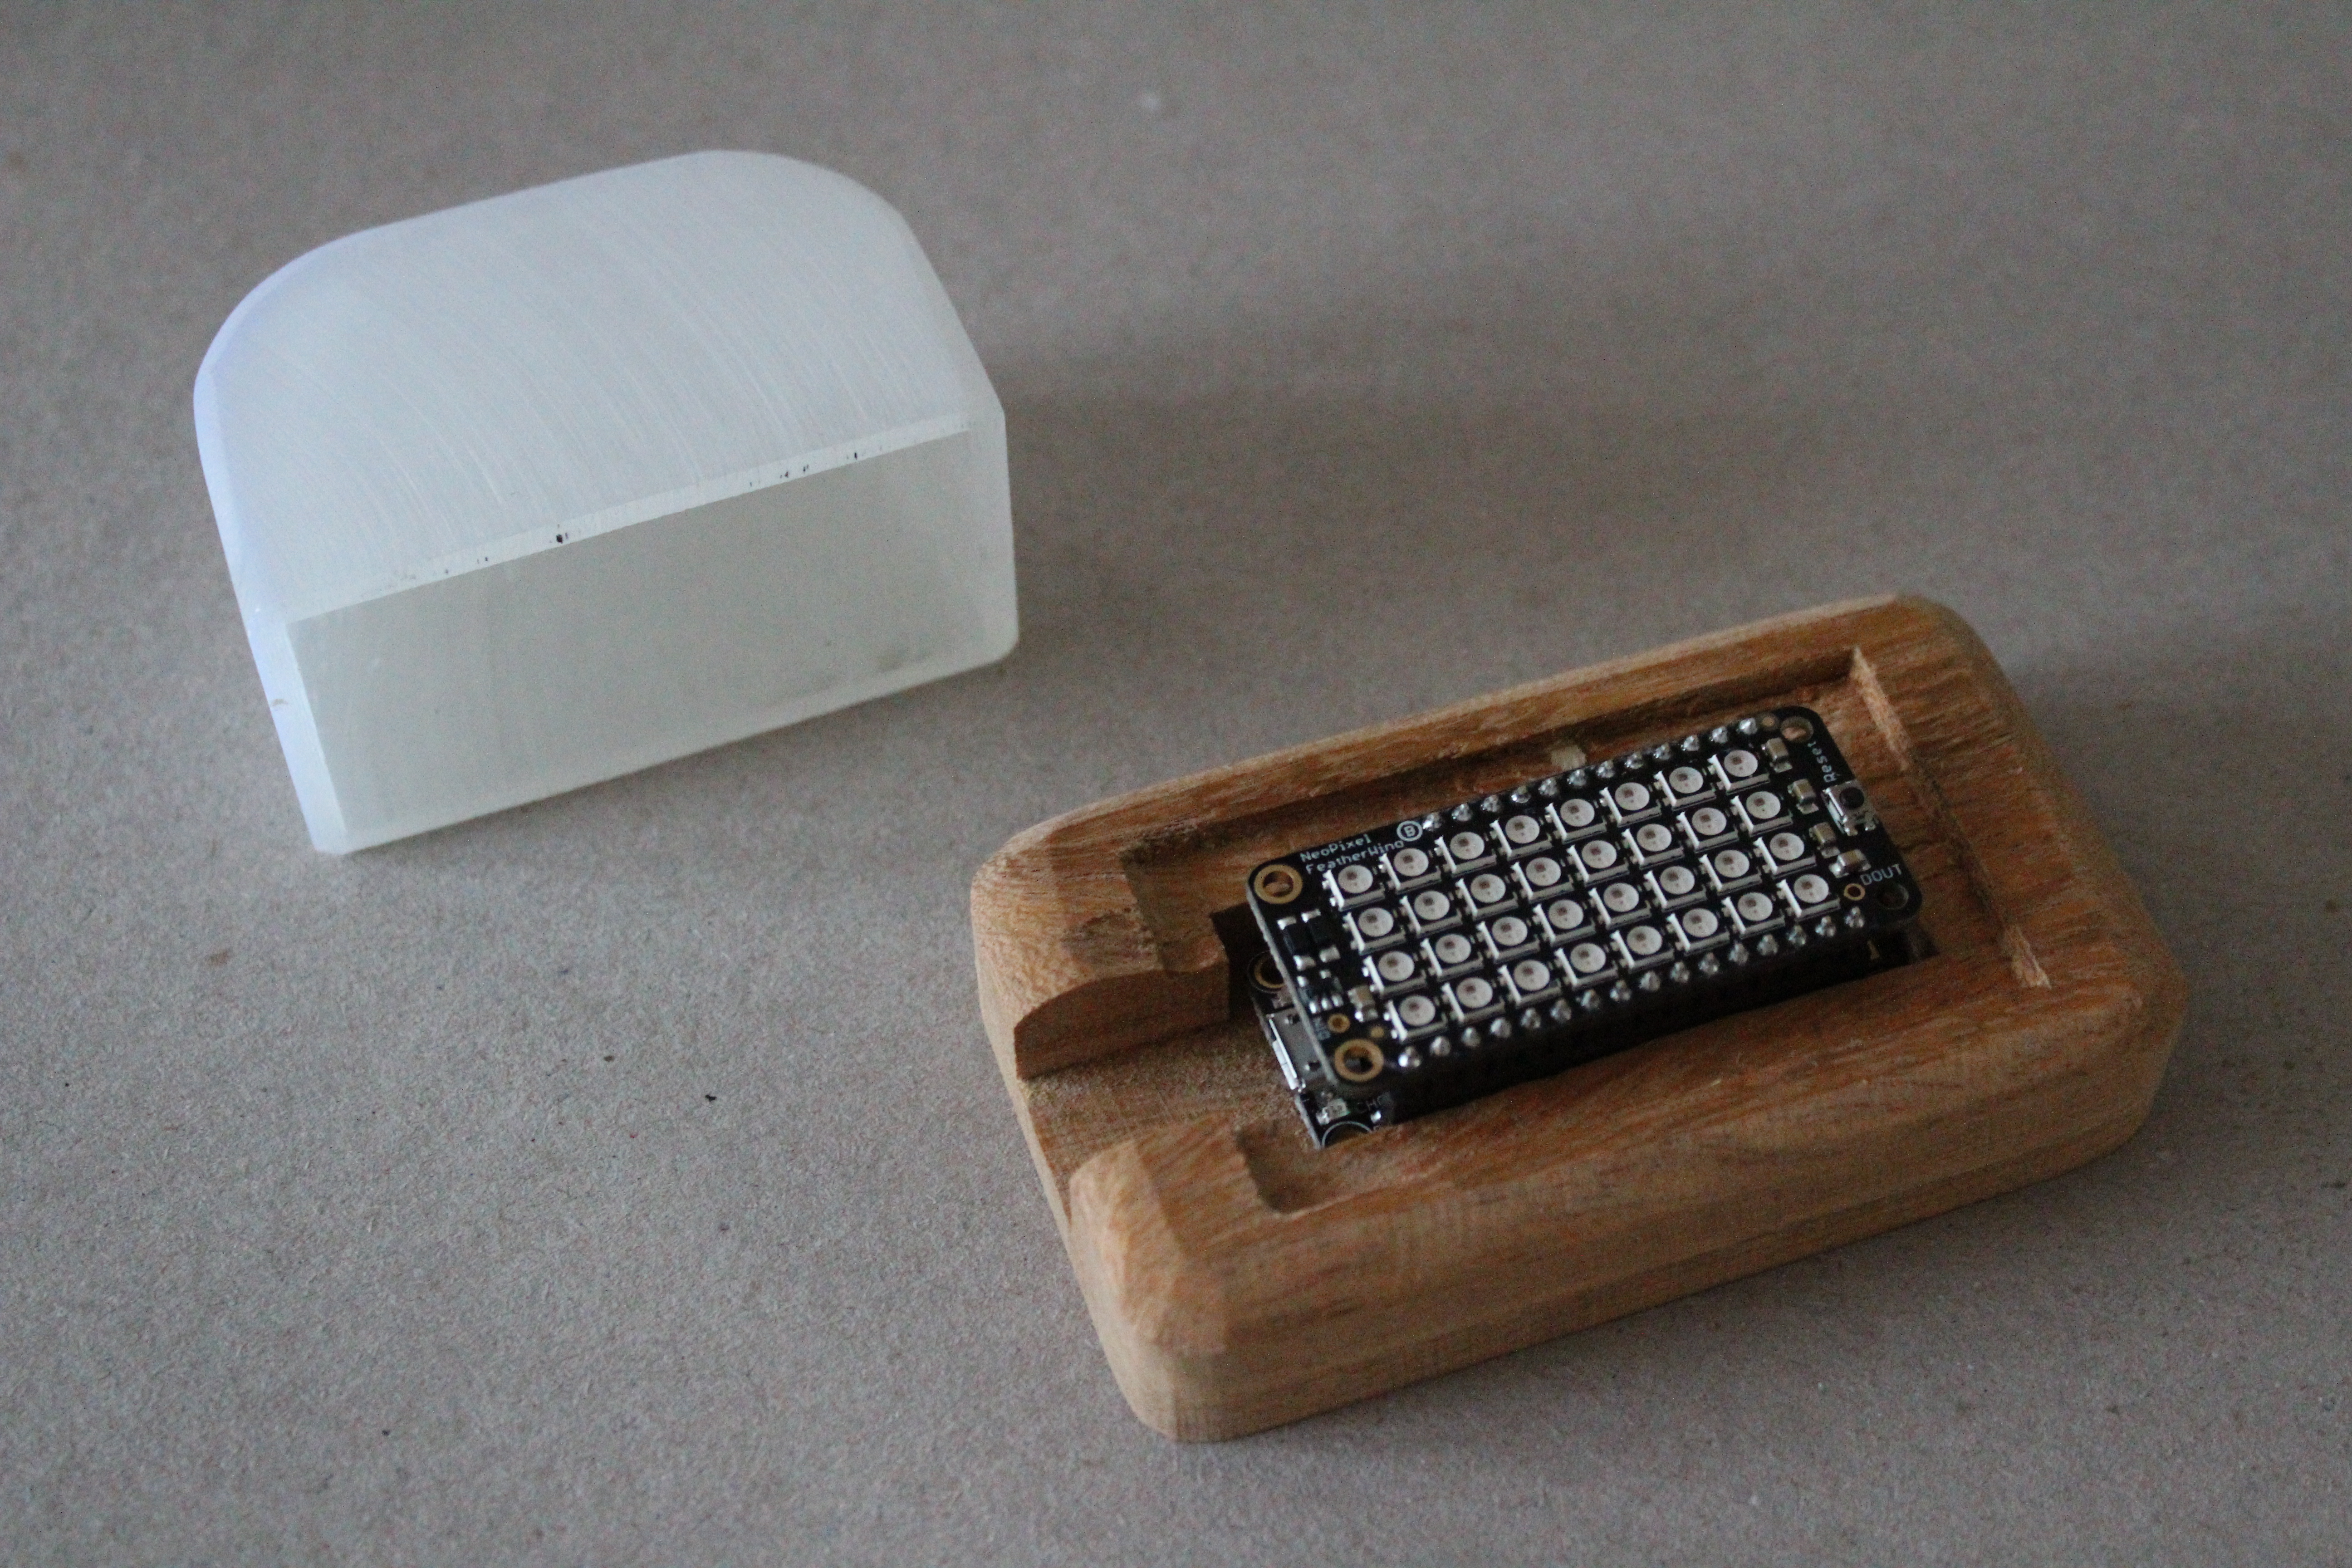
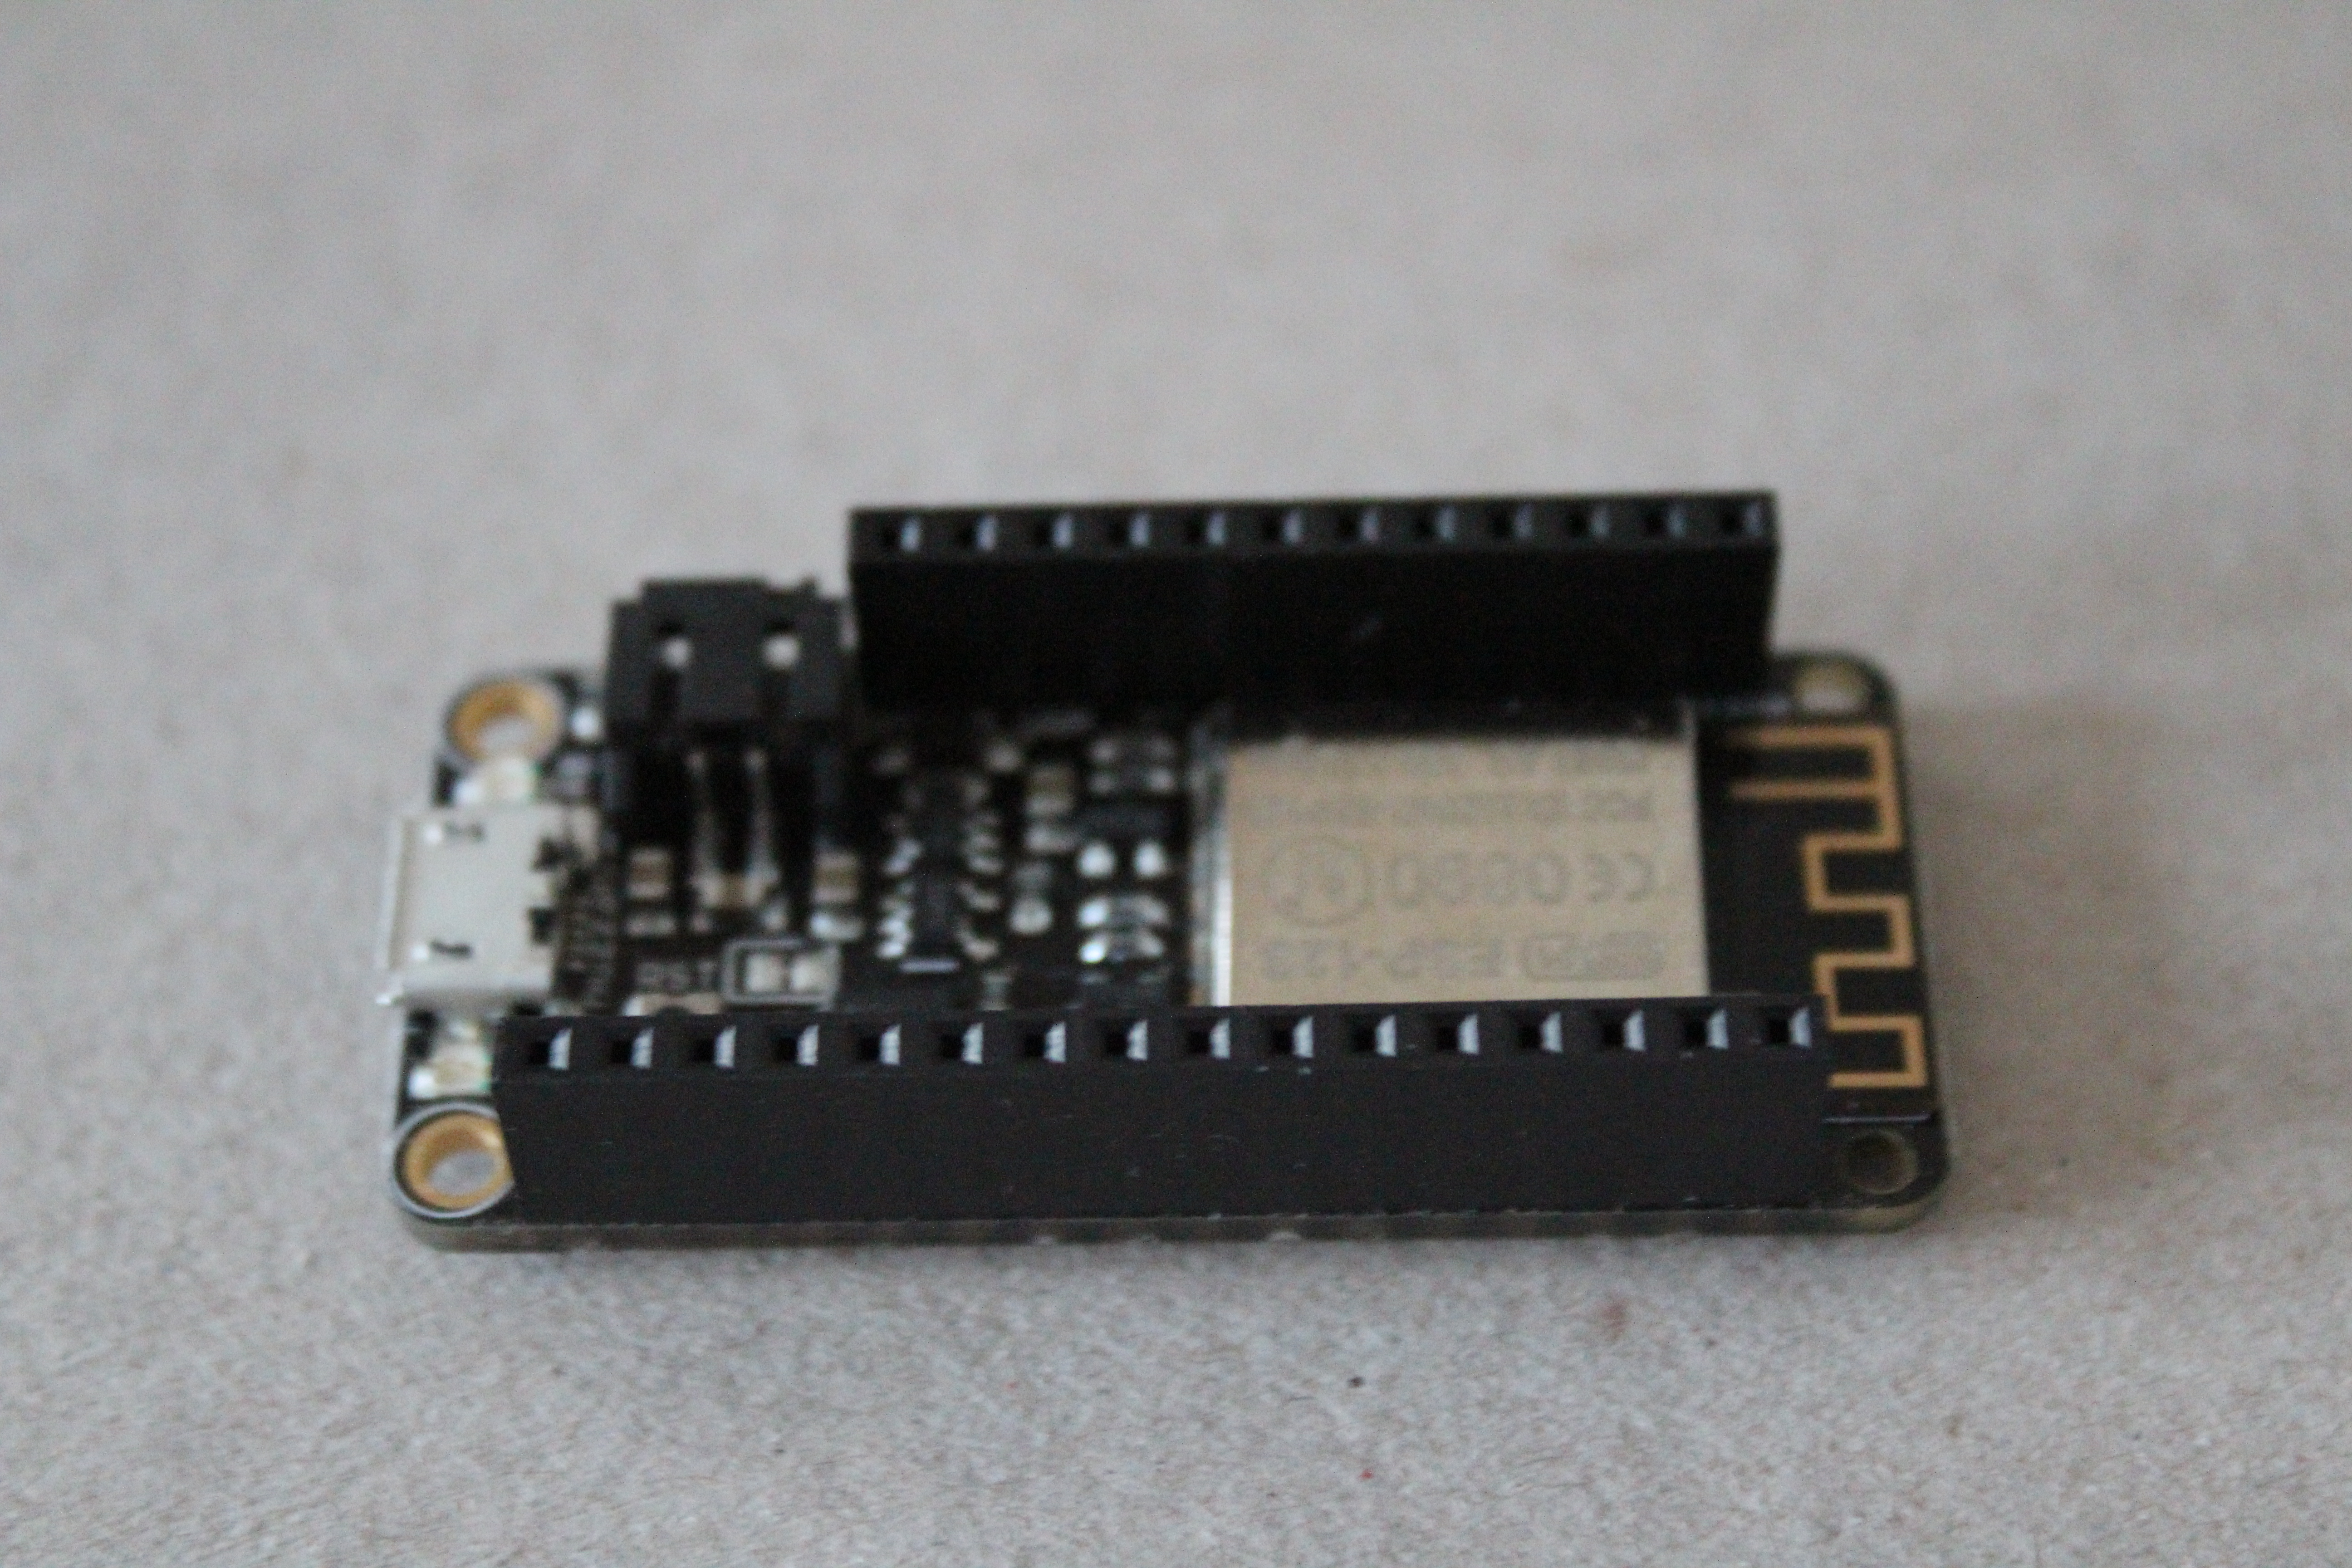
This is a really simple project for parts.
All you need then is a USB cable and a computer to program it.
I made the wooden base from a piece of scrap wood I found in the workshop and the transparent top was 3D printed on a Formlabs Form2 3D resin printer.
I suppose you could use any kind of container for the box and lamp housing. I first considered a glass jar style similar to this post, but I am lucky and have access to some good equipment through my work place.
Setting Up the Huzzah With Arduino IDE
I'll do a quick reminder below but this Tutorial will take you step by step through setting up the Huzzah and how to use the Arduino IDE to program it. It also goes on to show how to set up an IO feed.
It's a really nice tutorial and the one I used to get Started.
Adding an Adafruit Feed

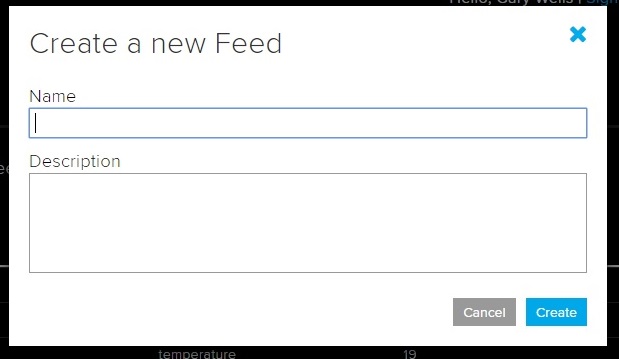
As a quick reminder, on the main screen showing your feeds, click the actions button and select "Create a New Feed" once that is done you can name it as you like (see images)
I use two feeds for the weight monitoring (My wife and I), one for a switch between mood lighting and BMI display and one feed for the color of the mood lights.
Creating a Dashboard
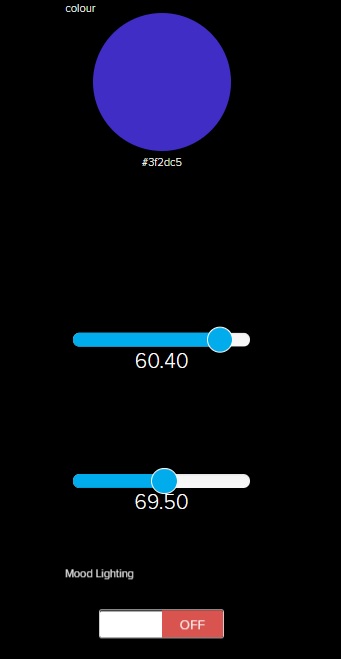
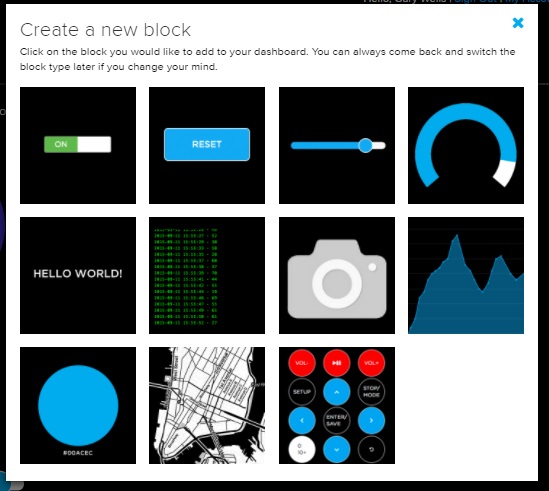
Once you've set up the feeds, creating dashboards to control them is a very simple process. This Tutorial is the place to start. As you can see from the picture I added two sliders to input mine and my wife weights (My weight also updates via the IFTTT app), a color pucker for the mood light and a toggle switch to go between mood lighting and BMI display.
Creating the IFFT Applet
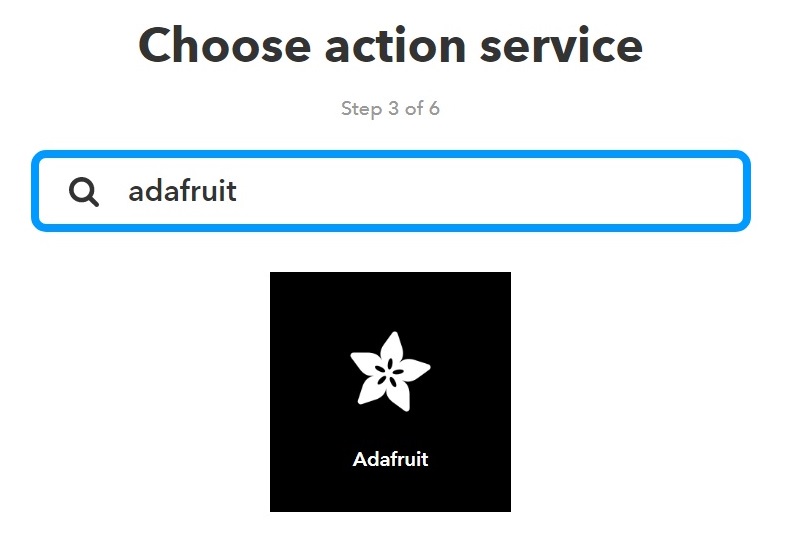
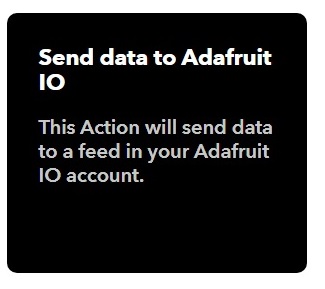
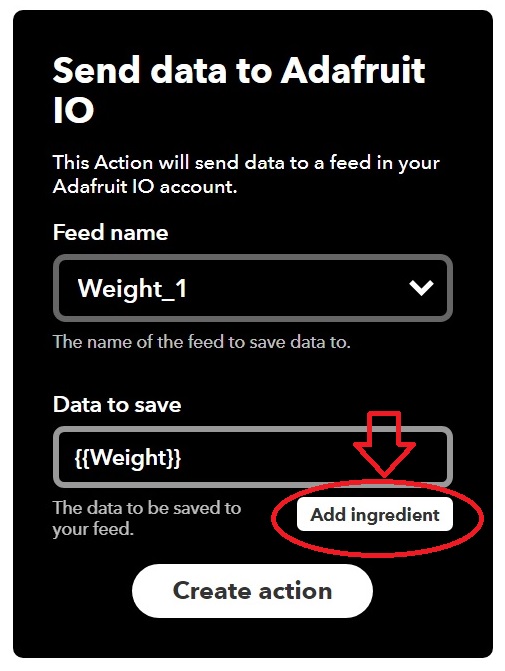
If you don't want to use the Fitbit website to log your weight, you can set it on the dashboard as well. (I had to do this for my wife because she doesn't use a Fitbit.)
If you do use a Fitbit this will work even better with an Aria scale linked directly to your Fitbit.
If you want to monitor your weight via a Fitbit, you need to create an IFTTT applet. To do this you will need to create an IFTTT account and link your Fitbit account.
Once you have done this you can create the applet.
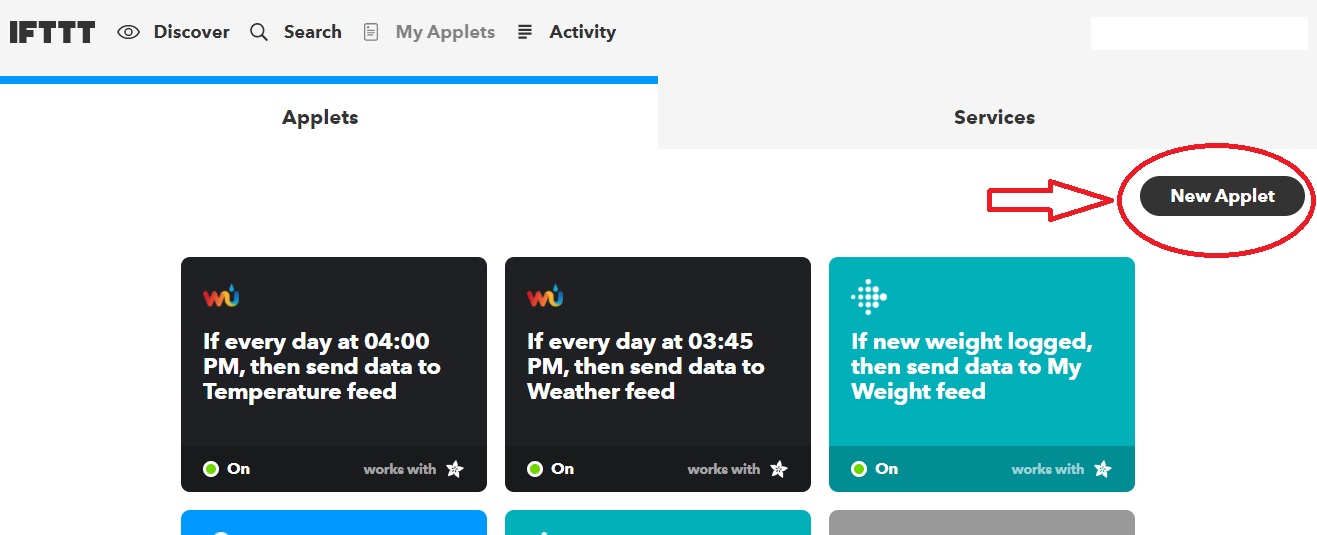
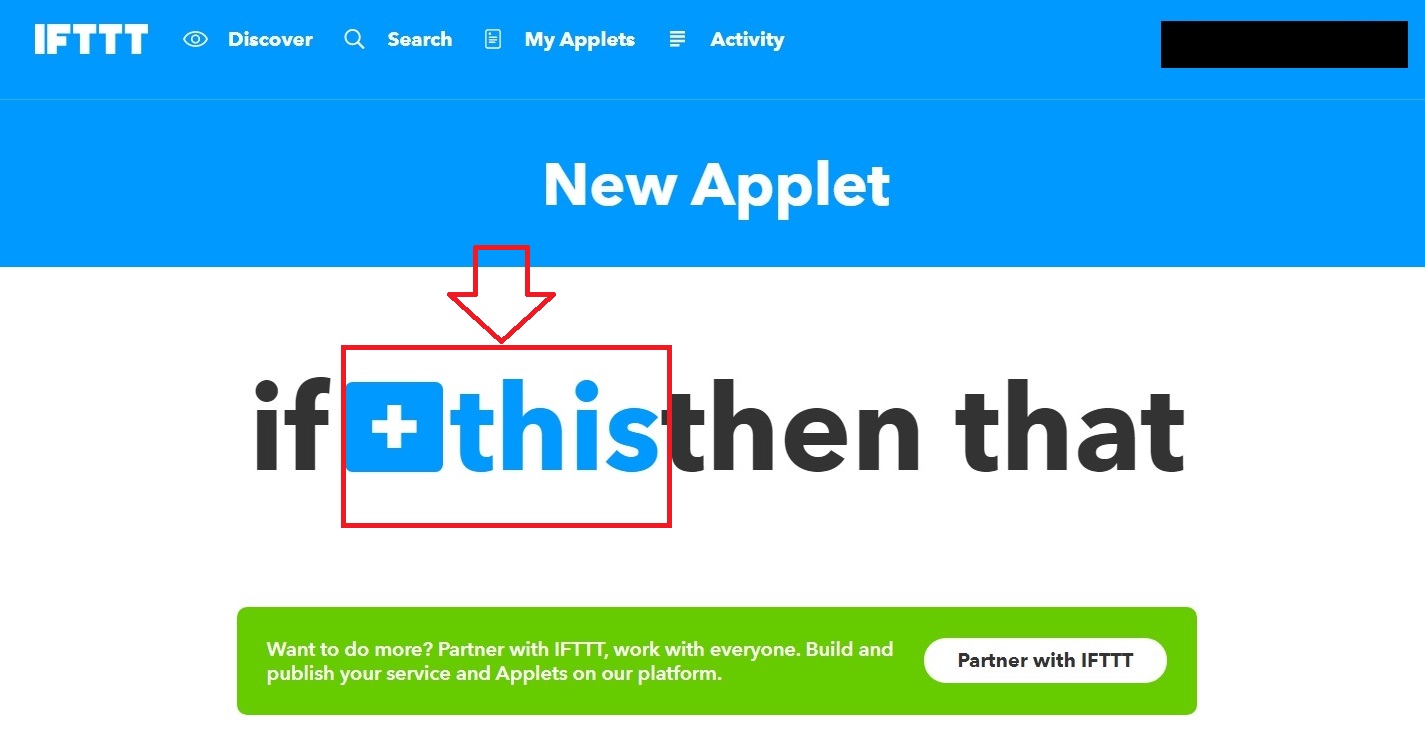
- Go to the my applets screen and click the new applet button (Figure 1)
- Click on the This link in the main logo (Figure 2)
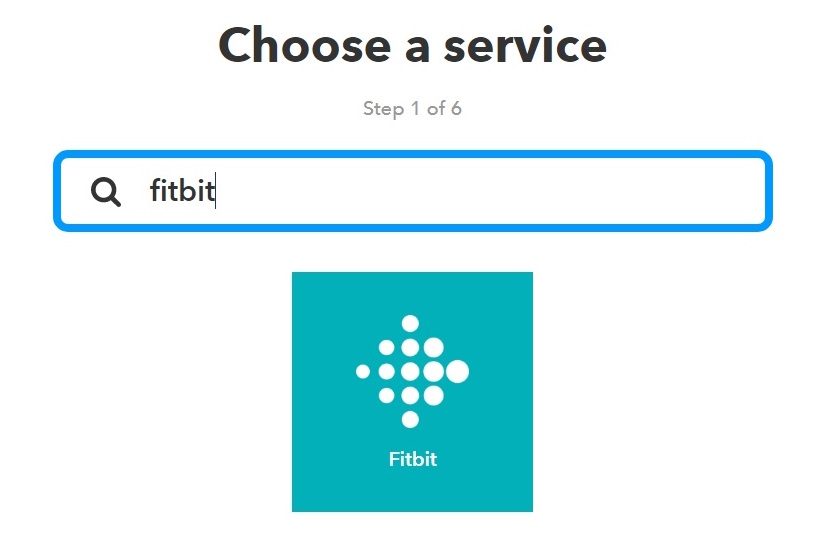
- Type Fitbit in the search box and click it when it shows (Figure3)
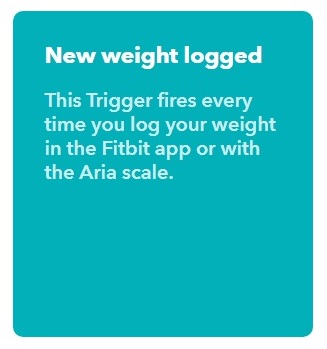
- Click the New weight logged box (Figure 4)
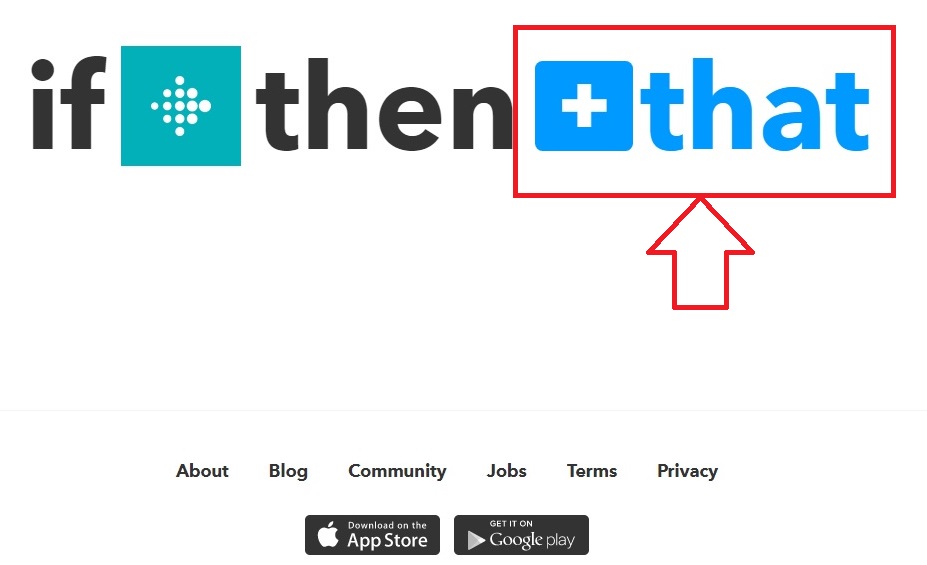
- Click the That part of the logo (Figure 5)
- Type Adafruit and click the box when it shows (Figure 6)
- Click the Send data to adafriut box (Figure 7)
- use the down arrow to select the feed you set up for the wieght (it should be available if you have created it) and use the add ingredient button to set the data to the weight. (Figure 8)
Once you done all these you should now have a feed that will populate once you log your weight on the Fitbit home page.
Preparing the NeoPixel Feather Wing for the Huzzah
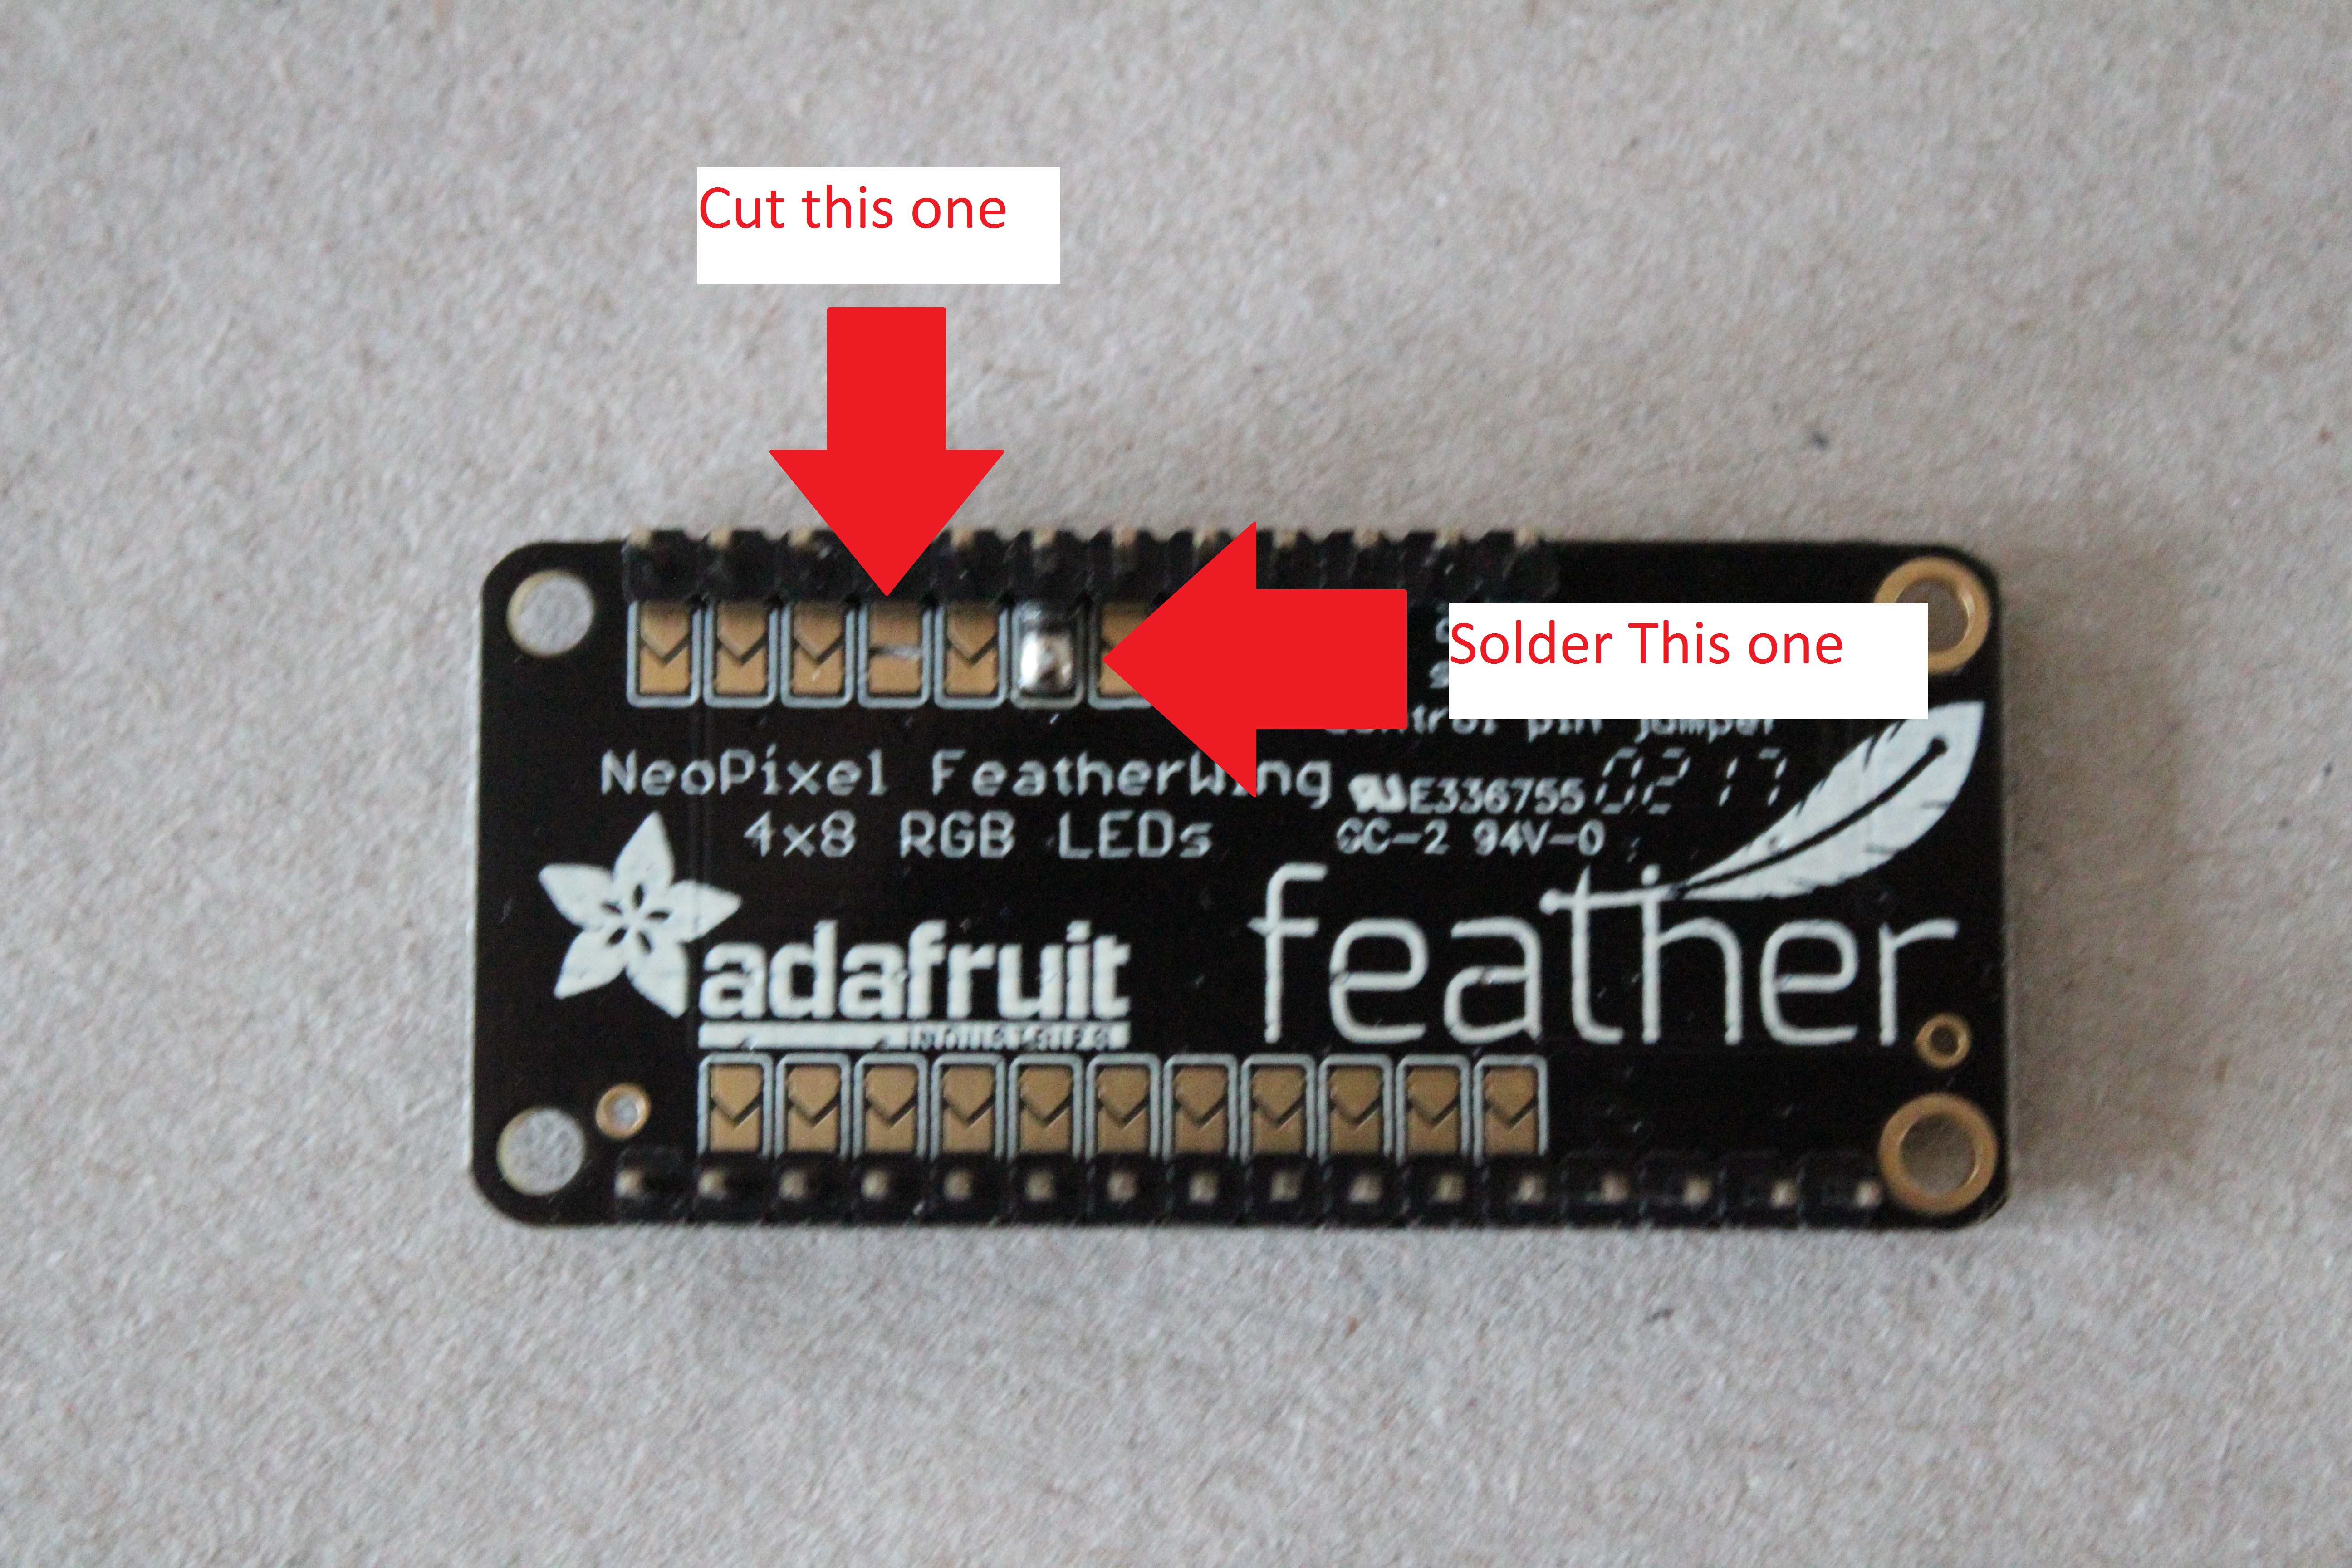
I used the "Adafruit NeoPixel Überguide" to learn how to use the Neopixel feather wing. In there there is a small section about reassigning the data pins
"The NeoPixels are normally controlled from digital pin 6, but pads on the bottom make this reassignable. In particular, the default pin for Feather Huzzah ESP8266 must be moved, try pin #15!"
It took me a while figure this out, and this guide helped, but I took a picture of where I had cut the jumper and re-soldered pin 15. it's really simple to do.
The Adafruit NeoPixel Überguide has section at the end on installing the Arduino libraries and from that i was able to write a couple of functions for the Feather wing. I will talk about that in the code section
The Code
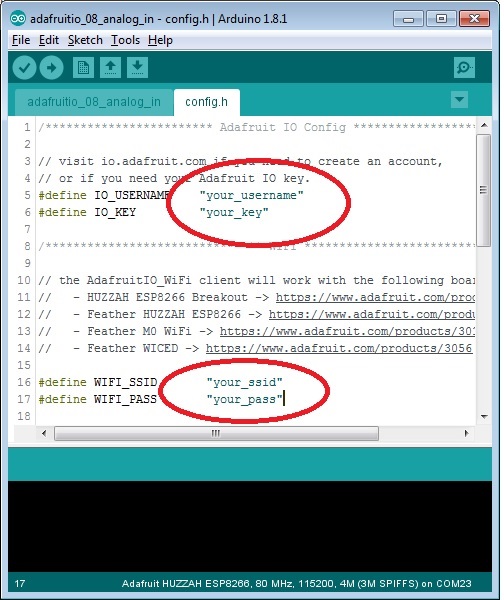
Once I had installed the libraries for the Neopixel and the Huzzah, My sources for the code were the example sketches in the Arduino IDE. I used the Adafruit IO Analog. In the Example folder for reading the inputs into the Huzzah, and the NeoPixel Ring simple sketch along with the Arduino Library Use guide to figure out the code.
I've uploaded a full listing with comments but I will try to explain the main points. (you will have to download the config.h and the .ino file)
There are a couple things to change in the Config.h of the analog in example.
- You need to put in your io.adafruit user name and Key. (This are explained in the Adafruit IO setup giude)
- You need to put your SSID and Password to connect to your internet. (This is expalined in the Huzzah Setup guide)
Once you have done that, the code should run on your network.
I have commented the code to help explain all this, but a brief rundown of the main points are below.
There are several functions at the bottom of the code. Some of them I copied from the IO example and adapted to my purposes. Some I wrote myself such as the SetFirstHalf() and SetSecondHalf() functions. Reading data from the IO Feeds is done by the MessageHandle() functions. How the data is treated is by the ->toInt(), or toFloat, calls. The very useful one I found enabled me to read from a color picker on the dashboard with a single message handler and the toRed(), toGreen() and toBlue(), calls.
Finally
Once you have done all this you should be good to go. Plug in the lamp with any 5V phone charger and after a while it should have connected to the internet.
If the lights don't light the first time, try changing the mood light color or your weight a little. As a said before the message handlers act on a change of data so you initially need to change things on your feeds to get it working.
I hope you enjoyed this instructable, it was fun to make.