IKEA Lack Hack: Hidden Extra Shelf for Puzzles and Games Using 3D Printed Parts
by Studio Petek in Living > Organizing
4254 Views, 36 Favorites, 0 Comments
IKEA Lack Hack: Hidden Extra Shelf for Puzzles and Games Using 3D Printed Parts
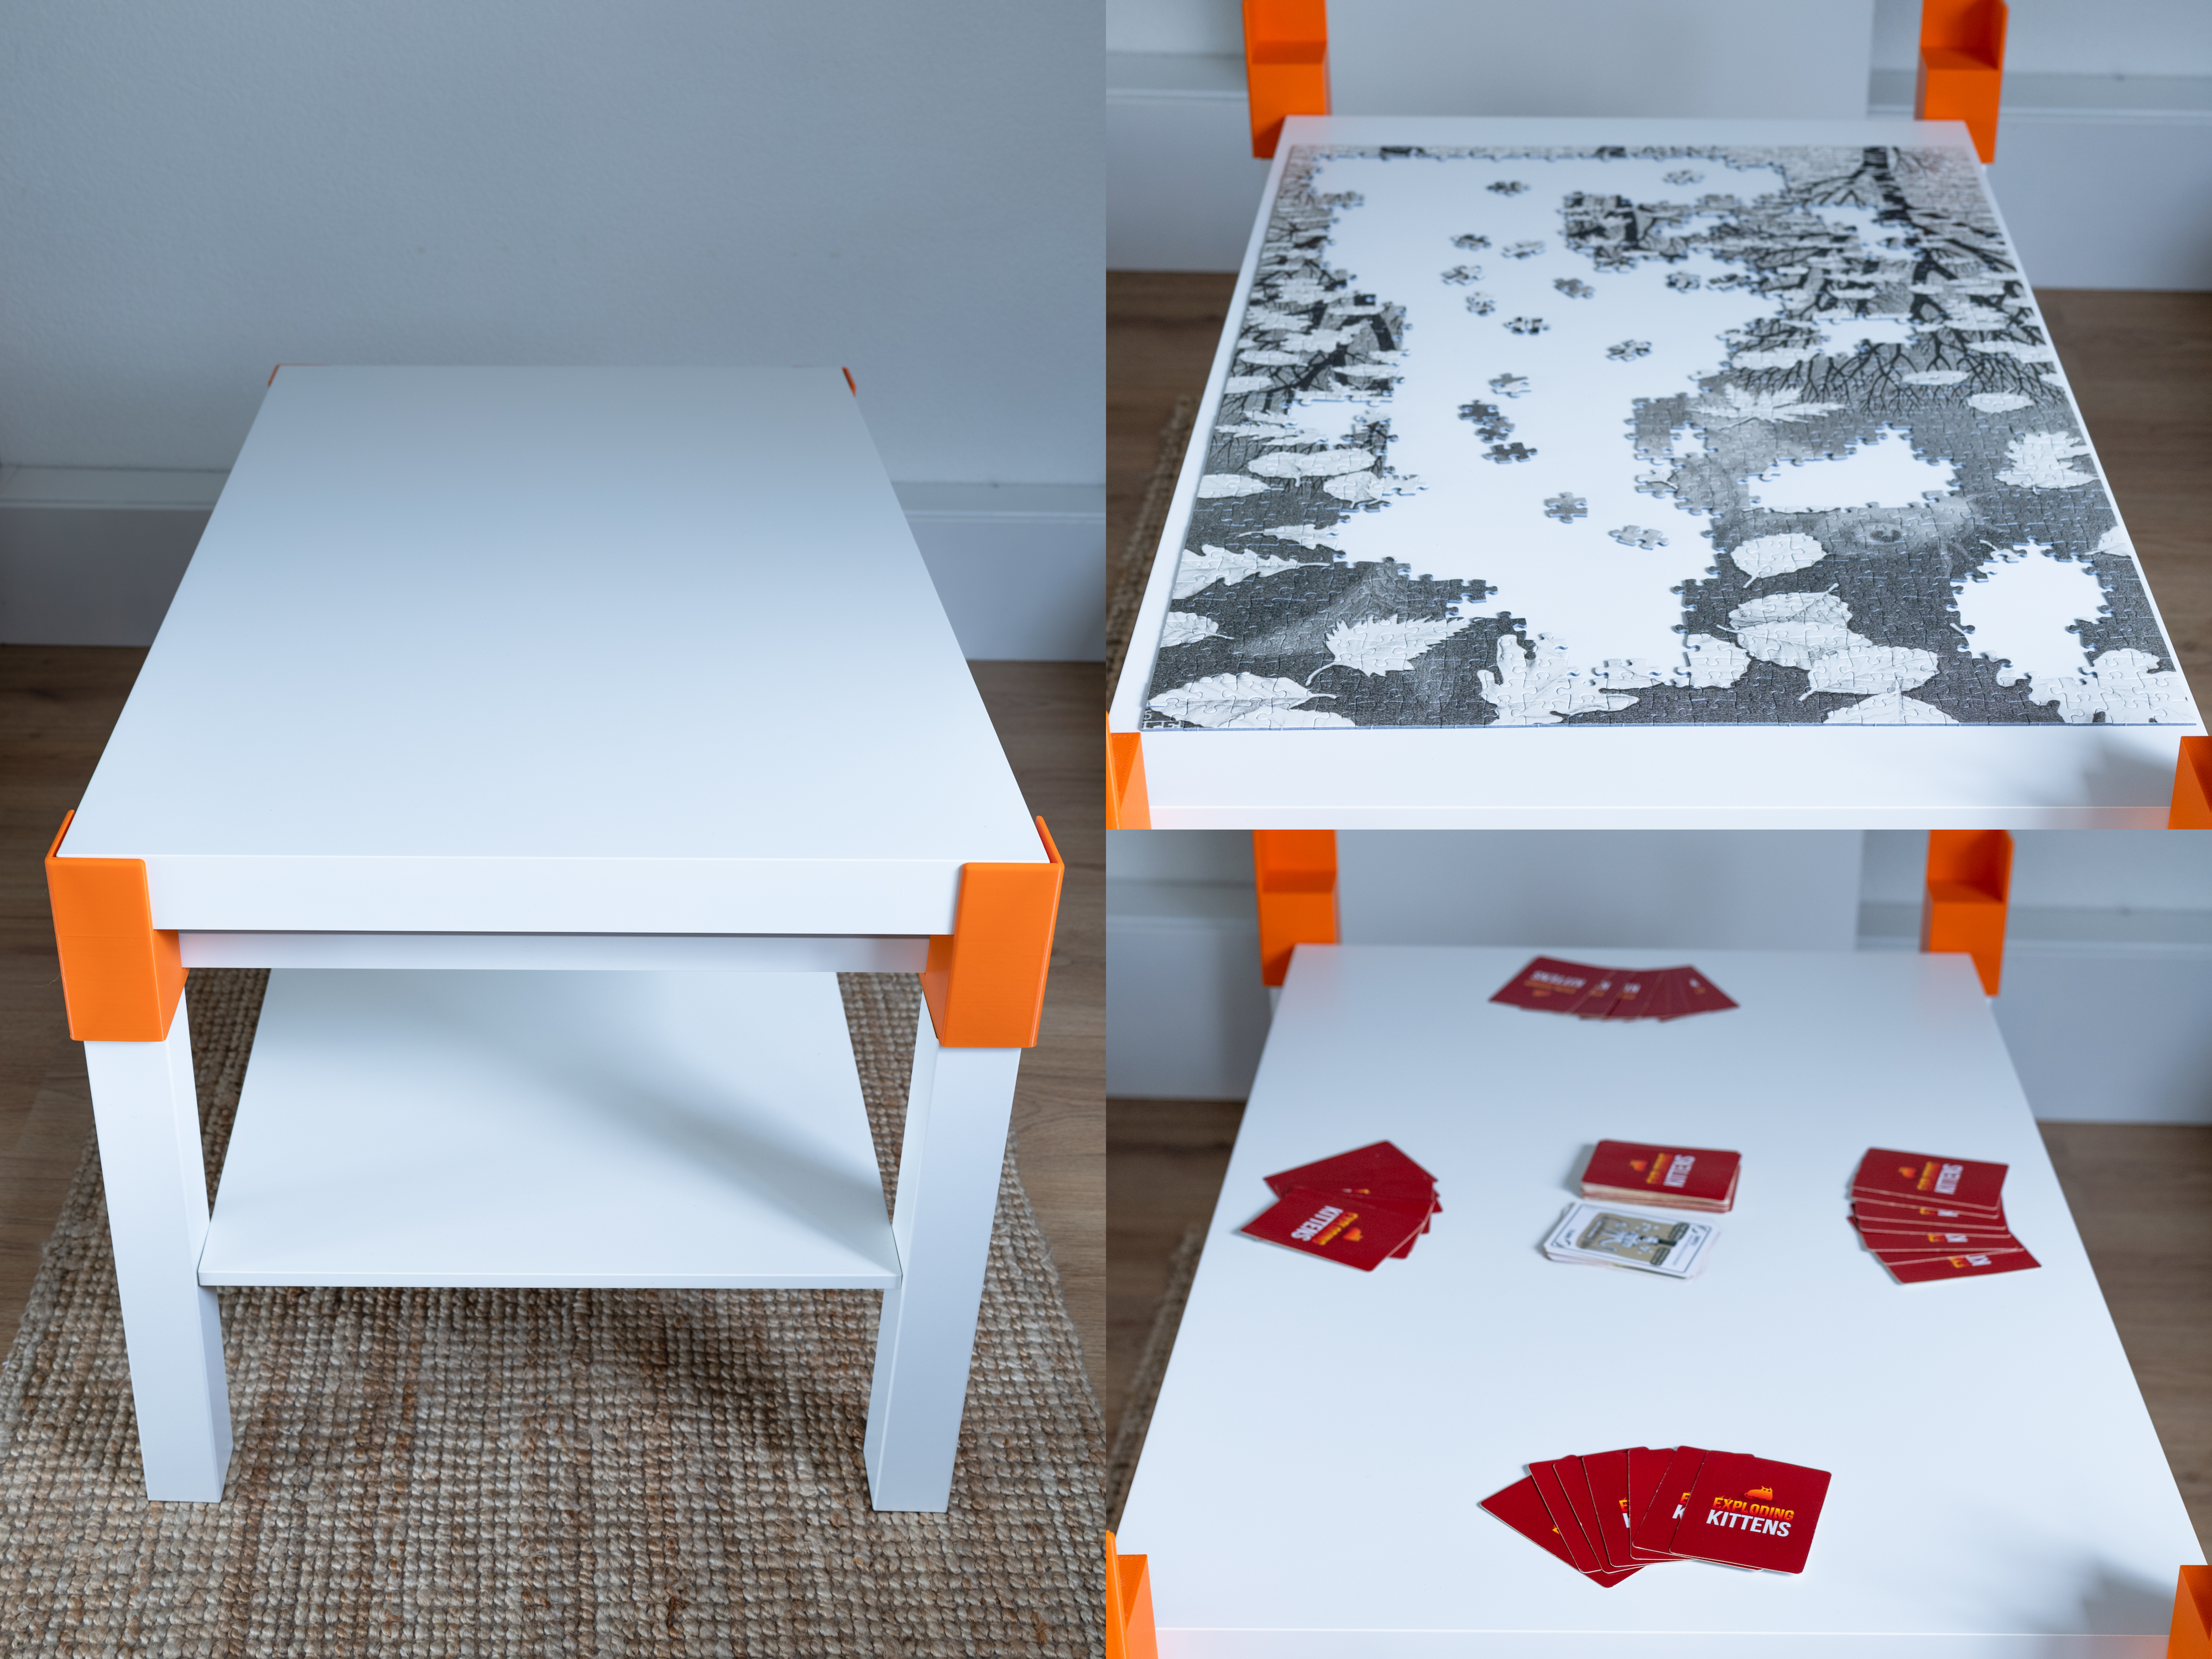
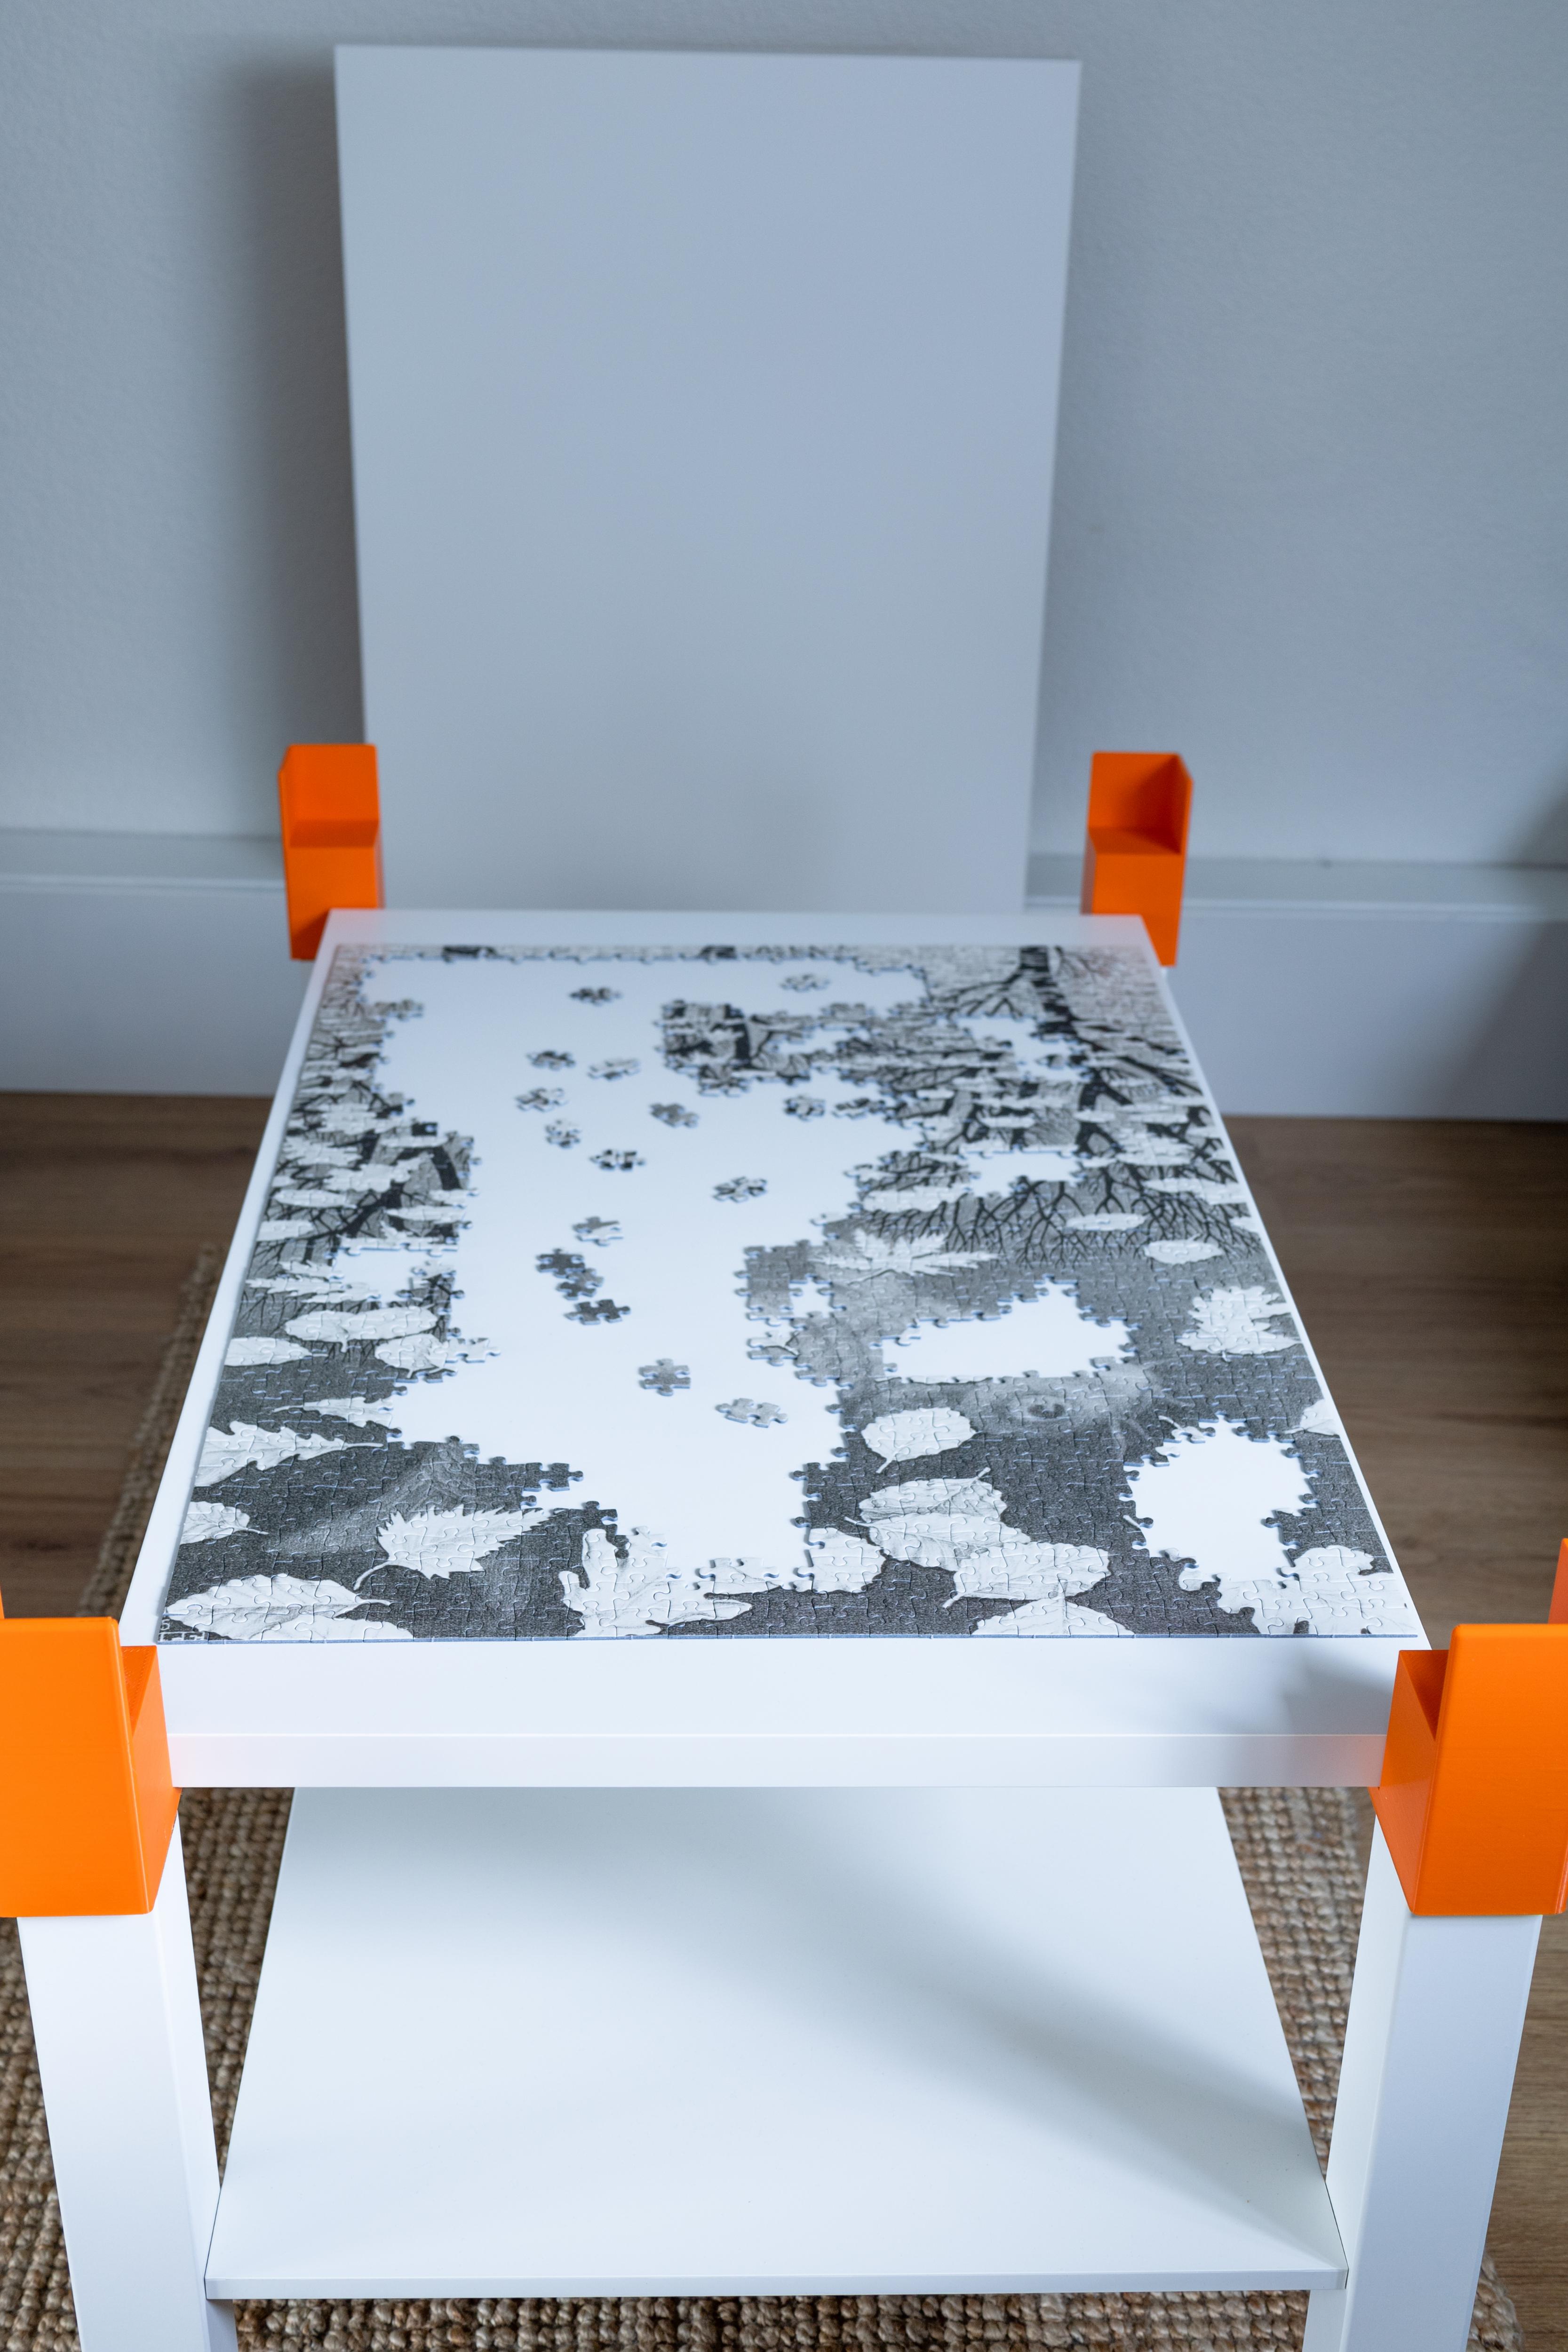
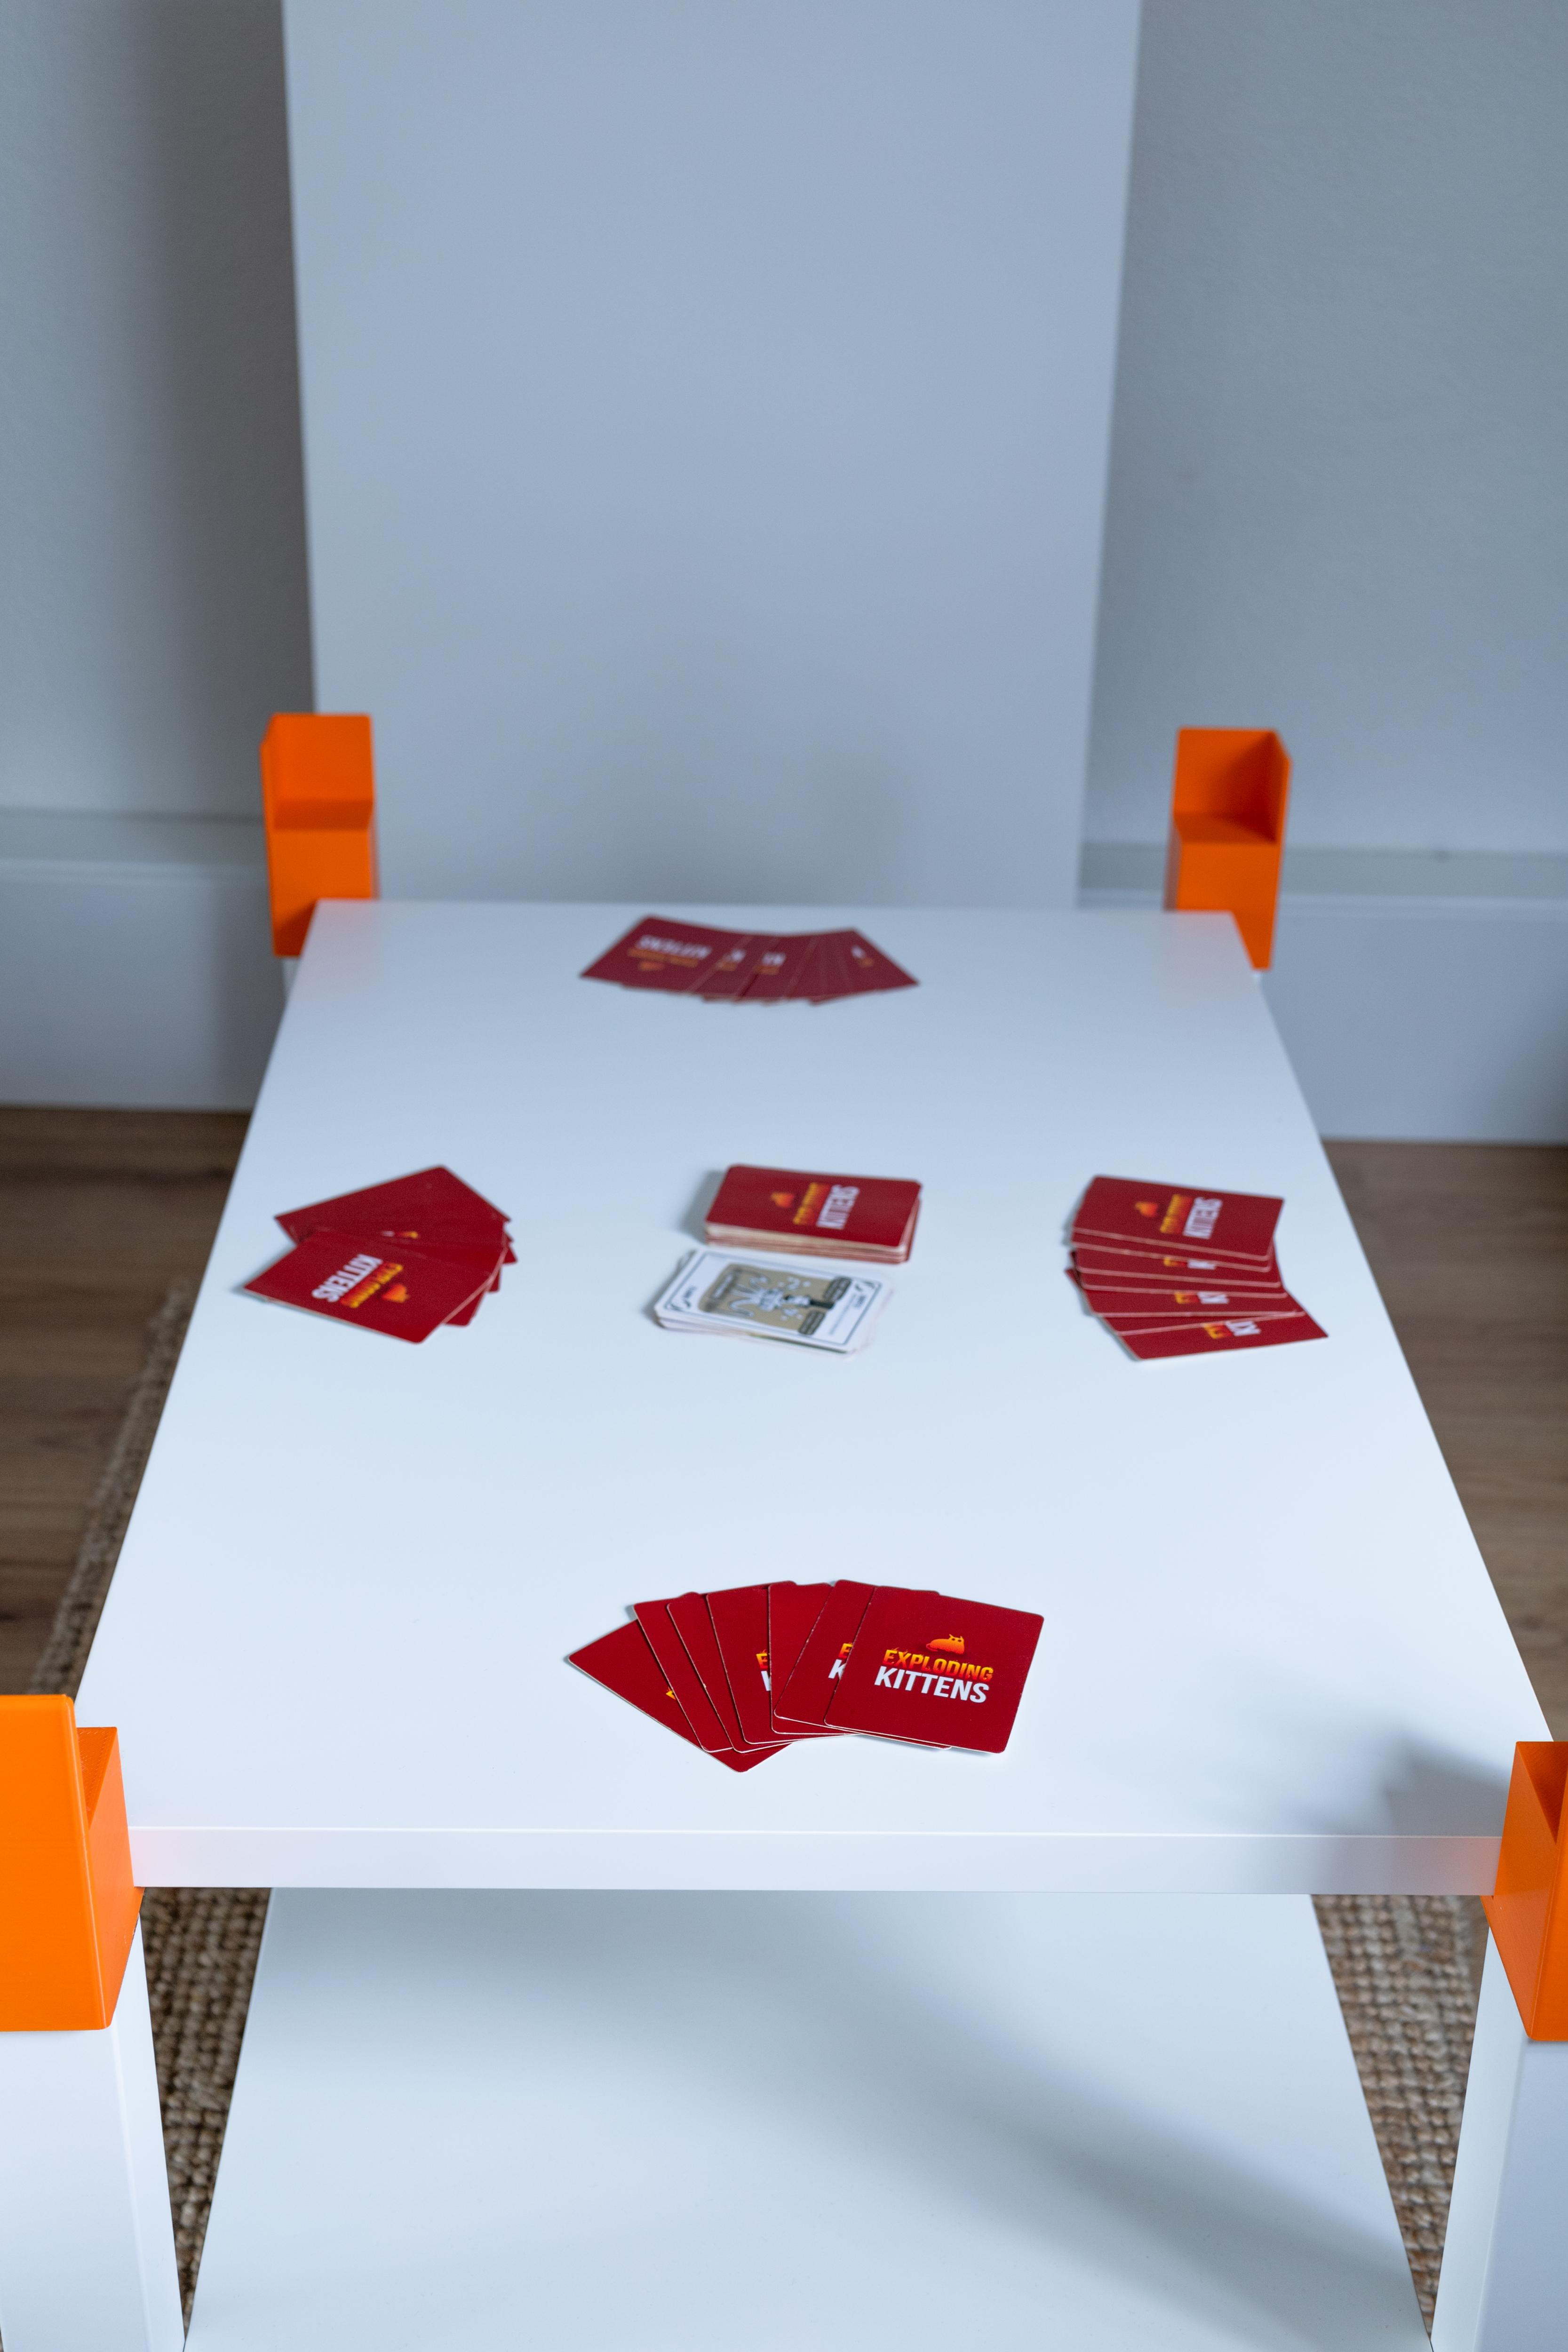
Have you ever started a puzzle on your coffee table and then not been able to use the table for days or weeks because you haven't finished the puzzle yet? Or wanted to pauze a card or board game for a quick snack break and have to clear the table to have enough space?
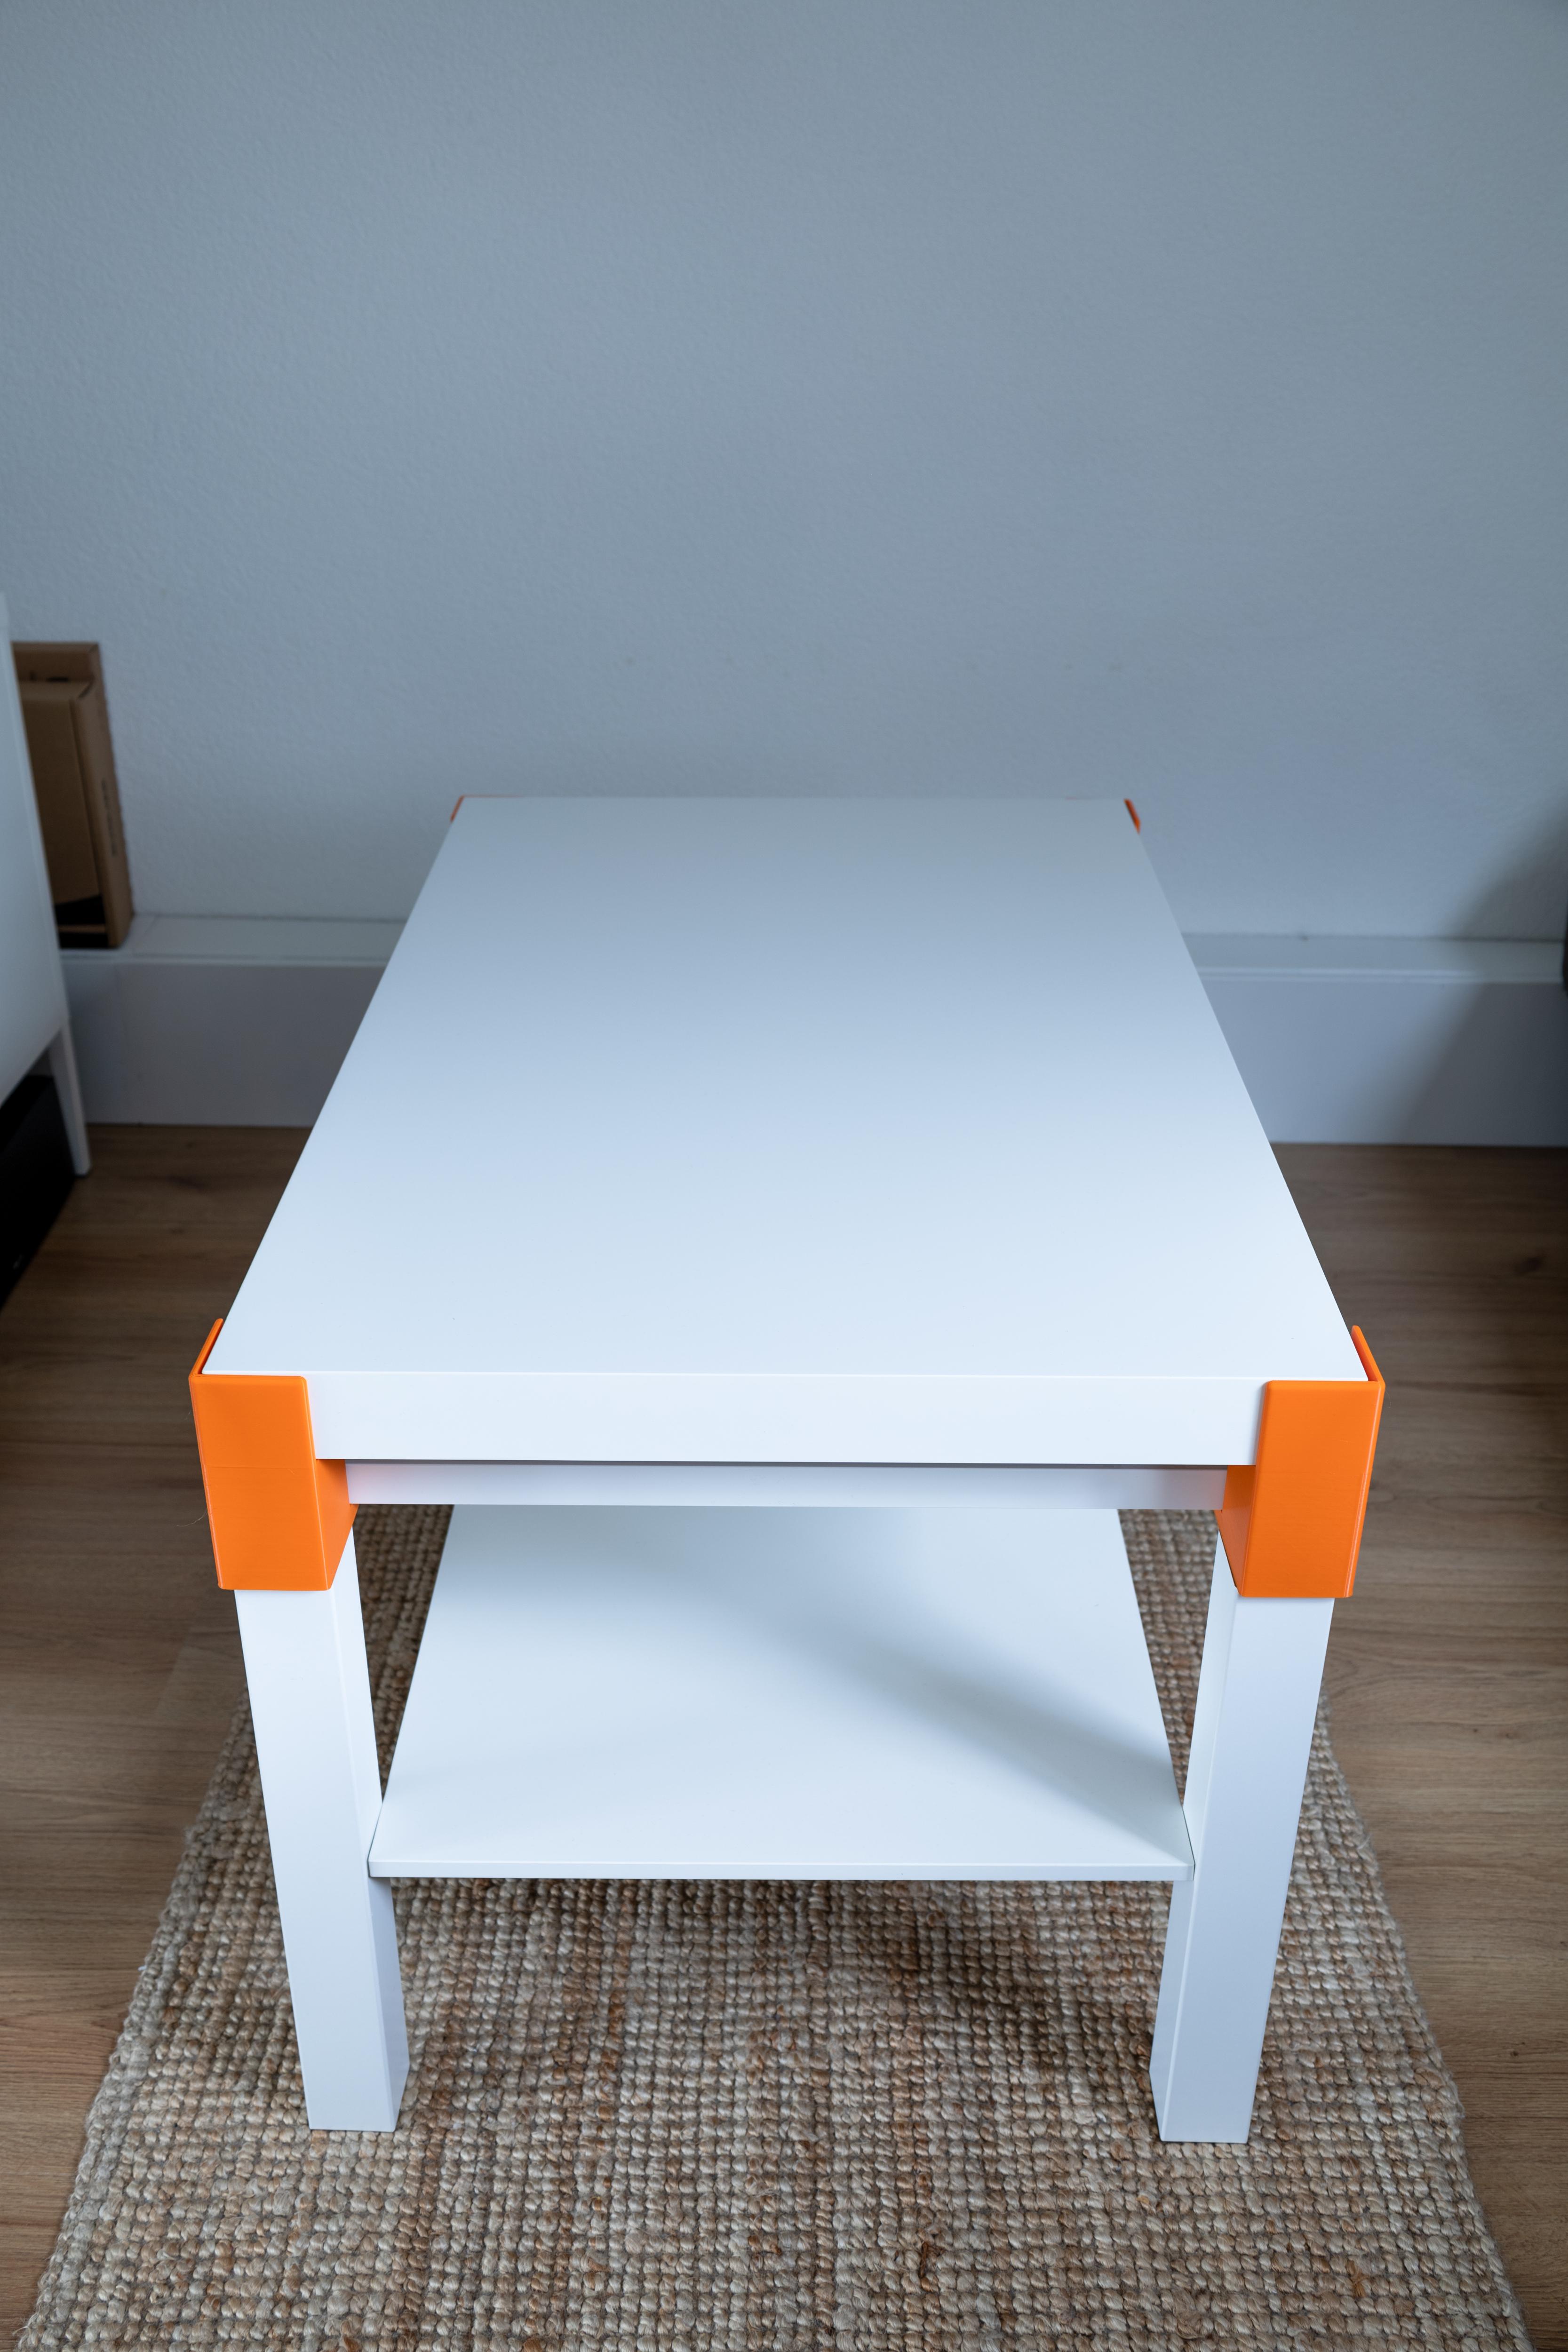
This is a problem I've been running into, so I wanted to create a simple solution by modifying an IKEA Lack coffee table using 3D printed parts attached to the legs. These allow me to have a second shelf right underneath the top. This lets me leave whatever activity I'm doing undisturbed on this shelf and cover it with the original table top. Then when I'm ready to continue the table top is easily removed again.
Supplies
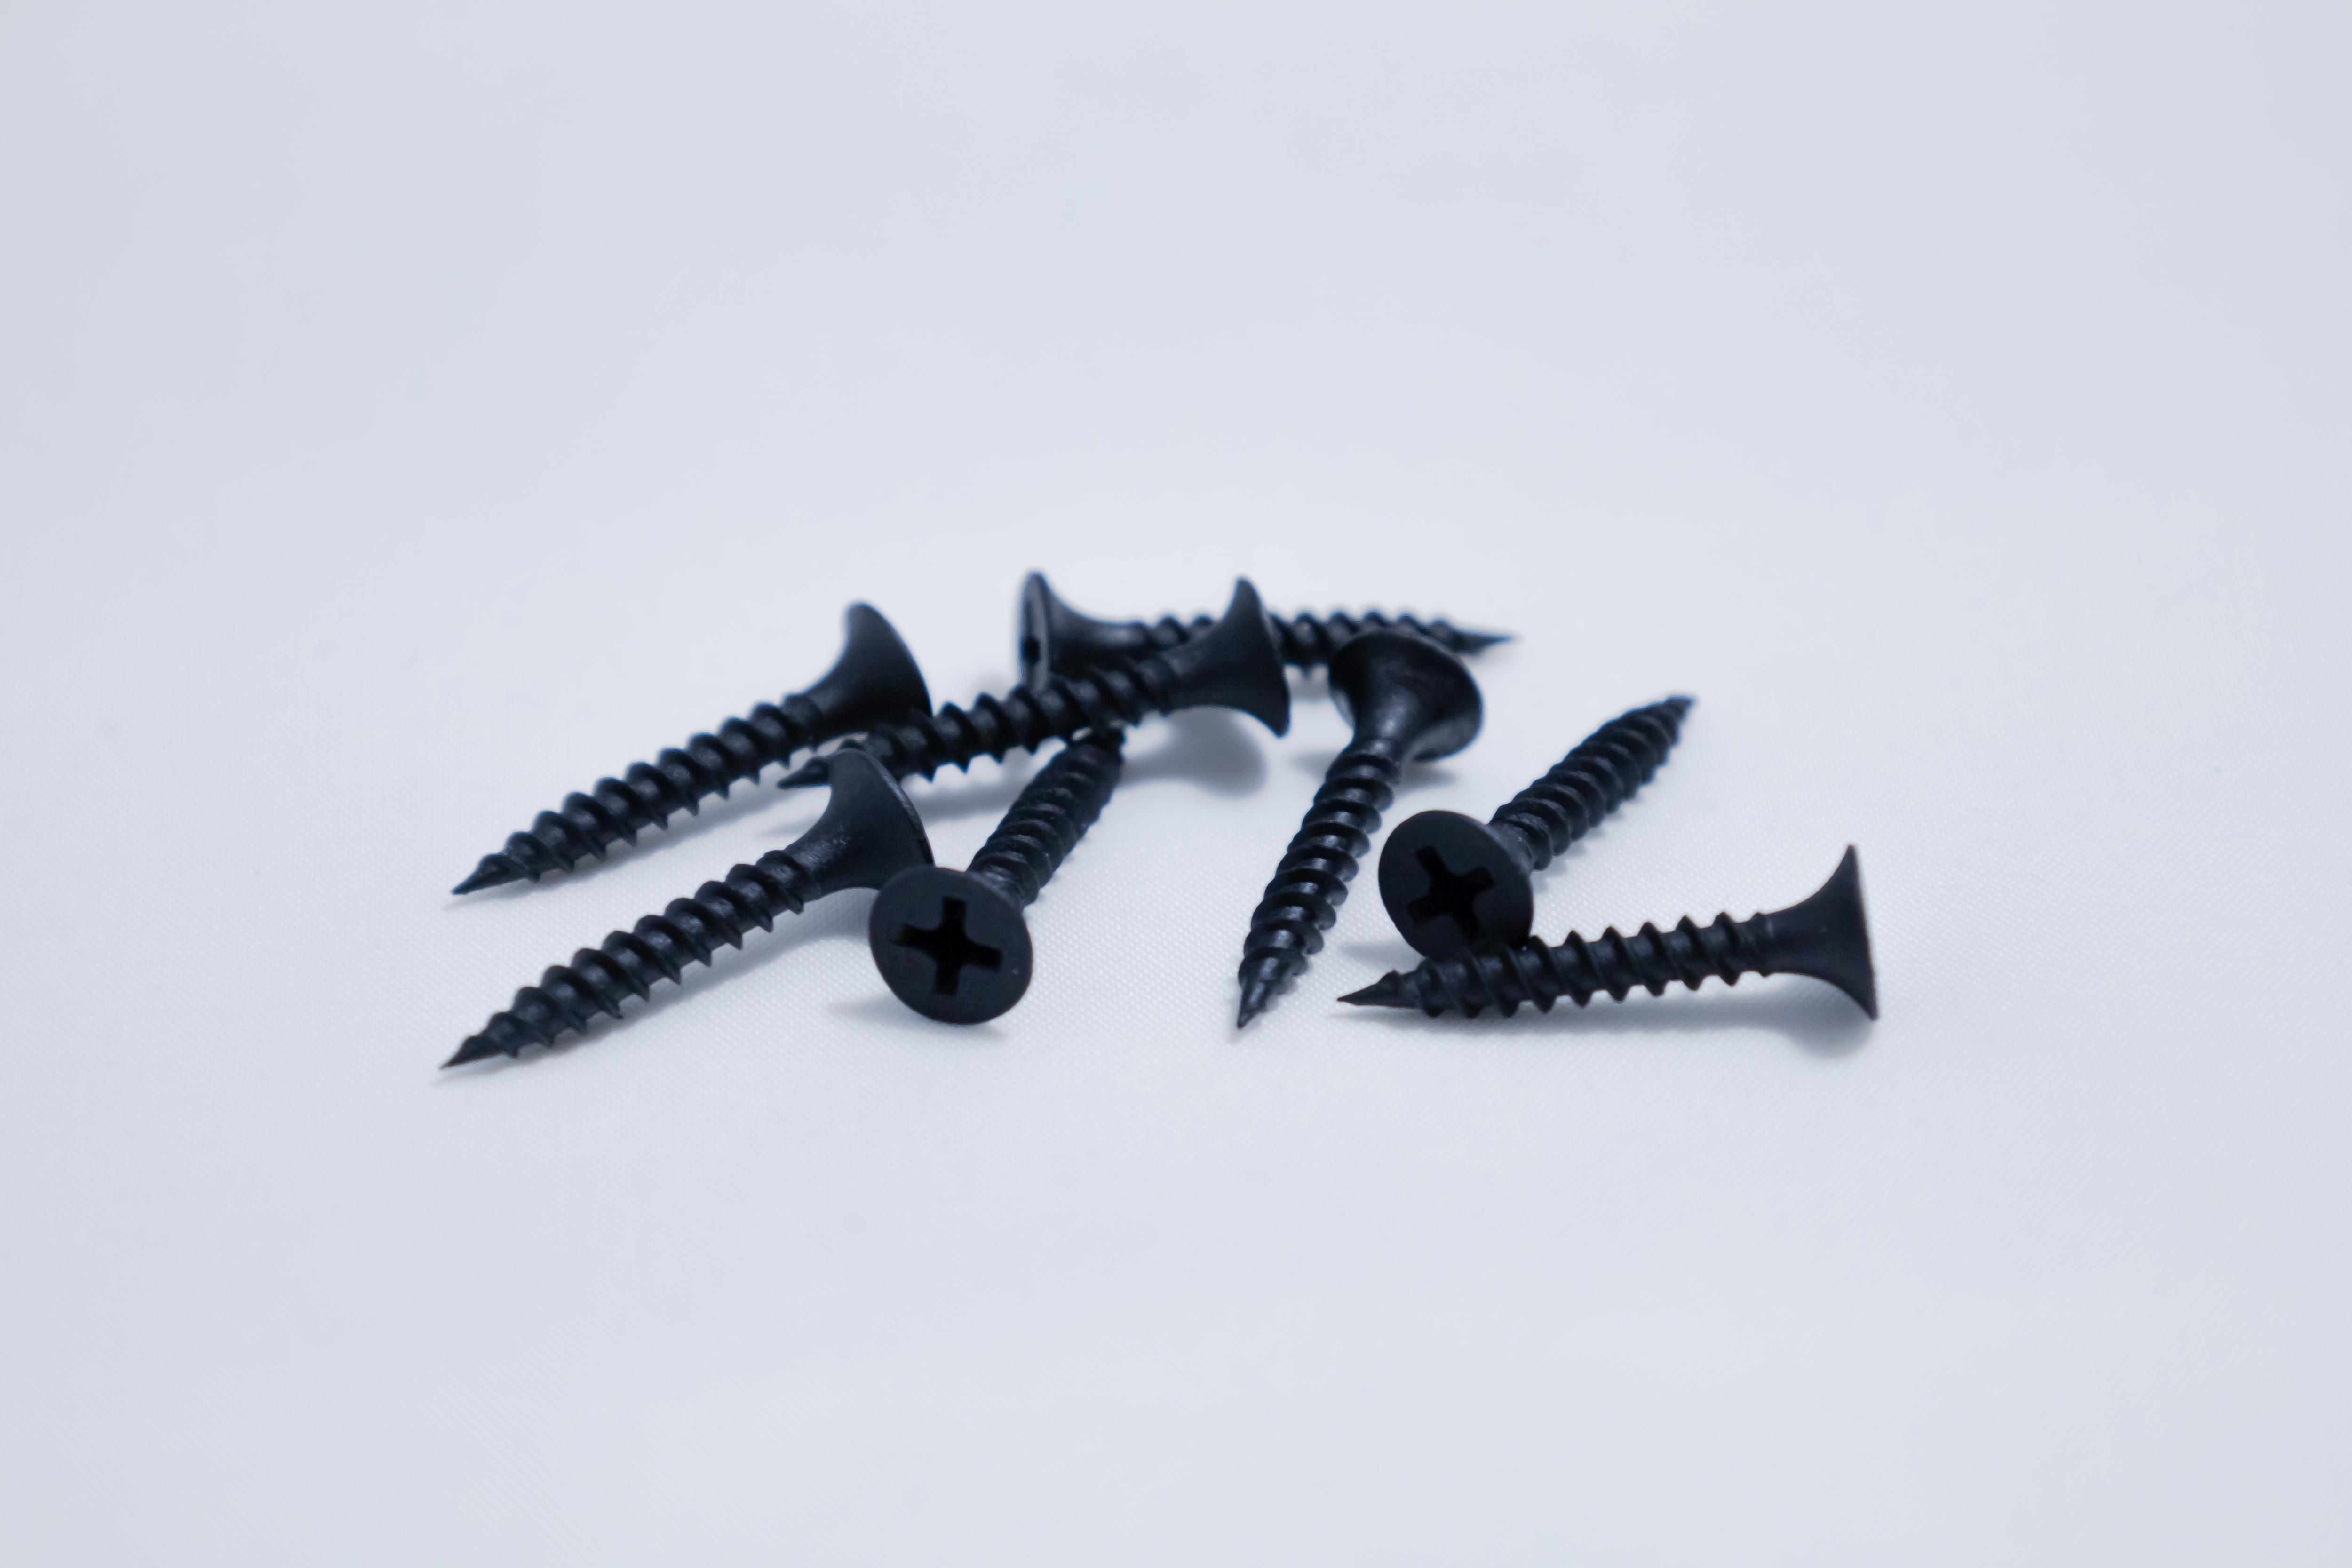
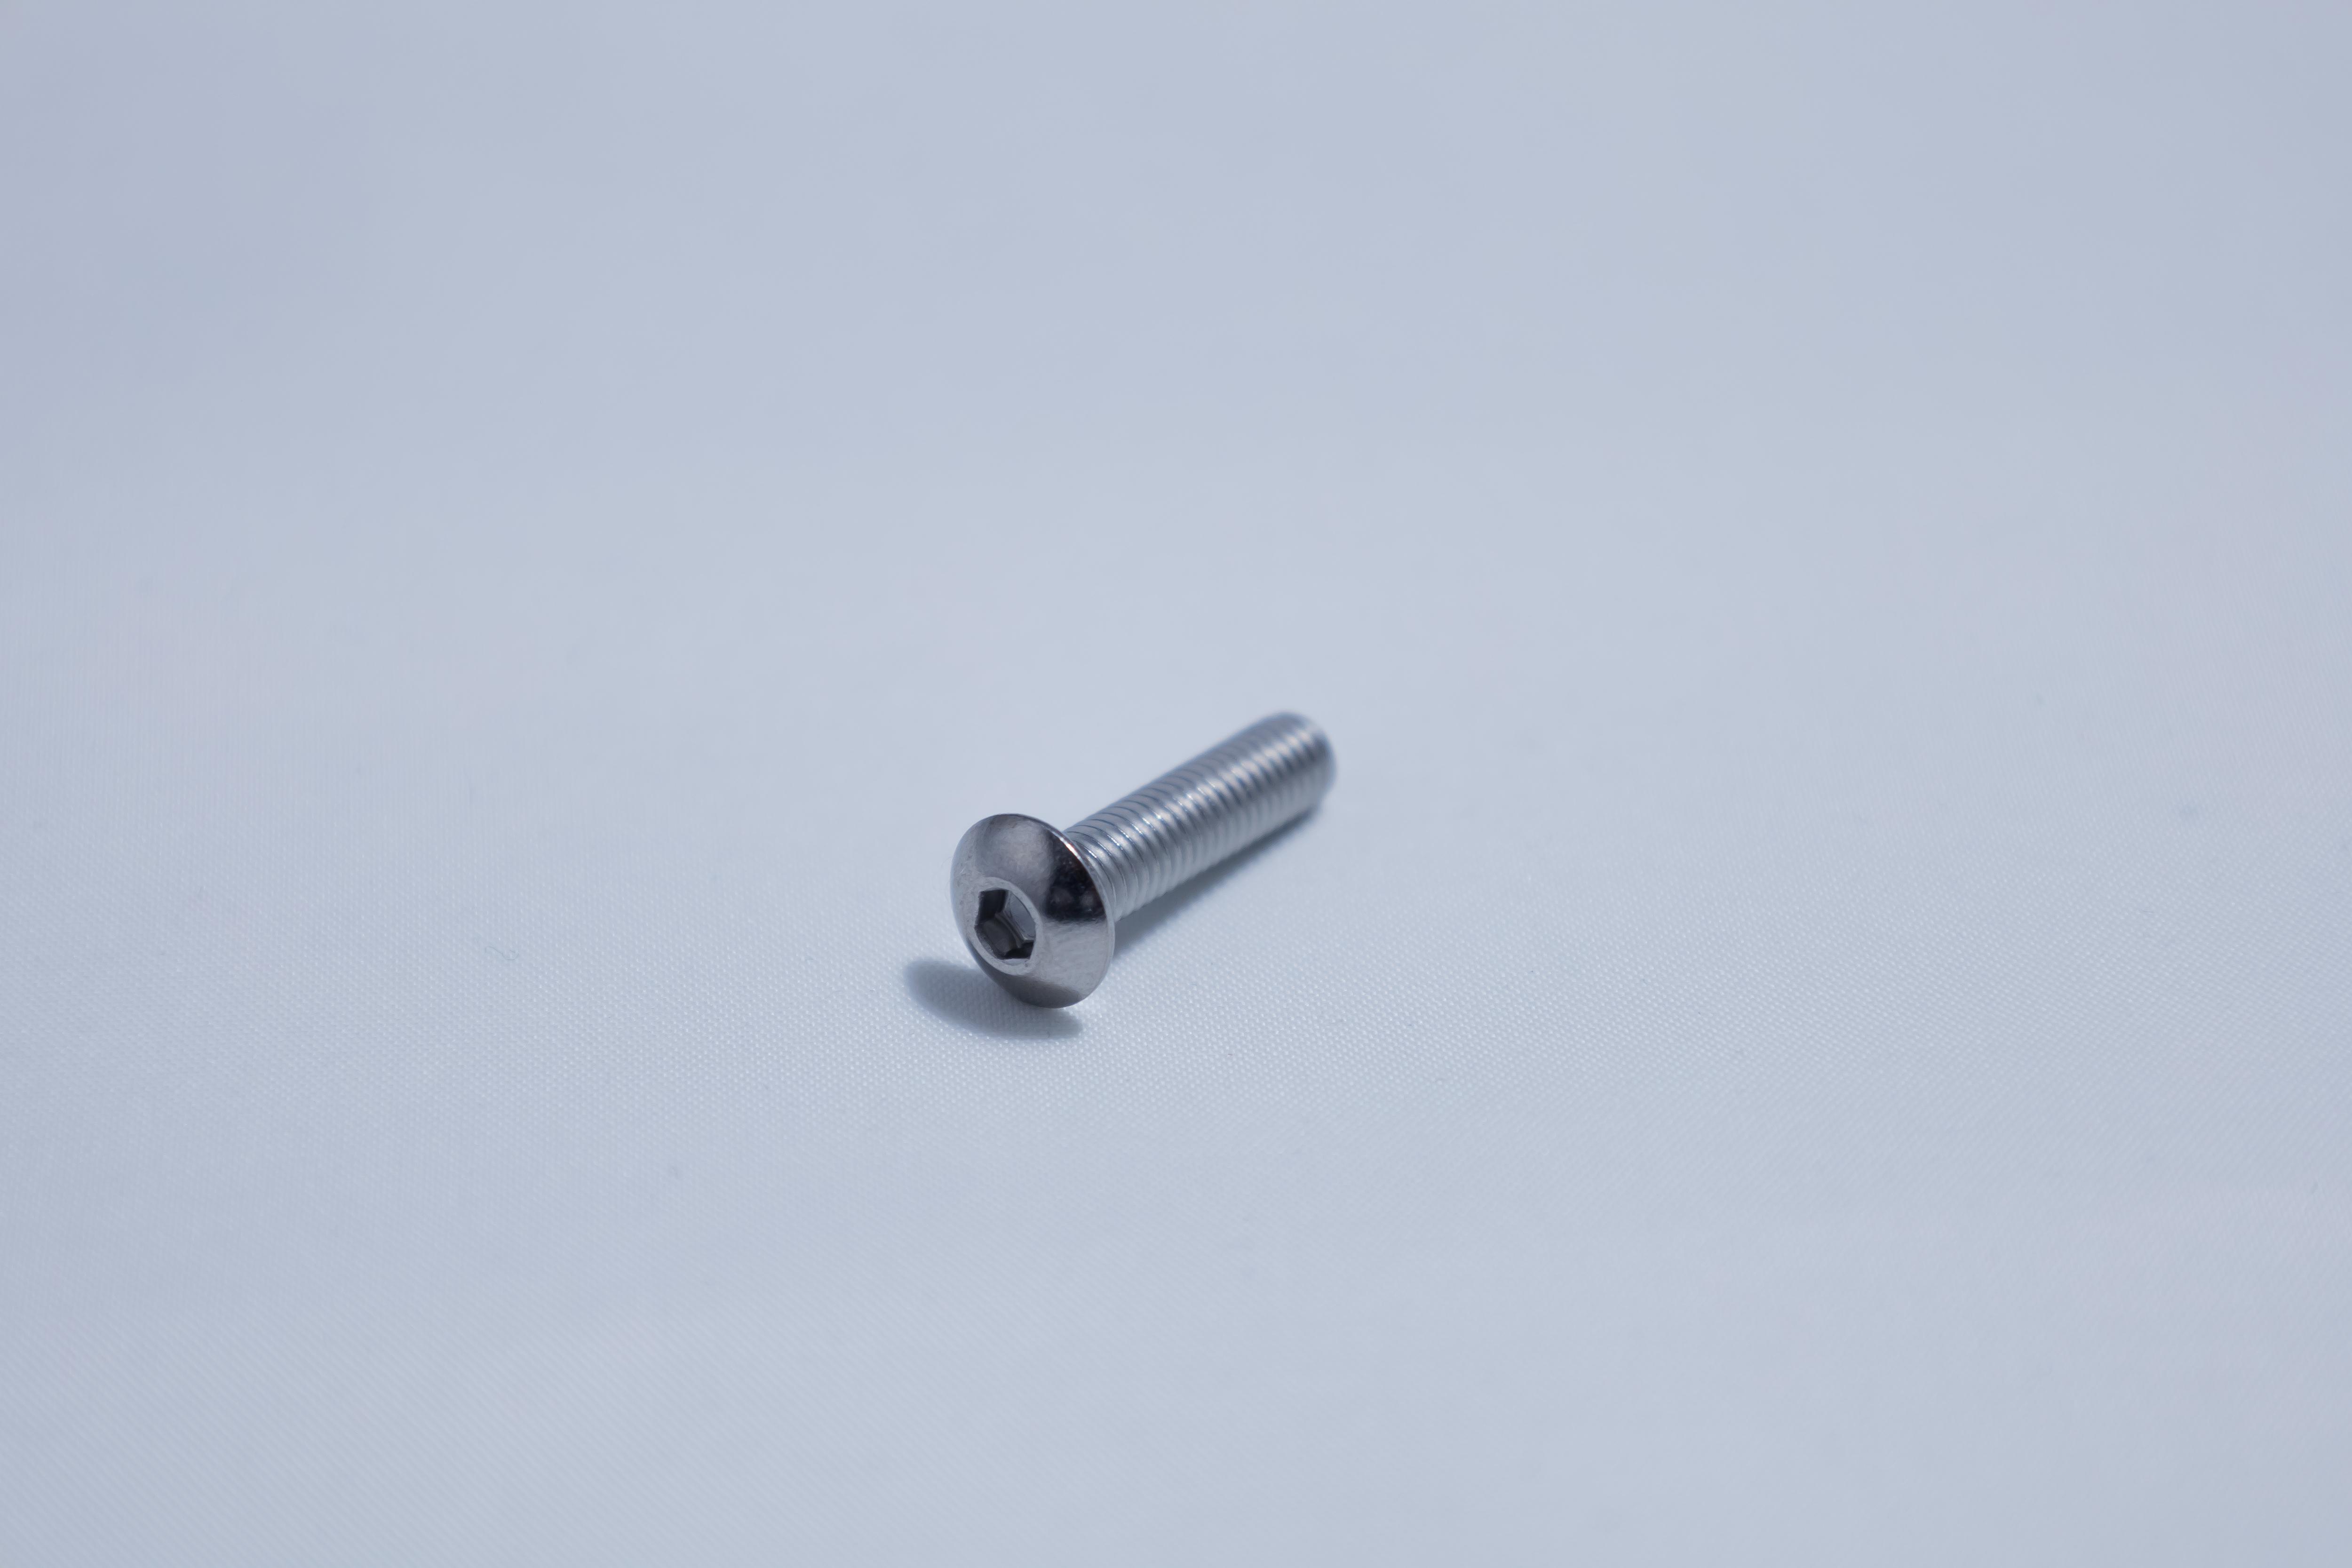
The tools and materials you will need:
• 3D printer
• Filament for the 3D printer (I used PLA filament, you can use ABS or PETG for a more rigid part)
• 3D slicer (I used Cura)
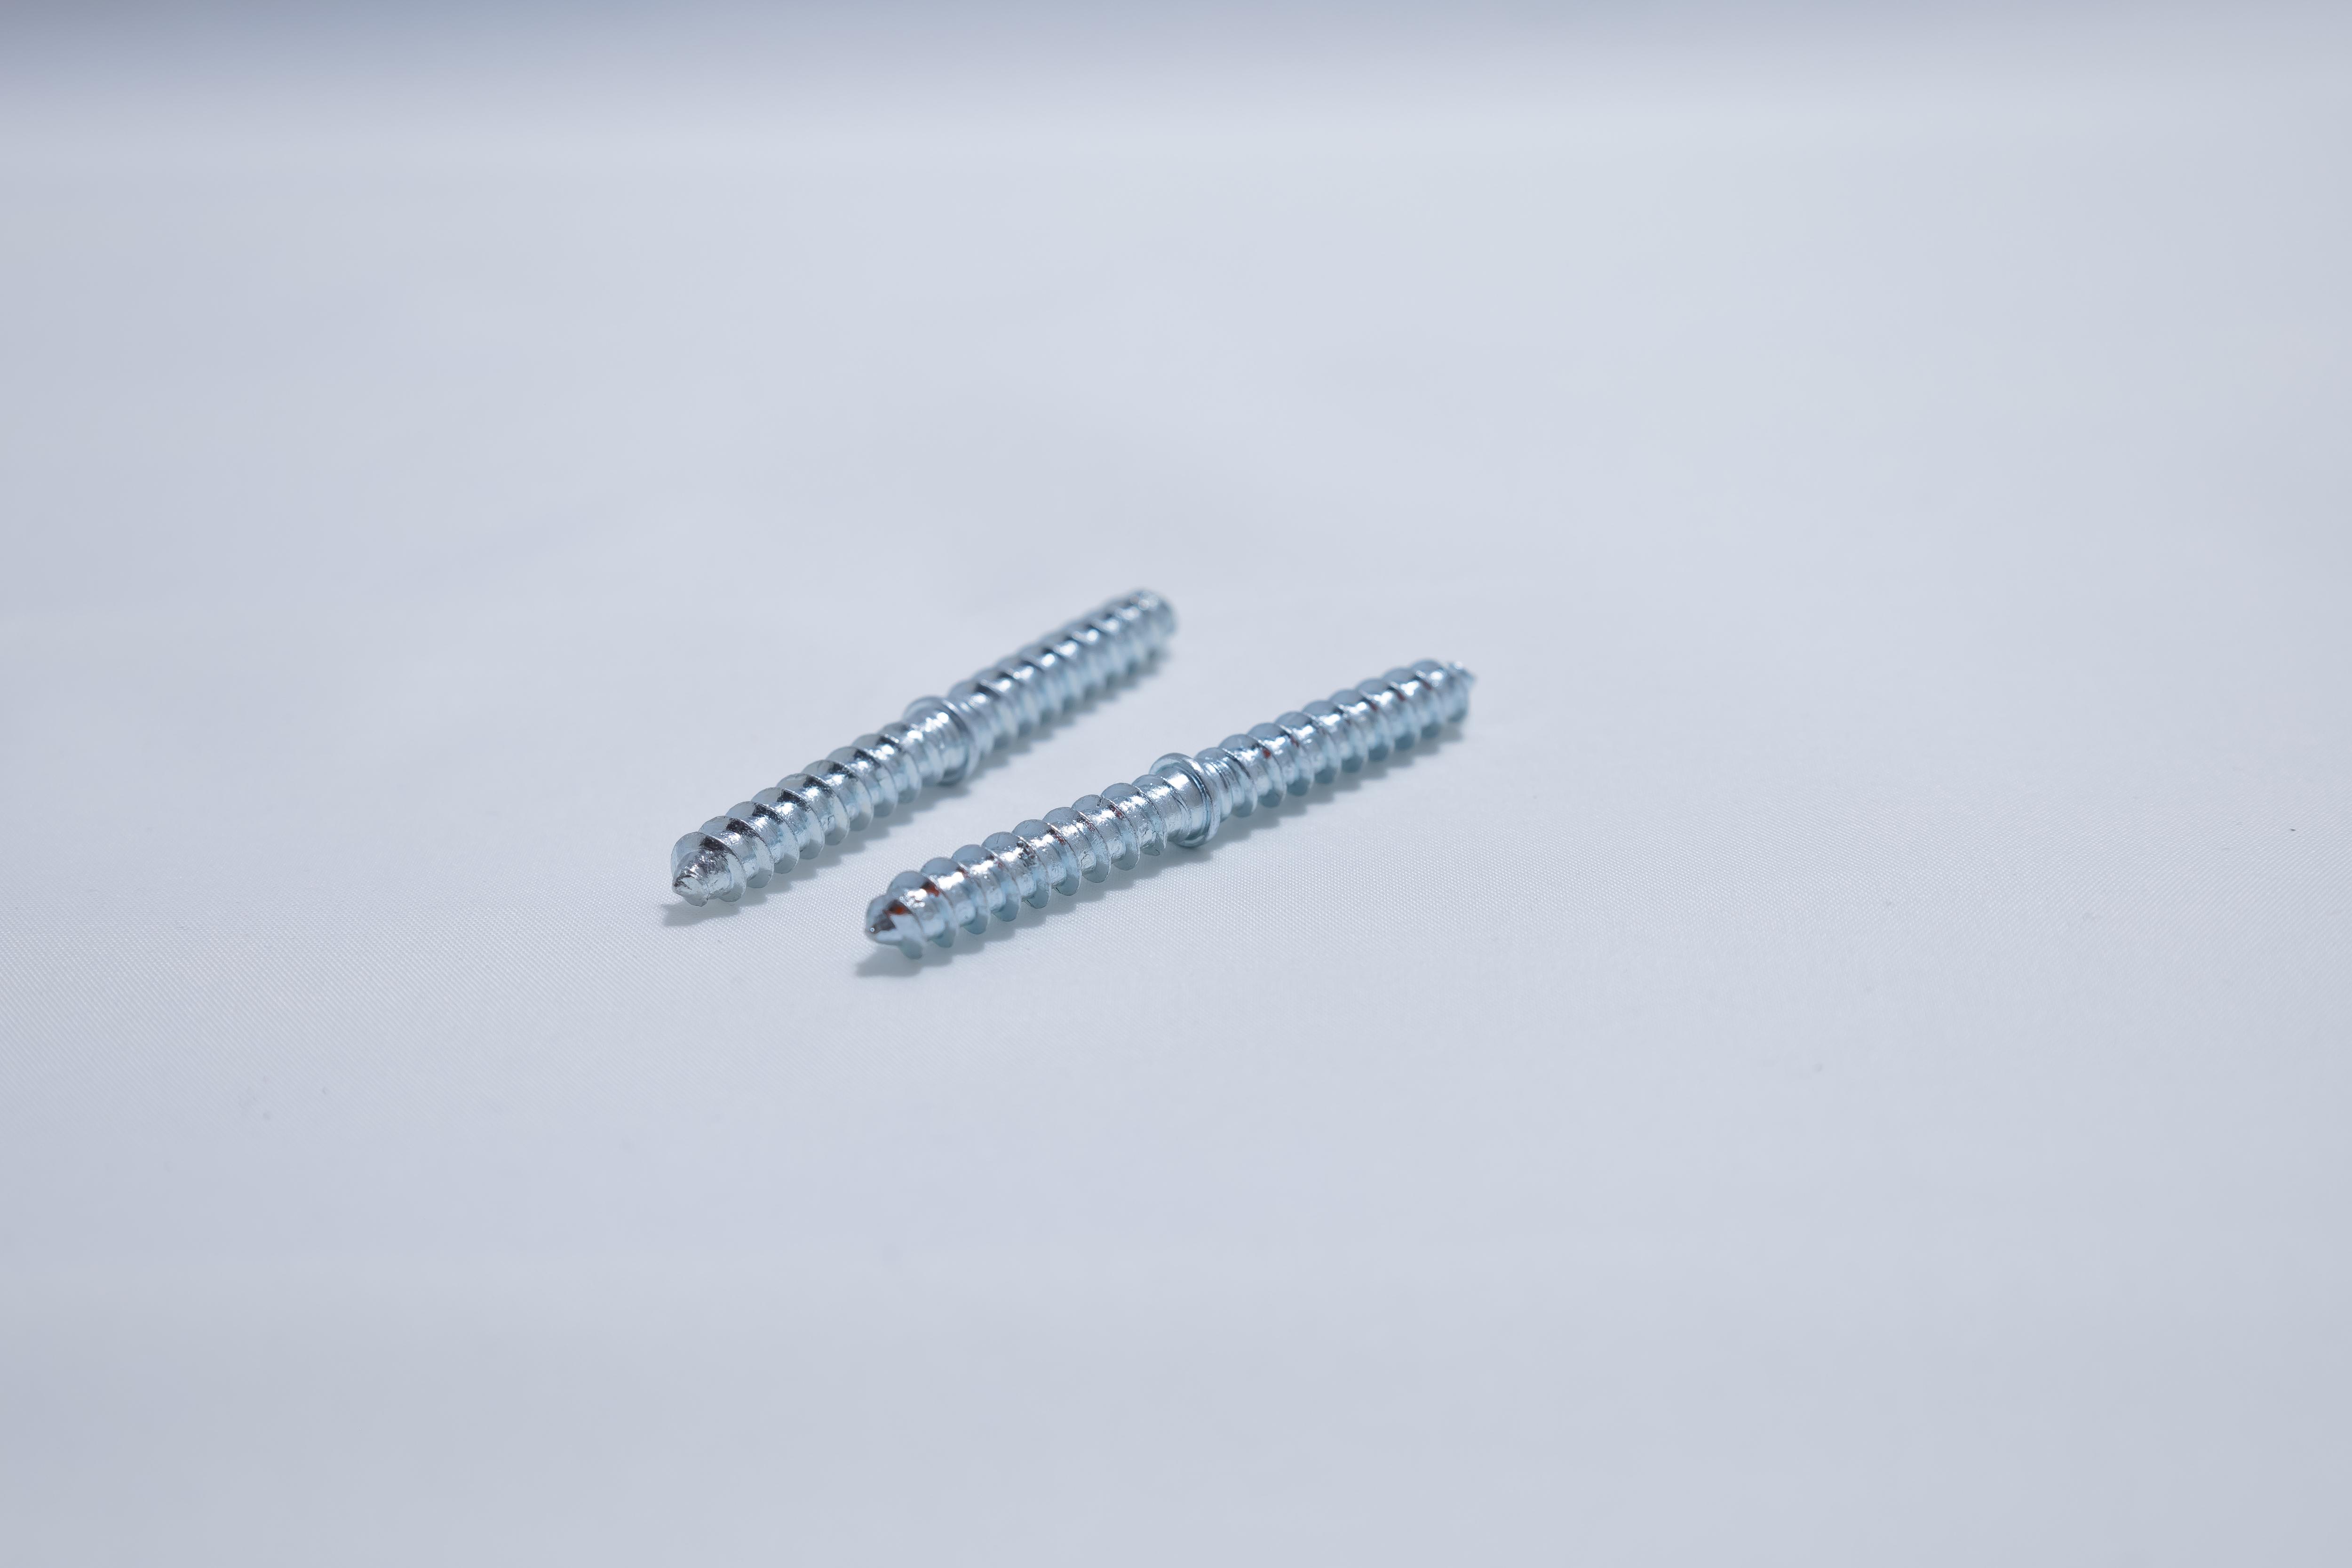
• Eight 3.6 x 25 mm screws
• One M5 x 20 mm bolt (optional, for aligning purposes only)
3D Printing the Parts
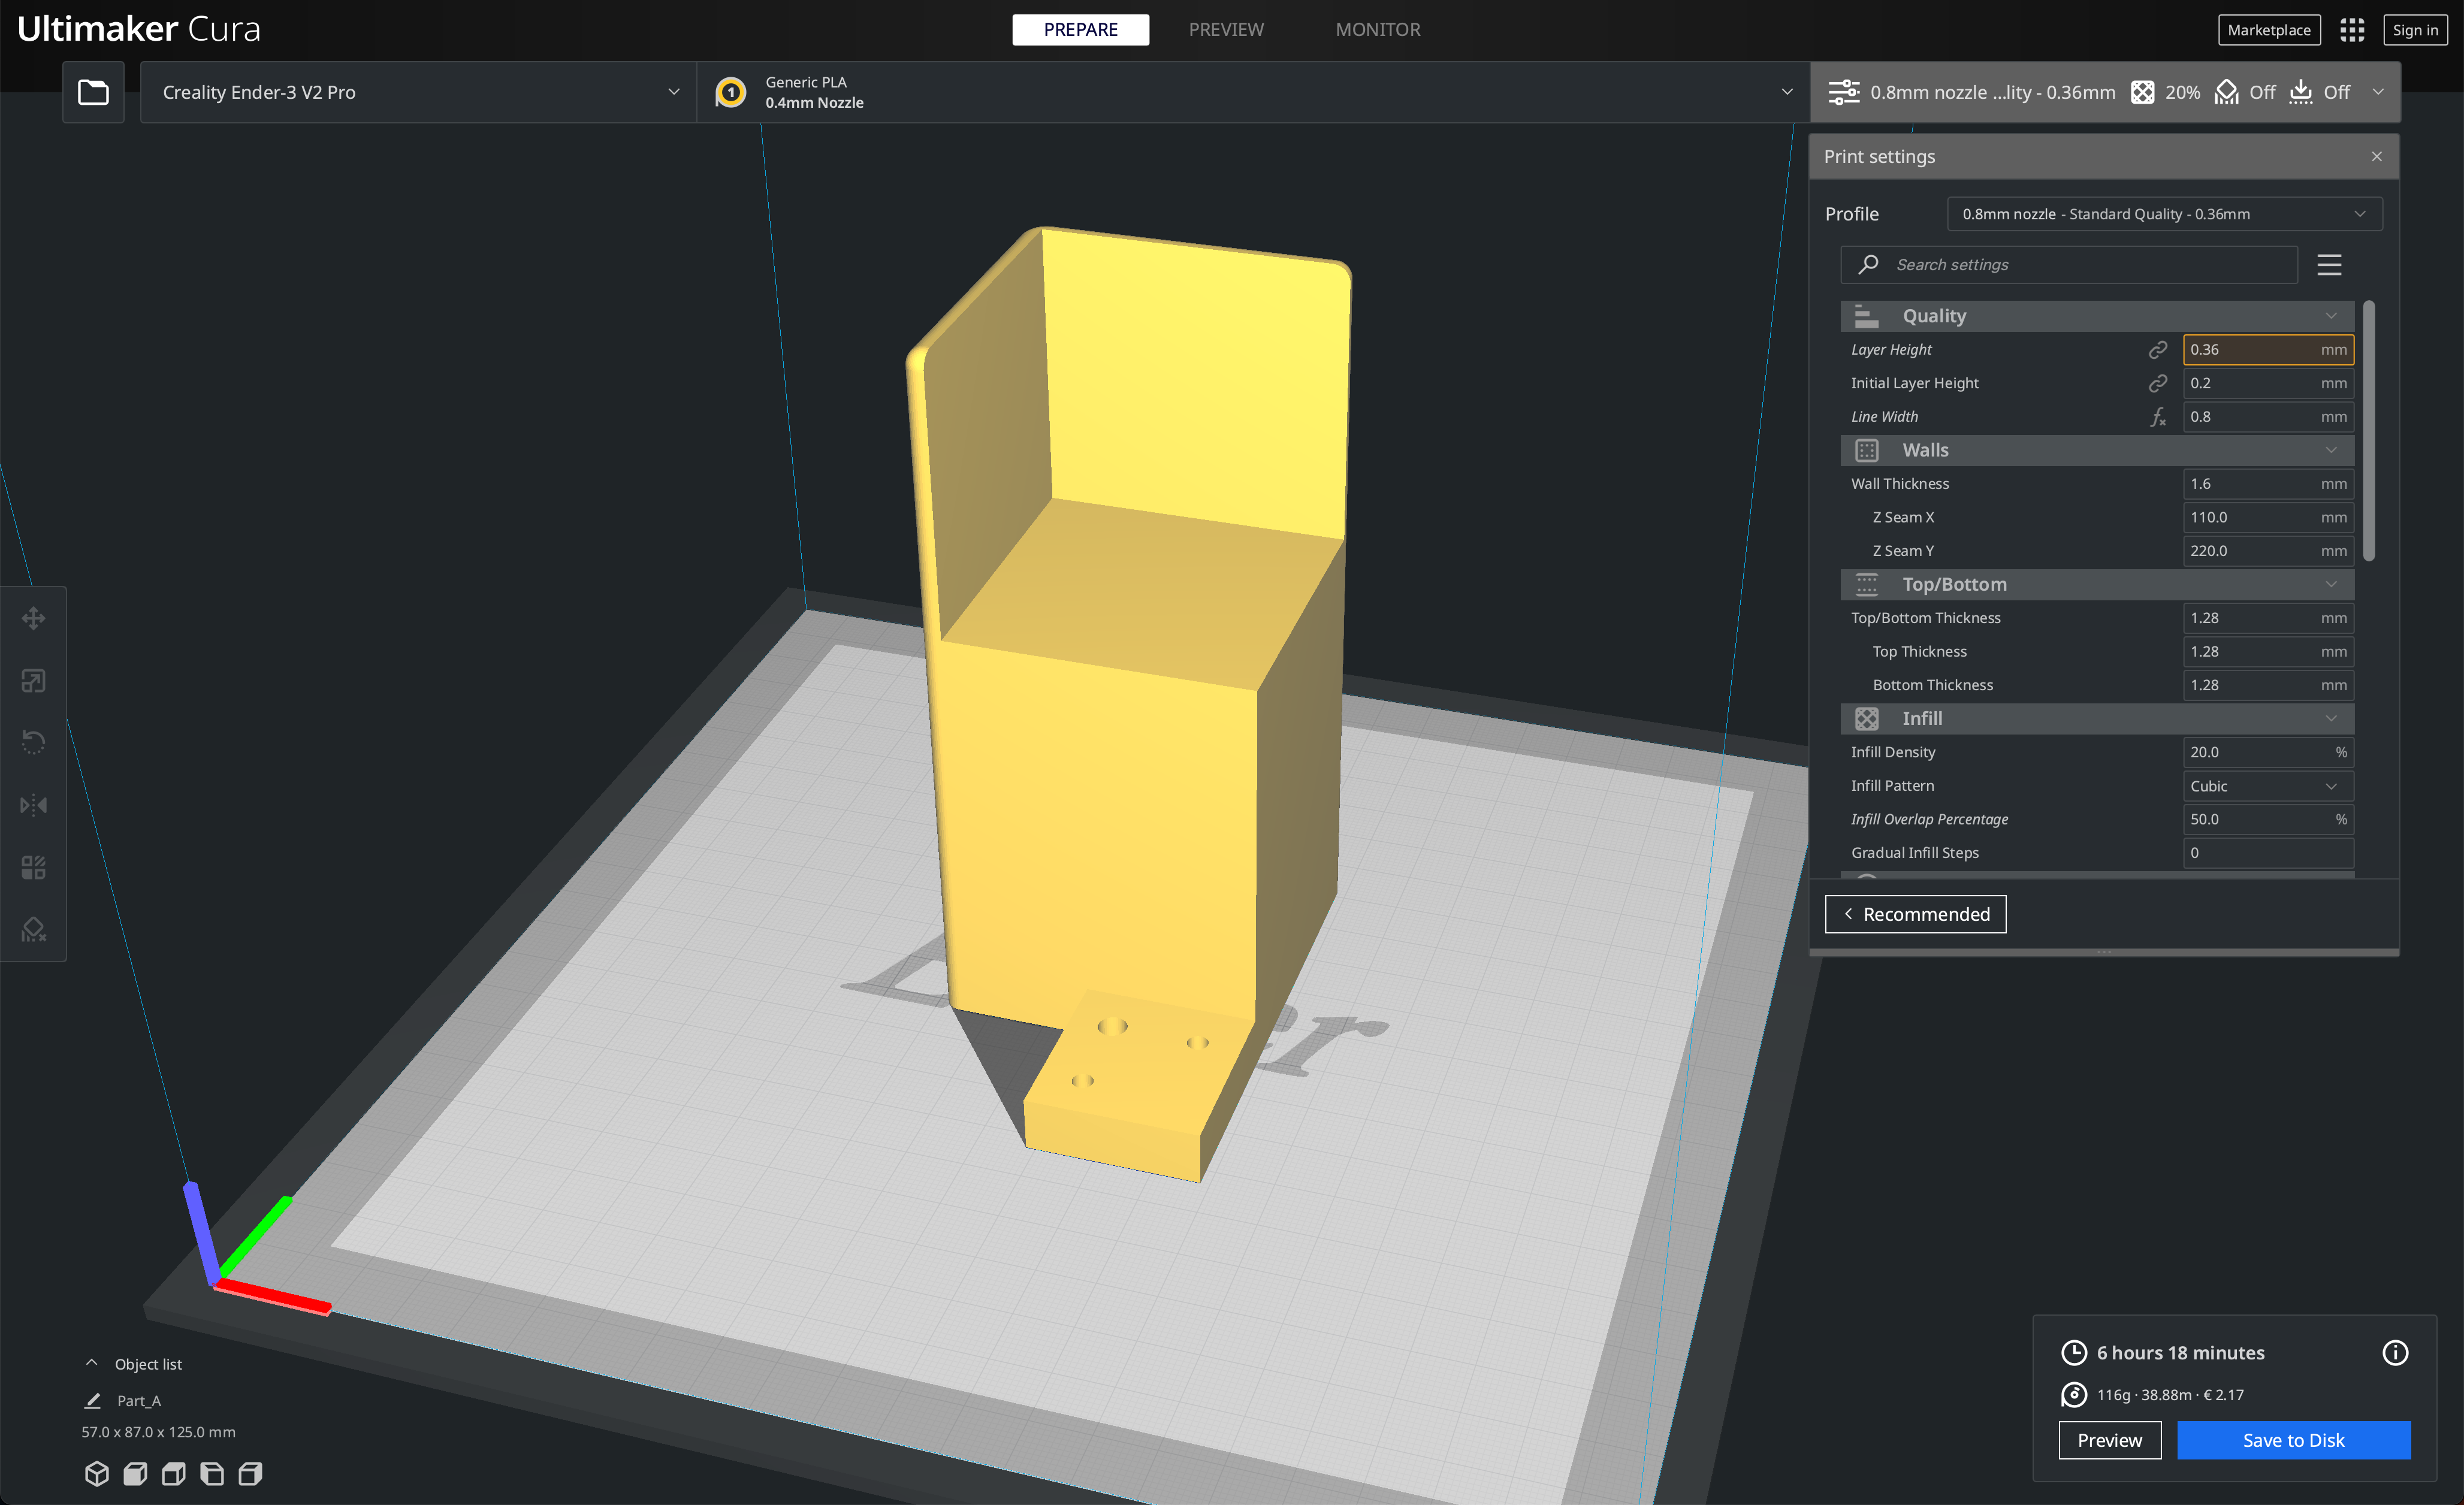
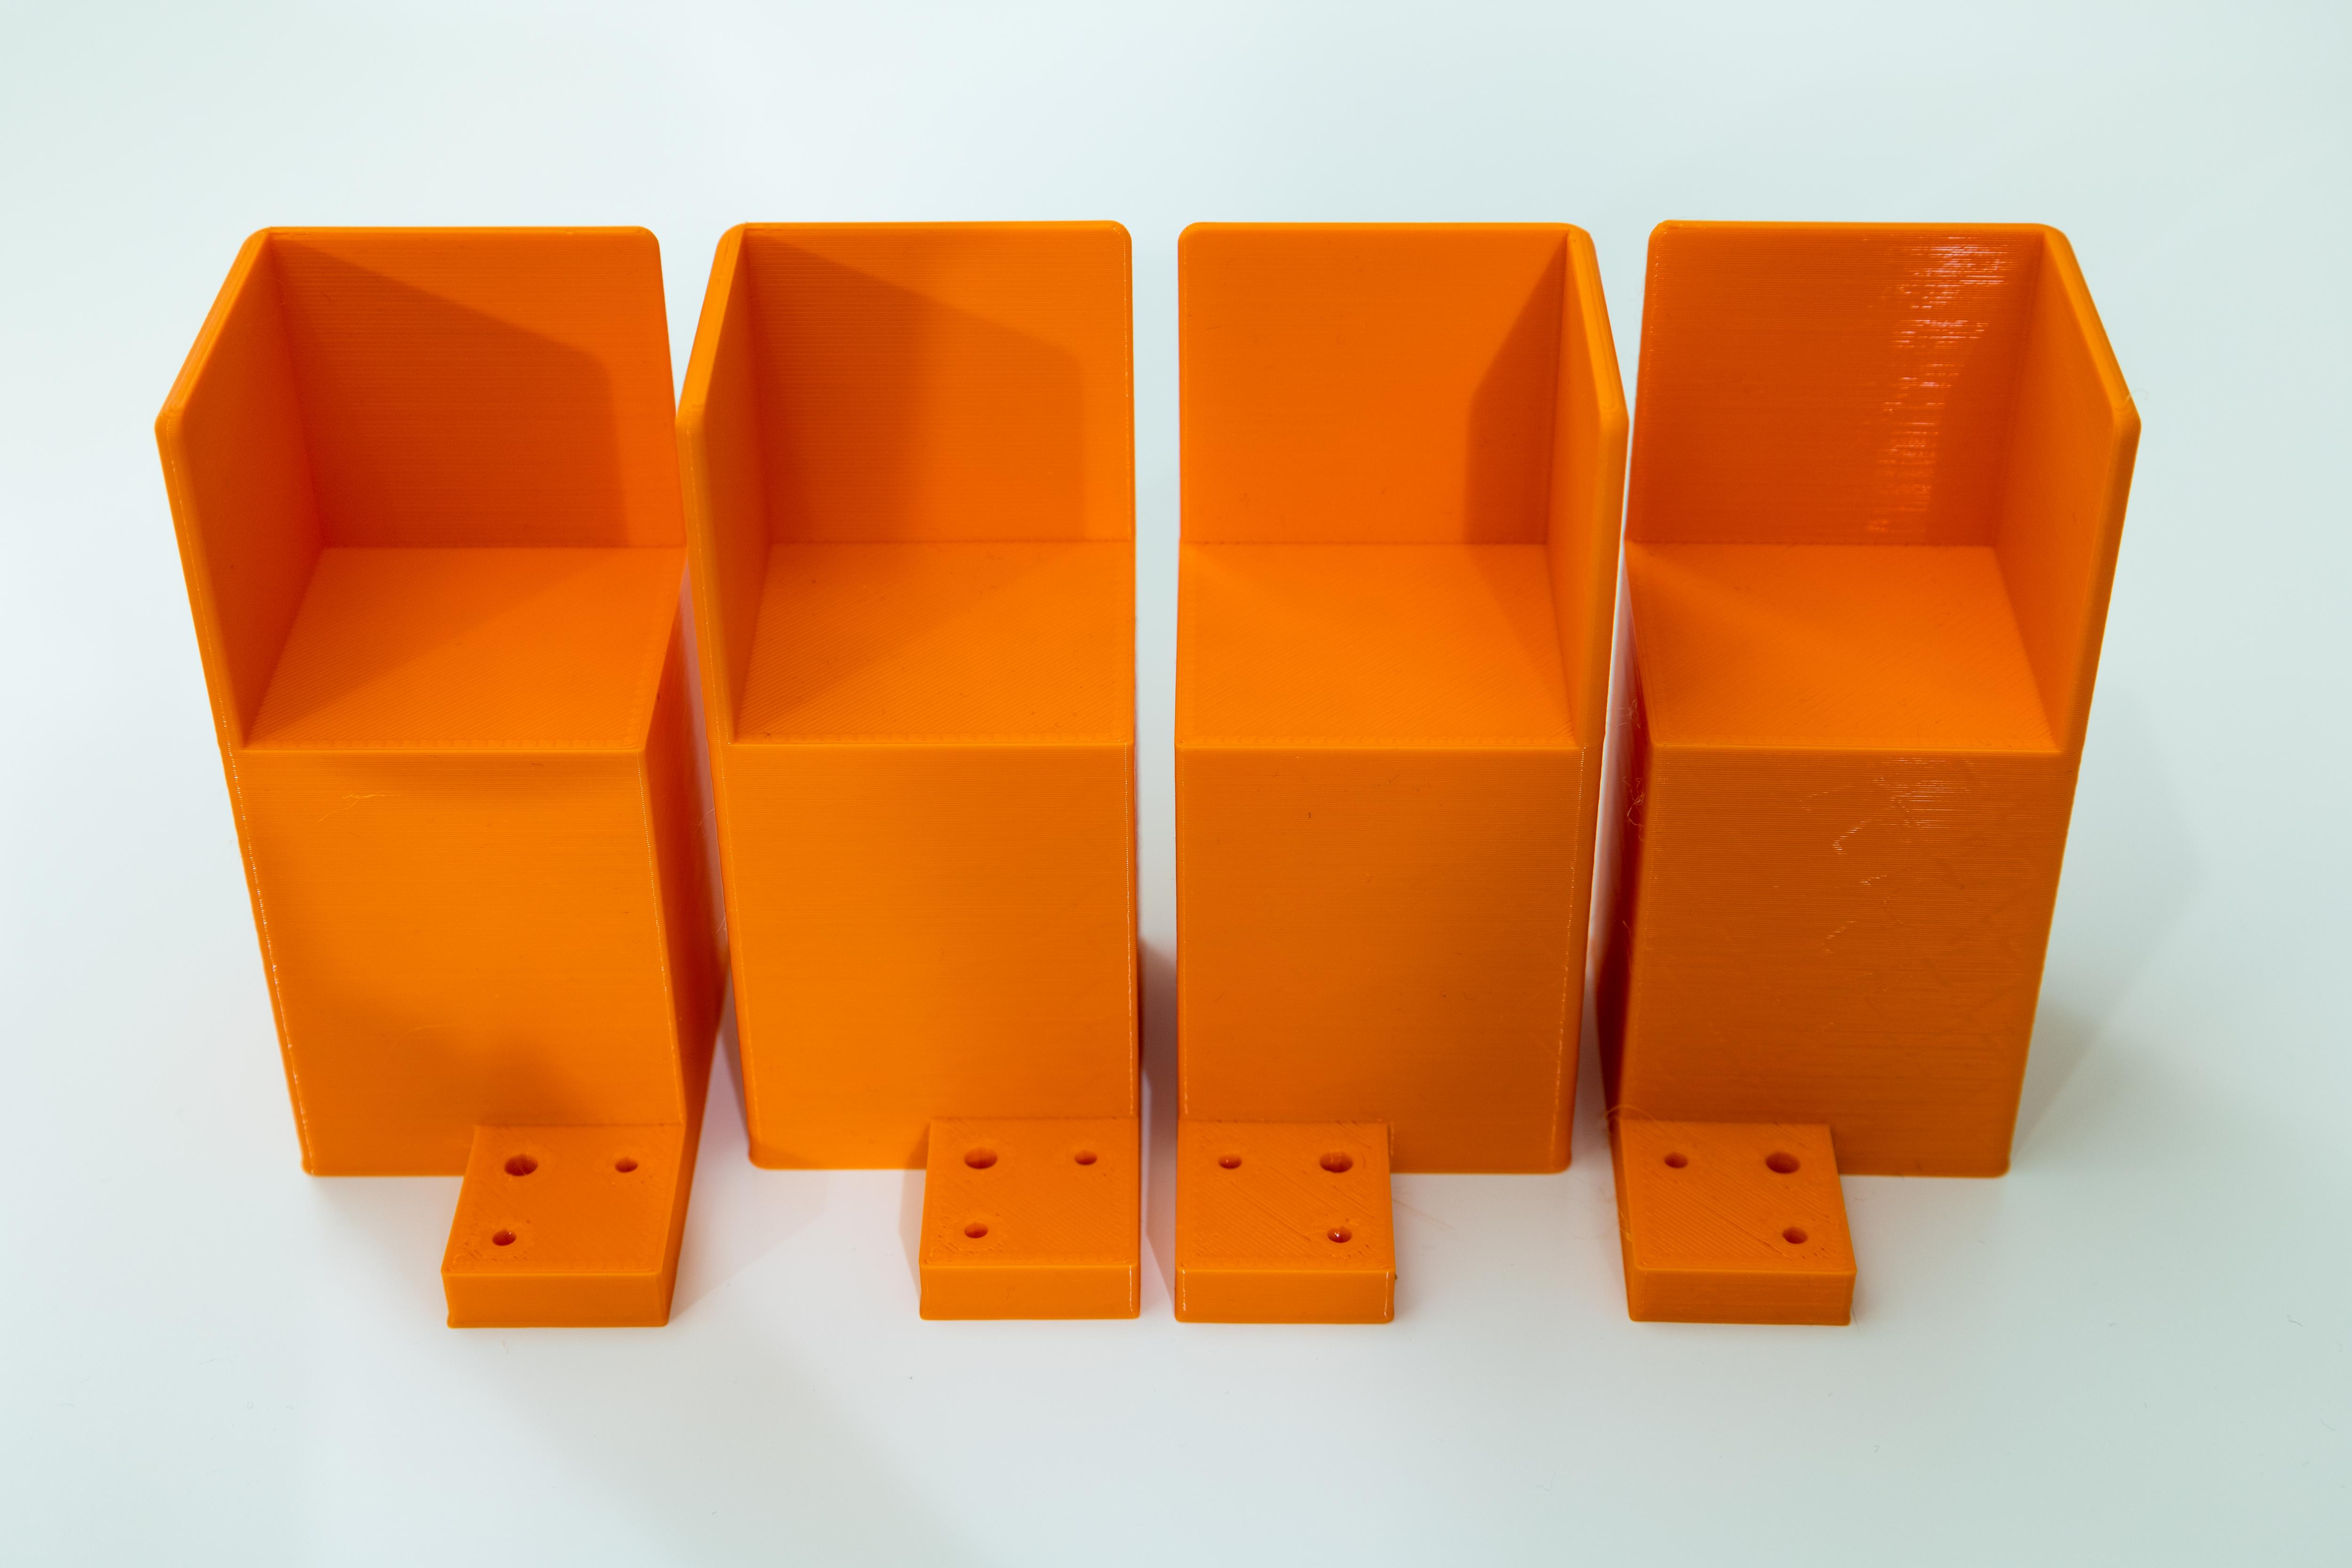
The parts are designed in Fusion 360. You can download the STL files below.
Part_A.stl and Part_B.stl each have to be printed twice, so you end up with four parts in total.
Download the STL files and open them in your 3D slicer. The STL models are in the correct orientation, so you don't need to adjust the orientation in your 3D slicer.
All 3D printed parts in my version are printed in PLA orange. However, feel free to choose whatever color/material you prefer. If you want to make the parts stronger, you can use either ABS or PETG.
I used Cura with the following settings for a 0.8 mm nozzle (see below for default settings when using a 0.4 mm nozzle):
• Nozzle size: 0.8 mm
• Layer height: 0.36 mm
• Wall thickness: 1.6 mm
• Top/bottom thickness: 1.28 mm
• Printing temperature: 200ºC (this depends on the material you use, please make sure to check the settings of your material)
• Infill: 20%
• No support is needed
When using a 0.4 mm nozzle, you can use the following settings:
• Layer height: 0.2 mm
• Wall thickness: 0.8 mm
• Top/bottom thickness: 0.8 mm
• Printing temperature: 200ºC (this depends on the material you use, please make sure to check the settings of your material)
• Infill: 20%
• No support is needed
Assemble the Parts to the Legs
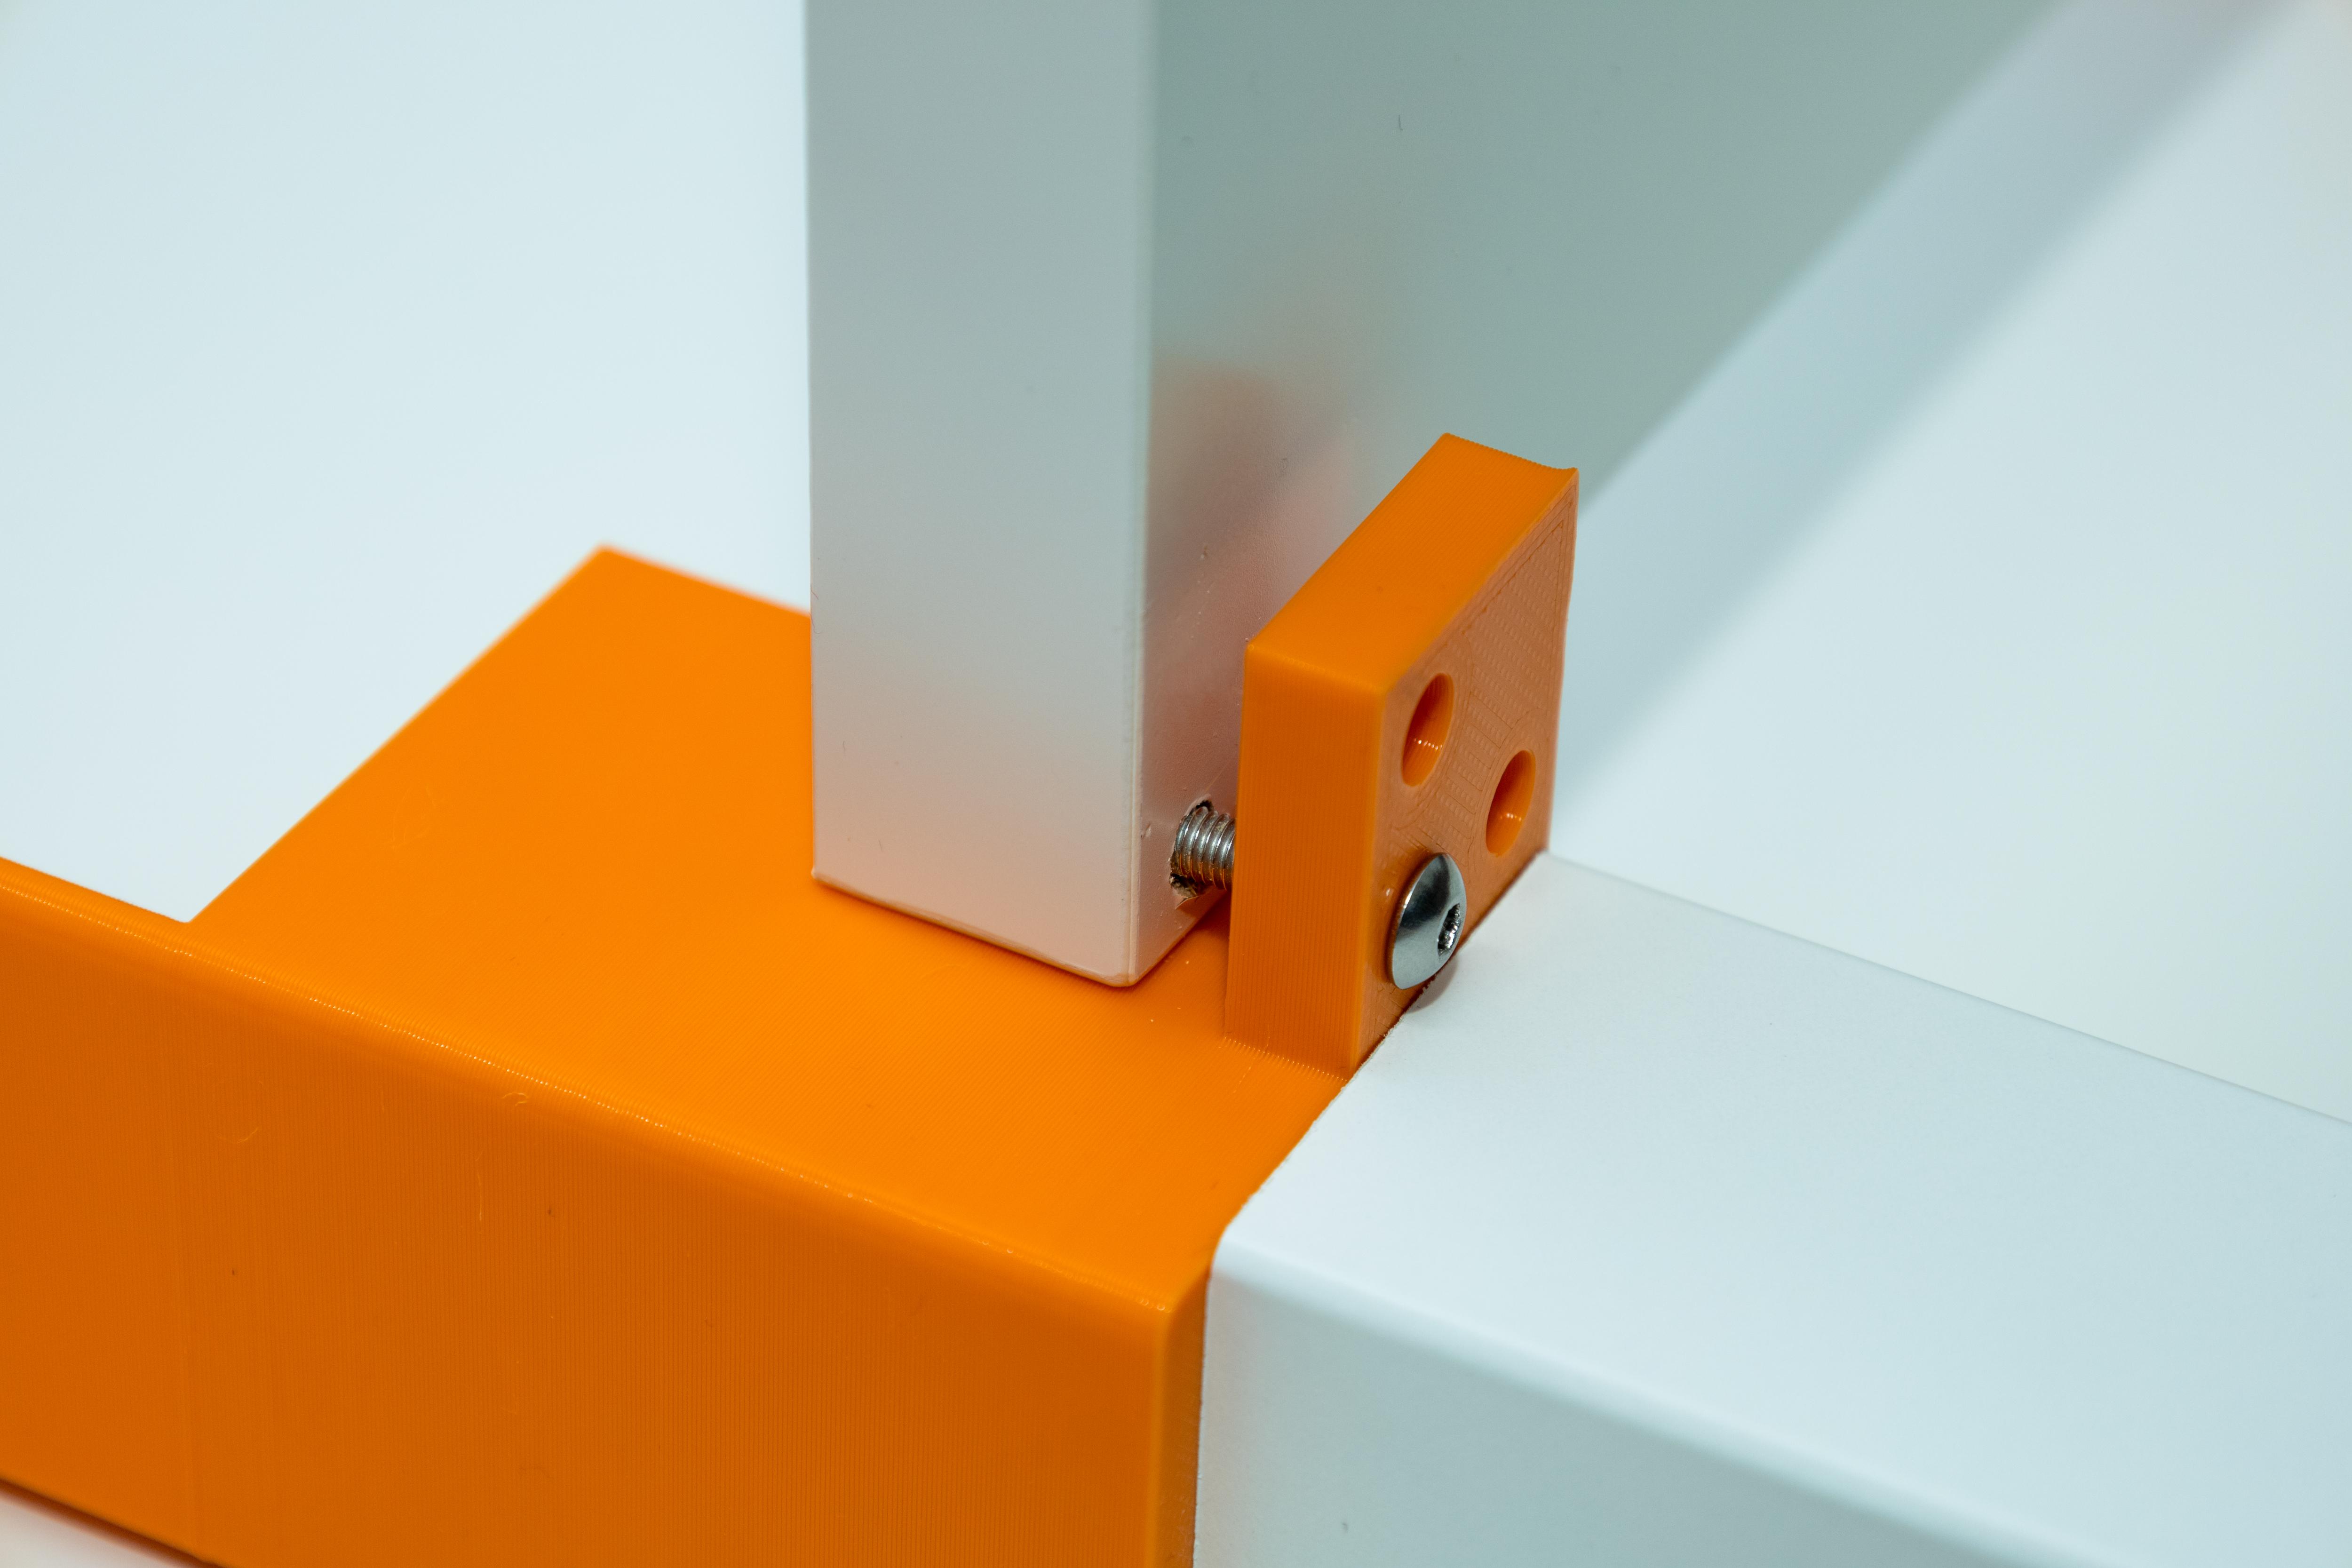
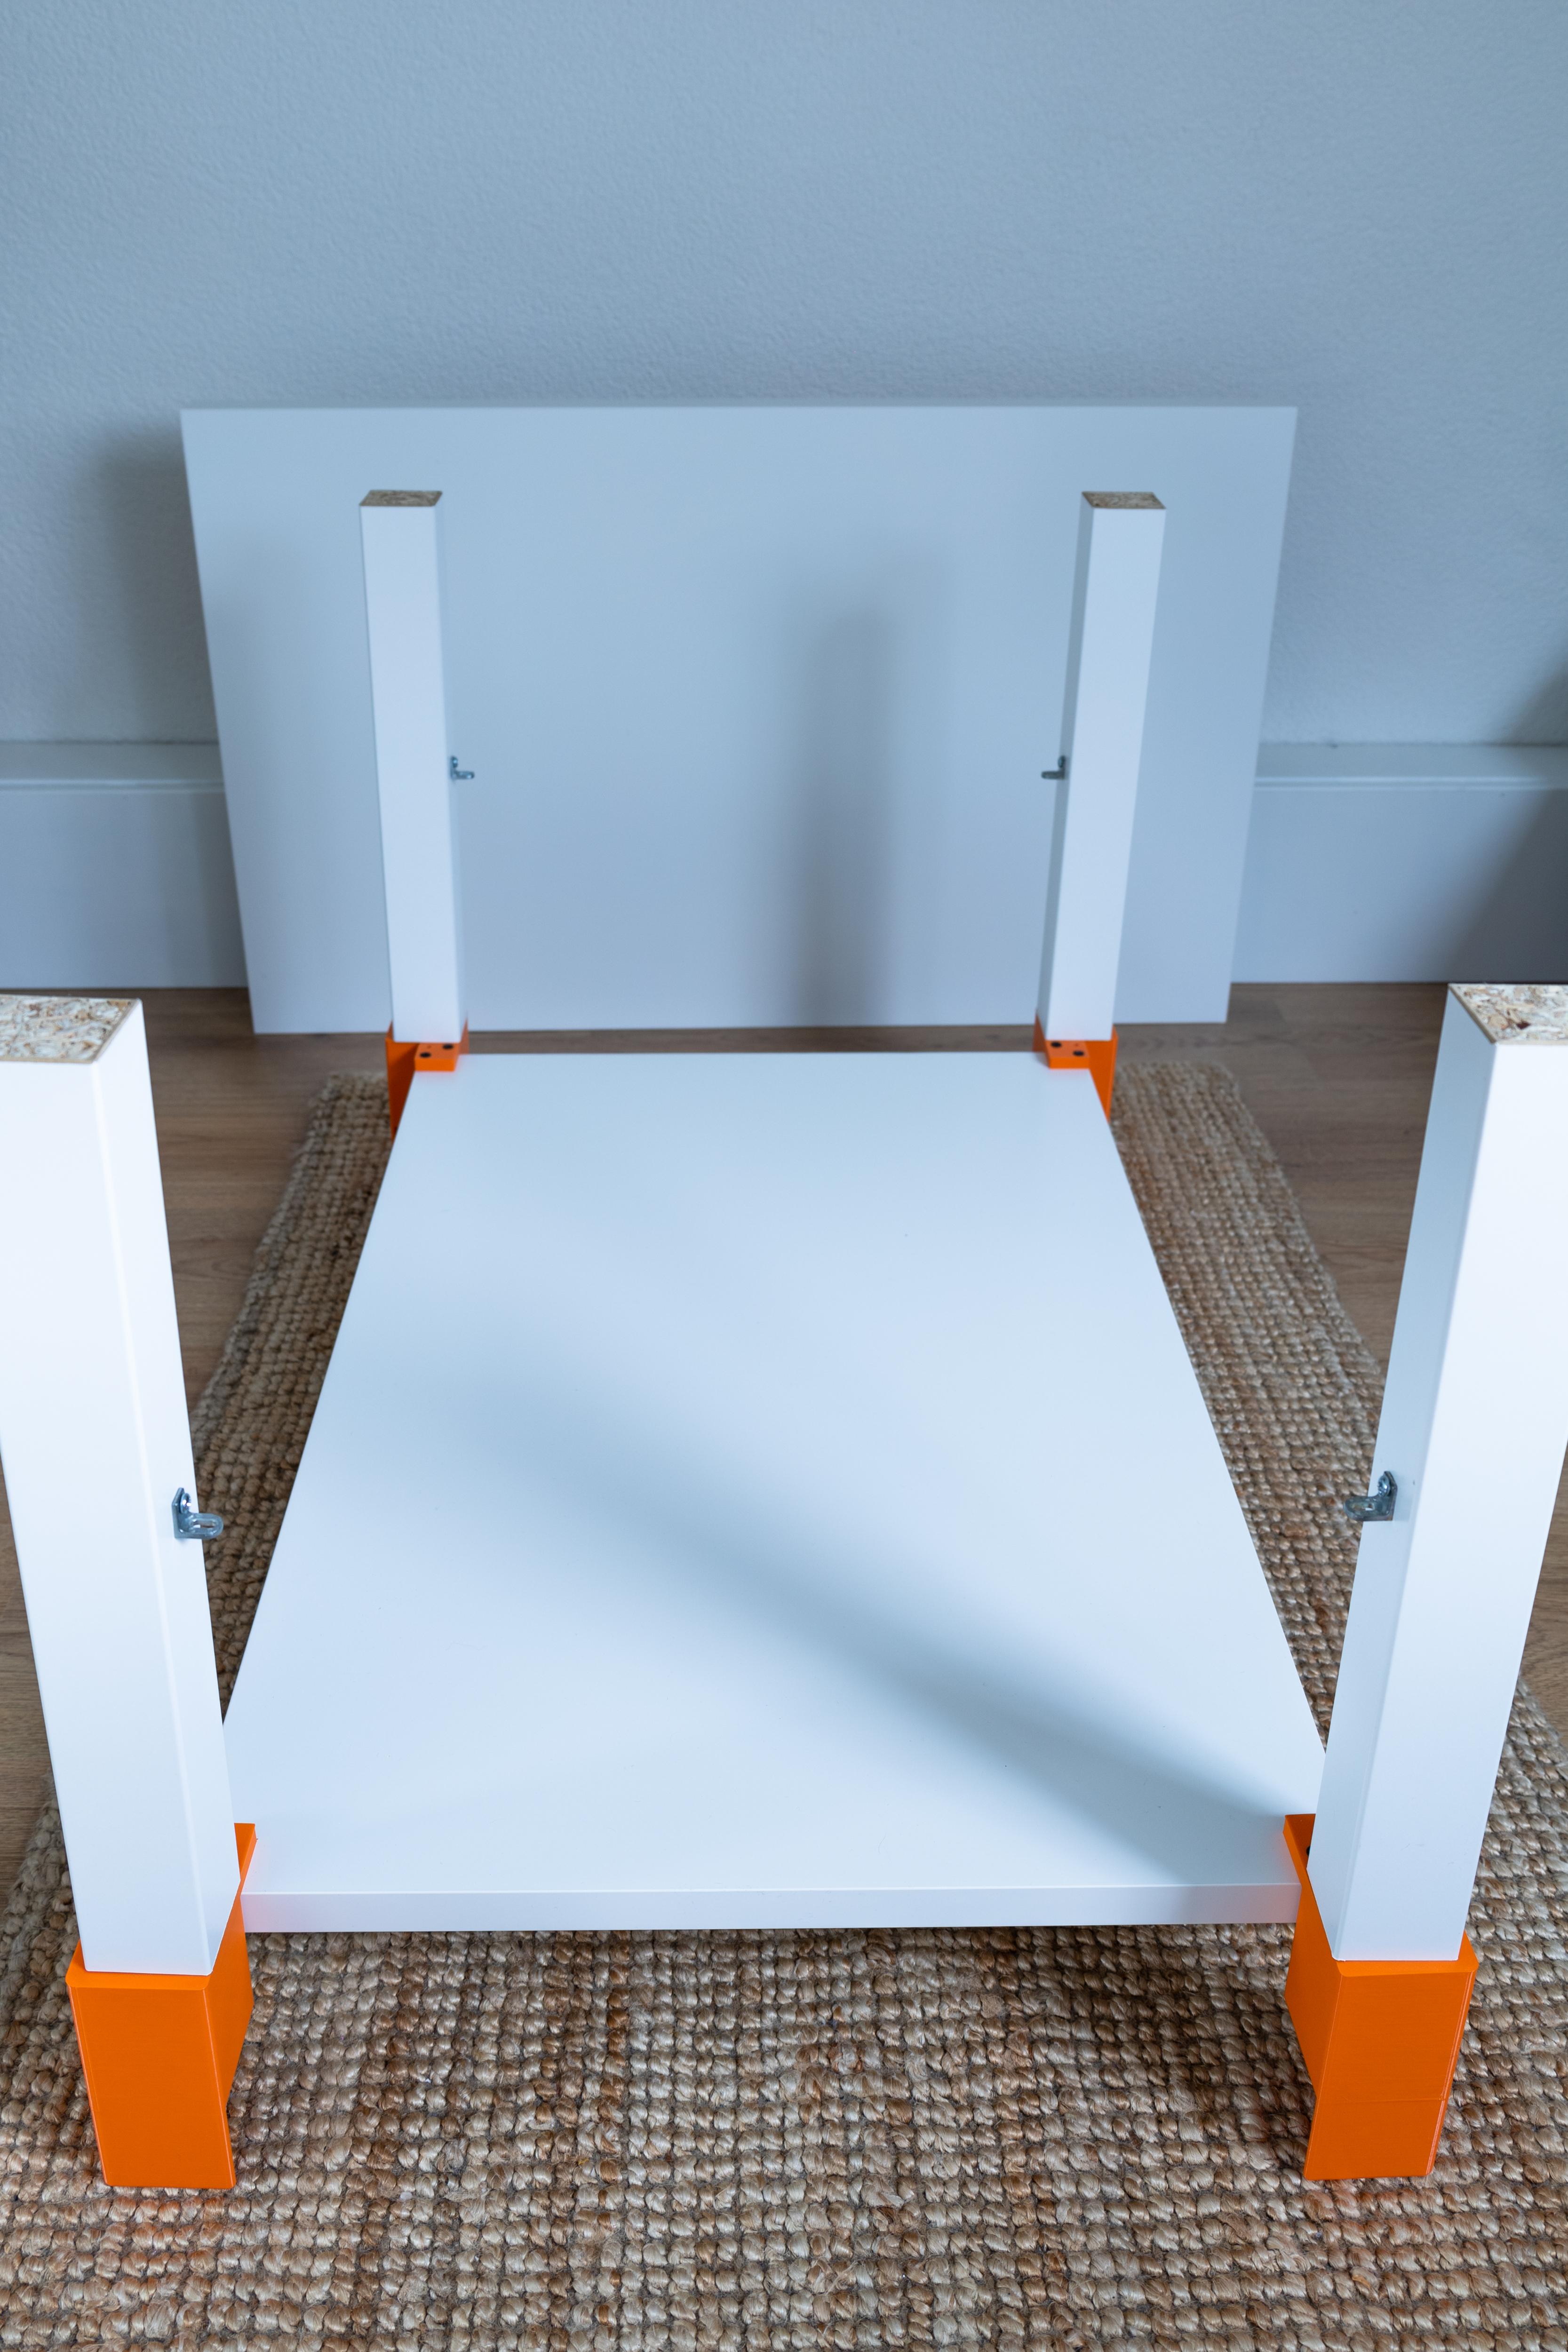
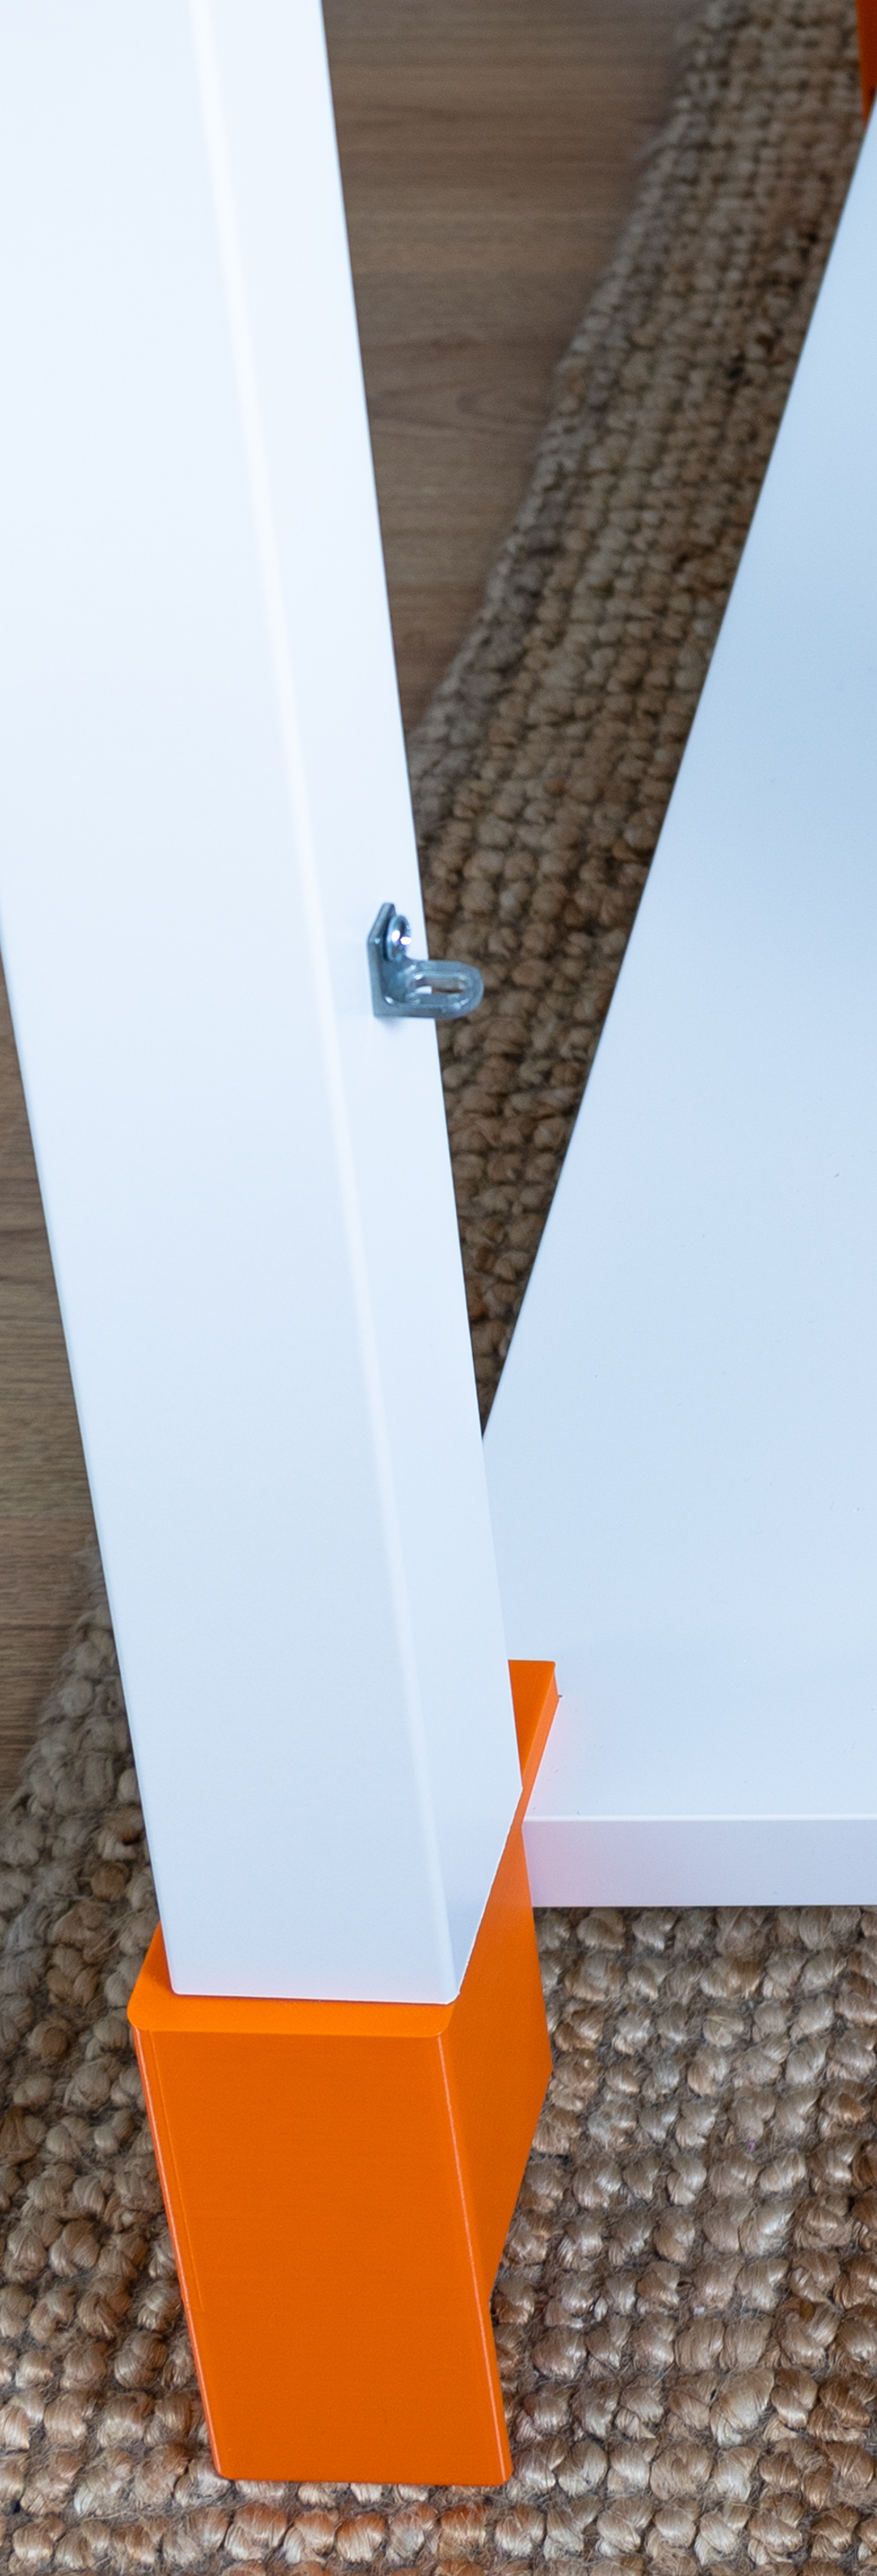
For this step you need the original IKEA screws that go into the legs of the Lack table. Using the original screws you can attach the legs to the 3D printed parts instead of the table top. To do this use the large hole at the bottom of the main body of the 3D printed part.
Once you have all parts attached to the legs, you can start attaching the parts to the Elvarli shelf.
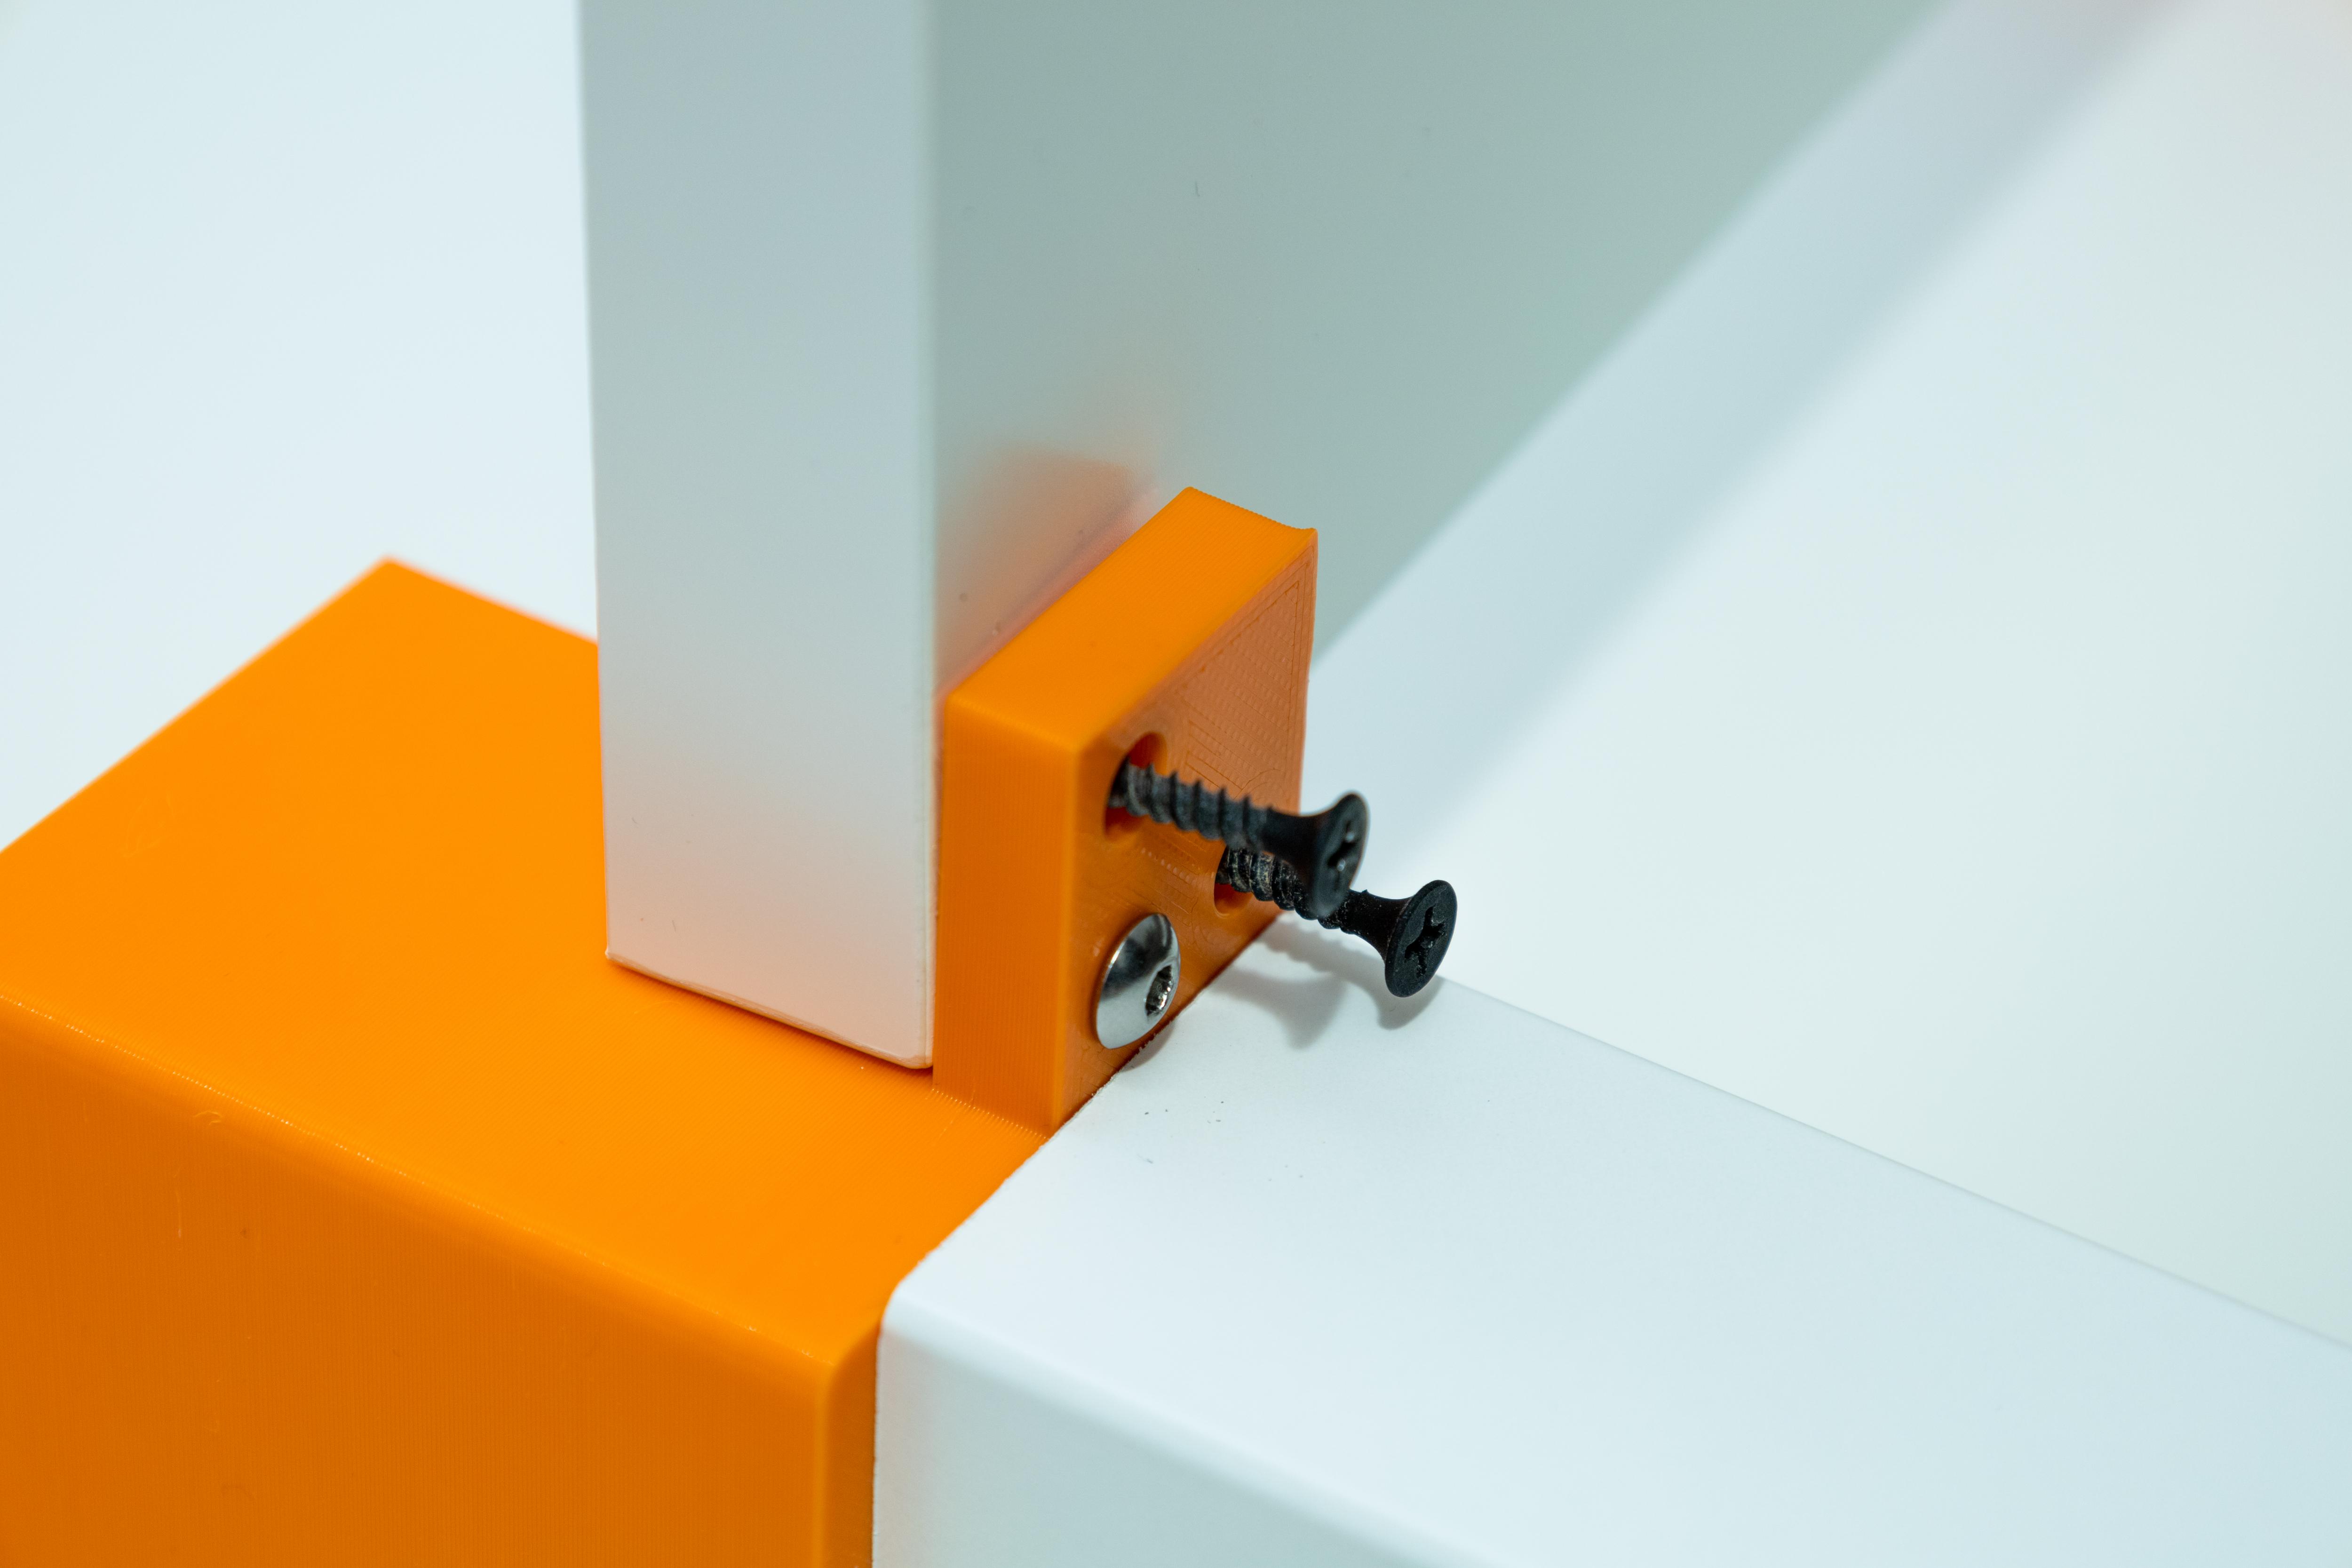
Use the M5 x 20 mm bolt to align the shelf to the 3D printed part by inserting it through the biggest of the three clustered holes and into the existing hole in the shelf.
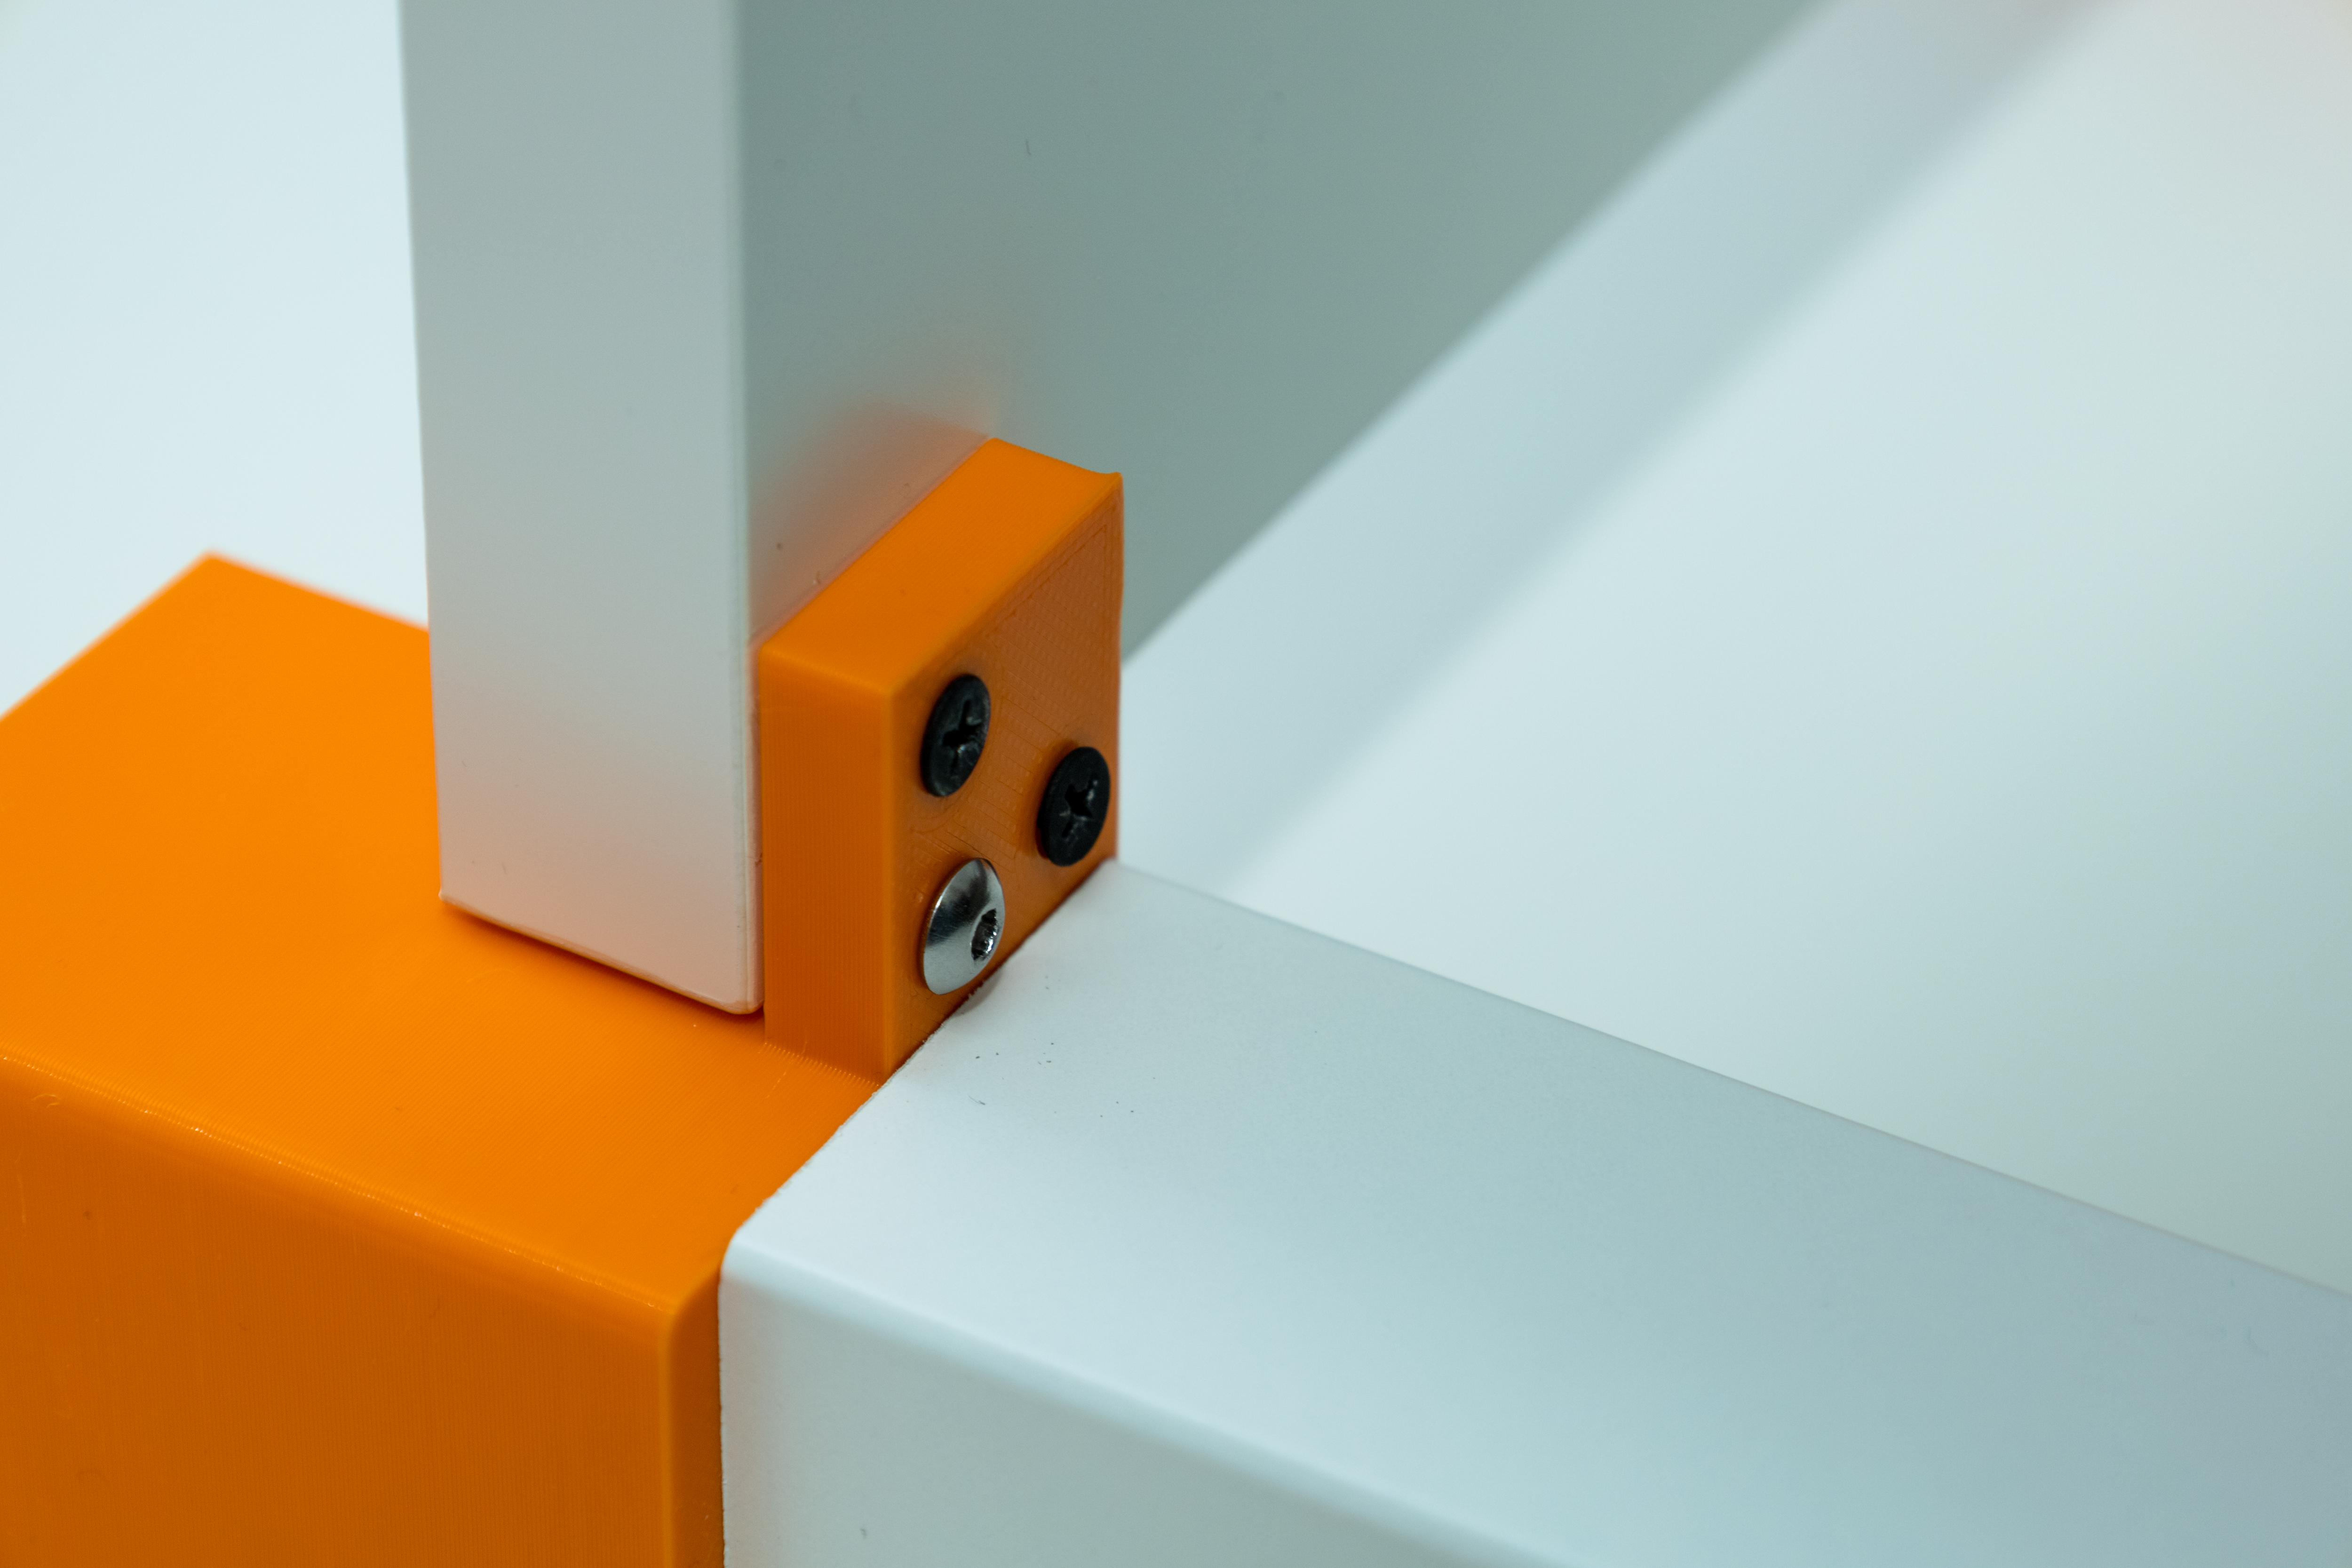
Once aligned, you can drive the 3.6 x 25 mm screws into the shelf through the remaining two holes. Once attached, you can remove the bolt and reuse it to align the other parts. Note: you don't need the M5 bolt after aligning all parts.
After attaching all four legs you are done with this step!
Finish Assembling the Lack Table
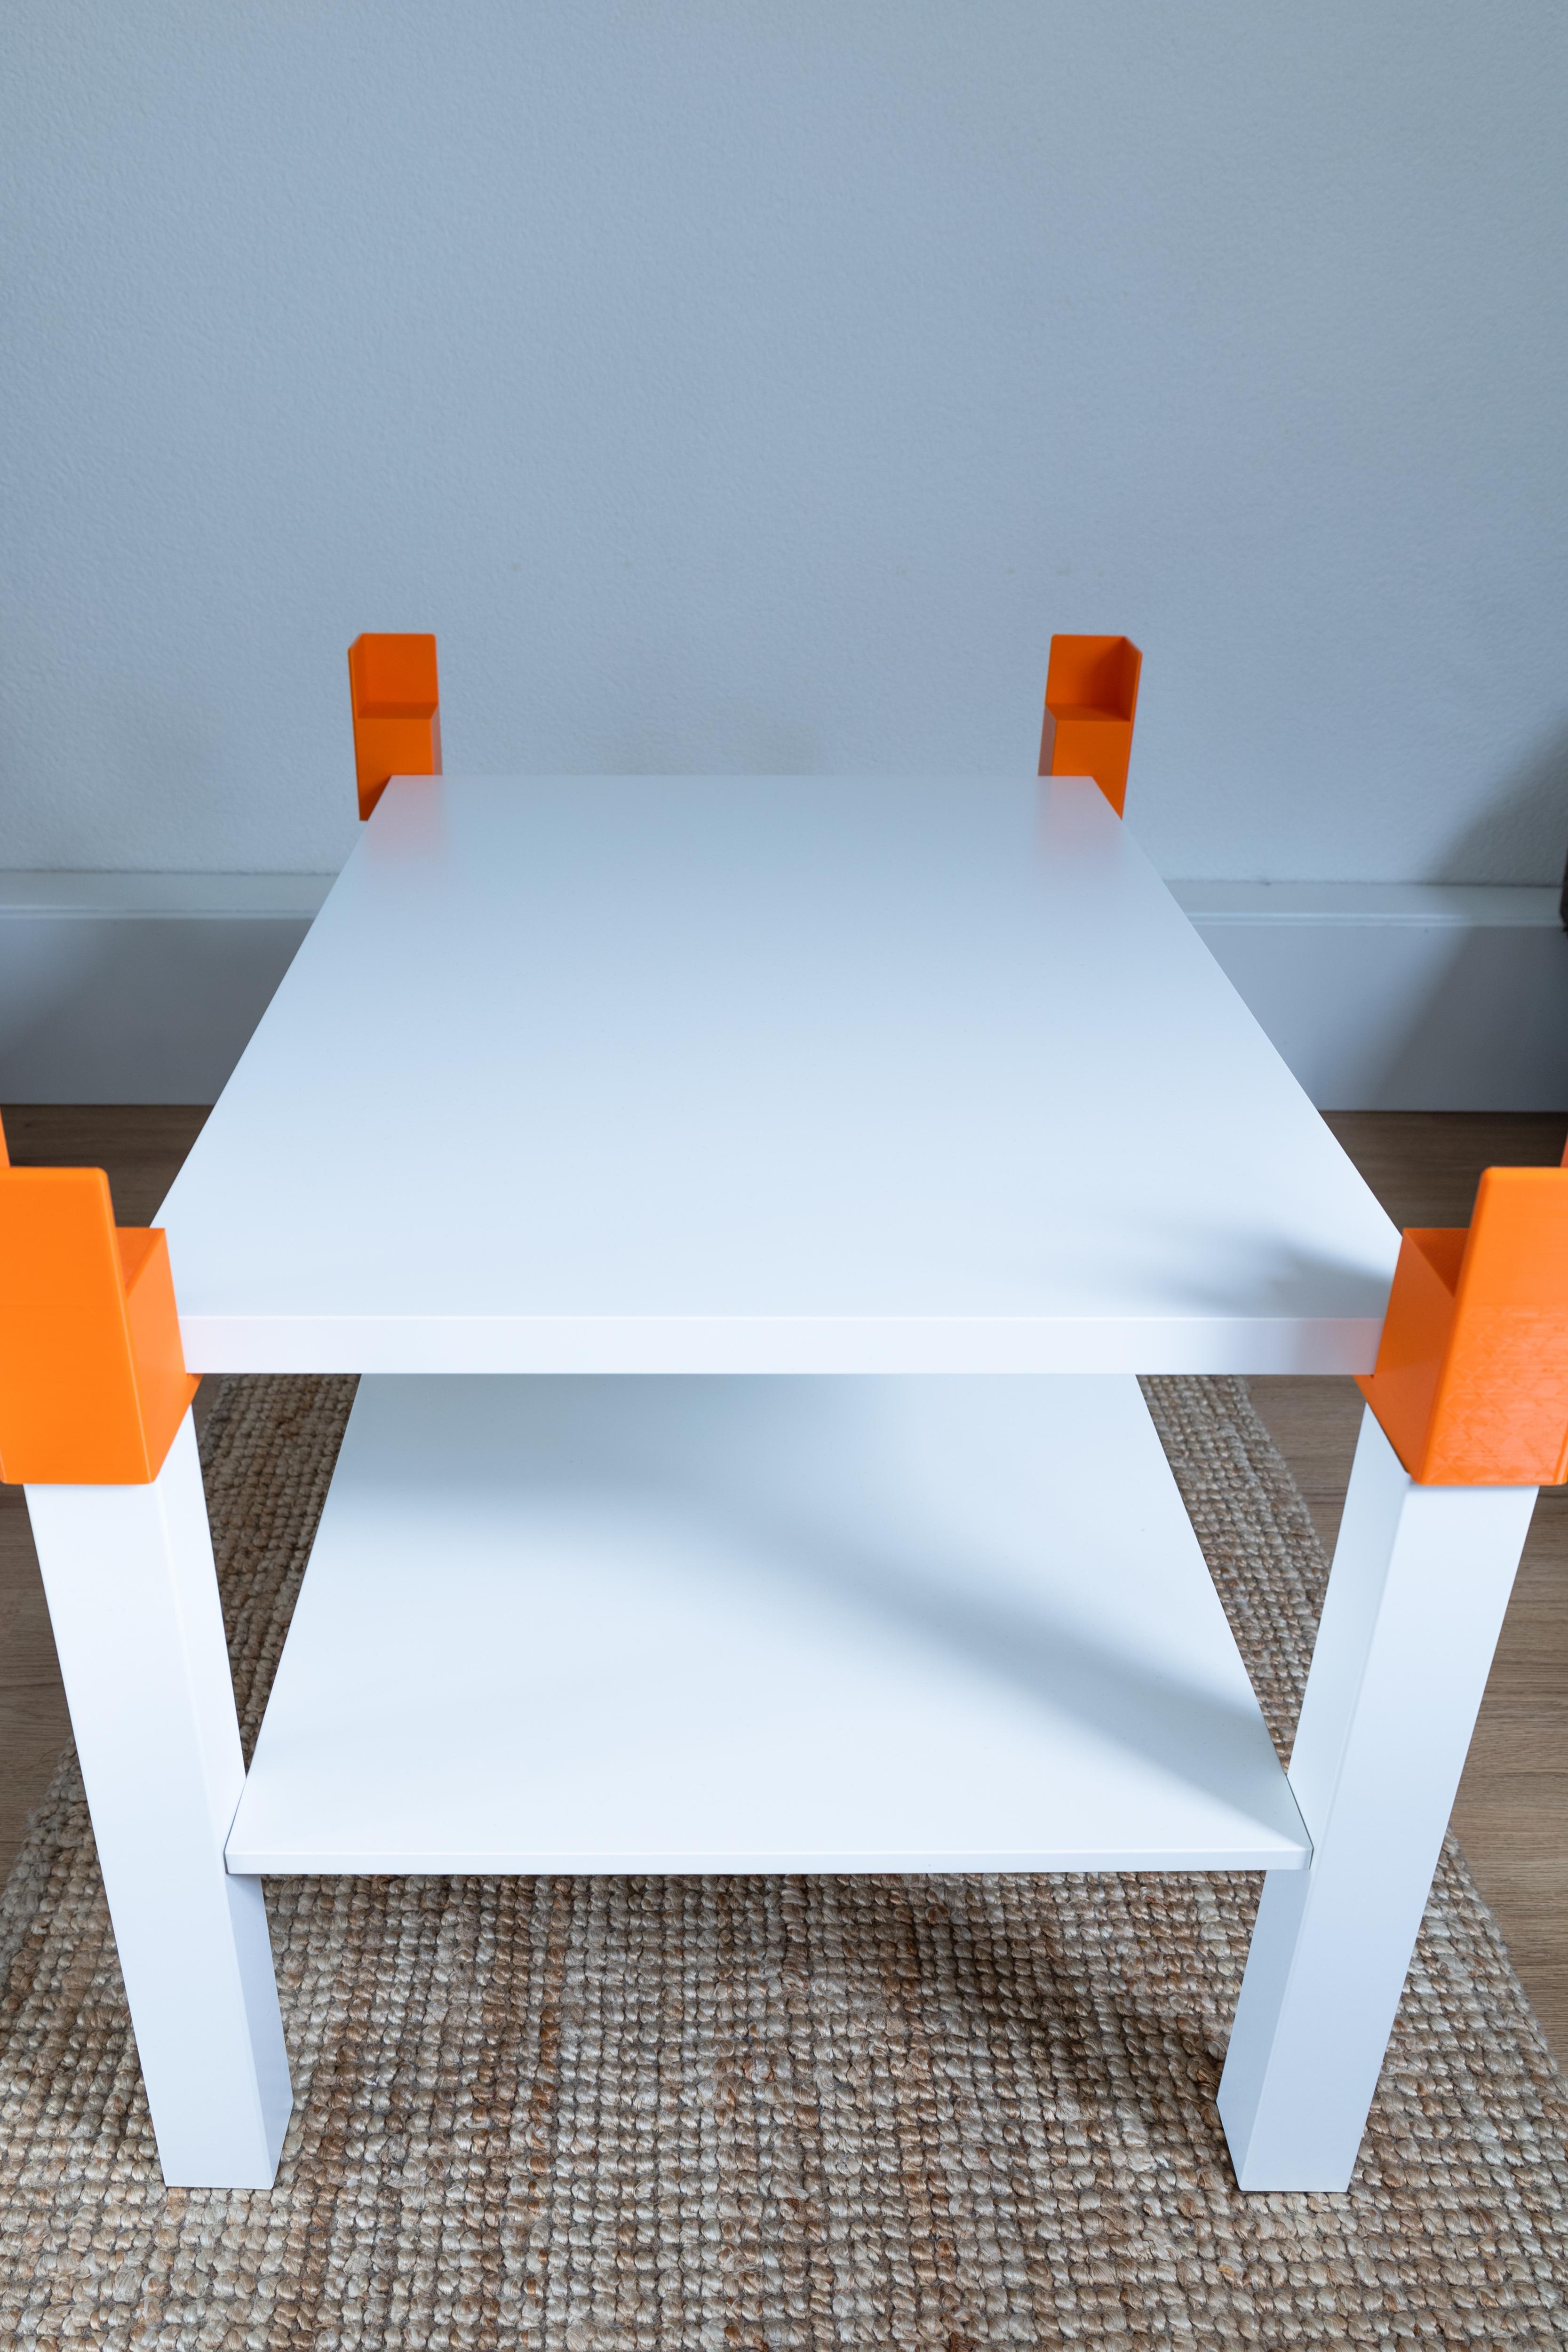
Follow the steps in the IKEA Lack manual to install the original Lack shelf according to the instructions, by attaching the provided shelf holders to each leg and attaching the Lack shelf to the shelf holders.
Place Top Shelf and Enjoy!
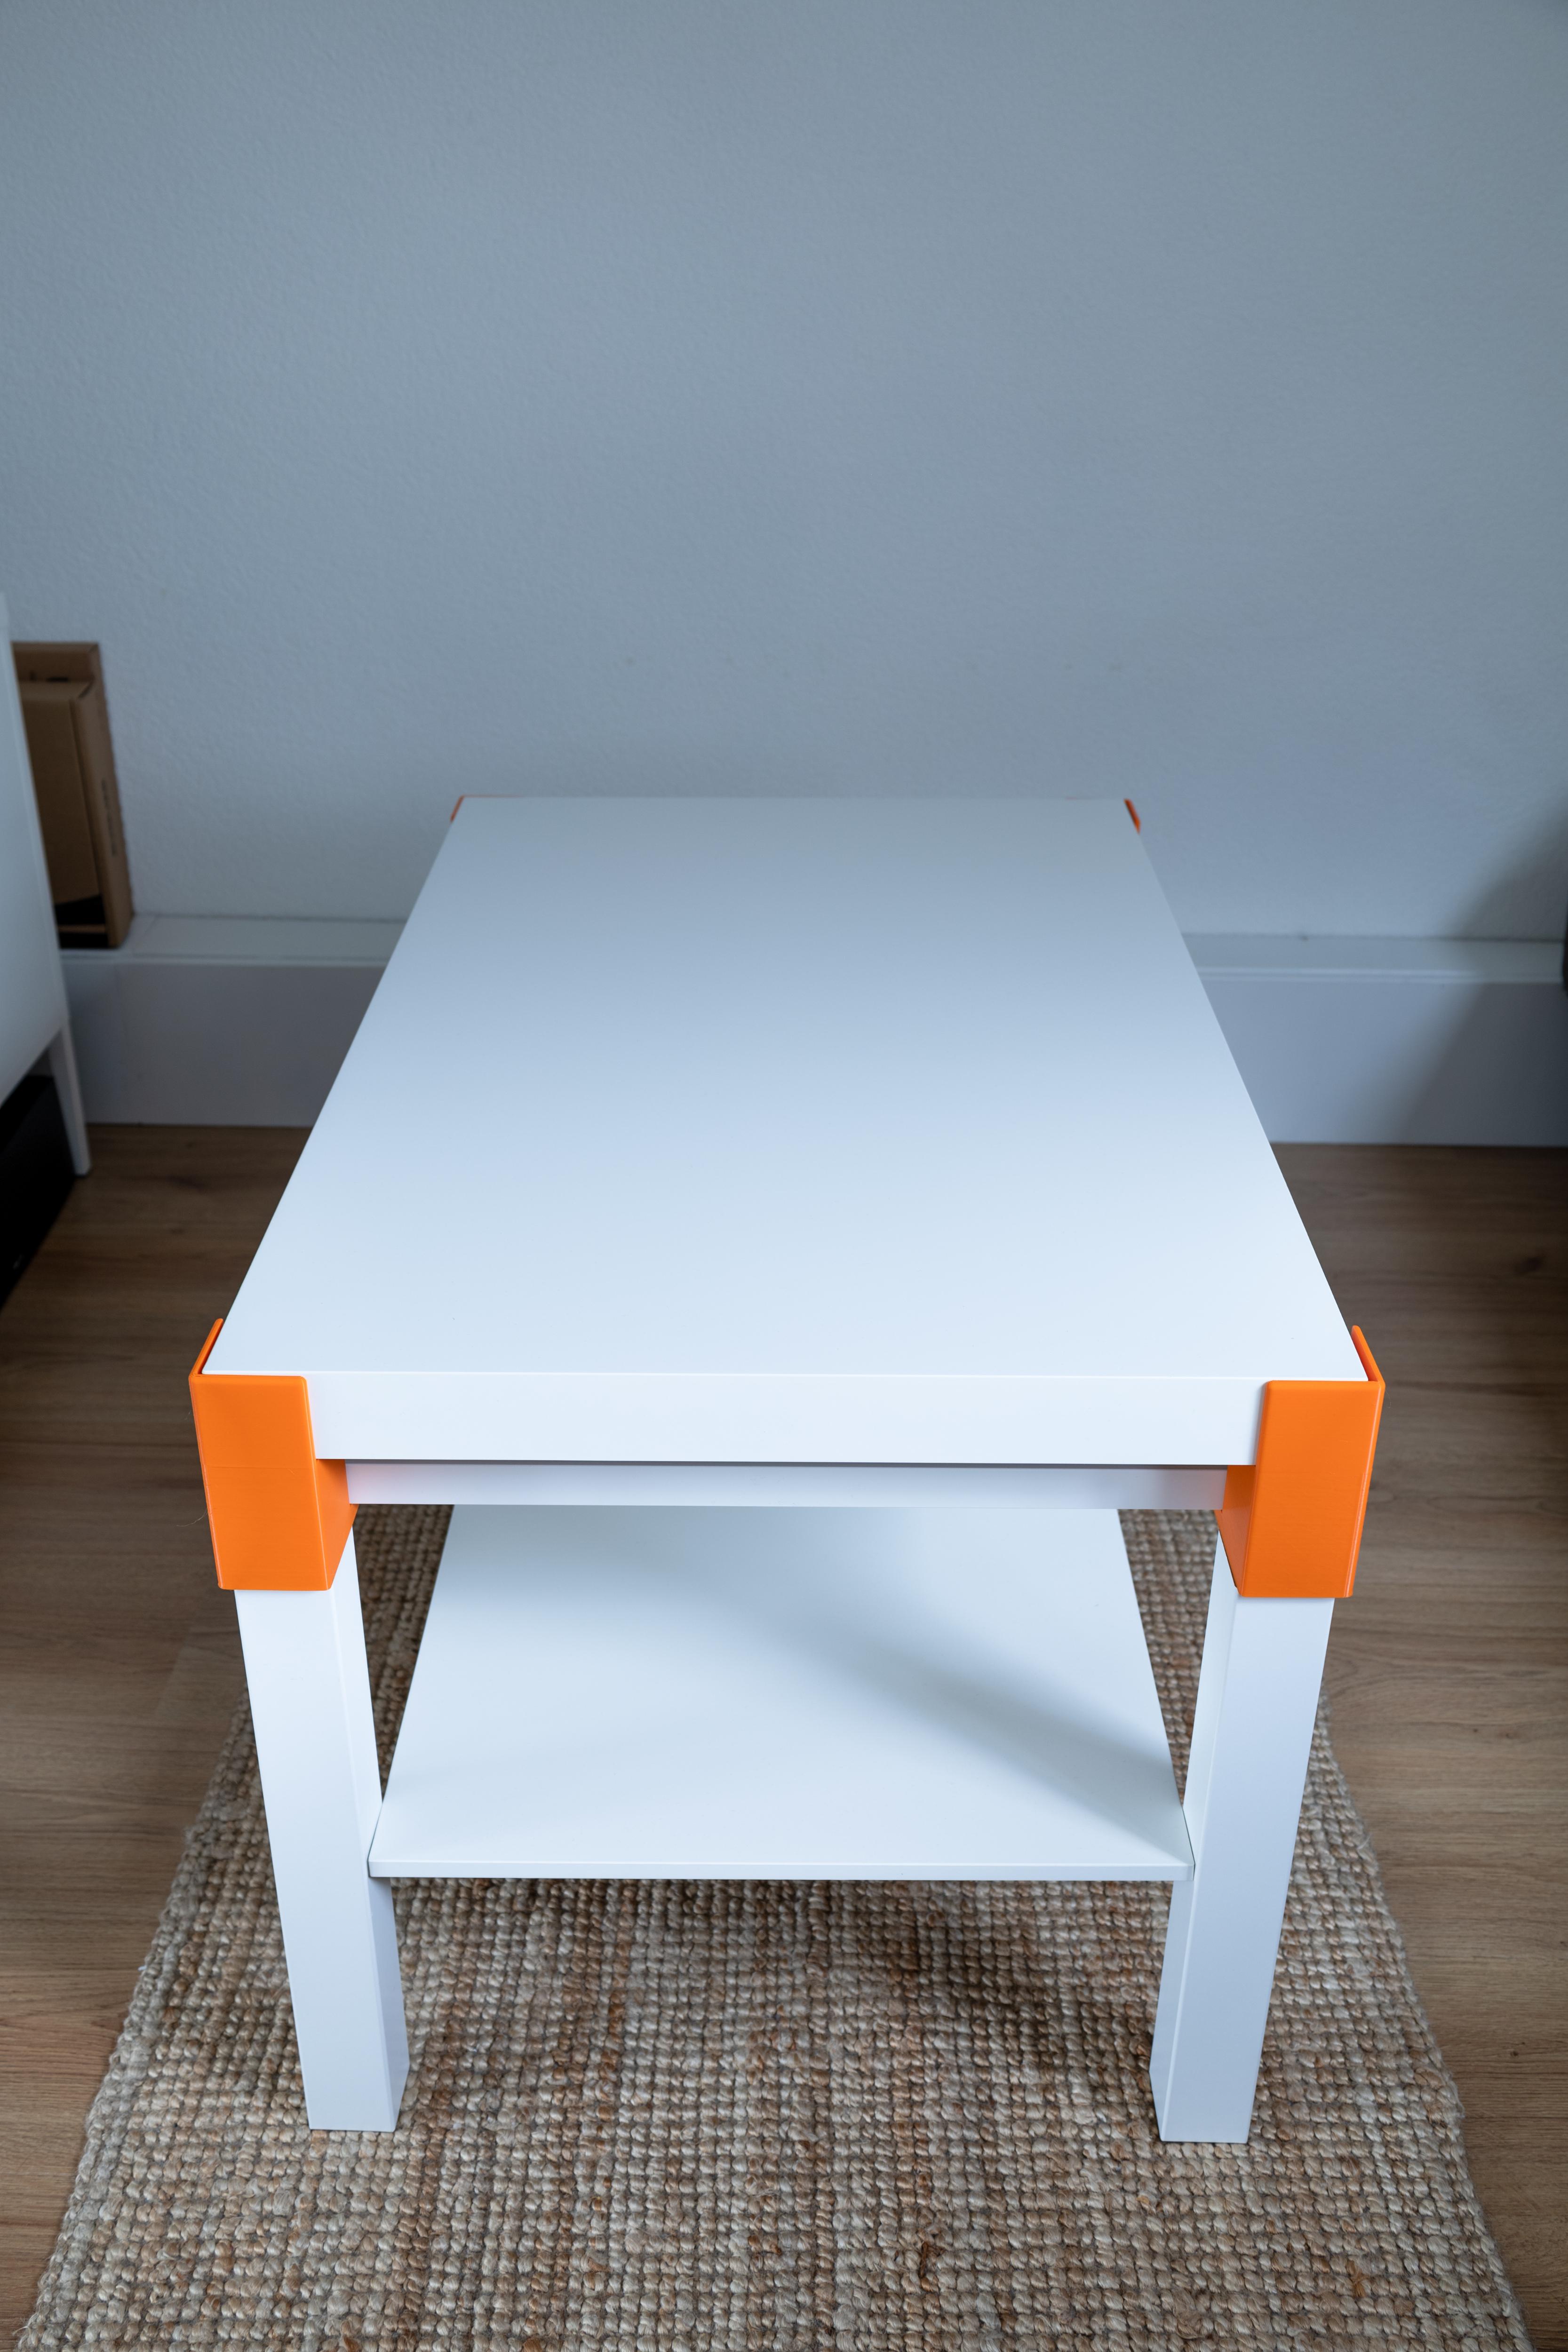
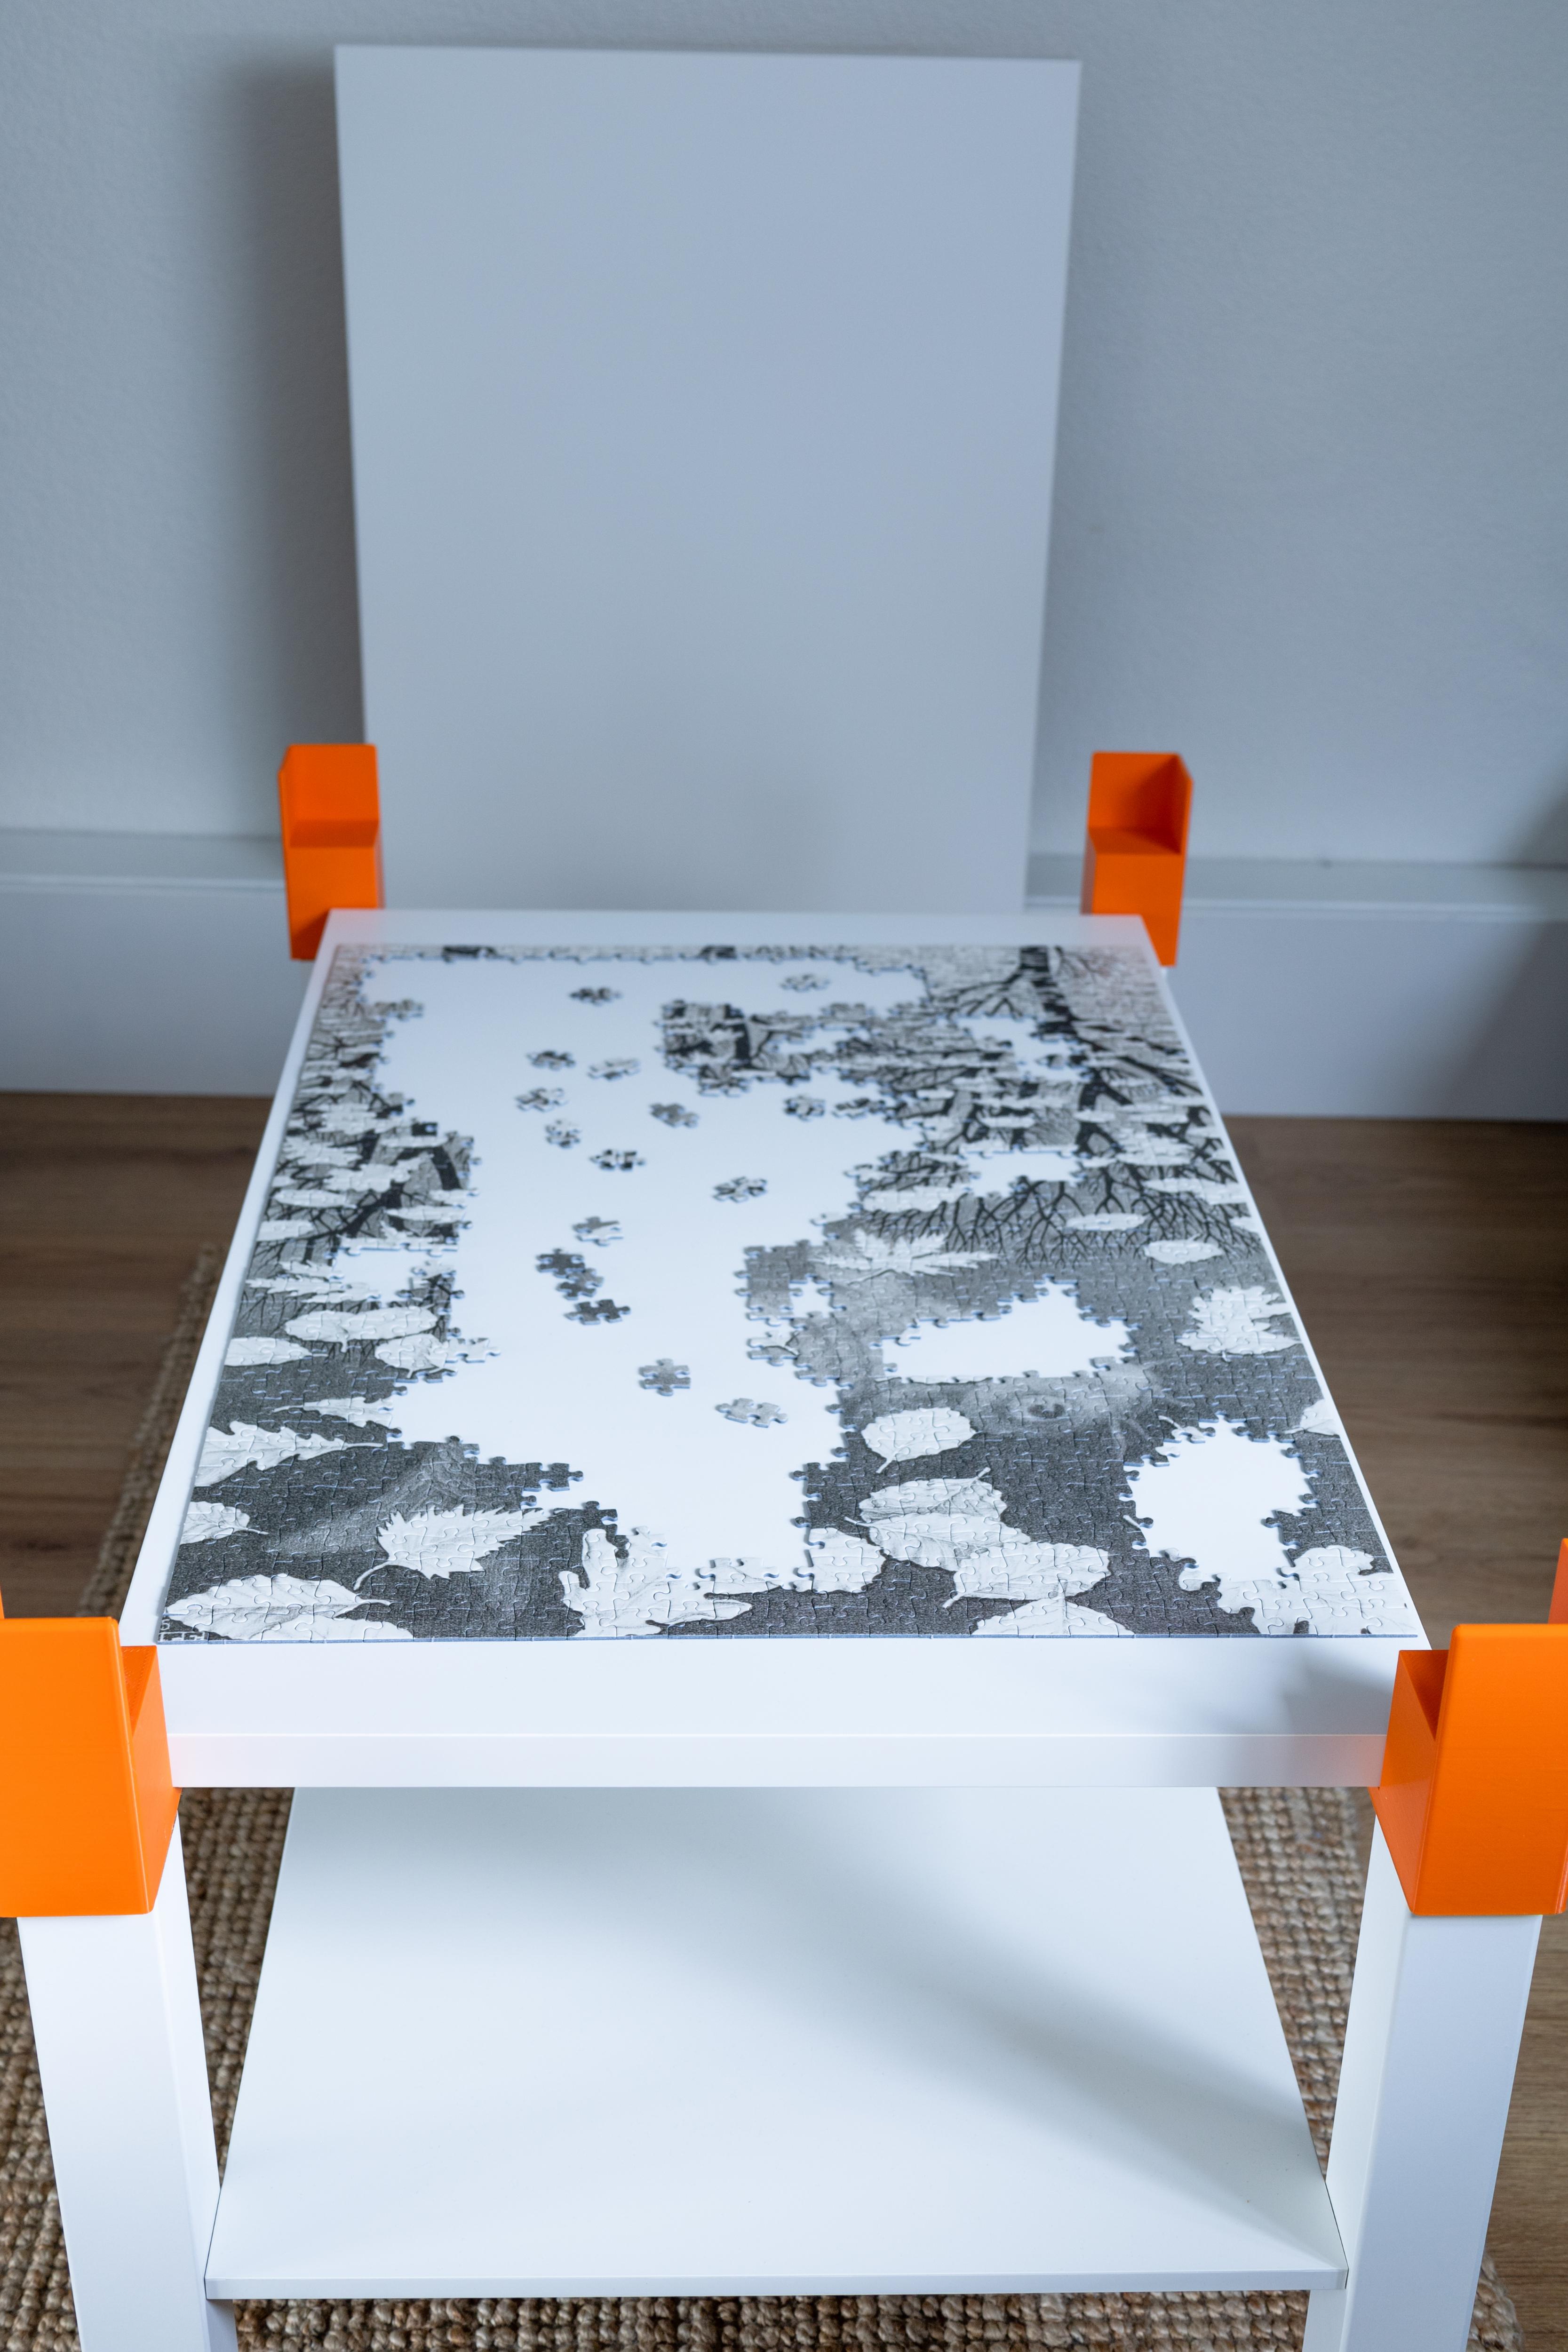
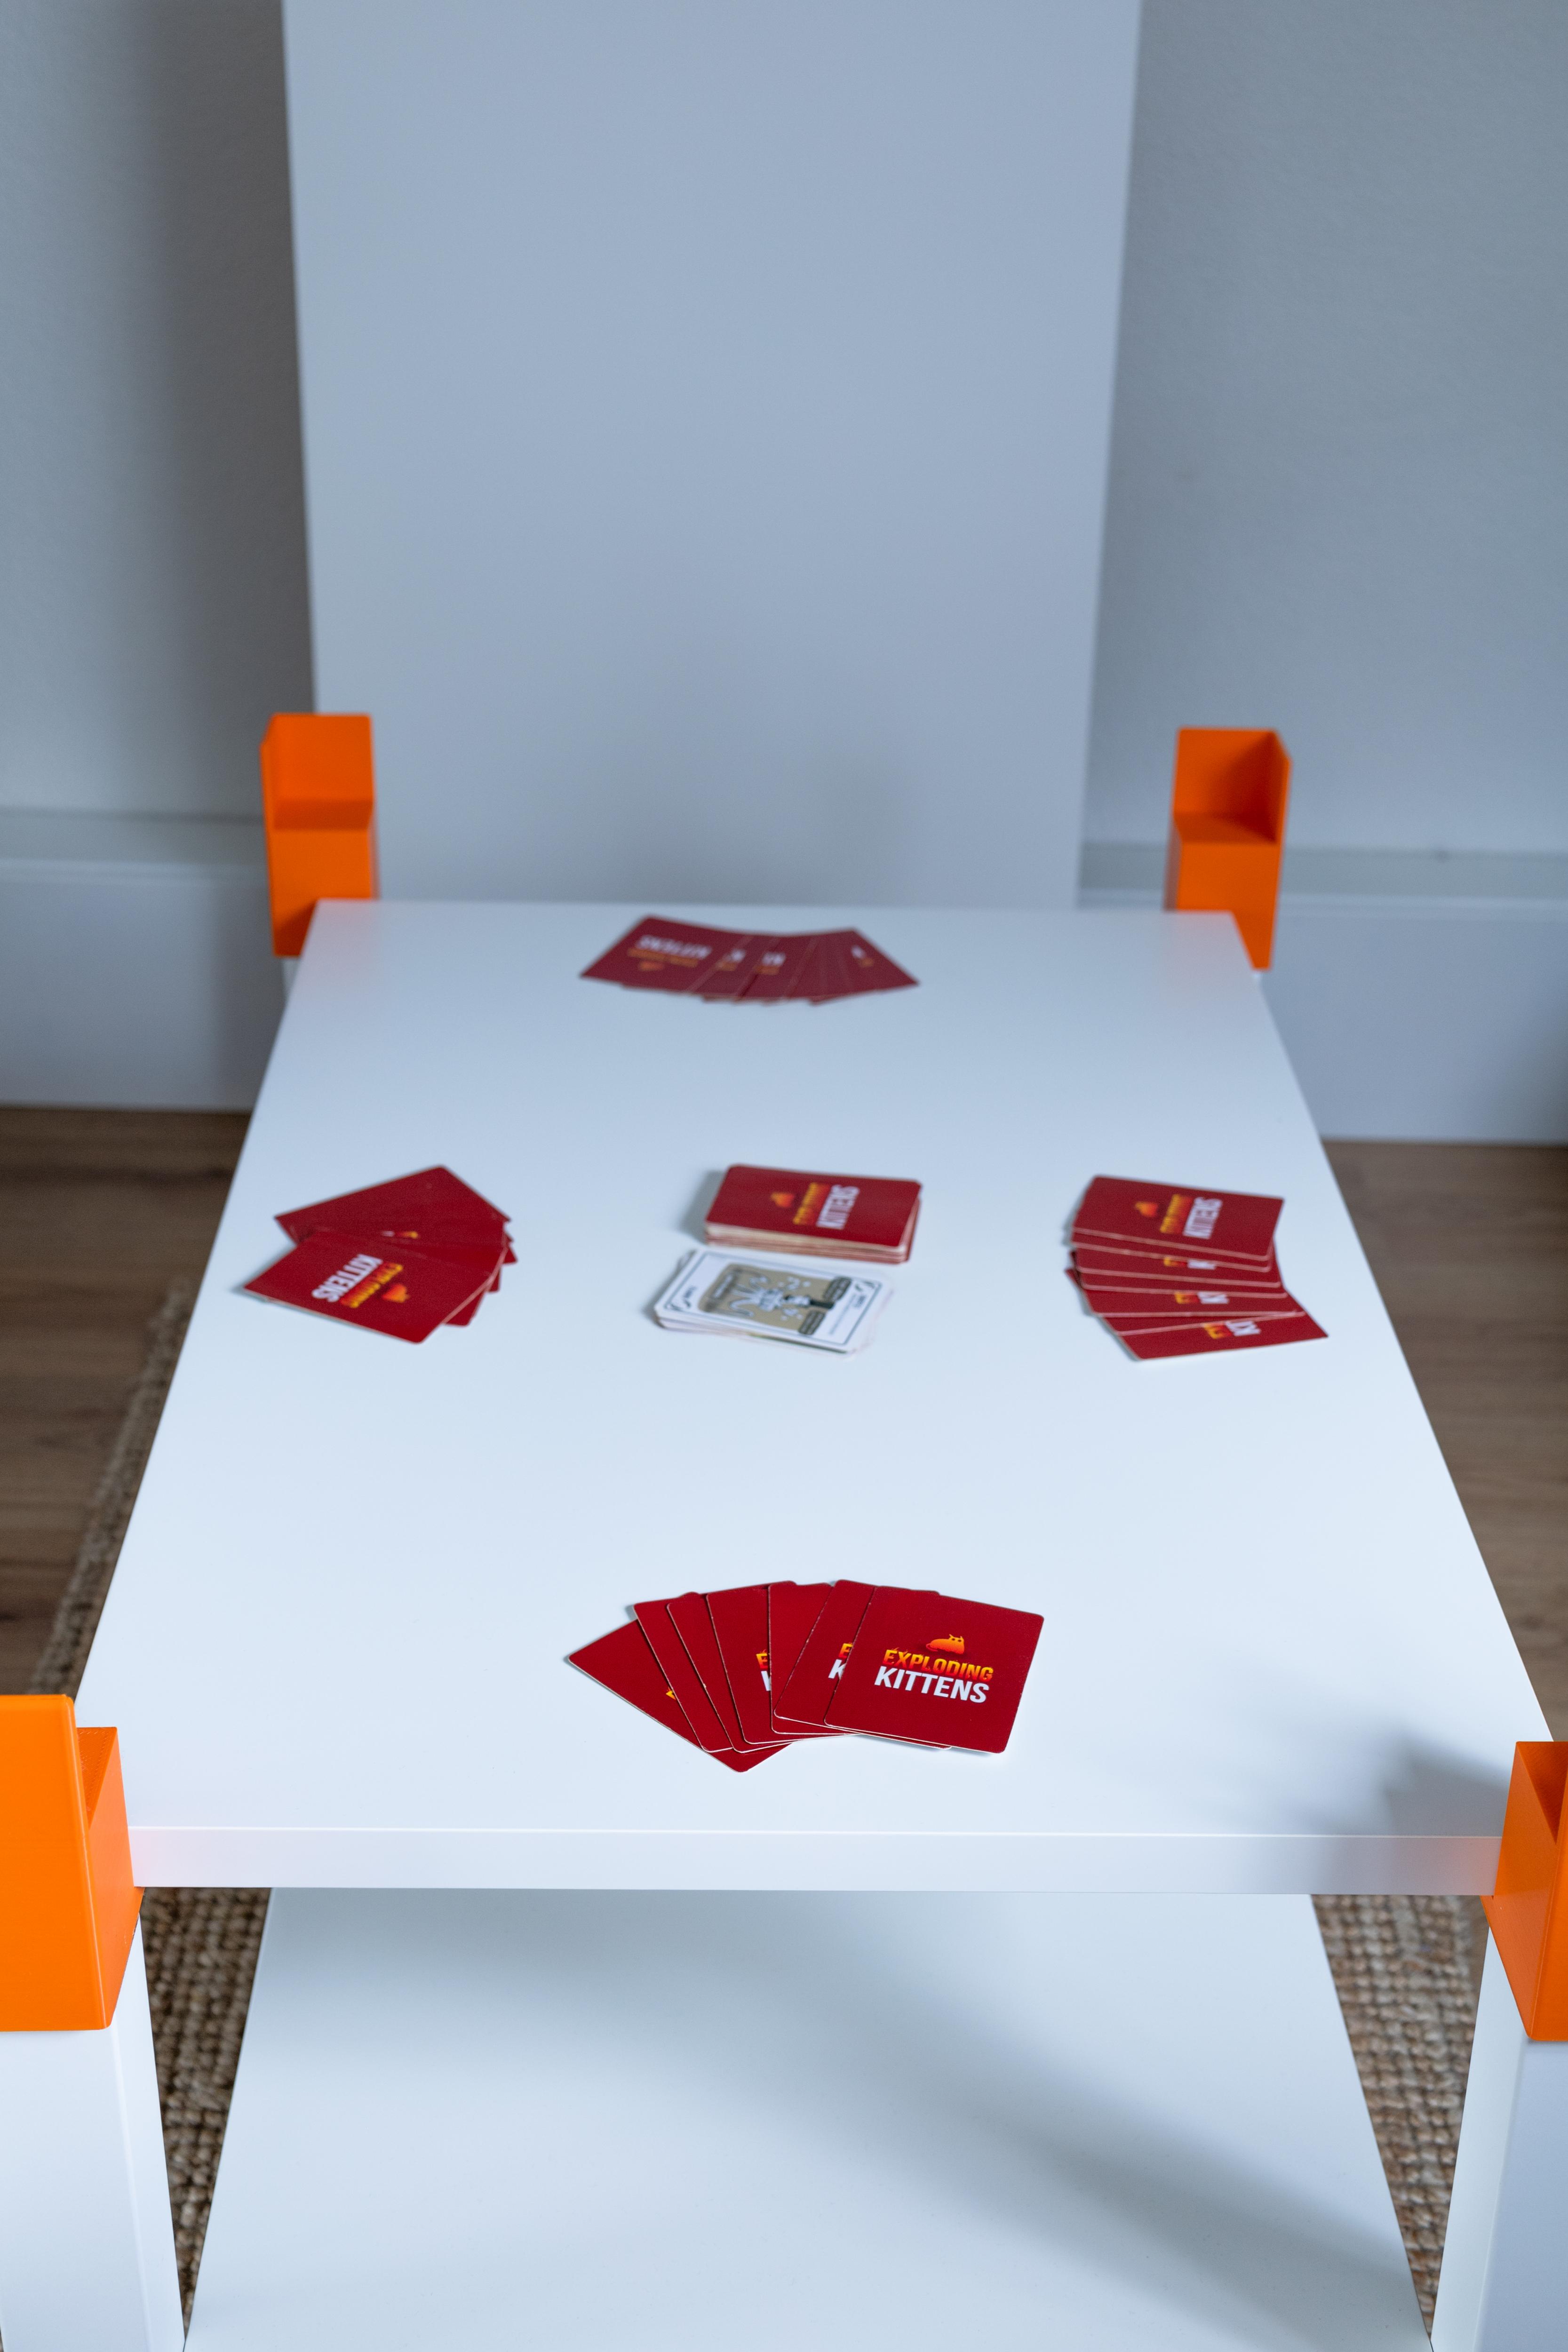
The only thing left is to place the original Lack top shelf on the 3D printed parts. The design of the 3D printed parts keeps the table top securely in place, but also allows for it to be easily removed, so you can use the shelf underneath to puzzle or play a game.
Temporarily done puzzling or gaming or just want to tidy up? You can hide the shelf and your activity by placing the table top back on top of the 3D printed parts.
Enjoy your always tidy coffee table!