IEEE WORD CLOCK PROJECT
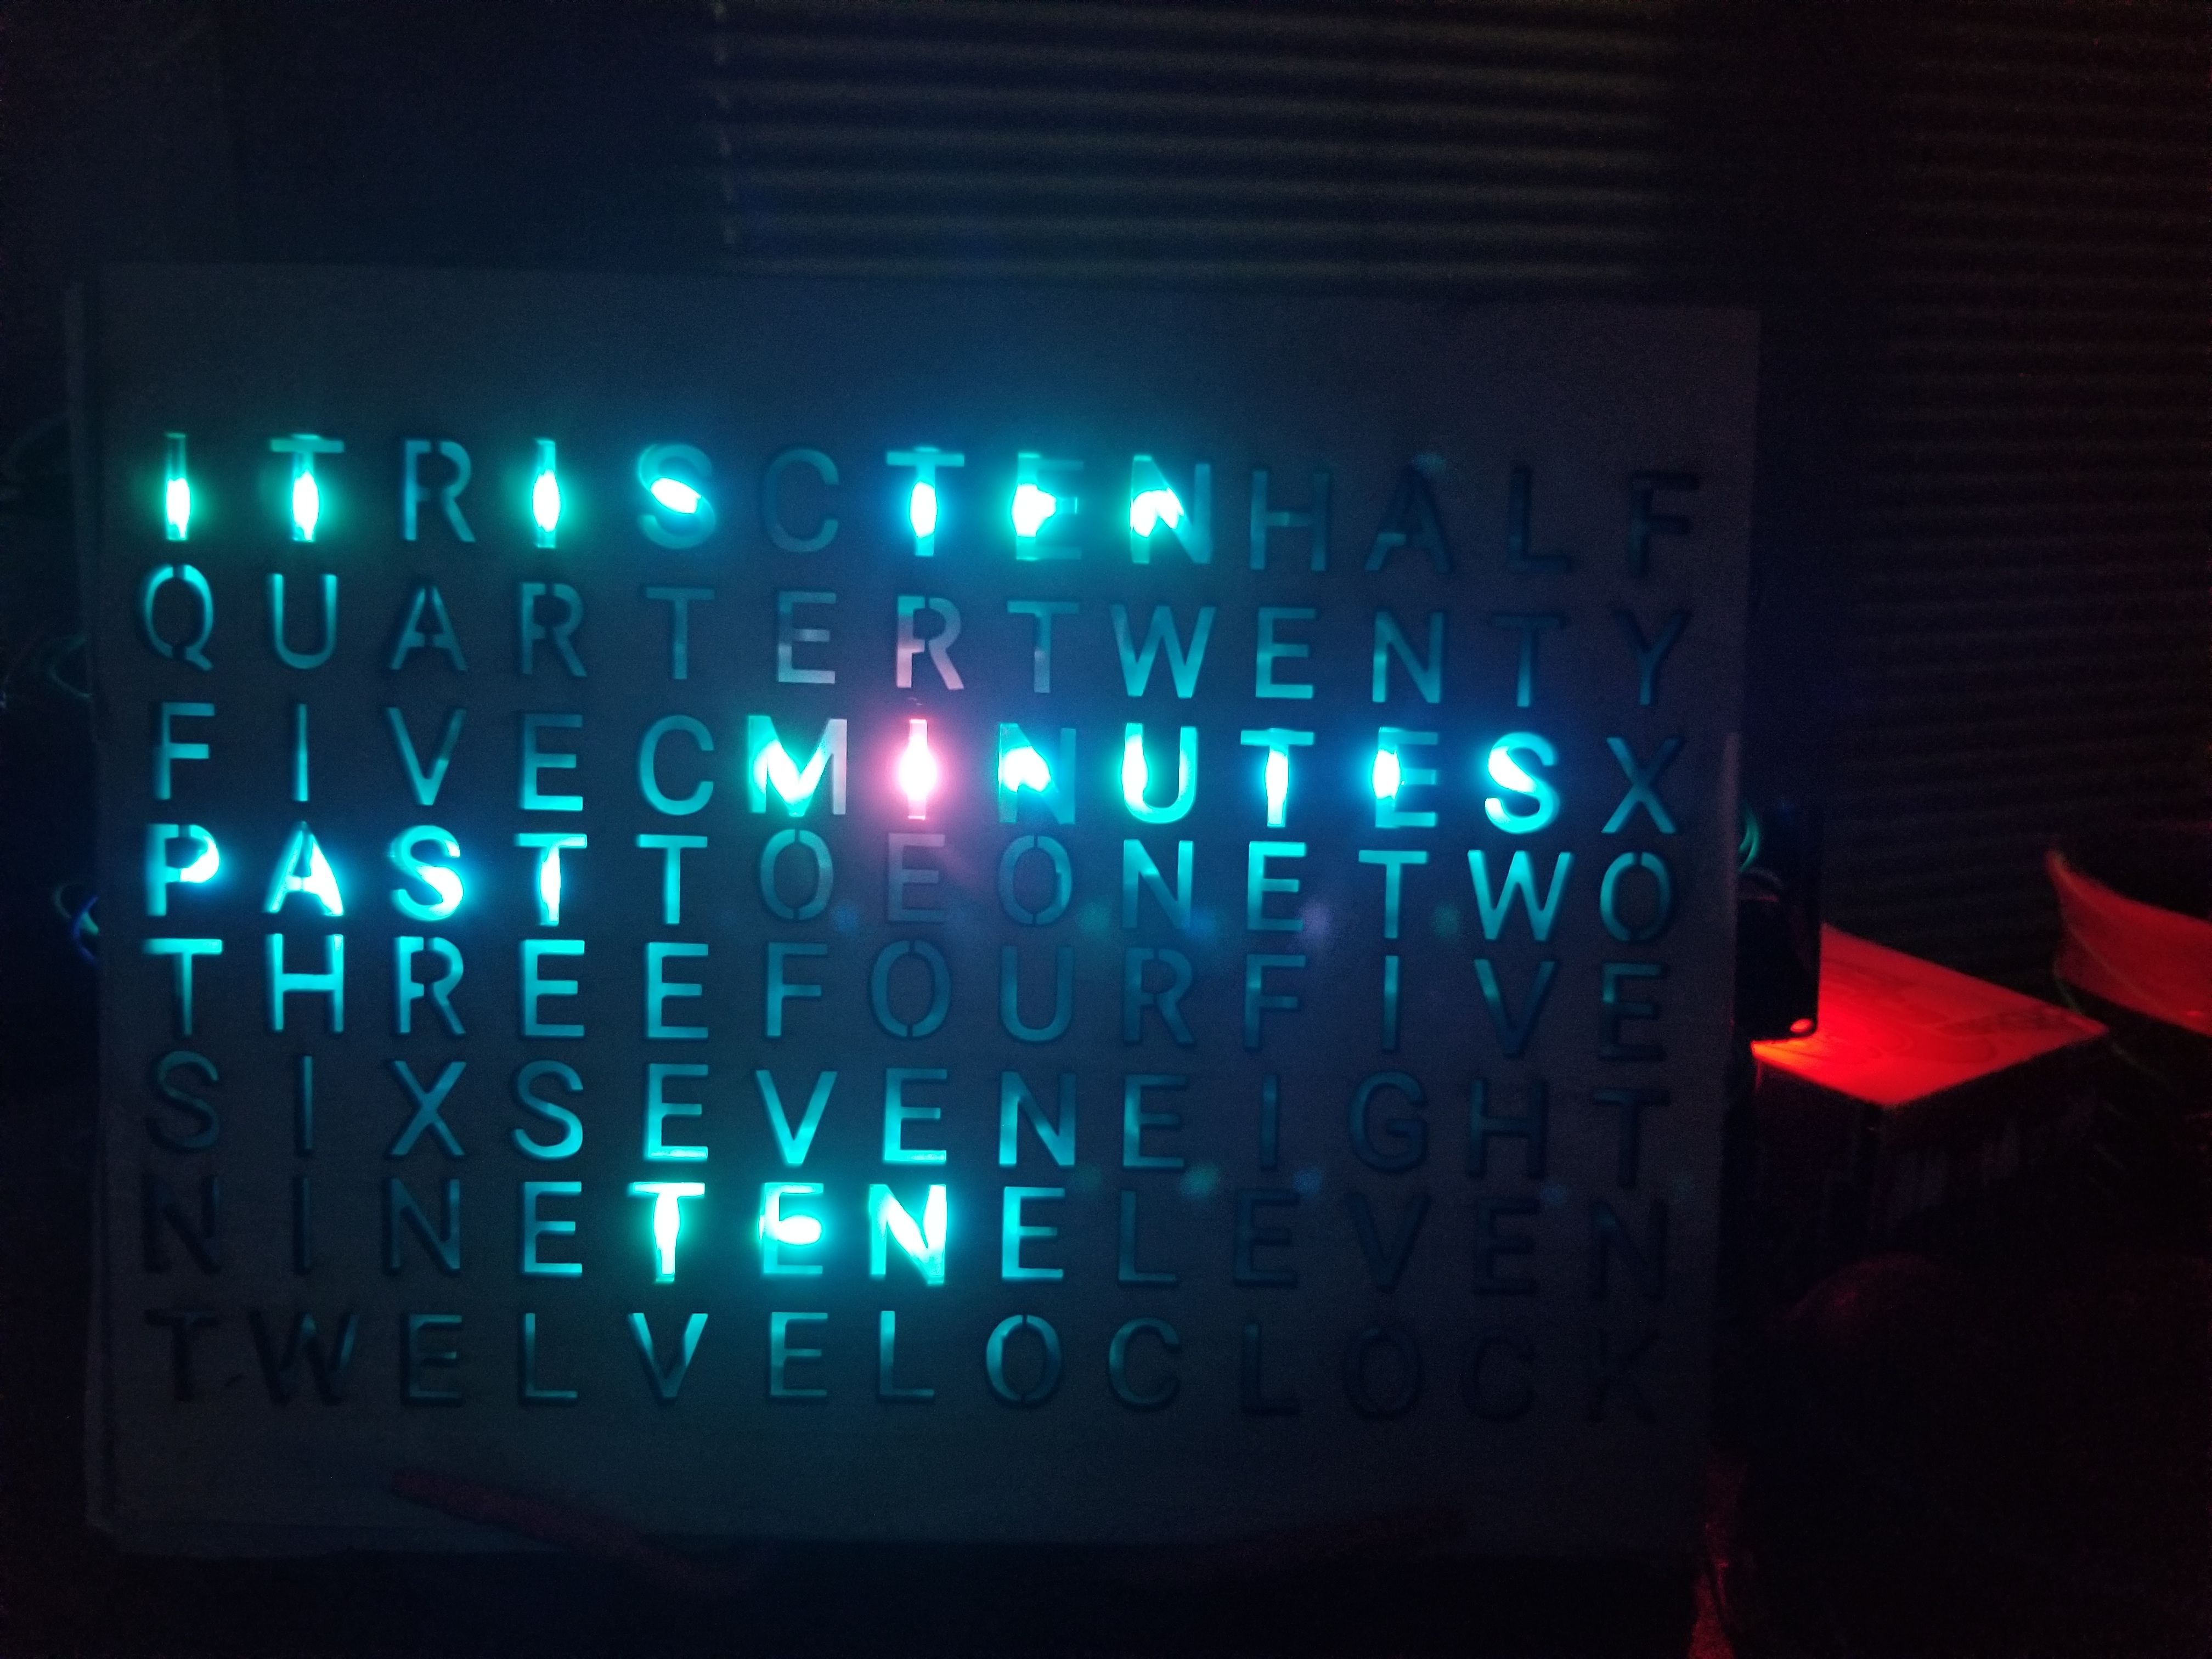
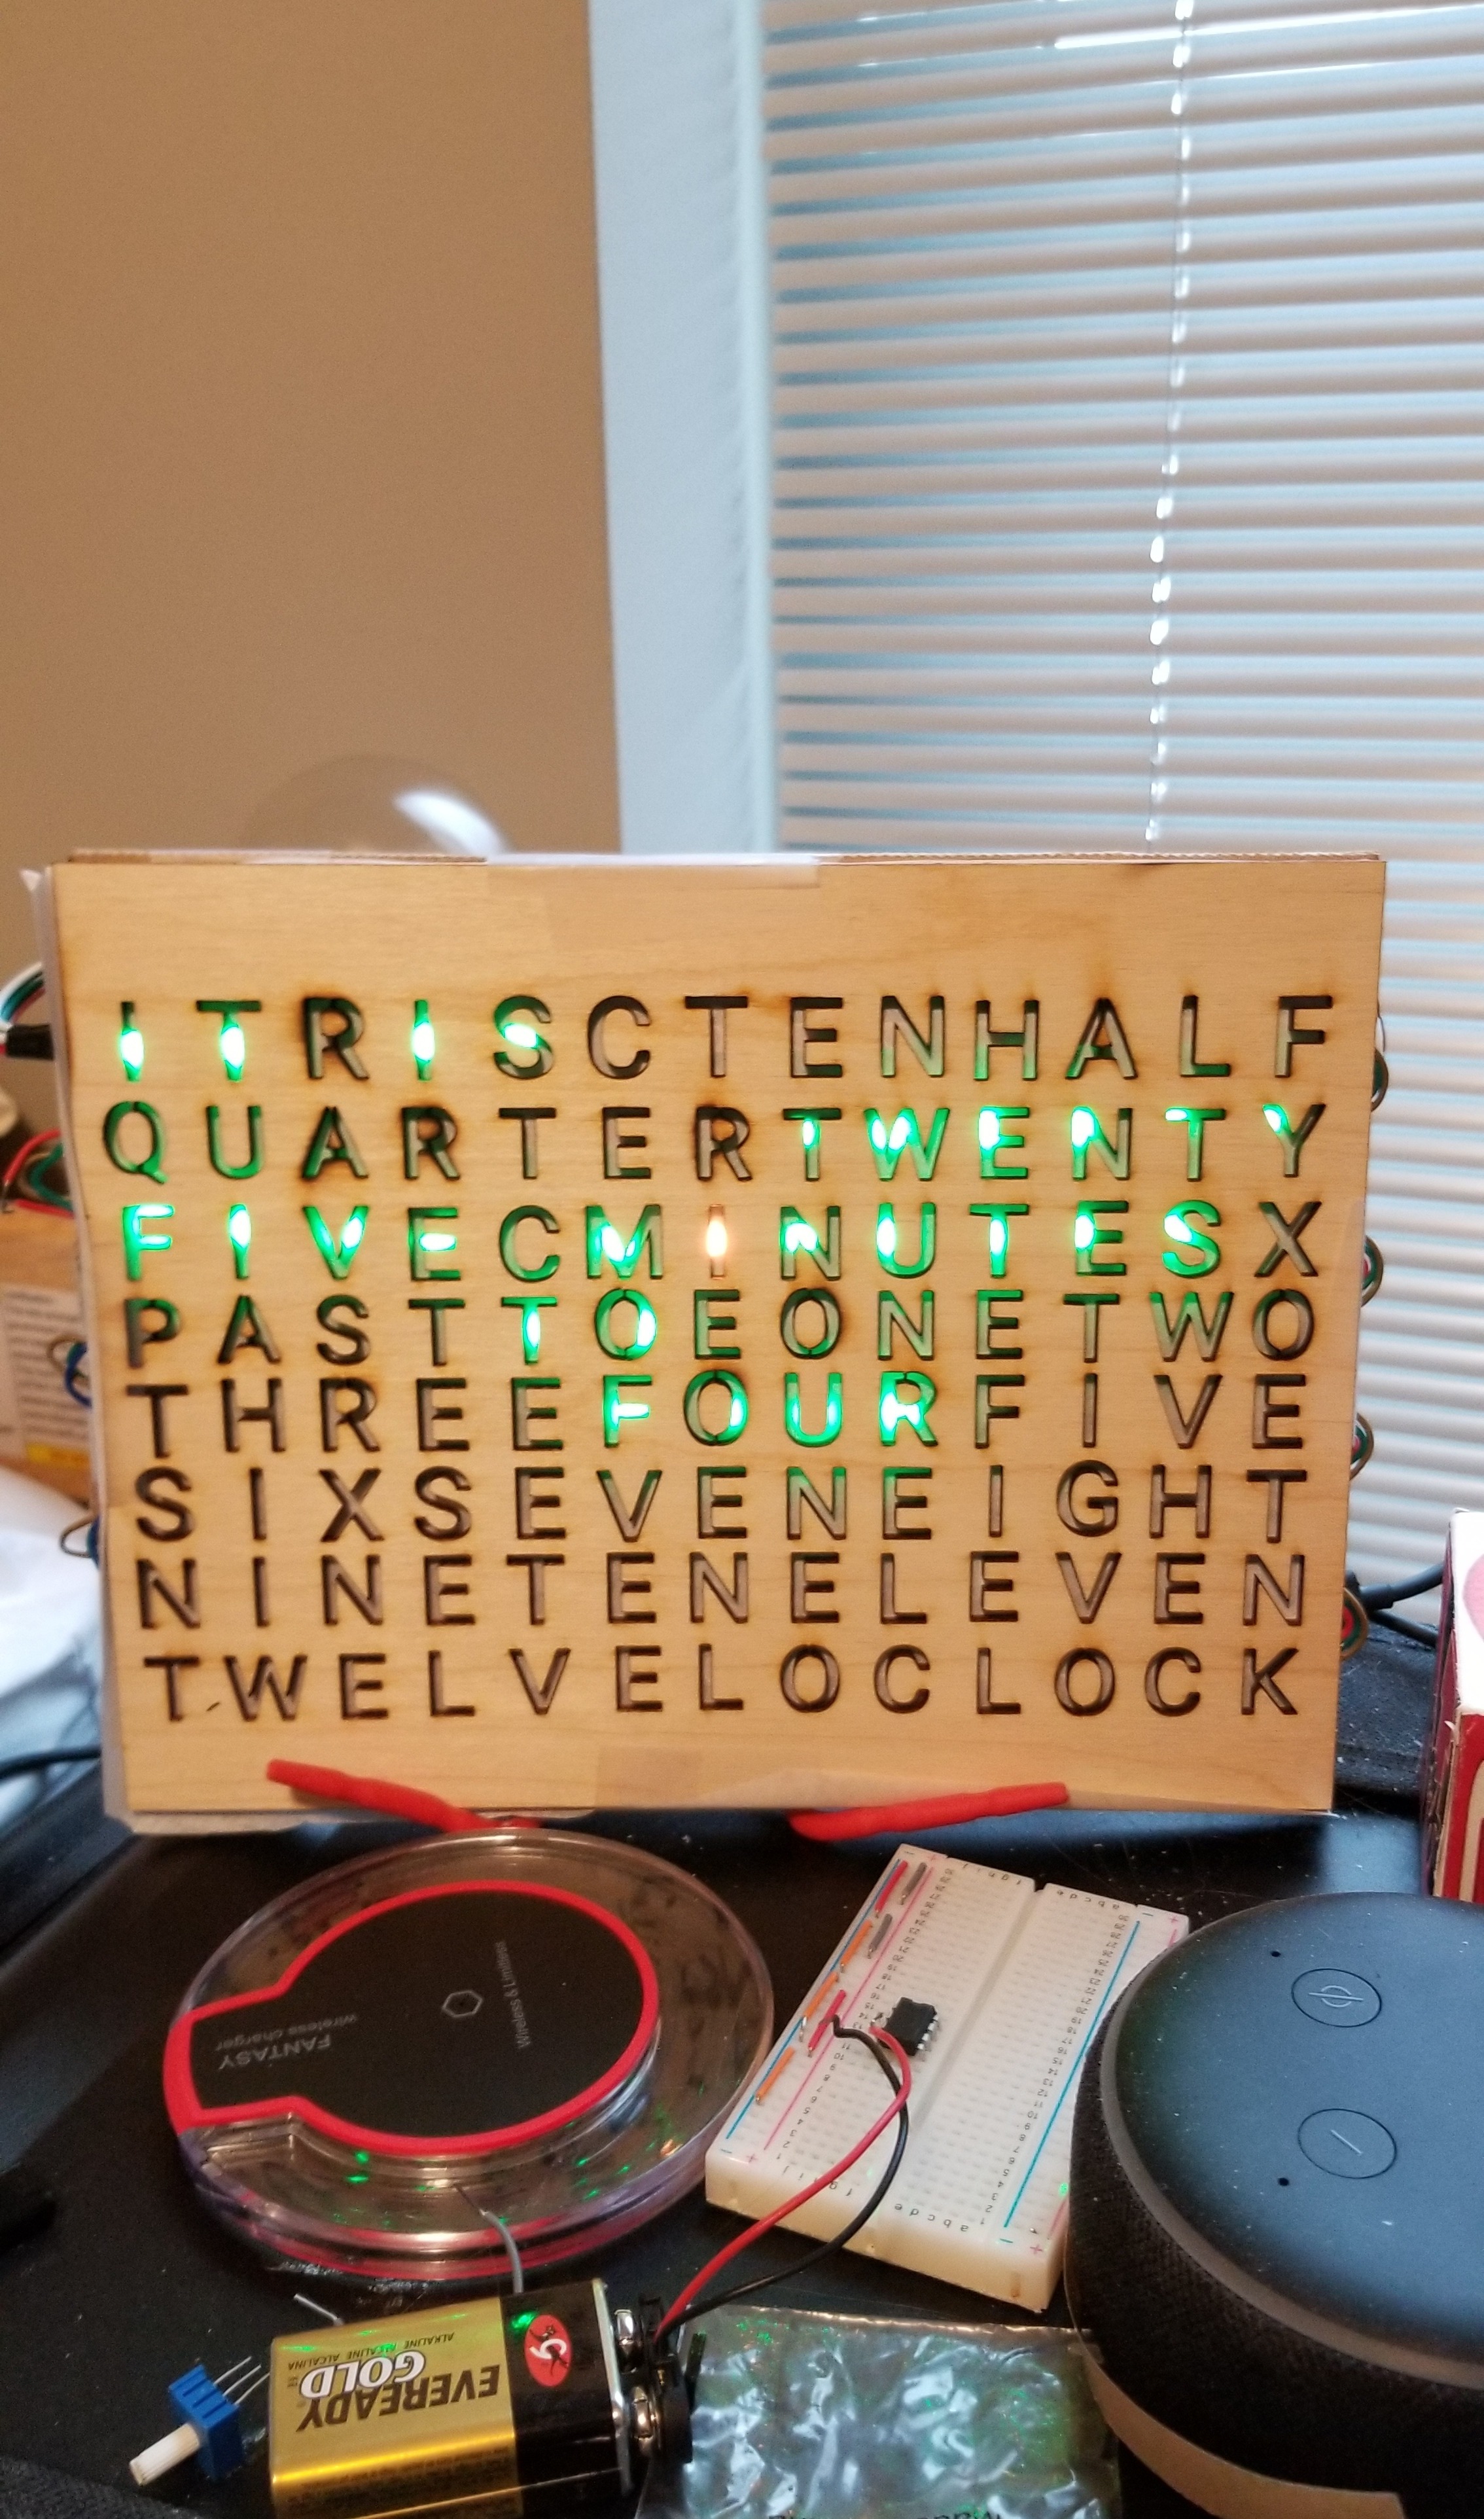
This is a project for UNO's IEEE club, it is a unique way to represent what time it is. The Word Clock spells out the time and with the RGB strip you can have the clock in any color of your choosing. Using the WiFi capabilities of the ESP32, the clock connects to a specified WiFi network and pulls the current time from the internet. If you do not have a WiFi network to connect to, do not worry, the code can be easily modified to run on the ESP32 internal clock but this will make the Word Clock not as time accurate.
Project and Code inspired by:
Downloads
Supplies
-ESP32 Microcontroller
-WS2812b RGB Individually Addressable LED Strip (60 led per meter)
- Enough for 8 strips of 13 LEDs, ~2 meters
-Front Panel
- This front panel can be laser cut from any opaque material
- In this Instructable the front panel was laser cut from 1/8 inch wood paneling with the dimensions 9x7
-Defusing material
- Can be anything from actual diffusion fabric to printer paper
-Tape
-5V wallwort
-USB to micro-USB cable
---------------------------------------------------------------------------------------------------
-Computer with internet access
-Arduino IDE
-Provided code
-Wifi network
Cutting LED Strips to Length
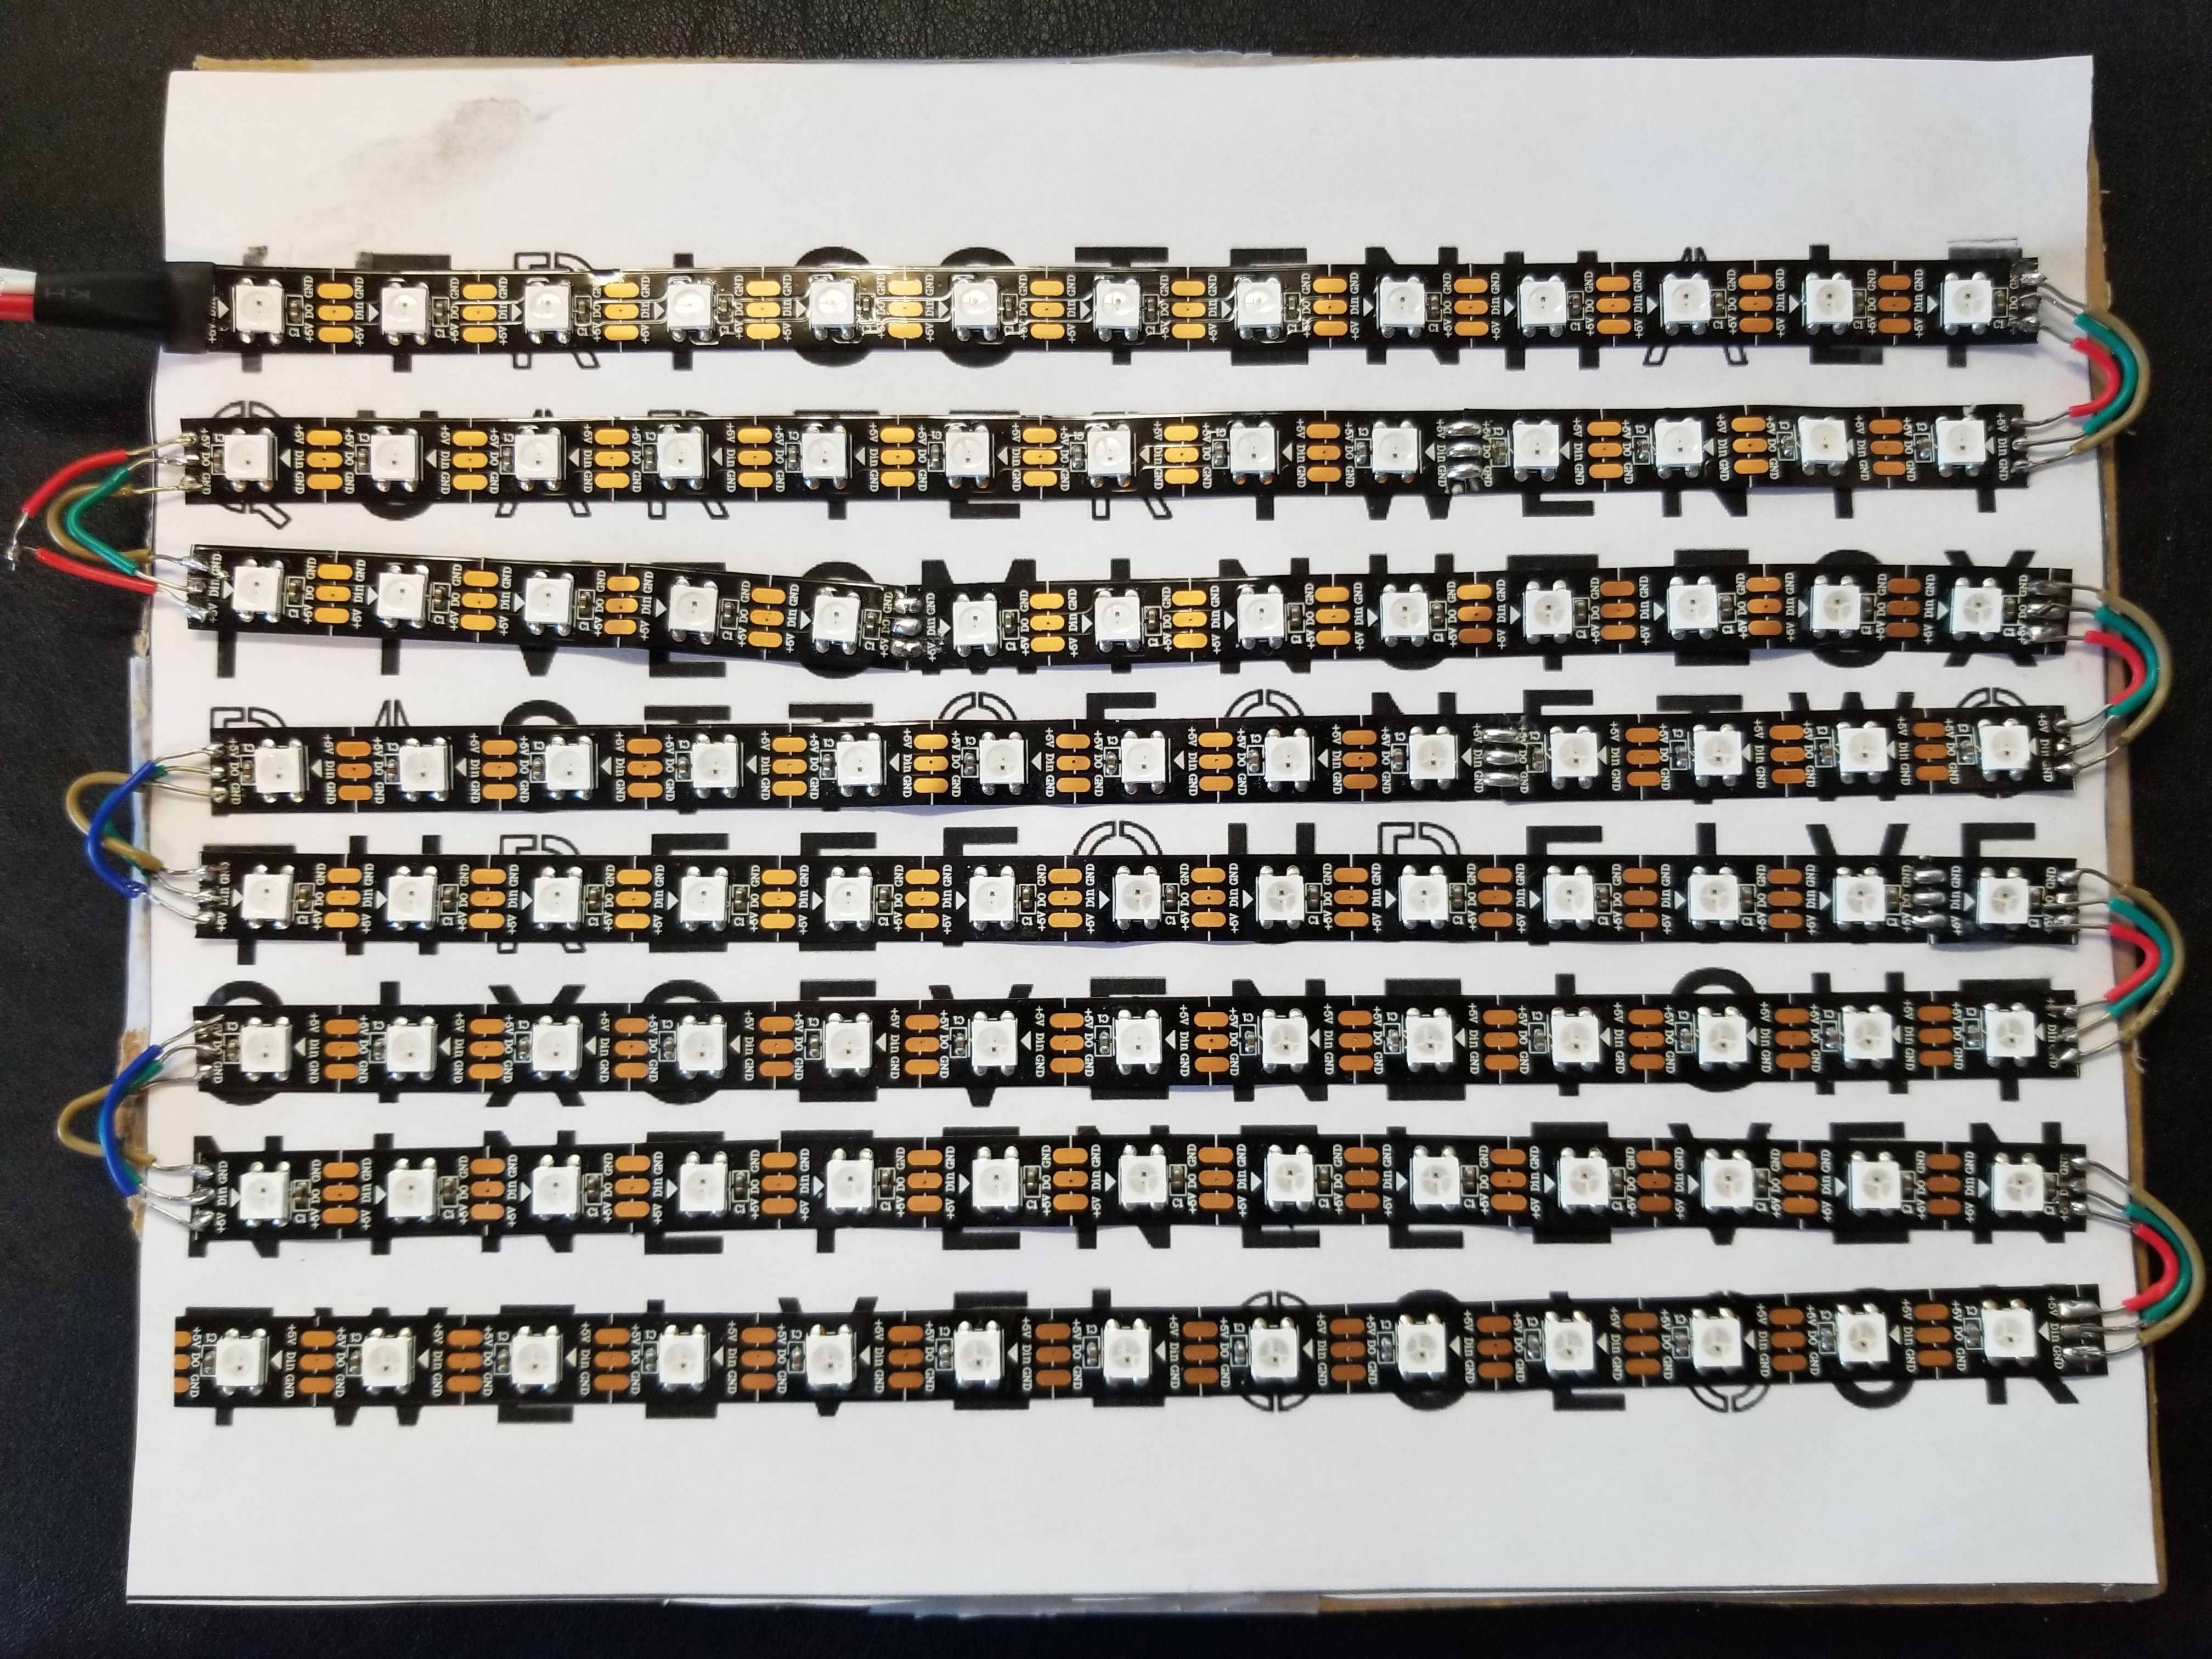
The individually addressable LED strip is one of the most important components of this project. If you do not get the right type of LED strip, the code may not work. The spacing of the LEDs on the strip is important to, make sure you have the strips that have 60 LEDs per meter. For this project, ~2 meters of LED strips will be enough.
For the project, you will need to cut the full LED strip into smaller strips so they can fit on the board. You will need 8 strips that are 13 LEDs long. Starting from the beginning of the strip (End with the female connector) count 13 leds and then cut the strip so you have a smaller strip with 13 LEDs. Repeat until you have 8 full strips, this will have 2 one meter long LED strips. You will get 4 properly sized strips from each meter strip of LEDs. Keep the extra LEDS for replacement parts or other projects.
Arranging and Wiring LED Strips
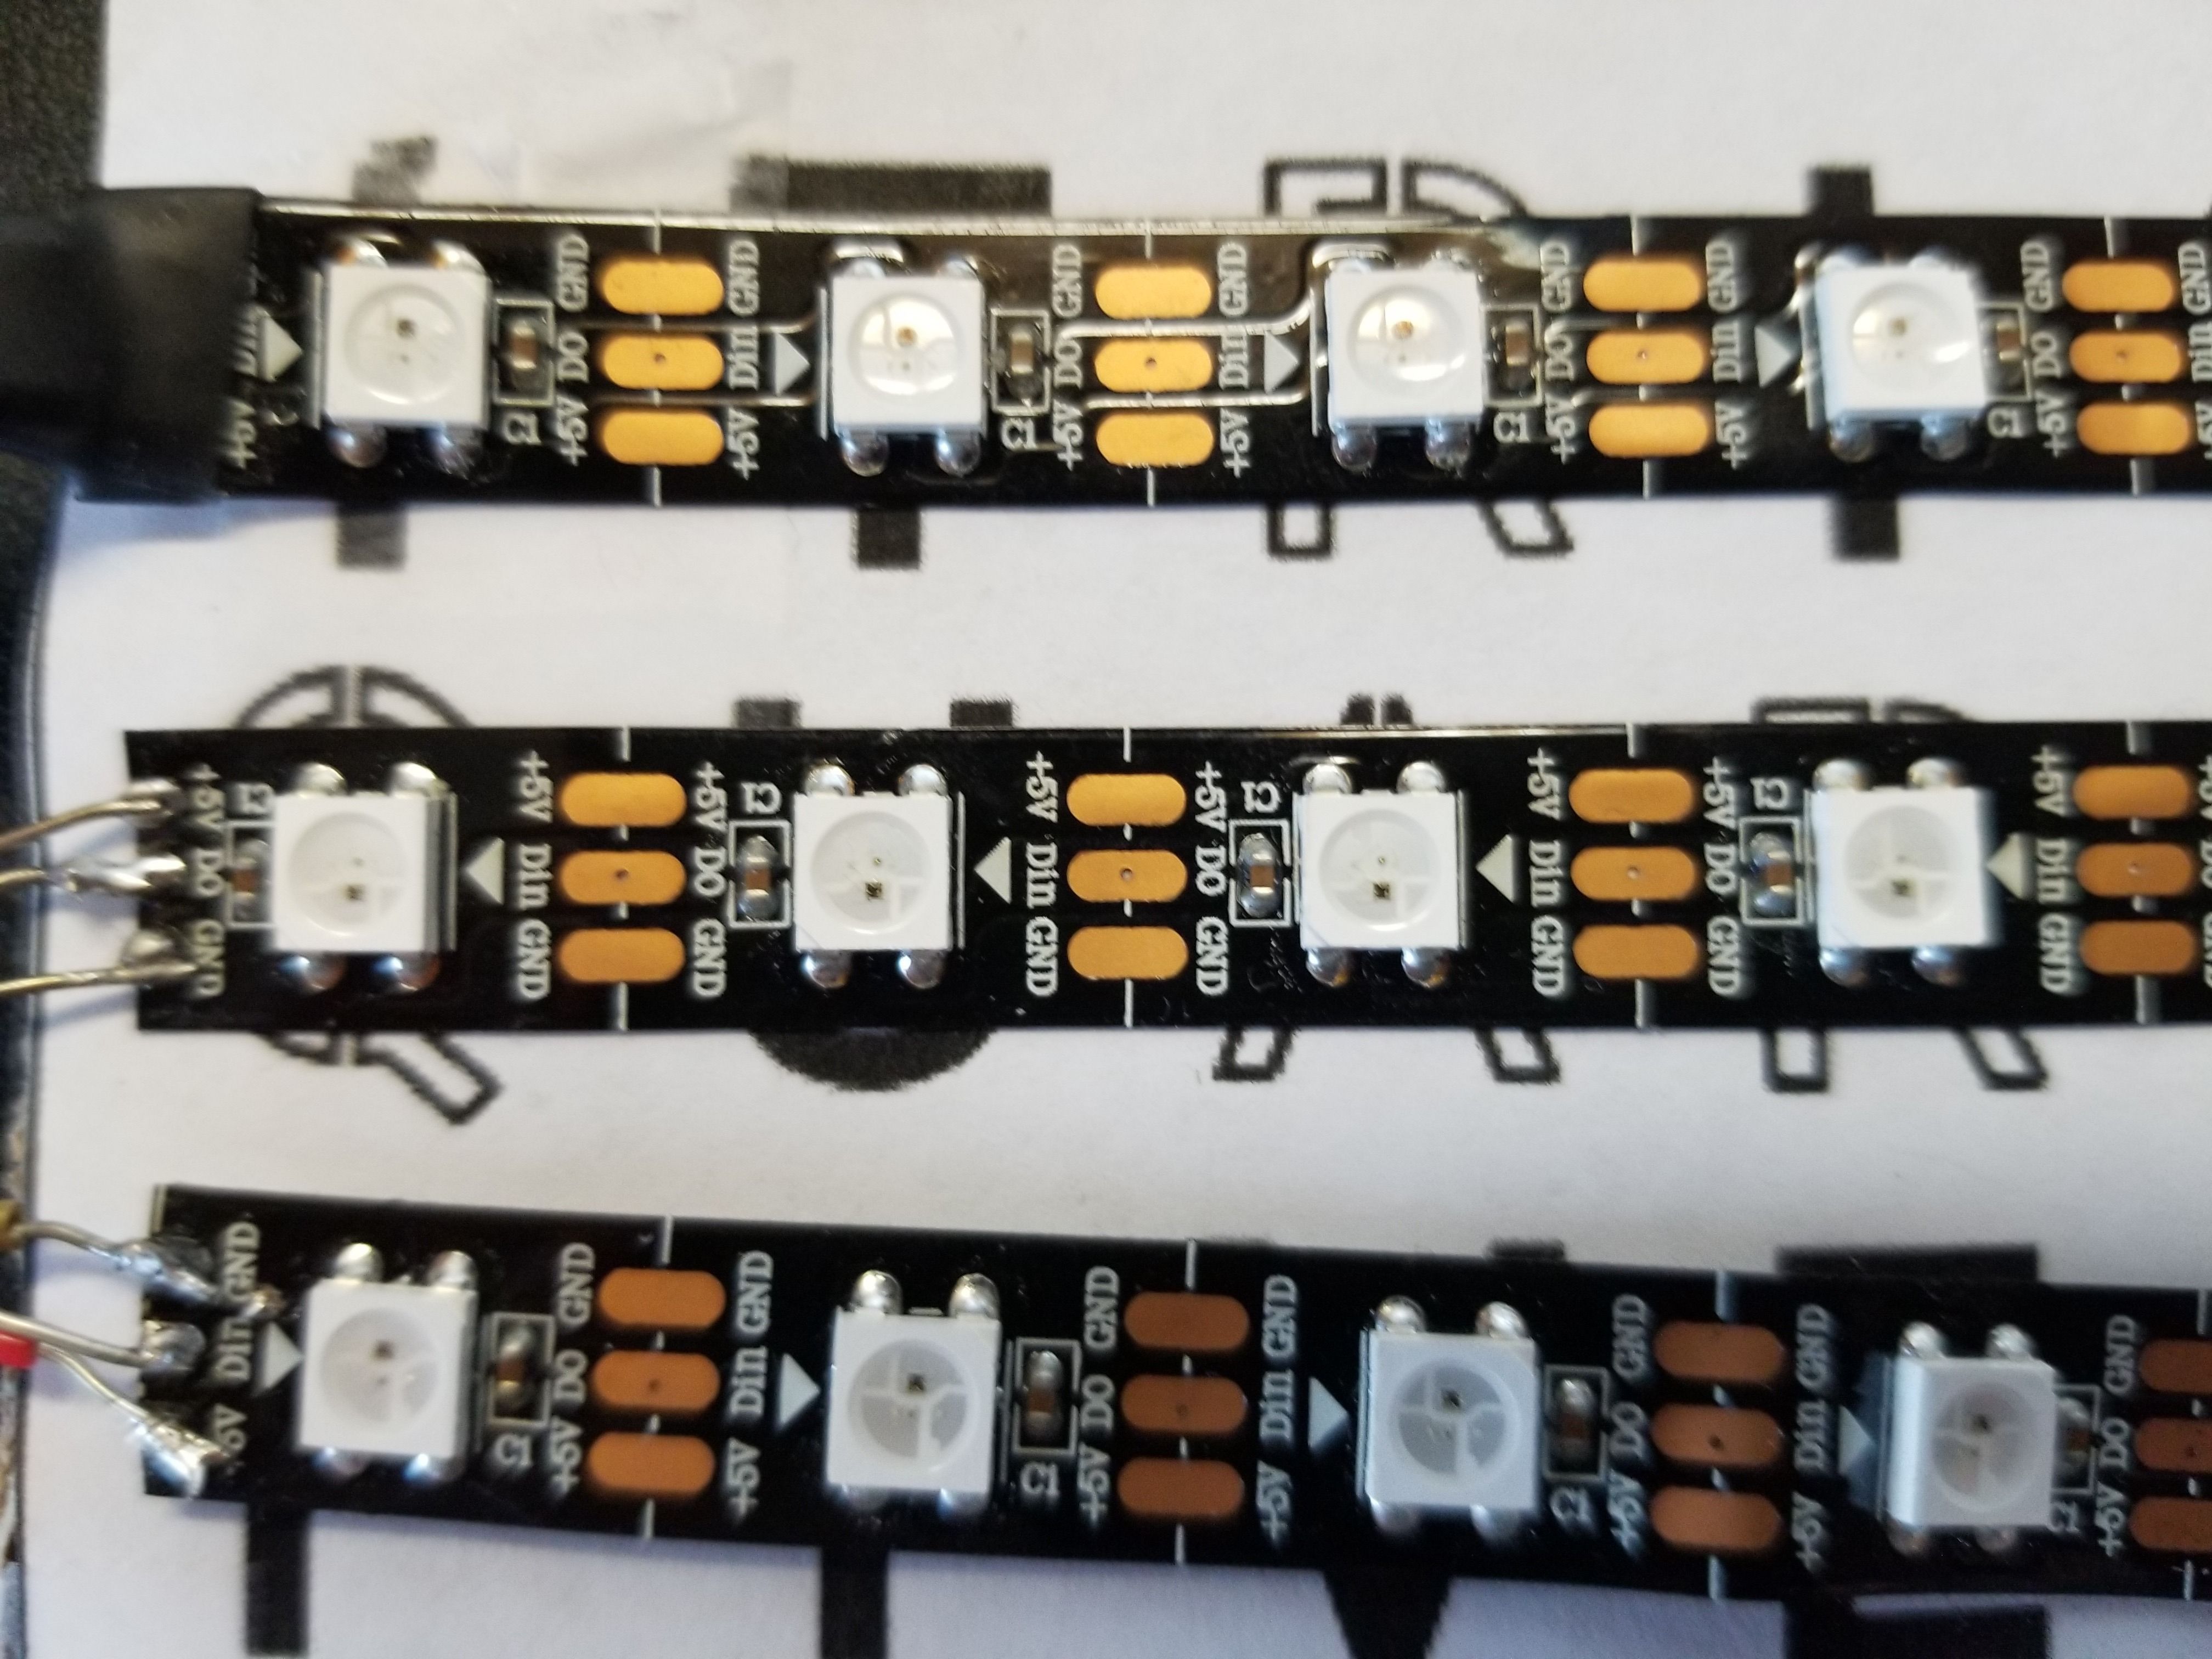
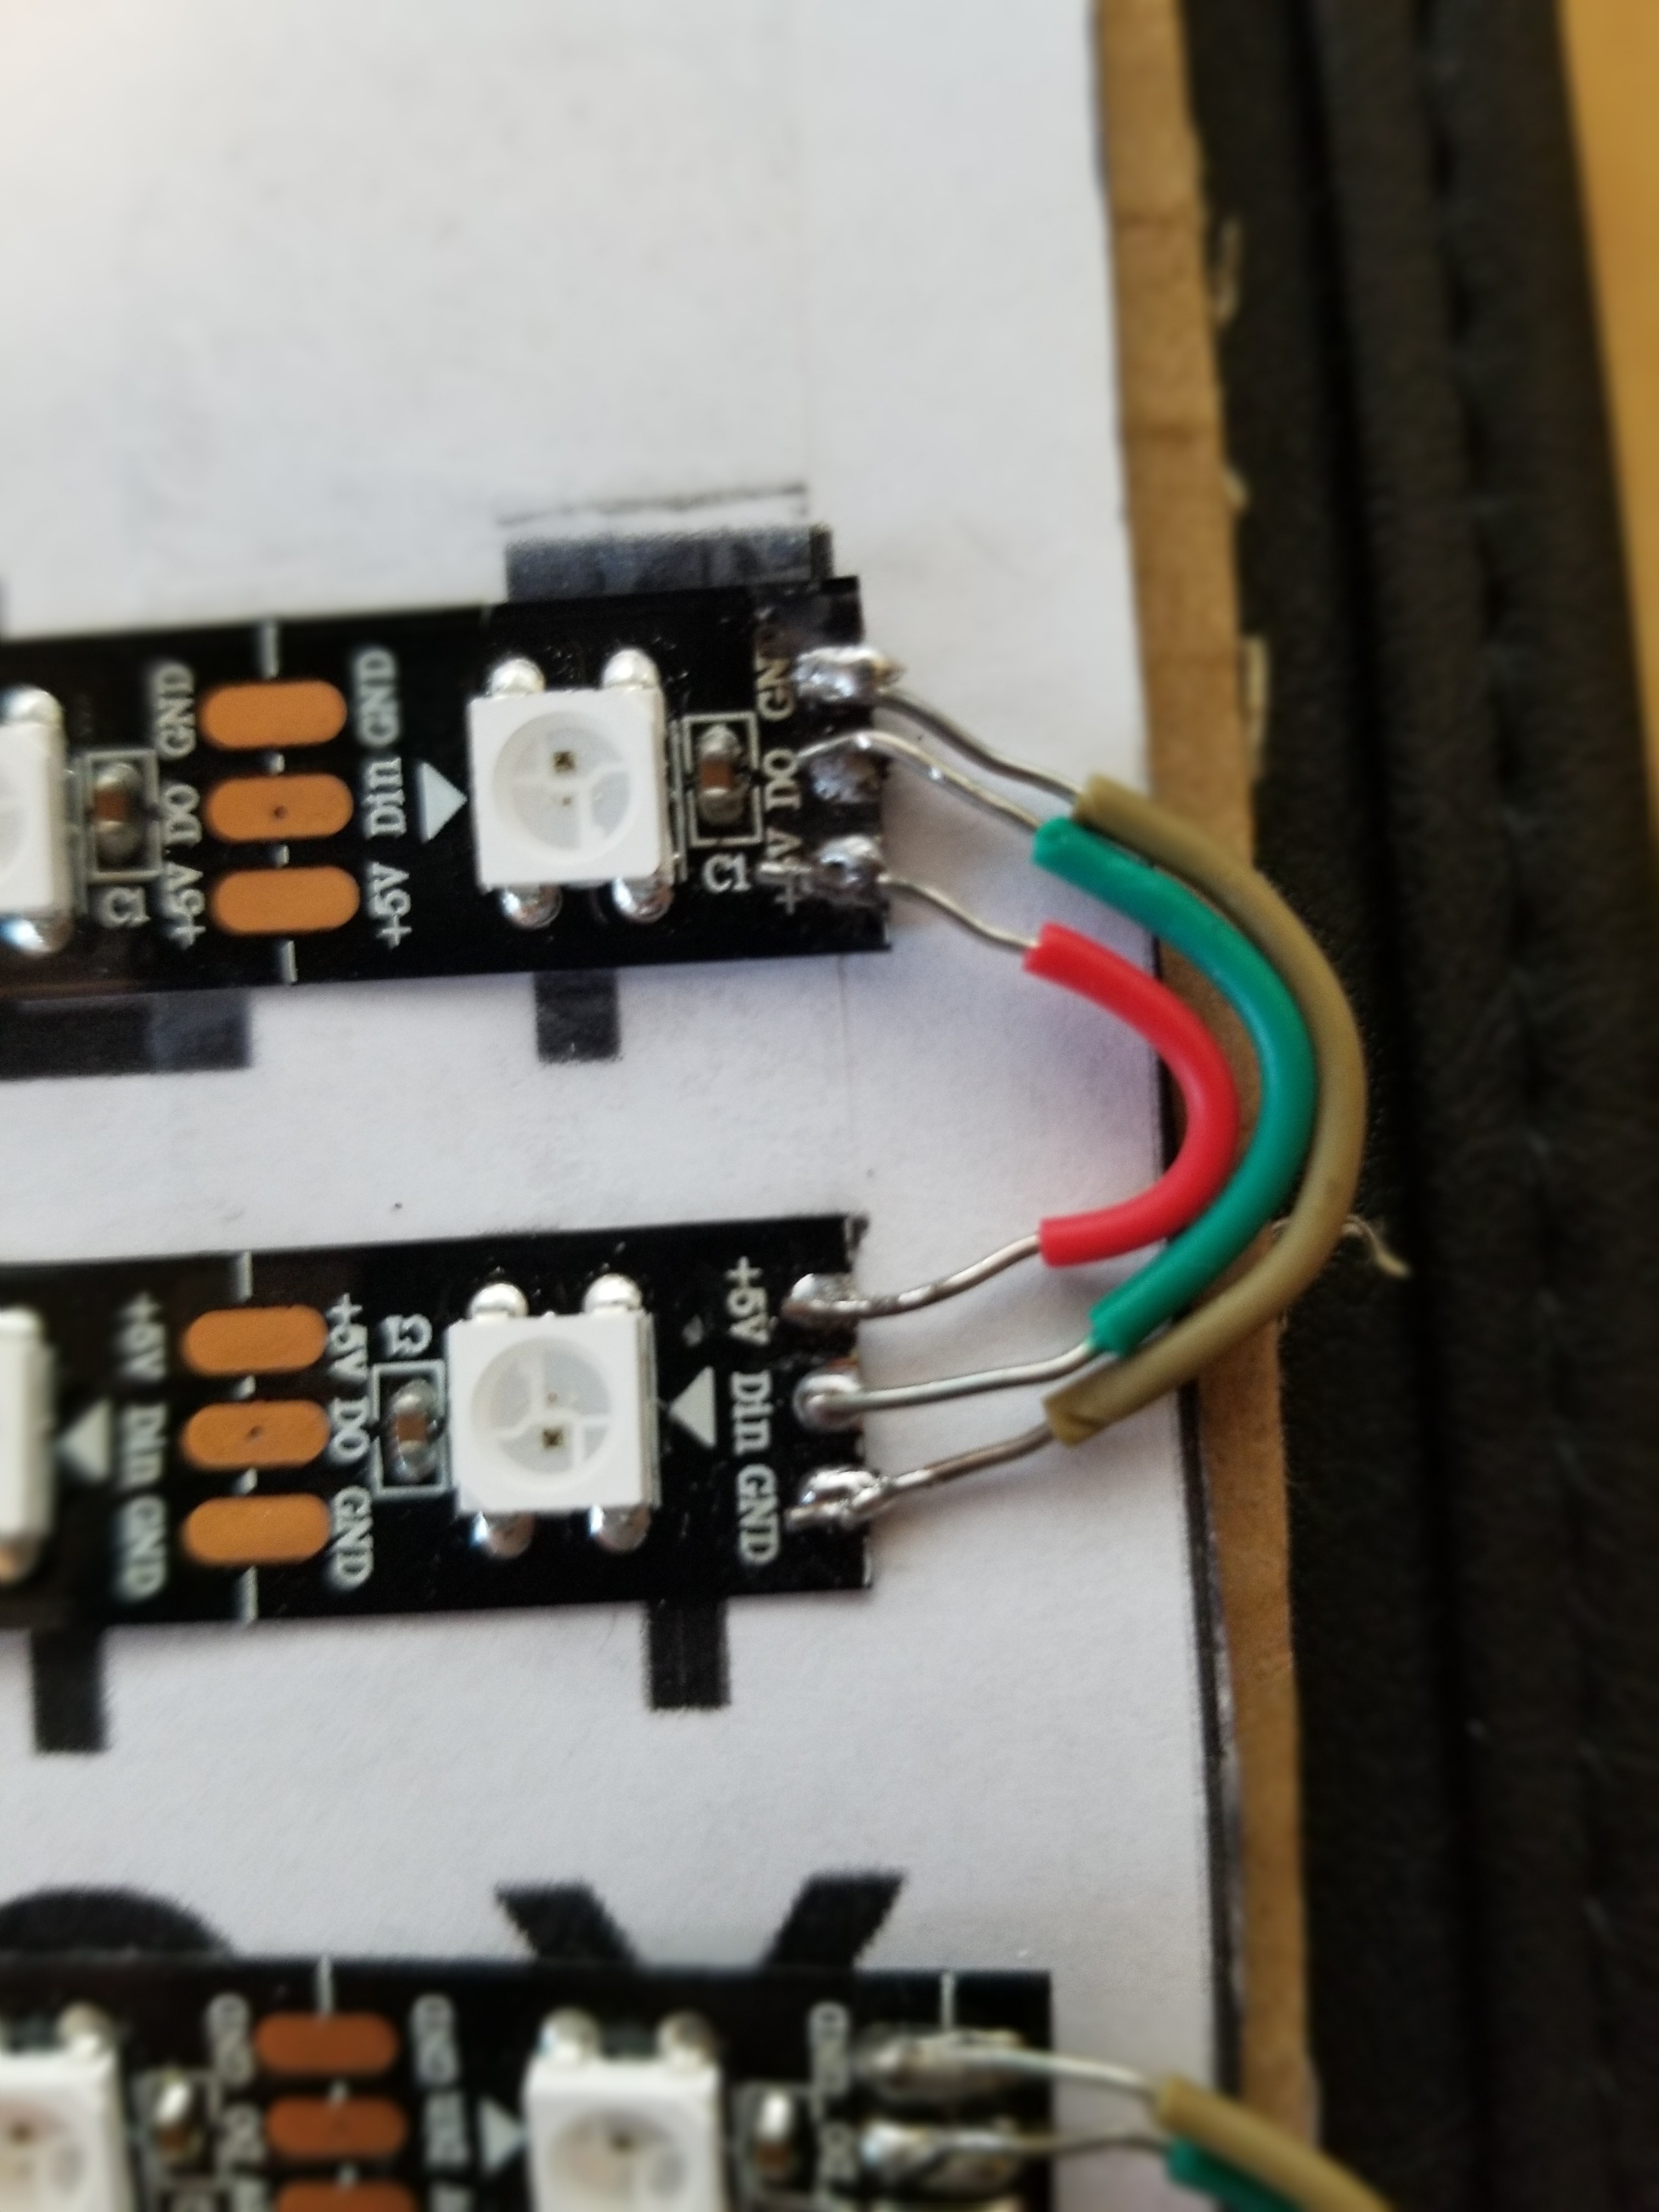
Now that you have the 8 strips of LEDs, it is time to arrange them on the provided template (Front Panel.svg). When printing out the .svg file make sure to scale it properly to 9in by 7in. Play careful attention to the direction of the data line. If you look closely to the strip, you will see Din with an arrow pointing to the LED module. The direction of the arrow will be used to properly arrange the LED strips. Lay the LED strips on the template first before removing the adhesive protector. Starting from the top row, the "IT R IS C TEN HALF" line, place the first strip with the Din arrow pointing right. Place the next LED strip on the next line down but this time make sure Din arrow is point to the left. Continue placing all of the LED strips alternating the direction the arrow is facing. The last line should be pointing left.
Once that you have all of the LED strips correctly arranged on the template, strip by strip, remove the adhesive protector strip from the back of the LED strip and apply it to the template as straight as possible. After all of the LED strips are adhered to the template sheet, carefully solder wires to connect the +5V,GND, and Data connections together.
Connecting to the ESP32
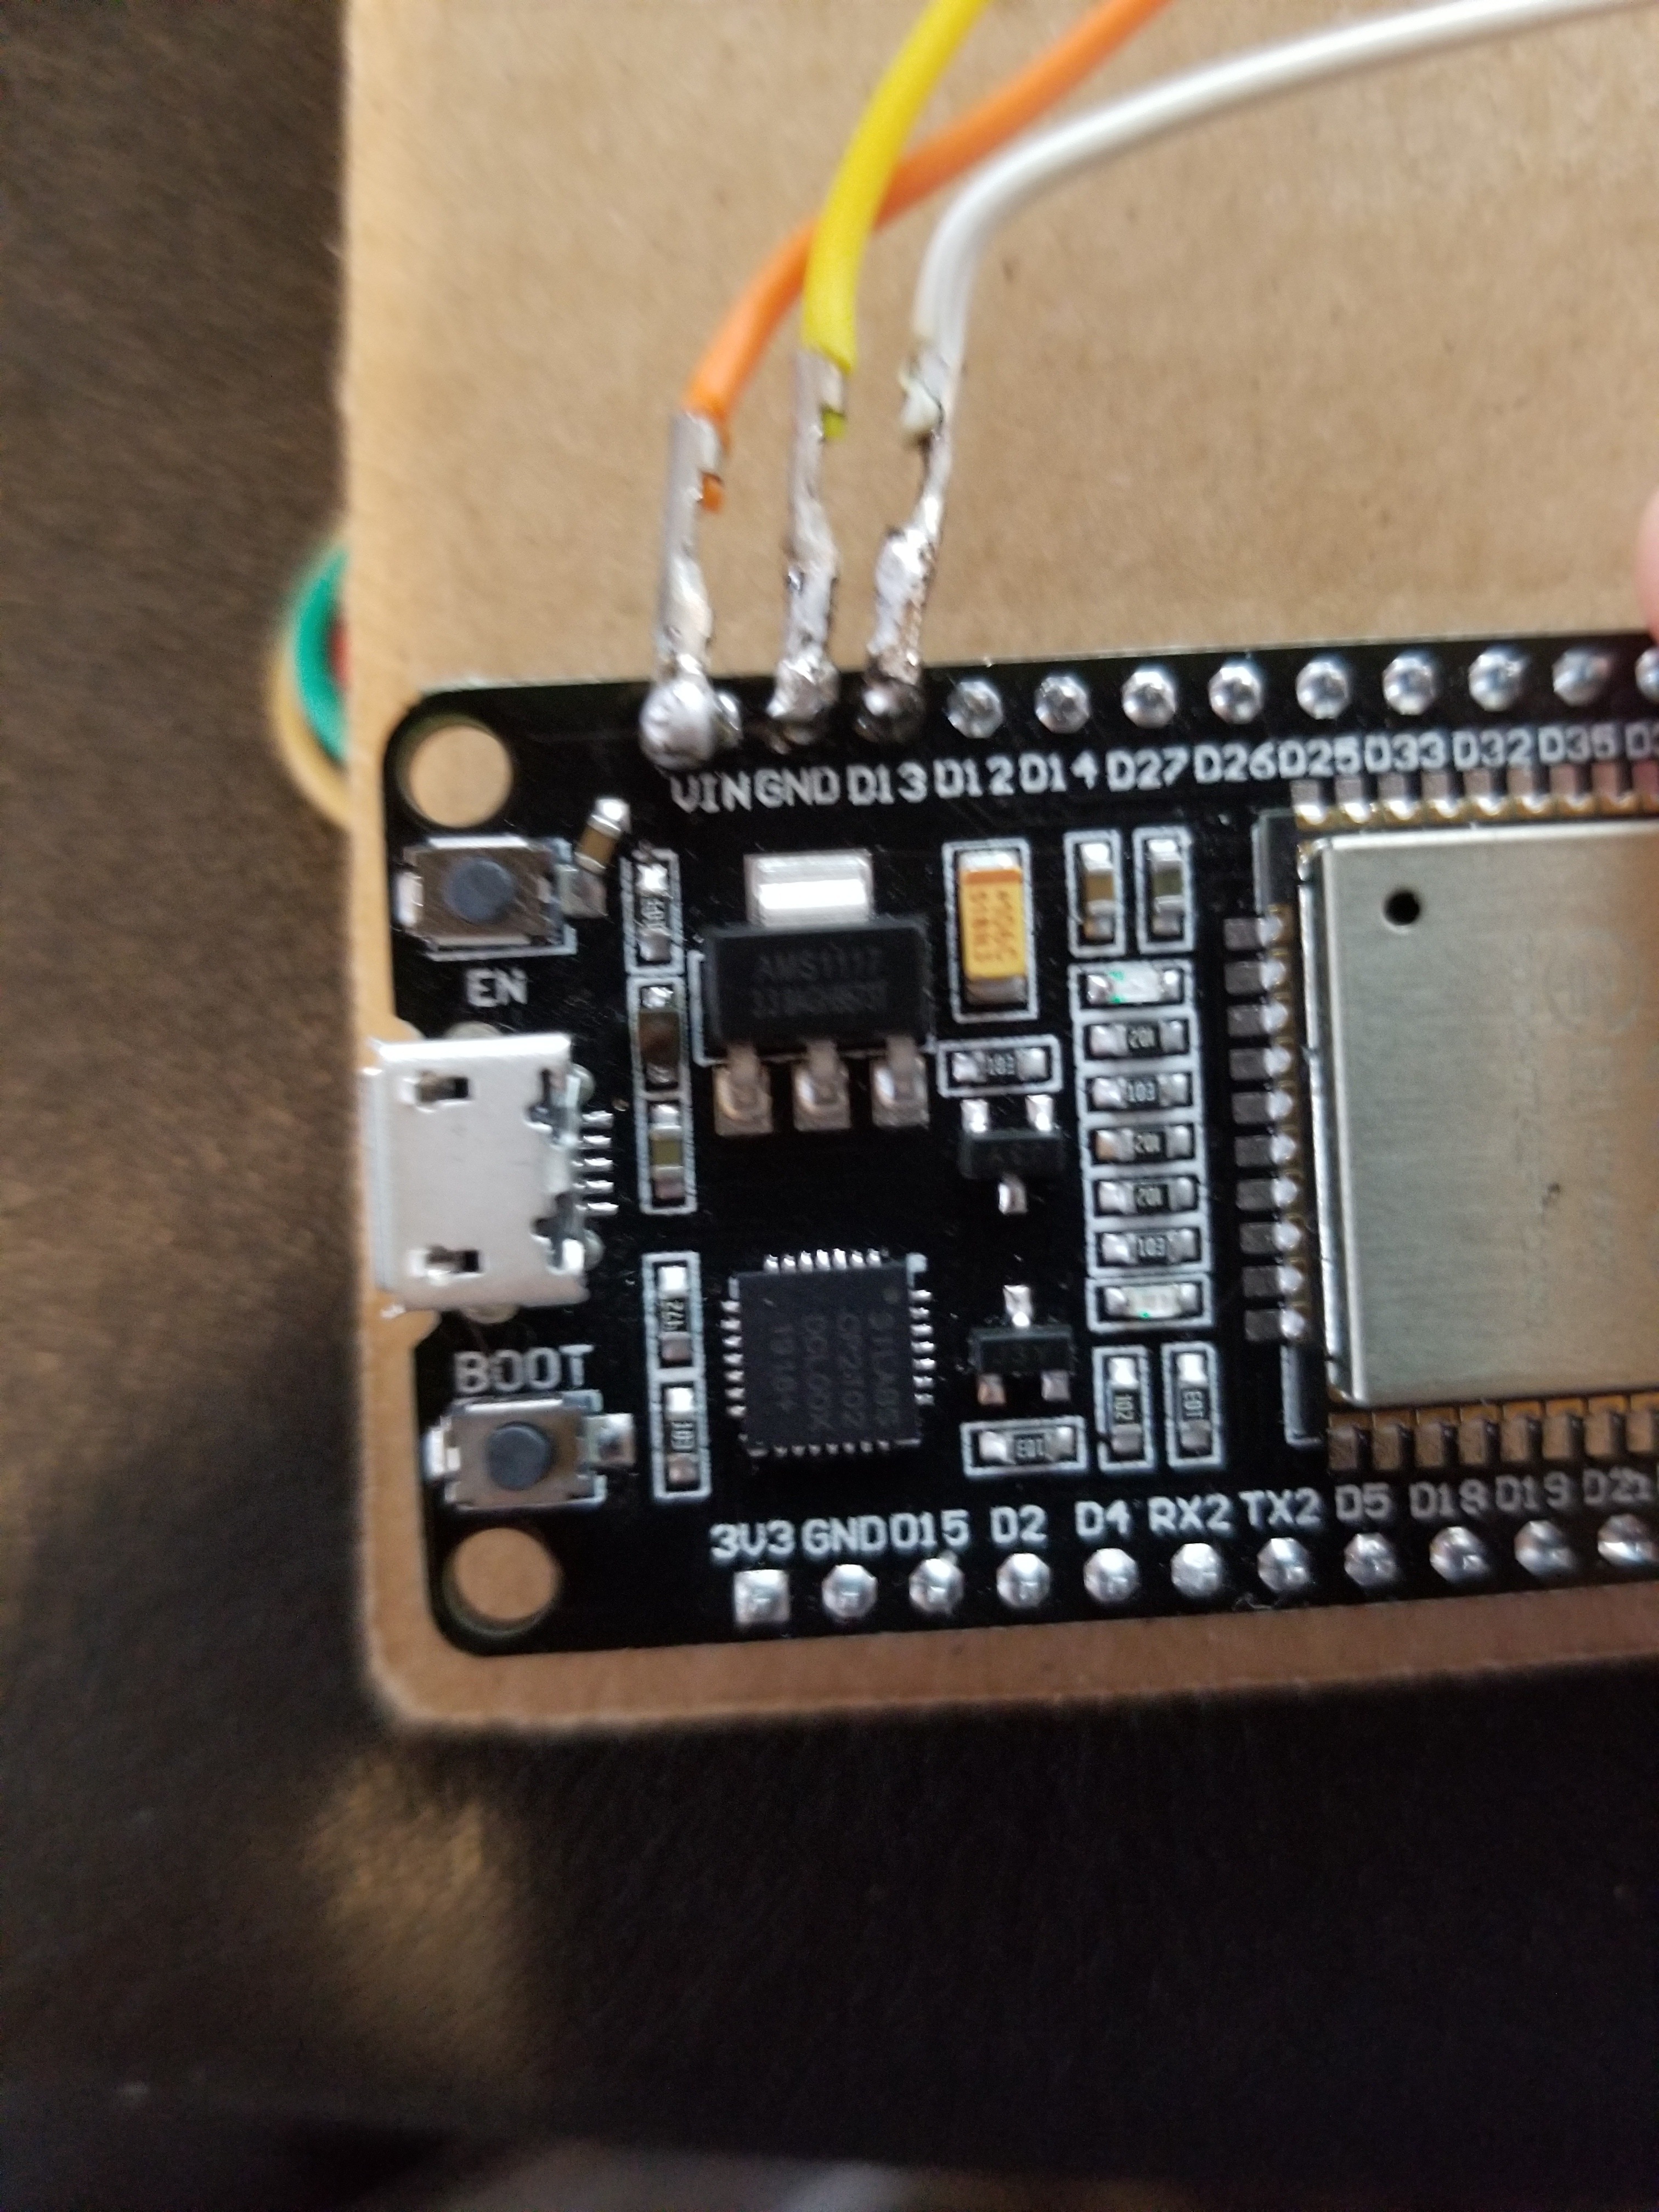
Once all of the strips are soldered together, it is time to connect the LED strip to the ESP32 controller. You can either insert wires into the female connector or you can carefully remove the heat shrink from the wires and de-solder from the LED strip. When you solder these wires to the ESP32 make sure that you have enough wire to position the mirco-USB somewhere pointing where you can plug in a mirco-USB cable. Solder the wire that is connected to +5V or +3.3V to Vin, GND to GND, and Din to D13.
Installing Arduino IDE
If you do not have Arduino IDE installed download it from the following link
https://www.arduino.cc/en/Main/Software
Choose the correct version for your OS
Setting Up Arduino IDE
After opening up Arduino IDE, go to the corresponding link to install the ESP32 Board drivers
Installing the ESP32 Board in Arduino IDE (Windows instructions)
Installing the ESP32 Board in Arduino IDE (Mac and Linux instructions)
Next, download the NTP Client library from Taranais from the following link:
Click here to download the NTP Client library
Also you will need to download the Adafruit Neopixel Library
https://github.com/adafruit/Adafruit_NeoPixel
Unzip the .zip file and copy the folder inside to your Arduino IDE libraries folder.
Programming the ESP32 for the Word Clock Project
Open up a new Arduino sketch and download the code above. Copy and paste this code into your new Arduino sketch and compile the code too make sure all of the proper drivers are installed.
Downloads
Final Steps...
There are few setting in the code that you will need to modify.
Connecting to WiFi

These two variables in the code will need to be changed to your wifi network name and password.
Changing Color of LEDs
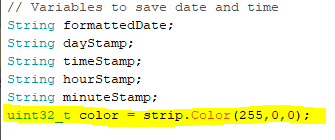
This variable controls what color the LEDs are, the layout of this line can be looked at like this:
uint32_t color = strip.Color(Green,Red,Blue);
By changing the values of each color value (0-255), you can change what color the LEDs are. The code is preset to the LEDs being bright green.
Adjusting Time

This this the block of code responsible for adjusting the time shift because of time zones. It is set to CDT, note this code does not automatically change with daylights saving. You will have to change the offset value to -21600 when daylights savings "falls back".
Final Assembly
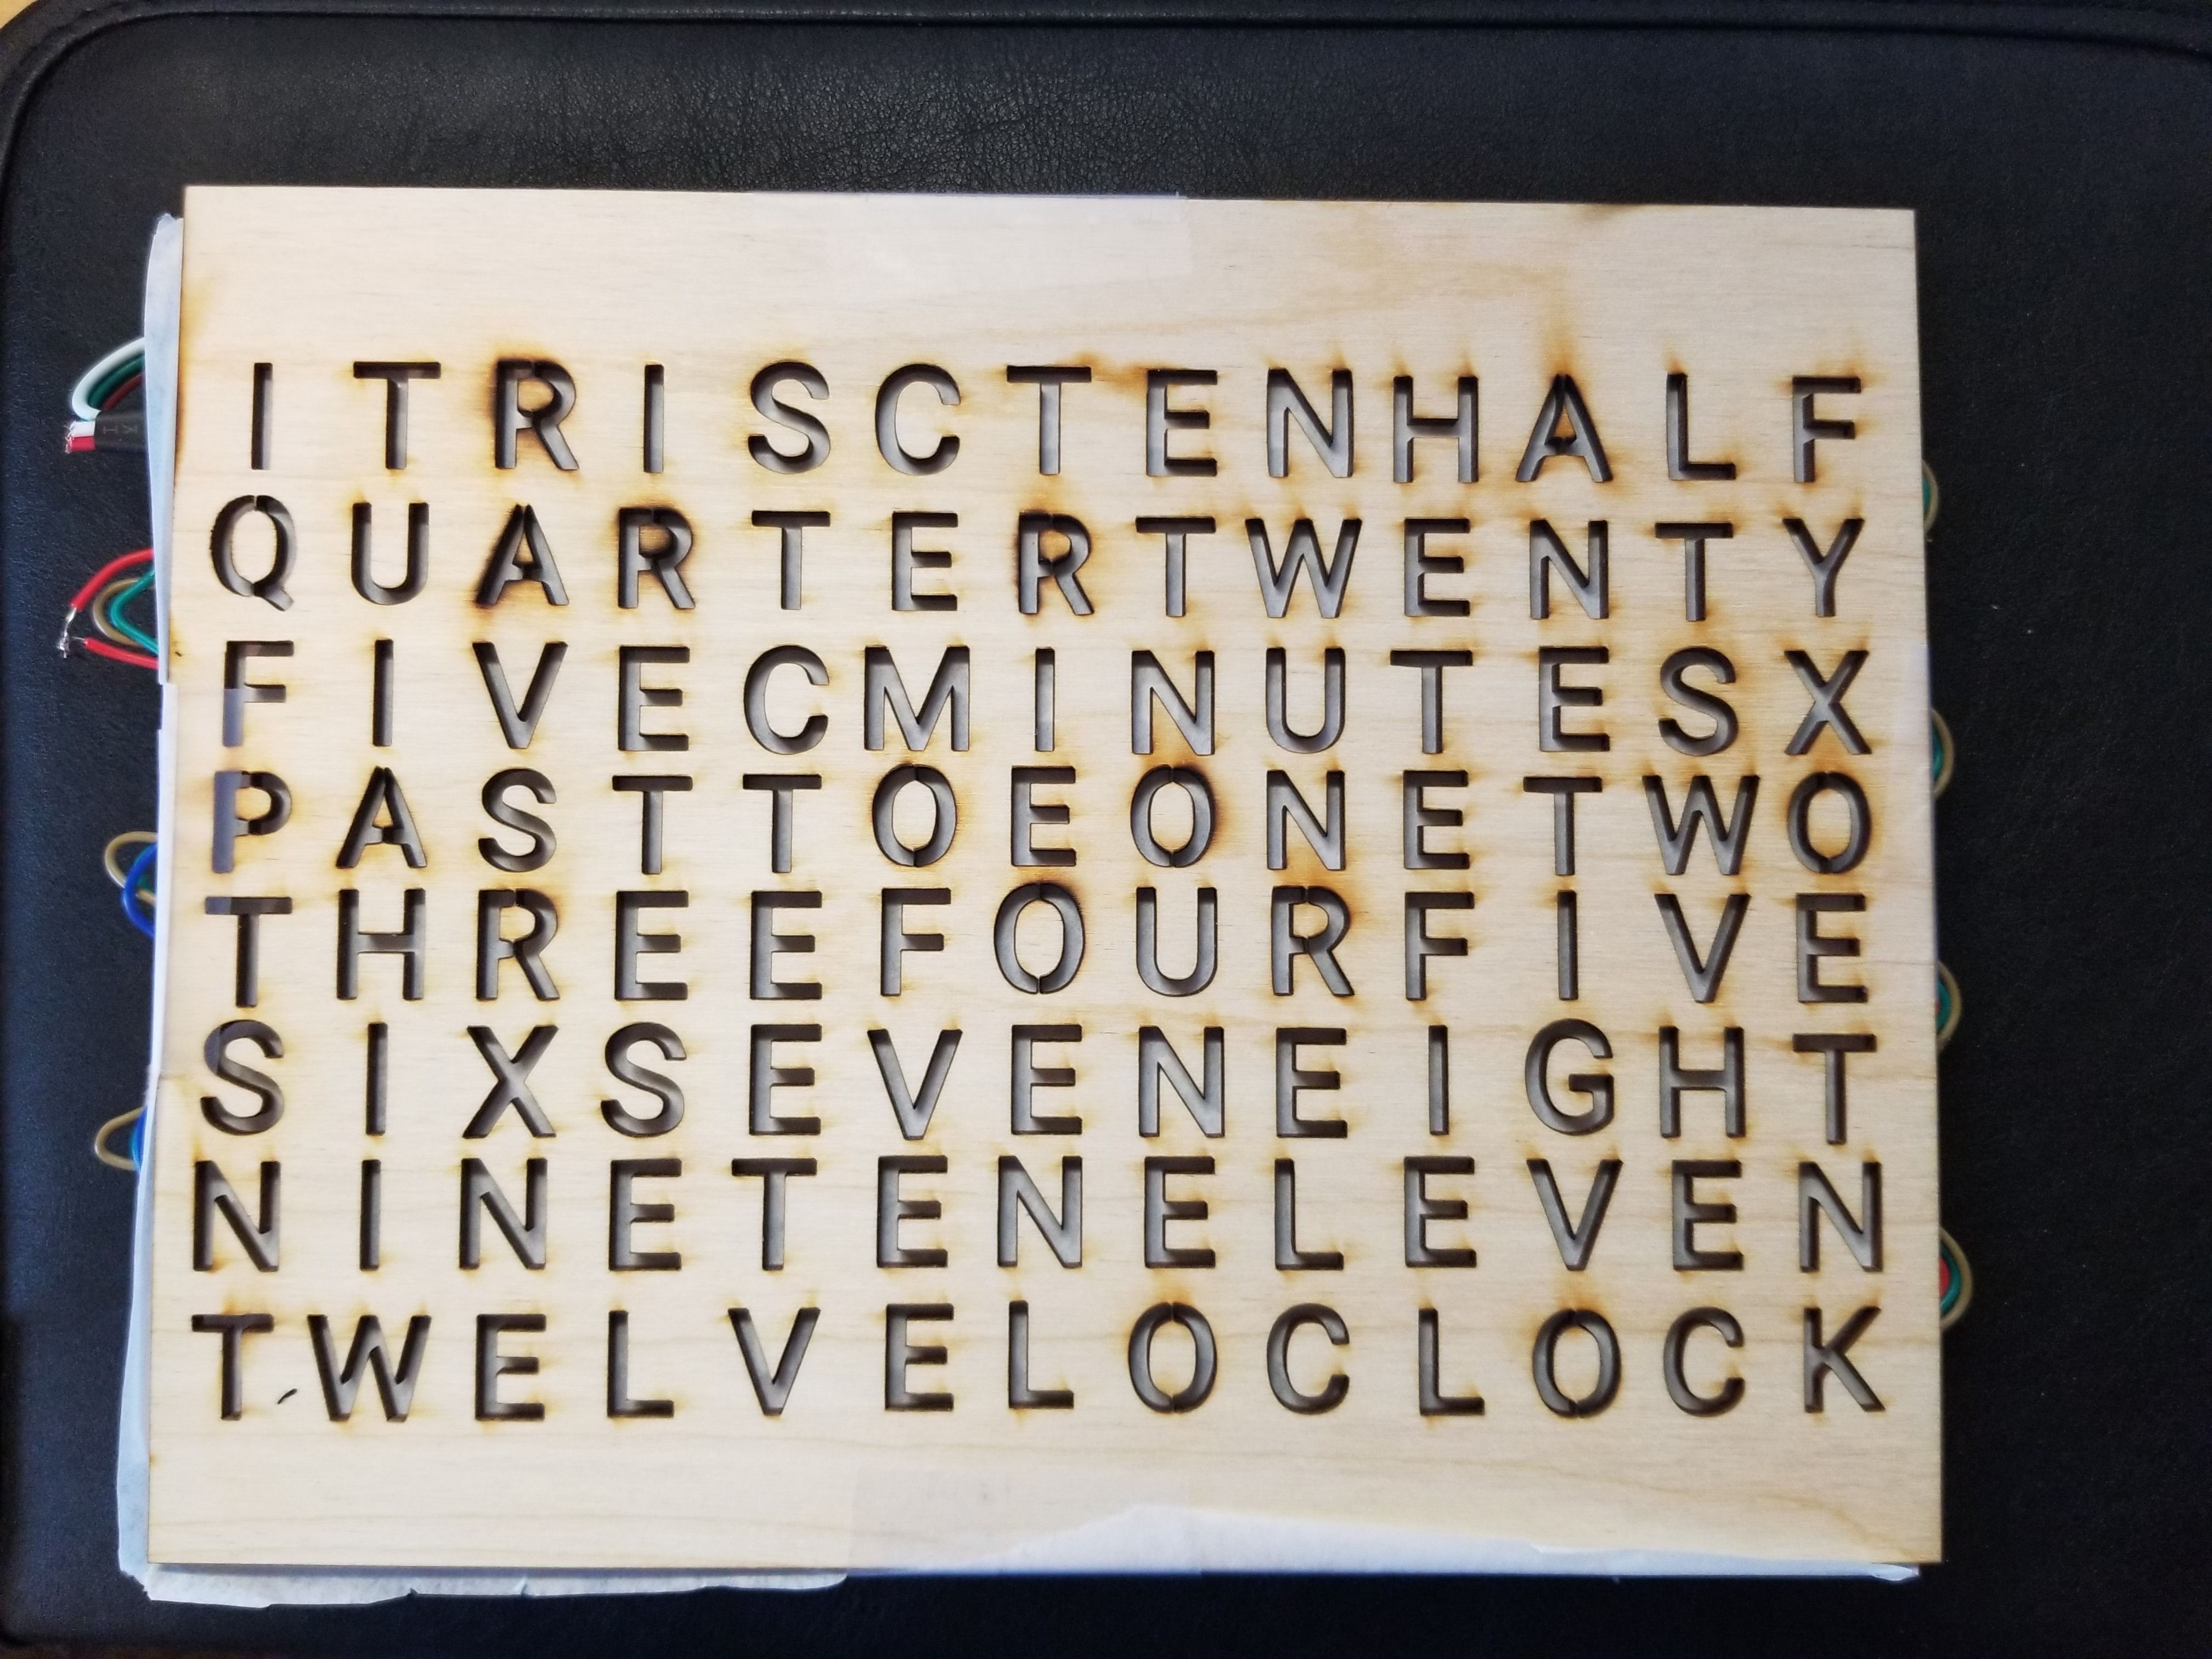
Once the ESP32 is connecting to WiFi and your LED lights are lighting up, it is time to assembly the project.
Tape your diffusion material to the back of the front panel so that all of the cut out letters are covered. Then line up the LEDs with the letter cut outs. When these are aligned, tape the edges of the back and front panels.
Final Notes
This project could possibly be powered from a battery but because of the large number of LEDs that are being powered, batteries may not be able to provide sufficient current.
Some of the LEDs will randomly light up, this can be fixed by resetting the ESP32 by pressing the EN button. Changing the Vin pin to 3.3V from 5V might also fix this issue.