Airsoft BB Art
How about a unique wall-hanging BB board that will start a discussion? With this super fun project, you have complete control over what you want your place to look like. With this awesome design board, You can create any design or picture.
Supplies
- CNC Machine (for making the grooves)
- Used Picture Frame (glass included)
- https://www.amazon.com/dp/B001PO5QAO?psc=1&ref=ppx...( Airsoft BB's Black)
- https://www.amazon.com/dp/B00DME0H86?psc=1&ref=ppx...(Airsoft BB's White)
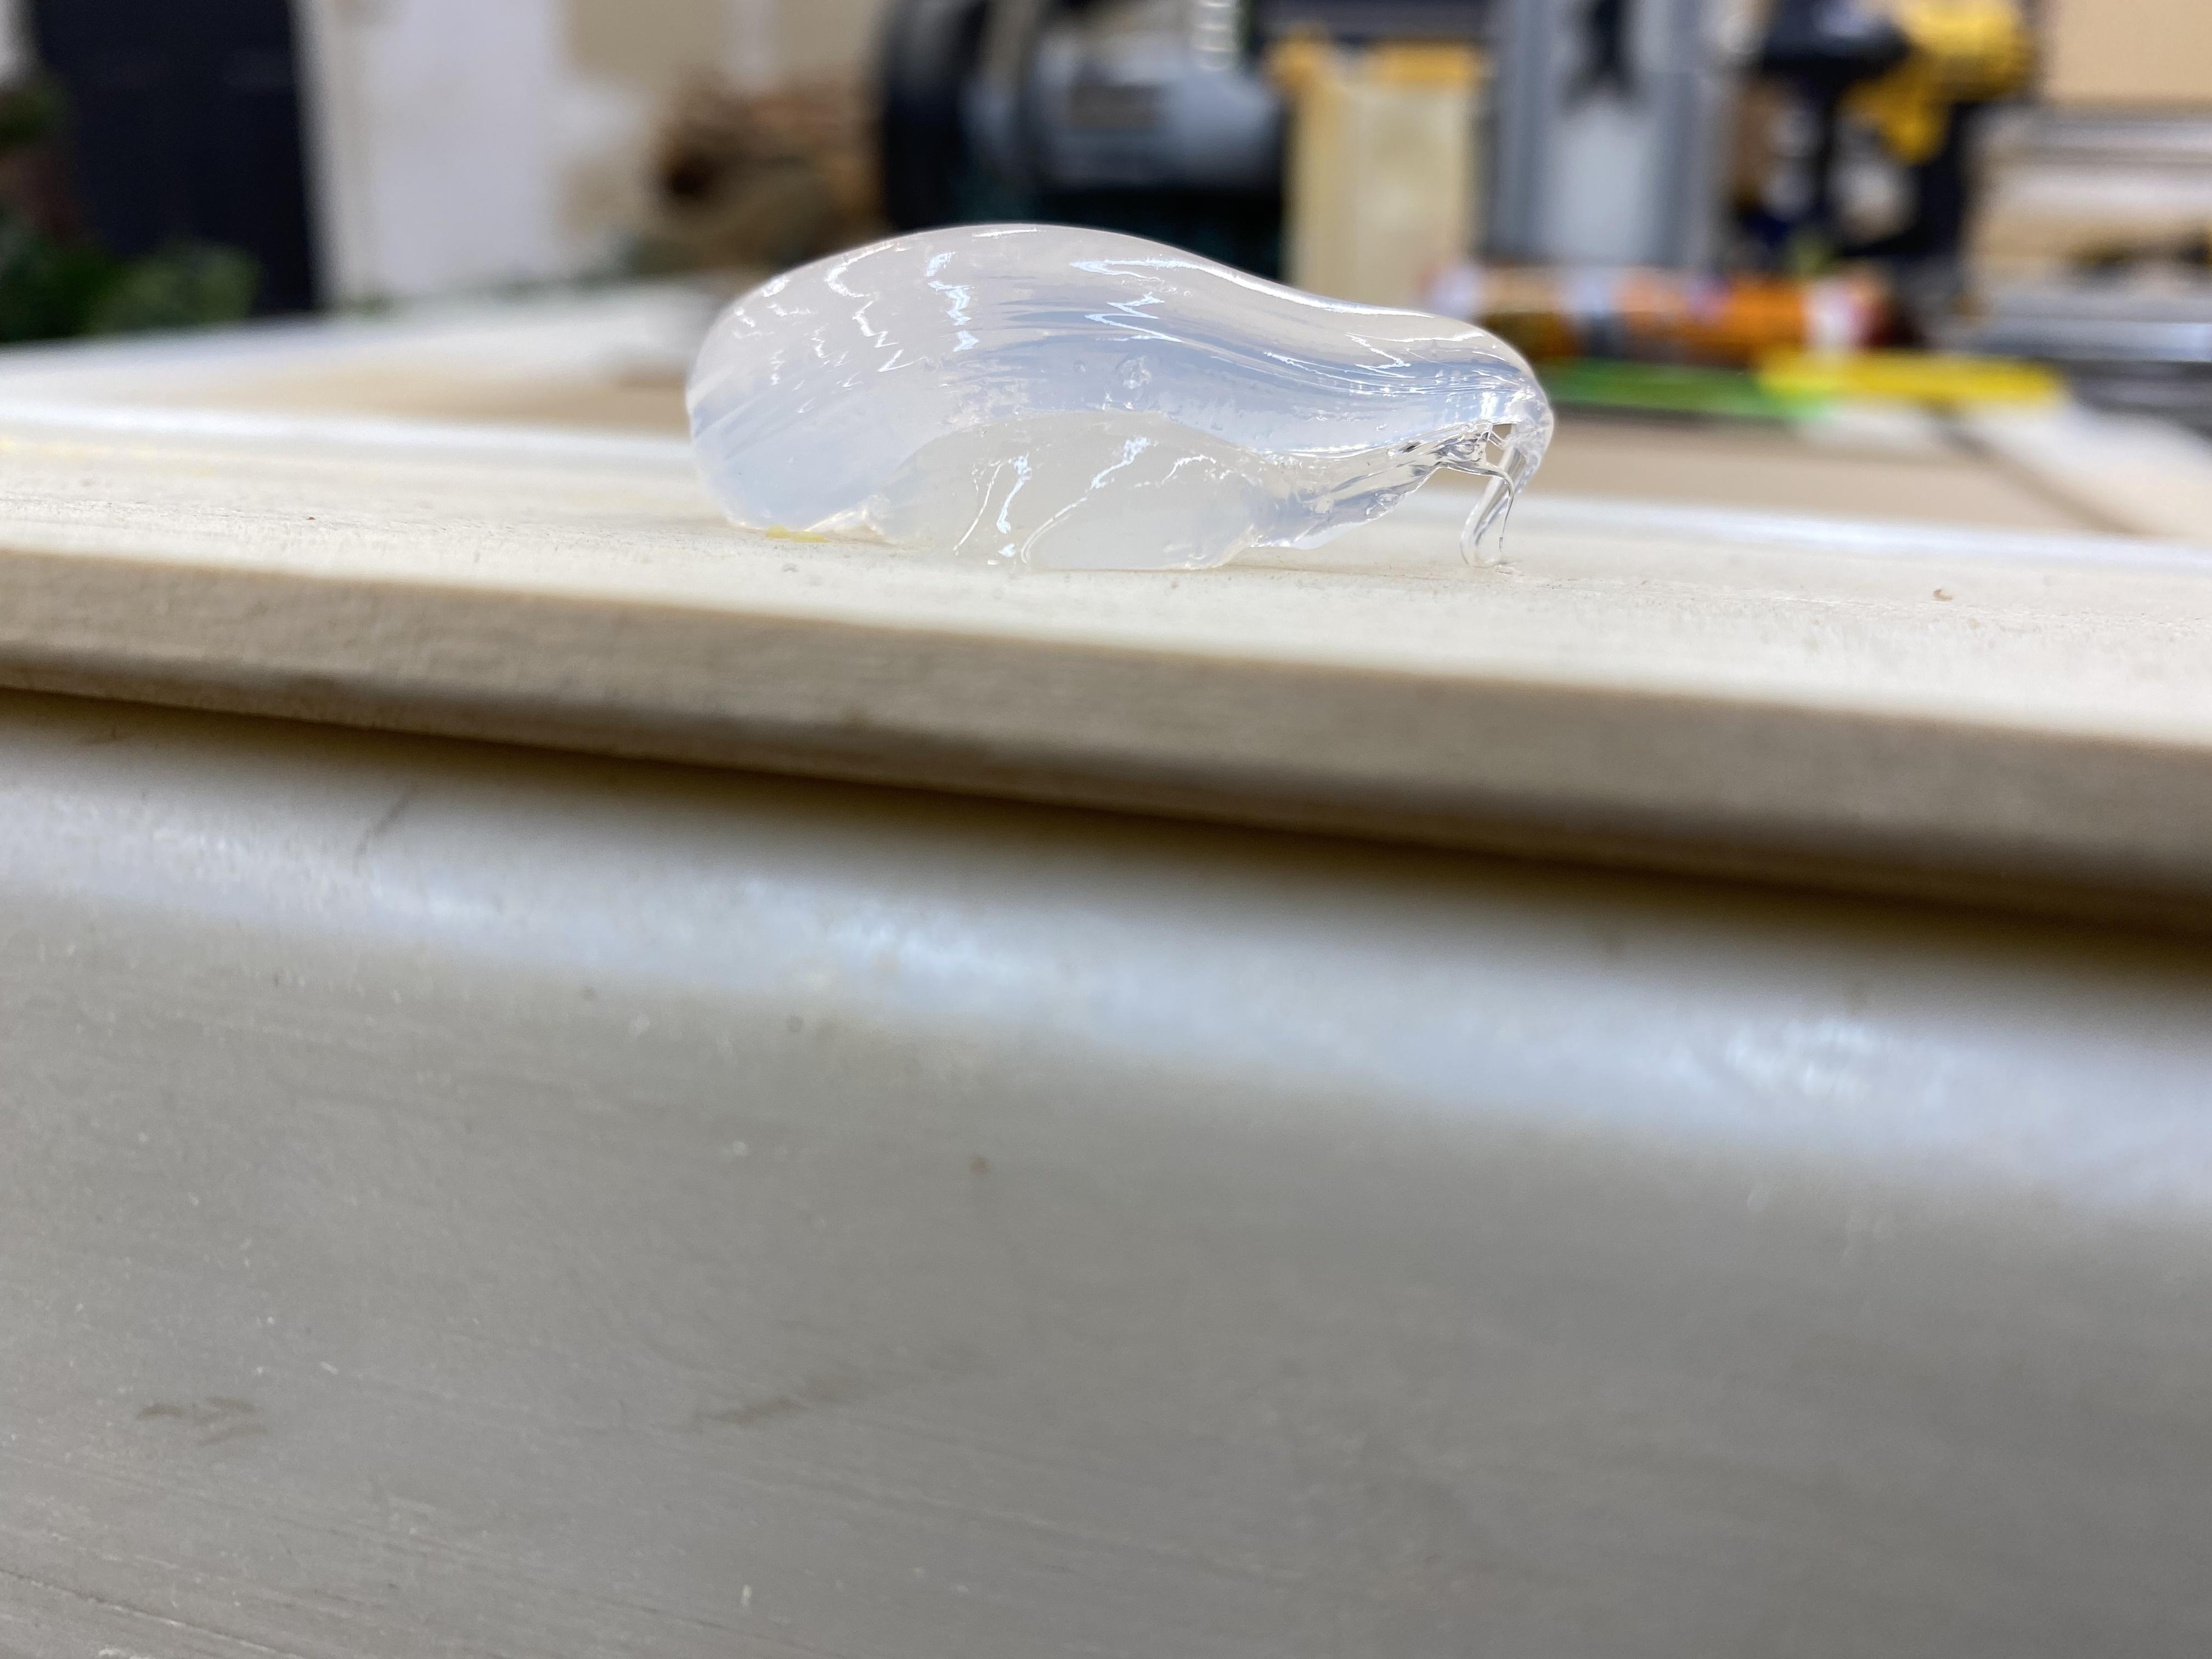
- Gorilla Glue, Wood Glue, and Hot Glue
- Sheet of Wood Matching the Size of Picture Frame
- Programs A-vect and excel
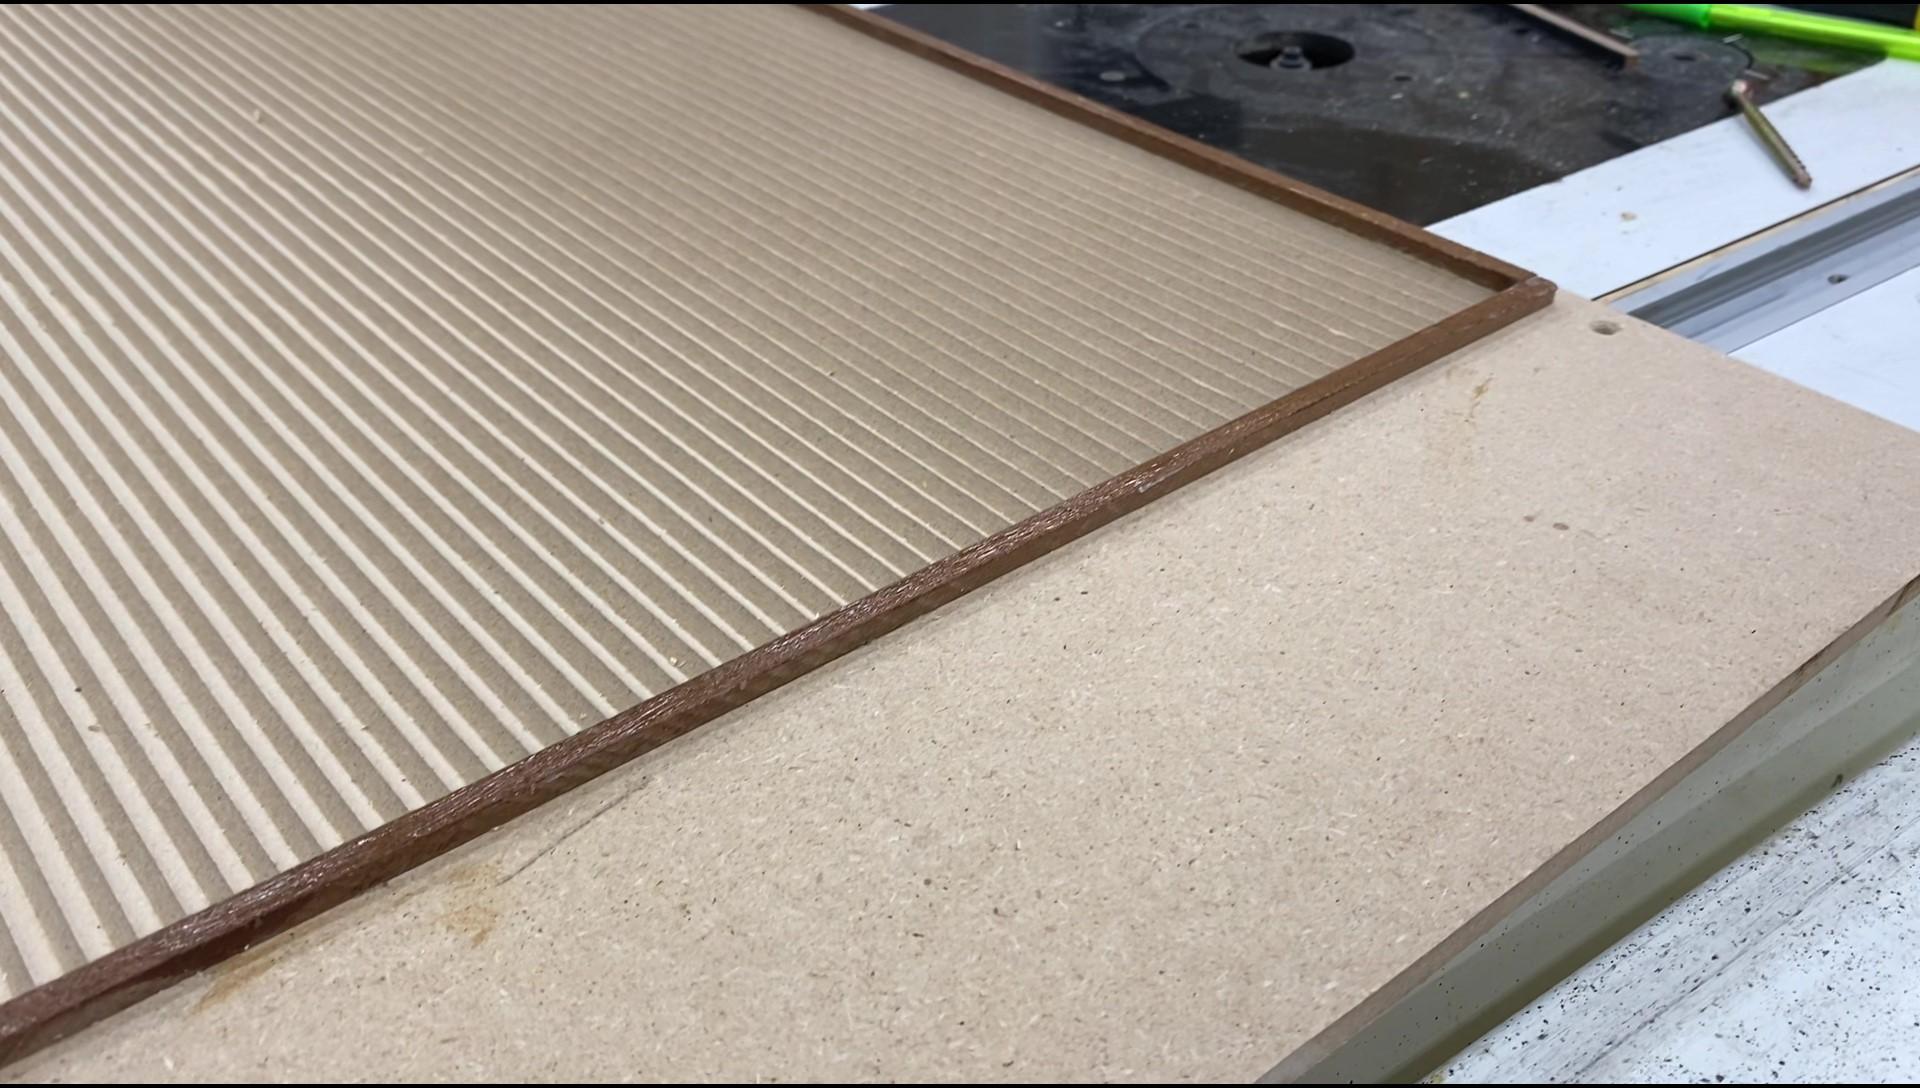
Cut the Grooves
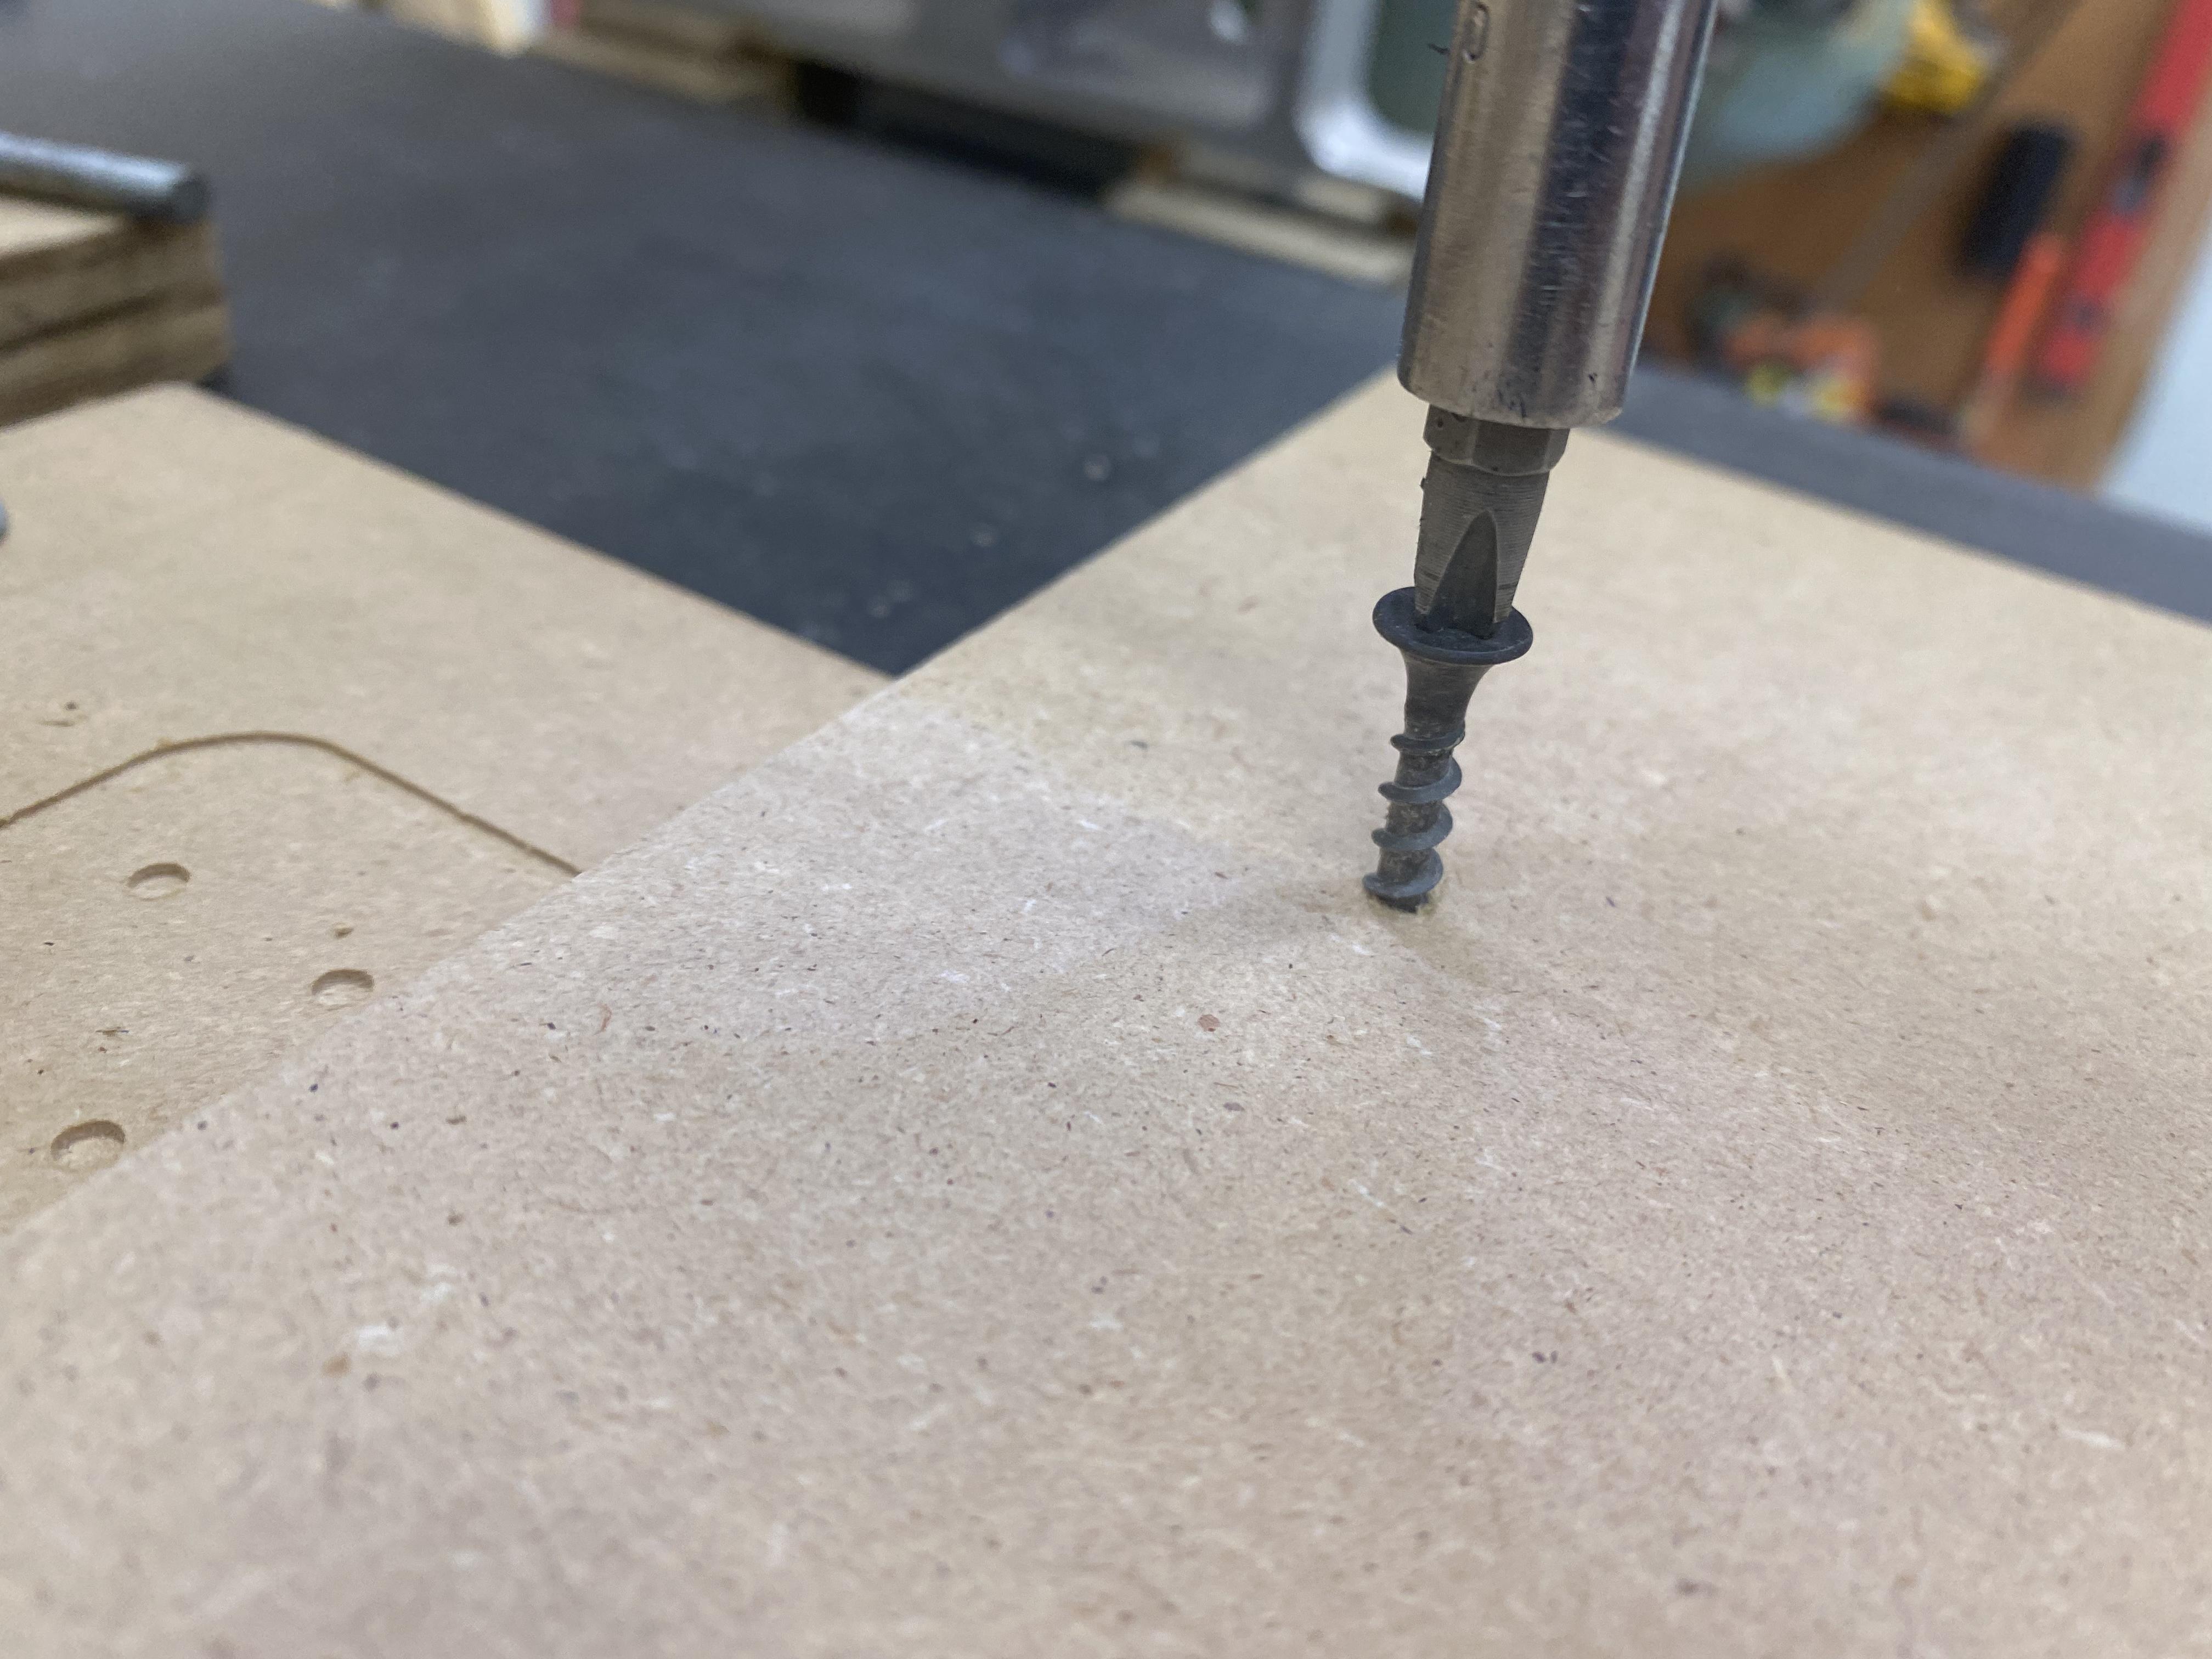
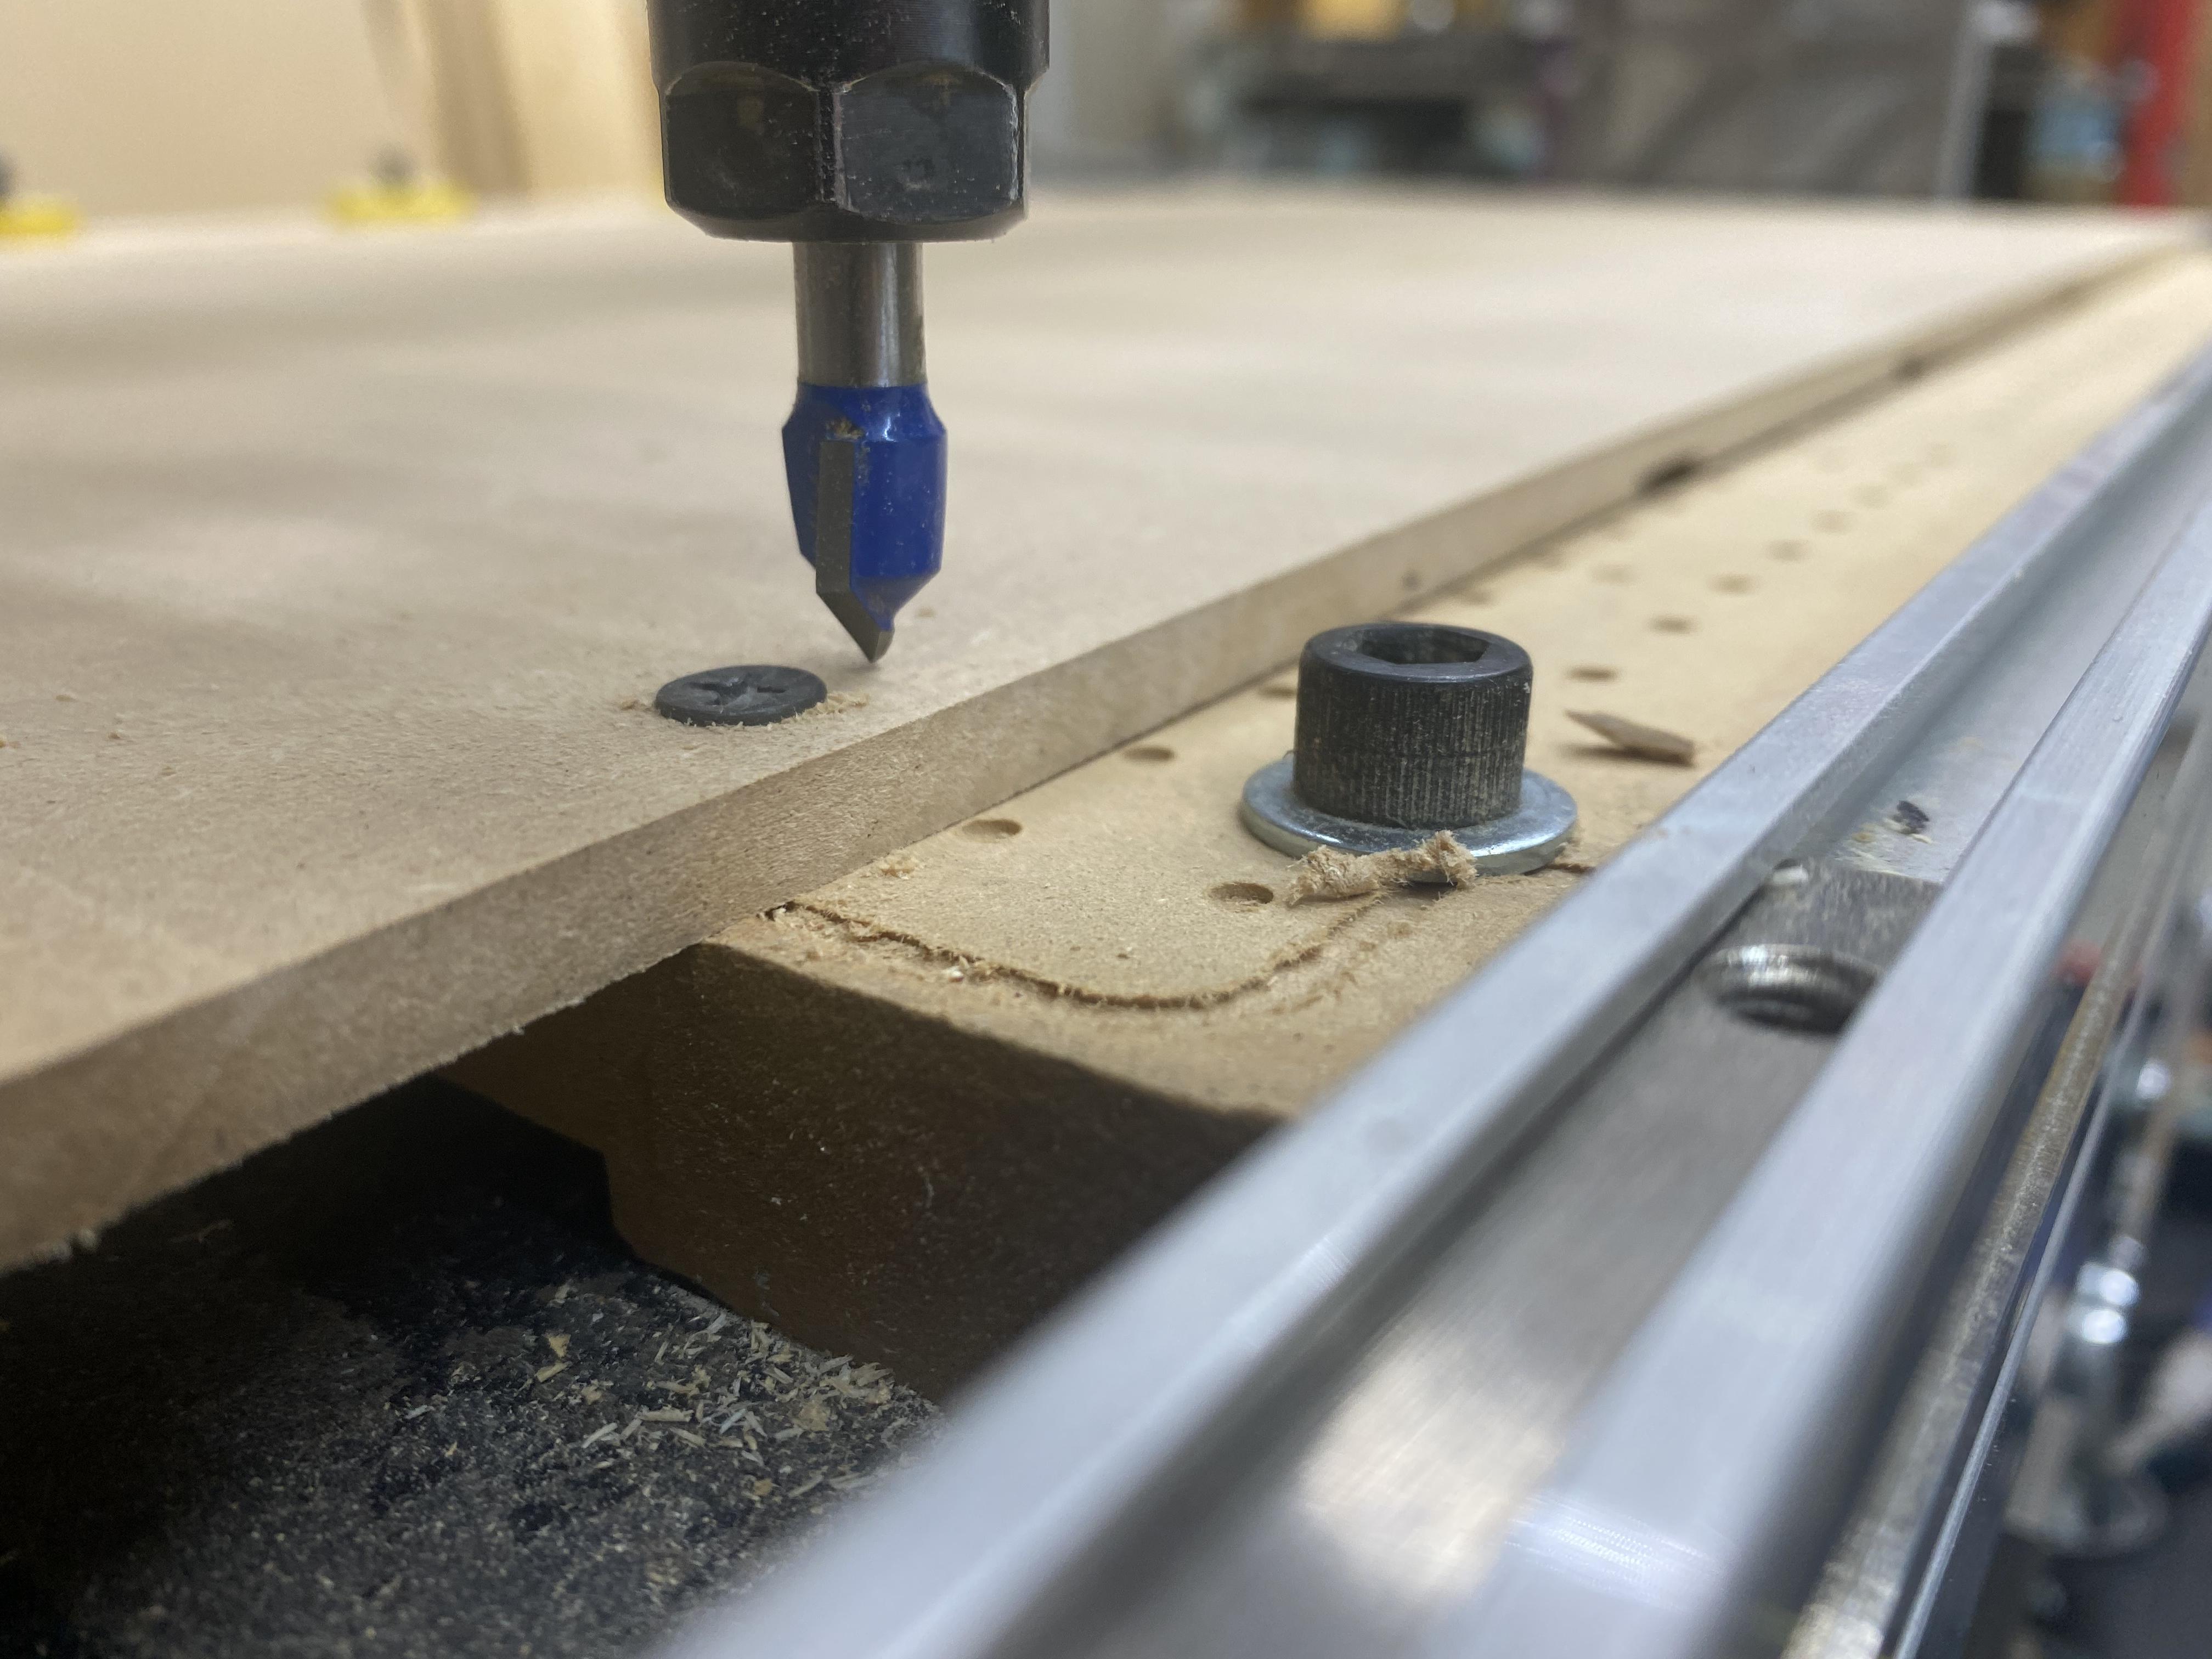
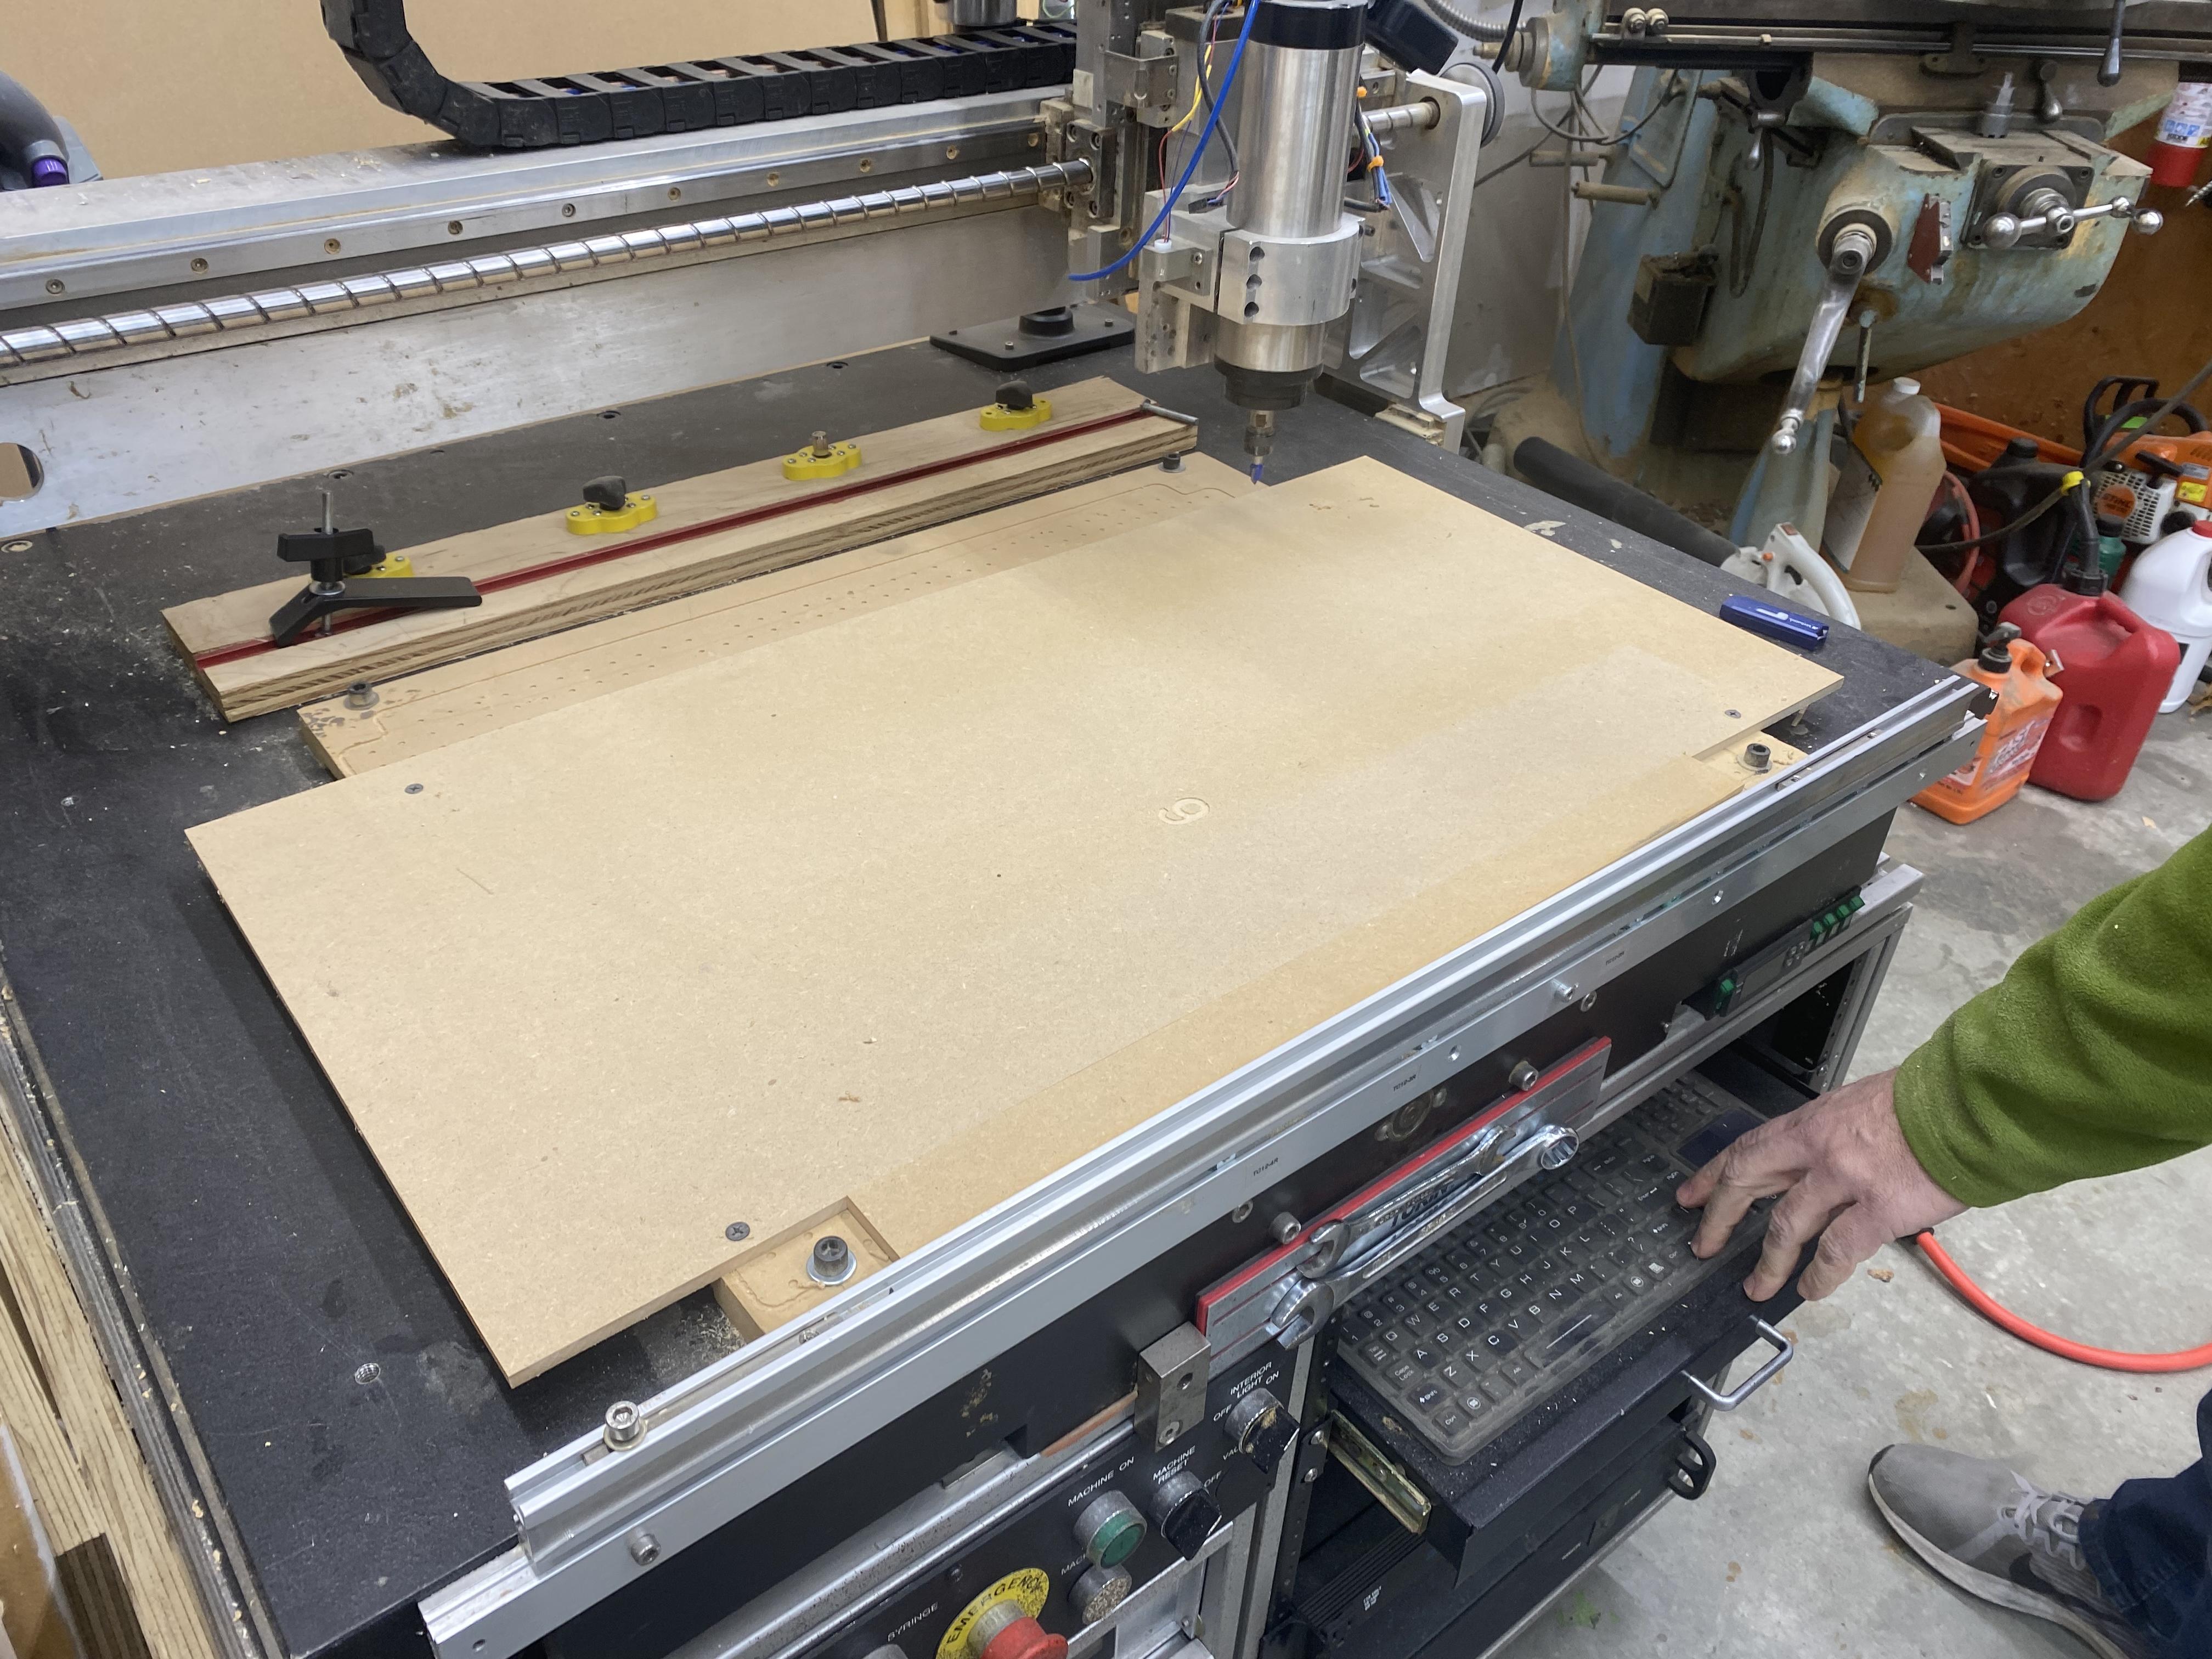
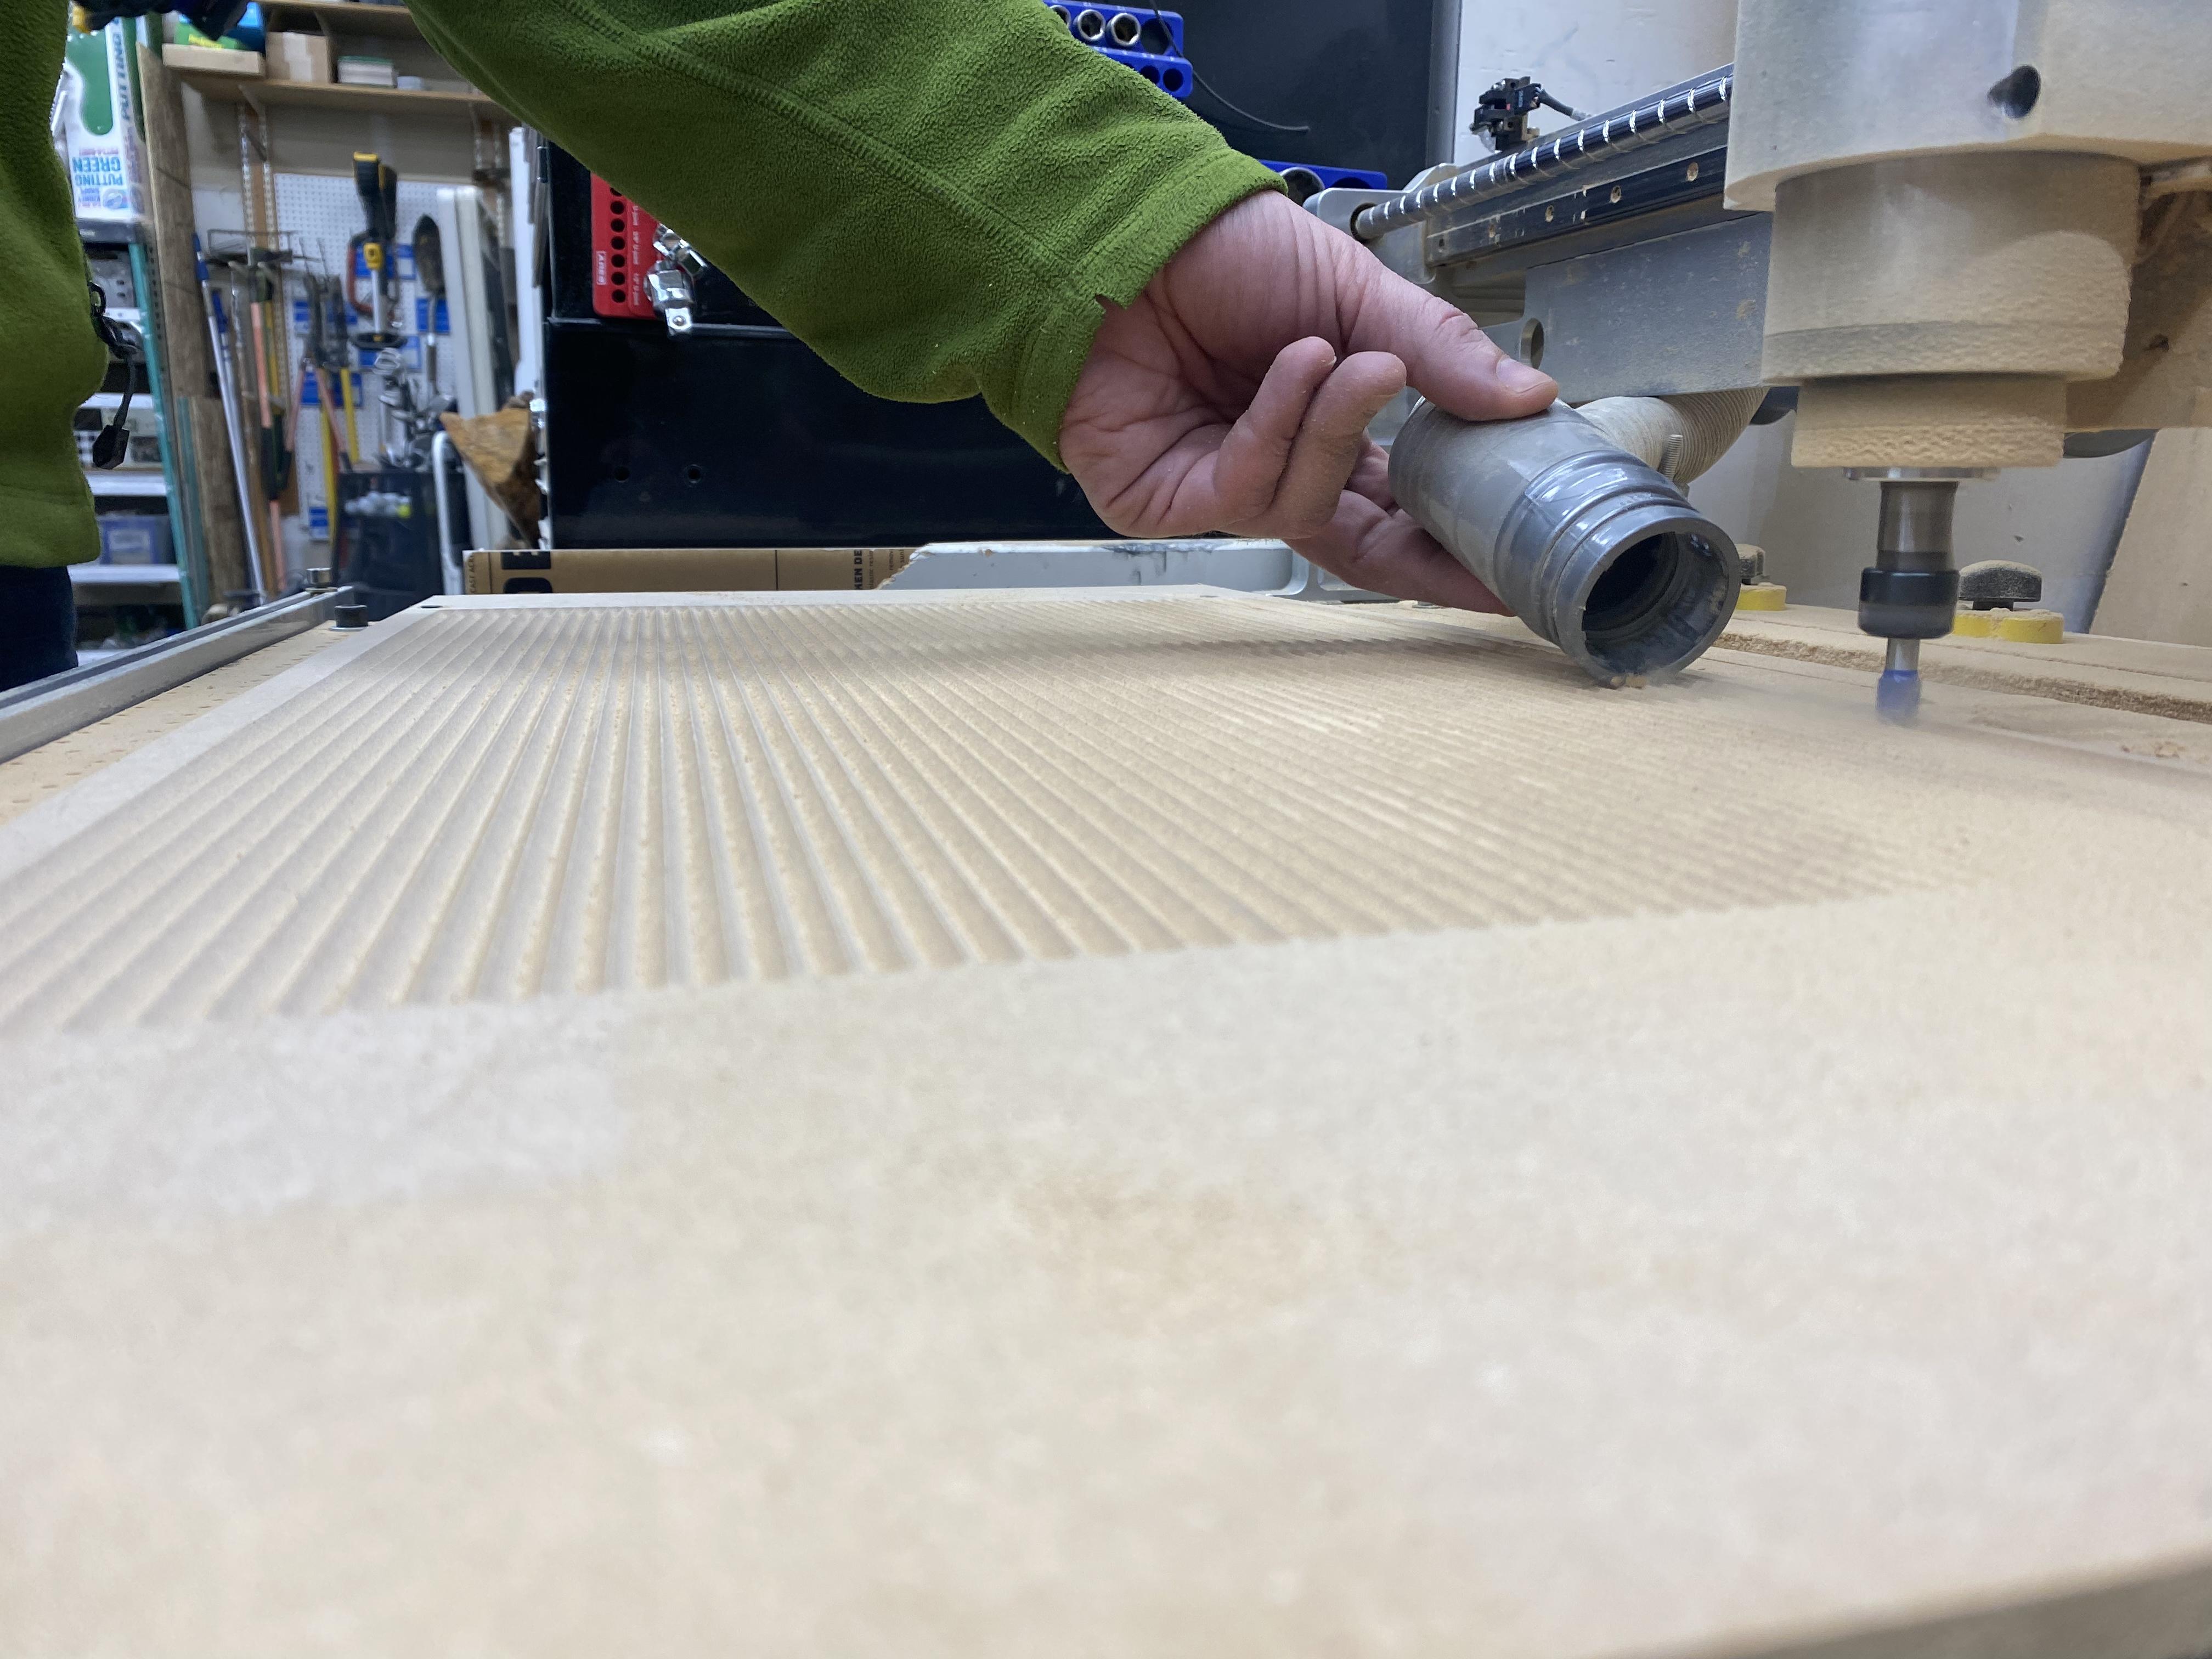
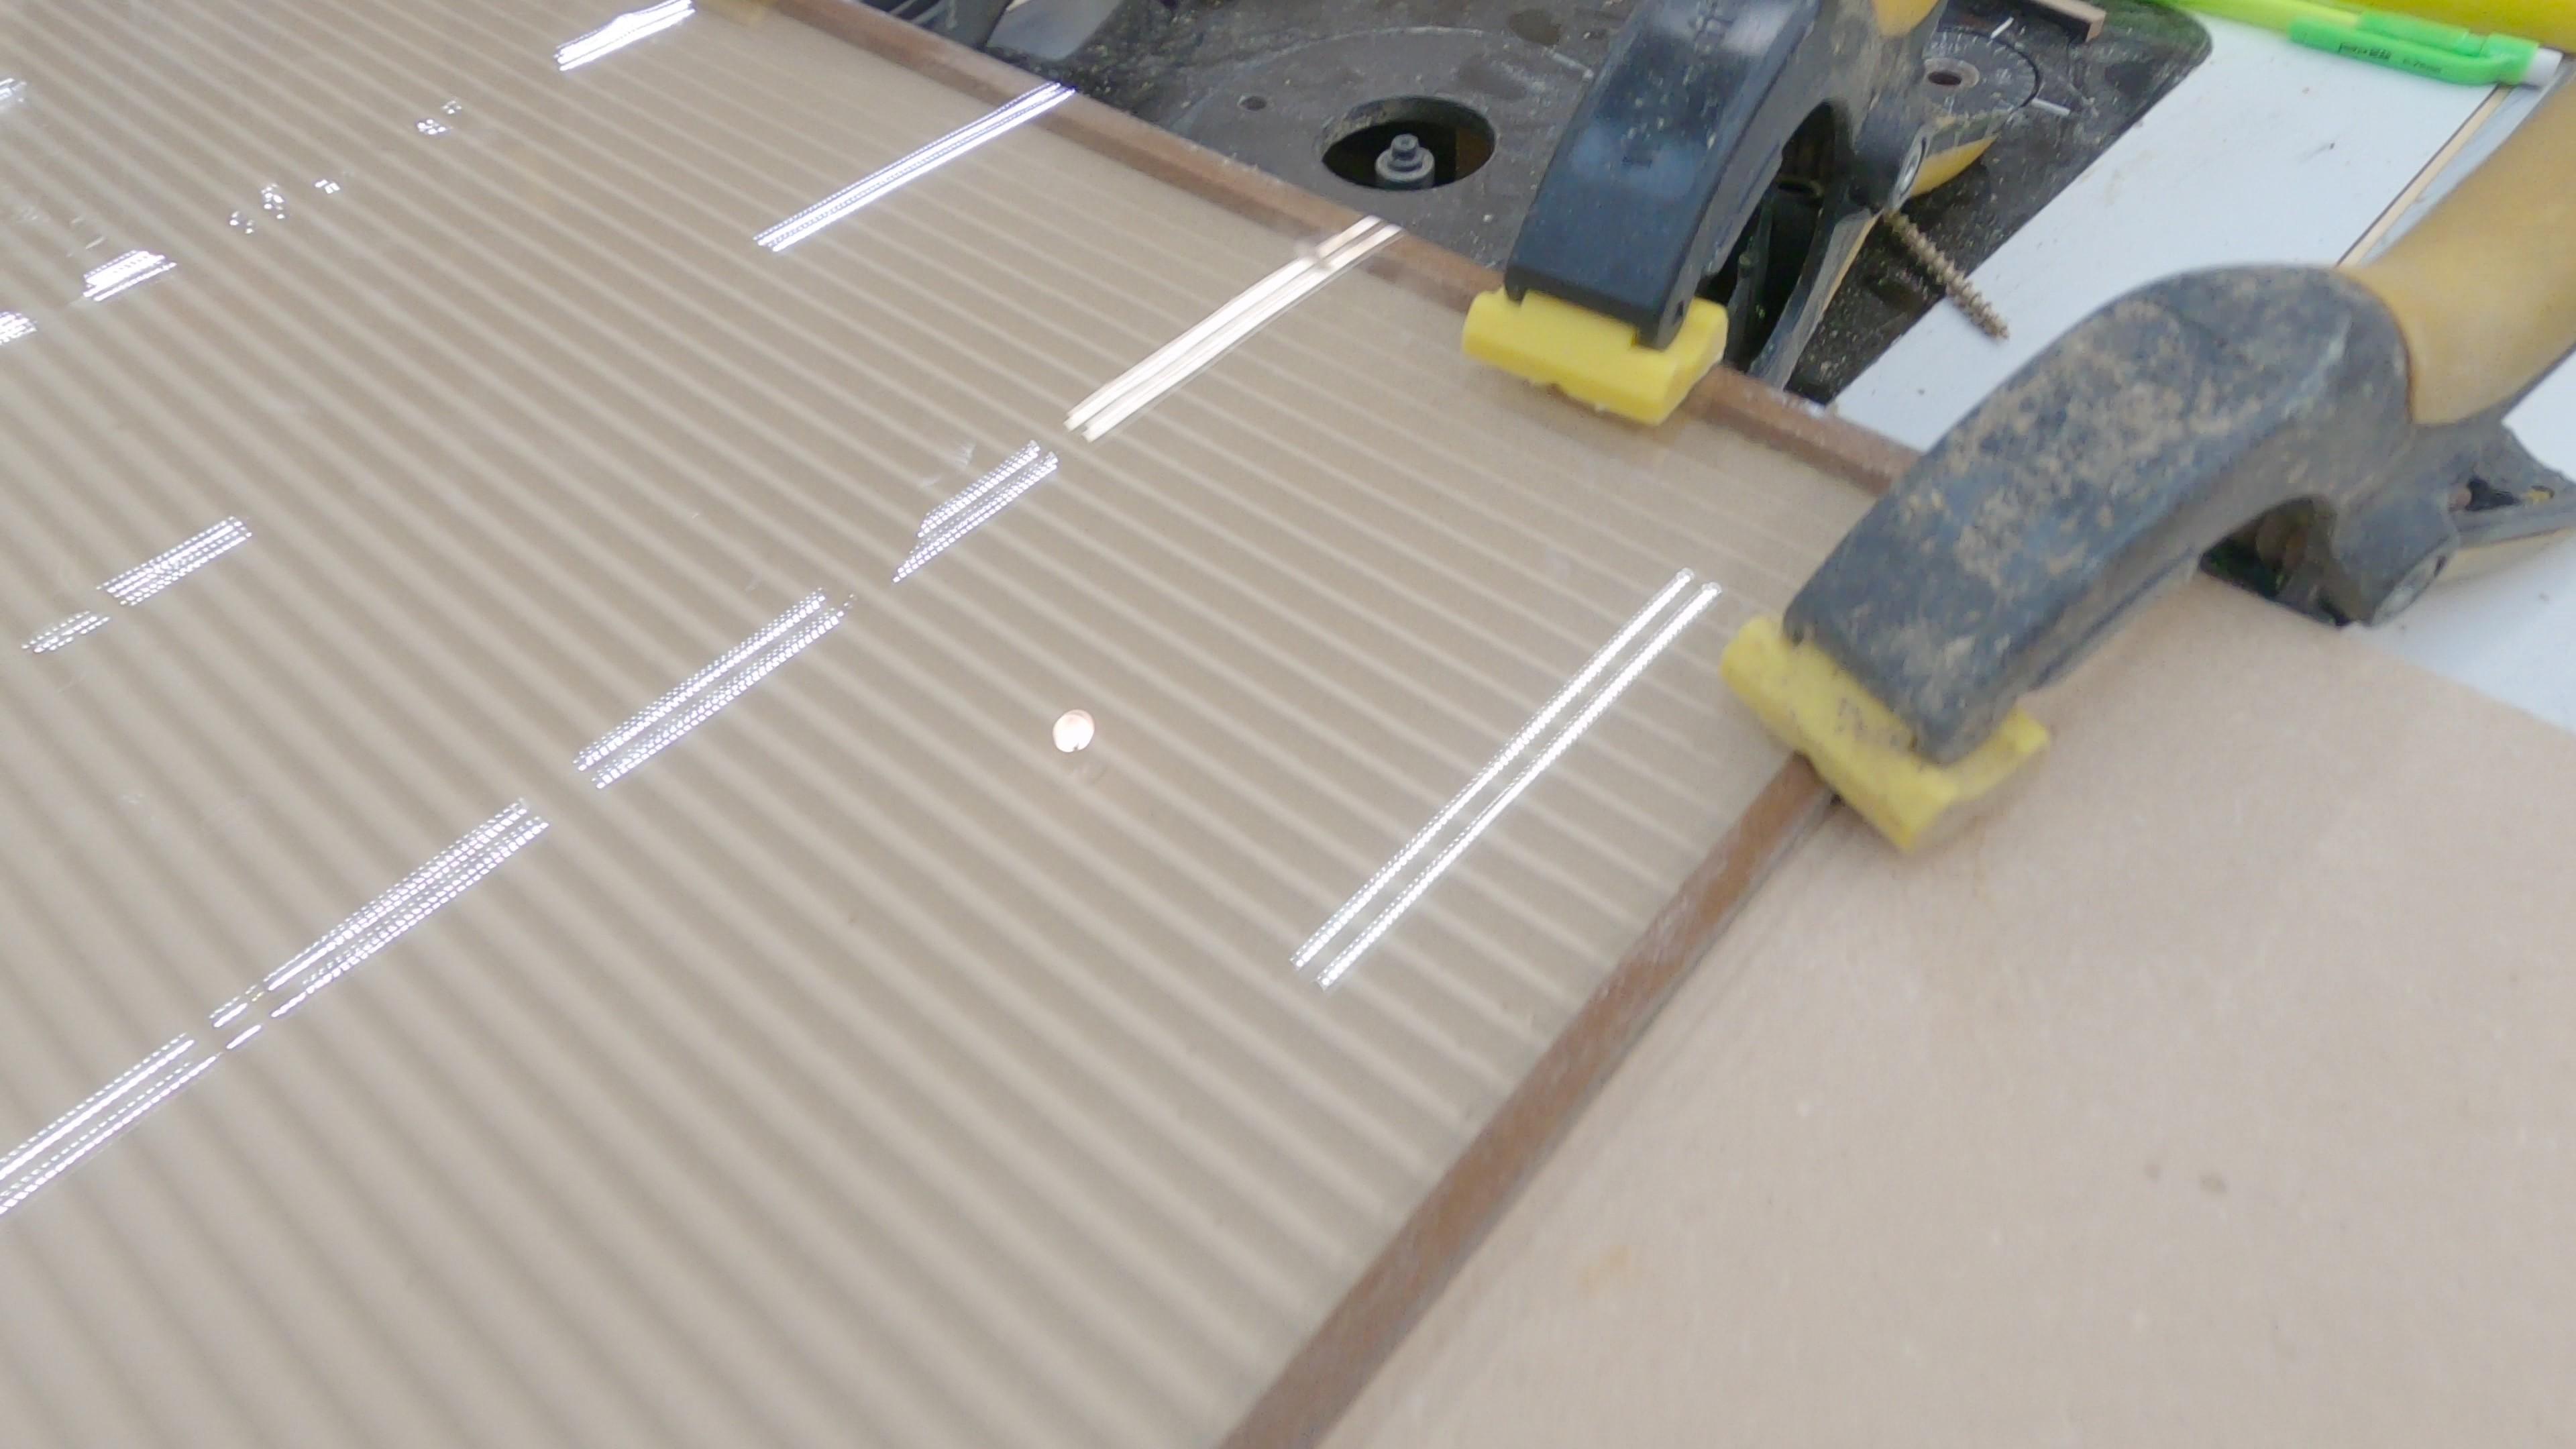
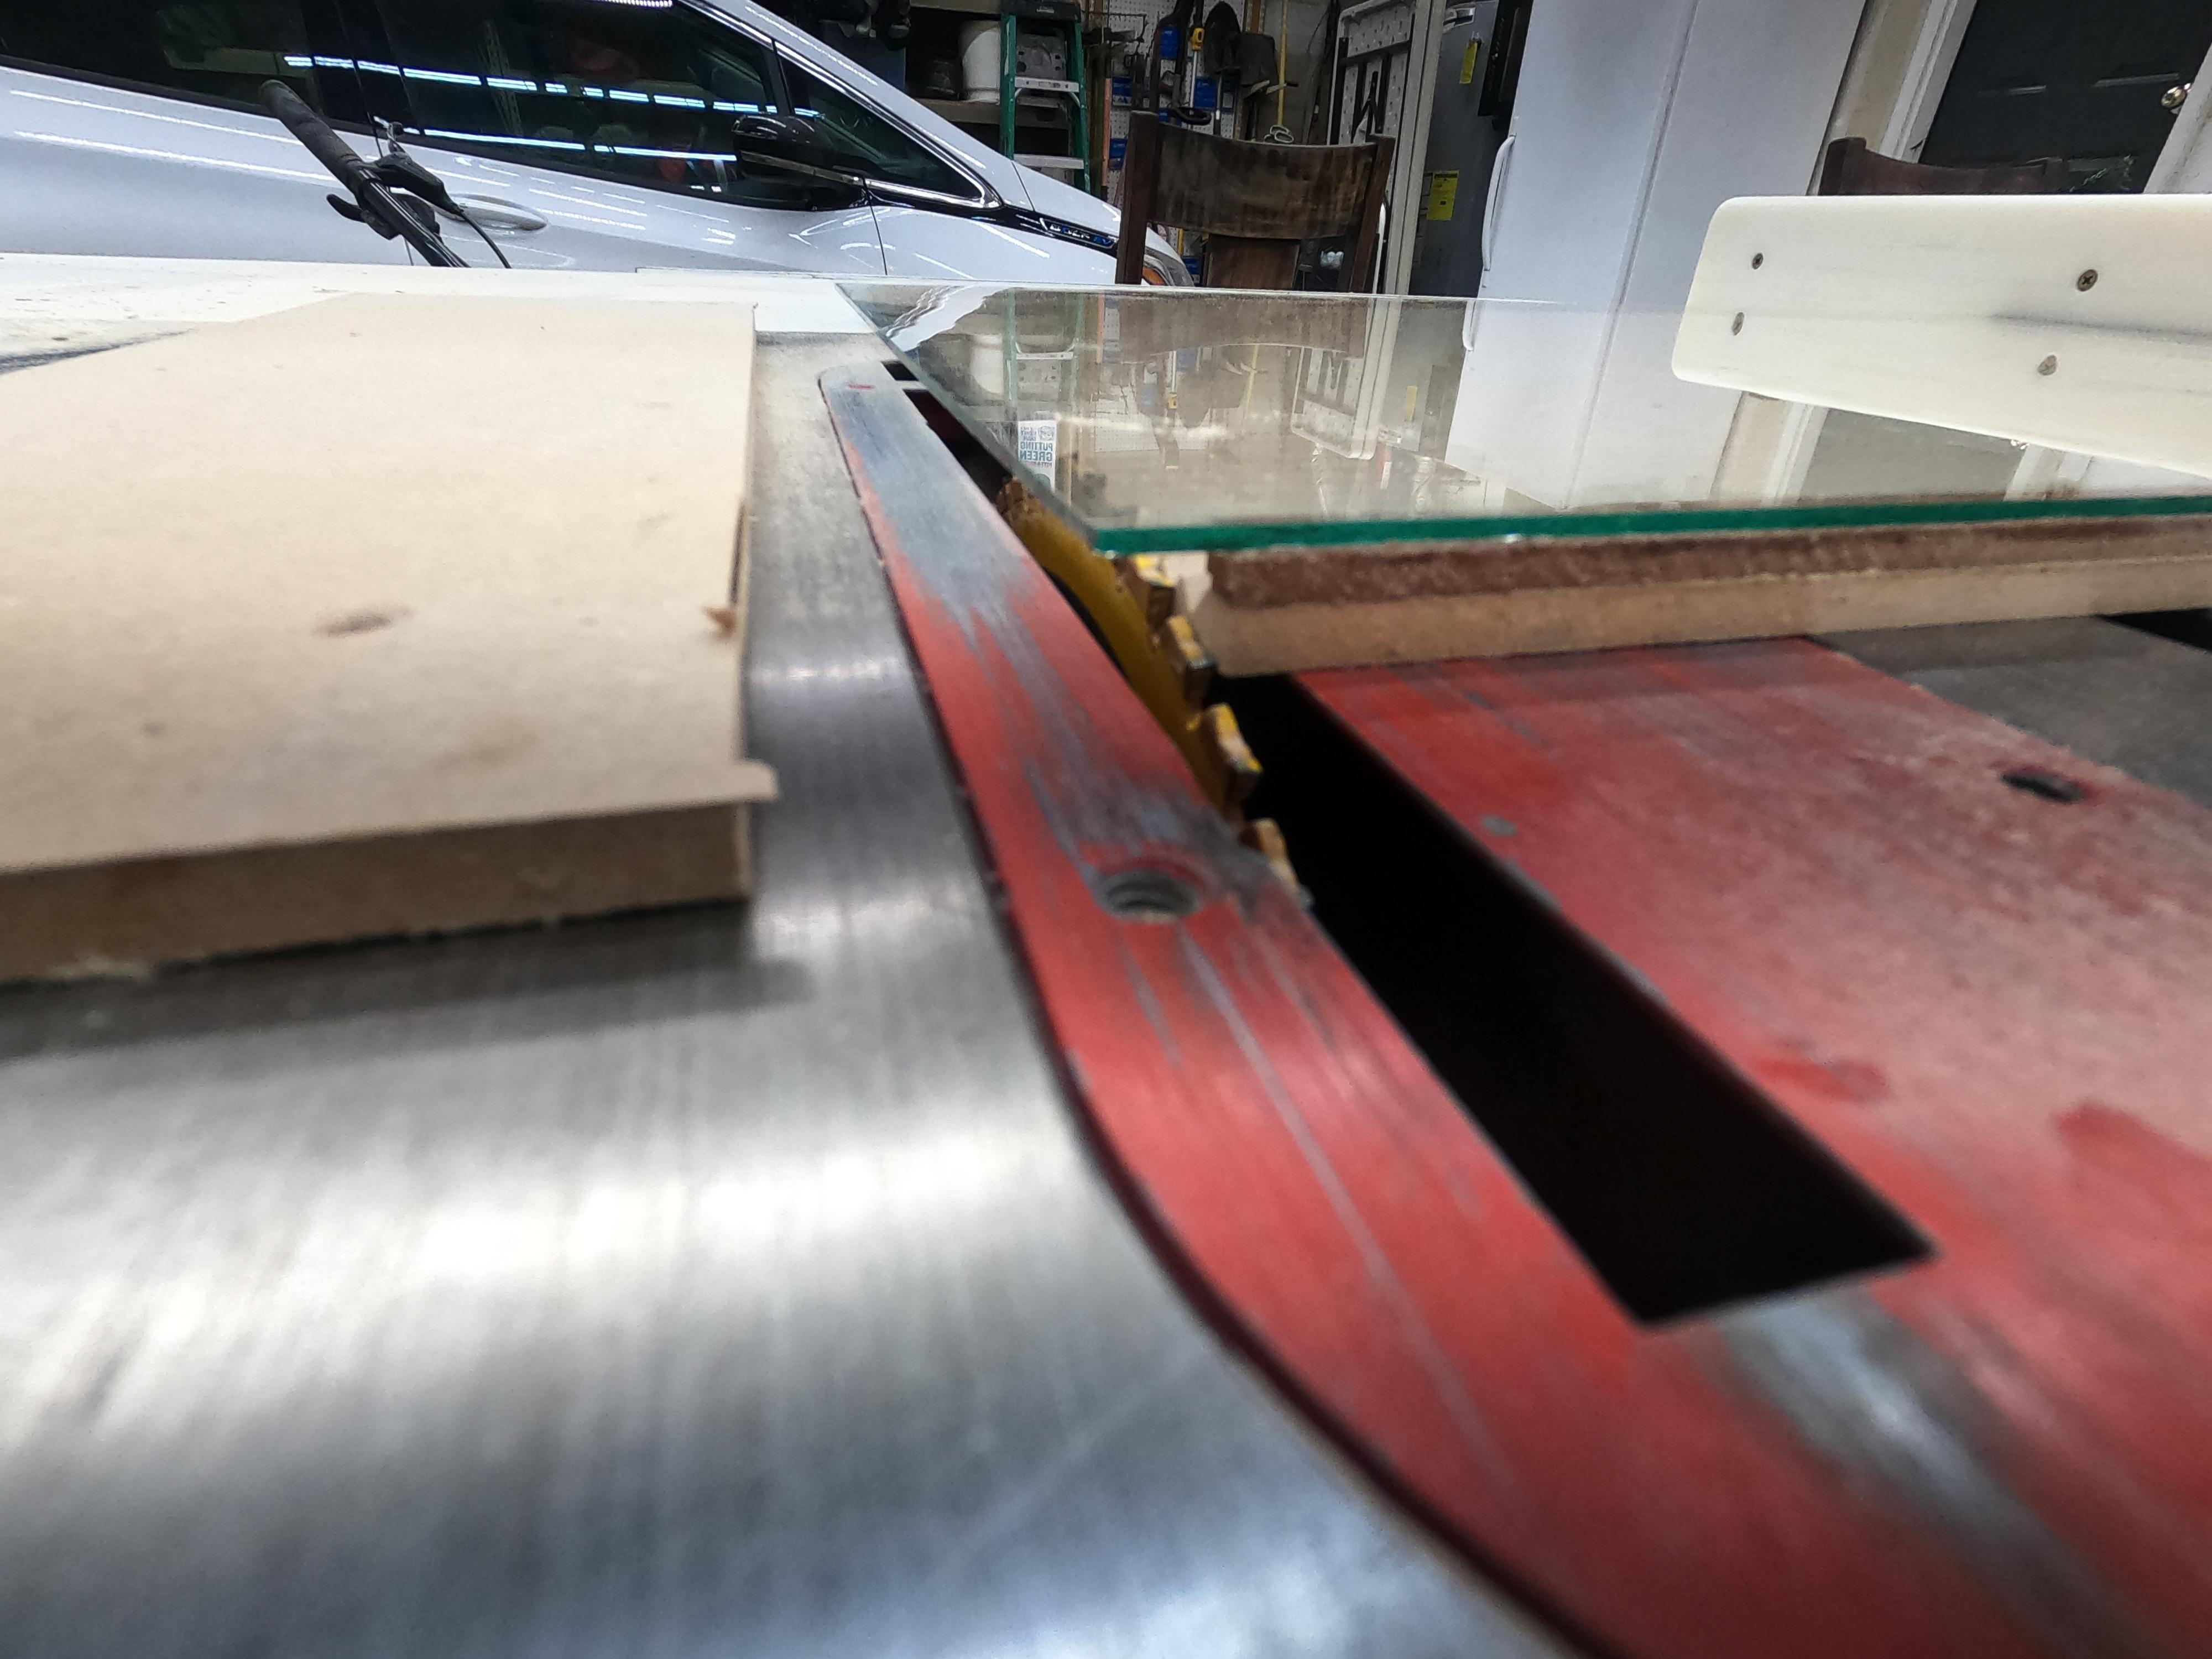
For this first step we used a CNC machine to cut the Grooves, but you can use a V-bit router or table saw. The grooves should be an 8th of an inch deep and 0.25 inches apart.
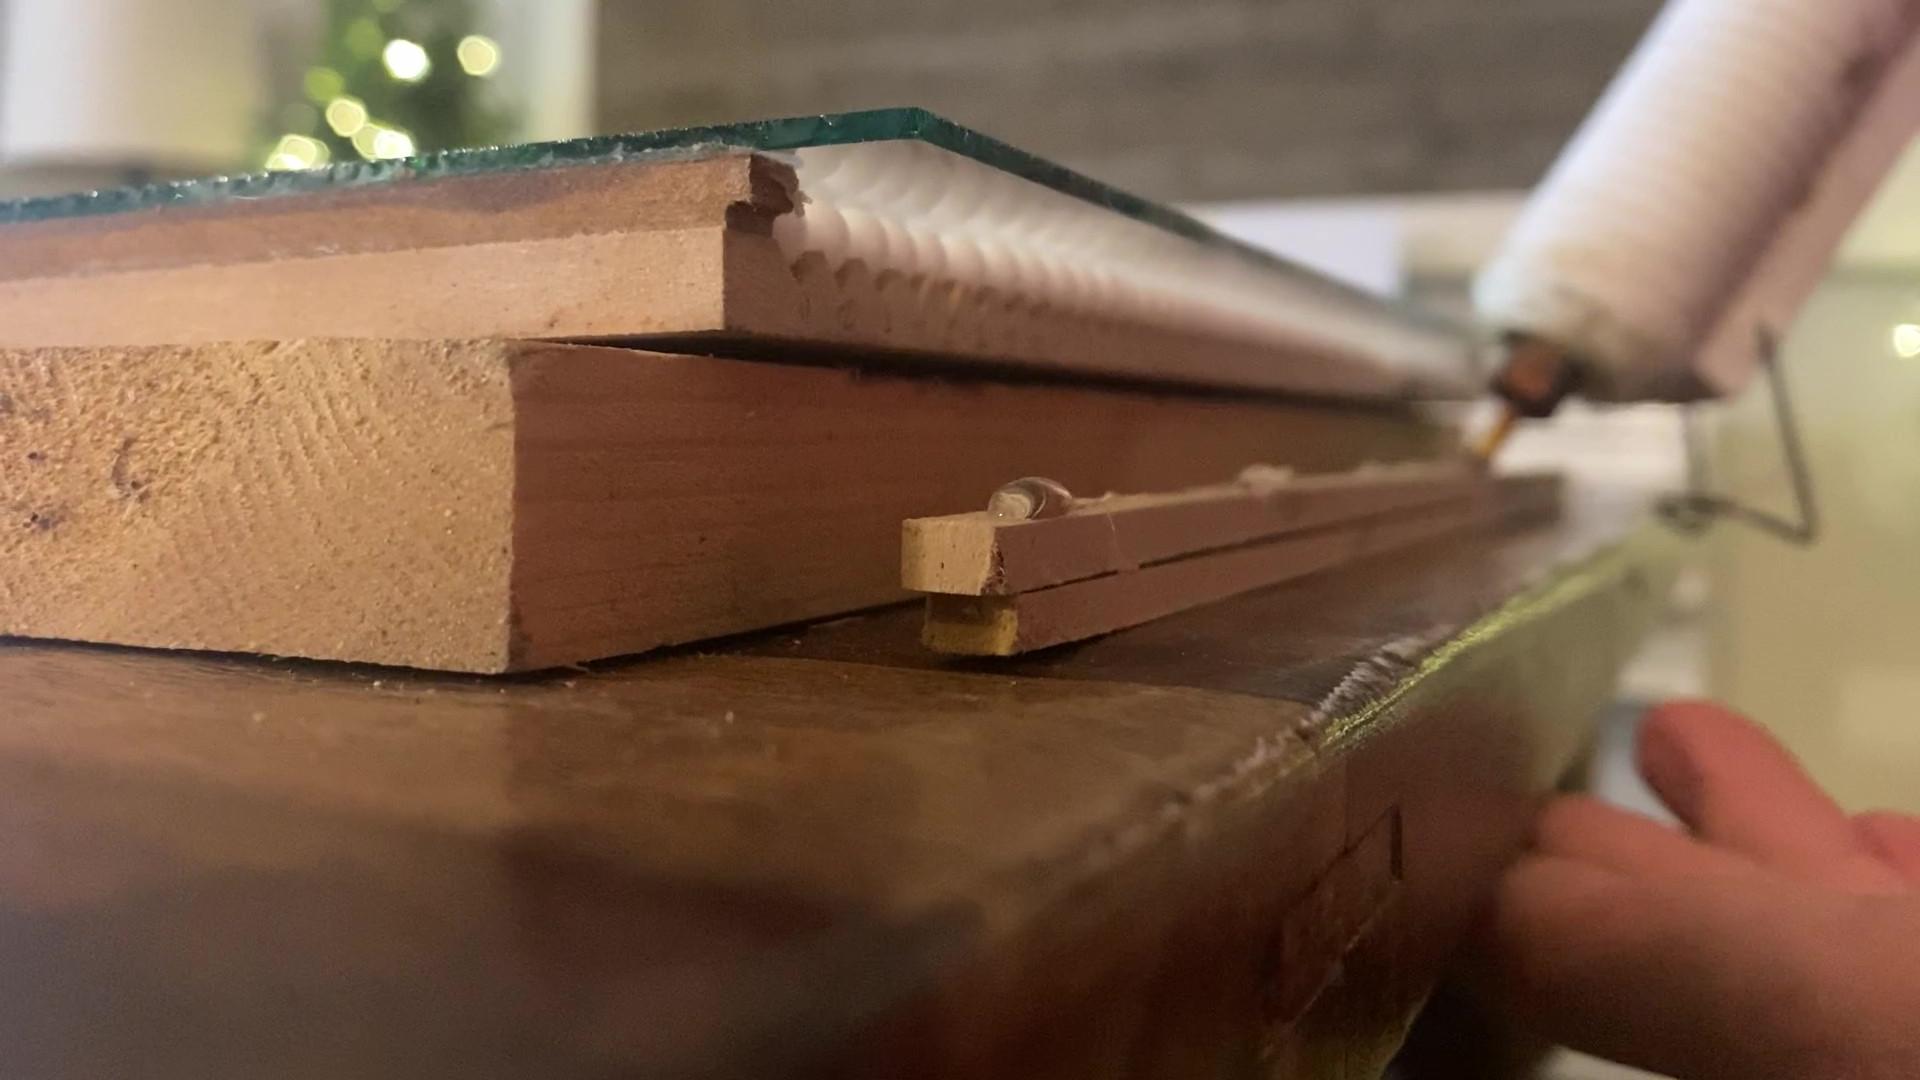
Insert a Spacer
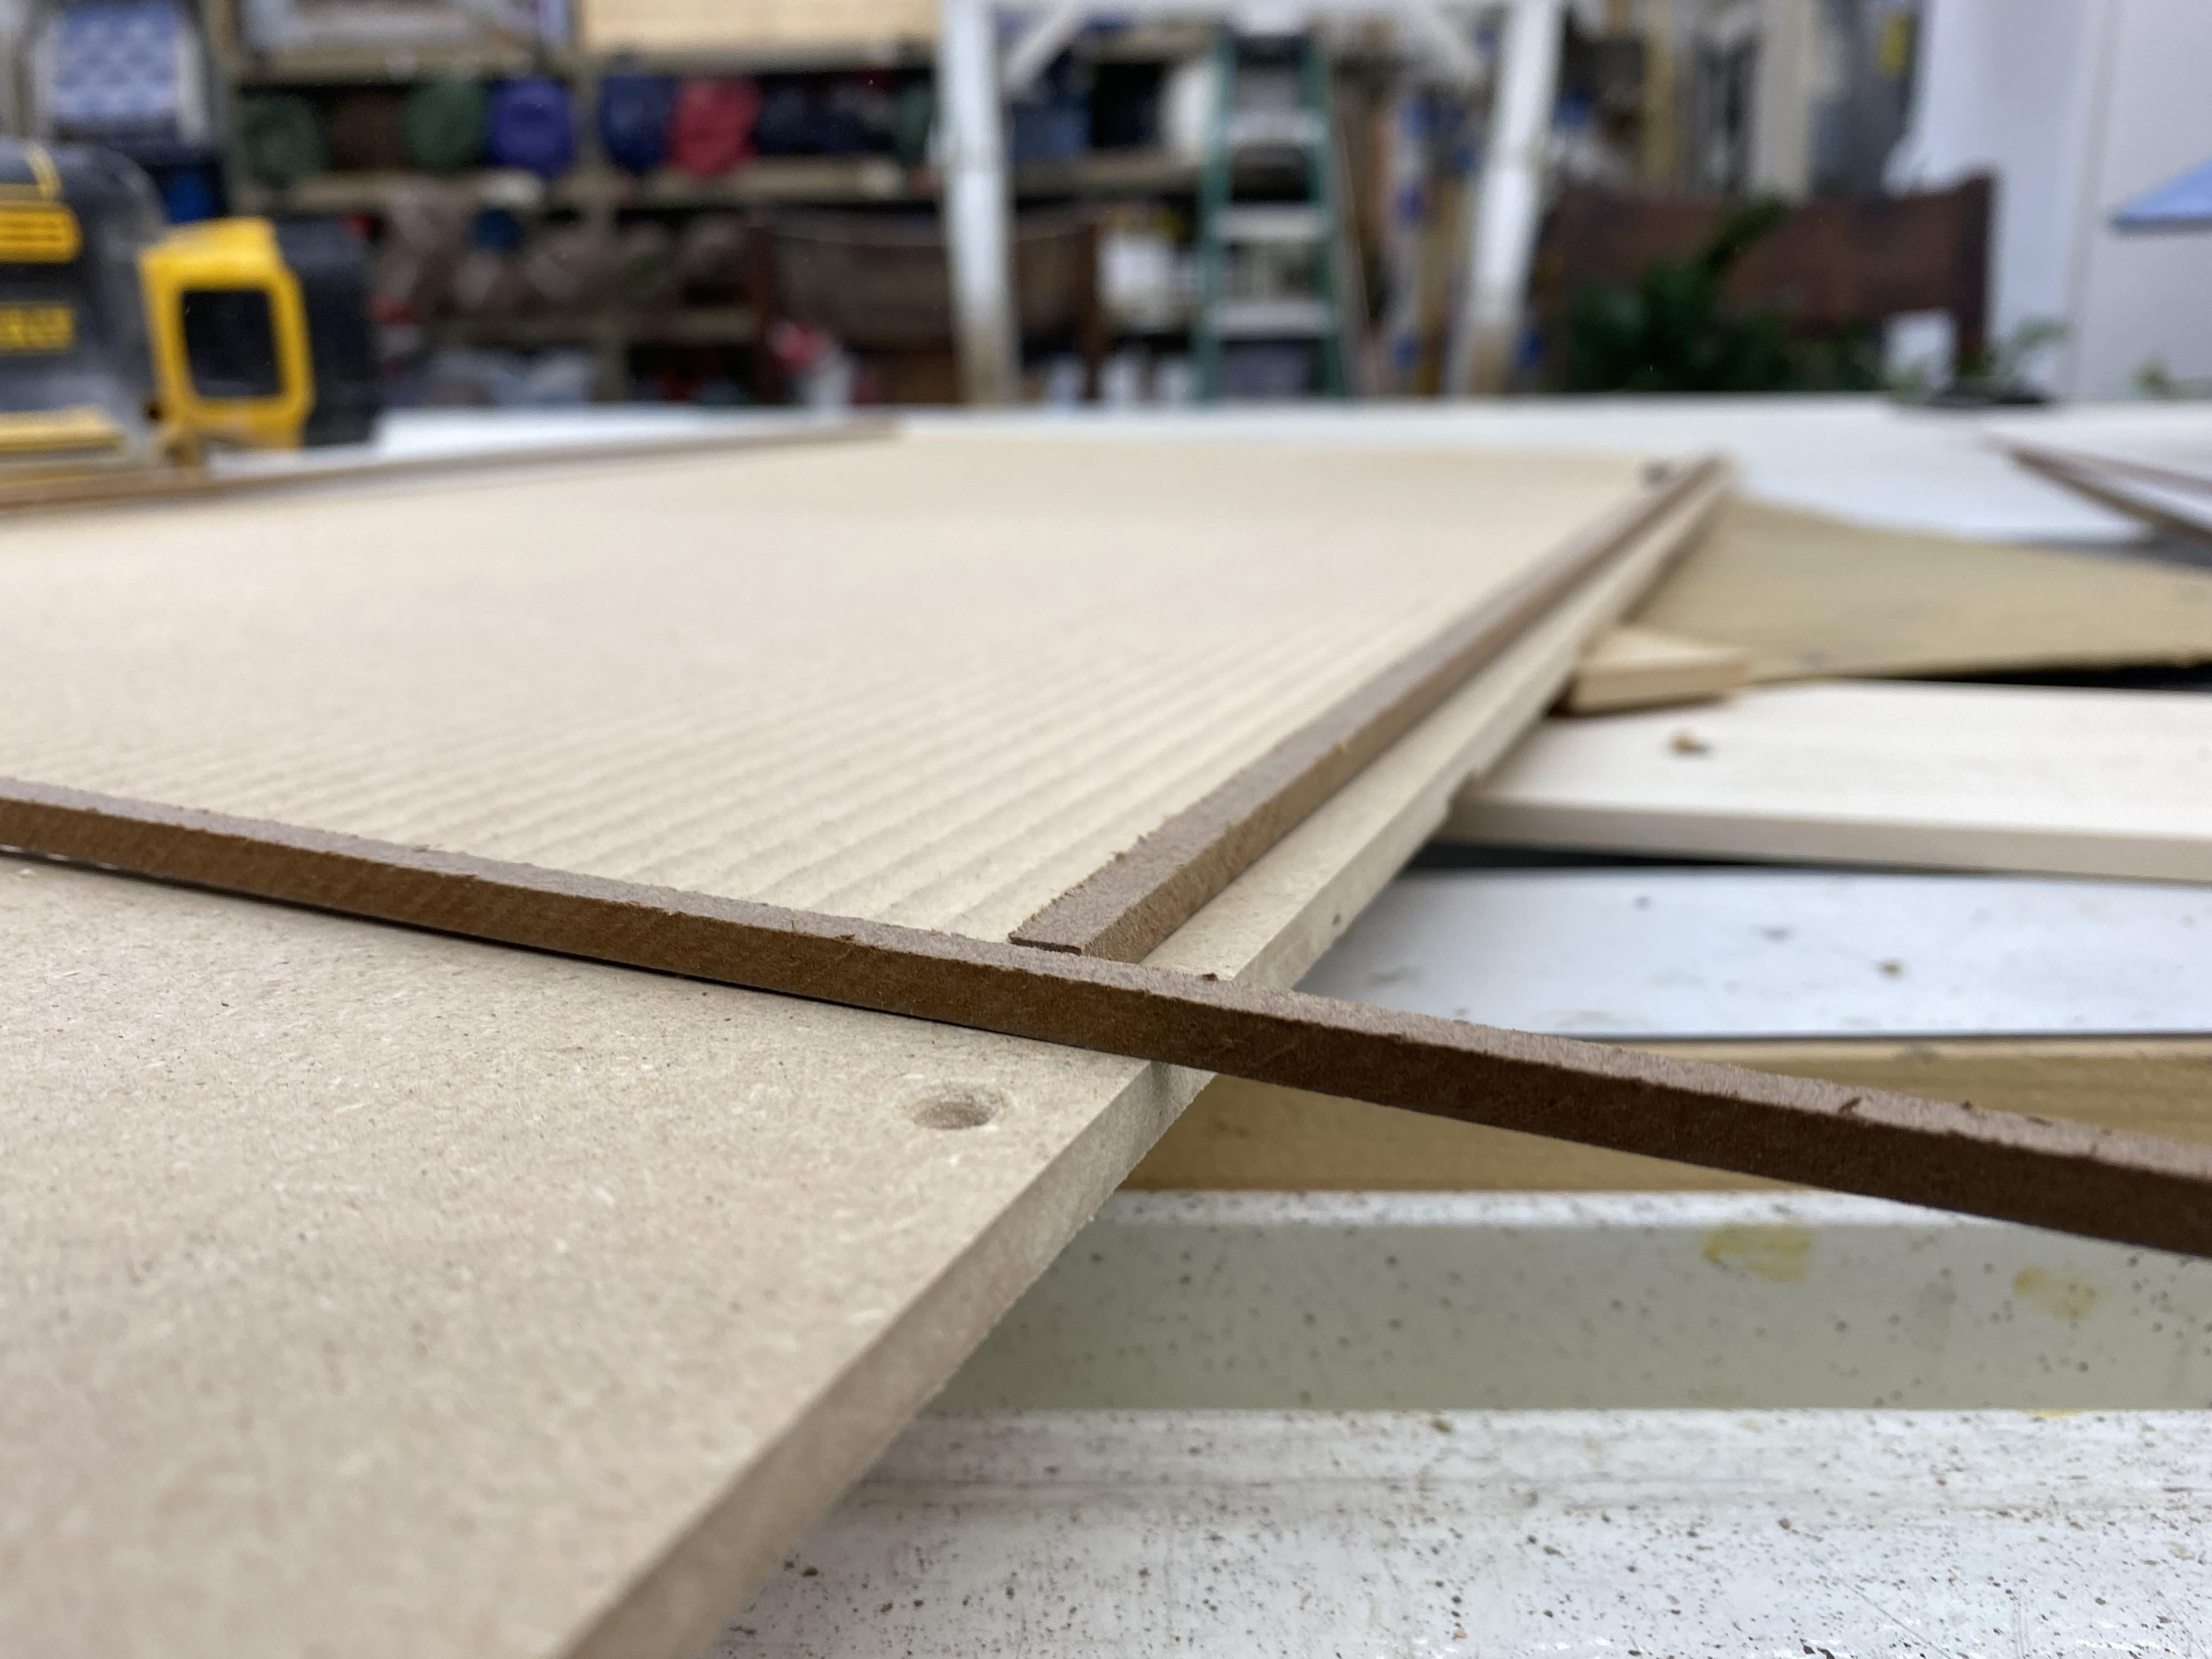

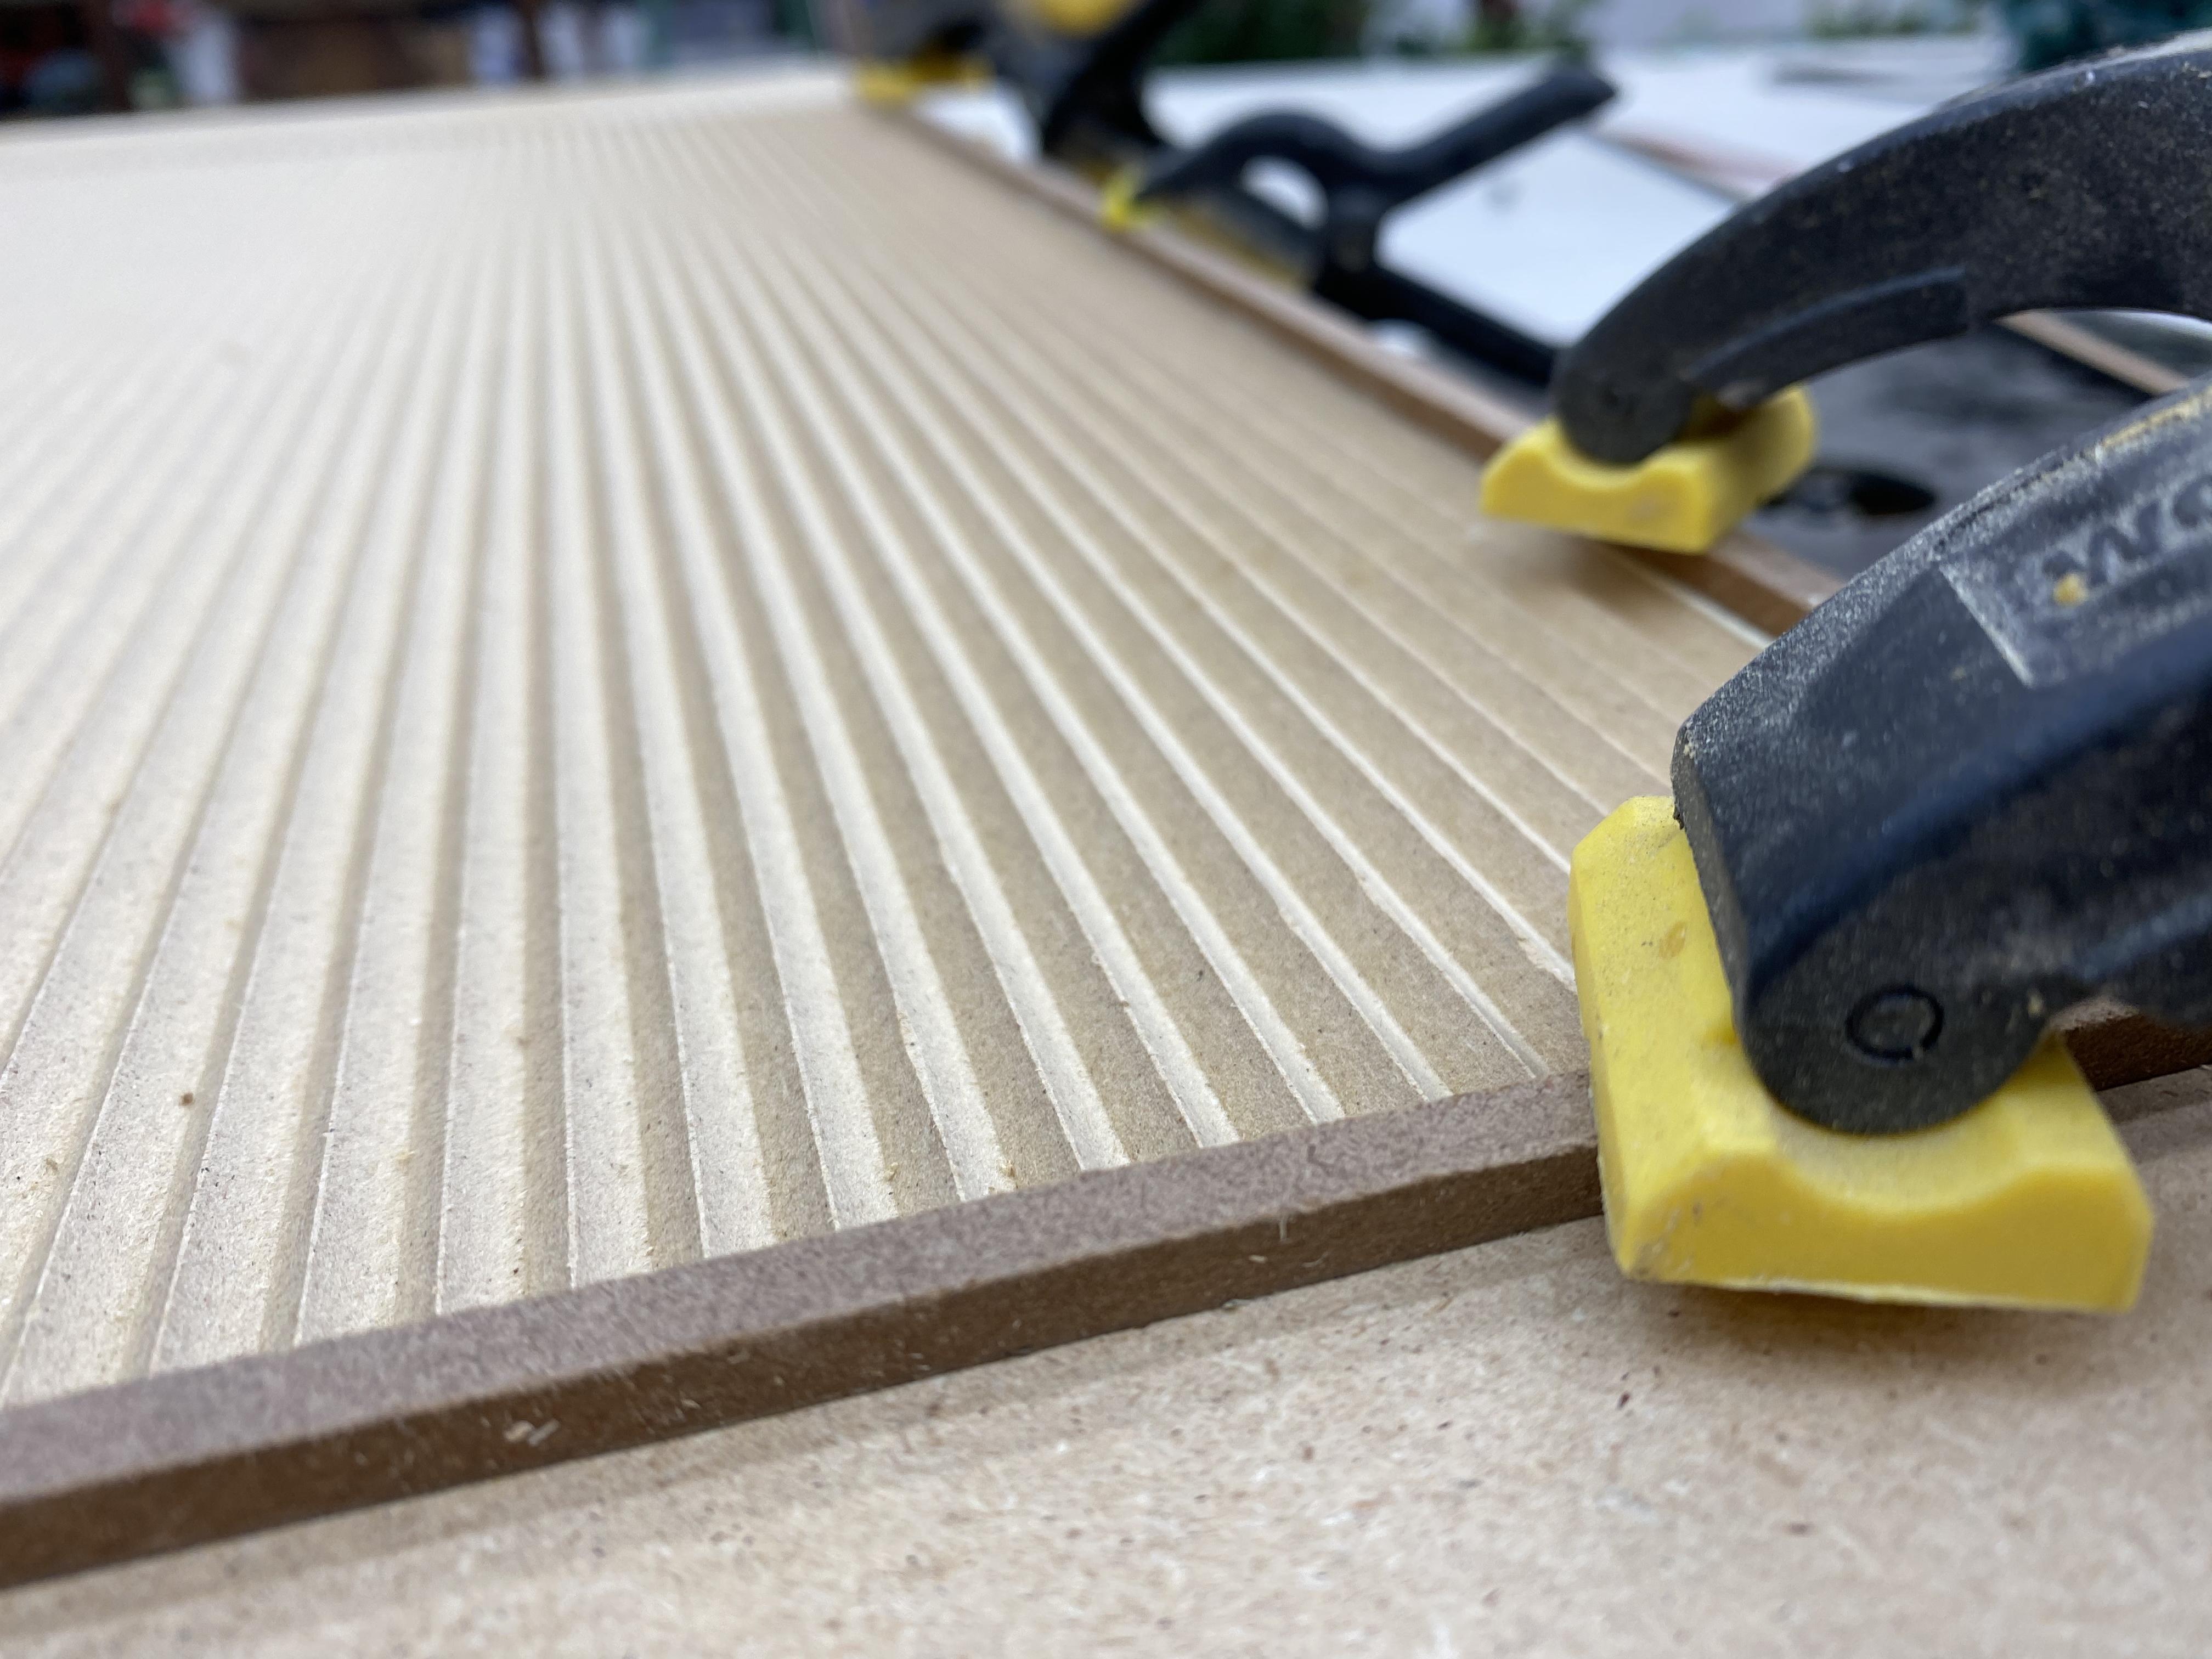
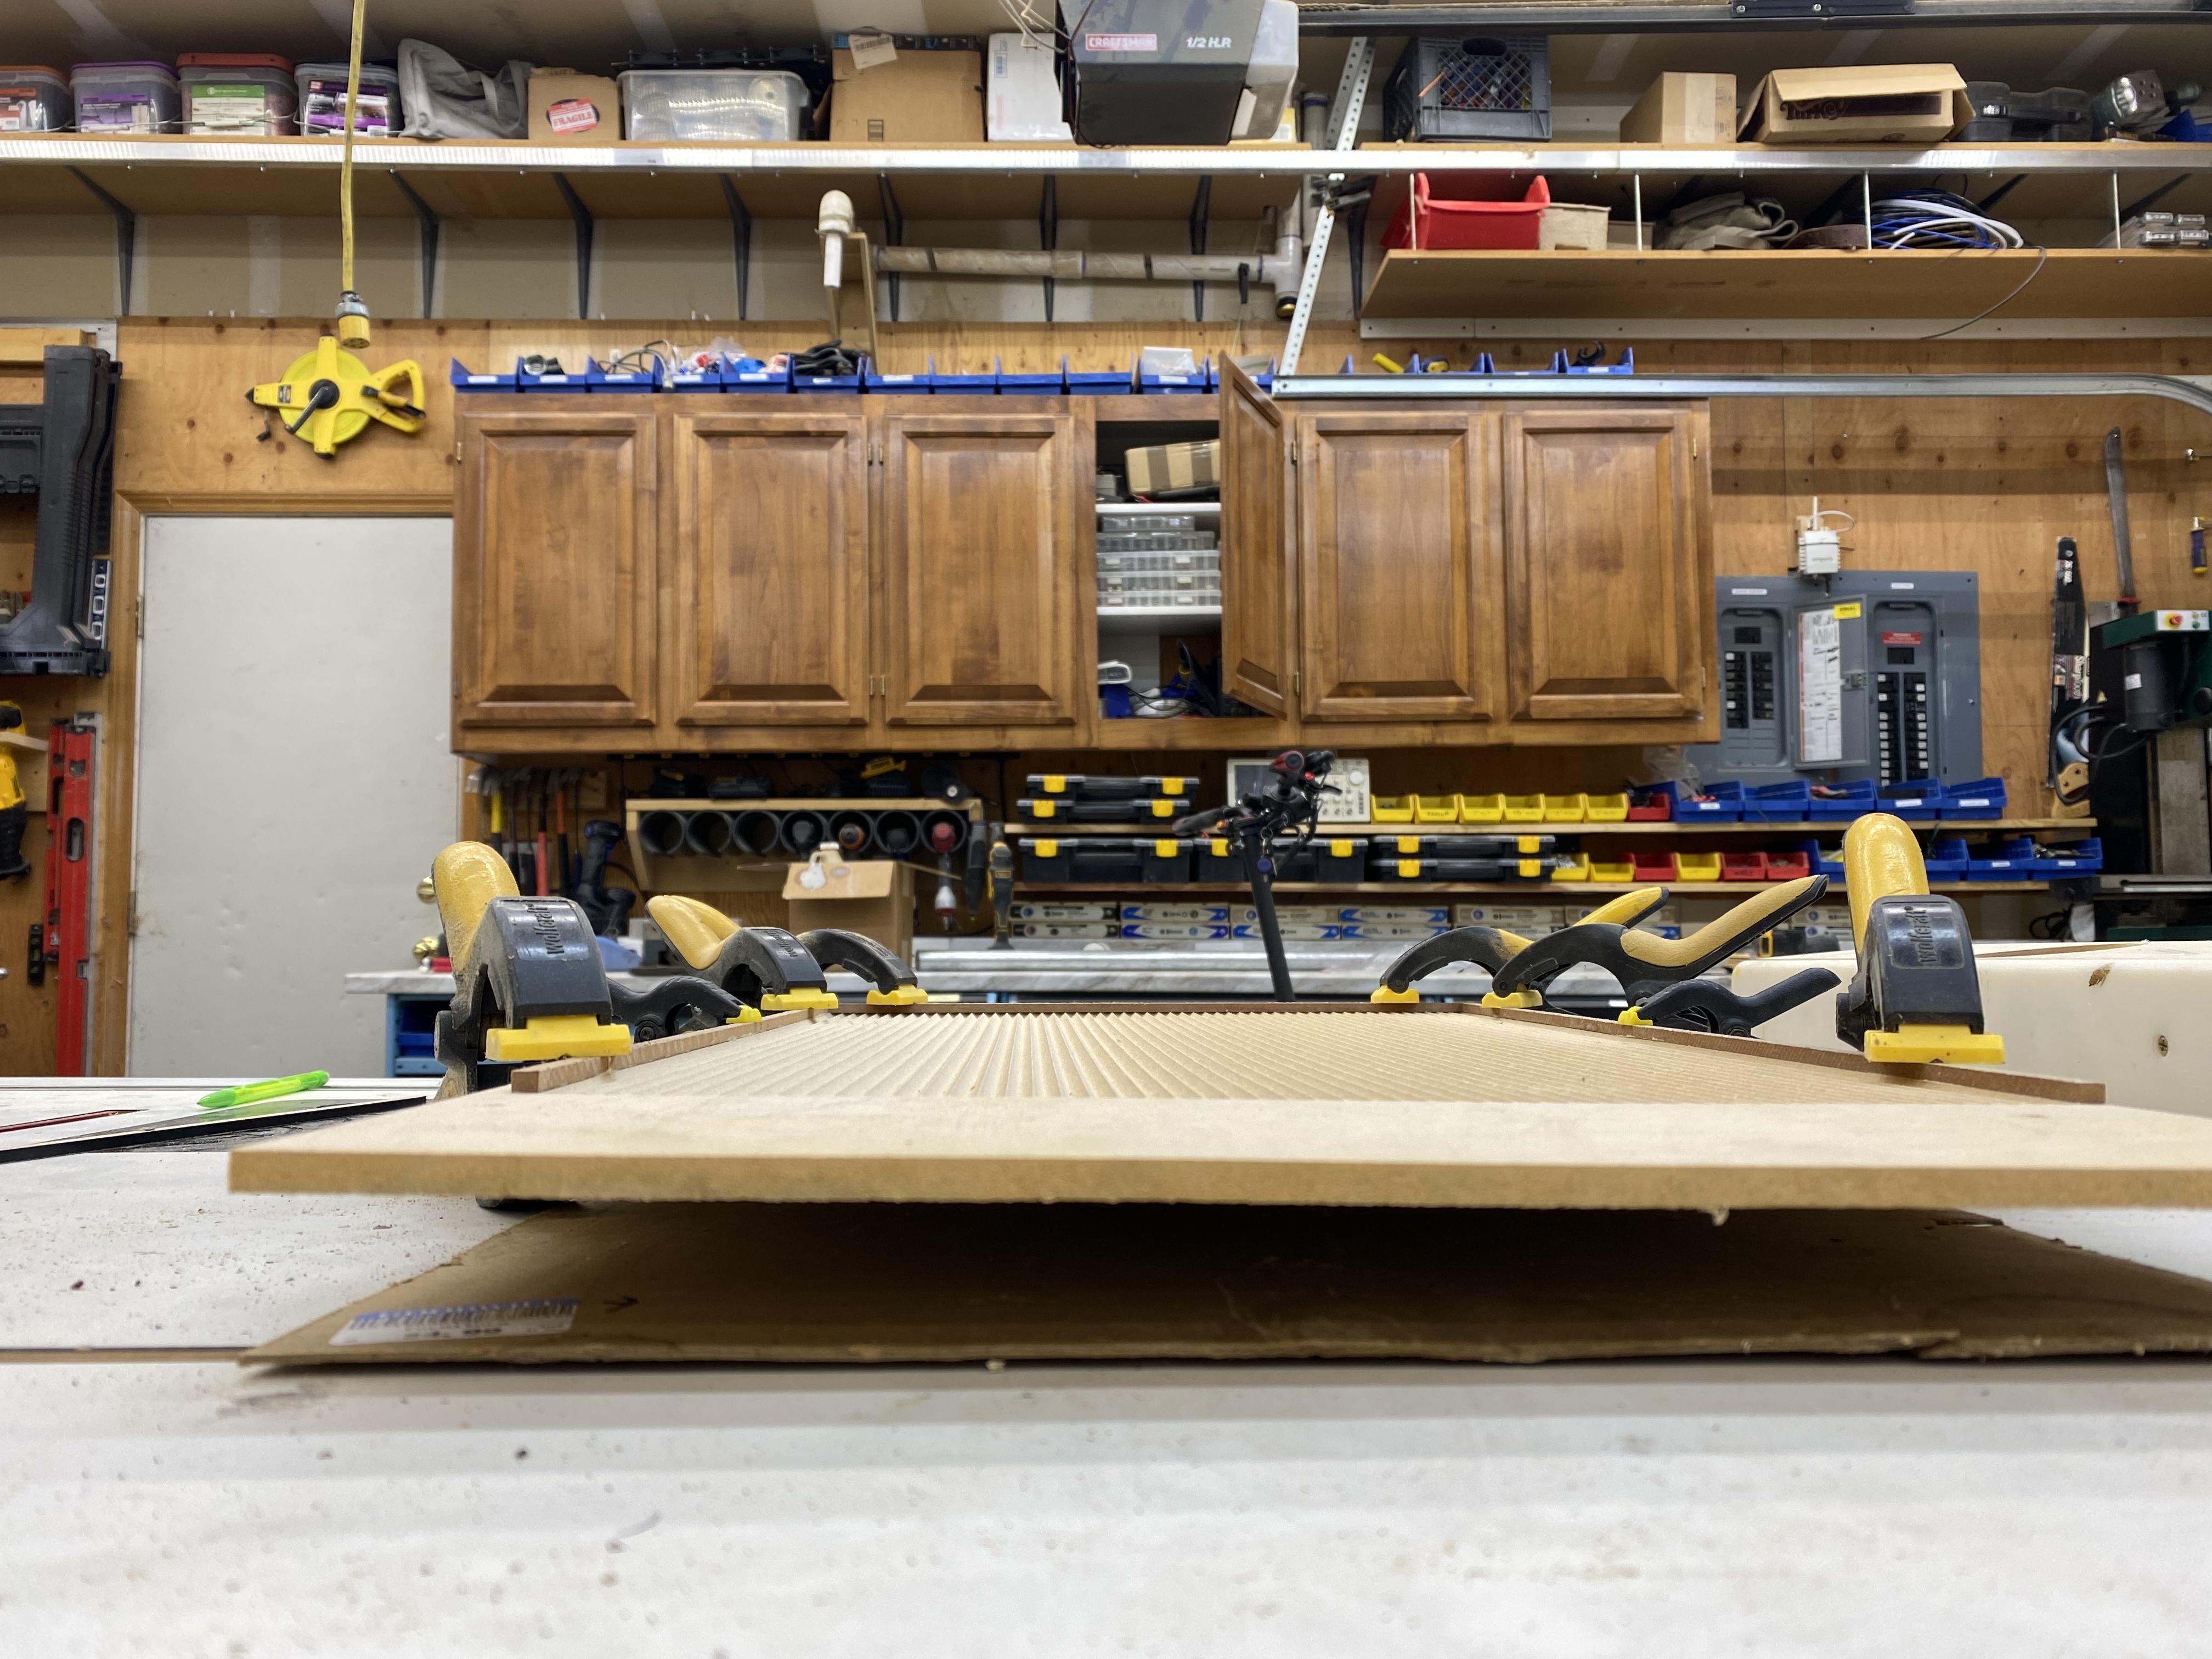
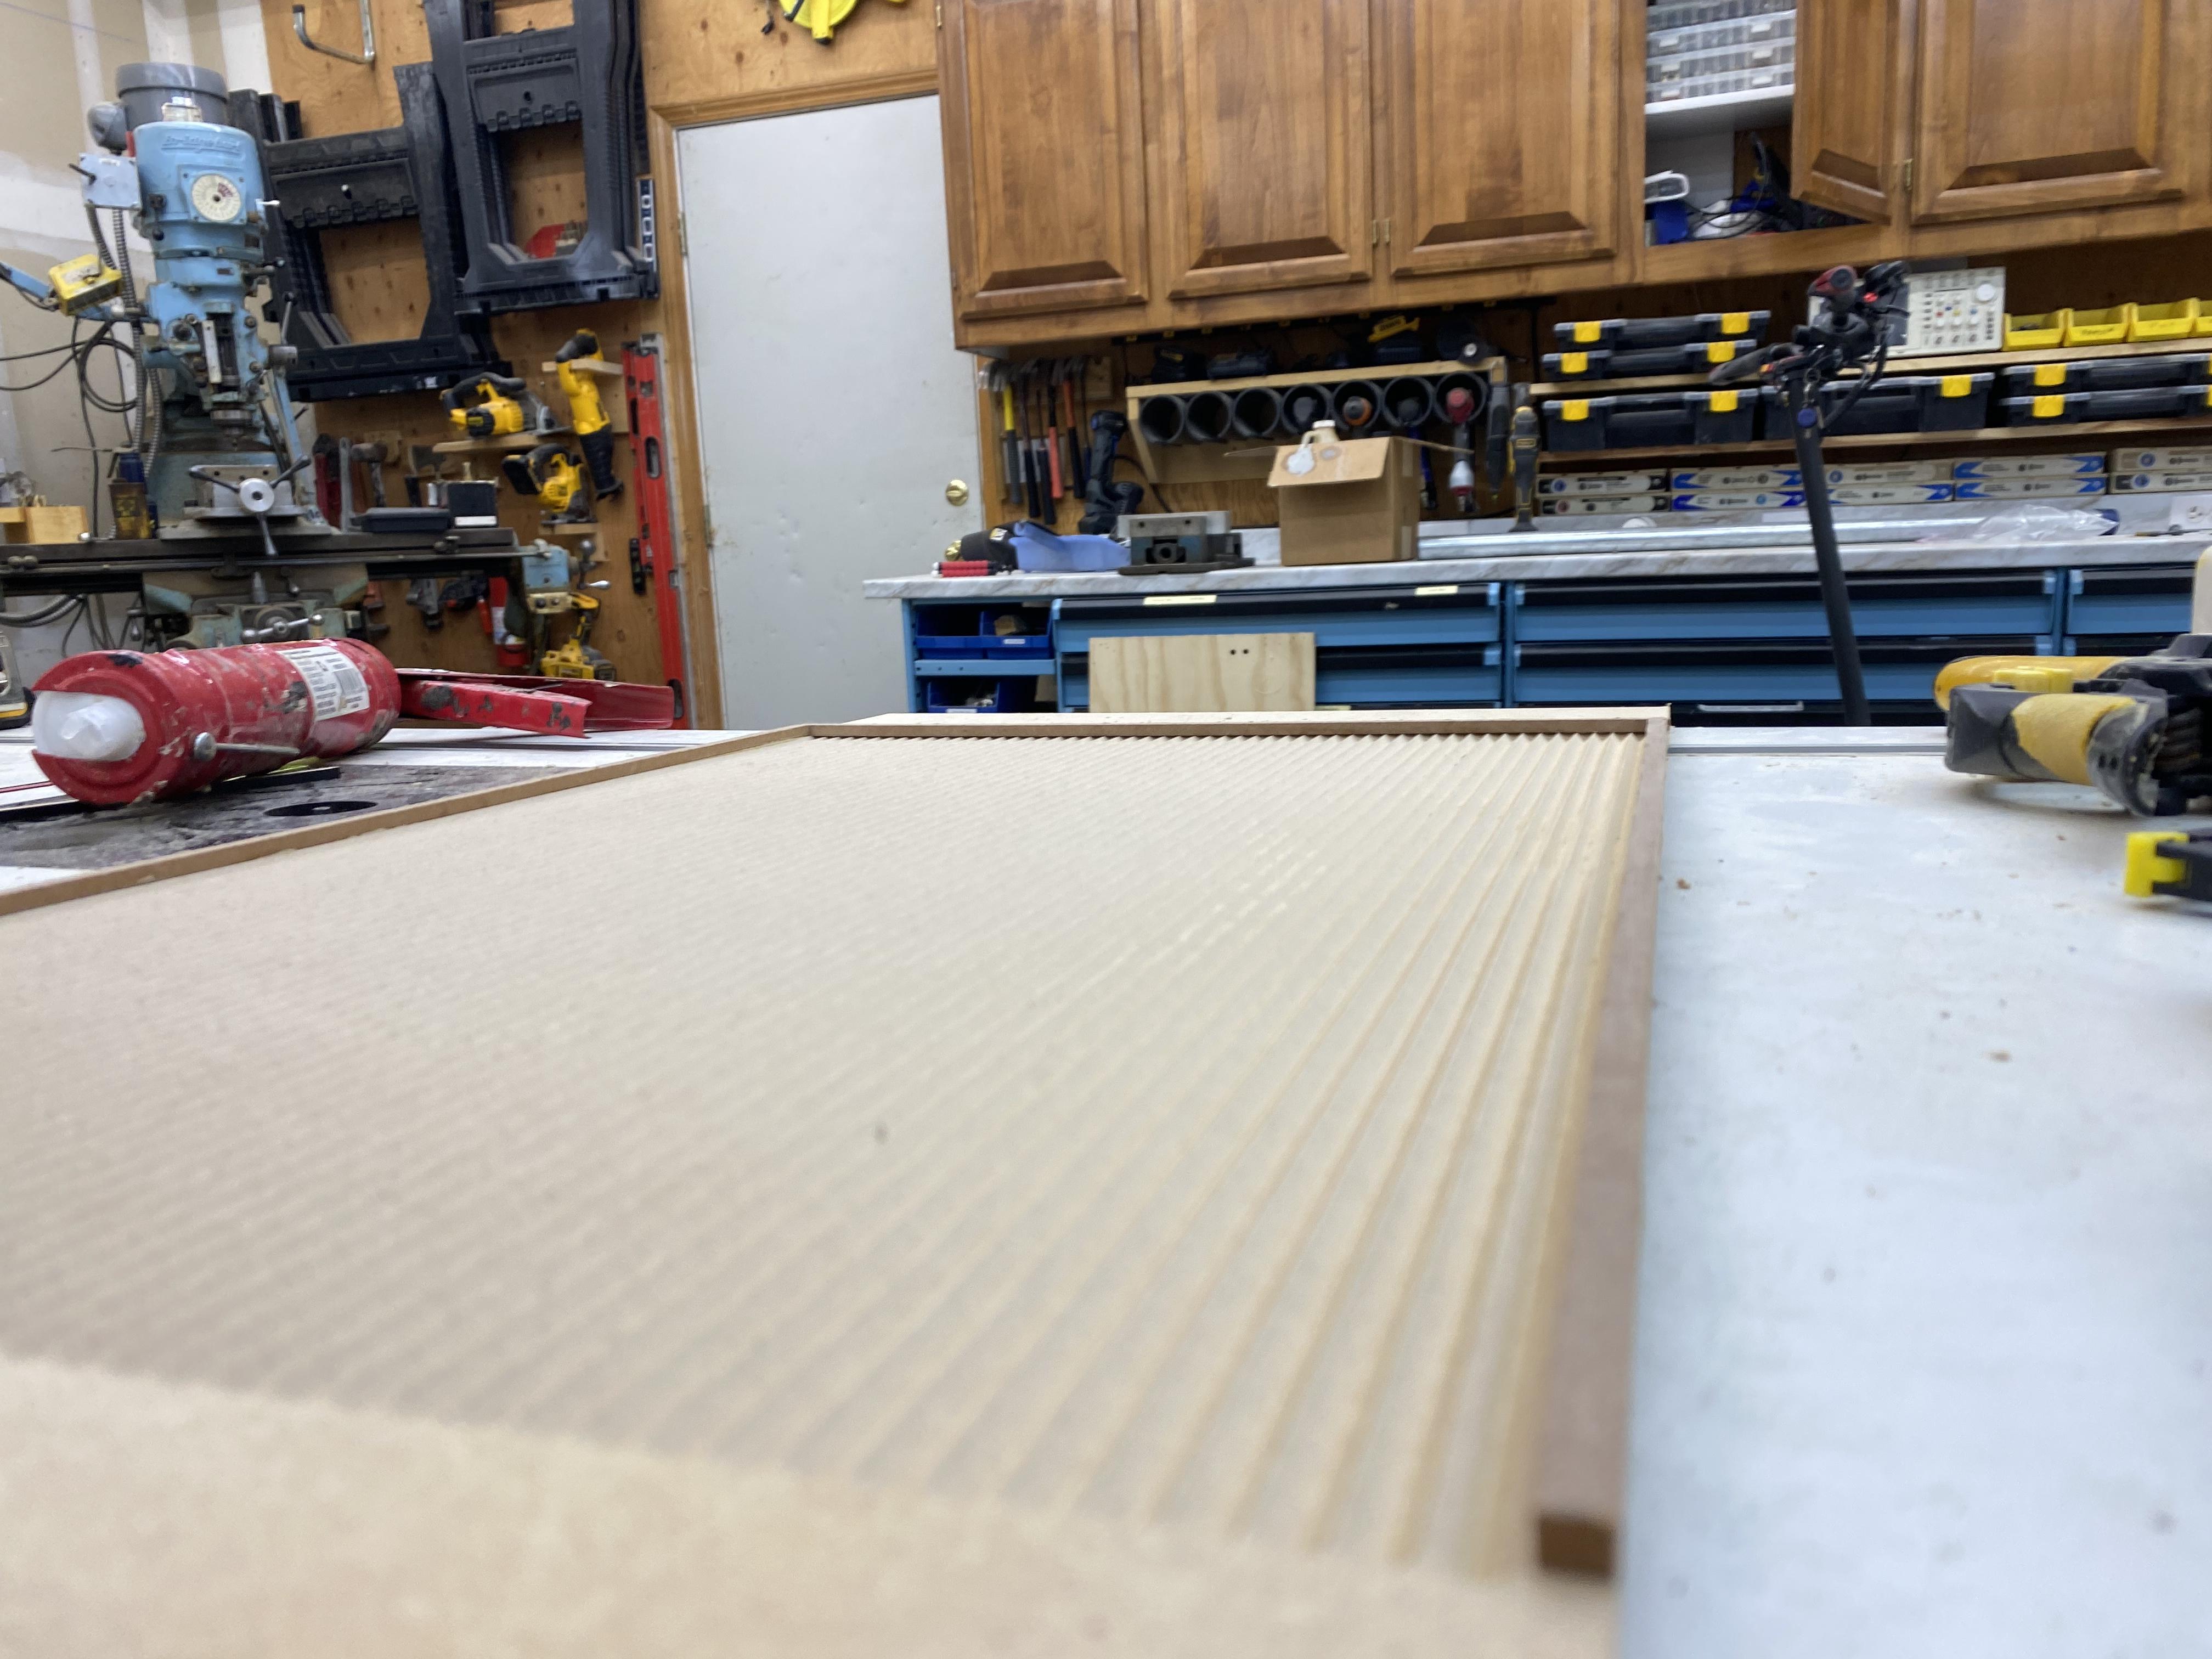
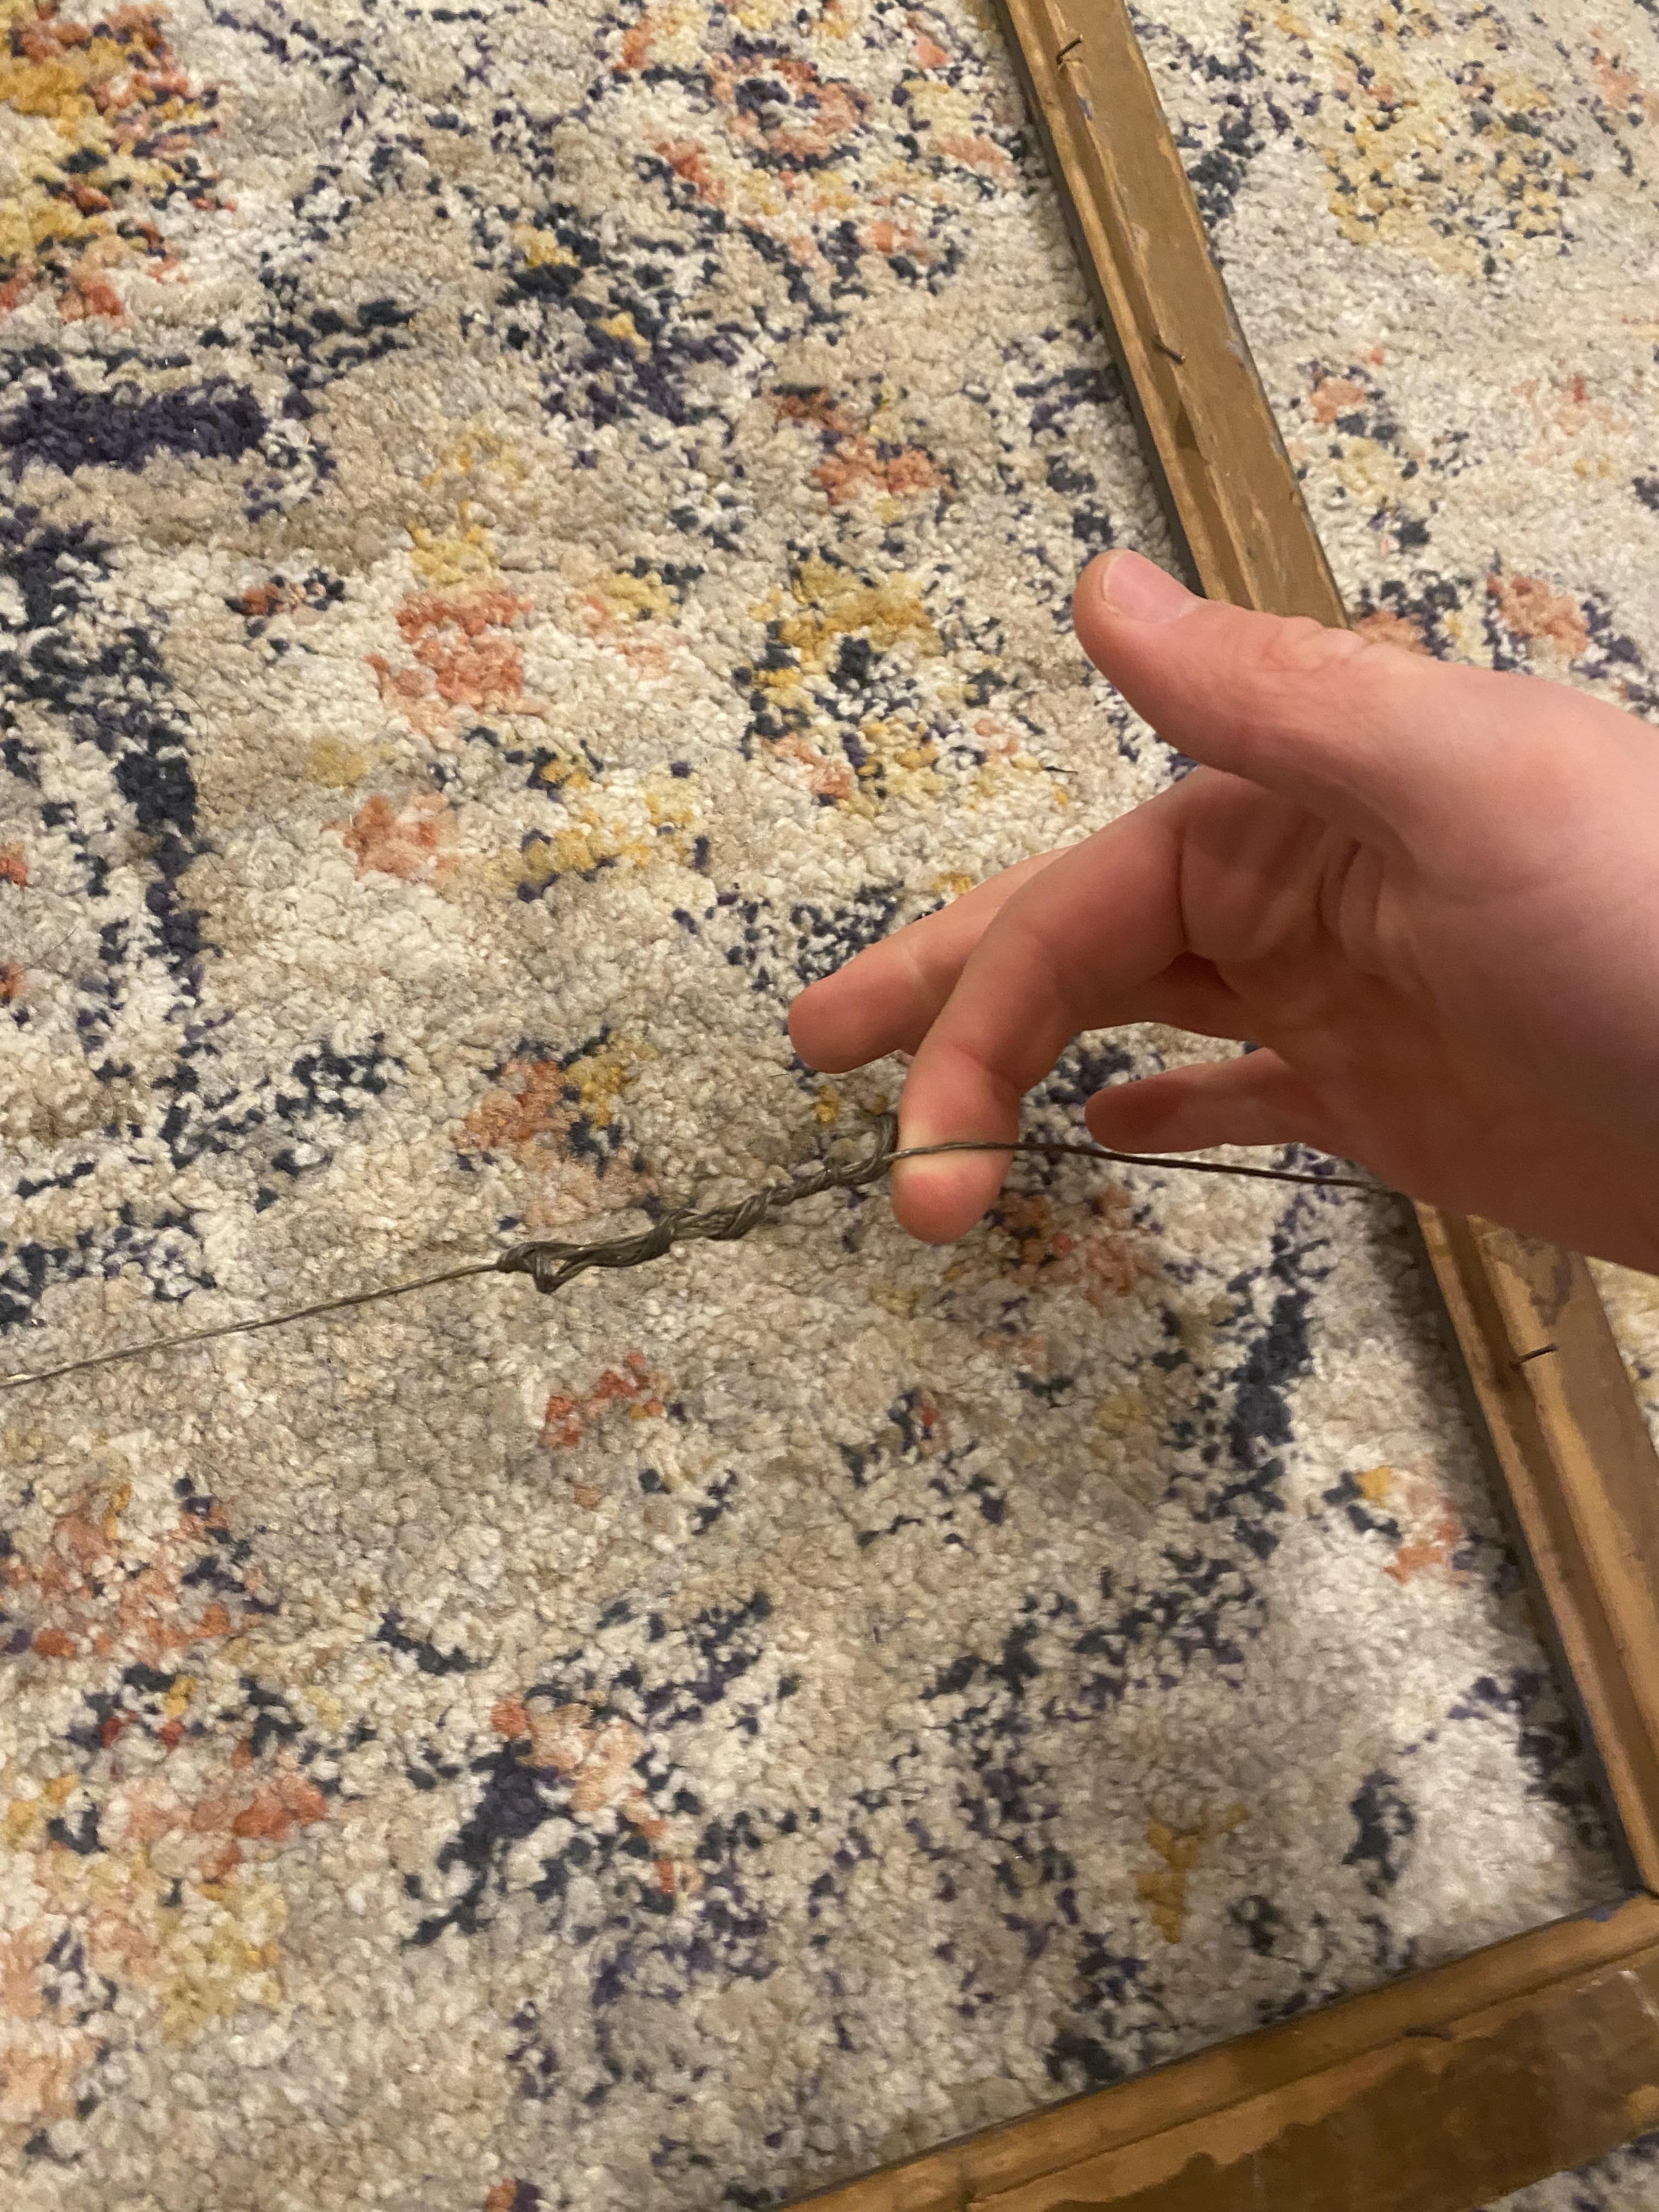
Take the freshly cut piece of wood and cut any unnecessary length so that the design board fits perfectly into the picture frame that your finished product will be placed into. Once that is complete you will need a slightly raised spacer surrounding the perimeter of your design board. Depending on what sort of bit you used and how deep you may have drilled your grooves, the height of the spacer and or width of the spacer will vary. When testing the height of the spacer MAKE SURE you fill up one groove with BBs at least halfway to assure yourself that the spacer is not too tall or too short.
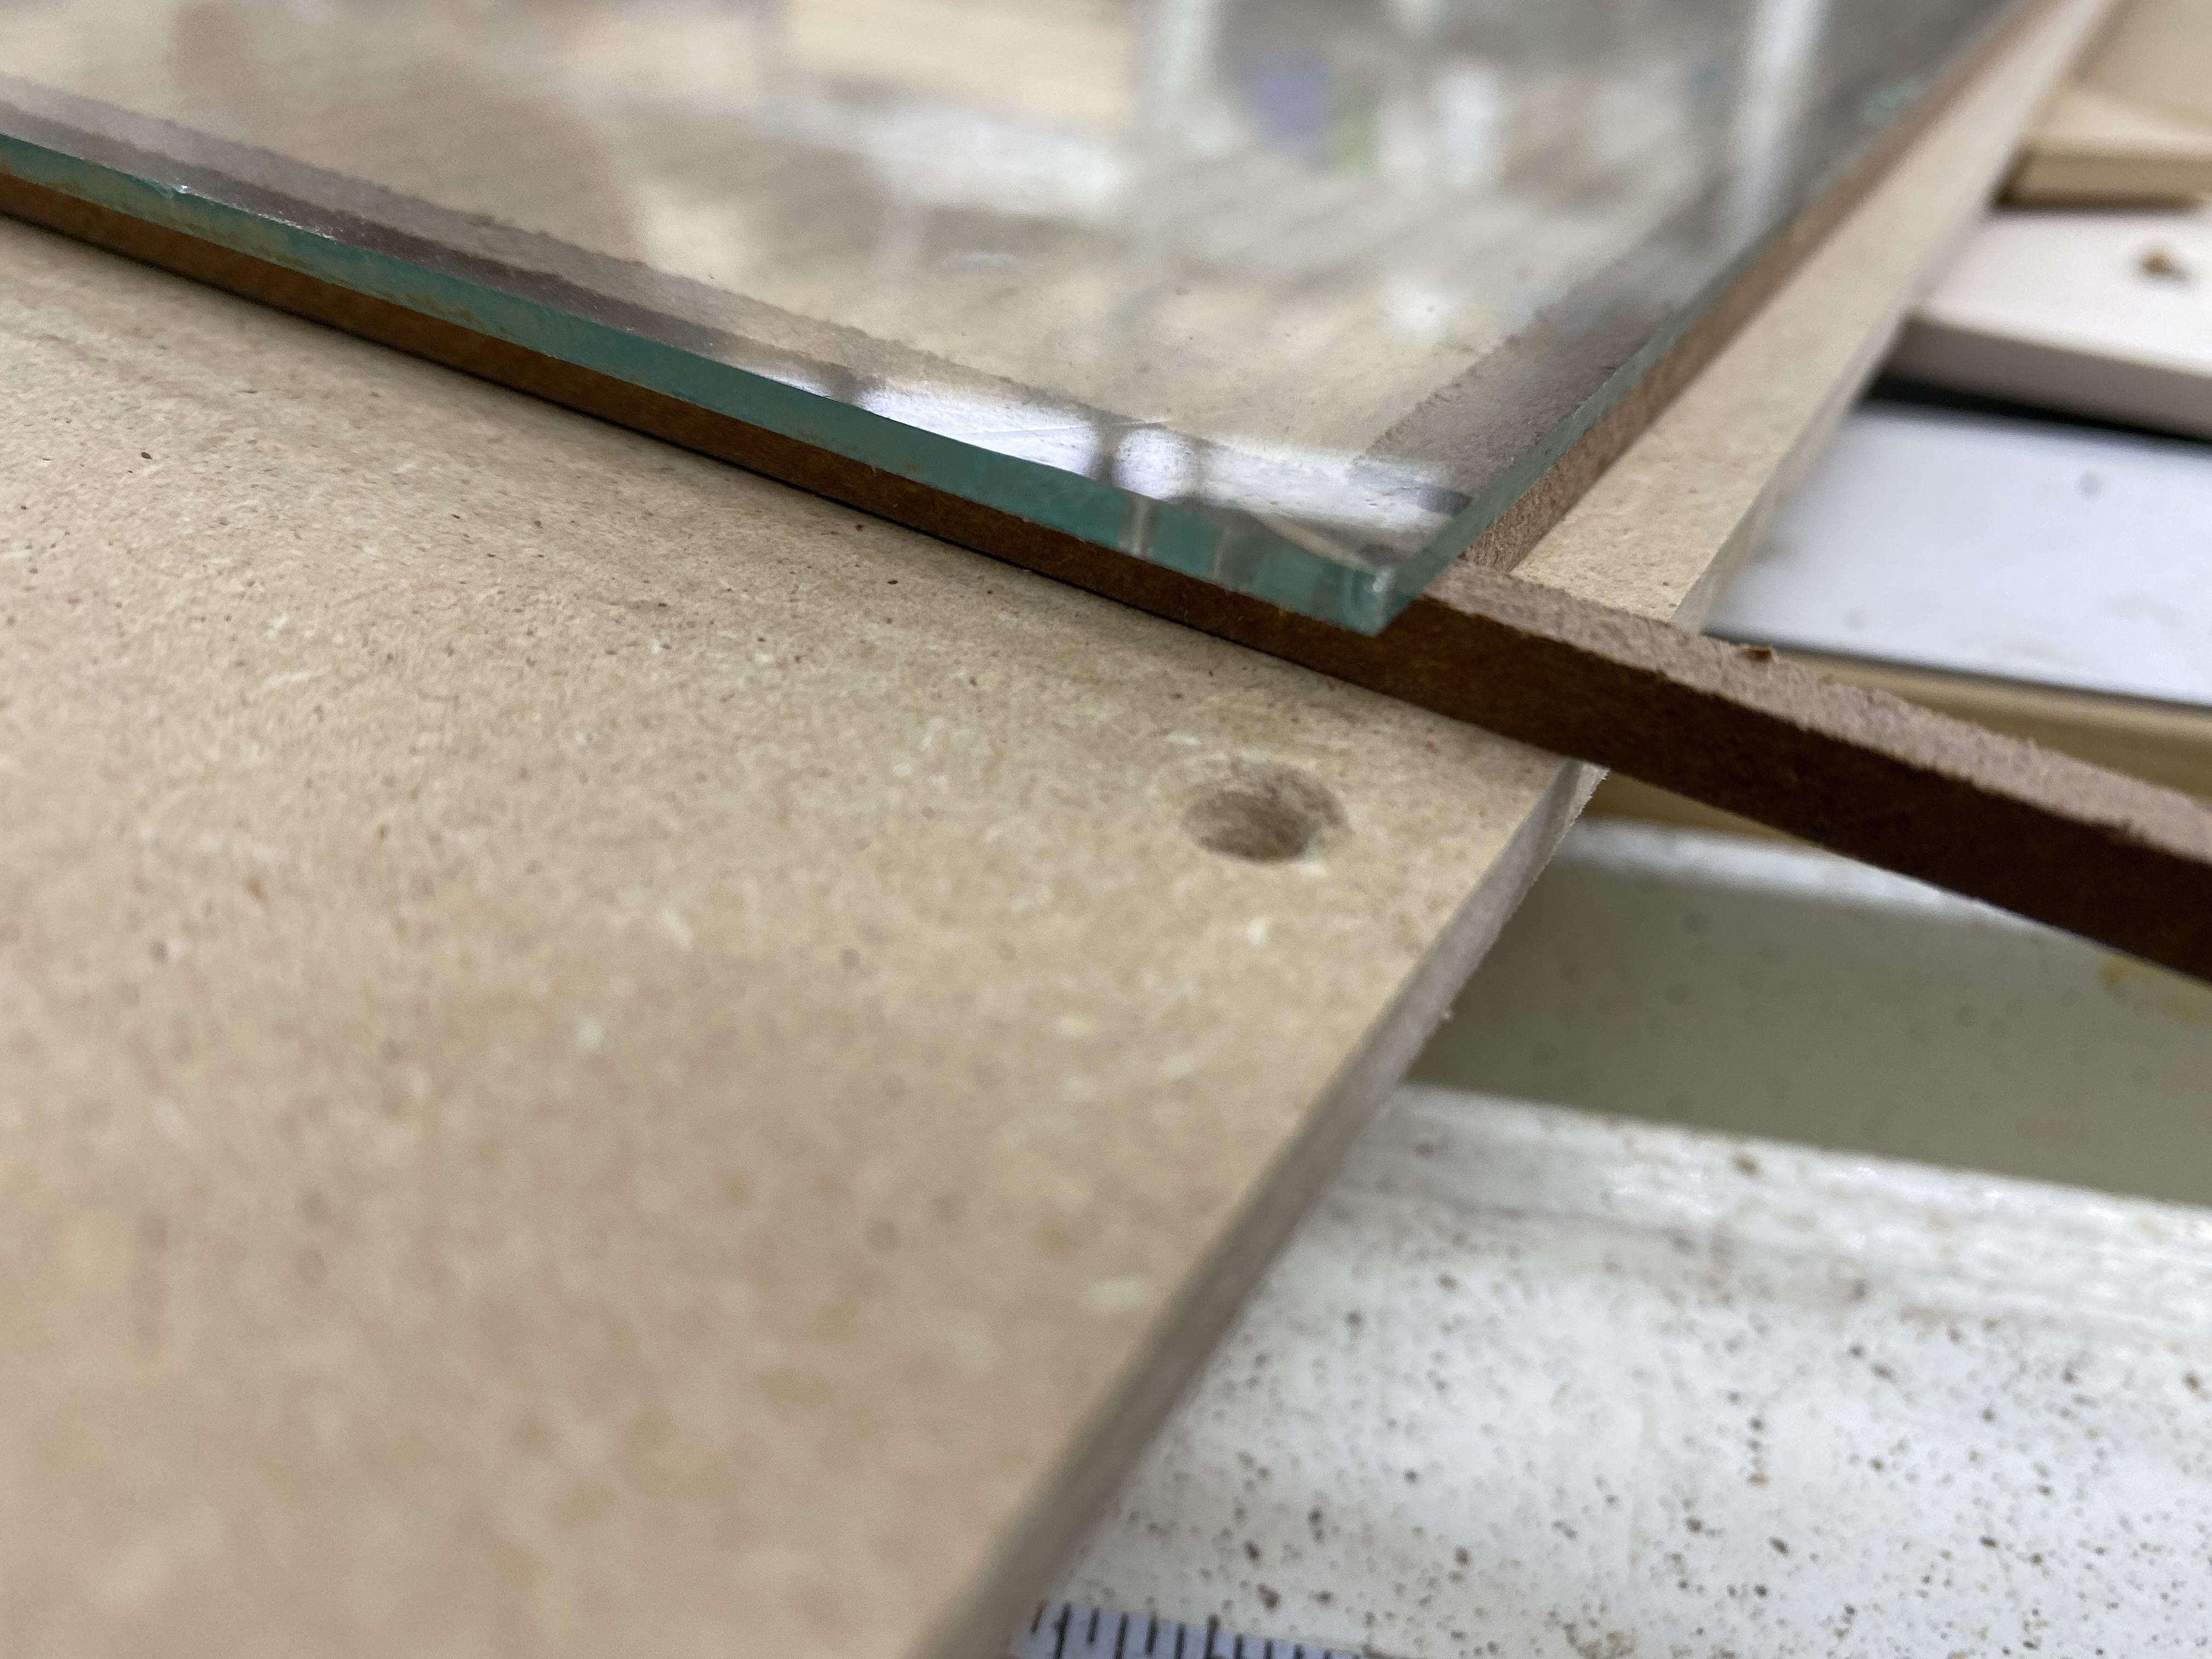
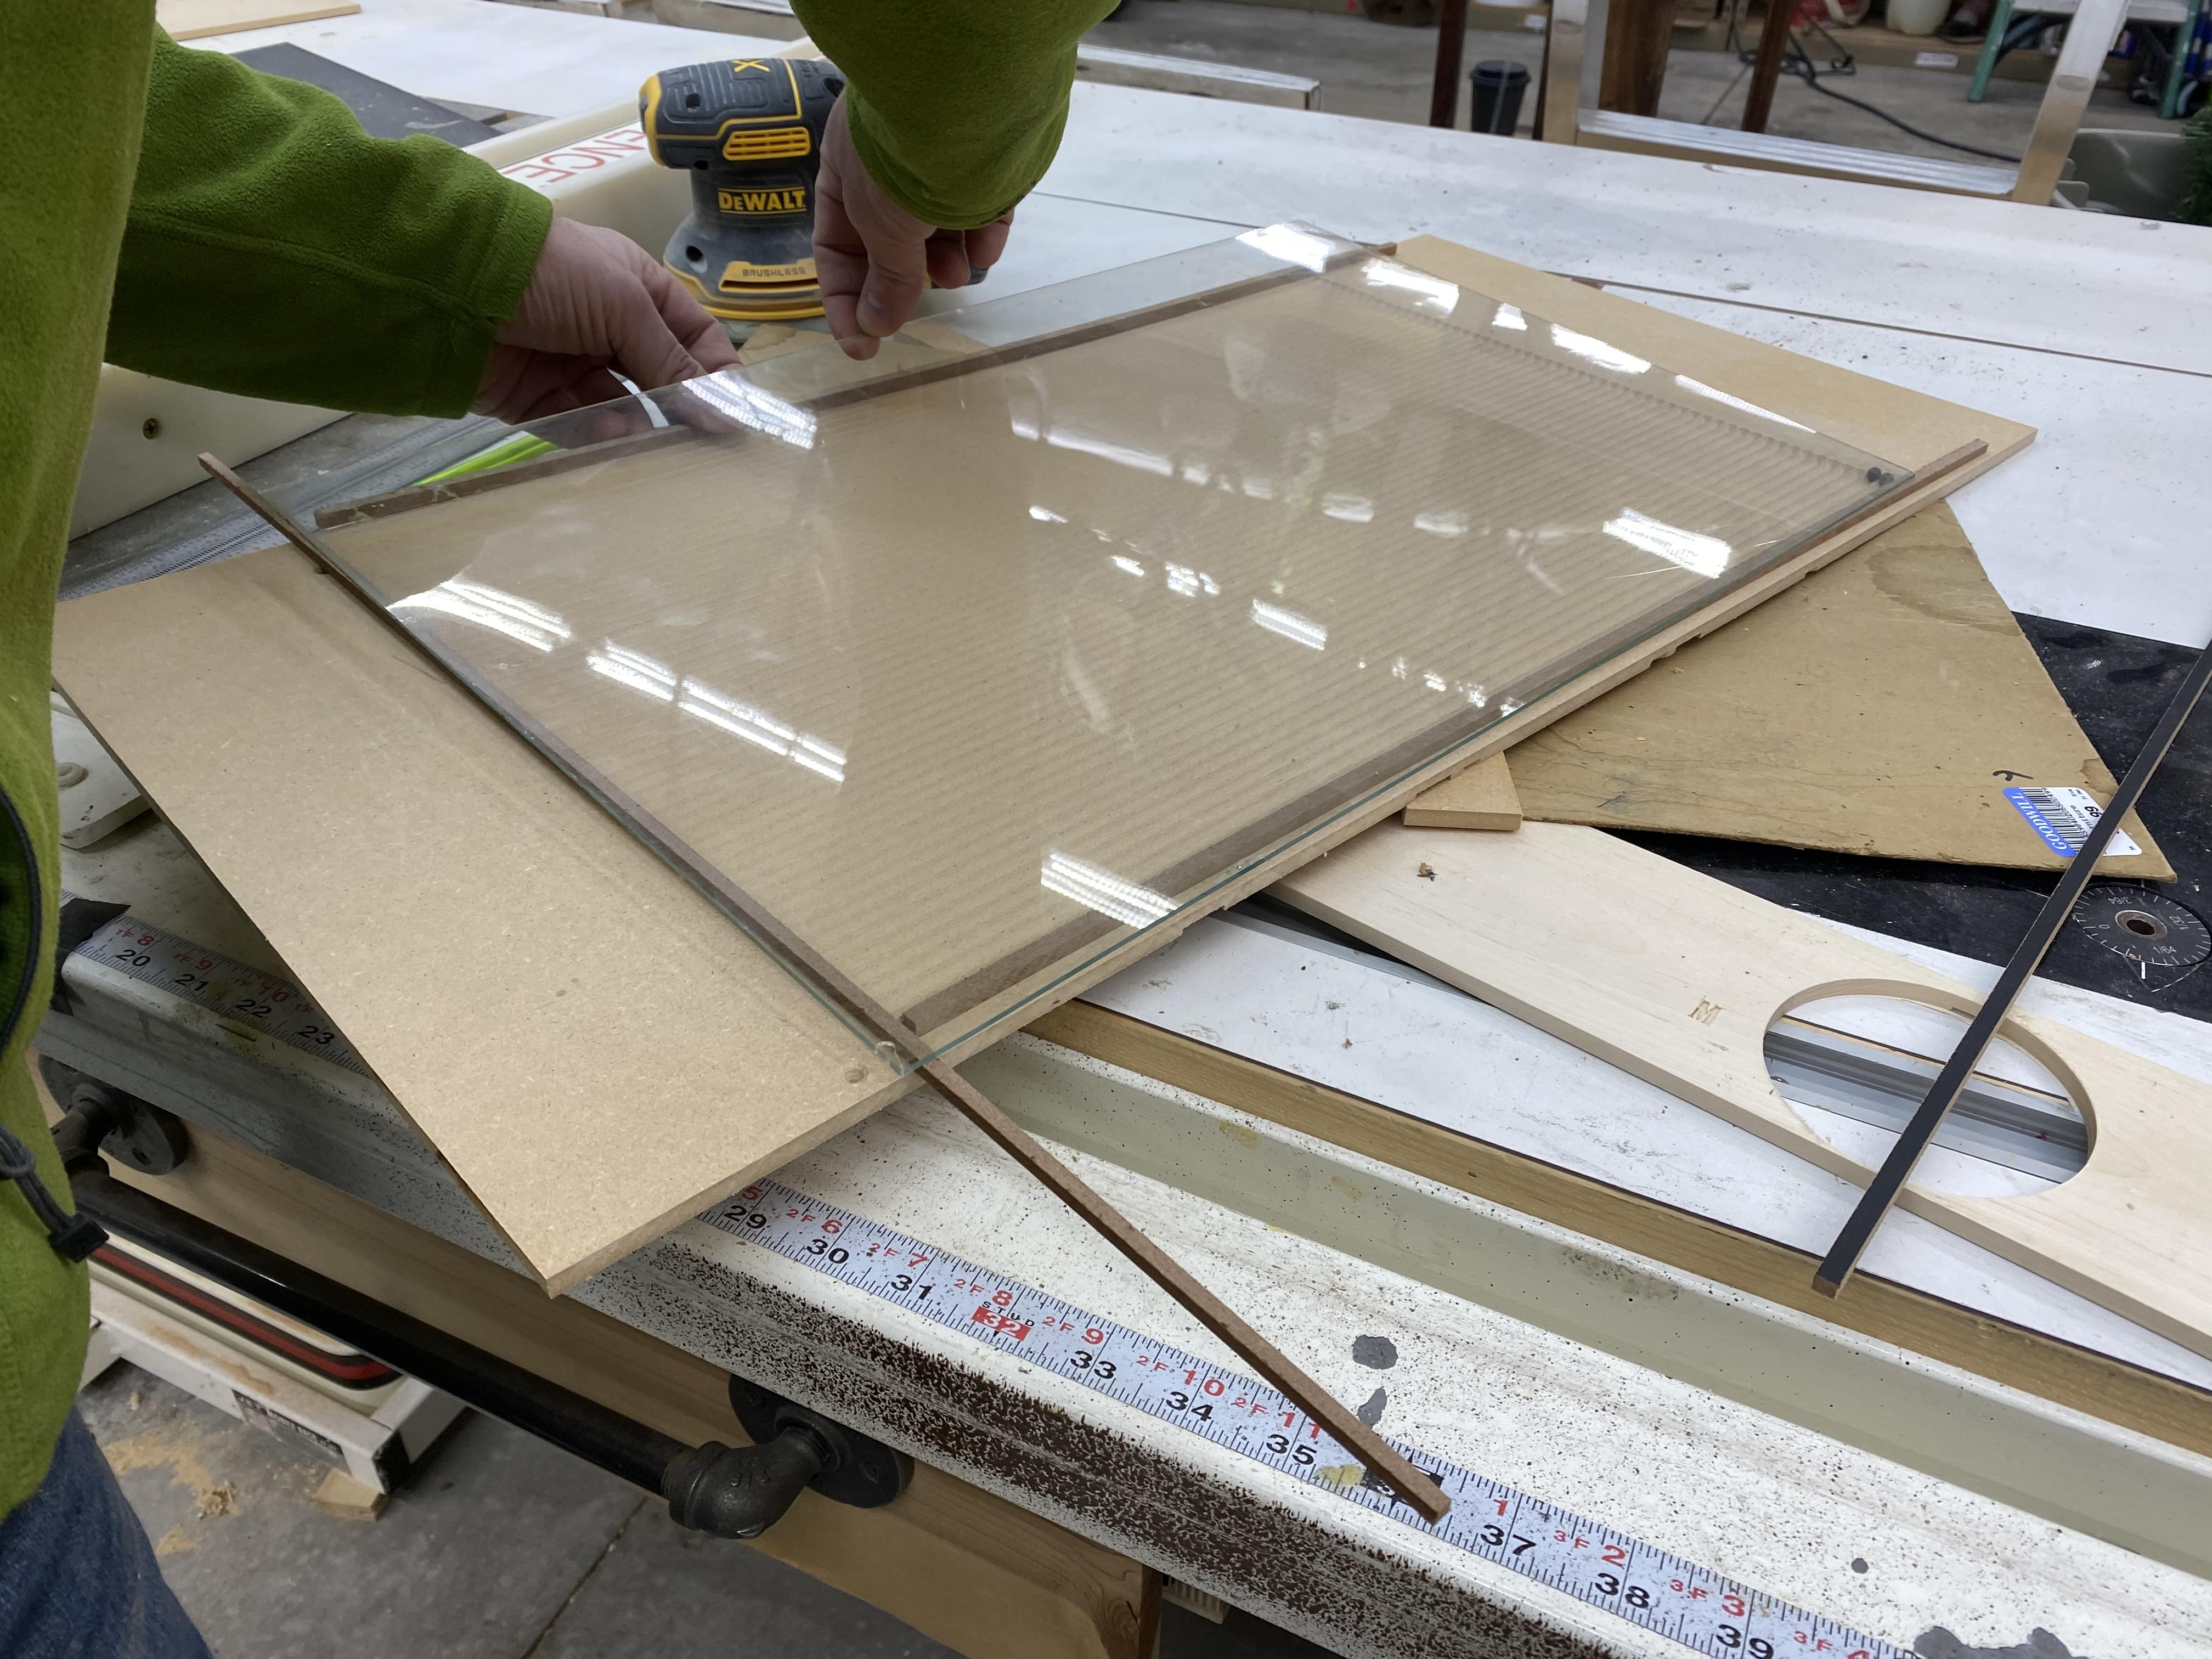
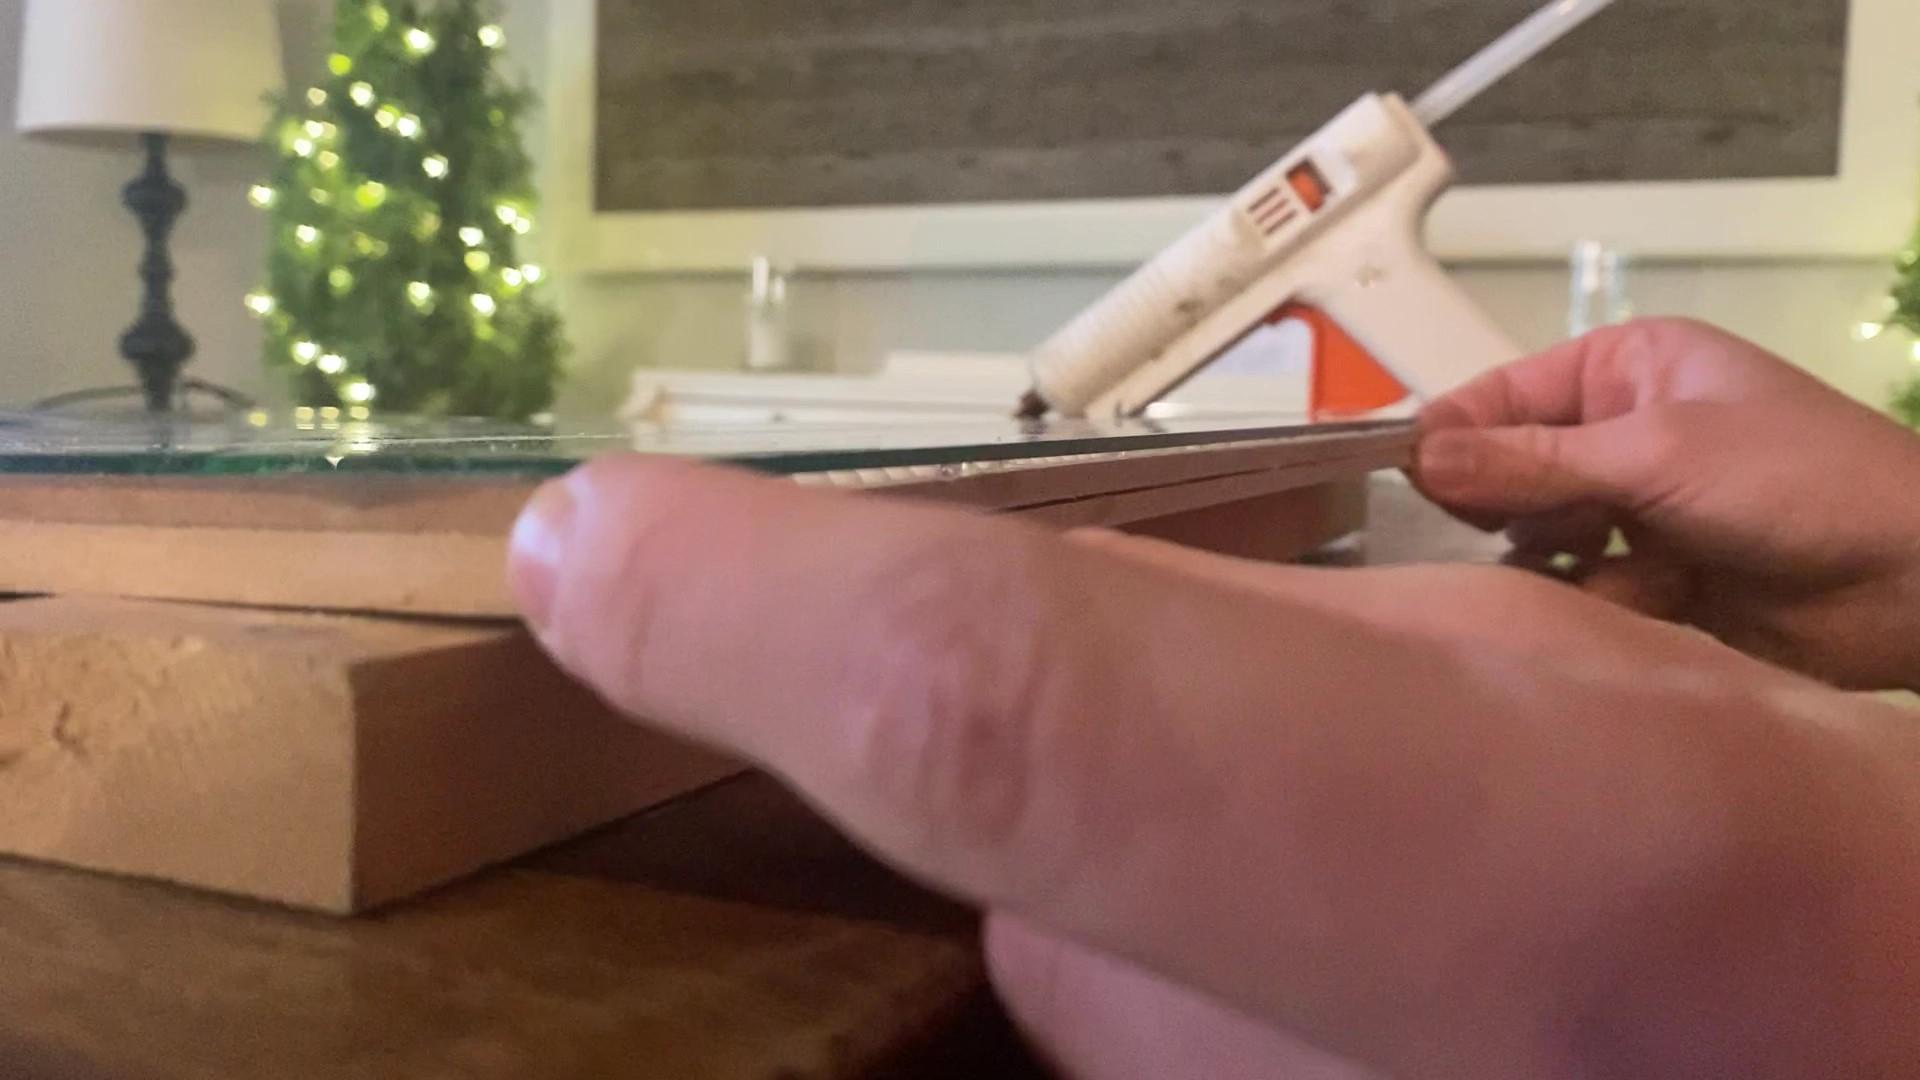
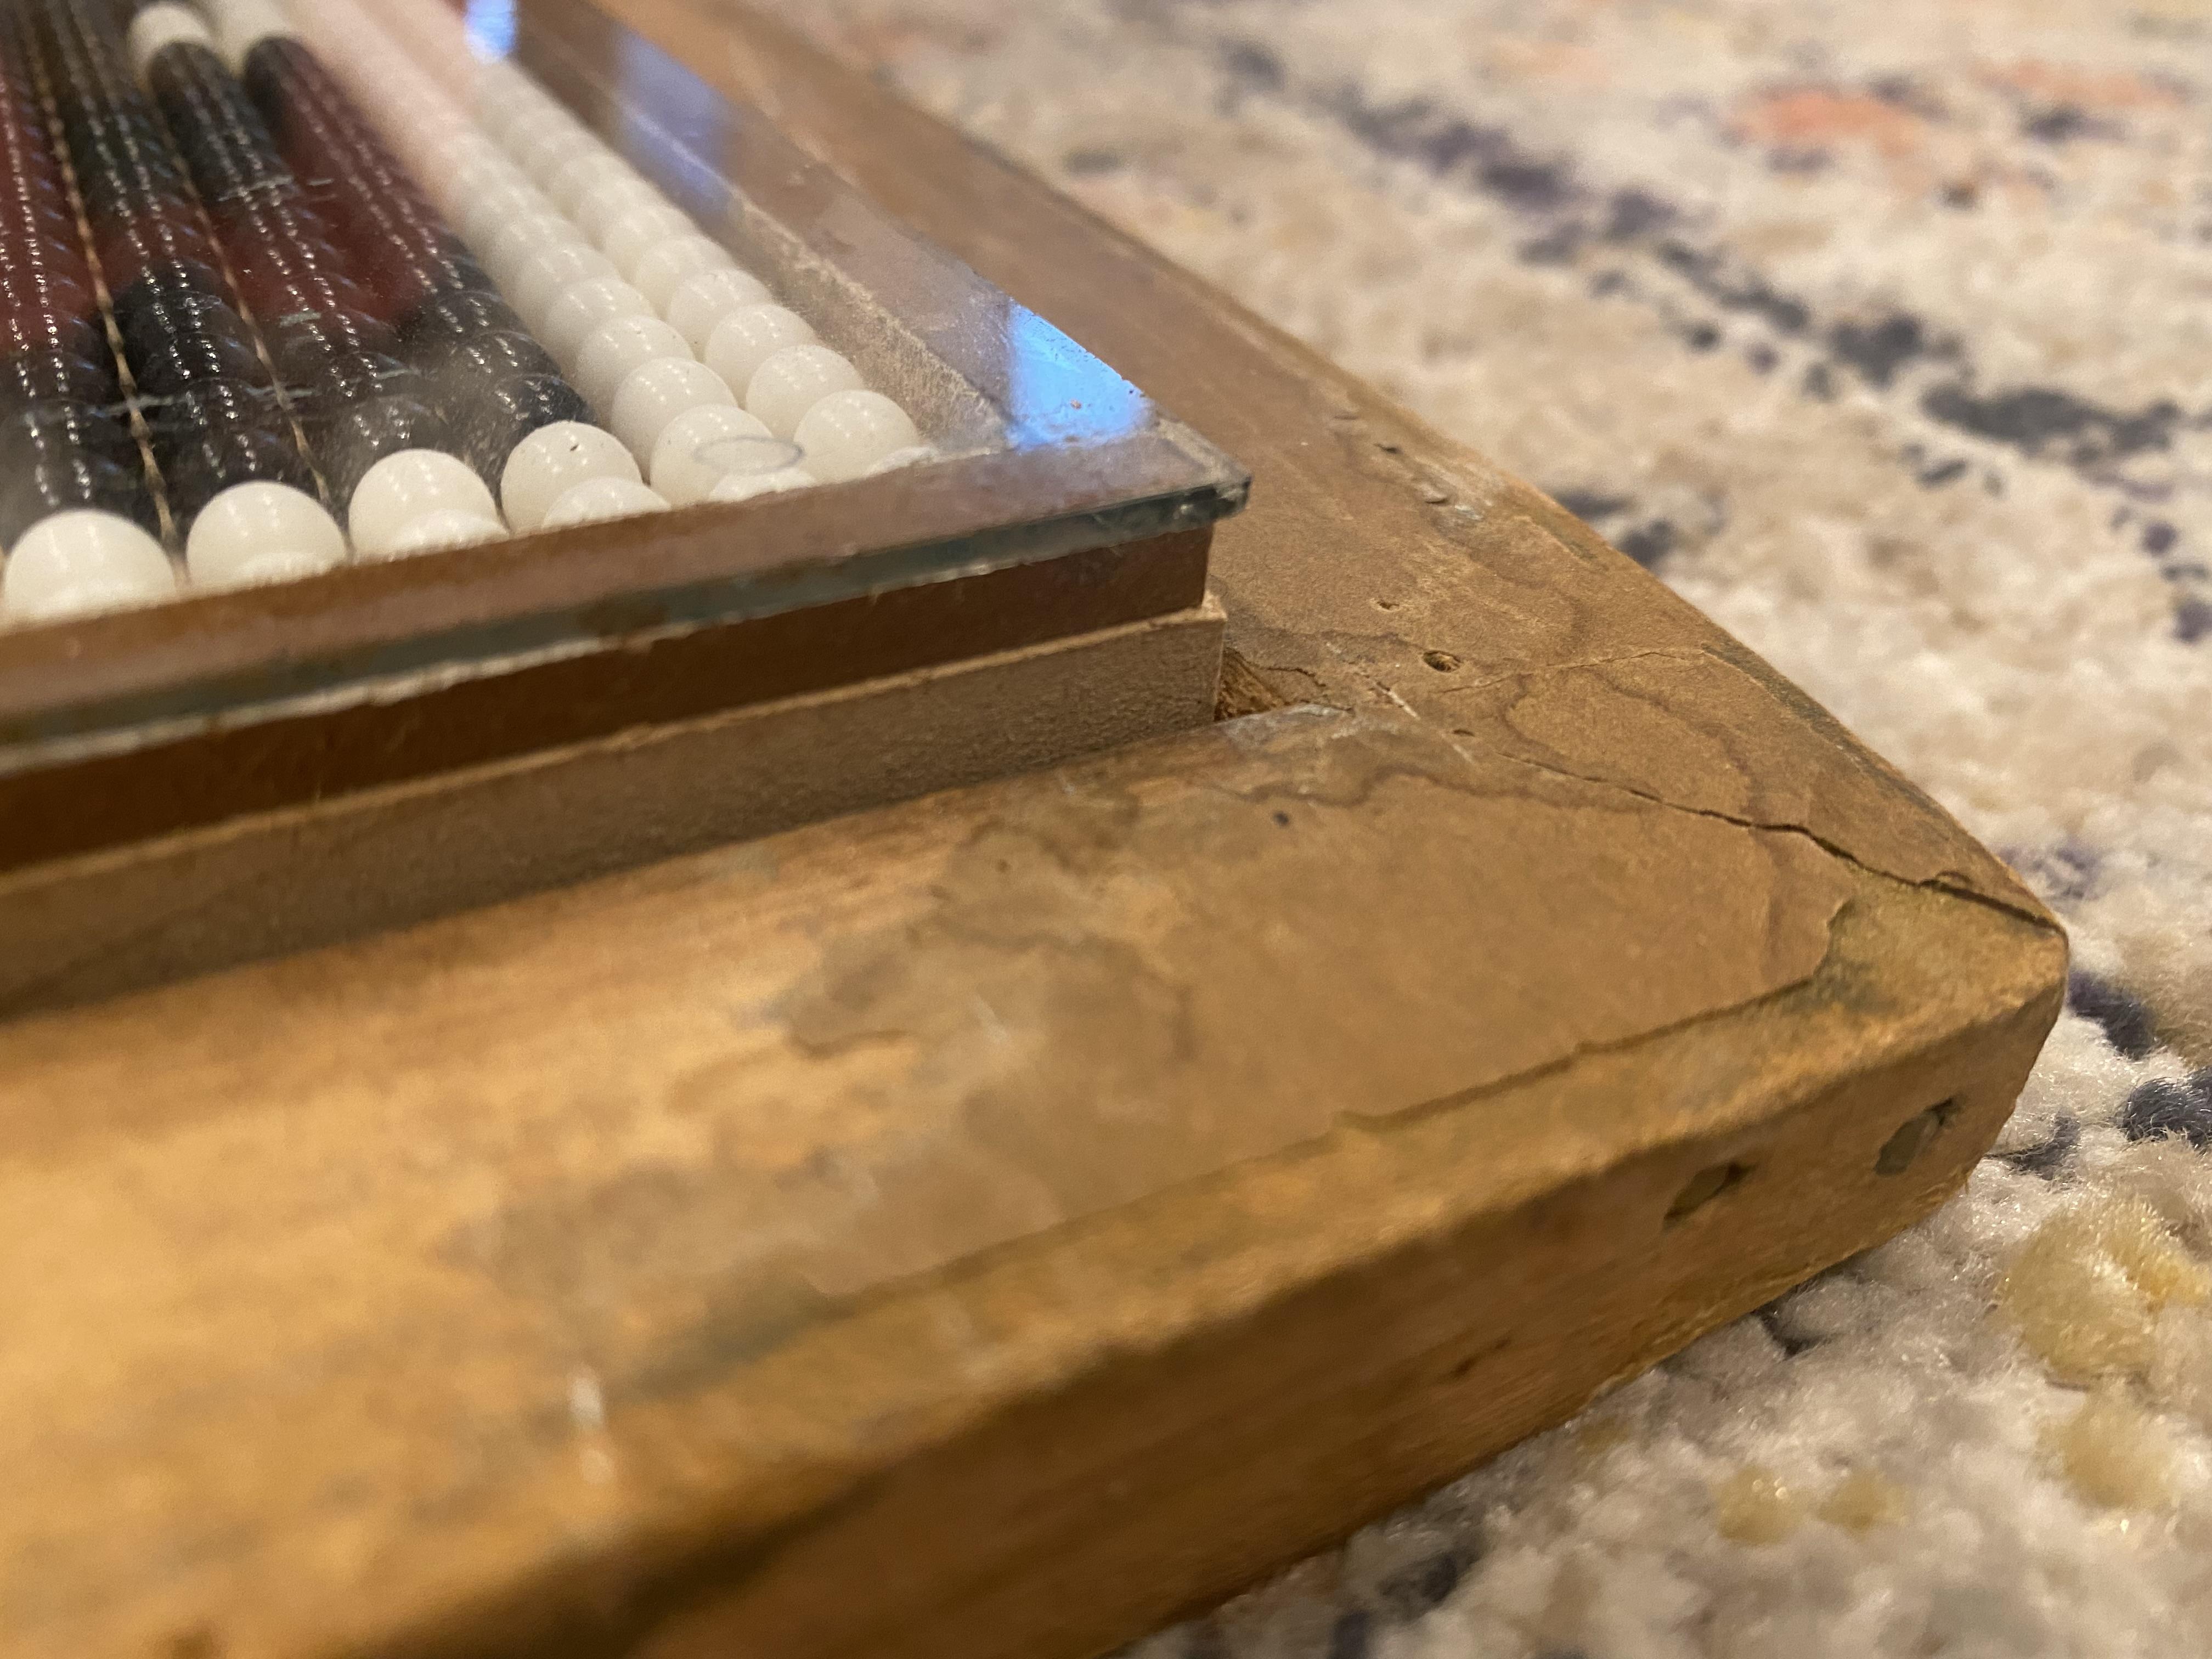
Add the Glass
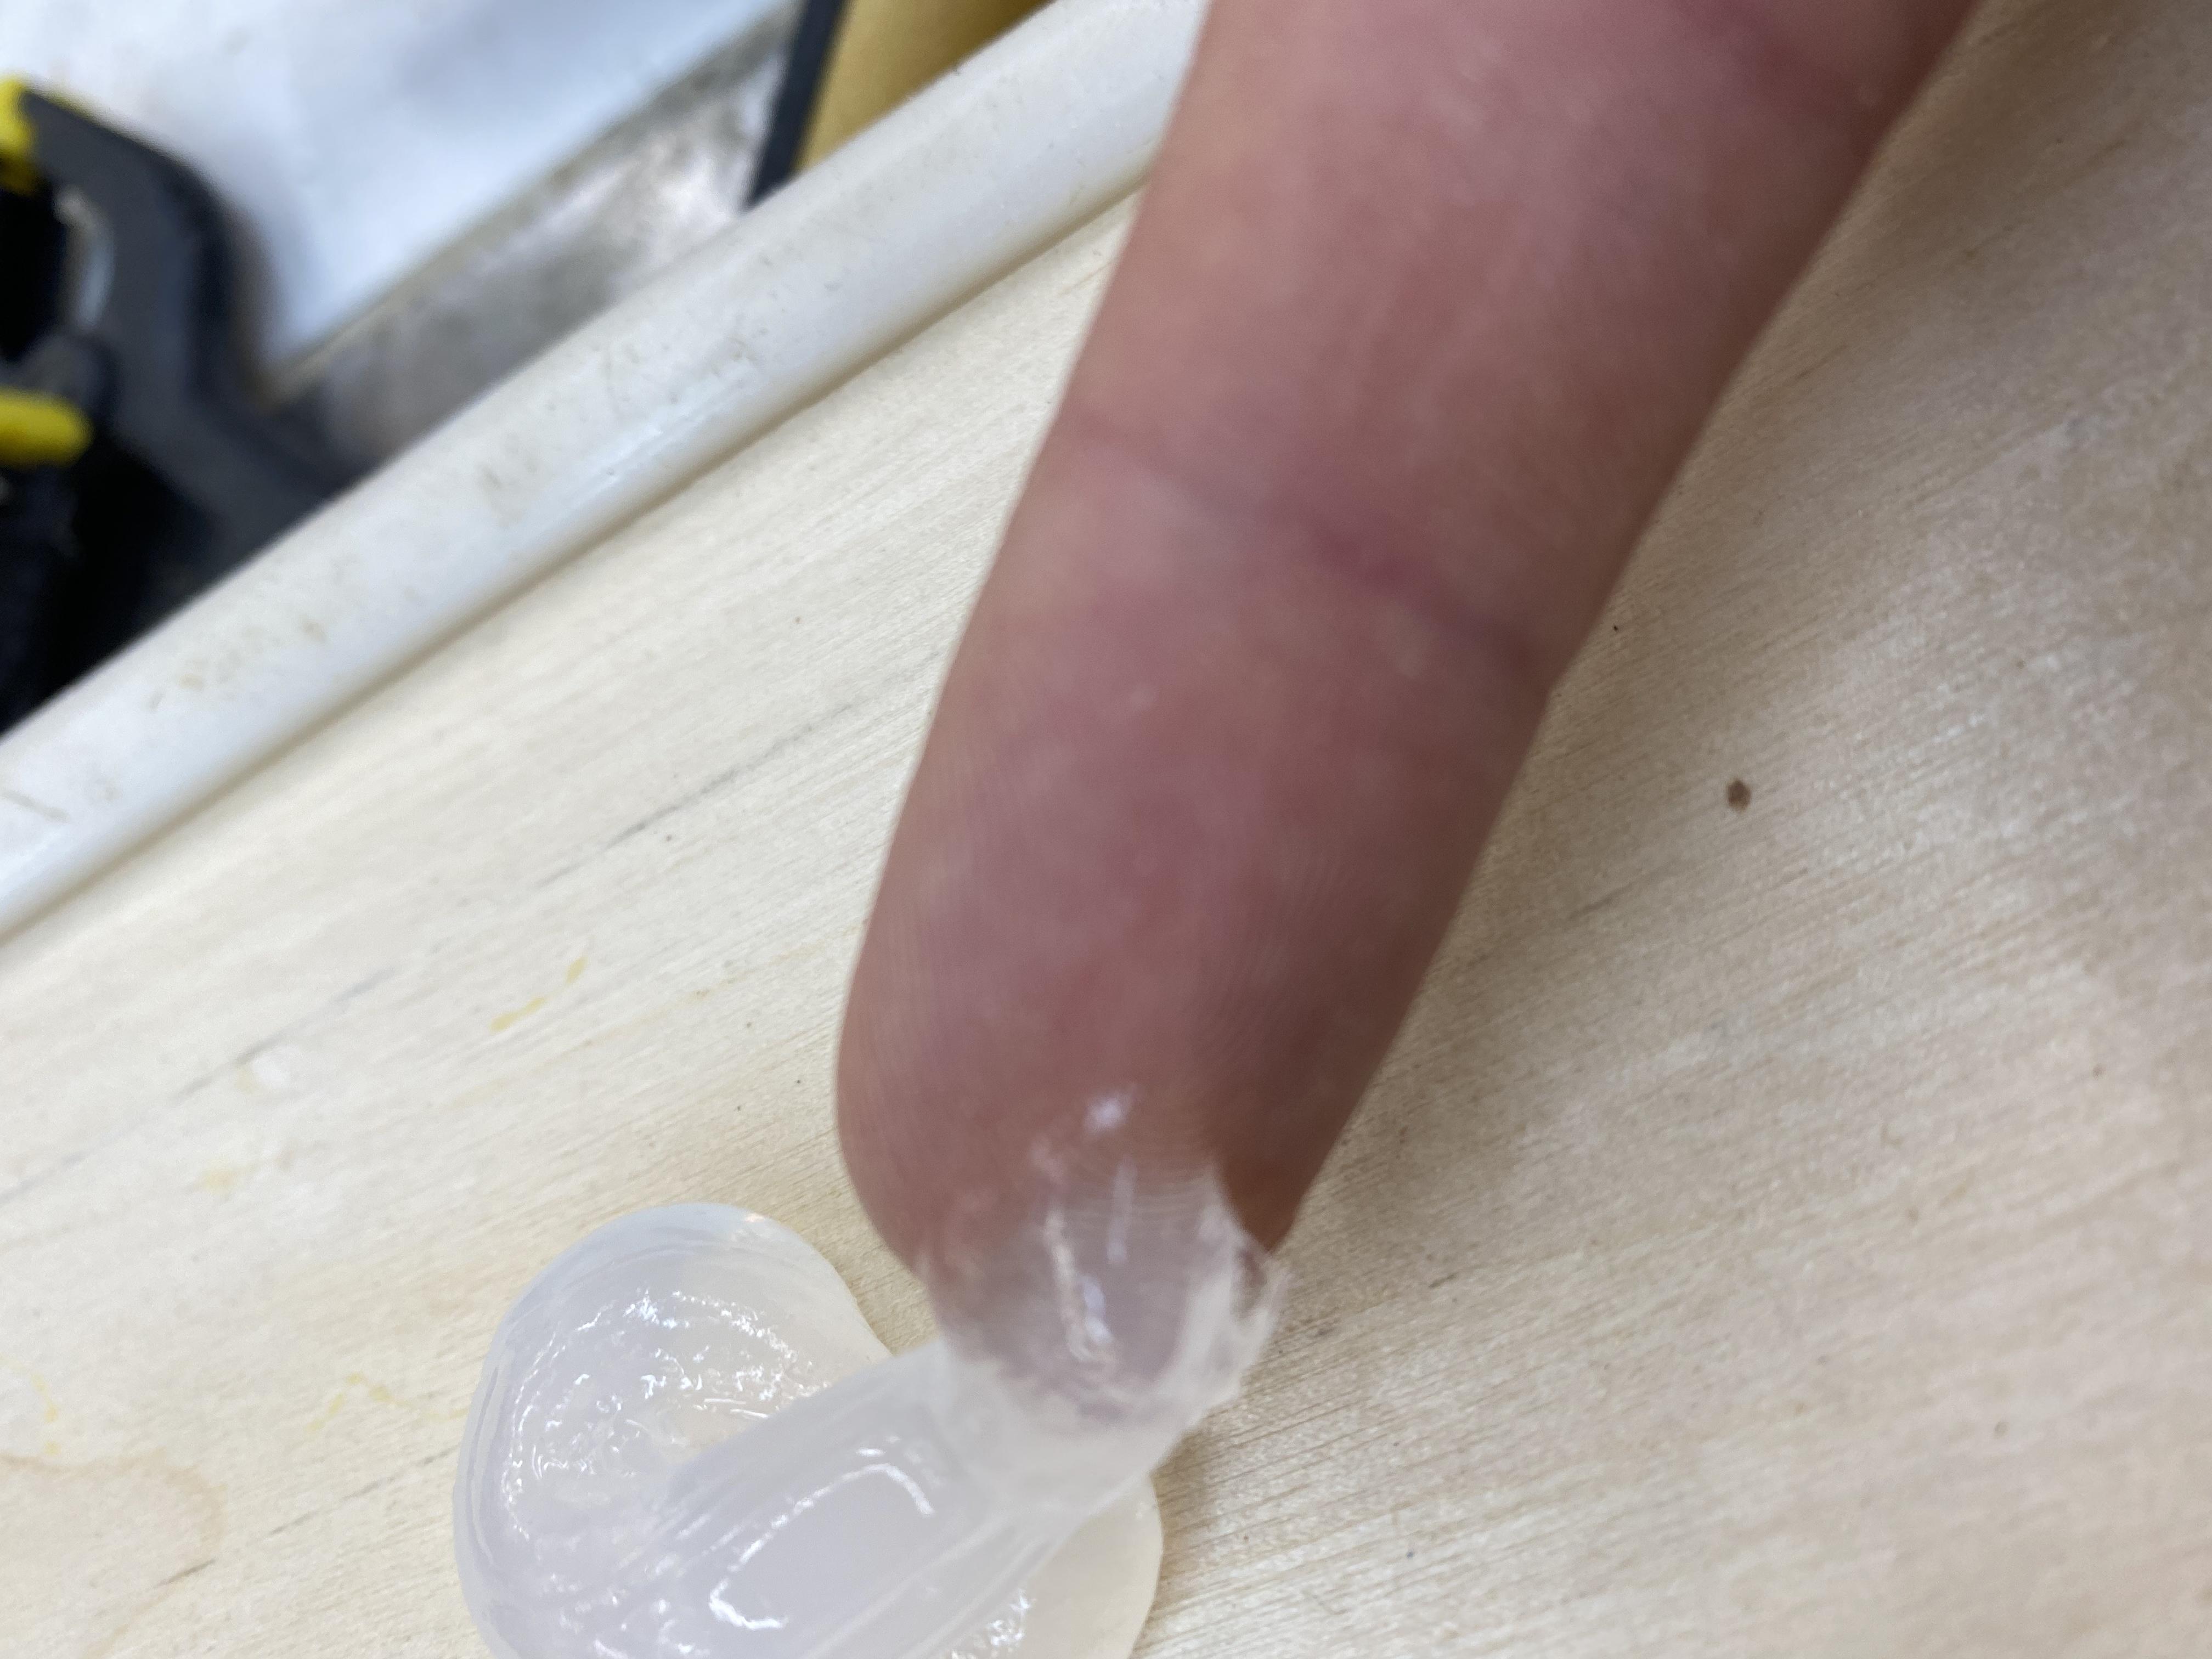
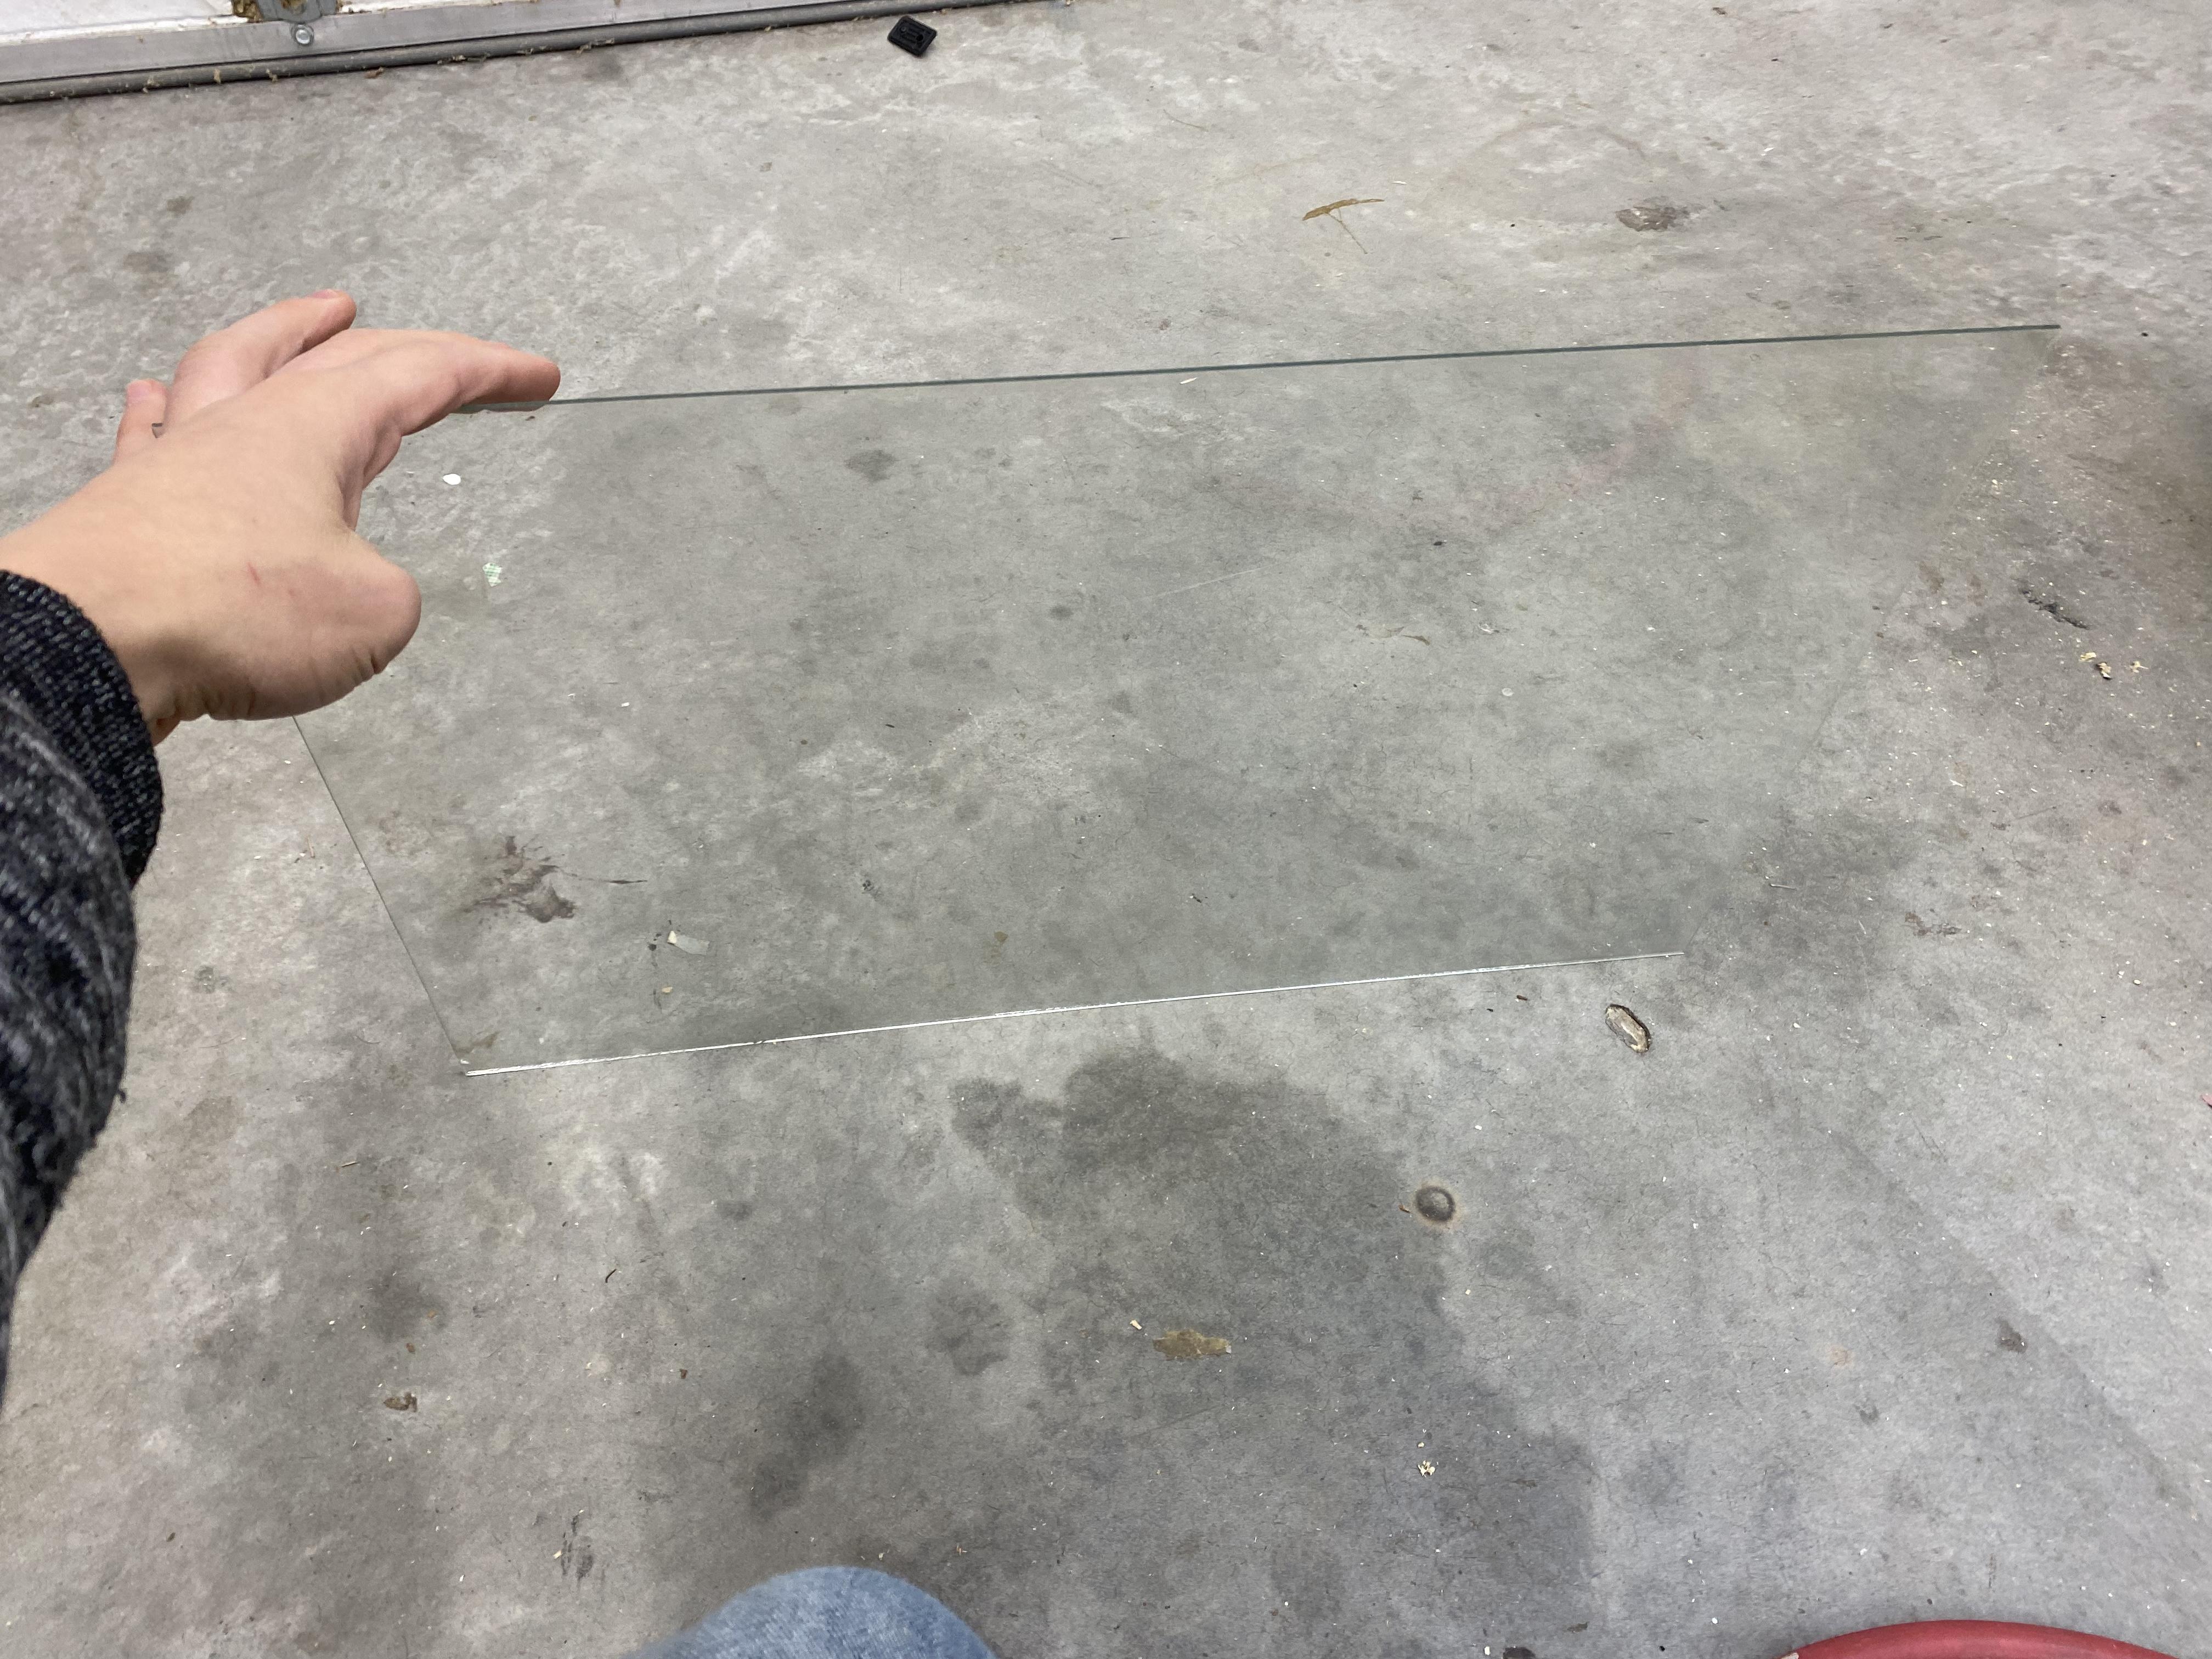
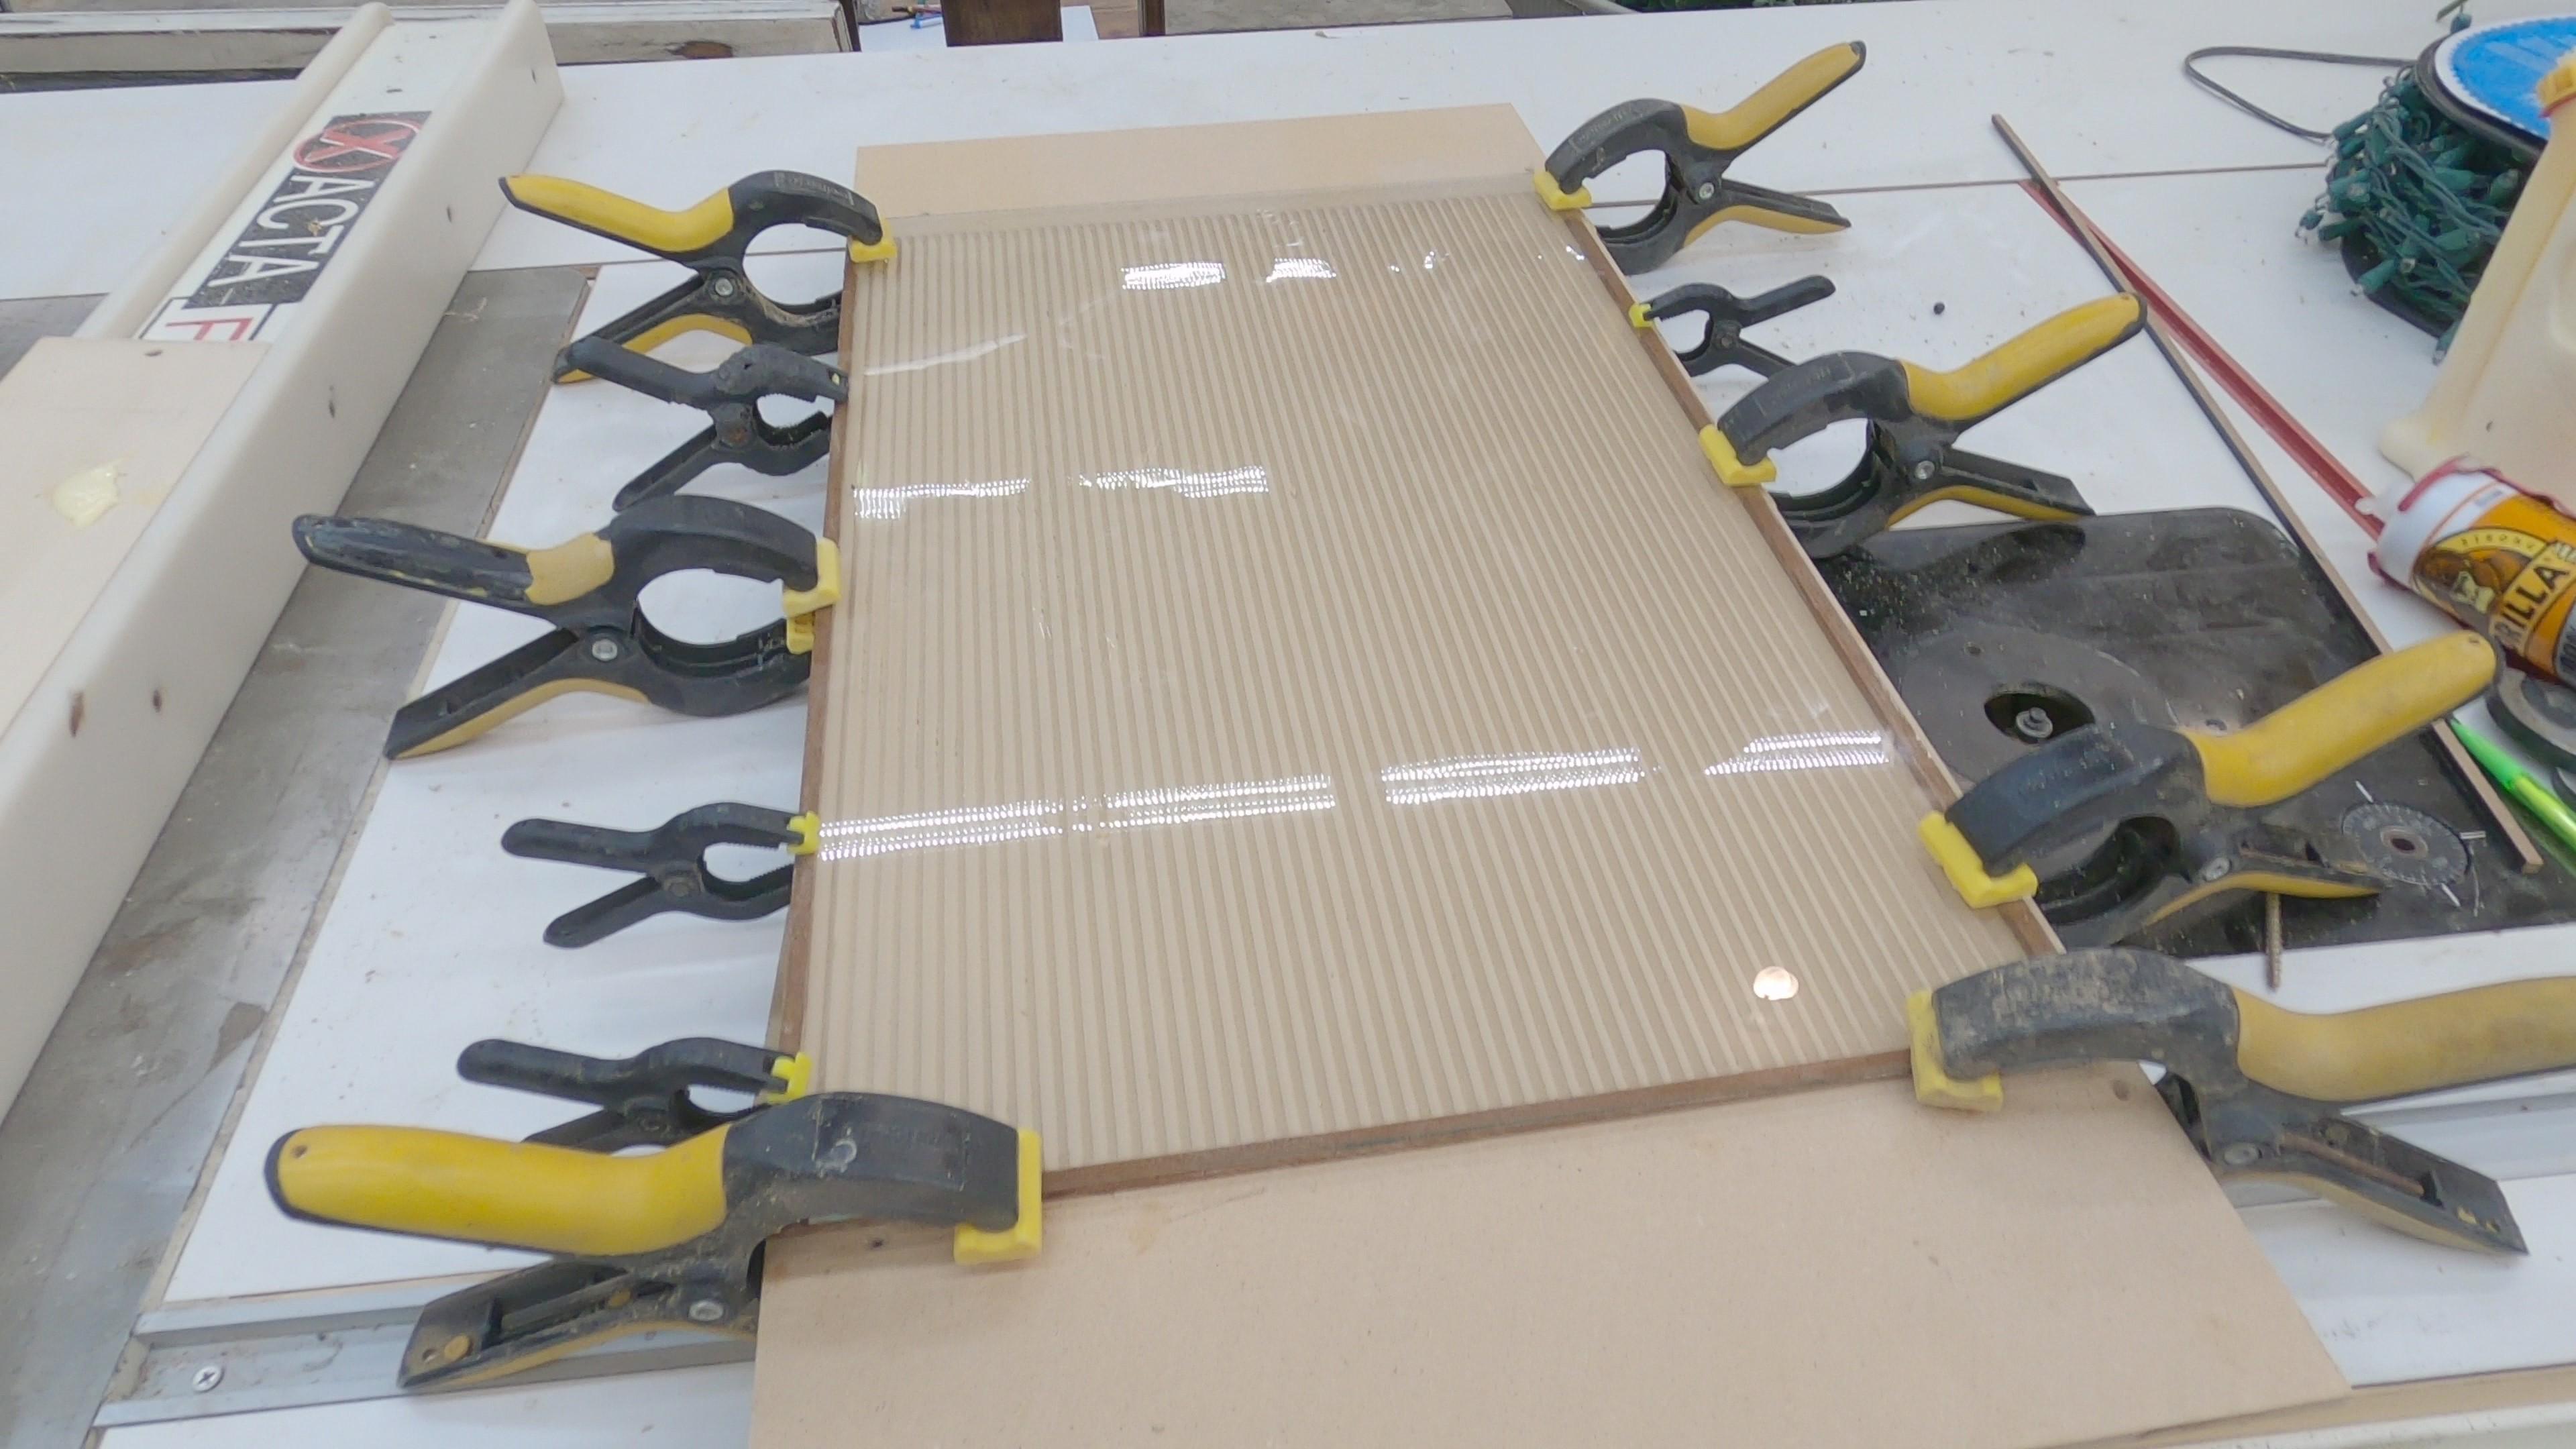
Pour a small glob of gorilla glue onto a scrap piece of wood and apply some of that glue to your finger. Rub a small layer of glue on the top of the spacer surrounding the perimeter. Gently place the glass from your picture frame on the perimeter of the design board. Clamp the glass down and wait till dry.
Create Your Design

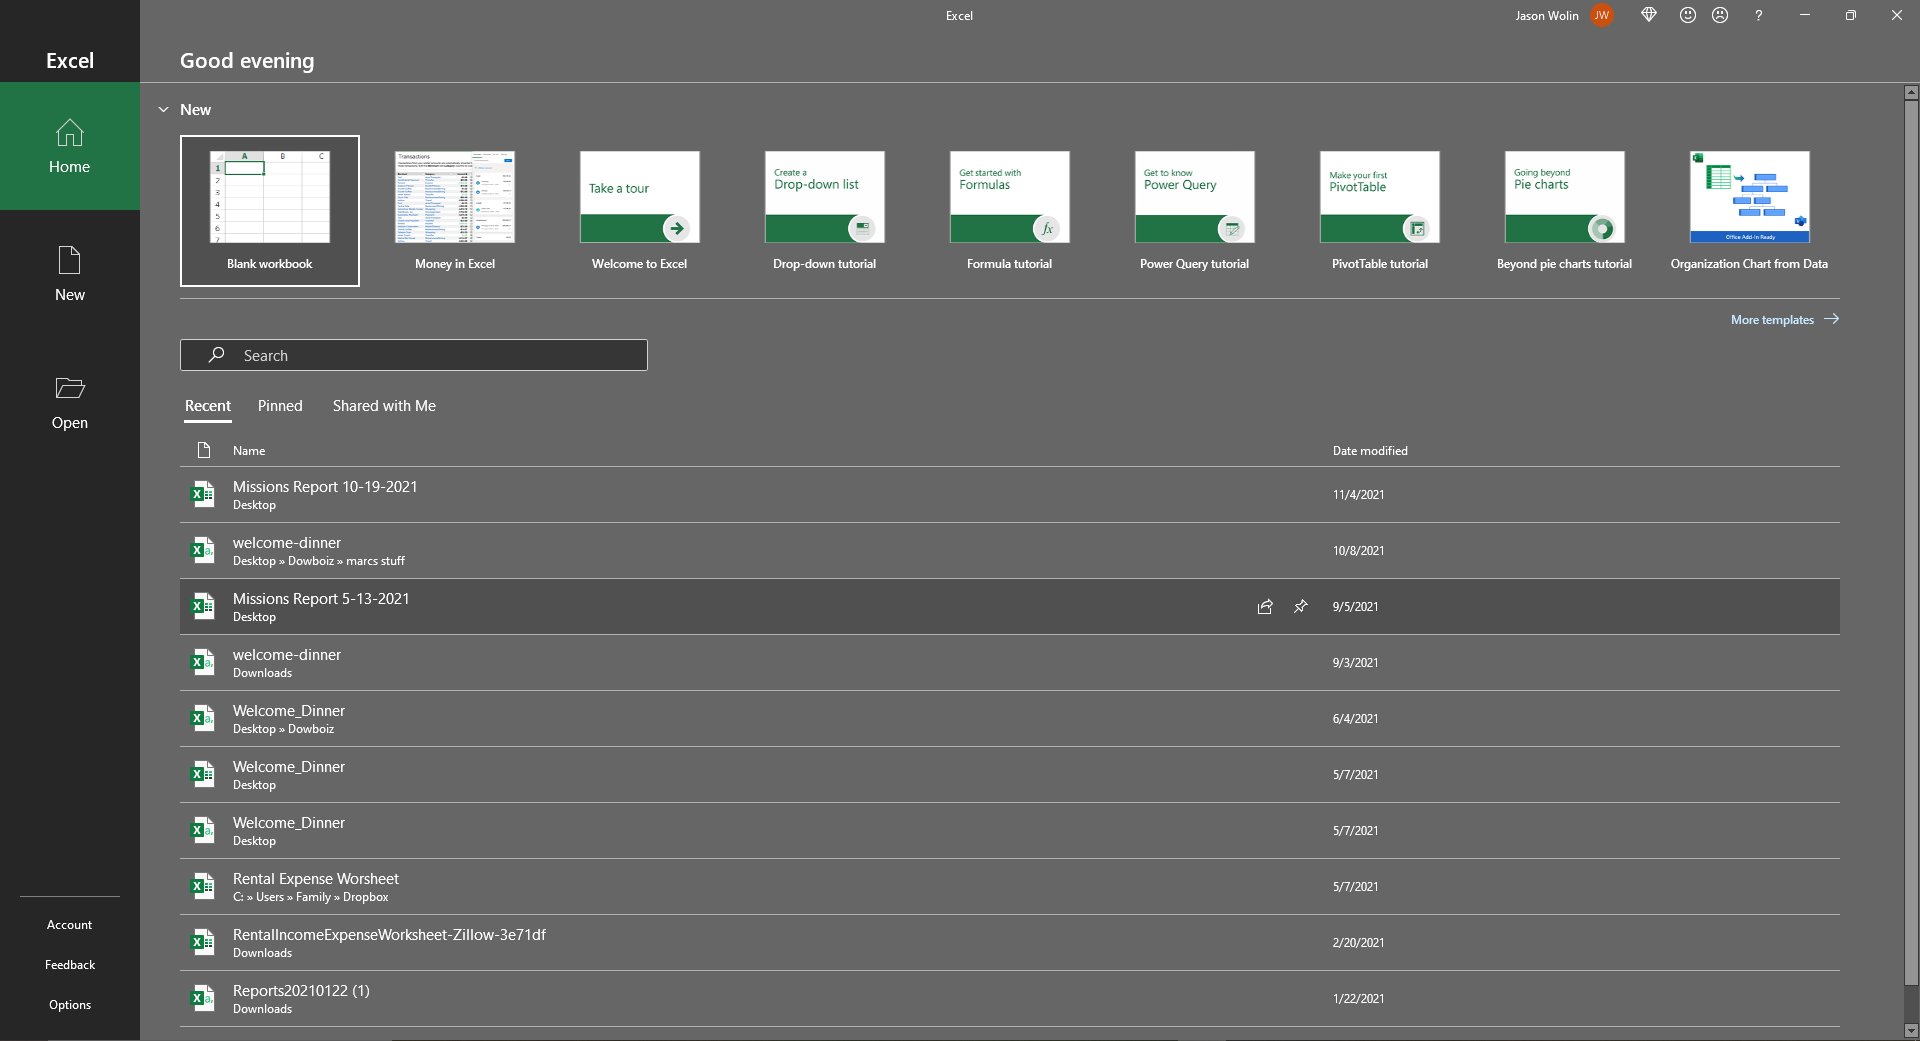

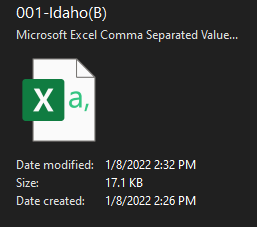
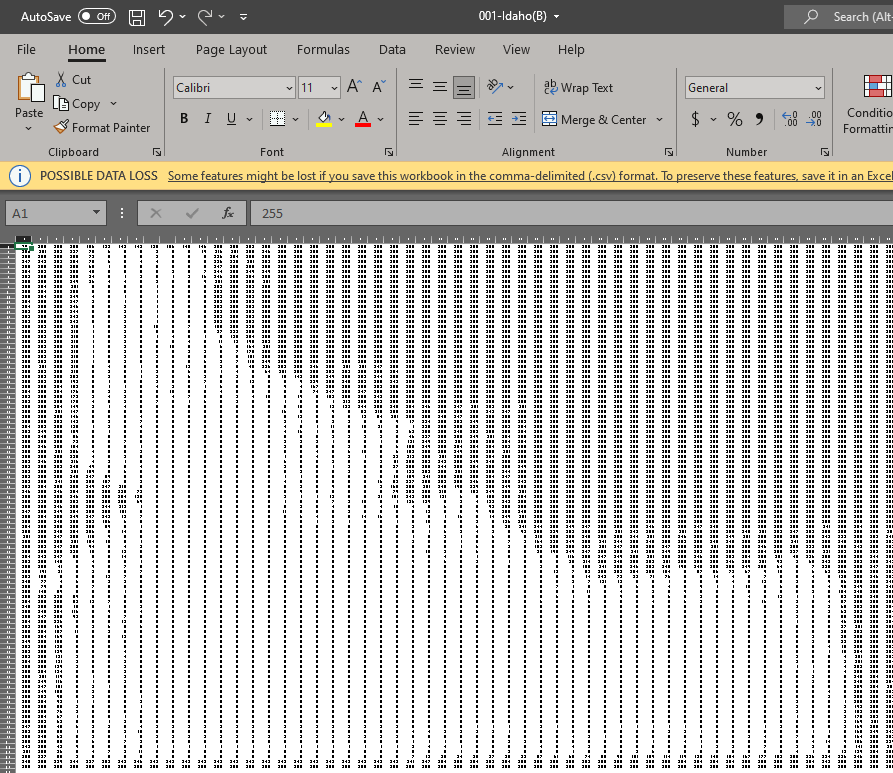
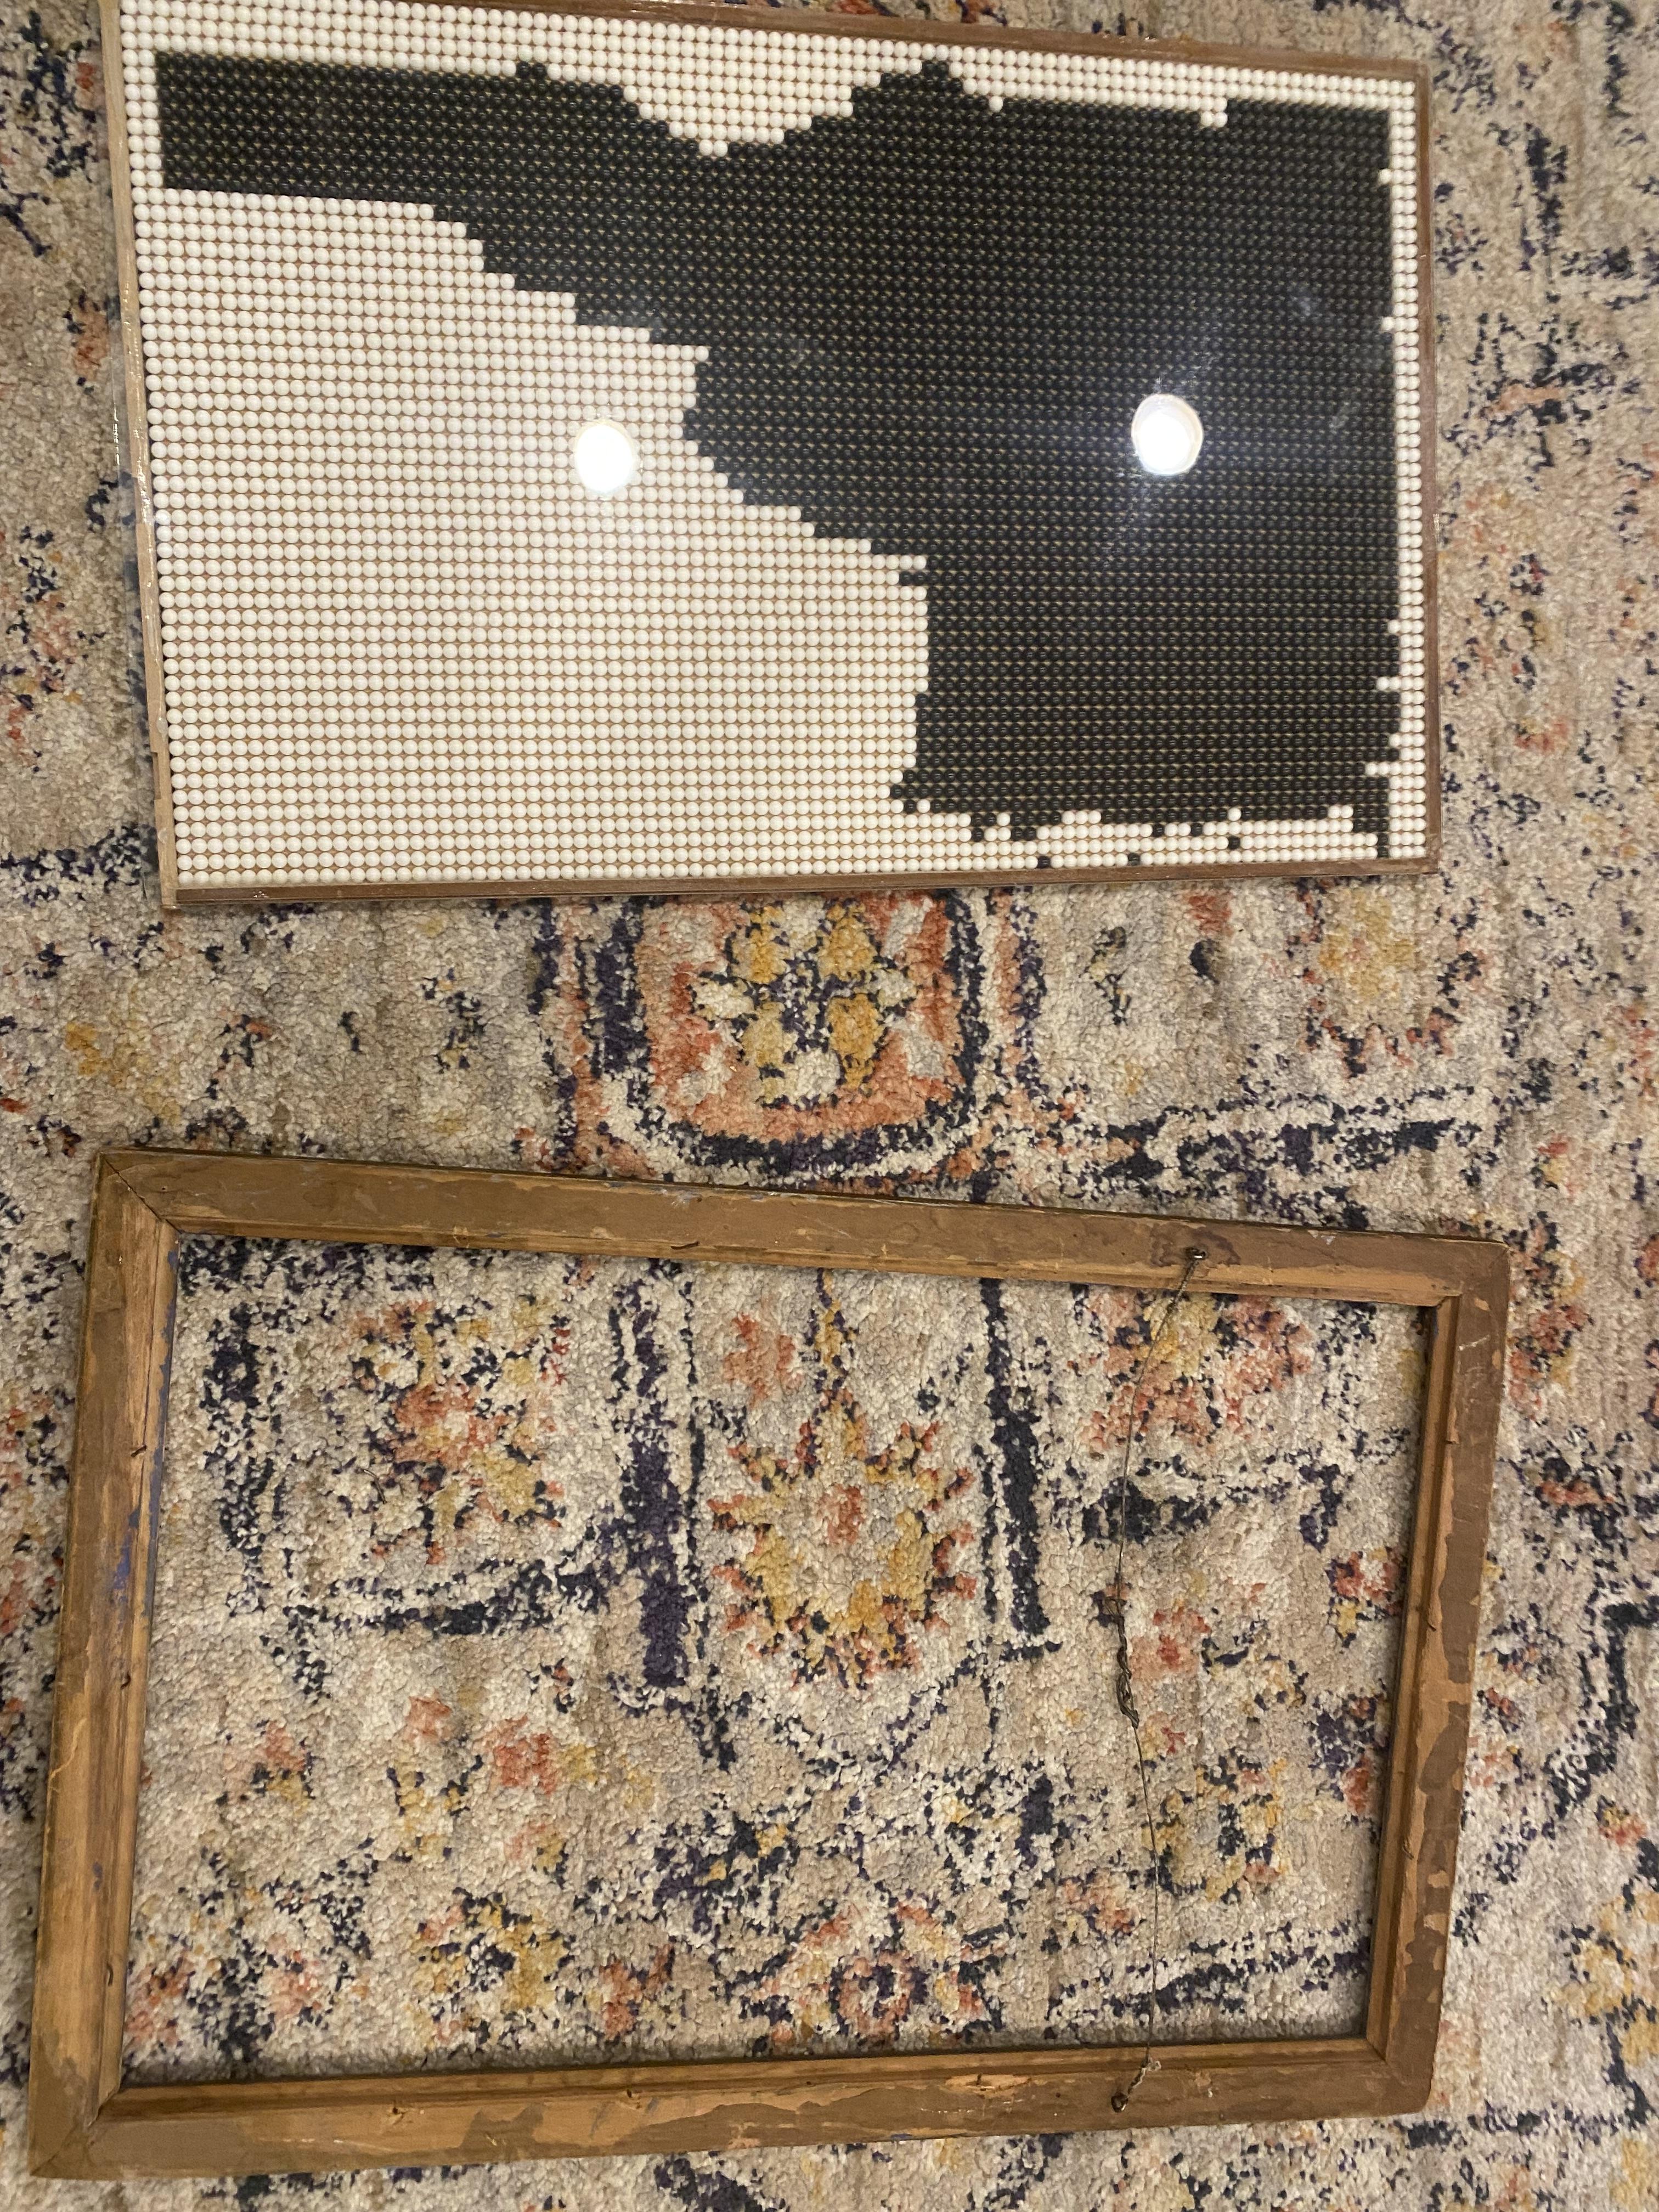
In order for the image to fit the dimensions of your design board, you will need to resize the image to the number of BBs wide and the number of BBs long. After resizing the image you will need to transfer the image into a CSV file. To do this there is a program called A-vekt that allows you to convert an image to a CVS file. When you open the CVS file it will bring you to the Microsoft program Excel where you will find the rows and columns showing you how to lay down the BBs.
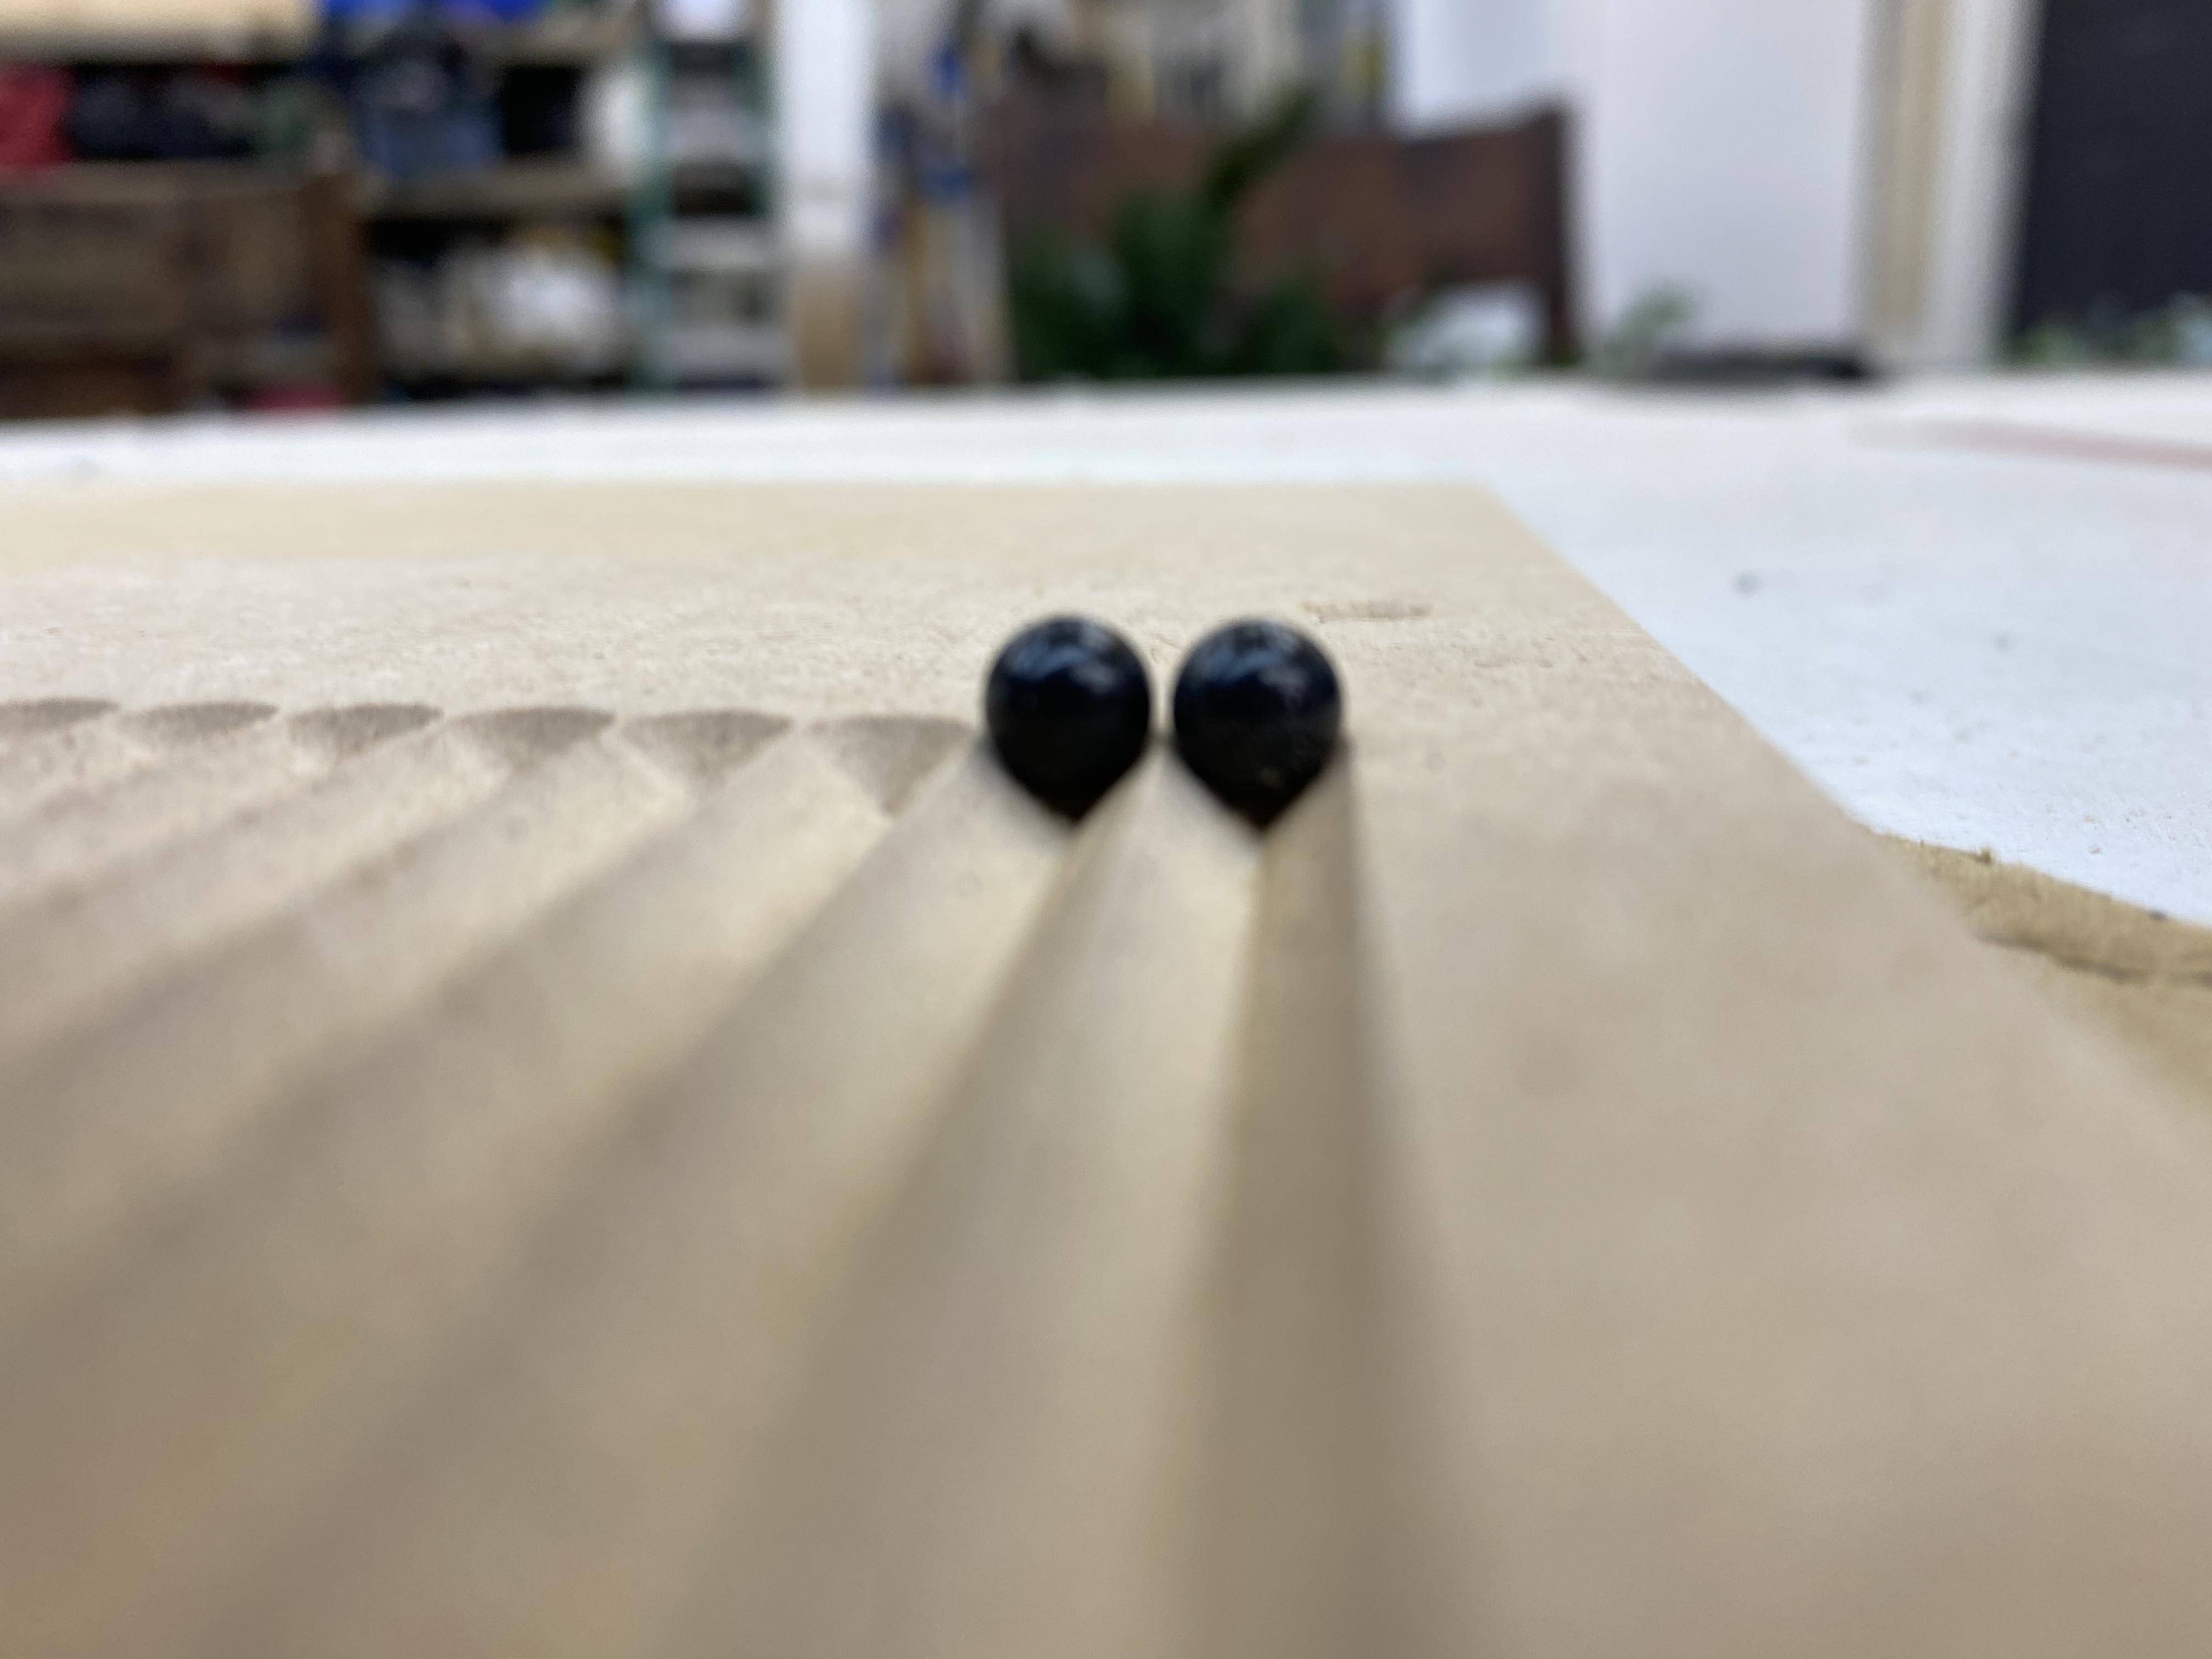
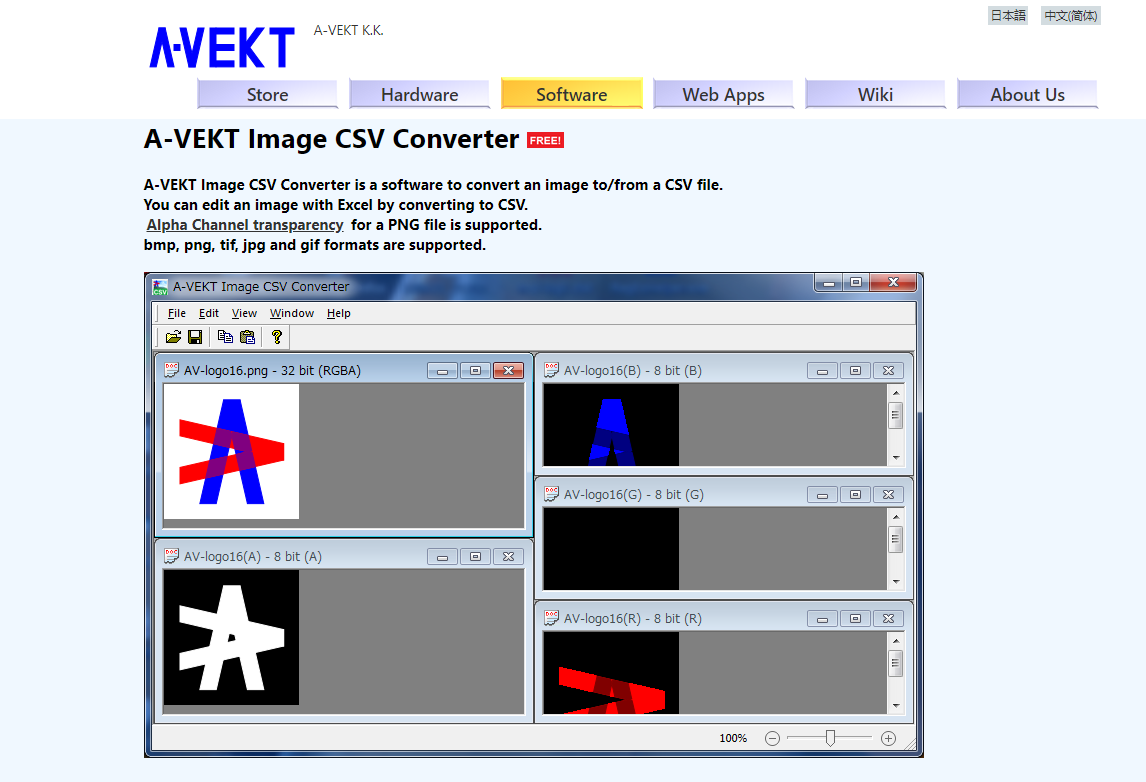
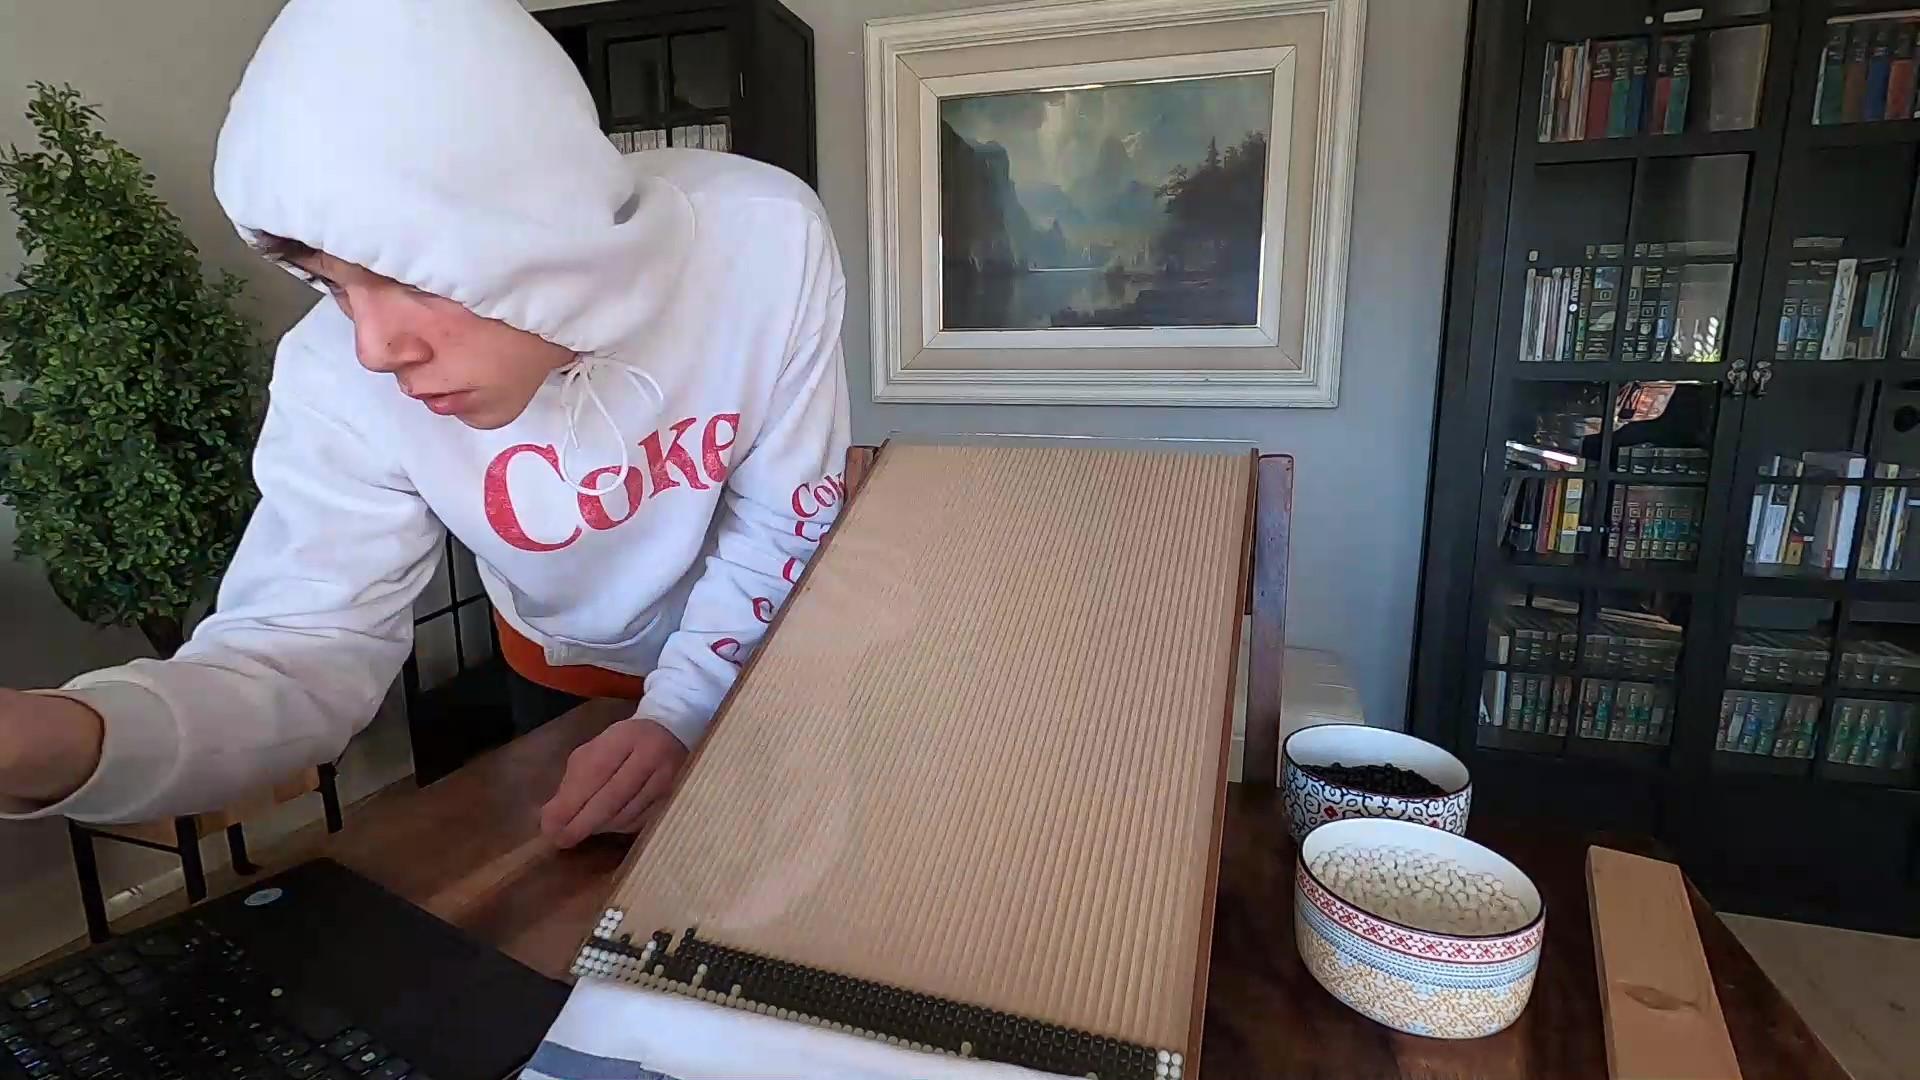
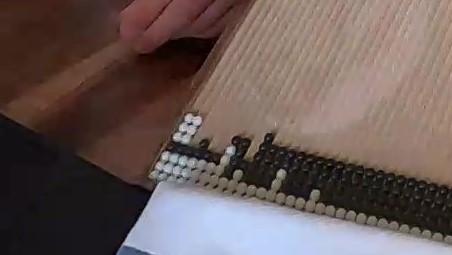
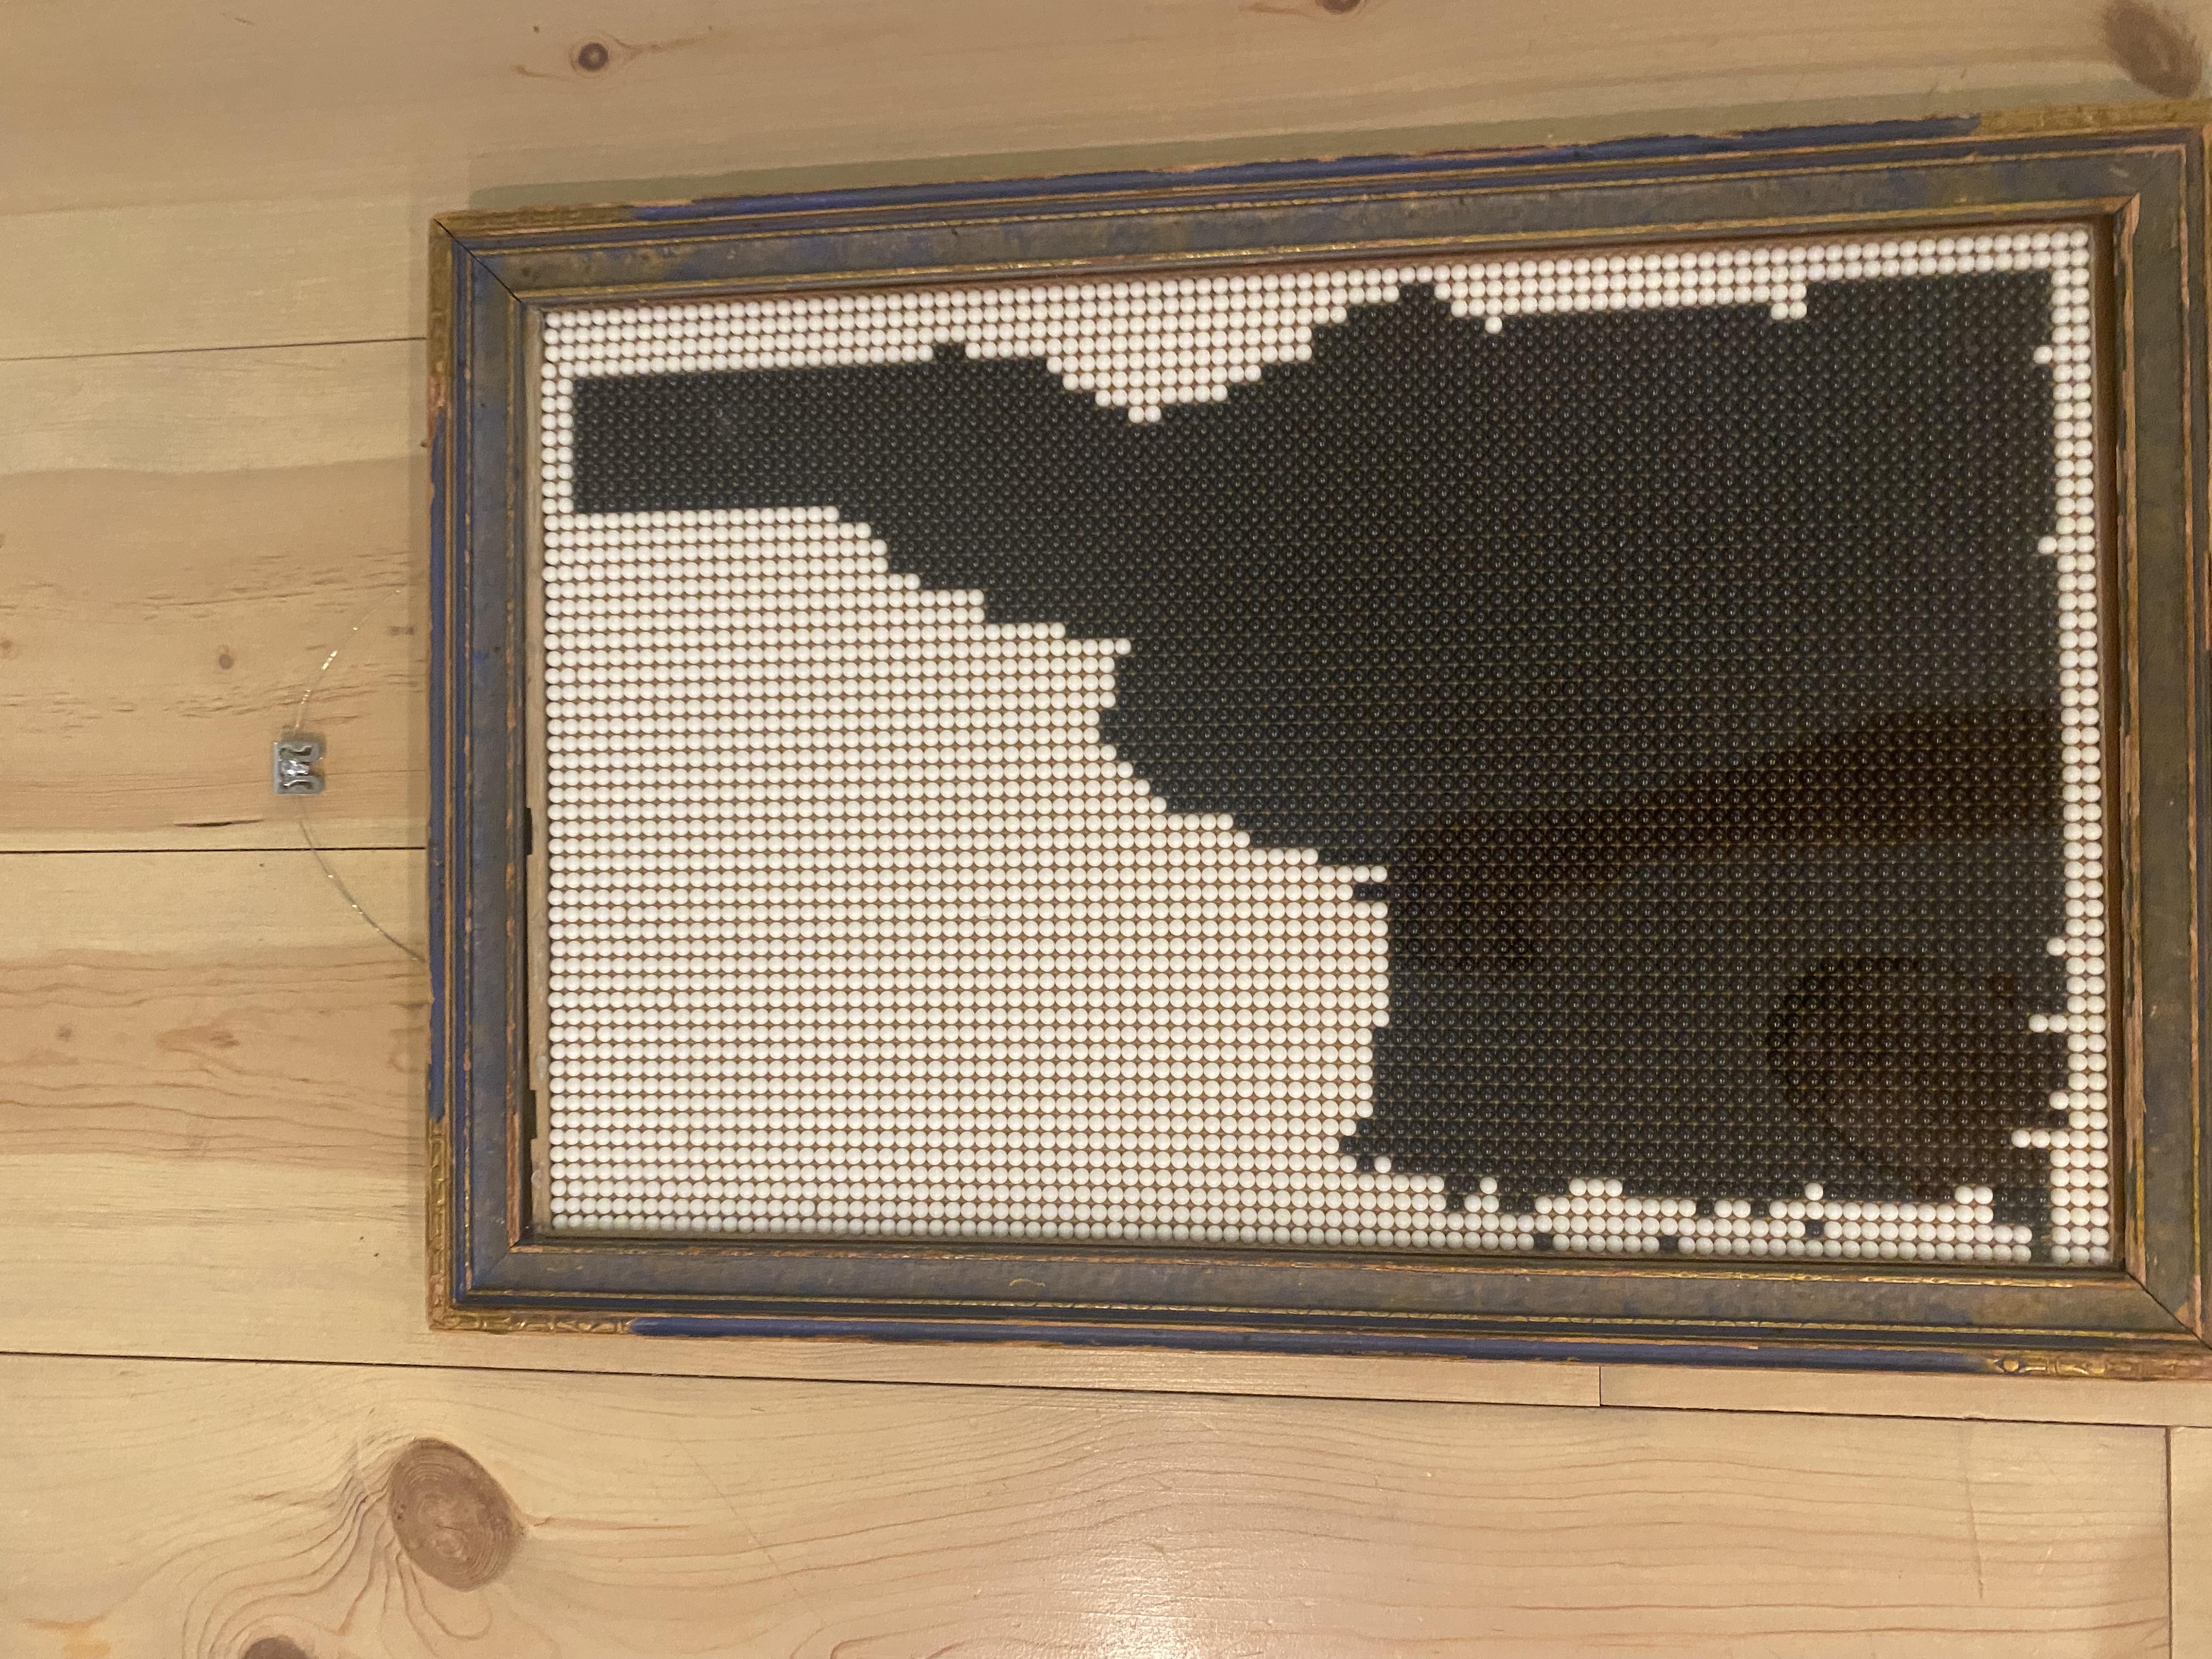
Insert the BBs
_Moment.jpg)
_Moment.jpg)
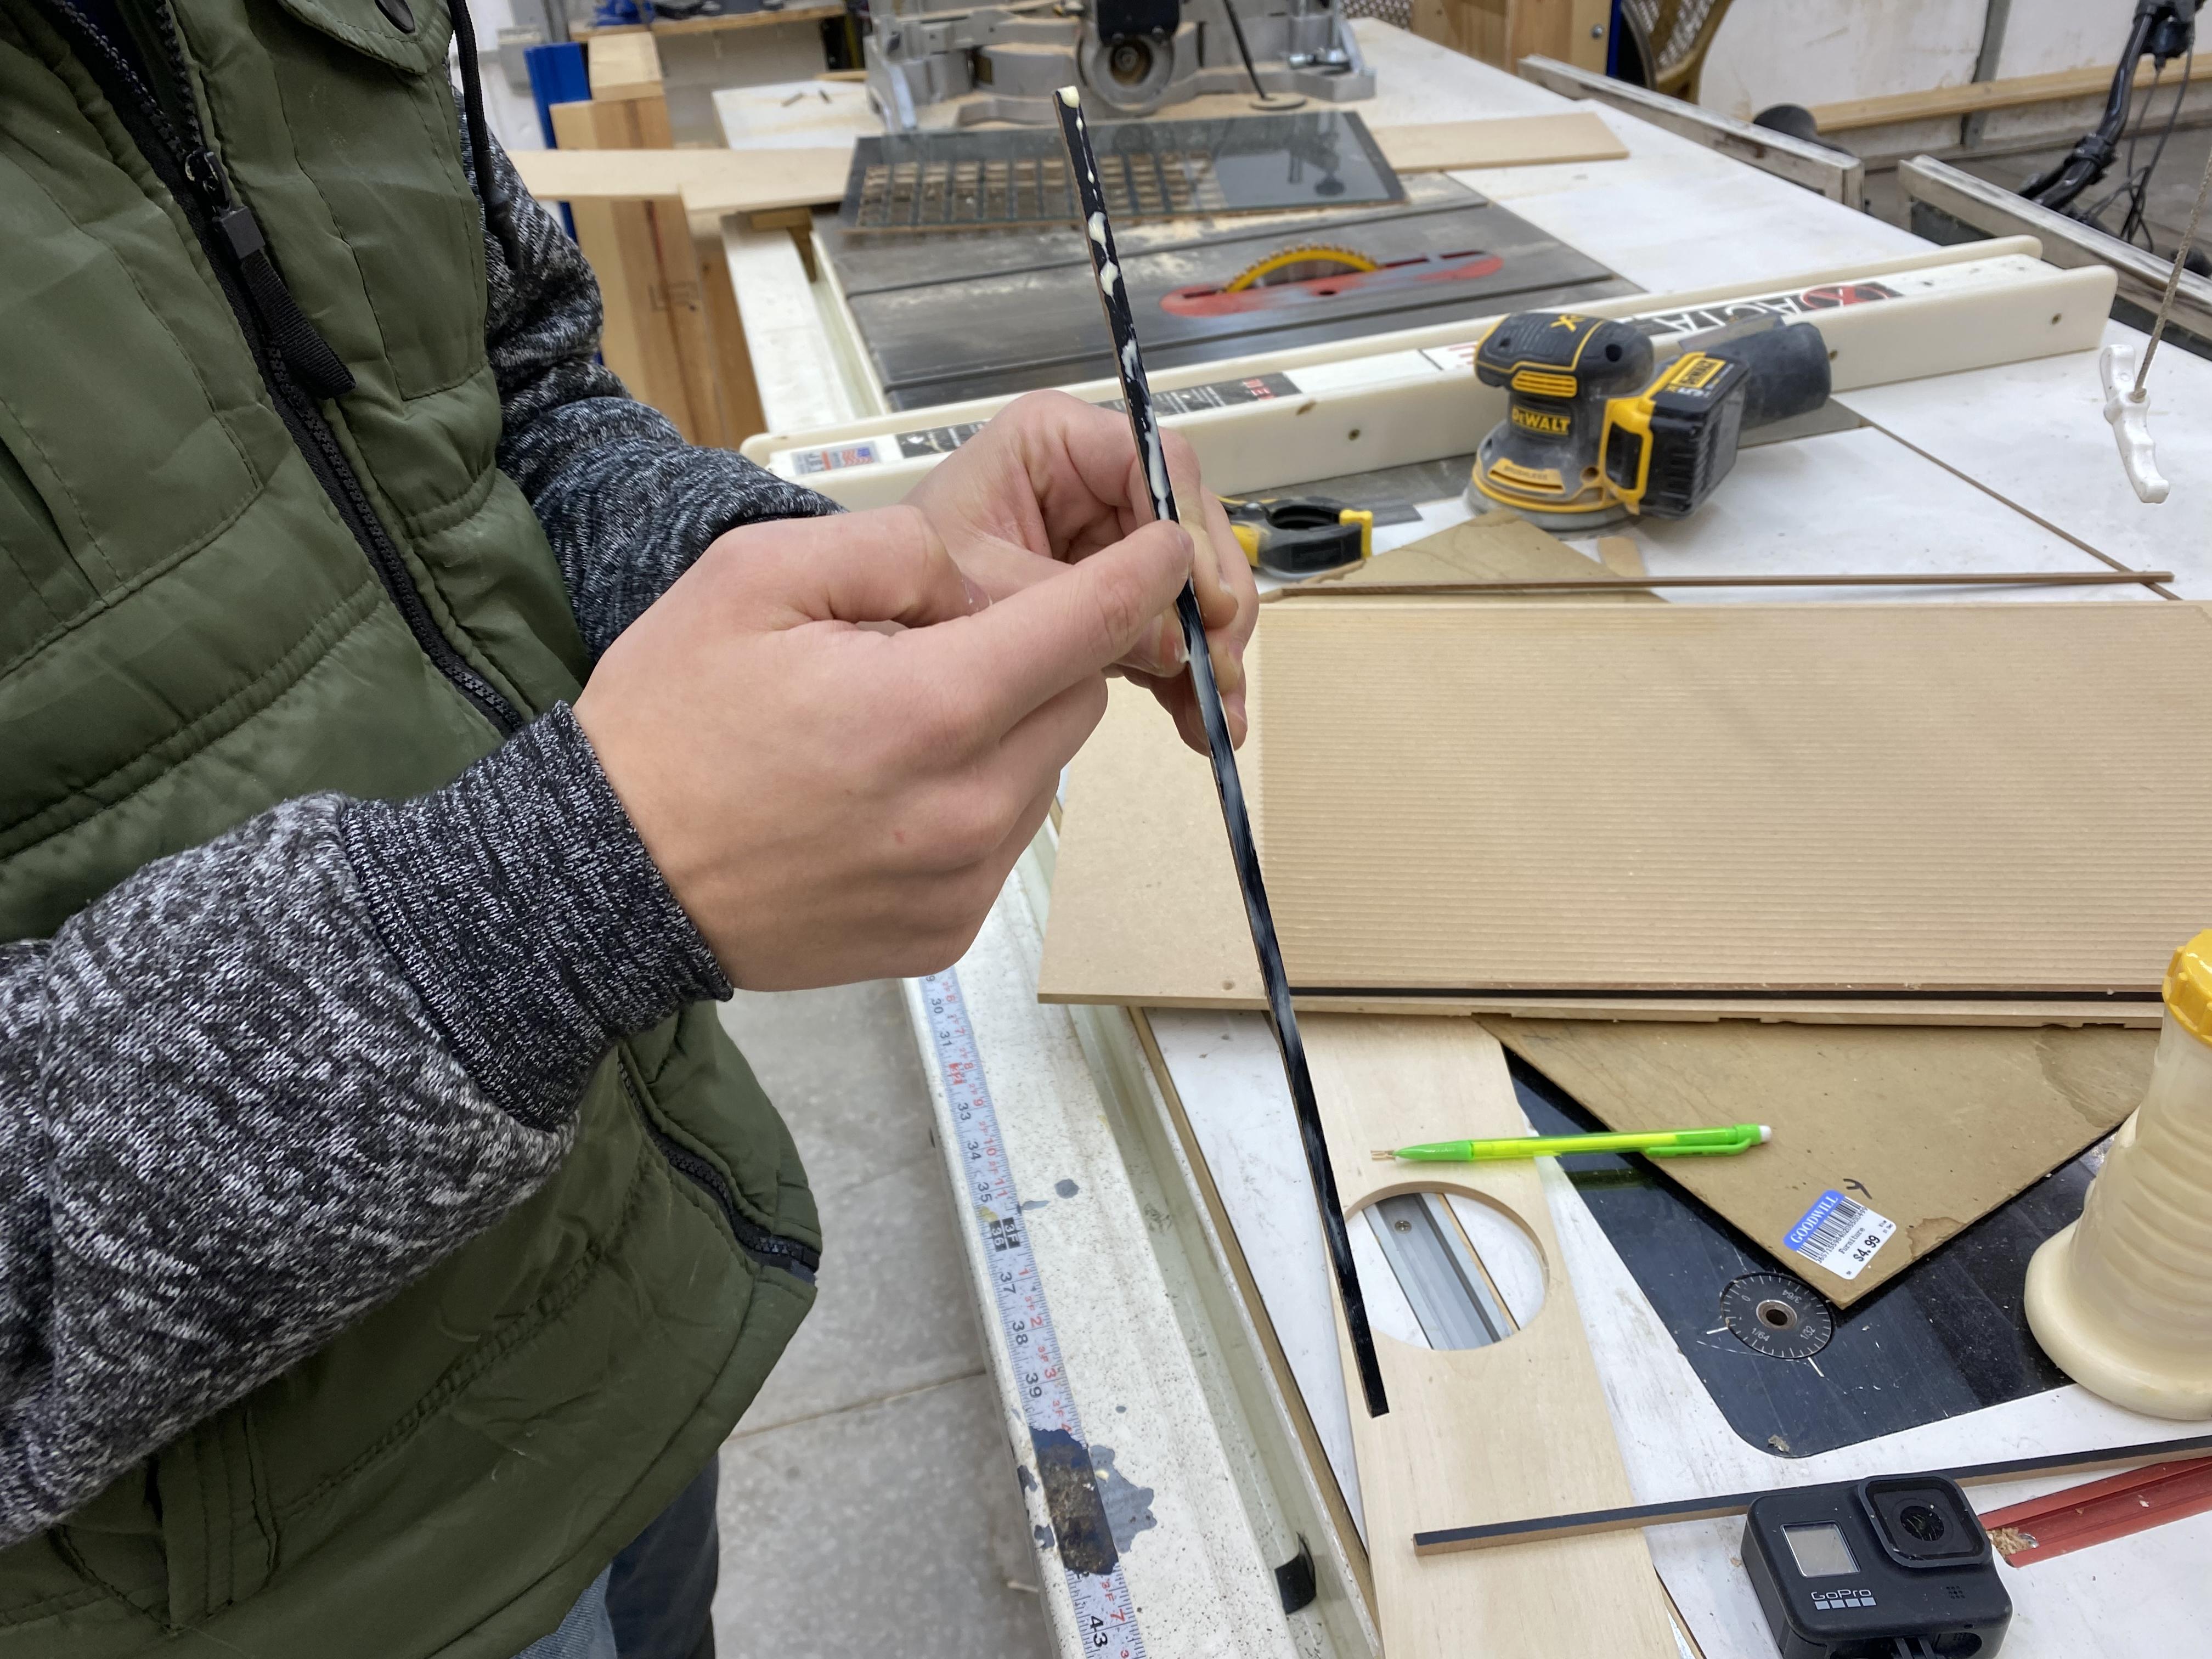
Using the excel map place your BBs into the design board. After this process is done take the 4th spacer and glue it to the end of the design board to prevent the BBs from falling out. Numbering the grooves is a good way to keep track of what row you are placing the BBs into. This will prevent you from having small errors like the few in mine.
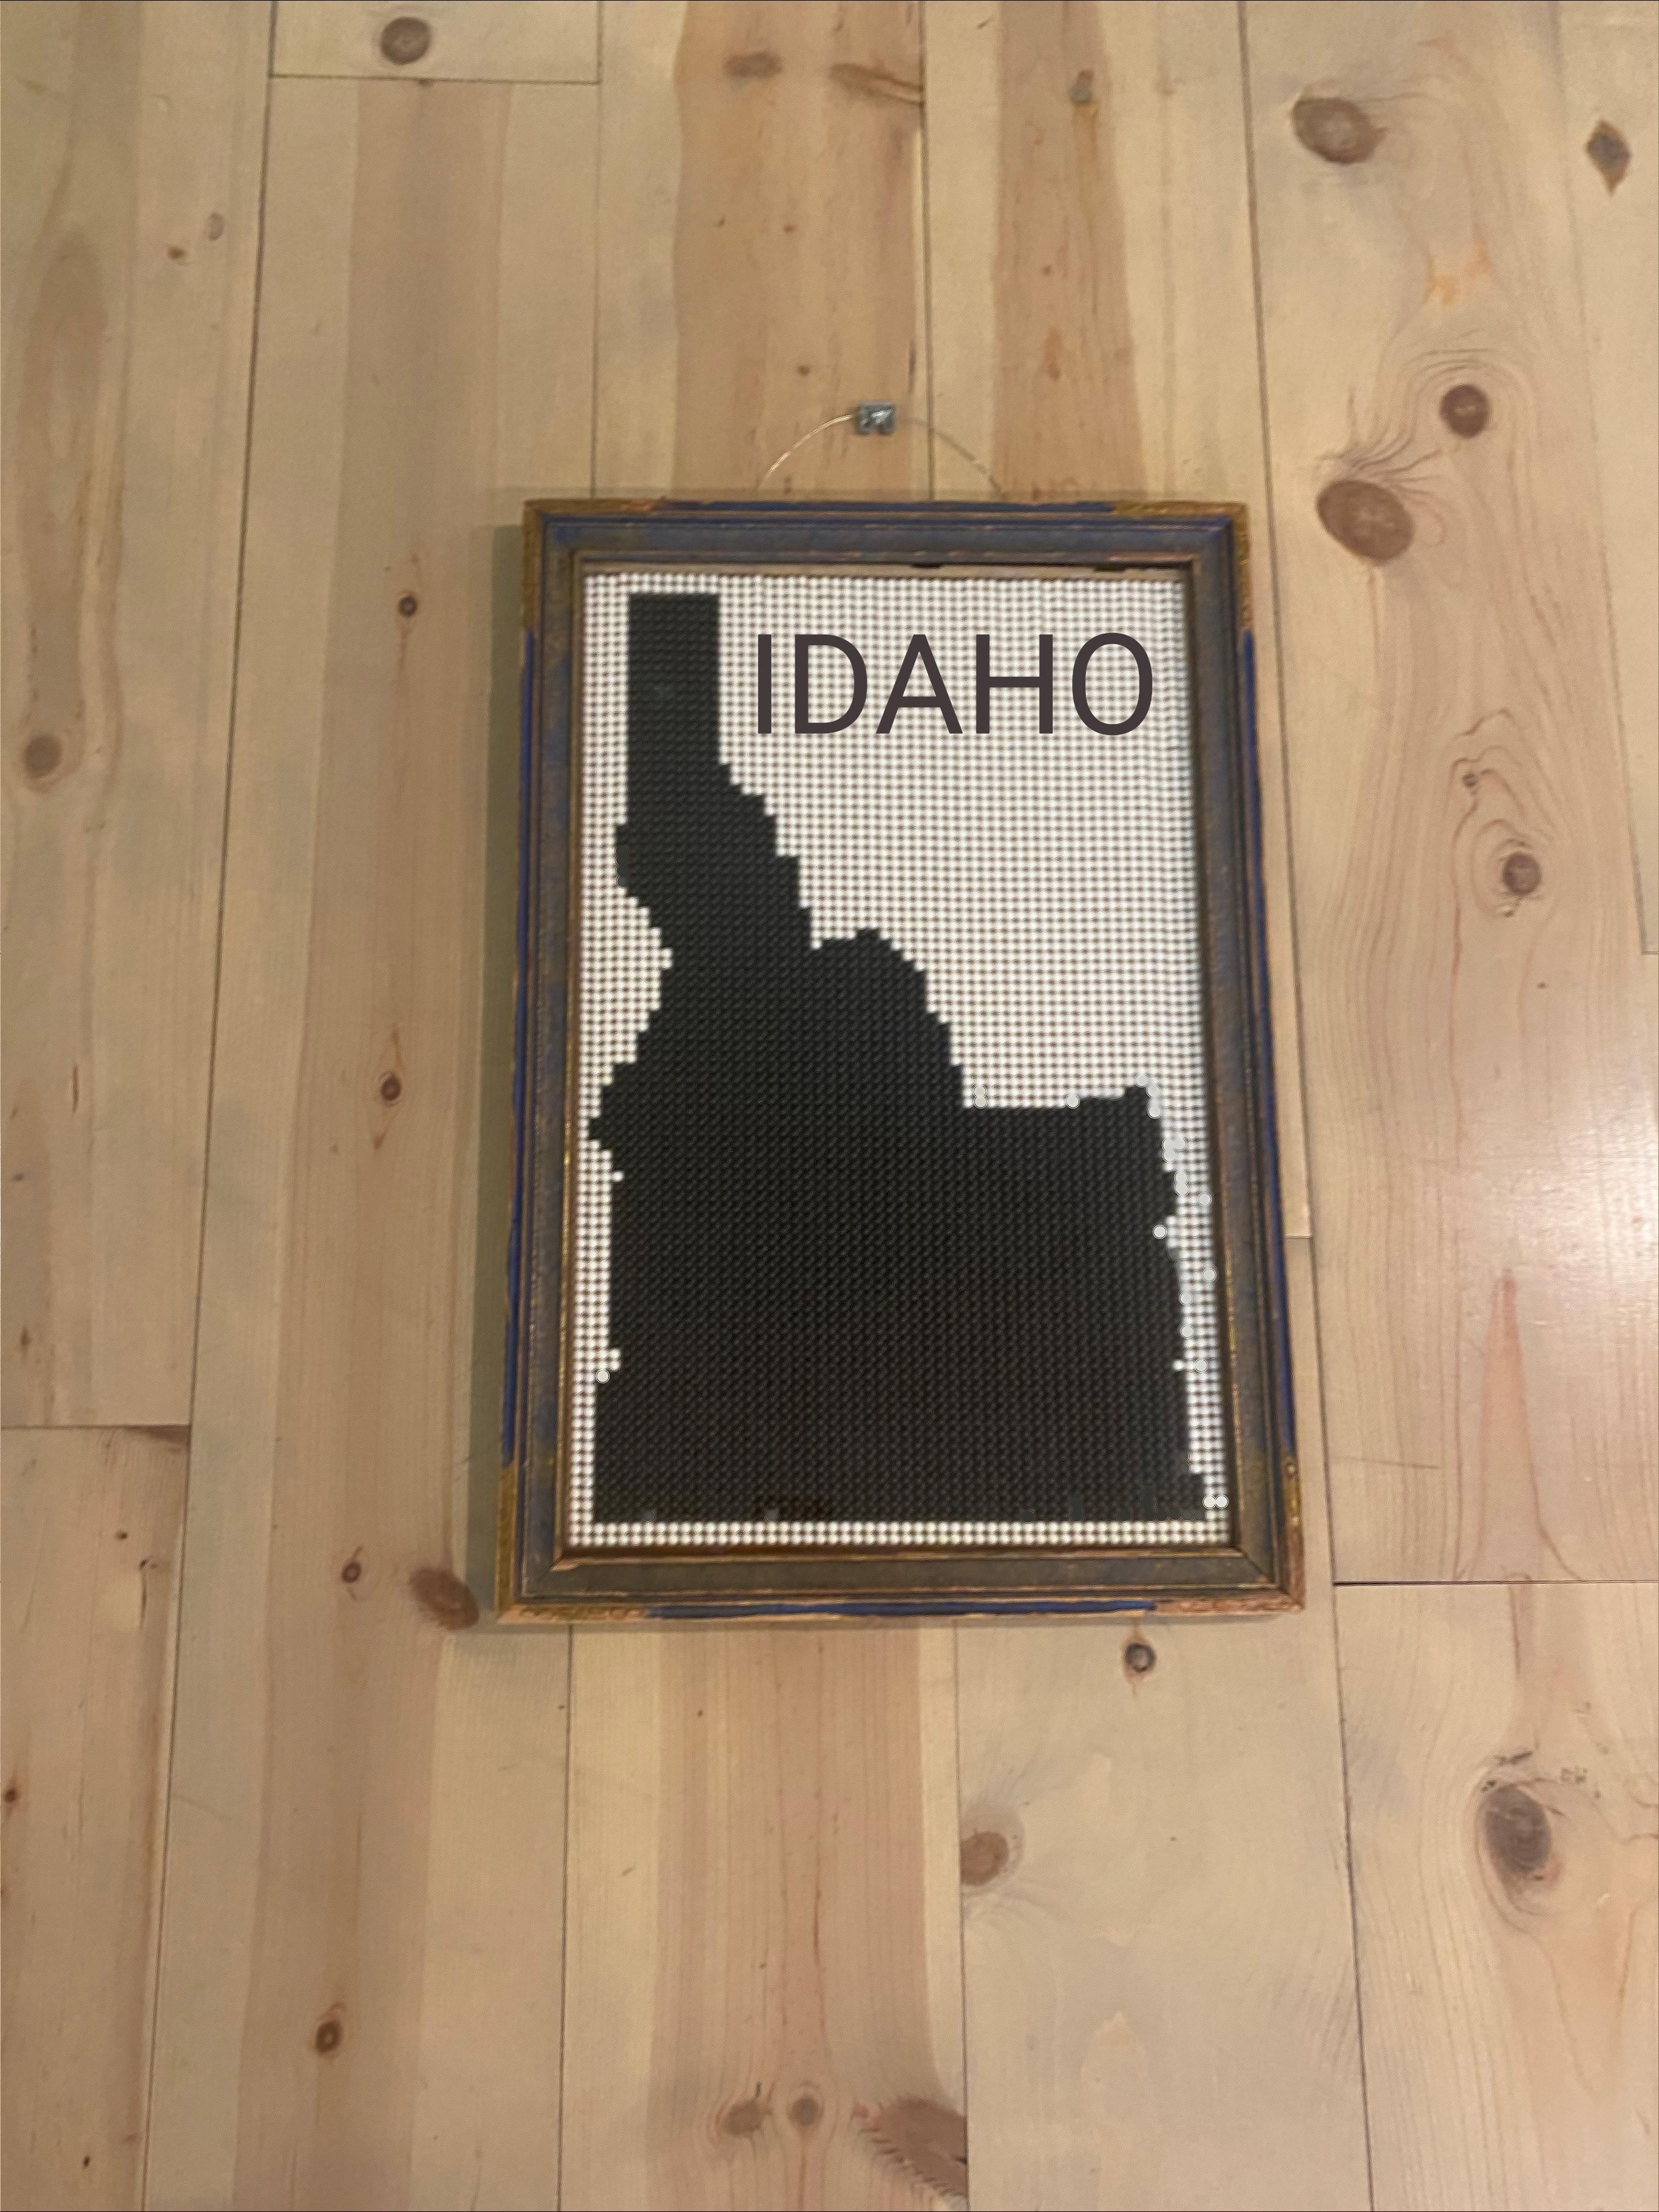
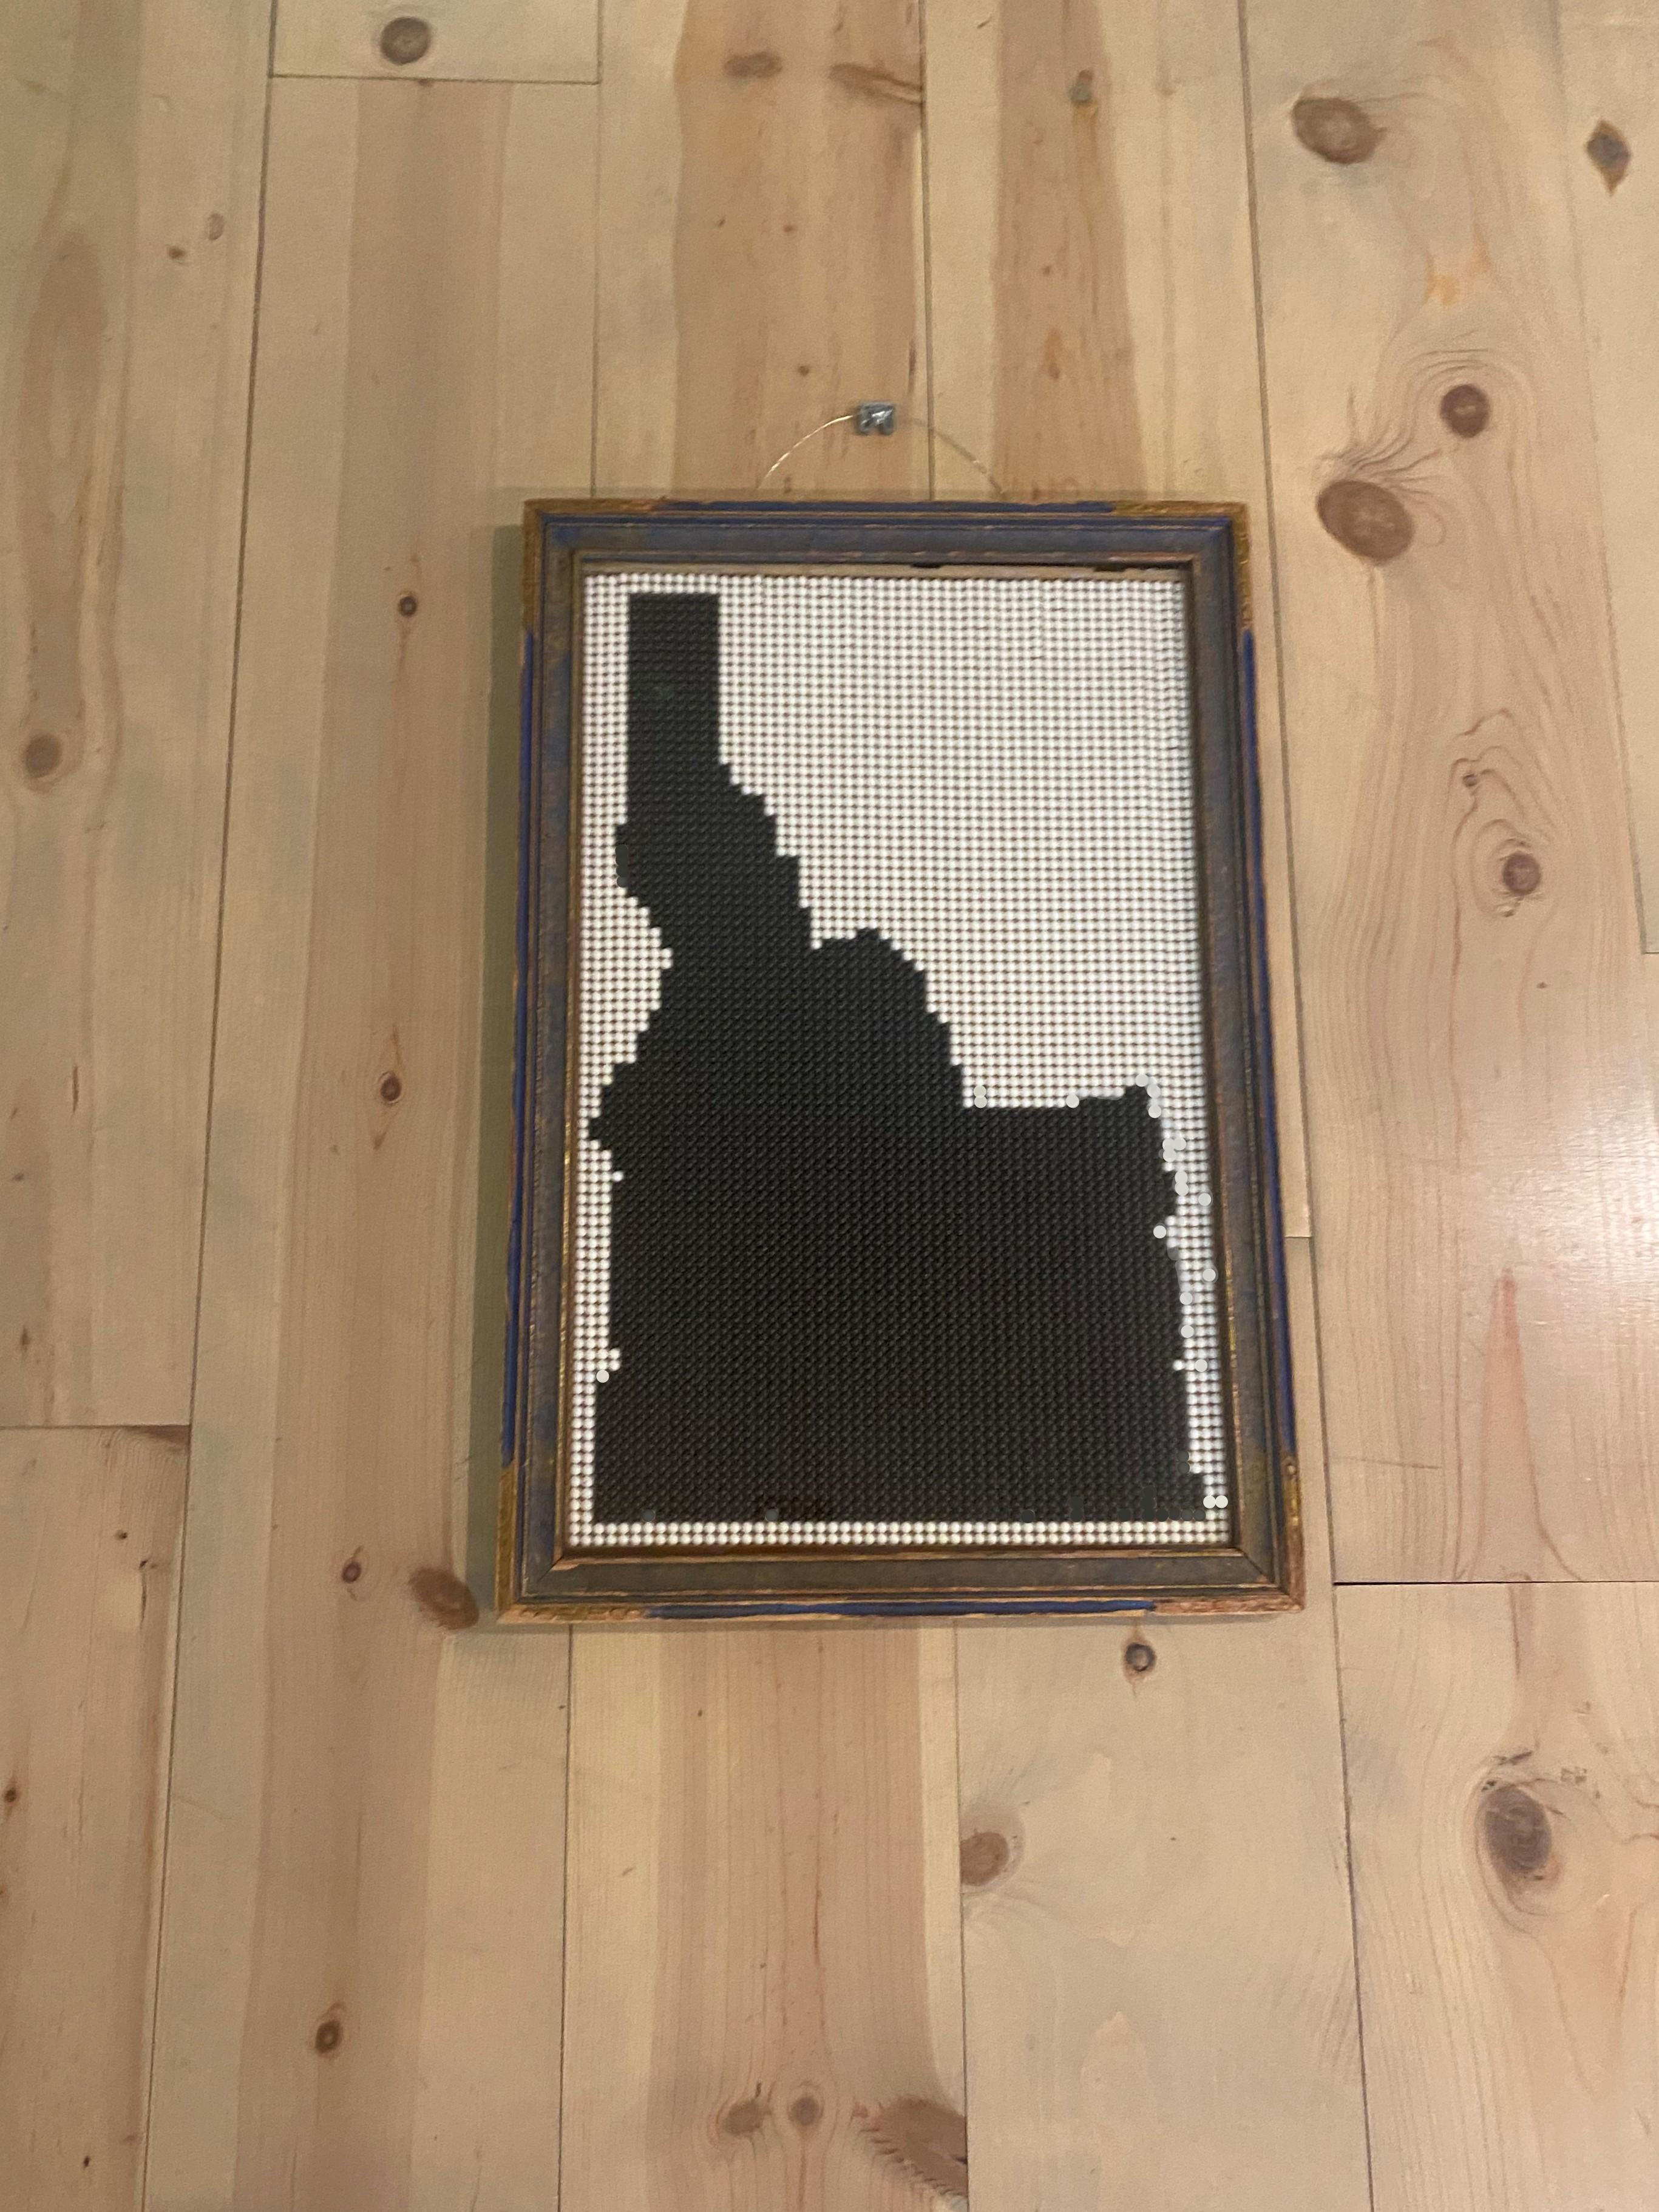
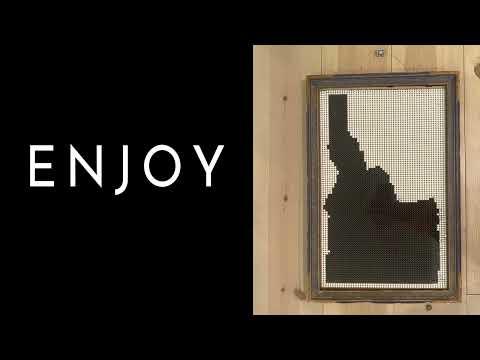
Enjoy
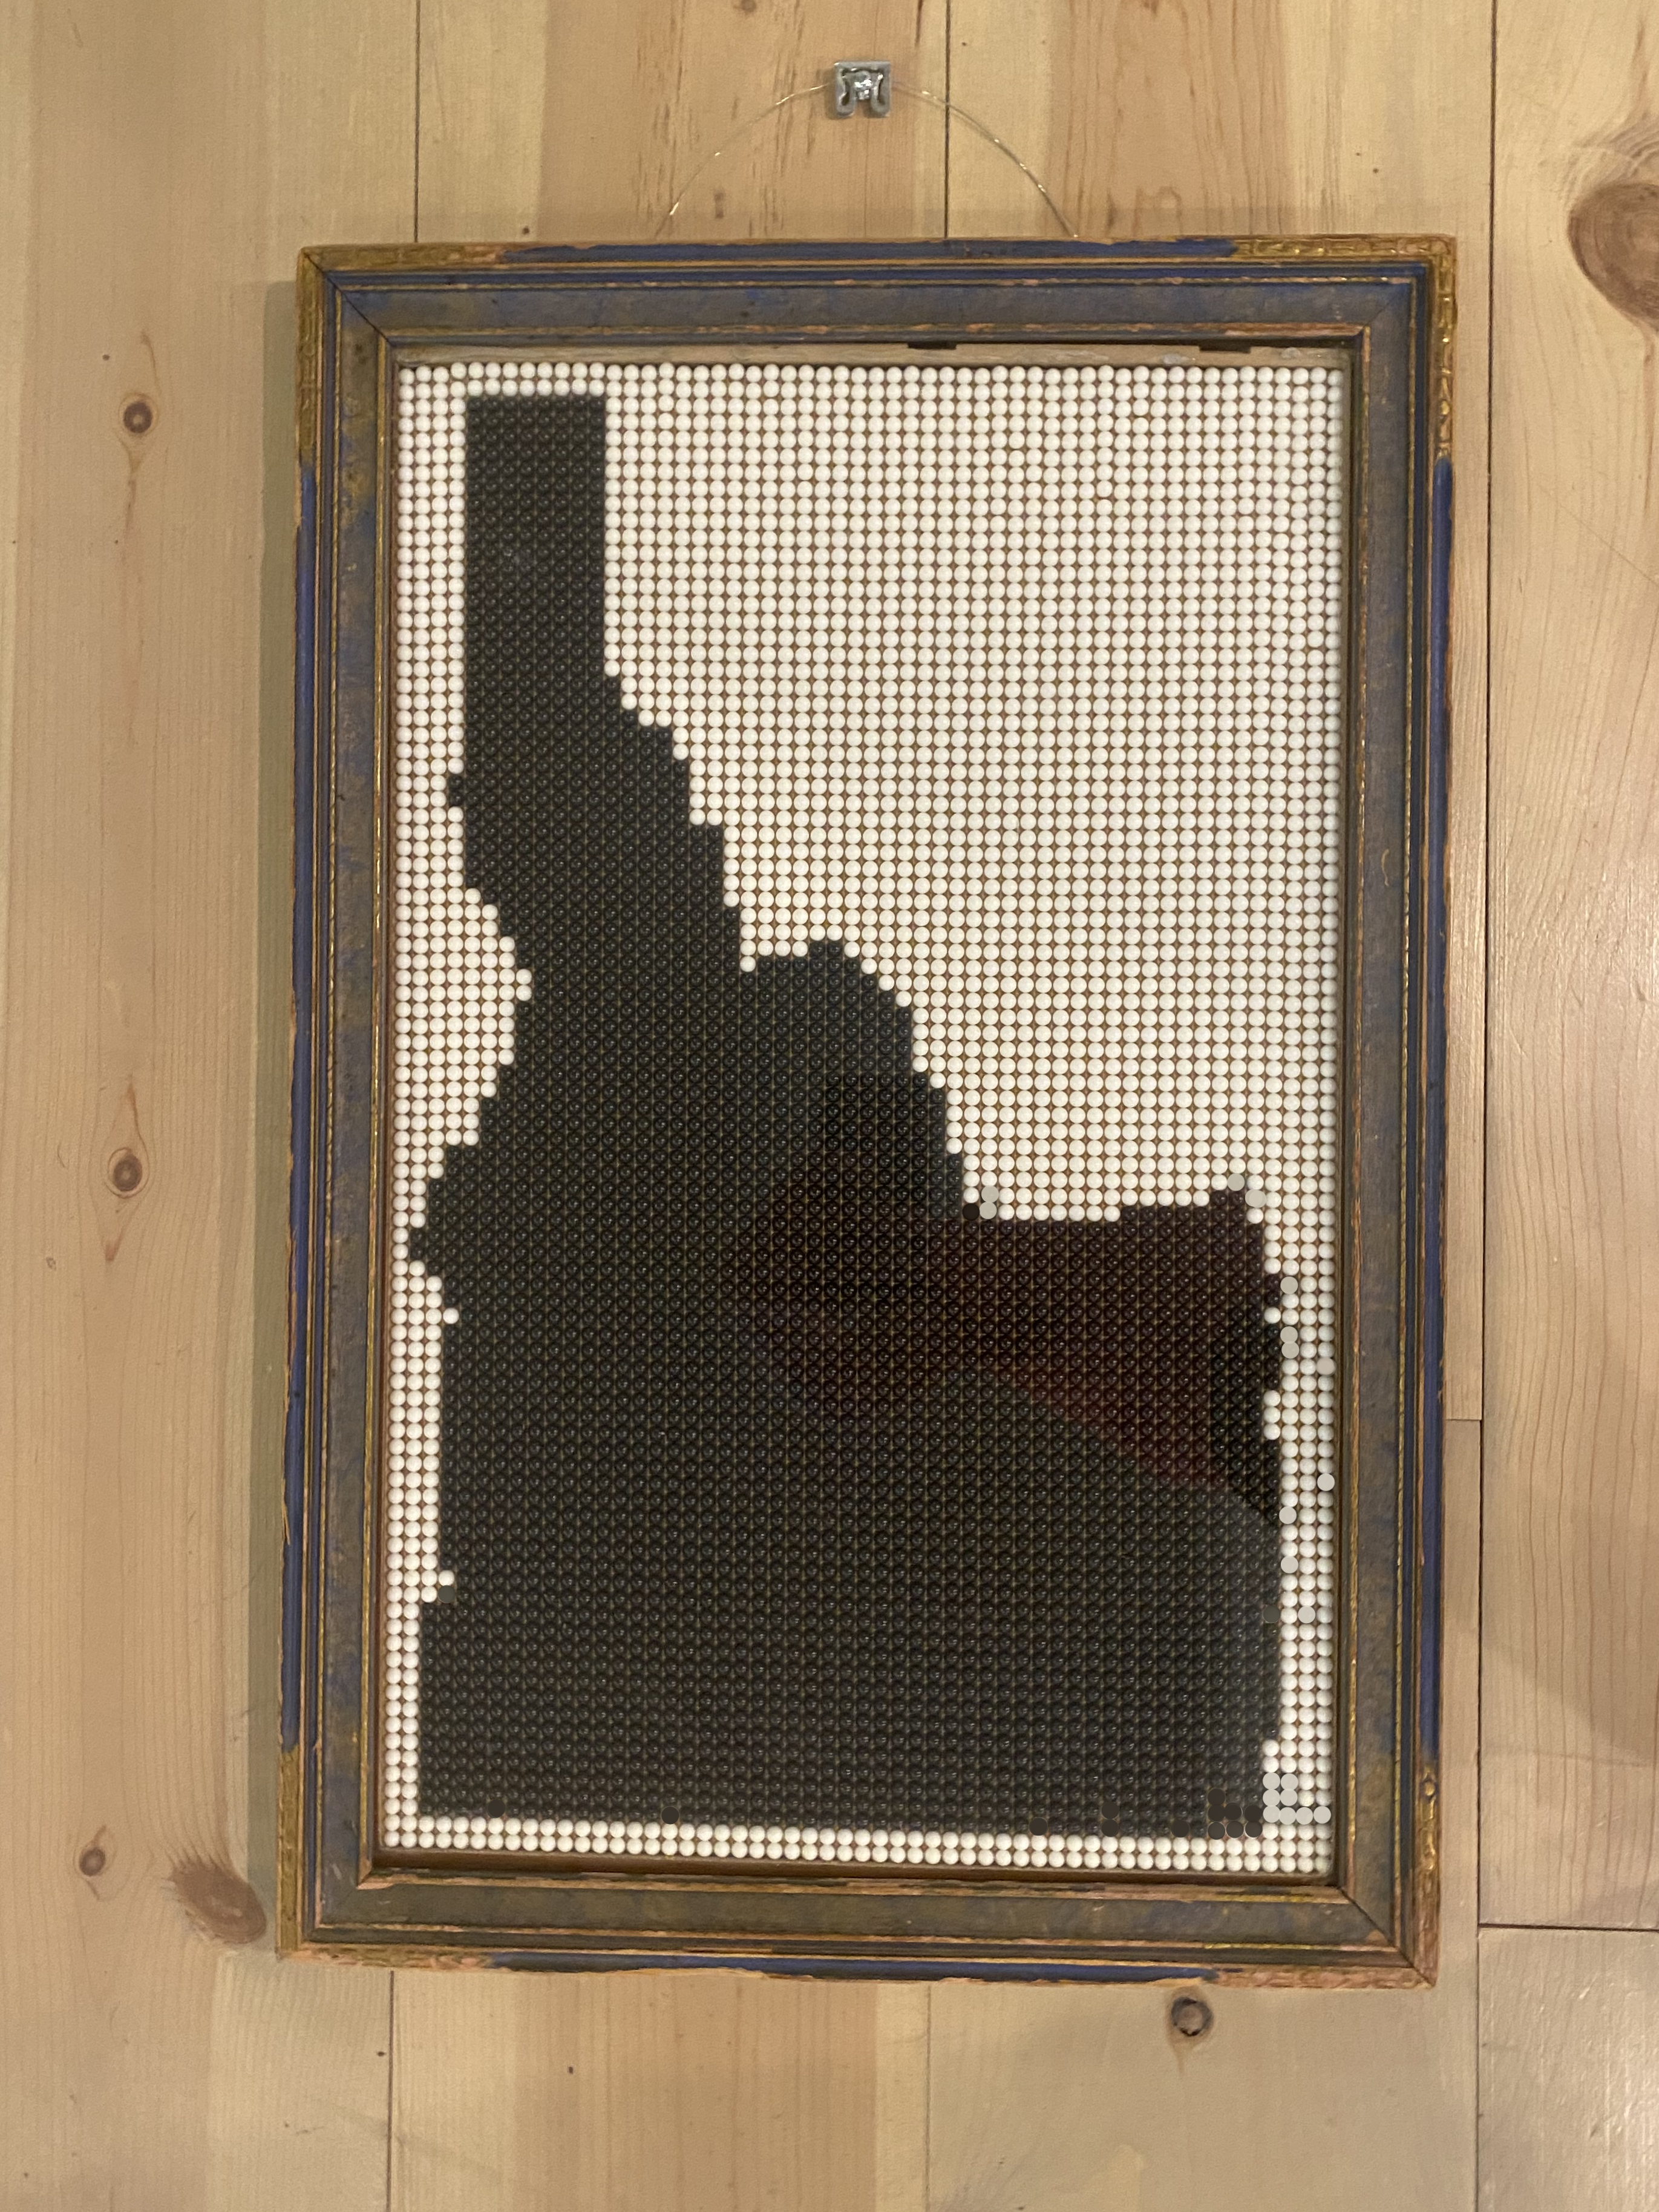

Take your finished masterpiece and place it into the original picture frame. There you have it, all done! I hope you enjoyed this instructable!