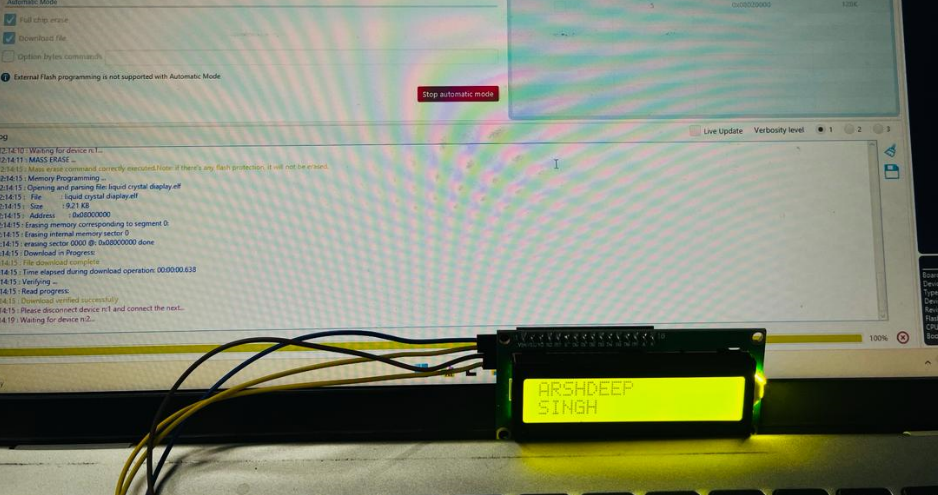
I2C LCD With STM32 Blue Pill Using STM32CubeIDE
by Arshdeep singh in Circuits > Microcontrollers
1880 Views, 1 Favorites, 0 Comments
I2C LCD With STM32 Blue Pill Using STM32CubeIDE
Step into the realm of seamless integration and precision engineering, where every pixel narrates a unique story, and each line of code breathes life into the hardware. Today, we set forth on a captivating journey into the intricate world of display interfacing, where the fusion of the STM32 Blue Pill and STM32CubeIDE lights the way toward mastery.
Within this comprehensive guide, we plunge into the art of connecting an I2C LCD with the STM32 Blue Pill microcontroller, demystifying complexities with finesse and clarity. Whether you're an experienced developer looking to broaden your skill set or an inquisitive enthusiast exploring the realms of embedded systems, this blog is crafted to empower and ignite inspiration.
With a keen focus on professionalism and creativity, we navigate the intricate landscapes of hardware and software synergy, leveraging STM32CubeIDE as our dependable companion. Together, we'll wield the power of this integrated development environment to choreograph a symphony of data transfer, transforming mere bits and bytes into vivid visual narratives.
Get ready to unleash the full potential of your STM32 Blue Pill as we embark on this enlightening journey. Let's transcend boundaries, merge innovation with tradition, and fabricate solutions that redefine the benchmarks of display control. The canvas is blank, the tools are within reach; it's time to craft a masterpiece of connectivity and functionality.
Join us in this odyssey of exploration and discovery. Together, we'll navigate the intricate pathways of embedded systems, unveiling the mysteries that lie beneath the surface. Welcome to a world where imagination converges with ingenuity, where every line of code shapes the future, and where the journey itself is as exhilarating as the destination.
Supplies
- STM32 Black Pill
- LCD with I2C
- Female to Female Jumpers
- STMCubeIDE
- STMCubeProgrammer
- USB C Cable
Downloading
In the realm of embedded systems, establishing efficient communication between microcontrollers and peripherals is of paramount importance. The liquidcrystal_i2c.h library emerges as a crucial tool in facilitating this communication, particularly when interfacing I2C LCDs with microcontrollers such as the STM32 Blue Pill. By abstracting the intricacies of low-level I2C protocol implementation, this library simplifies the development process, enabling developers to concentrate on higher-level functionality and user experience. Its integration streamlines code maintenance and encourages code reusability, rendering it an indispensable asset for projects demanding dependable and efficient LCD control. With liquidcrystal_i2c.h, developers can seamlessly incorporate I2C LCDs into their projects, empowering them to craft sophisticated user interfaces and elevate overall system functionality.
Configure Your STM Cube IDE Configure Your STM Cube IDE
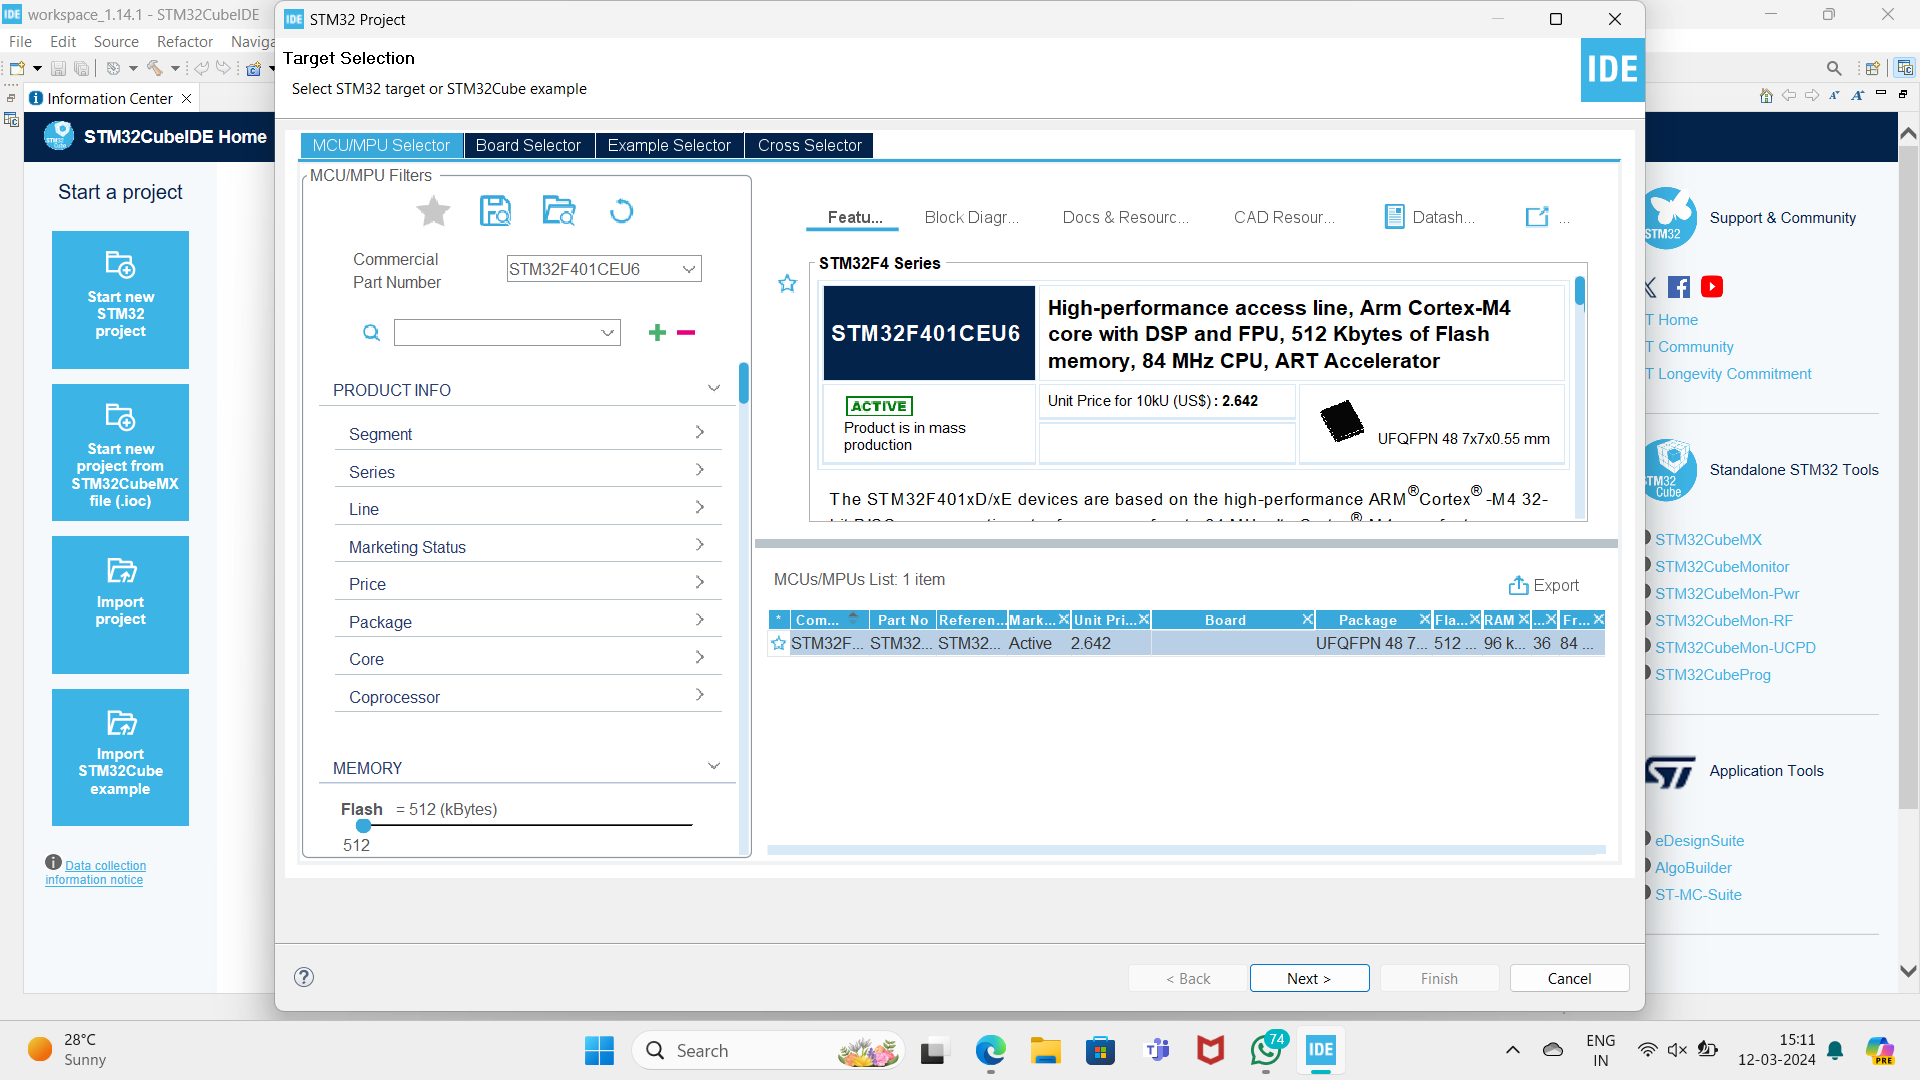
We will use STM32Cube IDE to program our STM32 board. Open the IDE and move over to a new project.
choose the STM32 Blue Pill board. Then, select any column. click the 'Next' button.
PIN Mode Selection
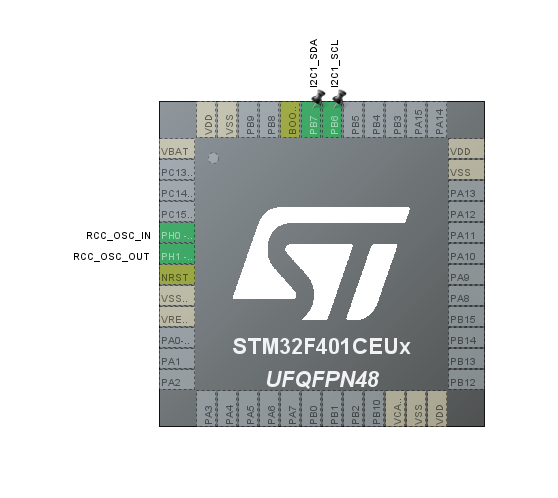
set the pins B6 and B7 for SCL and SDA
I2C Configuration
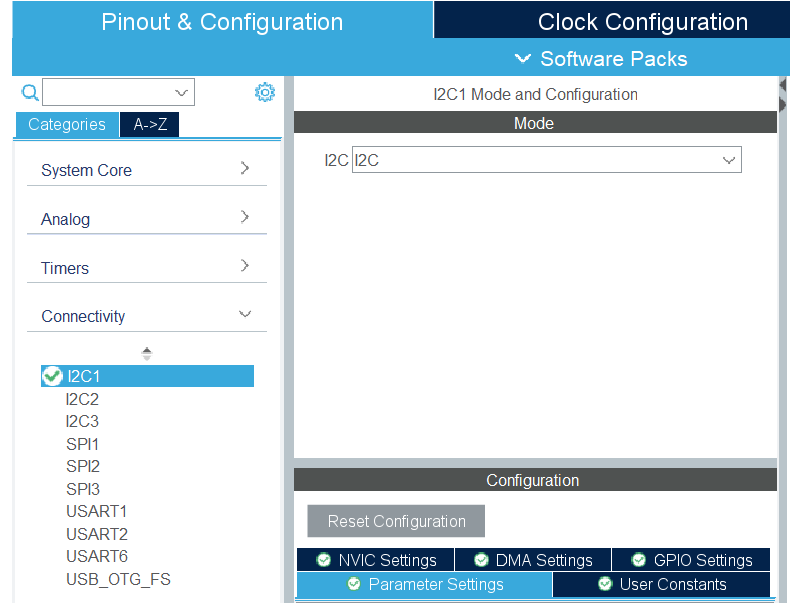
Configure the I2C mode to I2C in the Connections Menu.
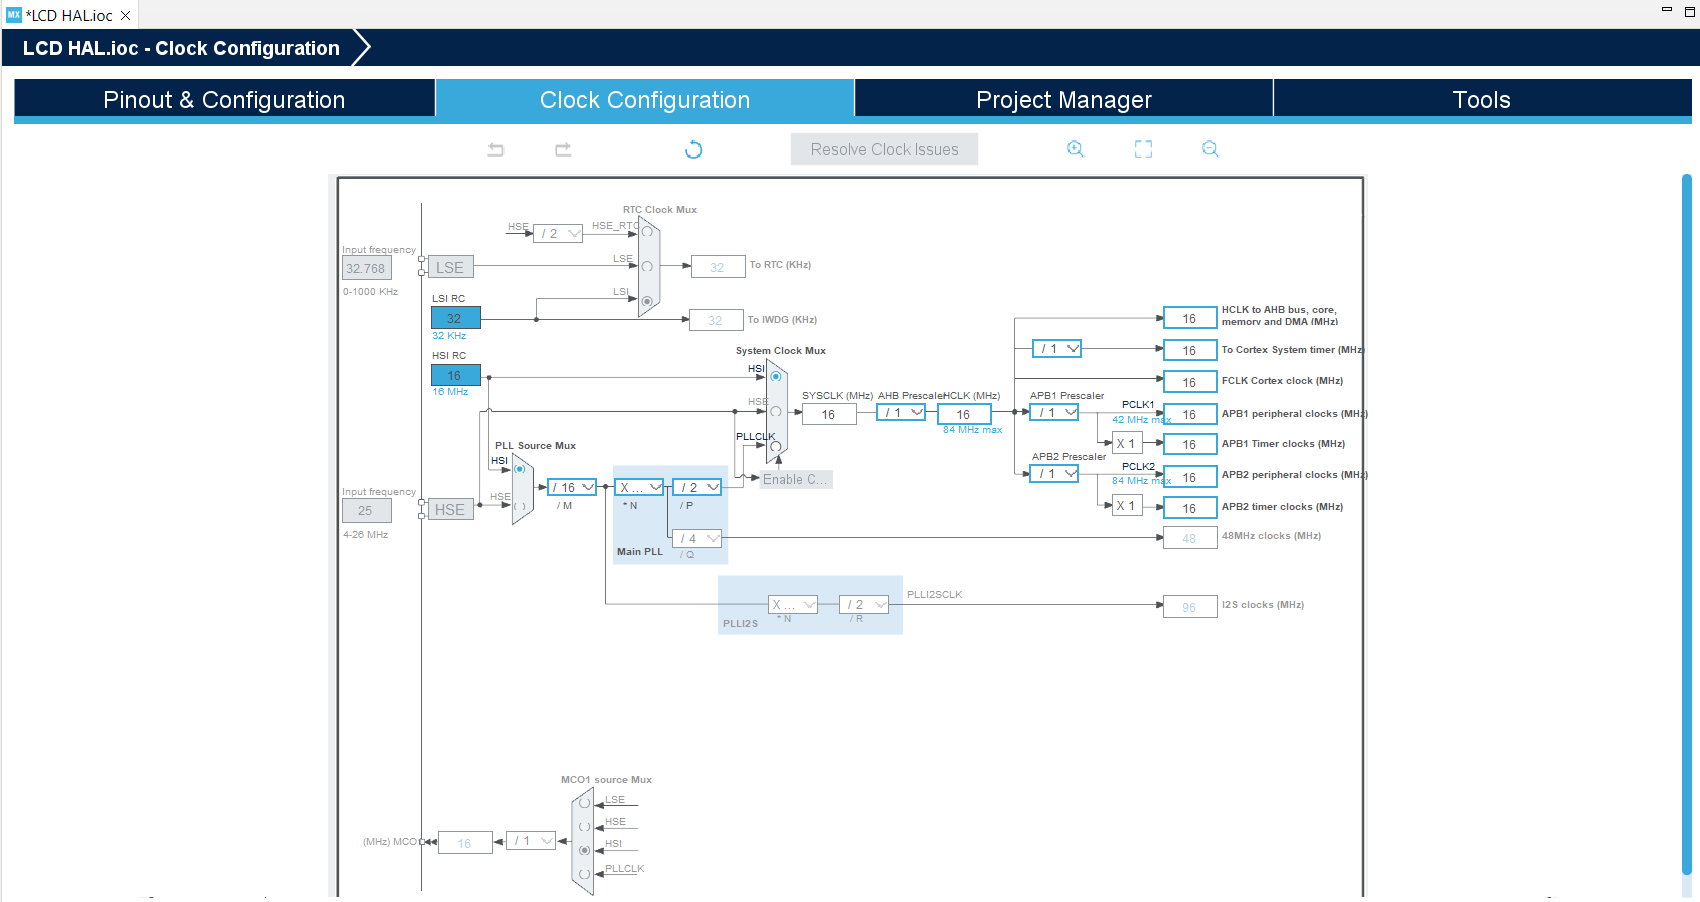
Modify Clock Configuration
Add the Code
Open Main.C file and add this code
#include "main.h"
#include "liquidcrystal_i2c.h"
I2C_HandleTypeDef hi2c1;
void SystemClock_Config(void);
static void MX_GPIO_Init(void);
static void MX_I2C1_Init(void);
int main(void)
{
HAL_Init();
SystemClock_Config();
MX_GPIO_Init();
MX_I2C1_Init();
HD44780_Init(2);
HD44780_Clear();
HD44780_SetCursor(0,0);
HD44780_PrintStr("Arshdeep");
HD44780_SetCursor(0,1);
HD44780_PrintStr("Singh");
HAL_Delay(2000);
while (1)
{
}
}
Building Binary File

Click on debug (On top left corner) to generate binary file.
Open the File Created in Explorer

click on the project and click on show in system explorer.
Open STMCubeProgrammer and Connect With STM Board Via USB
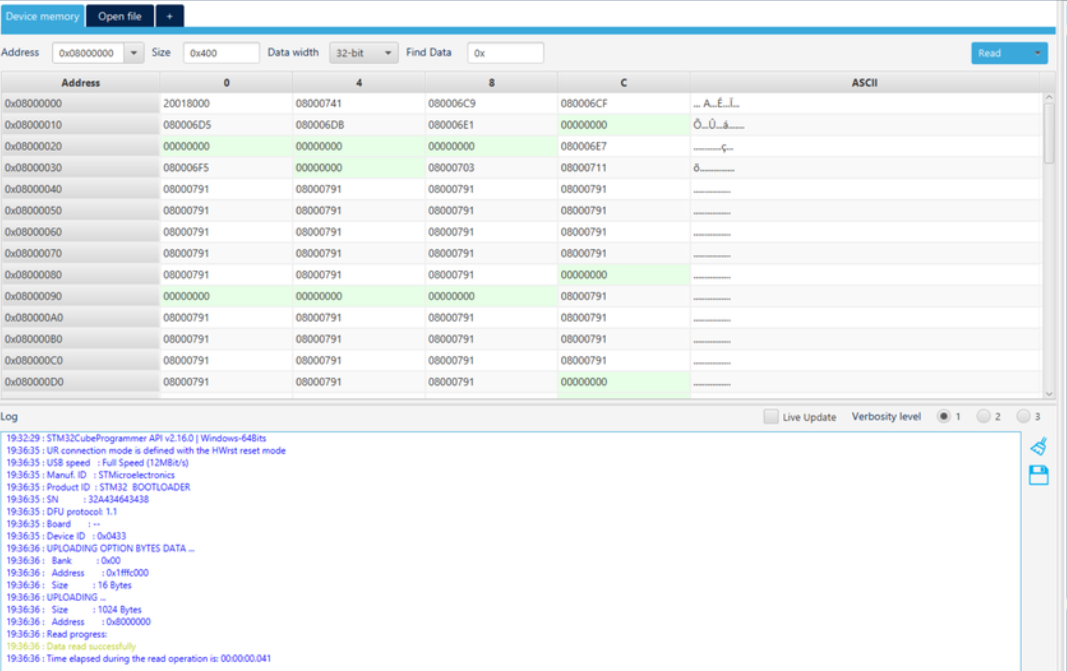
Click the Open File and Paste the Copied Path

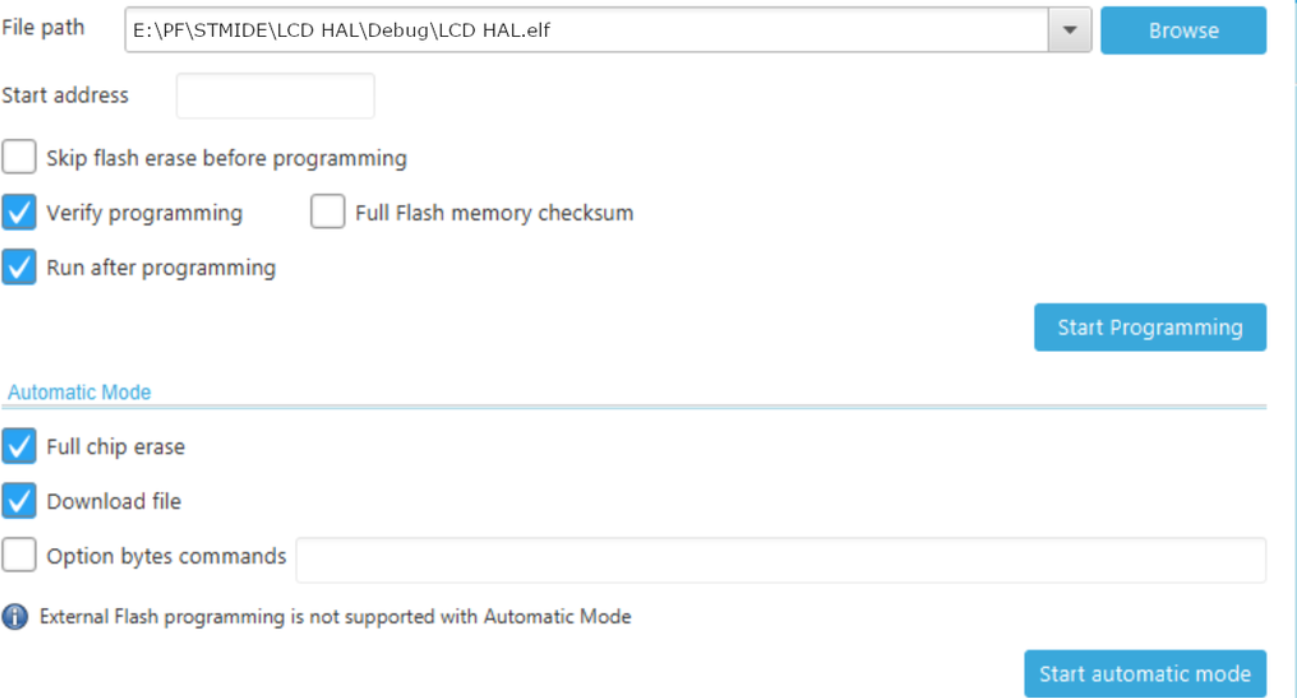
Go to Download Options

Modify Download Options and Click on "Start Automatic Mode"
Final Step
