I-Sore 2000GB (2tb) Ipod
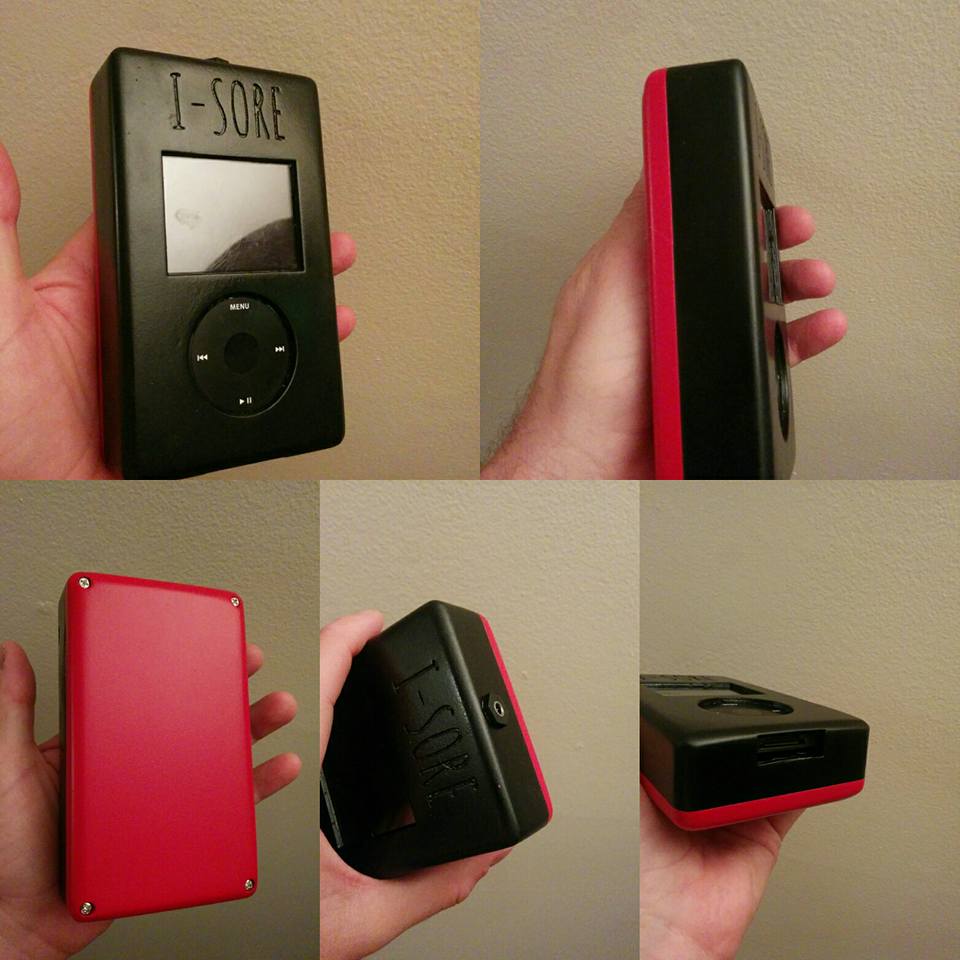
Welcome to my first instructable.
This was a idea I have had for awhile and finally had the chance to finish it these last few months and want to share the idea. Fairly easy to make and my file can be modified or can make your own custom case from wood boxes or other item's. Also note that I have made this case on tinkercad so I know once my skill grows I hope to have much better designs out.
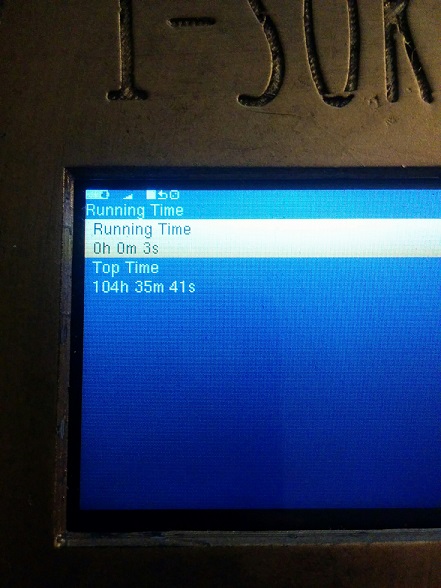
UPDATE: Working on a patch to get the entire life of the battery in use. If I let it run none stop I can get over 100 hours but off and on tends to be half because of the program reading the battery as half full while its starting then settling out later on.
You can use it to watch movies as well as a storage device. also rockbox lets you play doom on your ipod.
It will install Apple firmware but you need to install Rockbox because the original firmware has a size limit for music and it makes it so much more easier to use but you will need beyond winds msata patch otherwise you will get a error after install.
Also will have some finished I-Sore's posted on my Etsy shop if anyone is interested. https://www.etsy.com/shop/Jimbone
I have printed my case's using petg plastic and they come out very sturdy but they want to lift at the corners while printing. But I'm sure you can use pla or abs as well with settings close to 100% infill or what ever your comfortable with.
Check my blog at www.jimbone.ca if interested in seeing the changes I made and what it first looked like.
List of things needed:
Rockbox installer. http://www.rockbox.org/download/
Beyond winds rockbox patch at http://beyondwind.duckdns.org/?page_id=5
22 gauge wire red and black:
5v 3a relay: http://www.aliexpress.com/item/Free-shipping-IC-HK...
Zif to Sata adapter: http://www.ebay.ca/itm/Half-Slim-SATA-22PIN-3-3V-S...
Sata extension cable: http://www.ebay.ca/itm/HOT-Male-to-Female-7-15-Pin...
Chargers and 5vbooster: http://www.aliexpress.com/item/0-9V-5V-600MA-USB-O...
JST plug or any type of connector you can find to connect the battery: http://www.ebay.ca/itm/New-Fashion-10-Pairs-100mm-...
Battery: 3.7v 8000mah I designed the case to fit the dimensions of this battery: http://www.ebay.ca/itm/181849166340?euid=642716ddc...
The 3D printed case files and cable holder that are included in this build. The thicker back is if you can only find the 2tb WD20NPVT harddrive or if having trouble getting it squeezed together with the thinner back.
2.5inch 2tb thin Harddrive, I bought one of these external drives that where on sale at the source. just google this model STDR2000100 or just the harddrive 2TB ST2000LM003
A 80gb ipod 5th gen with the flat front. Seems the only type with the 64mb of ram will running smoothly and the newer gens like 6th and 7th wont read the hard drive since it takes a bit to spin up to speed, but I think some of the 60gb ipods will have extra ram just google and lots of instructions how to check if you have one of those.
I have tried using a 30gb ipod but it acted very strangely.
M3 Screws, Size depends on what back you use on the case.
Shrink wrap tubing.
Head phone jack and socket, I used a model I purchased locally http://leeselectronic.com/product/2007.html but cant seem to find it online but if you are using a smaller version,spacers or washers will work in the original hole I made.
The plug part: http://www.ebay.ca/itm/2-pcs-3-5mm-3-Pole-Stereo-M...
Tools needed:
Soldering Iron/Solder/flux
Hot glue gun
Wire cutters
Things That Should Be Noted
I have done all this on a windows computer so I am not sure how well it will work on a mac.
iTunes doesn't seem to detect if after rockbox install but you can put it into disk mode to get it detected if you ever need to restore but with rockbox it will still open up in my computer to drag and drop media.
To transfer large amounts of files like 20gb and such I have to keep it plugged into the charger and into the computer otherwise it just quickly drains the battery and will freeze but smaller amounts like 300mb and such are ok.
I've gotten about 60 straight hours of music play just leaving it on and letting it play for several days.
Battery meter on rockbox is not accurate since it is powering 2 things at once it tends to change a lot.
Once it gets low it will start to see effects like hard to change songs or freeze. Just do a reset to fix those problems then do a shut down until you can charge it.
Detection time on the computer will take awhile but if nothing after like 5-10 min either reset the ipod or computer.
After rockbox is installed try loading one folder with some music and if you only see 2 songs in it when you go onto rockbox just reinstall rockbox and drop in the patch again.
Lining Up the Ipod
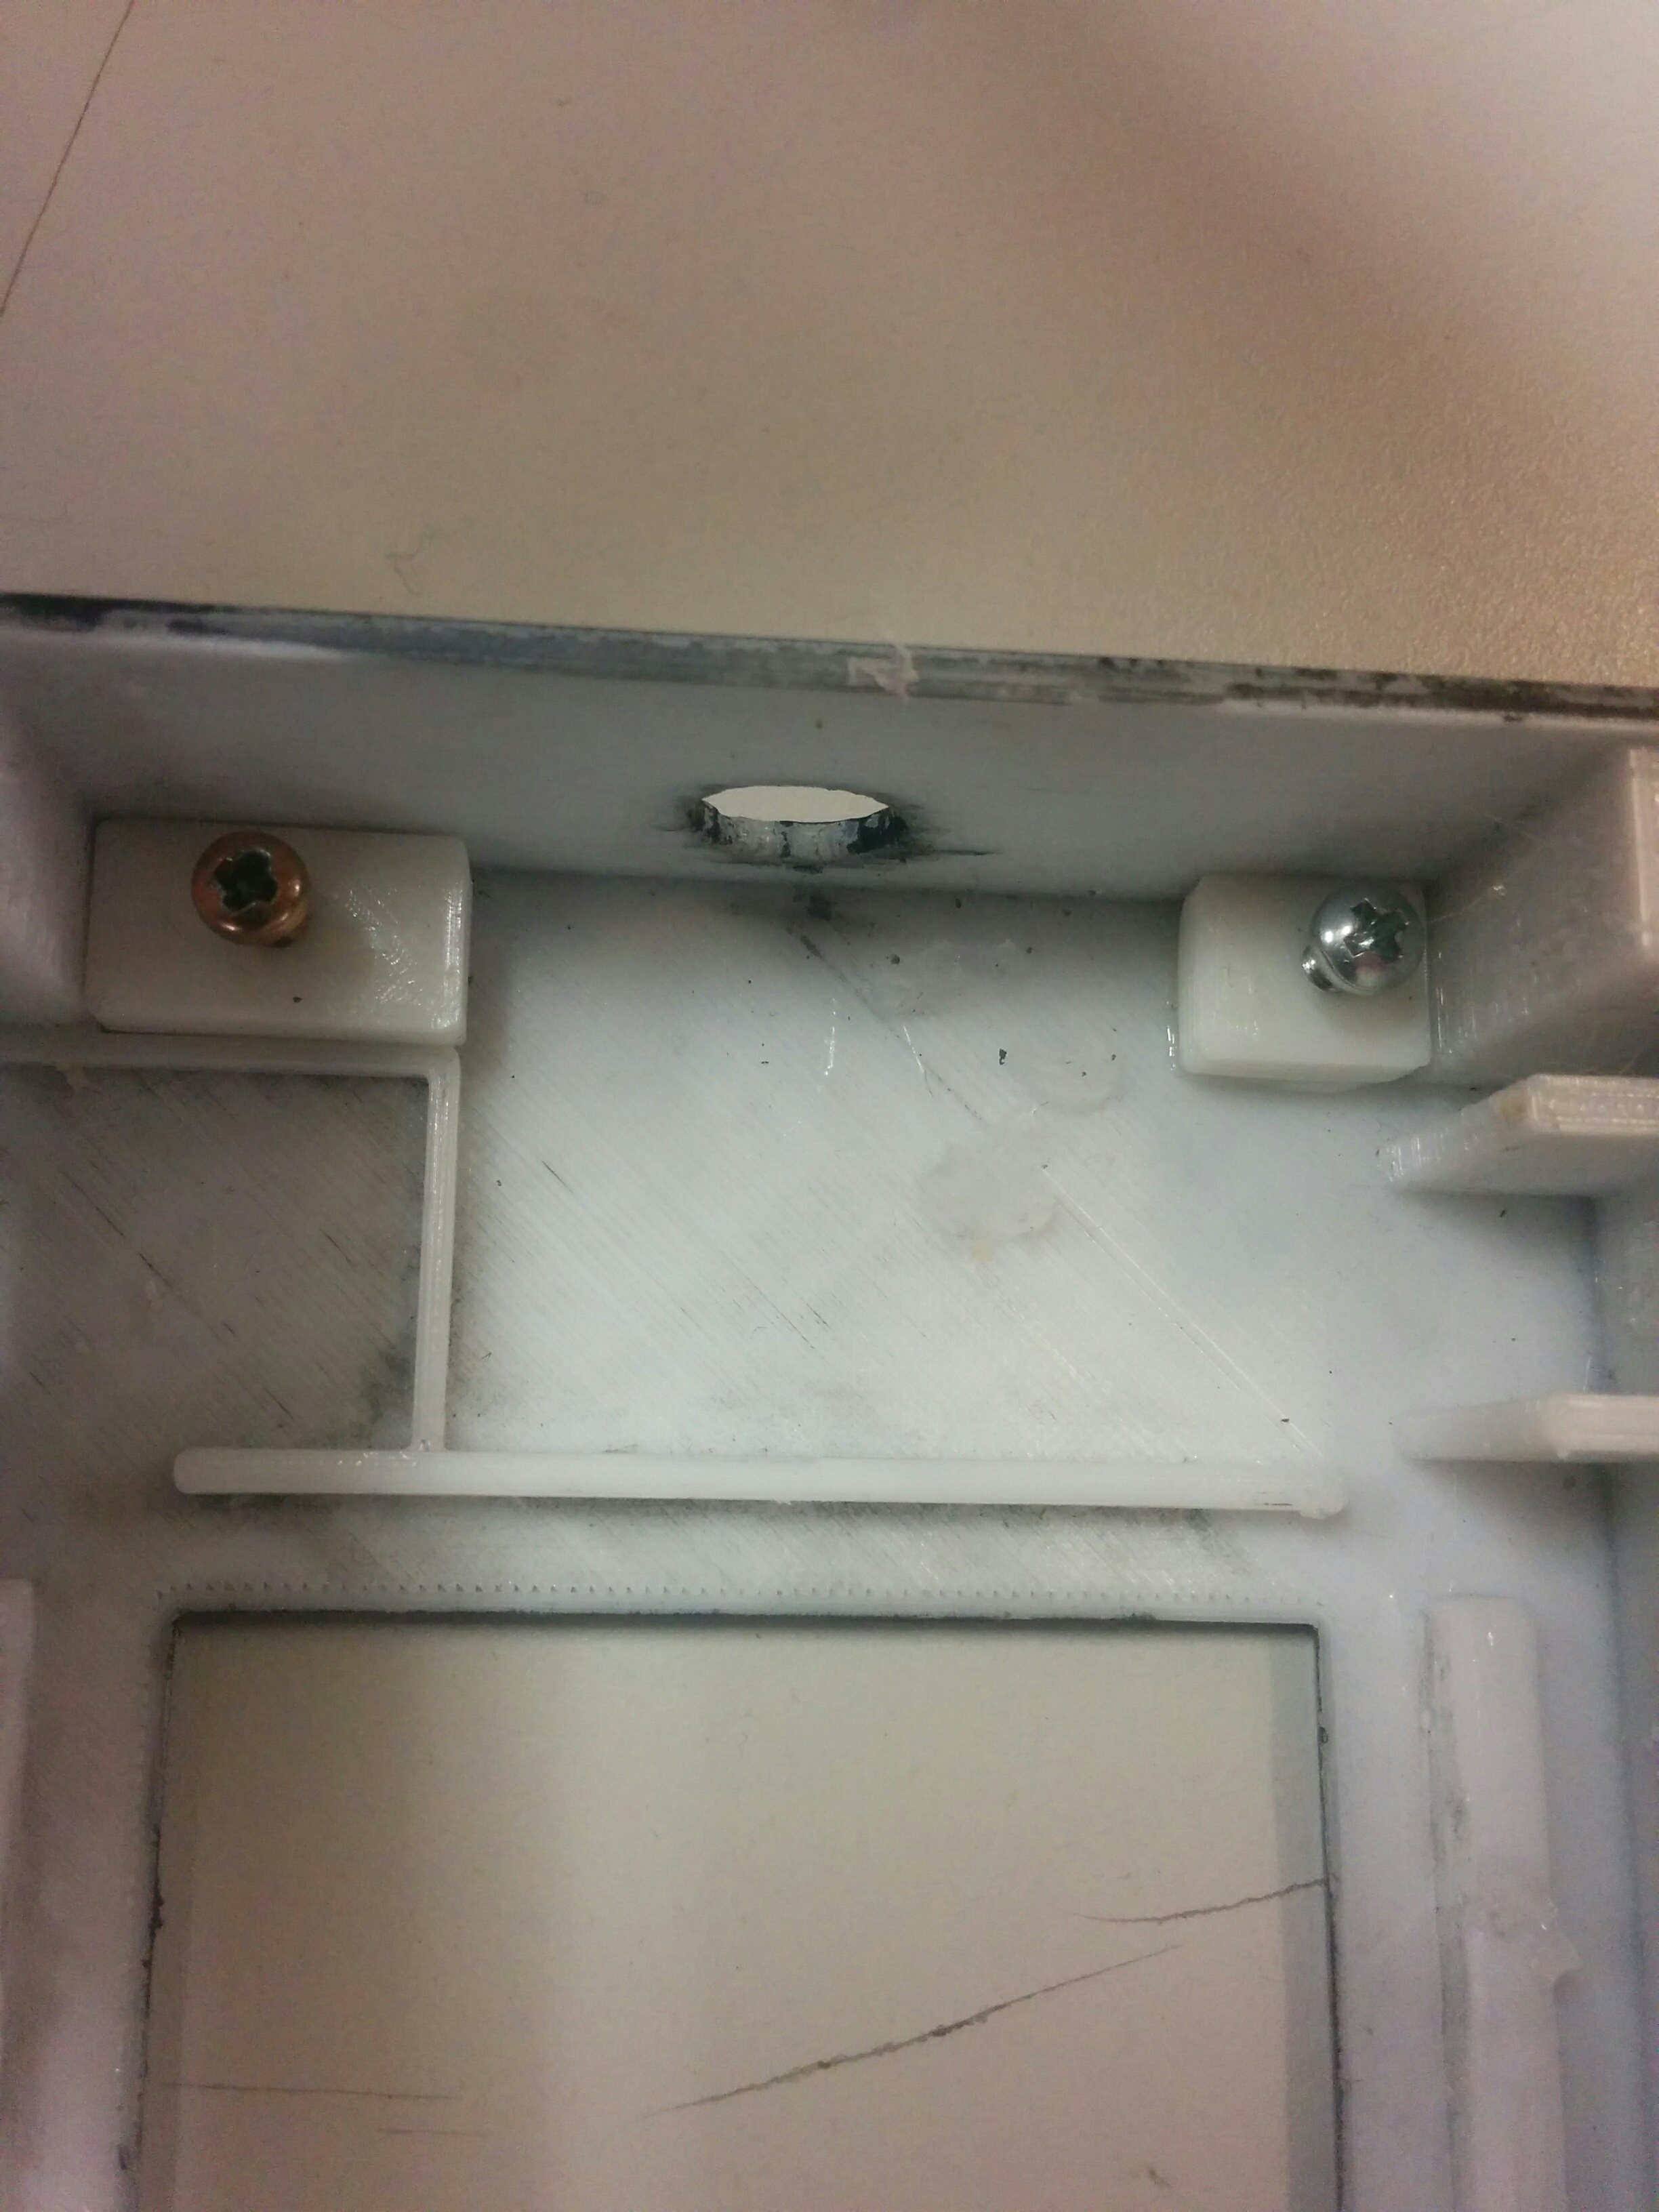
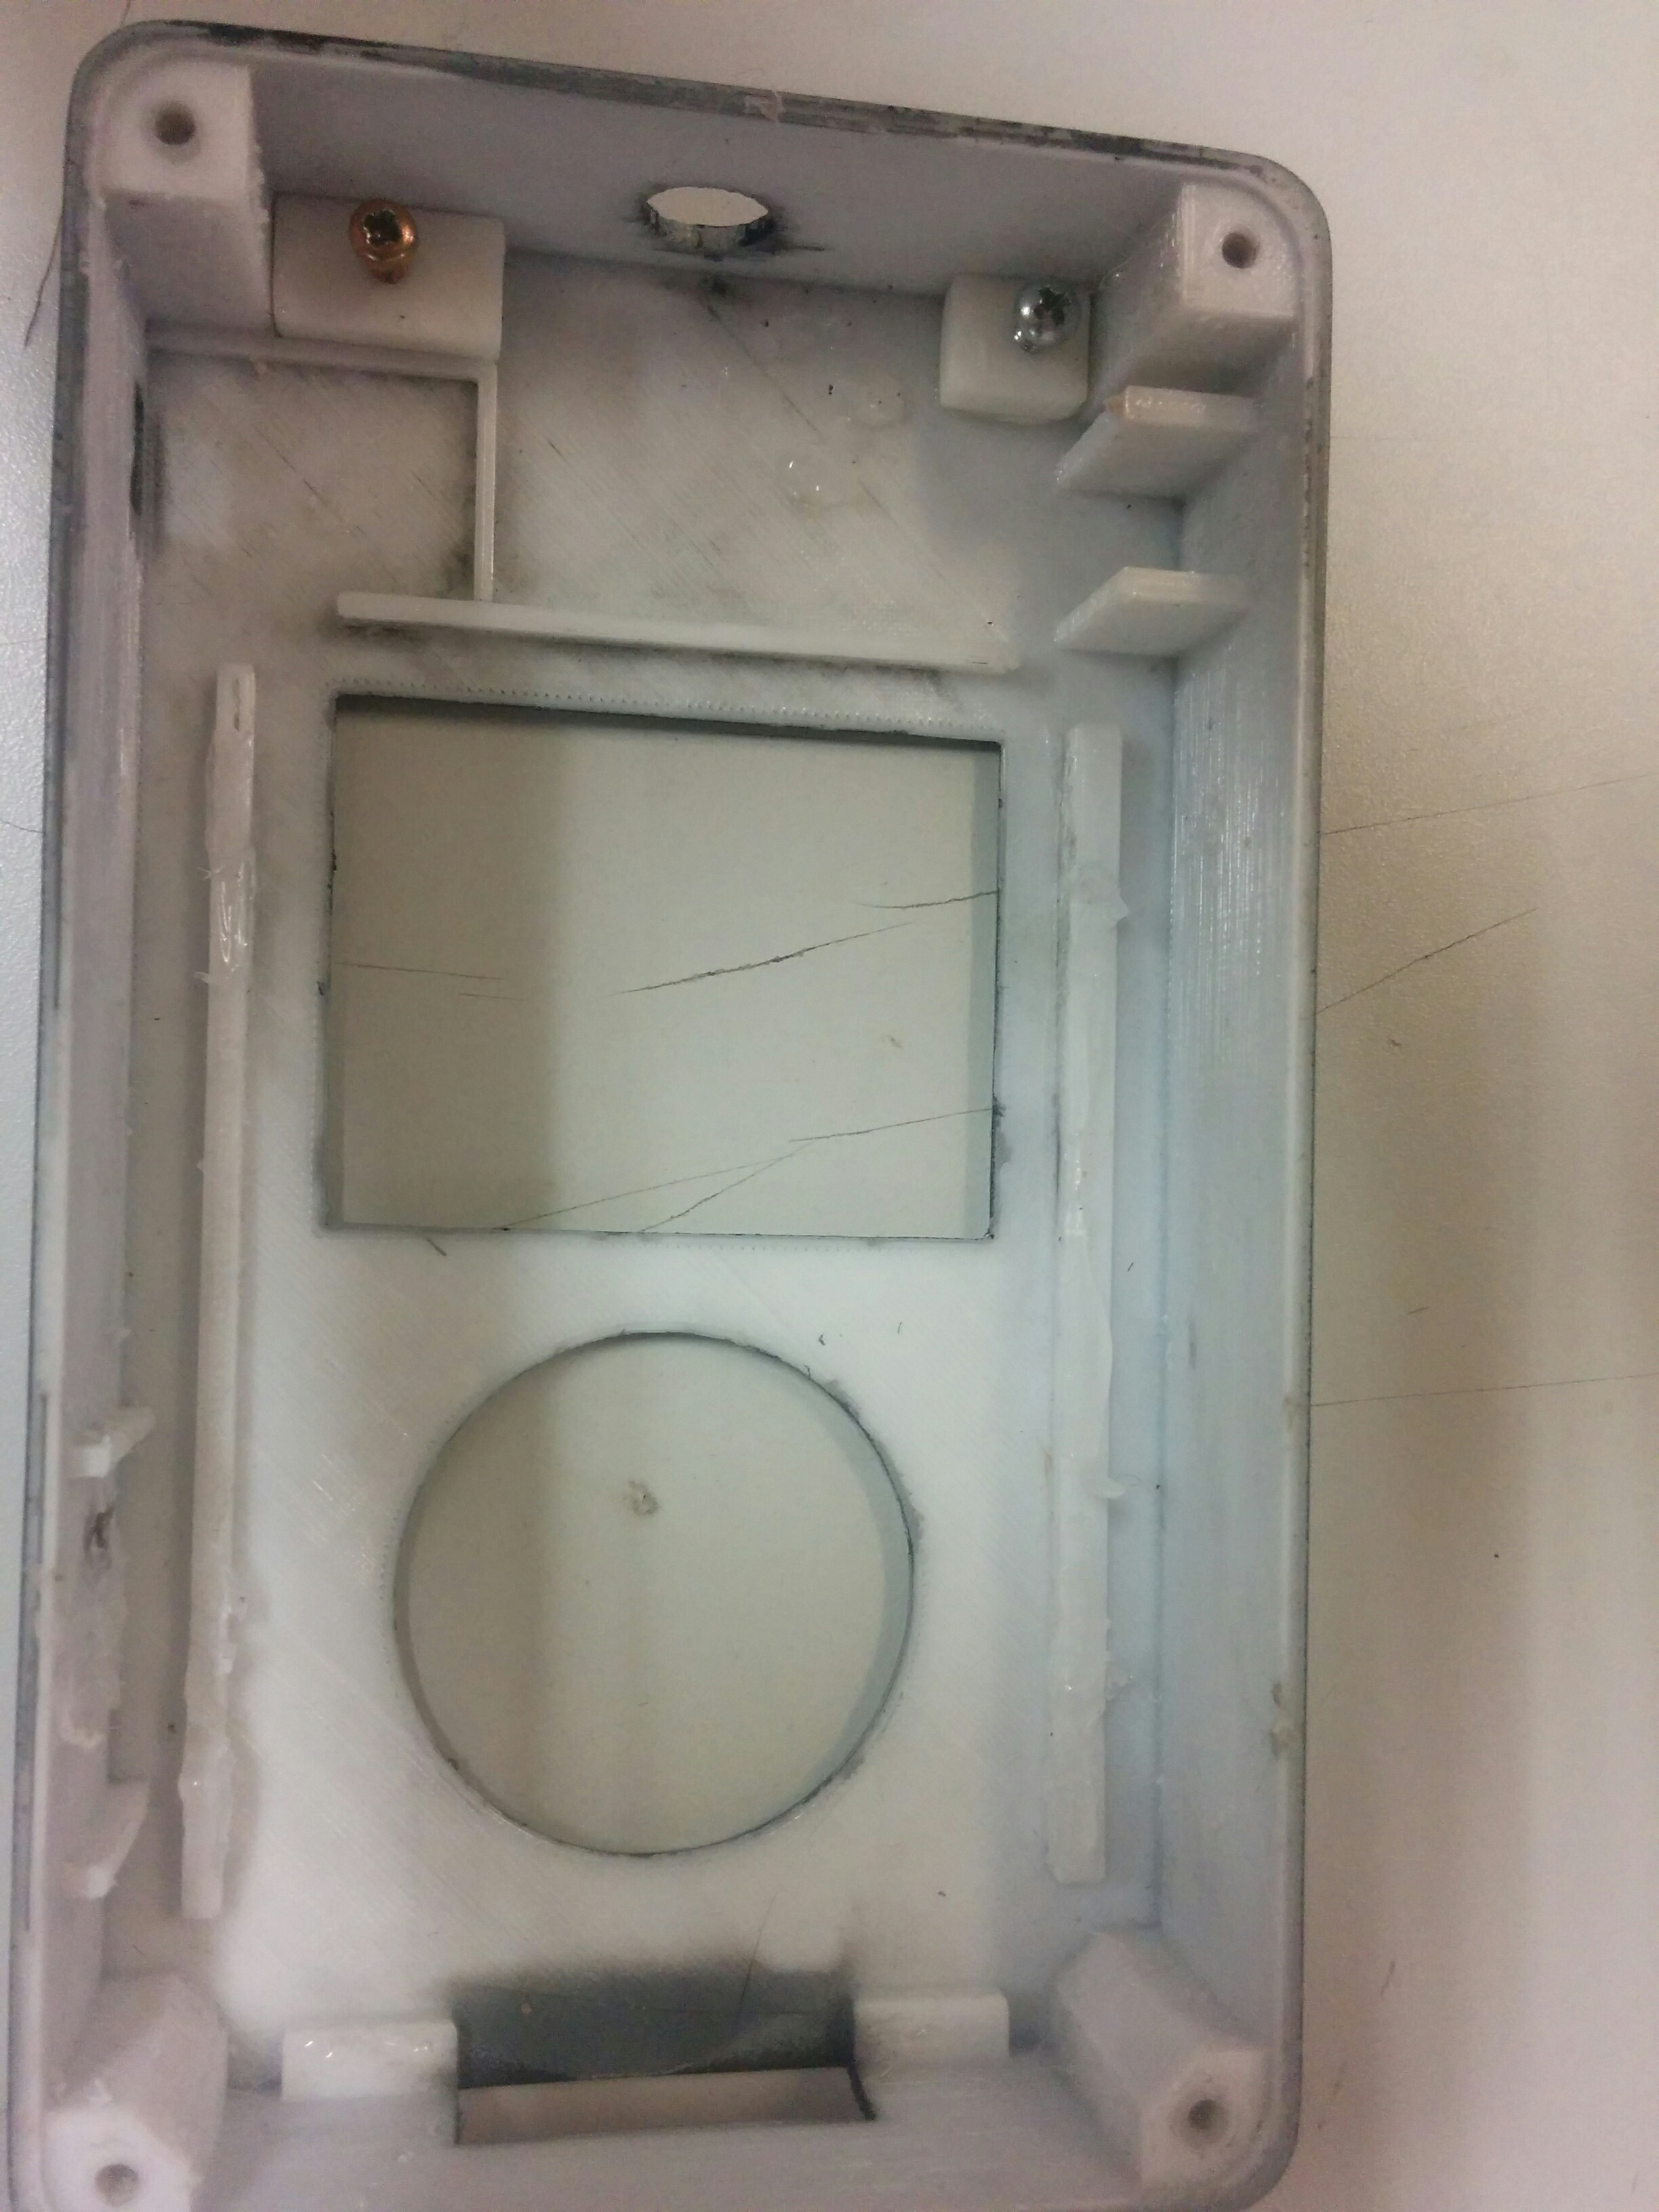
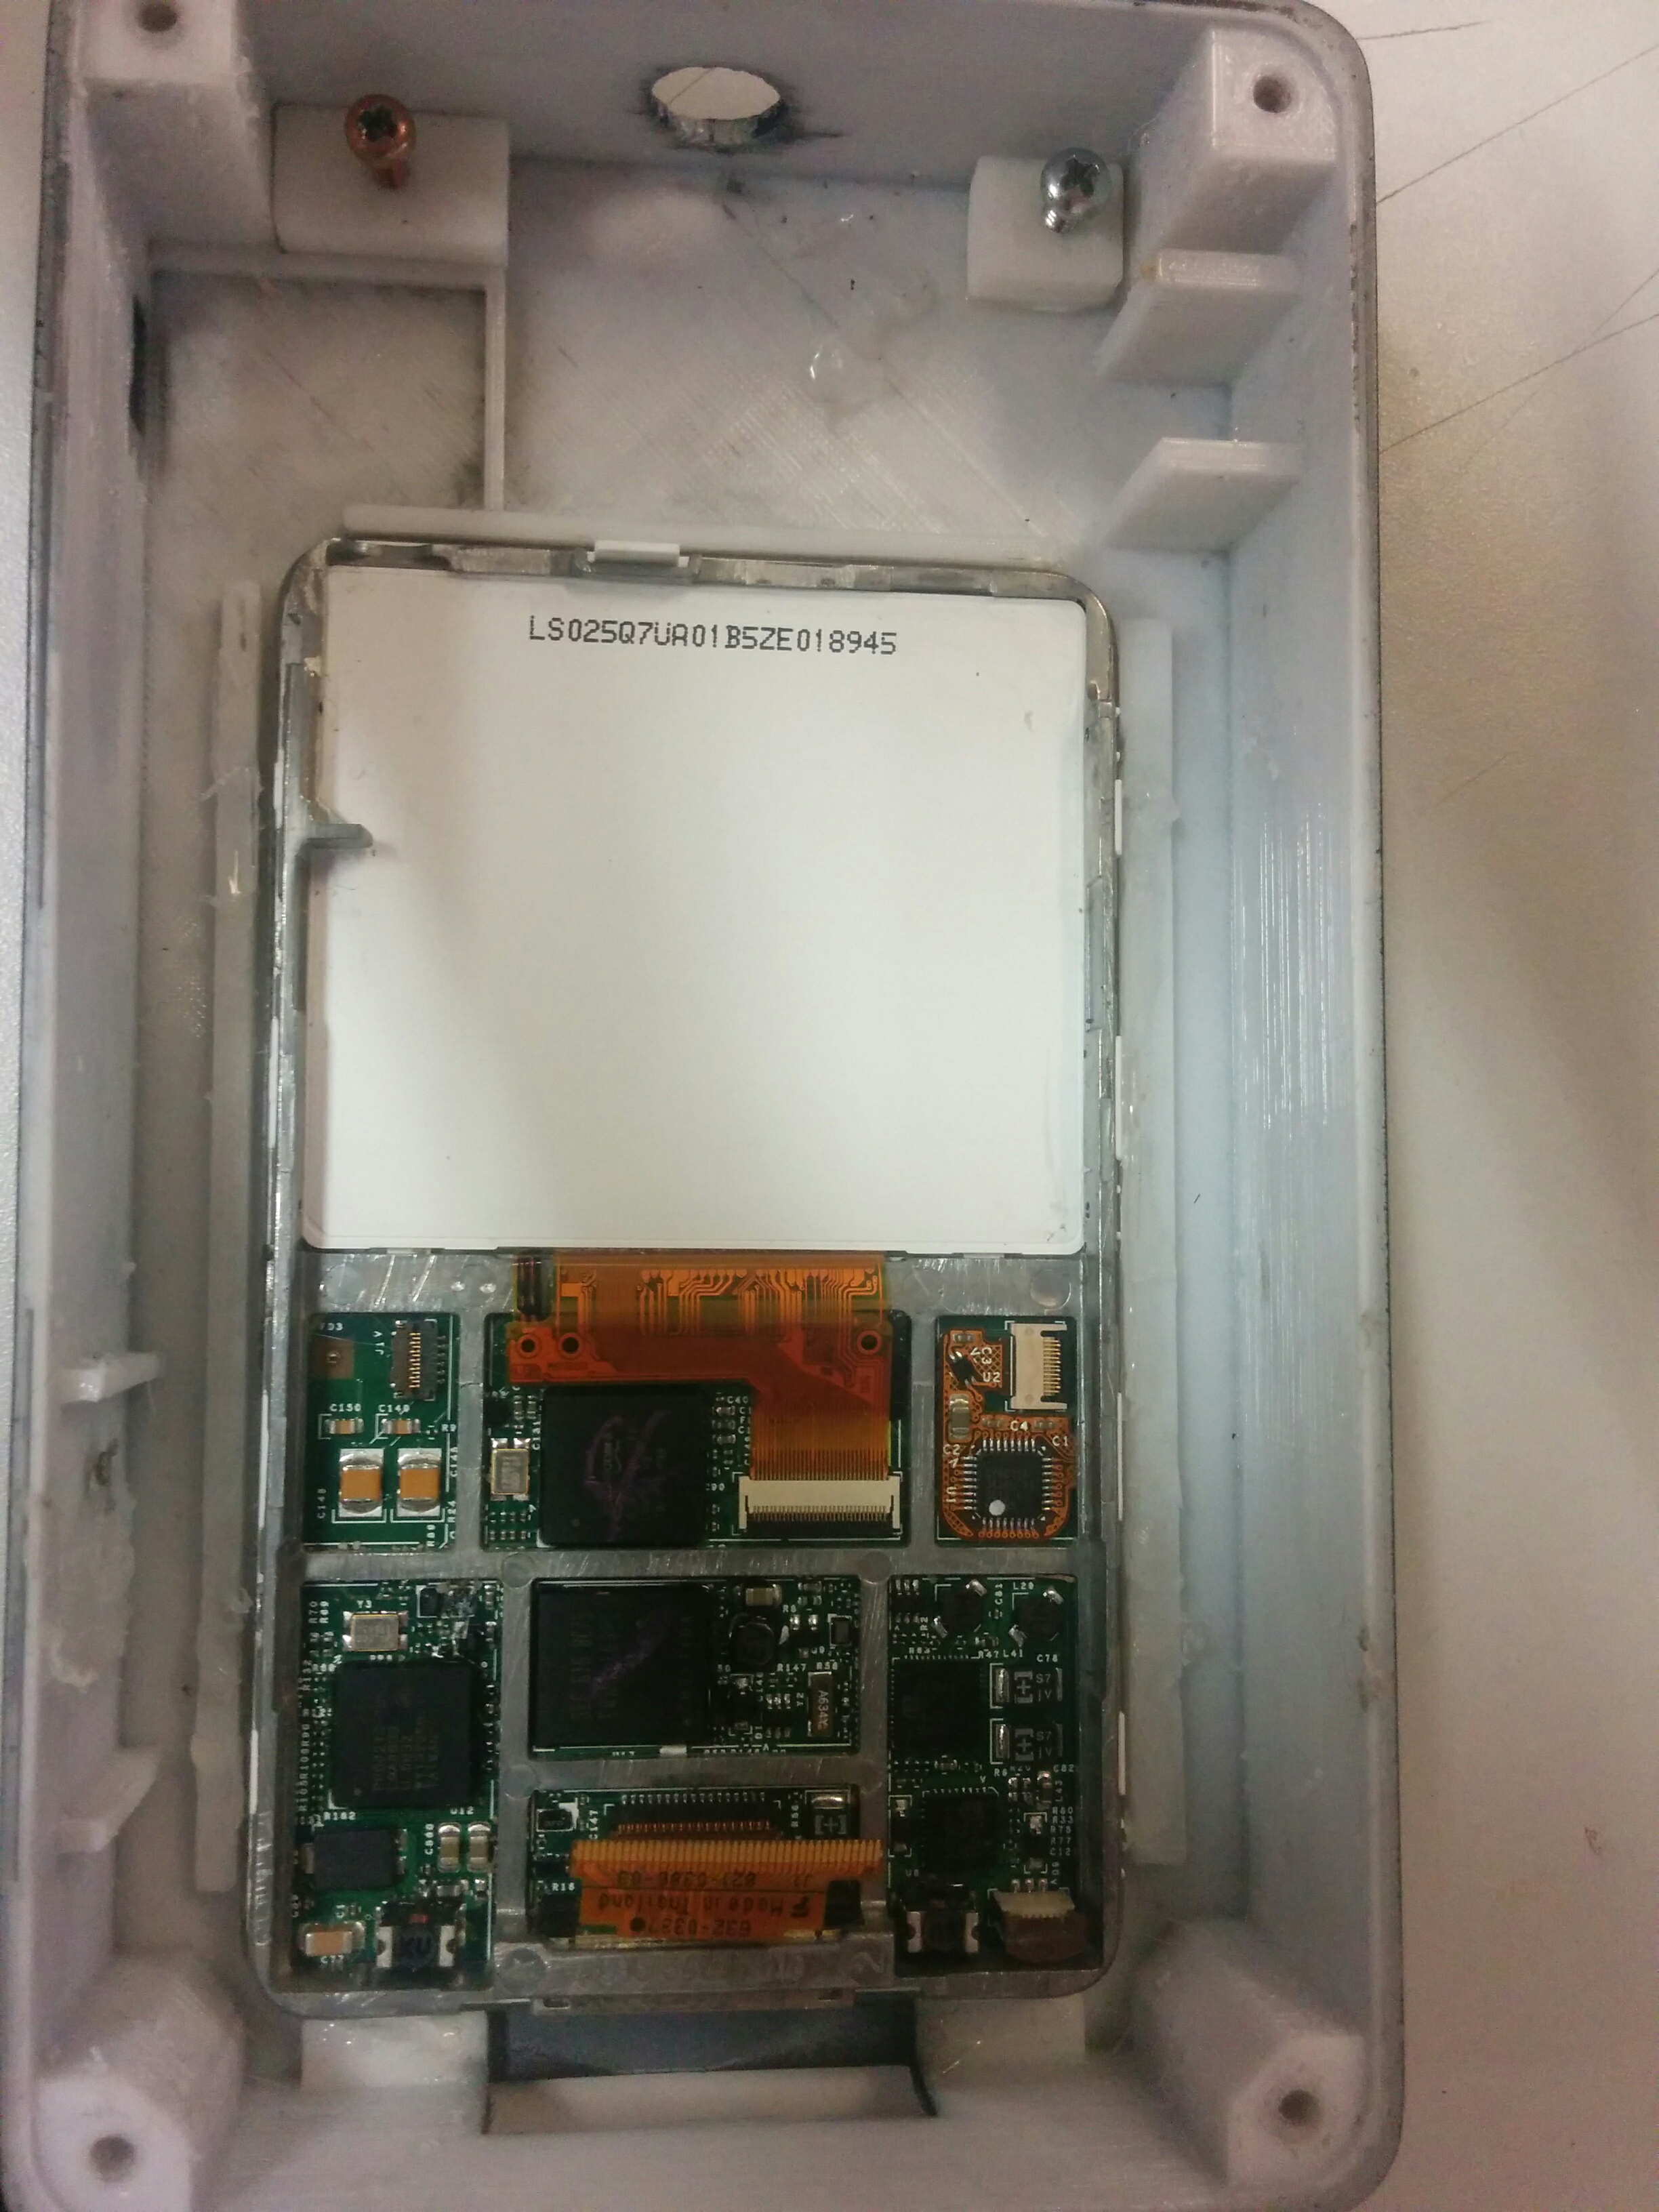
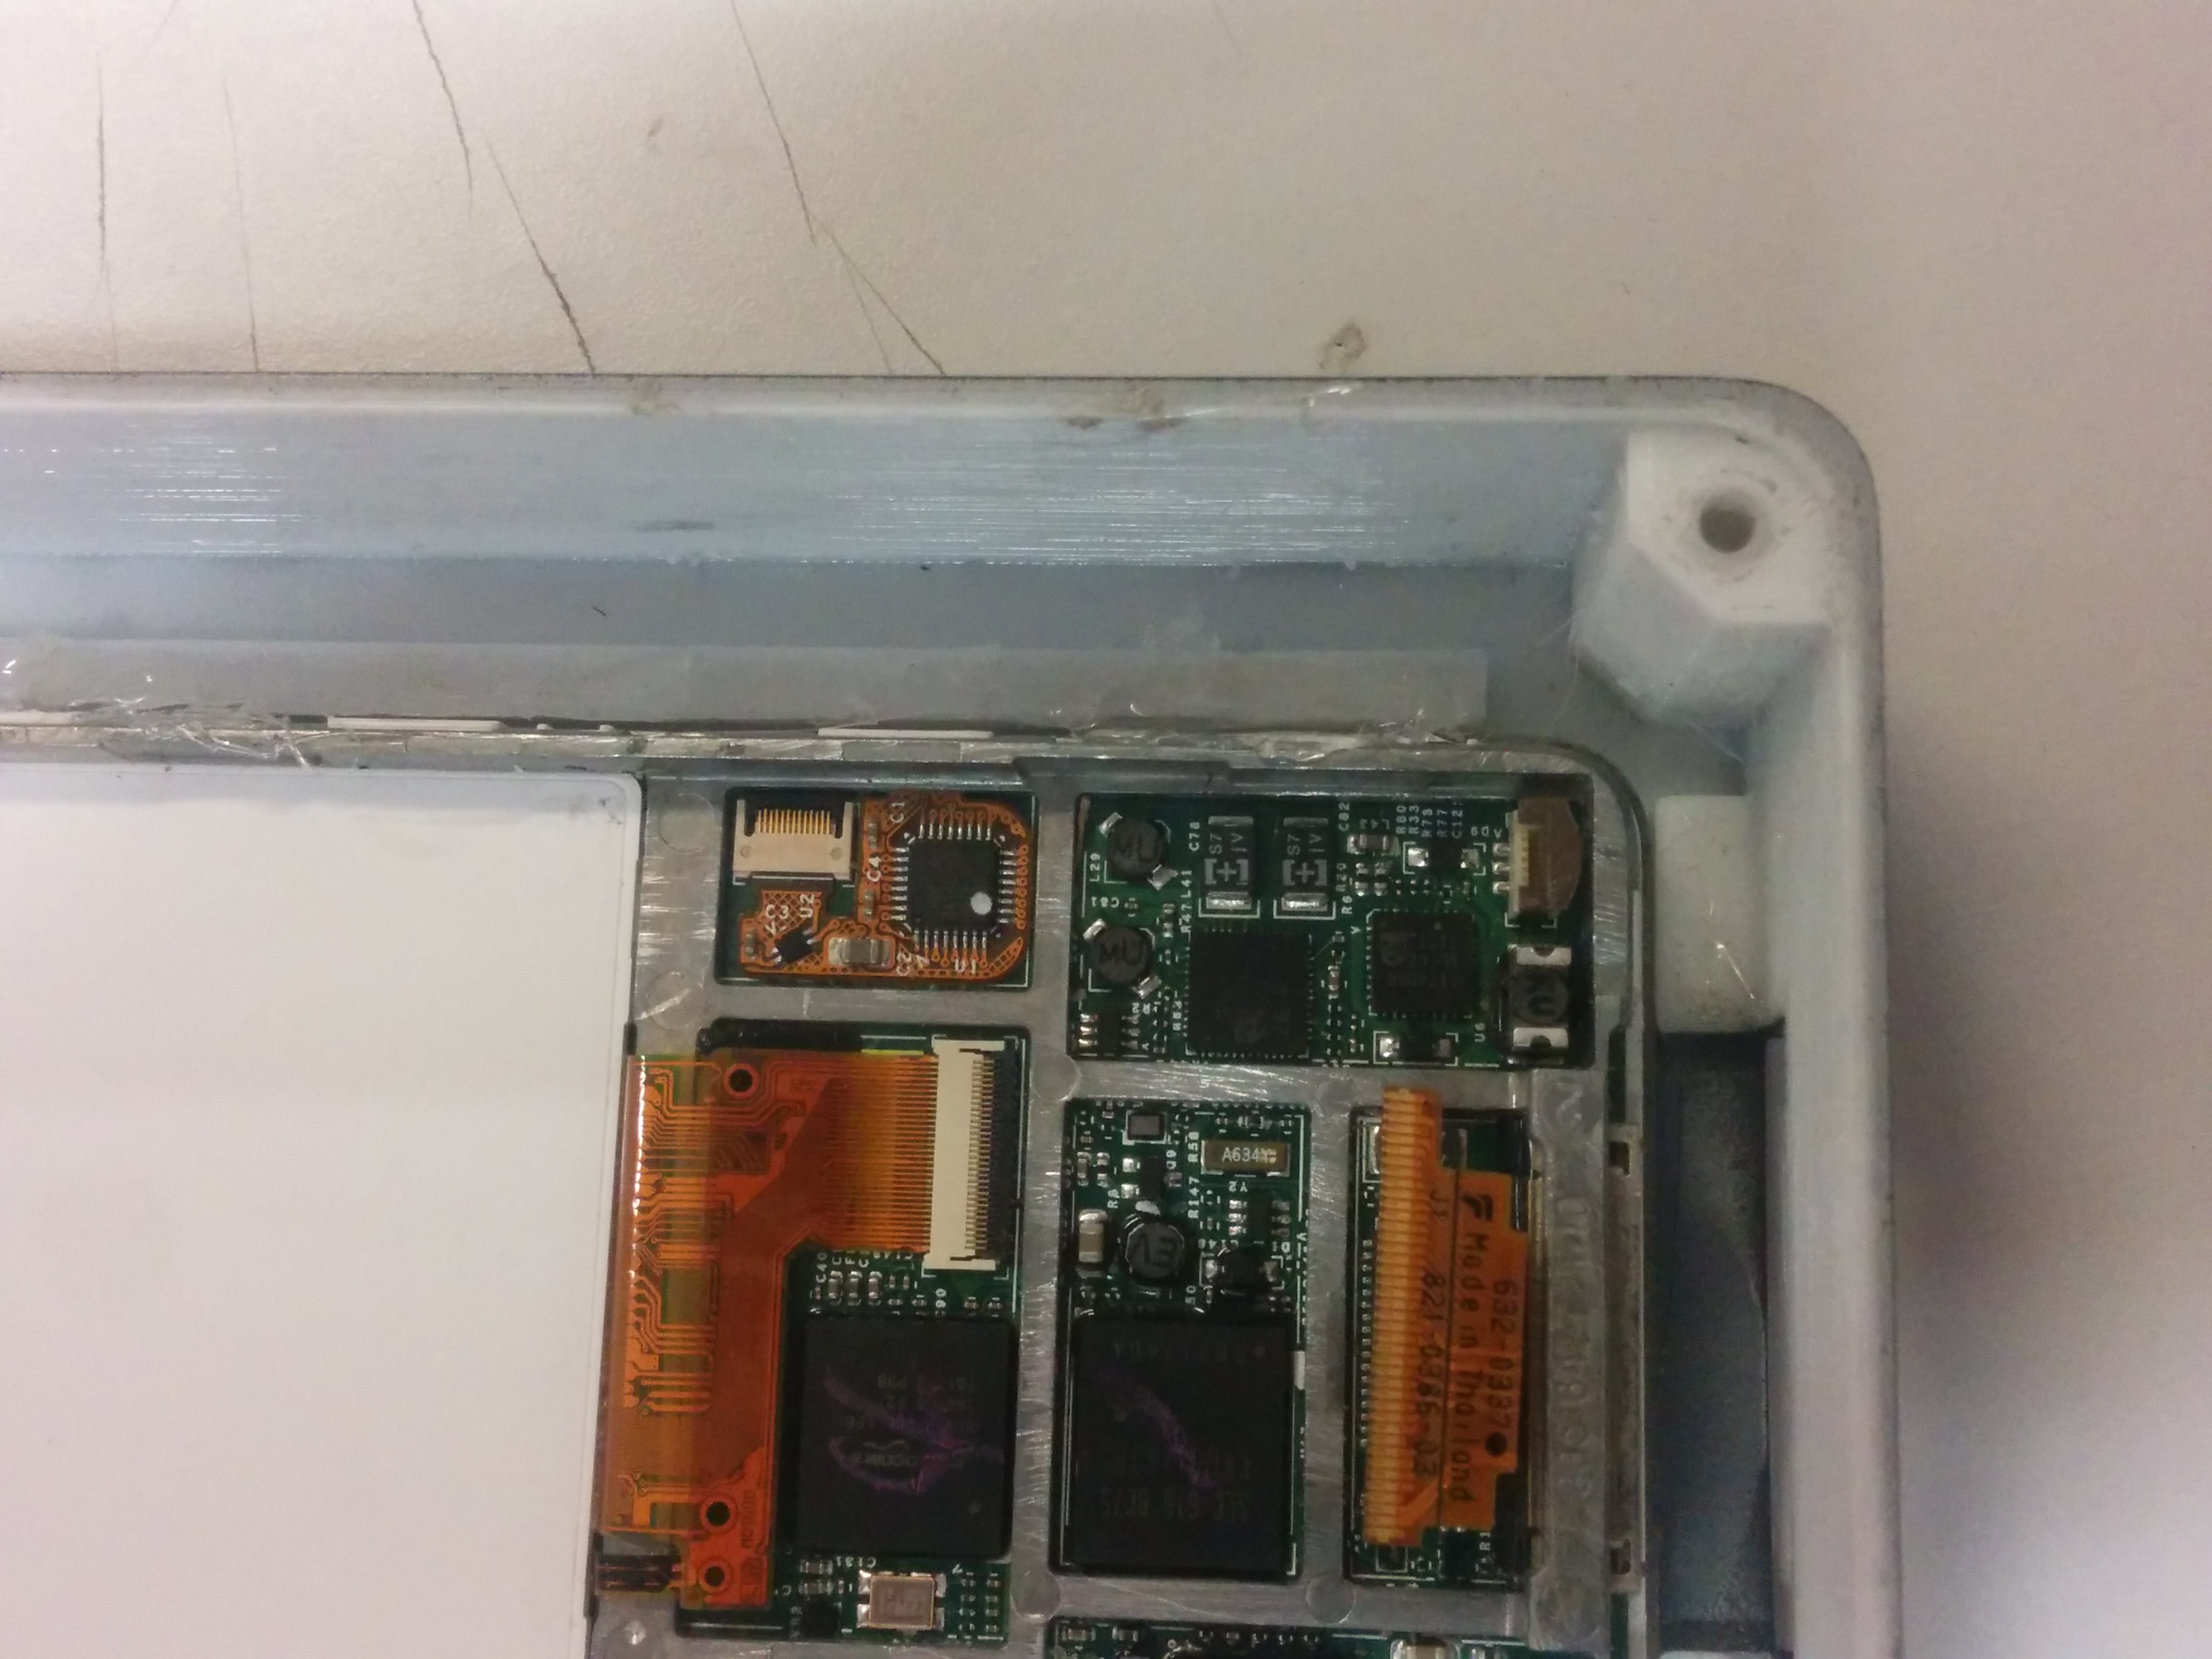
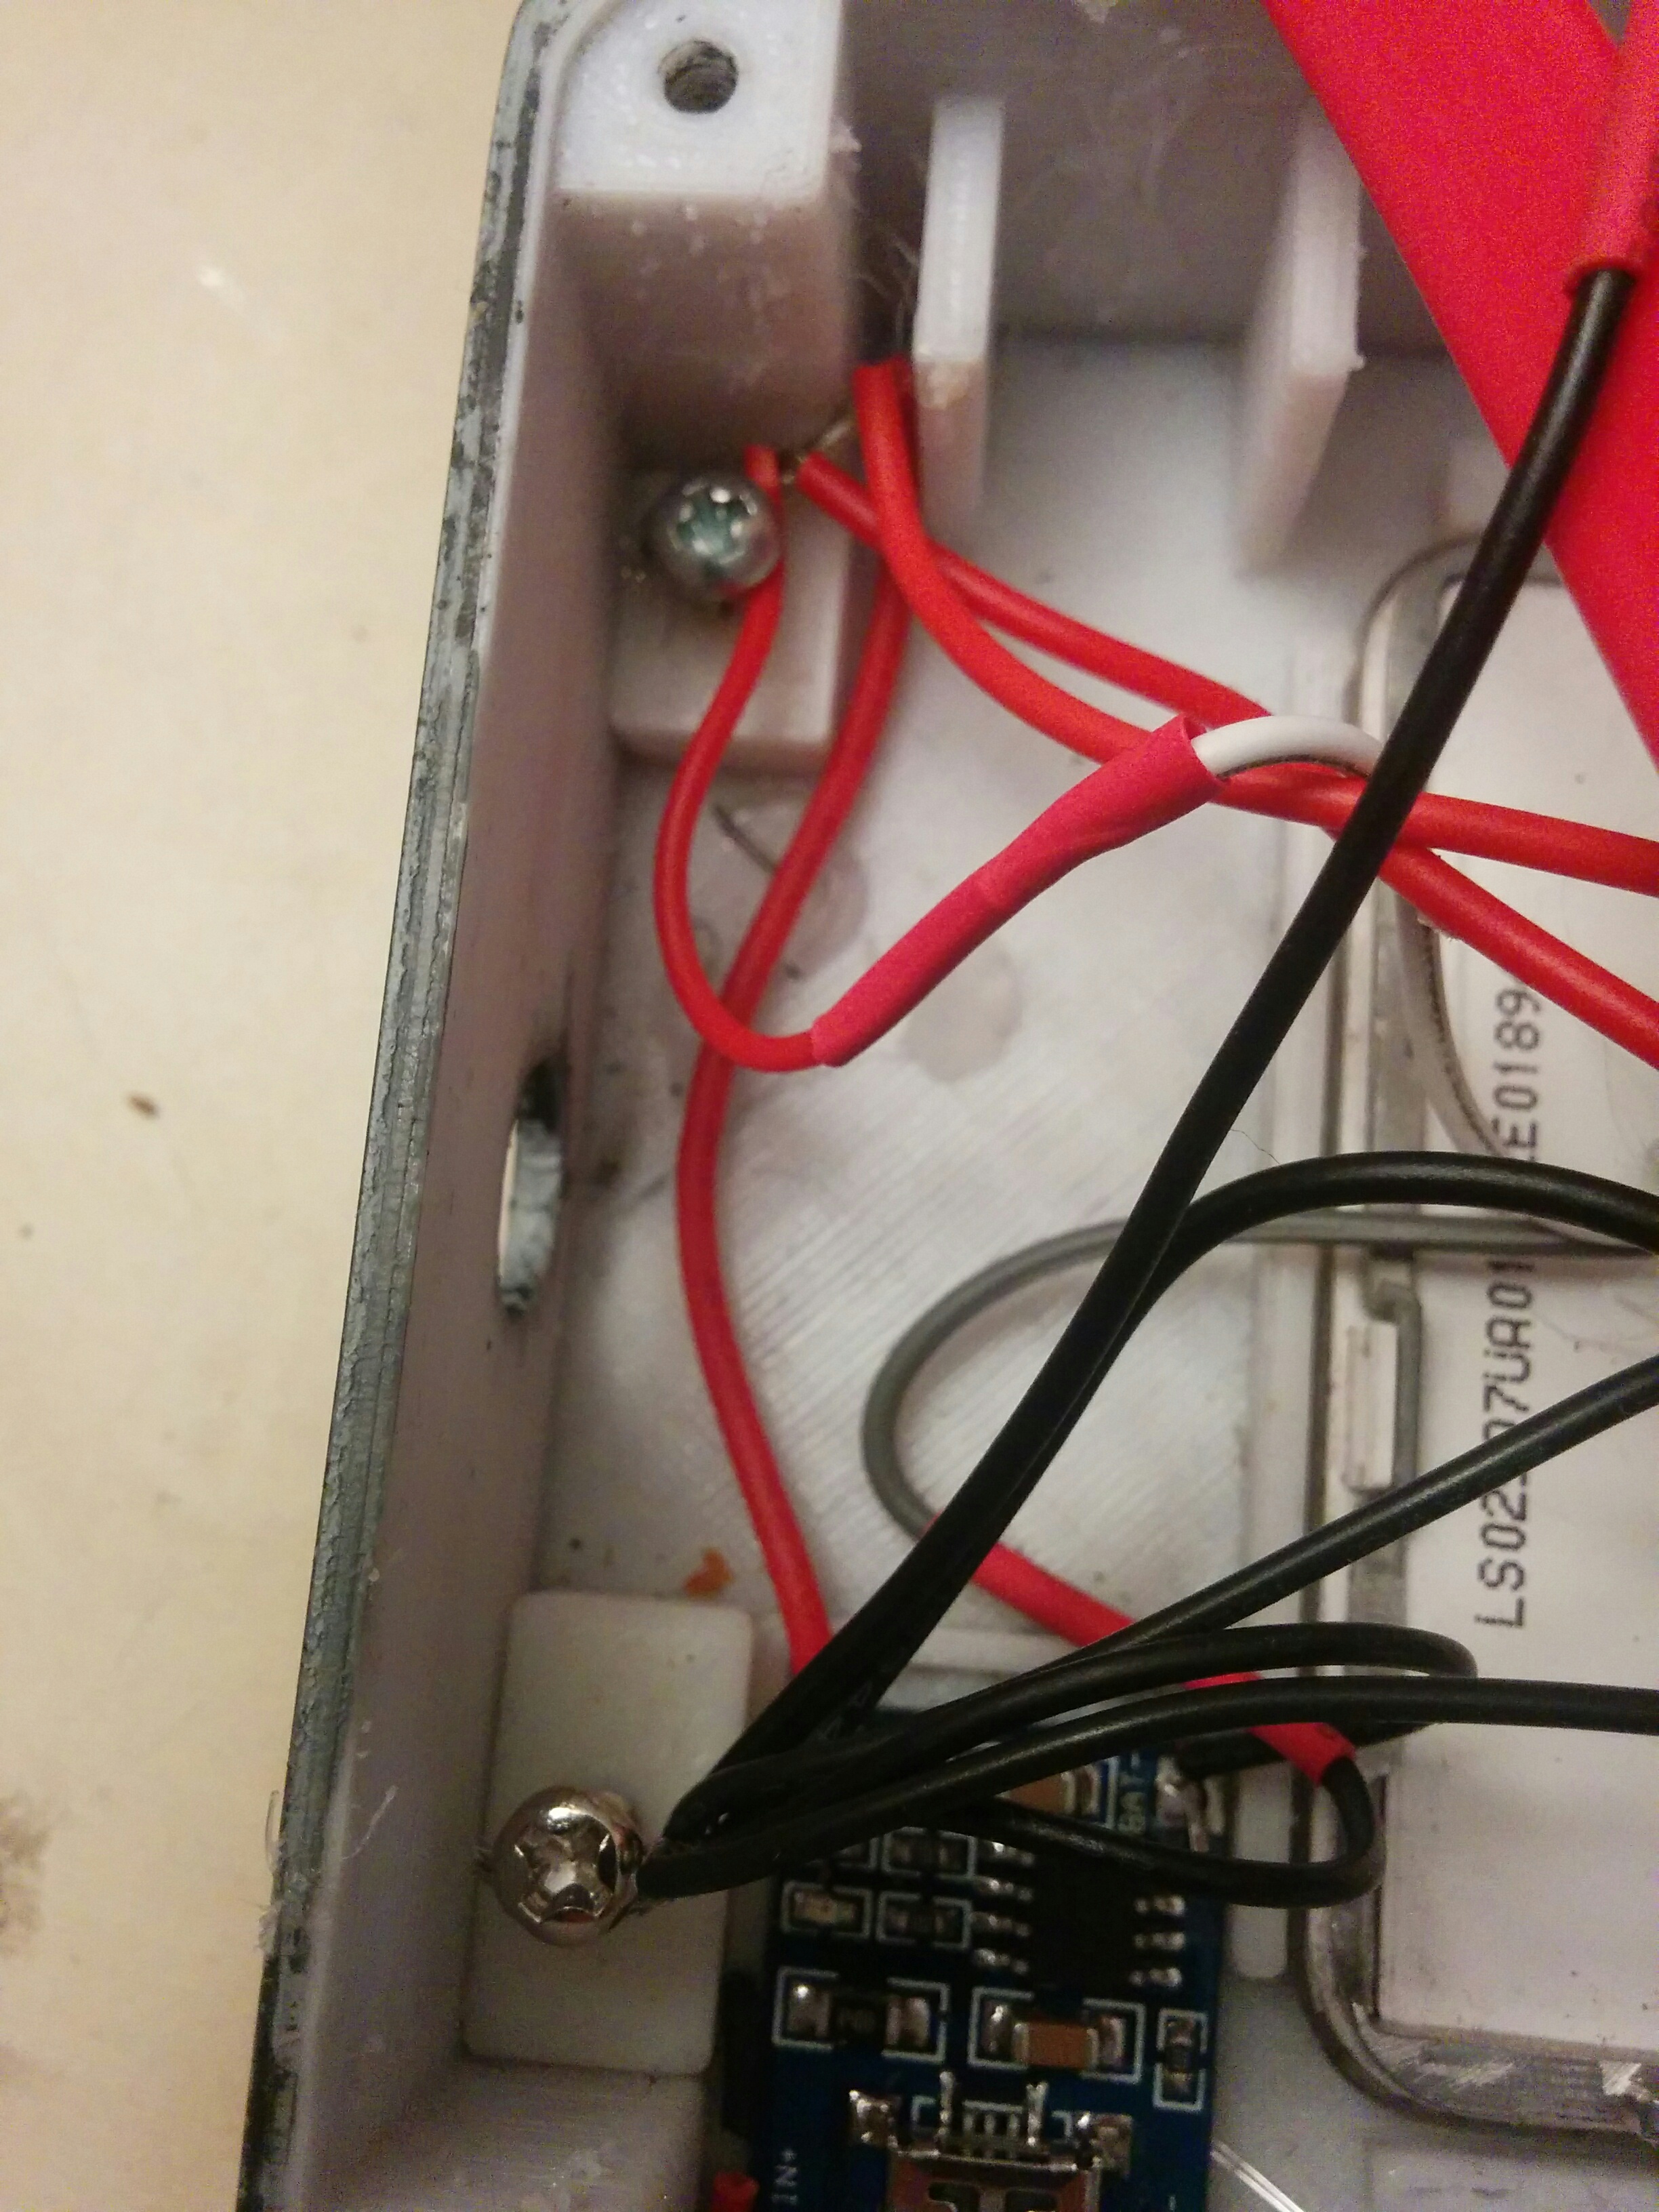
I added some small screws to help with keeping all the wires flush, just wrap them around to help figure out length and to glue to later.
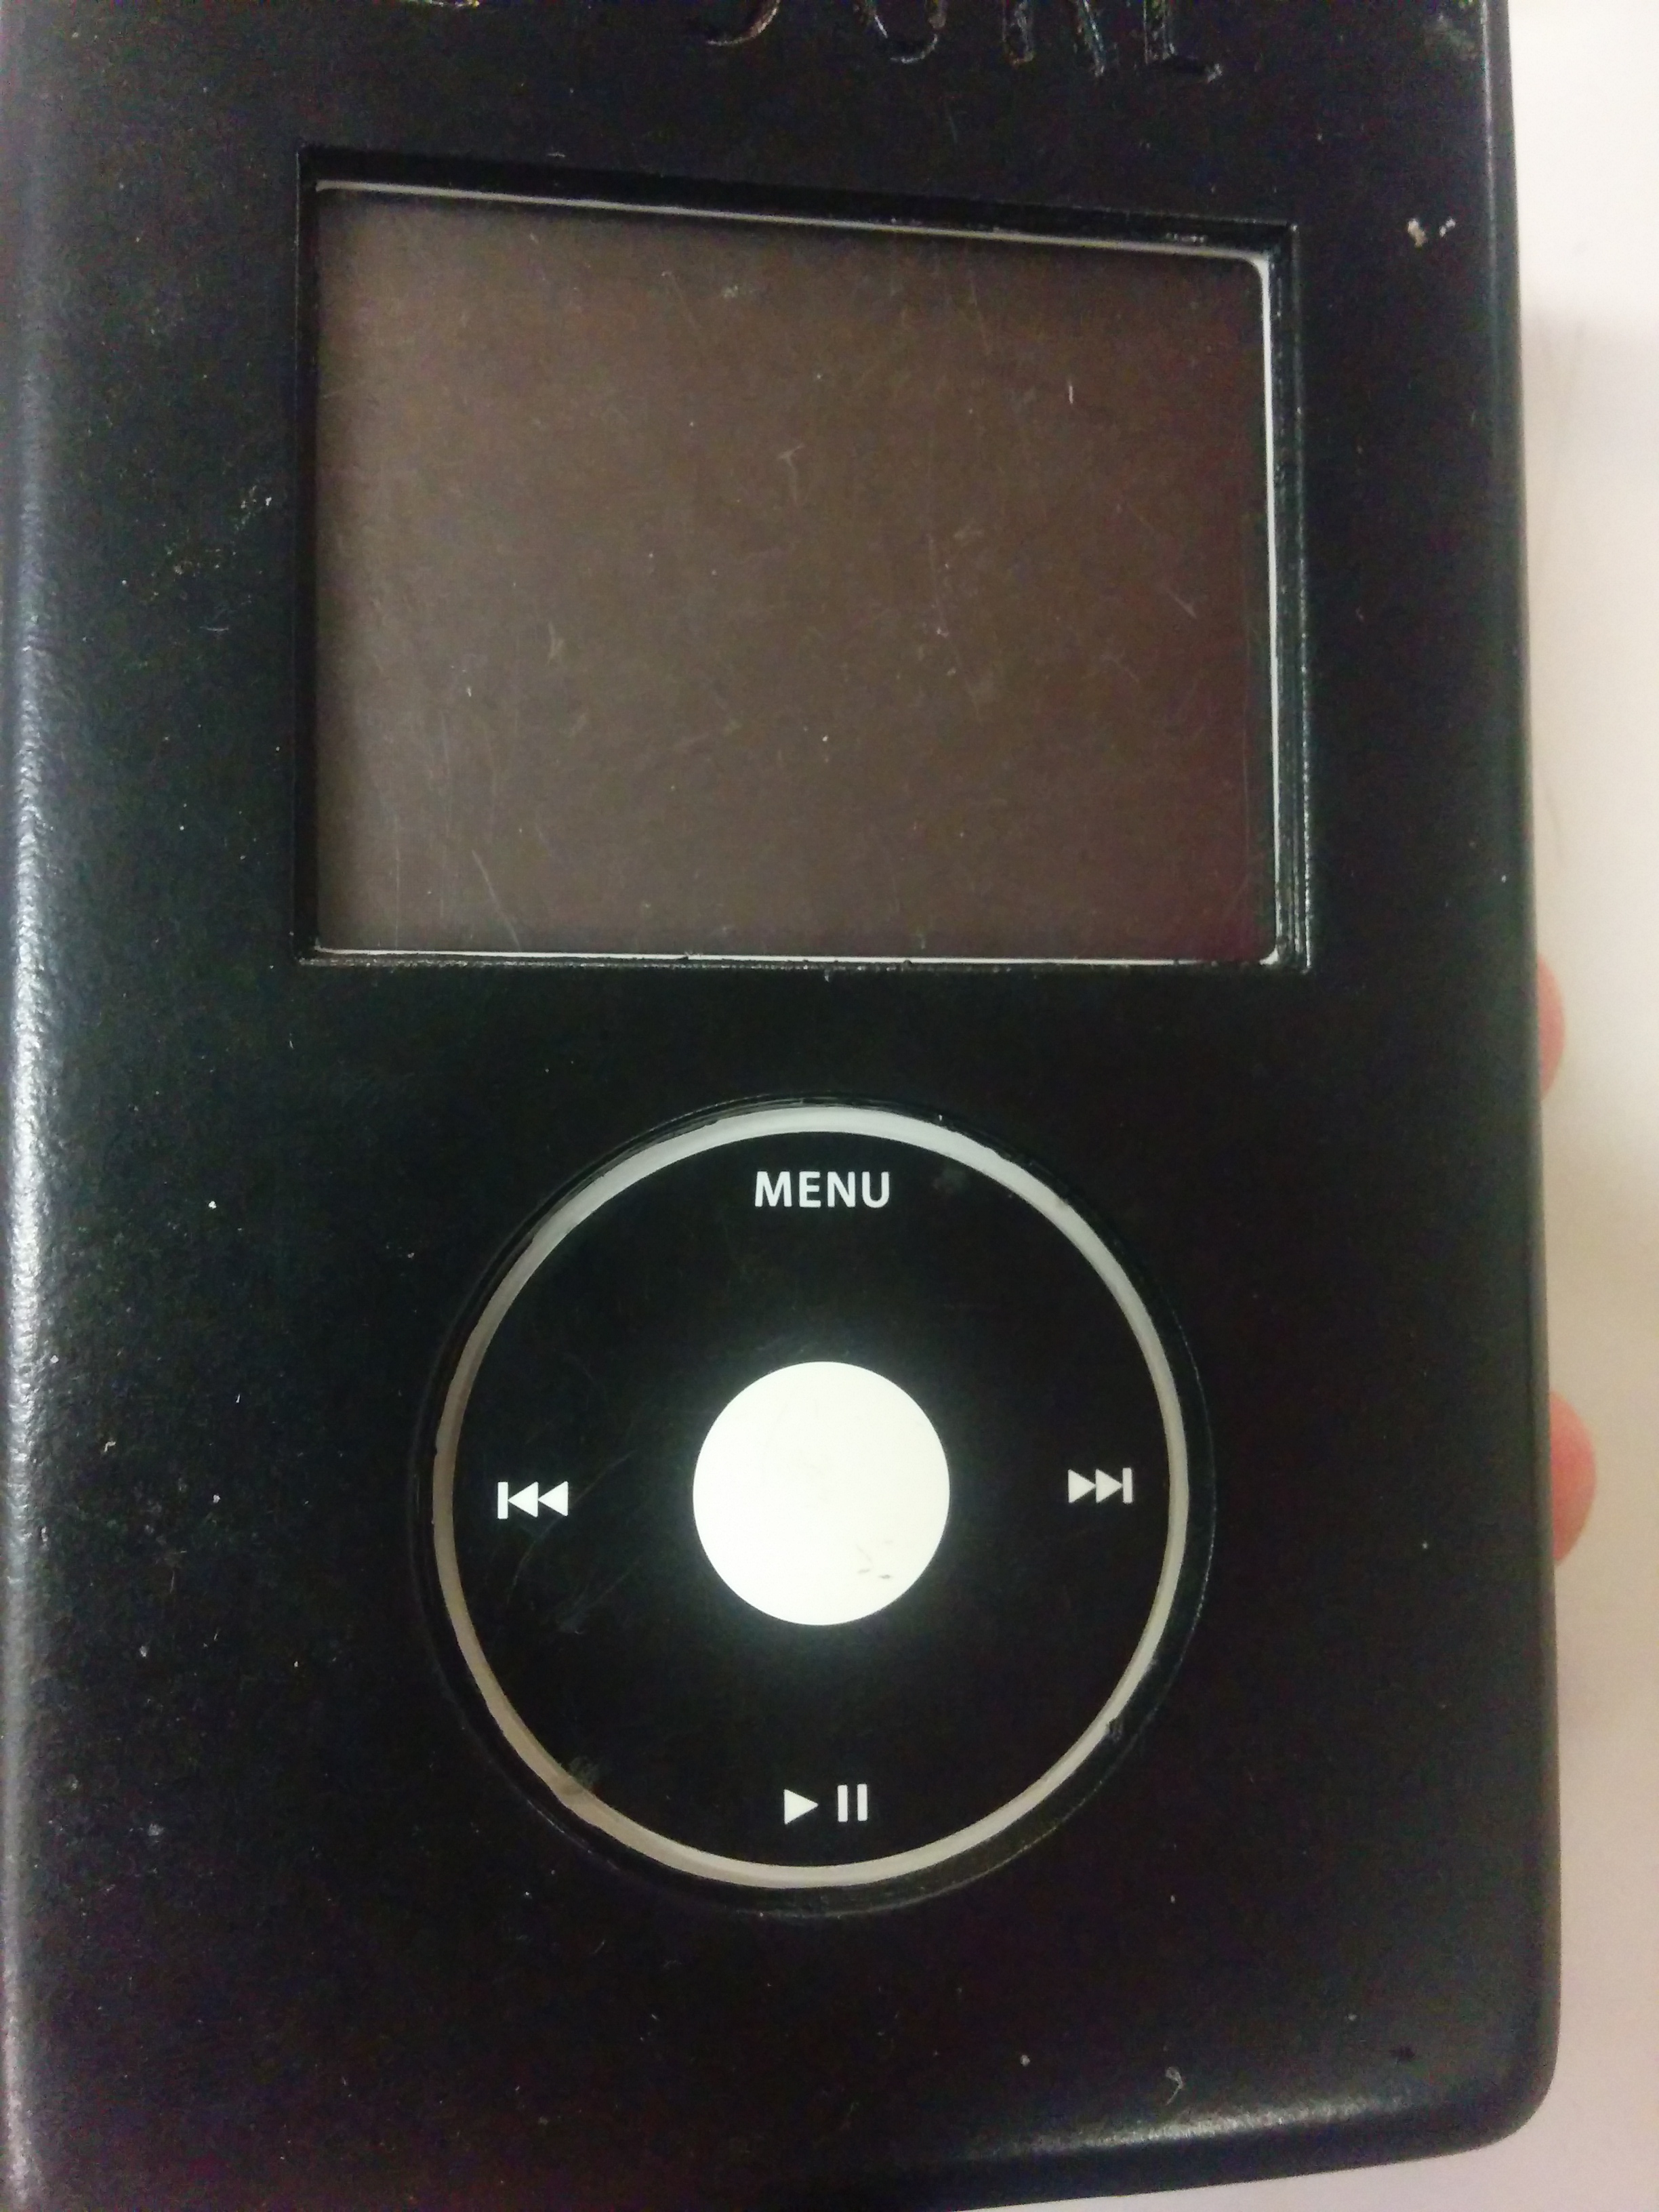
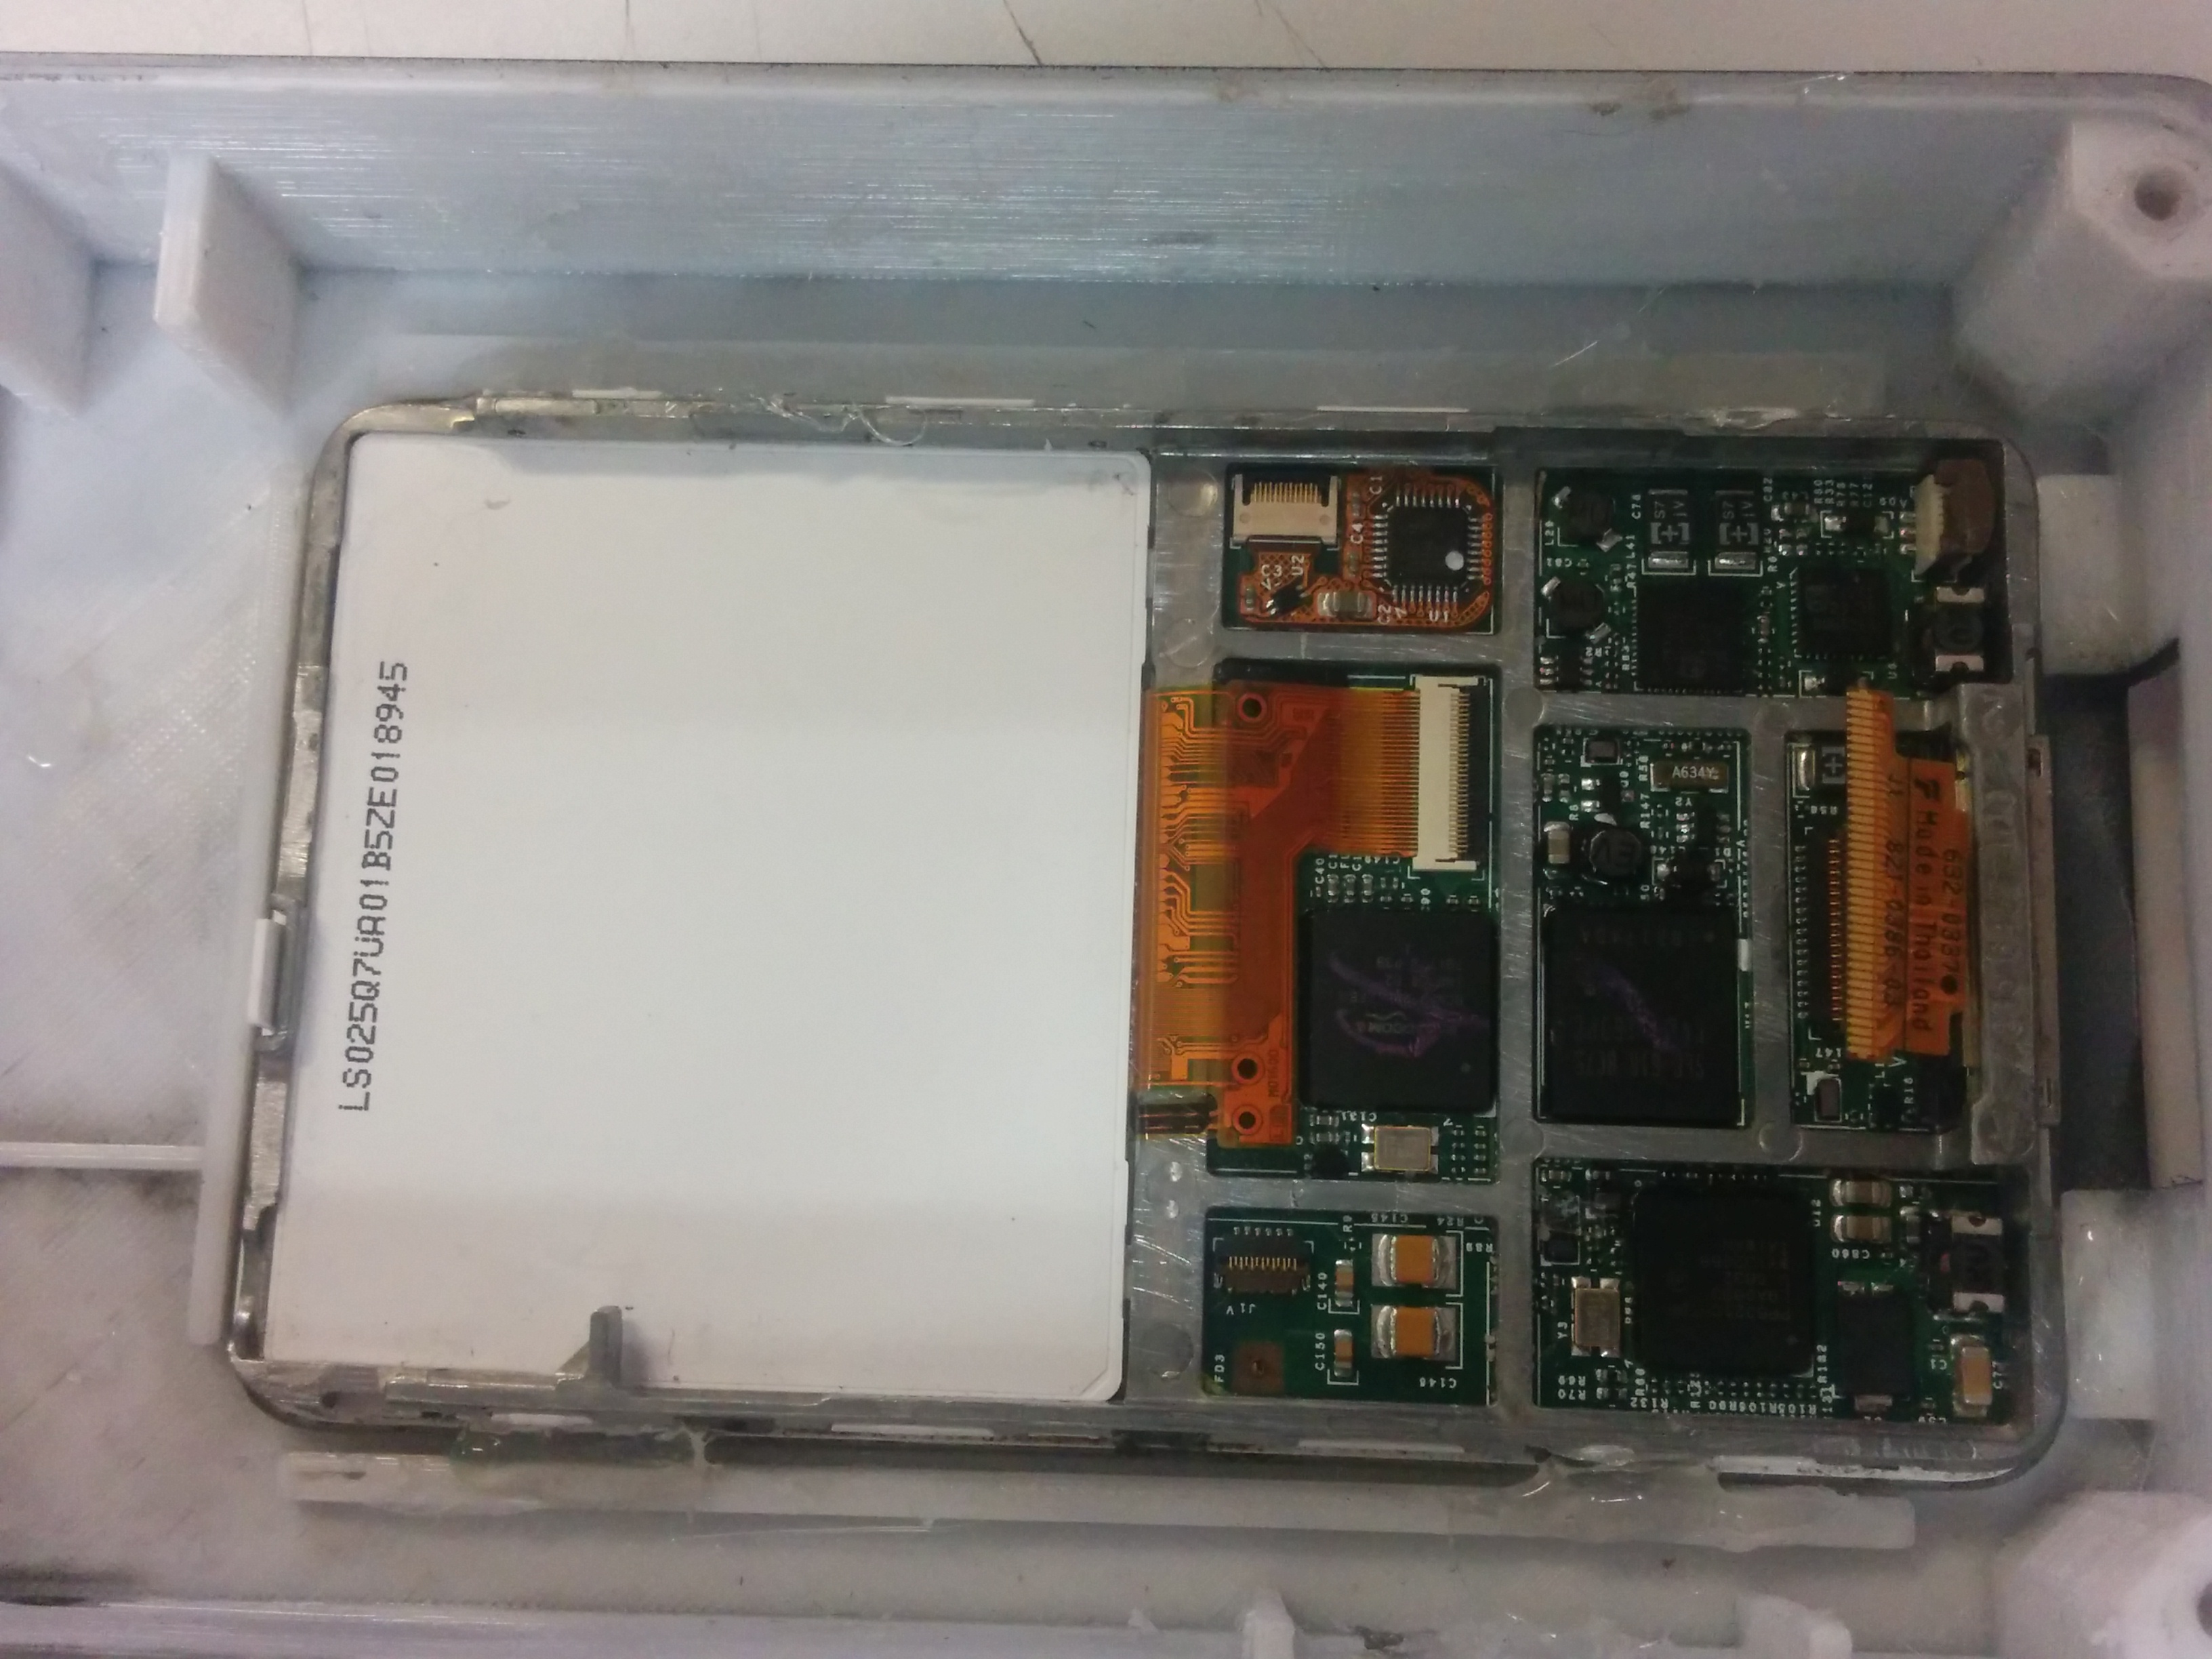
Strip out the ipod and line up the front inside the case. I made it a bit loose since some printers do different thickness. Once lined up some hot glue to hold it into place. Stuff is pretty strong and can be removed later for any repairs or upgrades.
Battery Connector
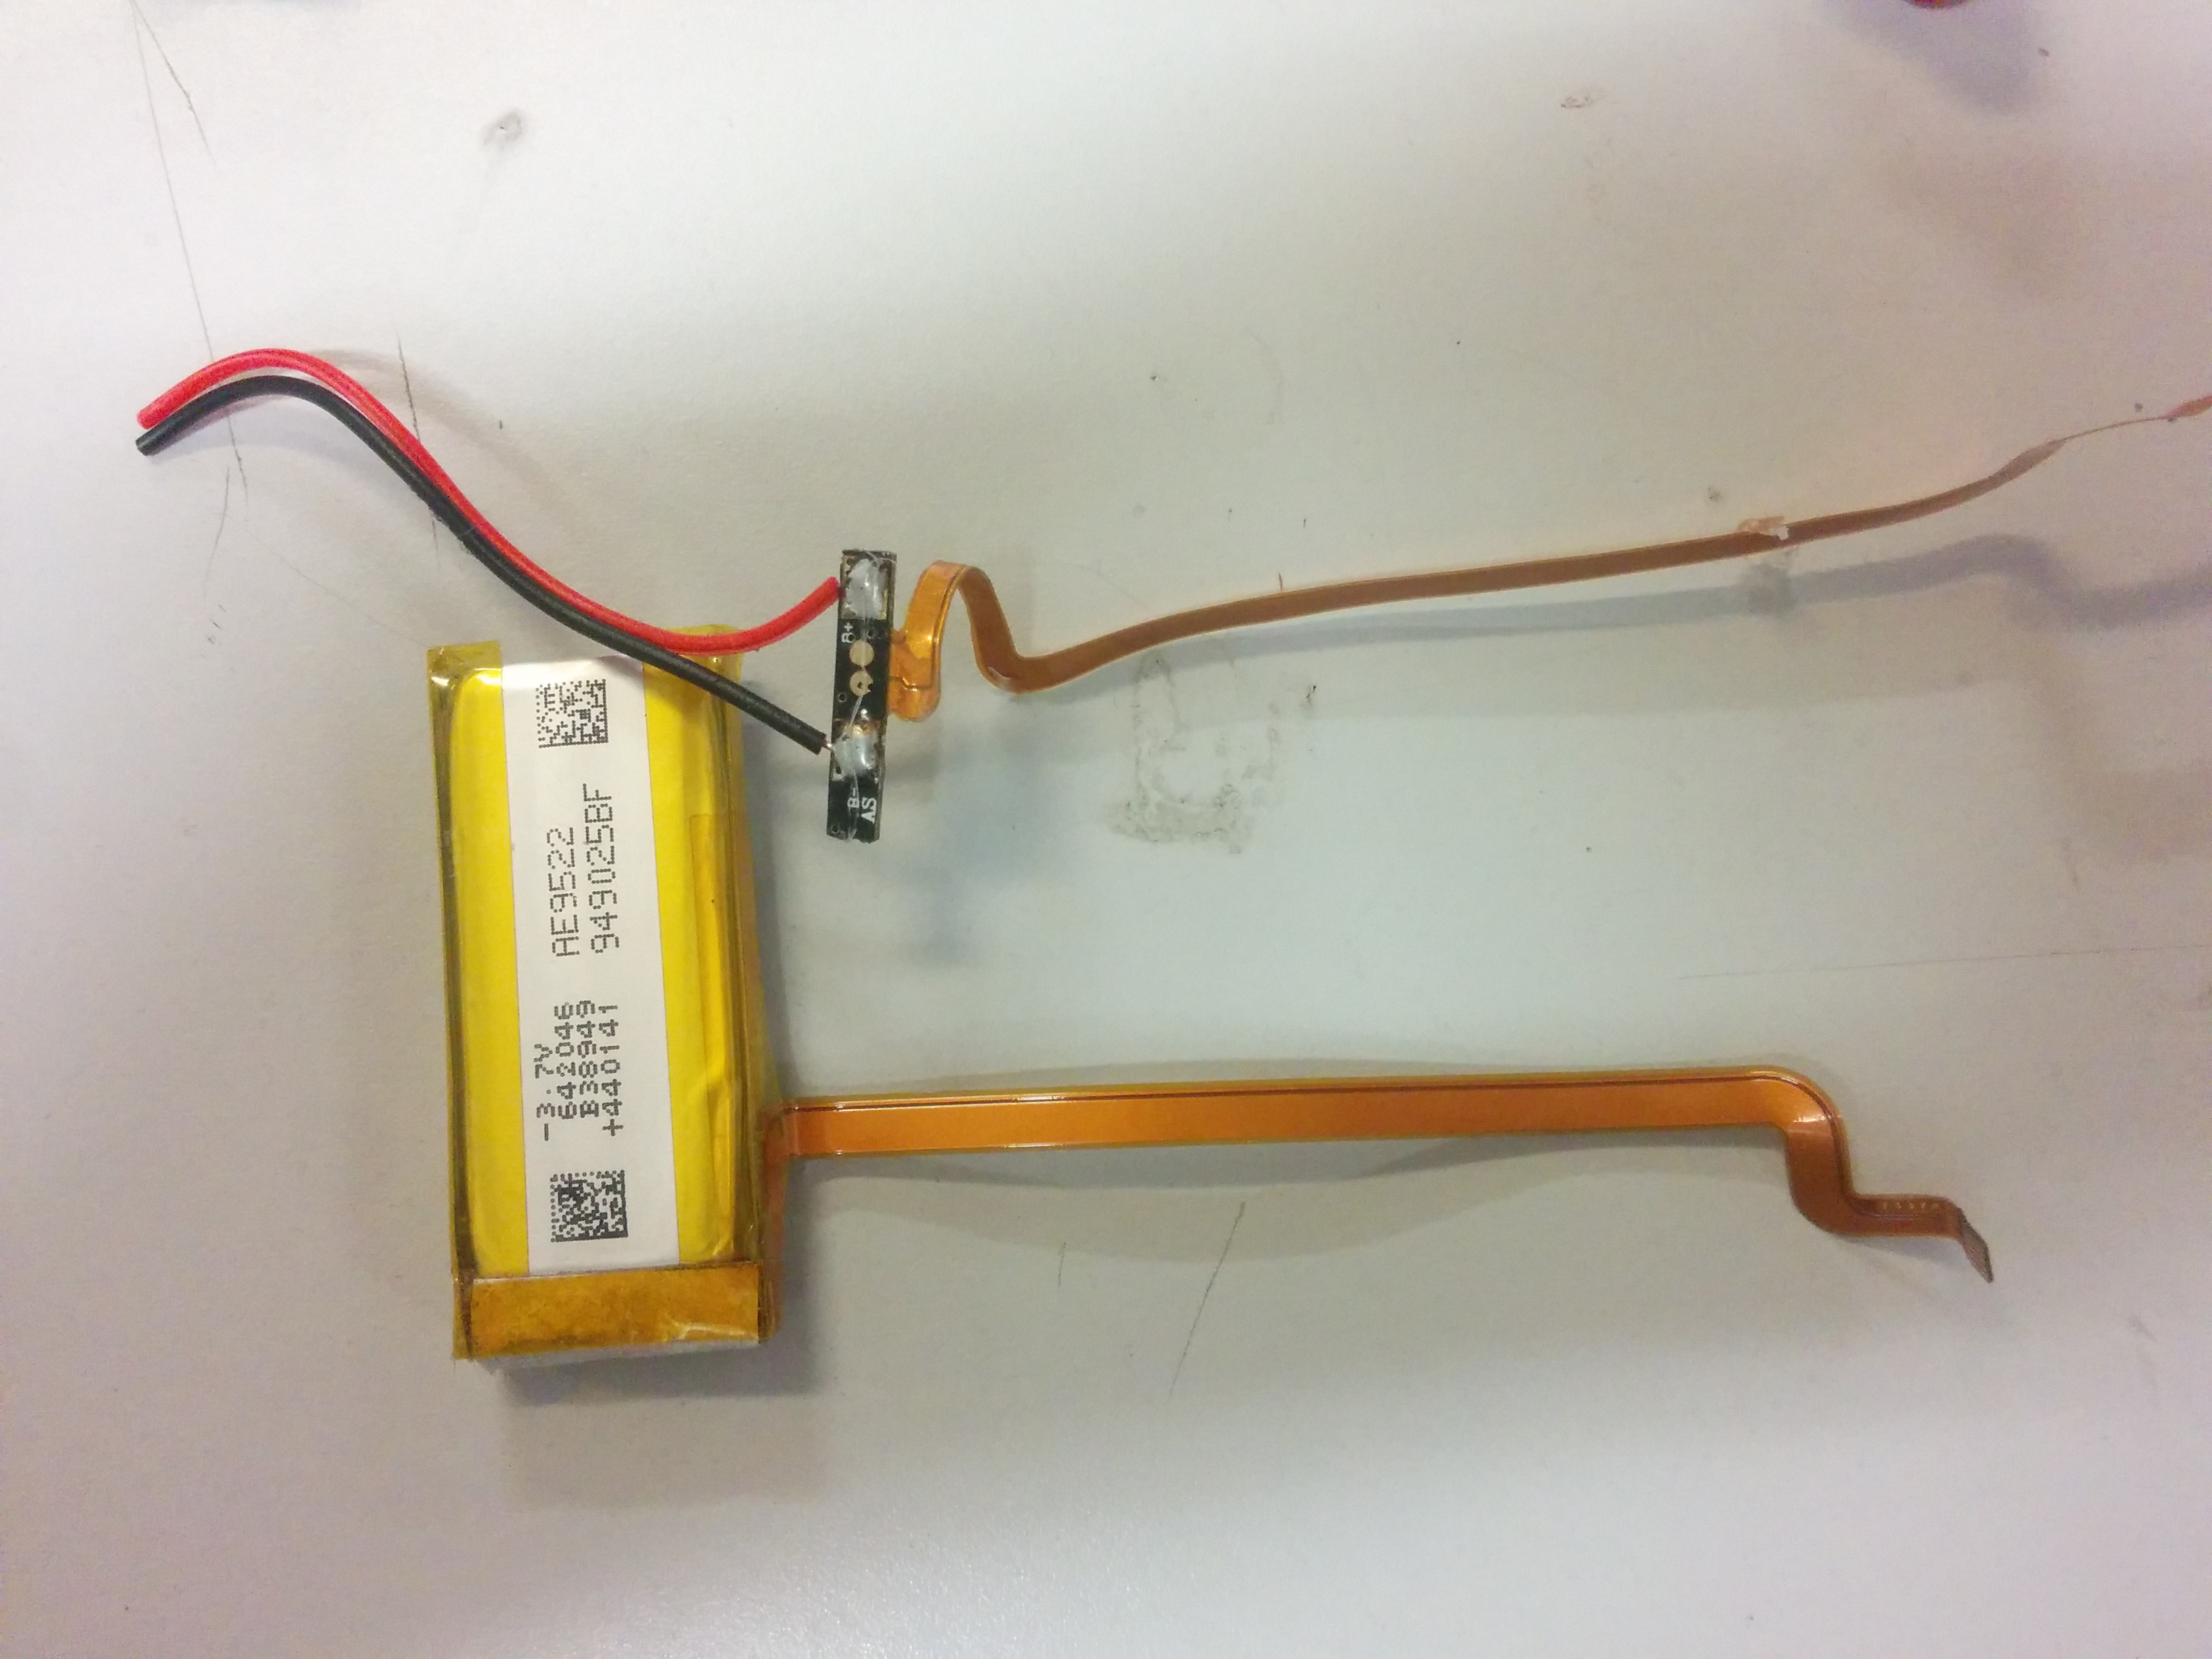
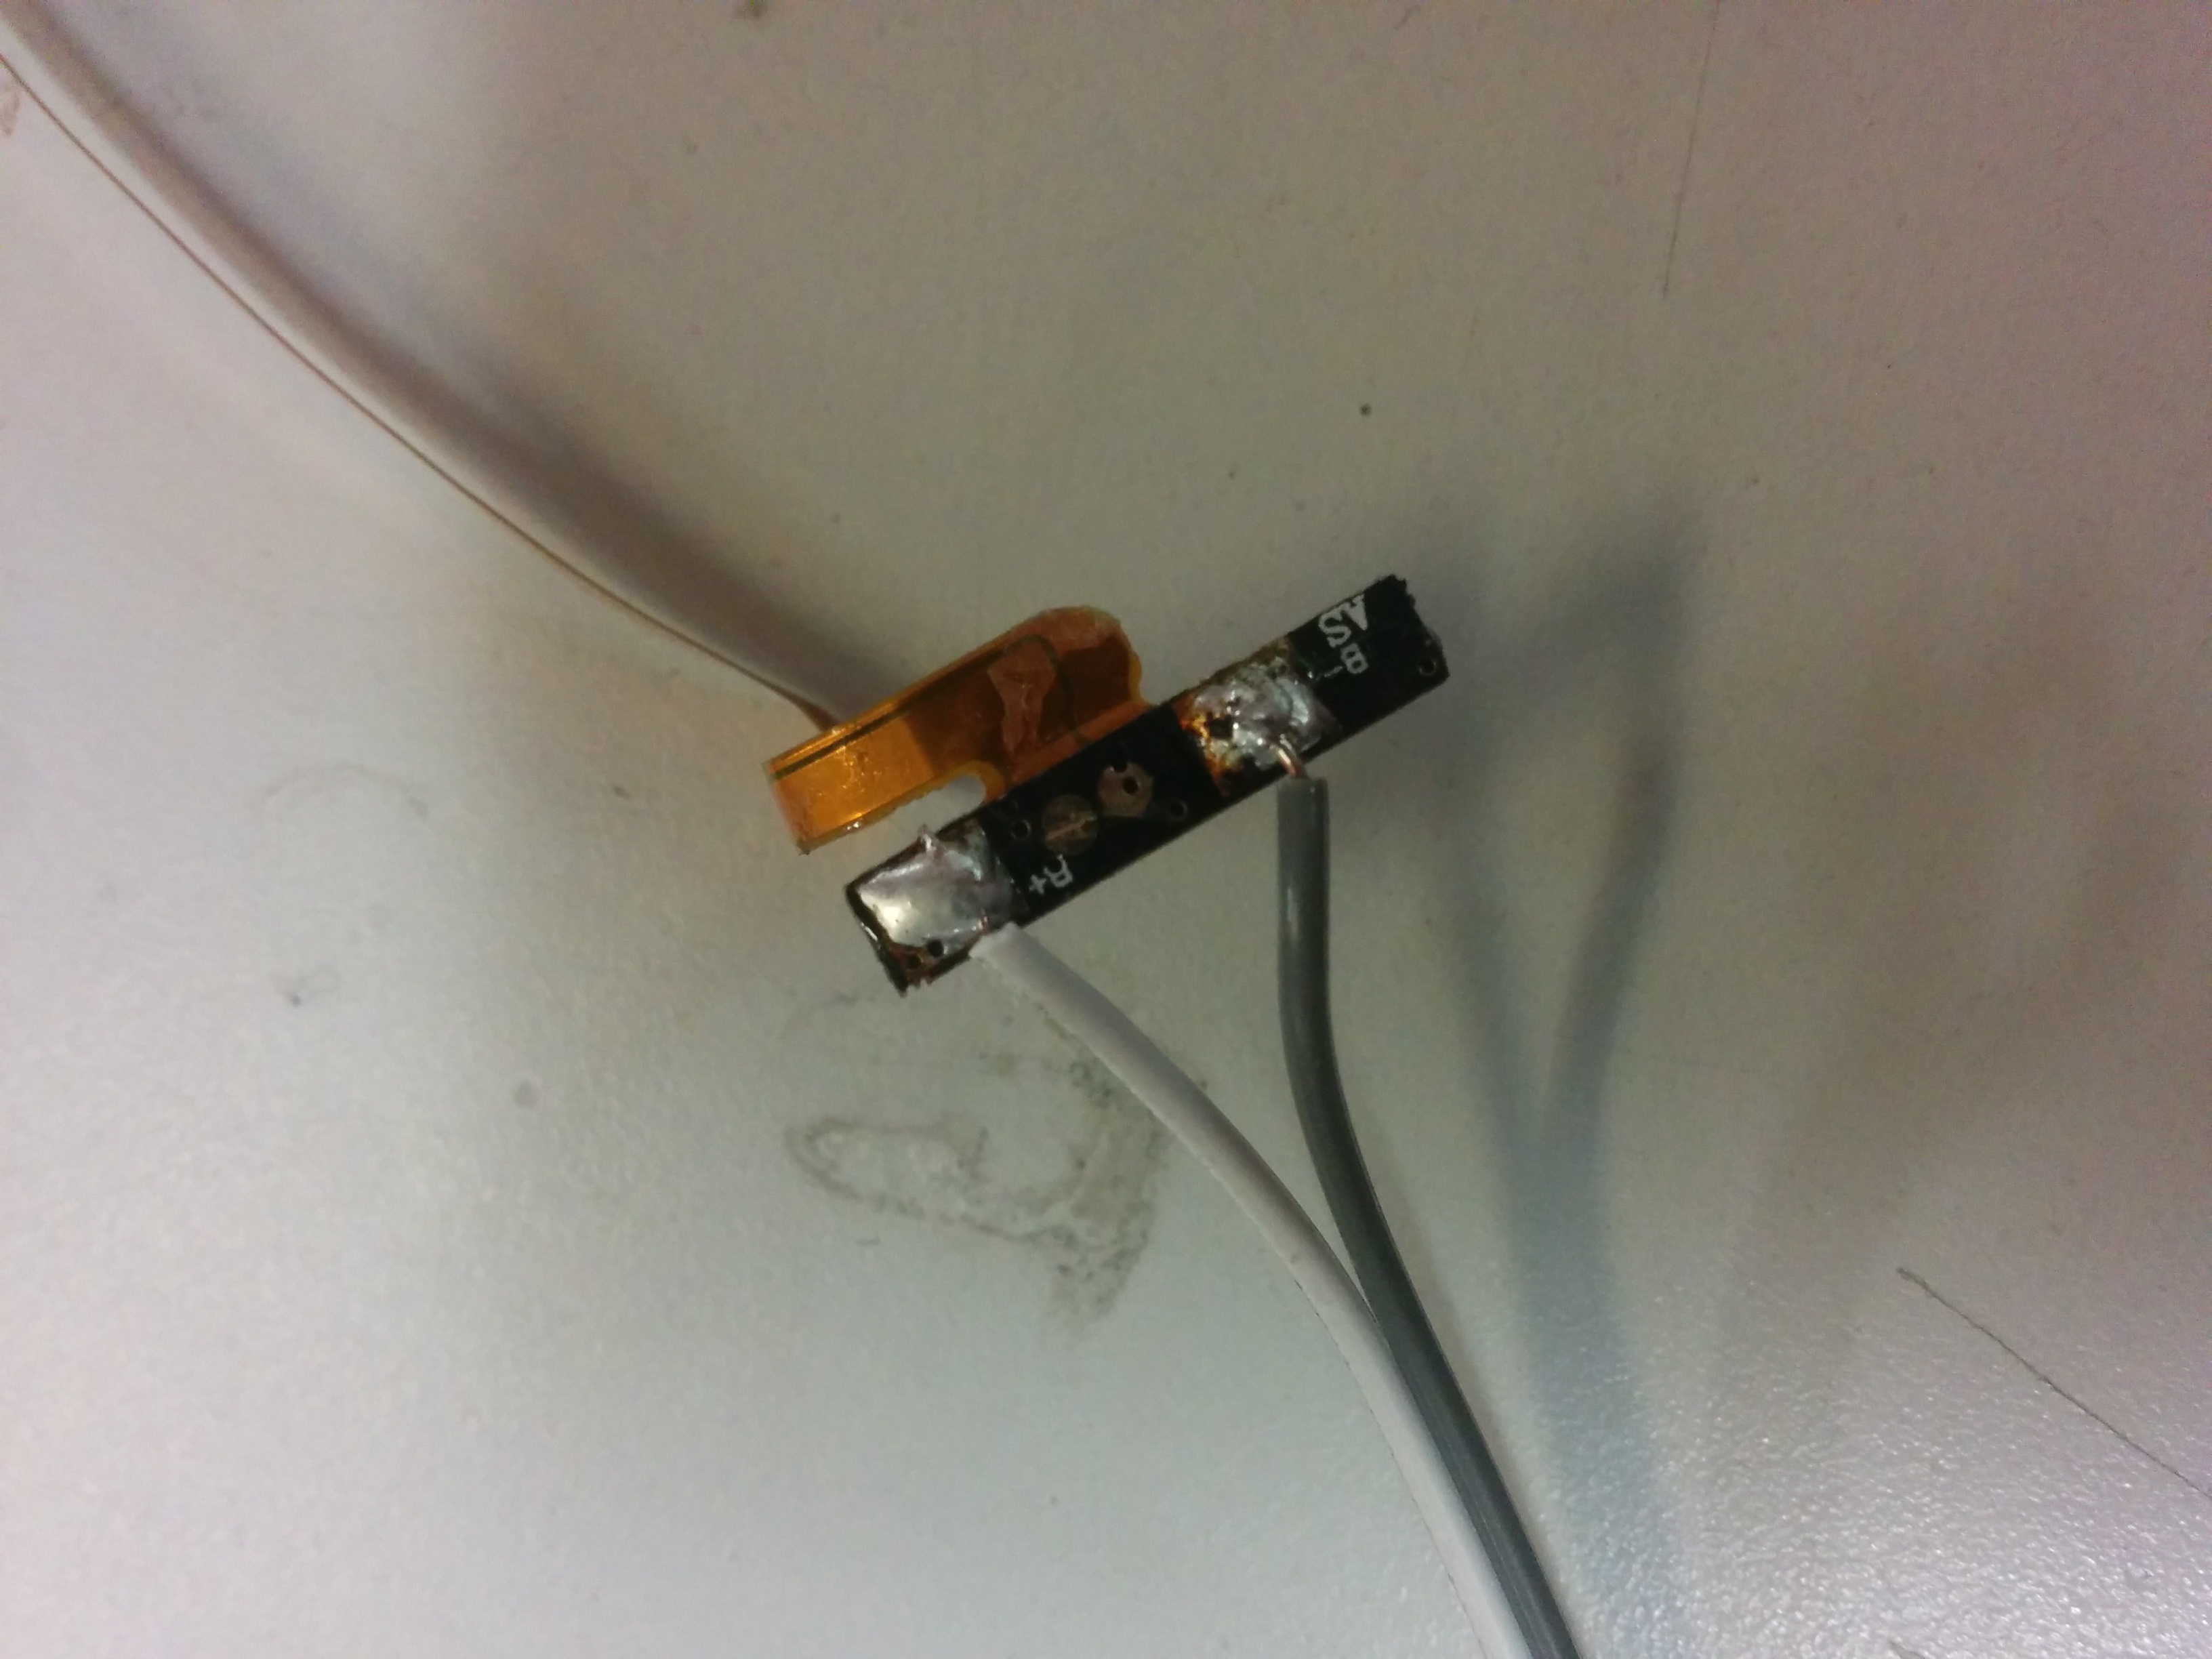
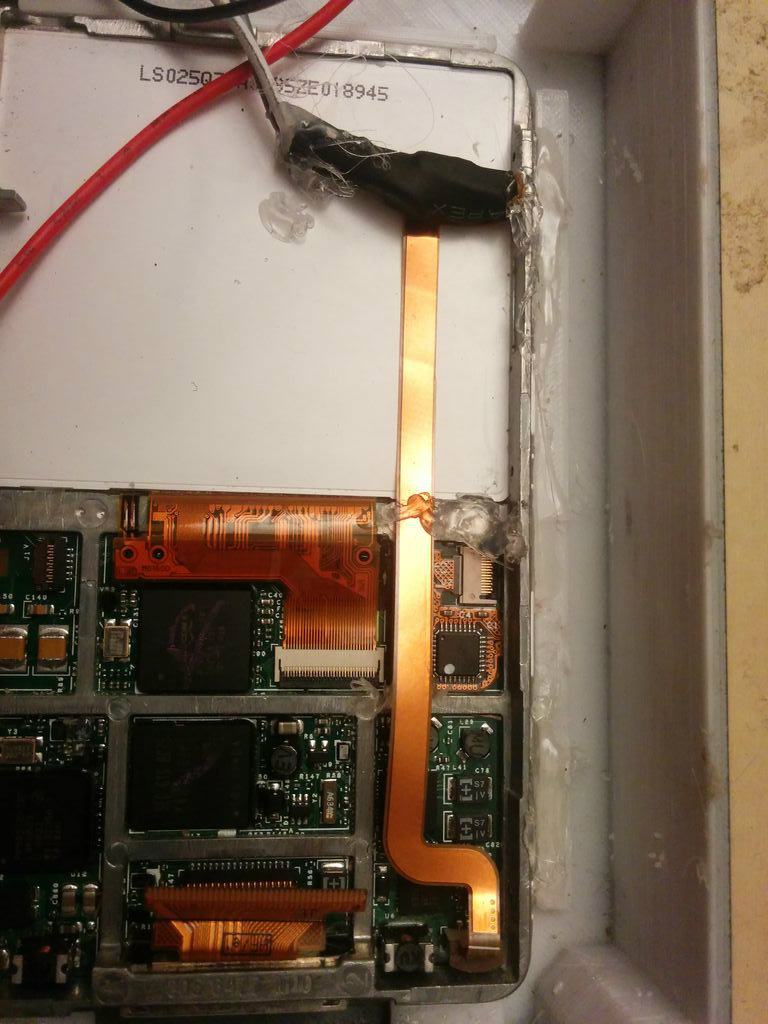
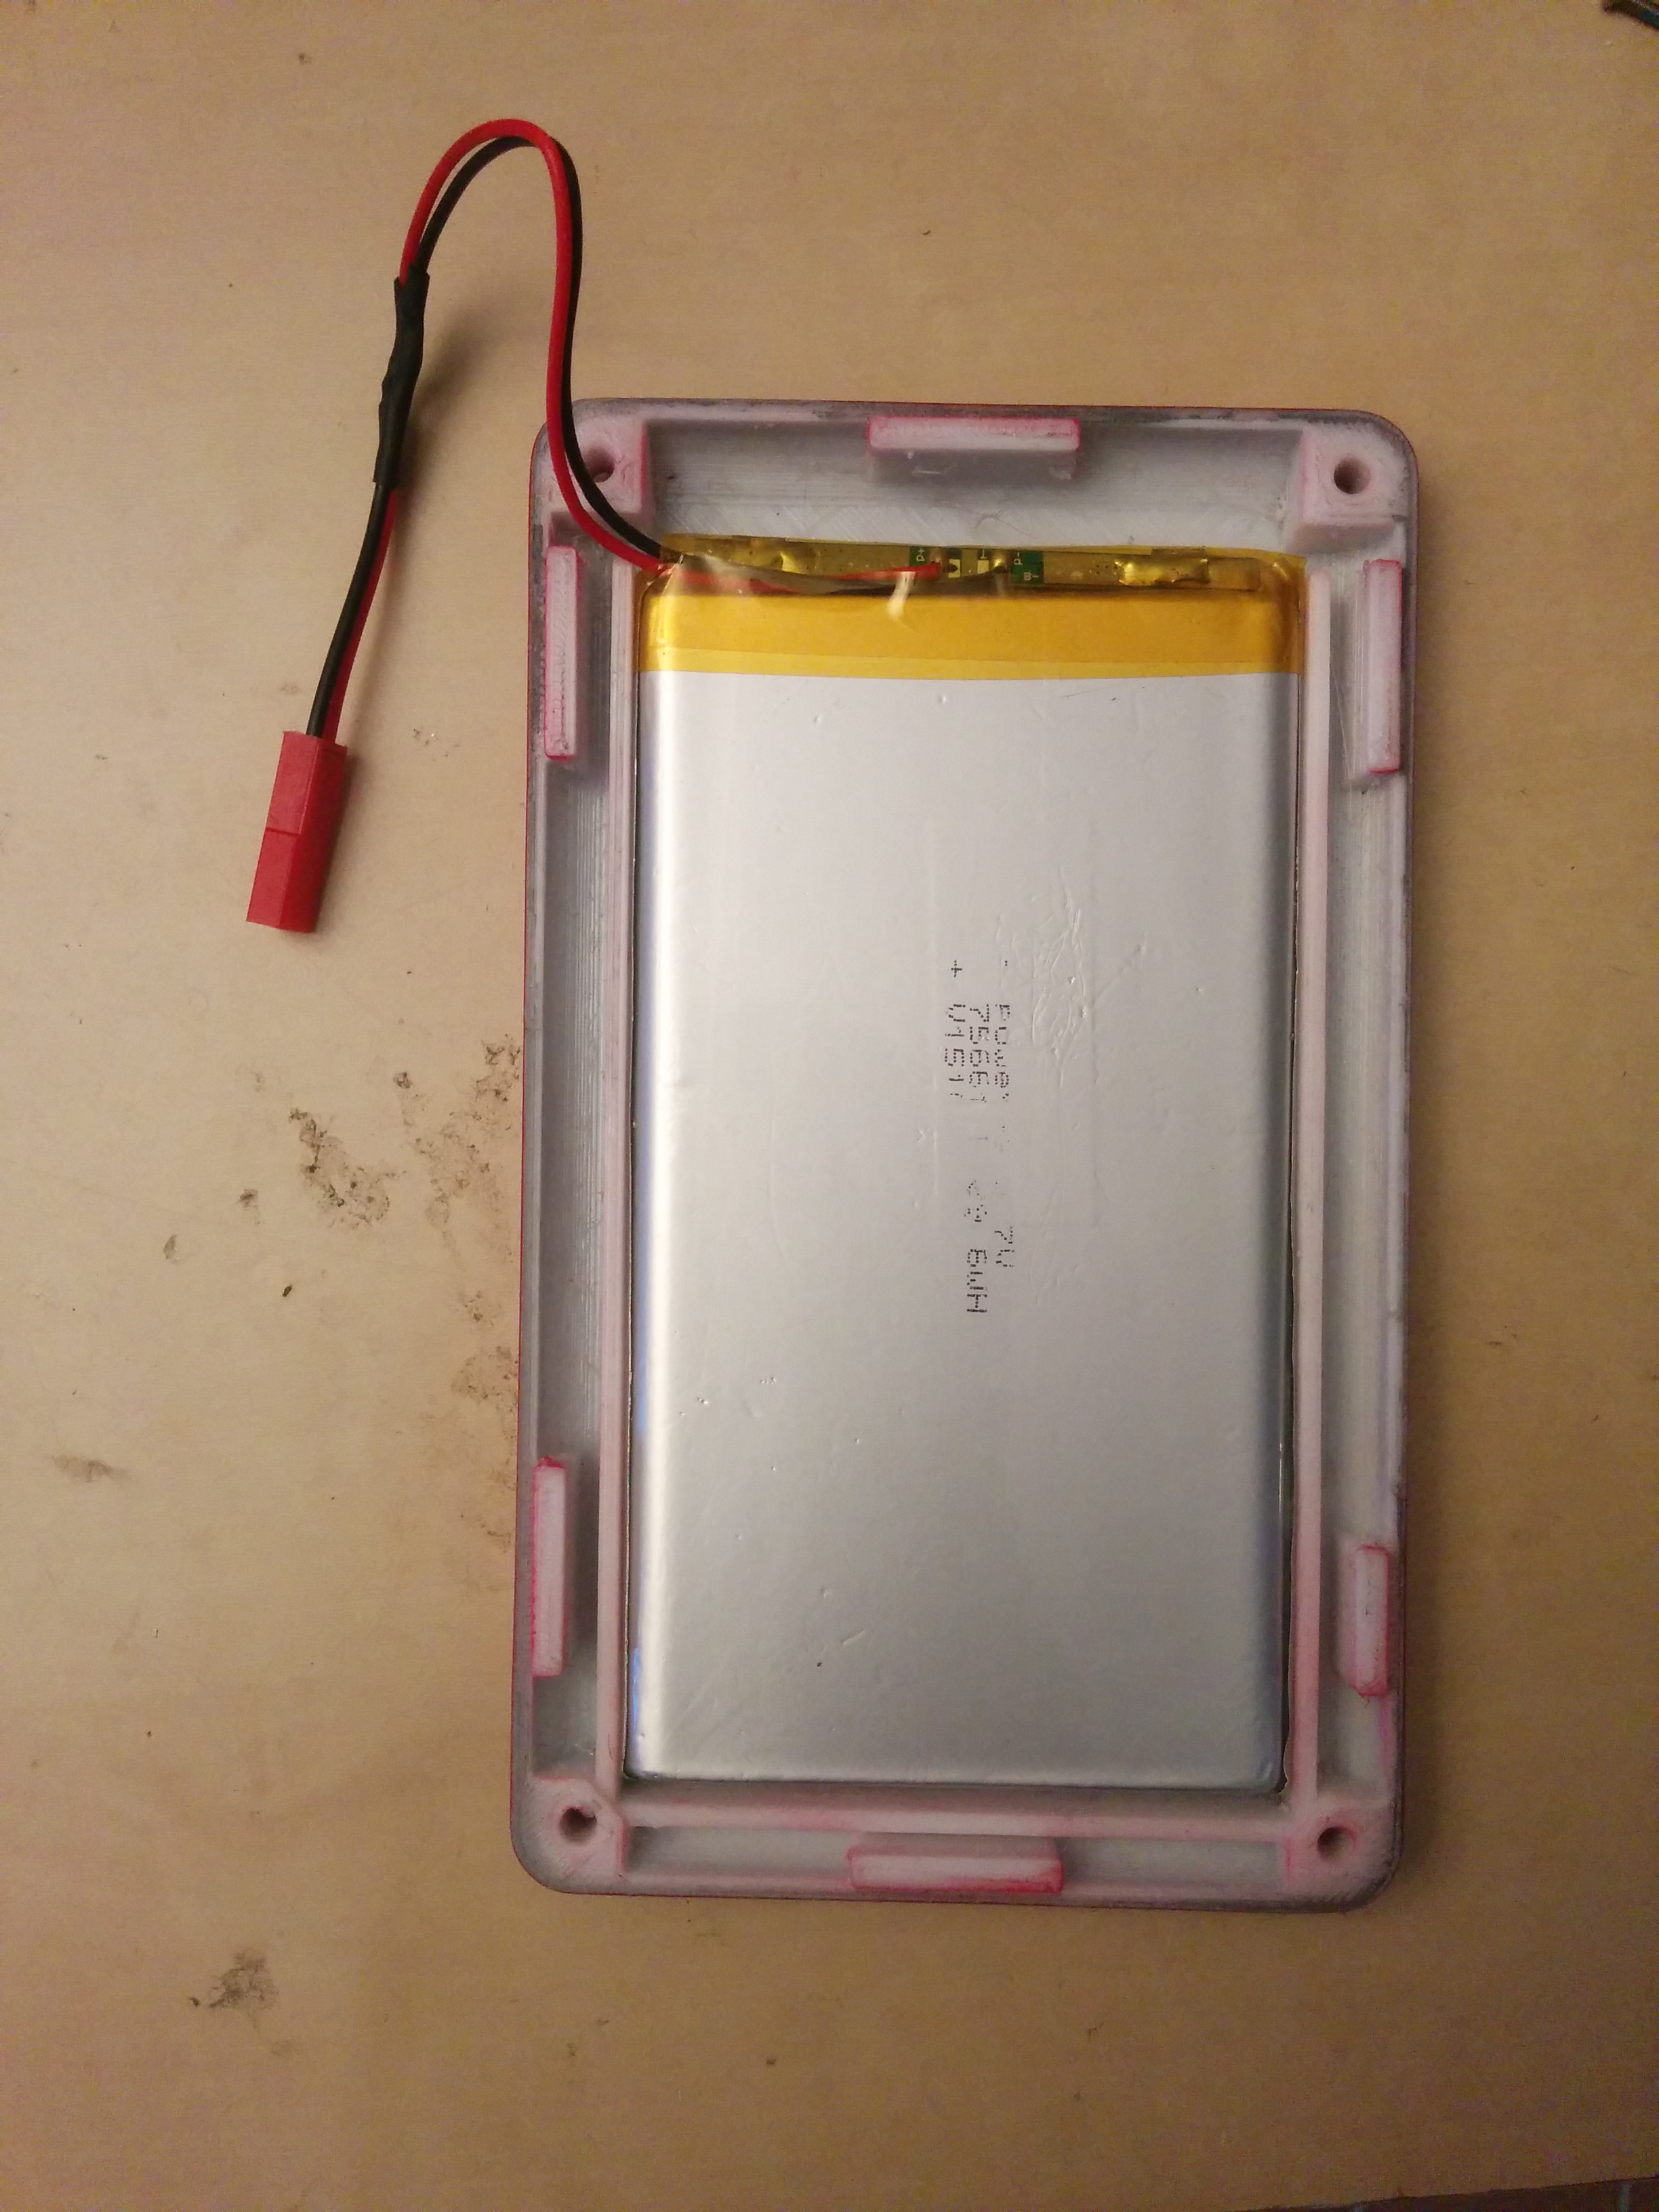
Take apart your battery carefully and solder some wires onto the circuit board.
I used a piece of shrink tubing to keep it covered and held together.
Clip it into the ipod and some glue to help hold it into place.
Also wire up your connector to your battery. If your using the same battery as the one I purchased it should fit in great but recommend some double sided tape to help hold it into place.
Sata Cable Prep
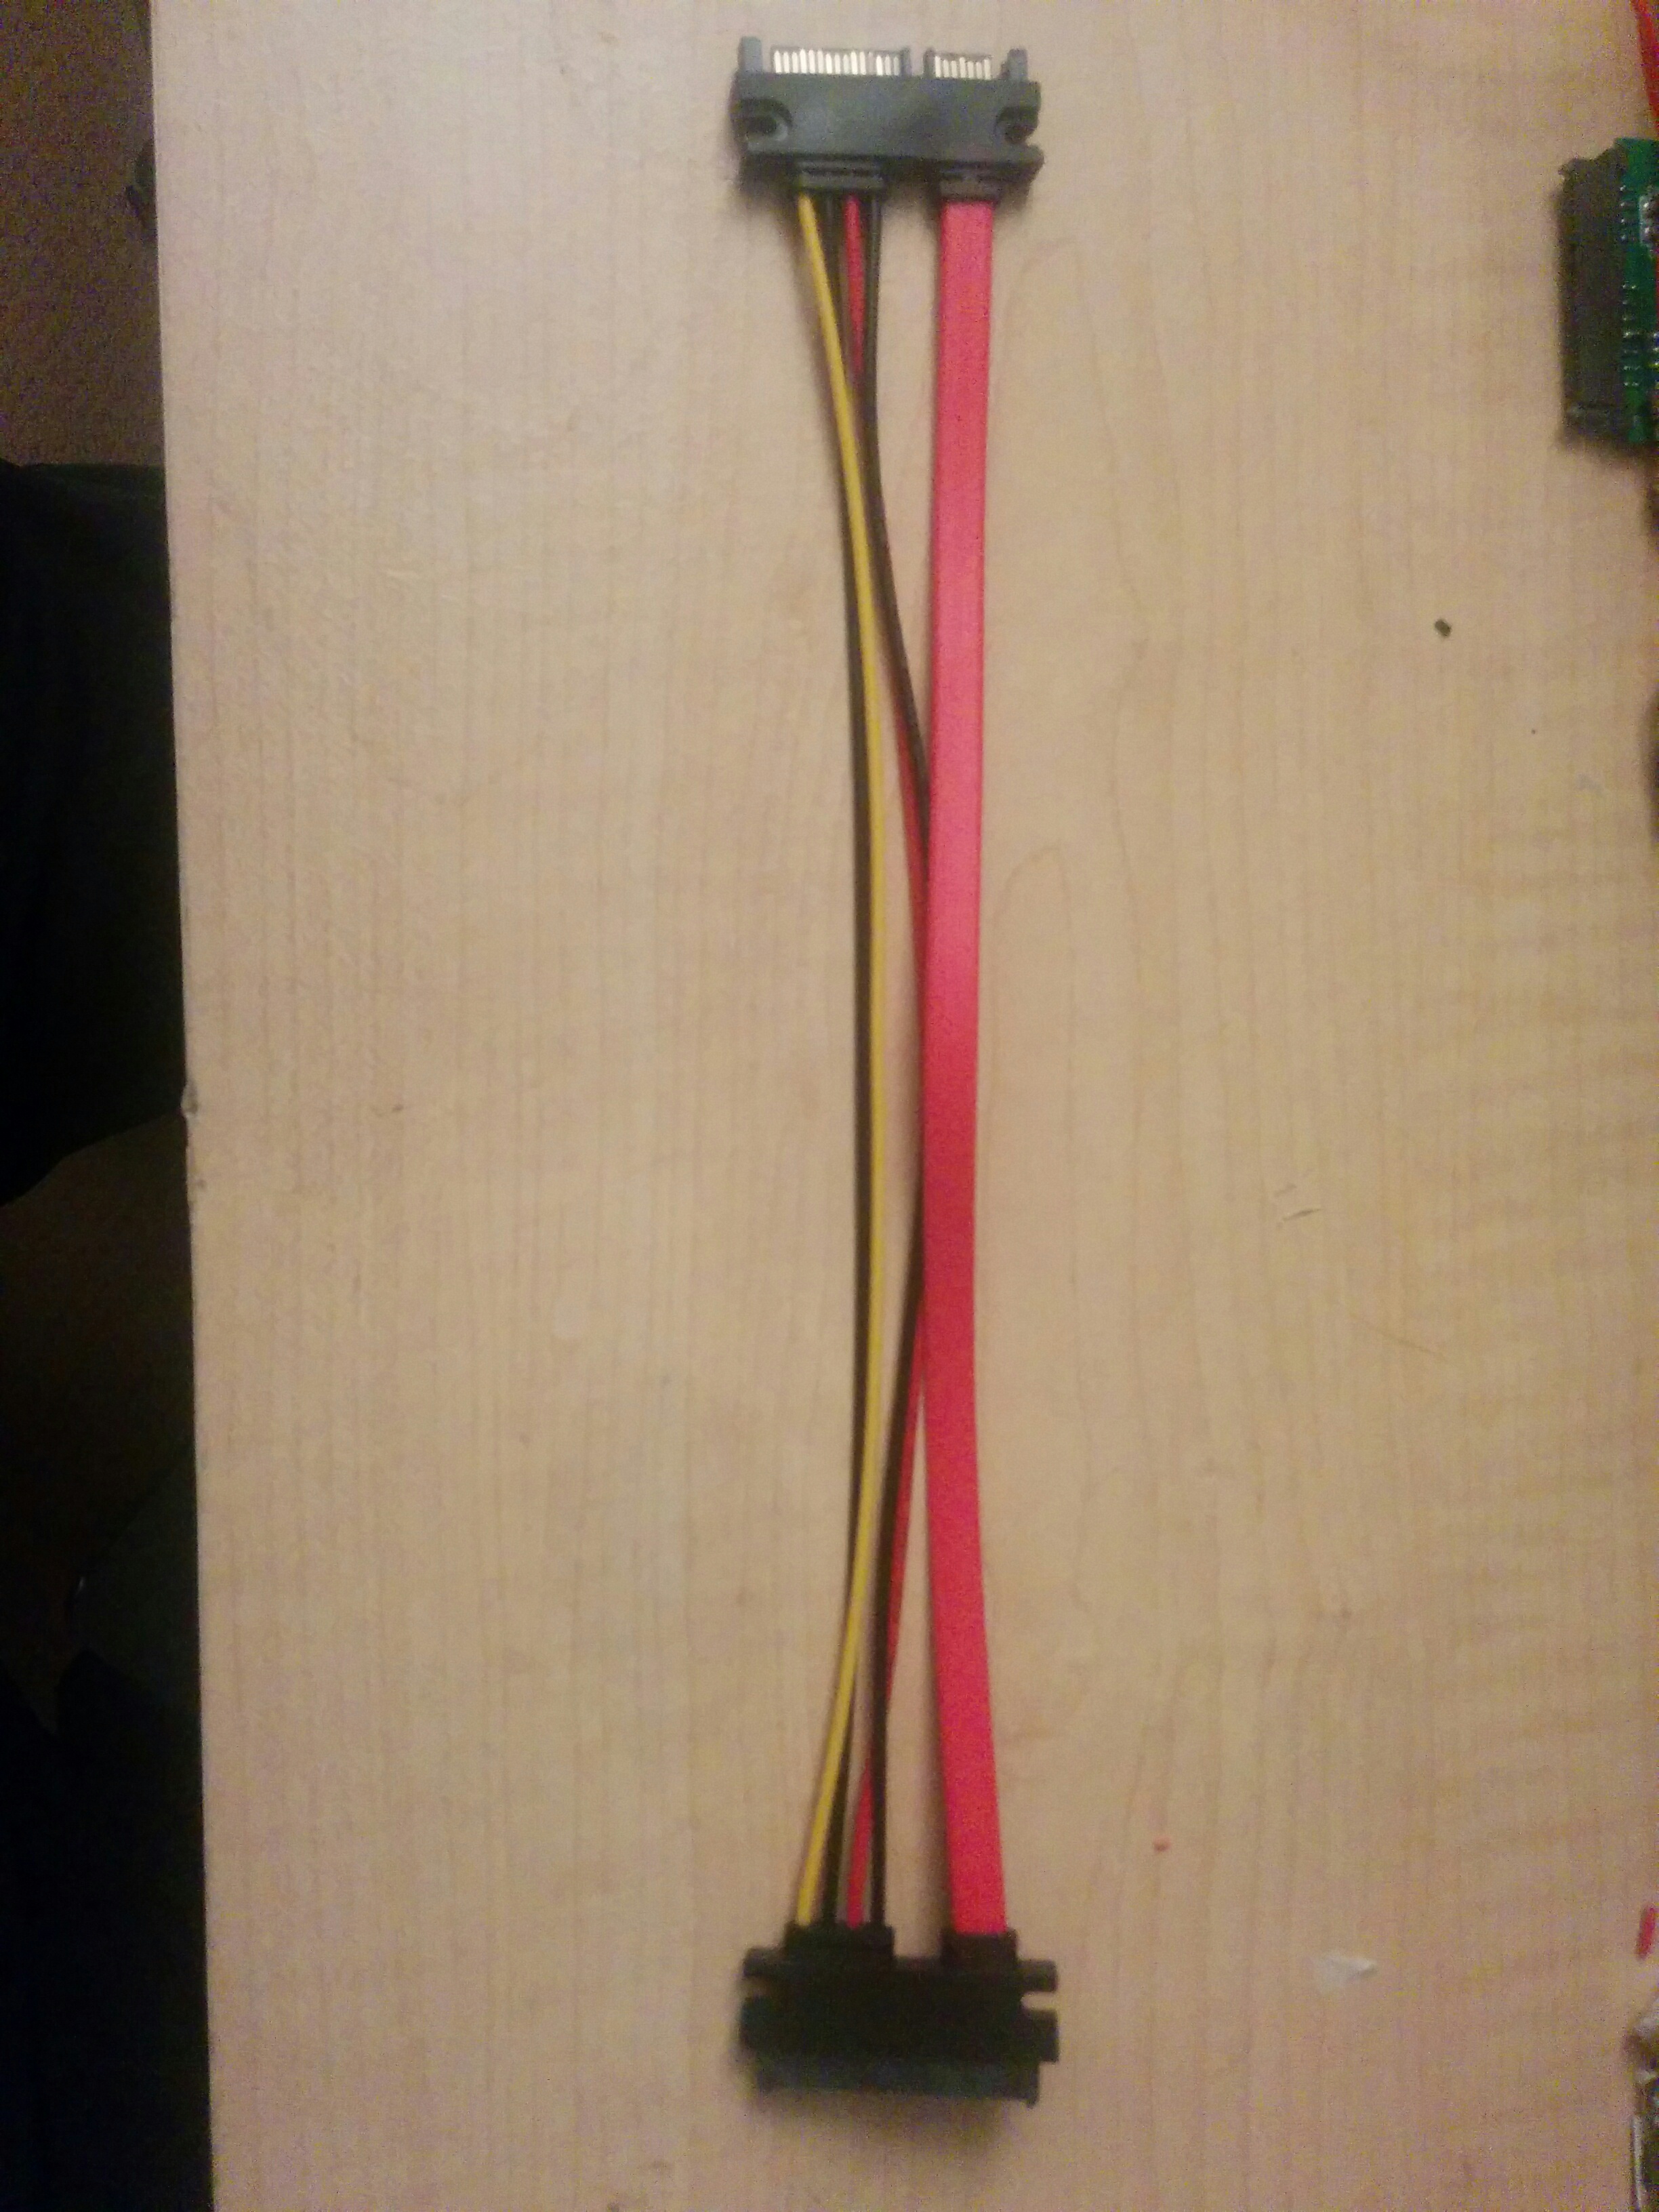
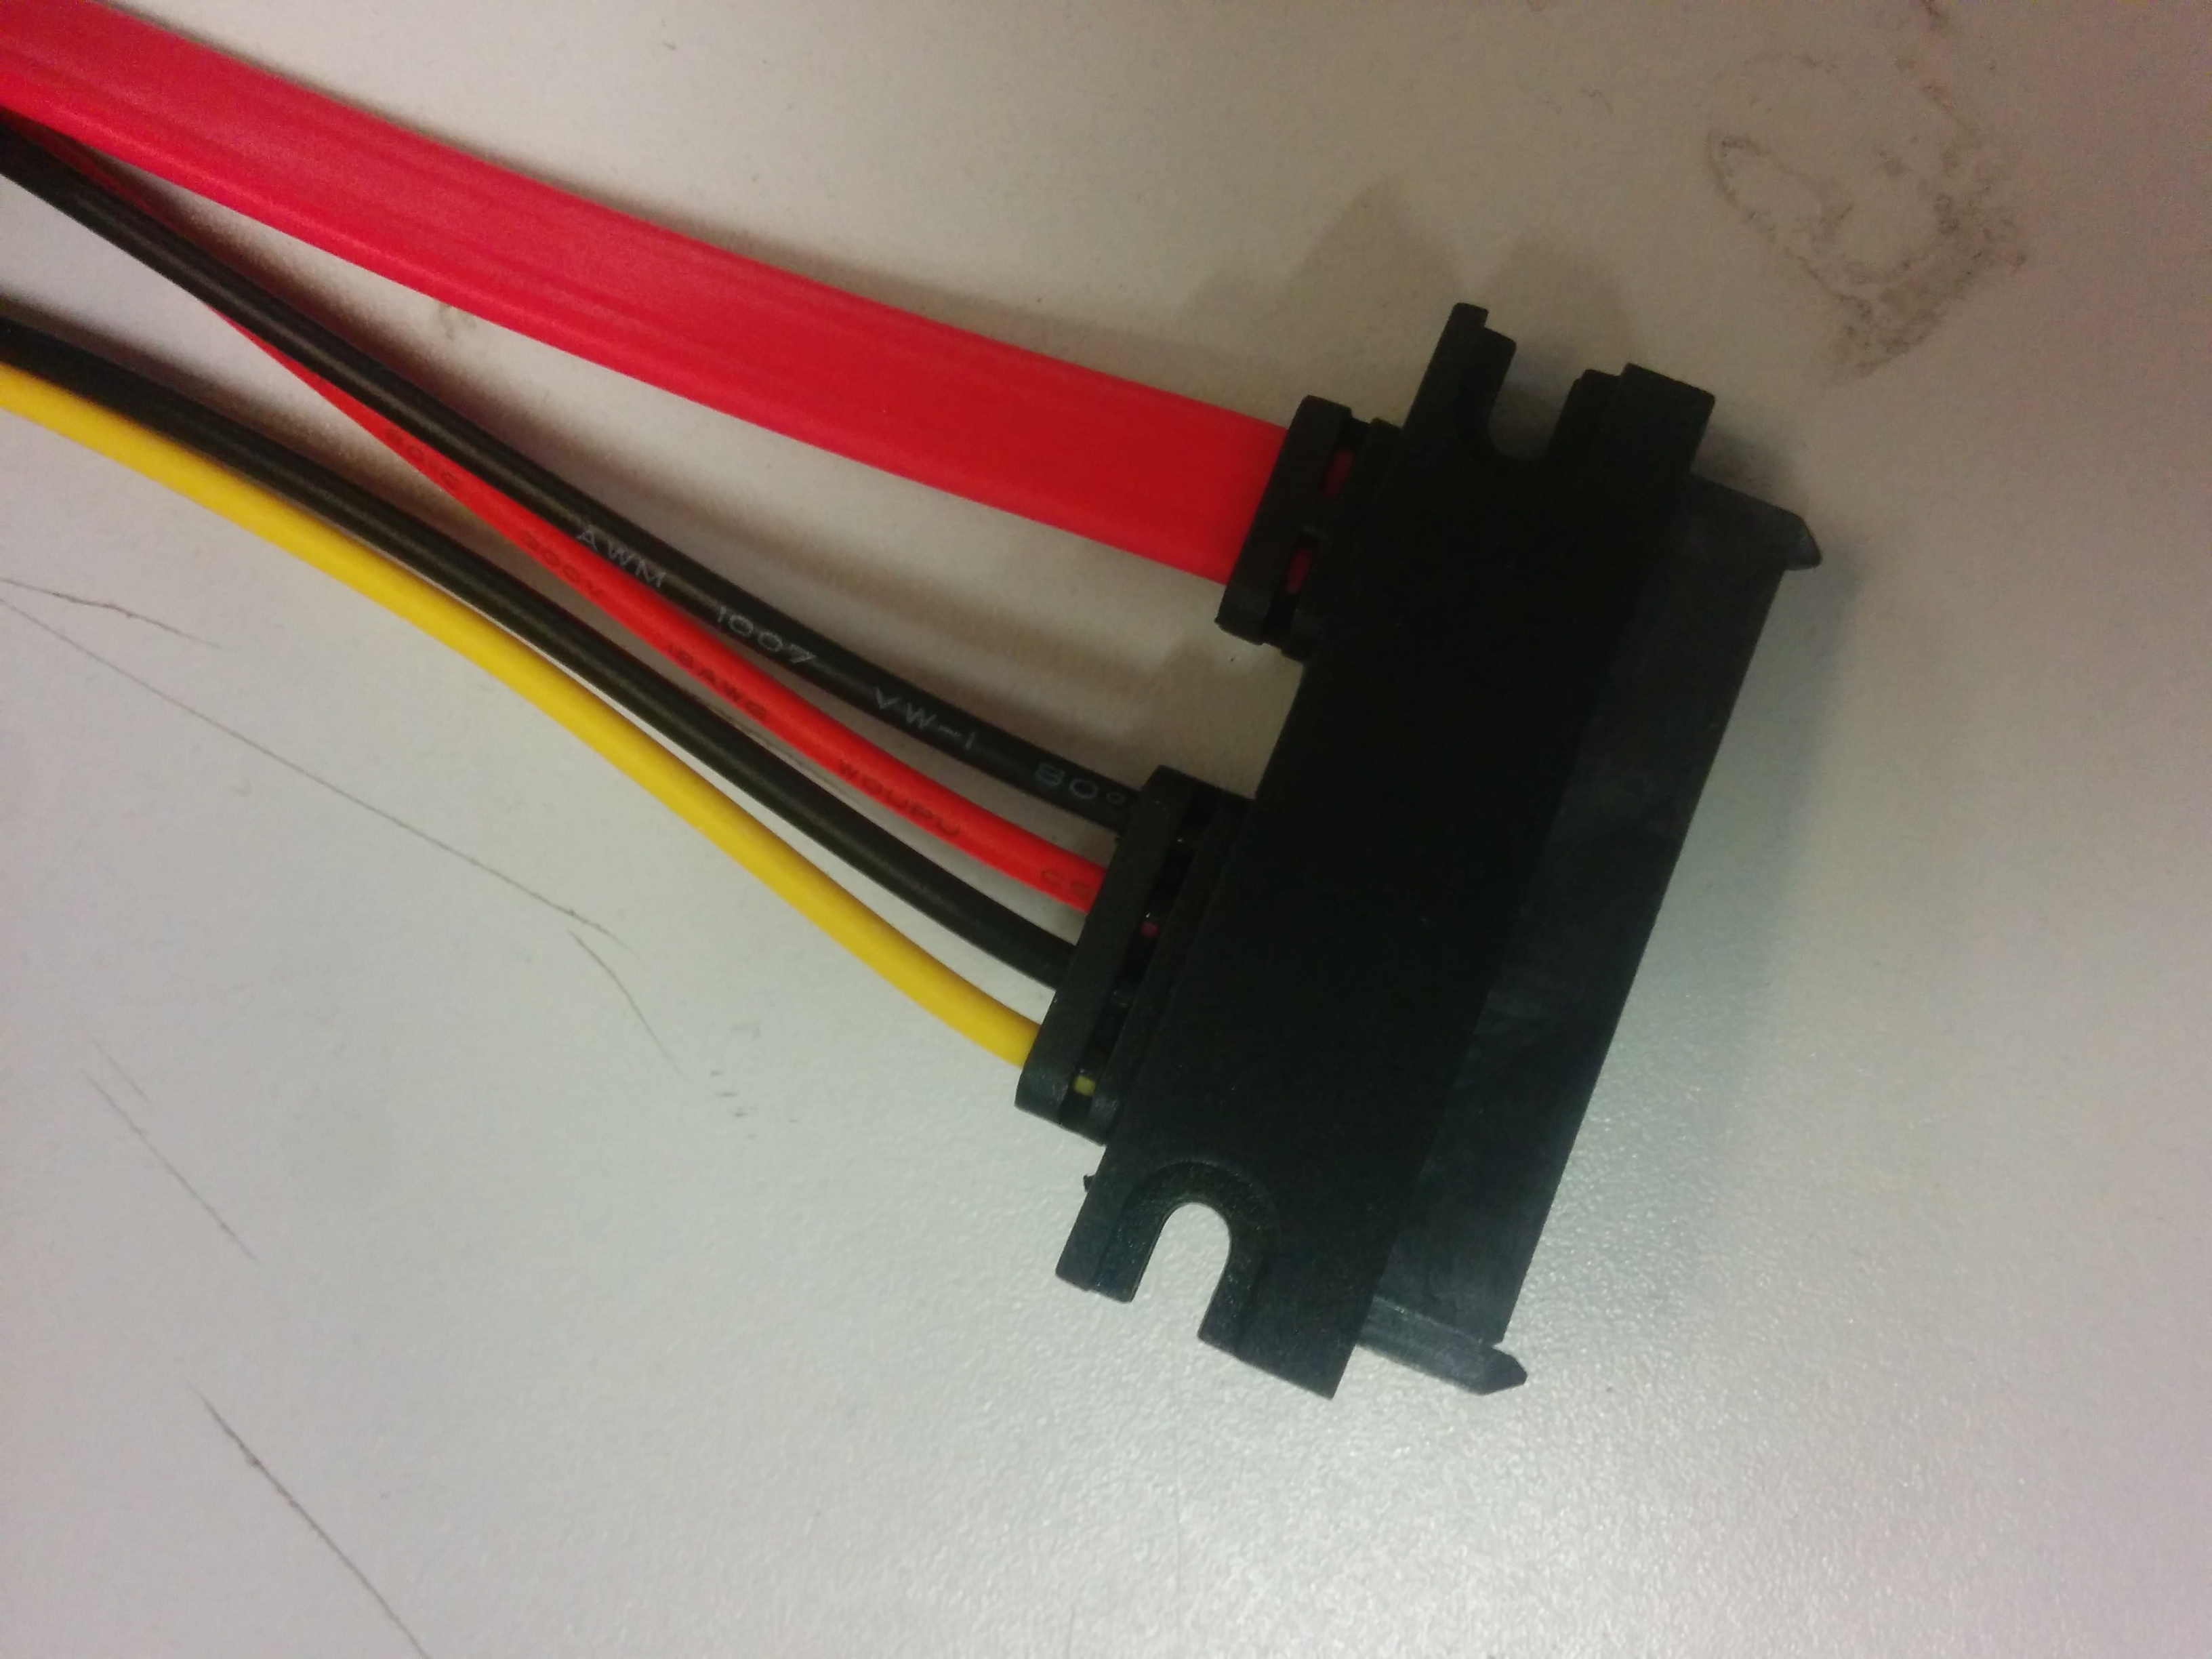
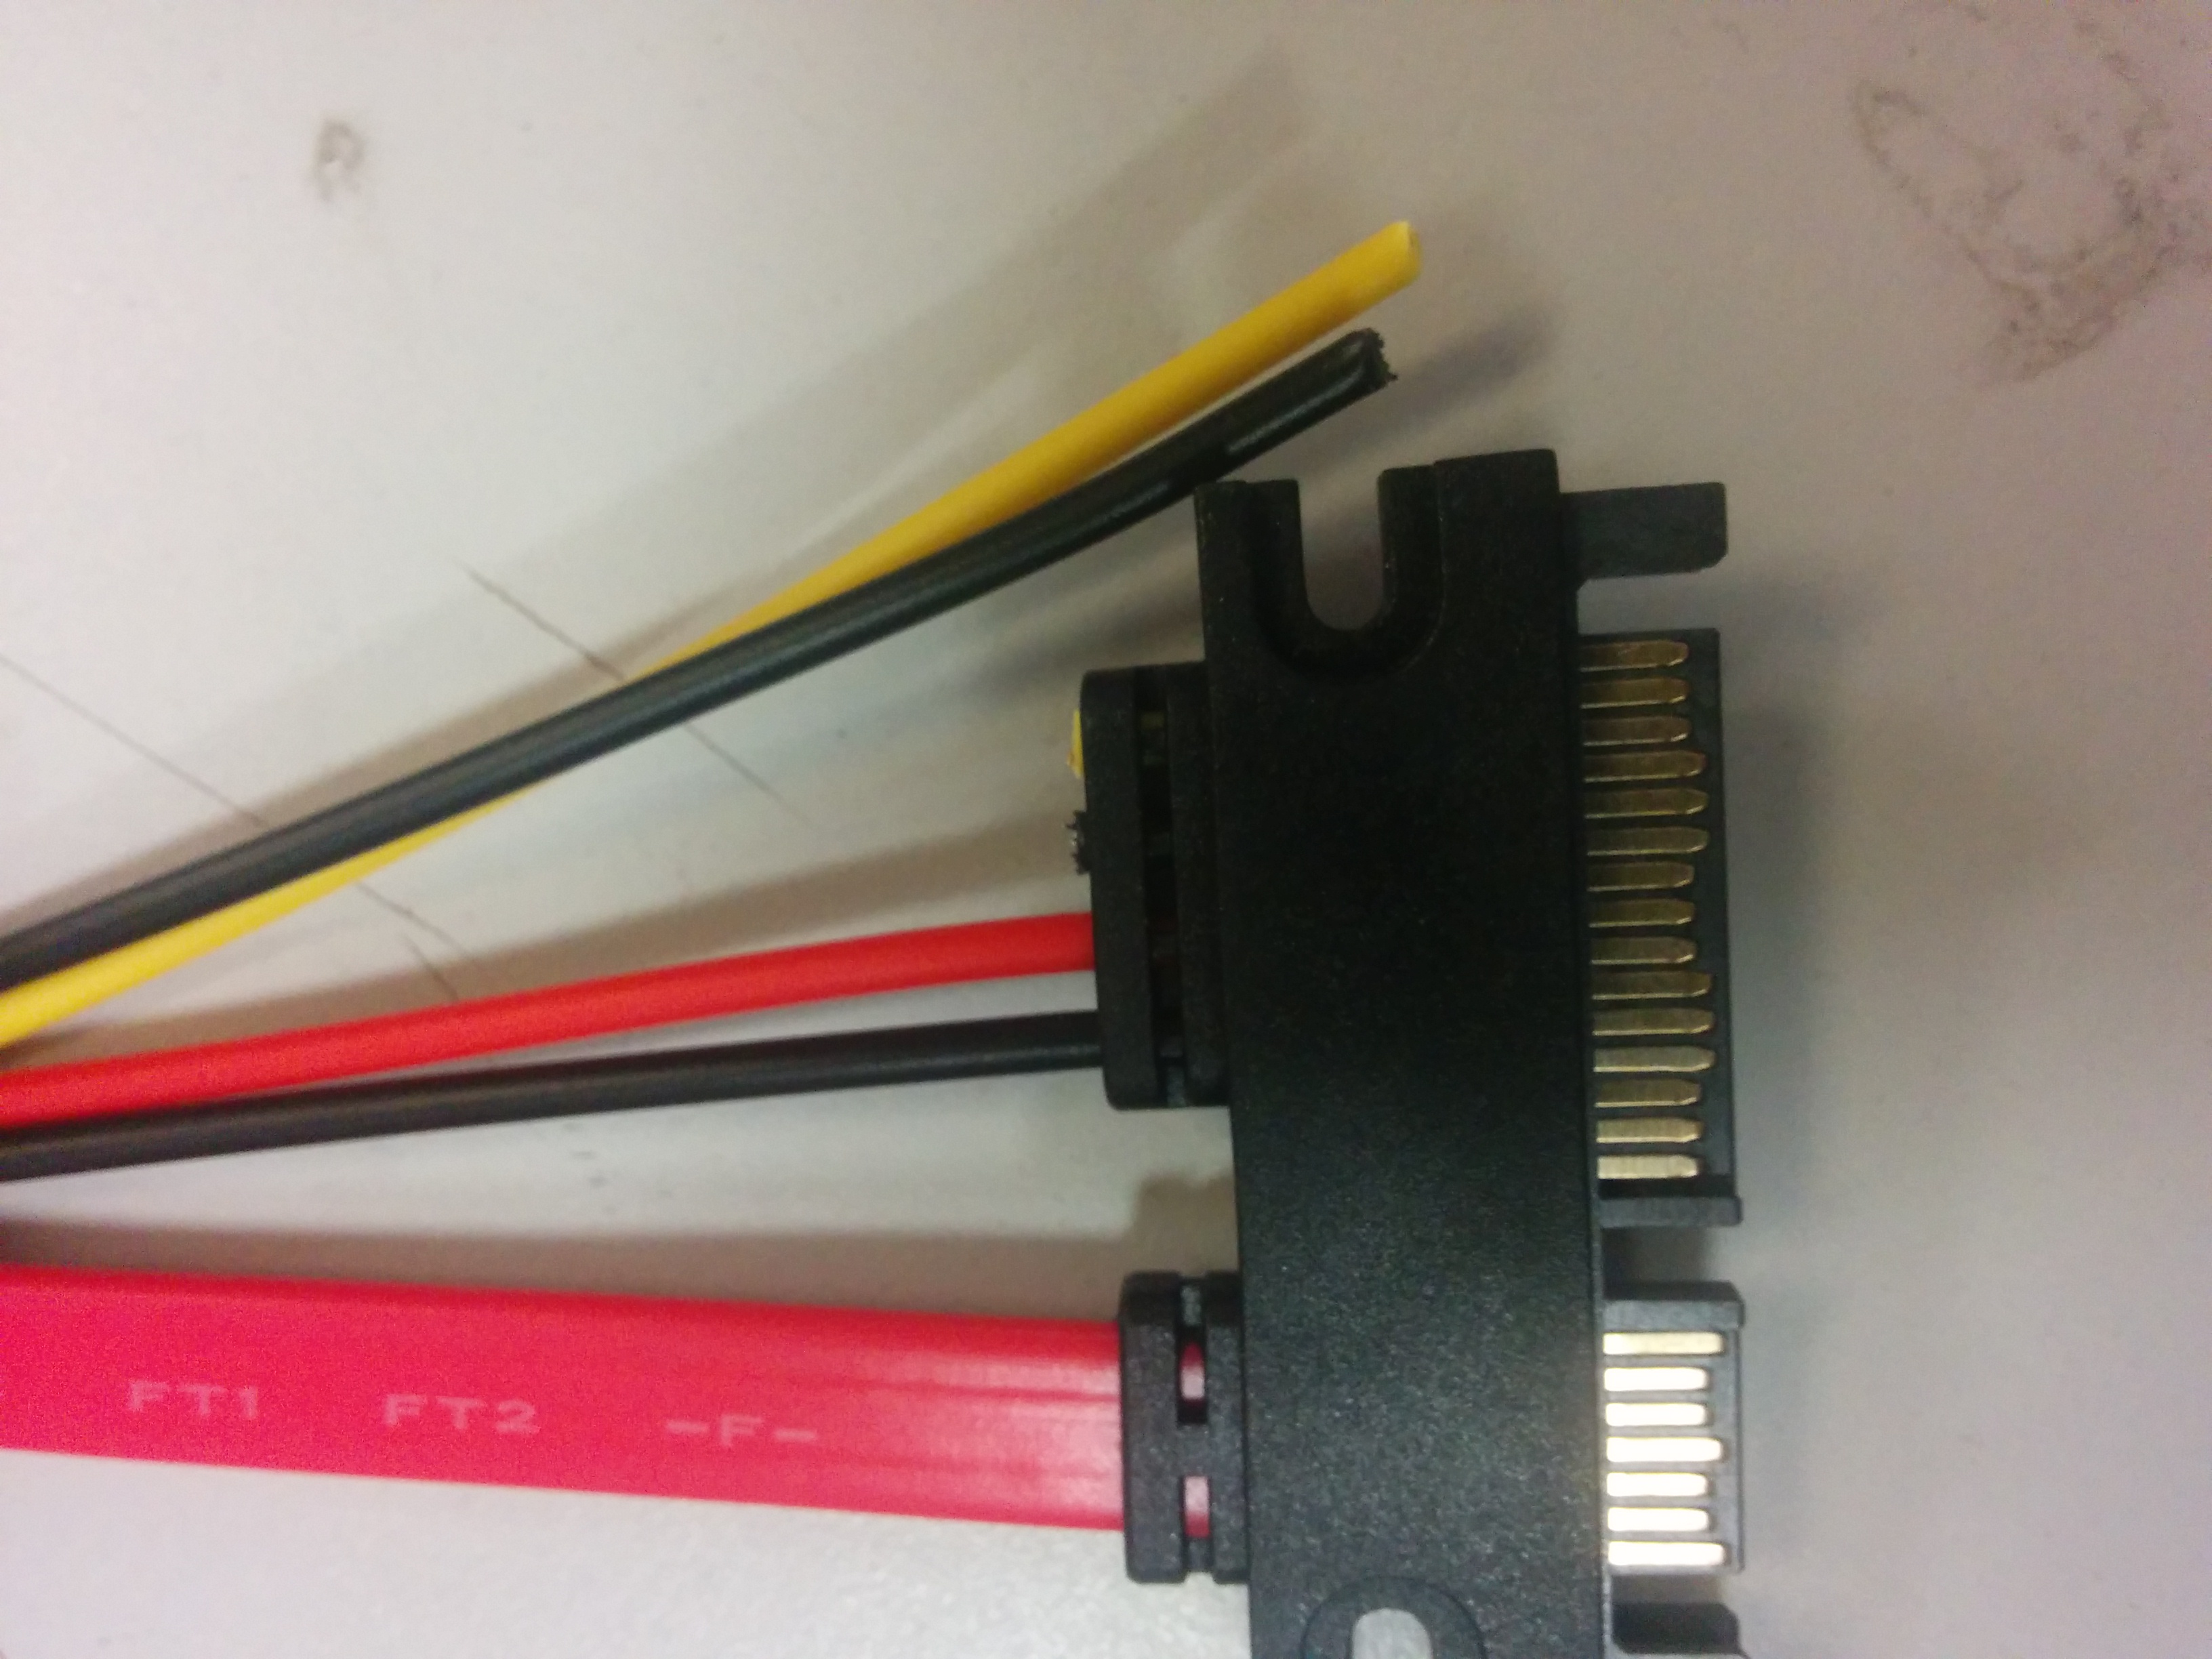
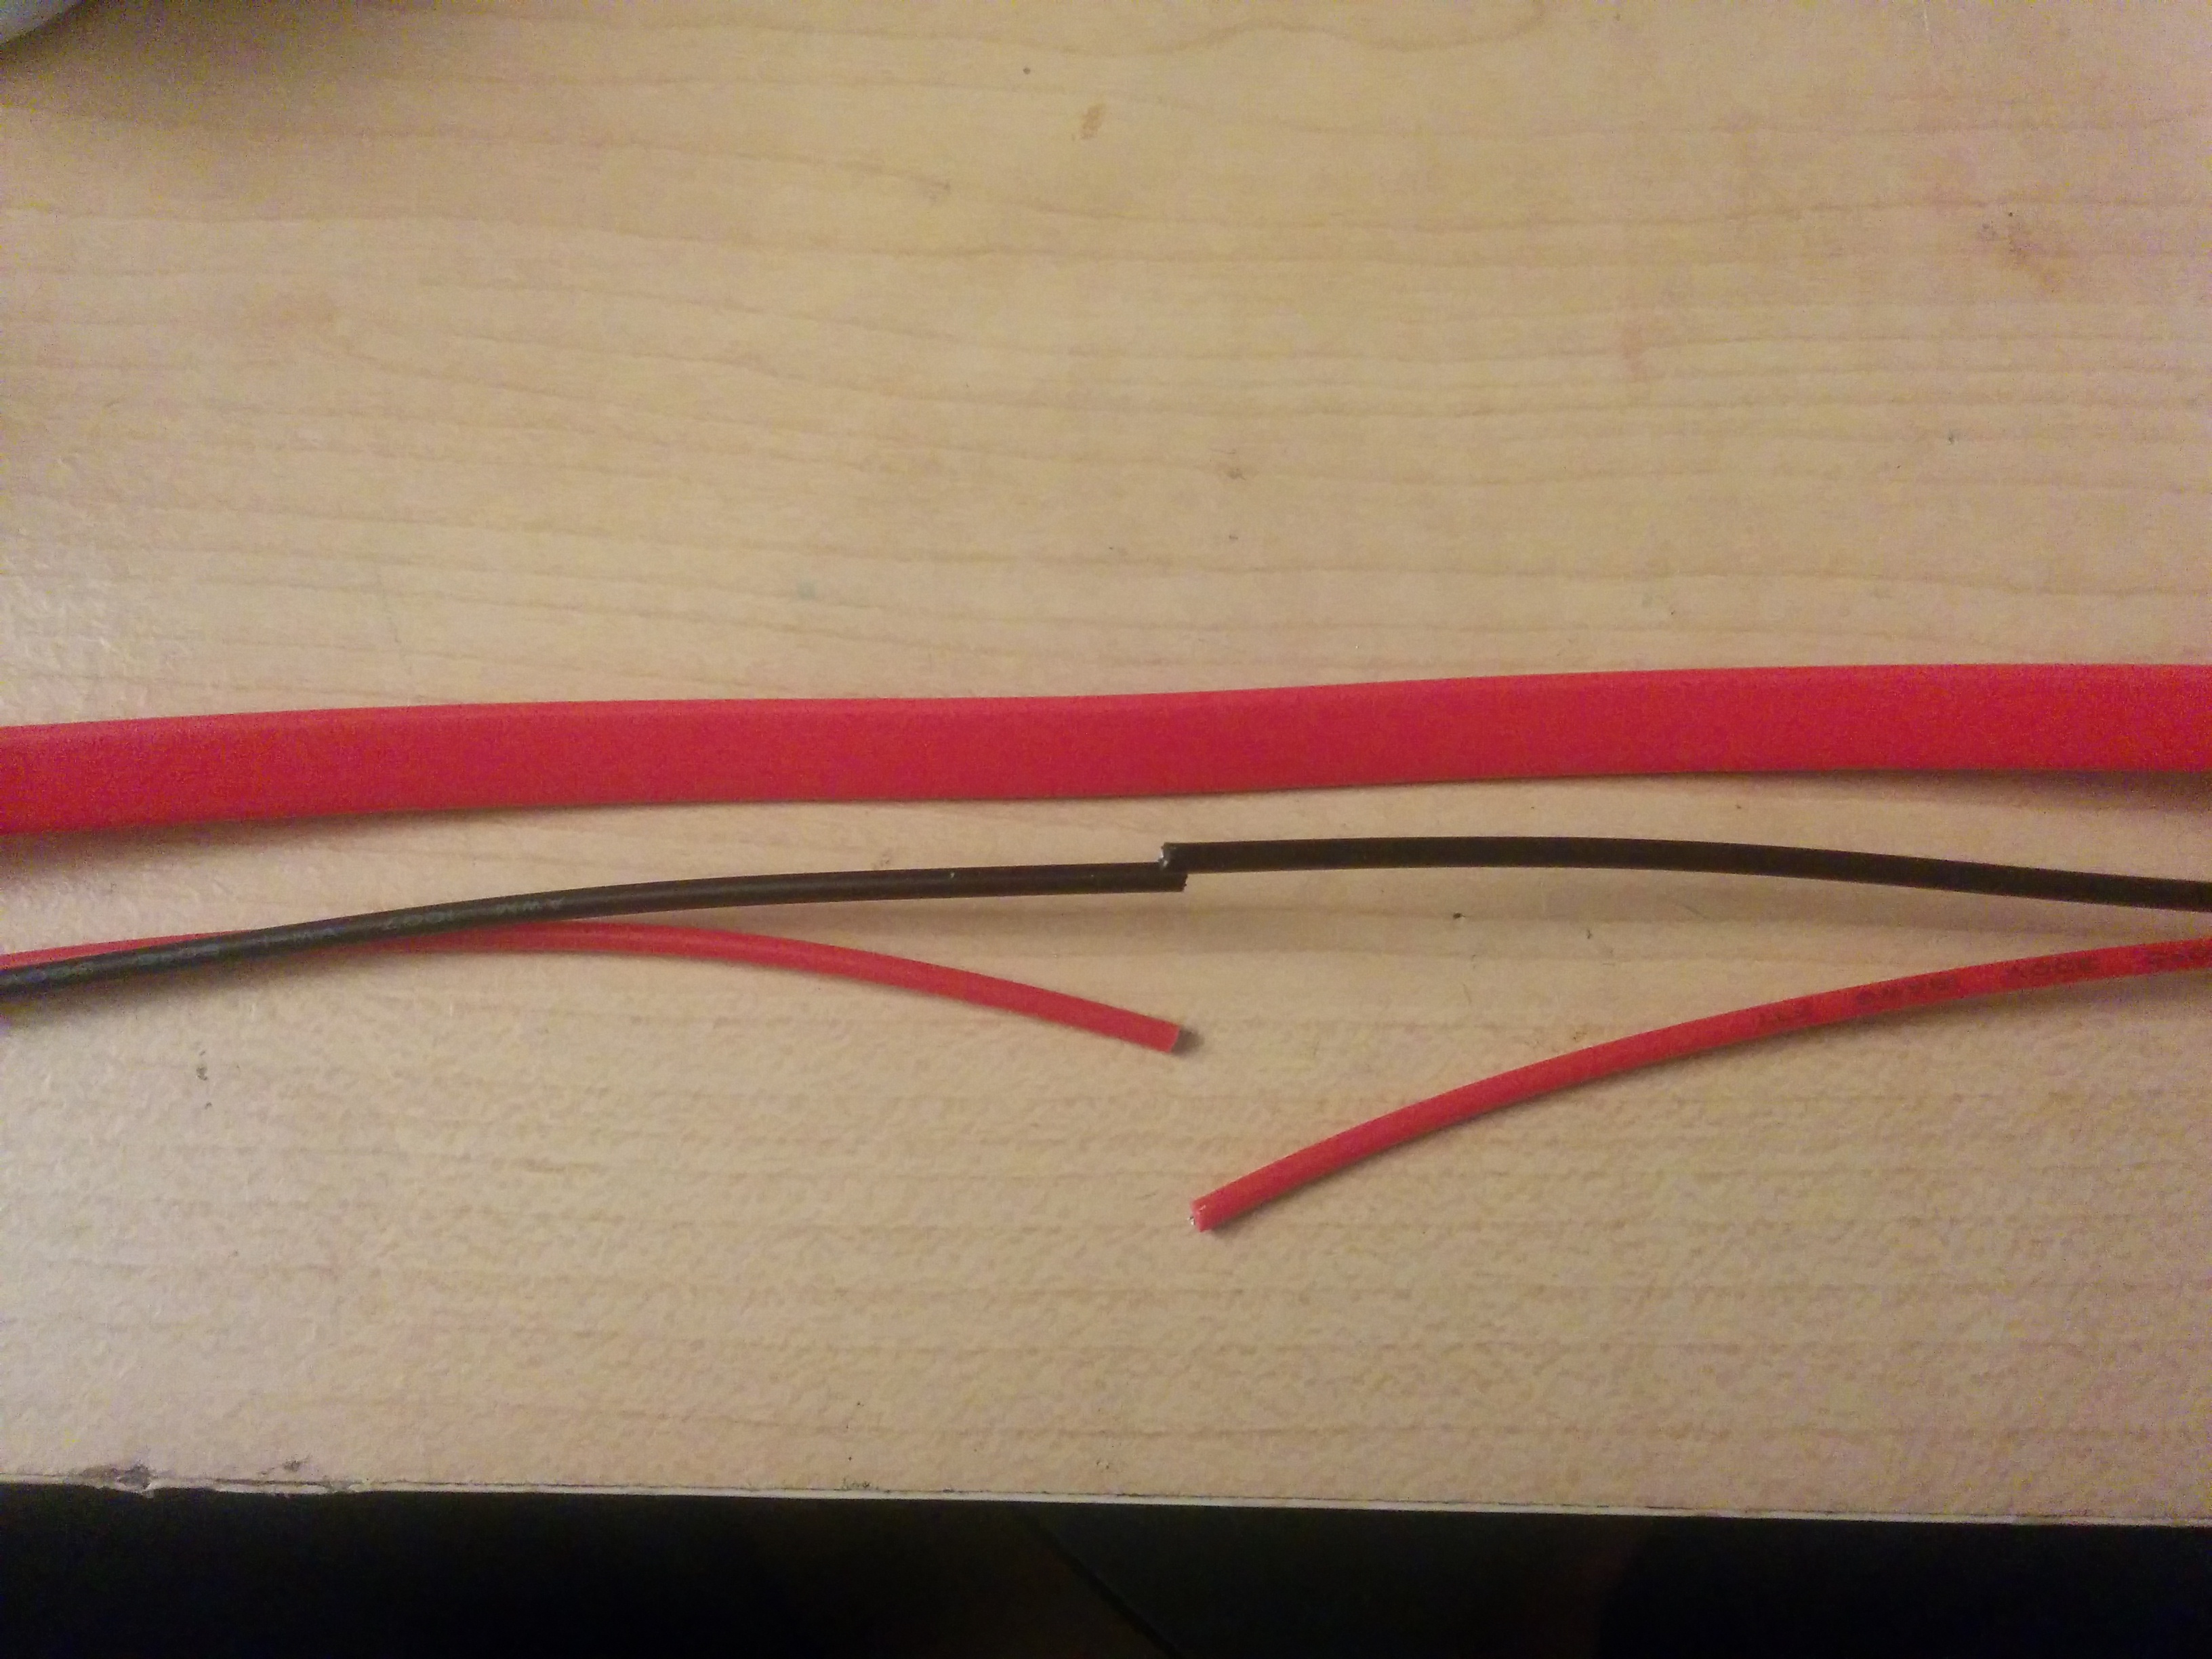
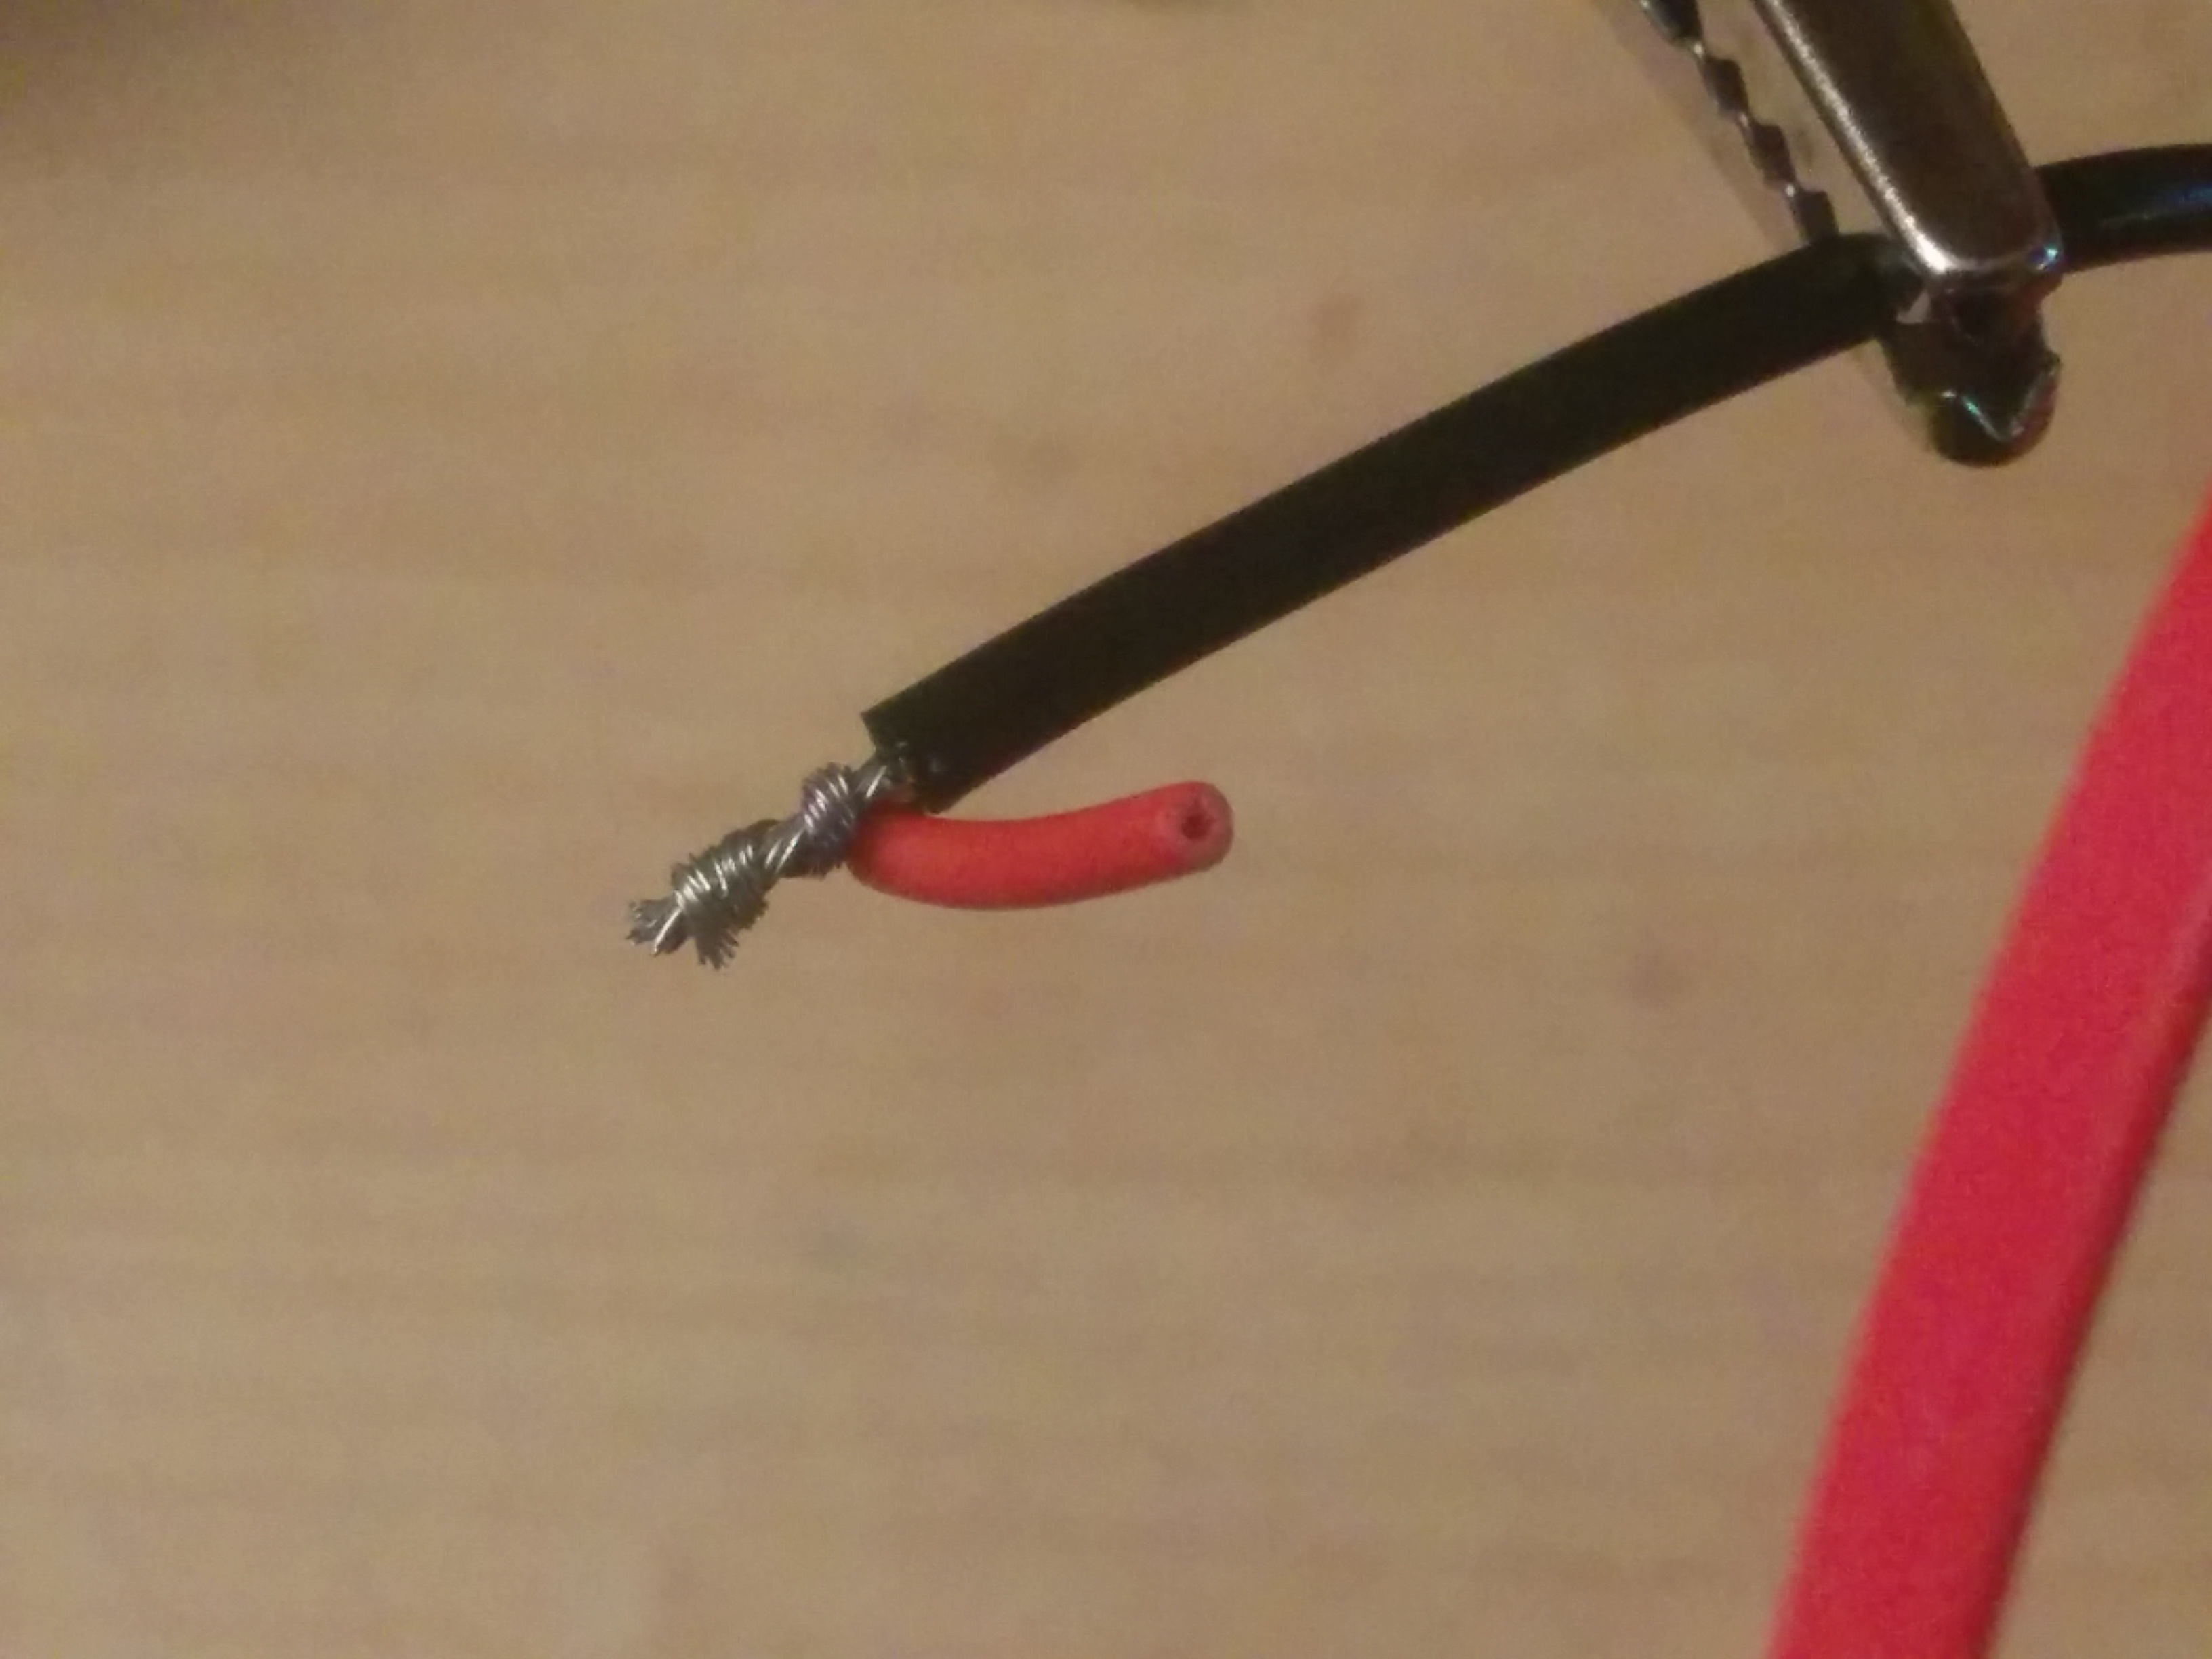
The sata extension cable you will want to cut off the last 2 wires since they are 12v and extra ground. You might have better luck then me but I could not get the solder to stick to the wires from the cable so just wrapped a small piece of extra 22g wire around it and tinned the end of it with that.
Wiring and Gluing in the Charger and 5vbooster.
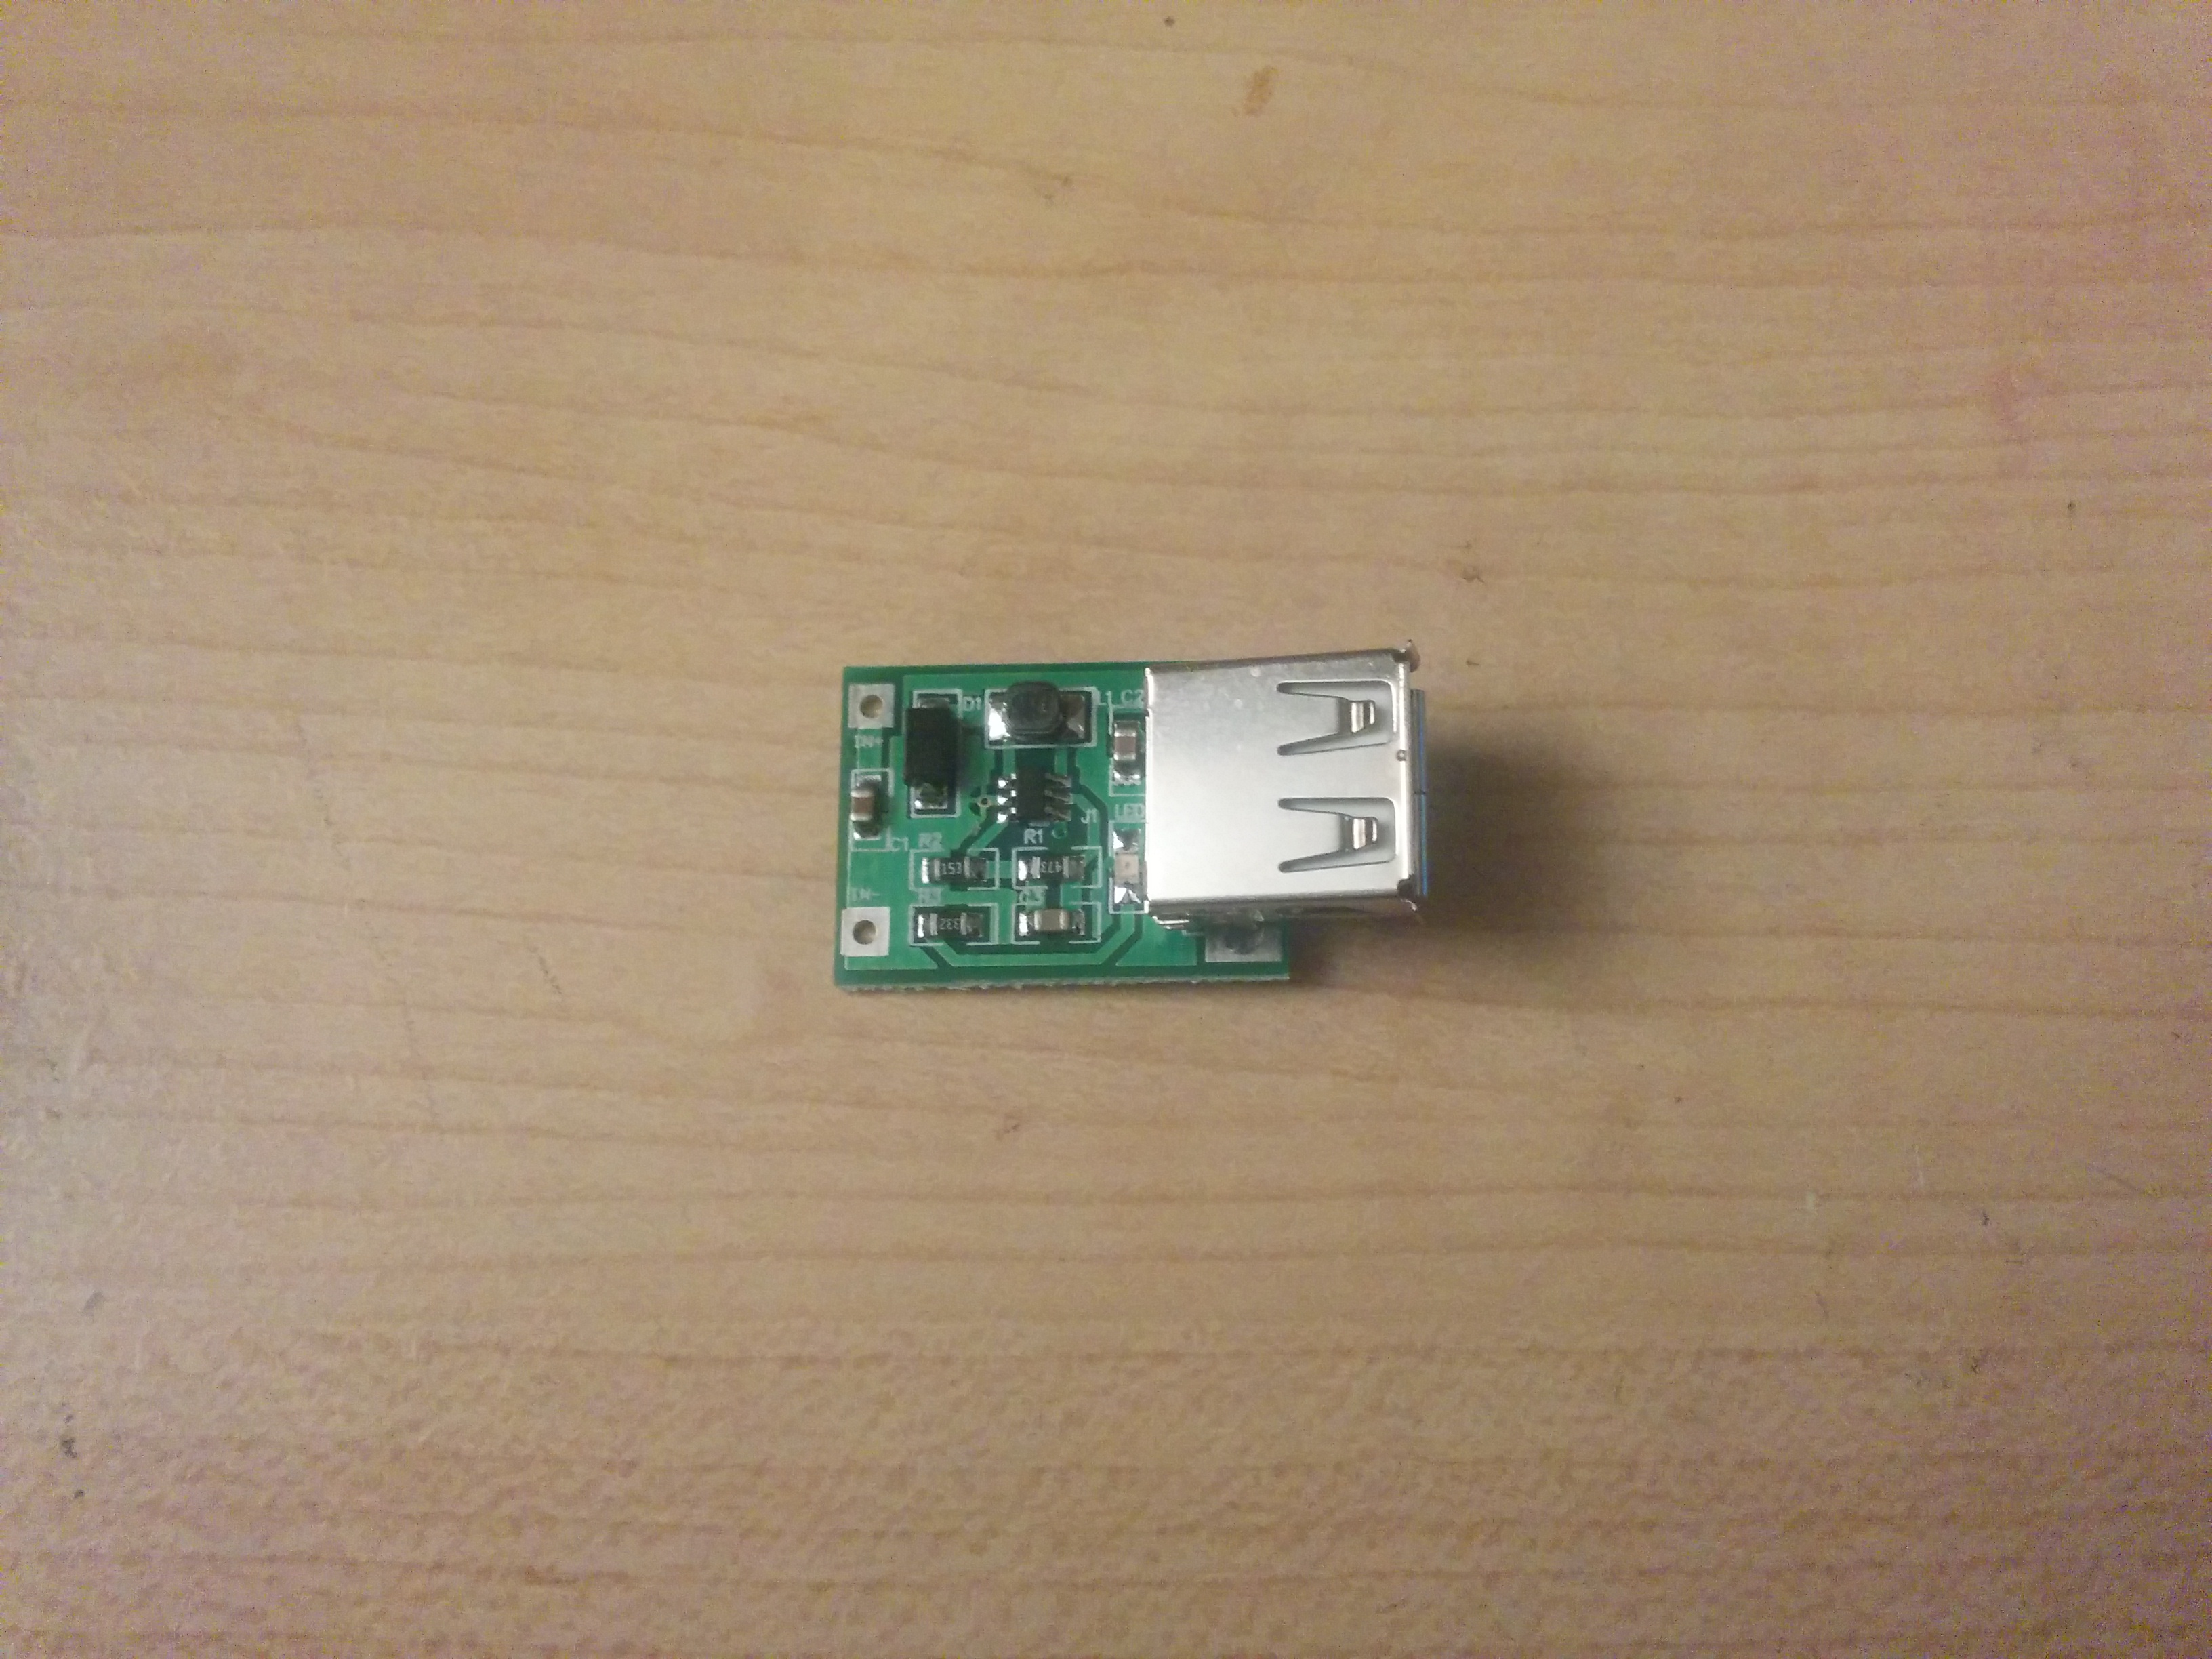
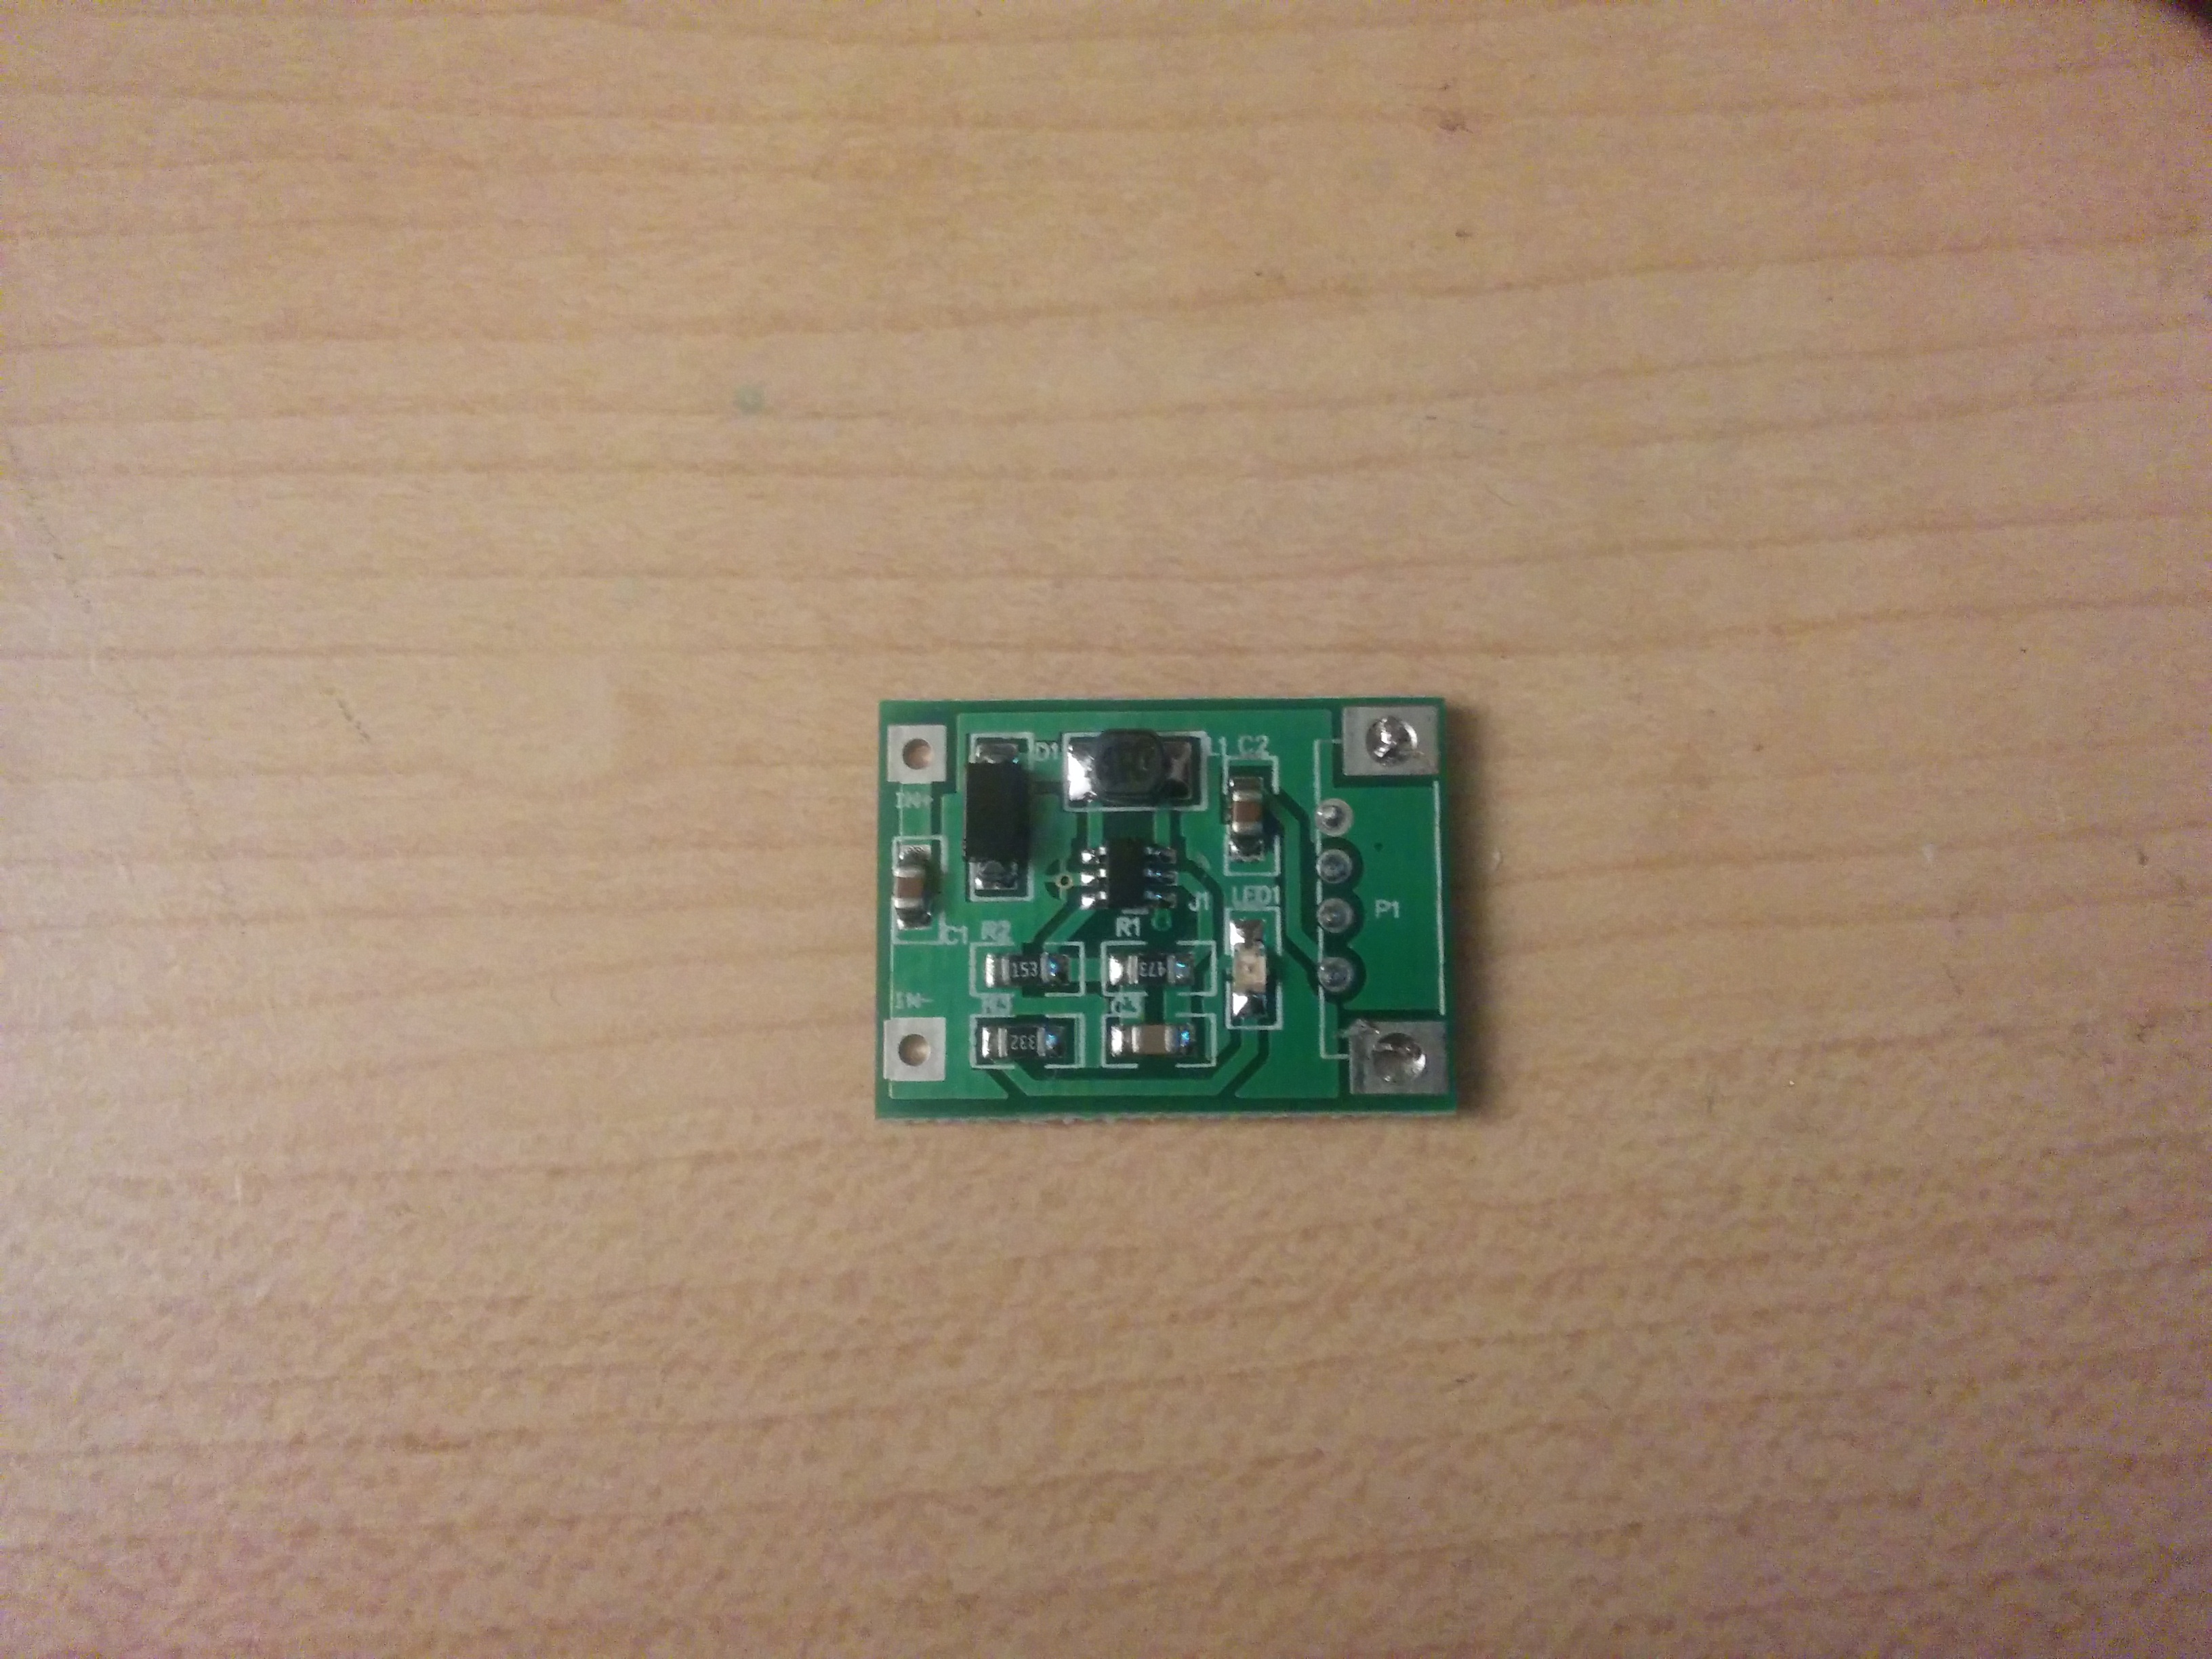
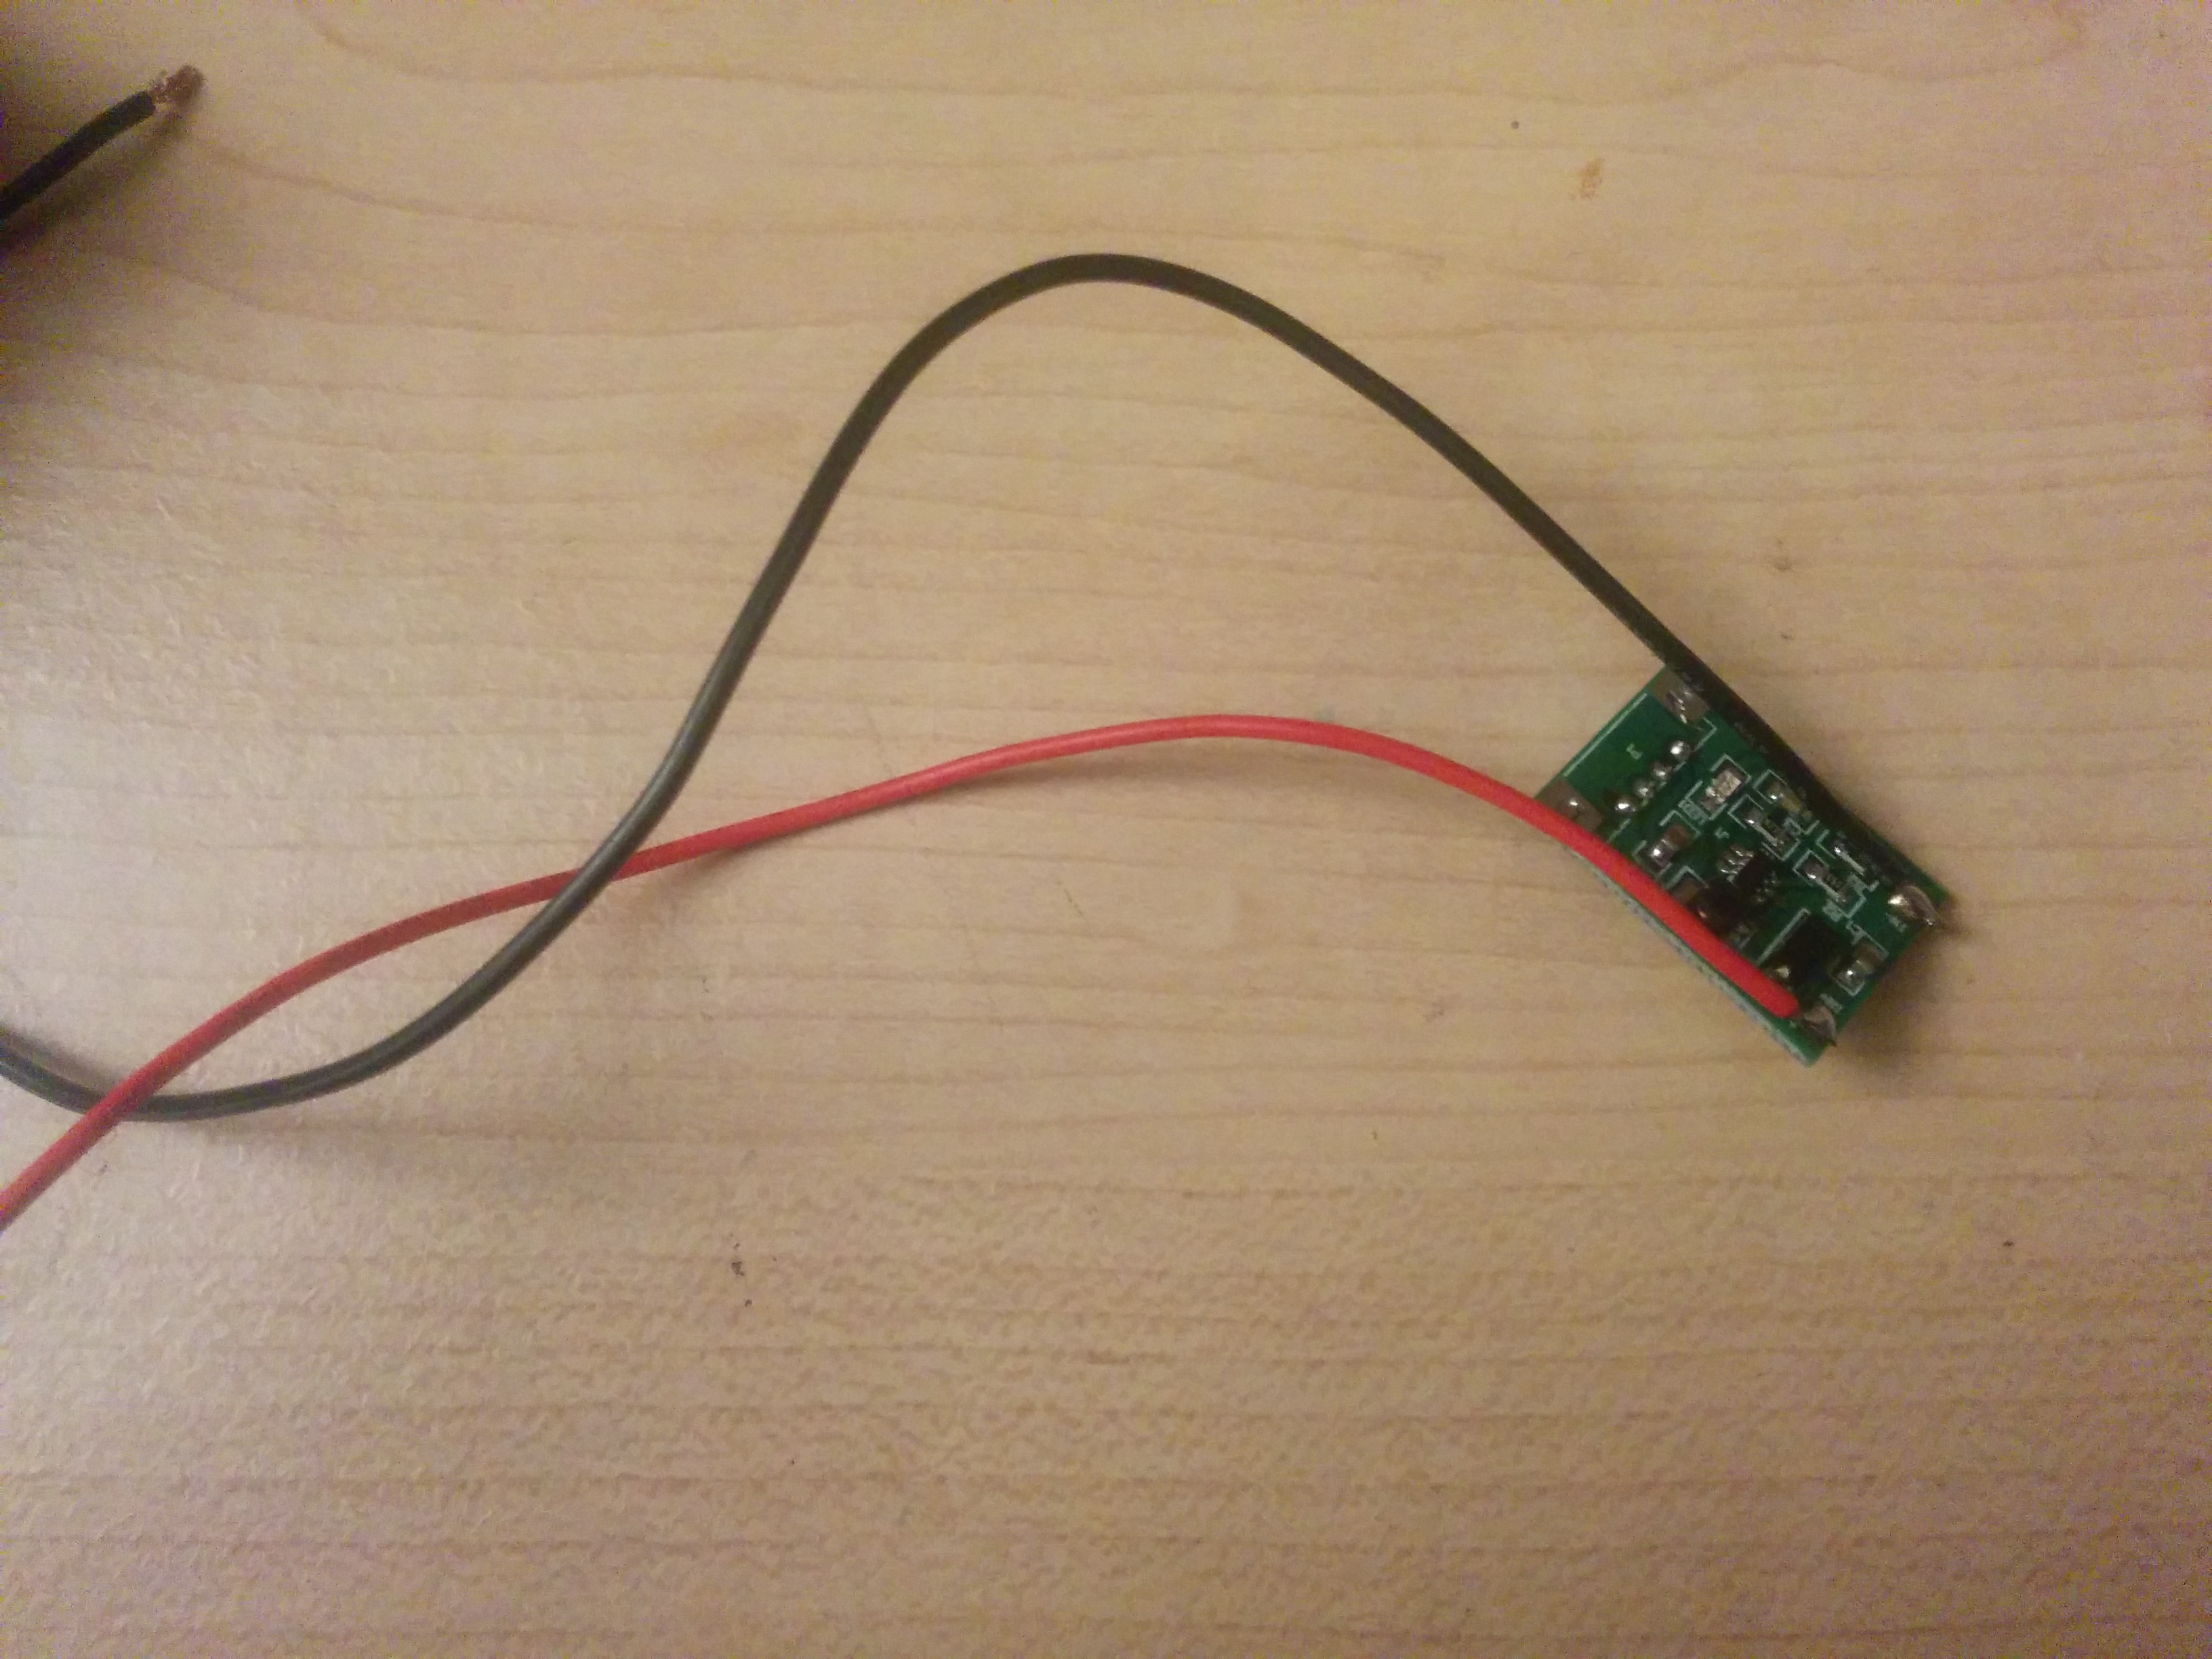
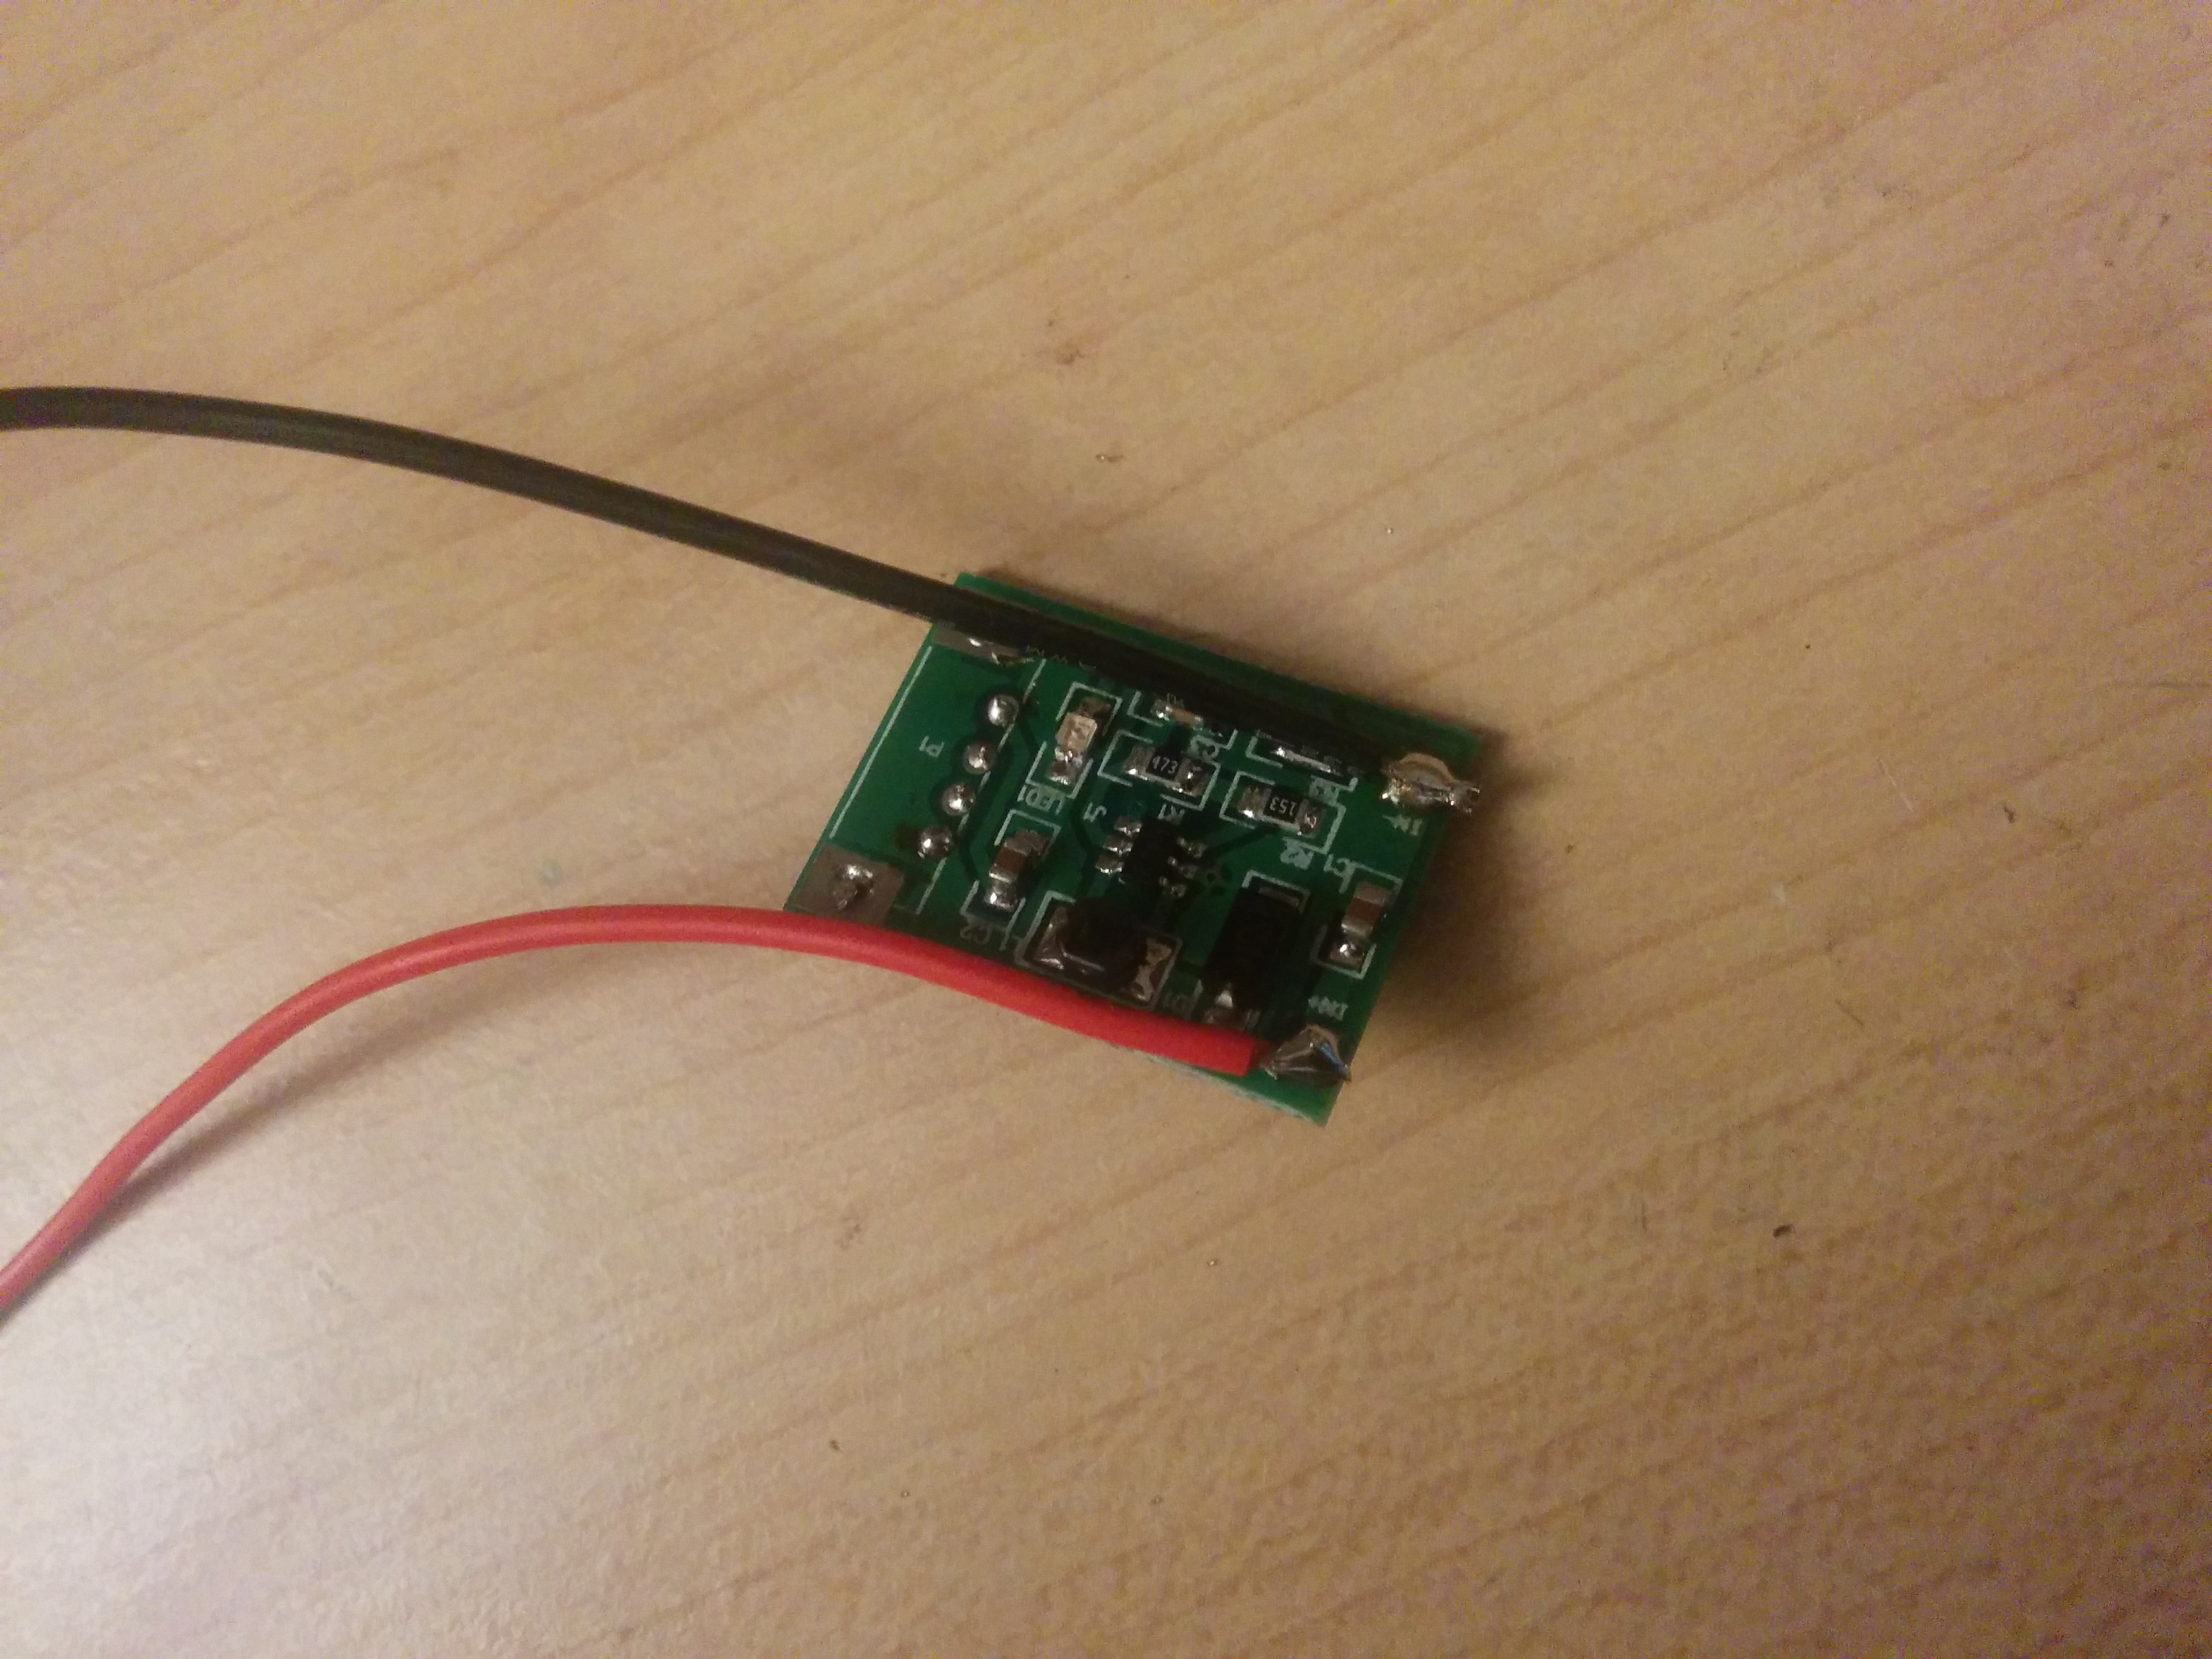
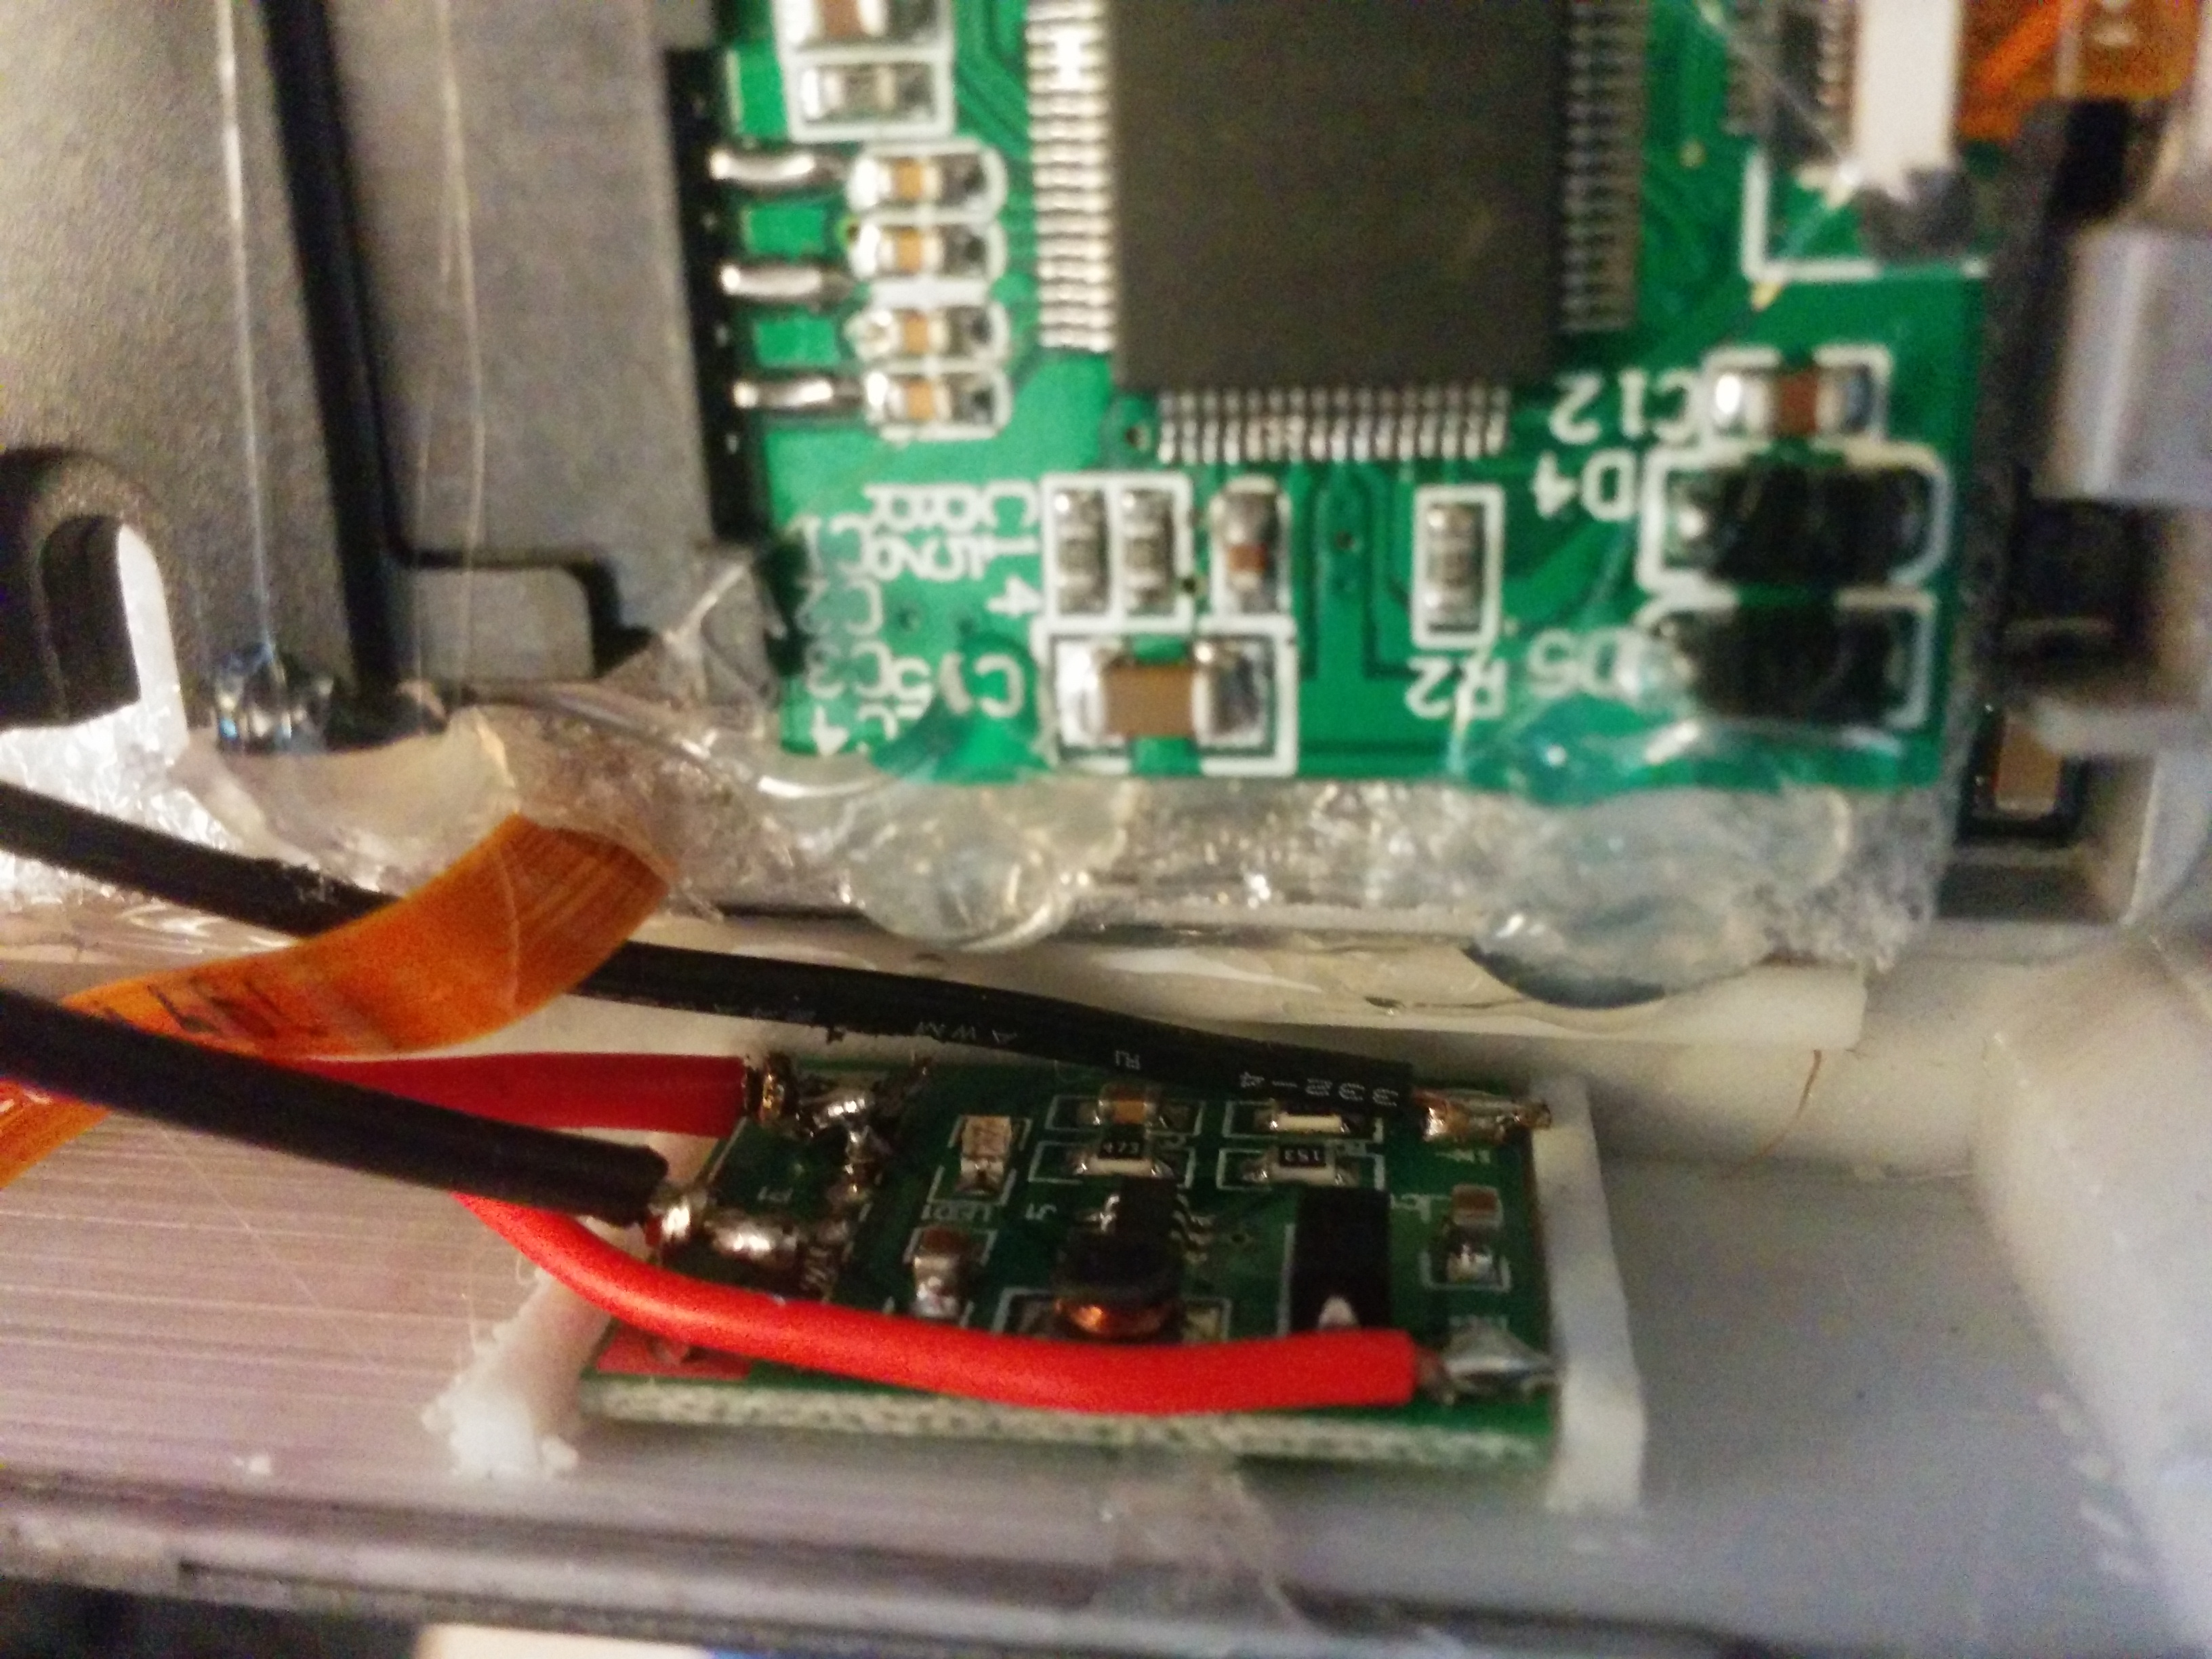
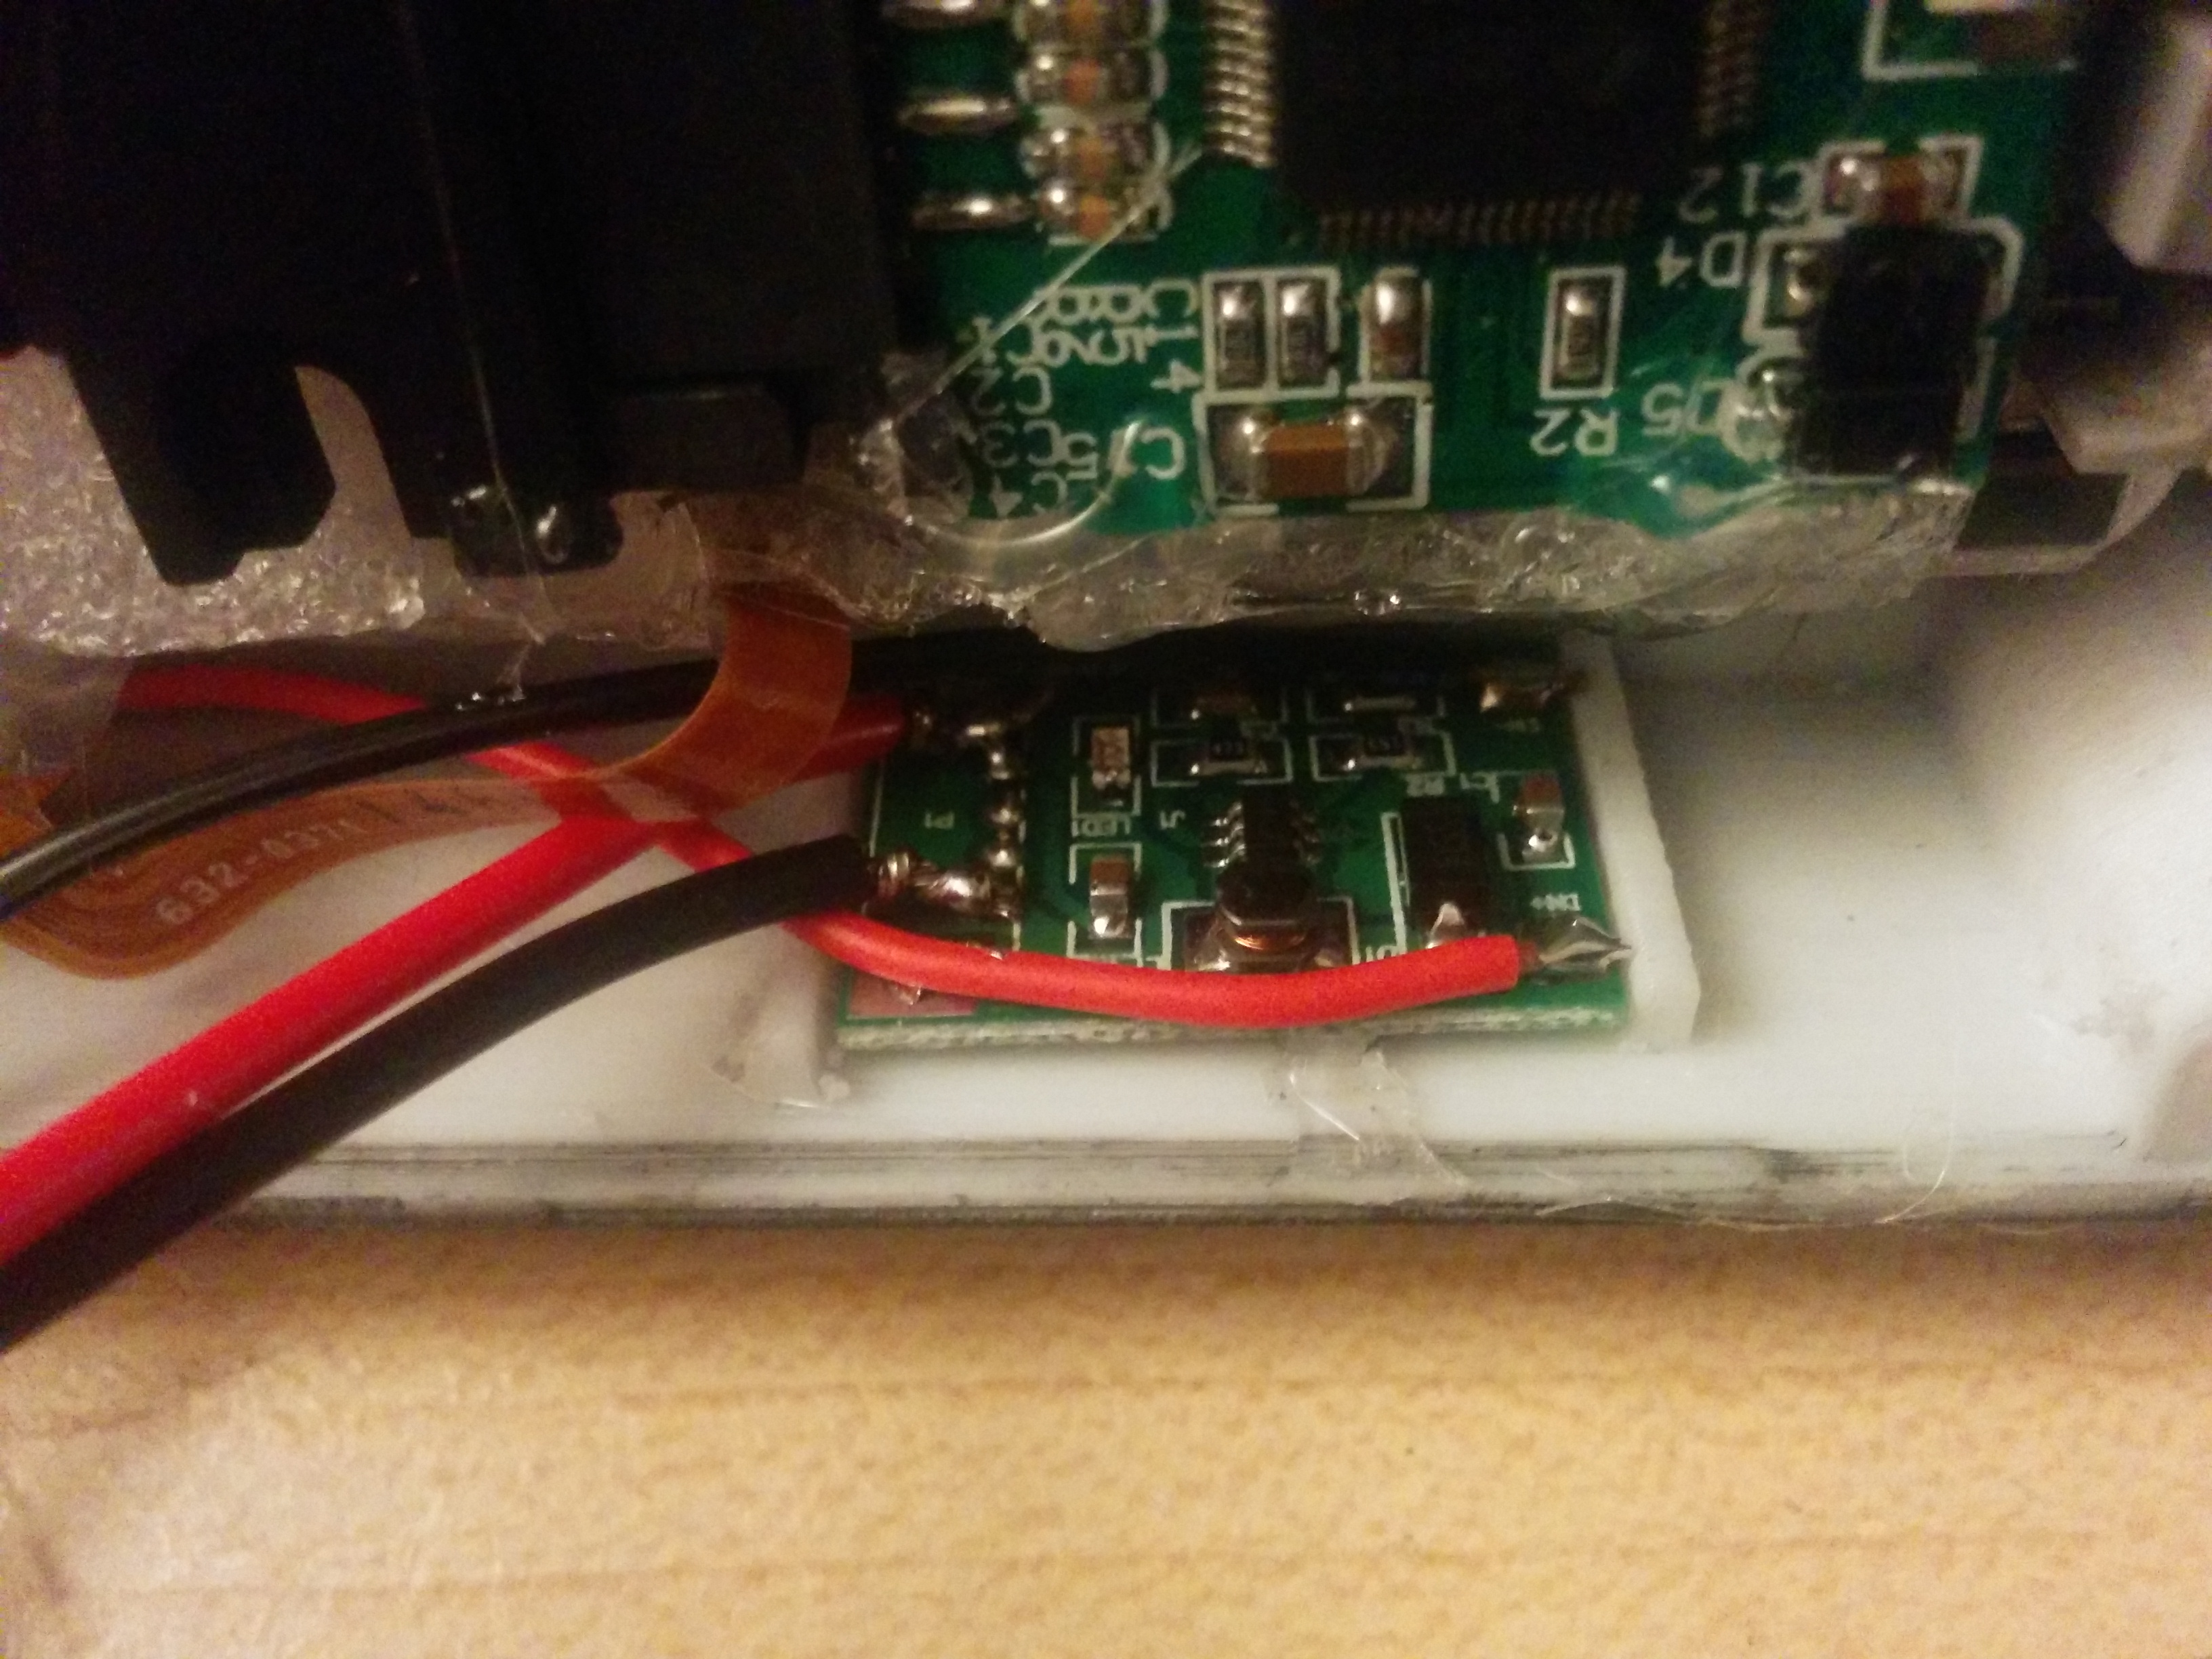
The booster I cut off the USB to make it more flush.
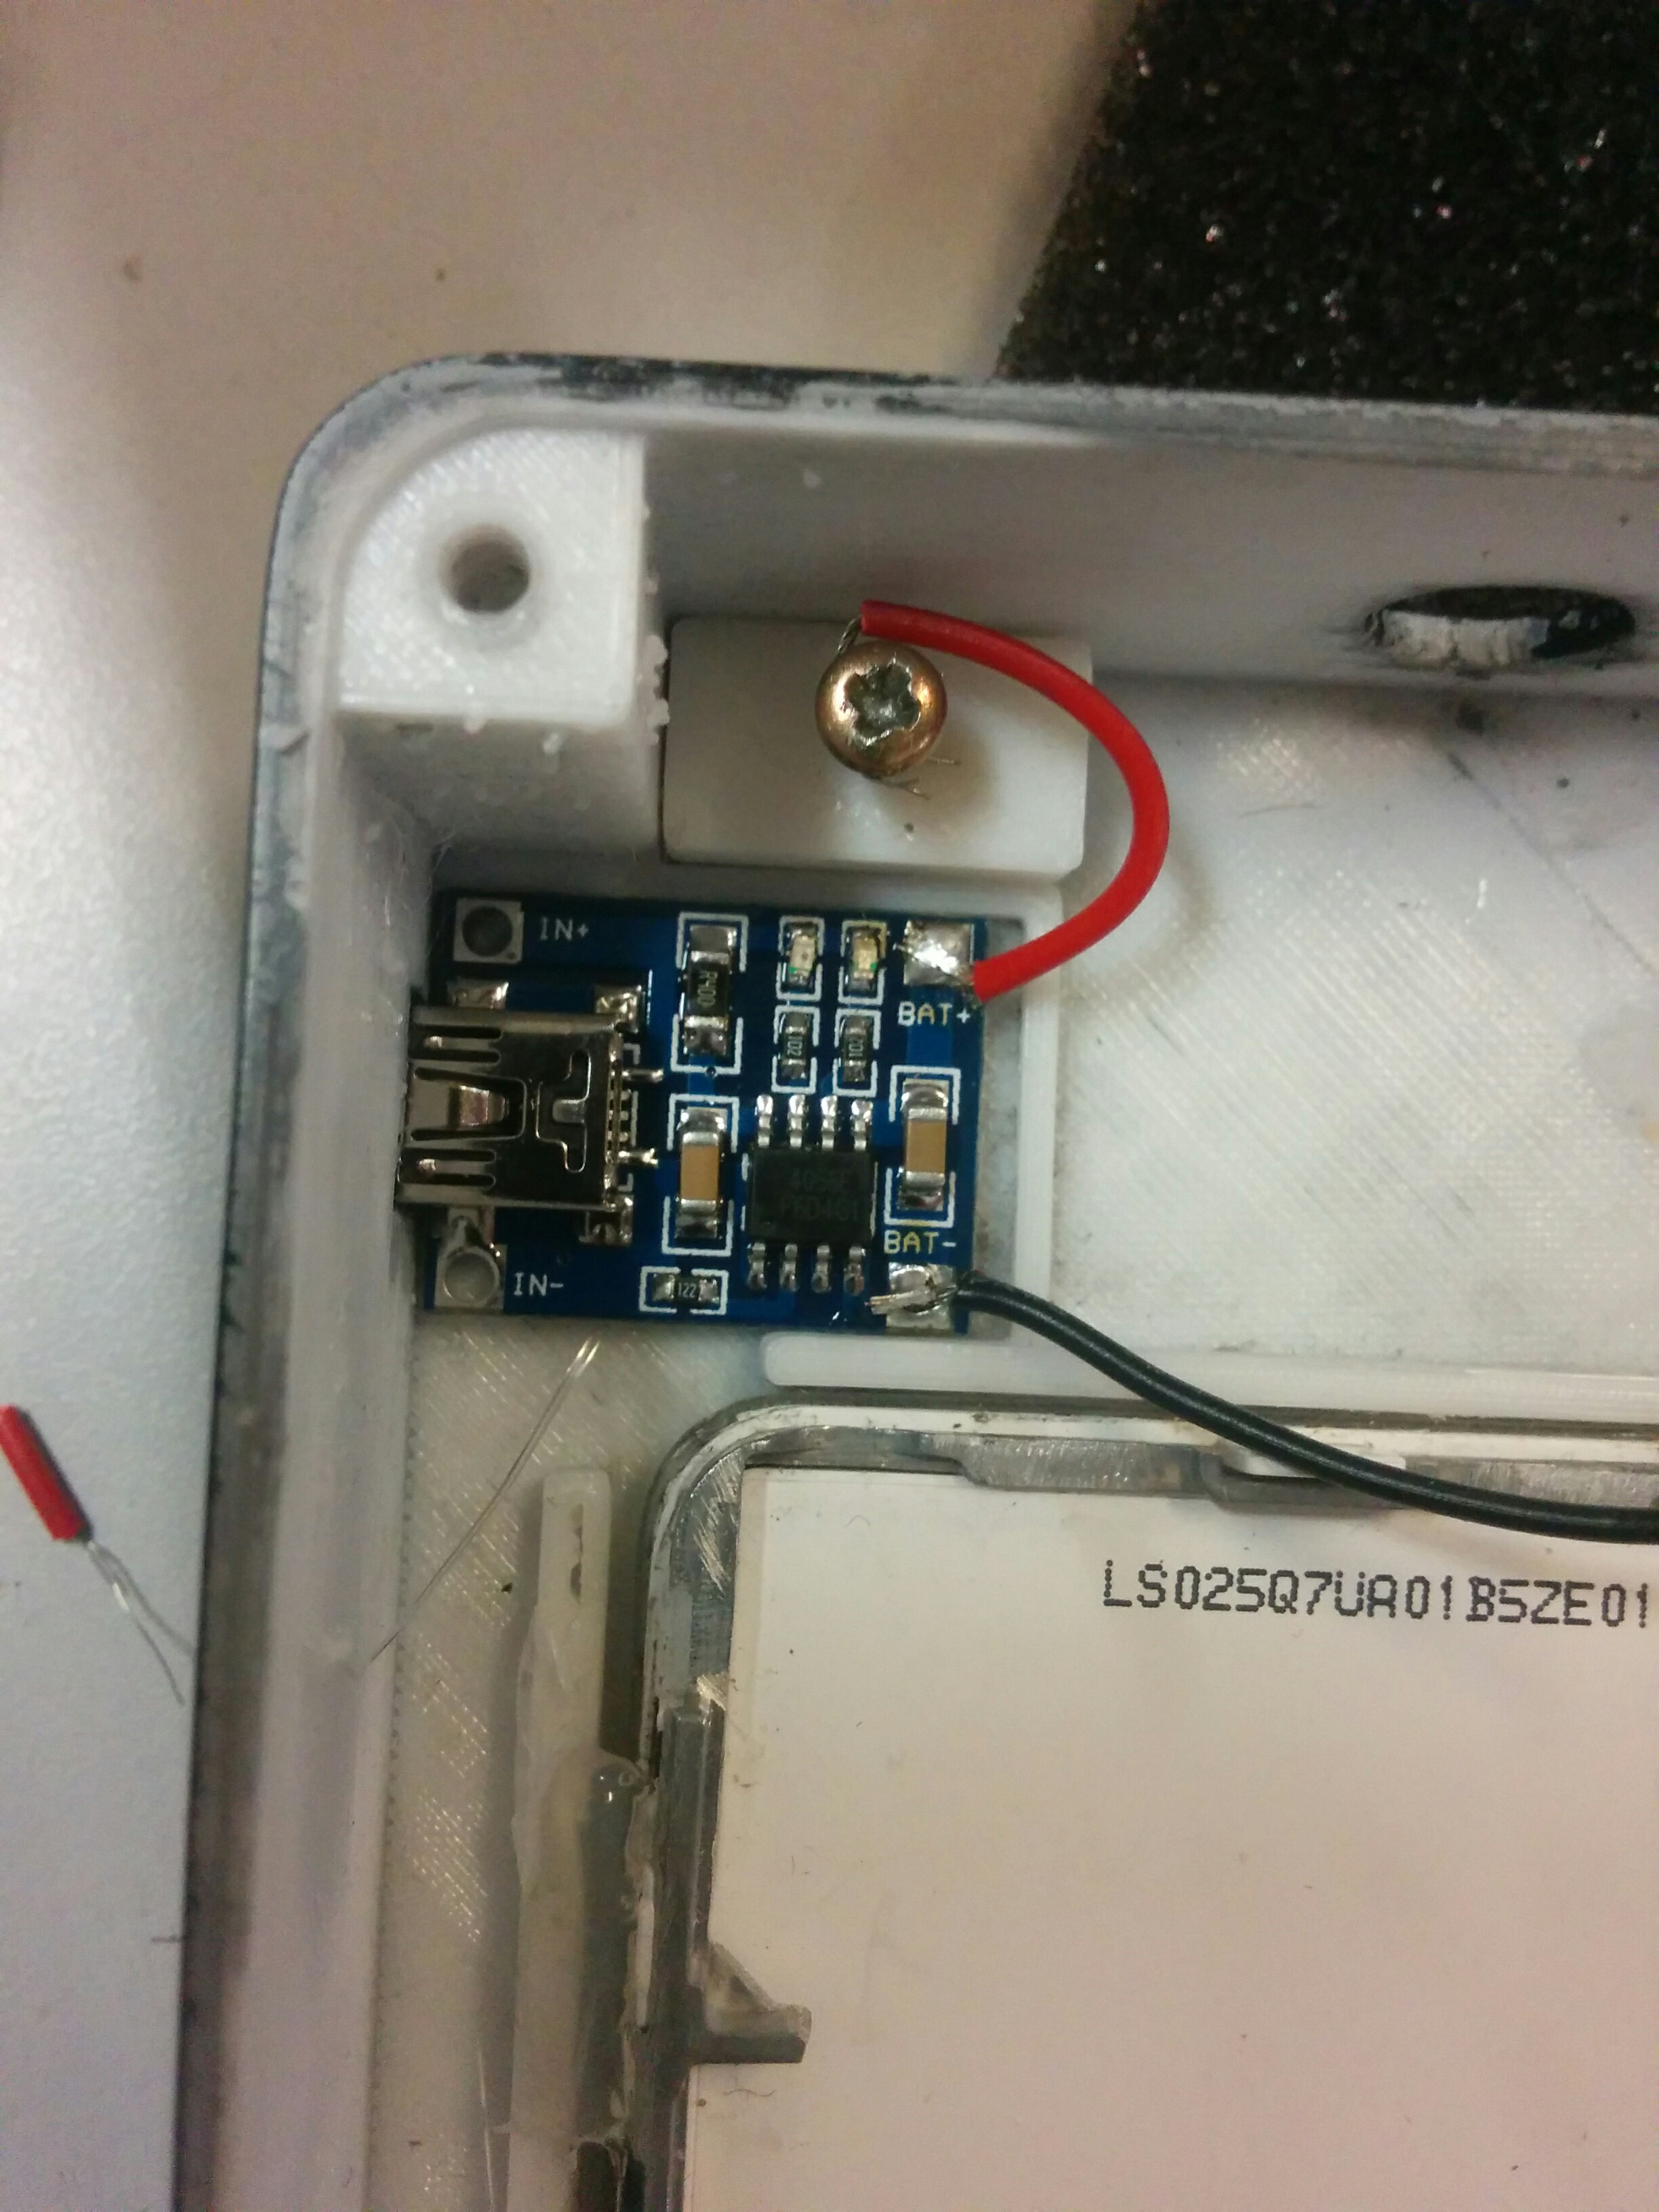
Solder on some long wires to the charger and glue both into the slots.
I waited until I had finished wiring everything else before I soldered on the wires from the sata cable but if its easier for you then can skip ahead.
Wiring Up the Relay
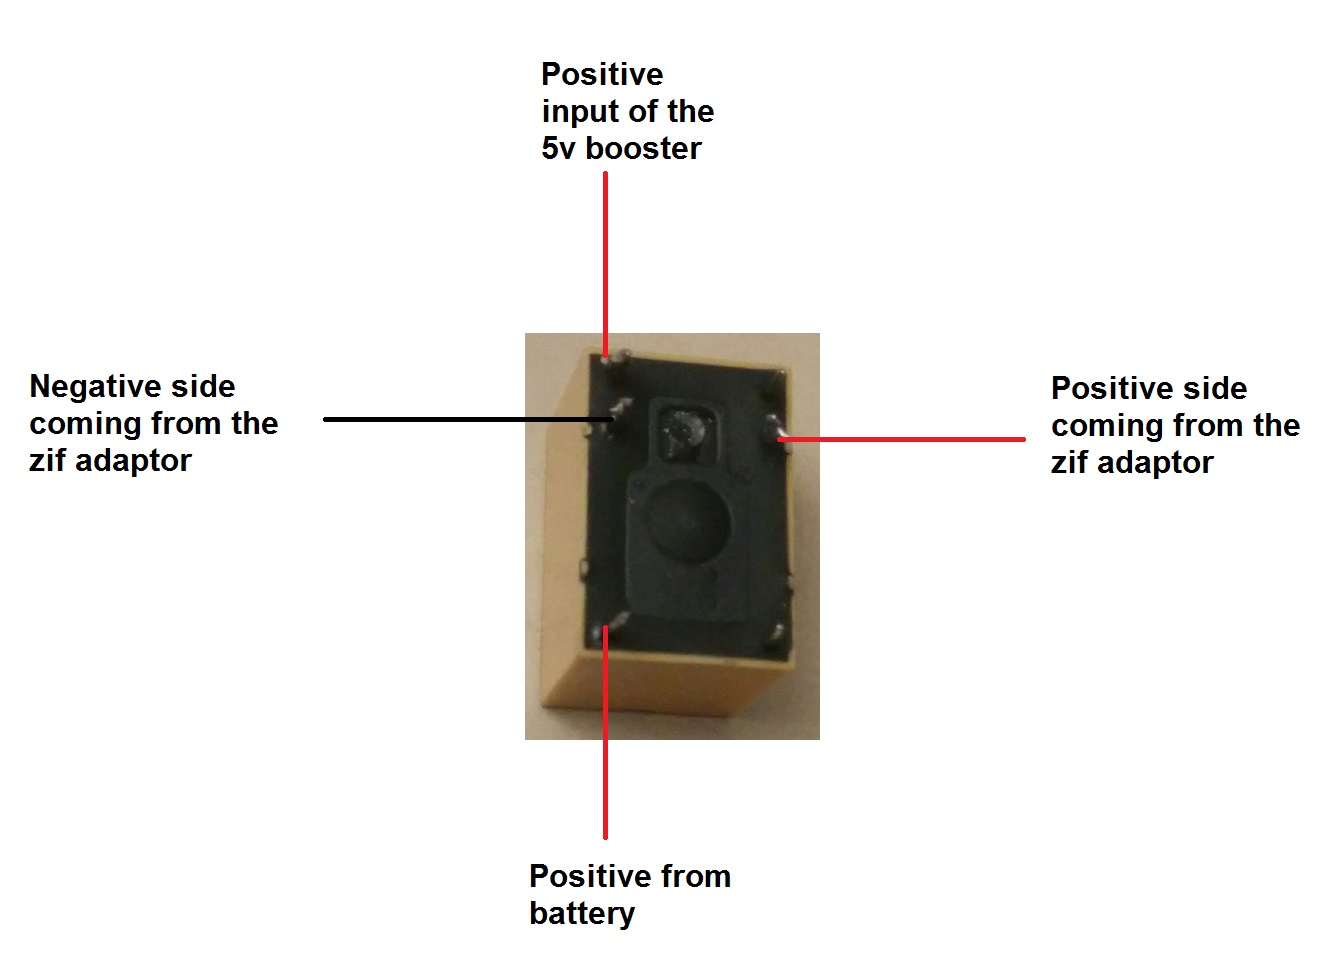
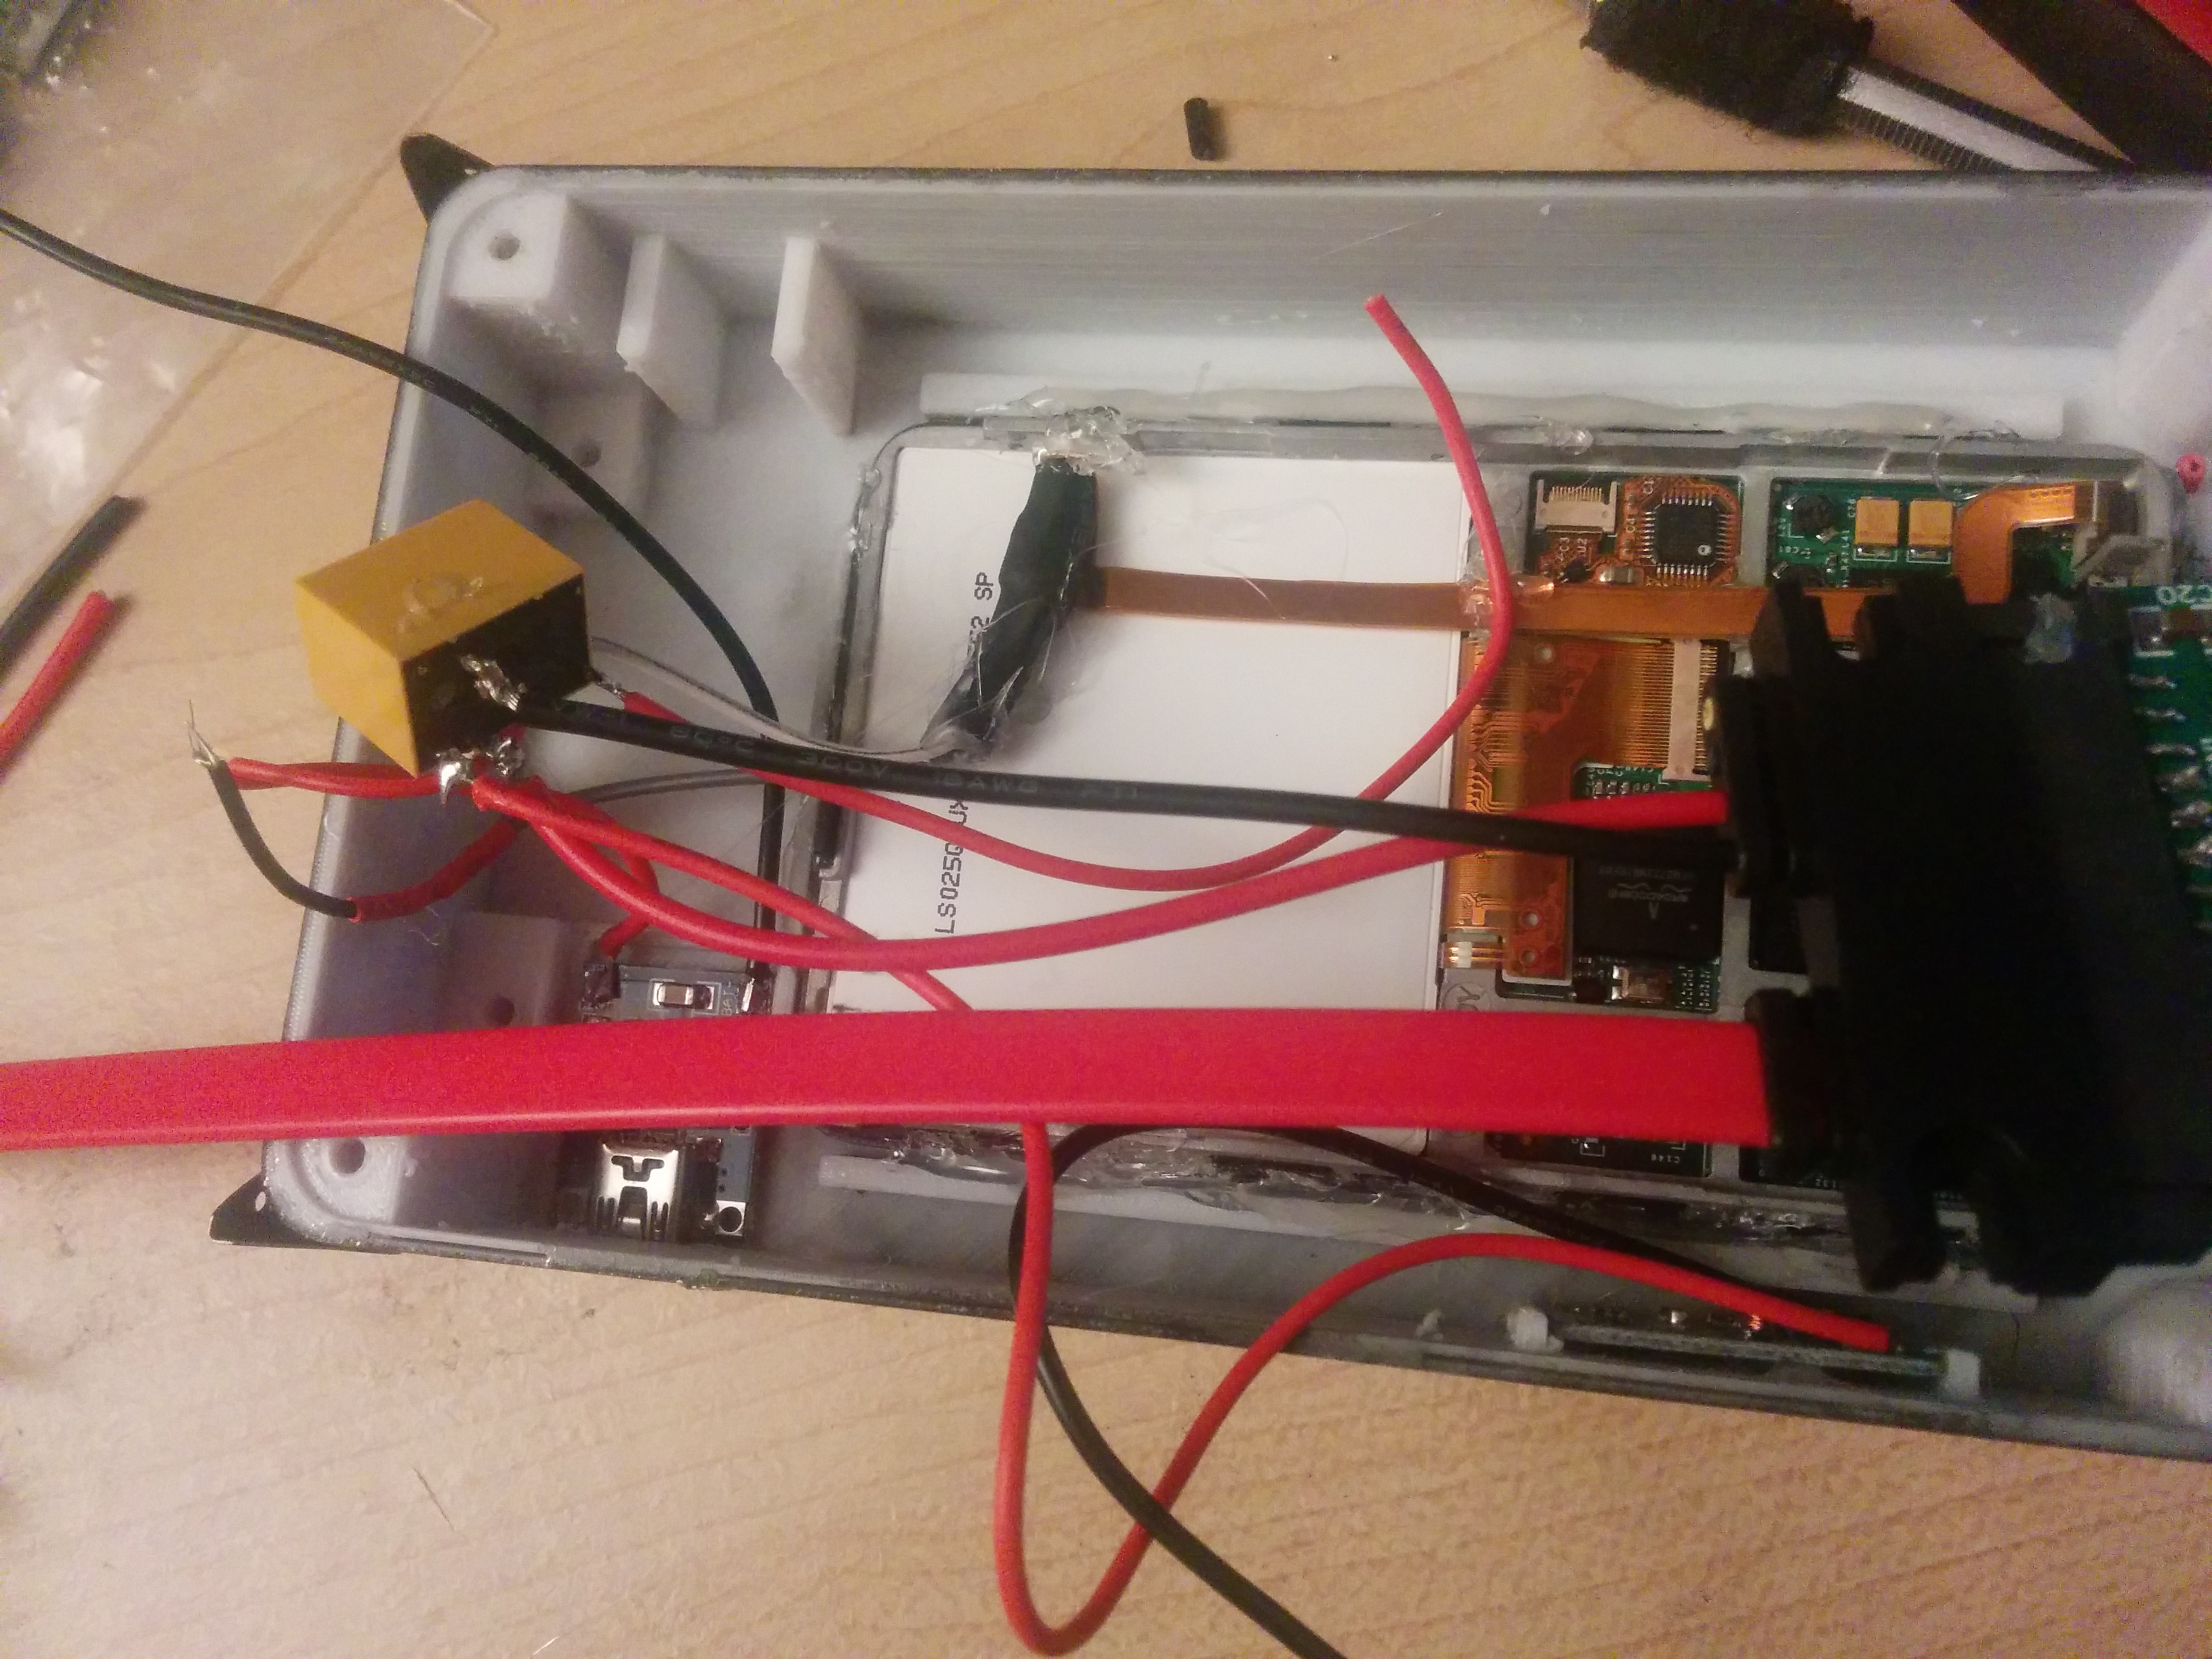
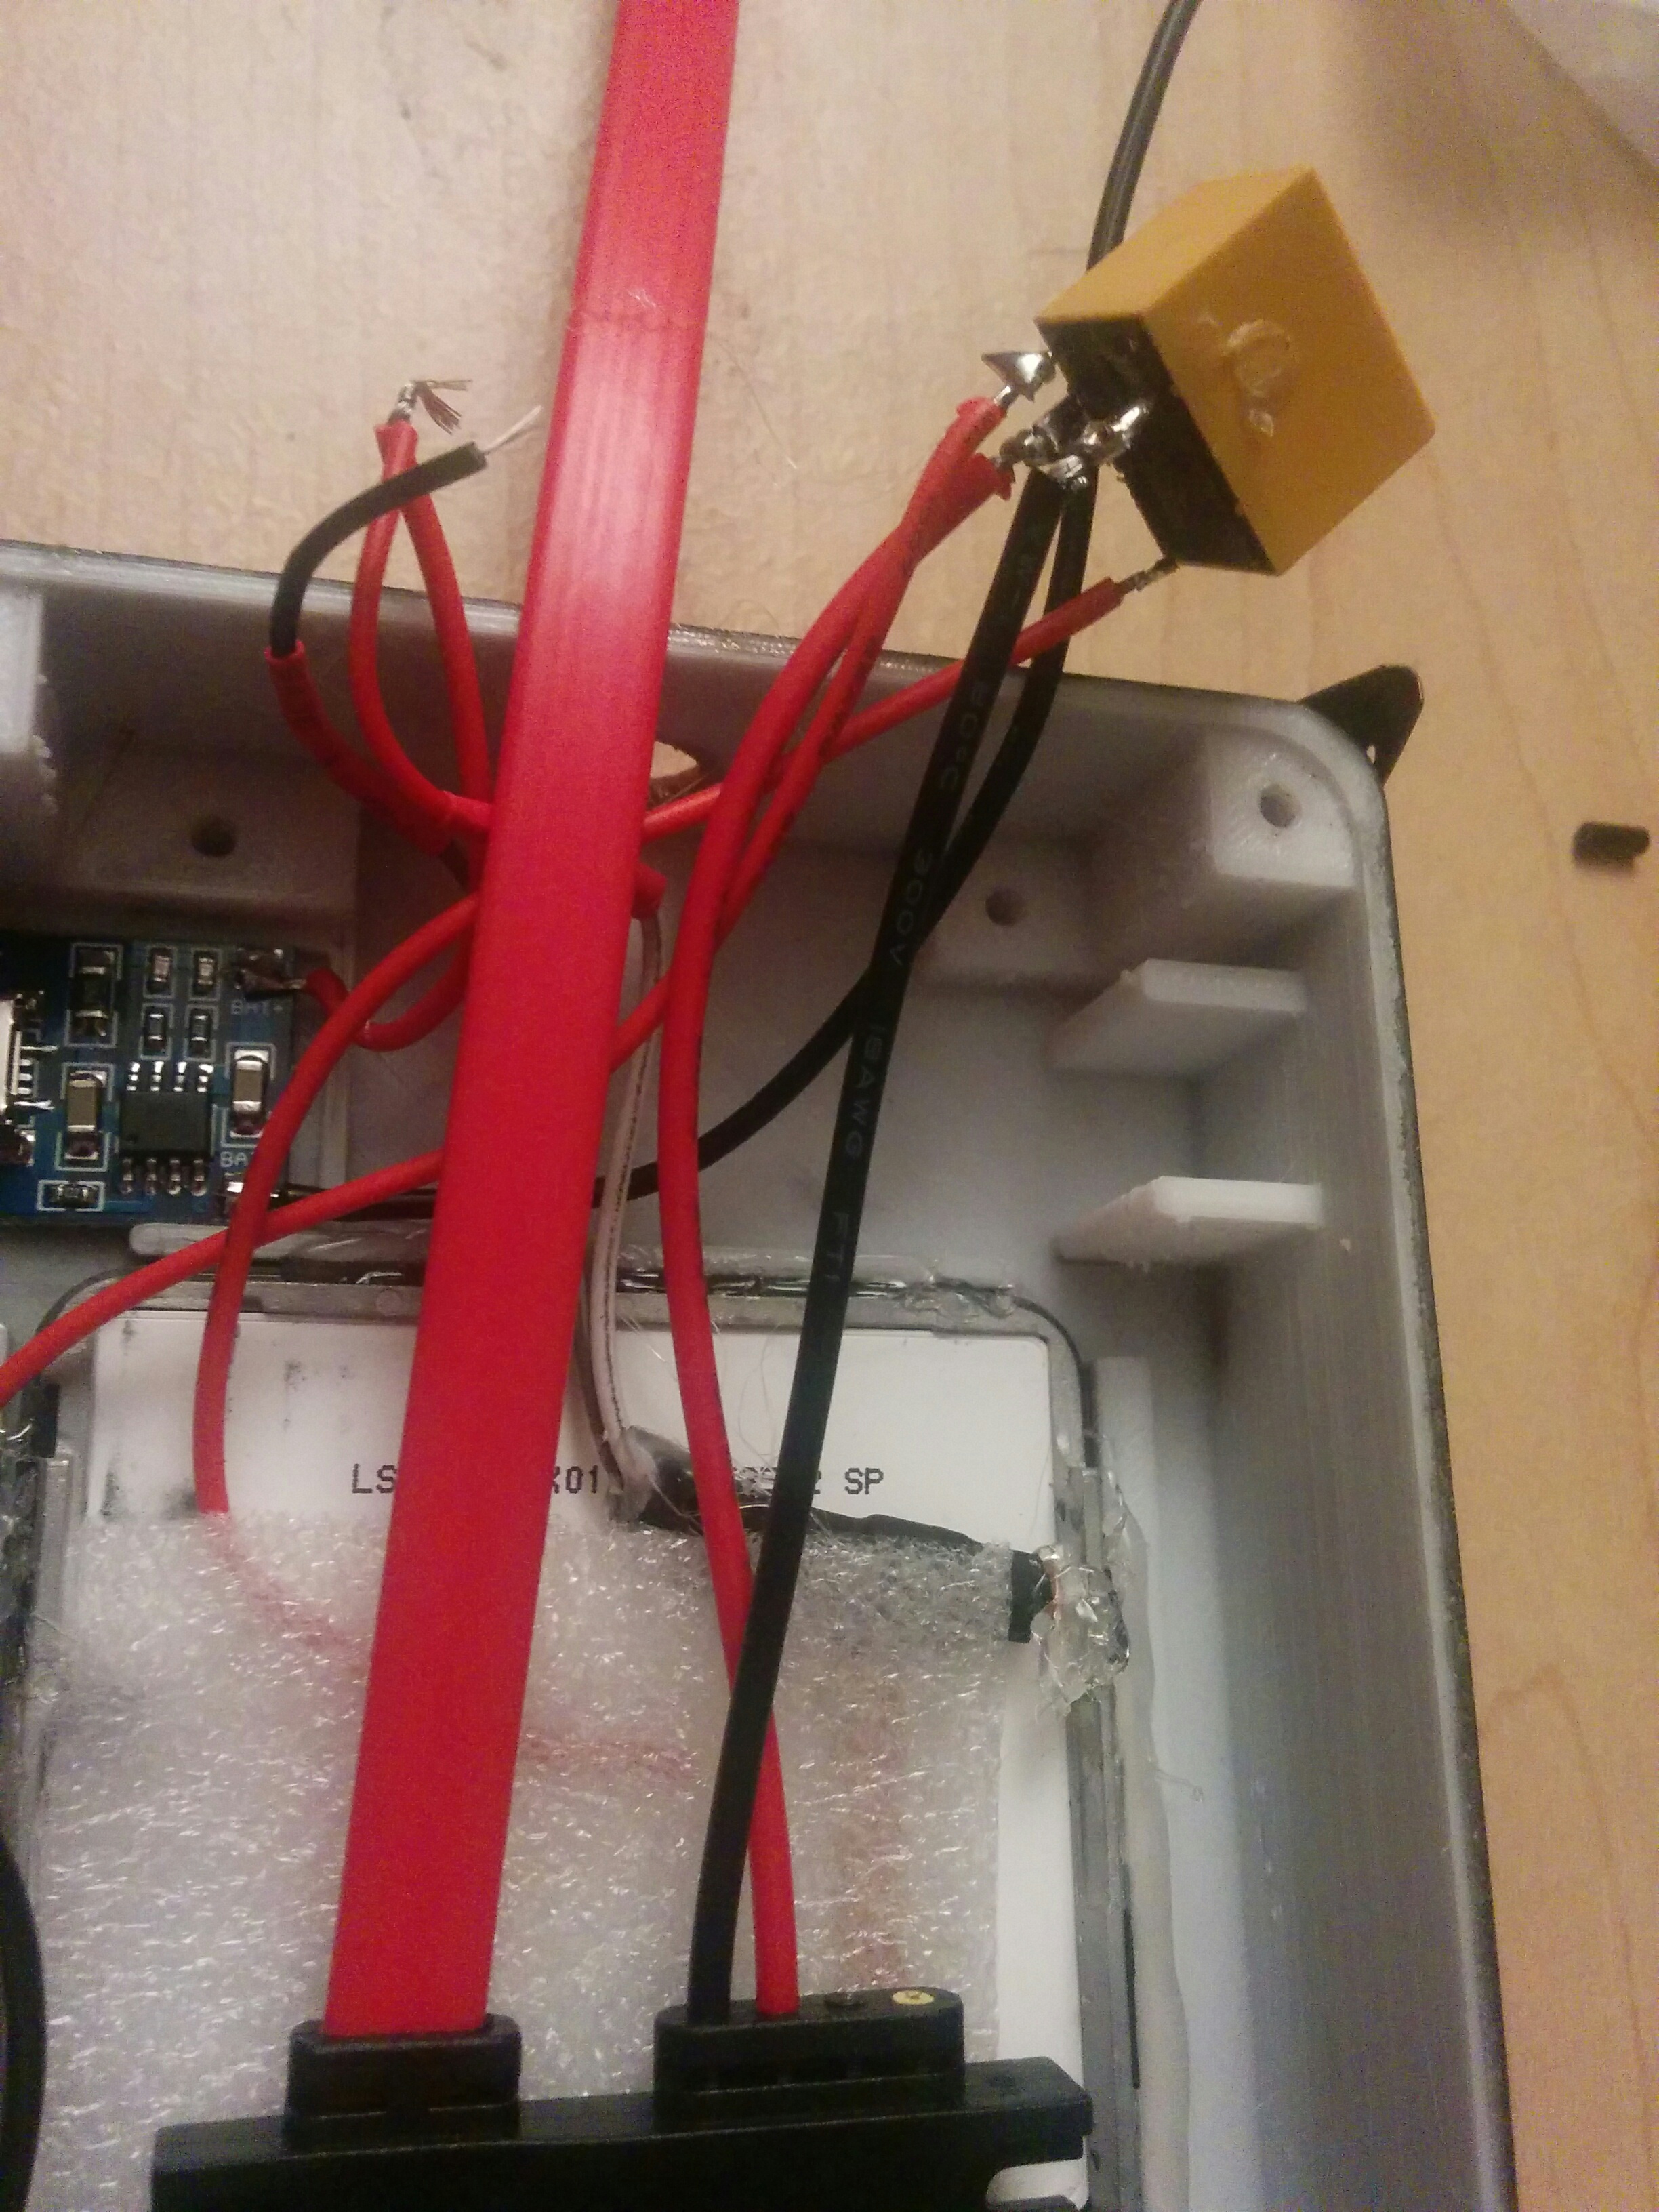
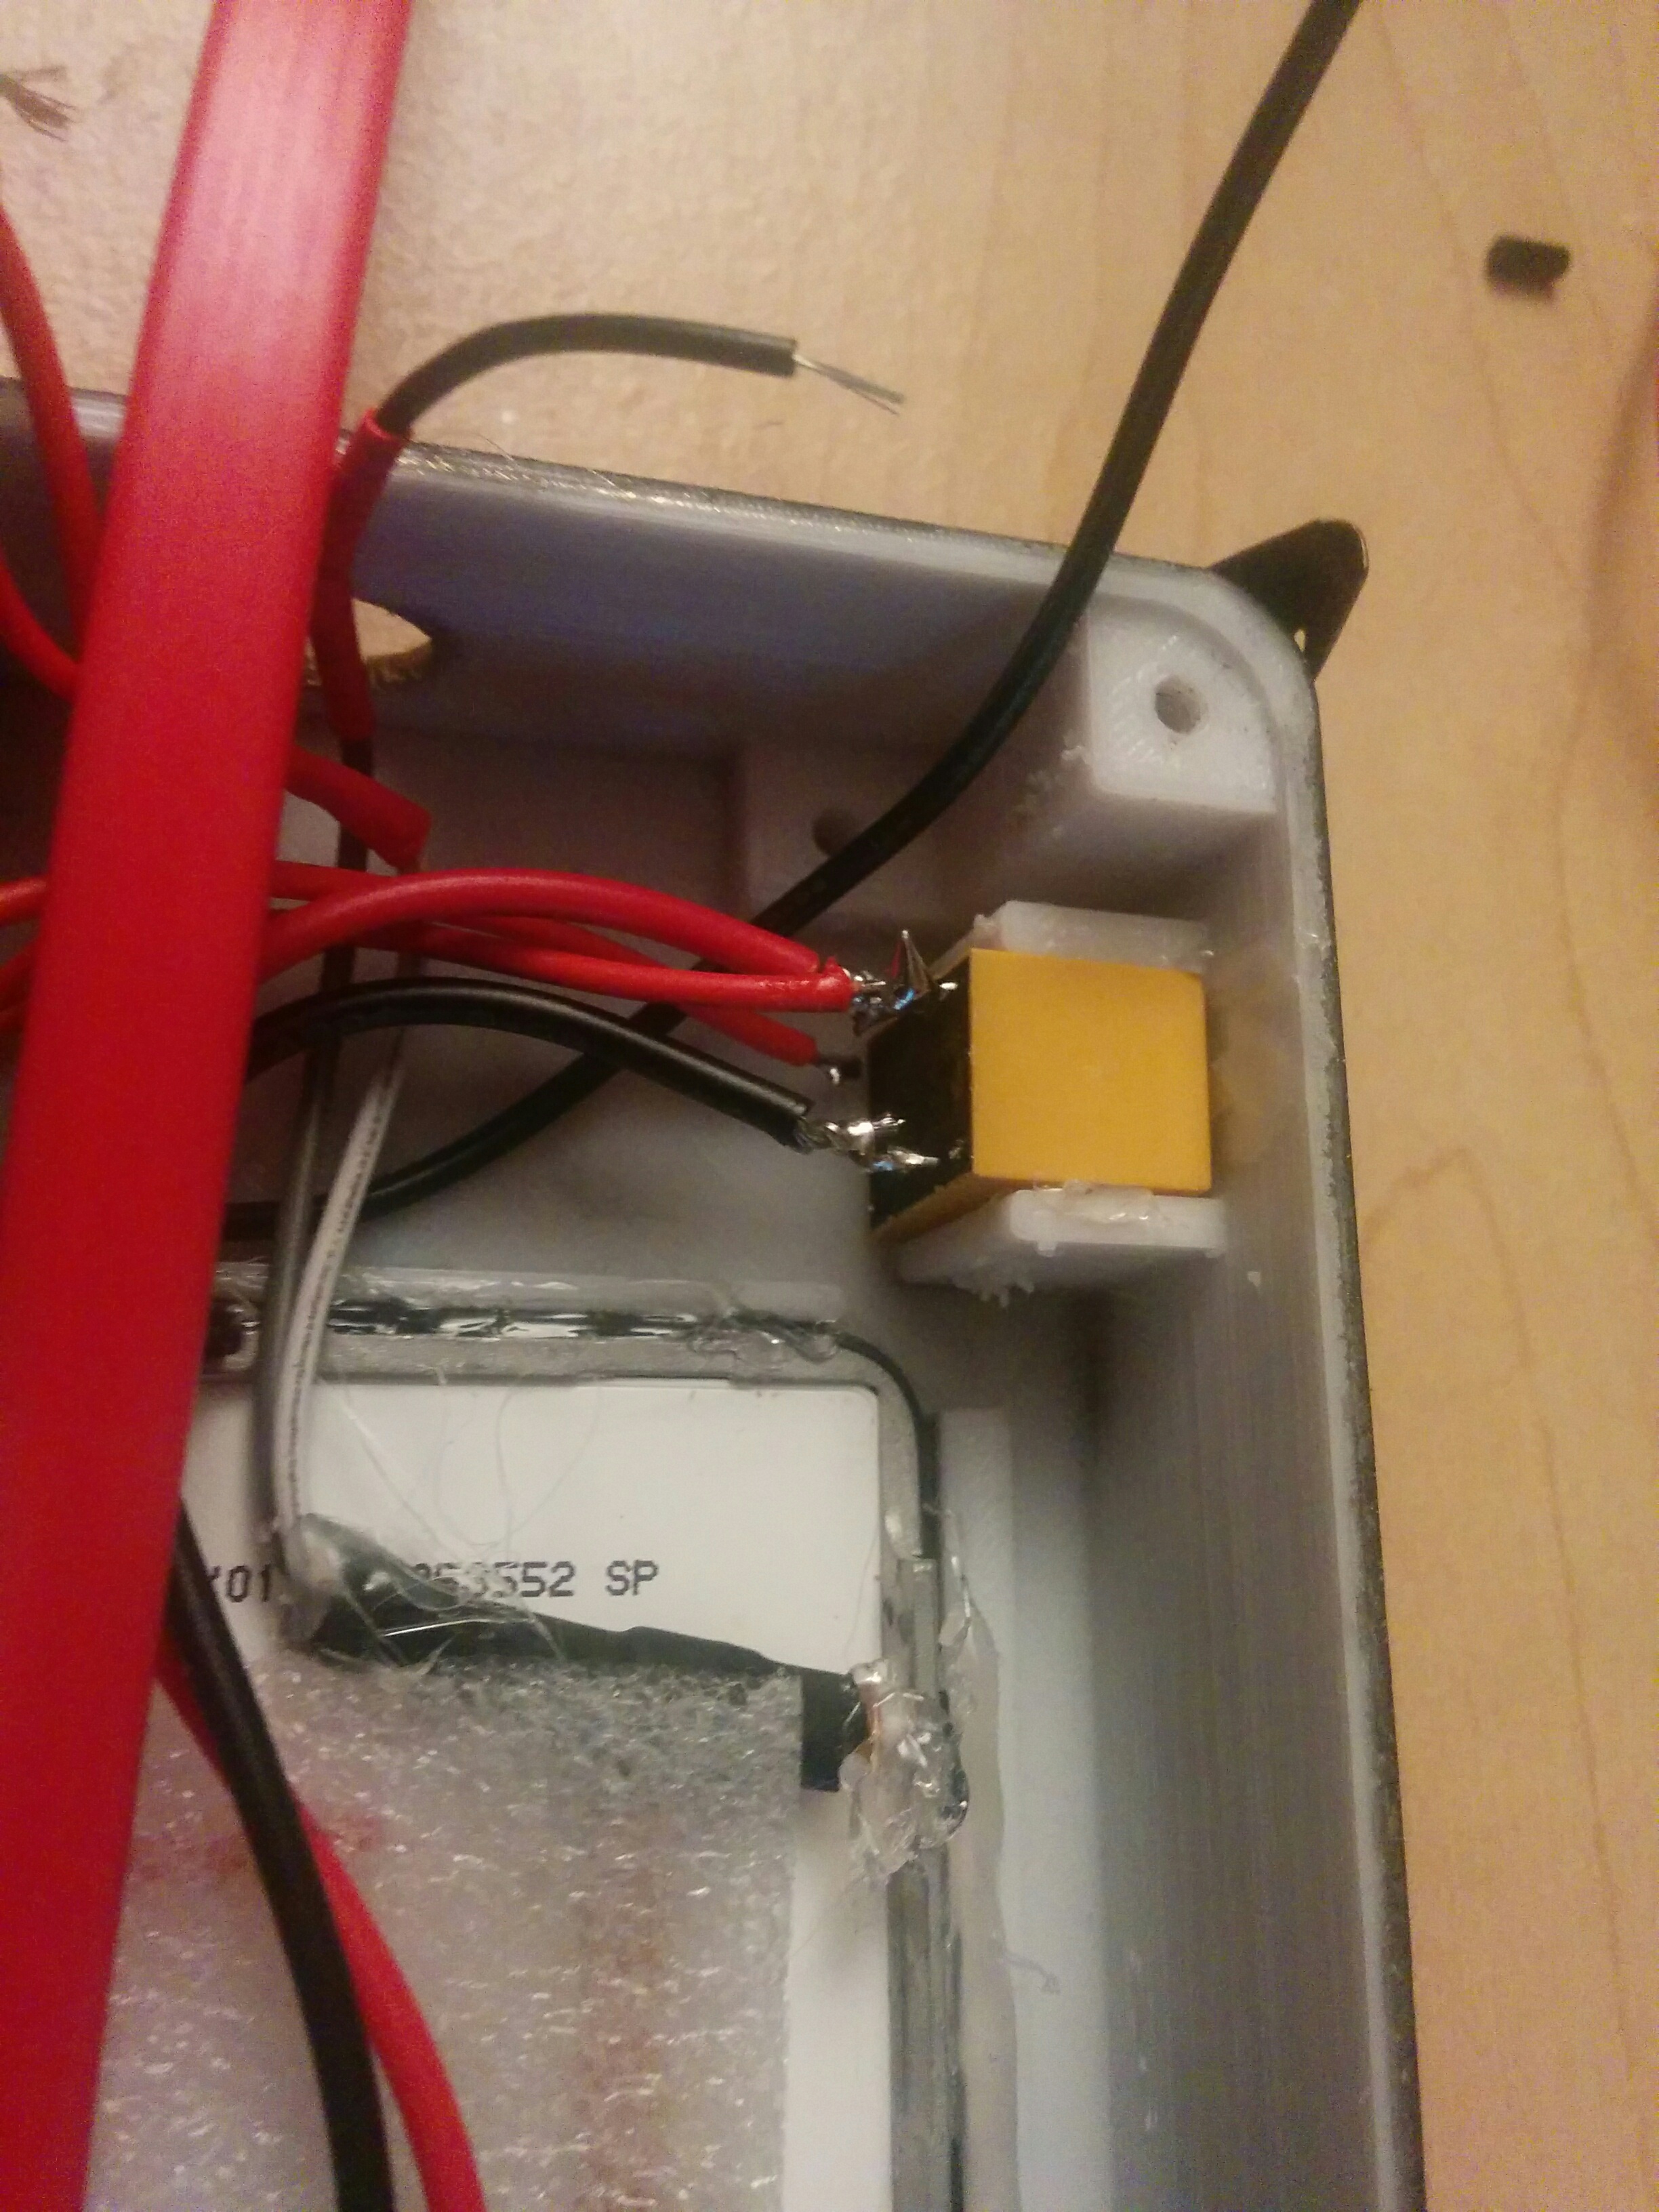
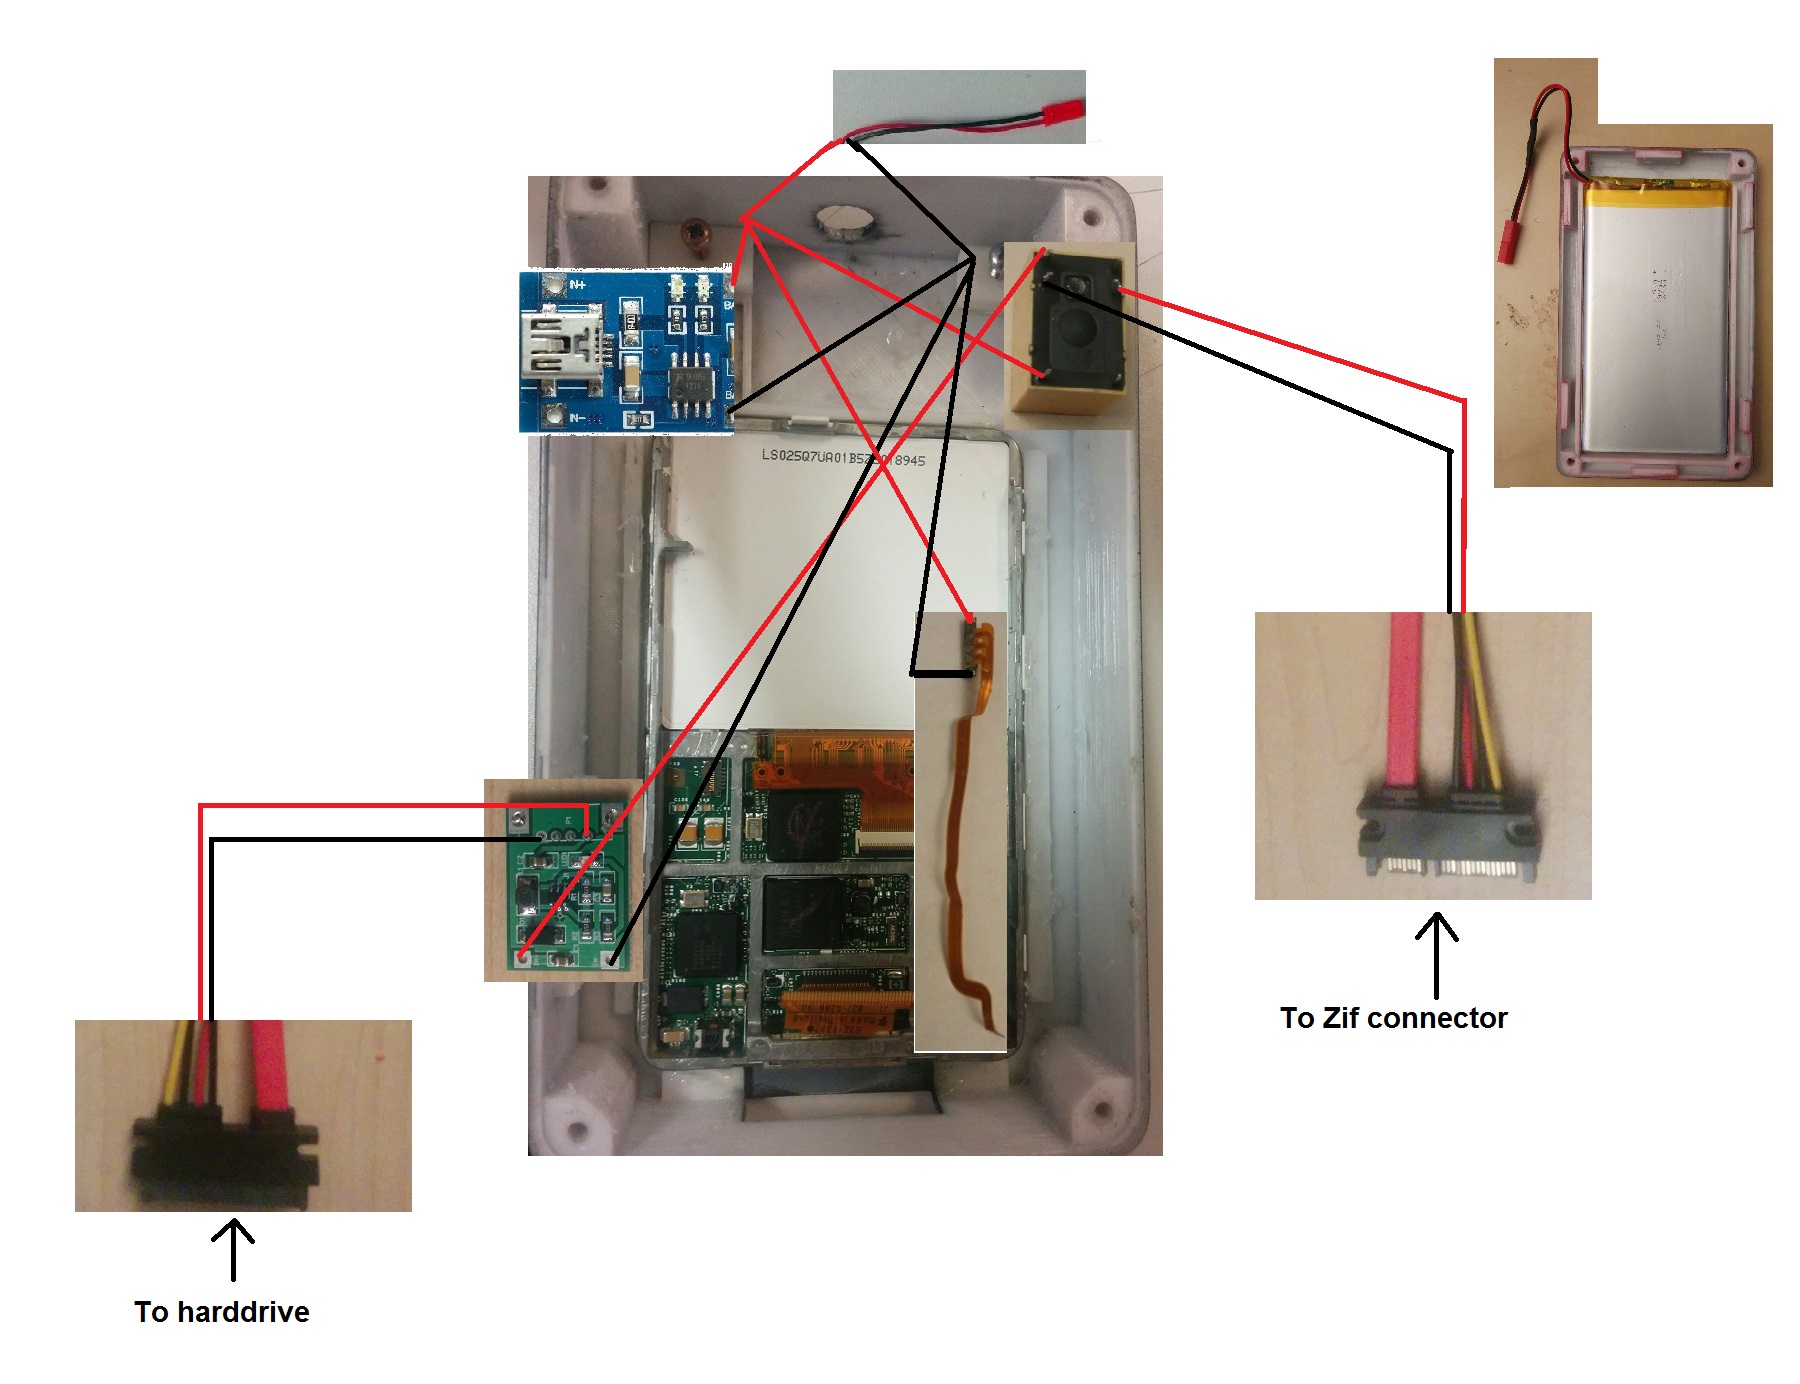
The little diagram is pretty straight forward in the wiring.
After its done mount it in the slot on the side of the case.
Head Phone Jack
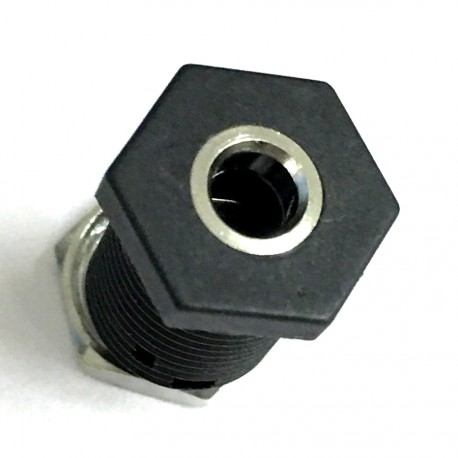
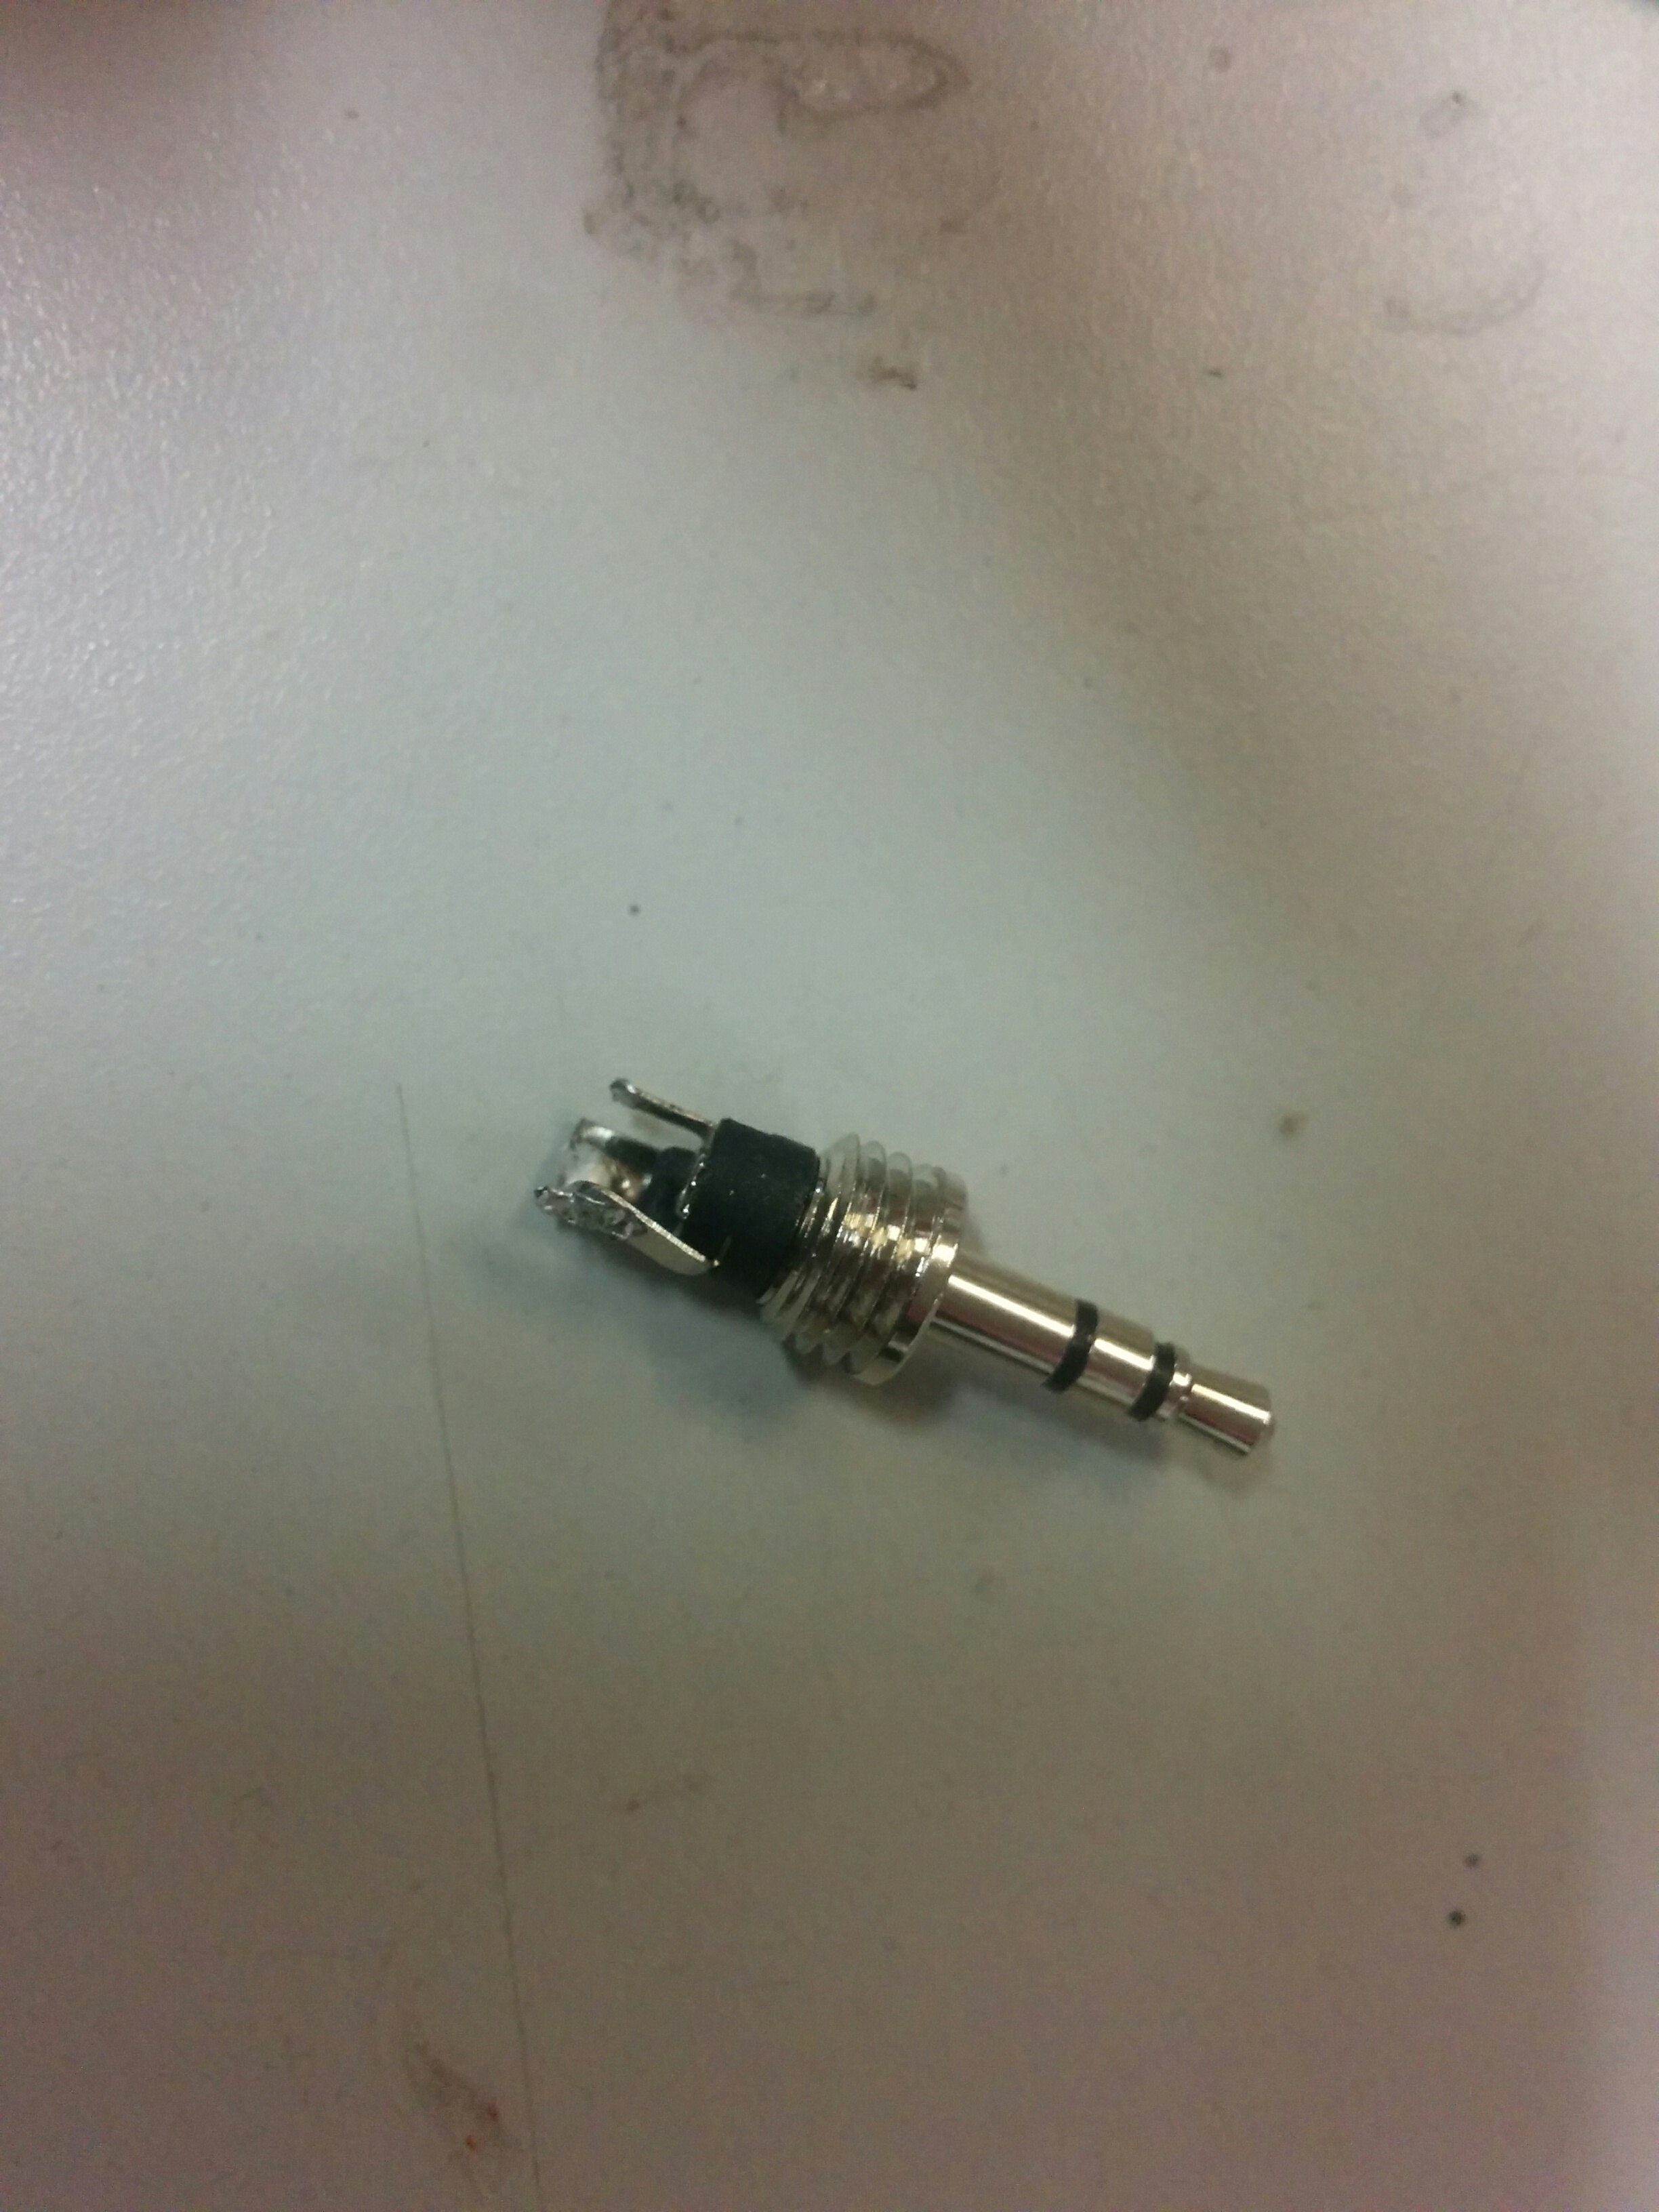
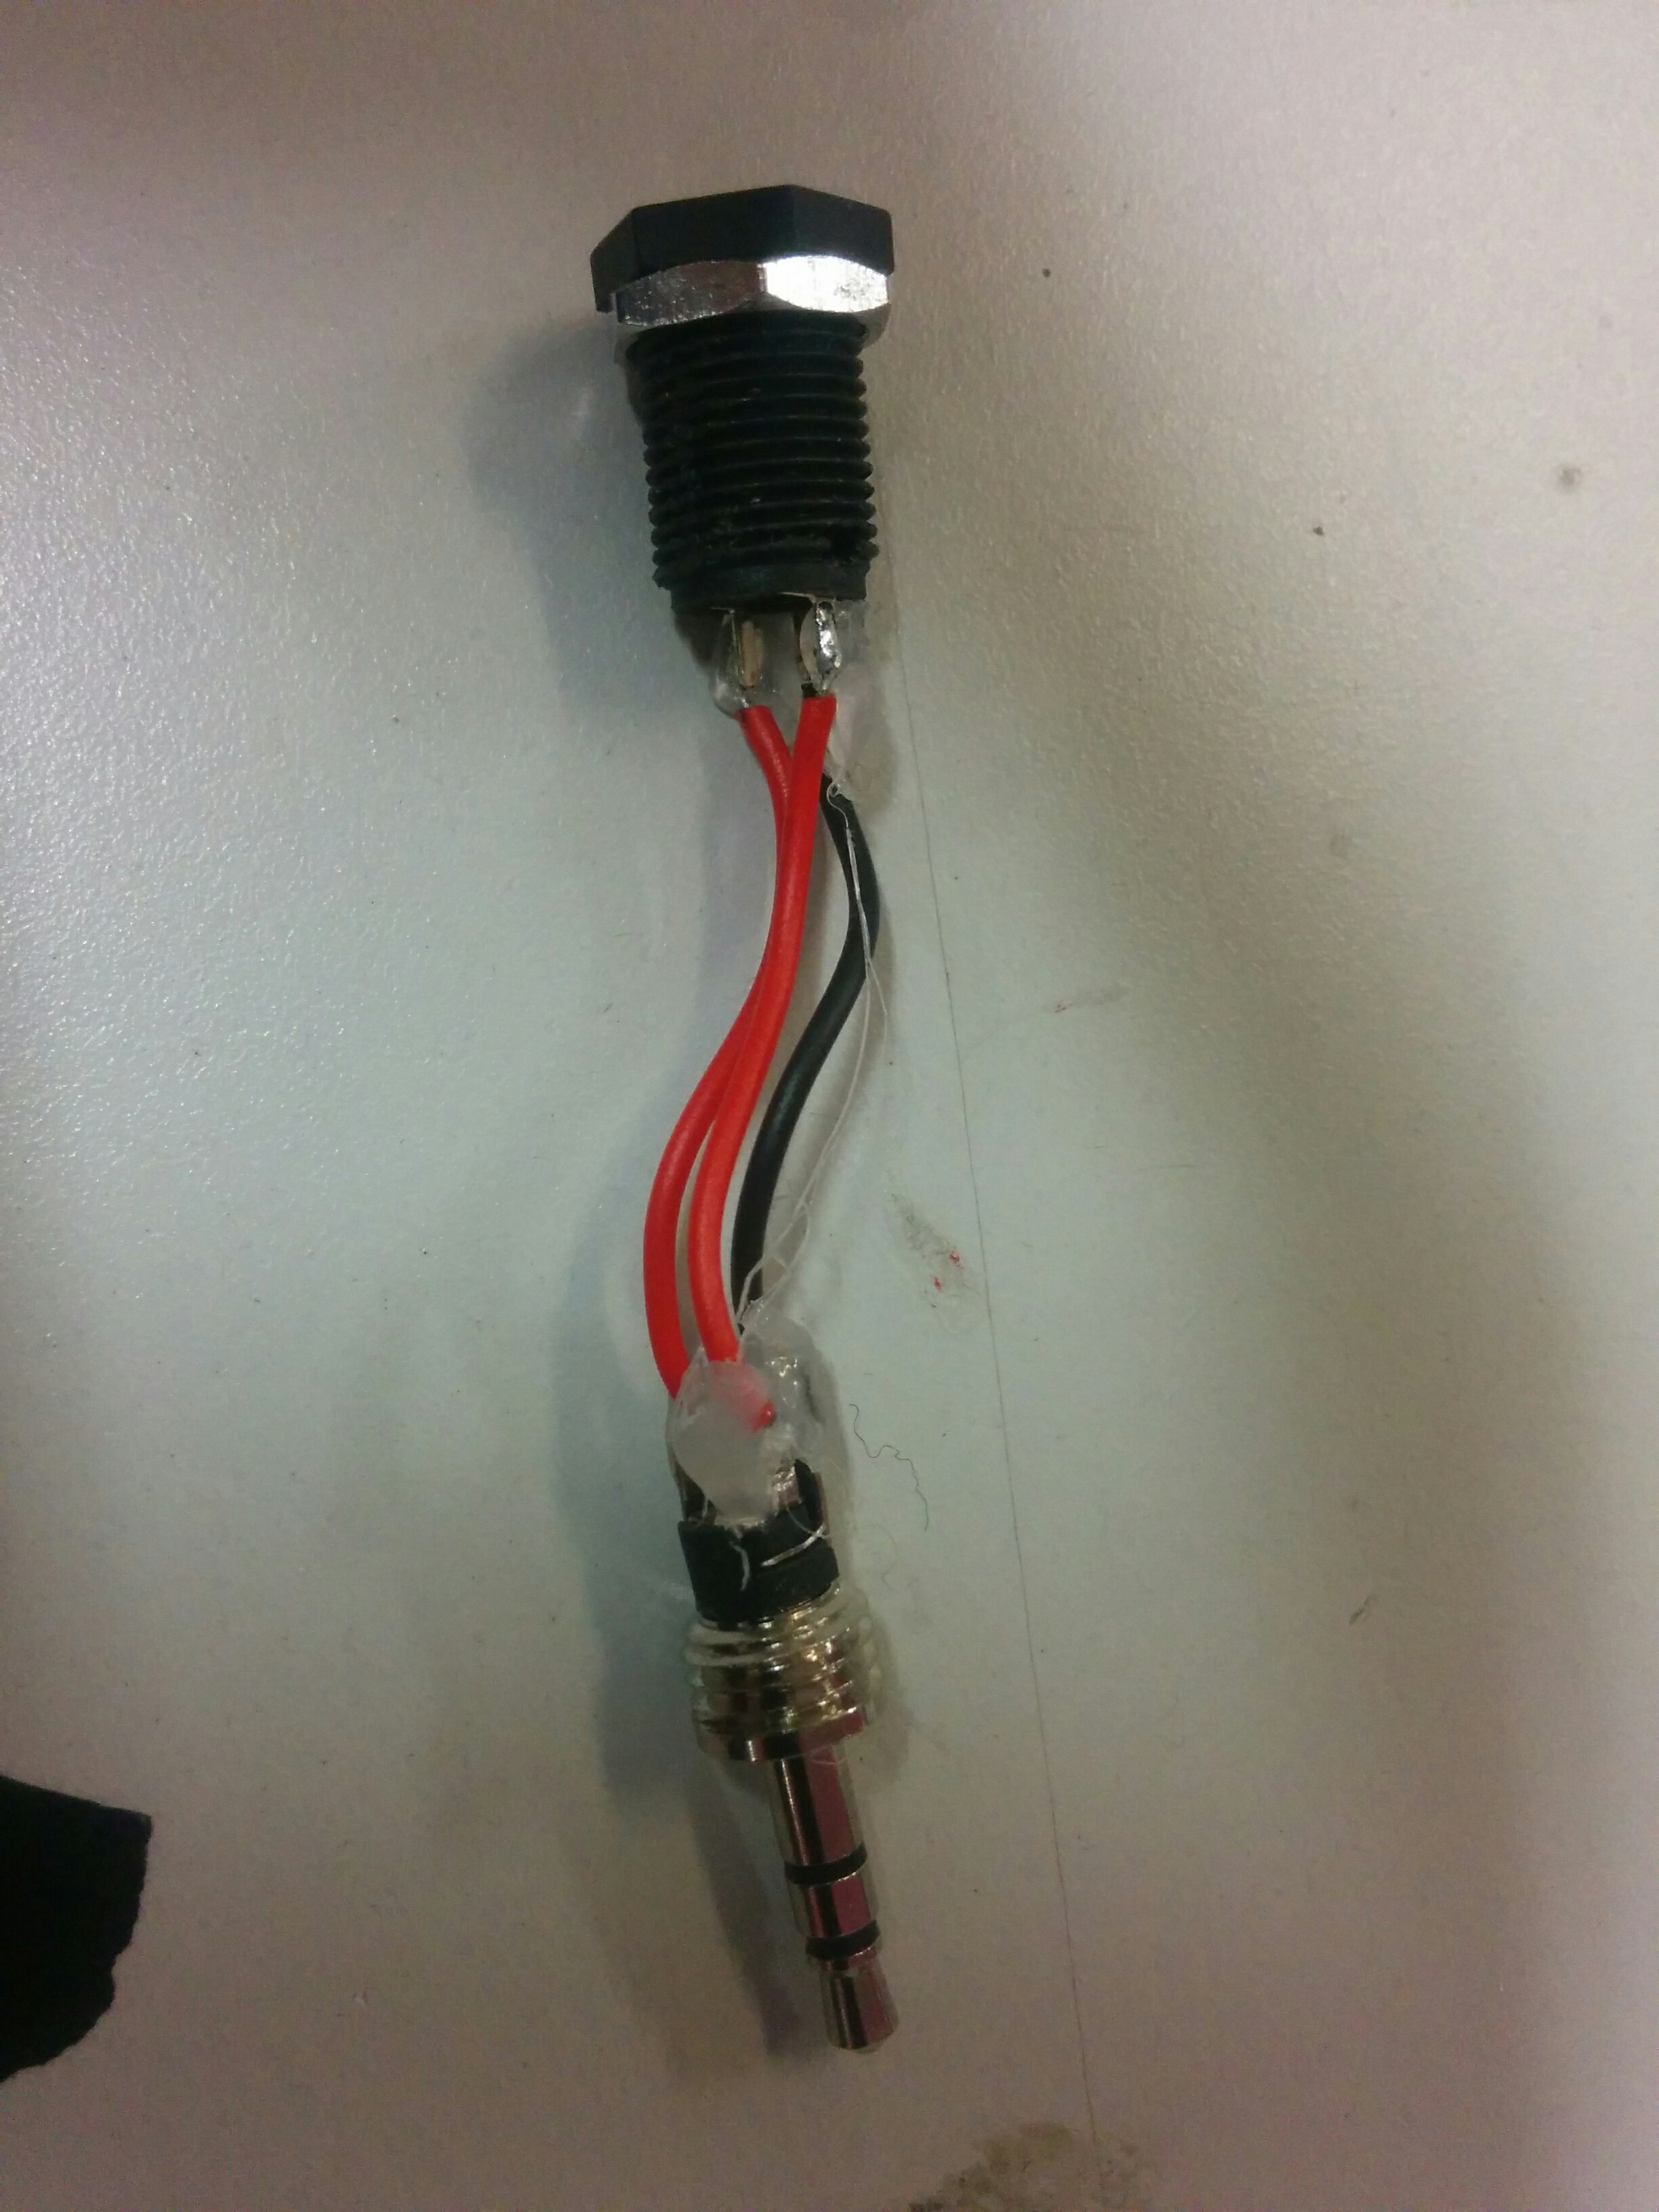
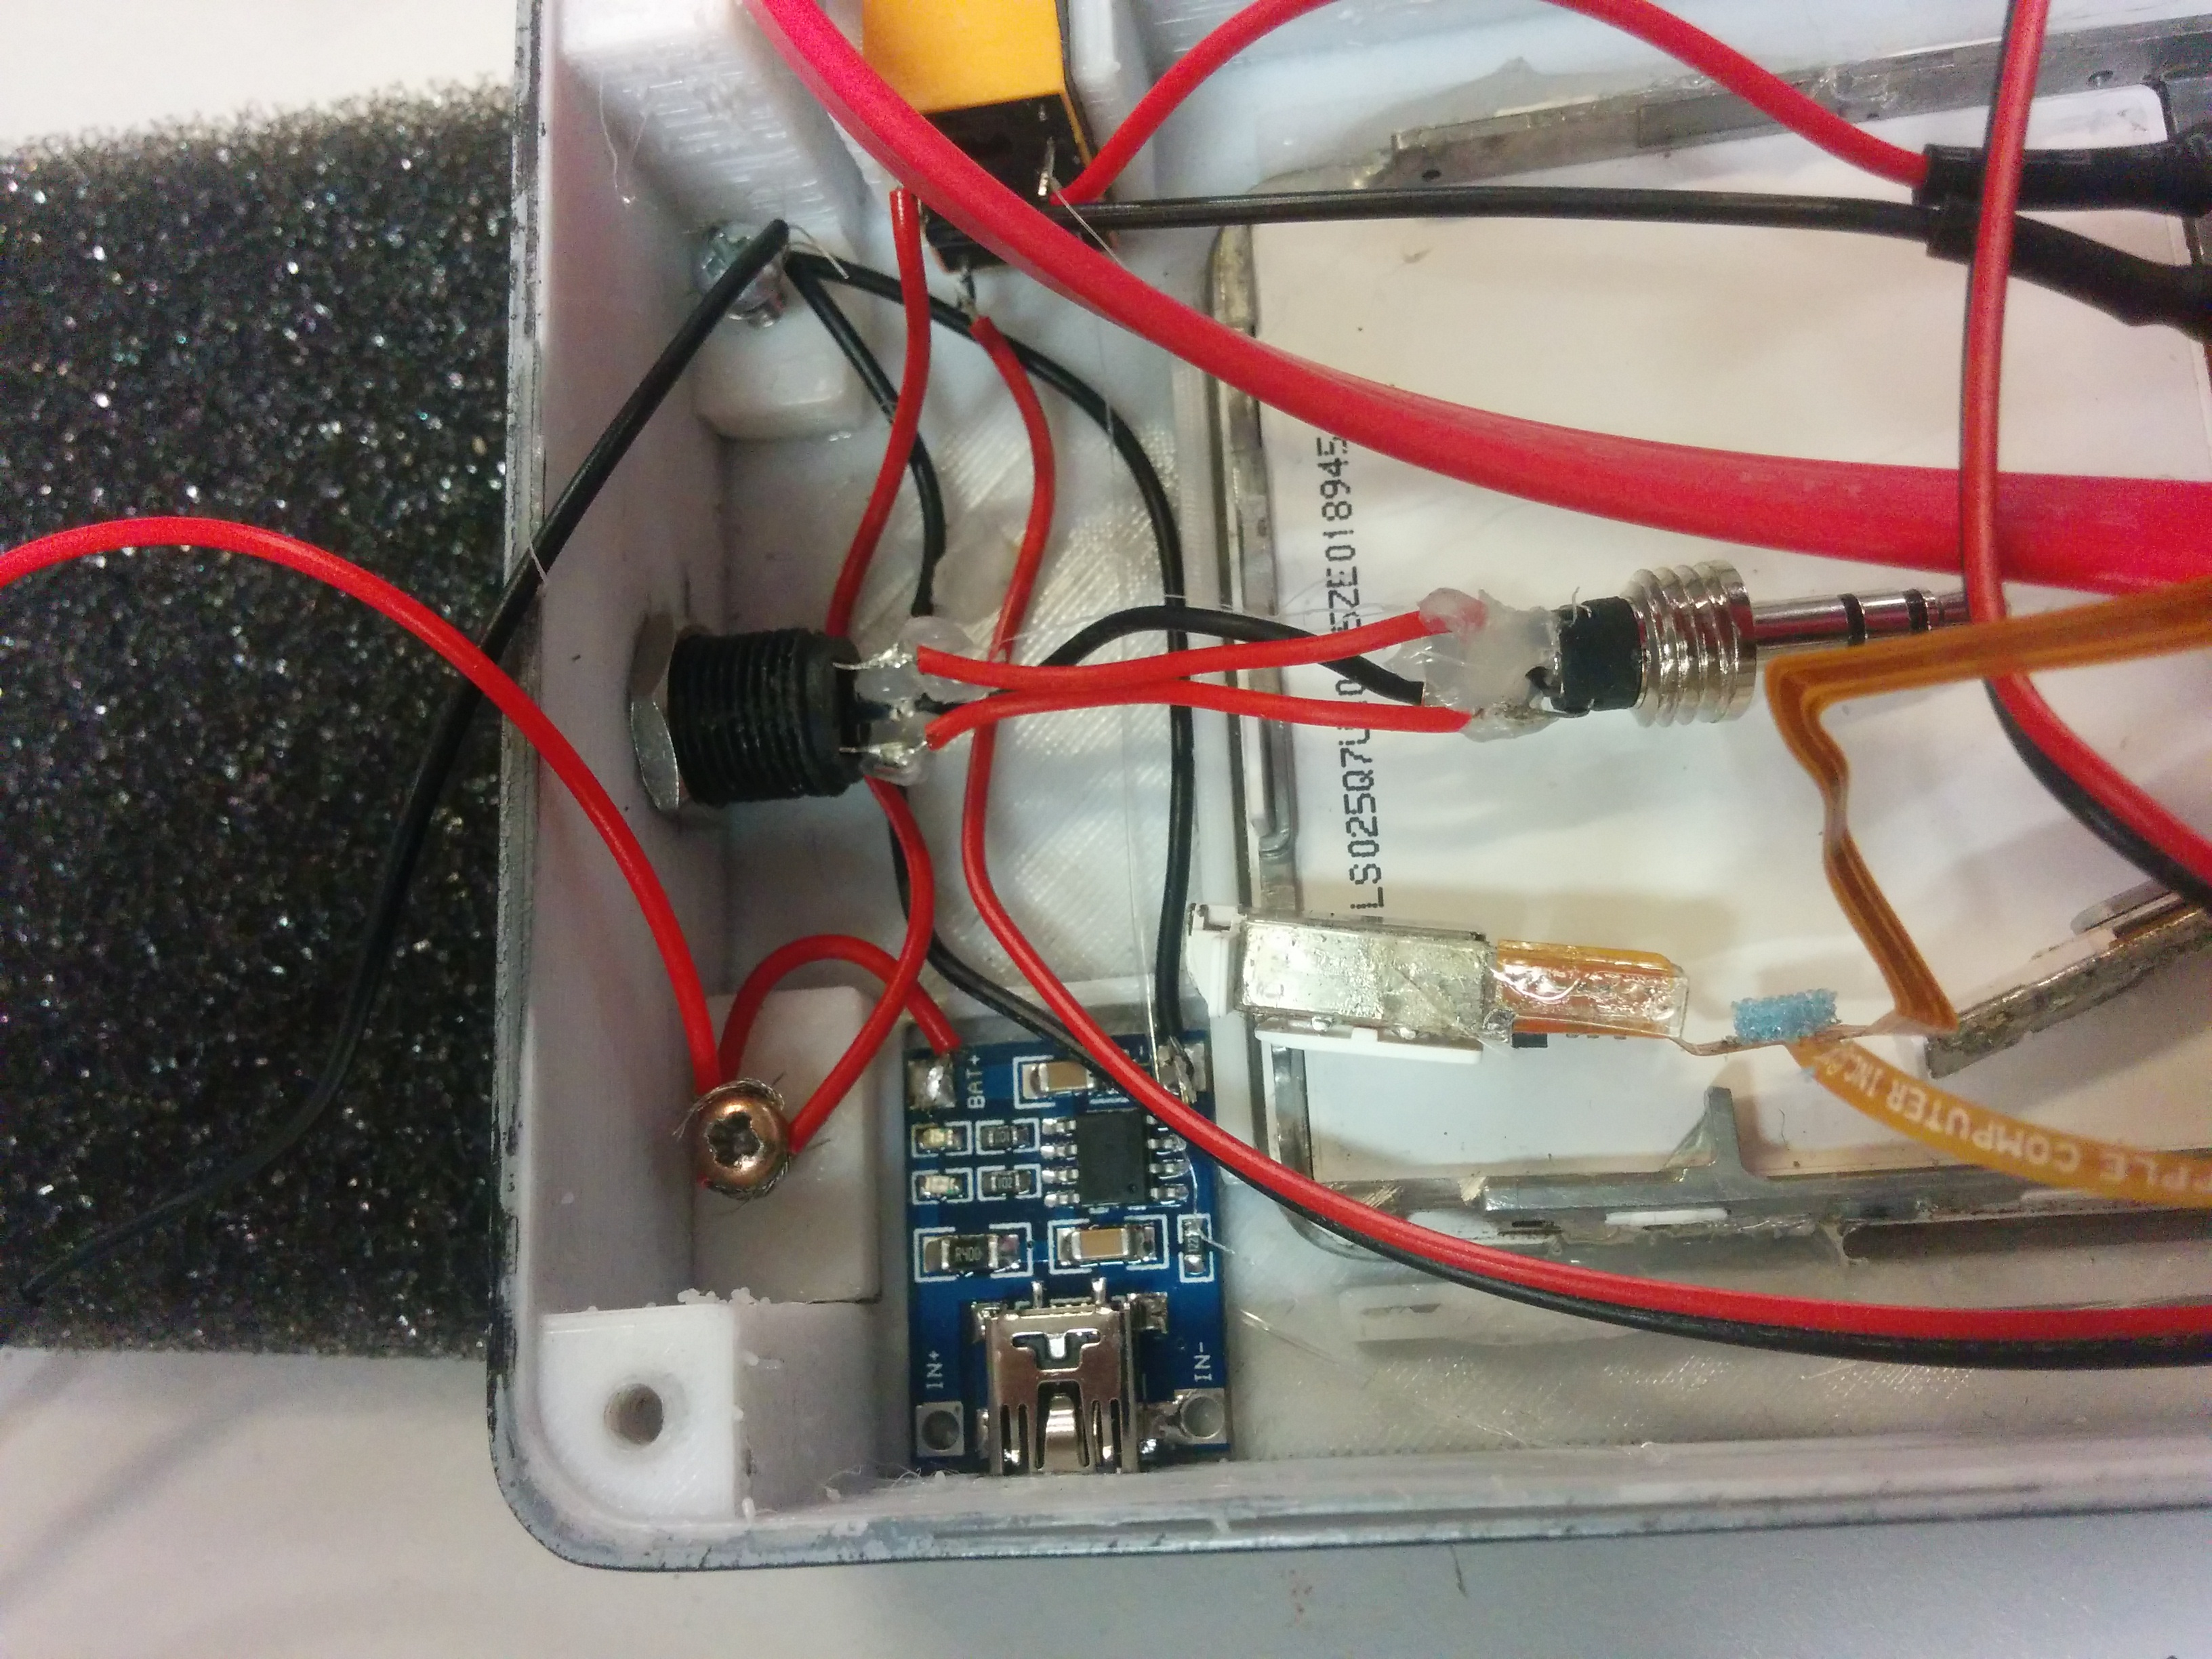
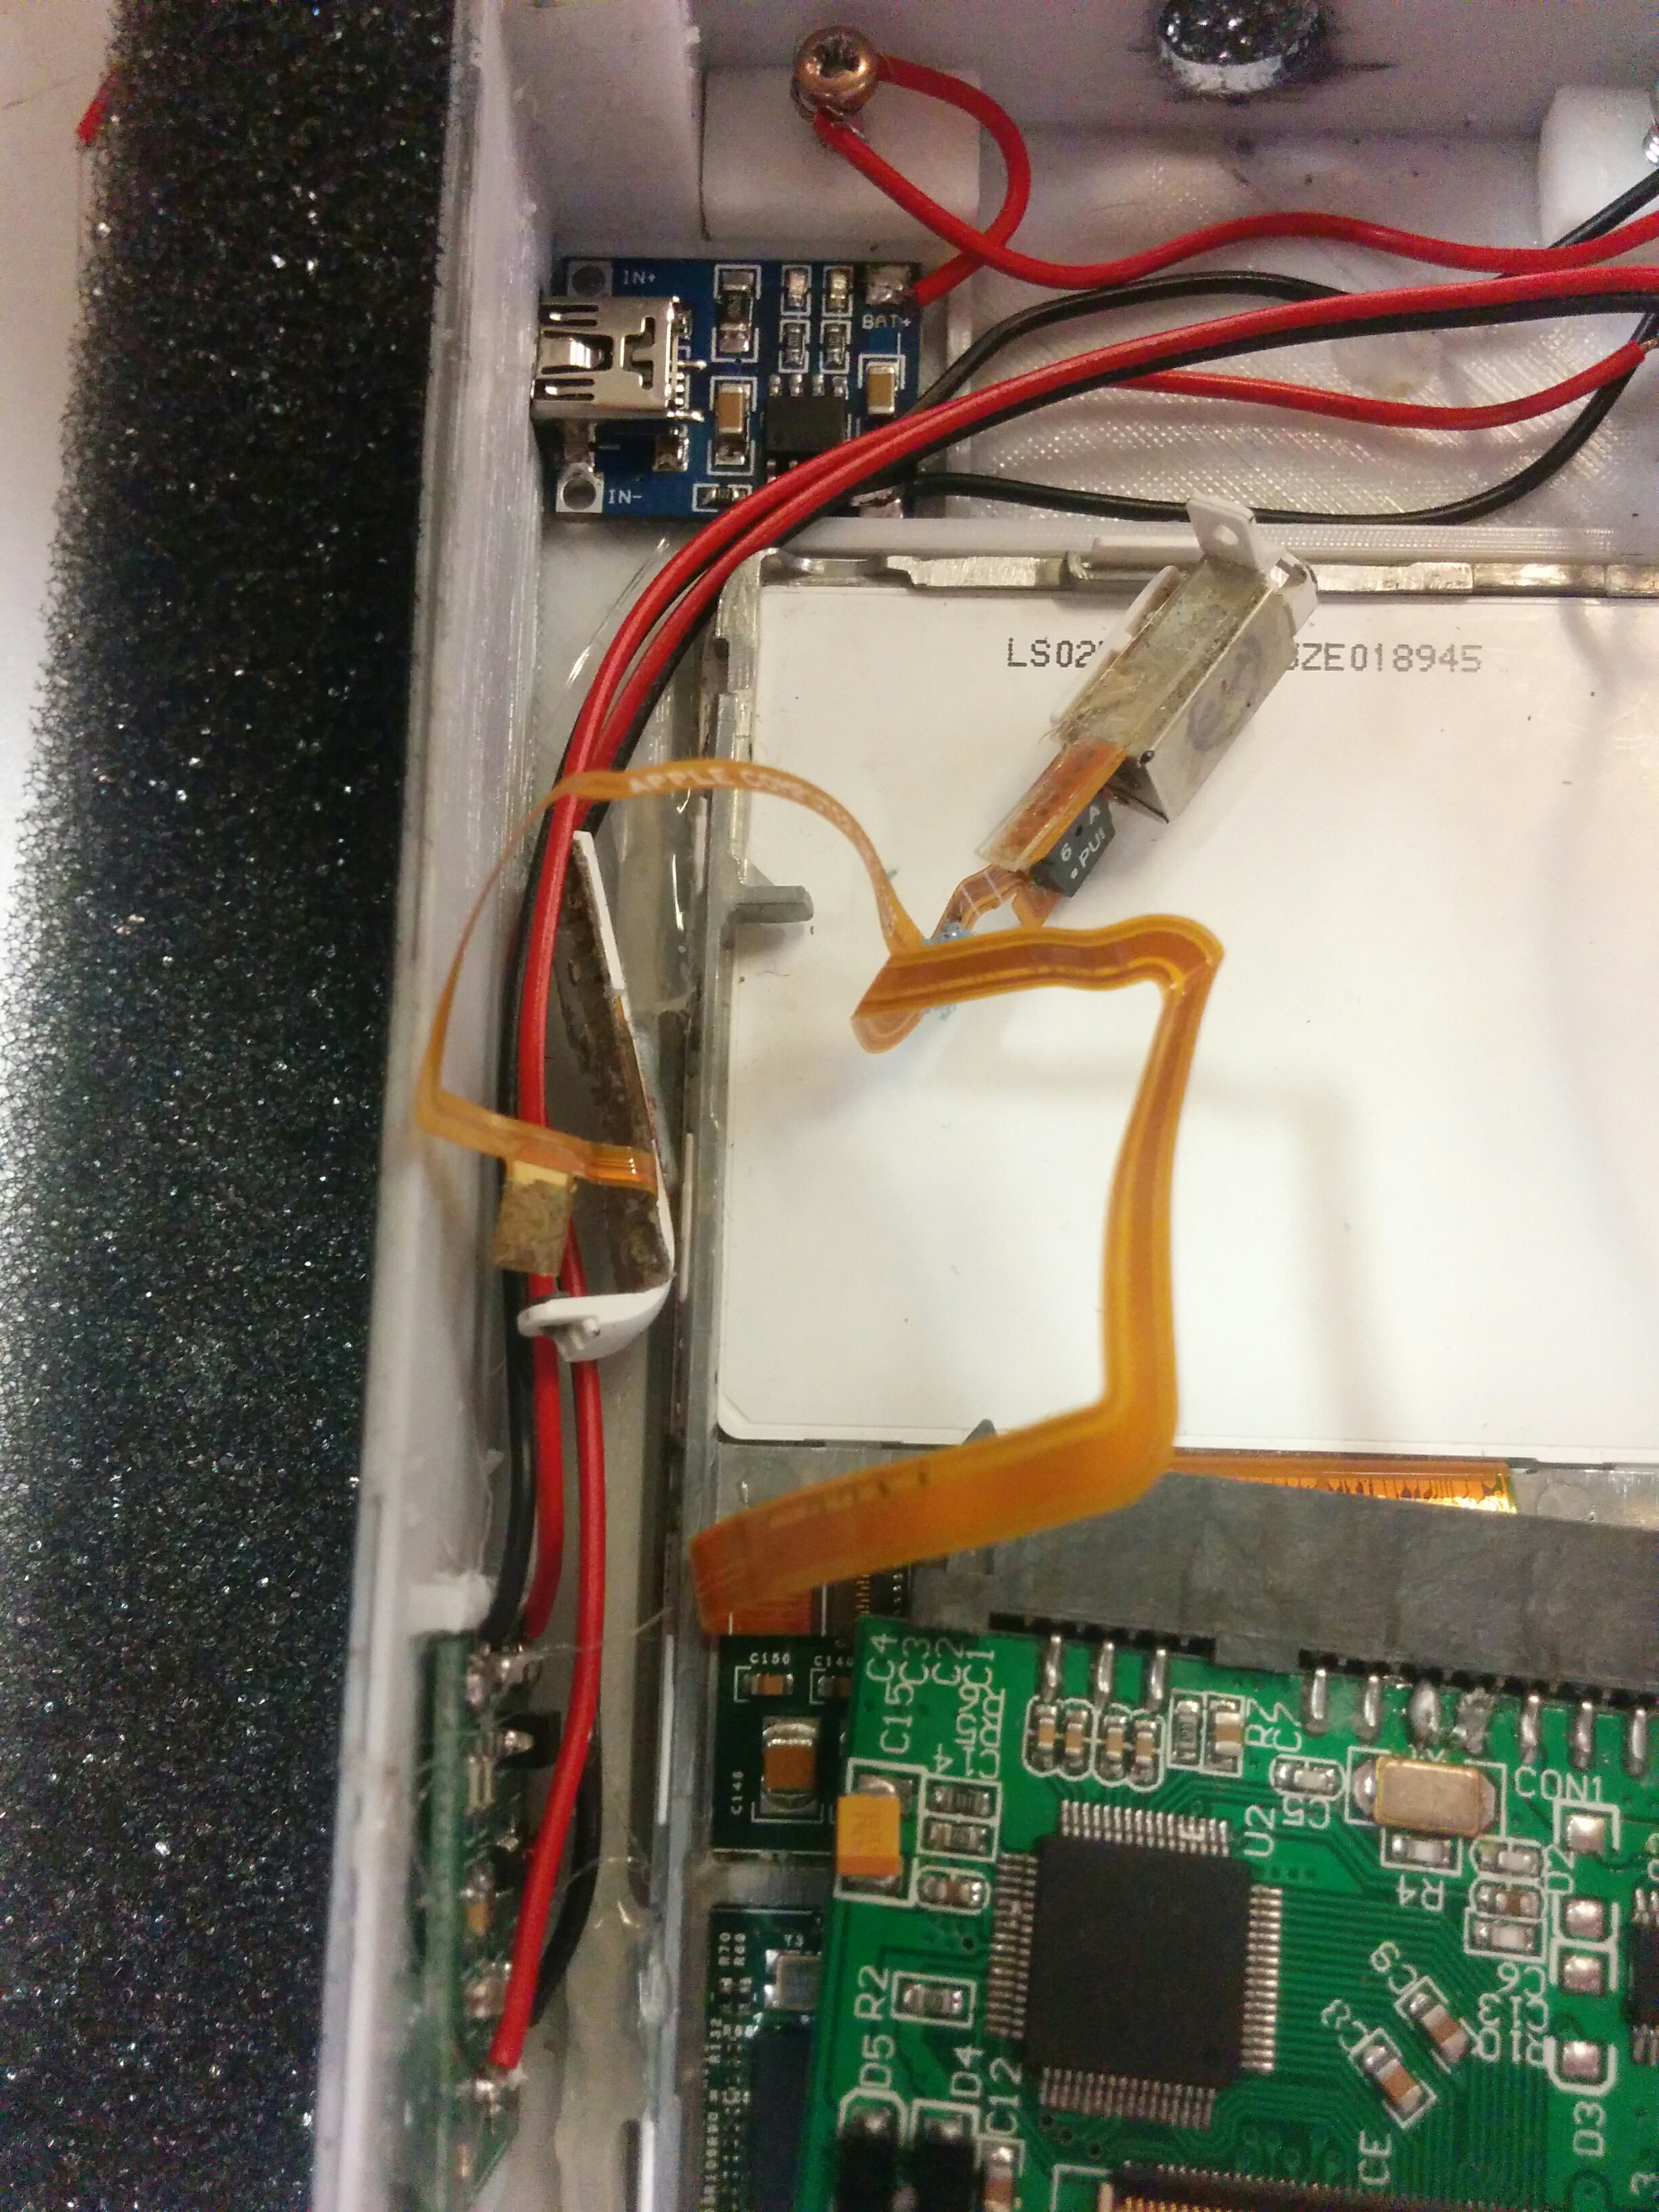
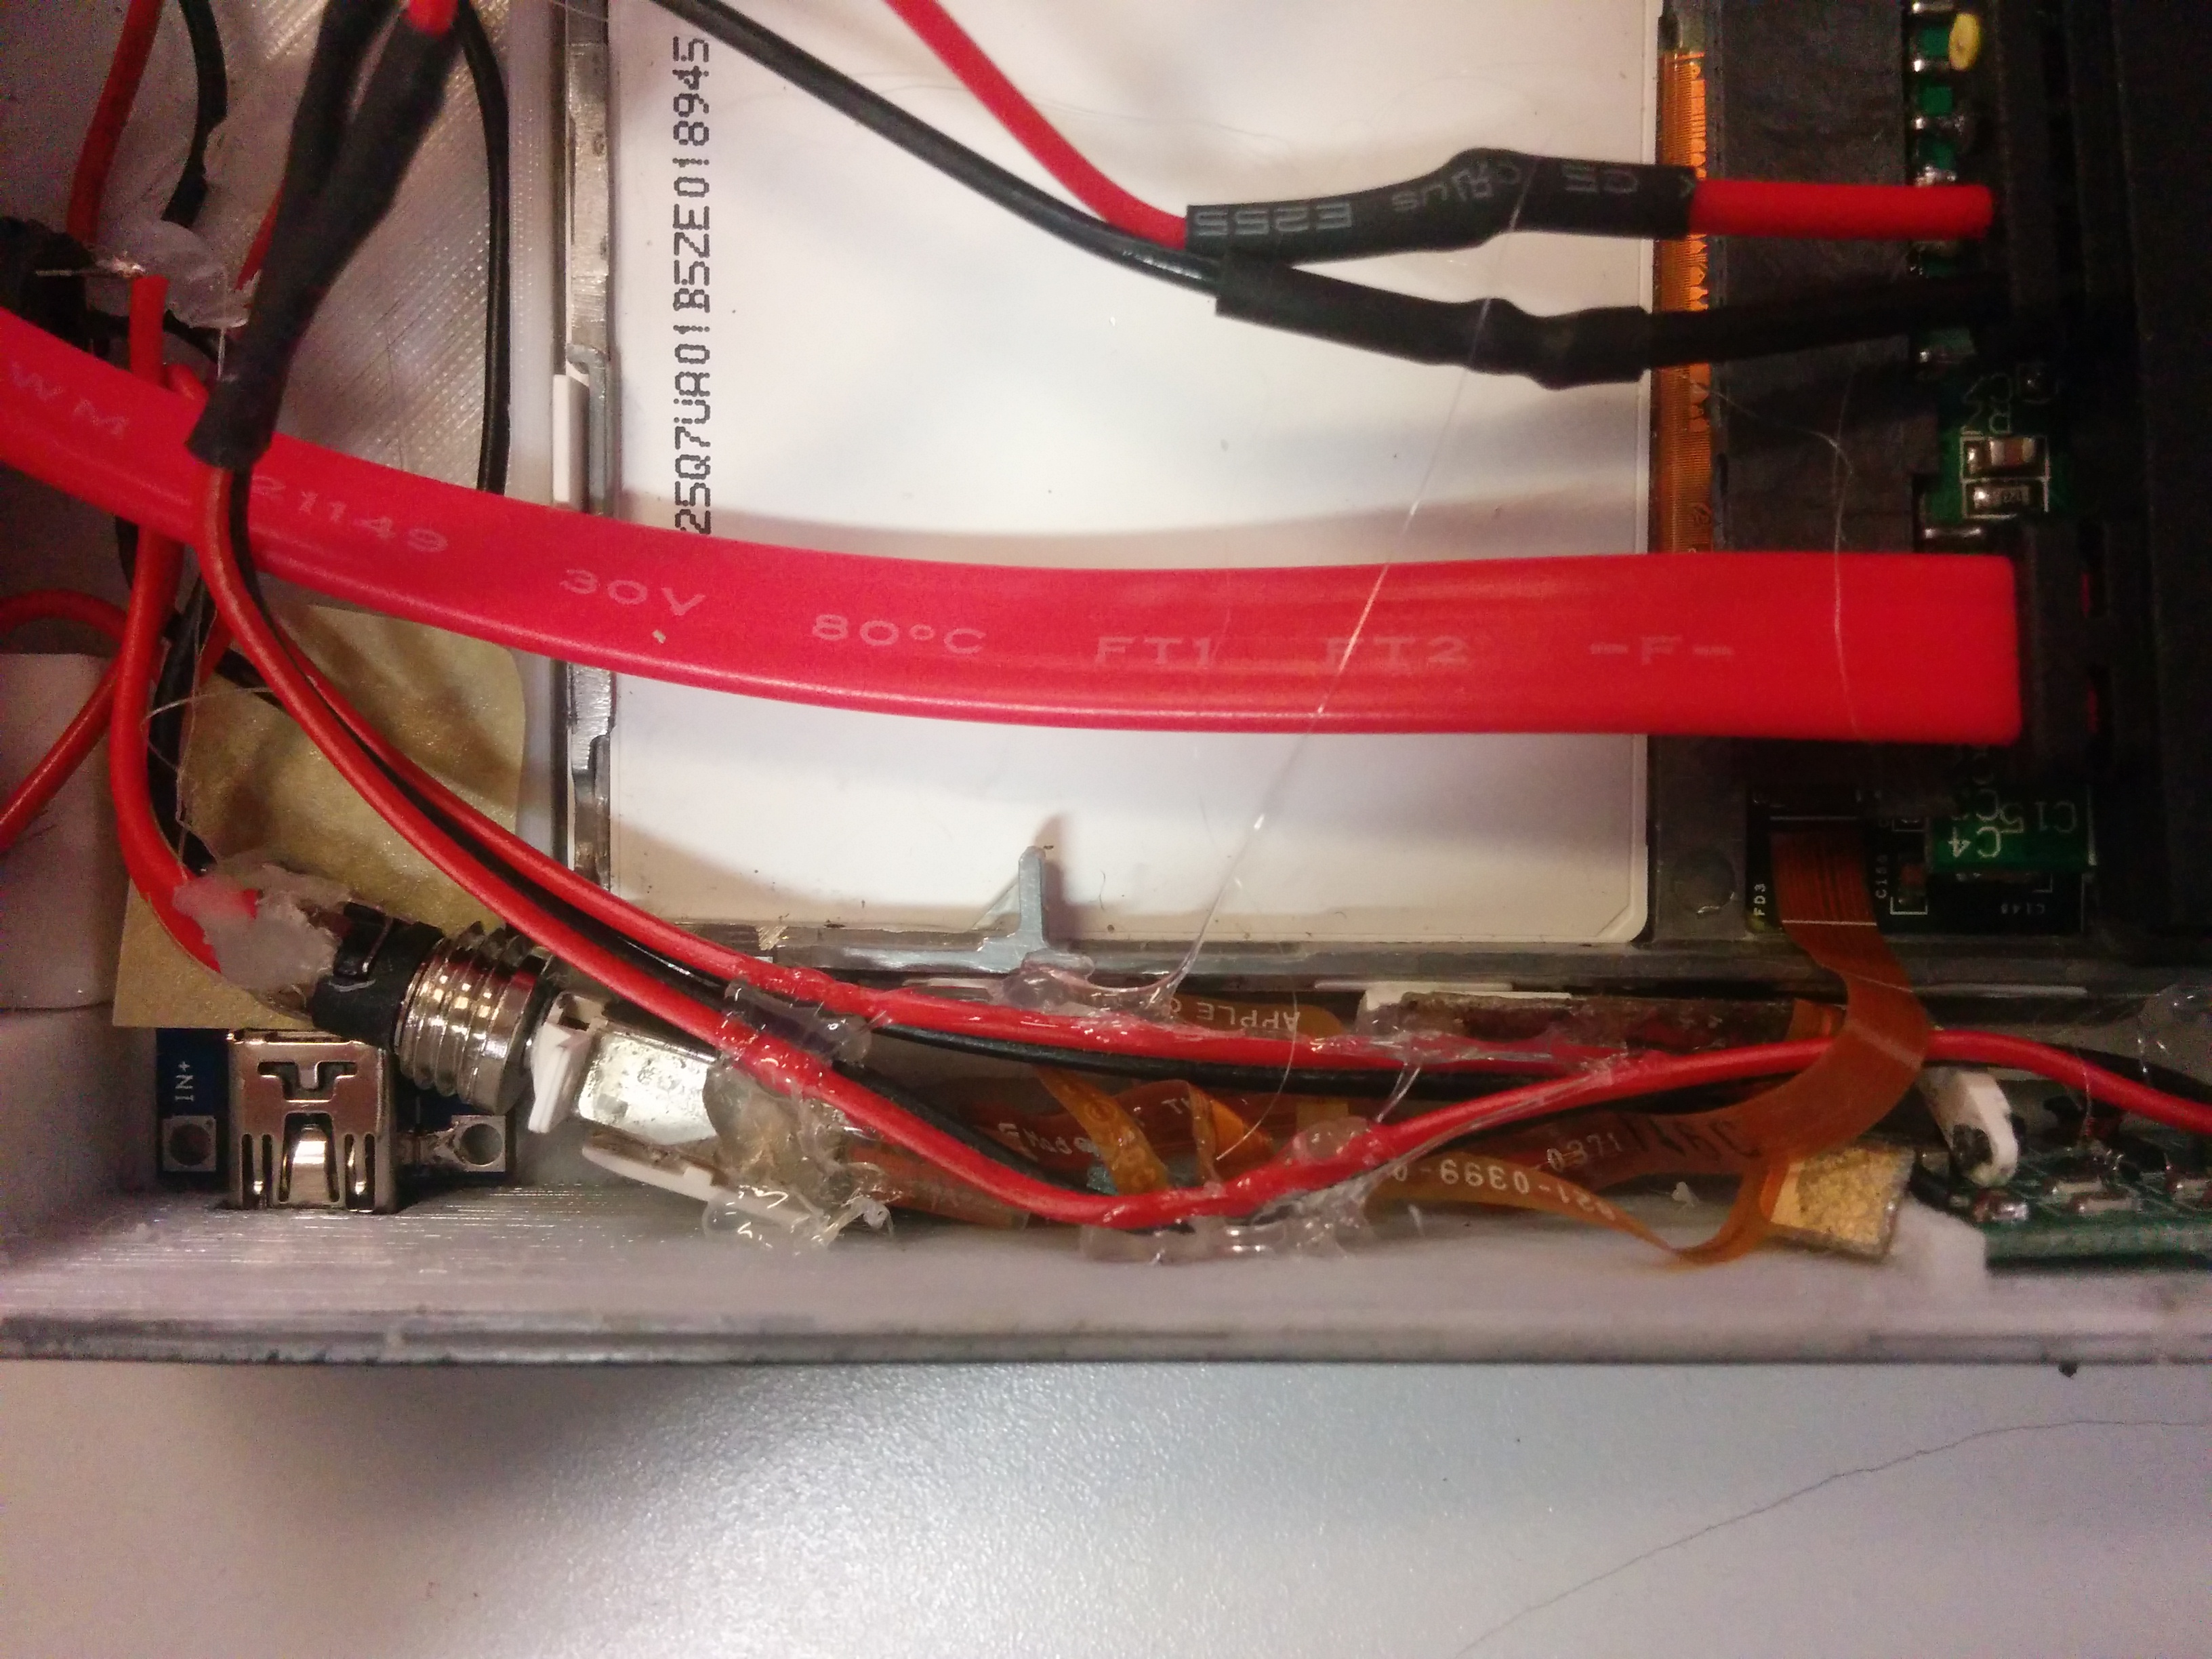
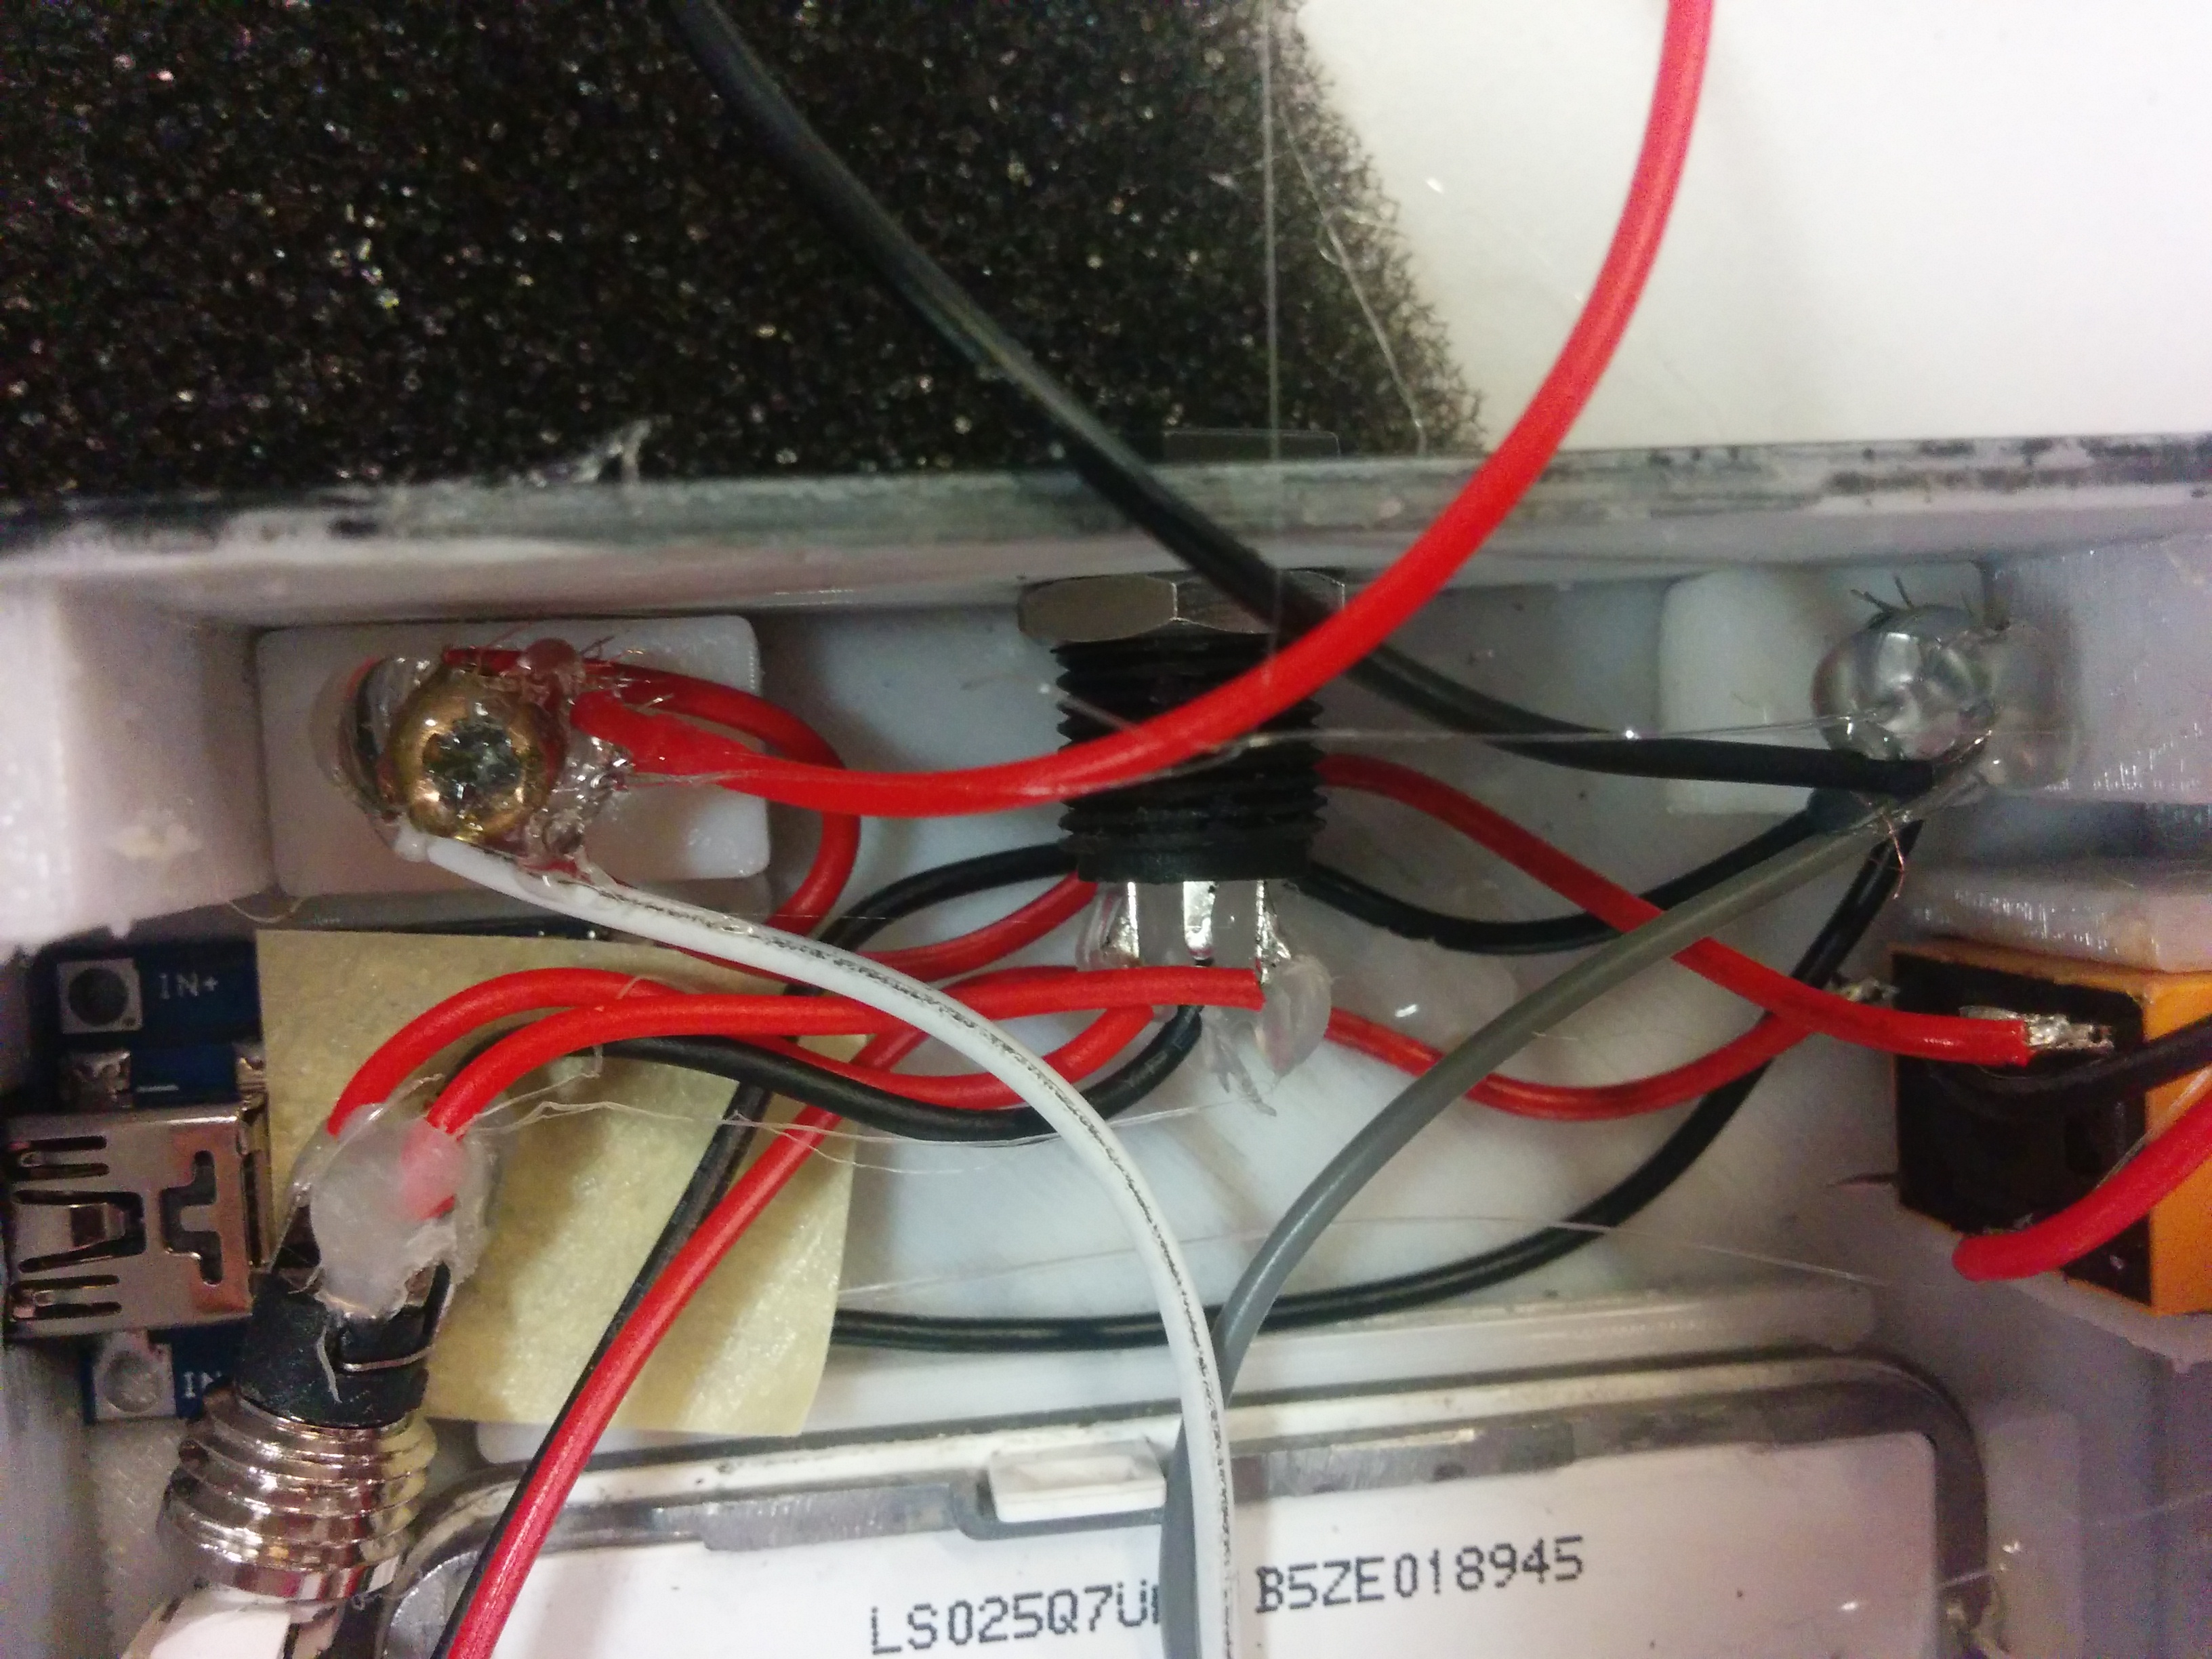
Some wires might look wired differently since these photos where taken with another build.
I used this brand of headphone plug as it was inexpensive at my local electronics store. If using a different type then use washers or spacers to fill in space of the hole since it was designed for this part.
The ipod headphone jack is troublesome to work with so plug in your headphone extension jack and tuck and glue the ipod jack into the side, make sure the hold isn't on.
At this point you can put all the loose wires together and solder then wrap and glue to the screws,
Sata Adaptor
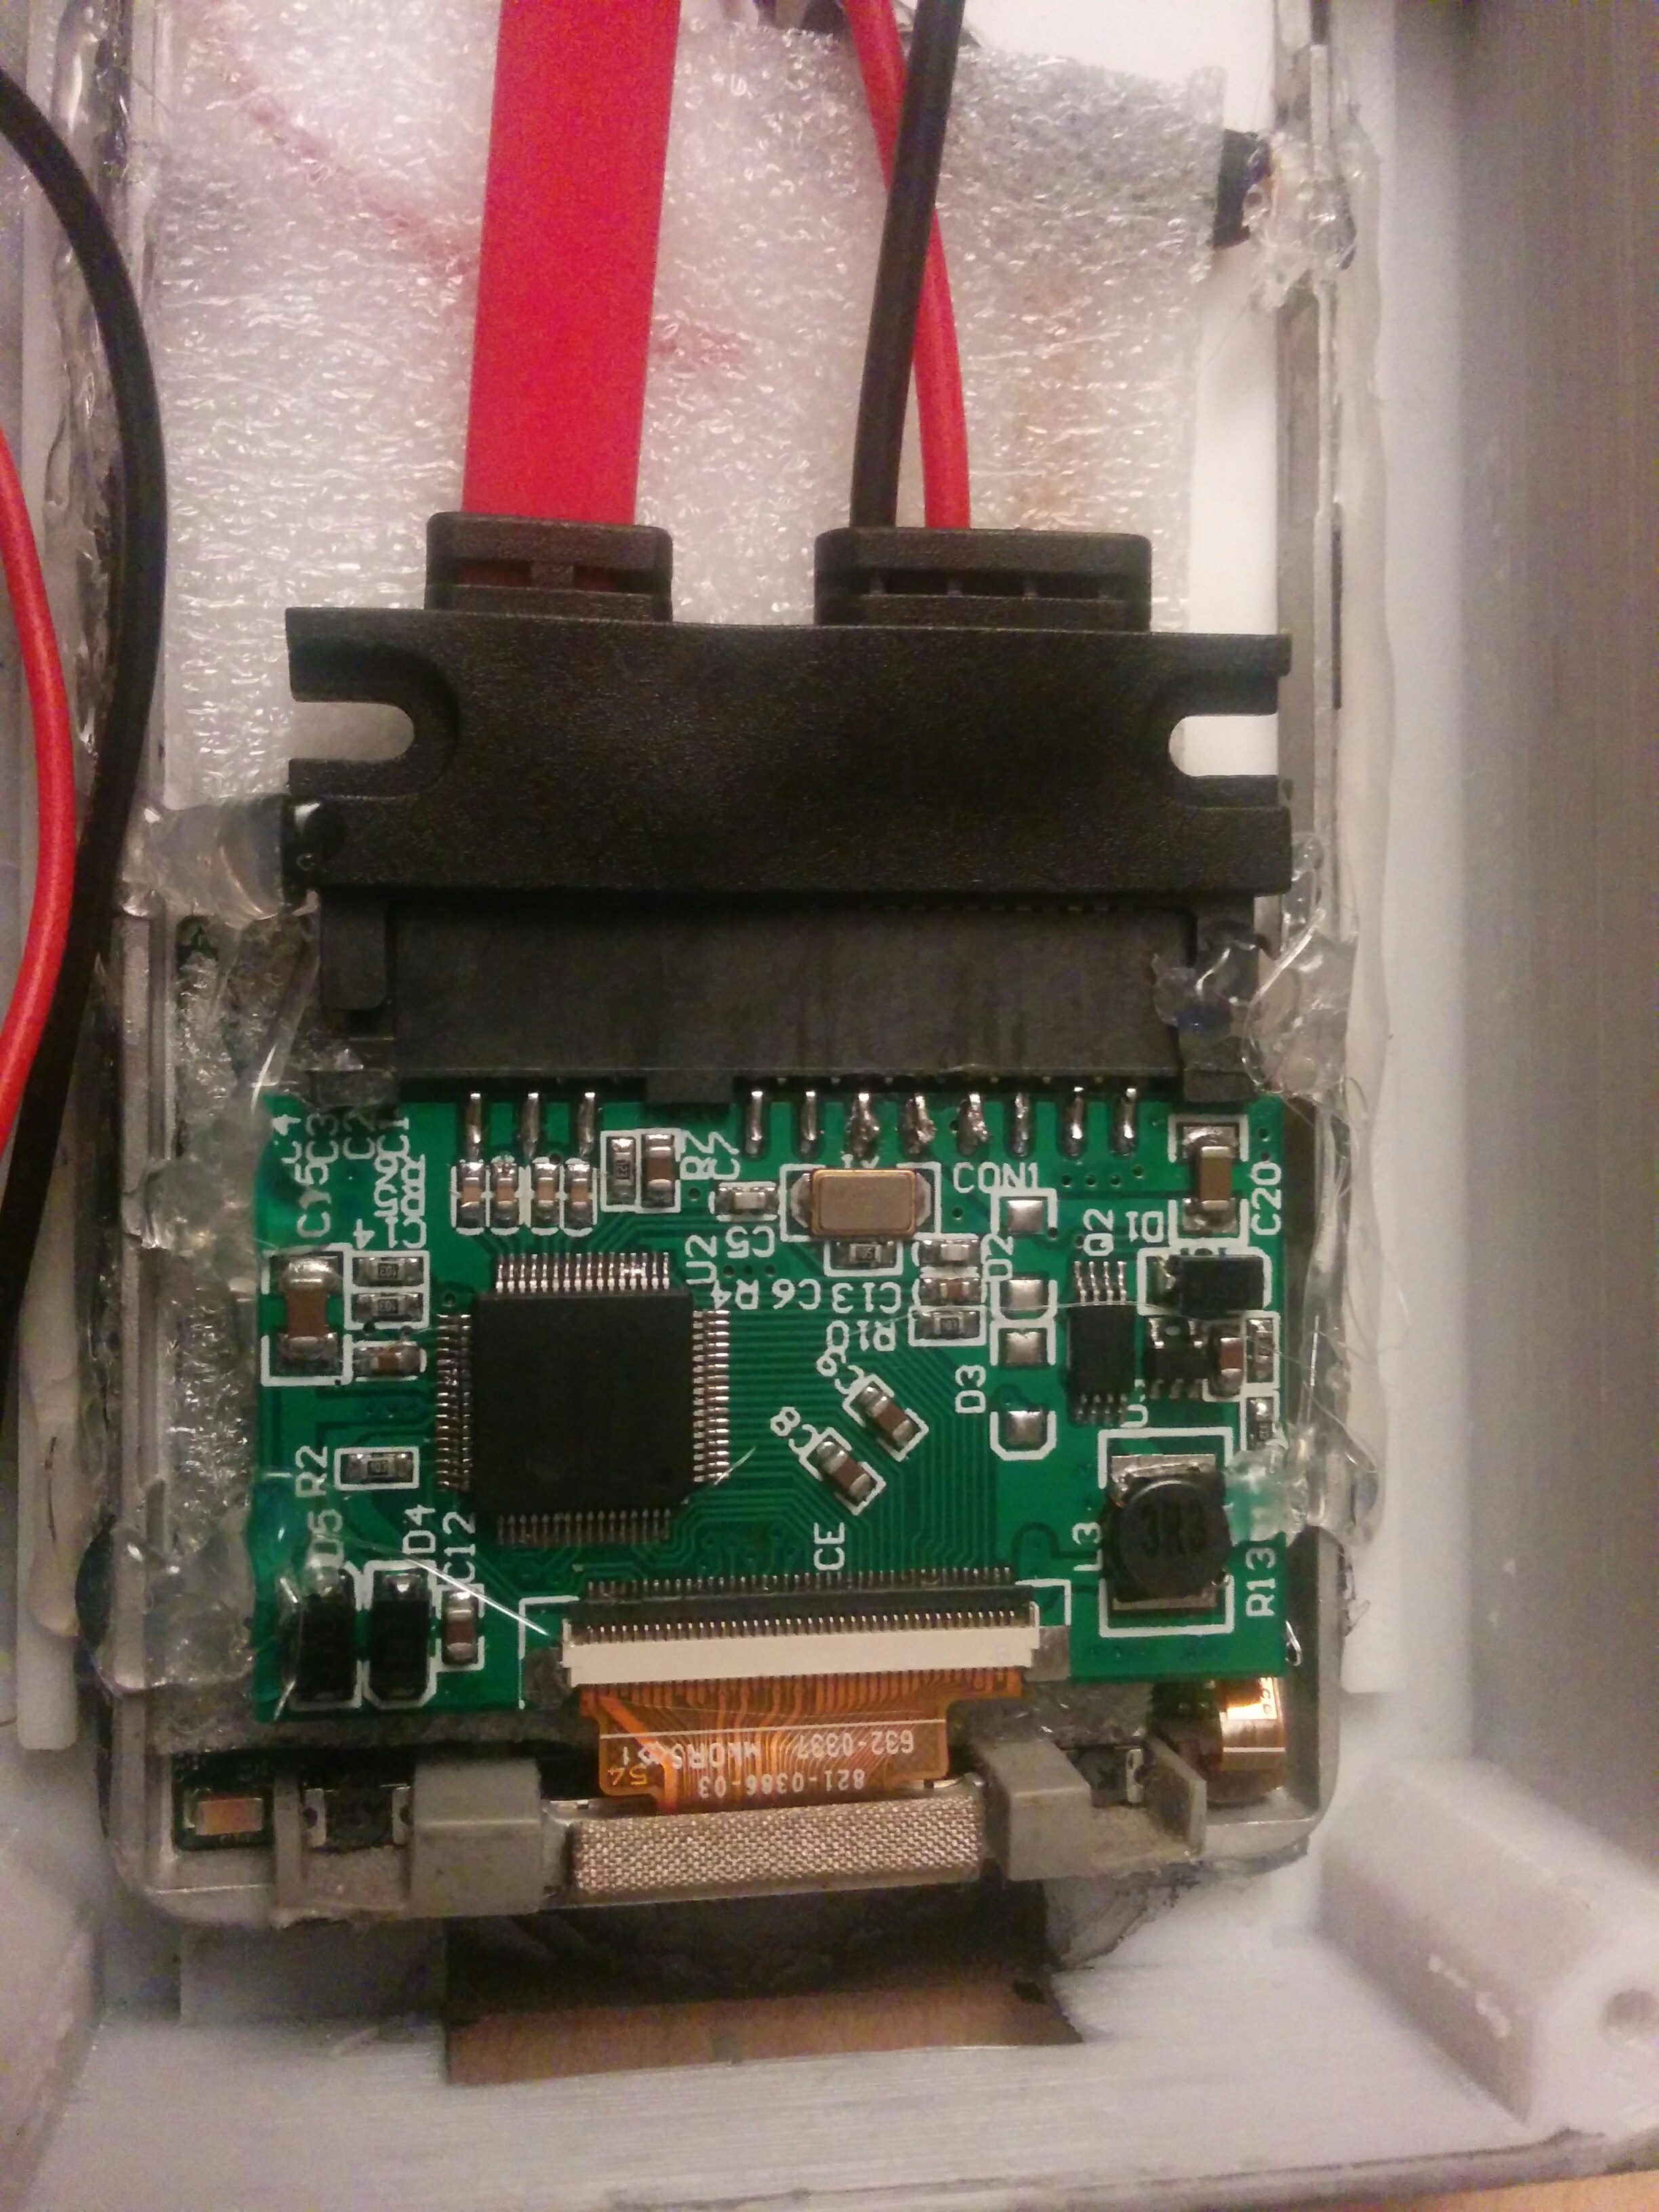
Put a piece of something like foam or card to separate the parts to keep anything from shorting out. Make sure you push the adapter all the way over the zif connector and that its level.
Also pull it away from the bottom of the ipod slightly so when you squeeze the case together the adapter doesn't push onto the battery plug causing problems.
If any problems later its usually that is not connected tight enough.
You can use a bit of glue on the sides to keep if from shifting while you put in the hard drive.
Harddrive Install
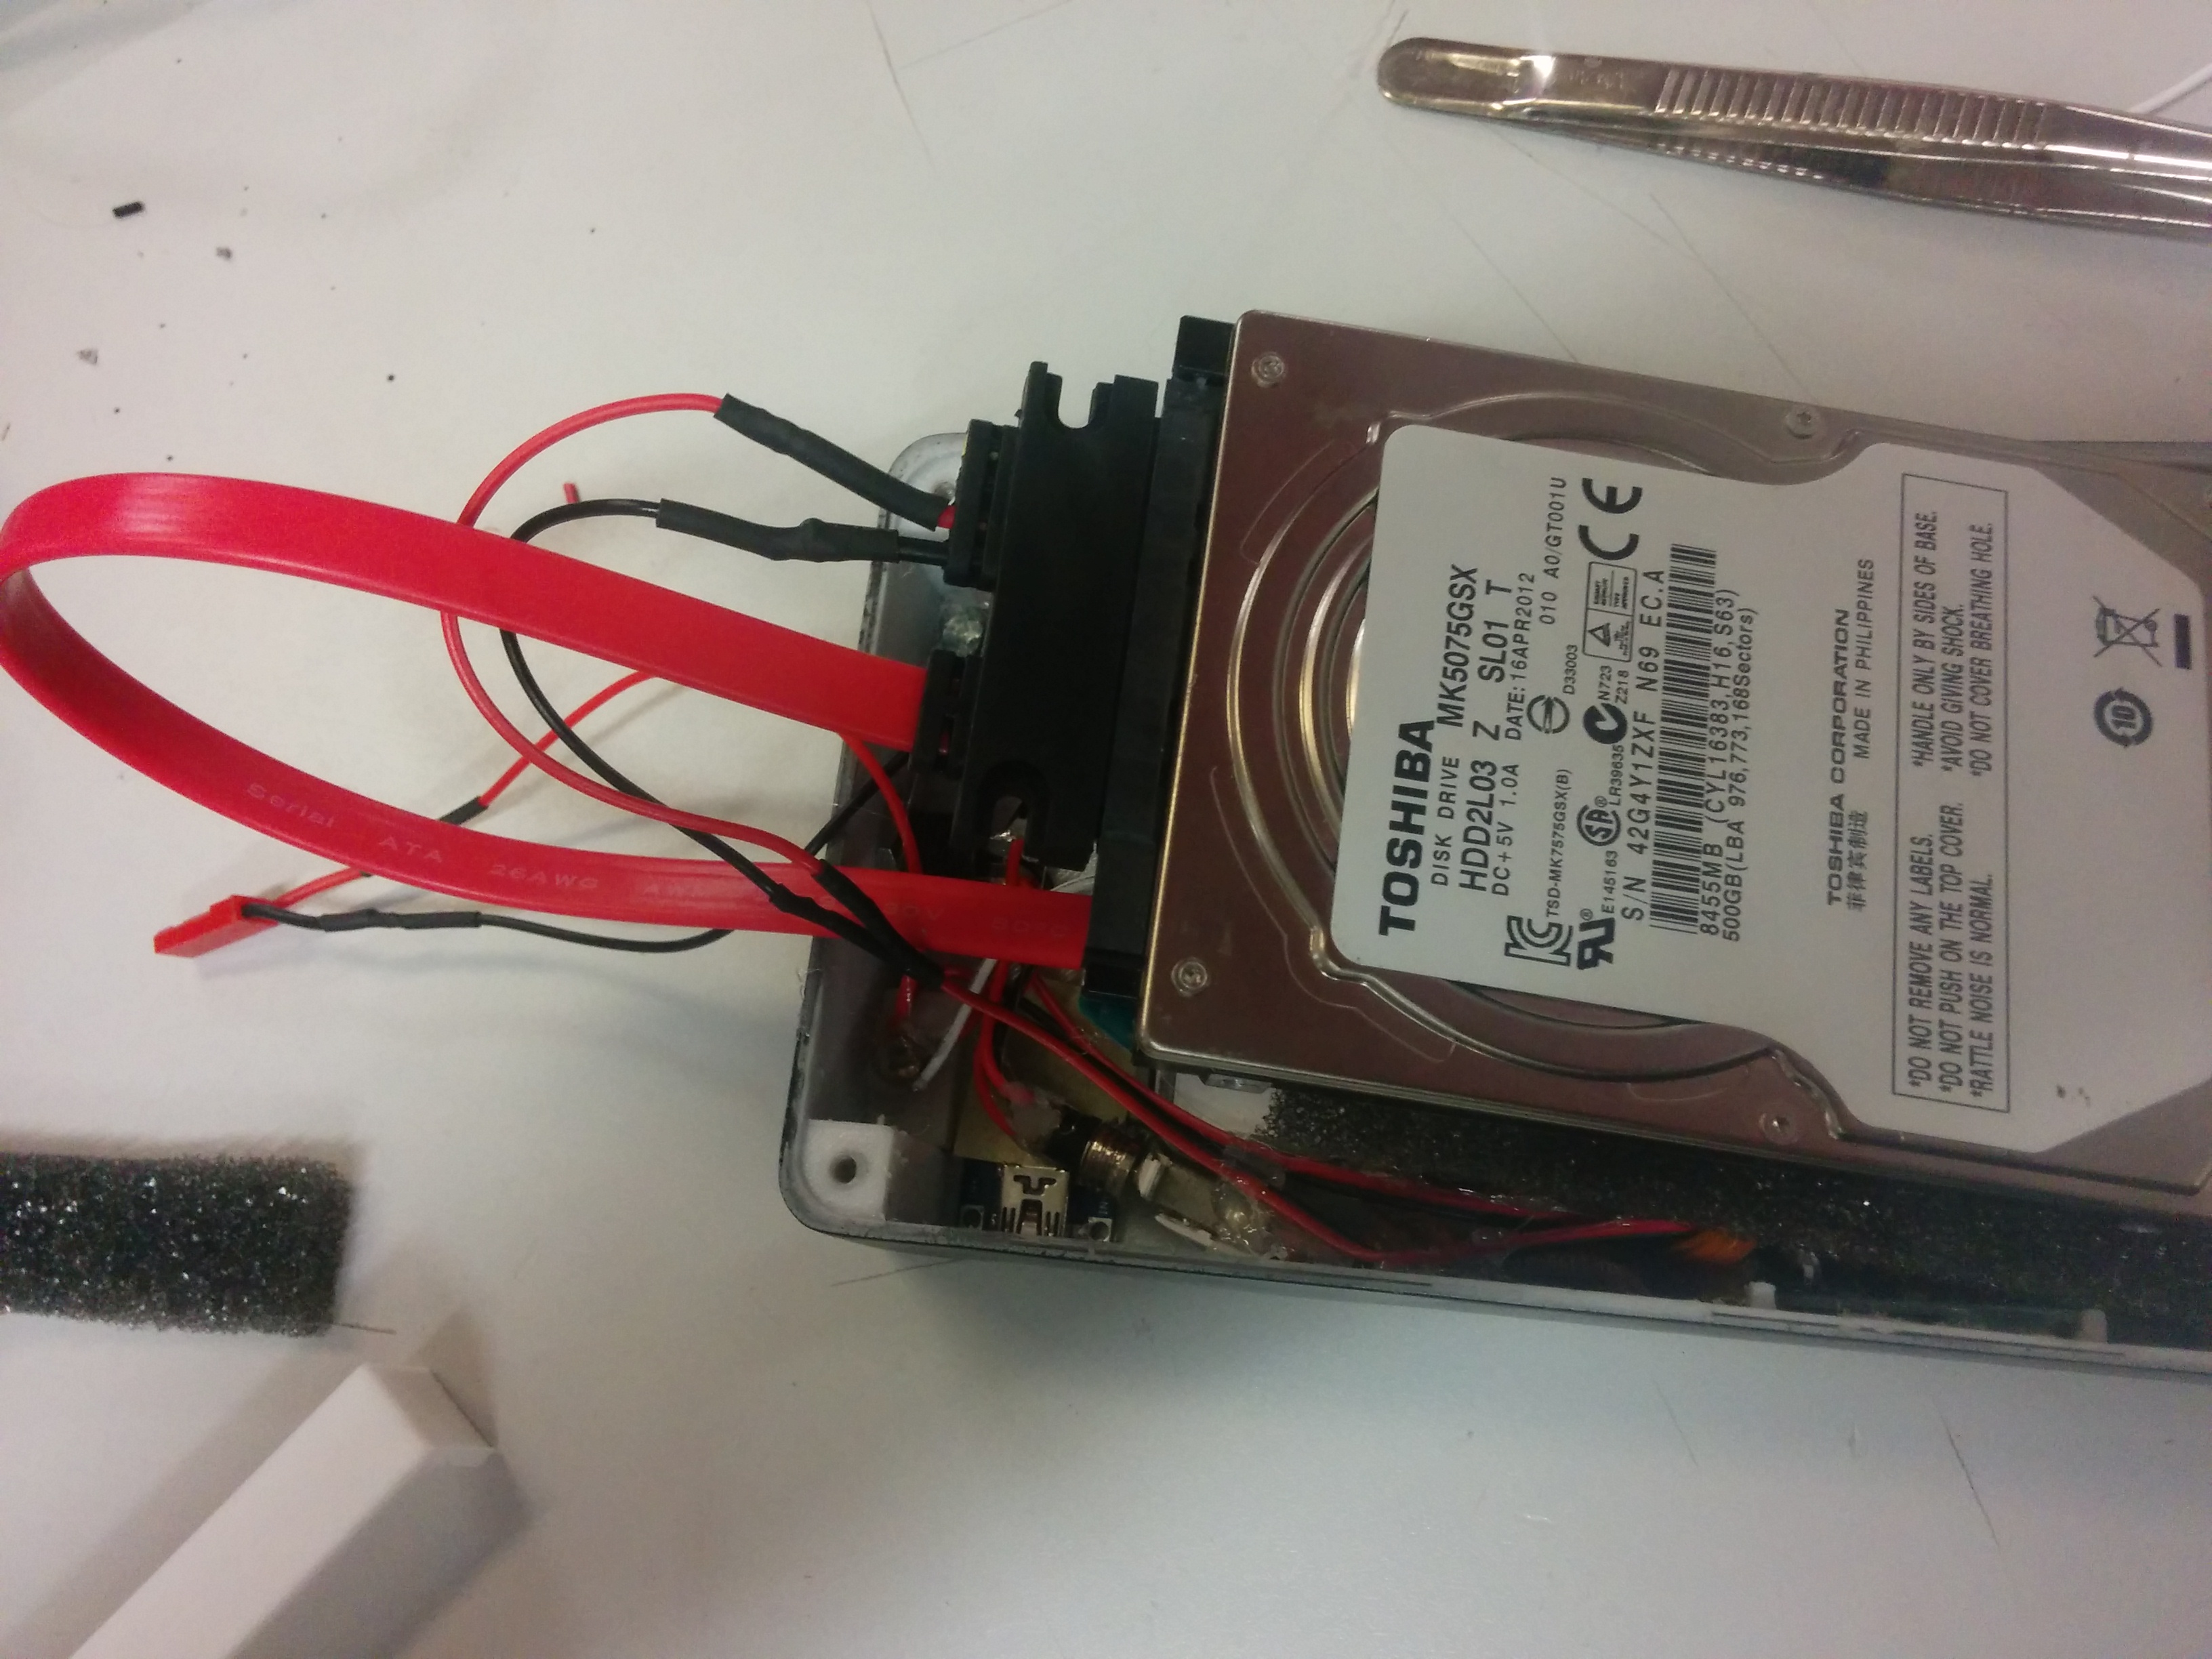
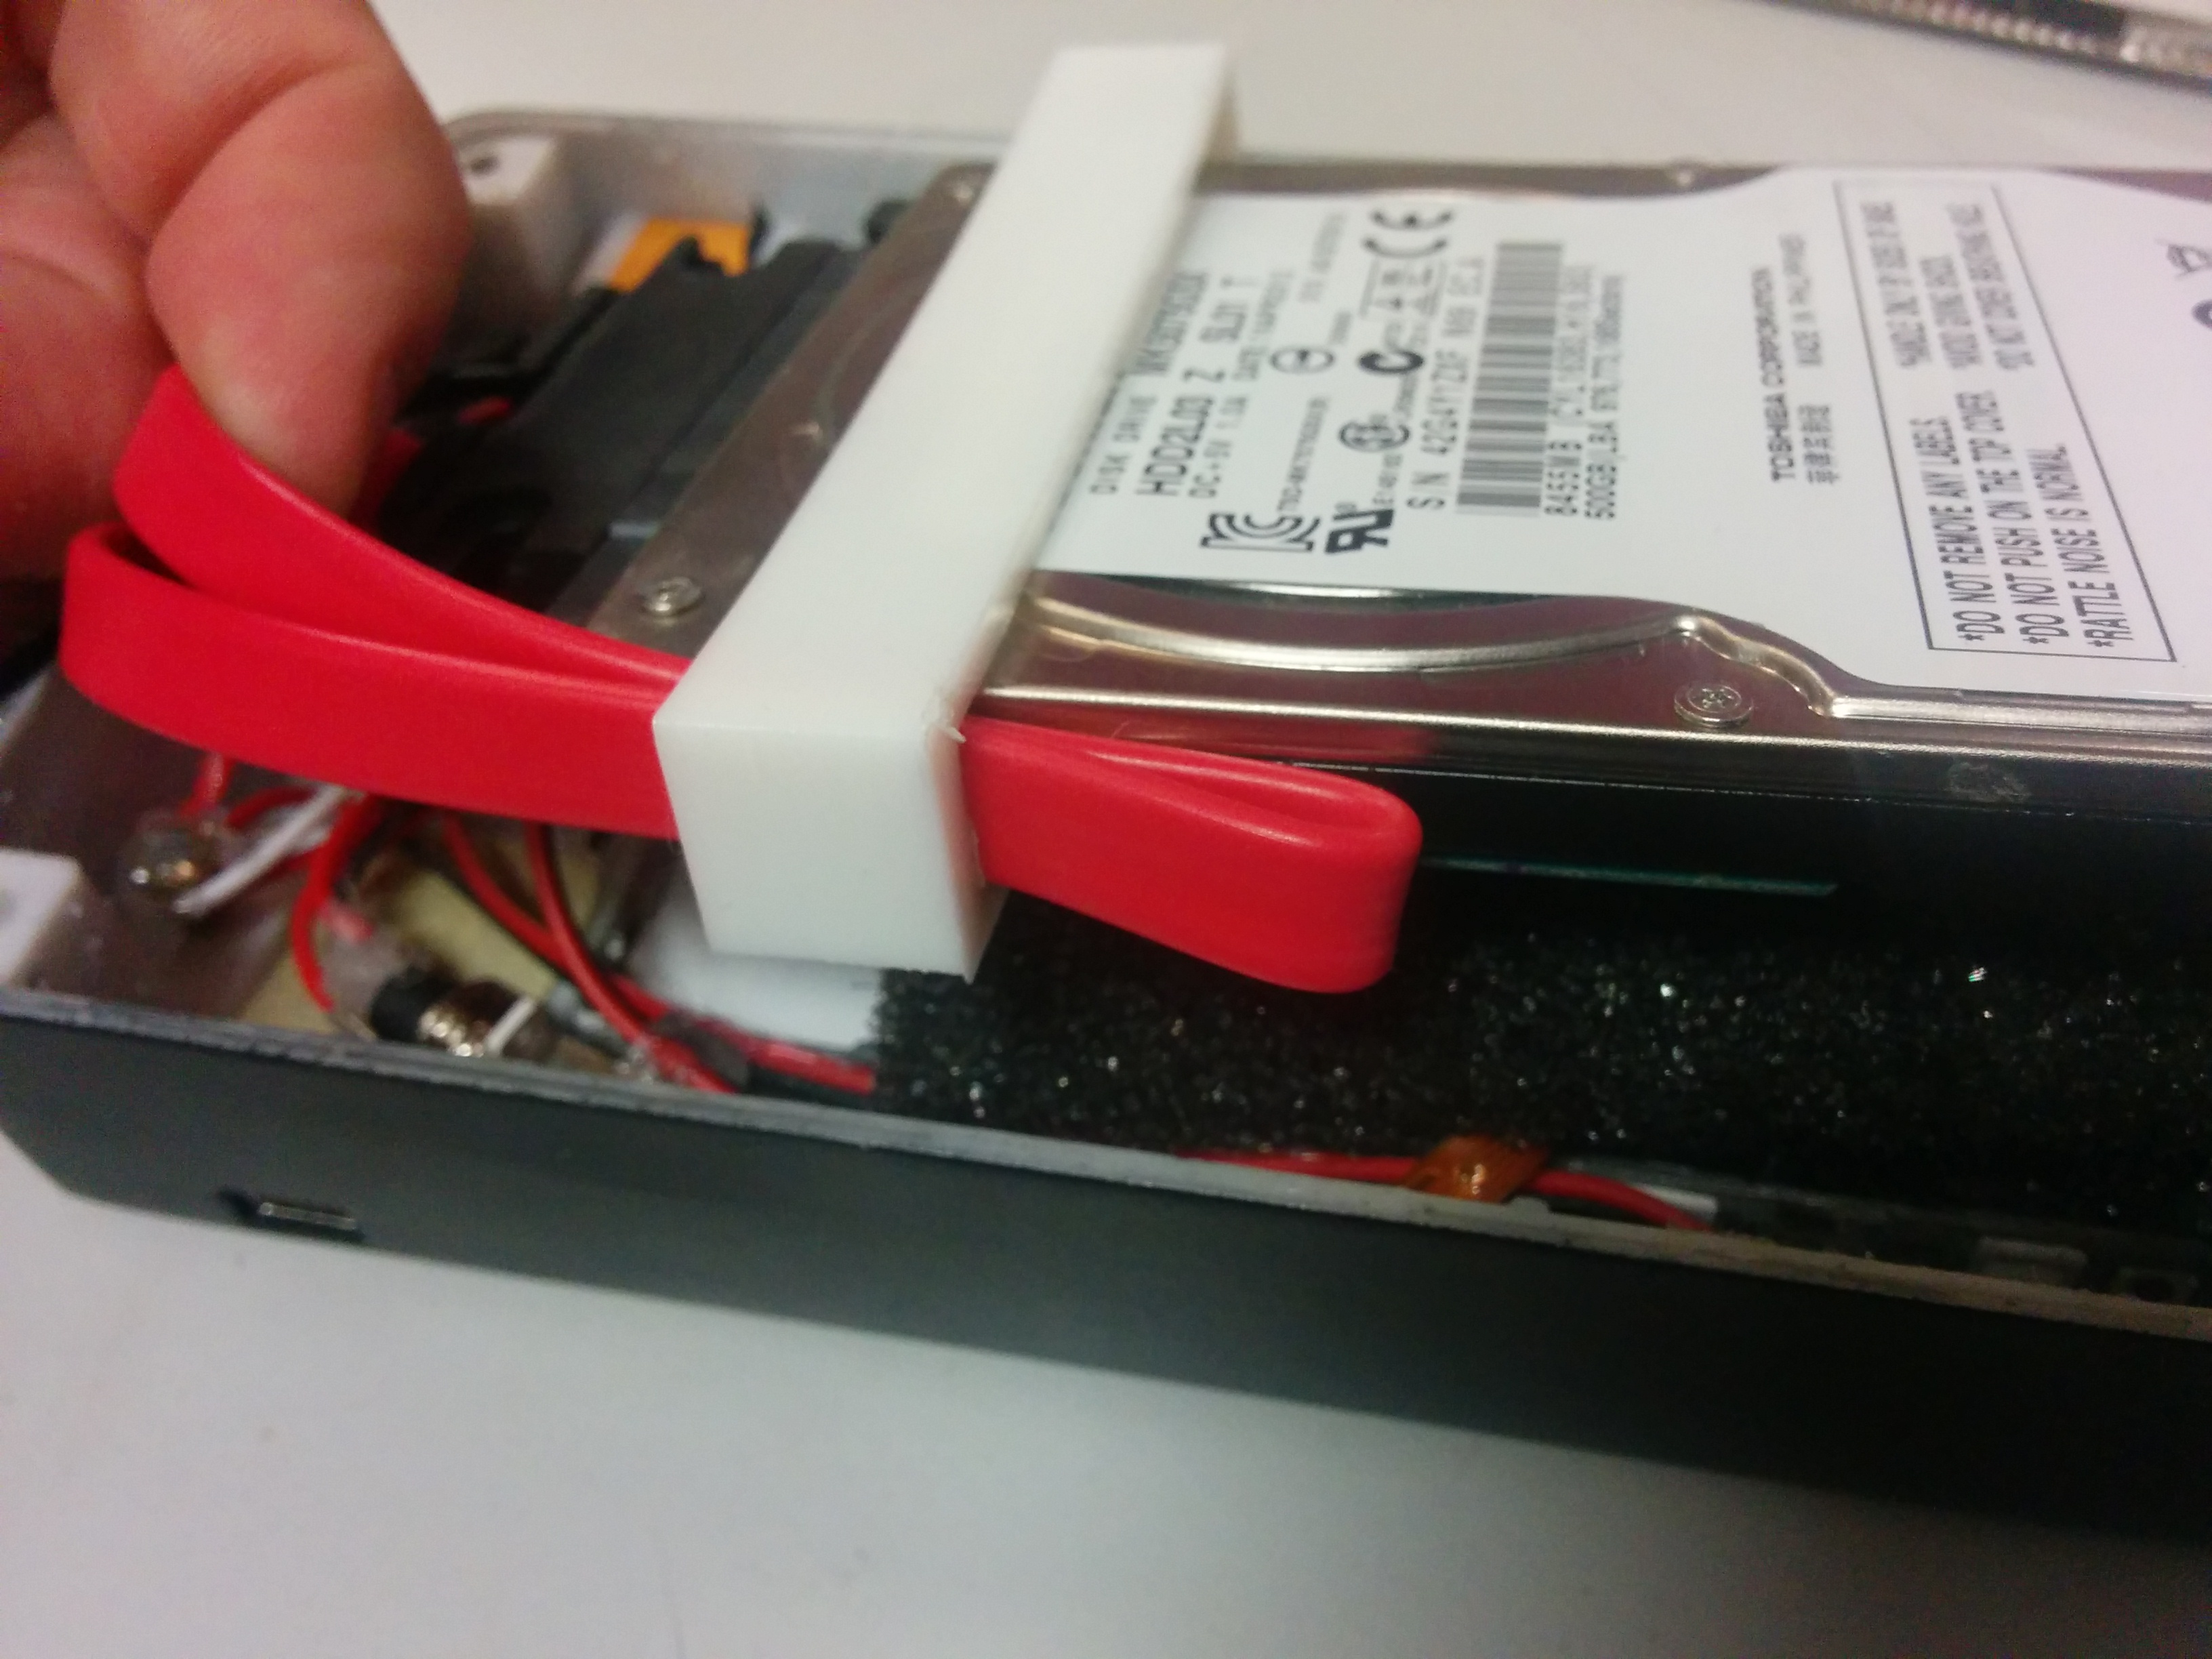
This part is probably the hardest.
Put another piece of foam on top of the adapter and connect the hard drive.
Using the clip bend the red cable tight against the sides.
It helps to hold the cable but it is possible to install the harddrive without the clip if you find you are having difficulty's.
Connect the battery and work it into the ipod pressing the hard drive down and trying to keep the wires inside.
Software Install
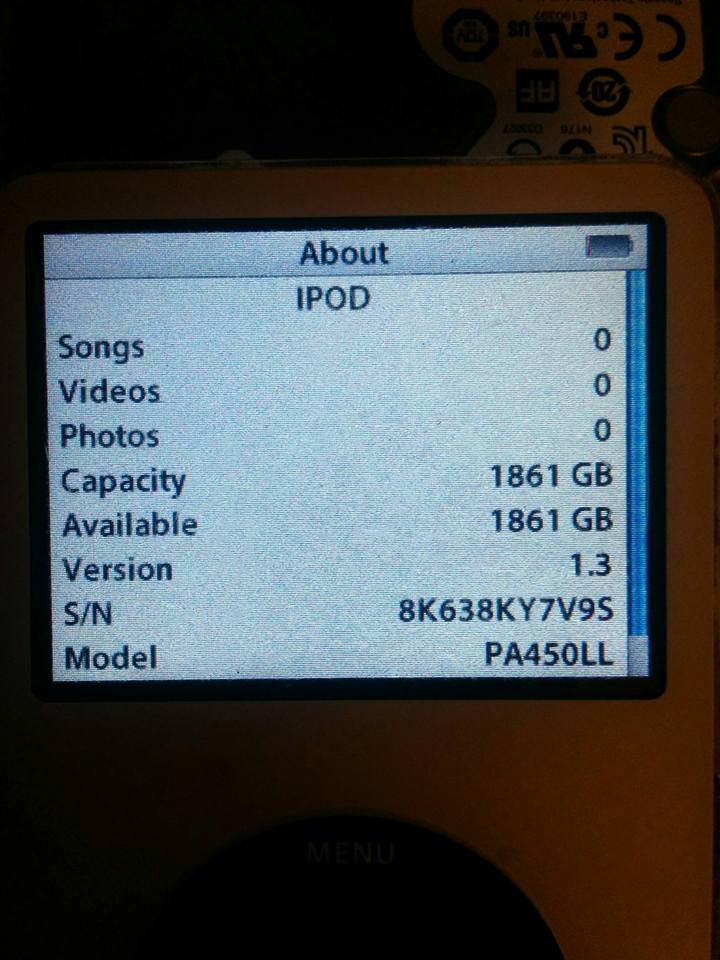
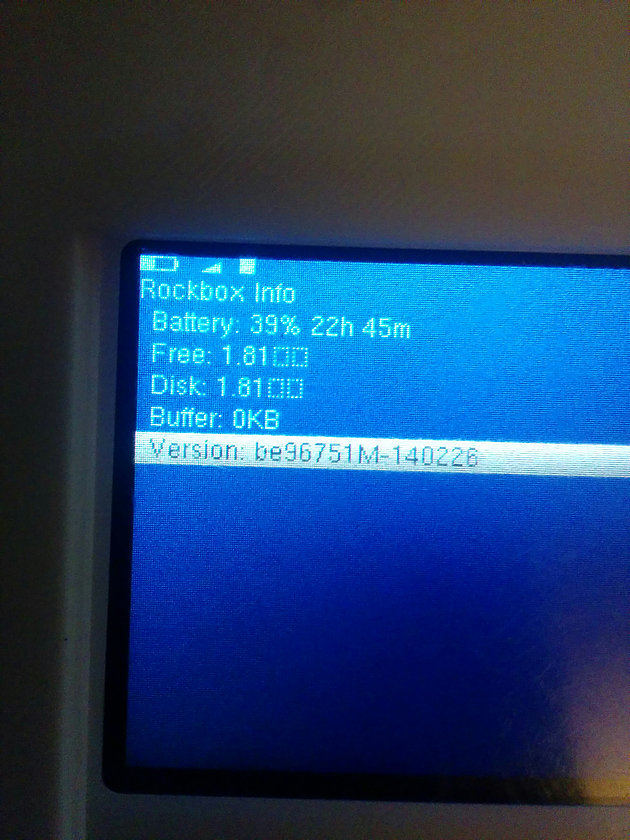
After its all wired and sealed, Make sure its charged up using the USB plug on the side, you can see a red light inside and it will turn blue when completed.
Connect your ipod to your computer and with luck it should be recognized by iTunes. If any troubles try putting it into disk mode by holding menu and middle until it reset then switch to middle and play right away.
Mine sometimes takes several minutes for the computer to recognize and connect.
Once connected perform a restore, if it does not disconnect after its finished restoring just unplug and plug it back in.
If you get any strange things like a hard drive error symbol and it doesn't connect then it probably means the zif adapter is moved or not seated properly.
But if everything goes well and it restores, and you connected to the computer and it shows up then time to install rockbox.
open up the software and follow the instructions for installation but after completion don't disconnect.
Take the .rockbox folder you downloaded from beyond winds site and drop it in then you can disconnect and it should restart back into rockbox.
In rockbox I changed the battery capacity setting and file limit to its highest setting and turned off charge during USB connection.
Changes and Ideas
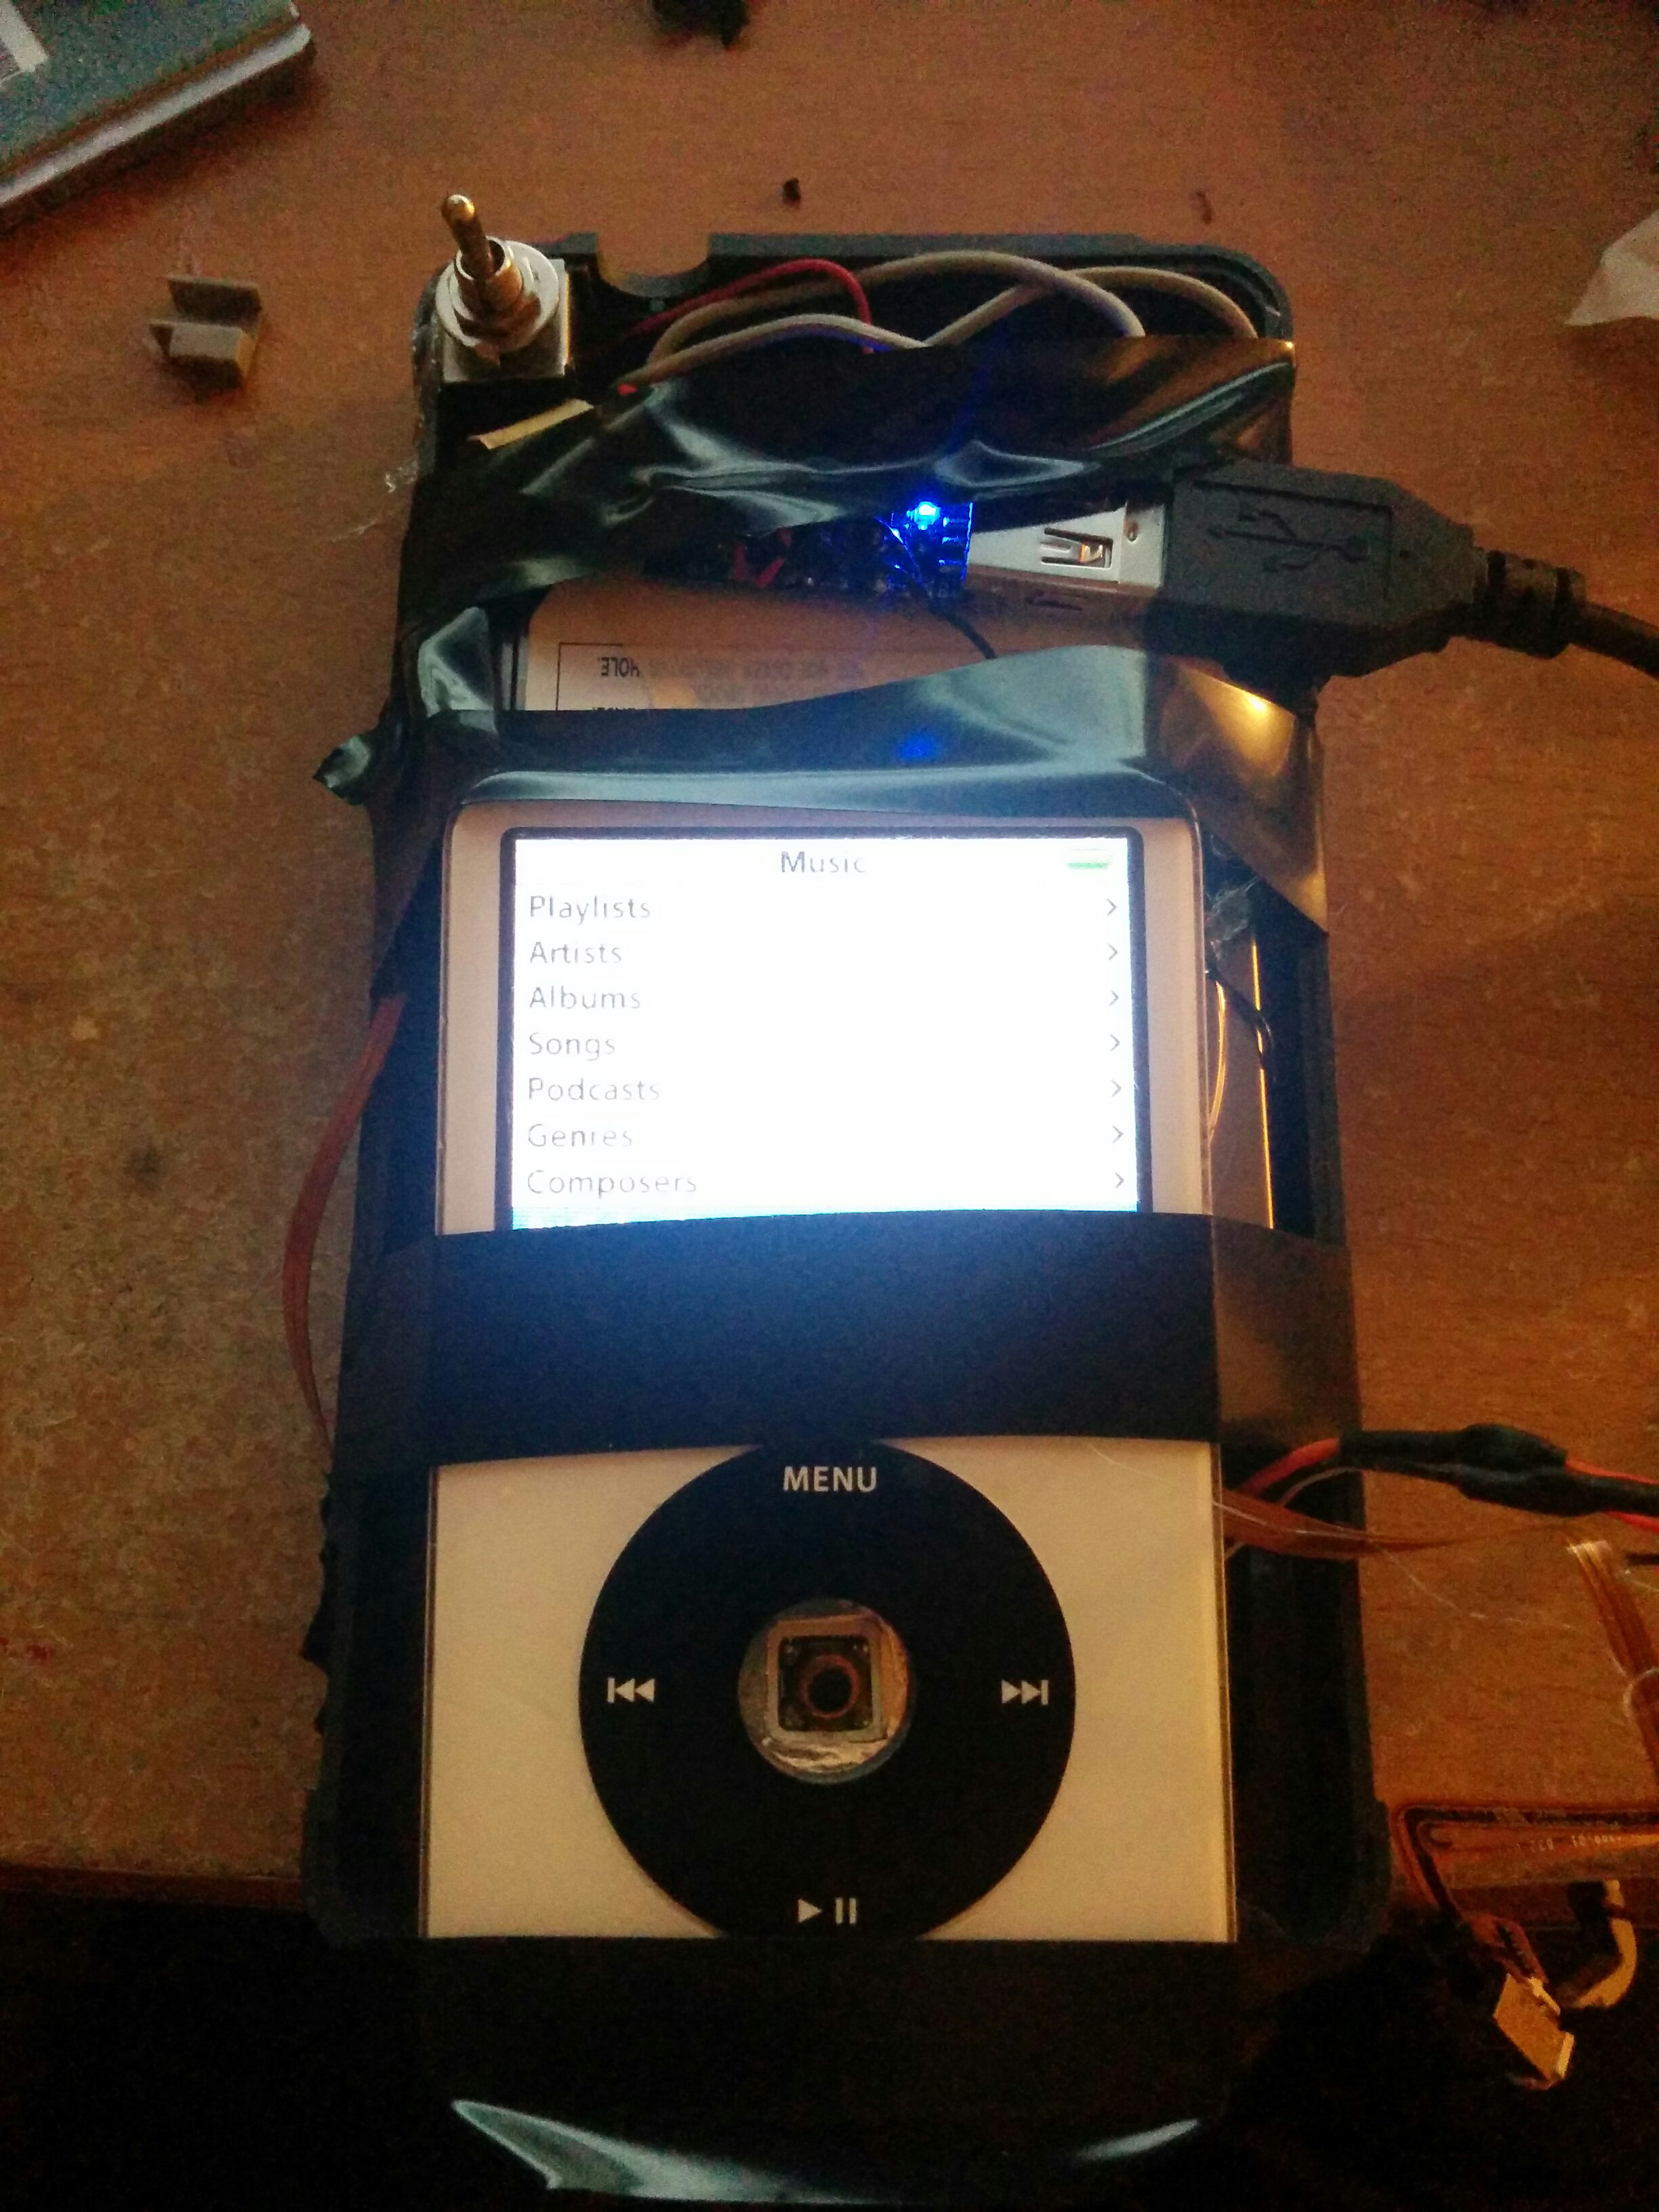
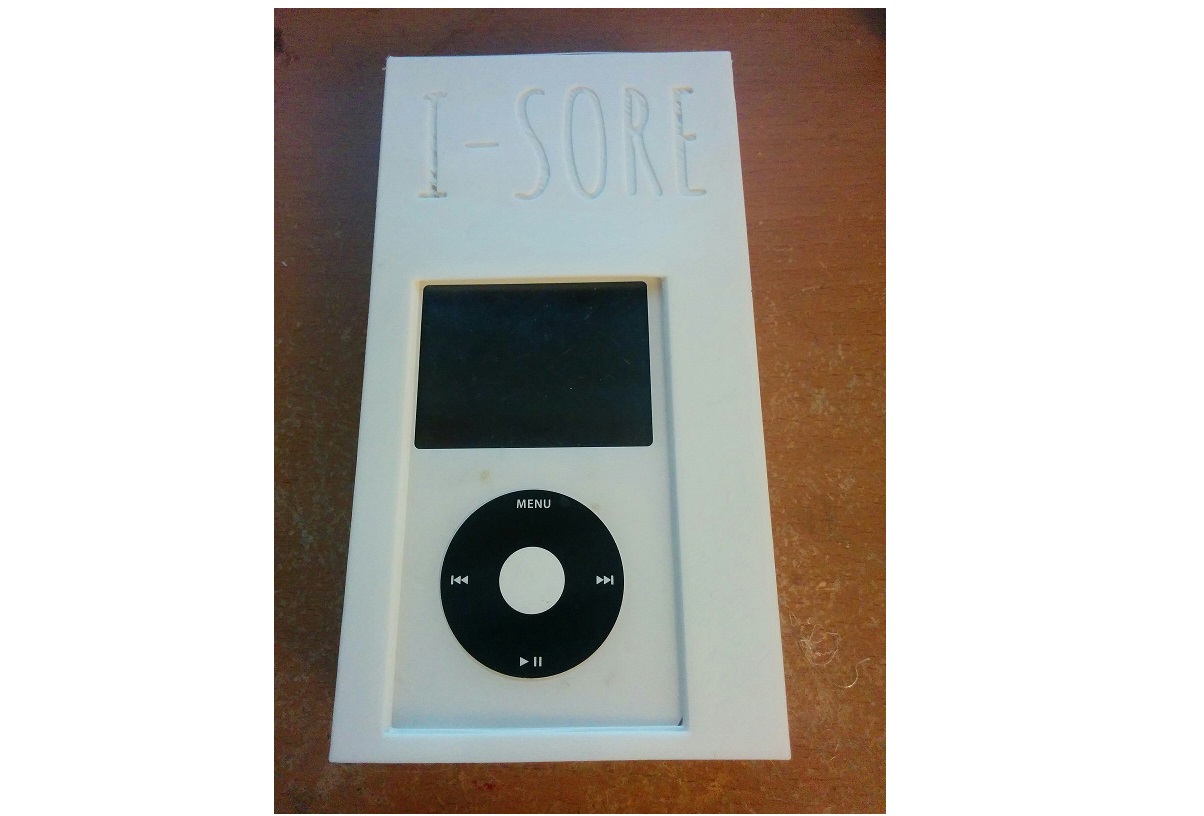
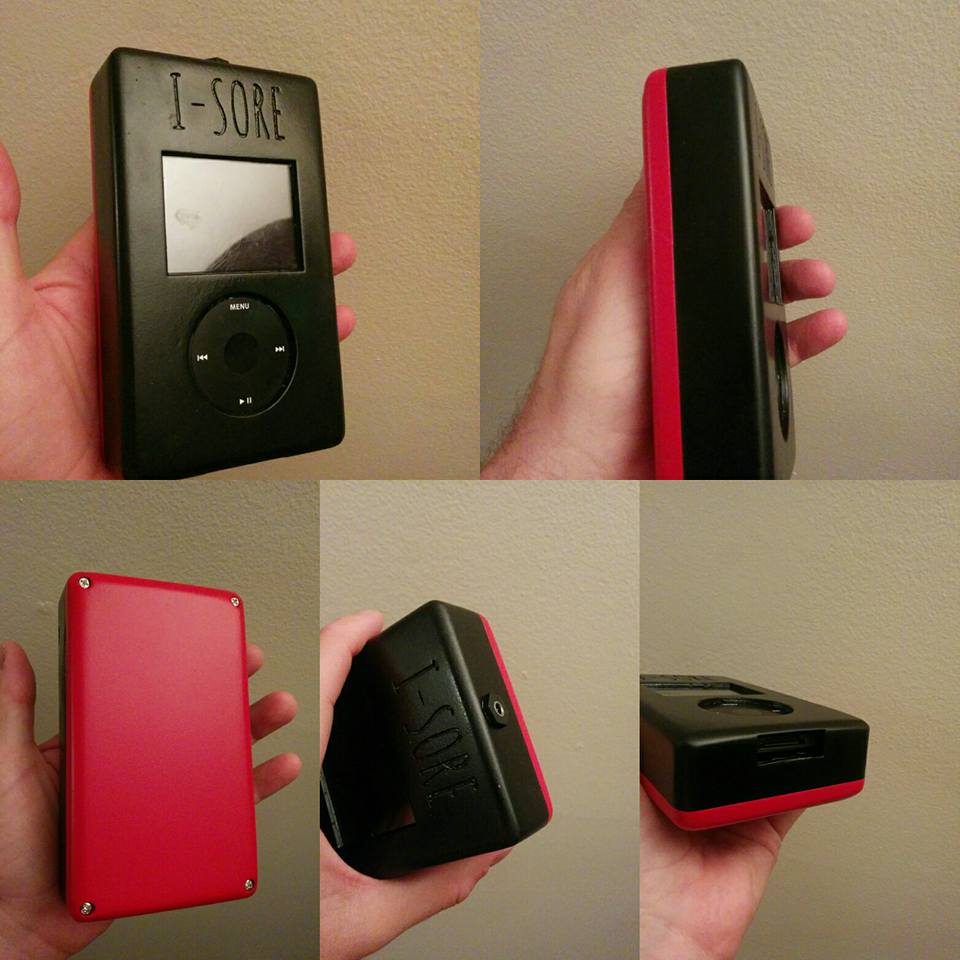
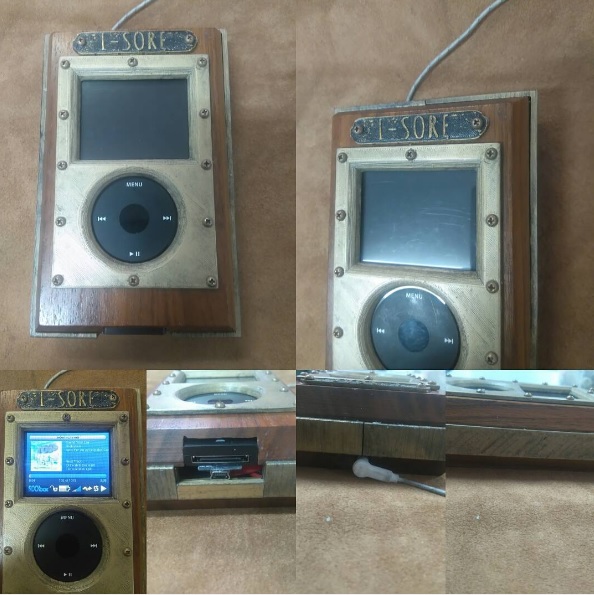
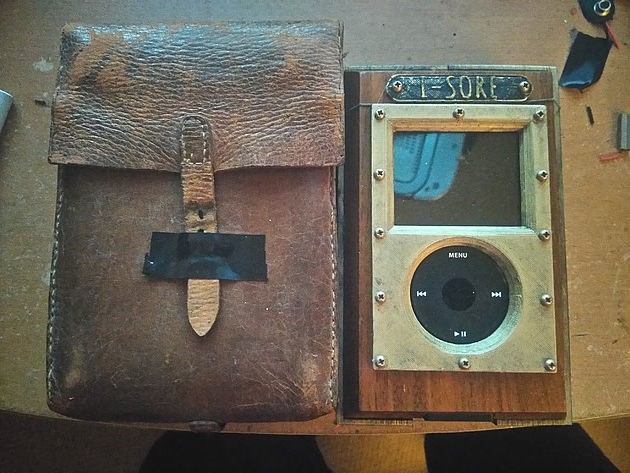
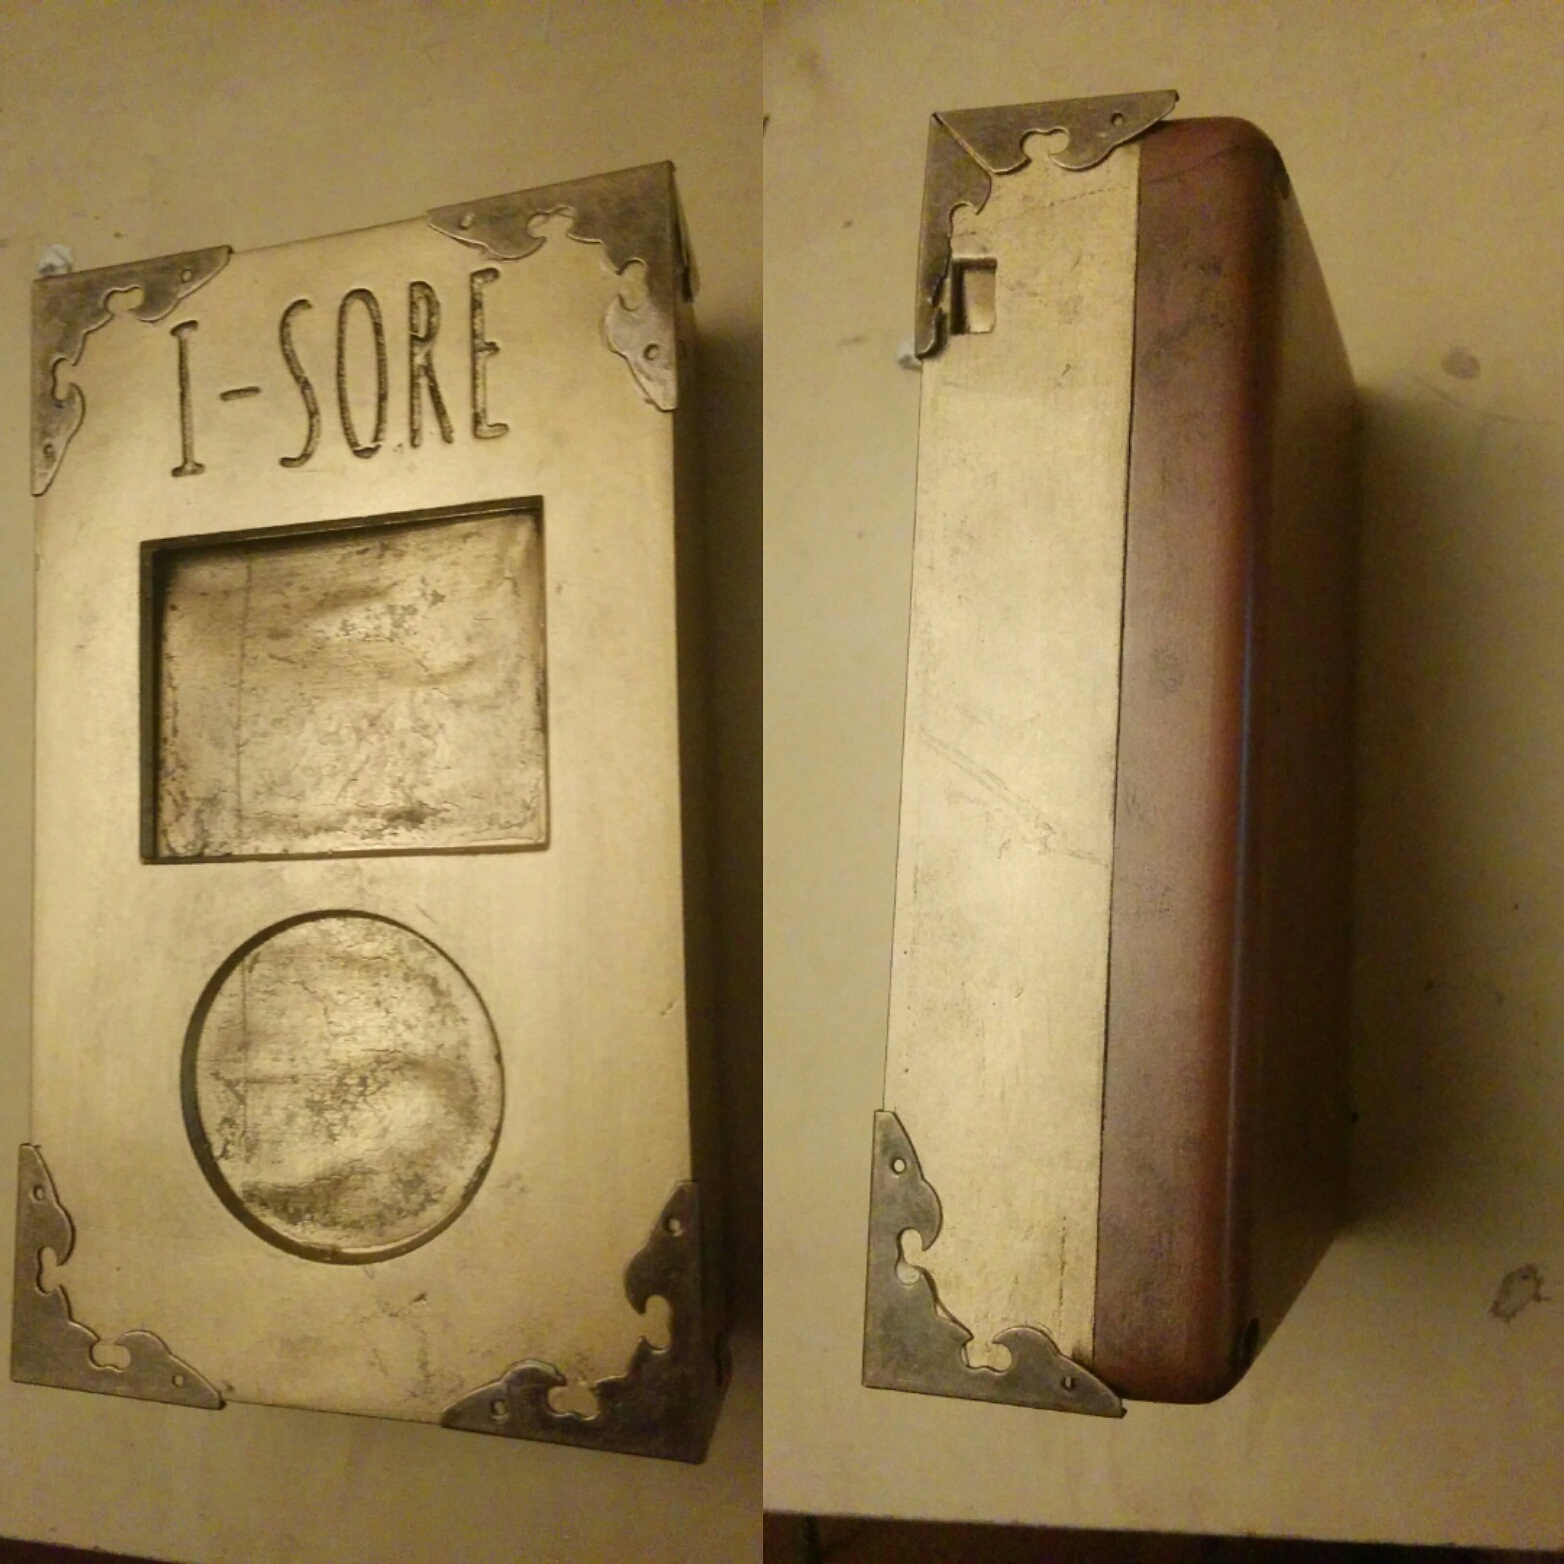
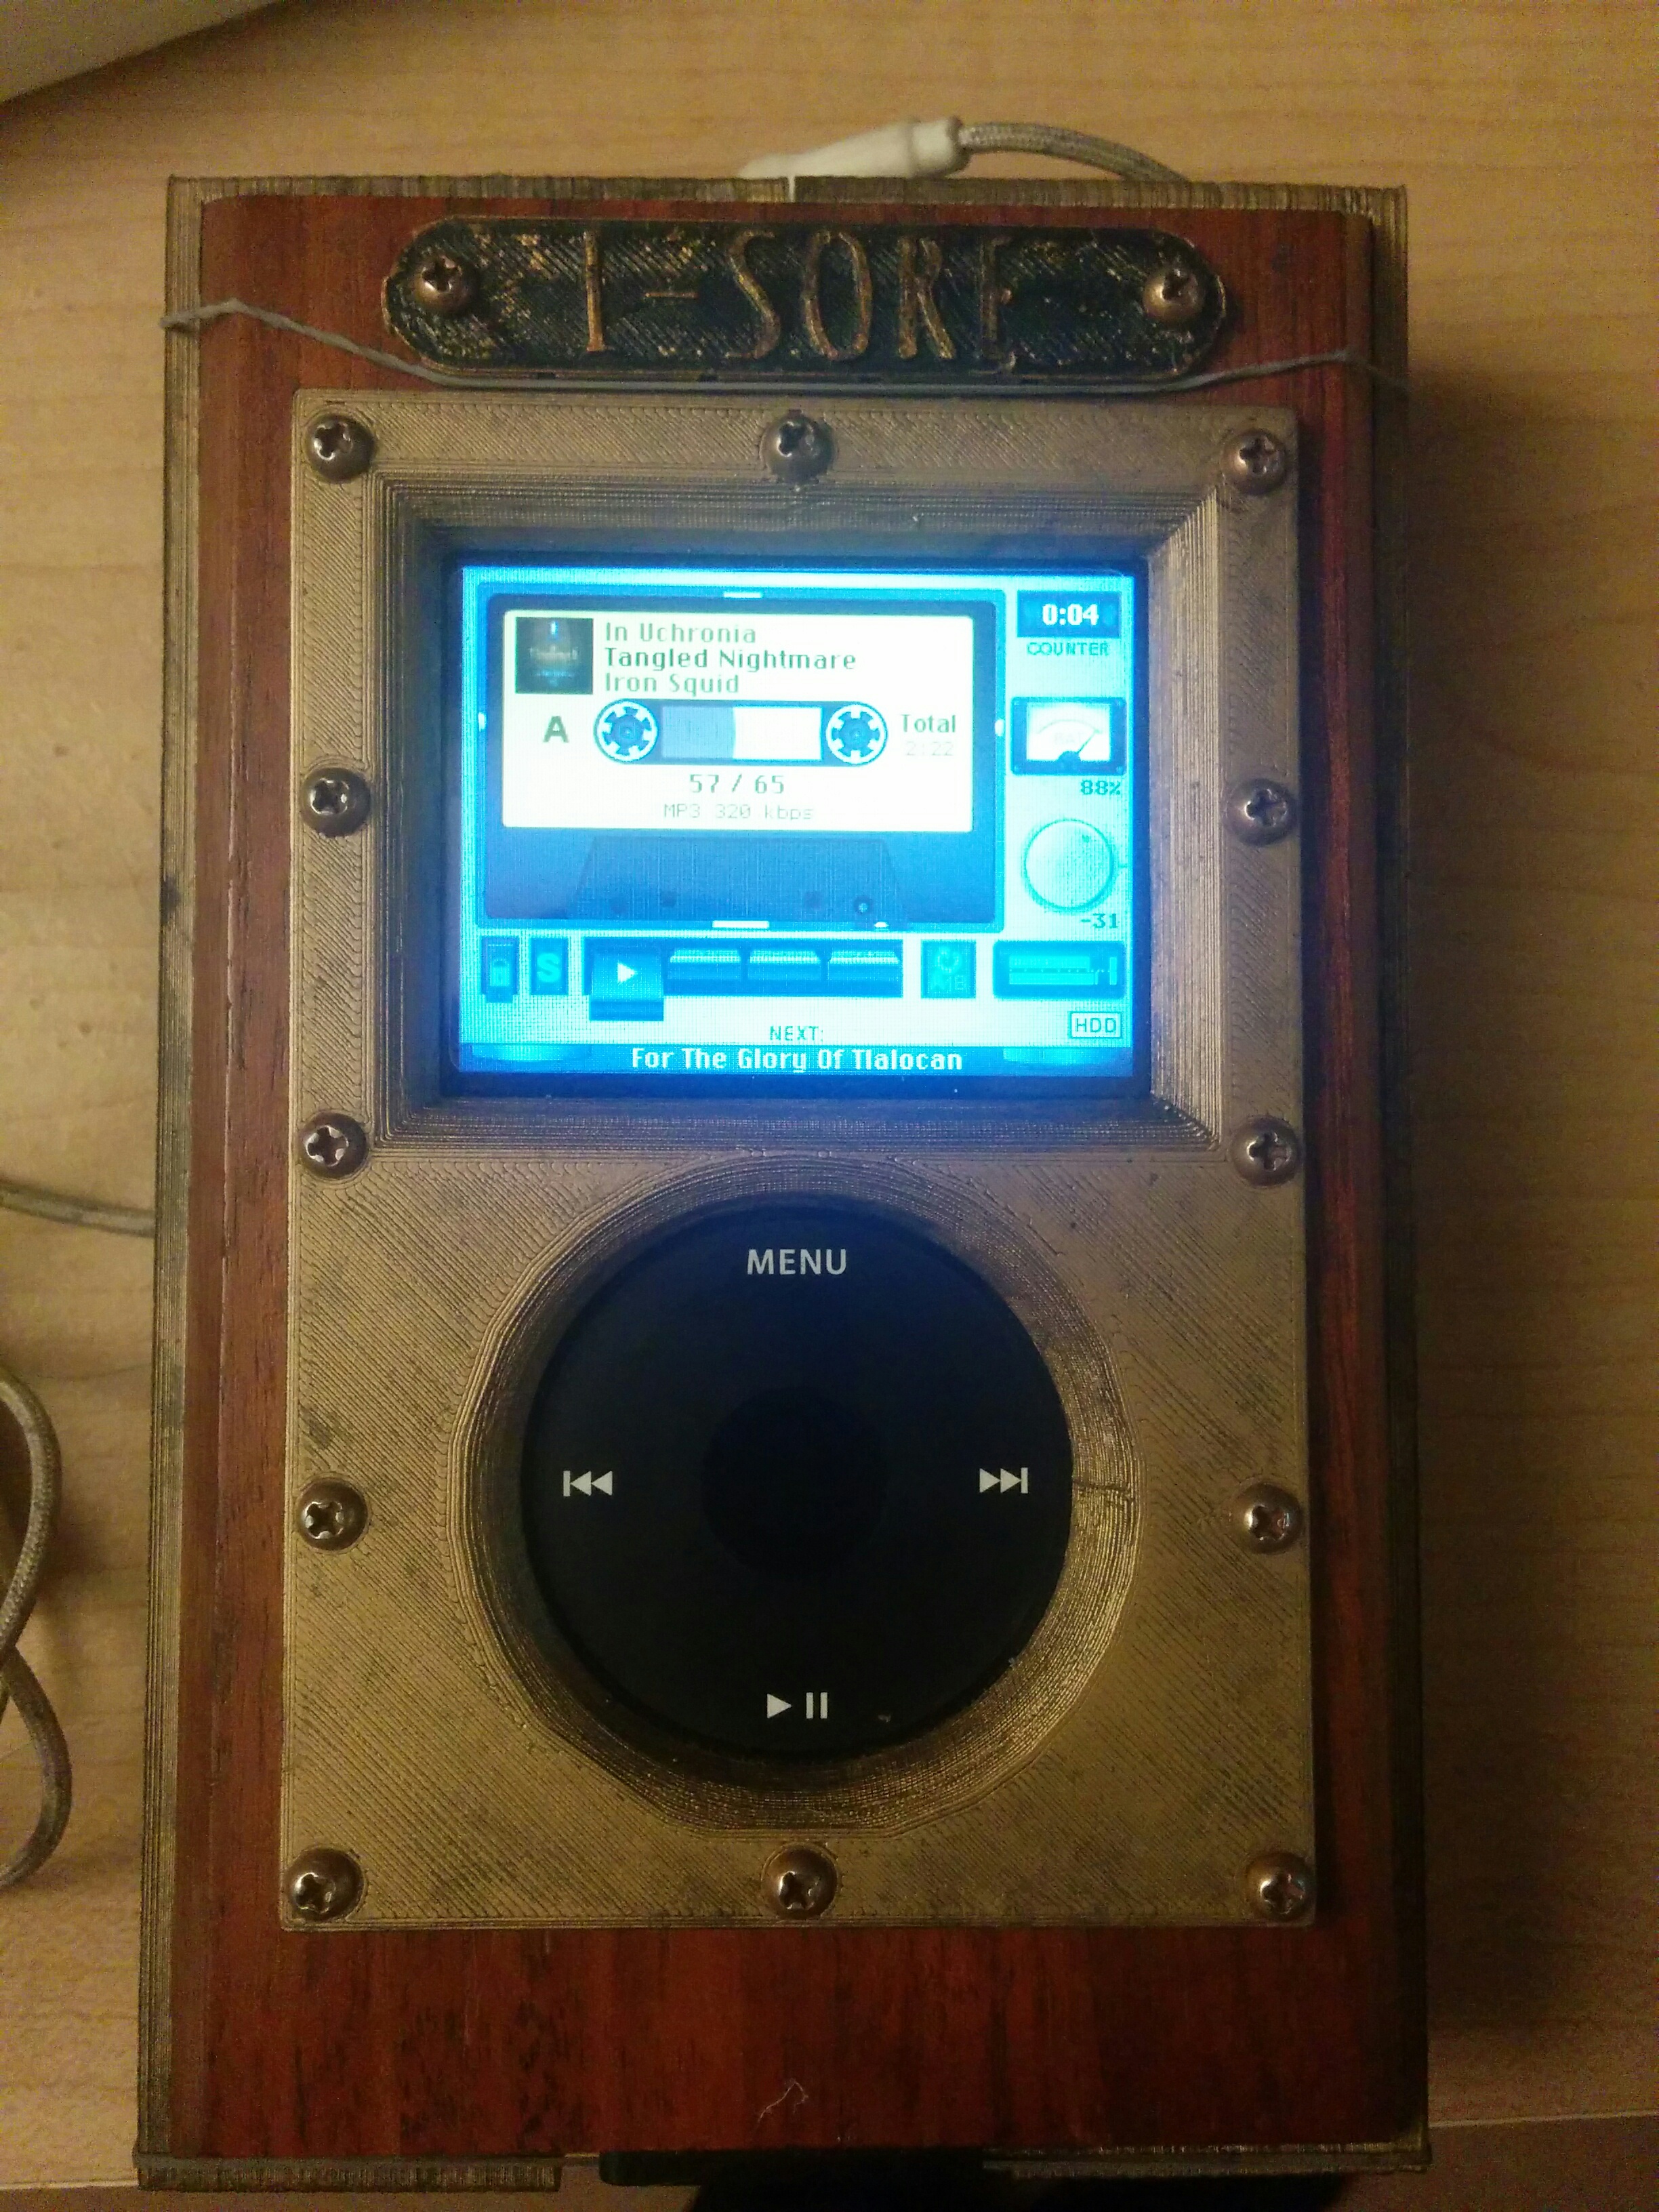
Lots of option's available since its a larger ipod. I have made several versions and you can always use materials from thrift stores as a case.
I recommend setting the now playing screen to the retrotape theme as its just awesome.
Hope to see what you come up with and thanks for reading.