I Made an Ingenuity Space Sign
by previn215 in Workshop > Laser Cutting
227 Views, 0 Favorites, 0 Comments
I Made an Ingenuity Space Sign
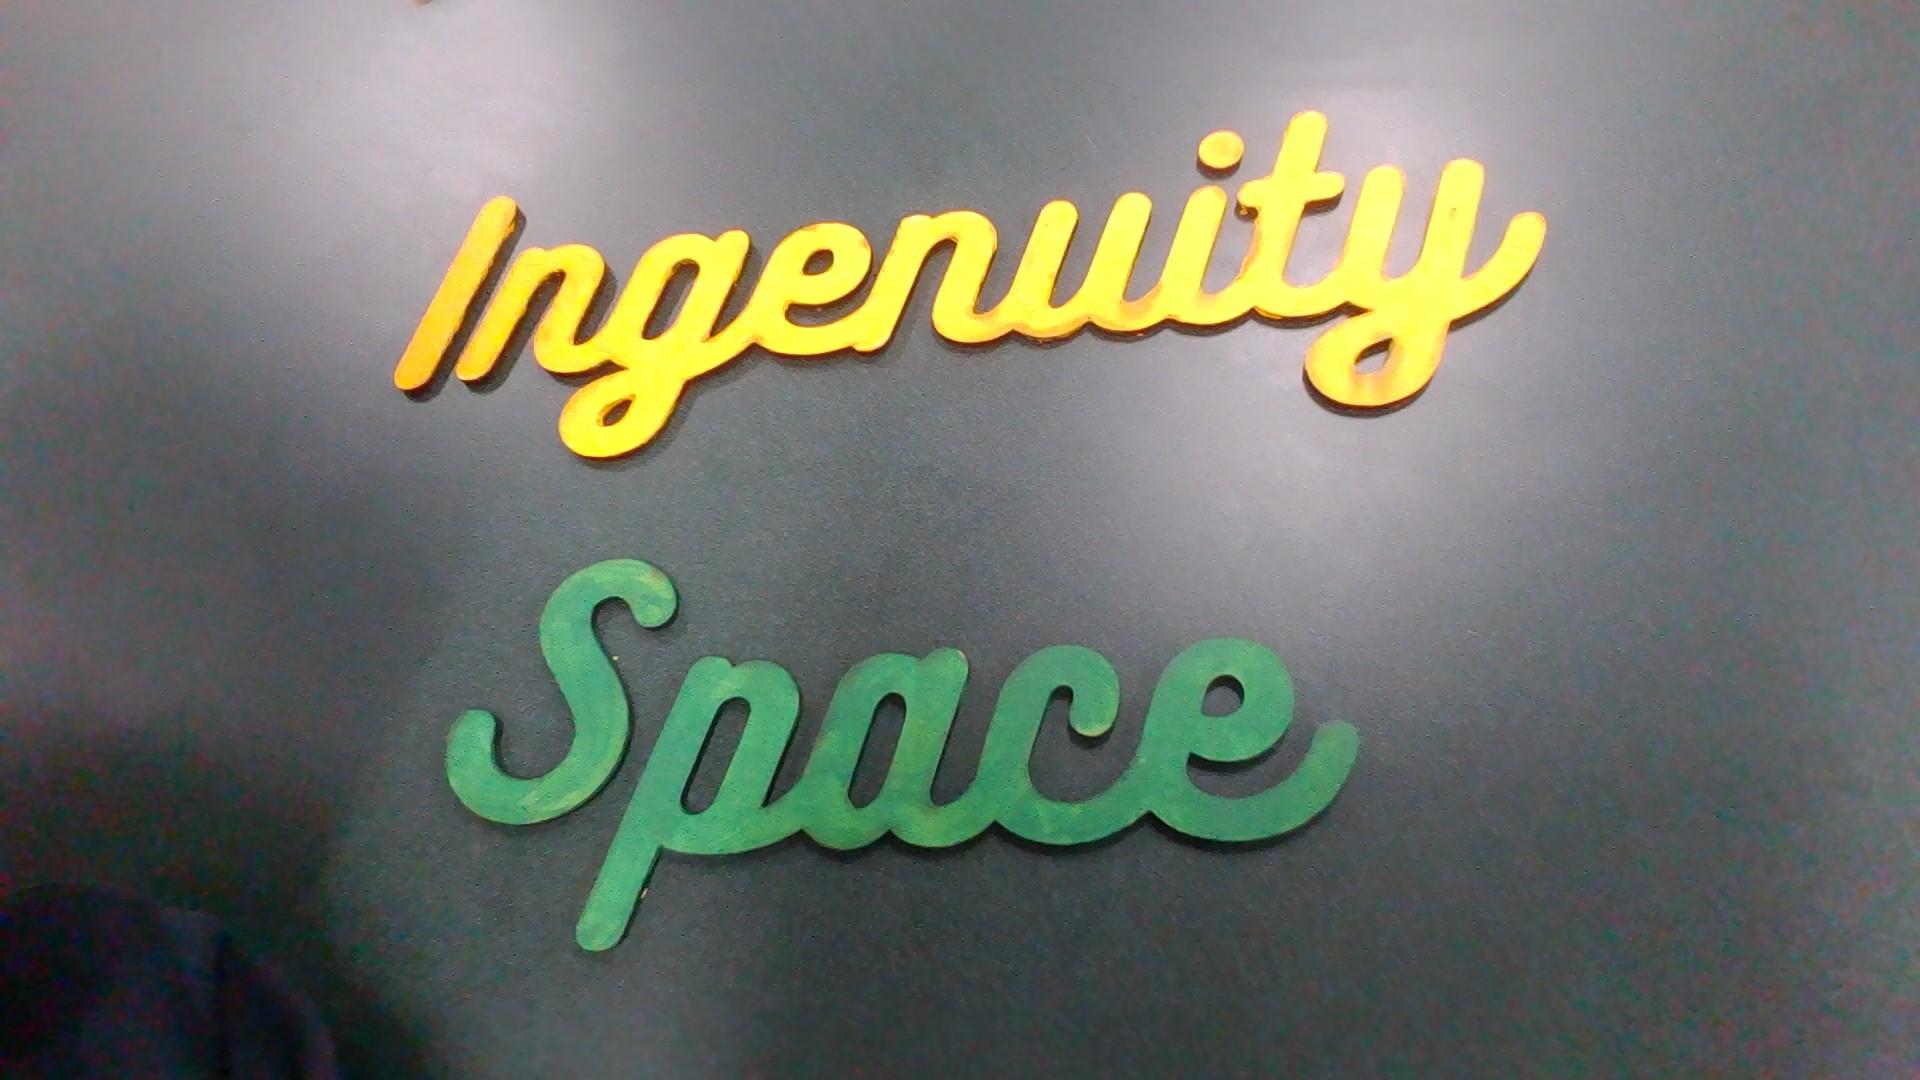

For this project, I have made an ingenuity sign for my computer science teacher.
Supplies
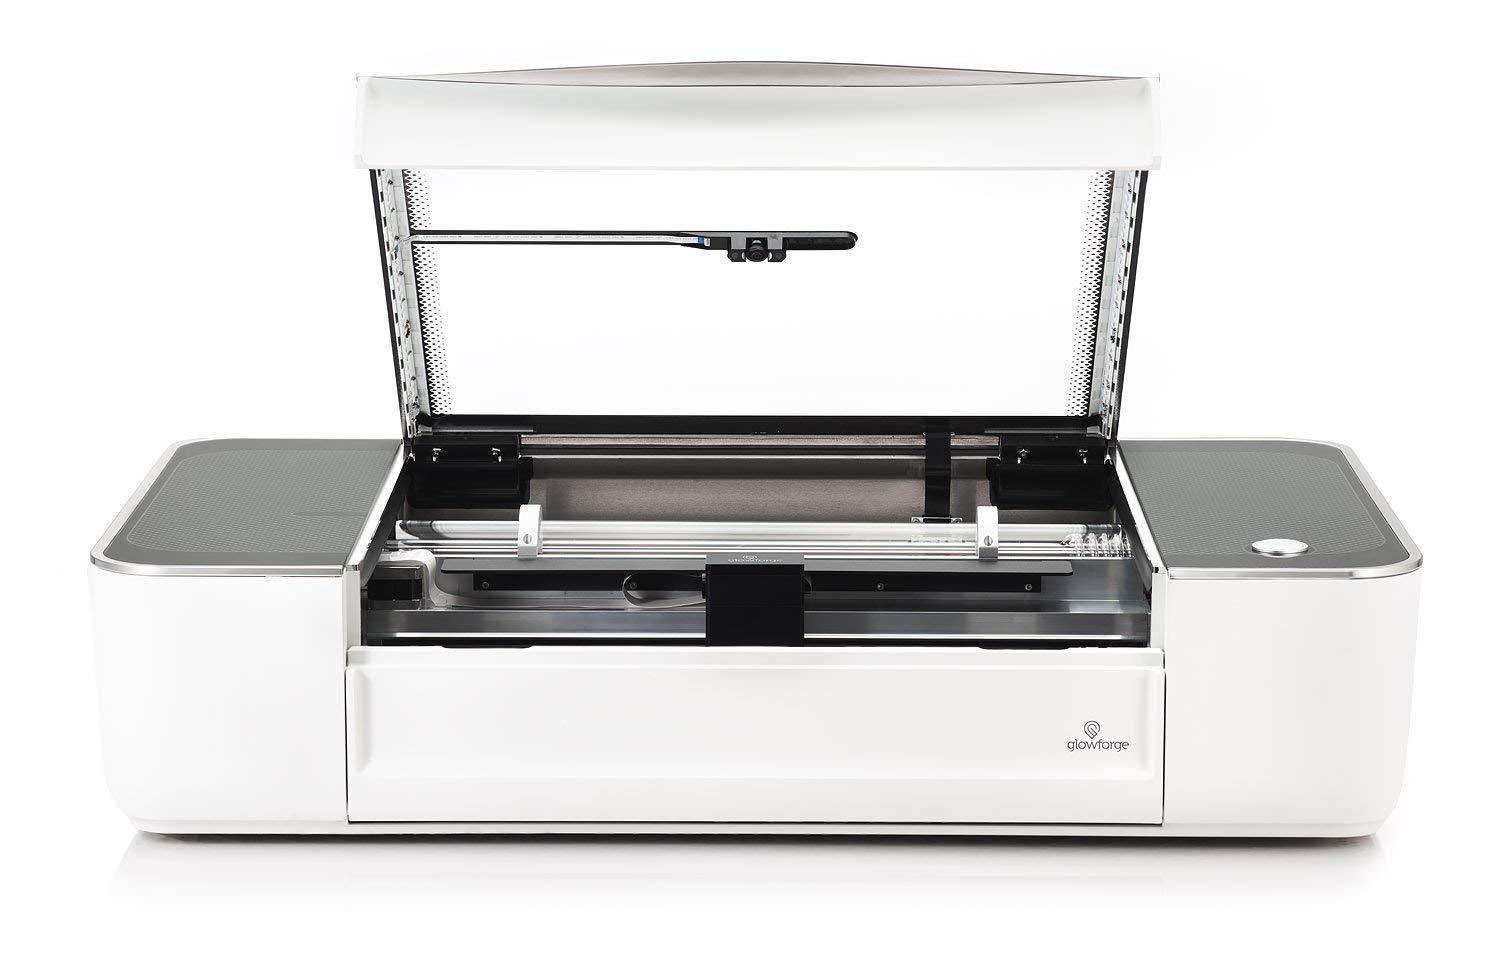
Glowforge and the app called Inkscape.
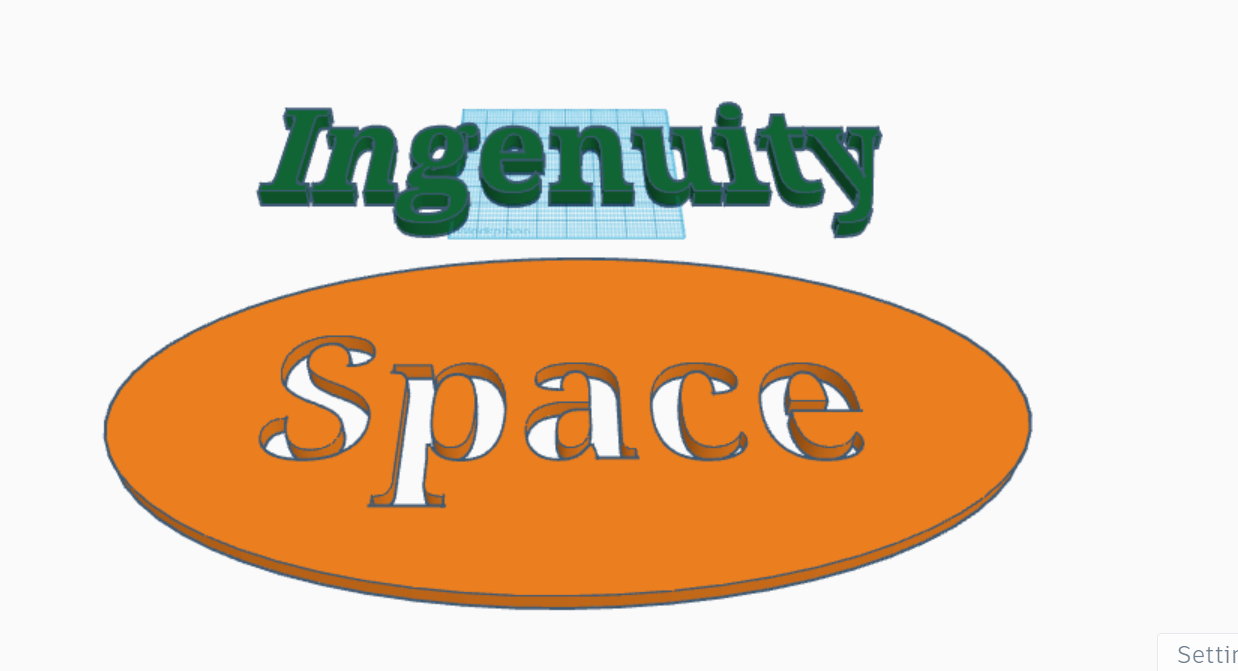
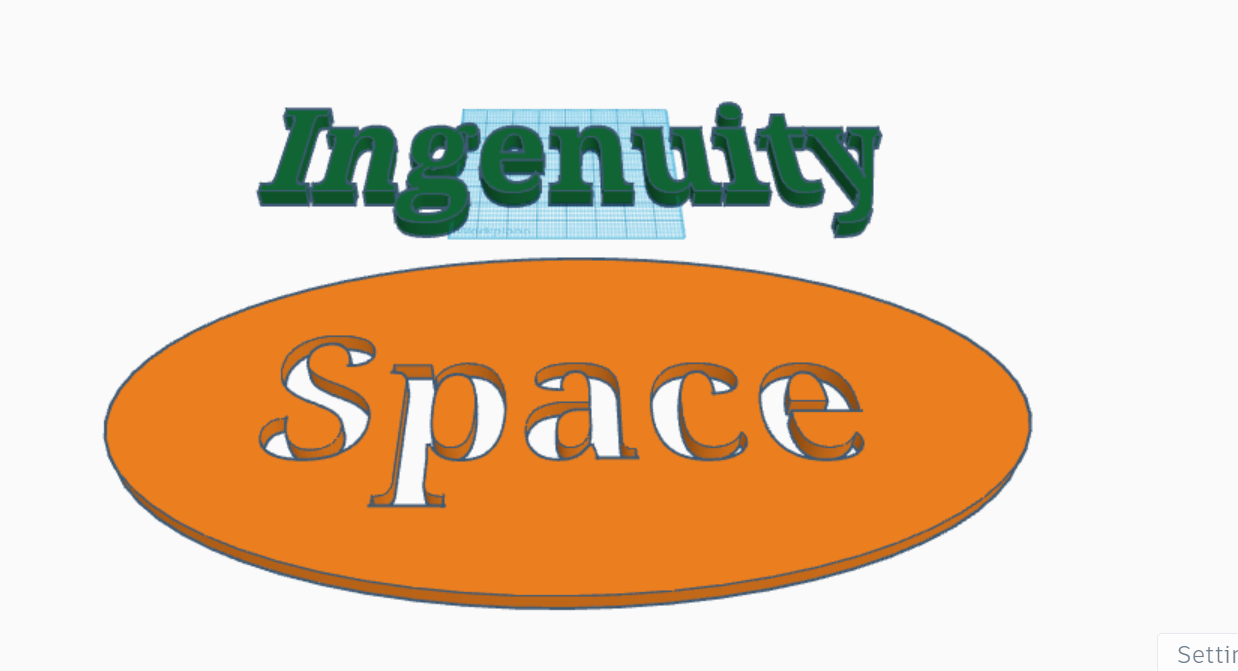
The first step is to create your design in Tinkerchad or Canva if you want a different font.

Then export the file as an SVG file into Inkscape.
Once in Inkscape press on Path then go to trace bitmap. Once in trace bitmap click on apply. Once you click apply you will not see your sign anymore, and that's ok.

After you apply, click on Object, under the object you should see "Fill and Stroke..." Once in fill and stroke press the x on Fill and then press the first blue bock on stroke. It should look like the picture.
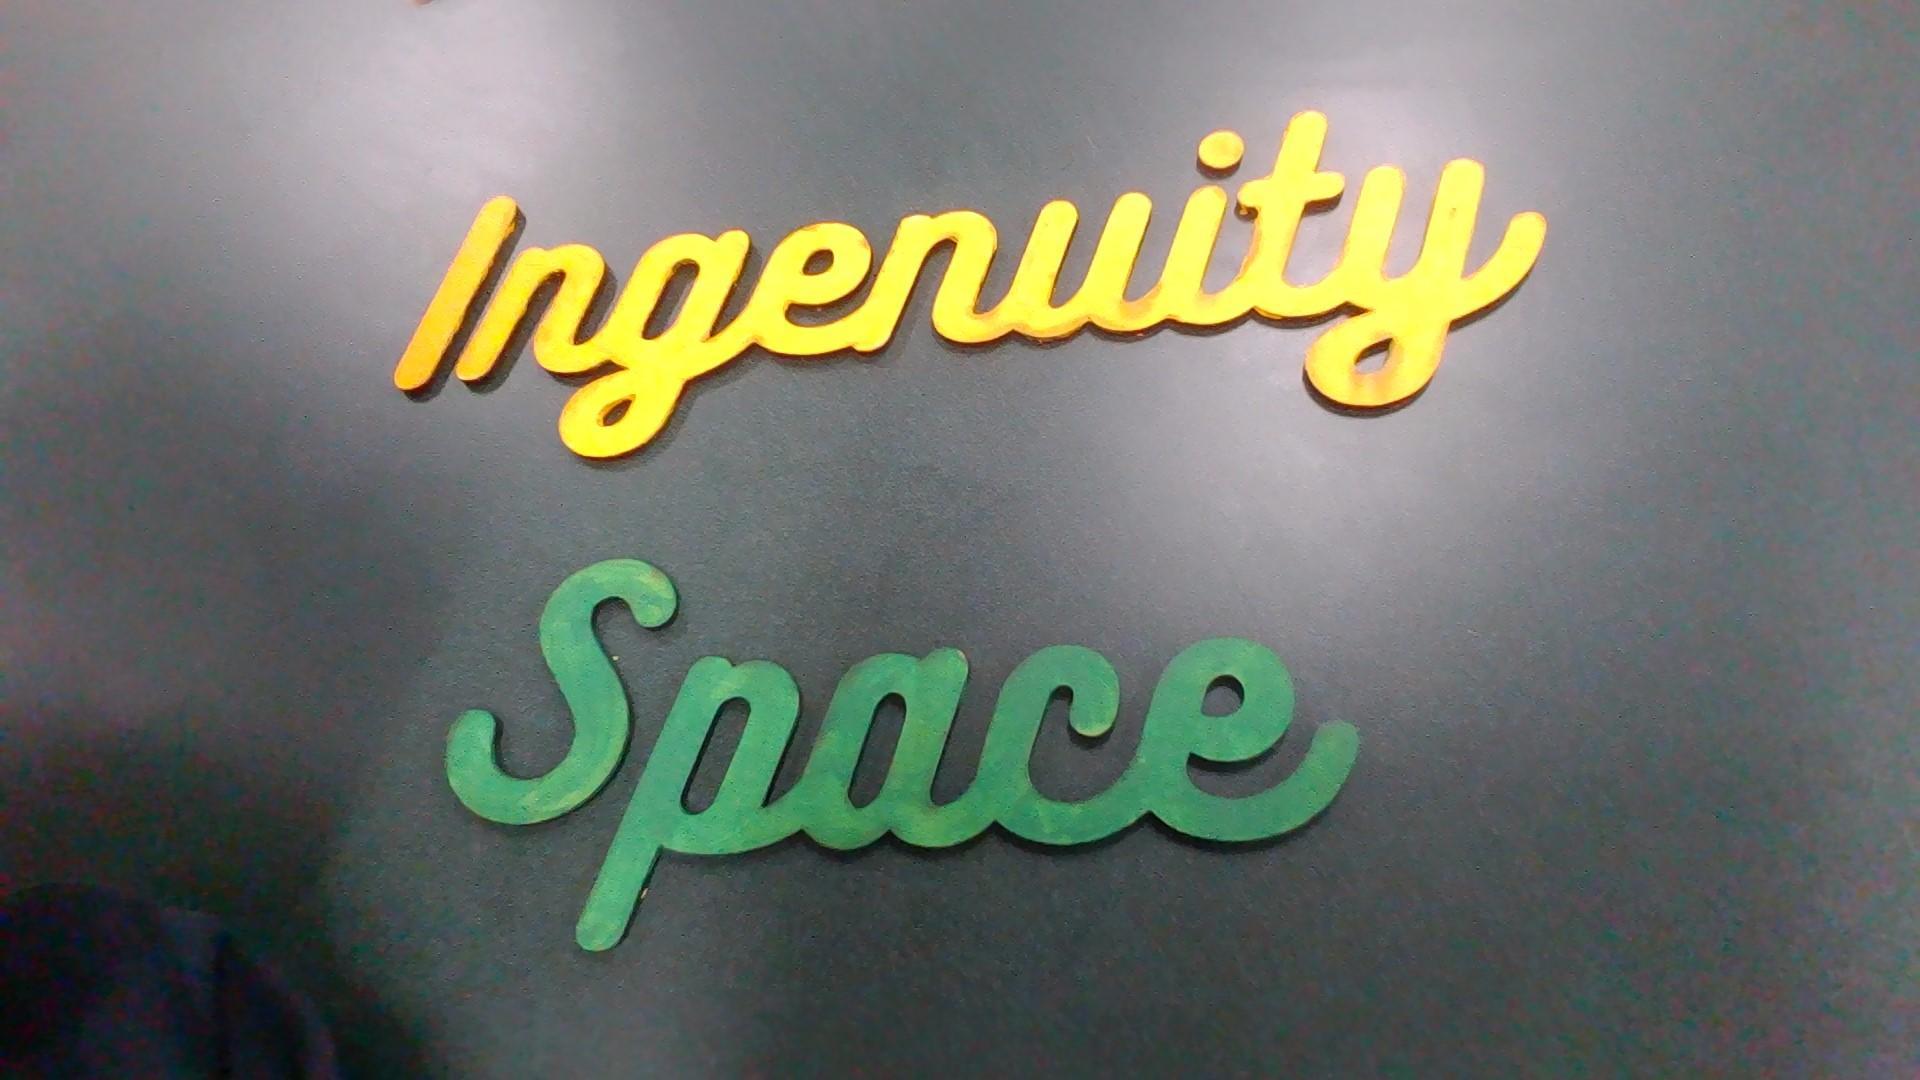
This is the Final step, save the file in your files and export it into Glowforge. Glowforge is the laser printer you will be using. Once exported into Glowforge you will adjust the size to how you want, once changed you will get the Lazercutter ready and Printed. You may paint if you would like as well.