Hydraulic Crane Model 14
by KEAprojects in Workshop > Woodworking
14746 Views, 94 Favorites, 0 Comments
Hydraulic Crane Model 14
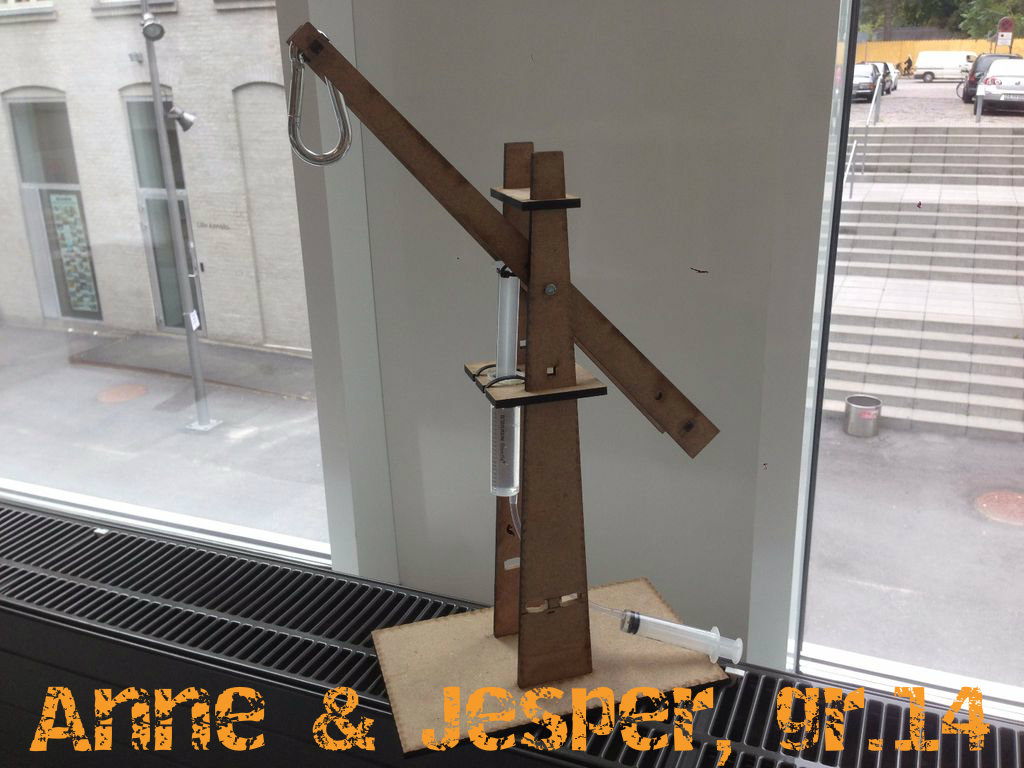
Welcome!
For Starters You Need
Material list:
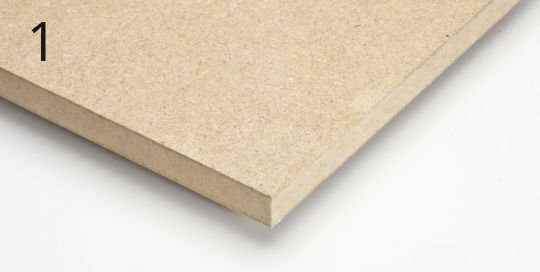
1. Wood board (in this case we used a 600 x 600 mm medium density fiber board)
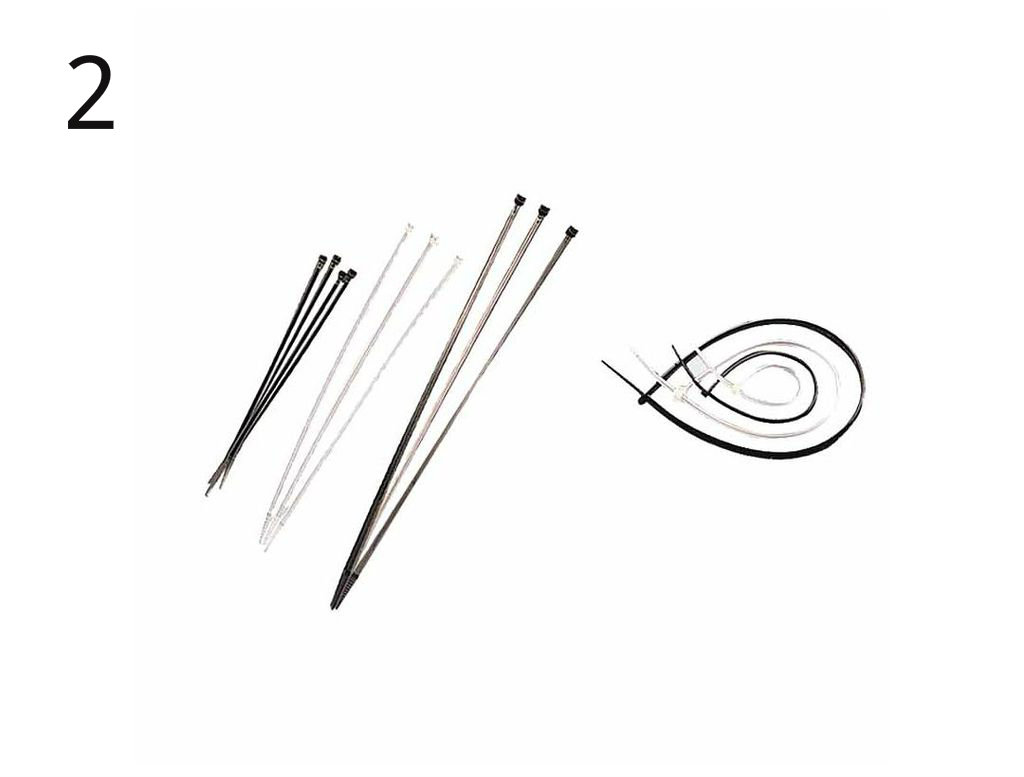
2. Plastic strips 3mm and 5mm
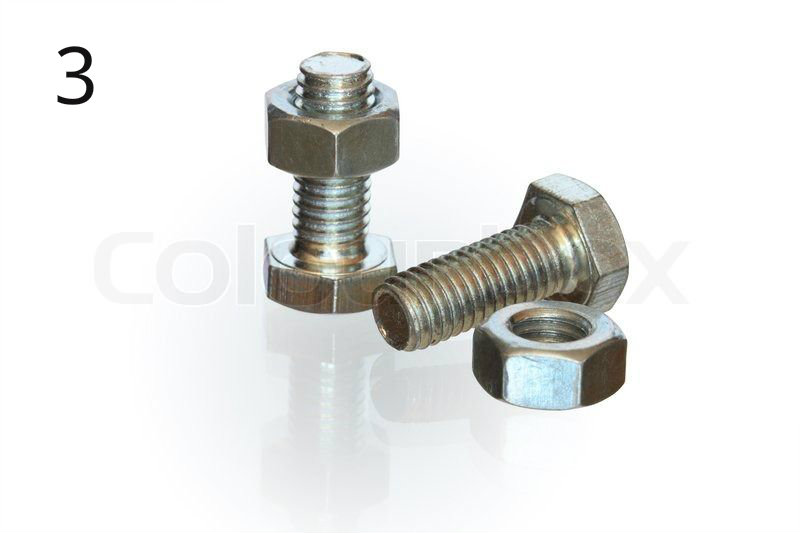
3. Two bolts and two nuts M4/m4
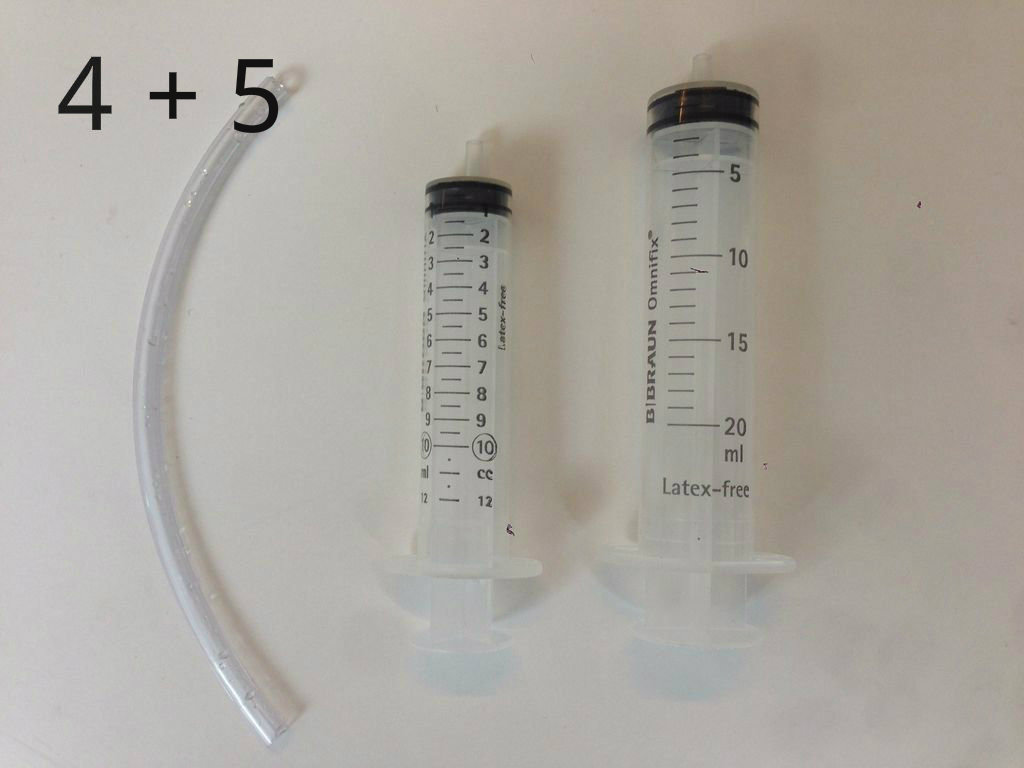
4. A 150 mm long plastic tube, 3mm ( inside measure )
5. Two syringes. One at 12ml and one at 20ml
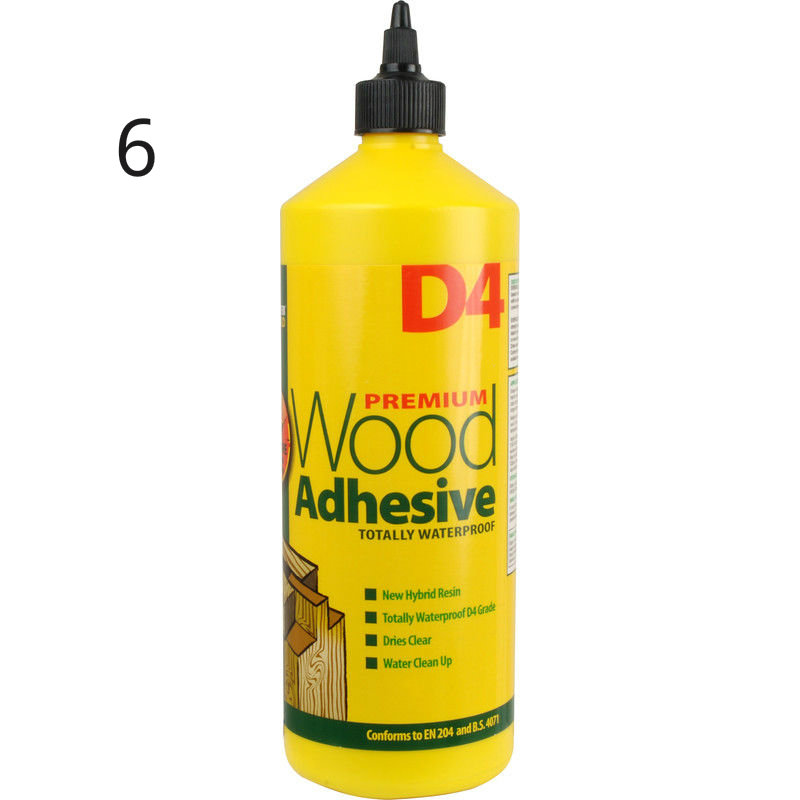
6. Wood adhesive
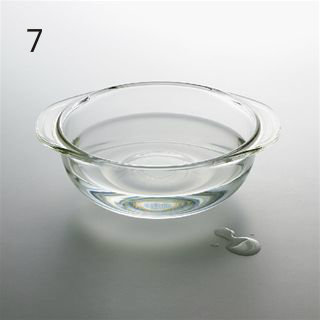
7. Water in a bowl
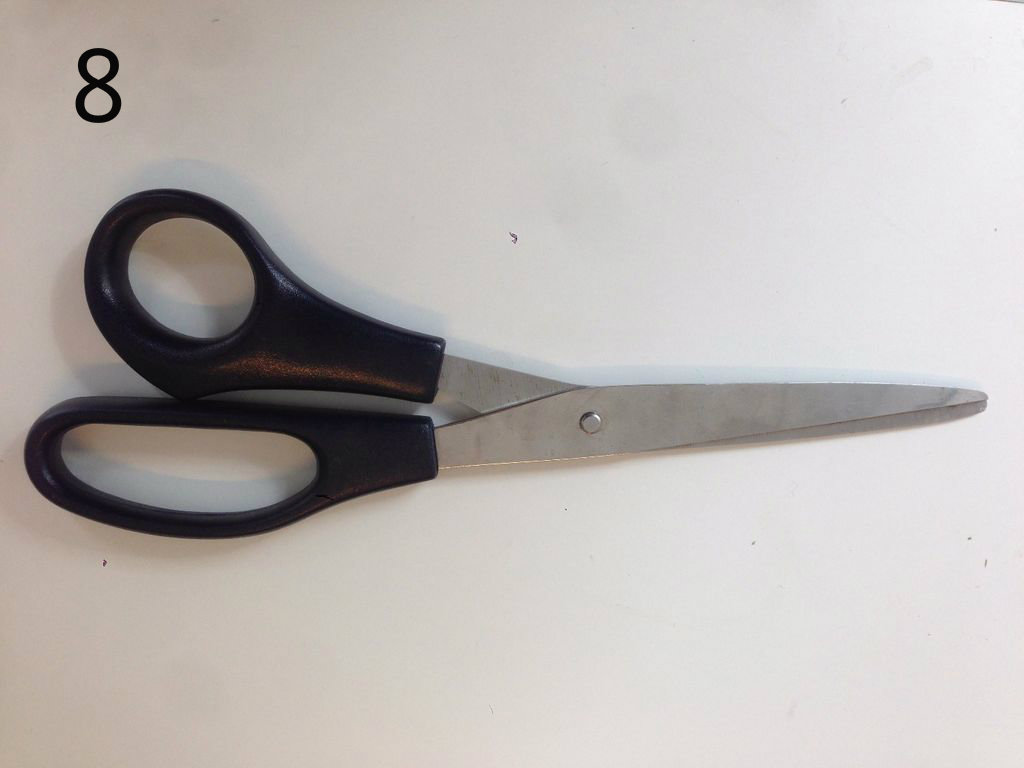
8. Scissors or pliers to cut the exess off the strips
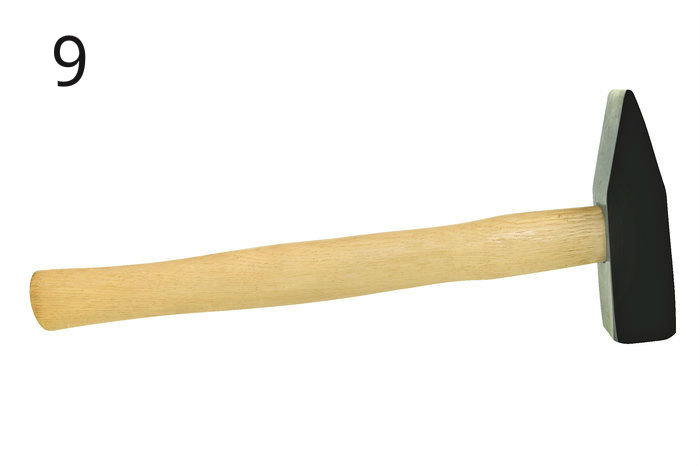
9. A hammer for pressure fitting the parts togeather
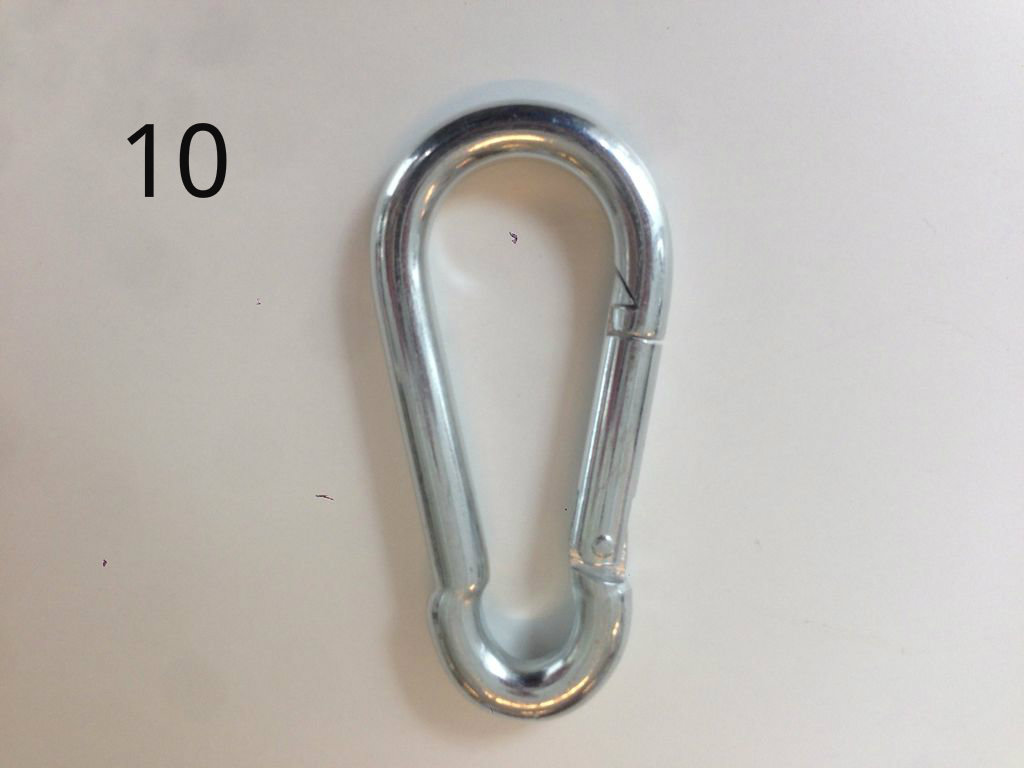
10. A snap hook 40x80mm
Download DXF File
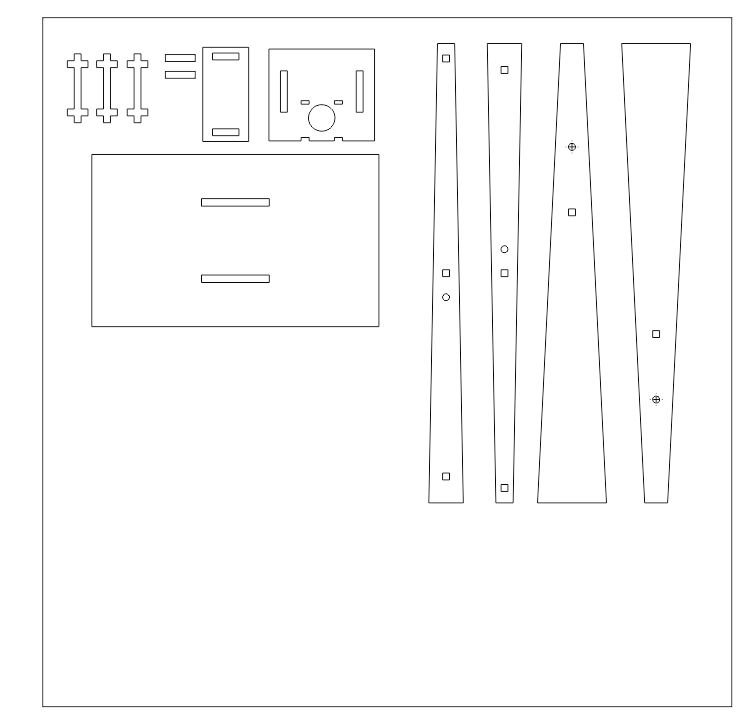
We used a lazercutter, to cut out our crane. To do that, download file.
1. Drag DXF file into Illustrator (images should look like the picture above) and place your board in the cutter.
2. Before you start cutting, run a test to make sure that the size is rigth.
3. After running your test, you can start cutting your crane.
4. Take out the board and tap out the parts.
Downloads
Crane Assembly
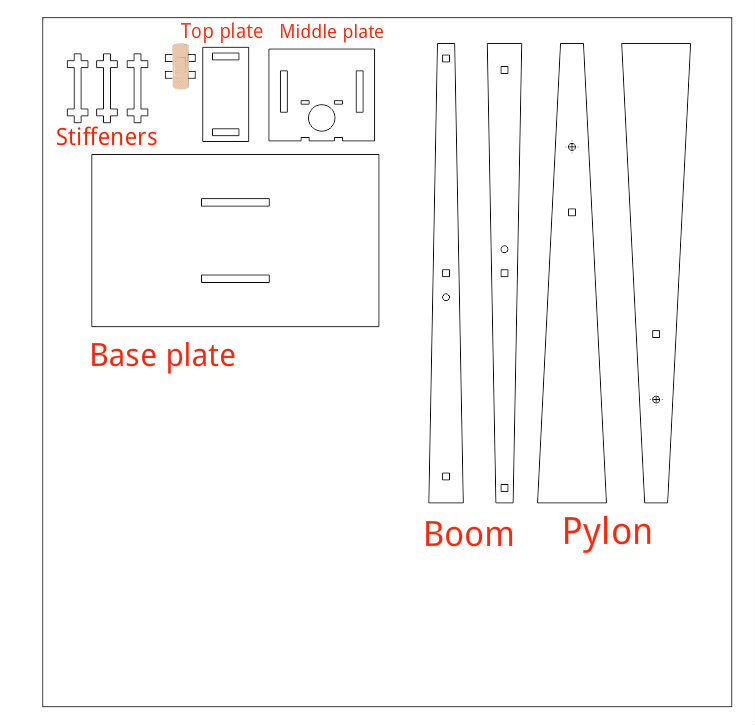
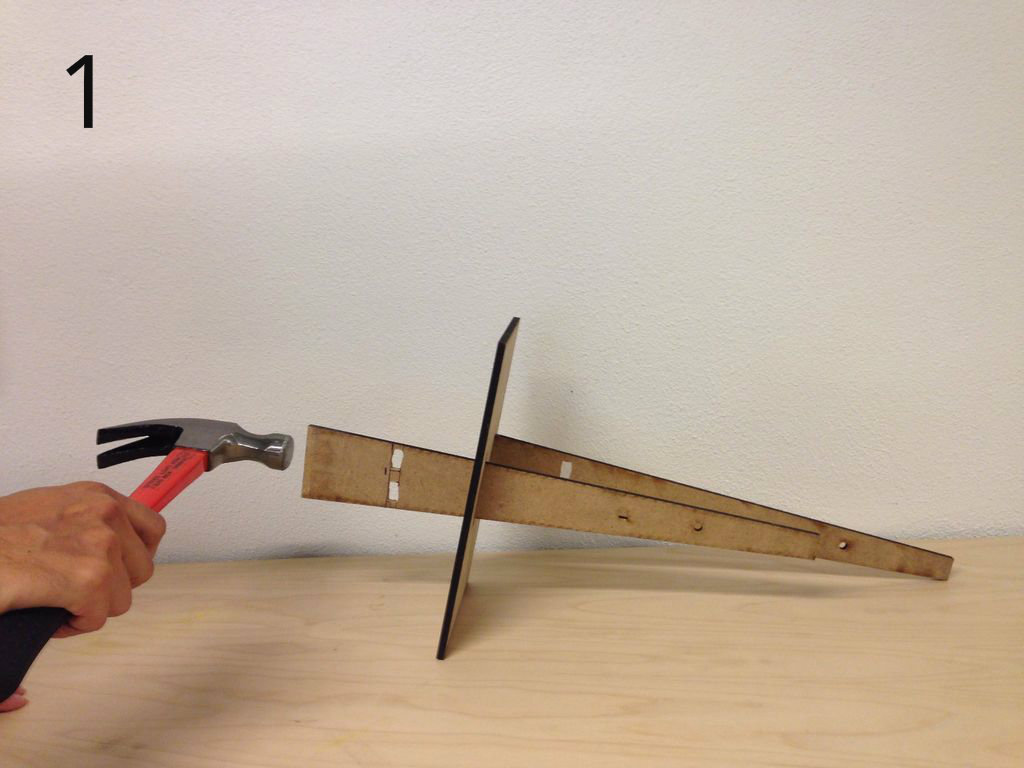
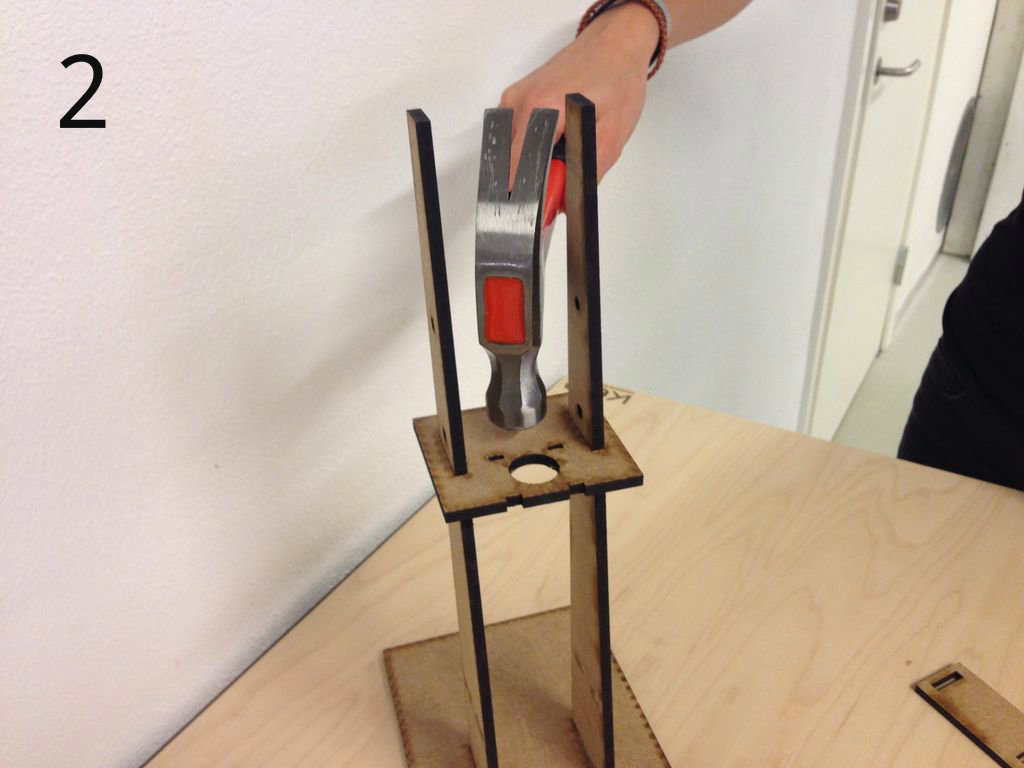
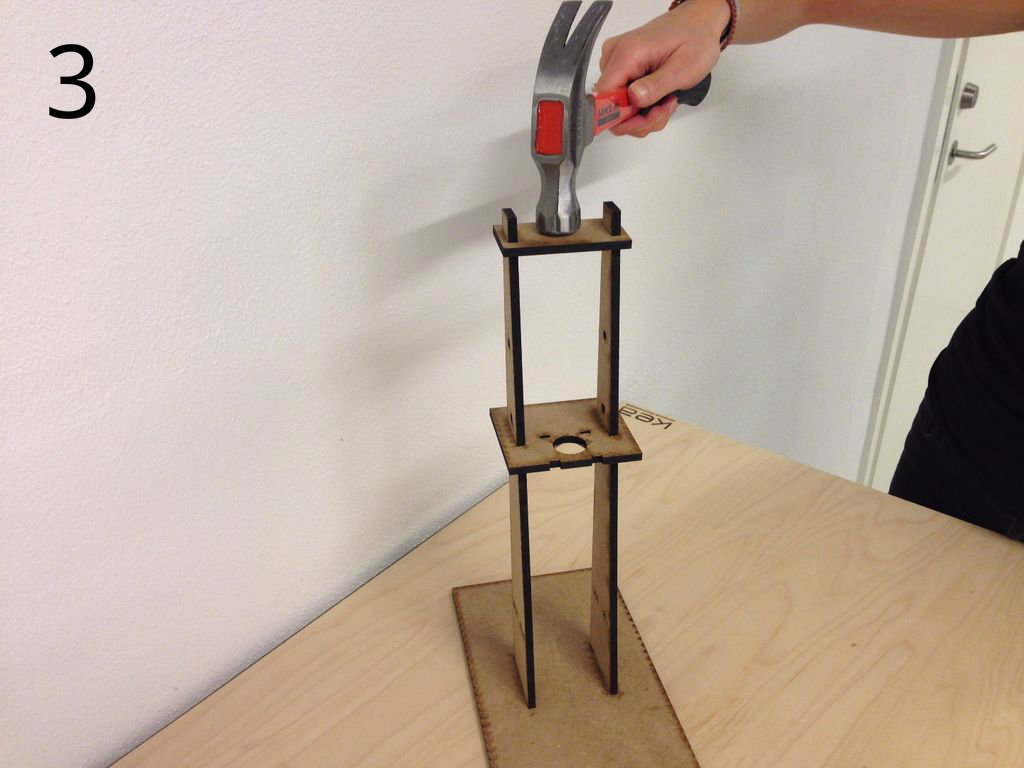
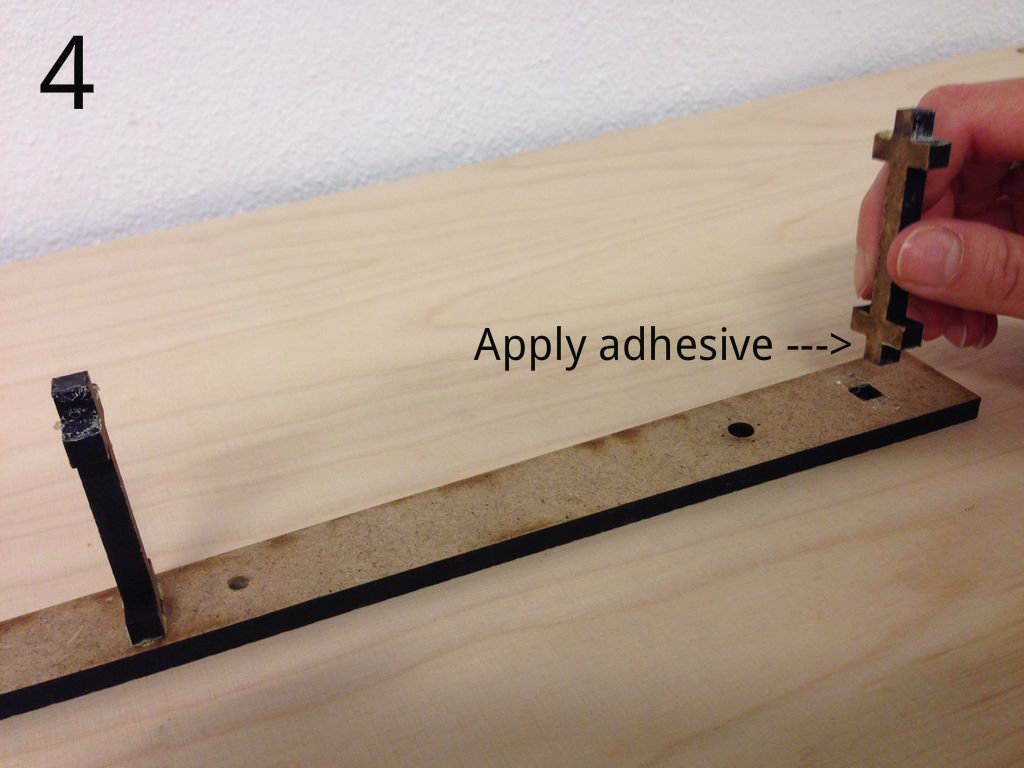
Gather the pieces togehter
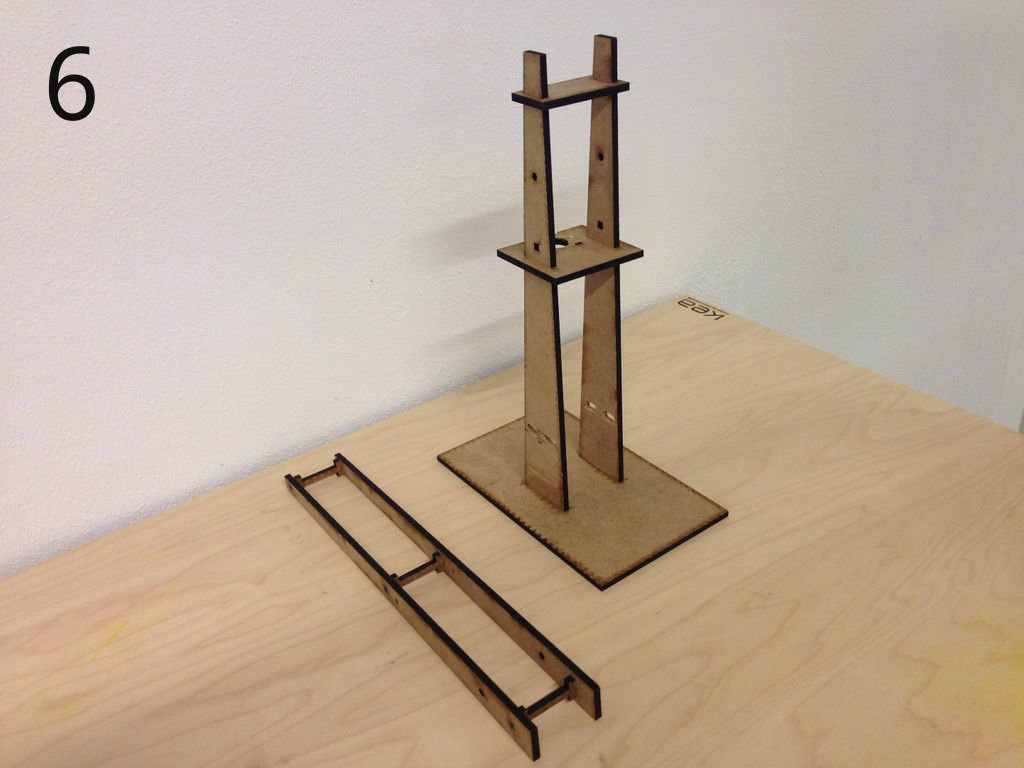
1. Insert the Pylon pieces in to the cutouts of the Baseplate. Apply adhesive to the bottom (widest part) of the pylon piece before tapping to fit. Bottom of Basplate and Pylons should be flush.
2. Insert Middle plate from the top down. Apply adhesive to the cutouts of the Middle plate before tapping to fit.
3. Repeat process for Top plate.
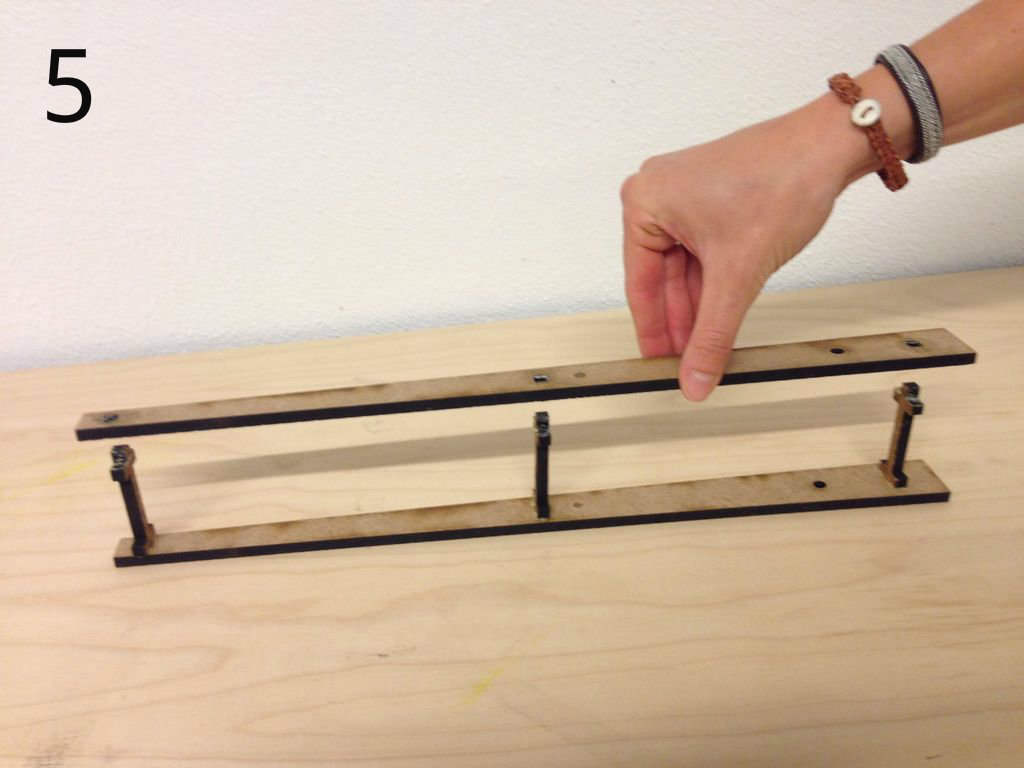
4. Place one Pylon part widest part up, apply adhesive into cutouts, and insert the Stiffeners.
5. Apply adhesive to the cutouts of the remaining Pylon part, and place over the stiffeners through the cutouts.
6. Leave to dry in correspondence with the instructions on your adhesive container.
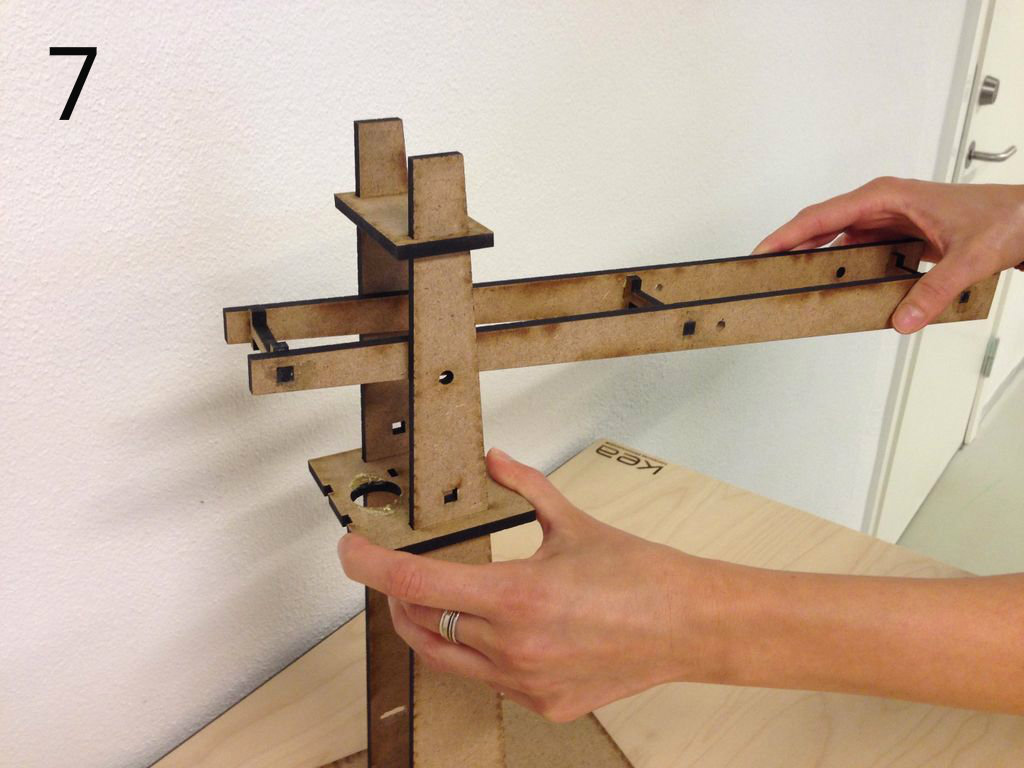
7. Insert the Boom part into the Pylon.
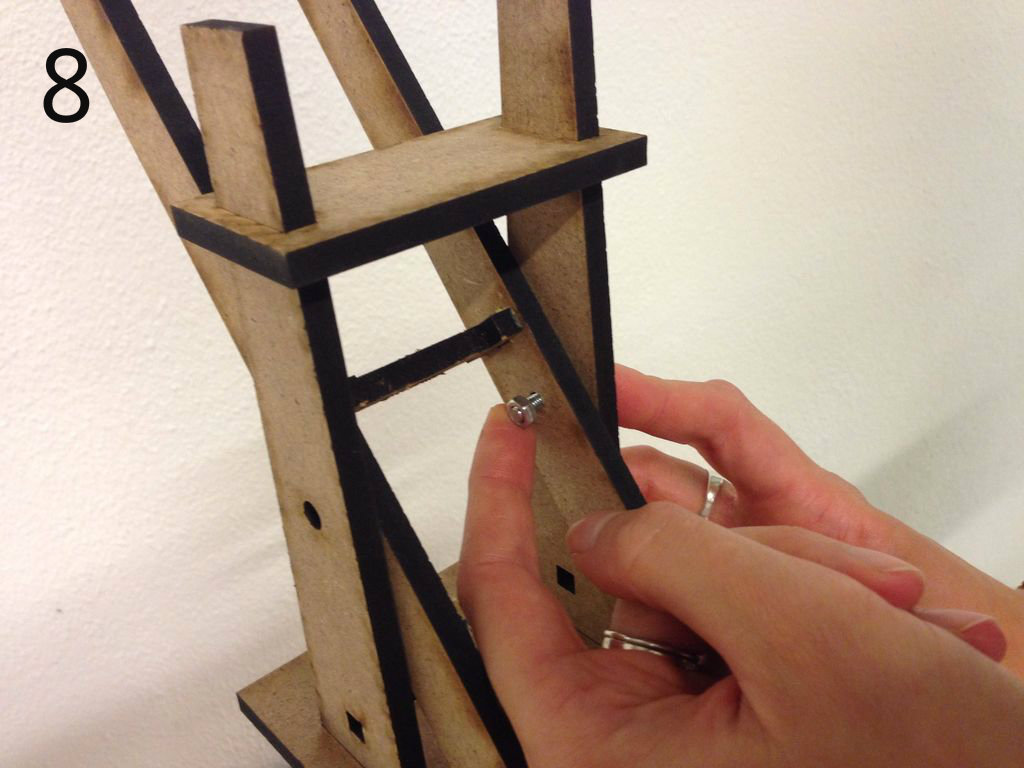
8. Allign the cutout holes, and insert the bolts through. Scew on the nuts on both sides, but be sure not to tighten completely, so the Boom will turn freely.
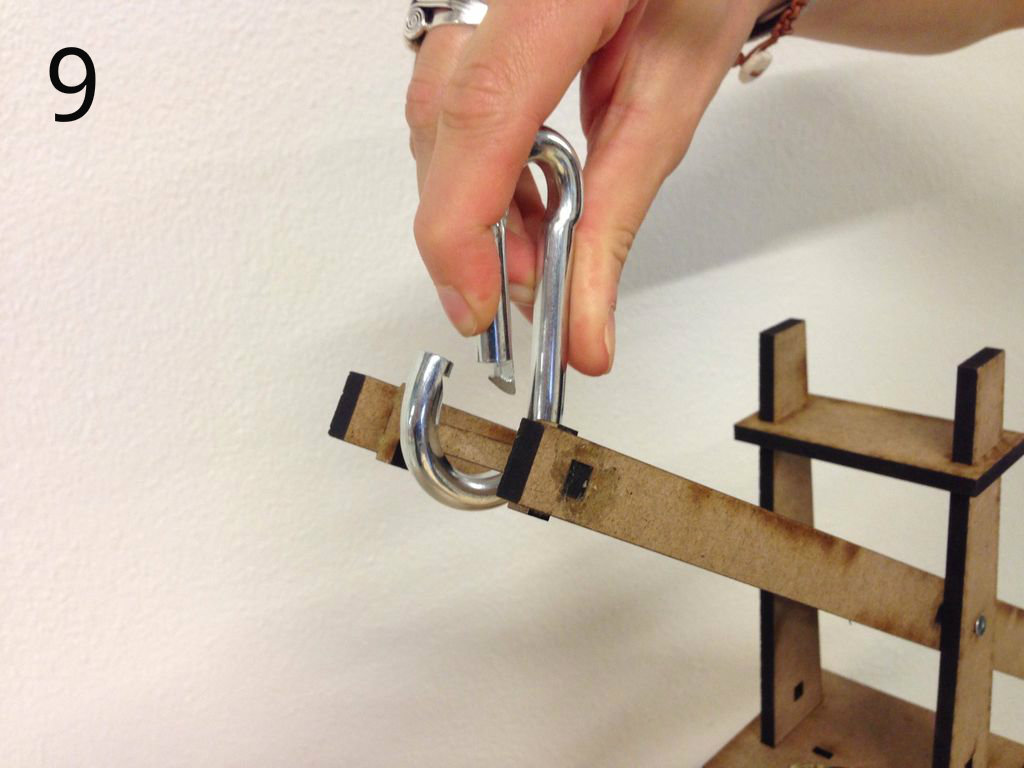
9. Attach the Snap hook to the Stiffener in the smallest end of the Boom.
Adding Hydraulic System
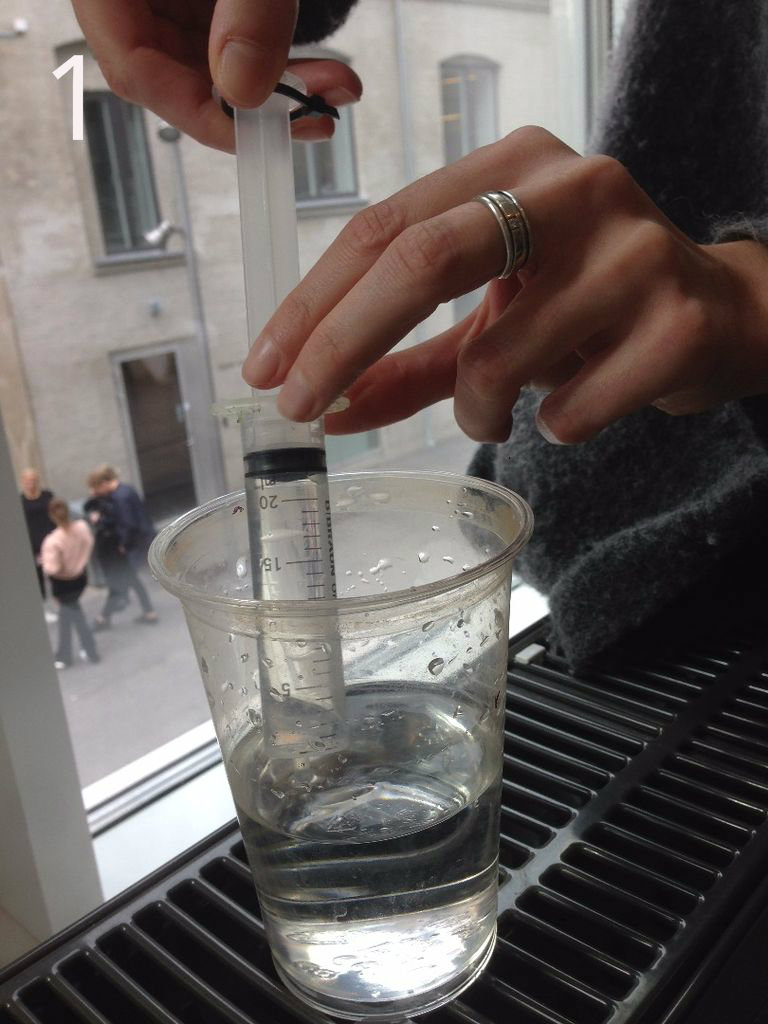
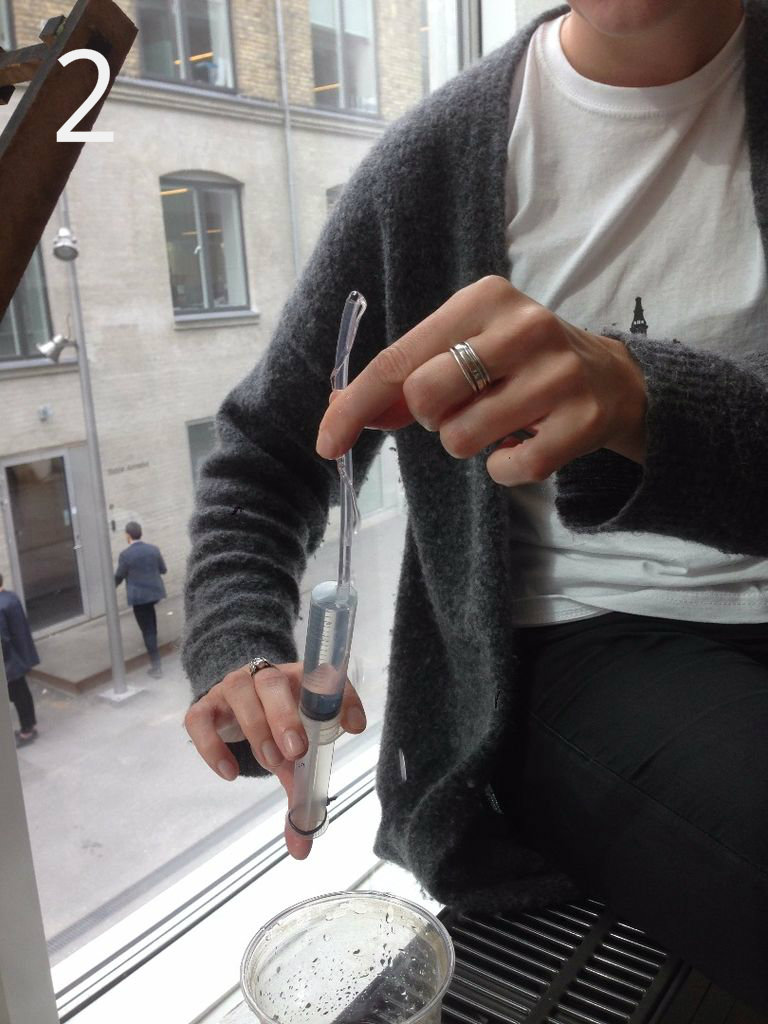
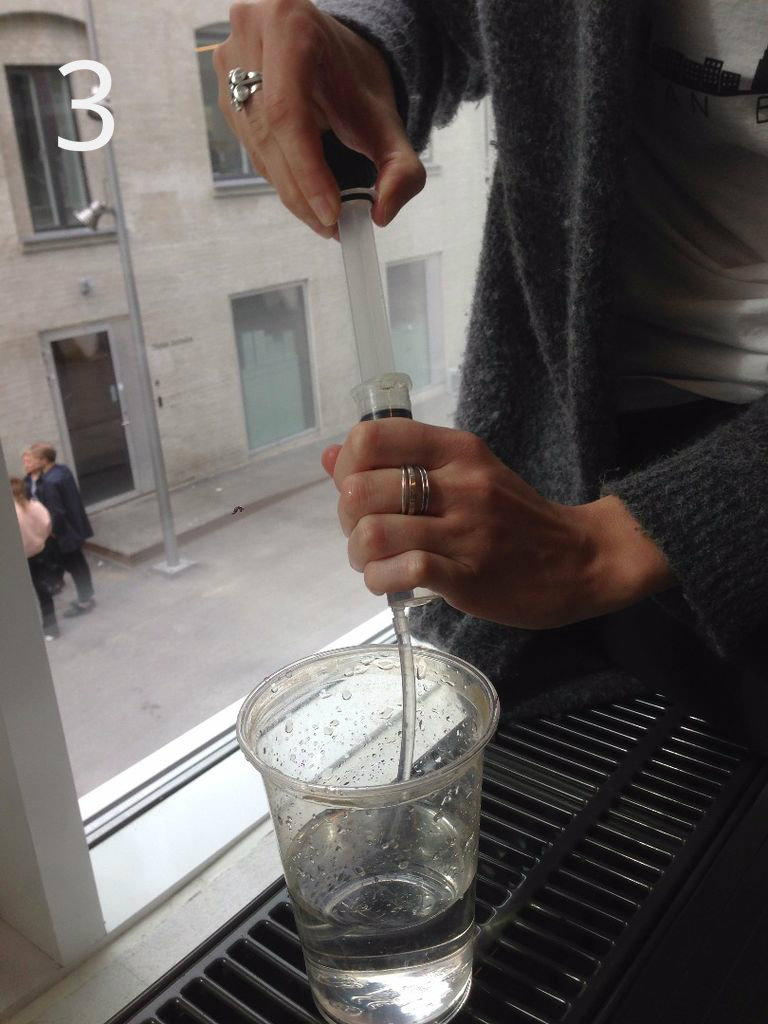
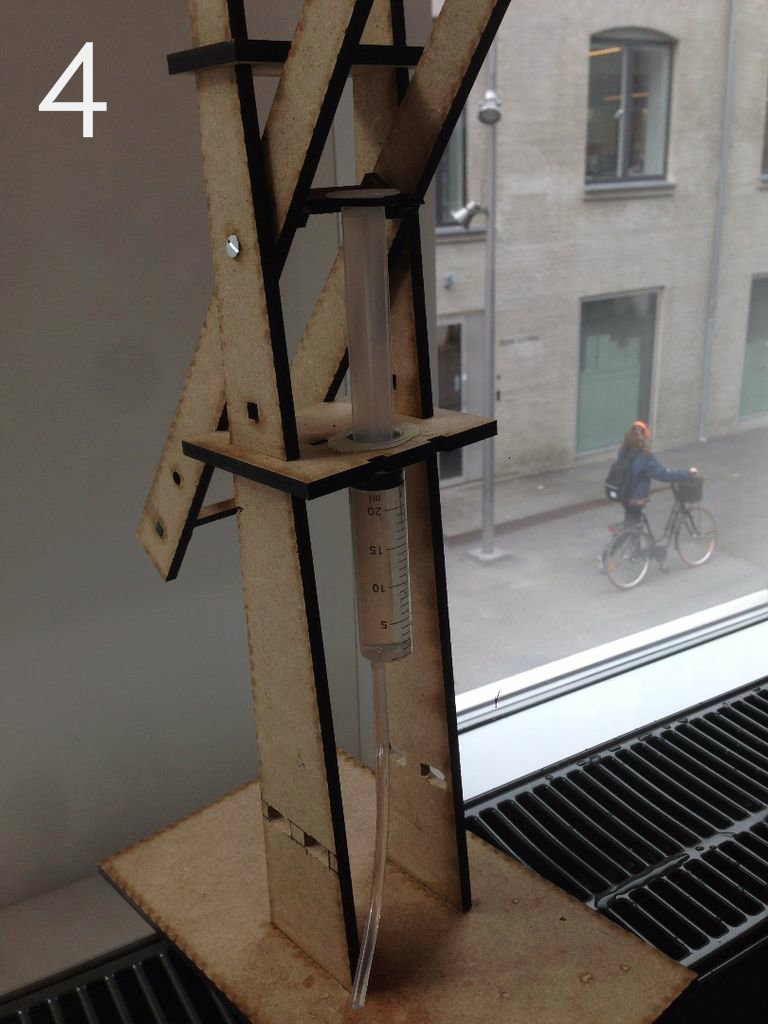
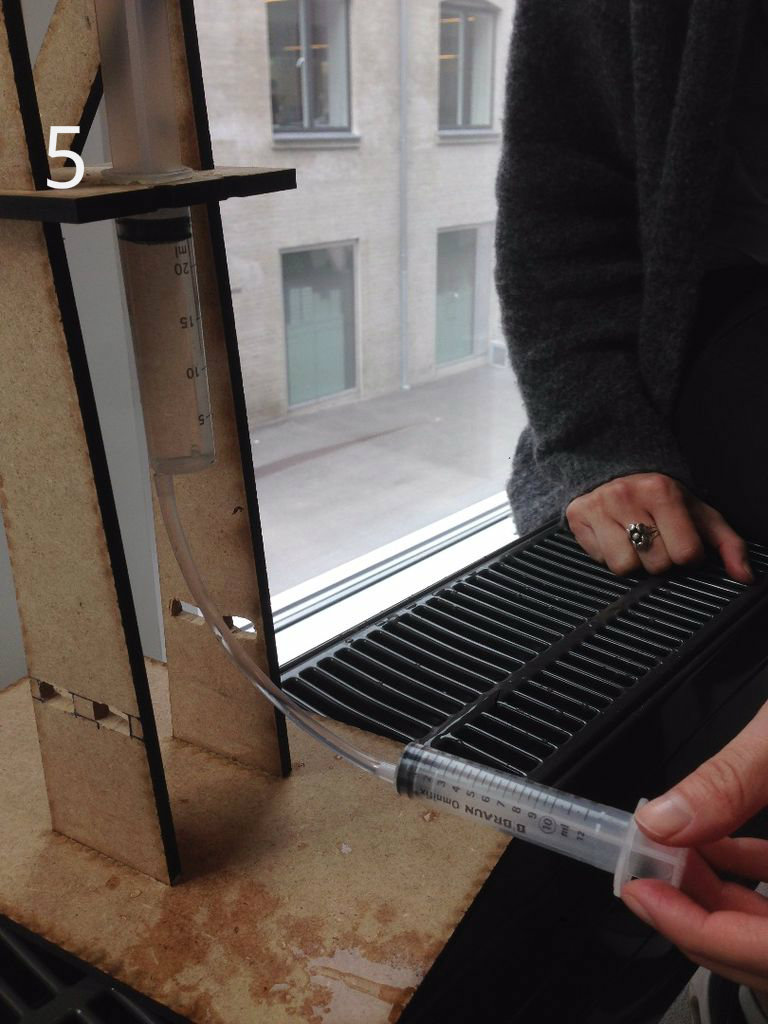
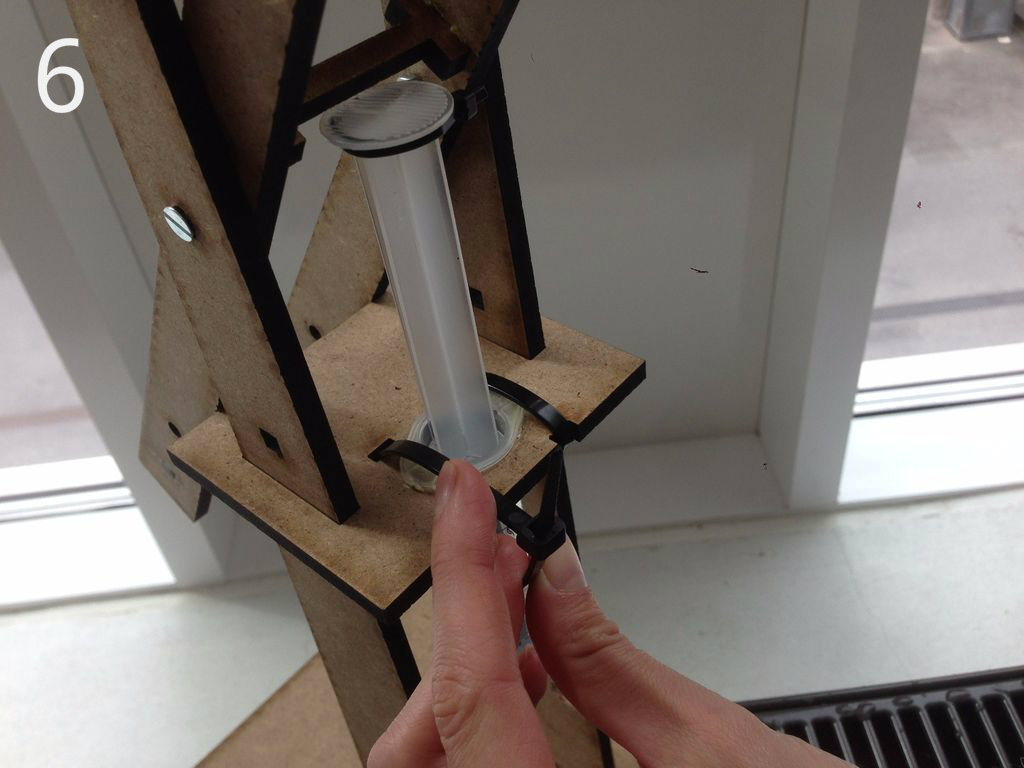
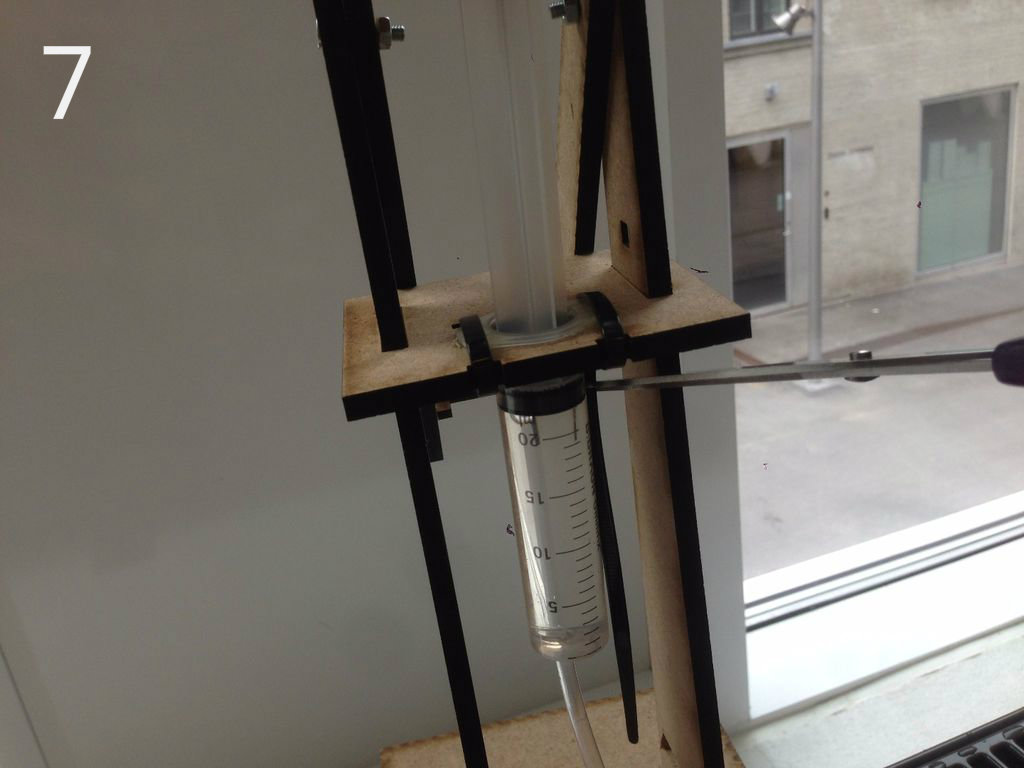
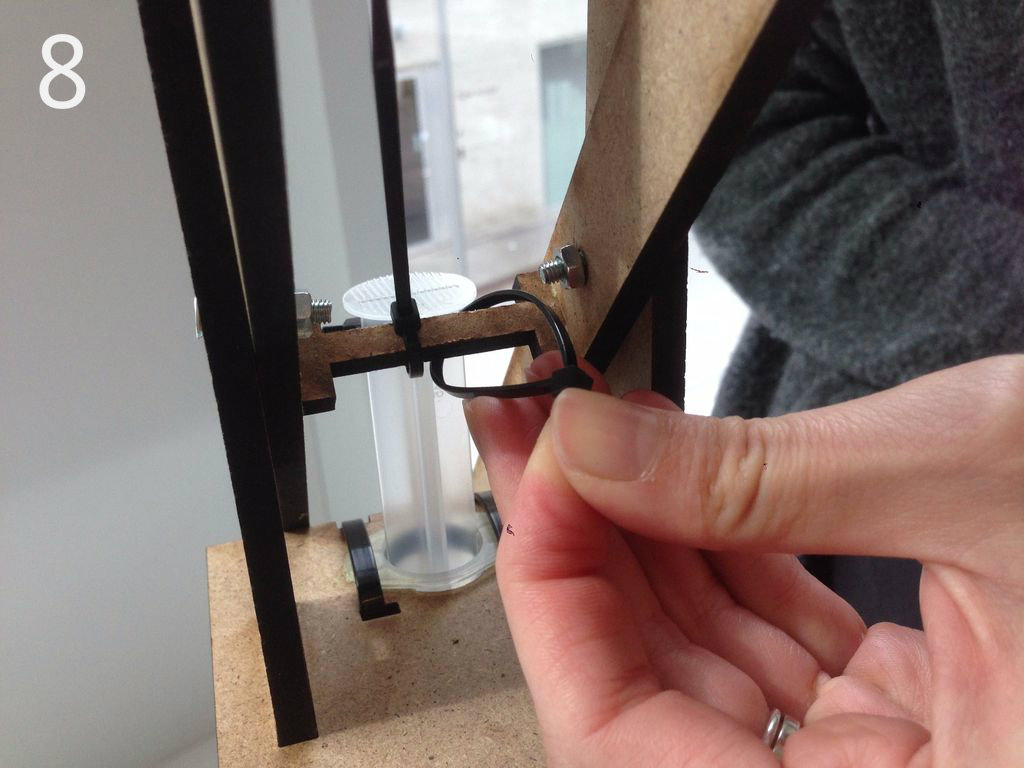
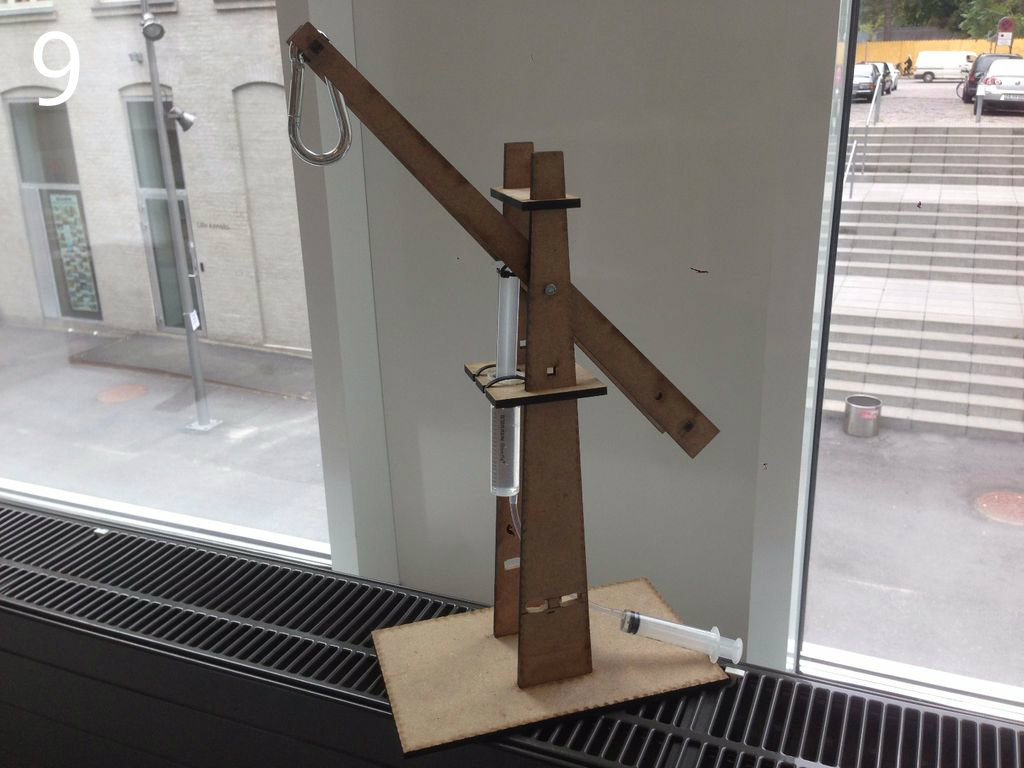
For adding the hydraulic system, you need to fill the syringes with water. Make sure there is no(!) air in the plastic tube or syringes.
1.Pull water into the 20ml syringe.
2. Turn over and attatch the tube to the nipple of the syringe and push out the air.
3. Turn over again and pull water once more, until max capacity.
4. Insert the syringe and tube into the cutout of the Middle plate, from the top, down, making sure the tube goes first.
5. Attatch the empty 12ml syringe nipple to the free tube end.
6. Pull the 5mm strips through the cutouts in the Middle plate, making sure to cover the base of the syringe. Tighten so the syringe is unable to move. Attactch a 3mm strip to the top of the piston, making sure to leave enough slack, to let two more strips pass through the loop.
7. Cut off exess strip.
8. Pull a 3mm strip through the loop of the top of the syringe piston next to the stiffener. Continiue over the stiffener of the back of the Boom, and tighten. Repeat on the other side of the syringe piston and repeat step 7.
9. Work all done and ready for use - Enjoy!