Humidity and Temperature Control System for Terrarium
by mbpaddock in Circuits > Arduino
5524 Views, 33 Favorites, 0 Comments
Humidity and Temperature Control System for Terrarium
INTRODUCTION:
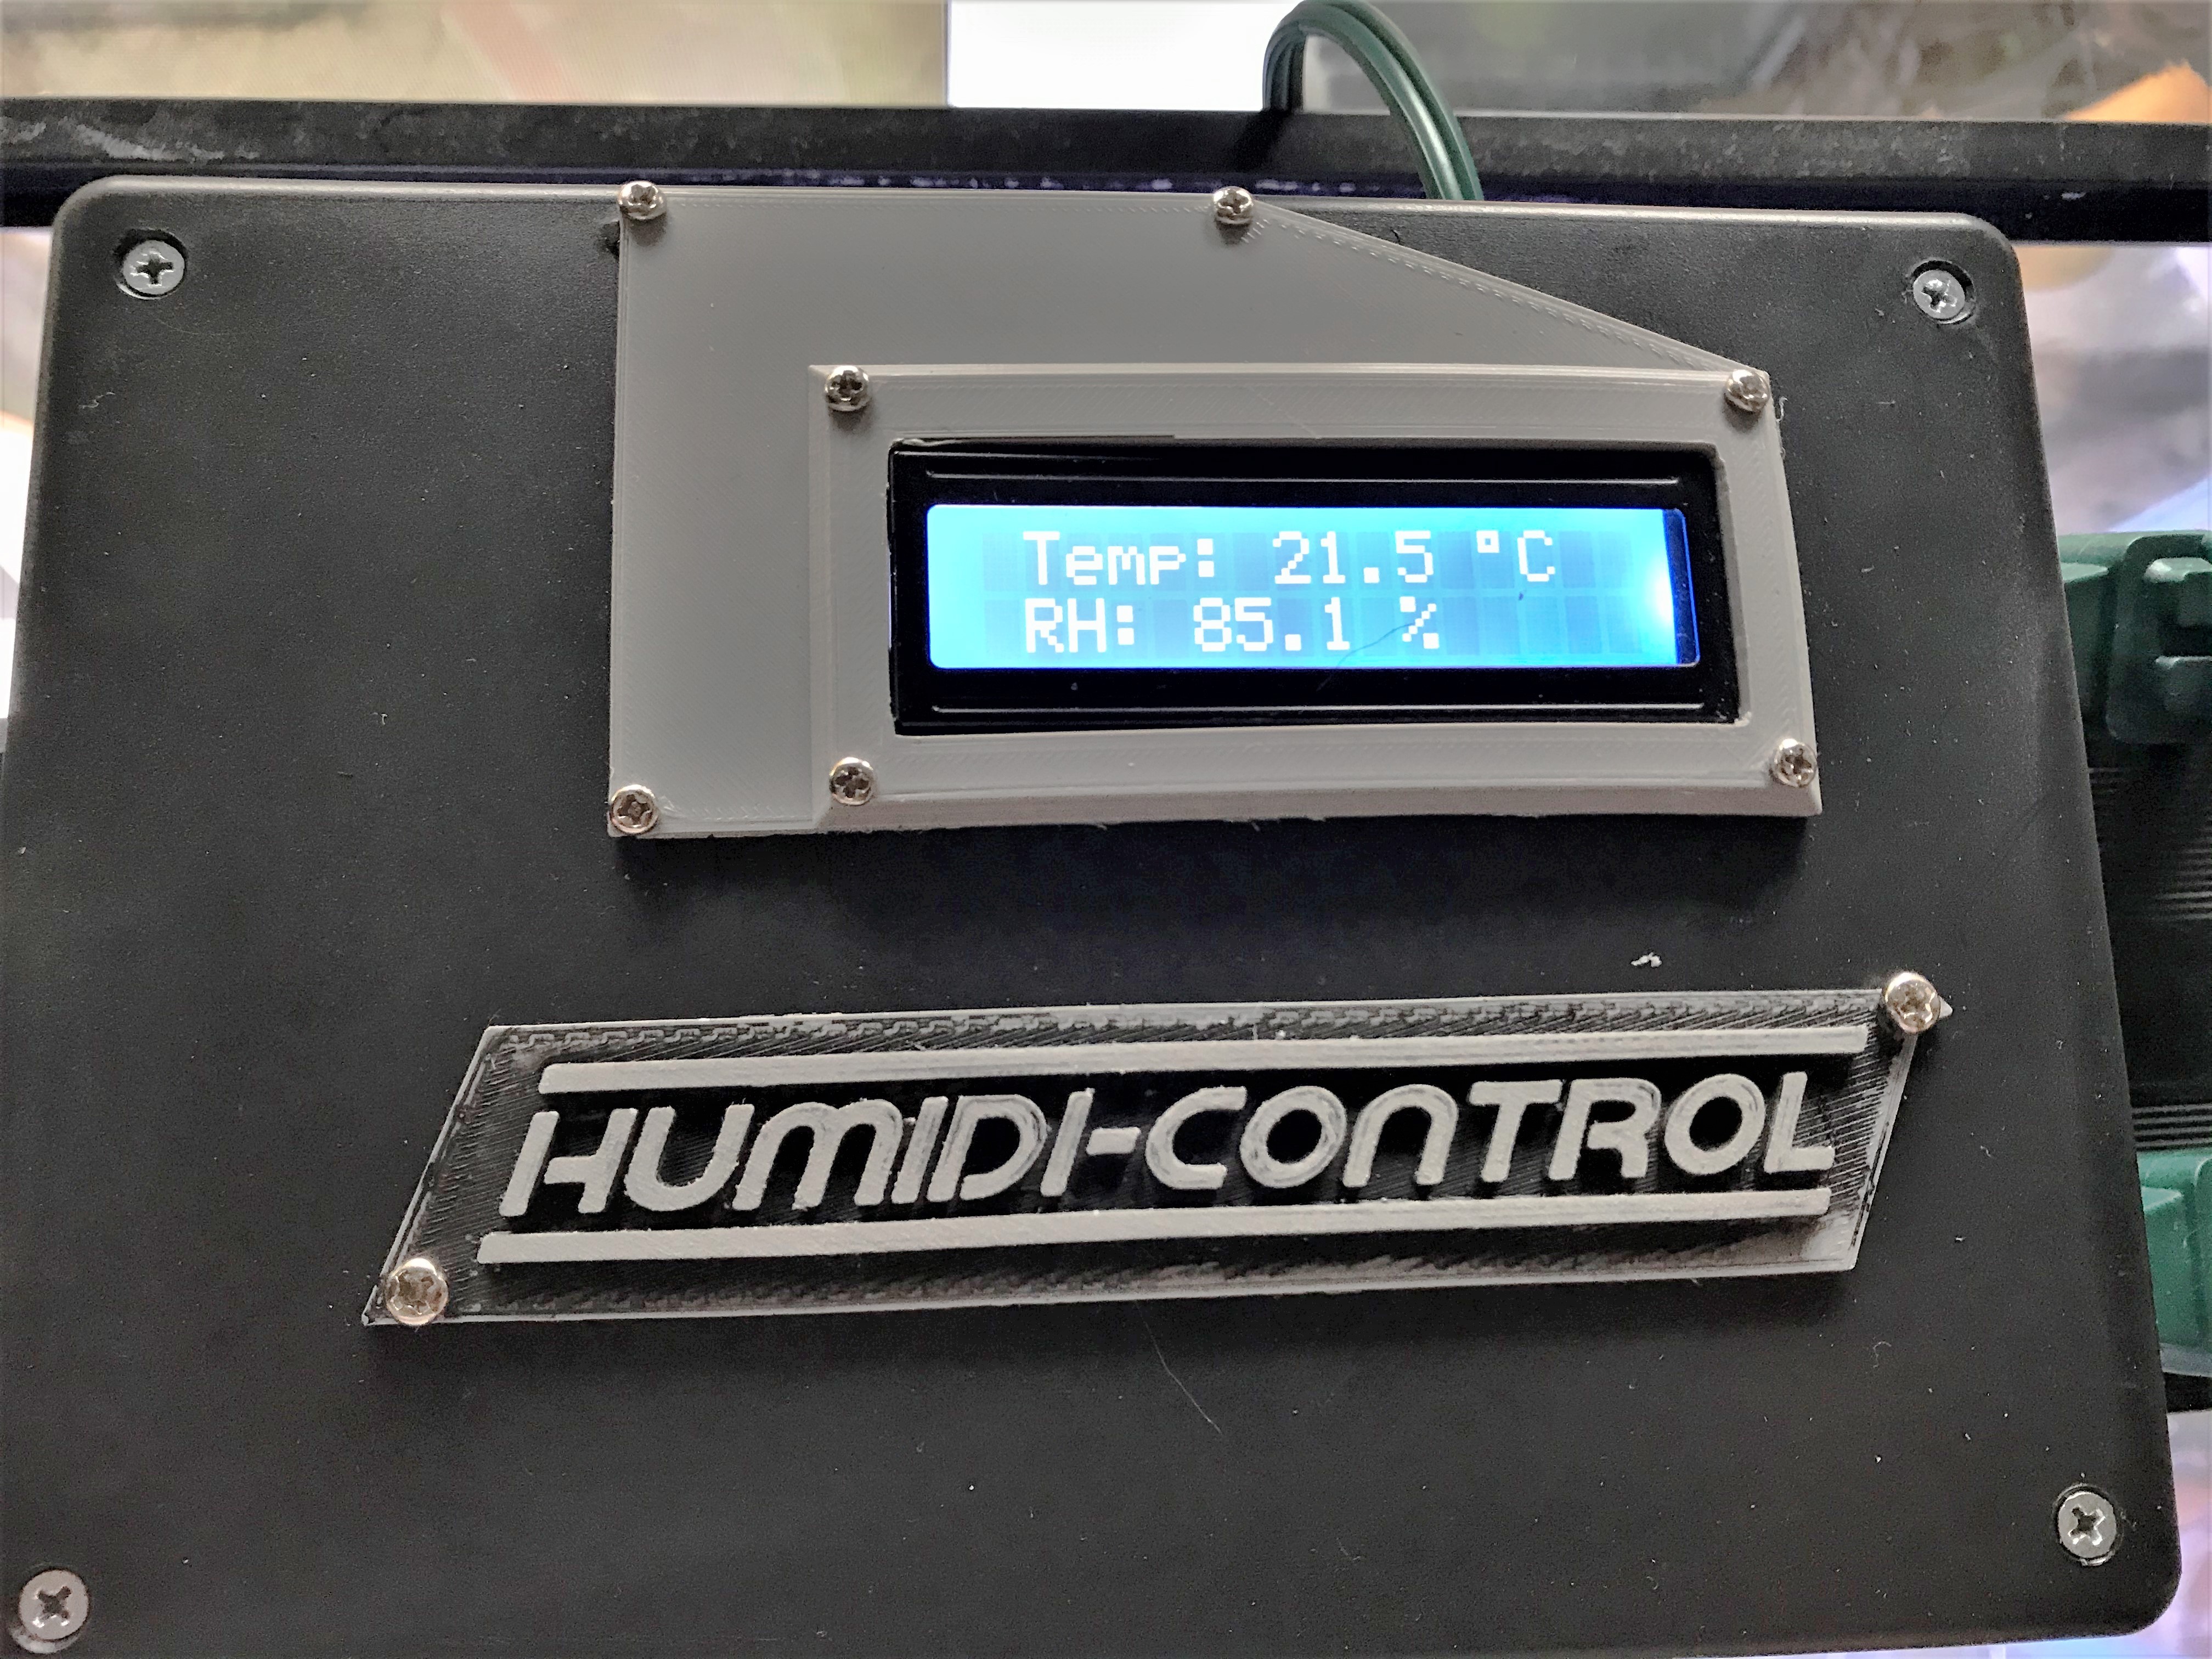
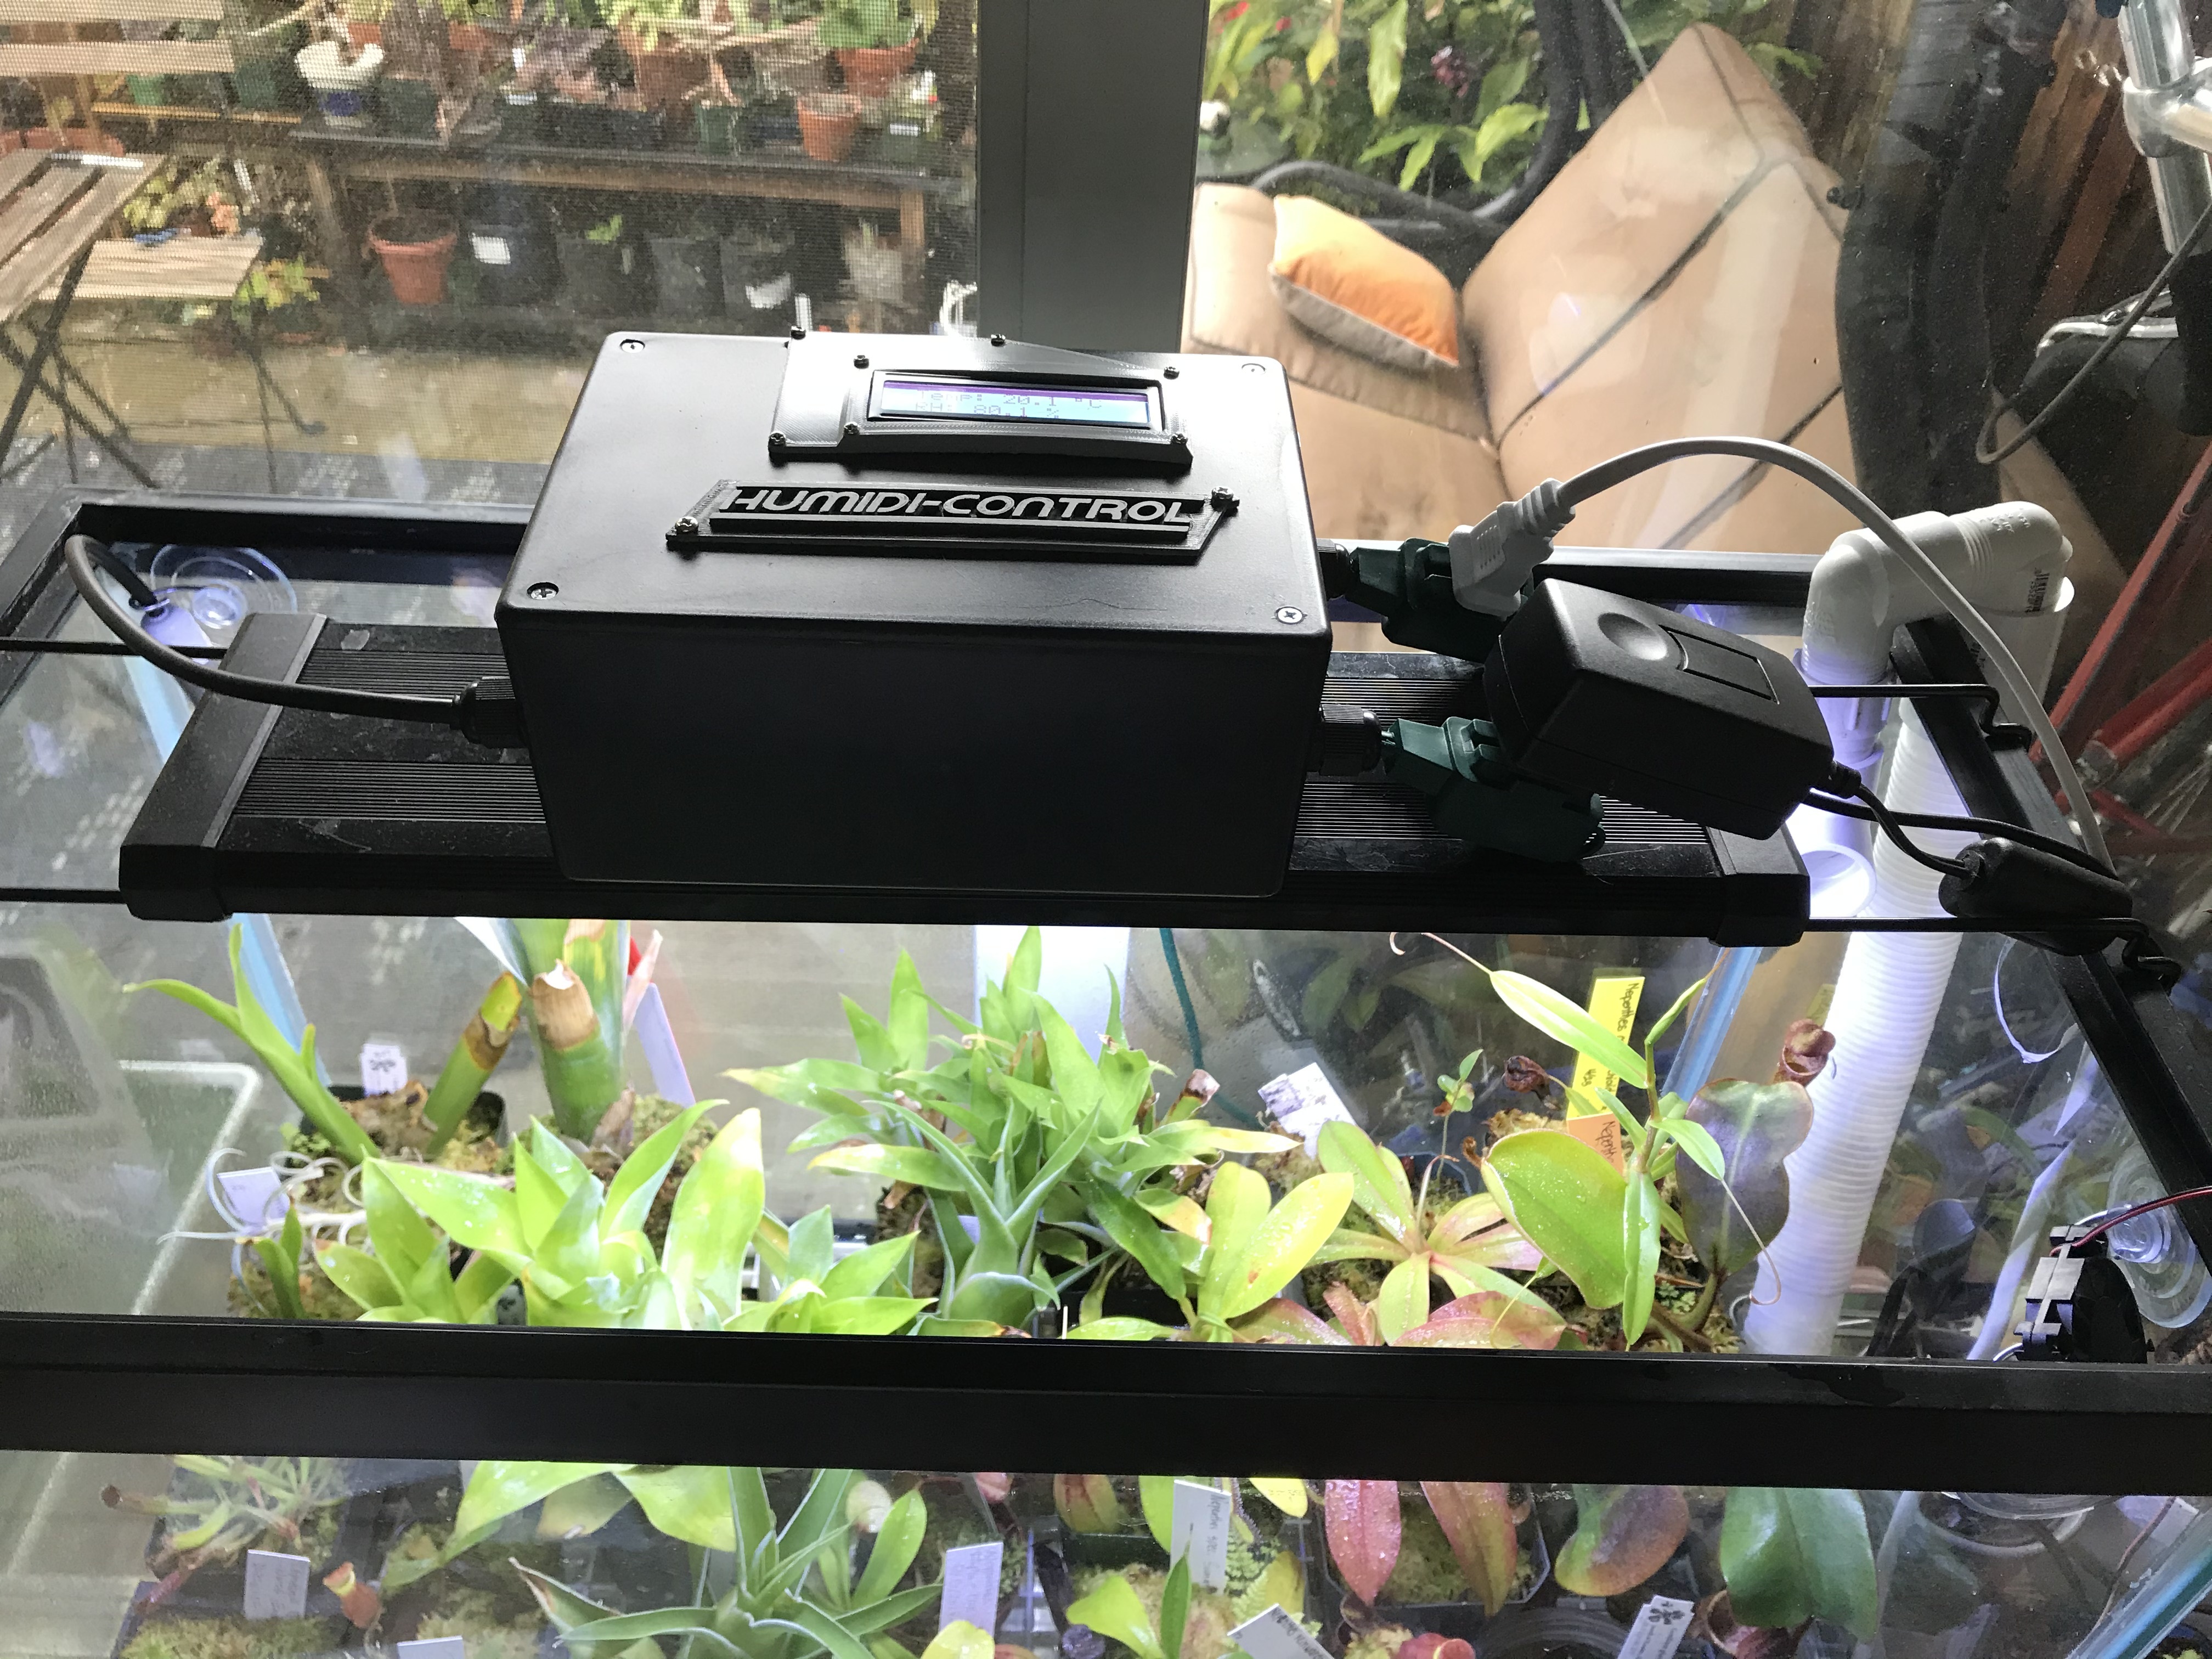
This instructable is for the development of a modular humidity and temperature control system using an Arduino Uno. This system uses a waterproof humidity and temperature probe to monitor environmental parameters and an Arduino Uno connected to 5V relays to control the activation of a humidifier and a cooling fan. A secondary system using a real-time-clock (RTC) ensures a daily refreshment of humid air and allows for the programming of scheduled humidification and cooling. The humidity and temperature measurements are projected to the LCD screen.
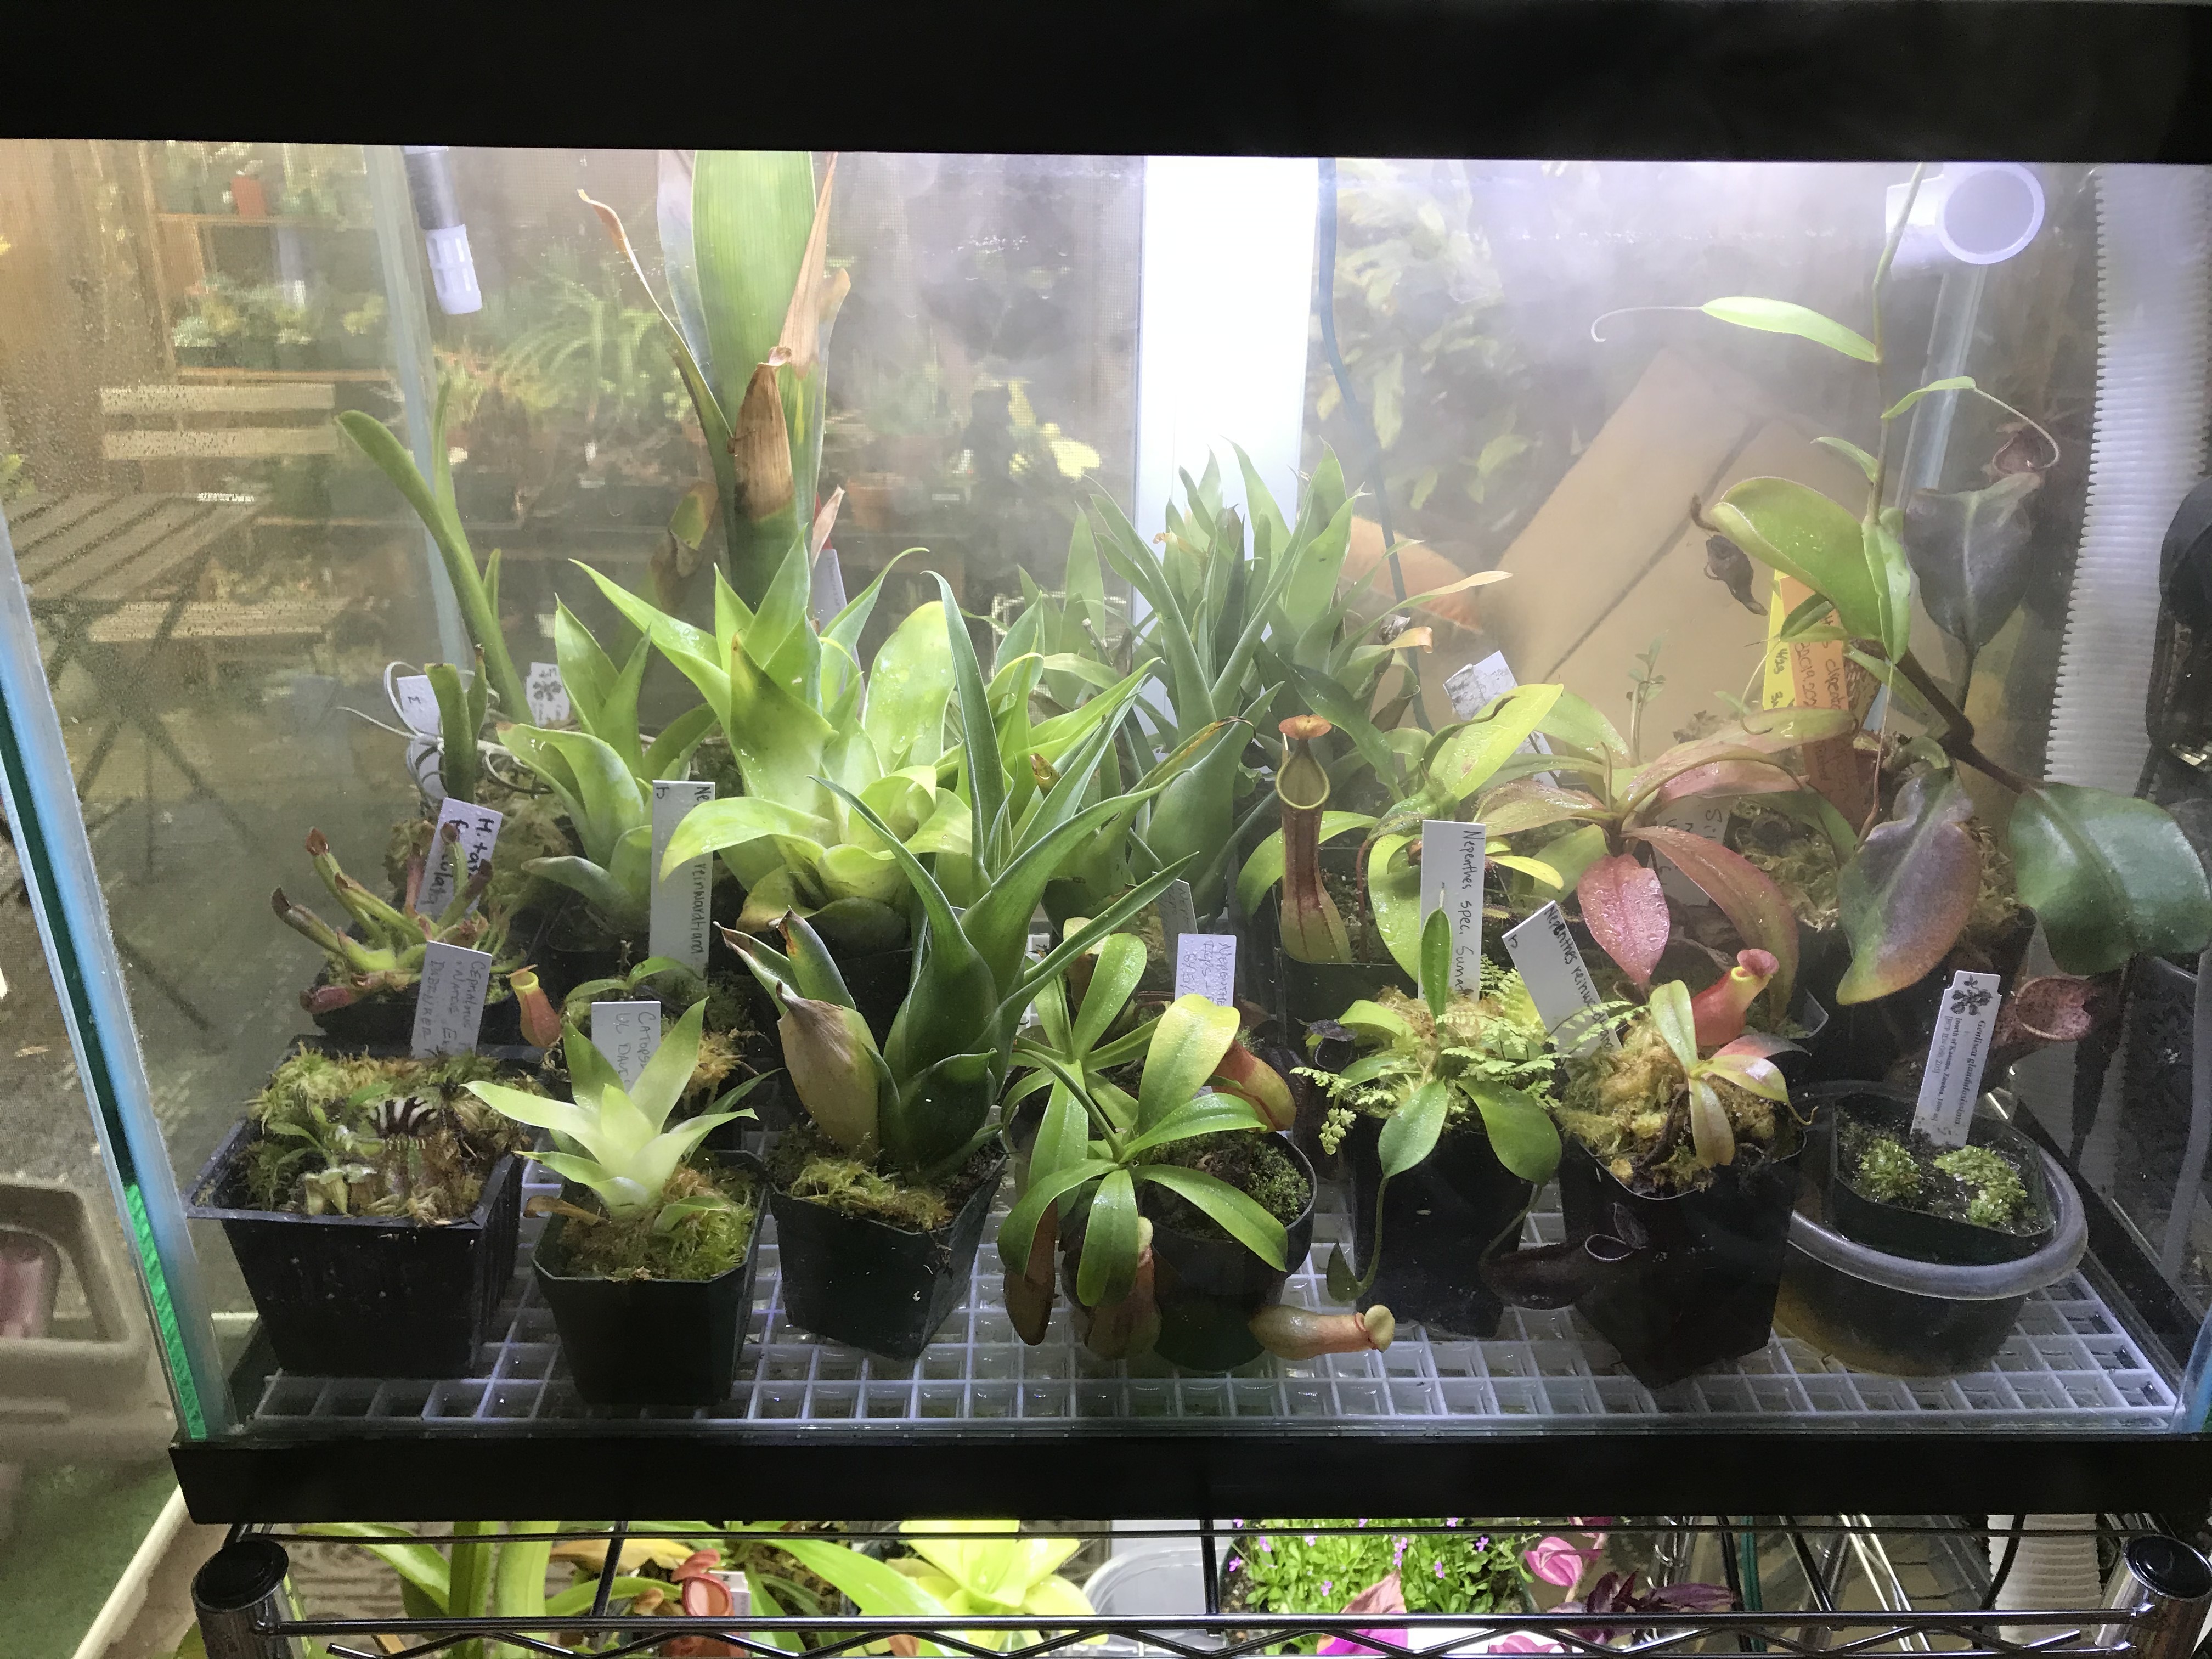
The application of this device is to control environmental parameters for tropical plants. In this case, these plants prefer higher humidity (typically above 70%) and are sensitive to higher temperatures (30-35C). Given the moderation of temperature from my building's HVAC system, I can ensure that the temperature will not drop below a specified threshold (20C). In this case, the greenhouse effect is more of a concern so cooling needs to be implemented in addition to humidification.
CAUTION:
This build involves working with electricity. Take special precautions to avoid electrocution and shock. Take extra care wiring to avoid creating any shorts or poor connections.
While this system is designed to be compatible with 120V devices, it is not intended for use with high current systems. Simple modifications will allow for such a system including relays intended for higher wattage, a cooling system, etc. Limit the total current draw to 10A maximum combined for all devices connected.
MODIFYING:
This system can be modified to add additional control parameters such as a heater. Additionally, it can be run without an active control system by just applying humid air on a scheduled basis. This factor is heavily dependent on the types of organisms to be grown in the terrarium.
REPOSITORY:
The program, diagrams, and 3D print models can also be found on GitHub Here.
Supplies
CONTROLLER
-
- 1x Arduino Uno Rev3 (RobotShop RB-Elf-156)
- 1x 2 or 4 Channel 5V 10A Relay (RobotShop RB-Elf-156)
- 1x SHT 20 I2C Waterproof Temperature and Humidity Probe (RobotShop SEN0227)
- 1x I2C 16x2 LCD Module (SunFounder ASIN B019K5X53O)
- 1x Data Logger Shield with RTC or RTC Module (RobotDyne ASIN B072Q1584B)
- 1x Screw Terminal Shield for Arduino Uno (optional, RobotDyne ASIN B071JK13DP)
- 3x 120V 2-Prong Extension Cord (3-Prong can be used as well, make sure they can handle 10A [1200W] or more)
- 1x Project Box at least 7"x5"x3" (RadioShack, ASIN B0051YSCGO)
- 1x PCB Board or Mounting Board for Box
- 1x USB a/b Cable
-
1x USB Wall Charger Adapter (120V)
HUMIDIFIER
-
- 1x Homasy Cool Mist Humidifier (ASIN B07RZSBSHJ)
- 1x 5/8" x 6' PVG Bile Pump Discharge tube (or similar 3/4" to 5/8" tubing, LOWES #814327)
- 1x 3/4" Female-Female Coupling PVC Fitting (LOWES #23850)
- 2x 3/4" Male-to-Female Screw Elbow PVC Fitting (LOWES #126822)
- 1x 3/4" Side Outlet Elbow PVC Fitting (LOWES #315496)
- 1x 3/4" Rotating Male-to-Female Irrigation Adapter (LOWES #194629)
COOLING FAN
-
- 1x 12V Computer Fan
- 1x 12V 1A Power Adapter
- 1x 12V Male+Female 2.1x5.5MM DC Power Jack Plug Adapter Connector
SMALL PARTS
-
- 20x Jumper Cables
- 4x Cable Glands (PH7)
- 3x 22-10 AWG Wire Nuts
- 12x Standoffs and Screws and Bolts
- 6x M3-0.5 or UNC 4-40 screws and bolts
- 4x Screws (to attach the mounting board to project box)
- 3x Suction Cup Hooks
TOOLS
-
- Wire Stripper
- Screw Drivers (various sizes)
- Drill
- Rotary Tool (optional)
- 3D Printer (optional)
PROGRAM
The program can be found on this page or on GitHub Here
Wire the Adruino Circuit
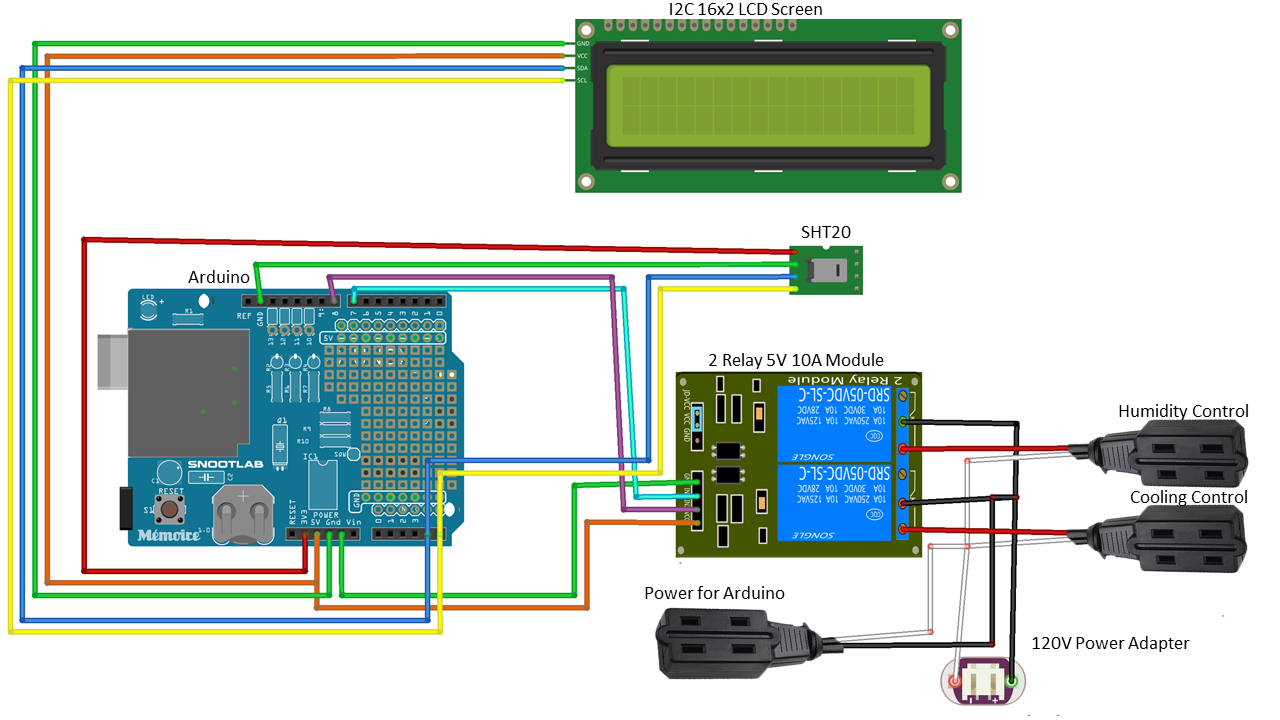
This step is for the setting up and connection of the electronics. In this case, all the needs to be wired is the Arduino UNO, SHT 20, and only the Arduino connection parts to the relays. *Note, the connecting of the 120V extension cords does not need to be done now.
WIRE ARDUINO
- Gather up the components listed in Supplies under CONTROL SYSTEM.
- Wire the Arduino Uno following the schematic included (figure). Do not hook up the relay just yet.
- Datalogger Board:
- Connect on top of Arduino Uno.
- Screw Terminal Shield:
- Connect the Analog side to the Analog side of the Datalogger Board on the Arduino Uno.
- SHT 20:
- Red to 3.3V
- Green to GND
- Black to A5
- White to A4
- I2C 16x2 LCD Screen:
- SCL to A5
- SDA to A4
- GND to GND
- VCC to 5V
- 4 Channel Relay (I used IN3 and IN4 from a 4 Channel Relay, this can work for IN1 and IN2 on a relay as well):
- VCC to 5V
- GND to GND
- IN 3 to pin 7
- IN 4 to pin 8
- Datalogger Board:
- If you are using the screw terminal shield, you can use the 5V and GND for direct connection to the screen so that you don't have 2 pins going into the same input.
- The screen or the SHT 20 probe can be connected to the other SDA SCL input found on Arduinos above the AREF input. Note that not all shields will have this on them.
Program Arduino and Check
This step is to check that all the components work and that the program will run as intended.
PROGRAM ARDUINO
- Using a computer, download the Arduino IDE which can be found here.
- Connect the Arduino to a computer using the USB a/b adapter.
- Download the Arduino program from either here or on this page.
- Upload the software to the Arduino (ensure you have the right COM port selected or it will not upload).
CHECK ELECTRONICS
- Check that the program runs and all the components read properly.
- Humidity can be checked by putting the sensor near the humidifier turned on.
- At a humidity below 70%, the relay should turn on, often indicated by a click sound and a light on the relay (model dependent).
- At humidity above 85% it should turn off, often indicated by another click and a light turning off.
- Temperature can be checked by holding the probe rightly in your hands to raise the temperature.
- Similarly, at a temperature above 30C, the relay for the fan should turn on.
- Note, the probe has a lag time of about 6 seconds to report an environmental change.
- Humidity can be checked by putting the sensor near the humidifier turned on.
- Make sure the display reads temperature humidity with a reasonable ambient number.
- You can estimate your current humidity and temperature using another sensor or based upon local weather.
Downloads
Create Project Box and Mount Electronics
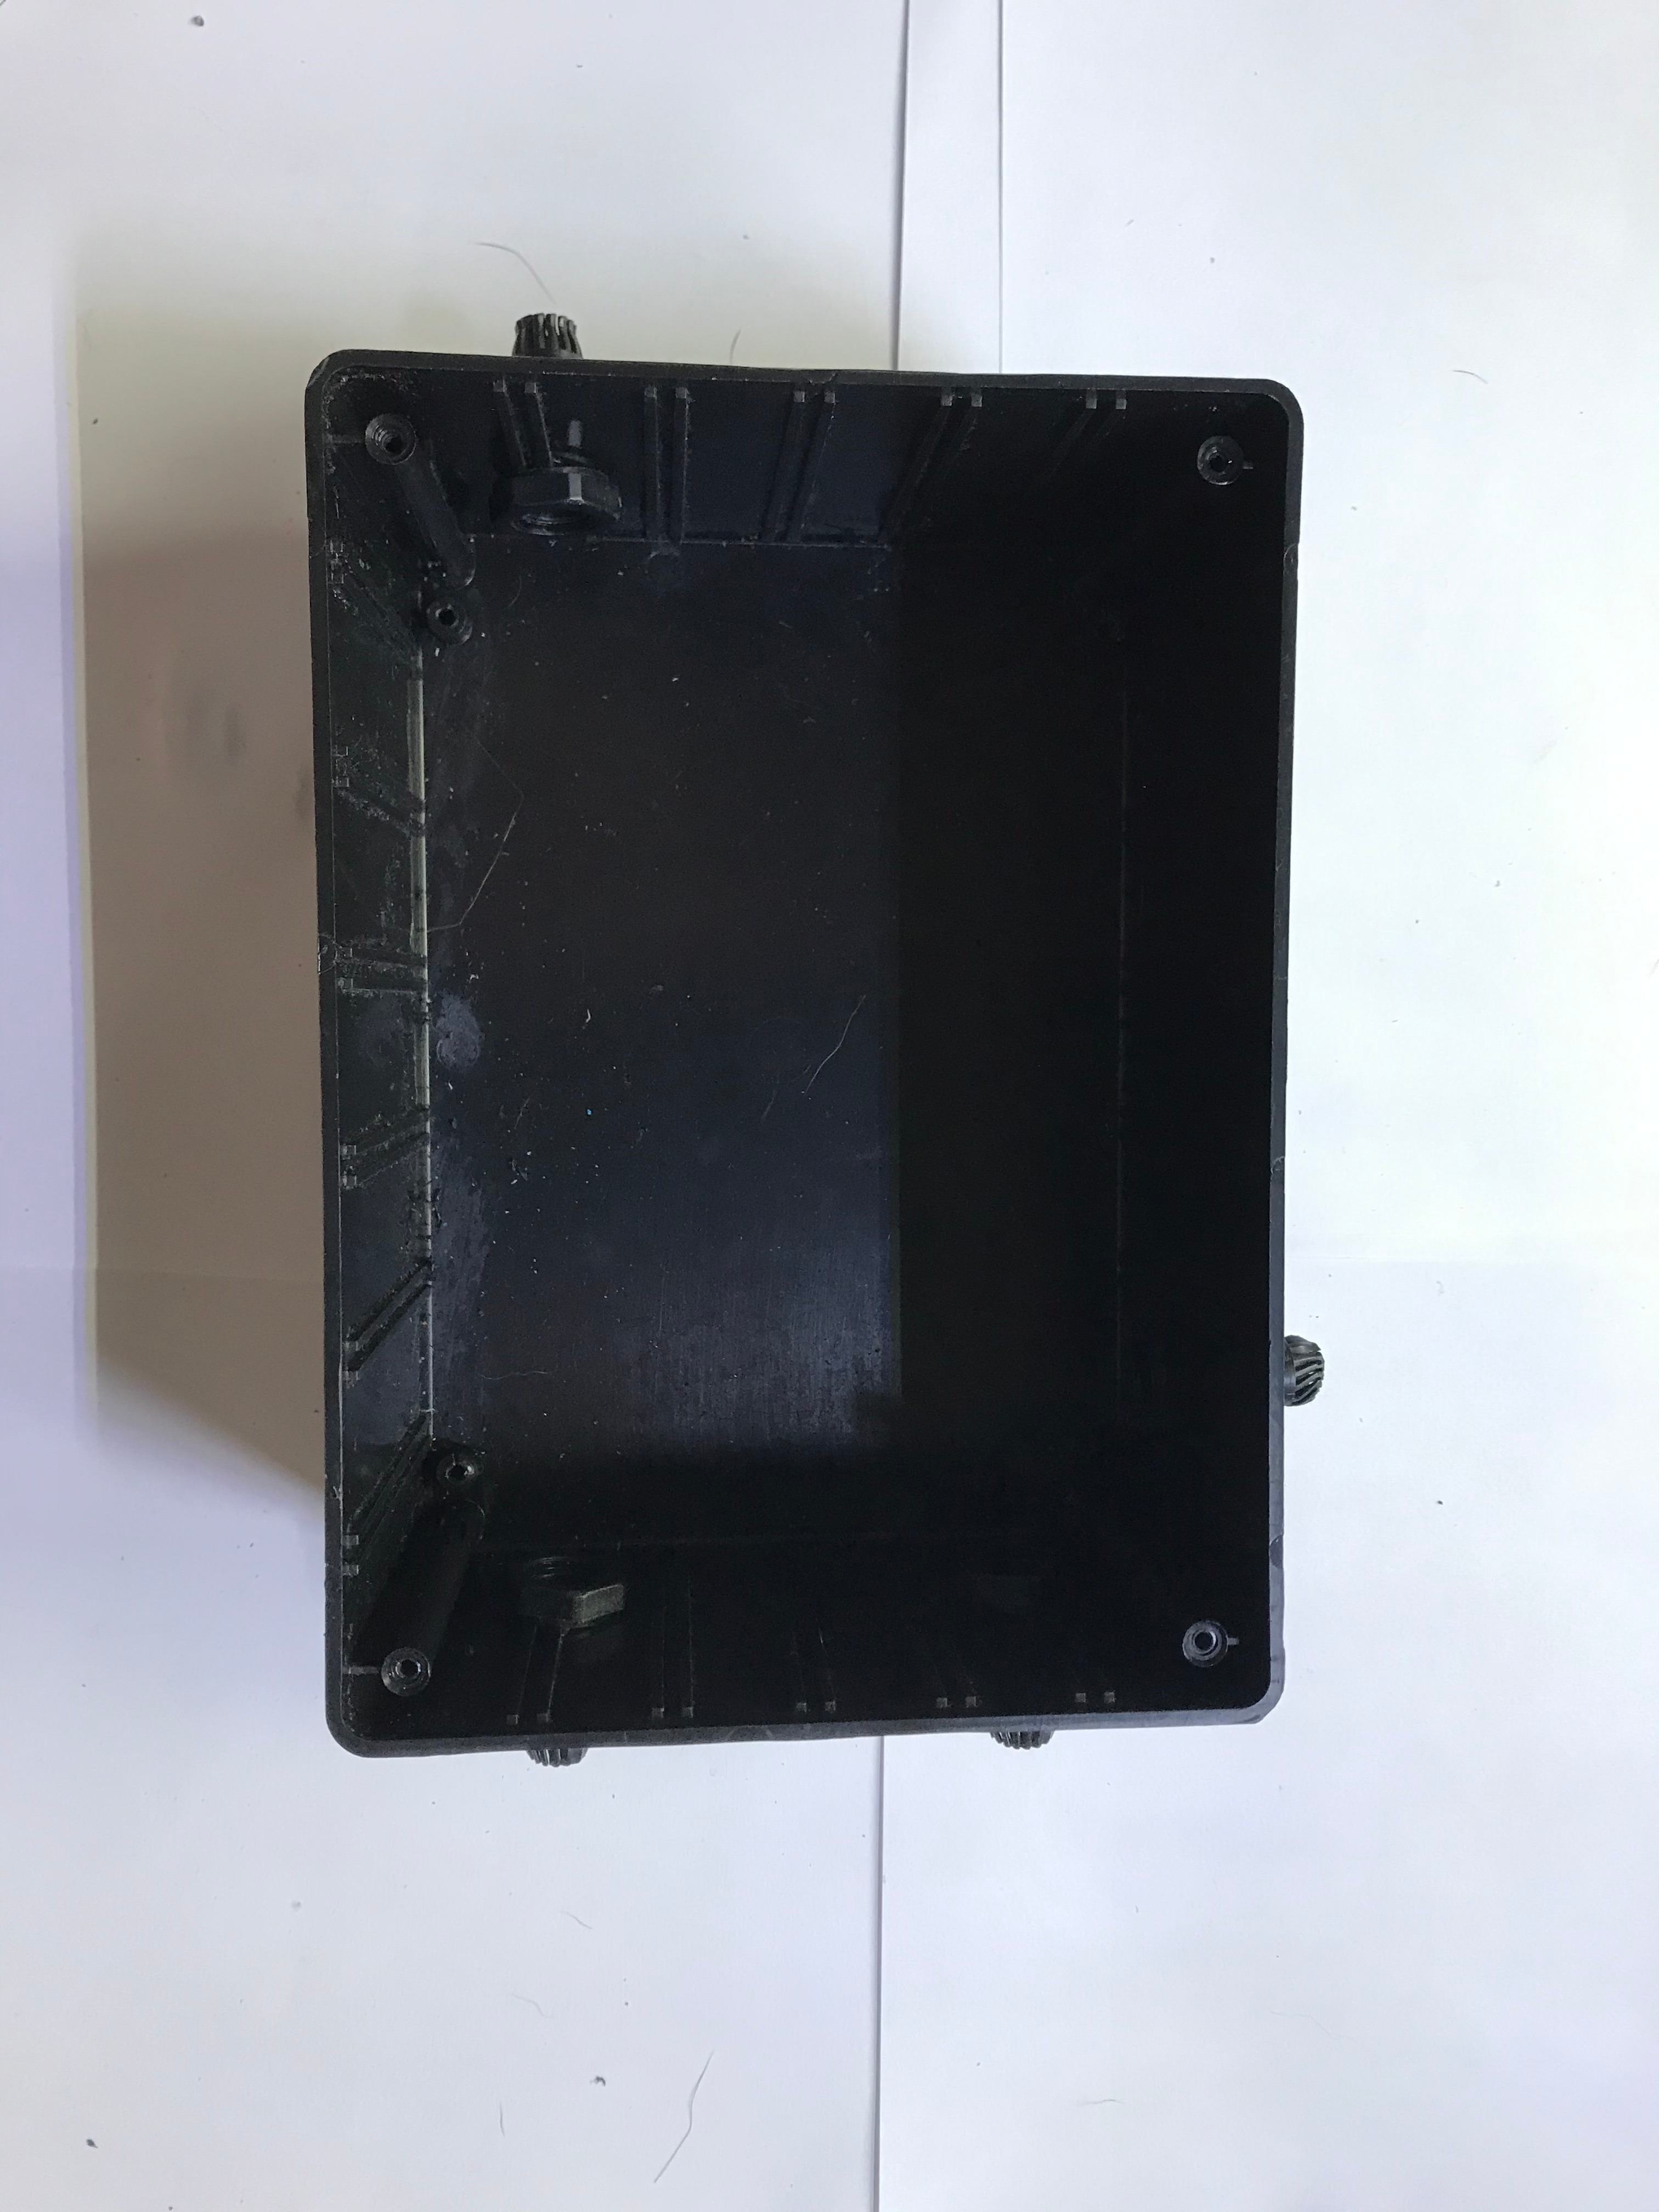
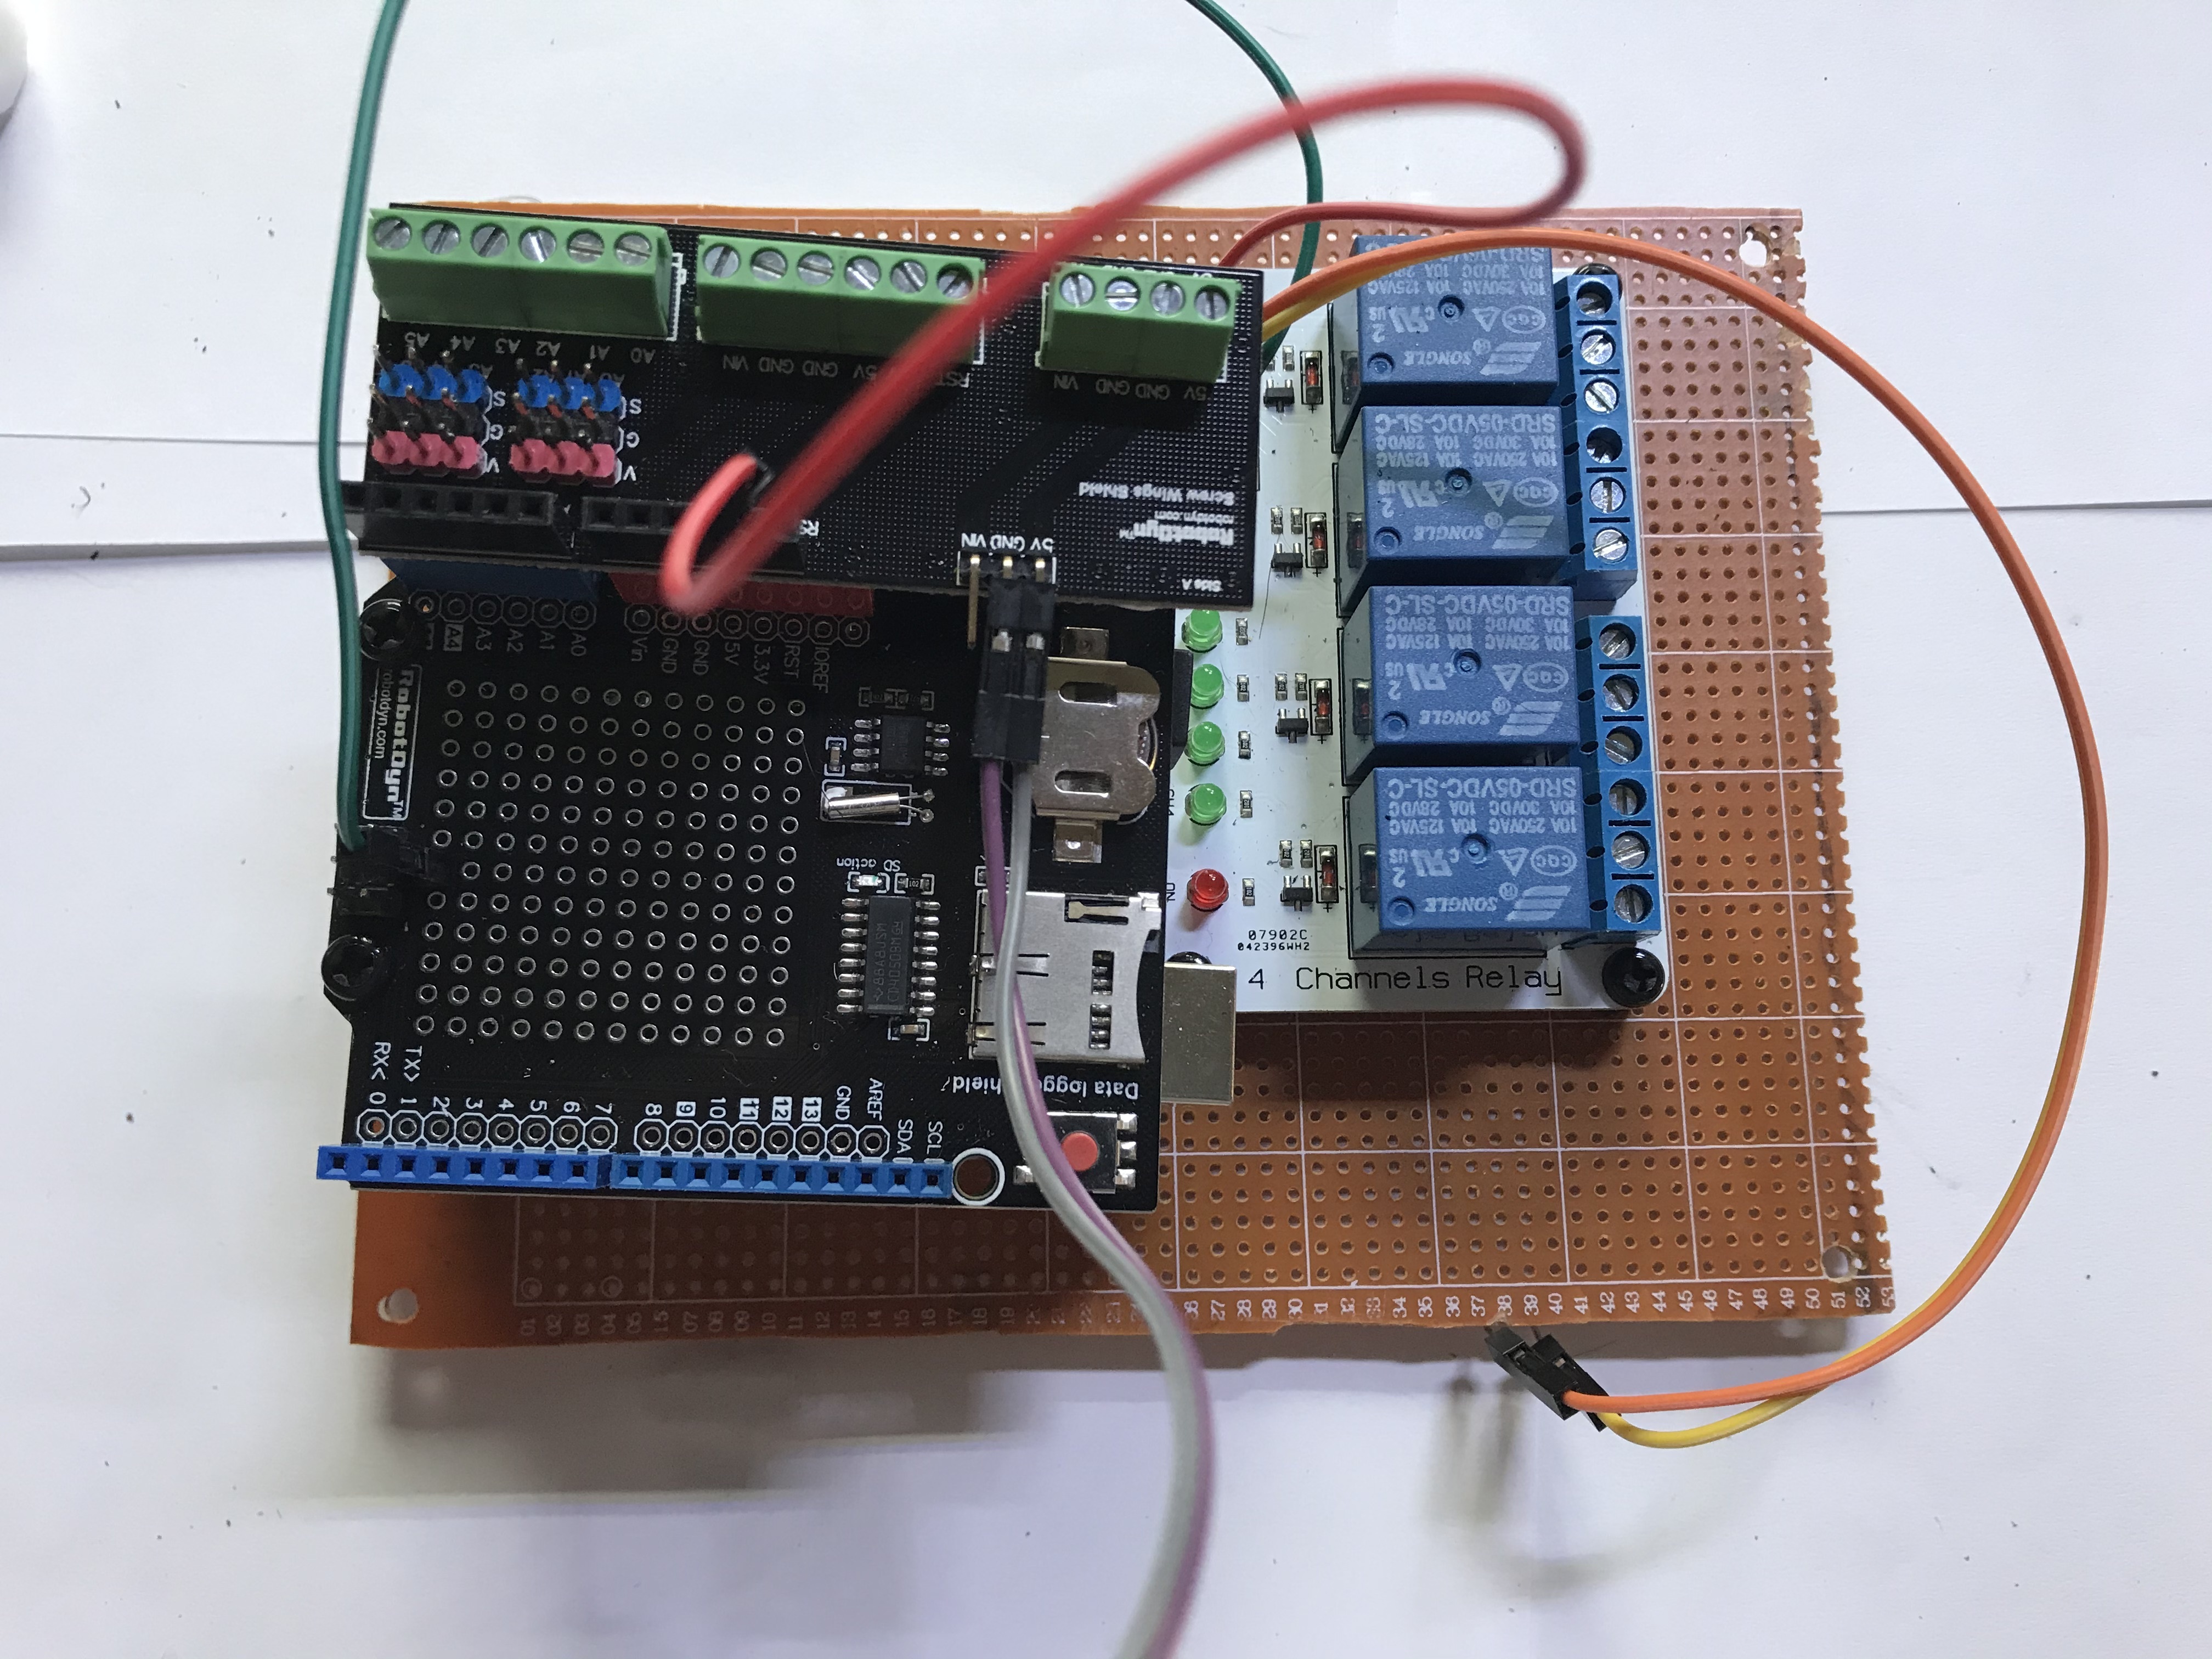
The project box can now be constructed and the electronics mounted to be placed within the box later.
PROJECT BOX
- For the project box, 4 holes will need to be drilled:
- 120V input cord.
- Input for the SHT20 sensor.
- Output for the humidity control.
- Output for the temperature control.
- Holes can be placed anywhere. In this example box they were placed as follows:
- 120V input - top on the right in the center.
- SHT 20 input - left side in the center.
- Humidity control output - right towards the top in the center.
- Temperature control output - right towards the bottom in the center.
- Mark and drill holes with a 11.5mm drill bit.
- Note: A 7/16" drill bit can be used and then sanded/filed to enlarge it enough to put in the gland.
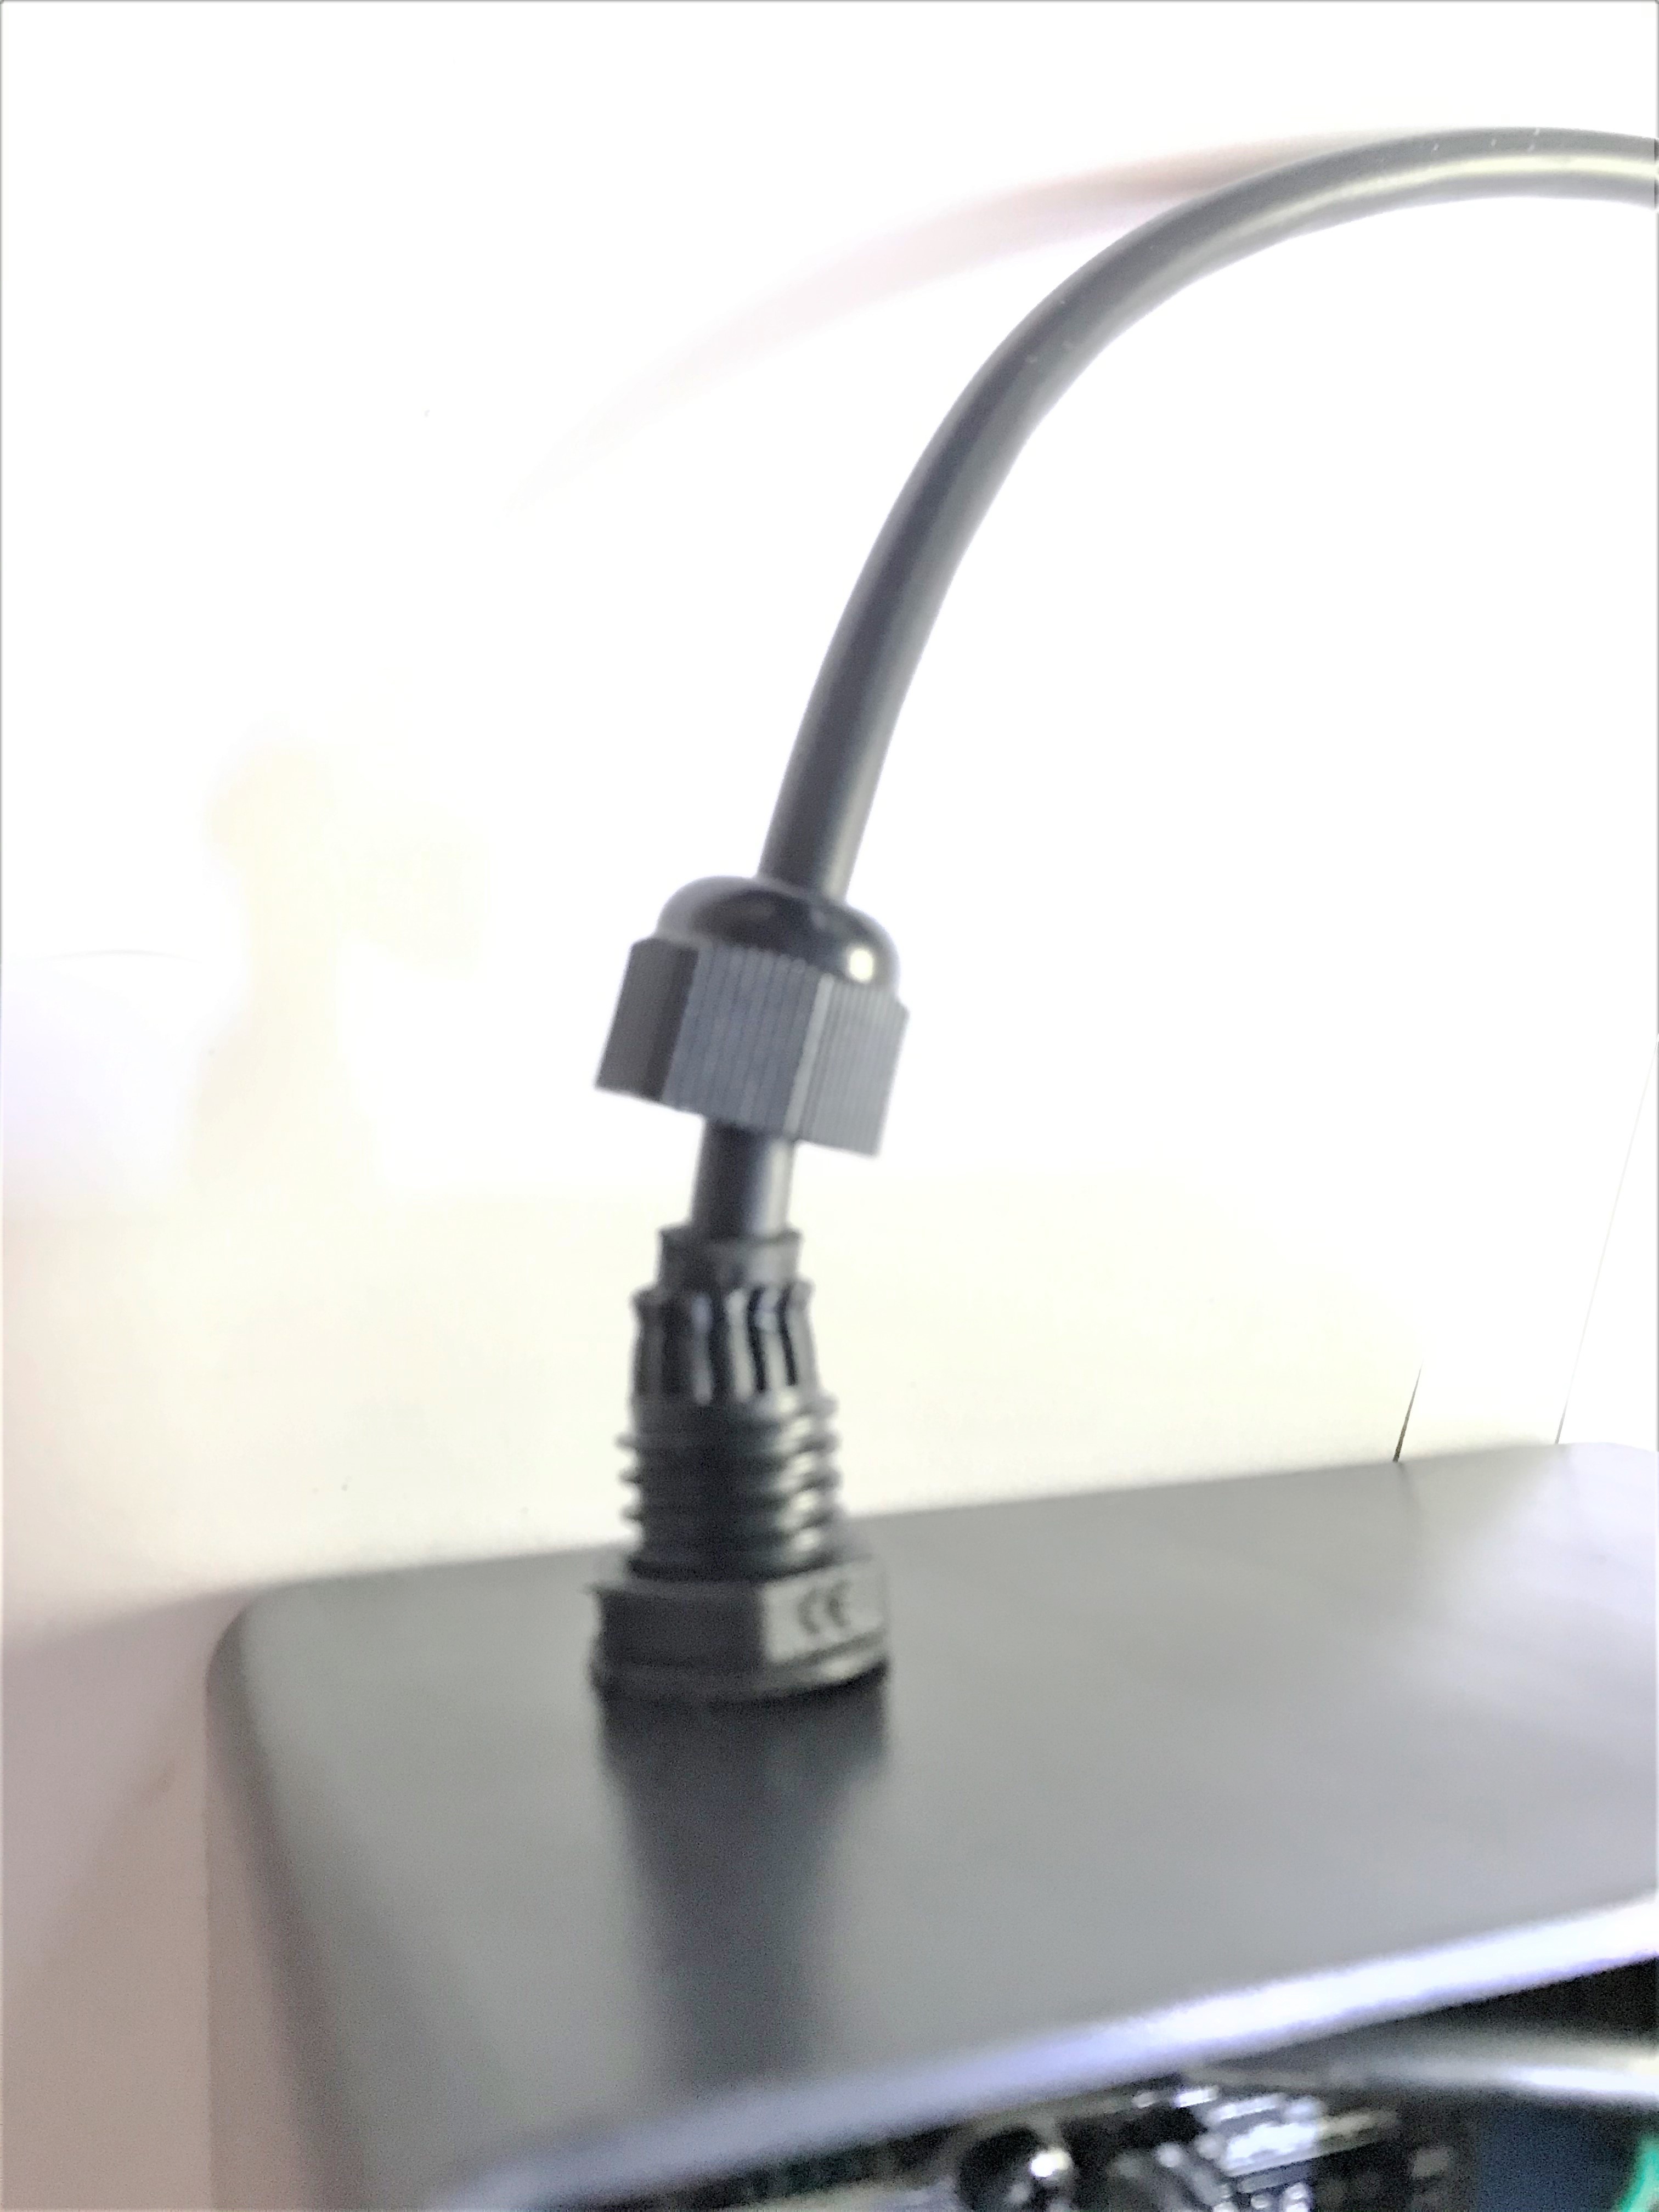
- Remove the cap and seal from each gland and attach the remainder screw body and nut to the body as seen in the figure.
MOUNTING
- Using either a piece of plastic, mounting board, or a prototyping board cut to fit in the box.
- Drill holes to match the mounting holes in the box.
- Position your electronics (Arduino Uno with Shields and Relay) such that they fit on the board.
- Mark the holes and drill with the appropriate drill bit size.
- Using any headers of your choice, attach the Arduino and Relays to the board (figure)
Project Box Electronics Set-Up
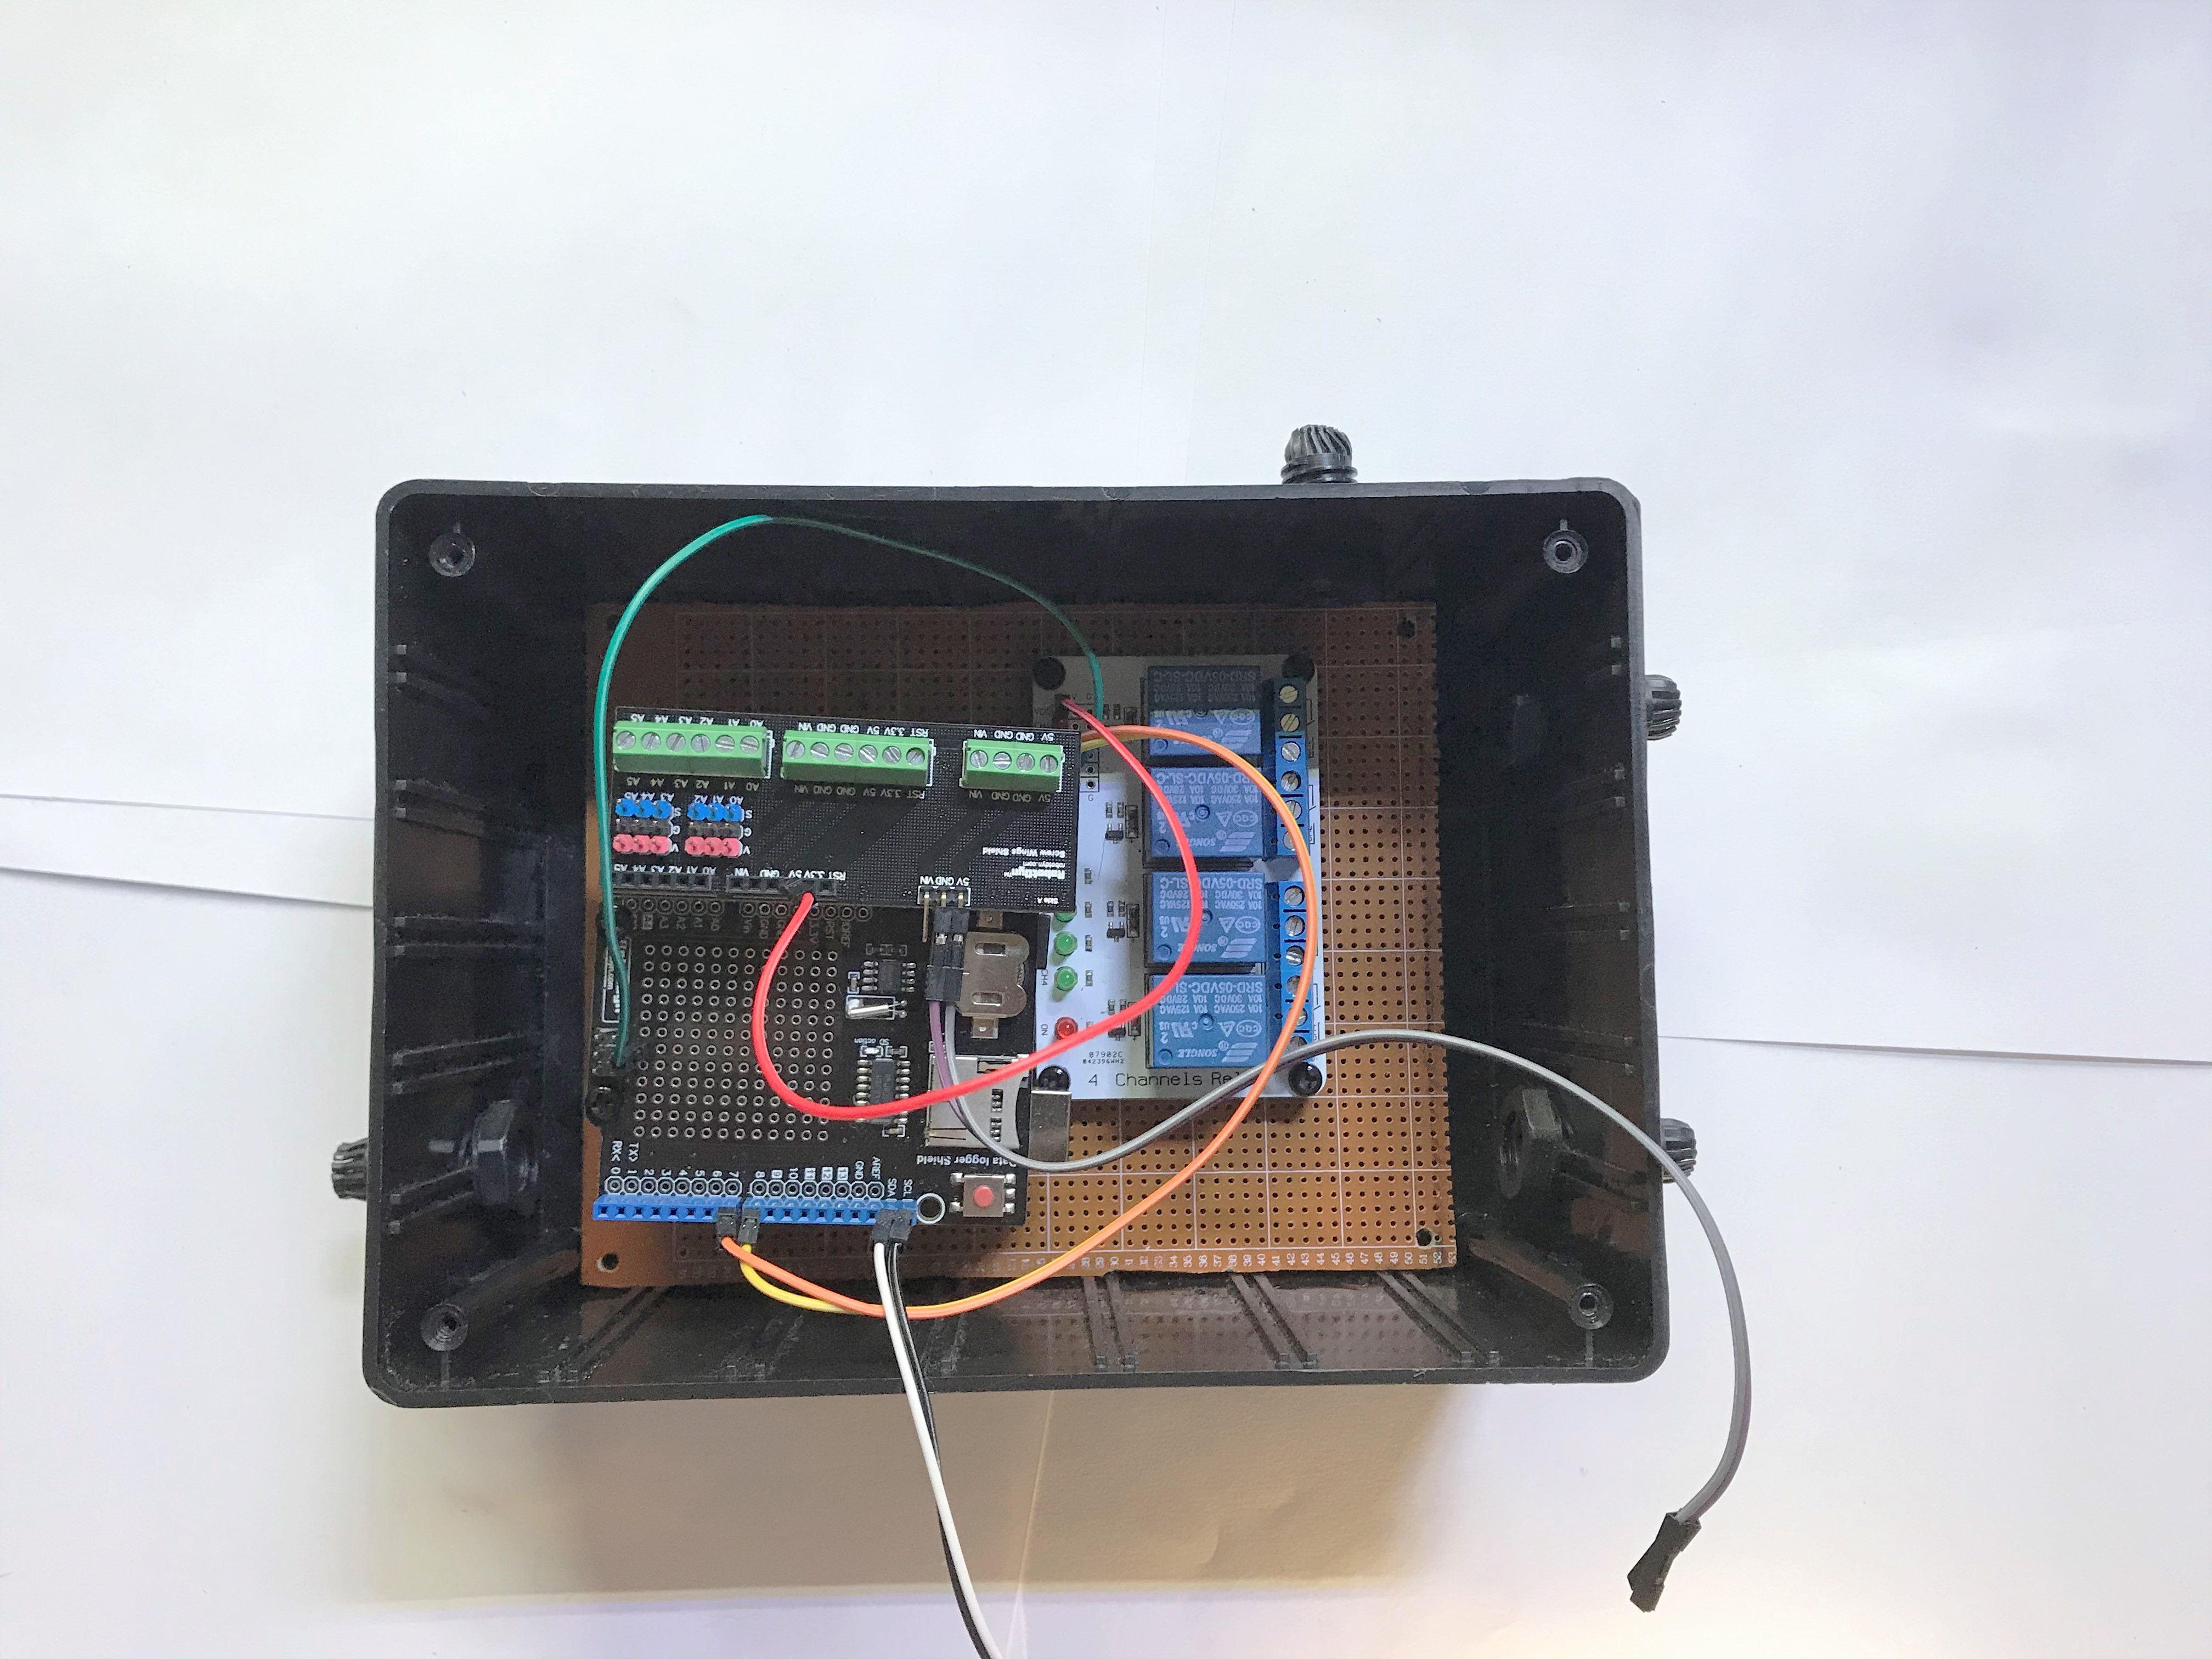
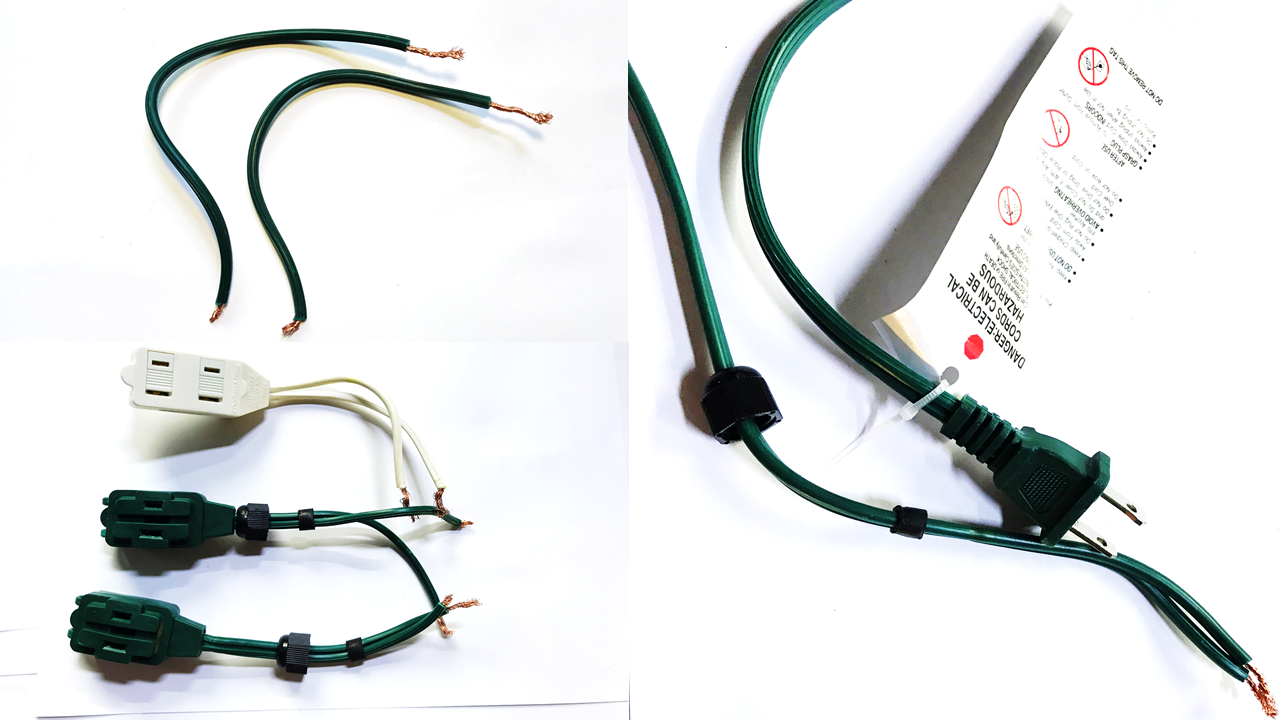
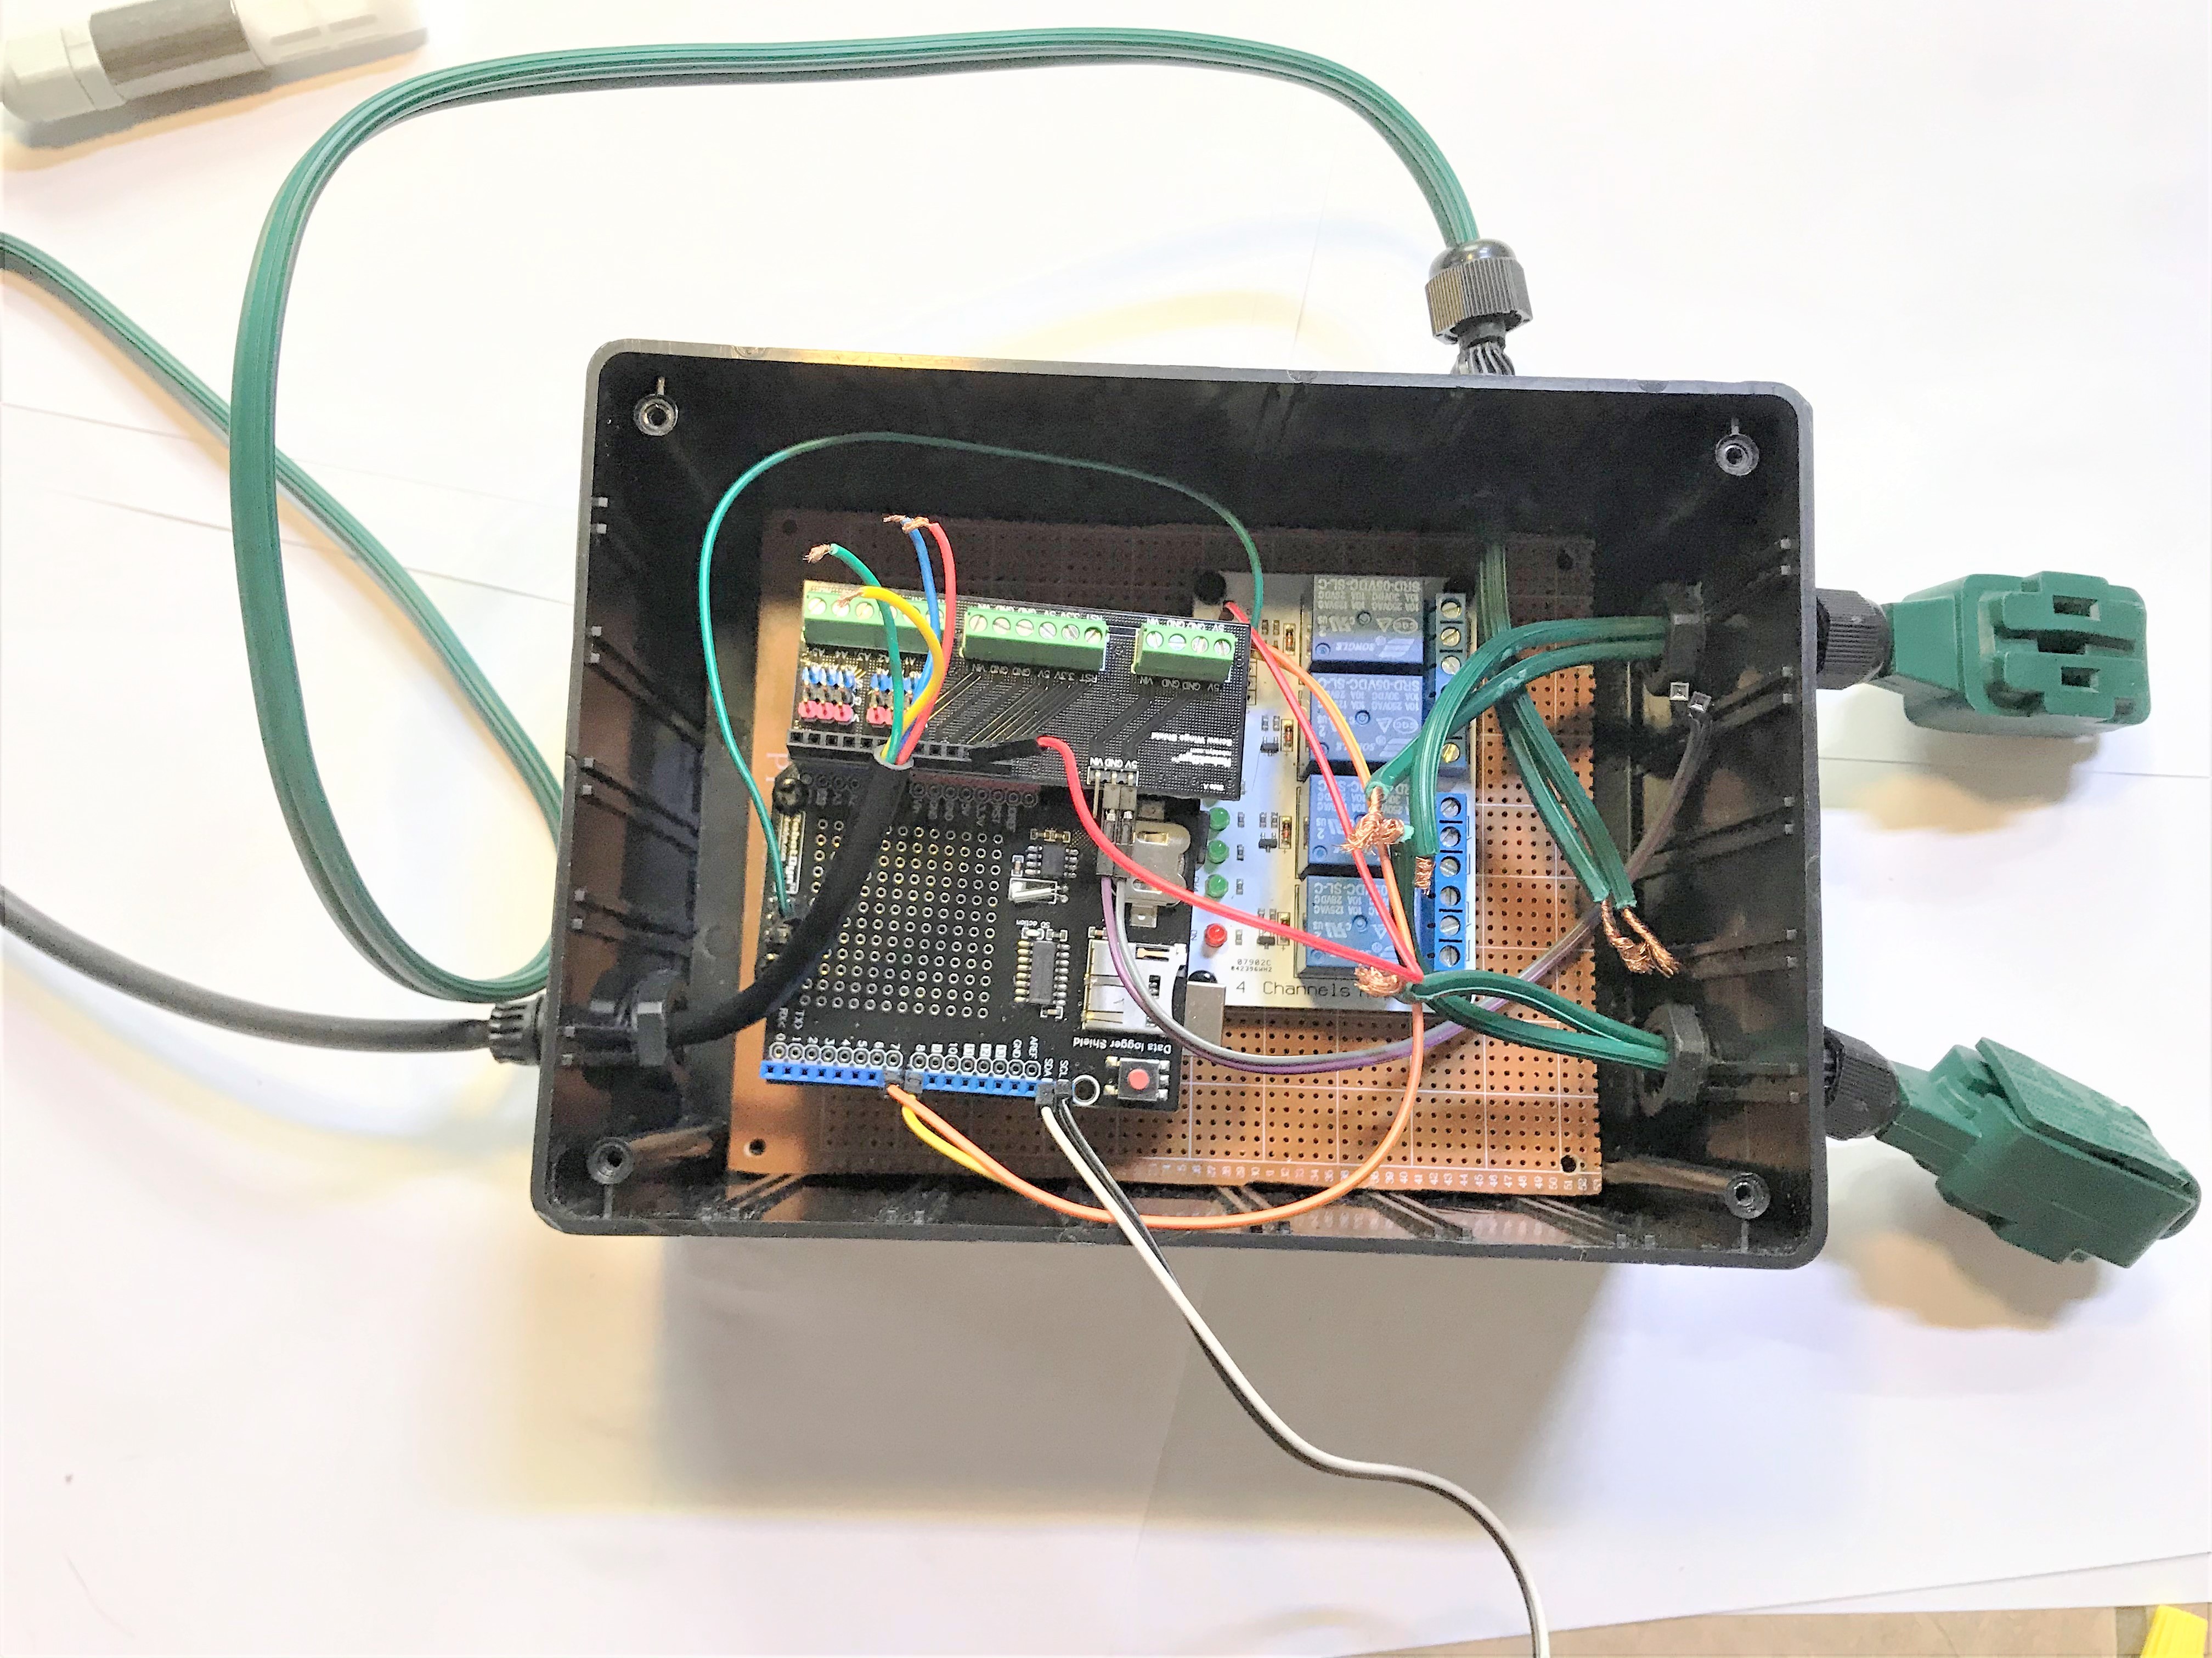
This step focuses on placing all the components in the project box so that final wiring can be done.
ADD ARDUINO AND RELAY
- Carefully disconnect the SHT 20 sensor and the screen.
- Put the mounting panel into the box (figure). Do not screw it in yet.
PREP CABLES
- Cut your extension cords to their desired length.
- You will have 1 prong input that will stay inside the box. This is for powering the Arduino and other devices that can be added on later (ie. fan, power converter, etc).
- 2 of these prong inputs will be used to power each of the humidifier and the cooling device. You can make them any length you choose, but I choose to keep them close to the device to avoid cords dangling everywhere.
- From 1 of these extension cords, you will save the cord end to power the device. If the live wire is indicated on the cord use those (most often they have stripes, dont worry if your cord does have this, it just make it easier to organize).
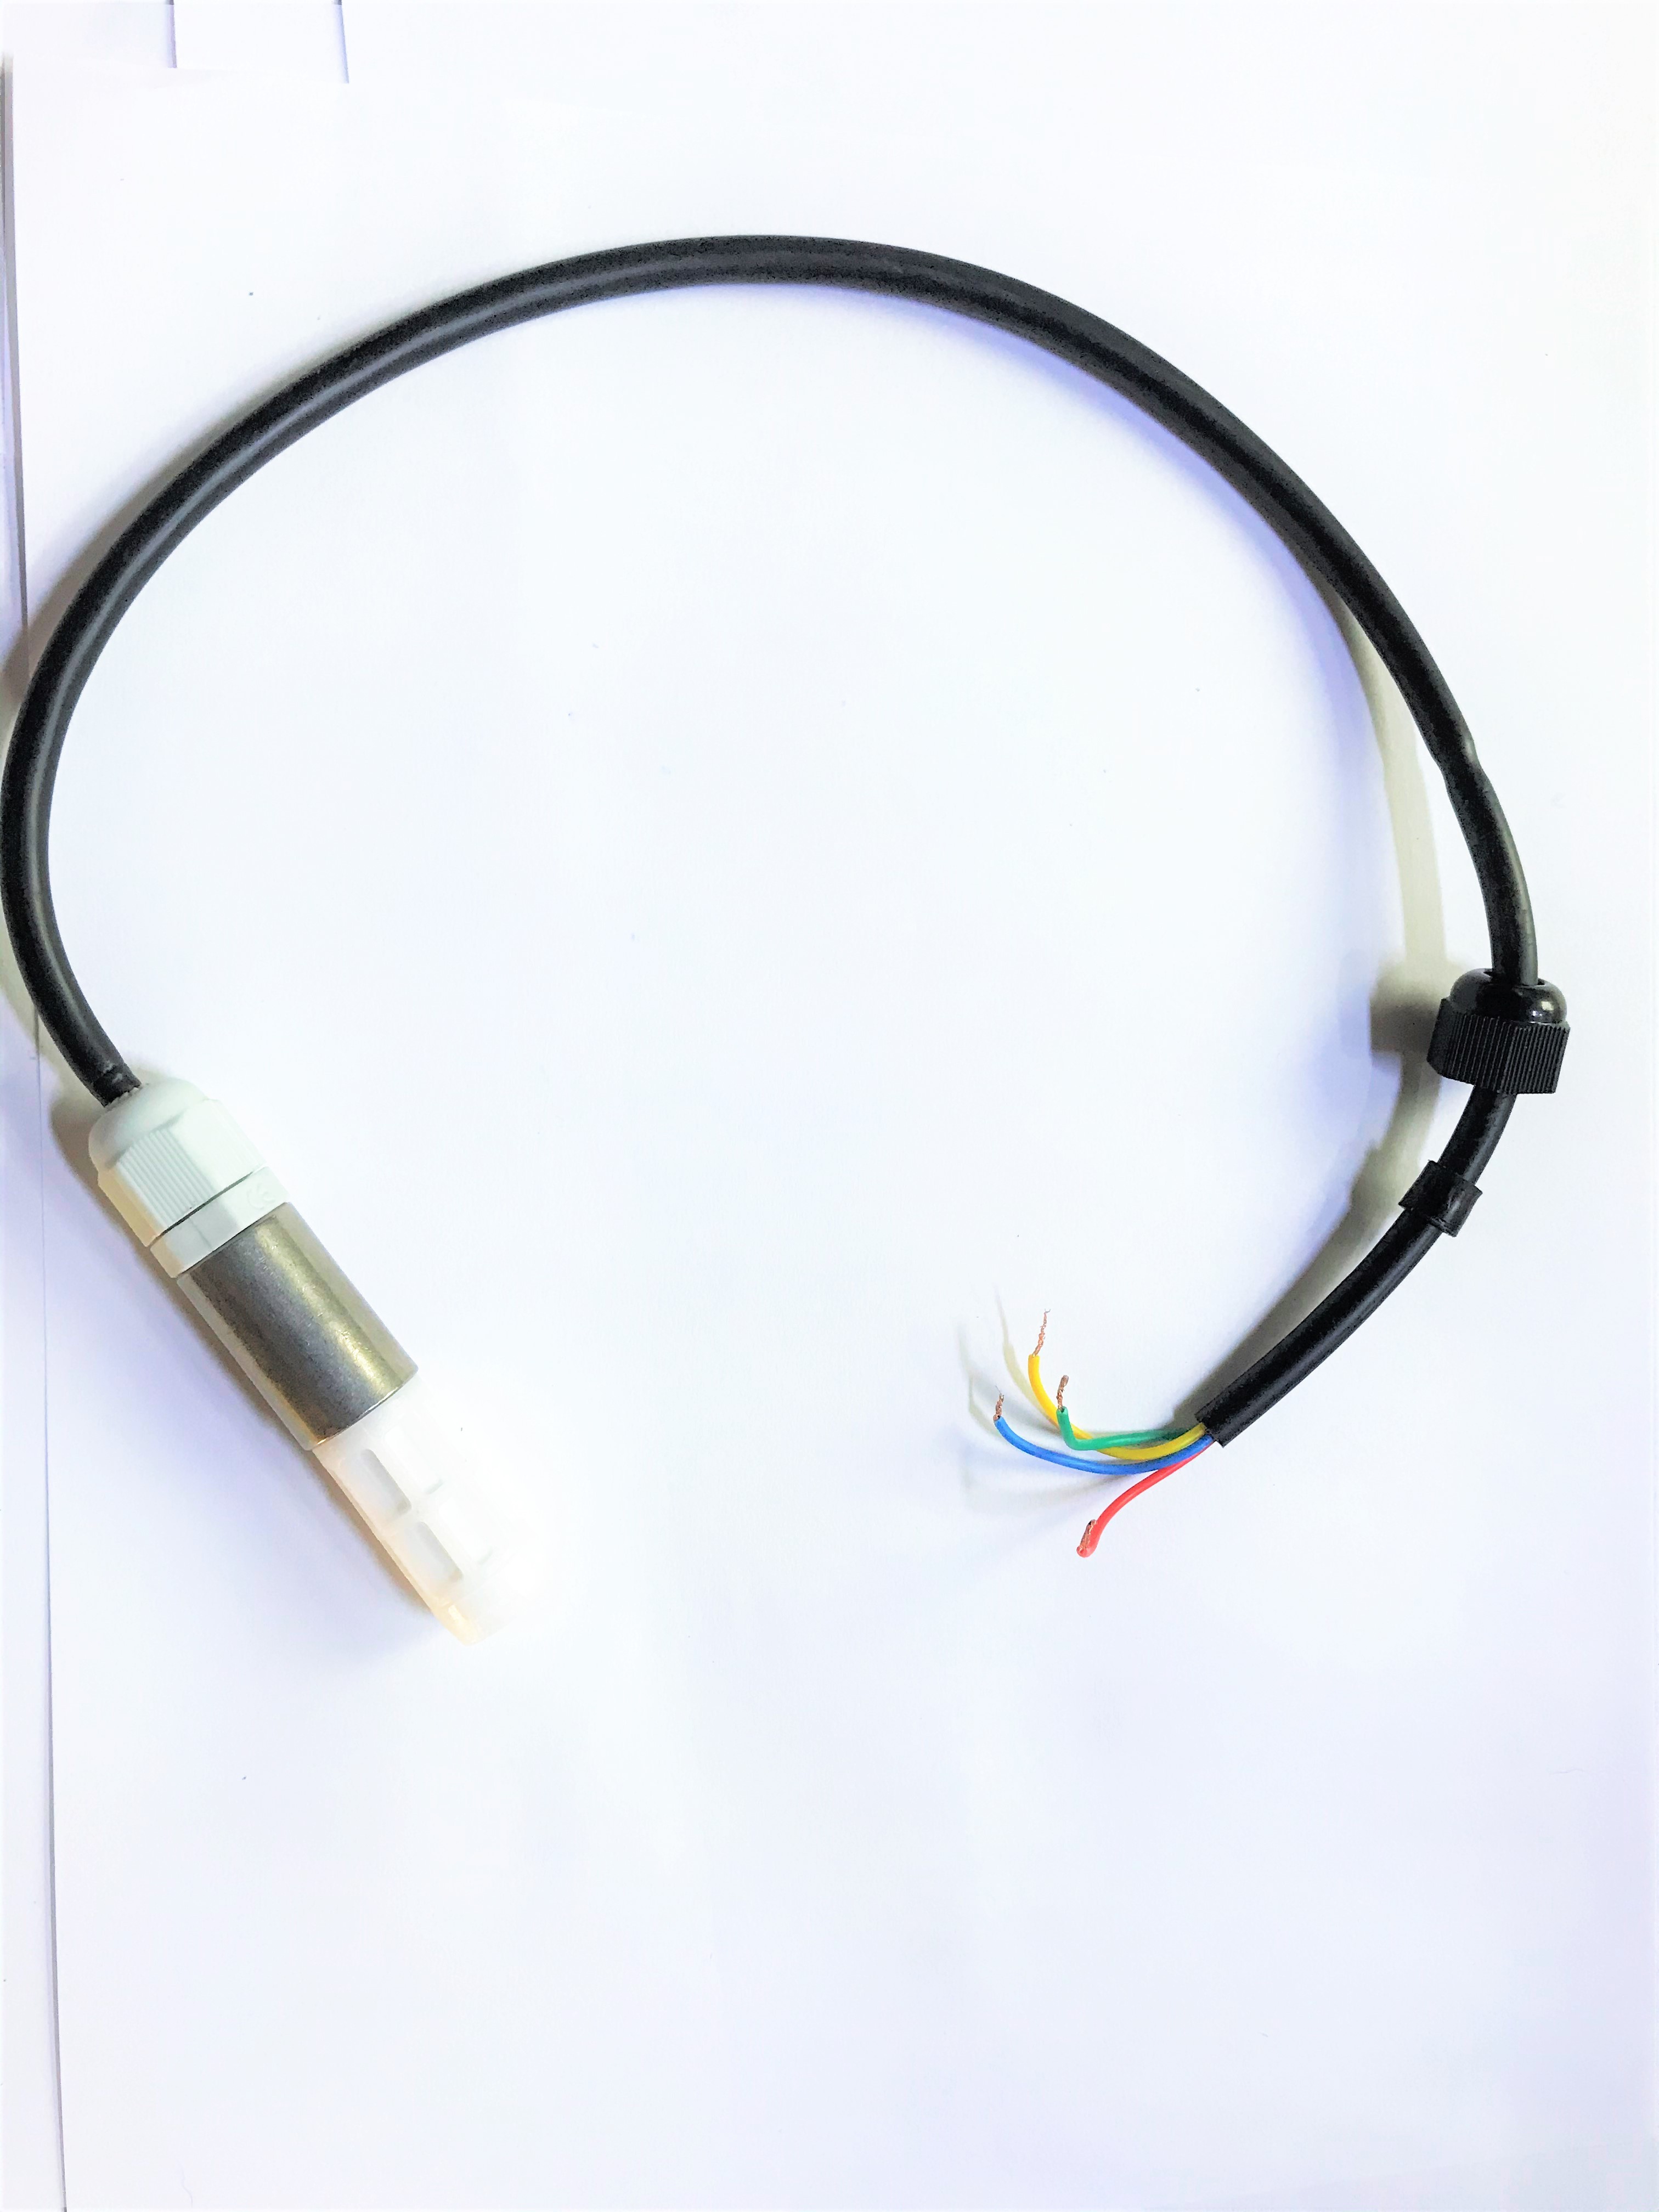
- Strip the ends of the power cord and the three power inputs.
- Twist the stripped ends to avoid fraying (figure, figure).
- Place the cap and rubber gasket on the plug, the 2 outputs for the relay, and the SHT 20 probe.
ADD CABLES
- Cables can be added into the glands set up on the box (figure). Do not screw them in yet.
Relay Wiring
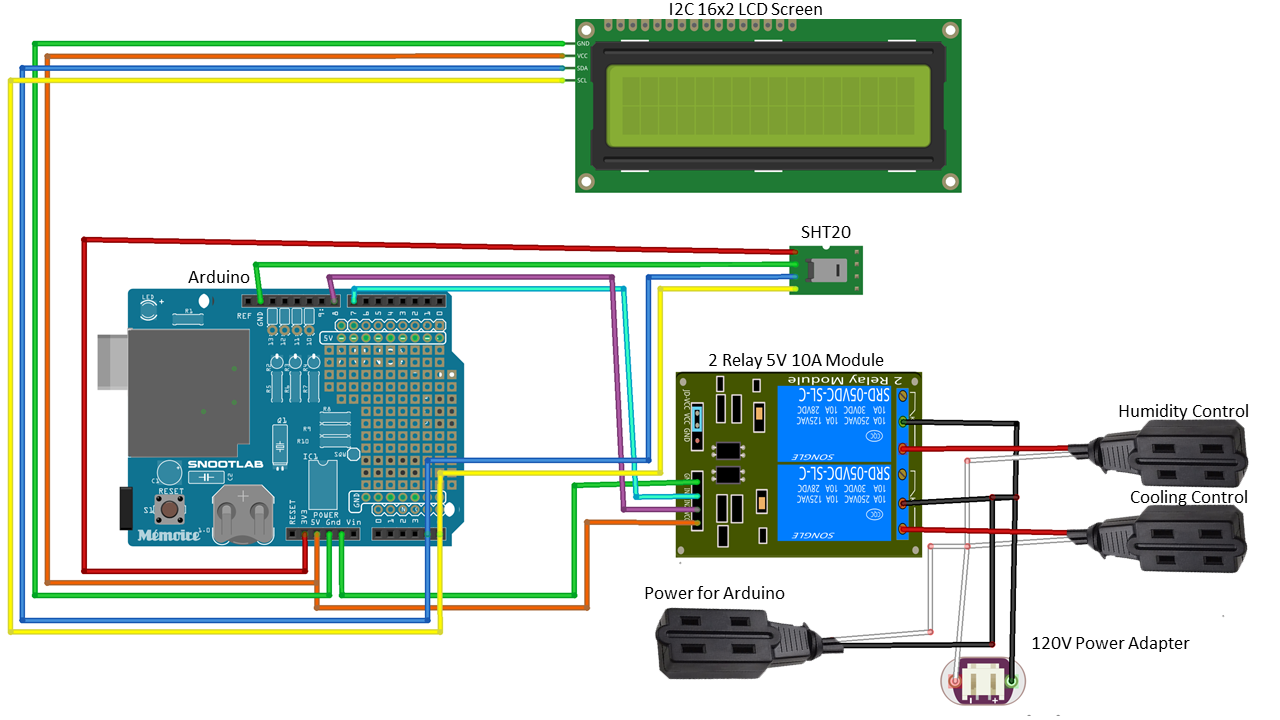
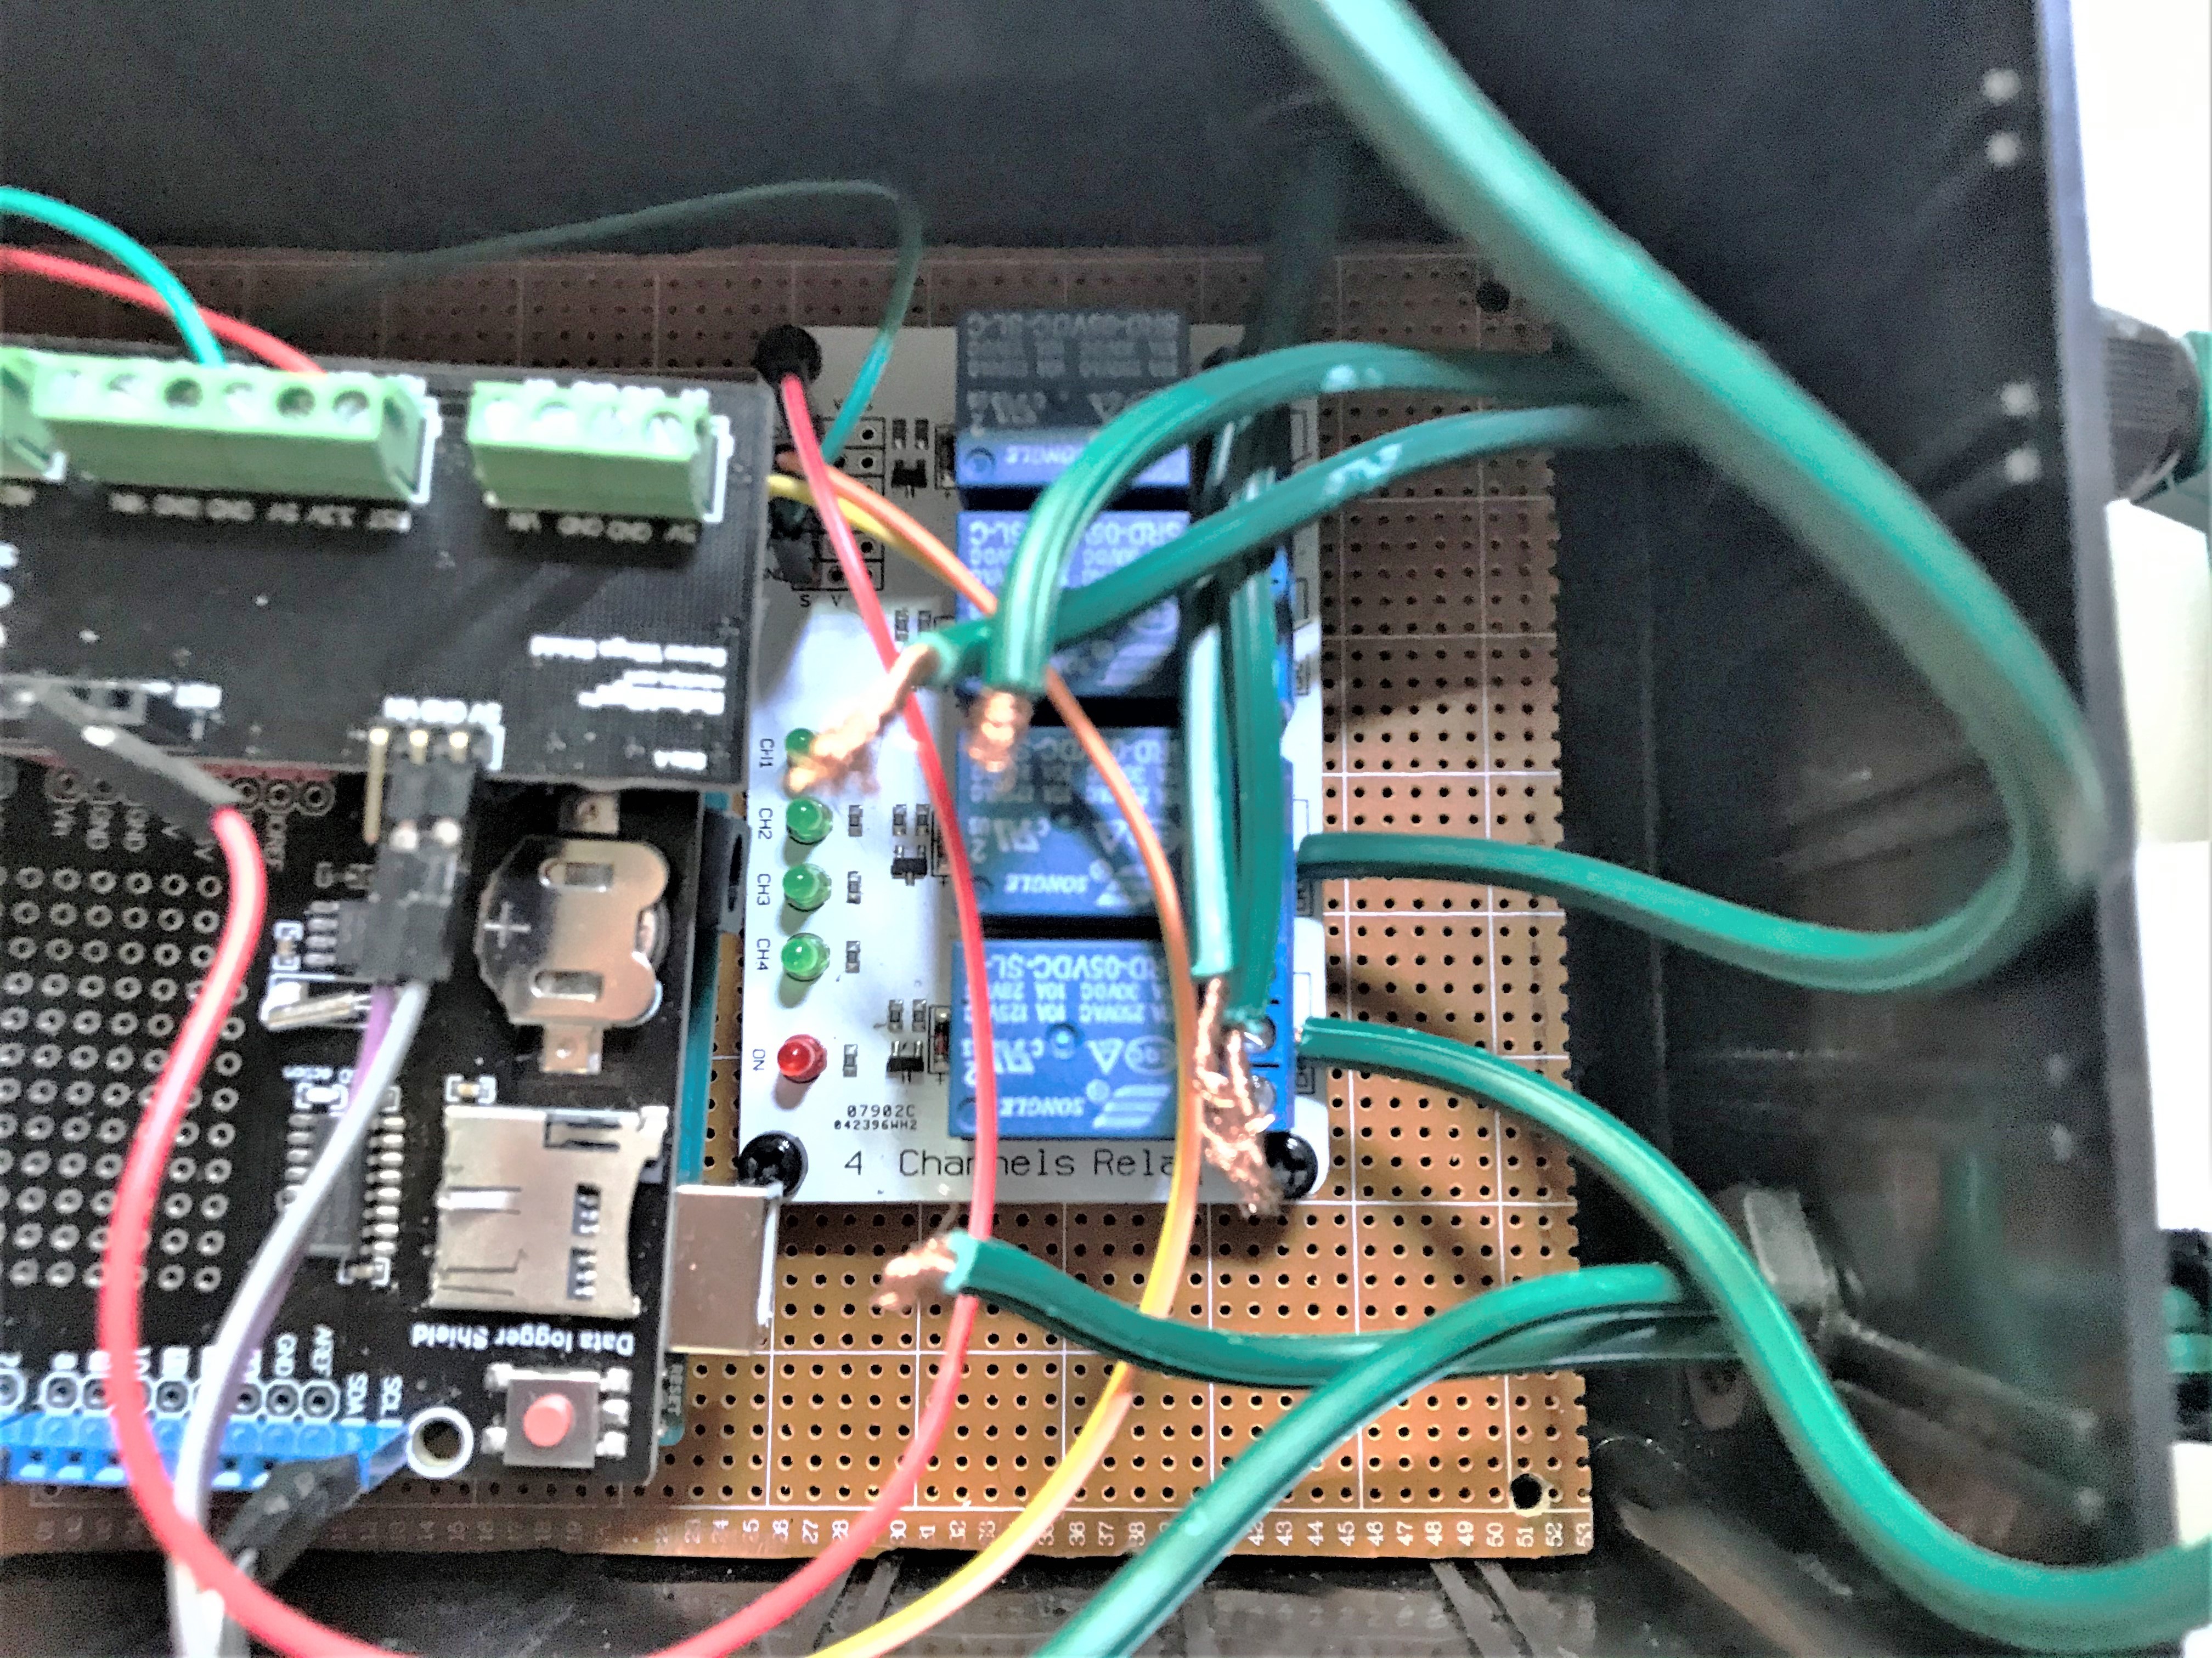
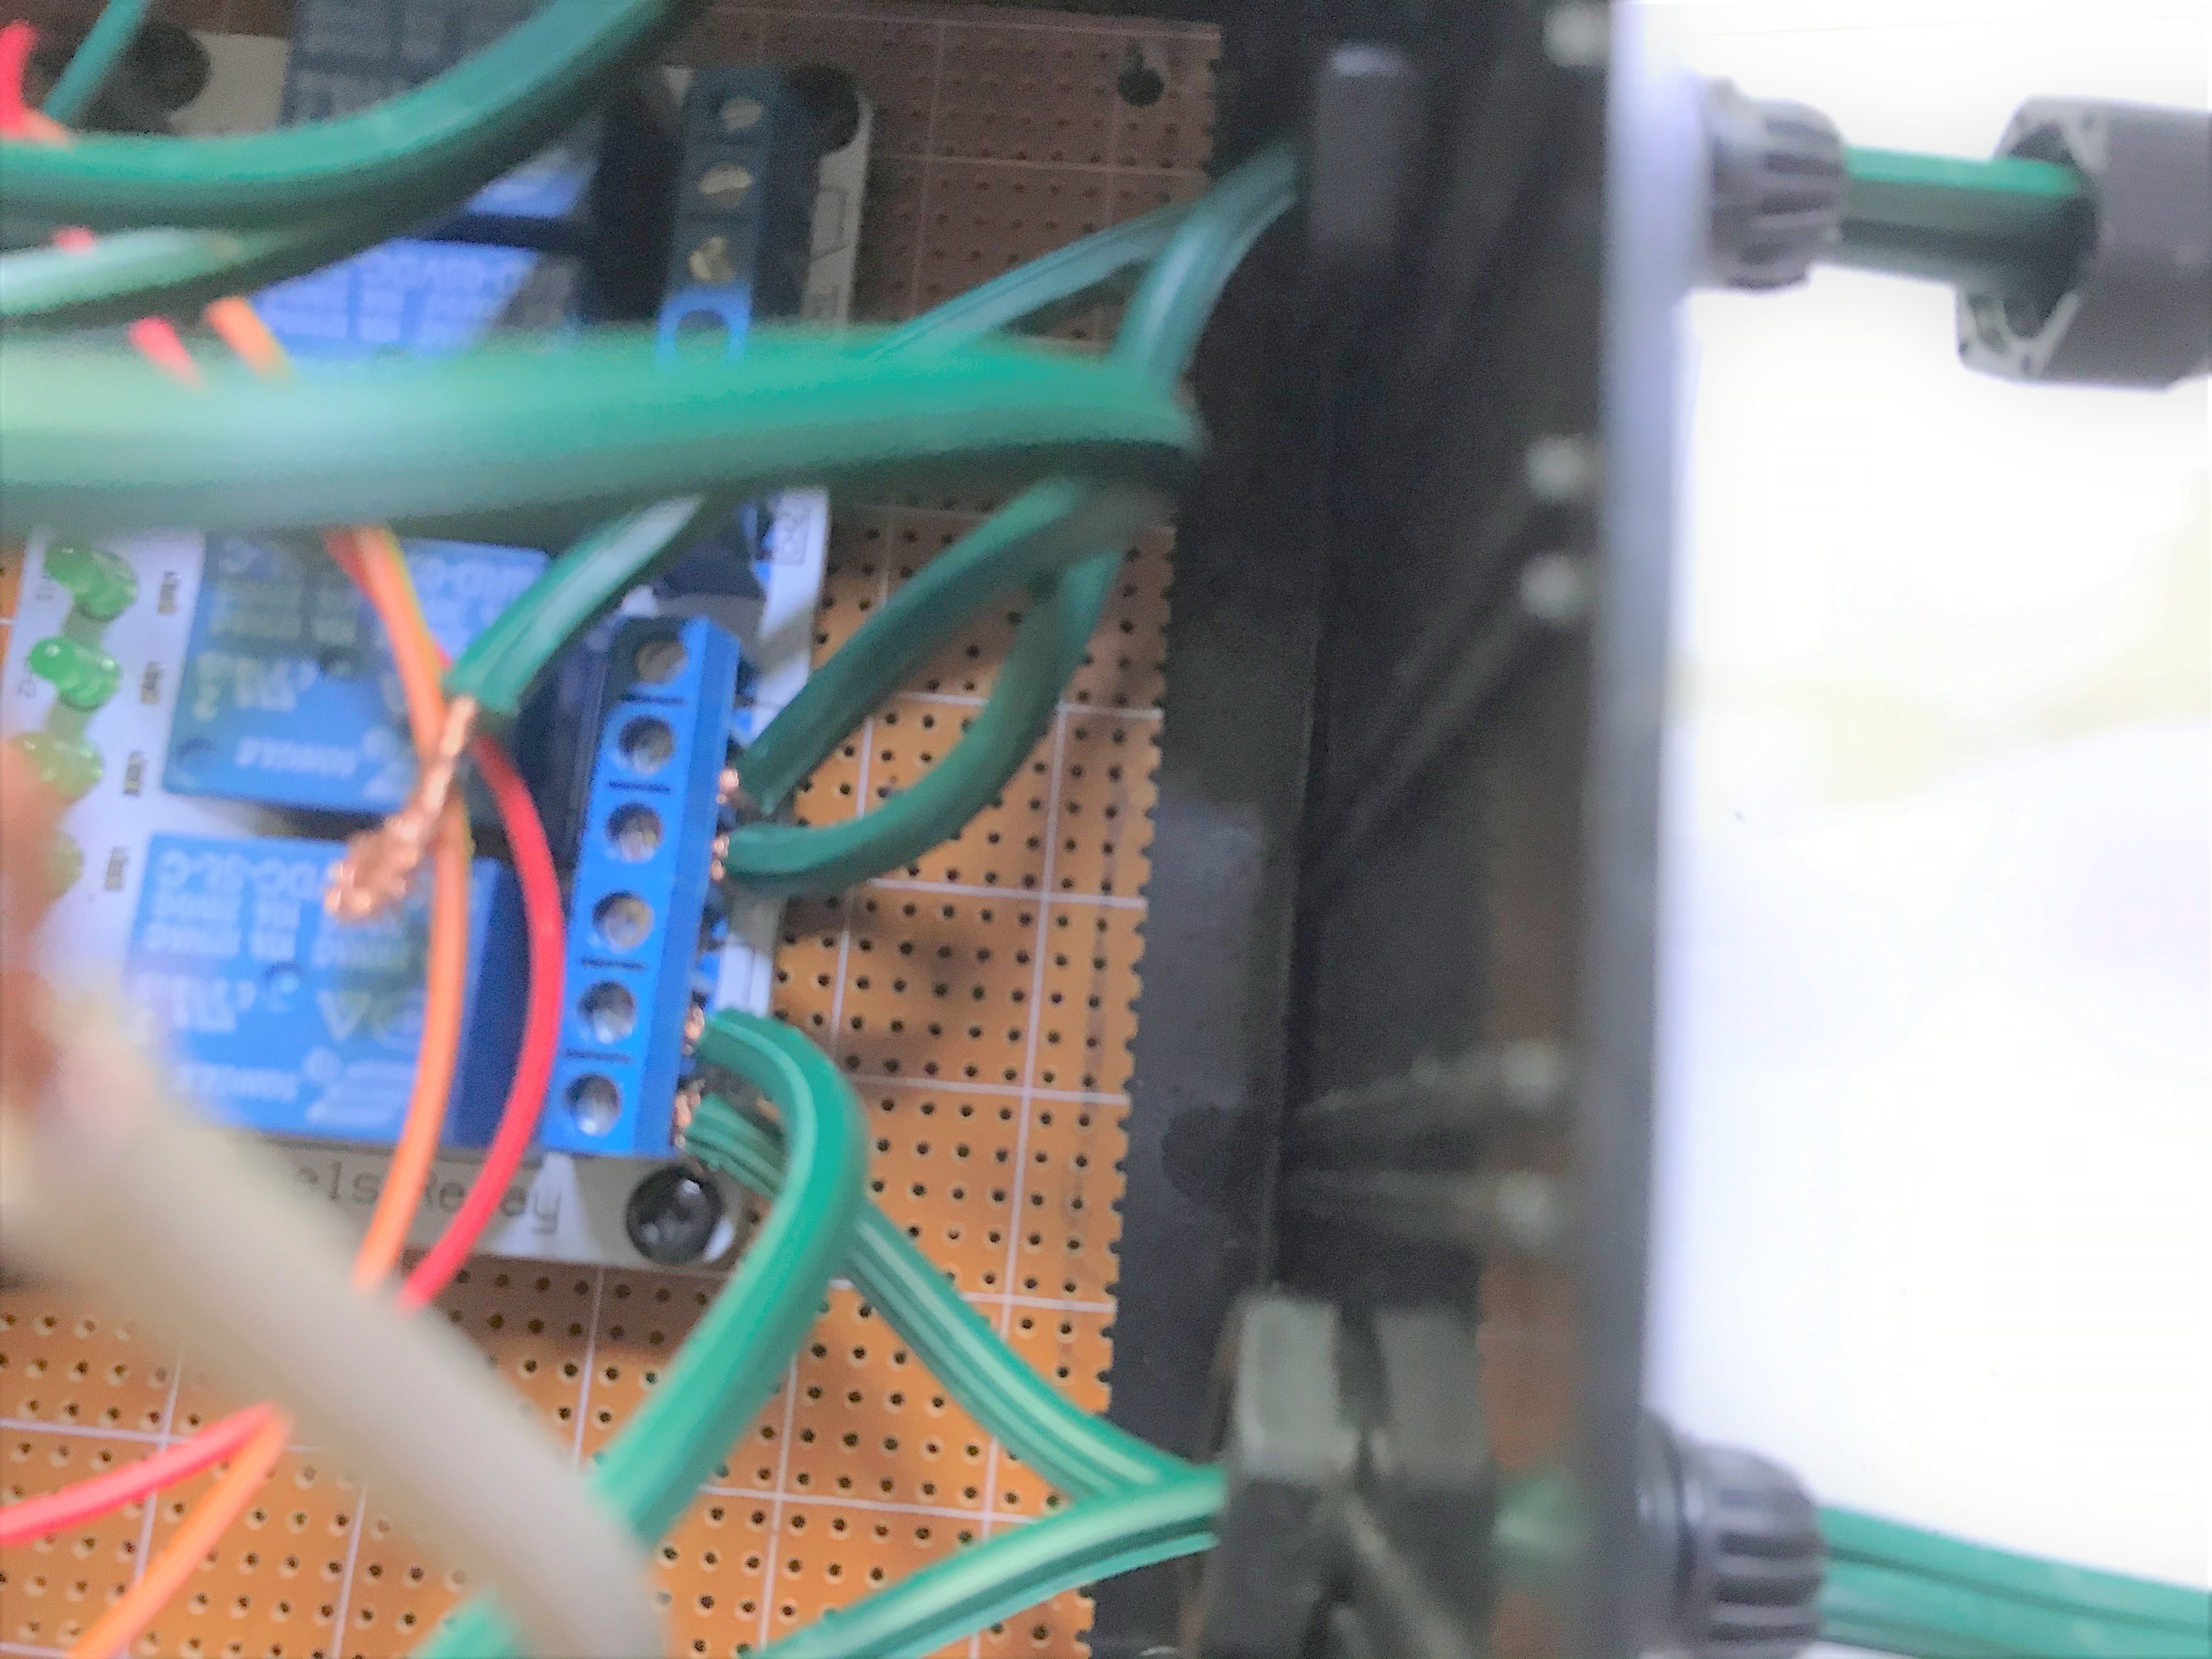
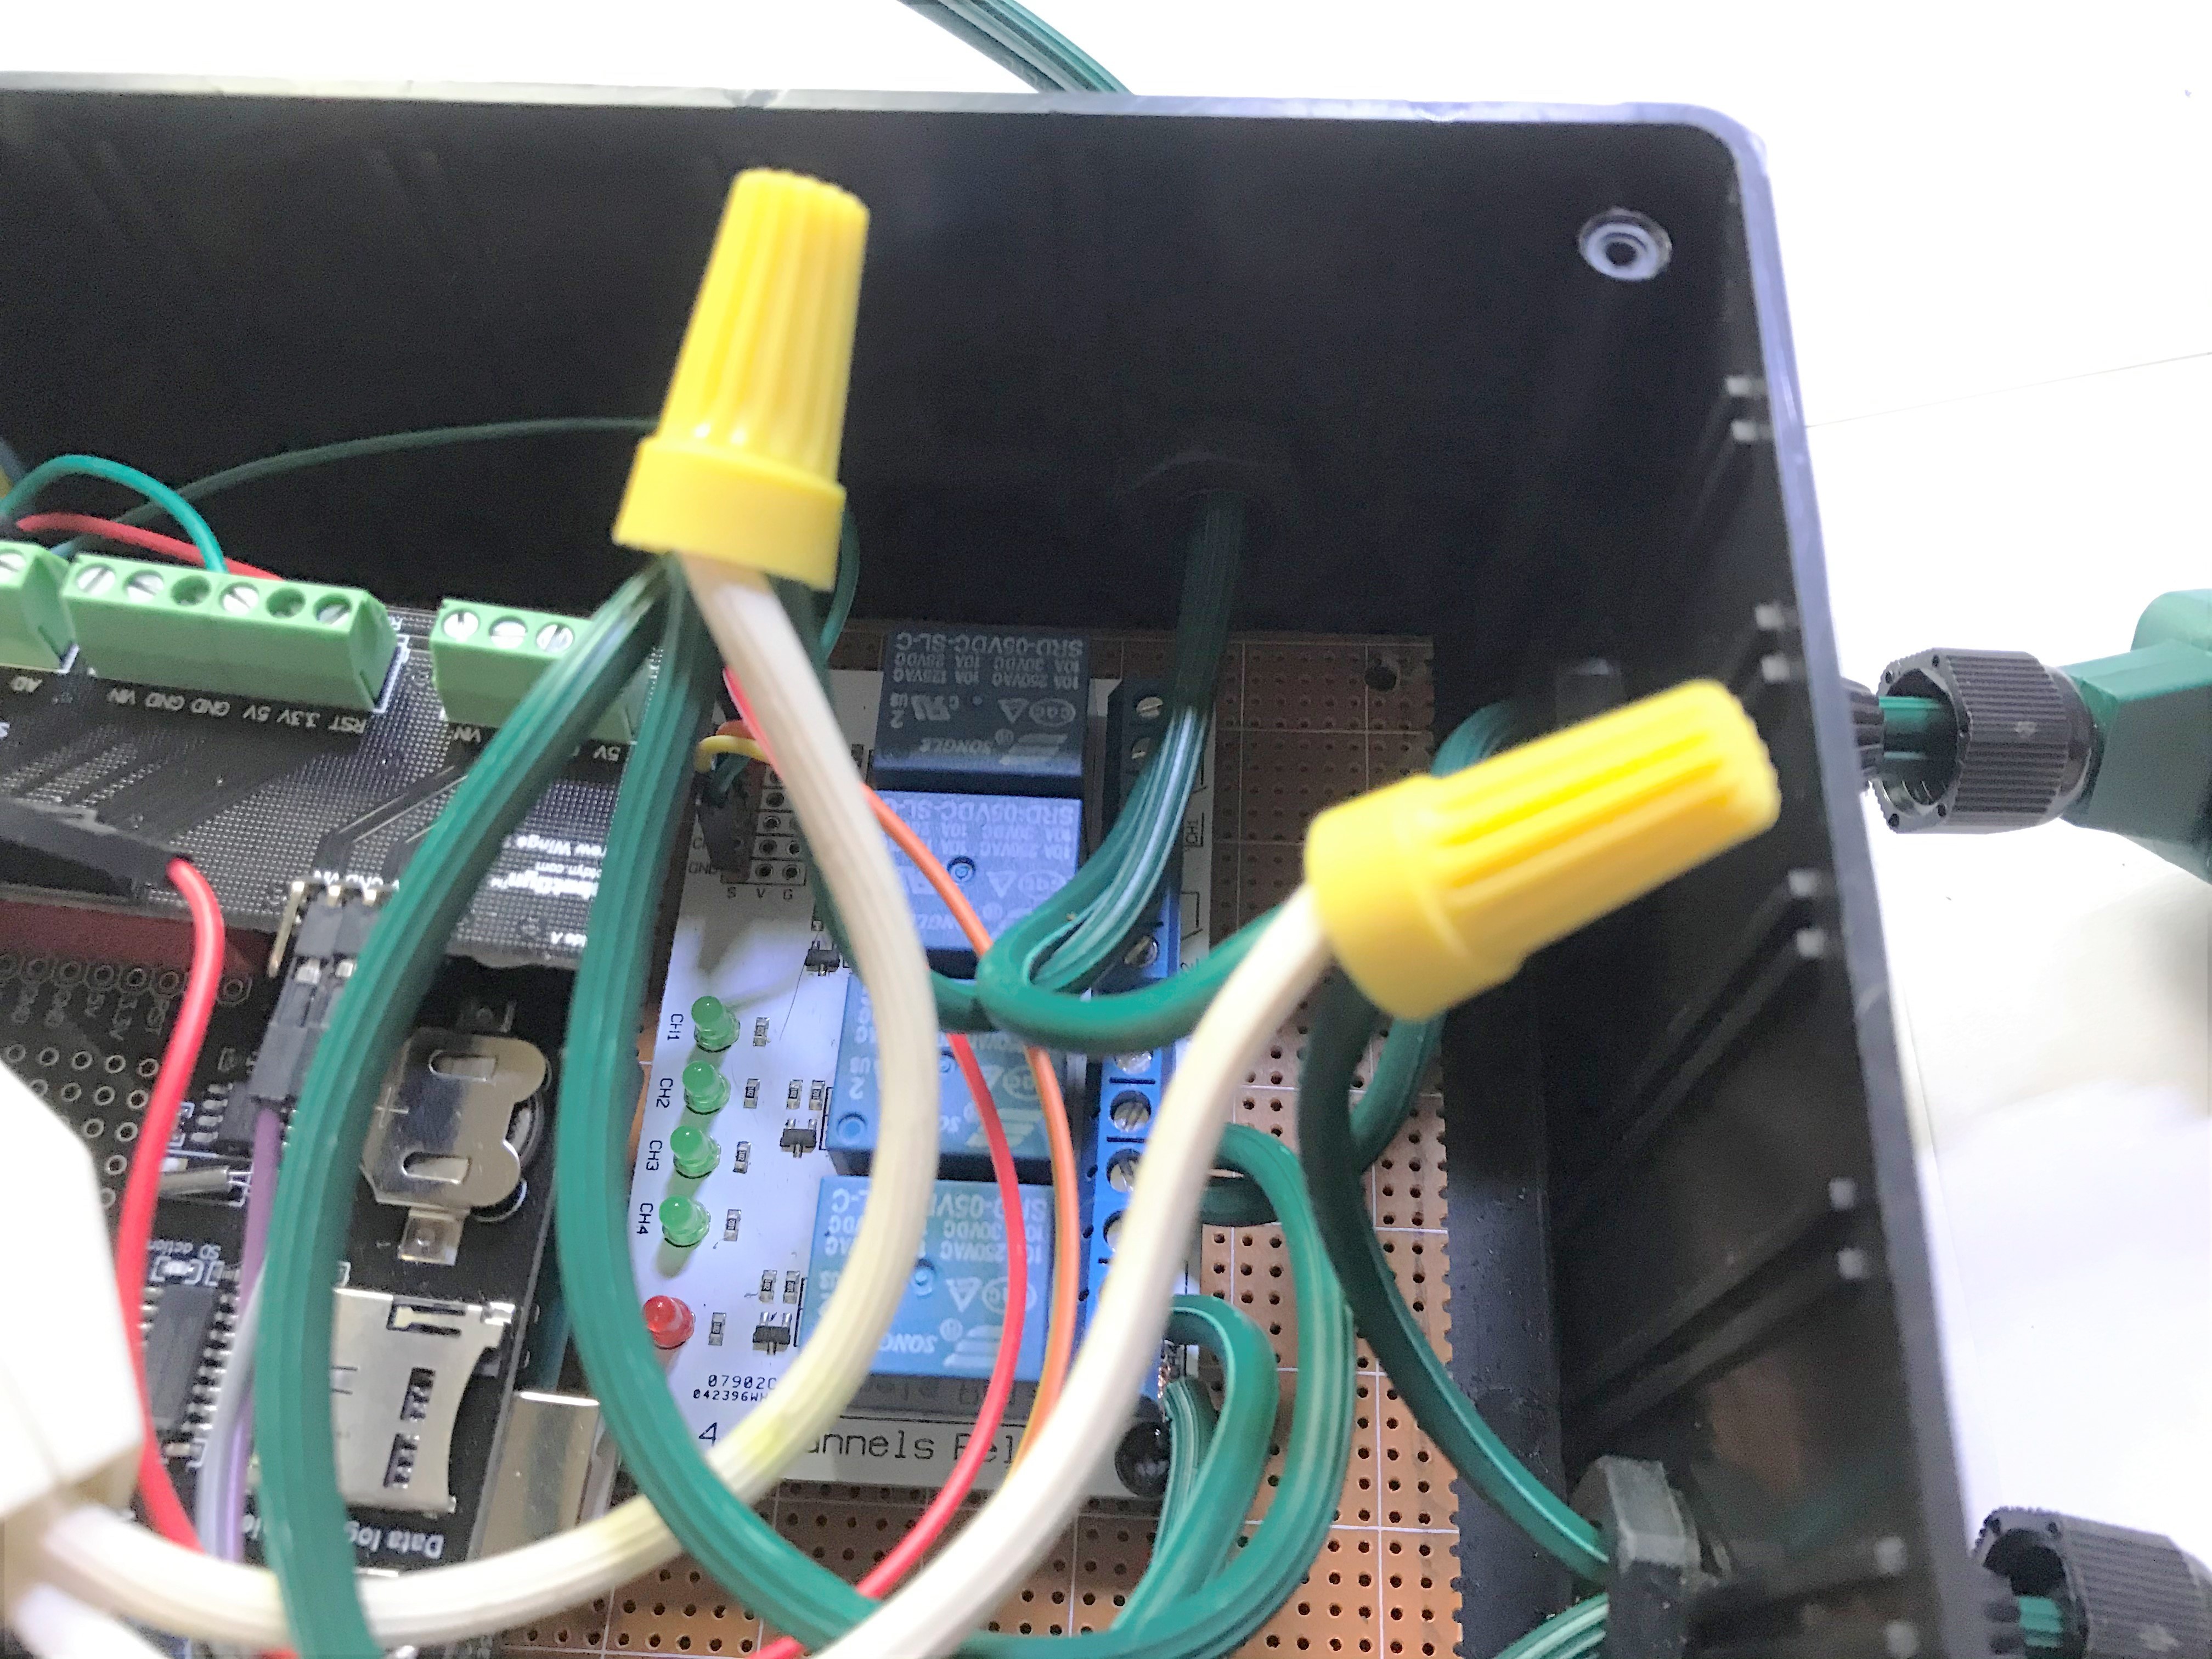
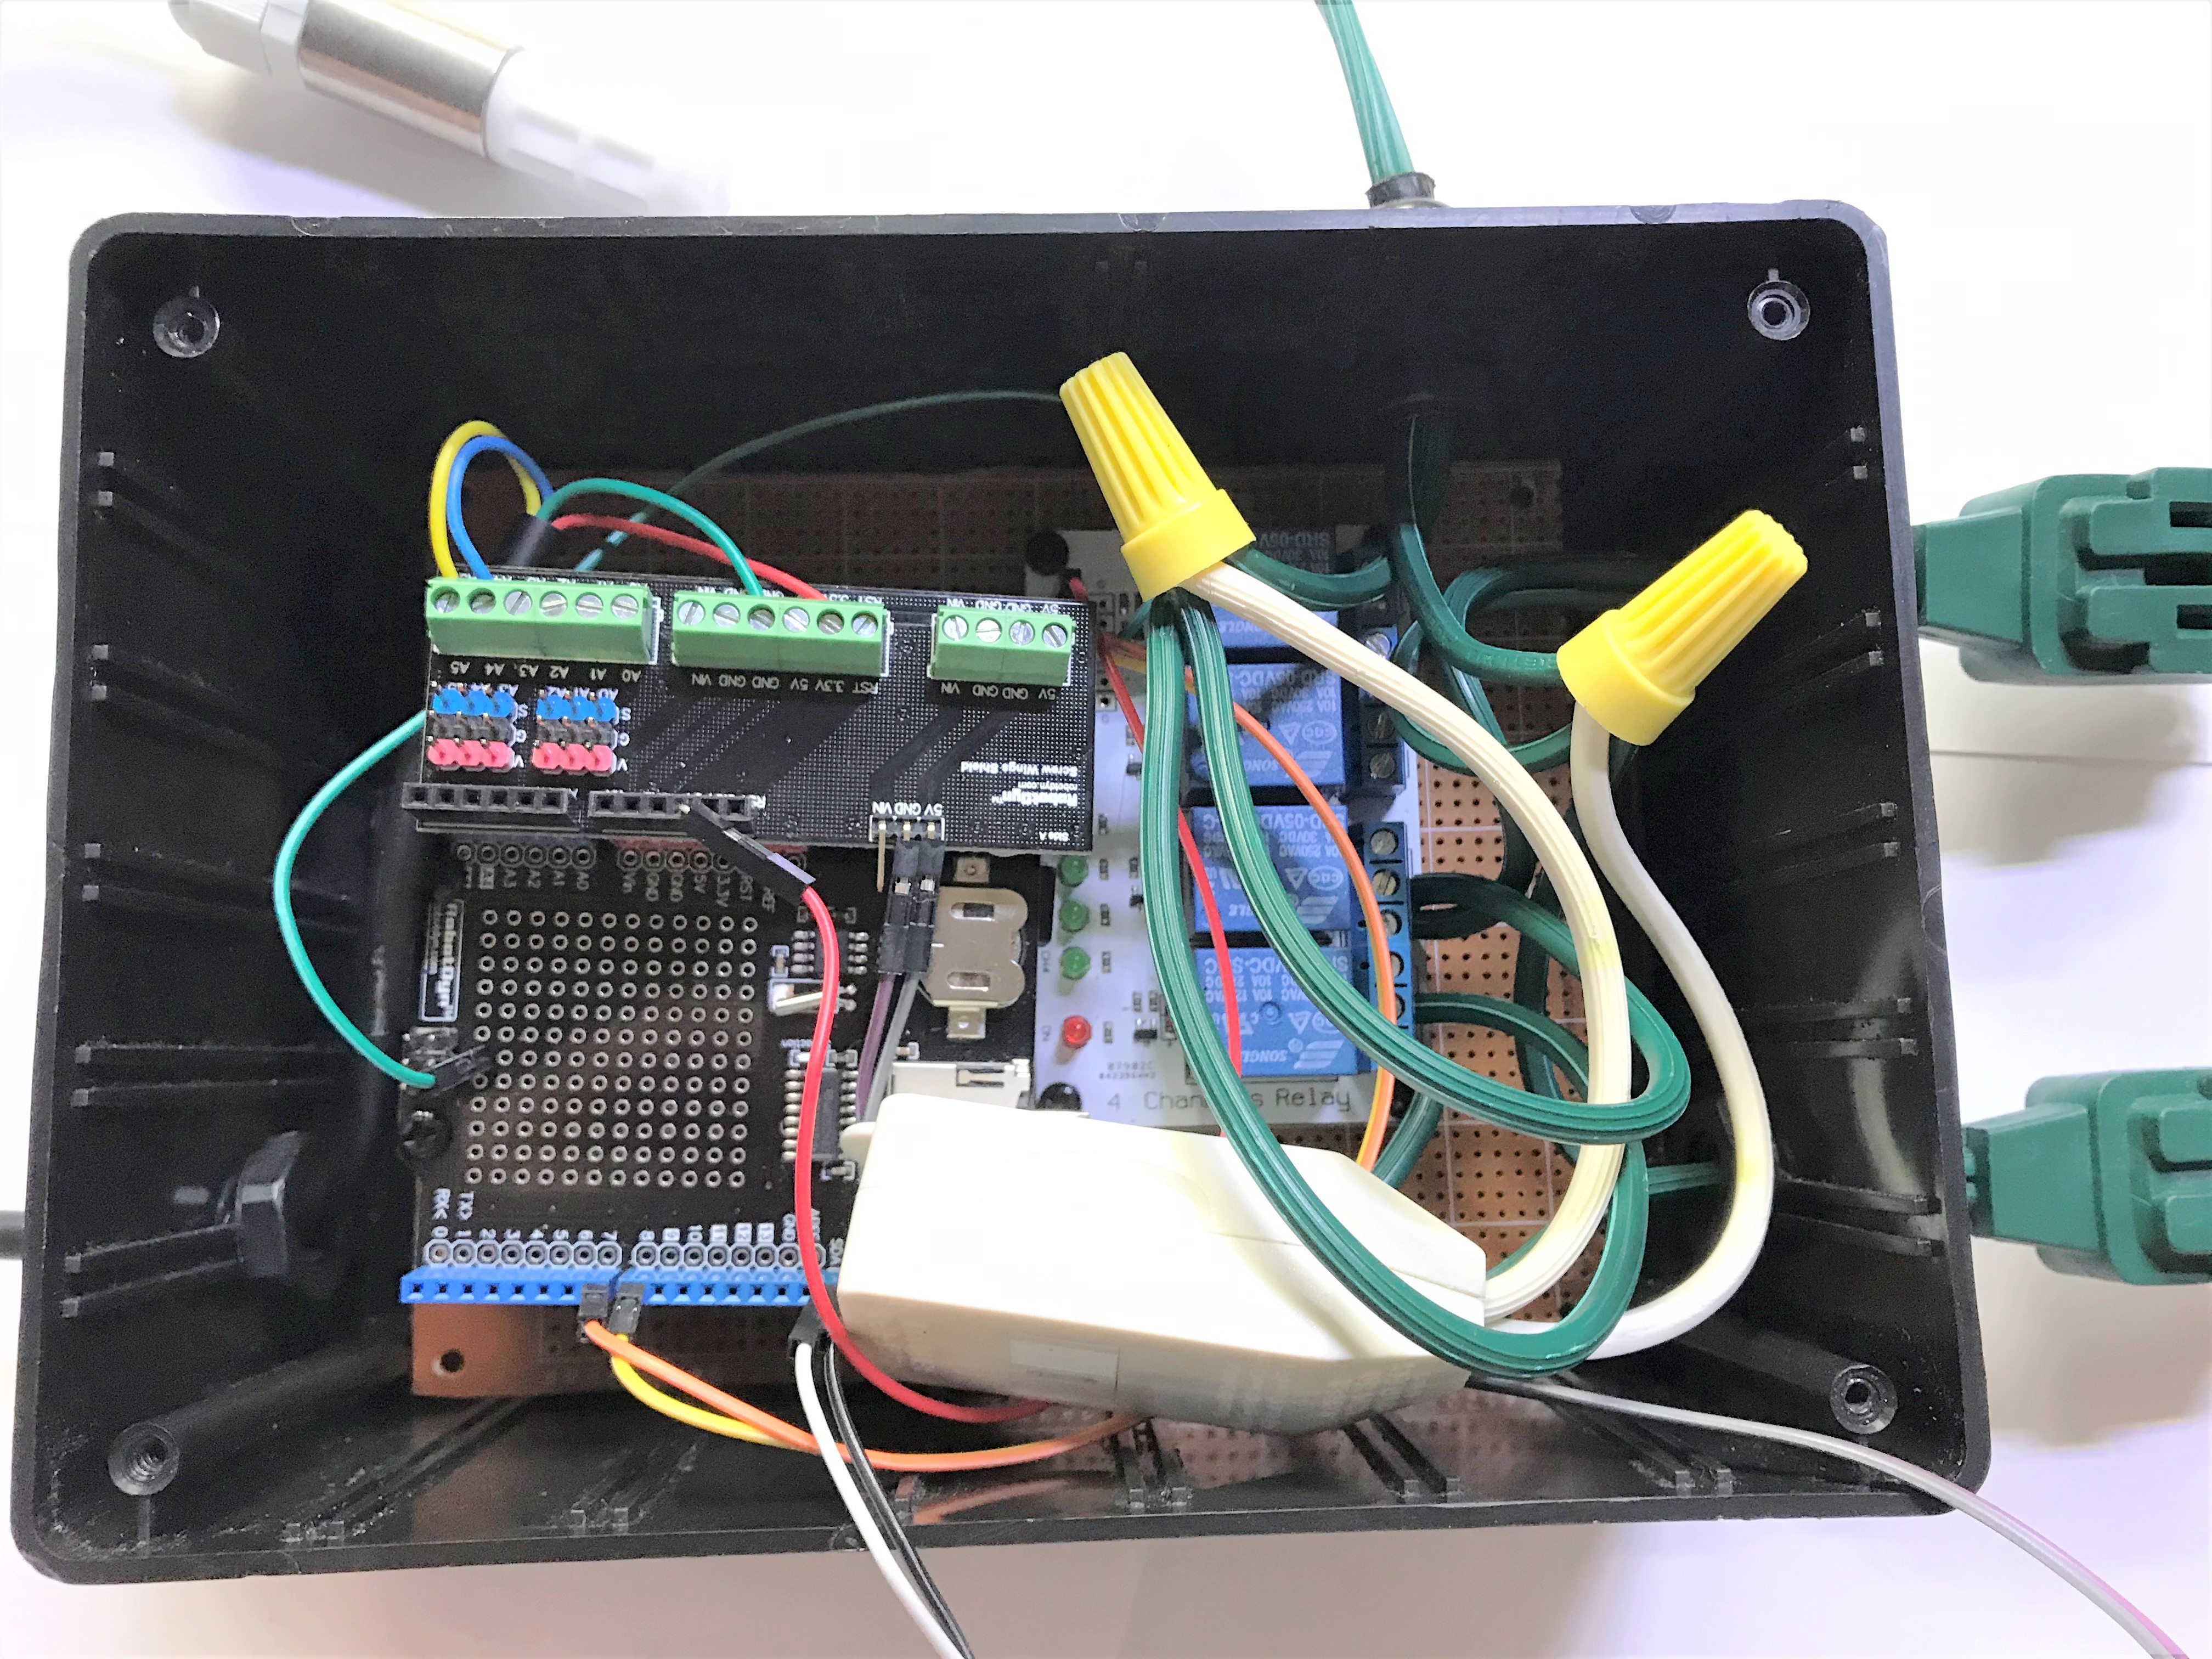
For this part, I included more thorough wiring since it can be tricky. This will follows the same wiring as the schematic seen in Step 2 (figure).
WIRING RELAY
- Connect the two loose wires into each of the common (C) inputs of the two relays using a screwdriver to clamp down on the wire (figure).
- This is normally the center input of the relay and is often designated as a C or a vertical line.
- Wires may need to be trimmed to ensure they fit properly.
- Make sure there is almost no copper exposed, the fit is snug, and no frayed wires are hanging out.
- You might have to lift the board out slightly to get the wires in.
- Connect the live end of the wire from the 2 power inputs to the normally open (NO) part of the relay (figure).
- This is similar to the step above, but this output is designated by a line that is angled (like a switch that is not connected to the common wire).
- Start with connecting all the live wires together. (This corresponds to the larger of the two wires and is often indicated by some strips on the wire or black wire.) The cables to connect together are:
- Live wire from the plug
- Live wire from the plug input to be used to power the Arduino
- 2 stripped wires
- Twist the wires together and cap with a screw cap.
- Connect all the neutral wires together.
- Neutral wire from the plug
- Neutral wire from the output to be used to power the Arduino
- Return wires from each of the 2 power outputs
- Twist the wires together and cape with a screw cap (figure).
- Ensure all the screw caps are snug and won't fall off.
- If the screw caps don't fit well, use a different size cap.
- Alternatively, wires can be connected 2 at a time and excess wire be used to jump them together
ATTACH SHT20
- Rescrew in SHT20 to the screw board.
- The wires can also be pushed into jumper wires and/or connected to jumper wires if a screw board is not used.
TIGHTEN GLANDS
- Tighten each of the gland caps around the wires
- Cords can be tugged a bit to remove some slack, but always ensure they are some slack left.
Control Box Lid Configuration
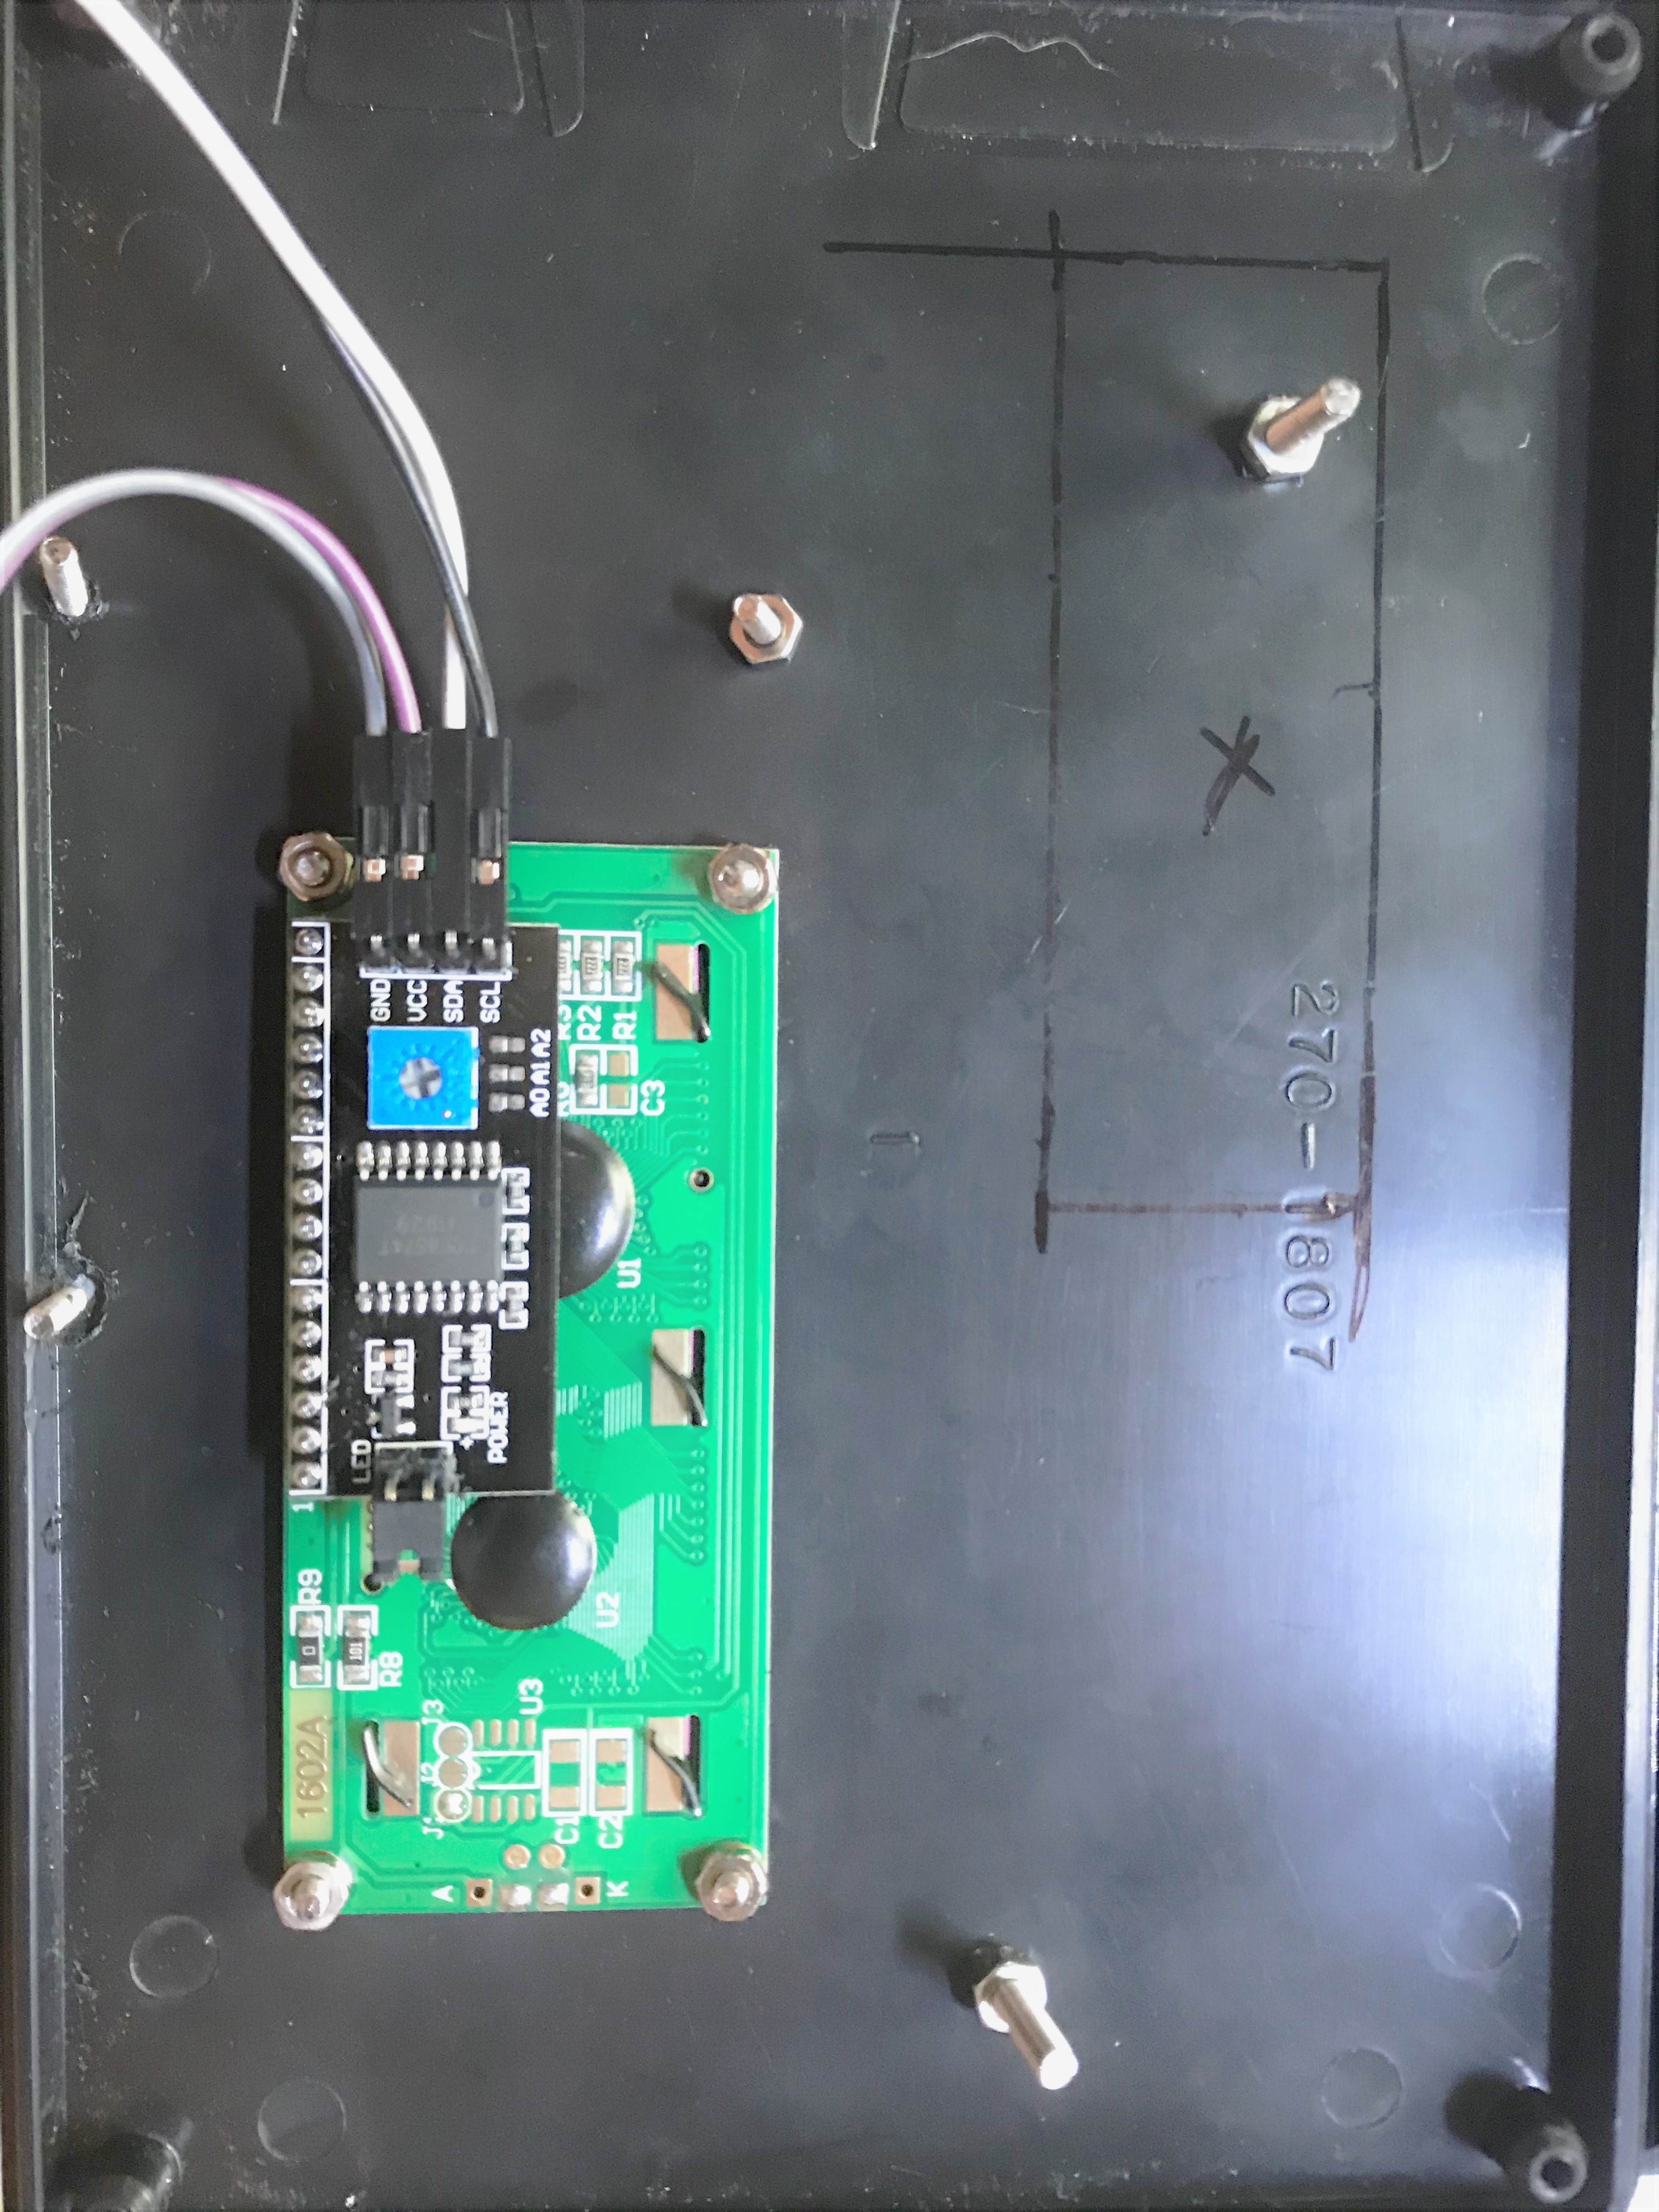
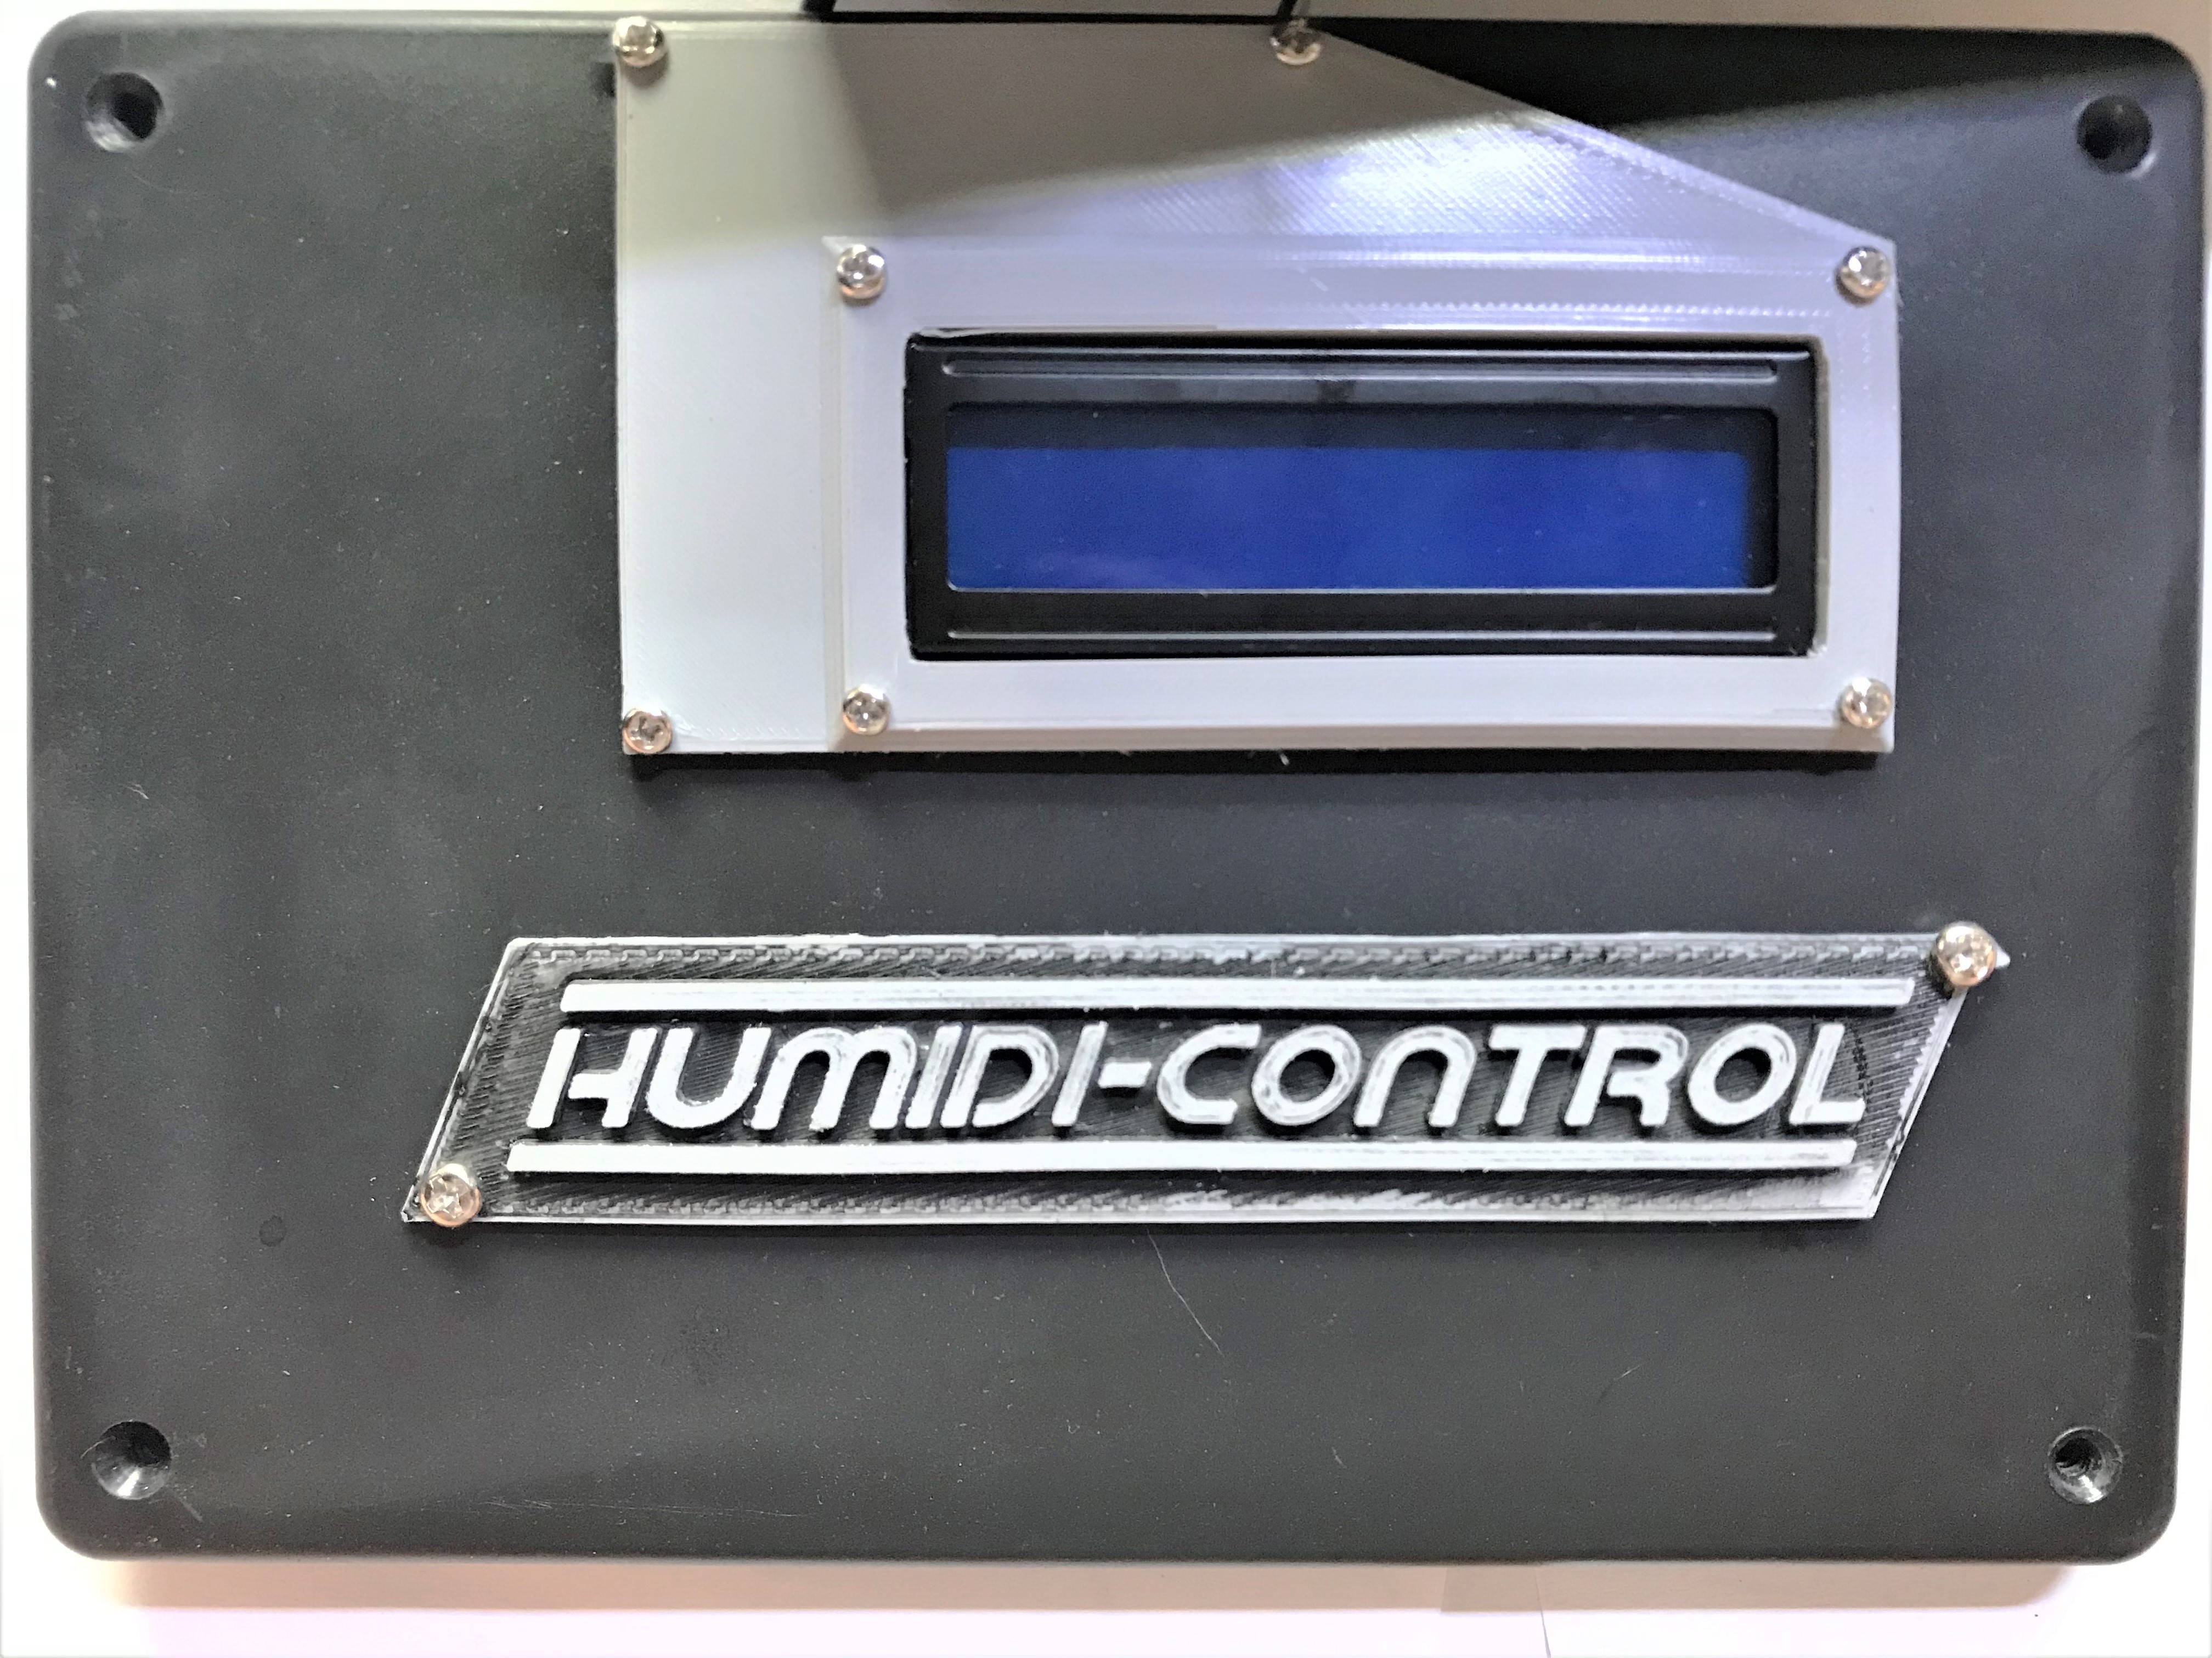
This step is to mount the screen on the top of the box and add in 3D printed components to make it look clean.
MAKE HOLE FOR LCD
- Find a place to mount the screen on the lid.
- This project put it on the left 1" from the top and left side.
- Trace out the screen and location for holes.
- Using either a Dremel or a razor blade, cut out the rectangular area to put the screen.
- Drill holes for the screen using the appropriate drill bit.
ADD 3D PRINTED COMPONENTS (optional)
- Print the 2 STL files included:
- A frame for the LCD to hide any cutting inconsistencies (16x2 LCD Screen Frame (retro).stl).
- A logo to make it look official (Humidi_Control_Logo.stl).
- After printing, place the 2 printed components on the lid wherever desired.
- Mark drill holes for the screen using the appropriate drill bit.
- Paint if desired.
ATTACH SCREEN
- Using small screws and bolts (M3 work well for this) bolt on the screen with screws on the front and screen through the back. If using the frame, attach this through the front (figure).
- Attach the logo and add screws (optional) (figure).
- Ensure all screws and bolts are snug.
Finish Control System Box
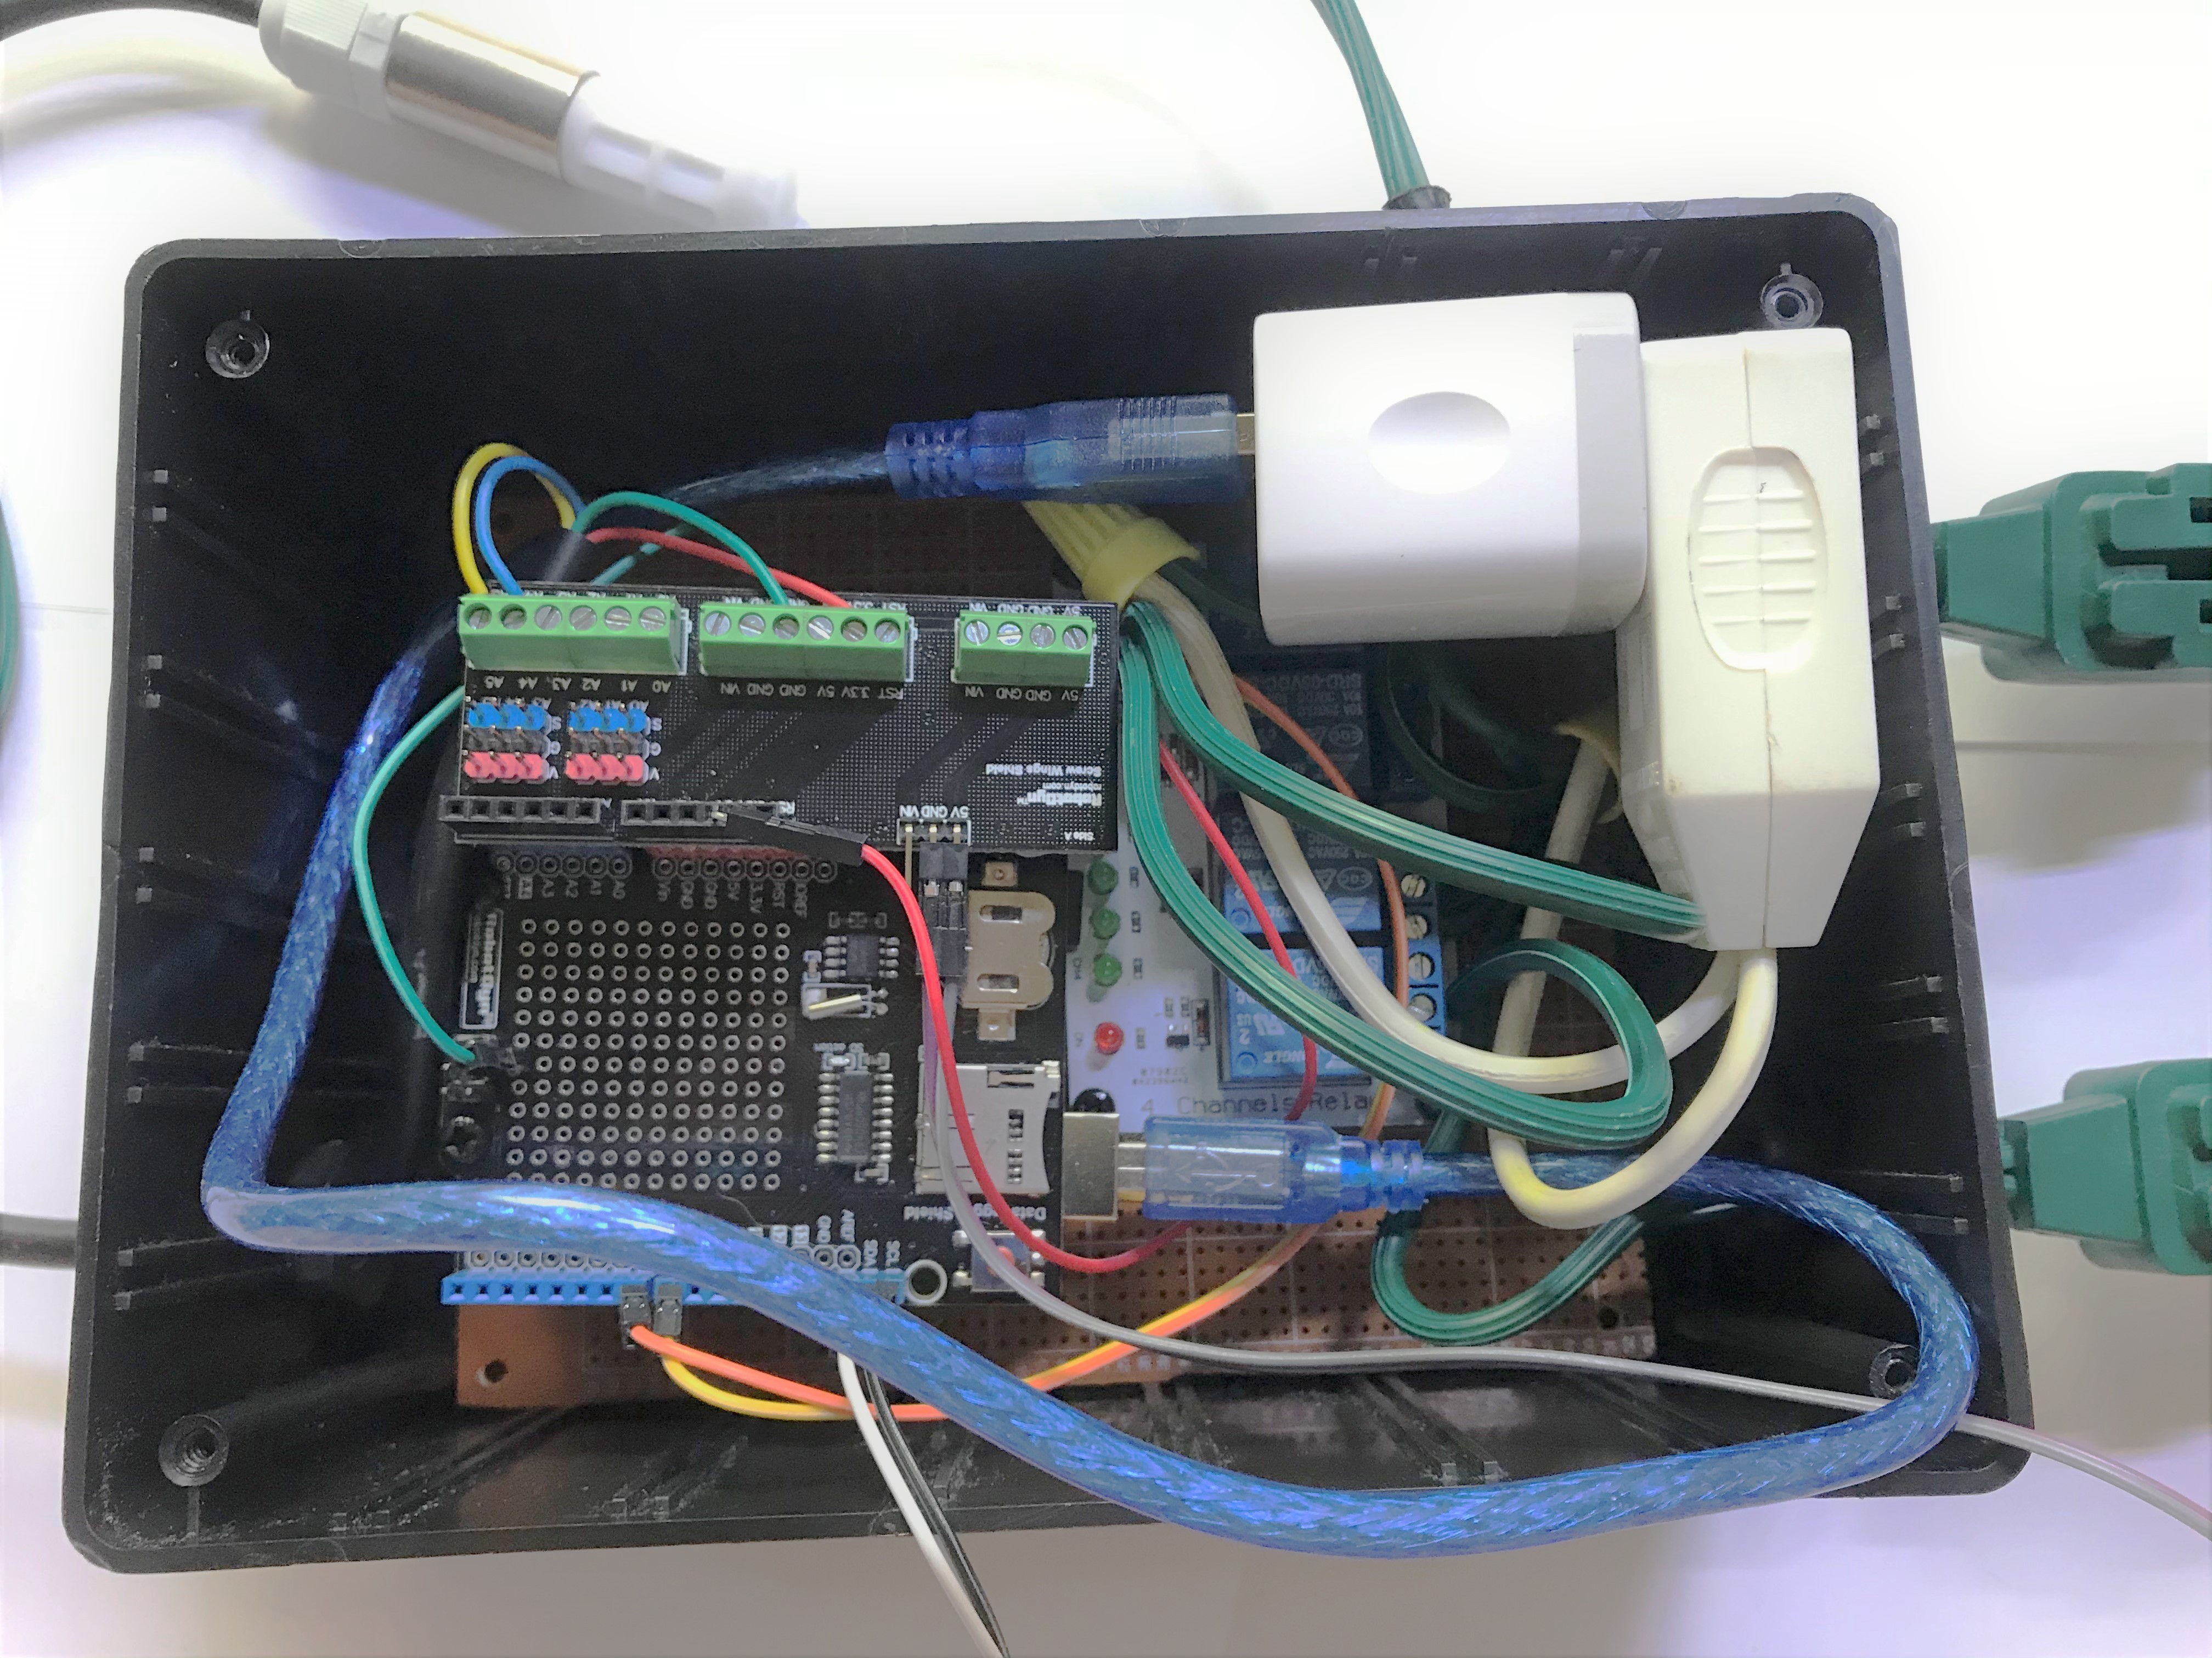
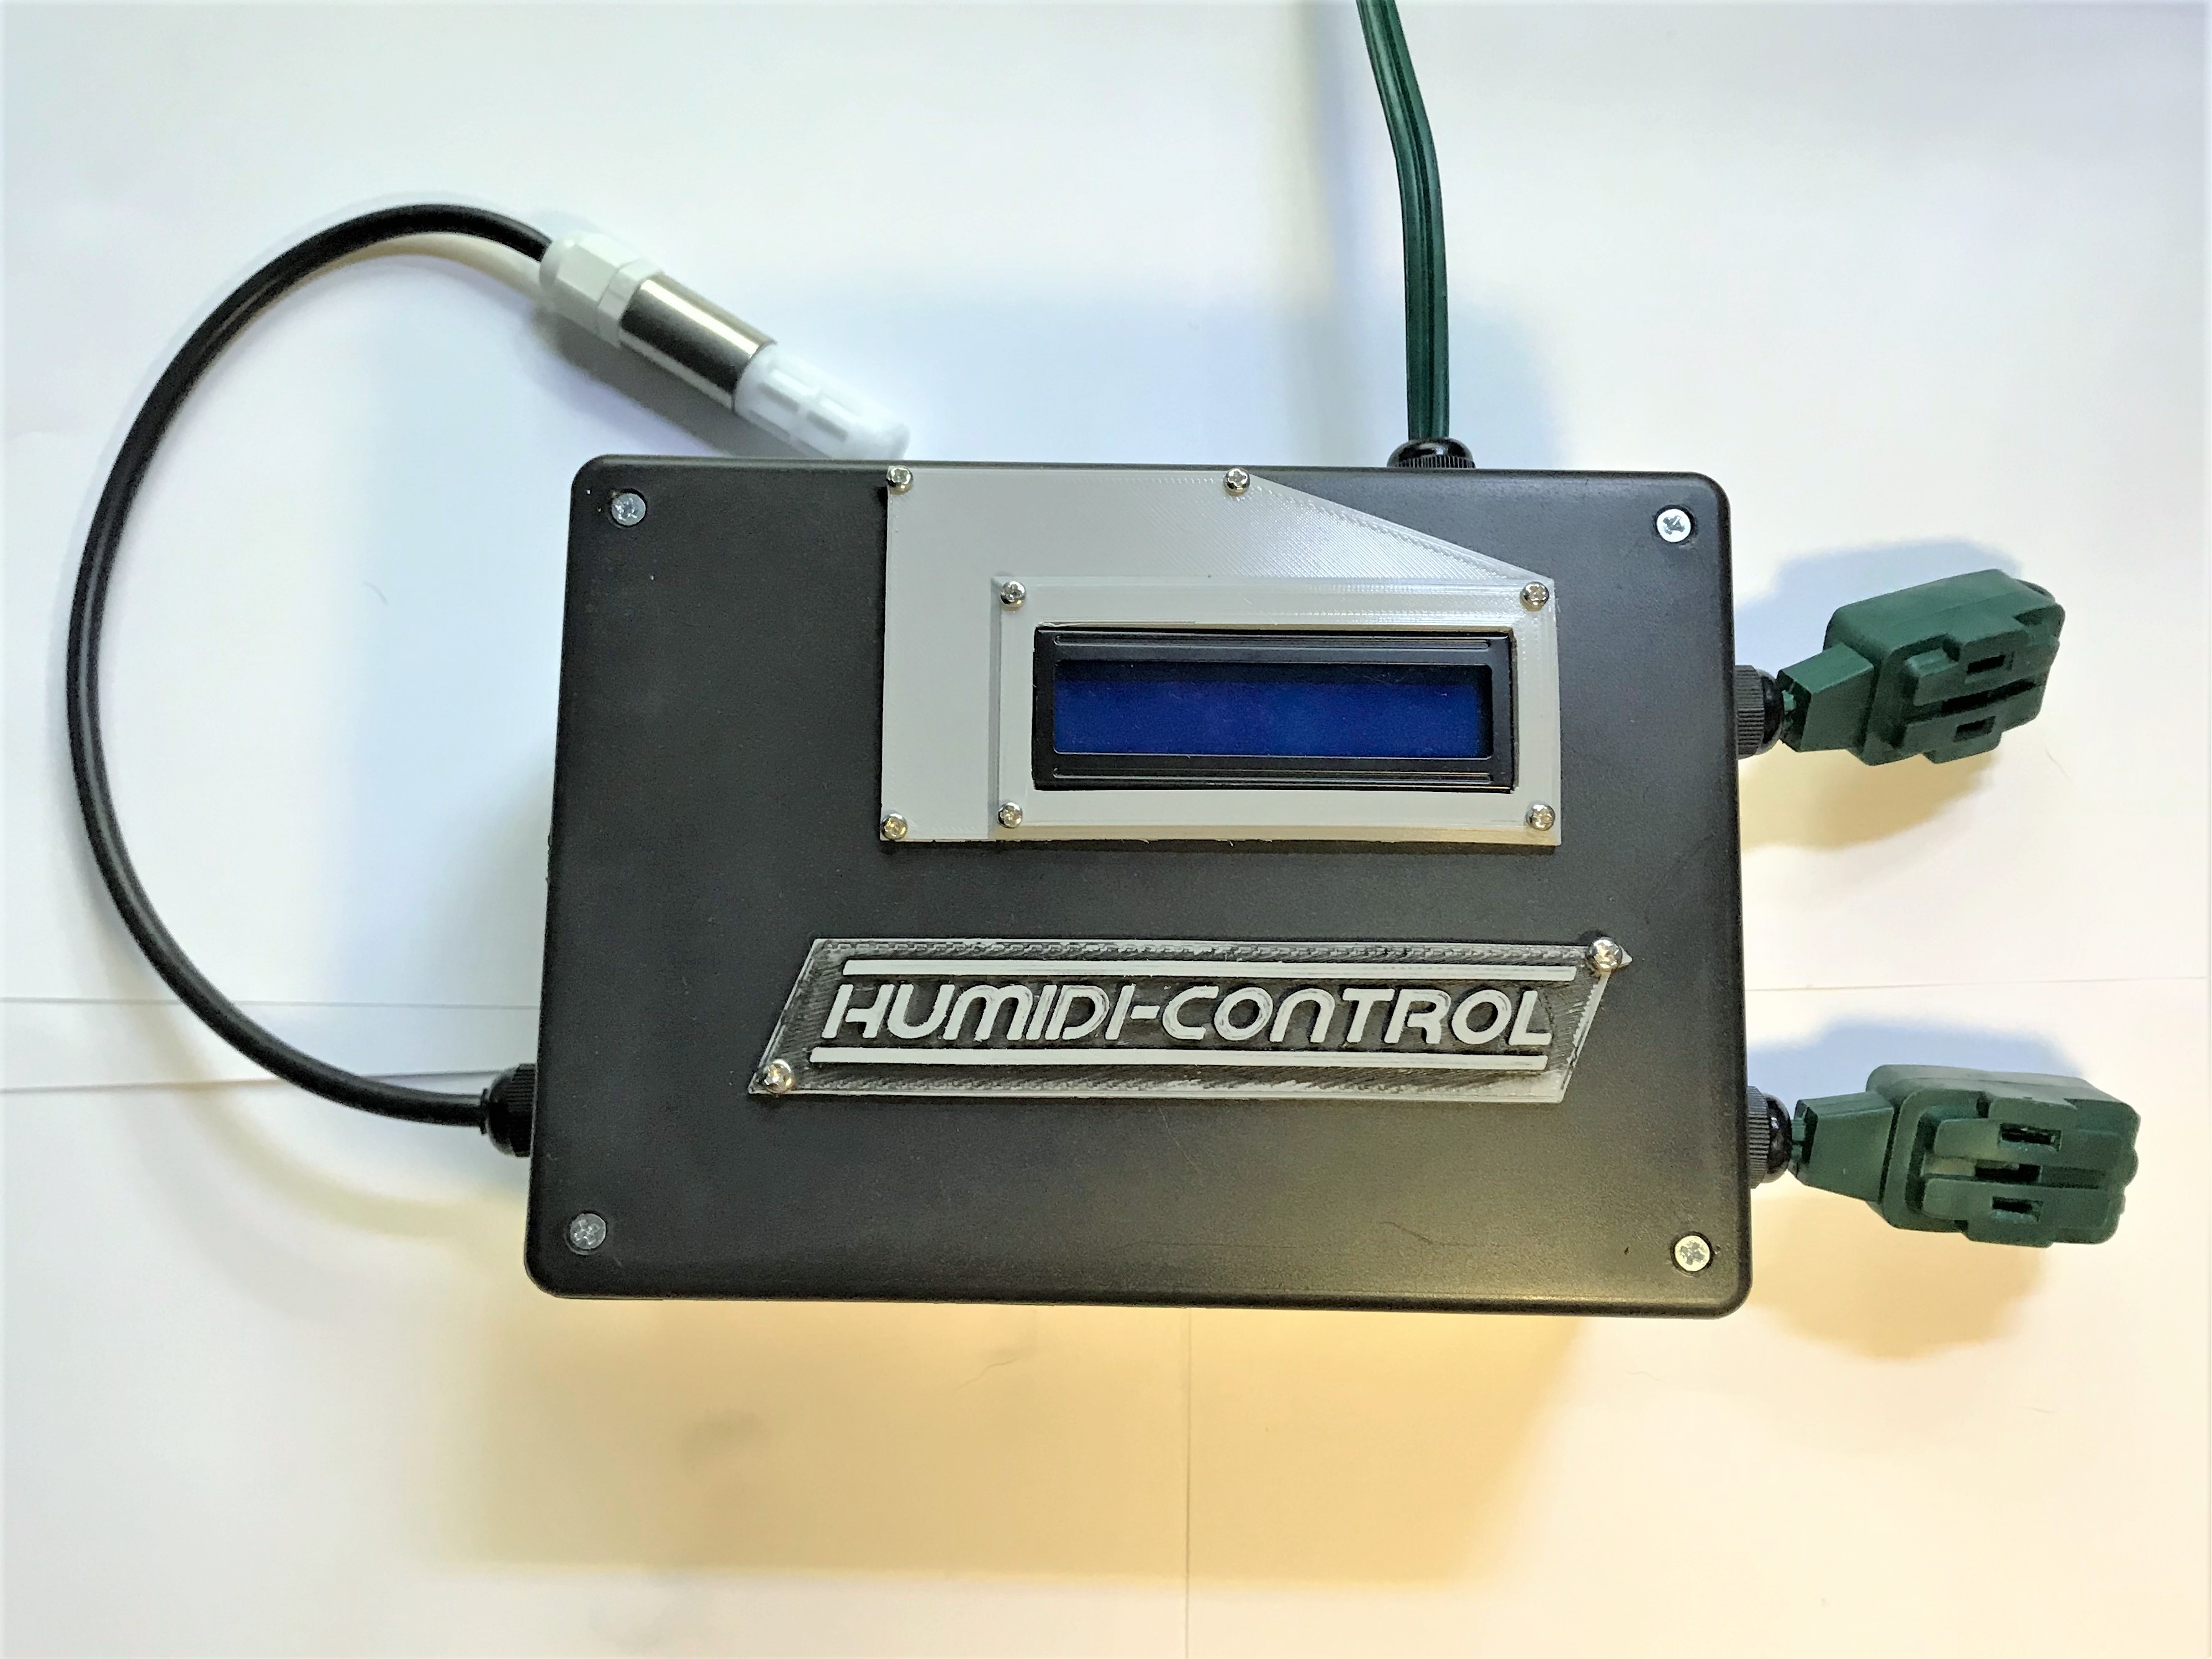
These steps finish setting up the project box with the control system inside.
POWERING AND CLOSING
- Use the extension cord input that was placed inside the box to add your power connector to the Arduino.
- I like to use the USB so I can easily just open it up and grab the cord to reprogram it.
- Power up the box to make sure all the connections work.
- Screw in the mounting board with the appropriate screws.
- Screw the top on the box using the screws from the project box kit.
The control system is now complete. The next steps are the addition of a humidifier and a cooling fan.
Humidifier Set-Up
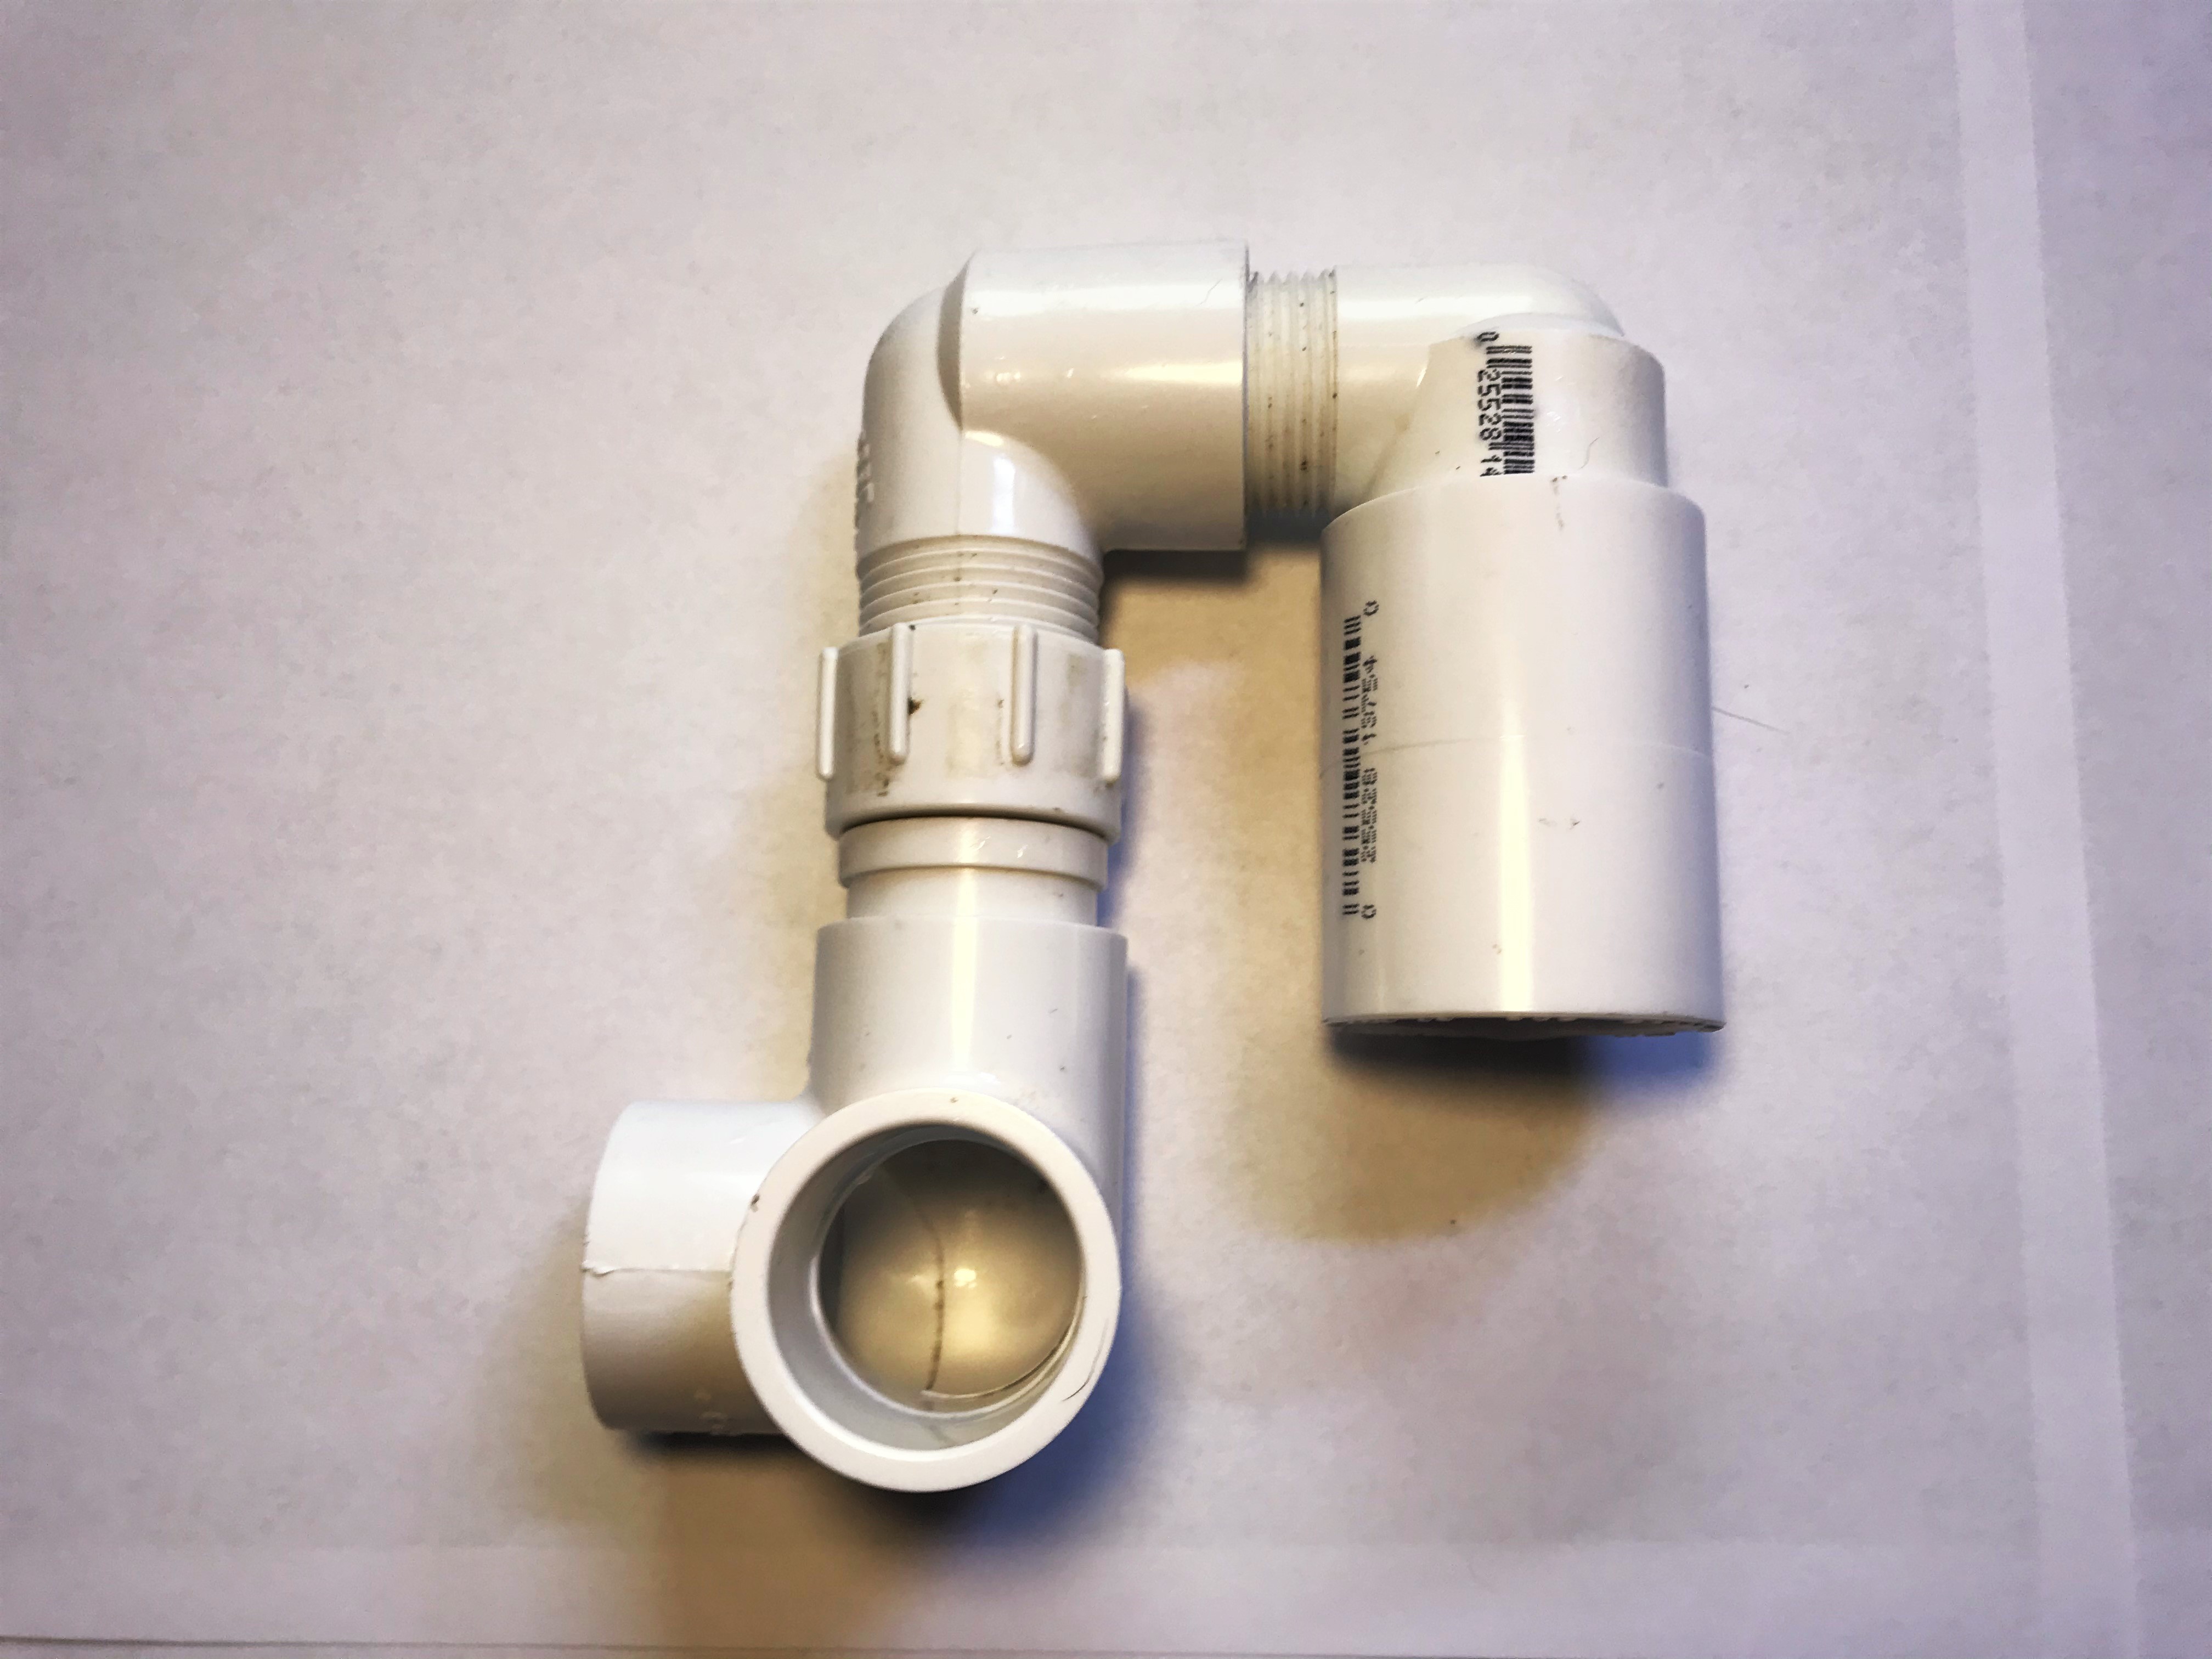
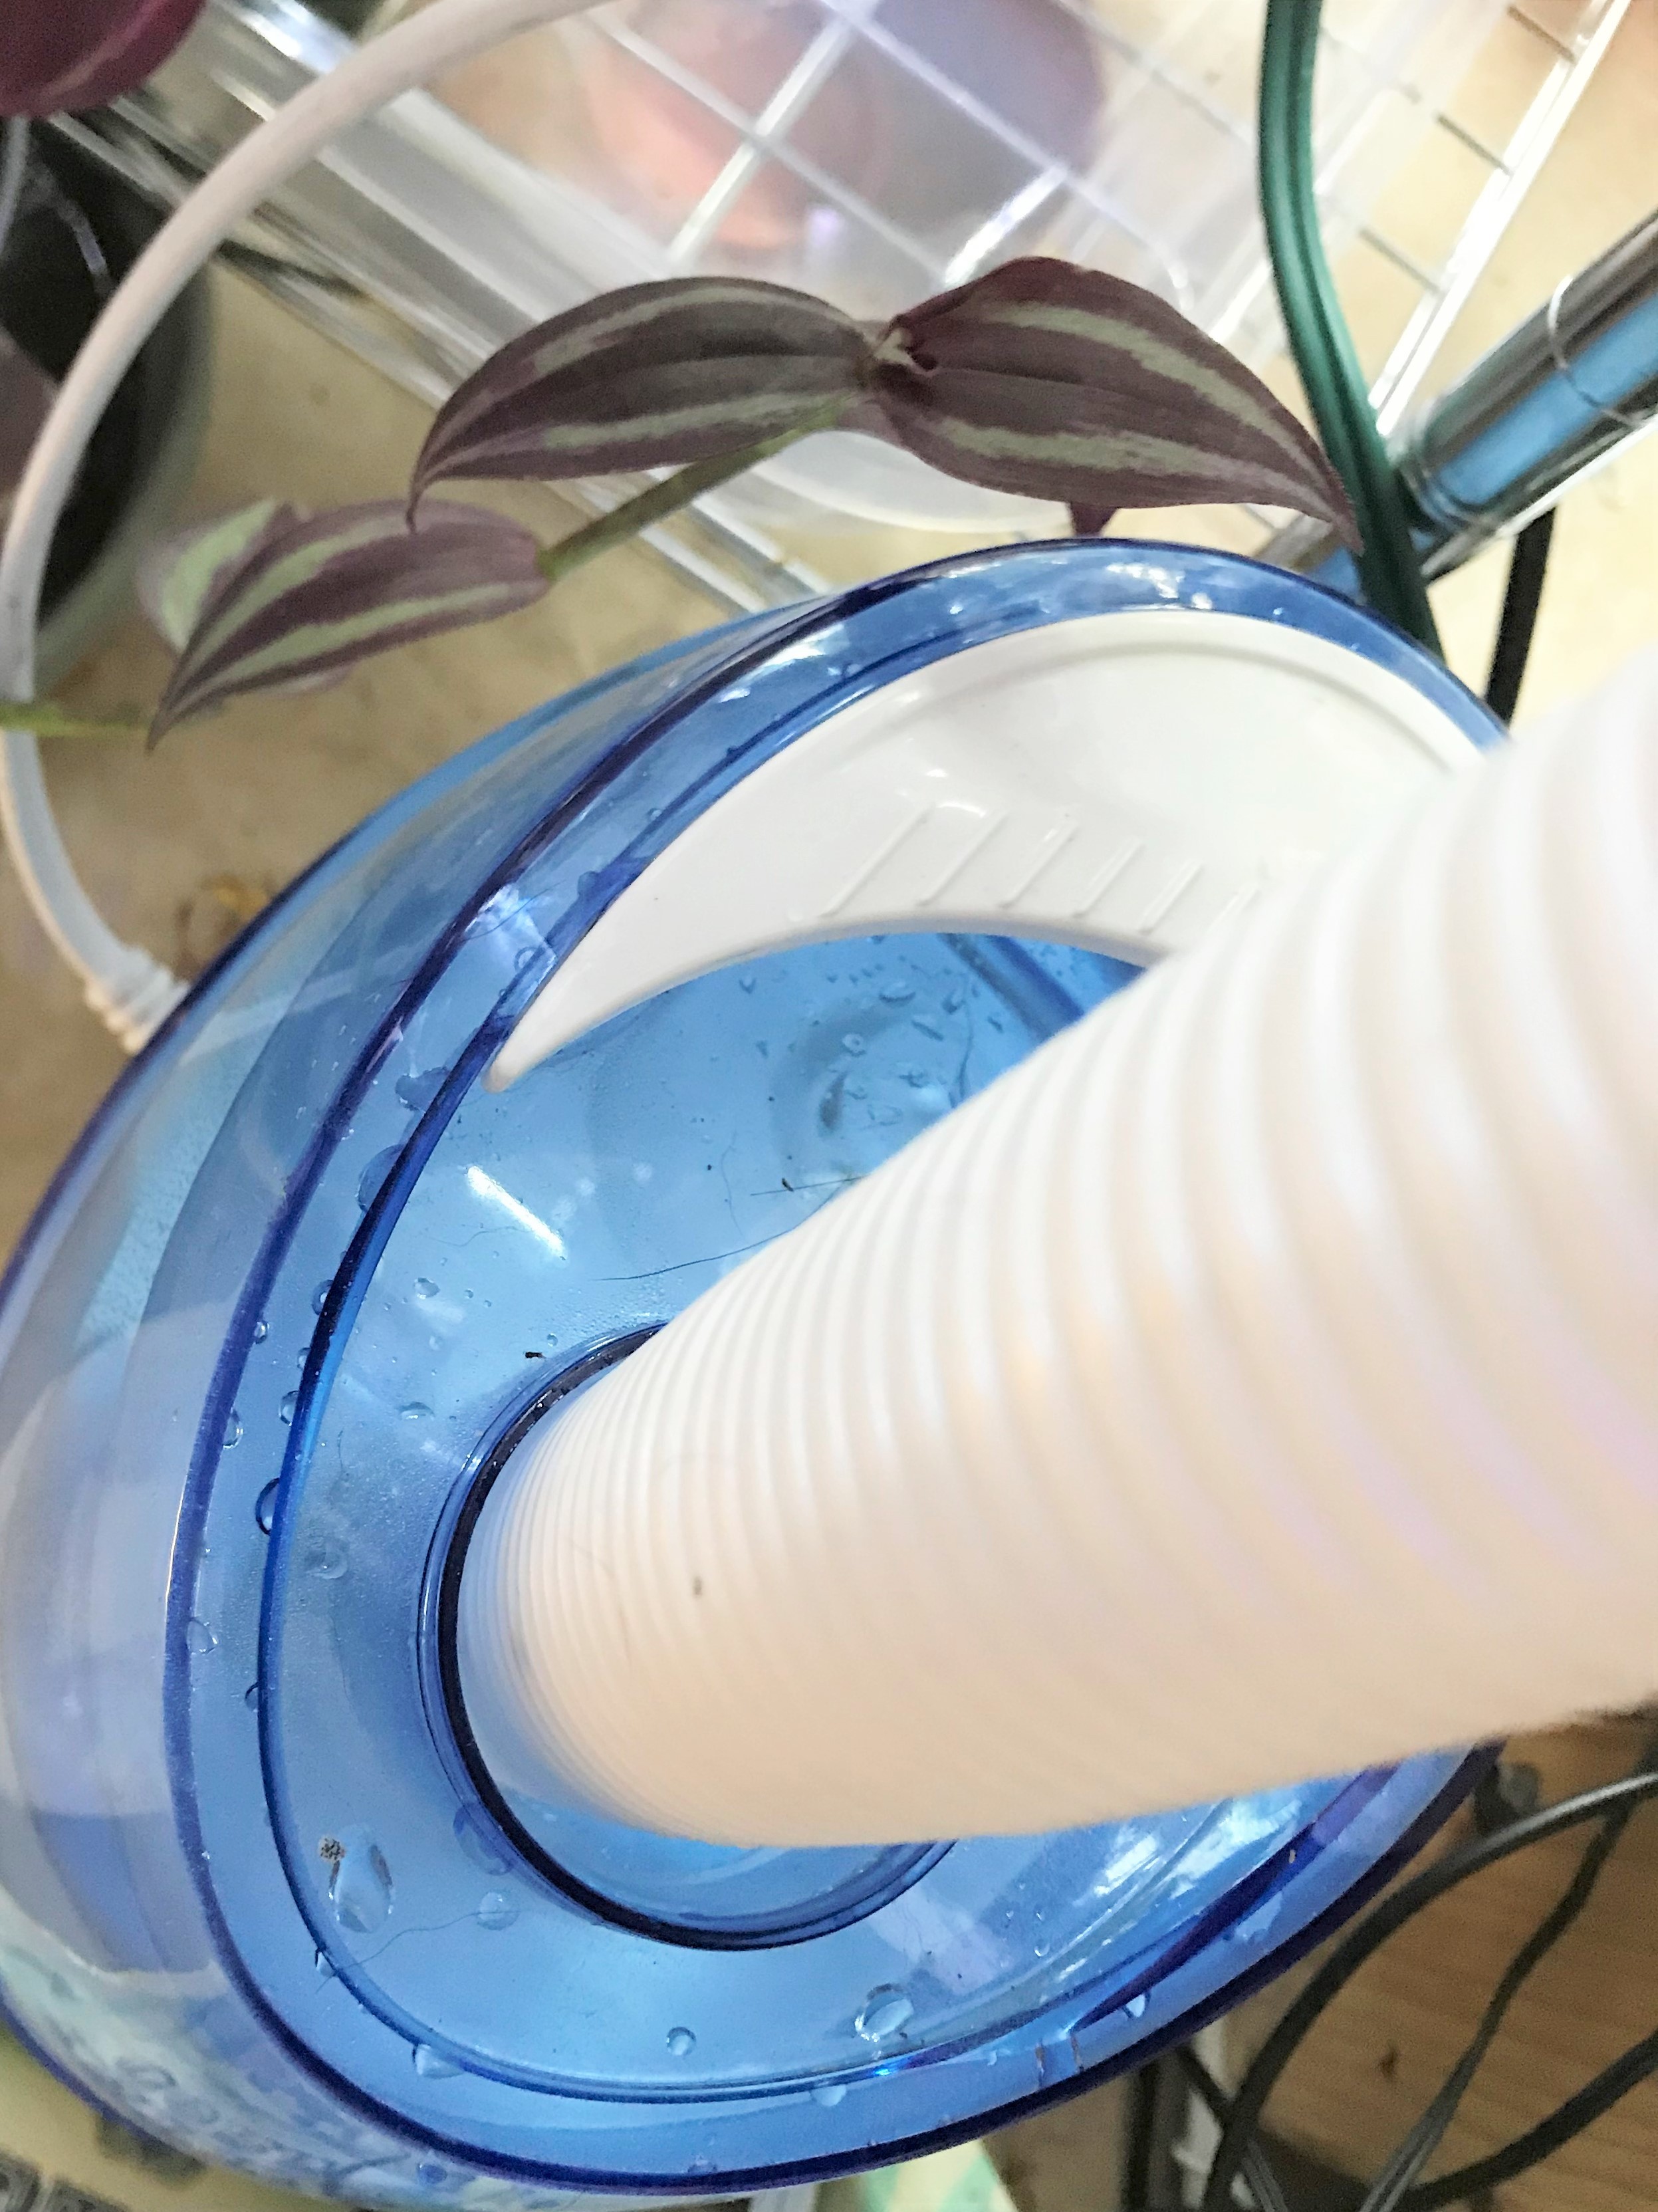
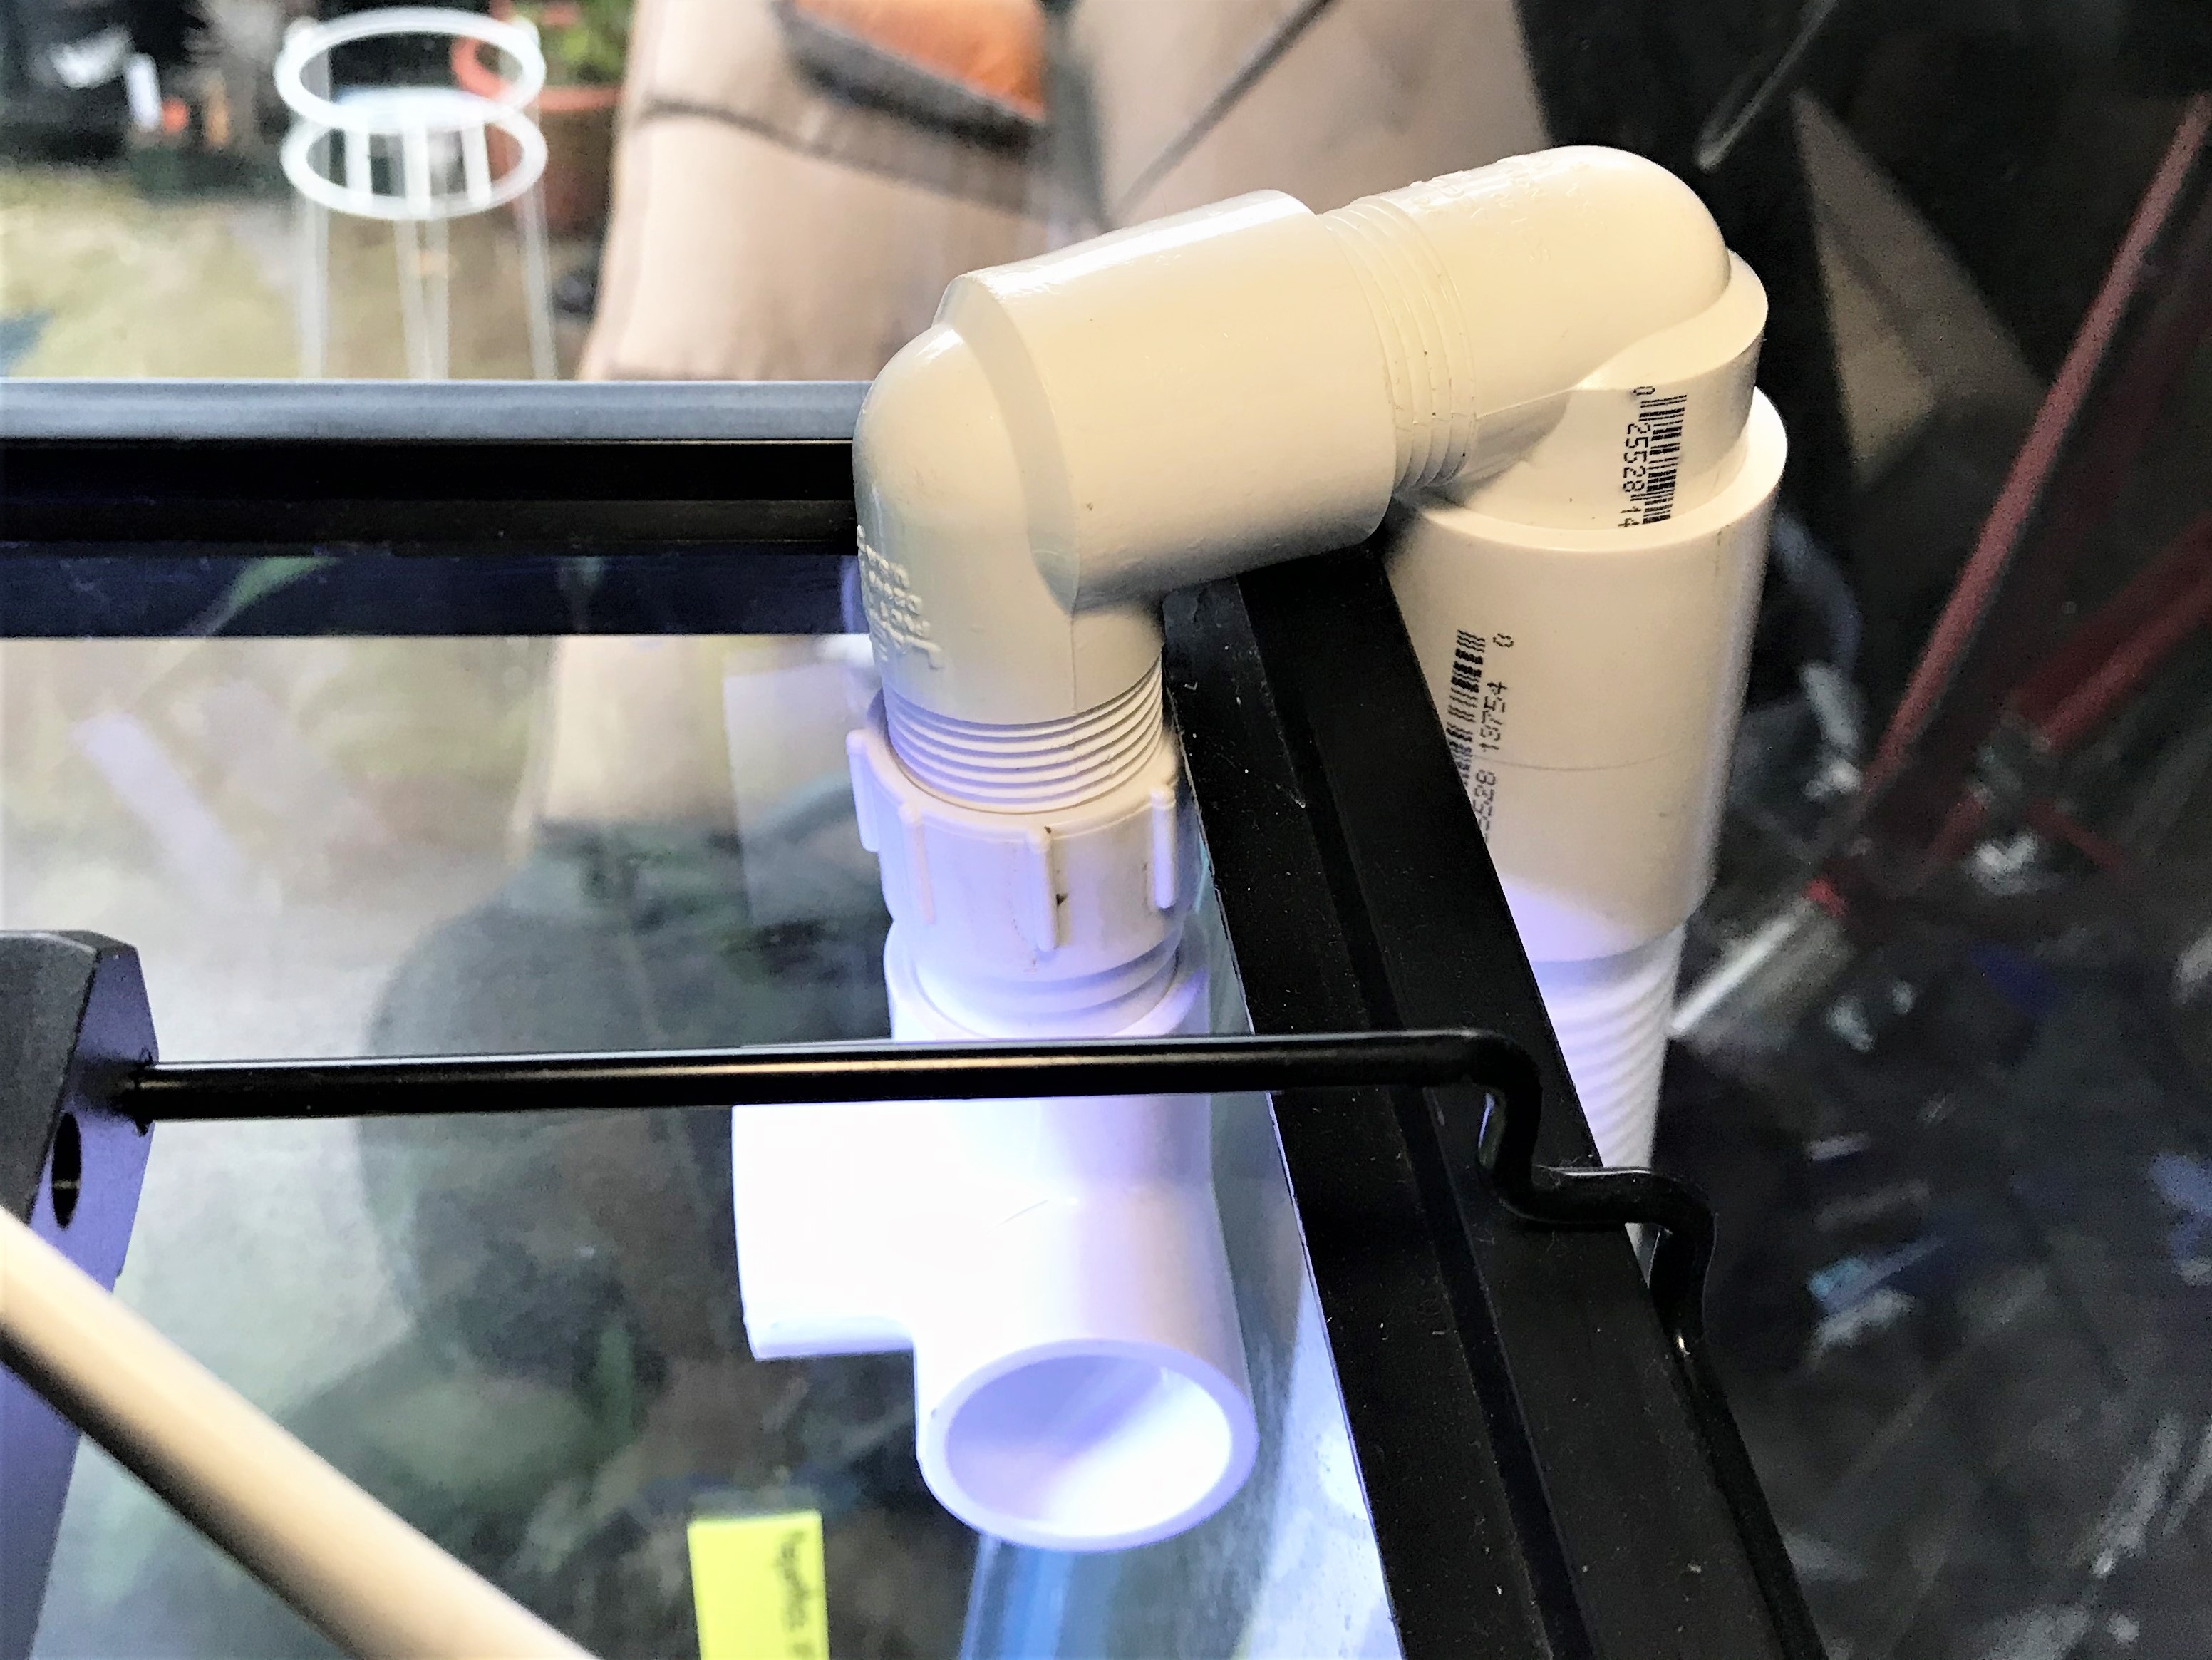
This is for the setup of a basic humidification system using a commercial ultrasonic humidifier
HUMIDIFIER
- Using the PVC parts, connect them into the contraption seen in the figure
- Attach the 3/4" female-to-female PVC coupling to the male-to-female PVC screw elbow.
- Attach that screw elbow to another screw elbow to make a right angle.
- Add the male-to-female irrigation adapter to the screw end of the screw elbow.
- Attach the side outlet PVC elbow to the end of the irrigation adapter.
- Measure and cut the tubing to the desired length
- This length needs to be from the top of the terrarium to the middle of the humidifier.
- There needs to be very little slack in the line and it should be as vertical as possible. Any looping or areas that collect water will clog the tubing and prevent small water particles from flowing.
- In the case of this setup, the tubing had delineations at ever foot and three feet worked.
- Connect the tubing to the PVC part
- In this case, a 5/8" bile duct is used which fits snuggly into the 3/4" coupling
- Remove the white cap off the humidifier output
- Push the tubing inside the output so that it makes a snug fit.
- Place the PVC tubing side inside the terrarium so that it sits along the rim. The PCV parts can be screwed in more or less to allow the width of the rim of the terrarium to be accommodated.
Cooling Fan Set-Up
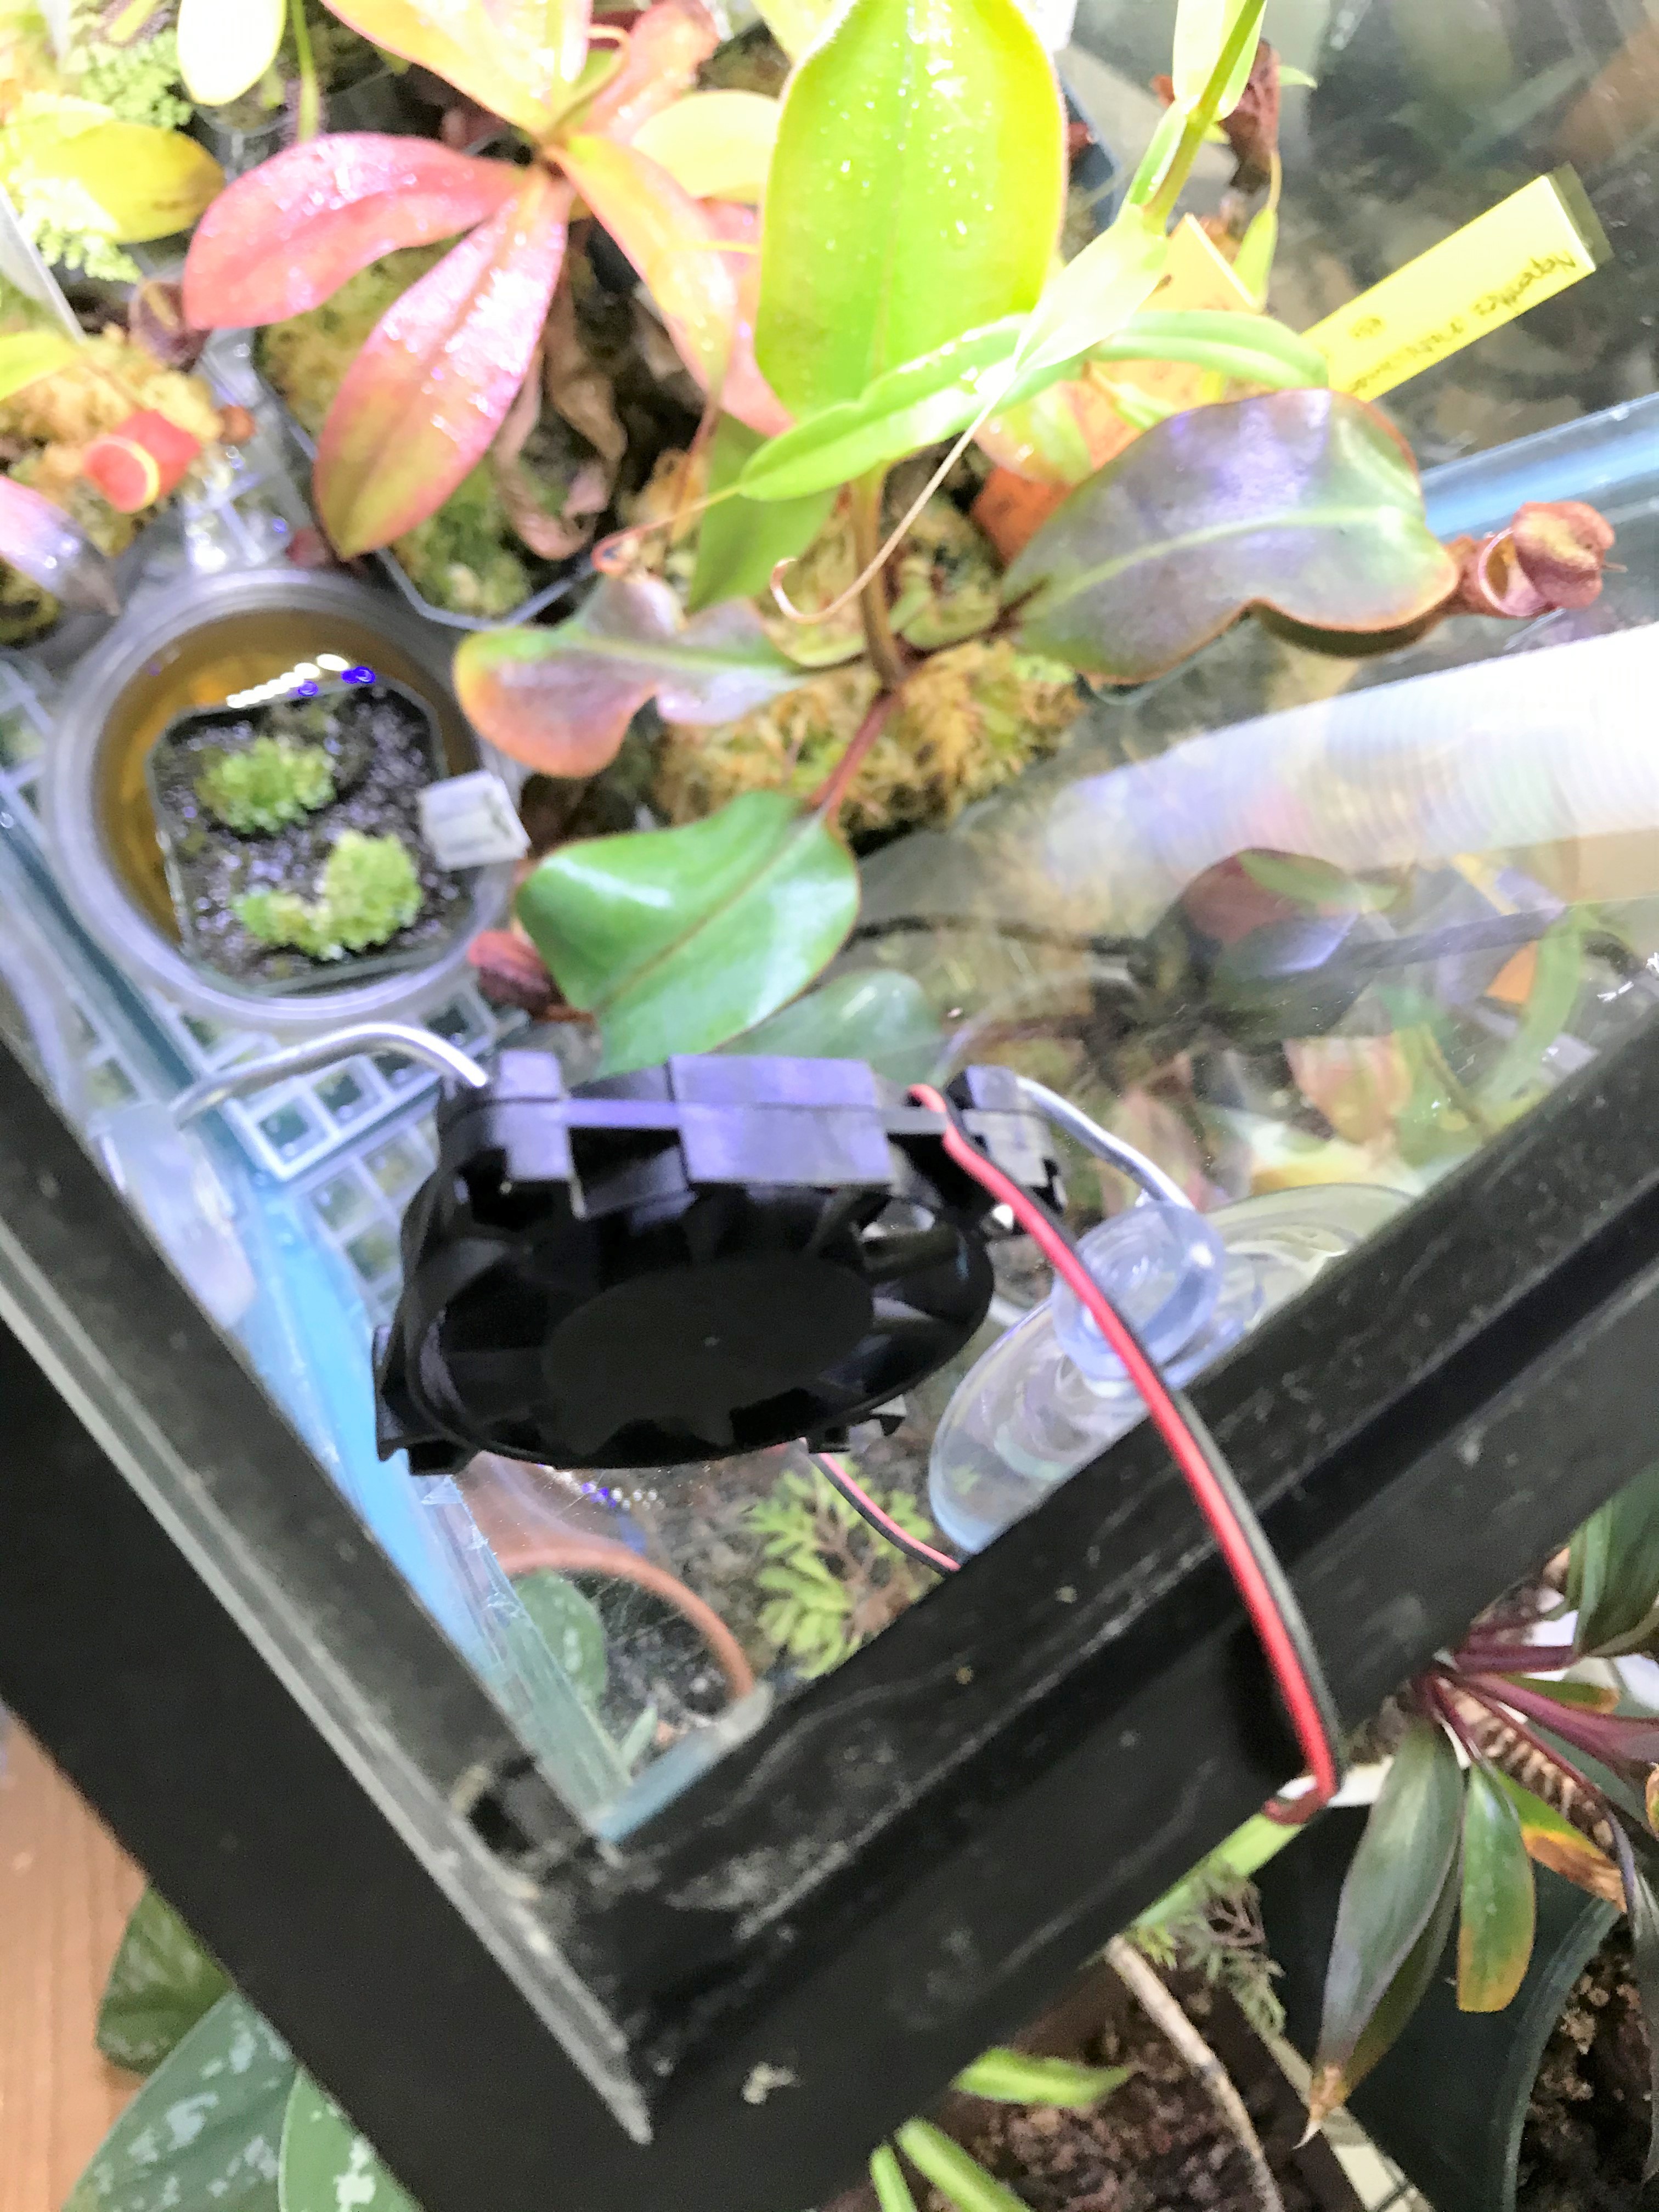
This adds a cooling fan to reduce the temperature through convective cooling when necessary
COOLING FAN
- Connect the output wires from the computer fan to a 12V male plug adapter.
- Using 2 Suction cup, position/bend them in such a way to sit in the holes of the fan (figure).
- The fan should be angled downward slightly to pull in air from the surroundings to cool the inhabitants.
Plugging It in and Checking
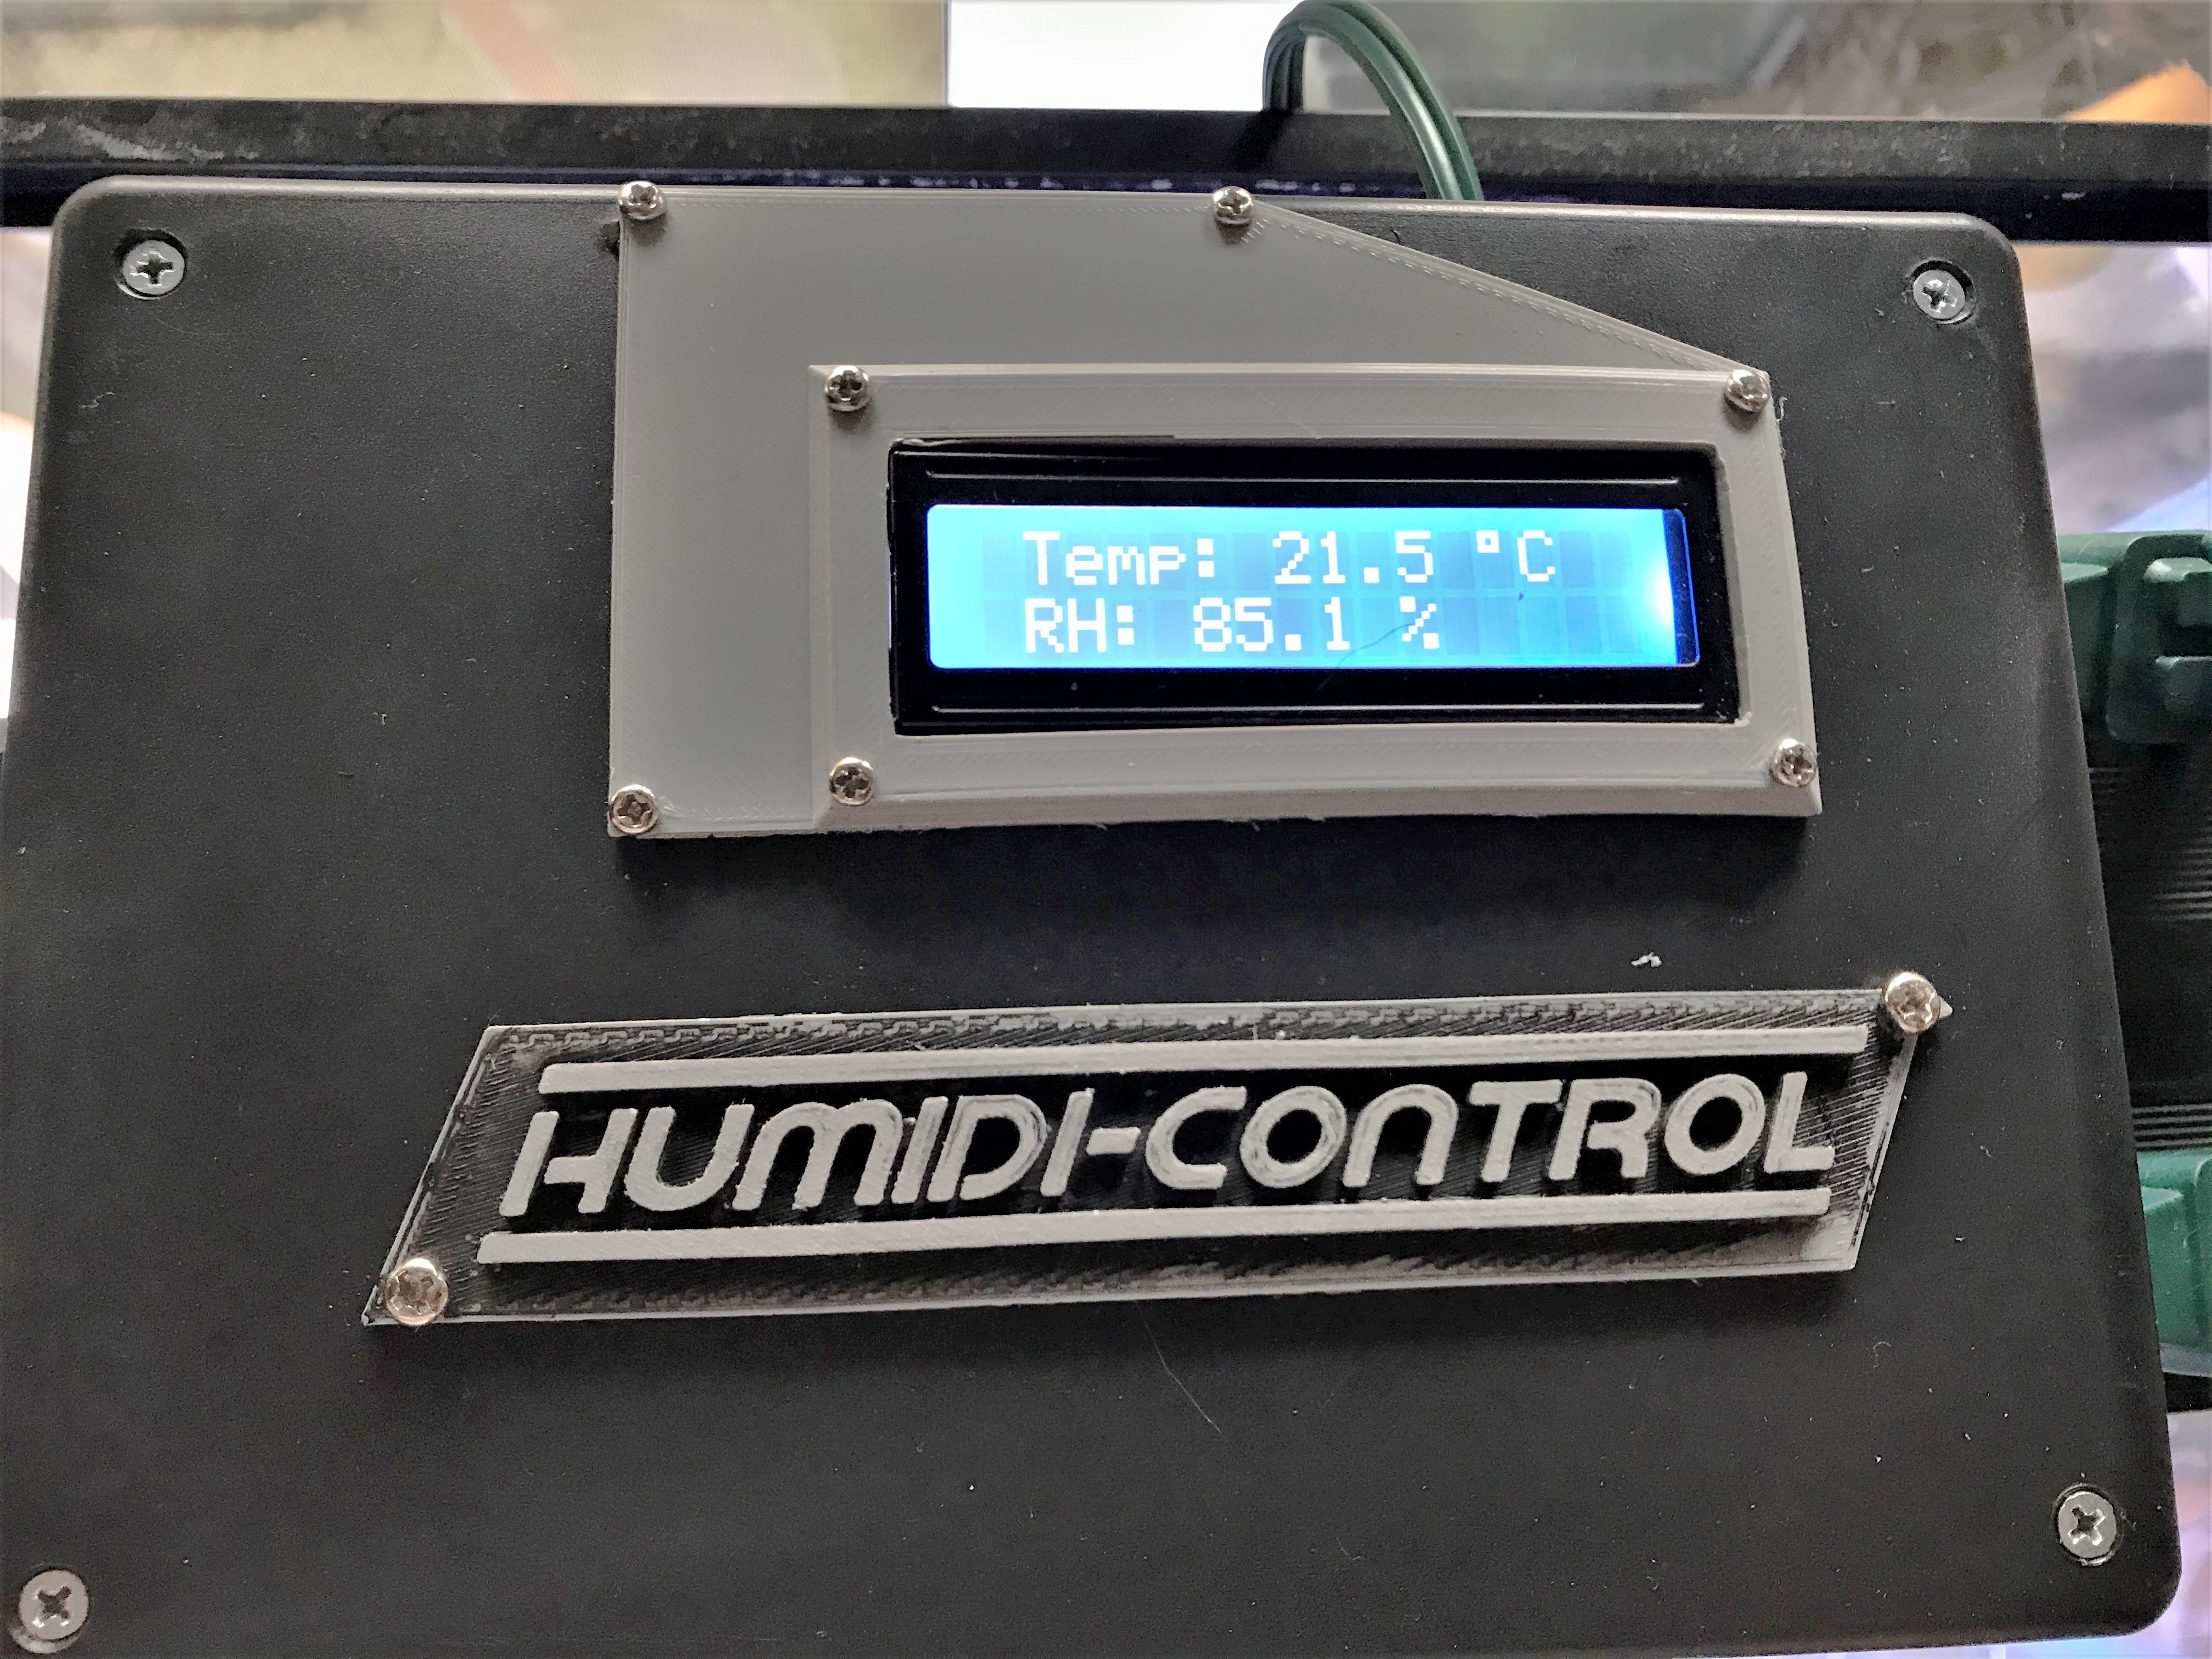
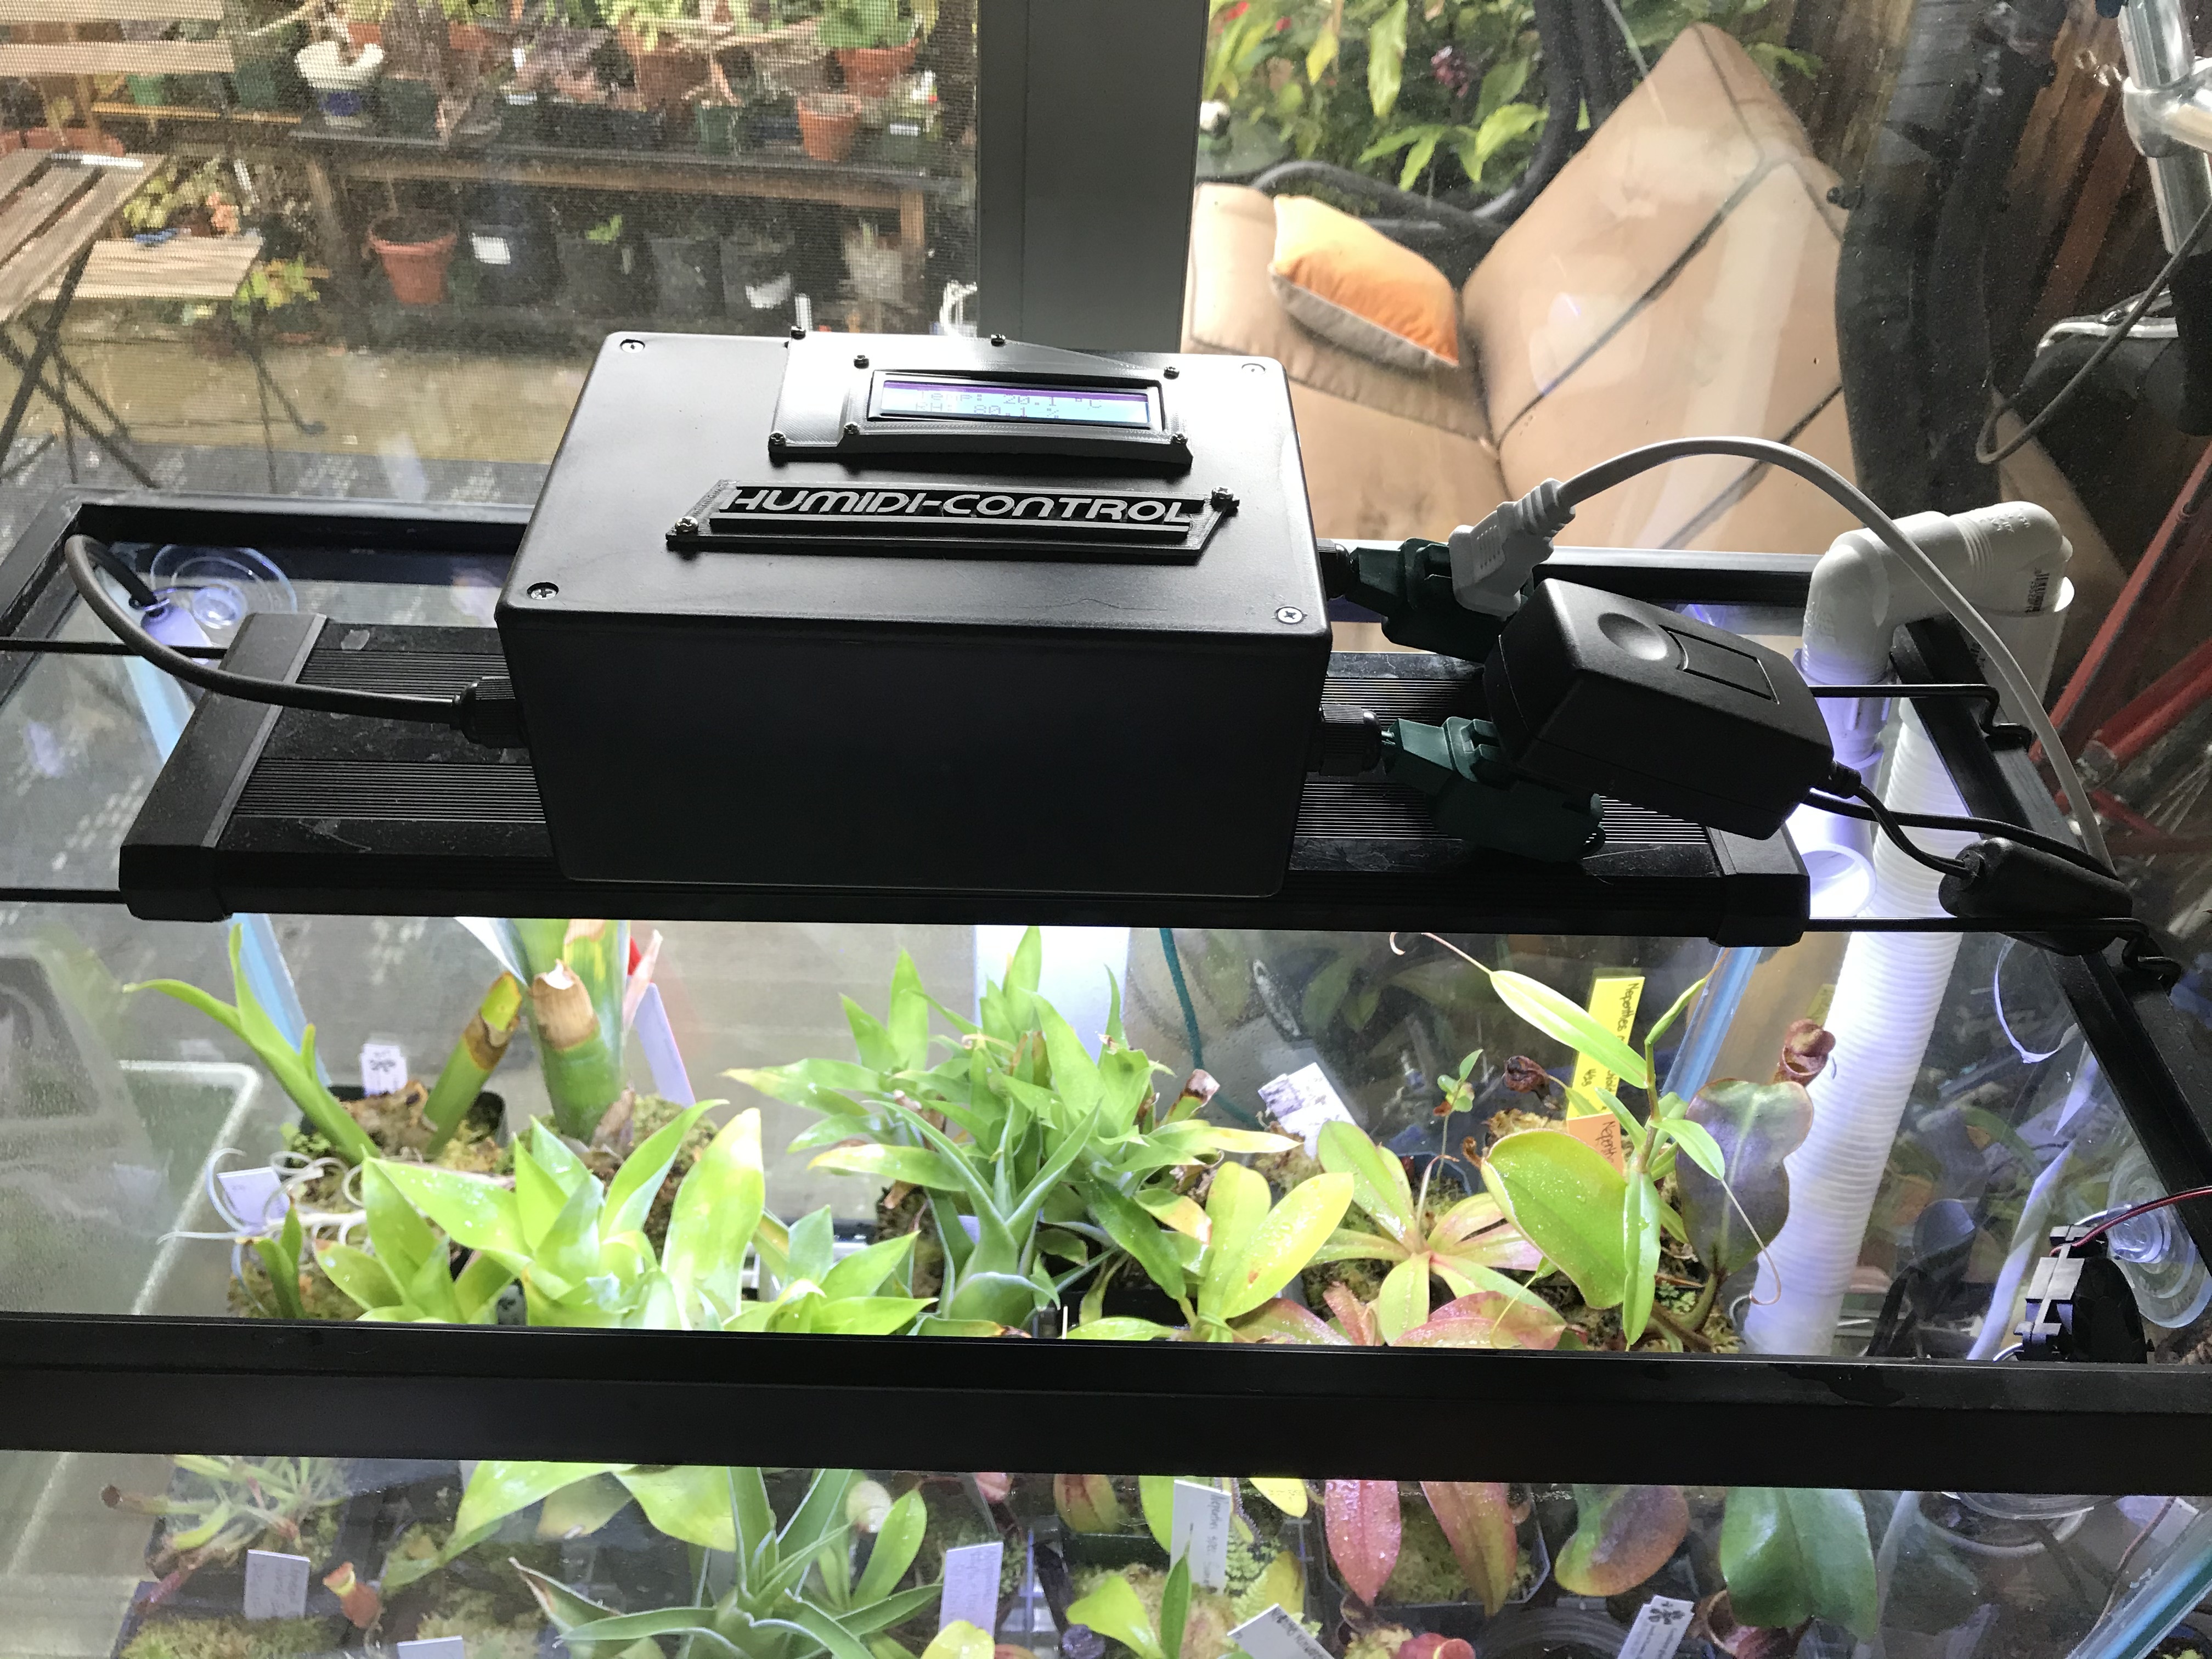
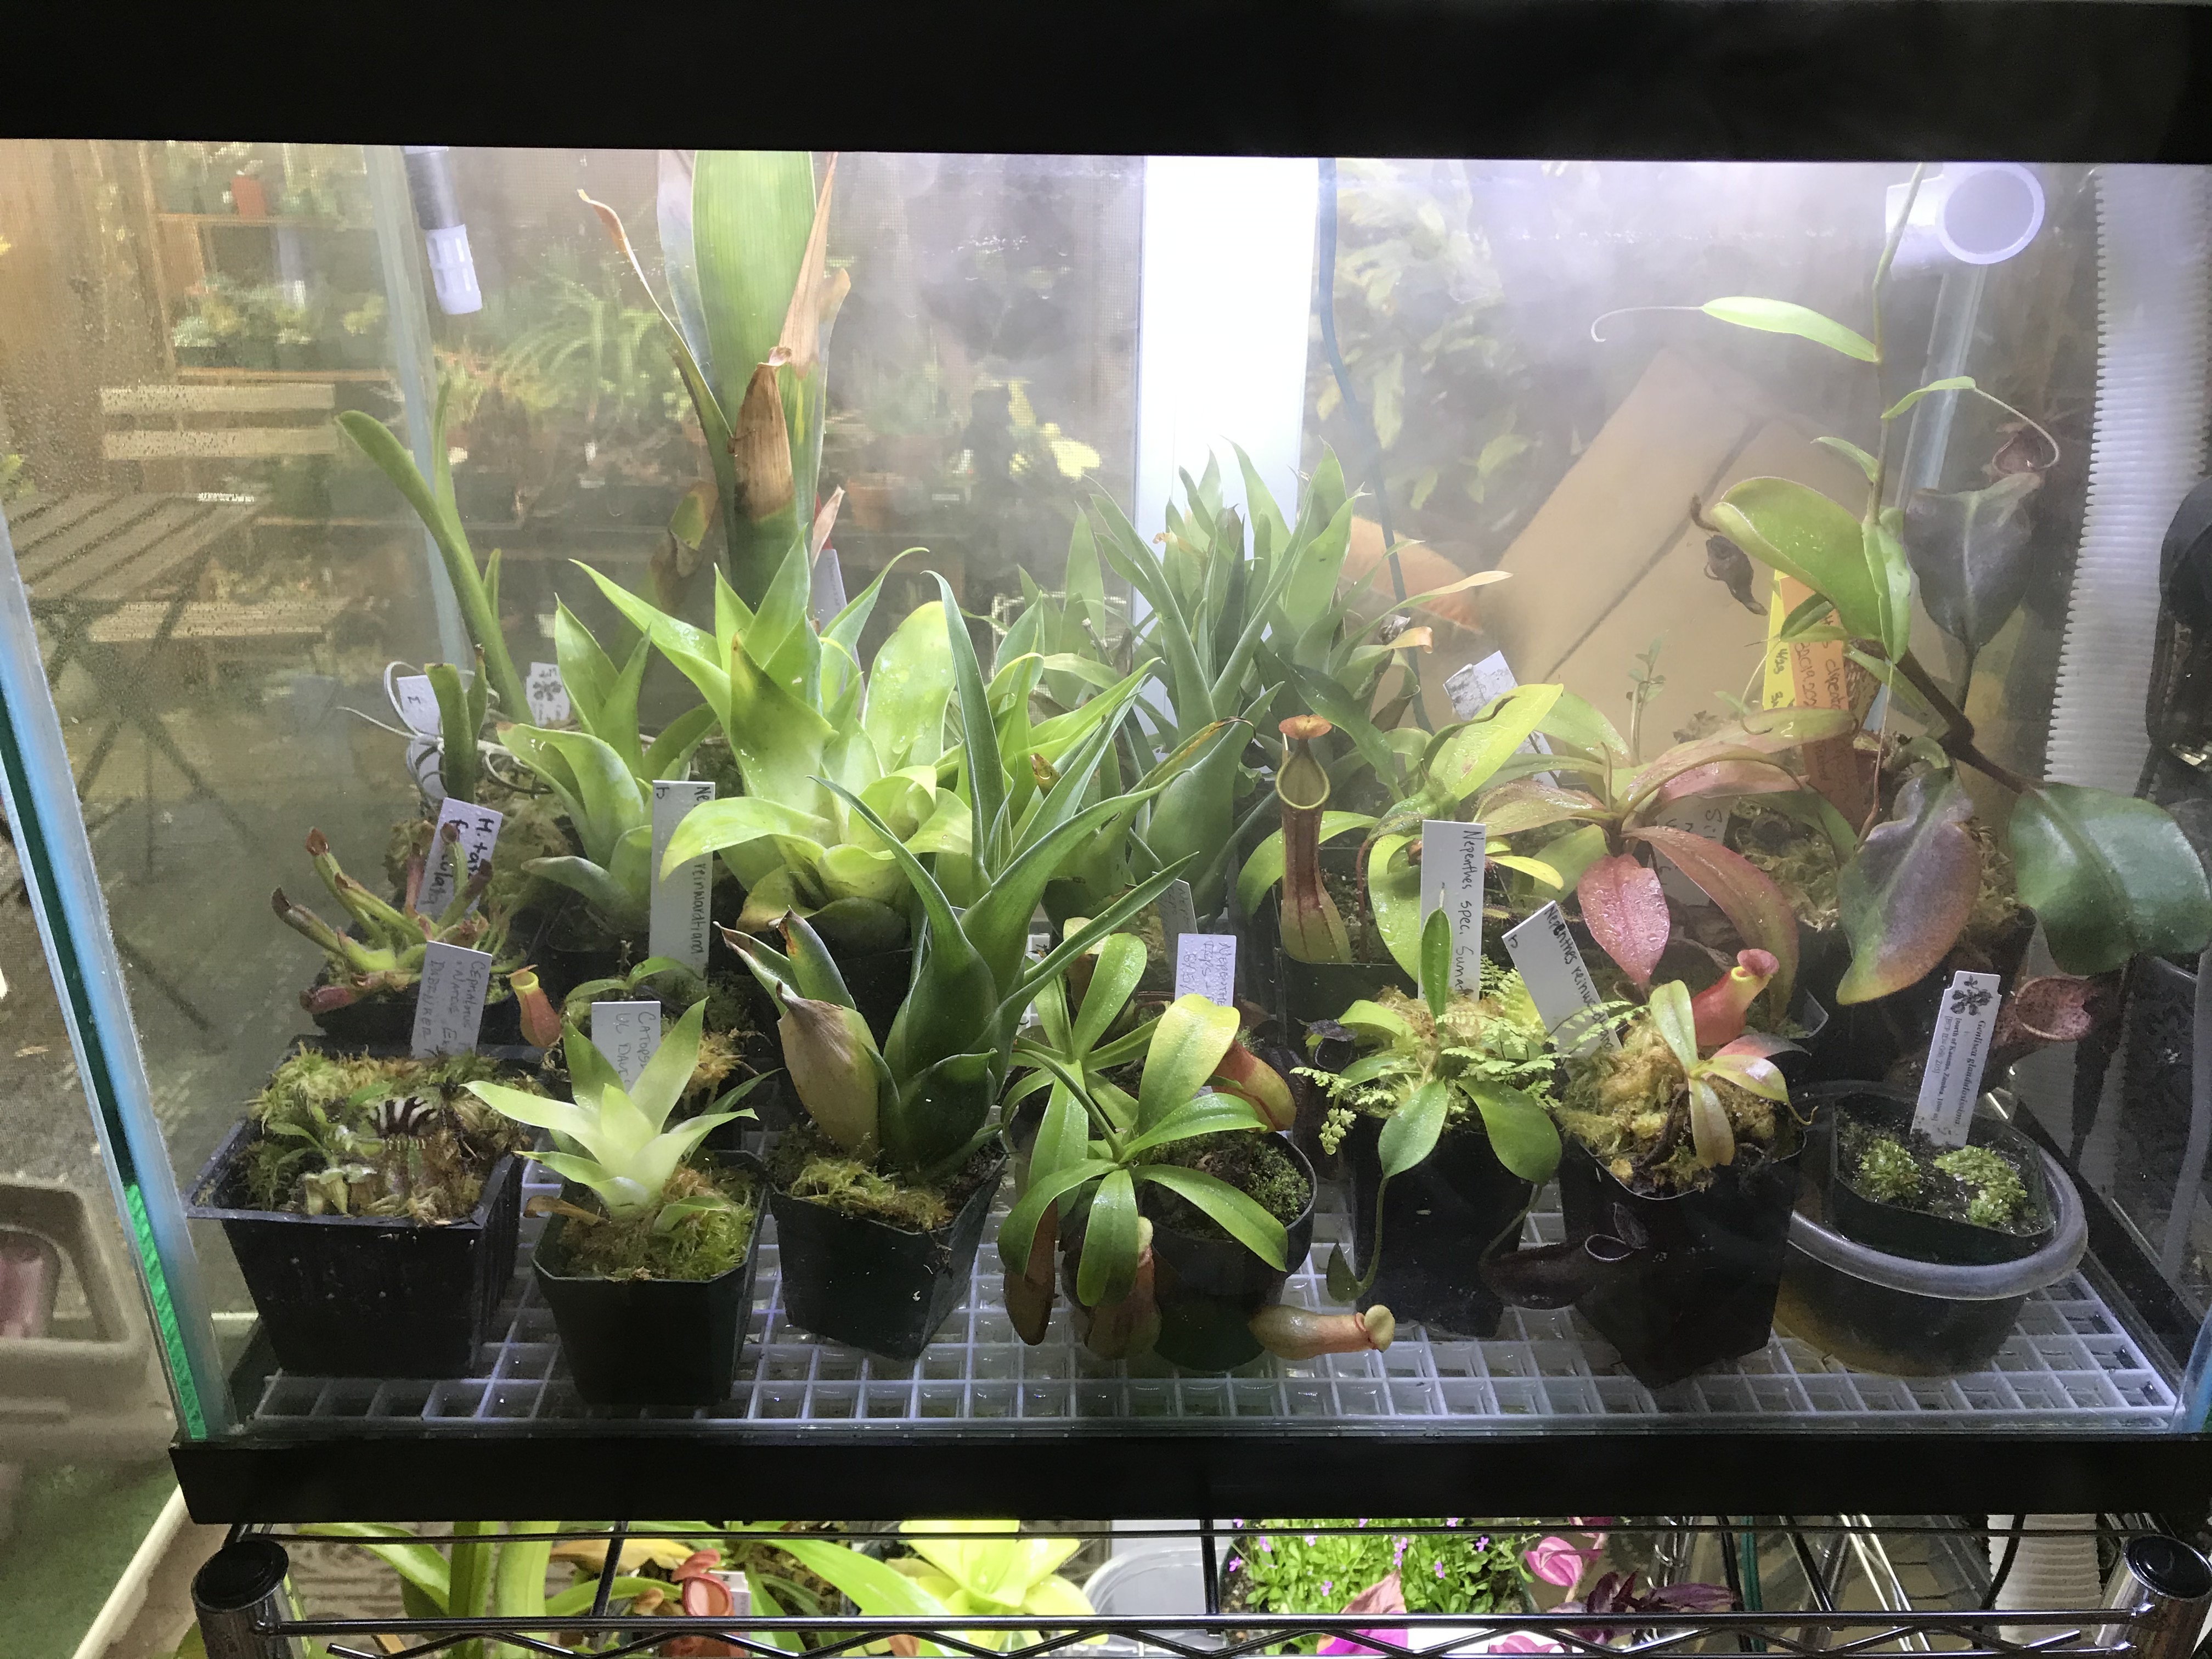
This is the final step to finalize the control system!
MOUNT SHT 20
- Using a suction cup hoop, attach the SHT 20 towards the top of the terrarium (figure).
- In theory, the gradient of water in the air should be lowest towards the top of the terrarium since that is where it mixes with room air. In this case, one can be sure the rest of the terrarium is at or slightly above the humidity measured by the sensor.
PLUG-IN EVERYTHING
- Plug-in the control system to an outlet and ensure it powers up and reads properly
- Plug-in the humidifier to the humidity control outlet.
- Plug-in the fan to the temperature control outlet.
TEST
- Test the system by adjusting the environment around the sensor to make sure that the relays turn on/off when needed. See Step 2 for more information.
Final Words
FINAL WORDS
The system is set up and should be good to go. As stated earlier the system is modular in that things can be easily adjusted or modified to accommodate whatever requirements are needed. It is very important to remember that this system is not smart: It will not know if there is a failure and will only turn things on or off. The system should be checked constantly to ensure there is enough water in the humidifier, that the line is not clogged, that the humidity sensor is still functioning, etc. Overall, this system should operate at the same level as commercial control systems and be more functional, adaptable, and cost-effective. Have fun building.