Humidity Sensor + Arduino
by callmeappytechie in Circuits > Arduino
7011 Views, 17 Favorites, 0 Comments
Humidity Sensor + Arduino
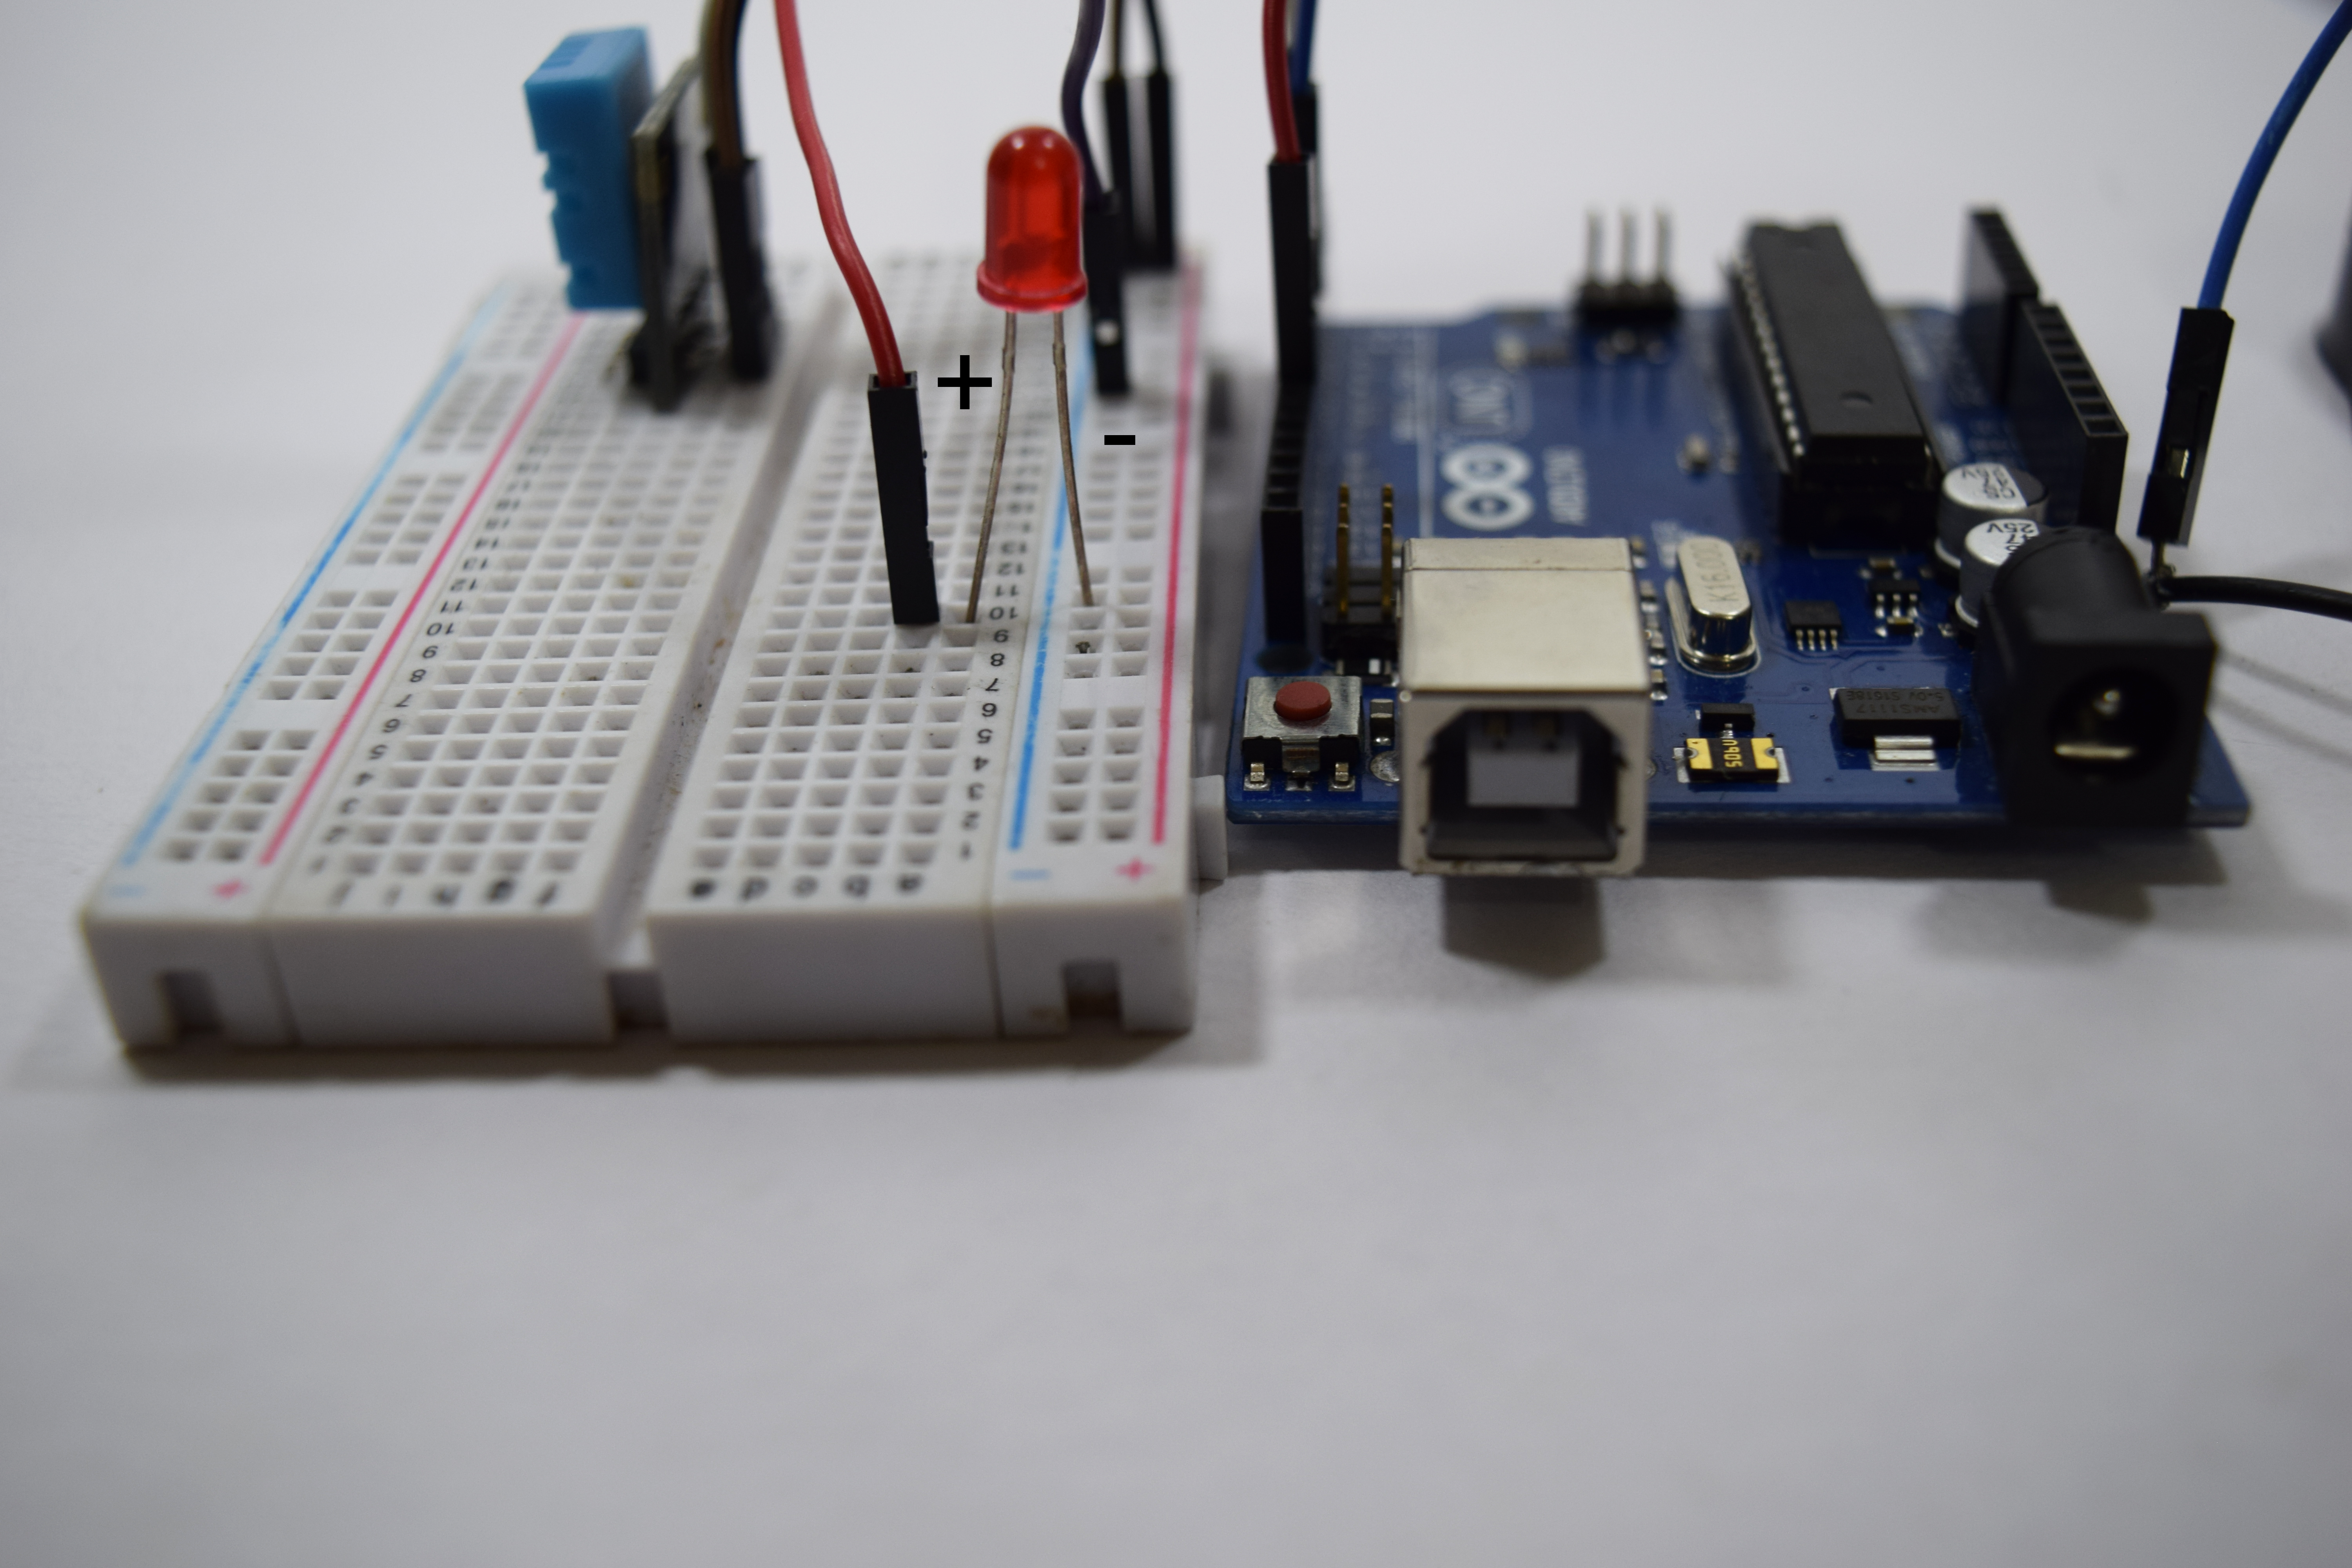
Hey, guys, I'm Sridhar Janardhan back again with a new instructable Today I am going to show how to interface a DTH11 sensor to the Arduino which can be treated as water level indicator too.Before building the circuit let me explain what is a DTH11 sensor??The dth11 sensor is very low-cost humidity Sensor and is usually slow But it is useful for the electronics hobbyist to use its data in their projects.Now let's get into constructing the hardware.
Step 1: Components Required
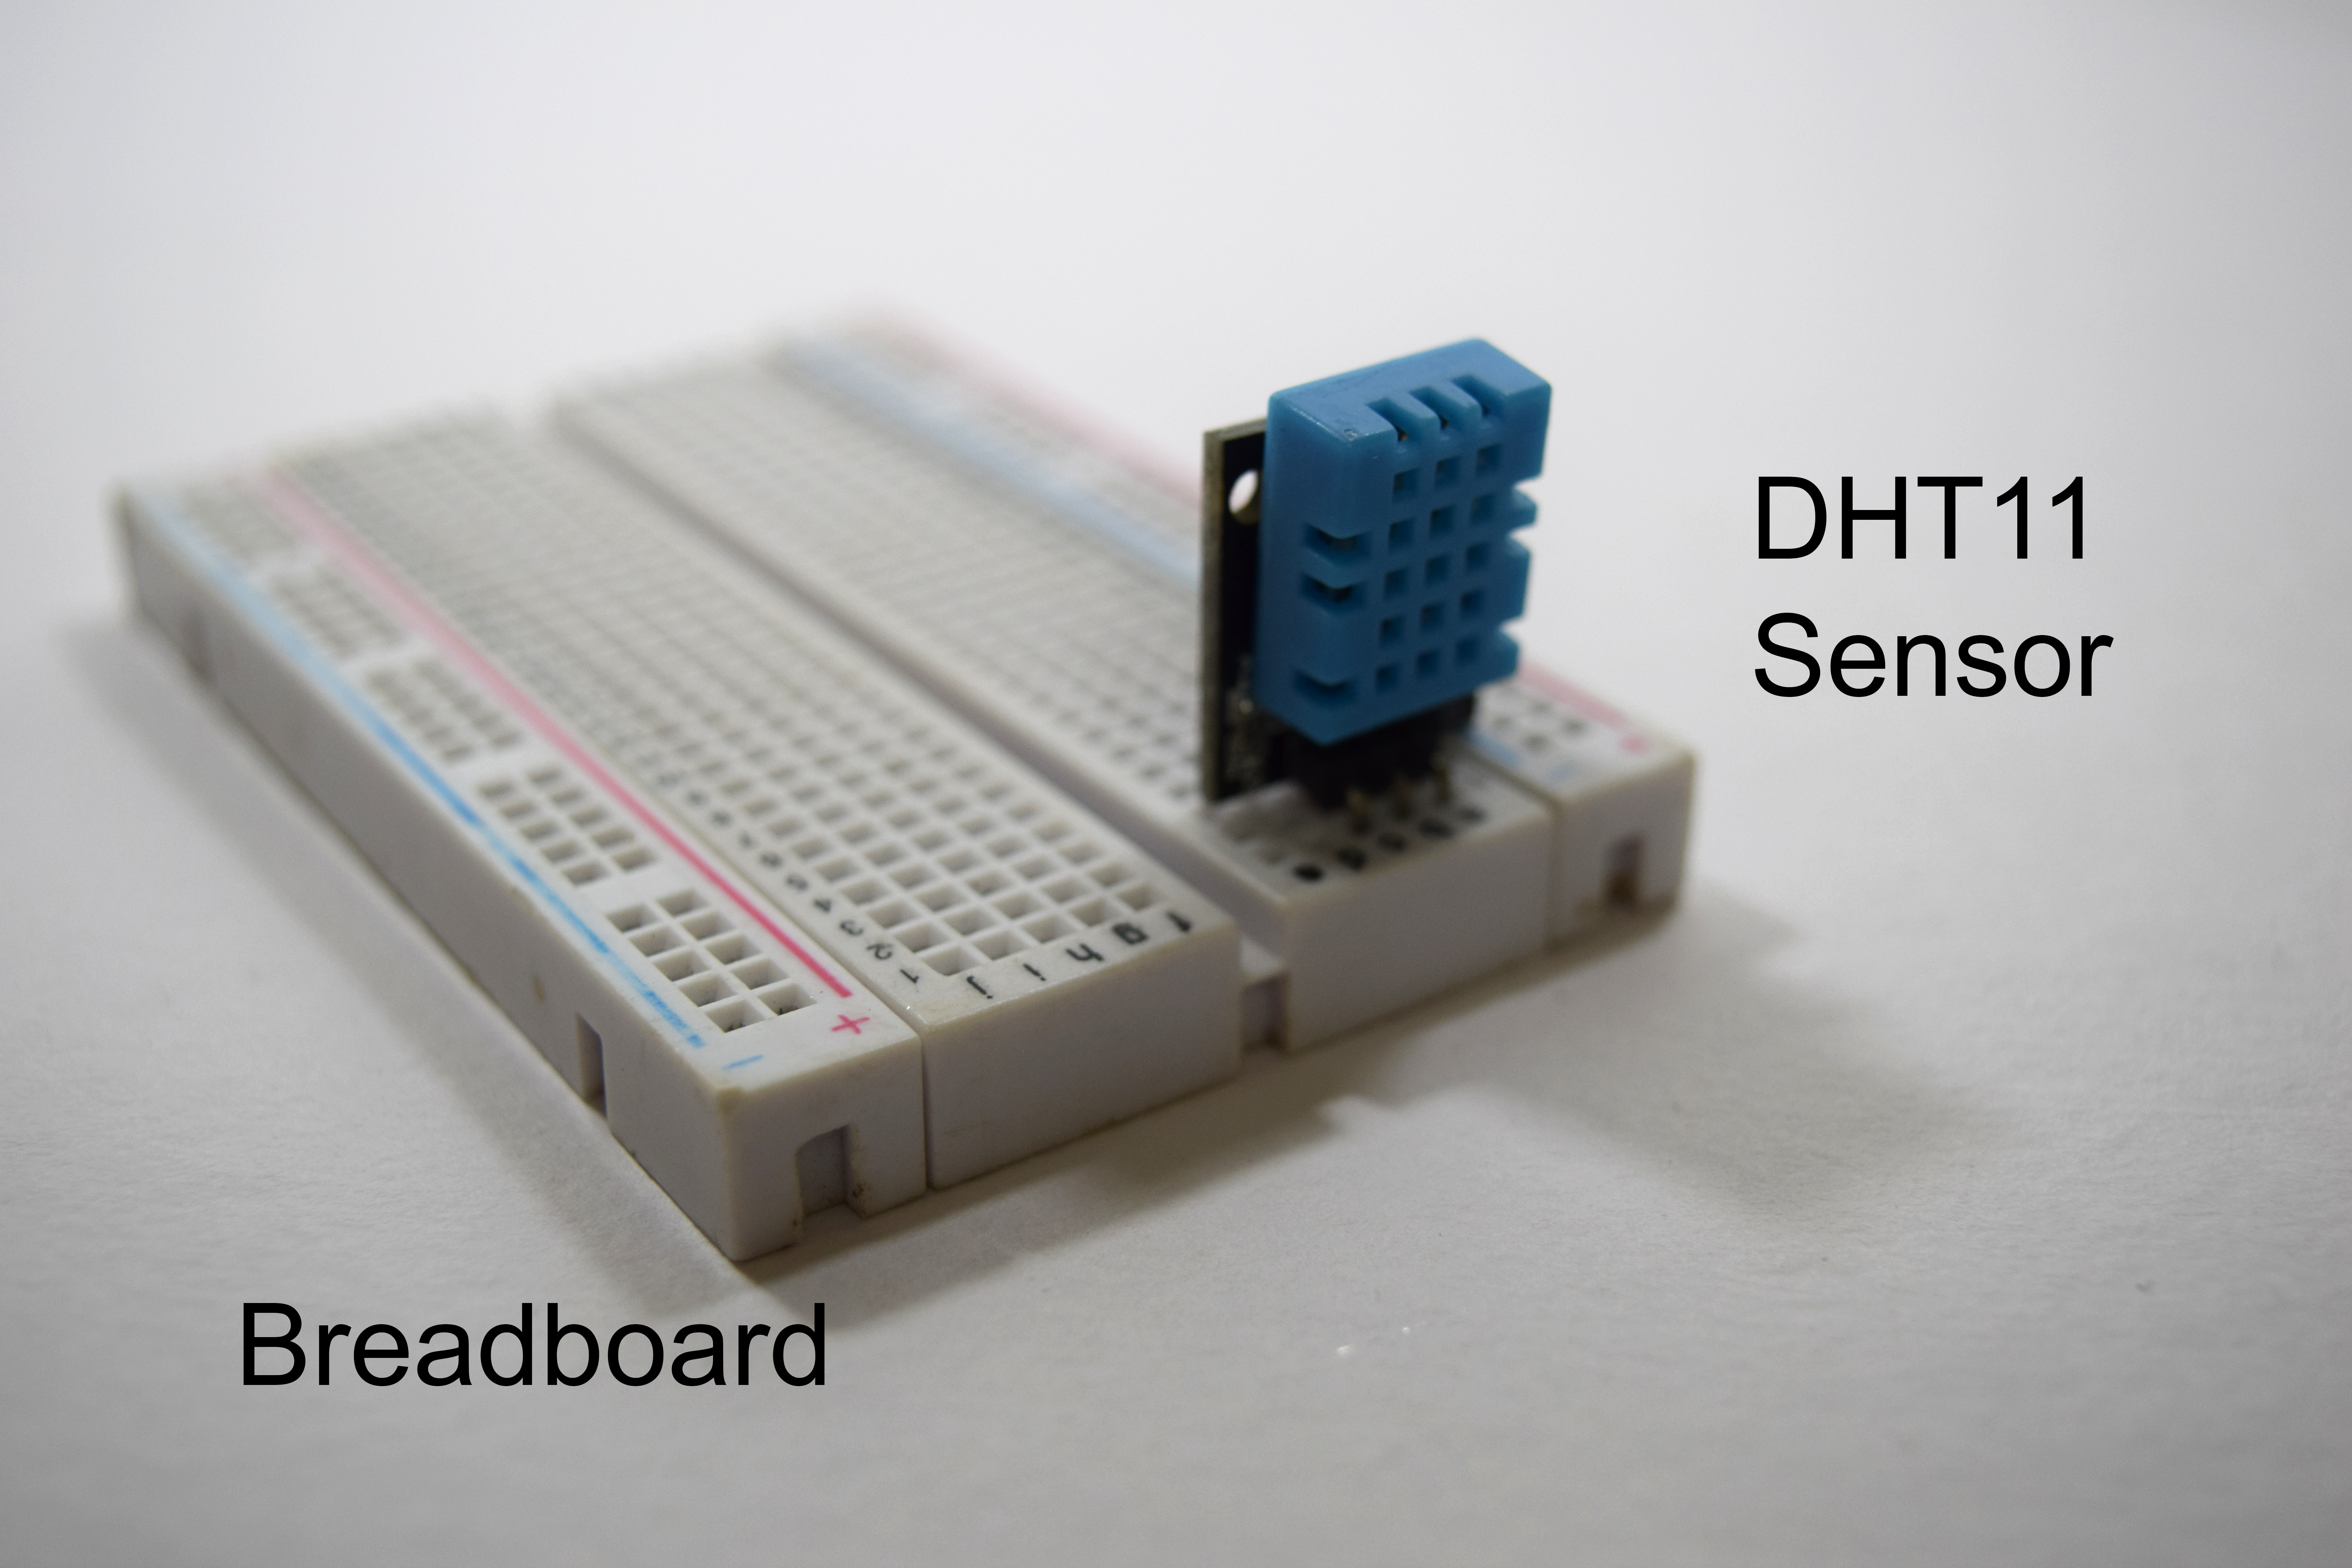
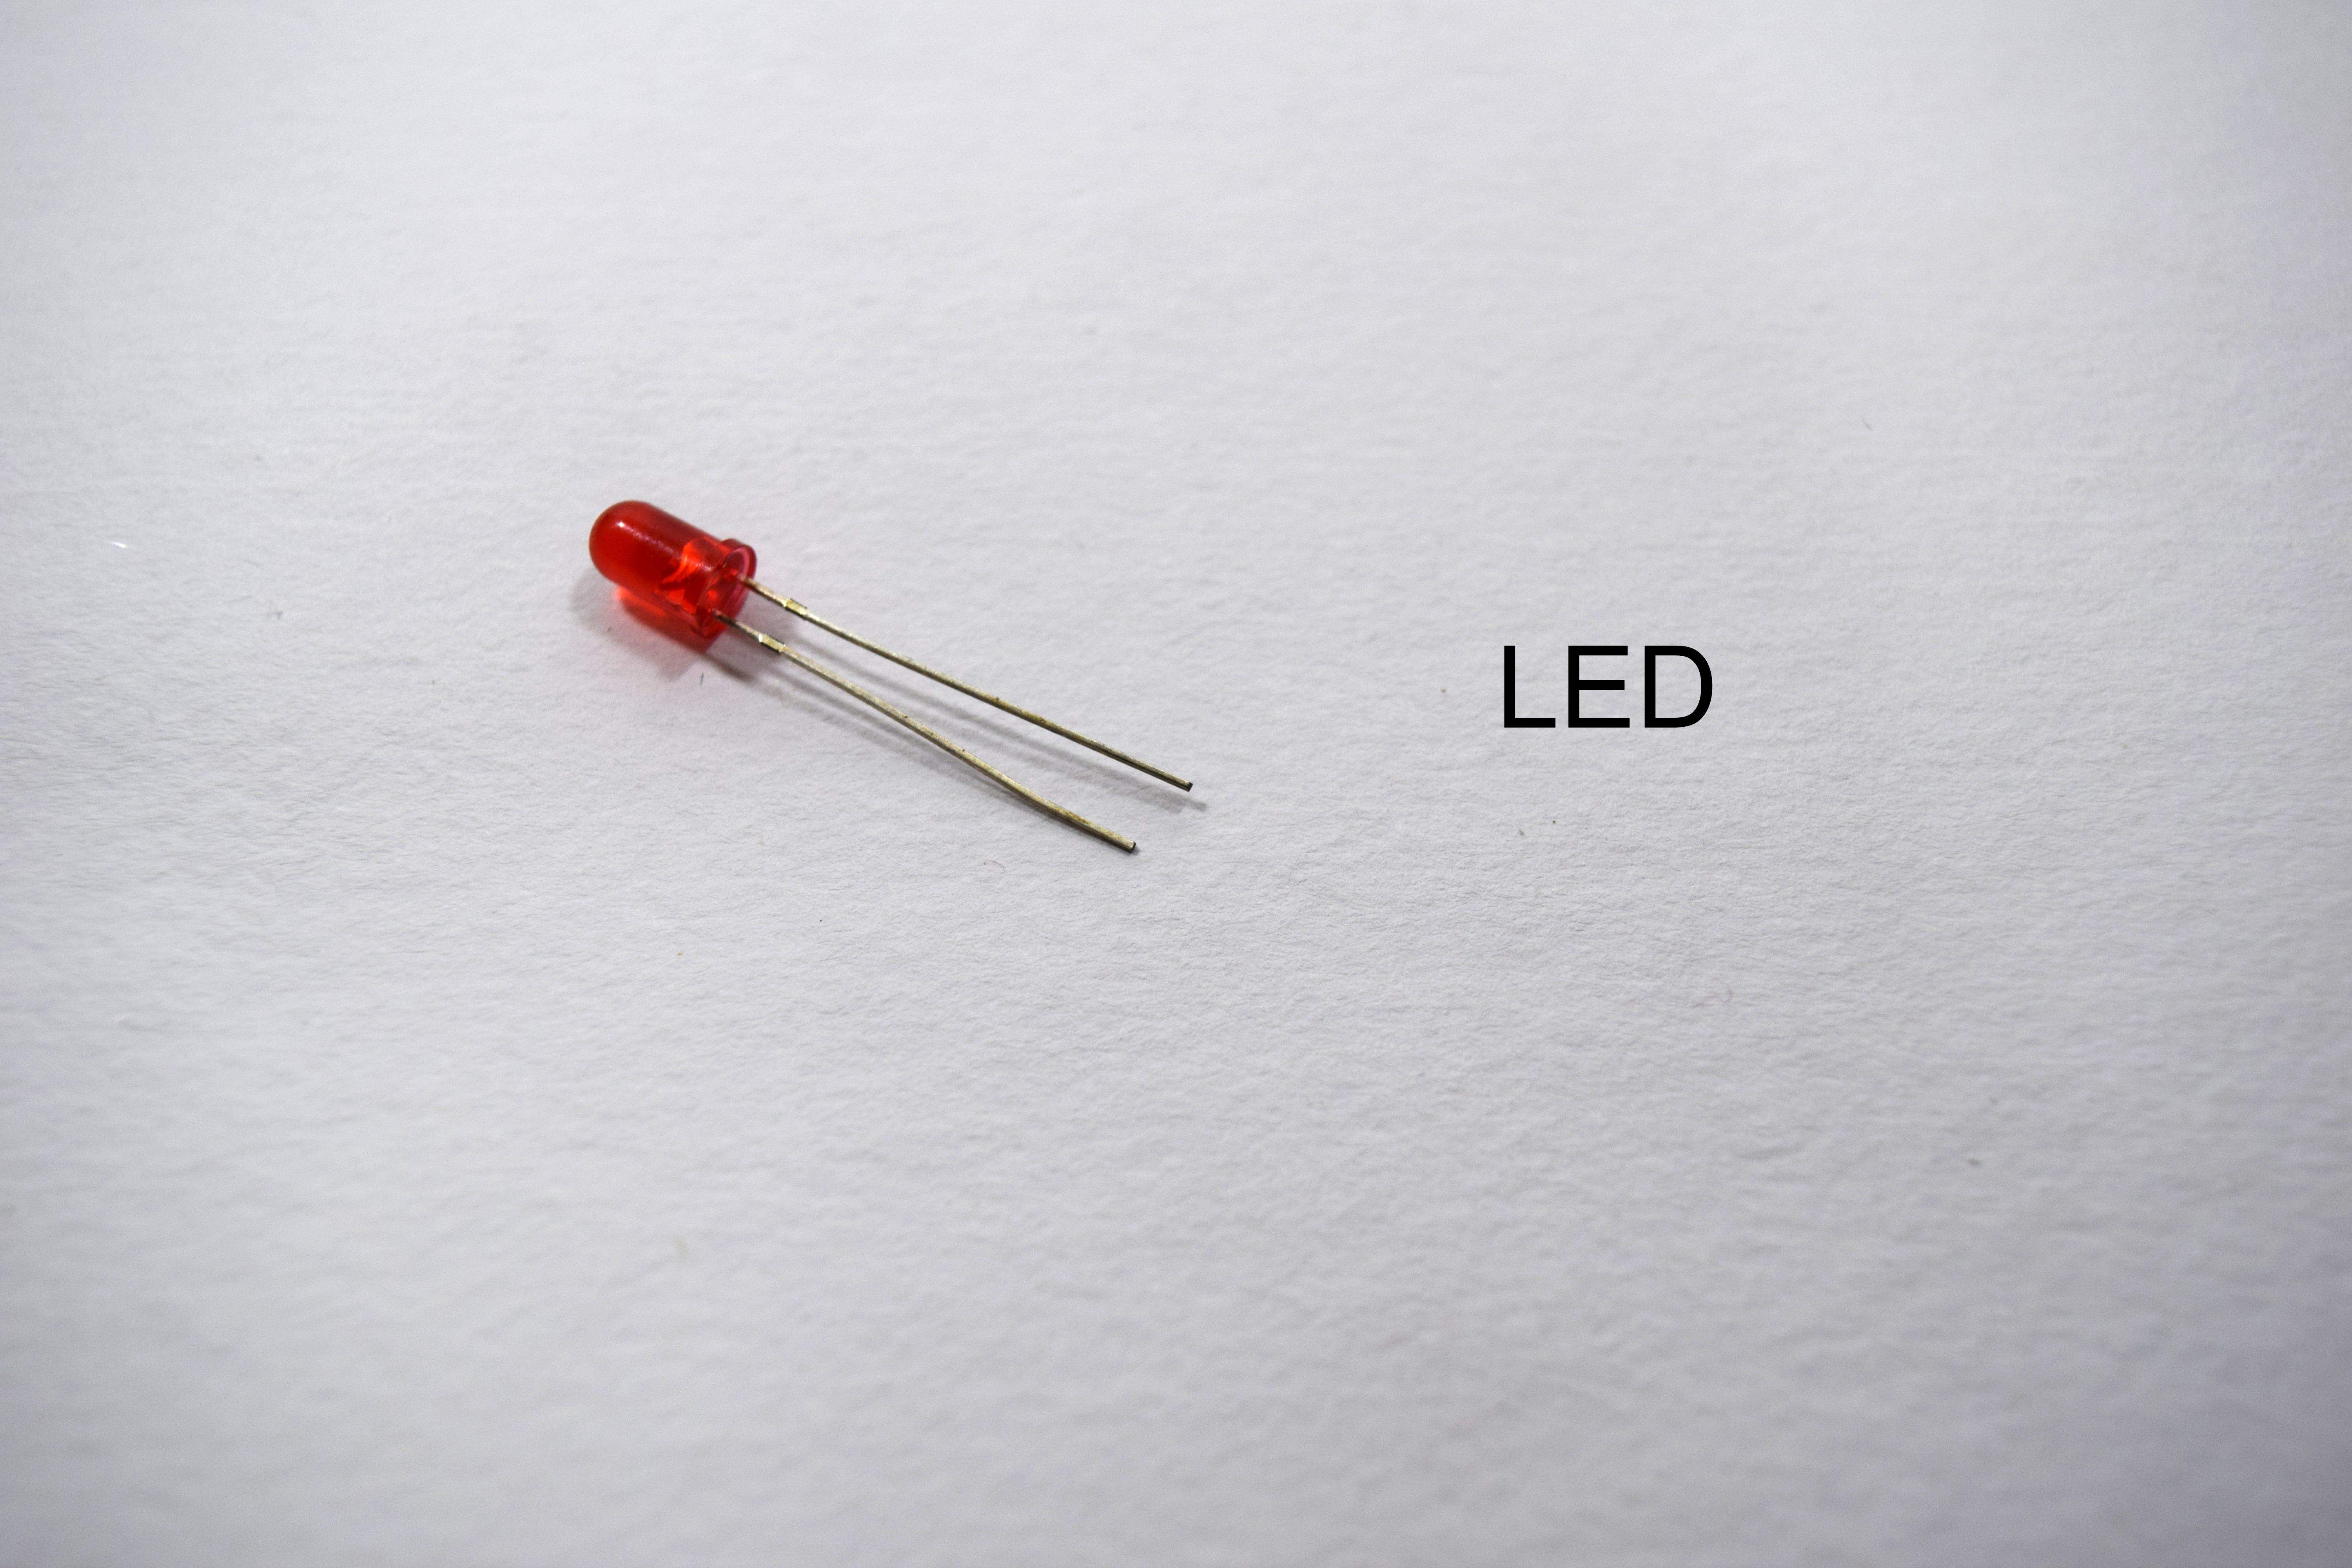
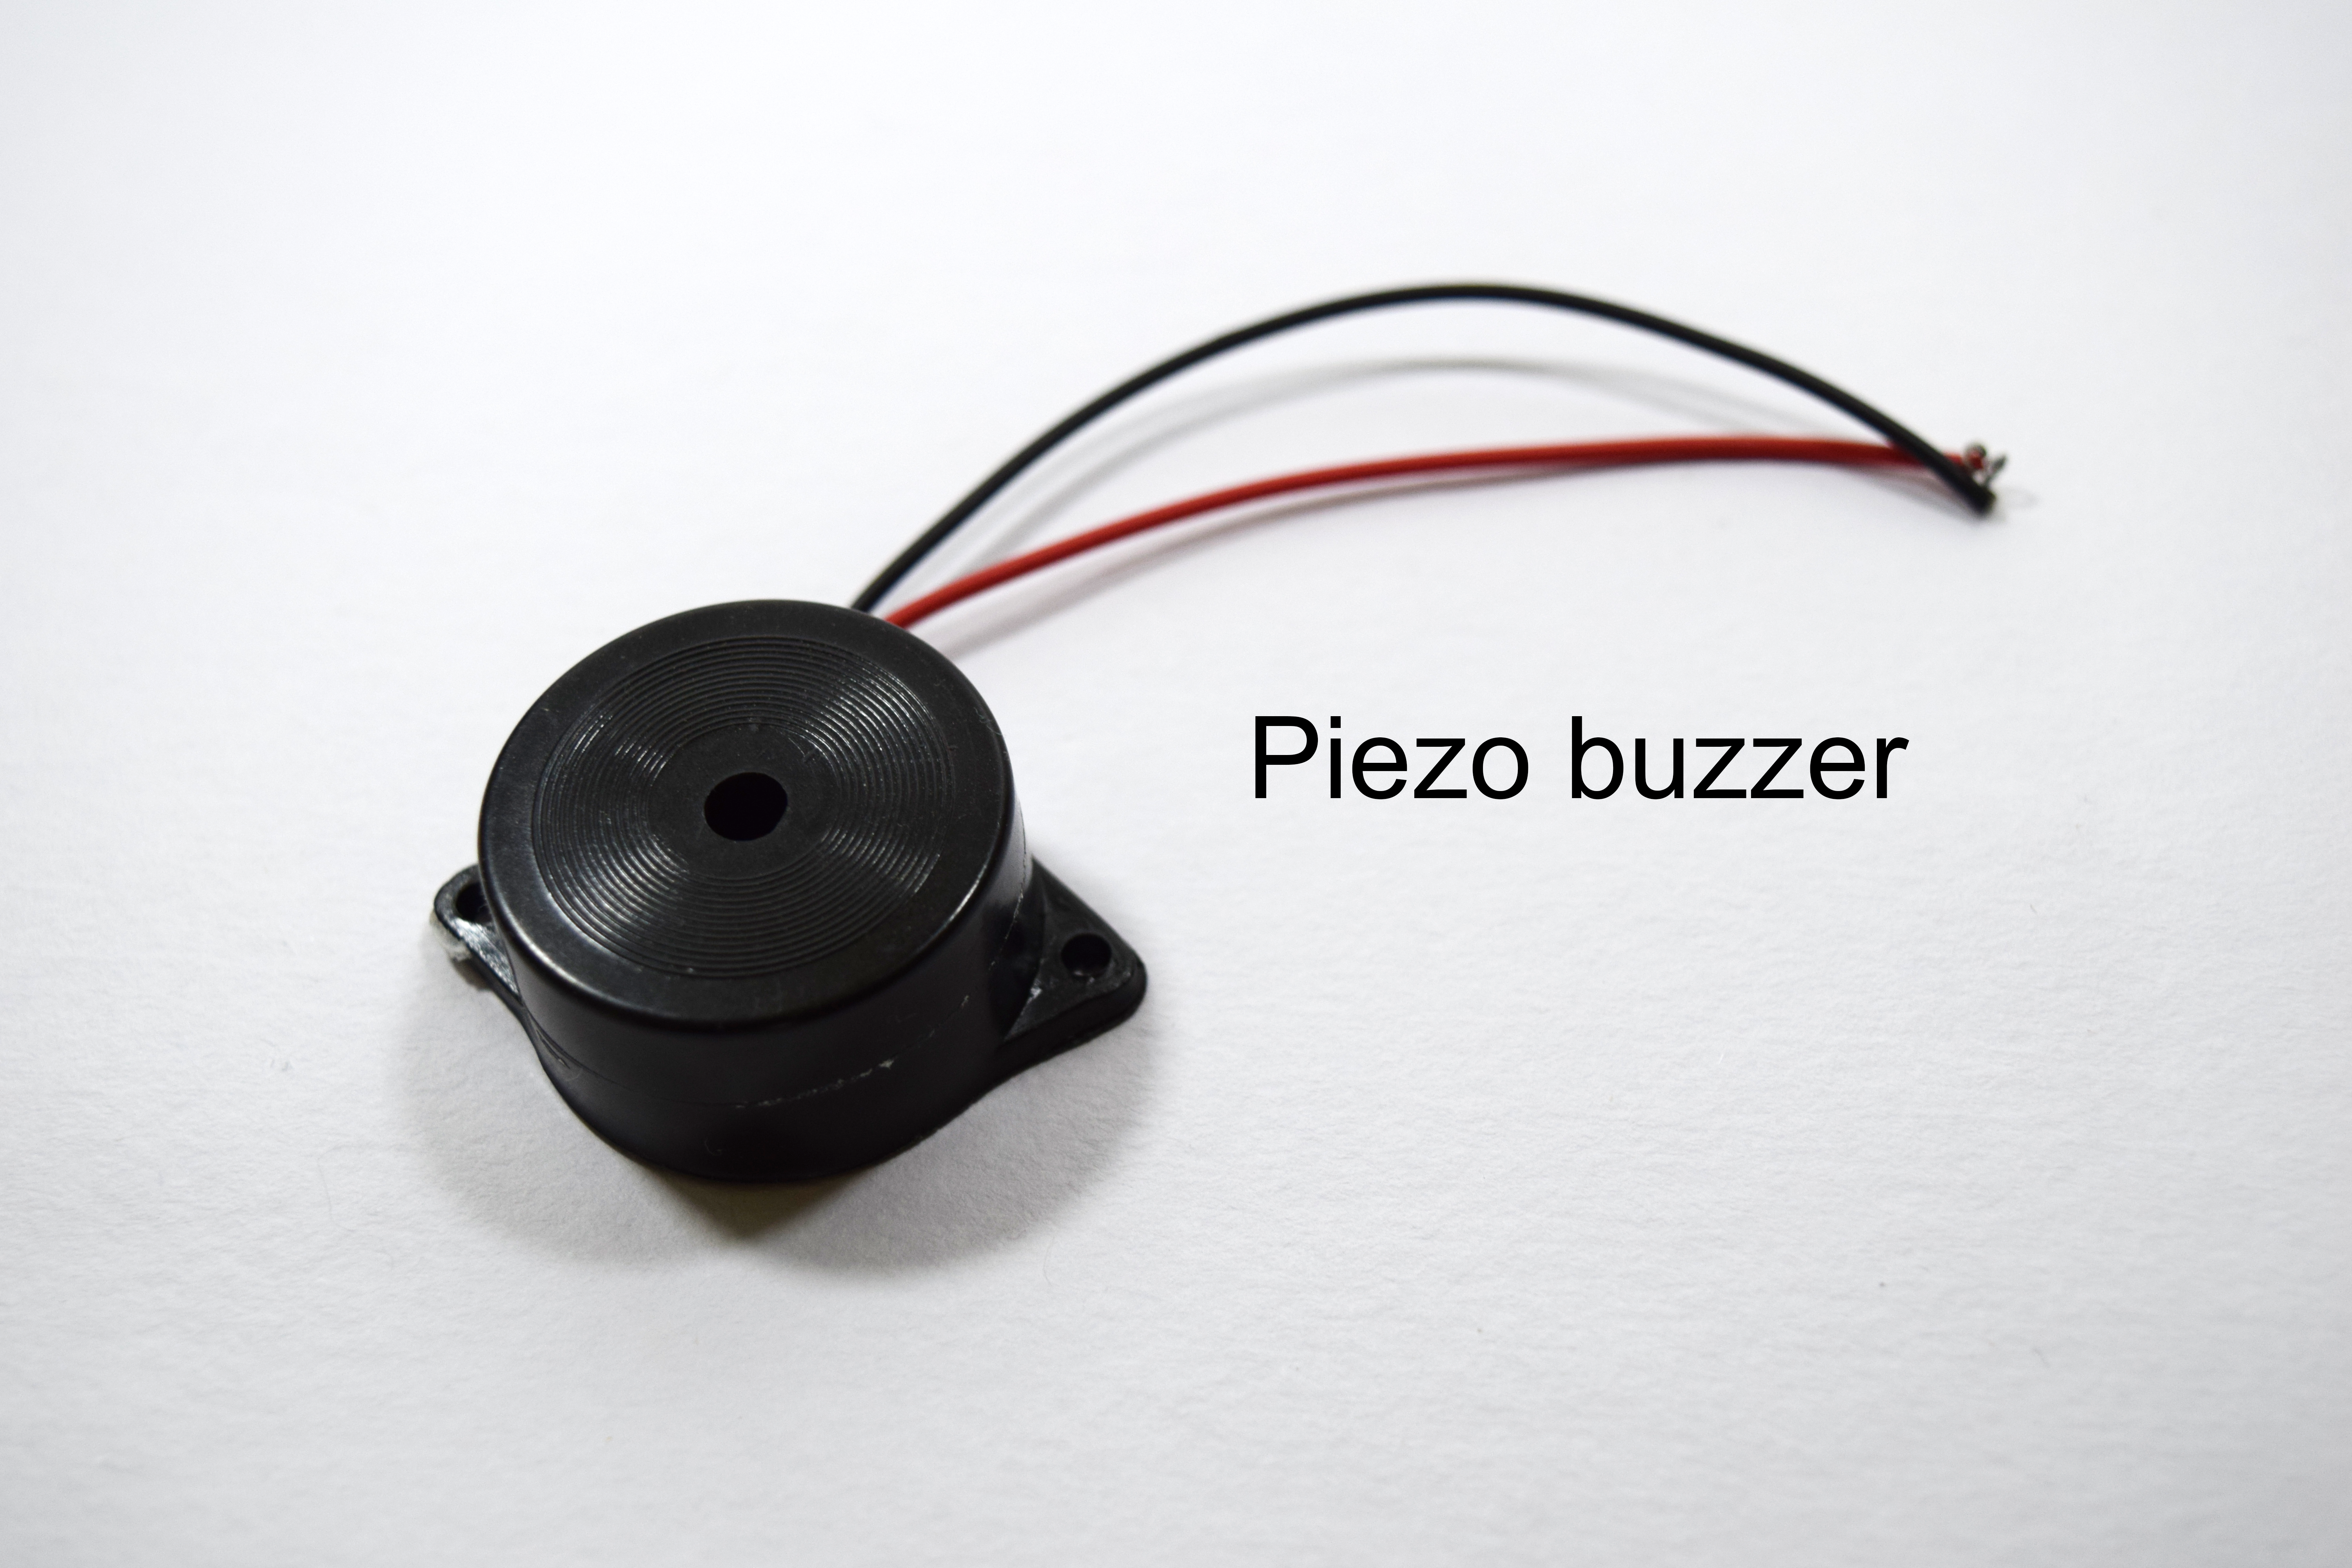
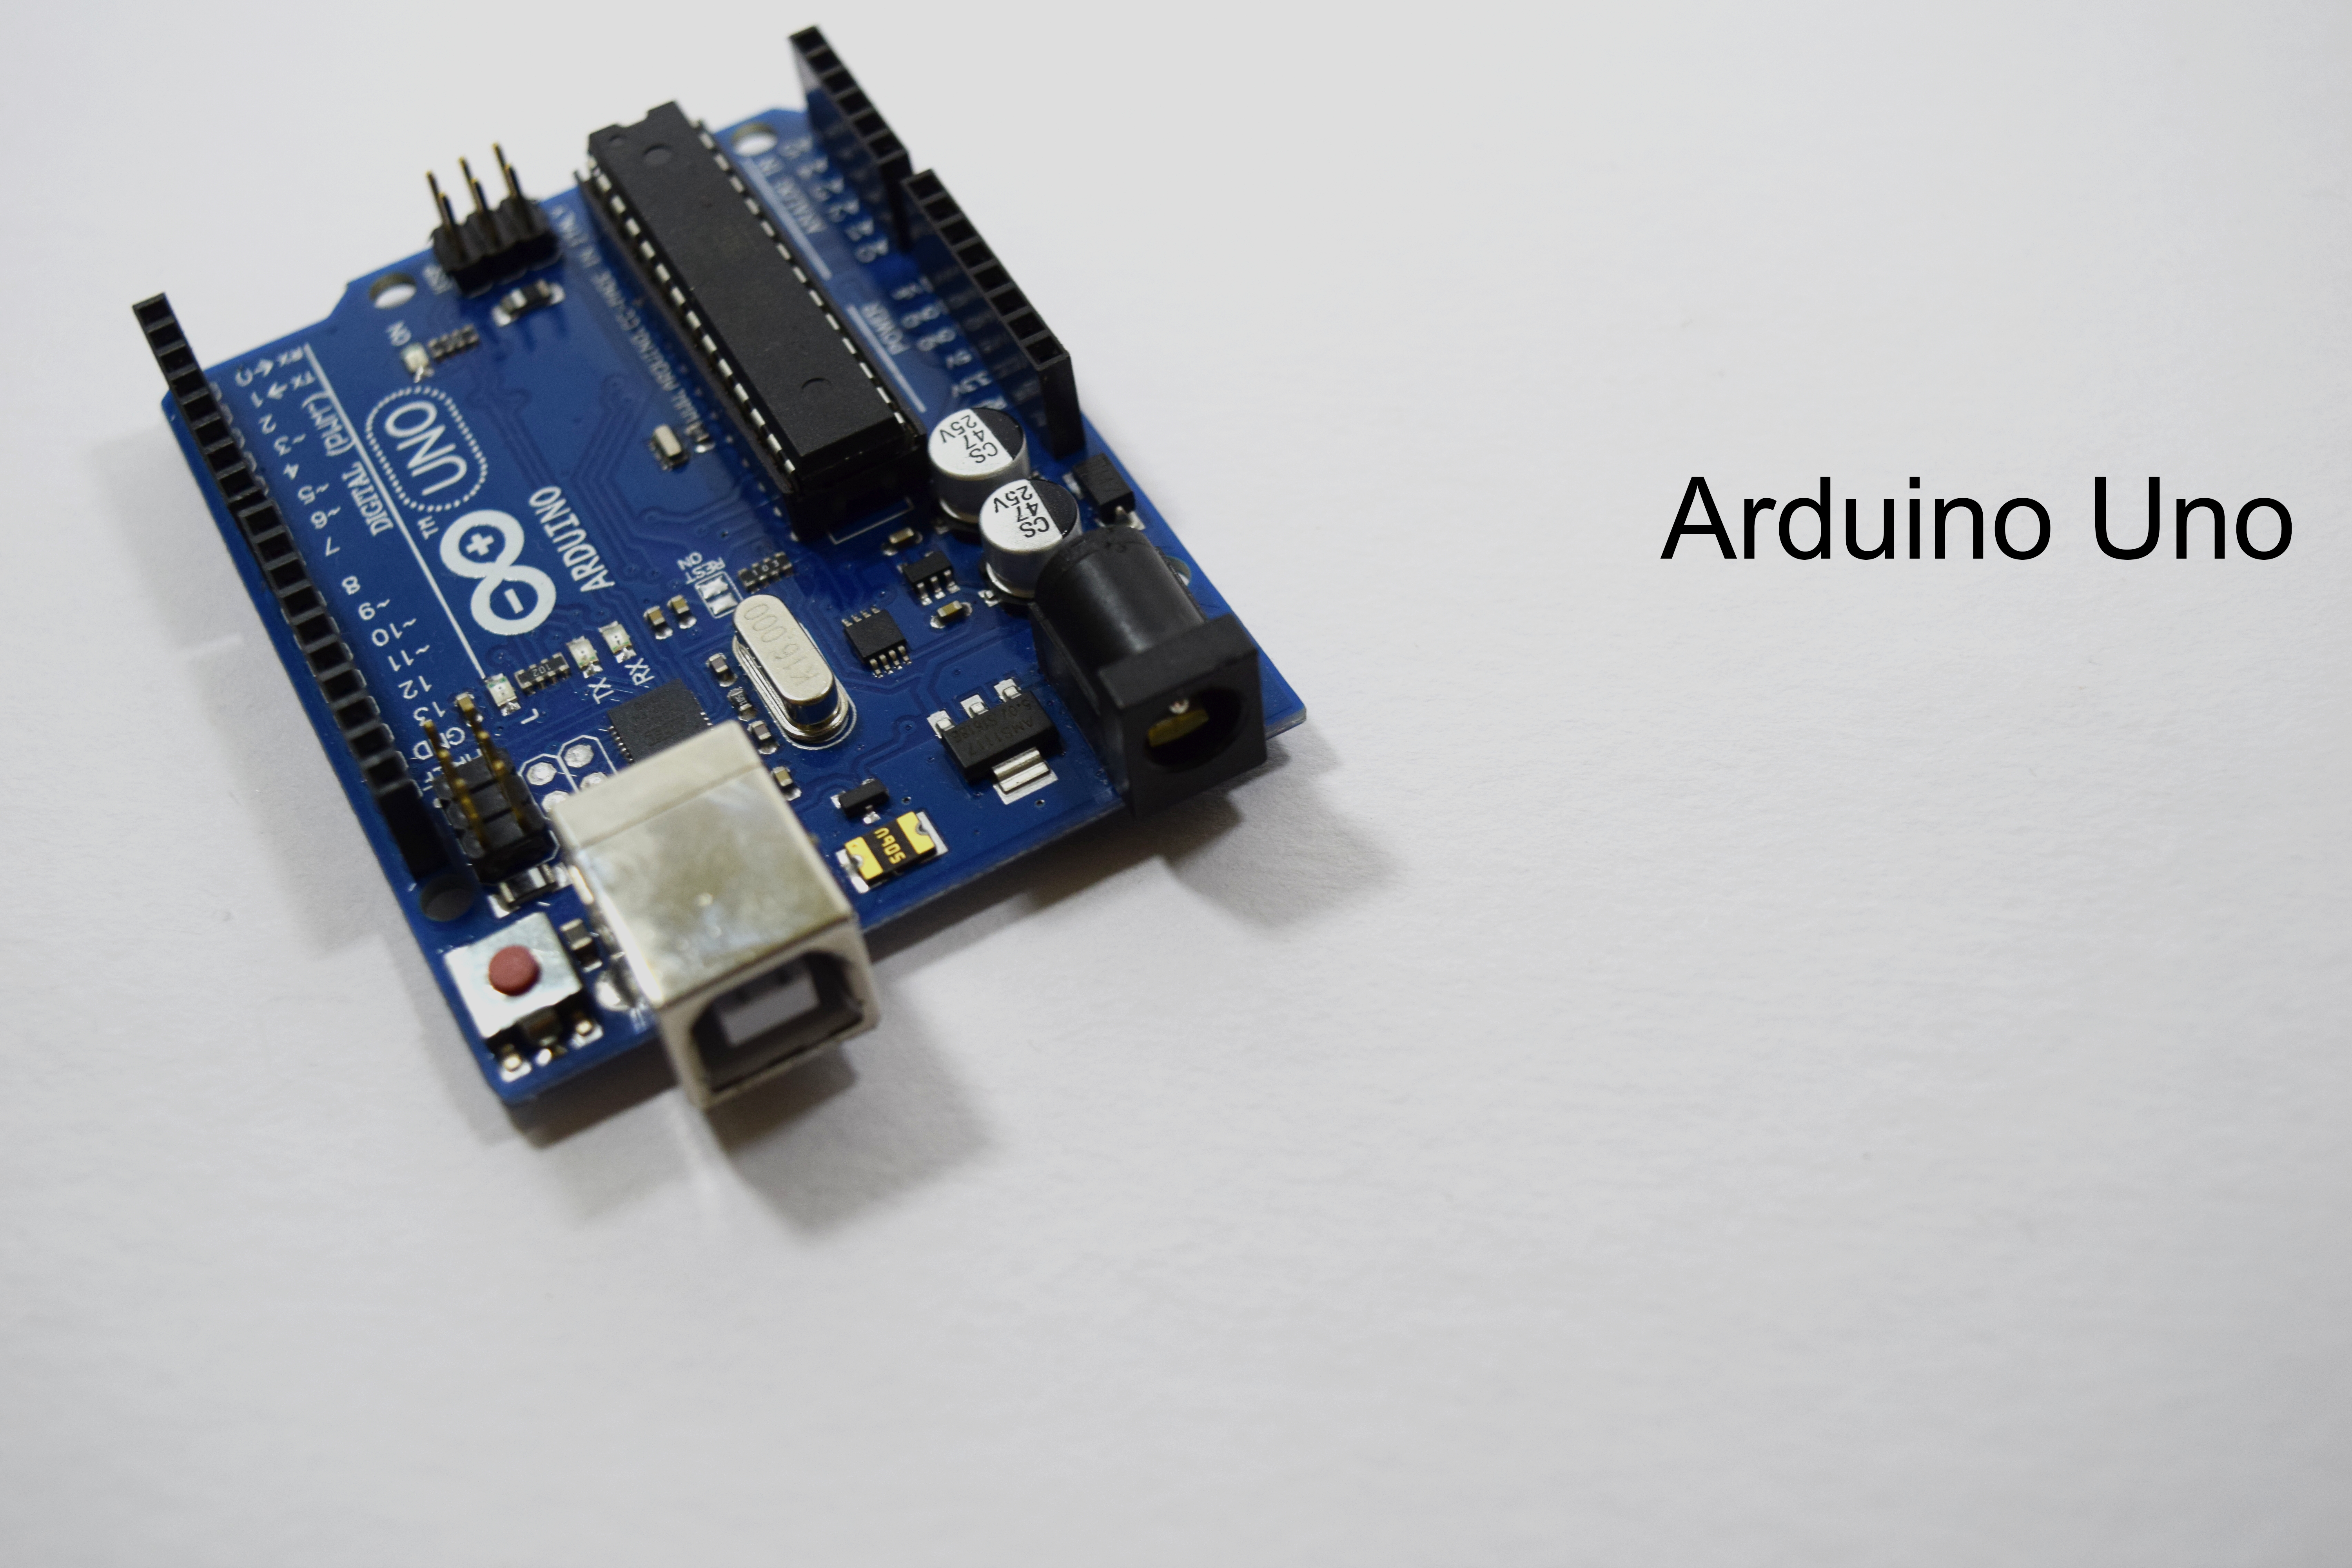
The components required for these projects are:
- Arduino Uno
- DTH11 sensor
- LED
- Piezo buzzer
- Breadboard
- Jumper wire
A container for waterAfter Gathering the components, Let's start implementing it.
Step 2: Interfacing DTH11 Sensor:
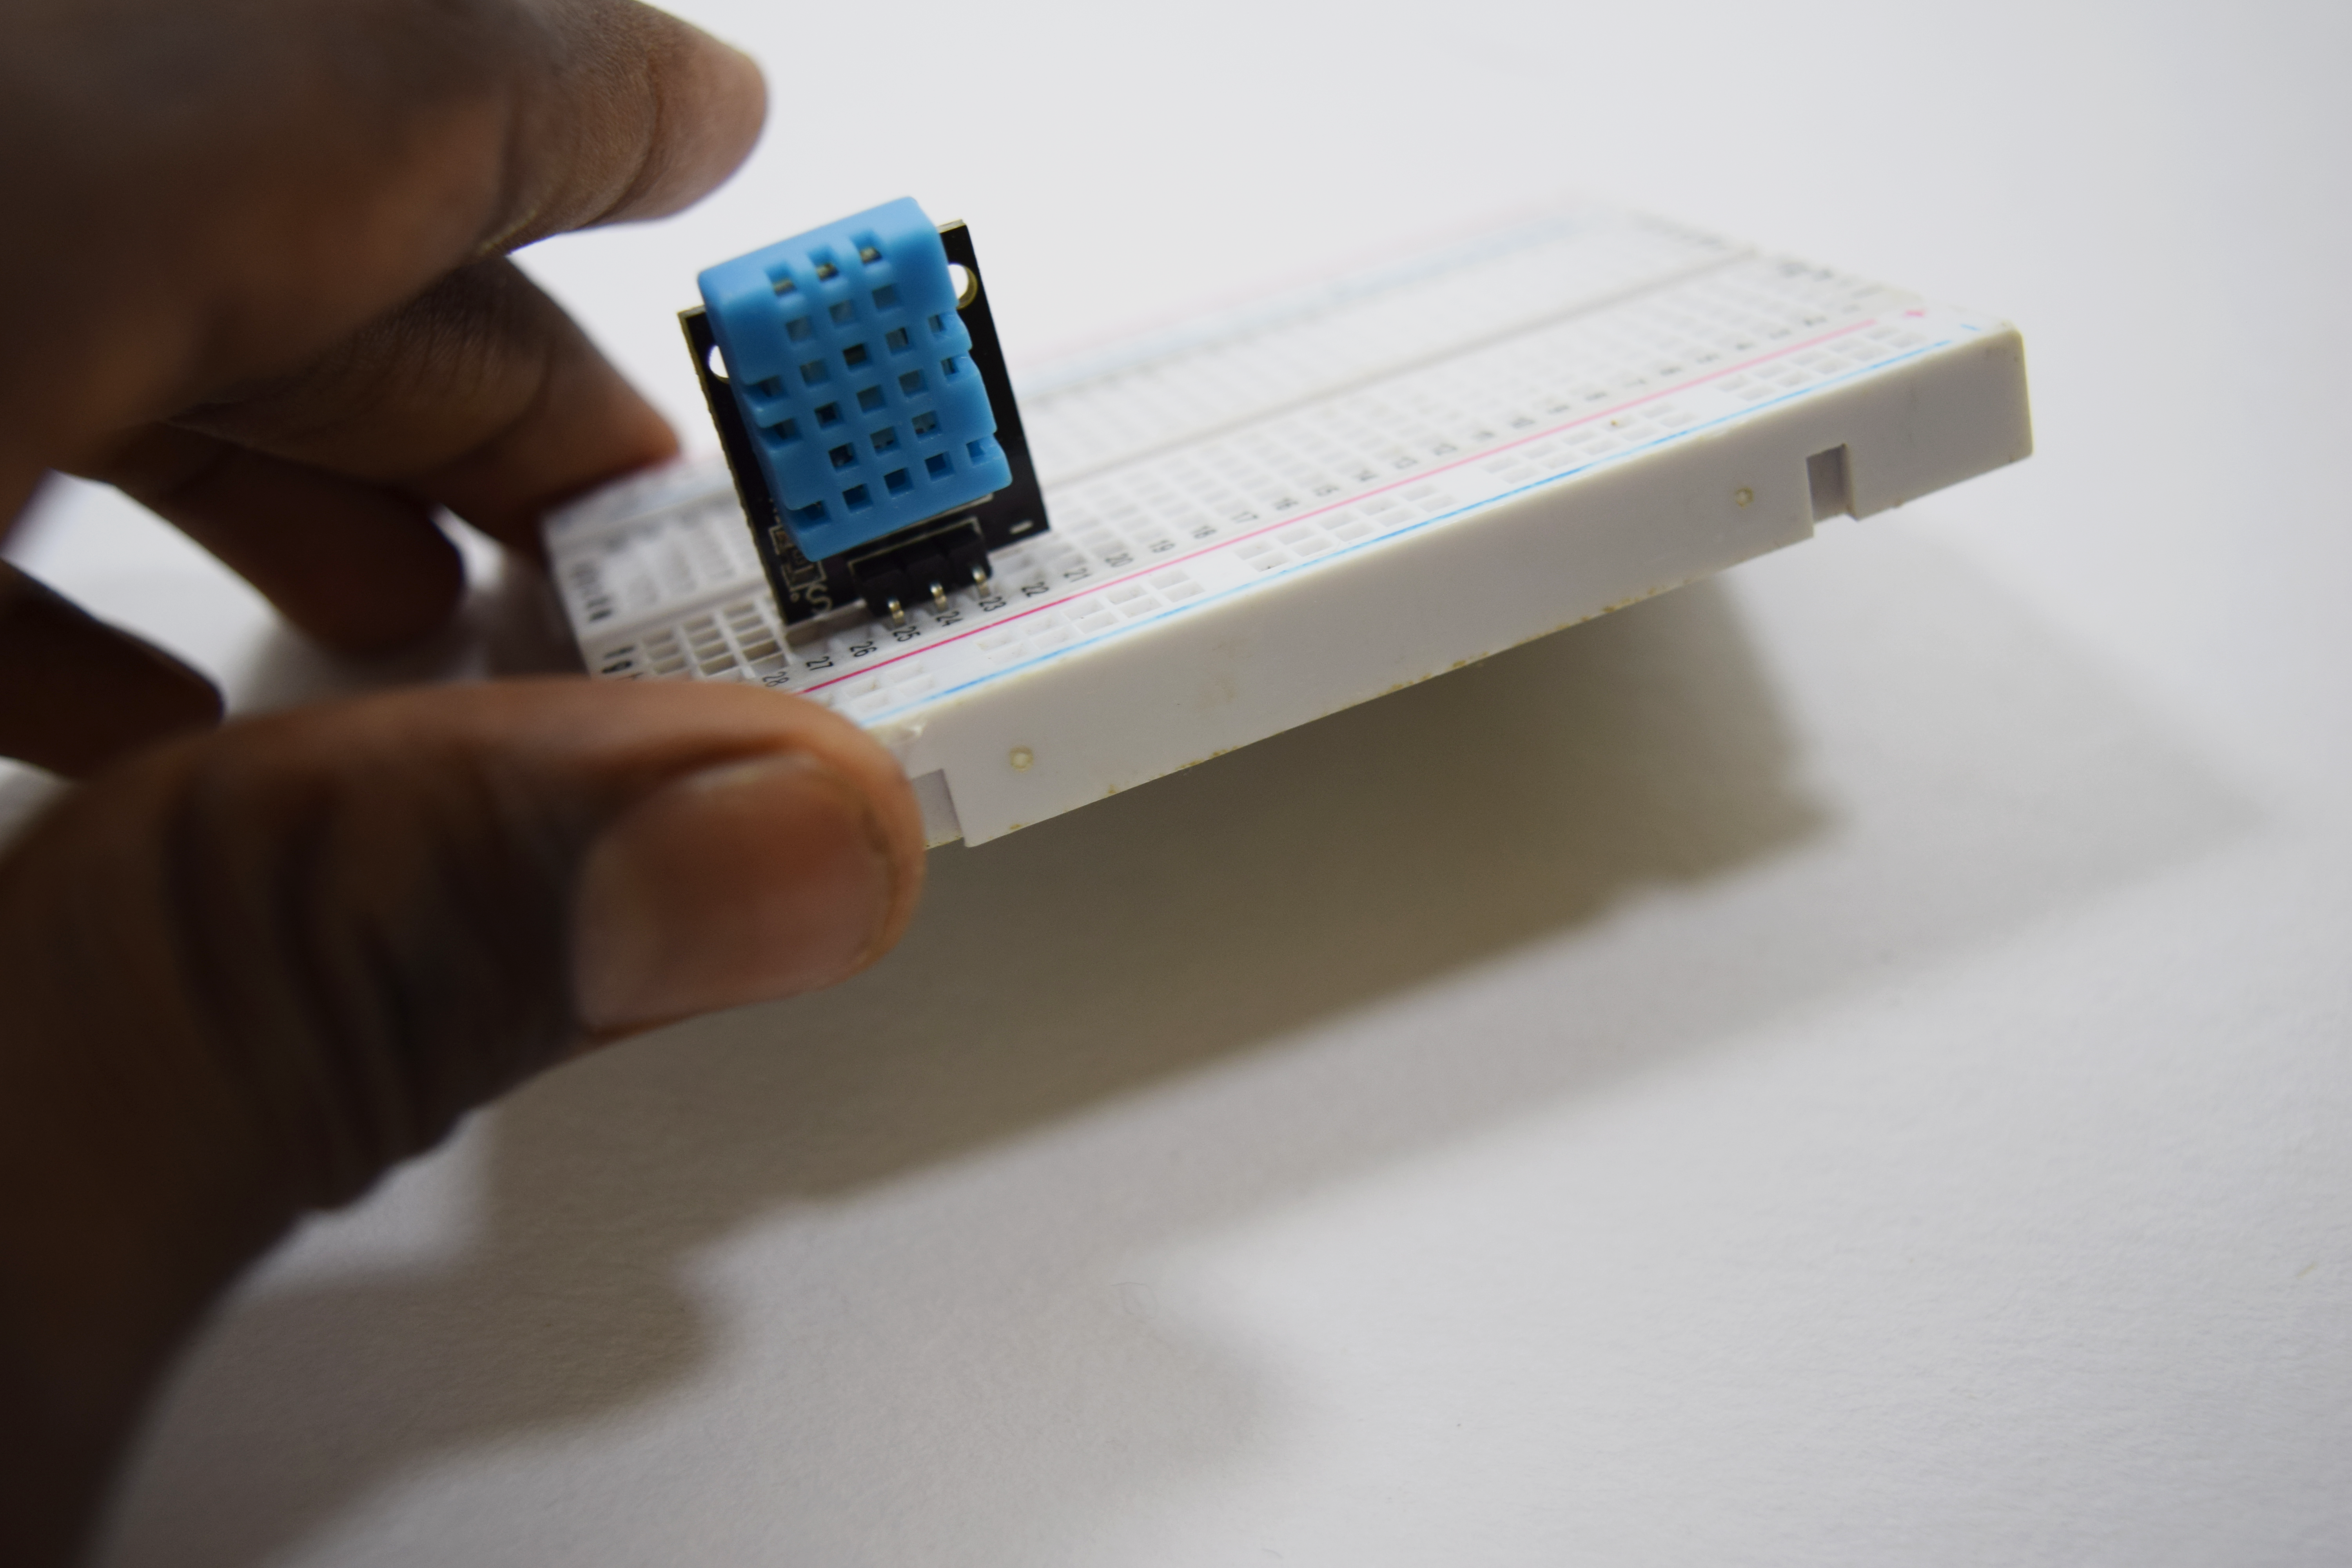
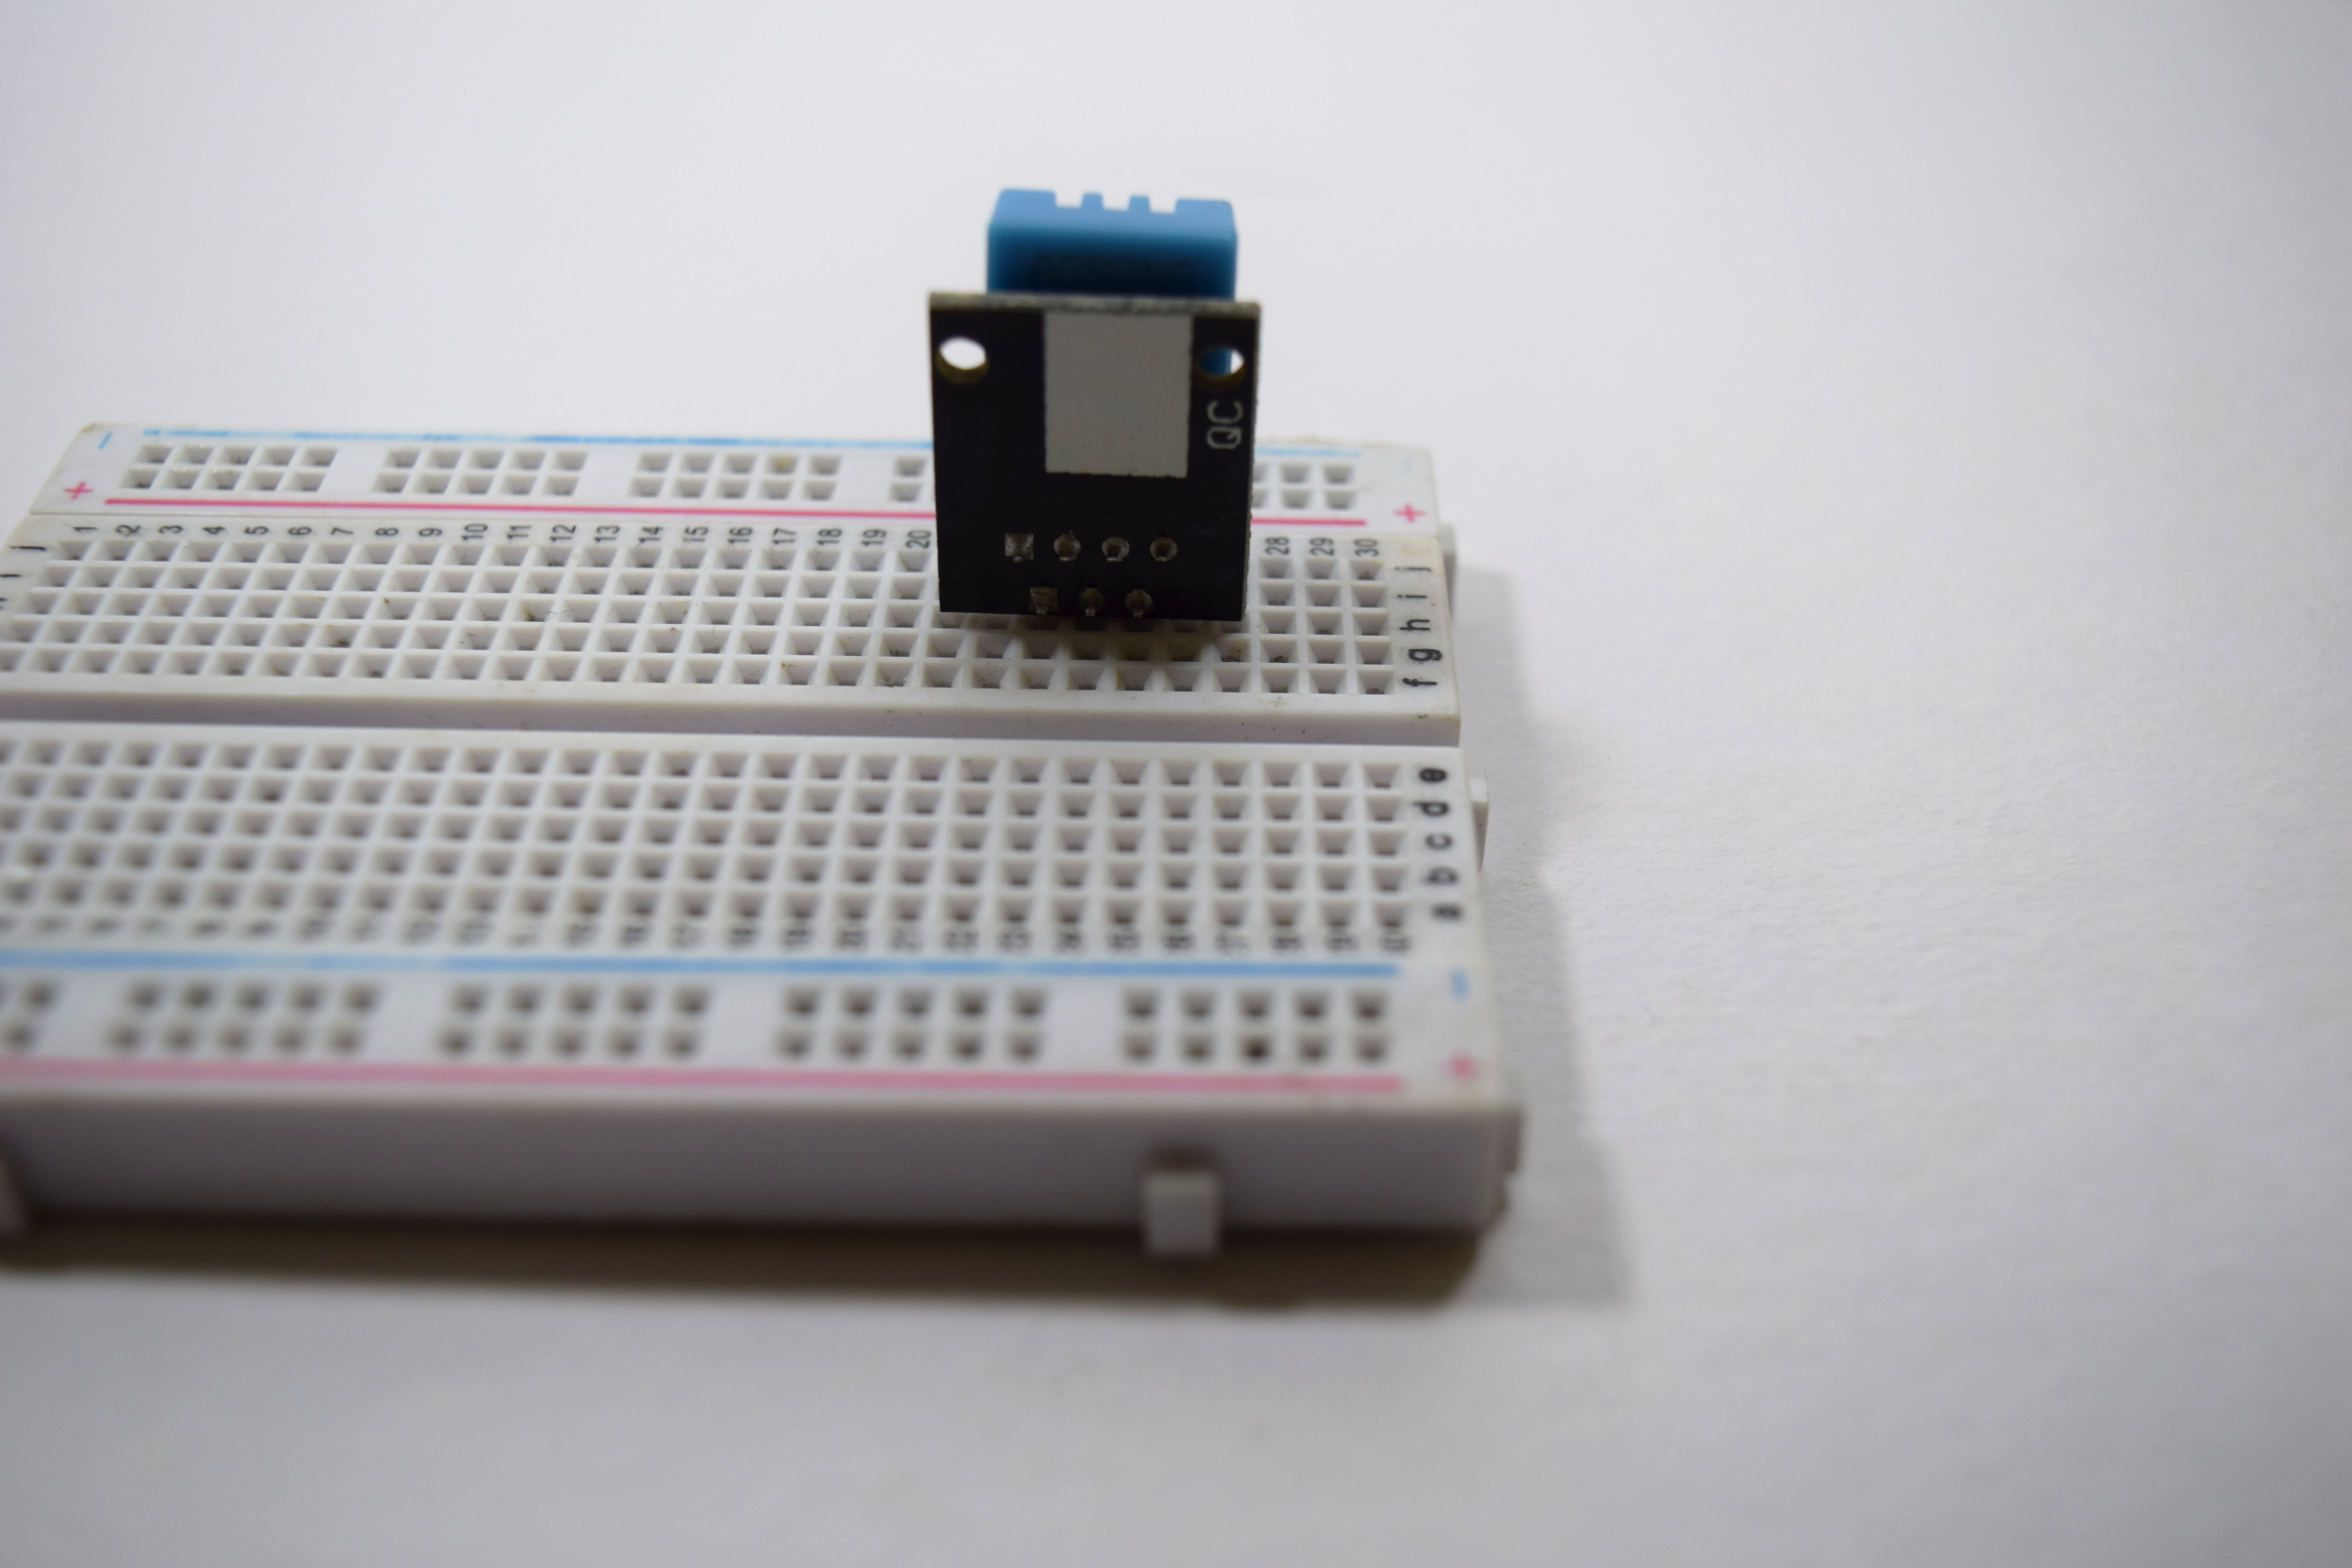
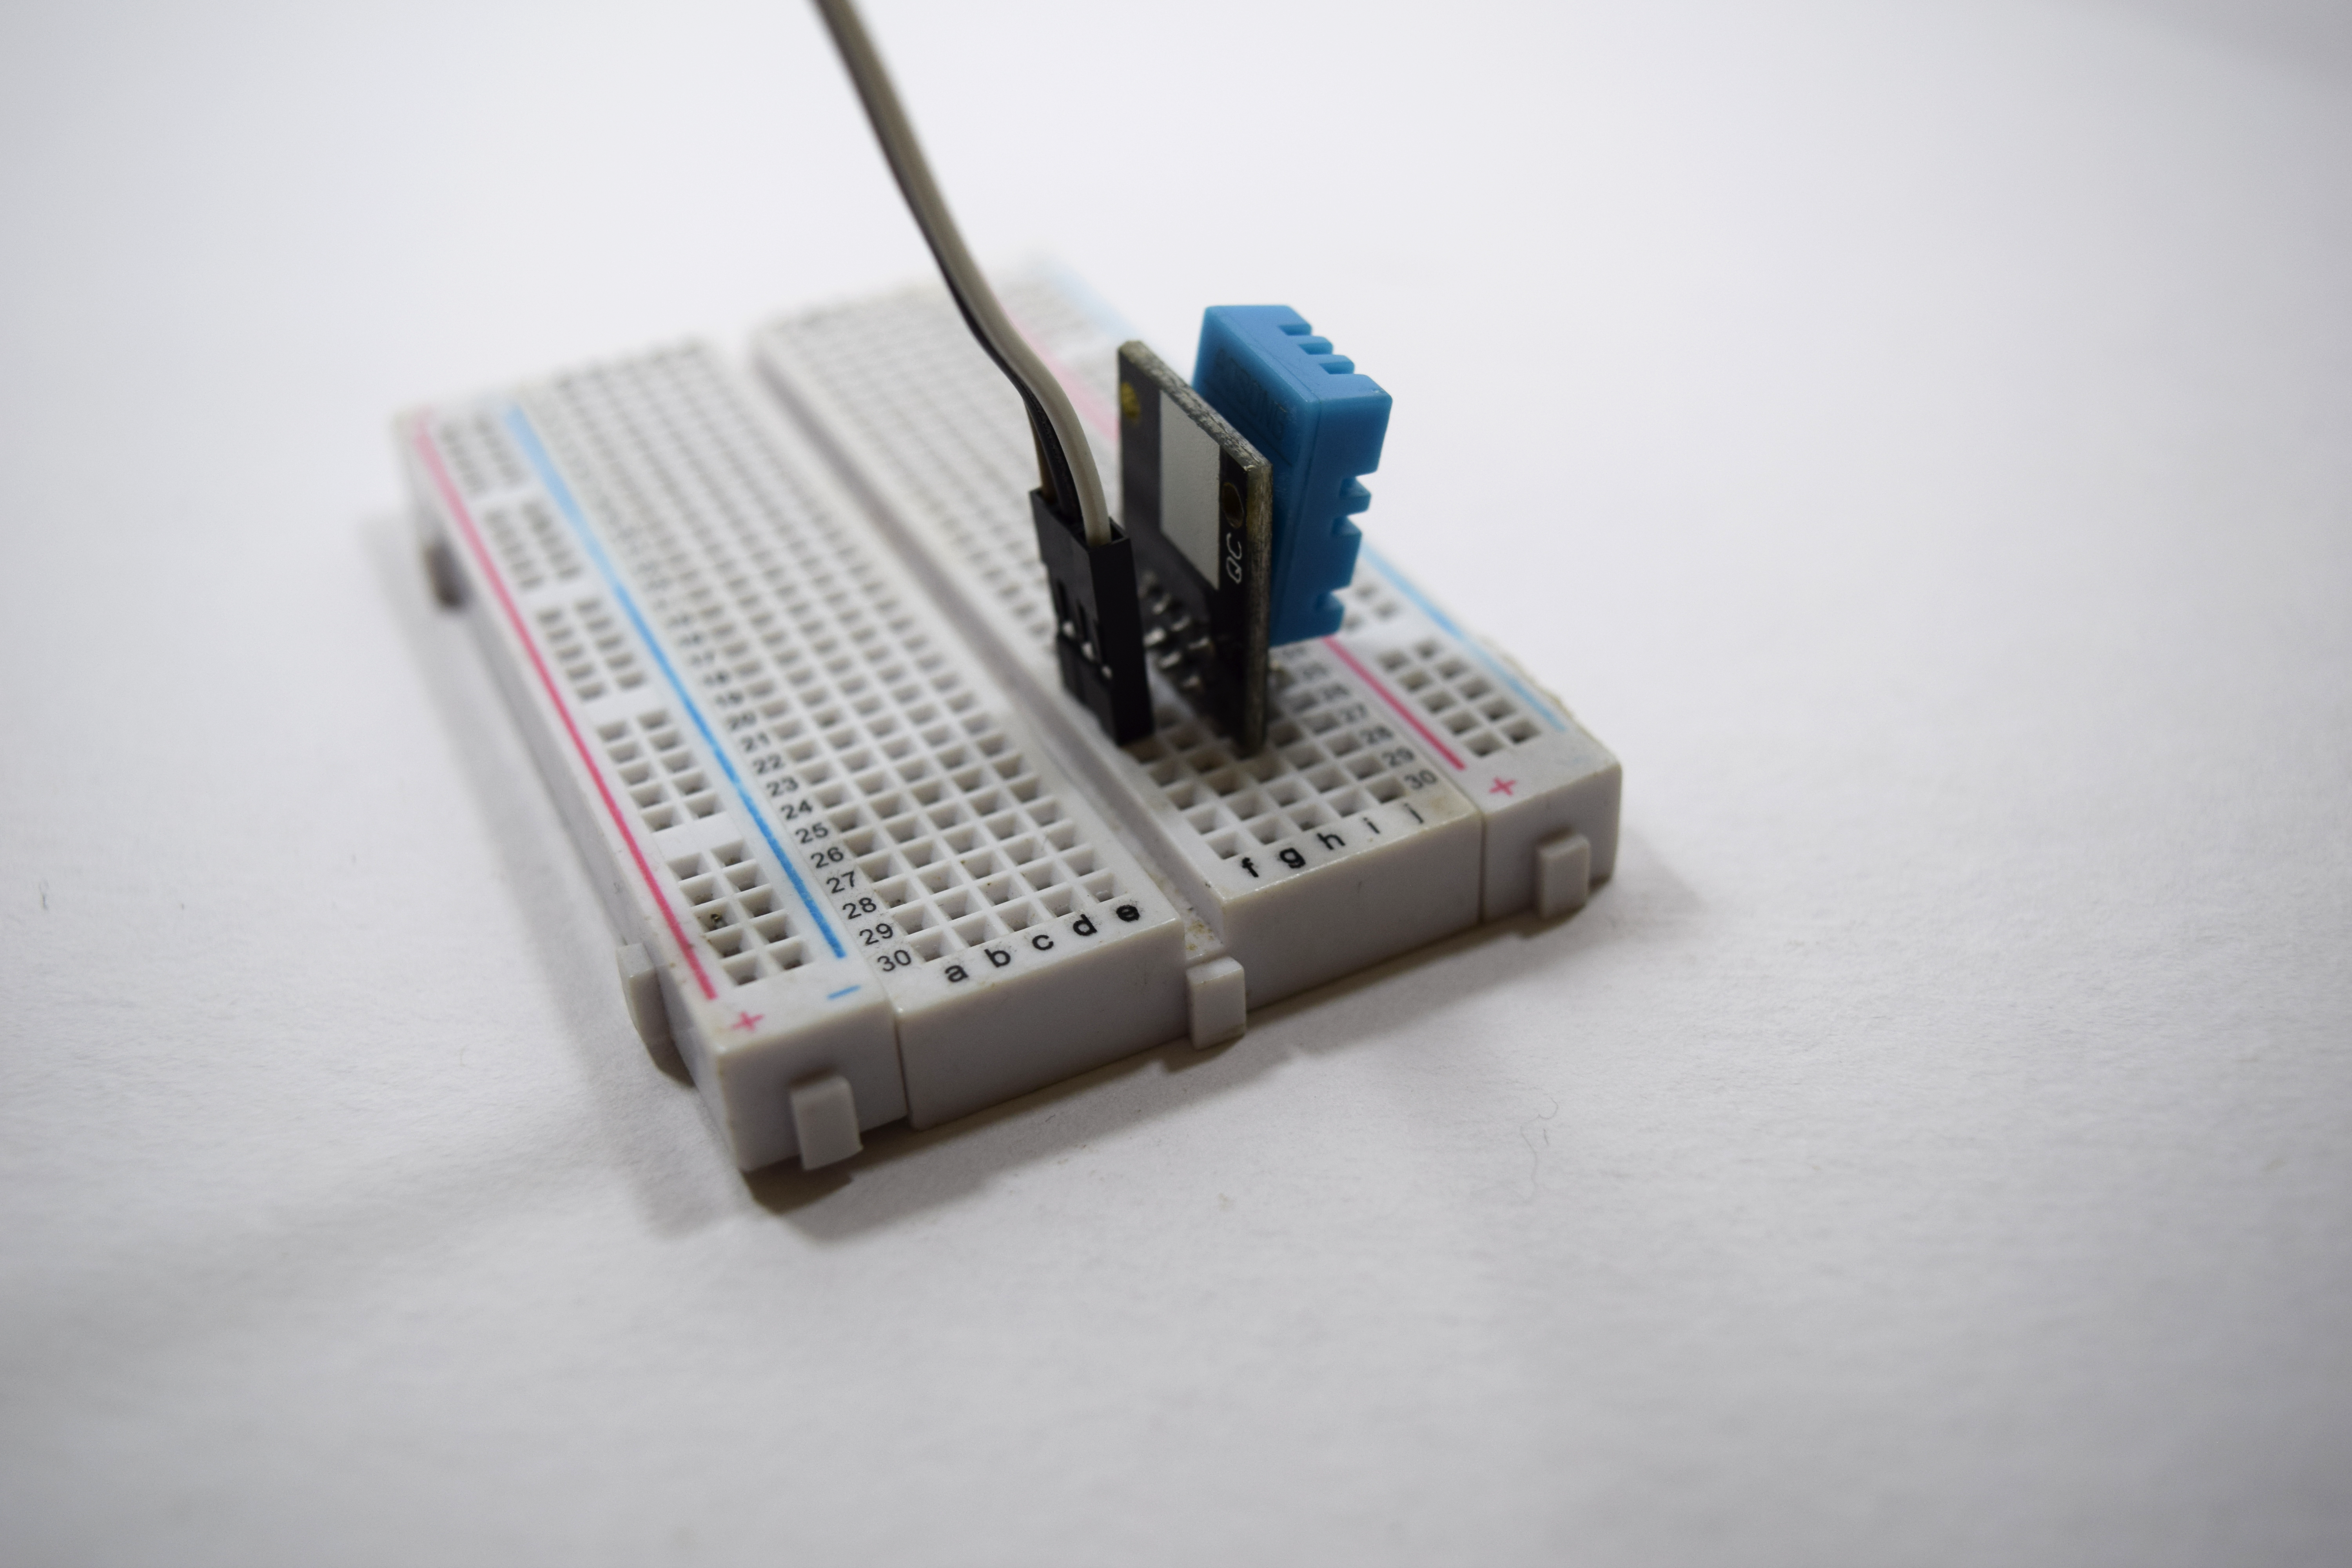
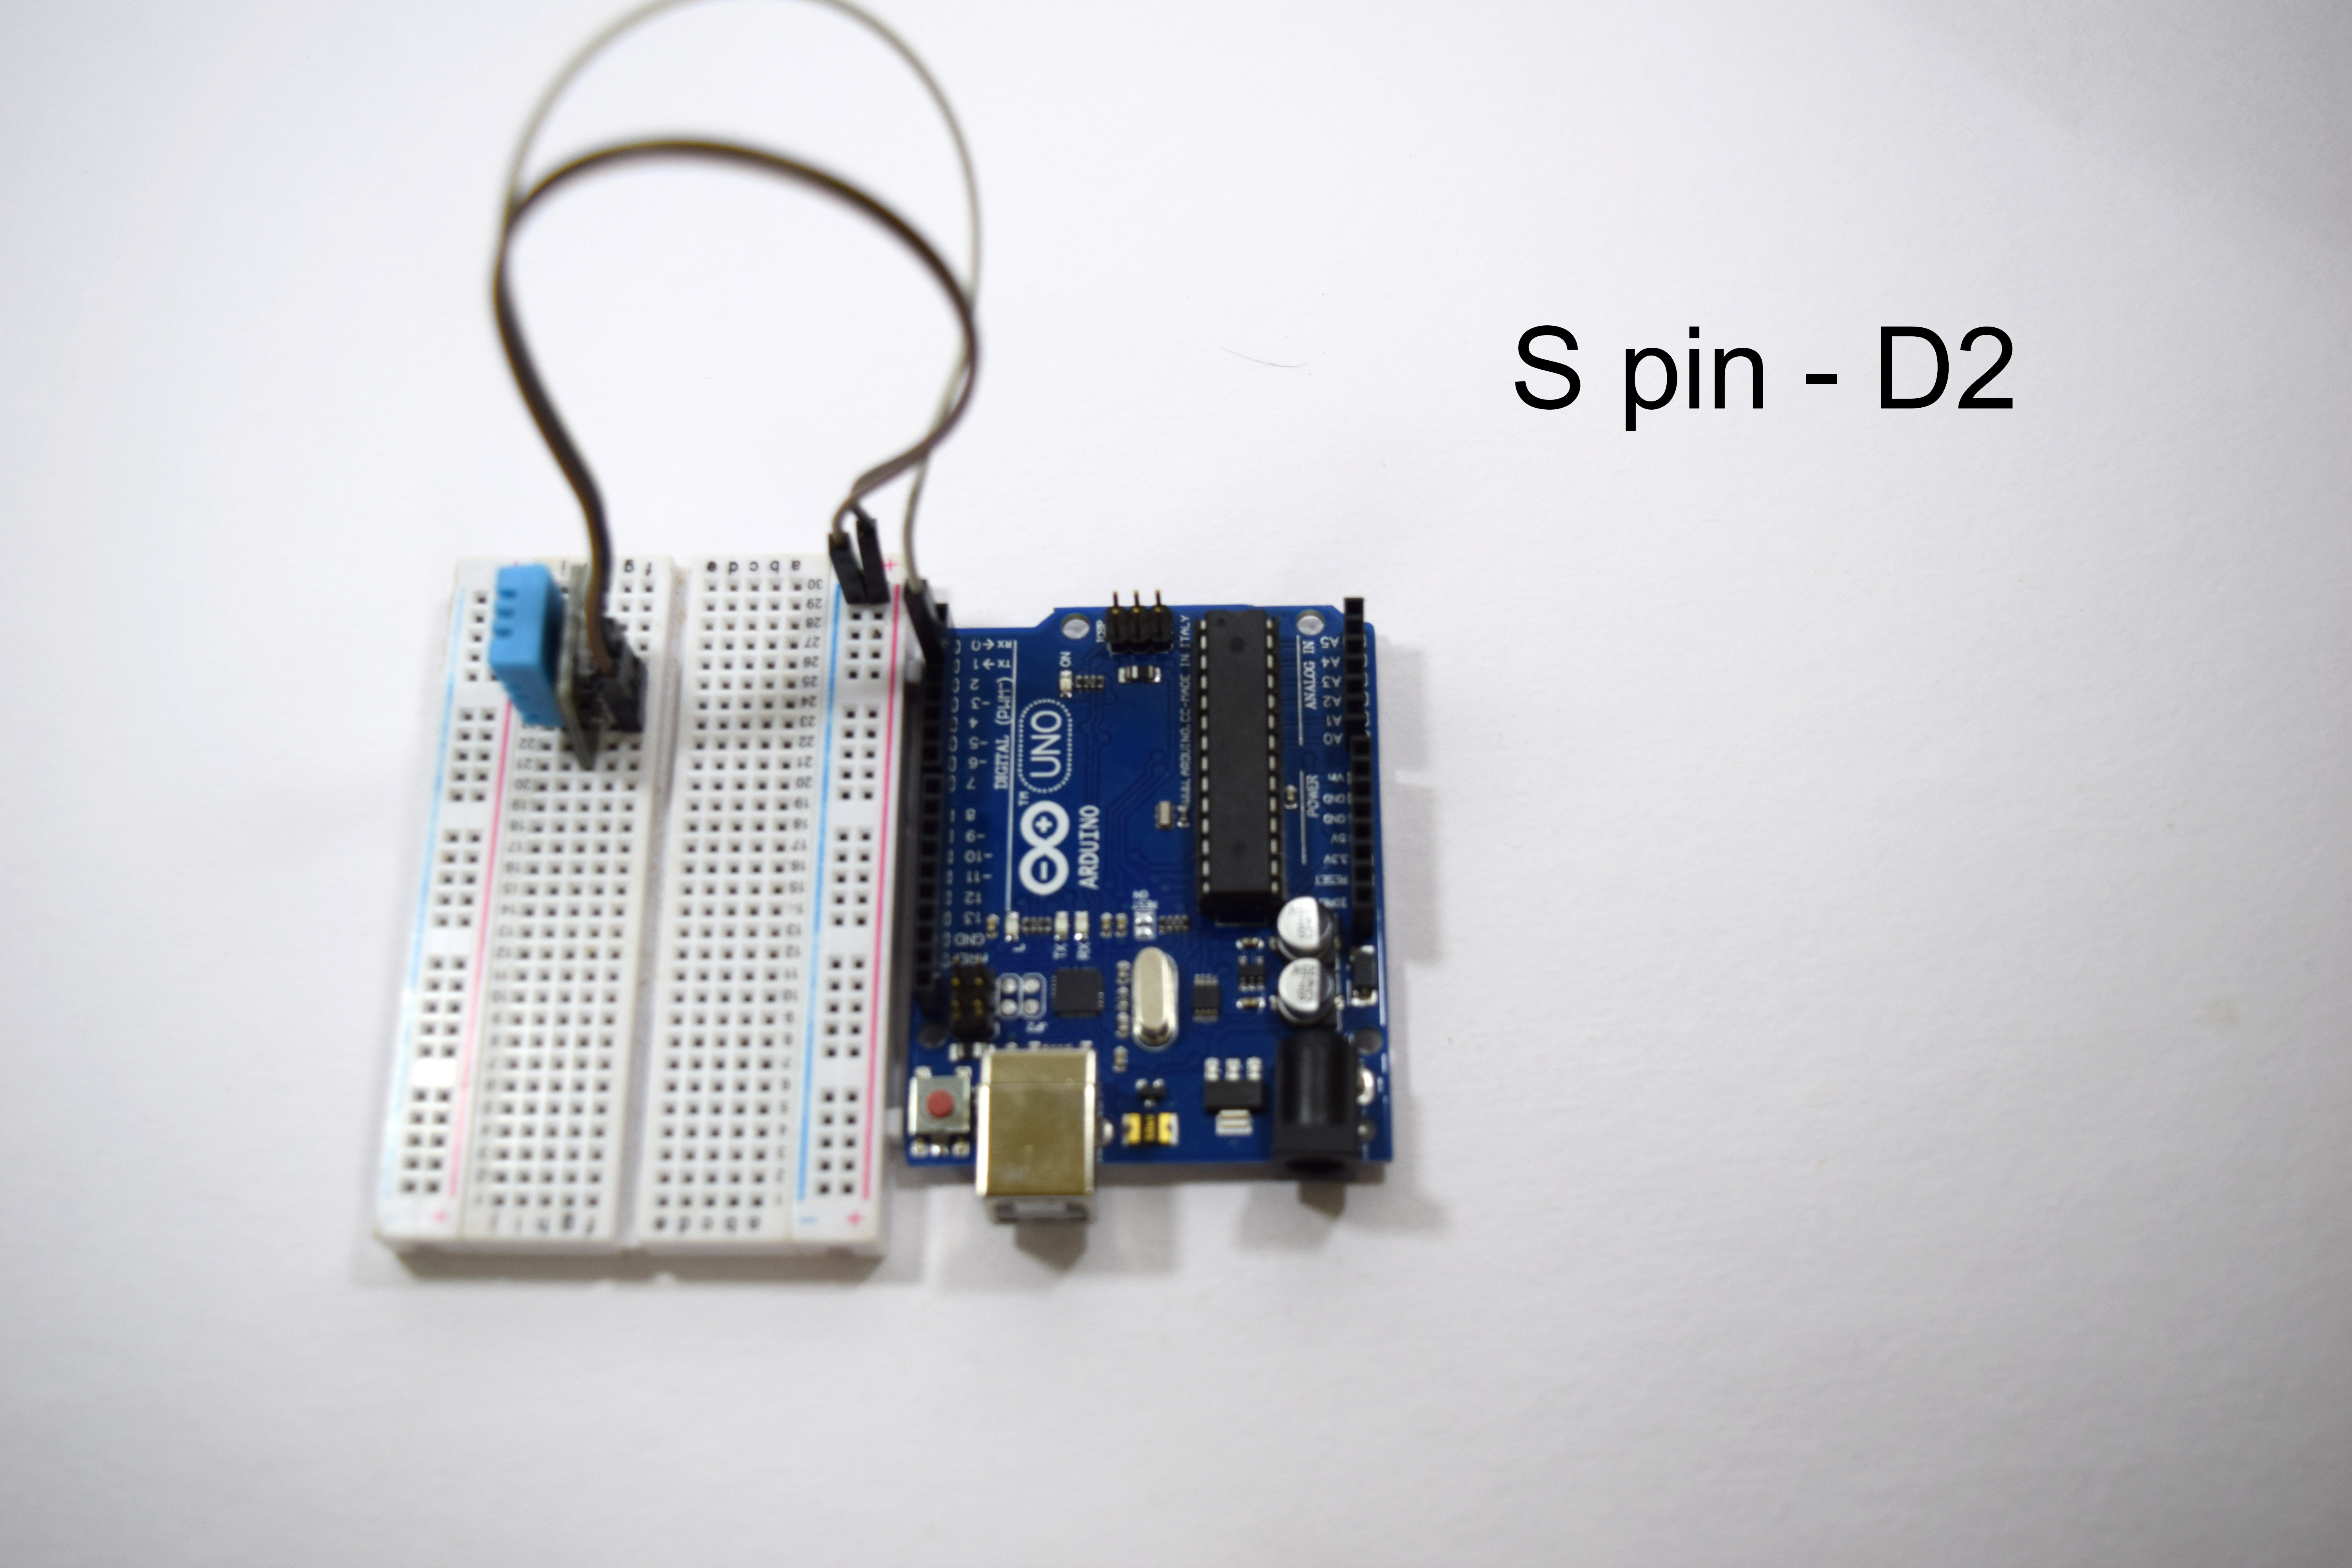
The DTH11 is a sensor designed to sense the moisture level present in any matter.hobbyist use to implement them into the prototype and make a prototype of it.Usually,
the DTH11 consists of four pins out which three are used for the implementation
The pins are accordingly ordered as
- VCC pin
- Data-out pin
- GND pin
The connection of the DTH11 sensor is connected as follows:
- VCC pin to the positive railings of the Breadboard.
- GND pin to the negative railings of the Breadboard.
- Data-Out pin to the Digital pin 3 of the Arduino.
In next step, I am teaching you how to interface a LED
Fixing Piezo Buzzer:
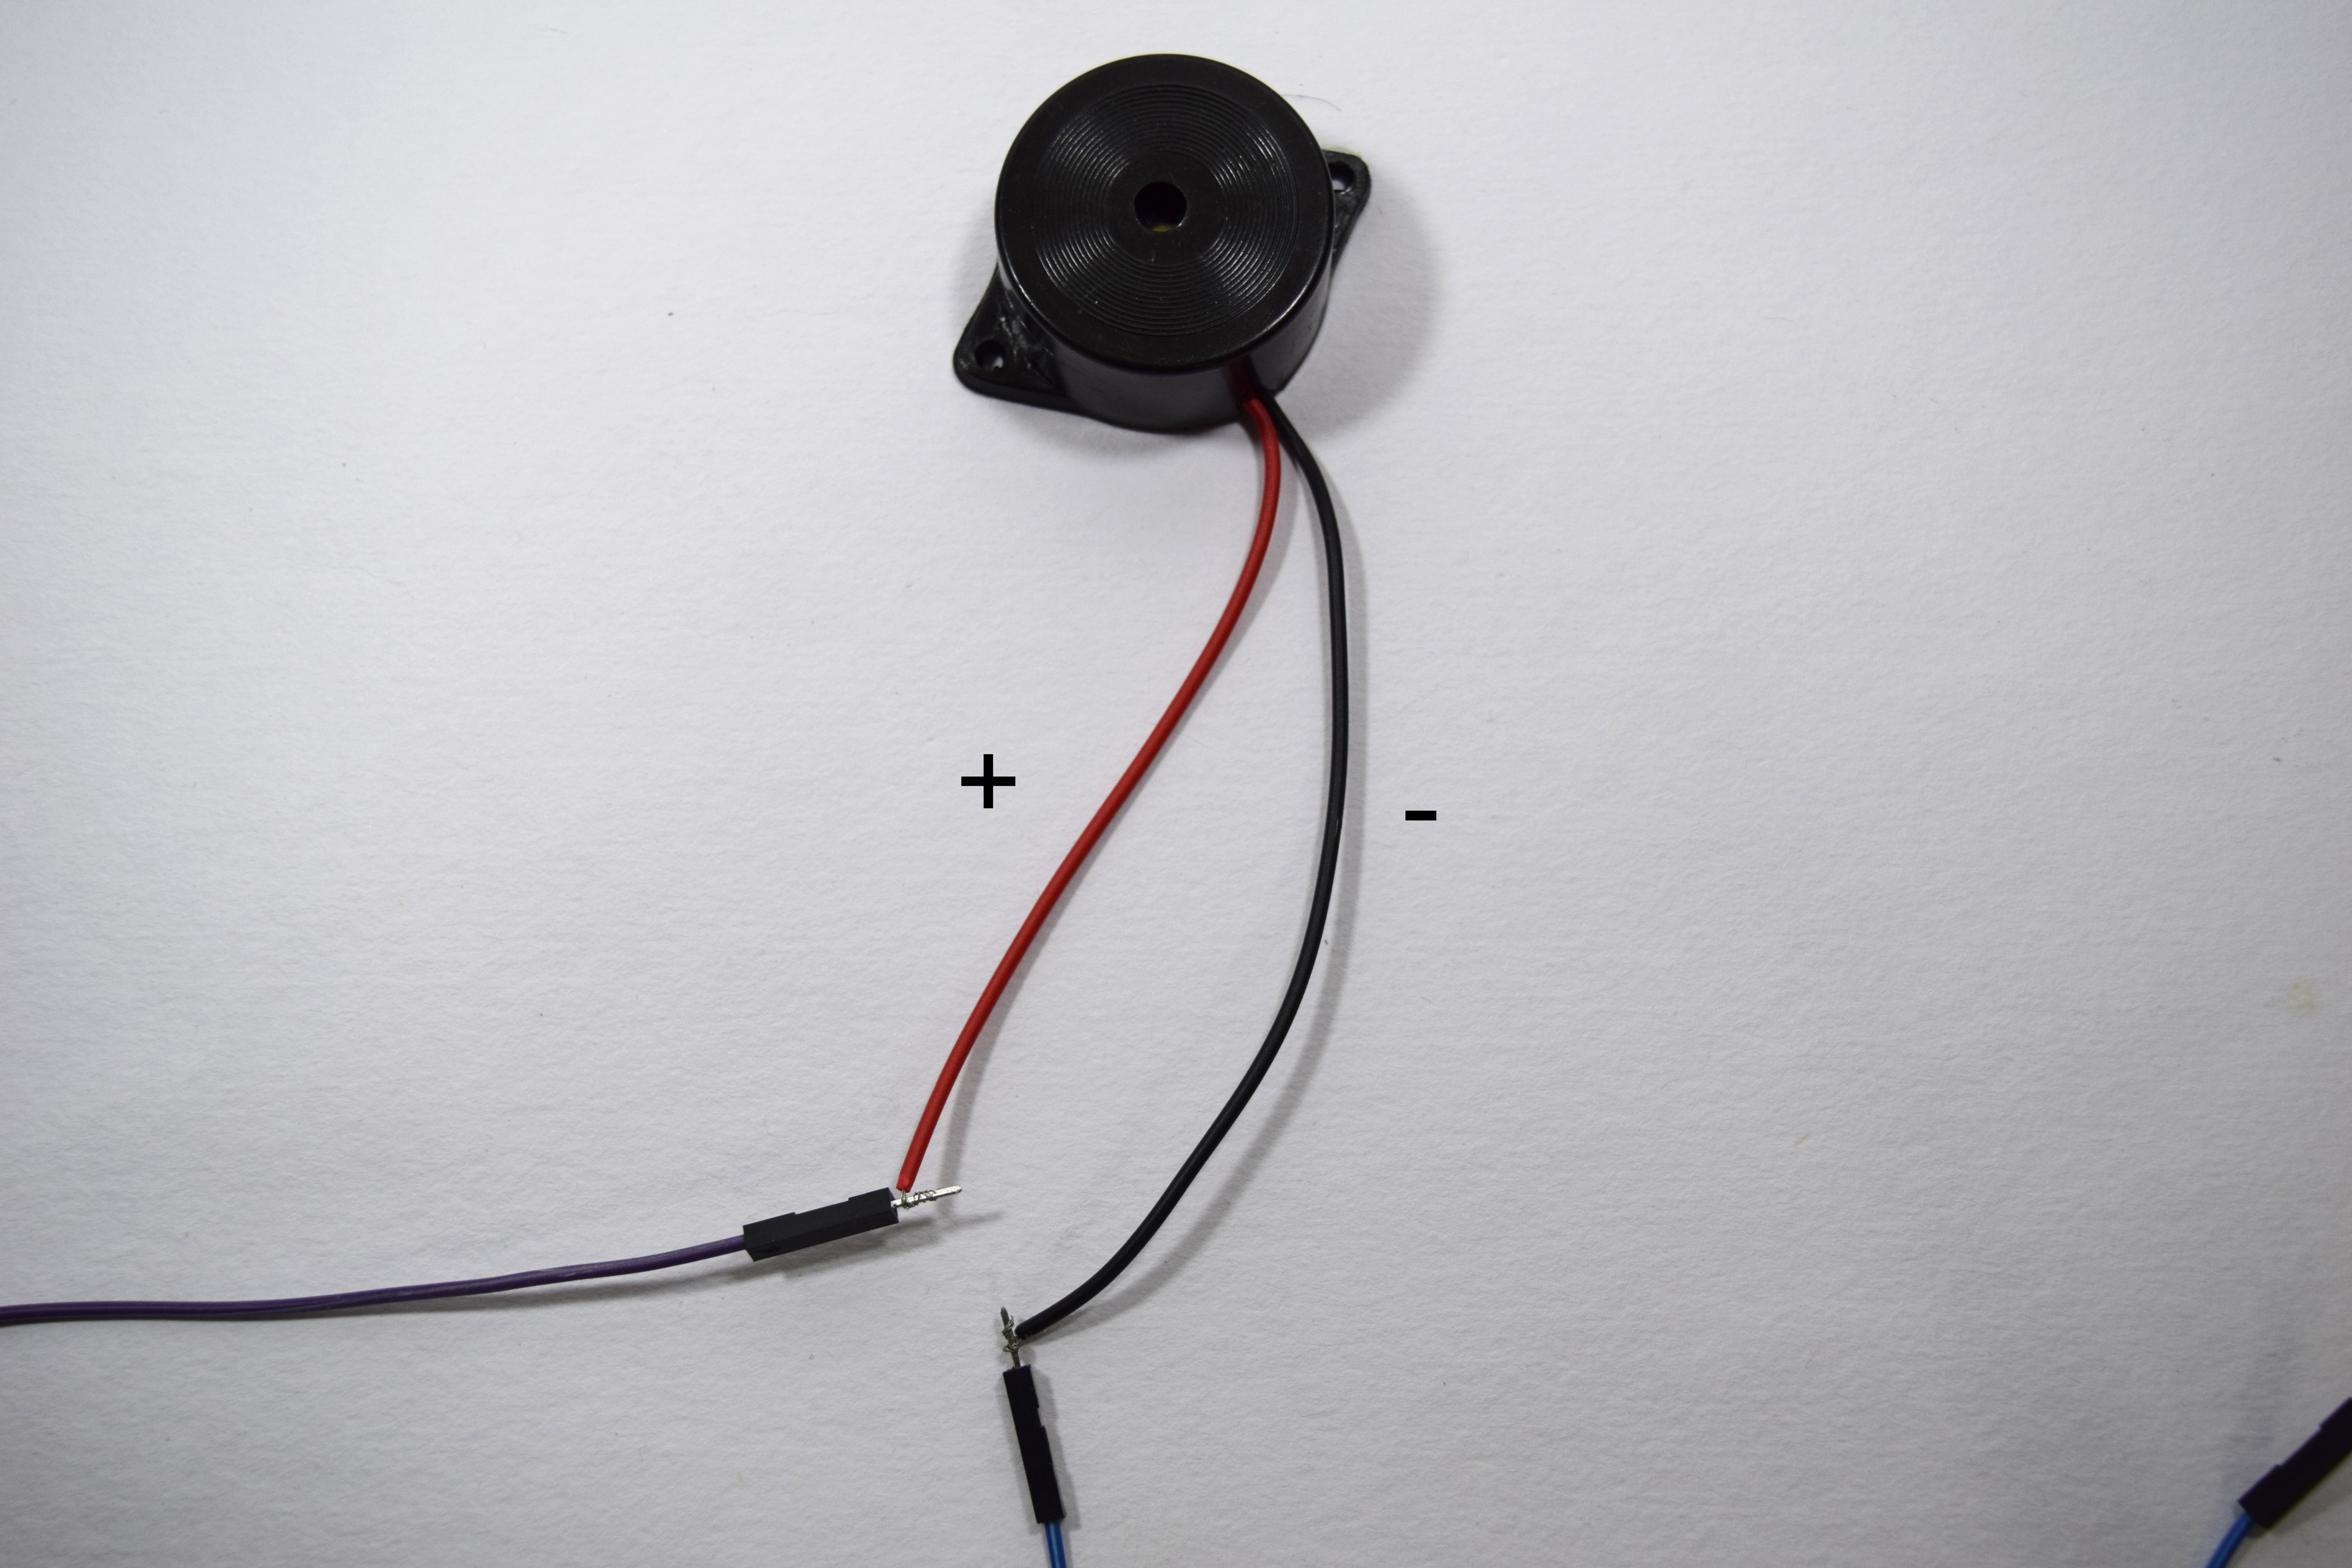
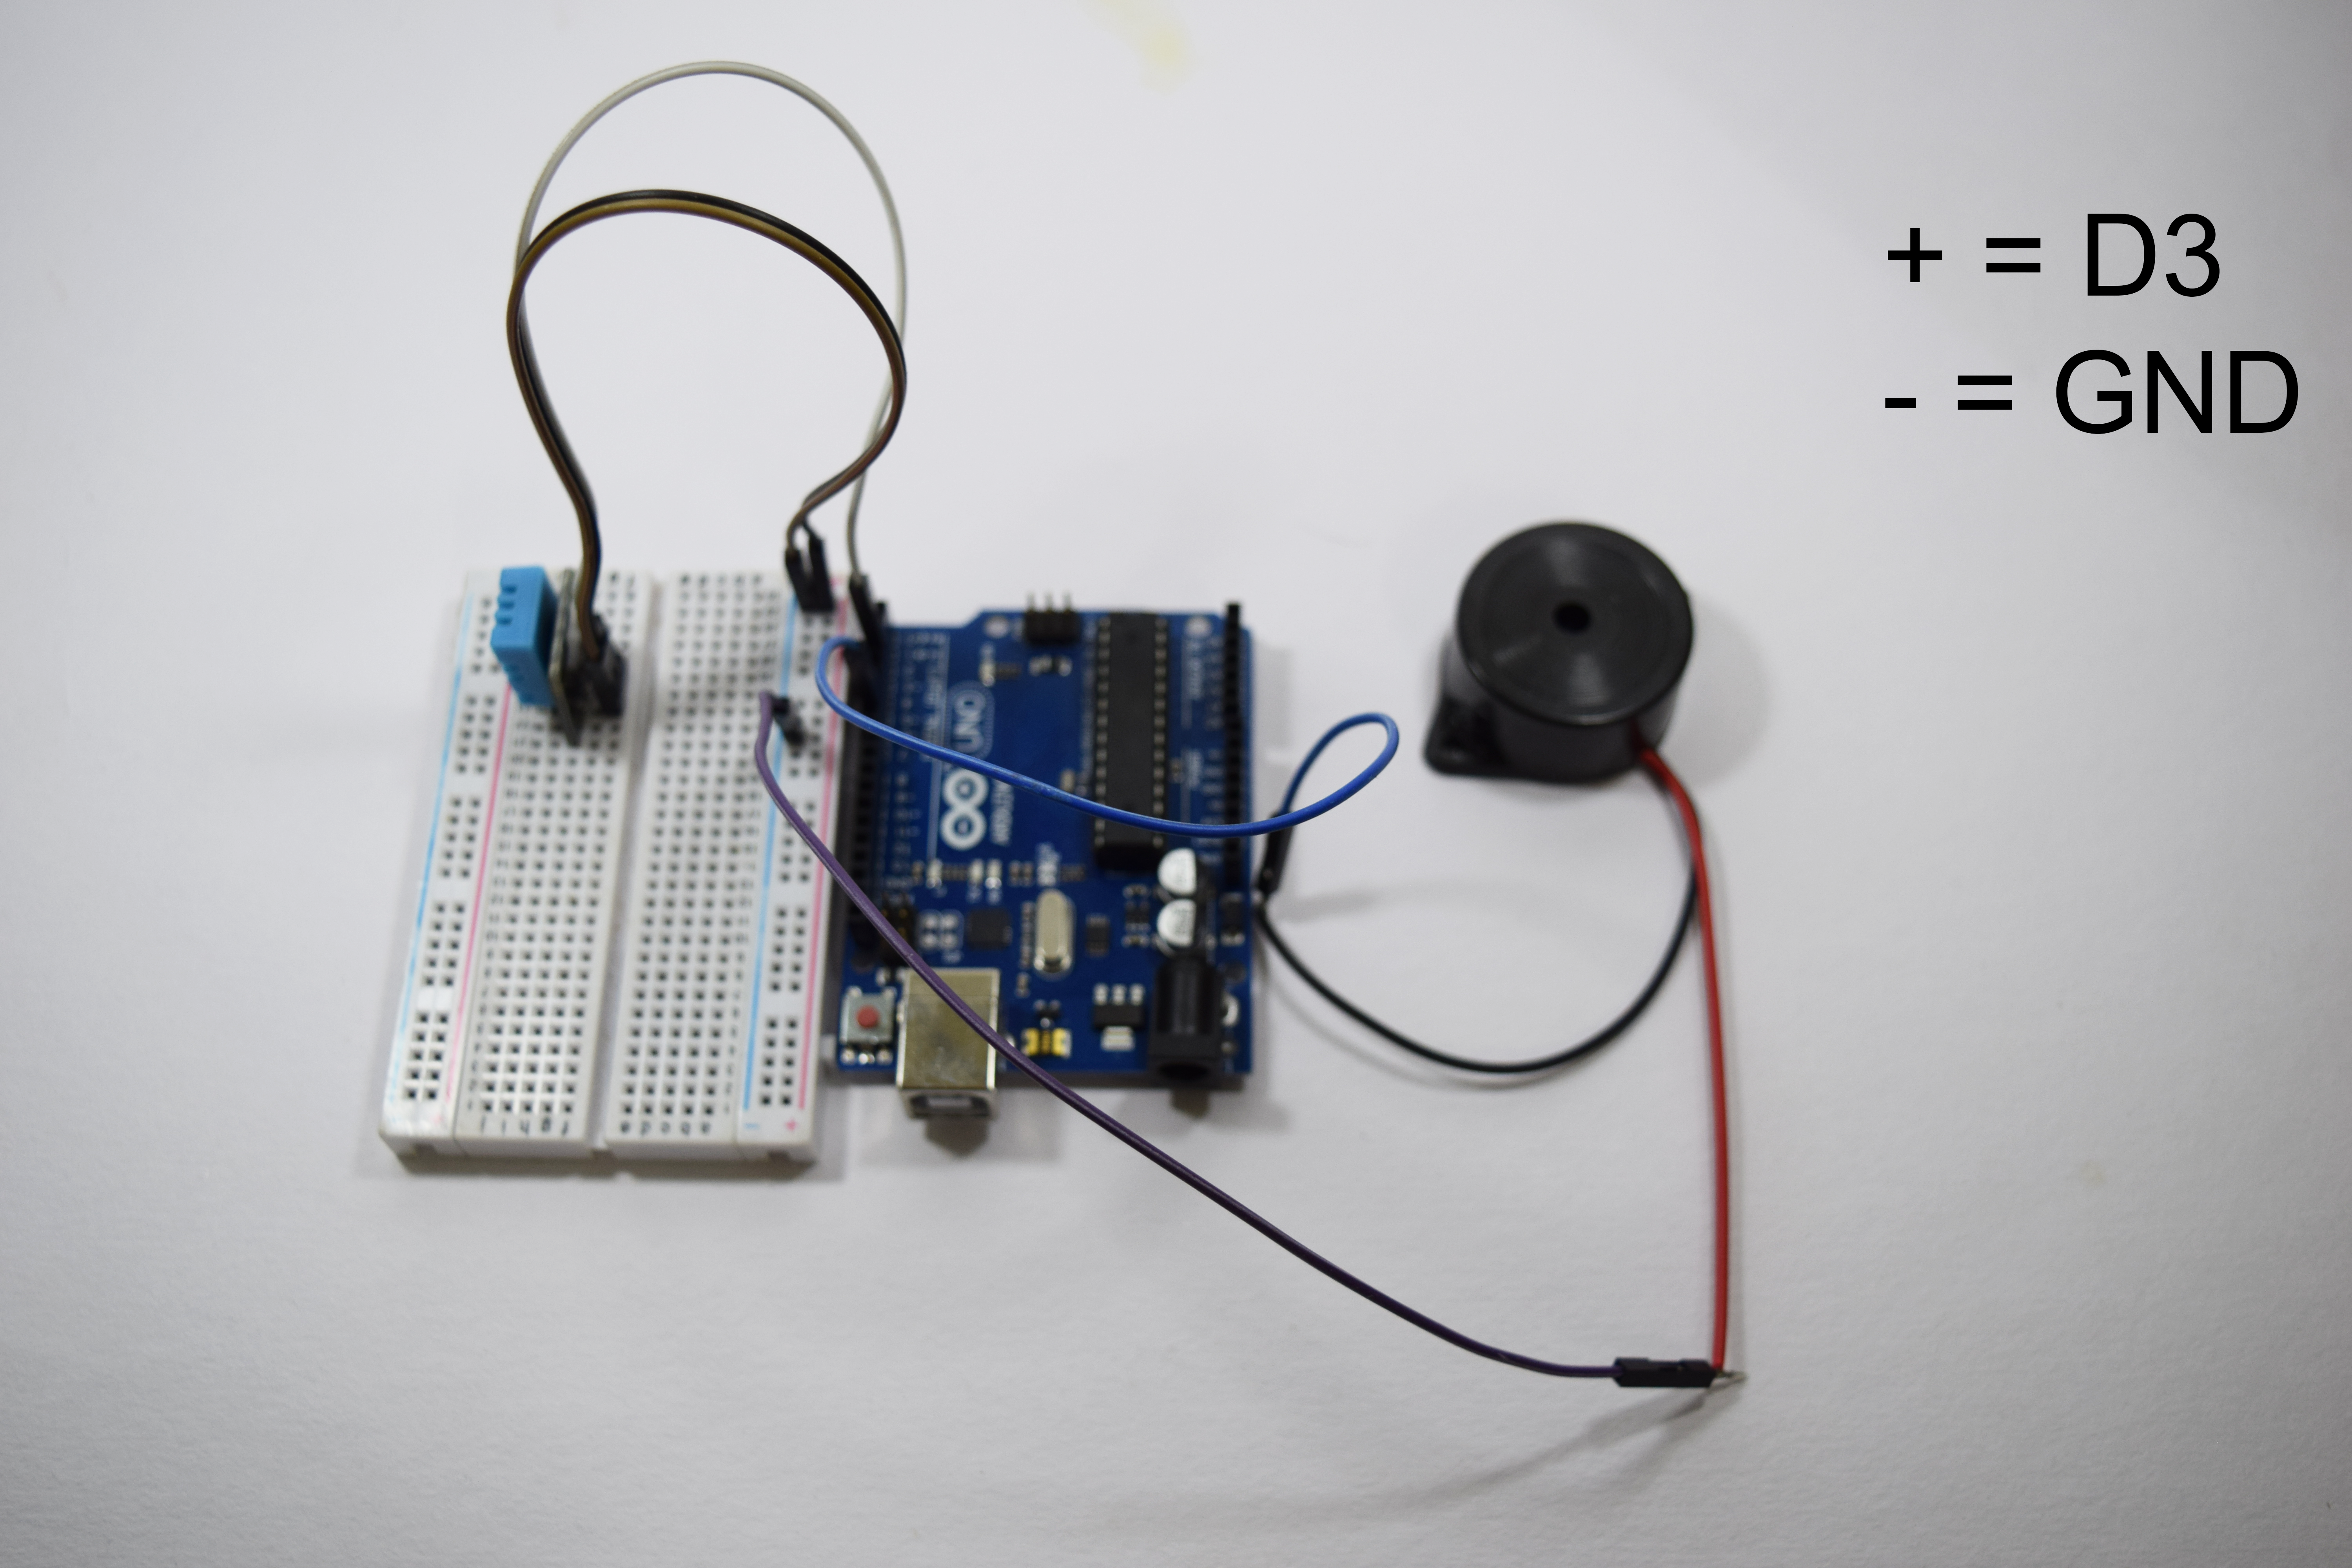
A buzzer usually has two wire coming out of its plastic encase.In my case, the red wire is called anode and the negative wire is called as Cathode.
The piezo buzzer connection should be as follows:
- The red wire or the anode is connected digital pin 5.
- The black wire or the cathode is connected to the negative railing of the breadboard.
Now, the hardware interface is finished let's get into the coding part.
Interfacing a LED:
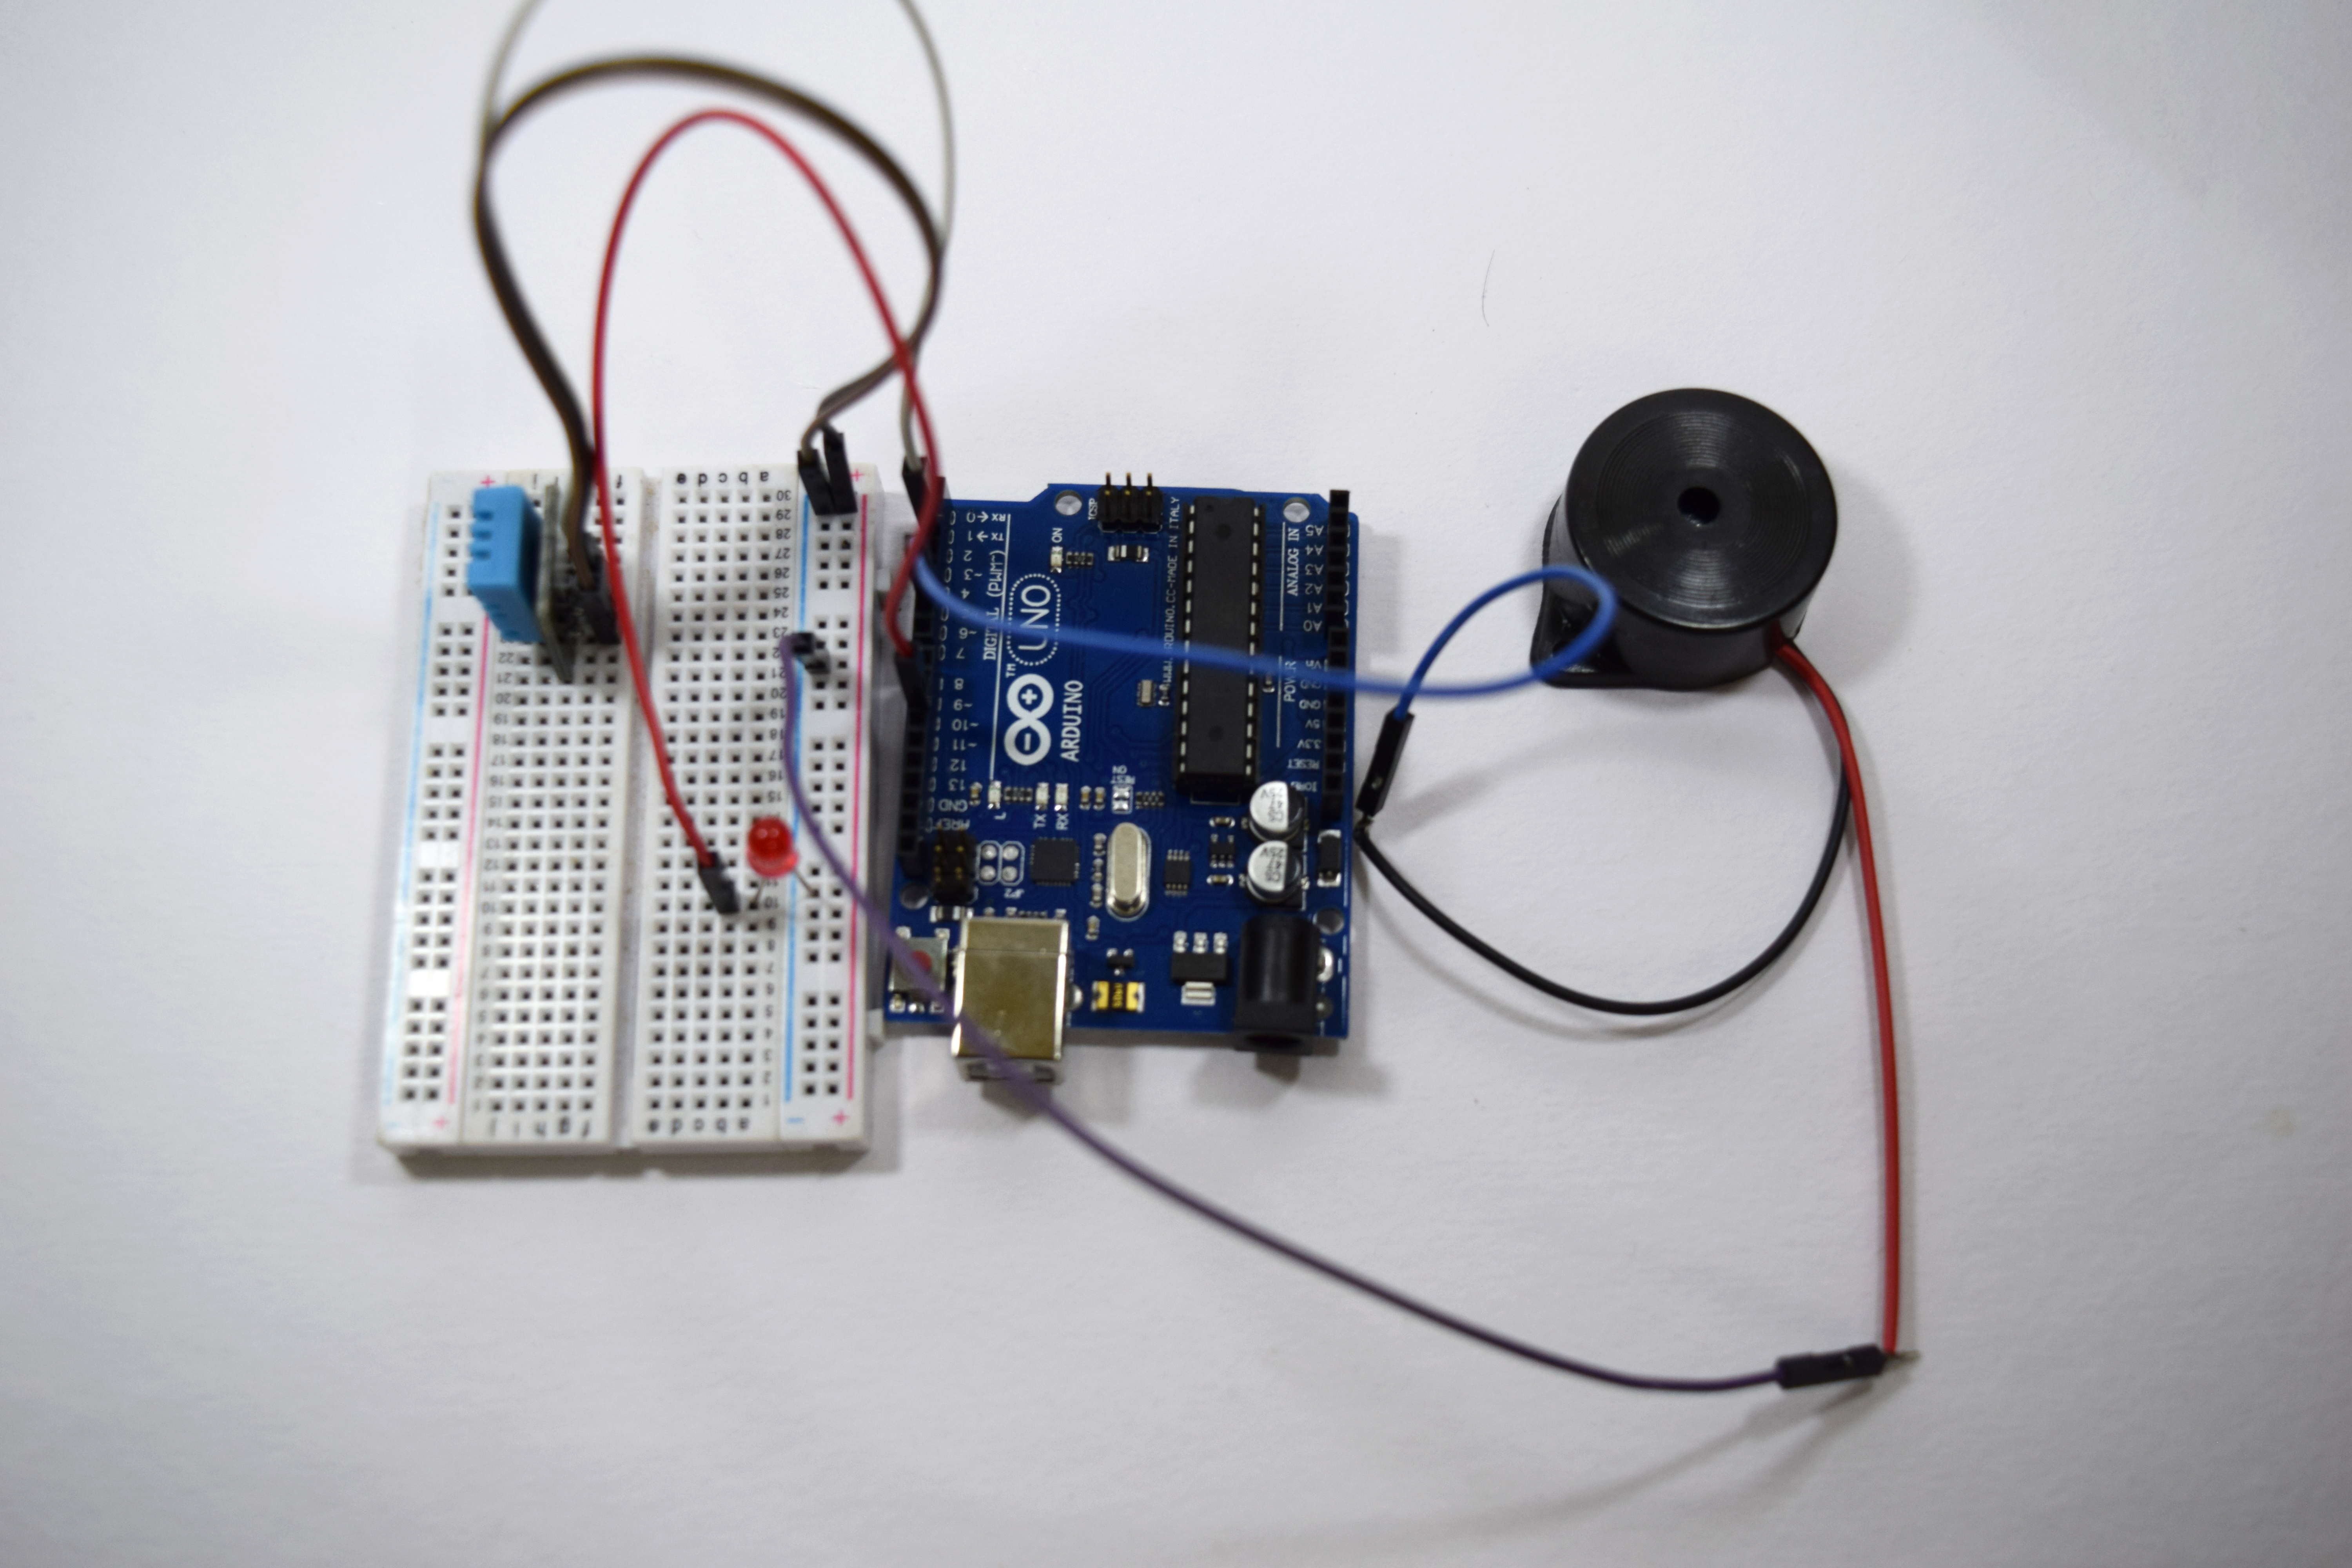
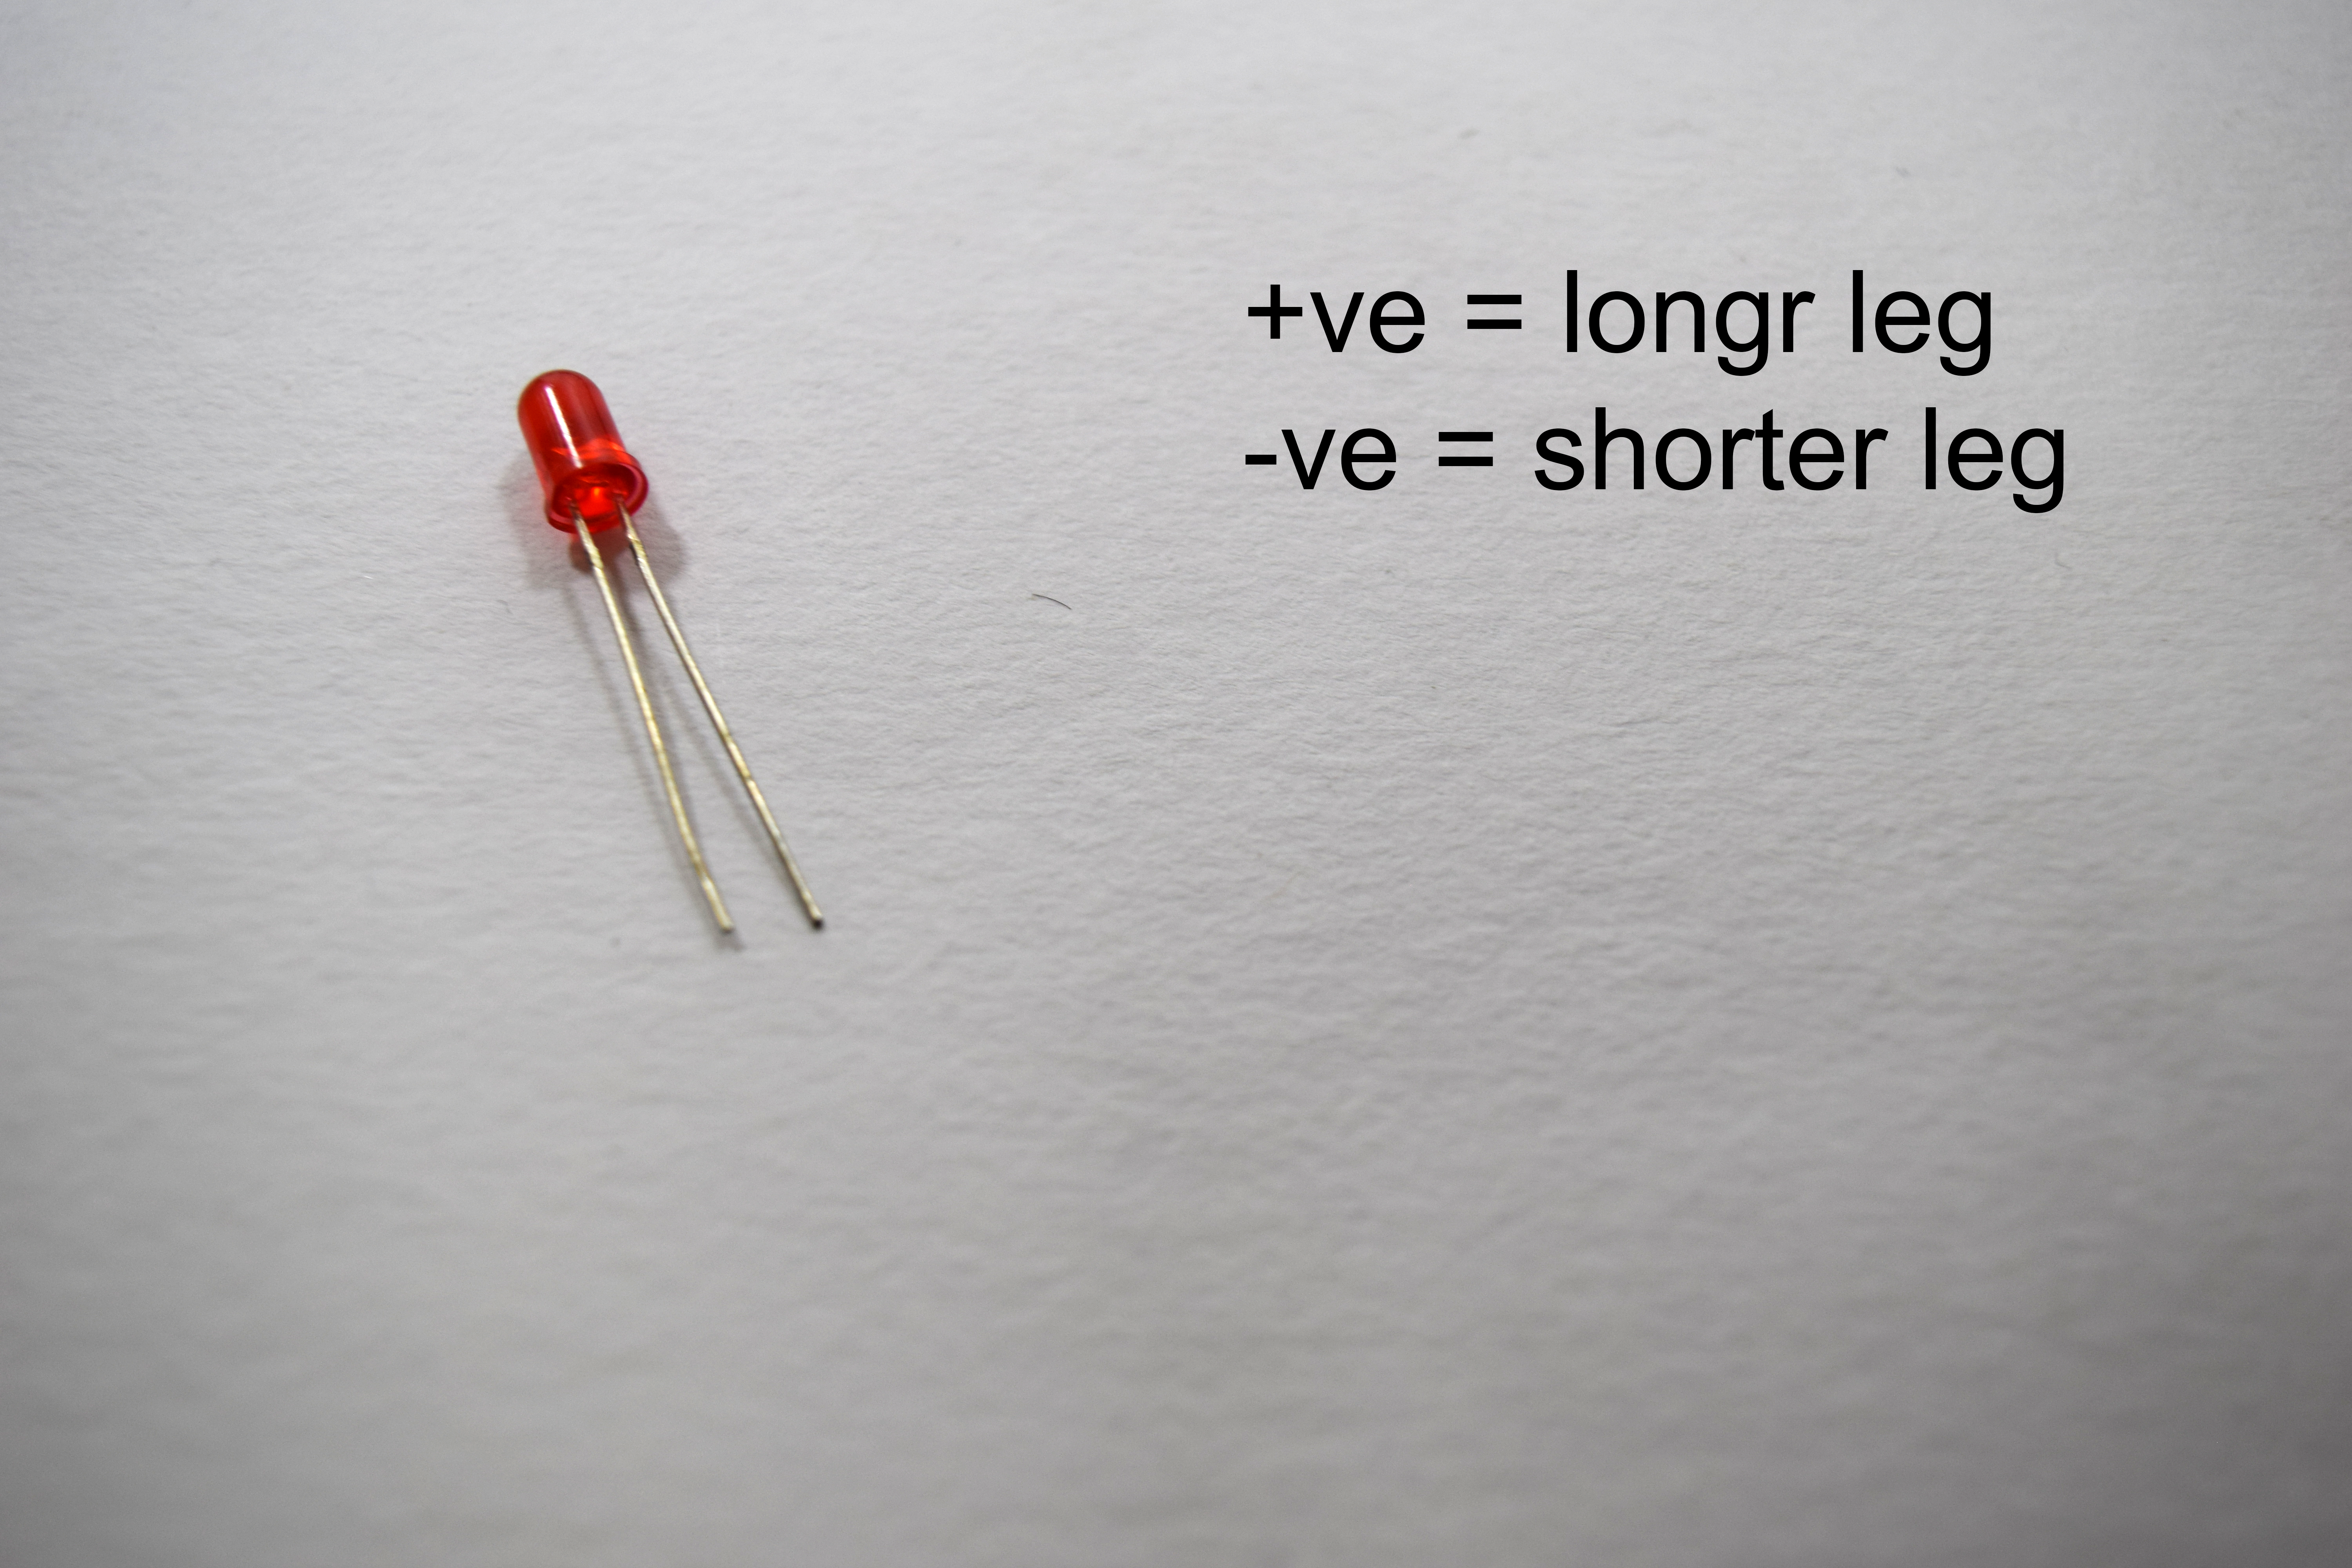
LED usually consist of two terminal.This two terminal varies in length.The longer terminal is called as positive or anode and the shorter terminal is called as negative or cathode.
The connection of the LED is as follows:
- The longer leg or anode is connected to the digital pin 10
- The shorter leg or cathode is connected to the negative railings of the breadboard
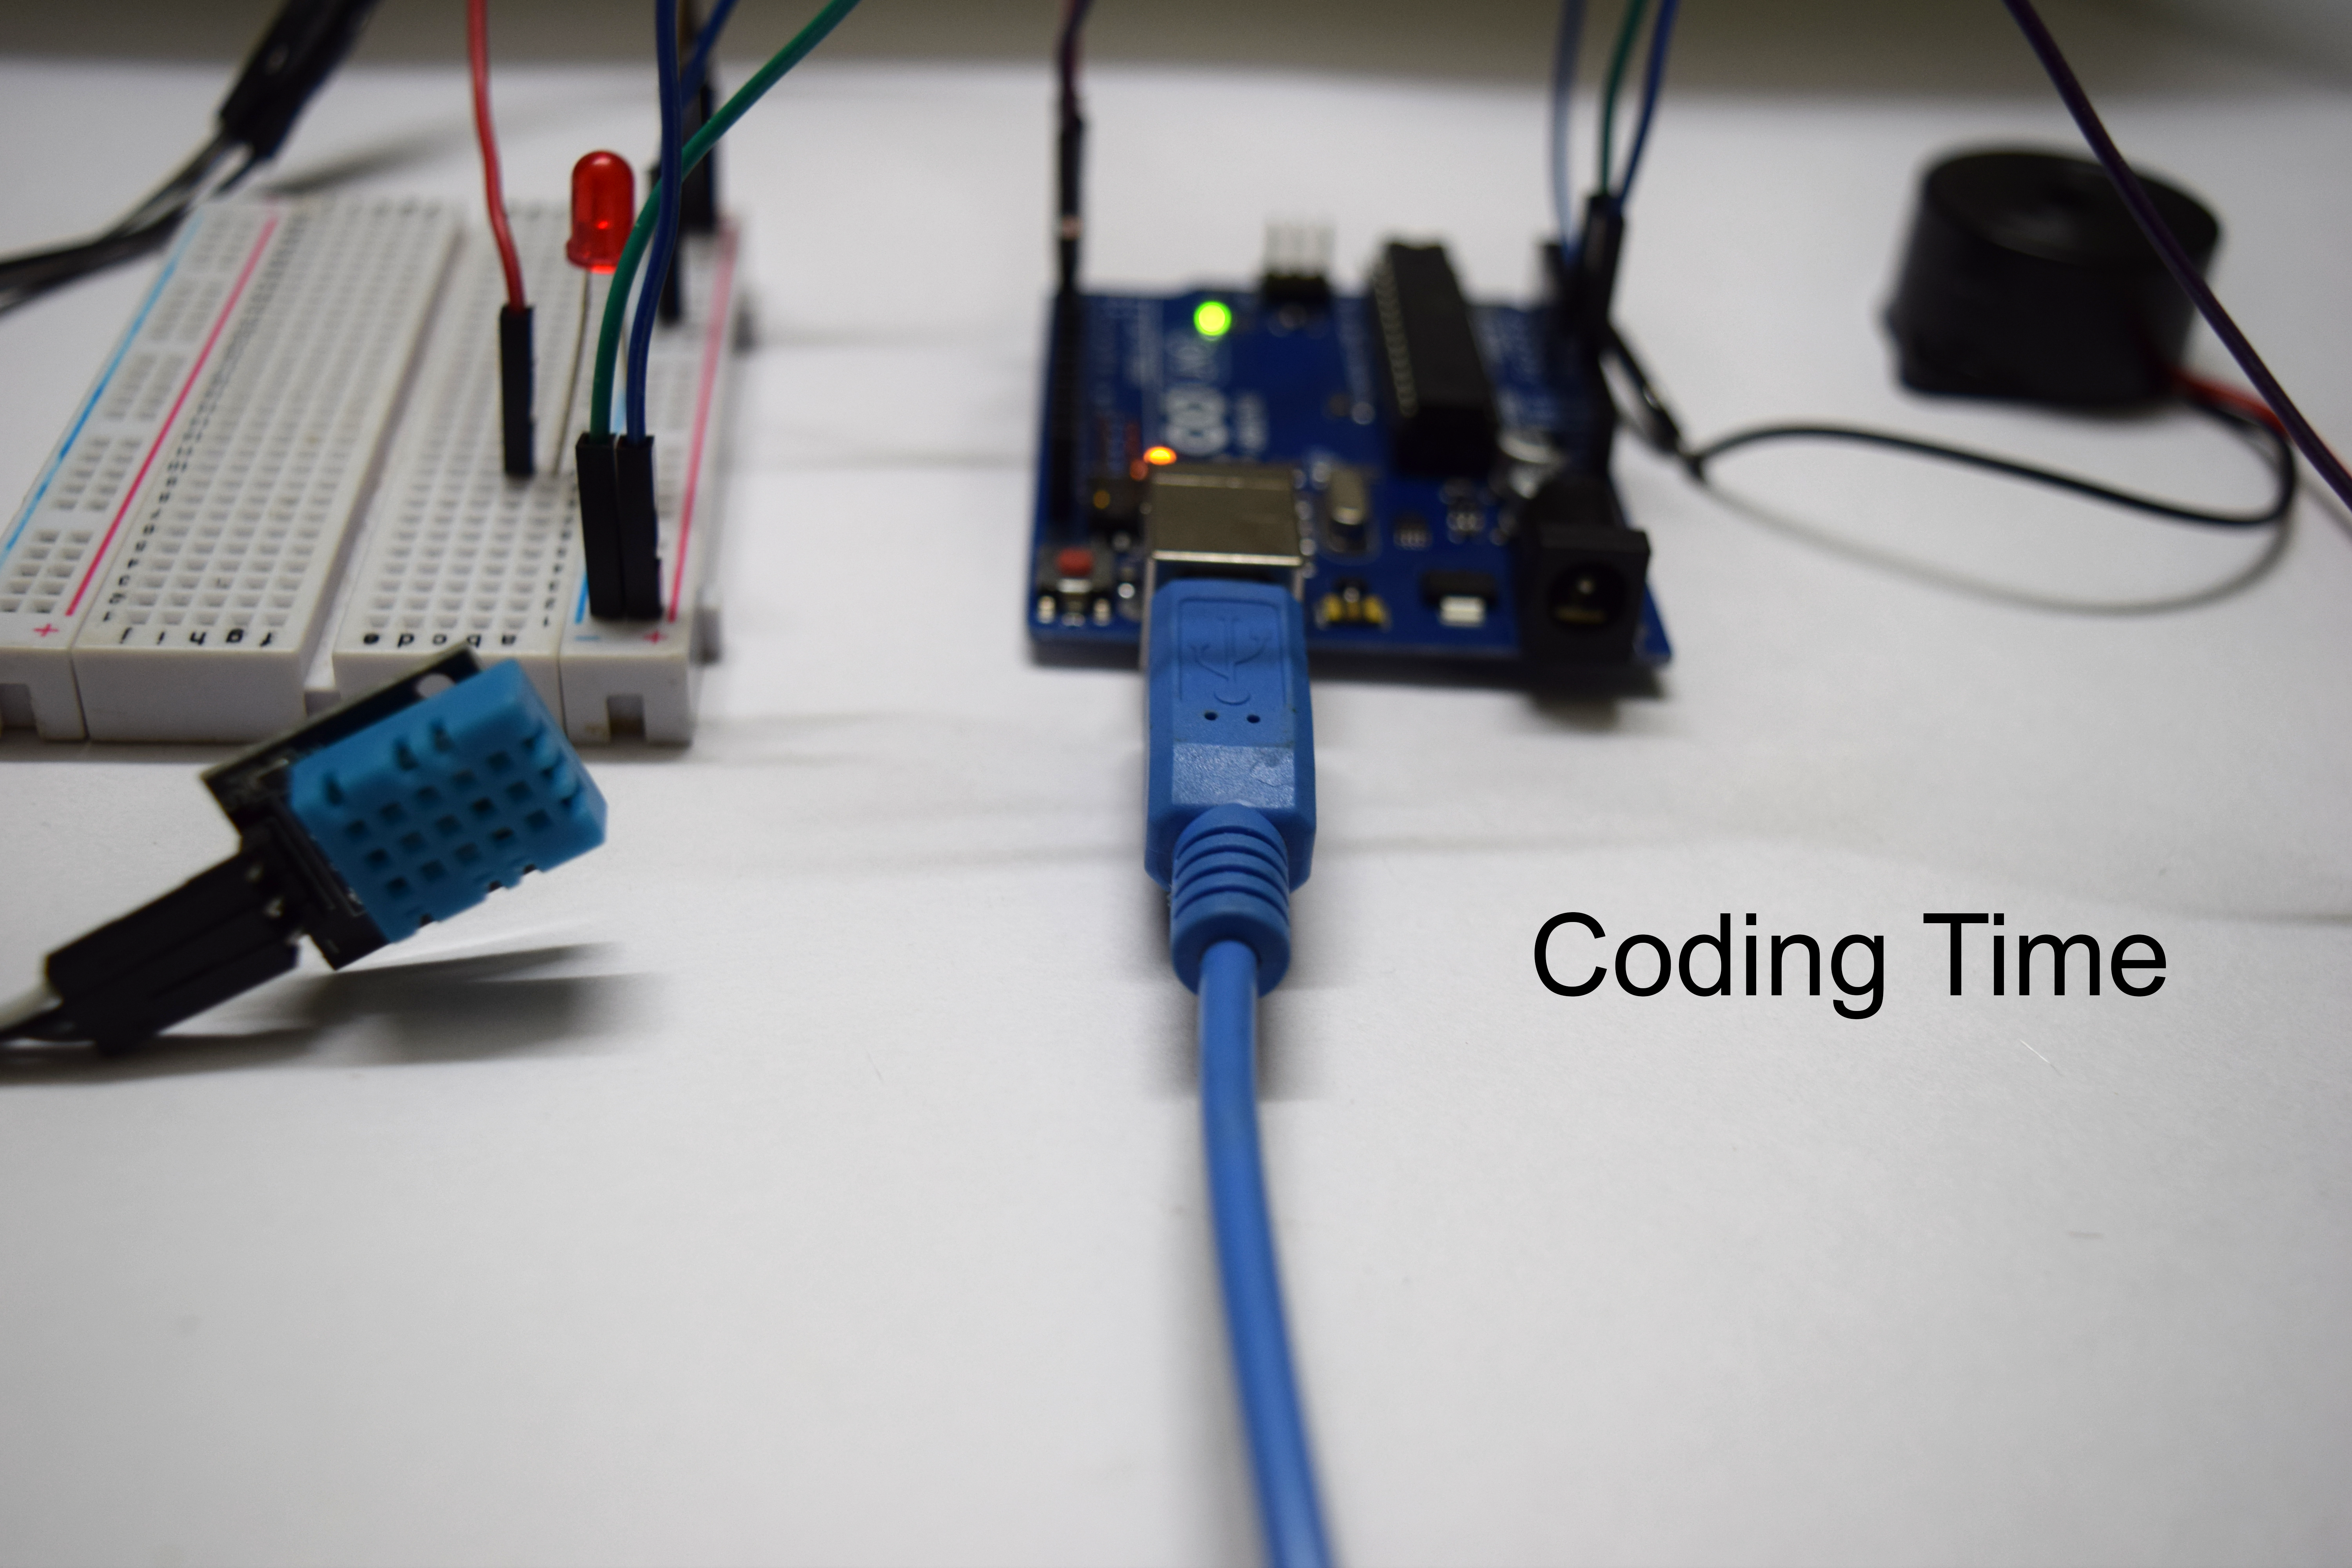
Coding:
#include<dht.h>
dht DHT;
int pinDHT11 = 2;
SimpleDHT11 dht11;
const int ledPin = 4;
const int buzzer = 5;
void setup() { Serial.begin(115200); }
void loop() {
Serial.println("=================================");
Serial.println("Sample DHT11...");
byte temperature = 0; byte humidity = 0;
if (dht11.read(pinDHT11, &temperature, &humidity, NULL)) {
Serial.print("Read DHT11 failed."); return;
}
Serial.print("Sample OK: ");
Serial.print((int)temperature);
Serial.print(" *C, ");
Serial.print((int)humidity);
Serial.println(" %");
if (humidity <= 50) {
digitalWrite(ledPin, HIGH);
digitalWrite(buzzer, HIGH); }
else {
digitalWrite(ledPin, LOW);
digitalWrite(buzzer, LOW); }
delay(1000)