Humaniod A.I Talking Robot With Arduino
by Ashwini Kumar_Sinha in Circuits > Microcontrollers
1673 Views, 6 Favorites, 0 Comments
Humaniod A.I Talking Robot With Arduino
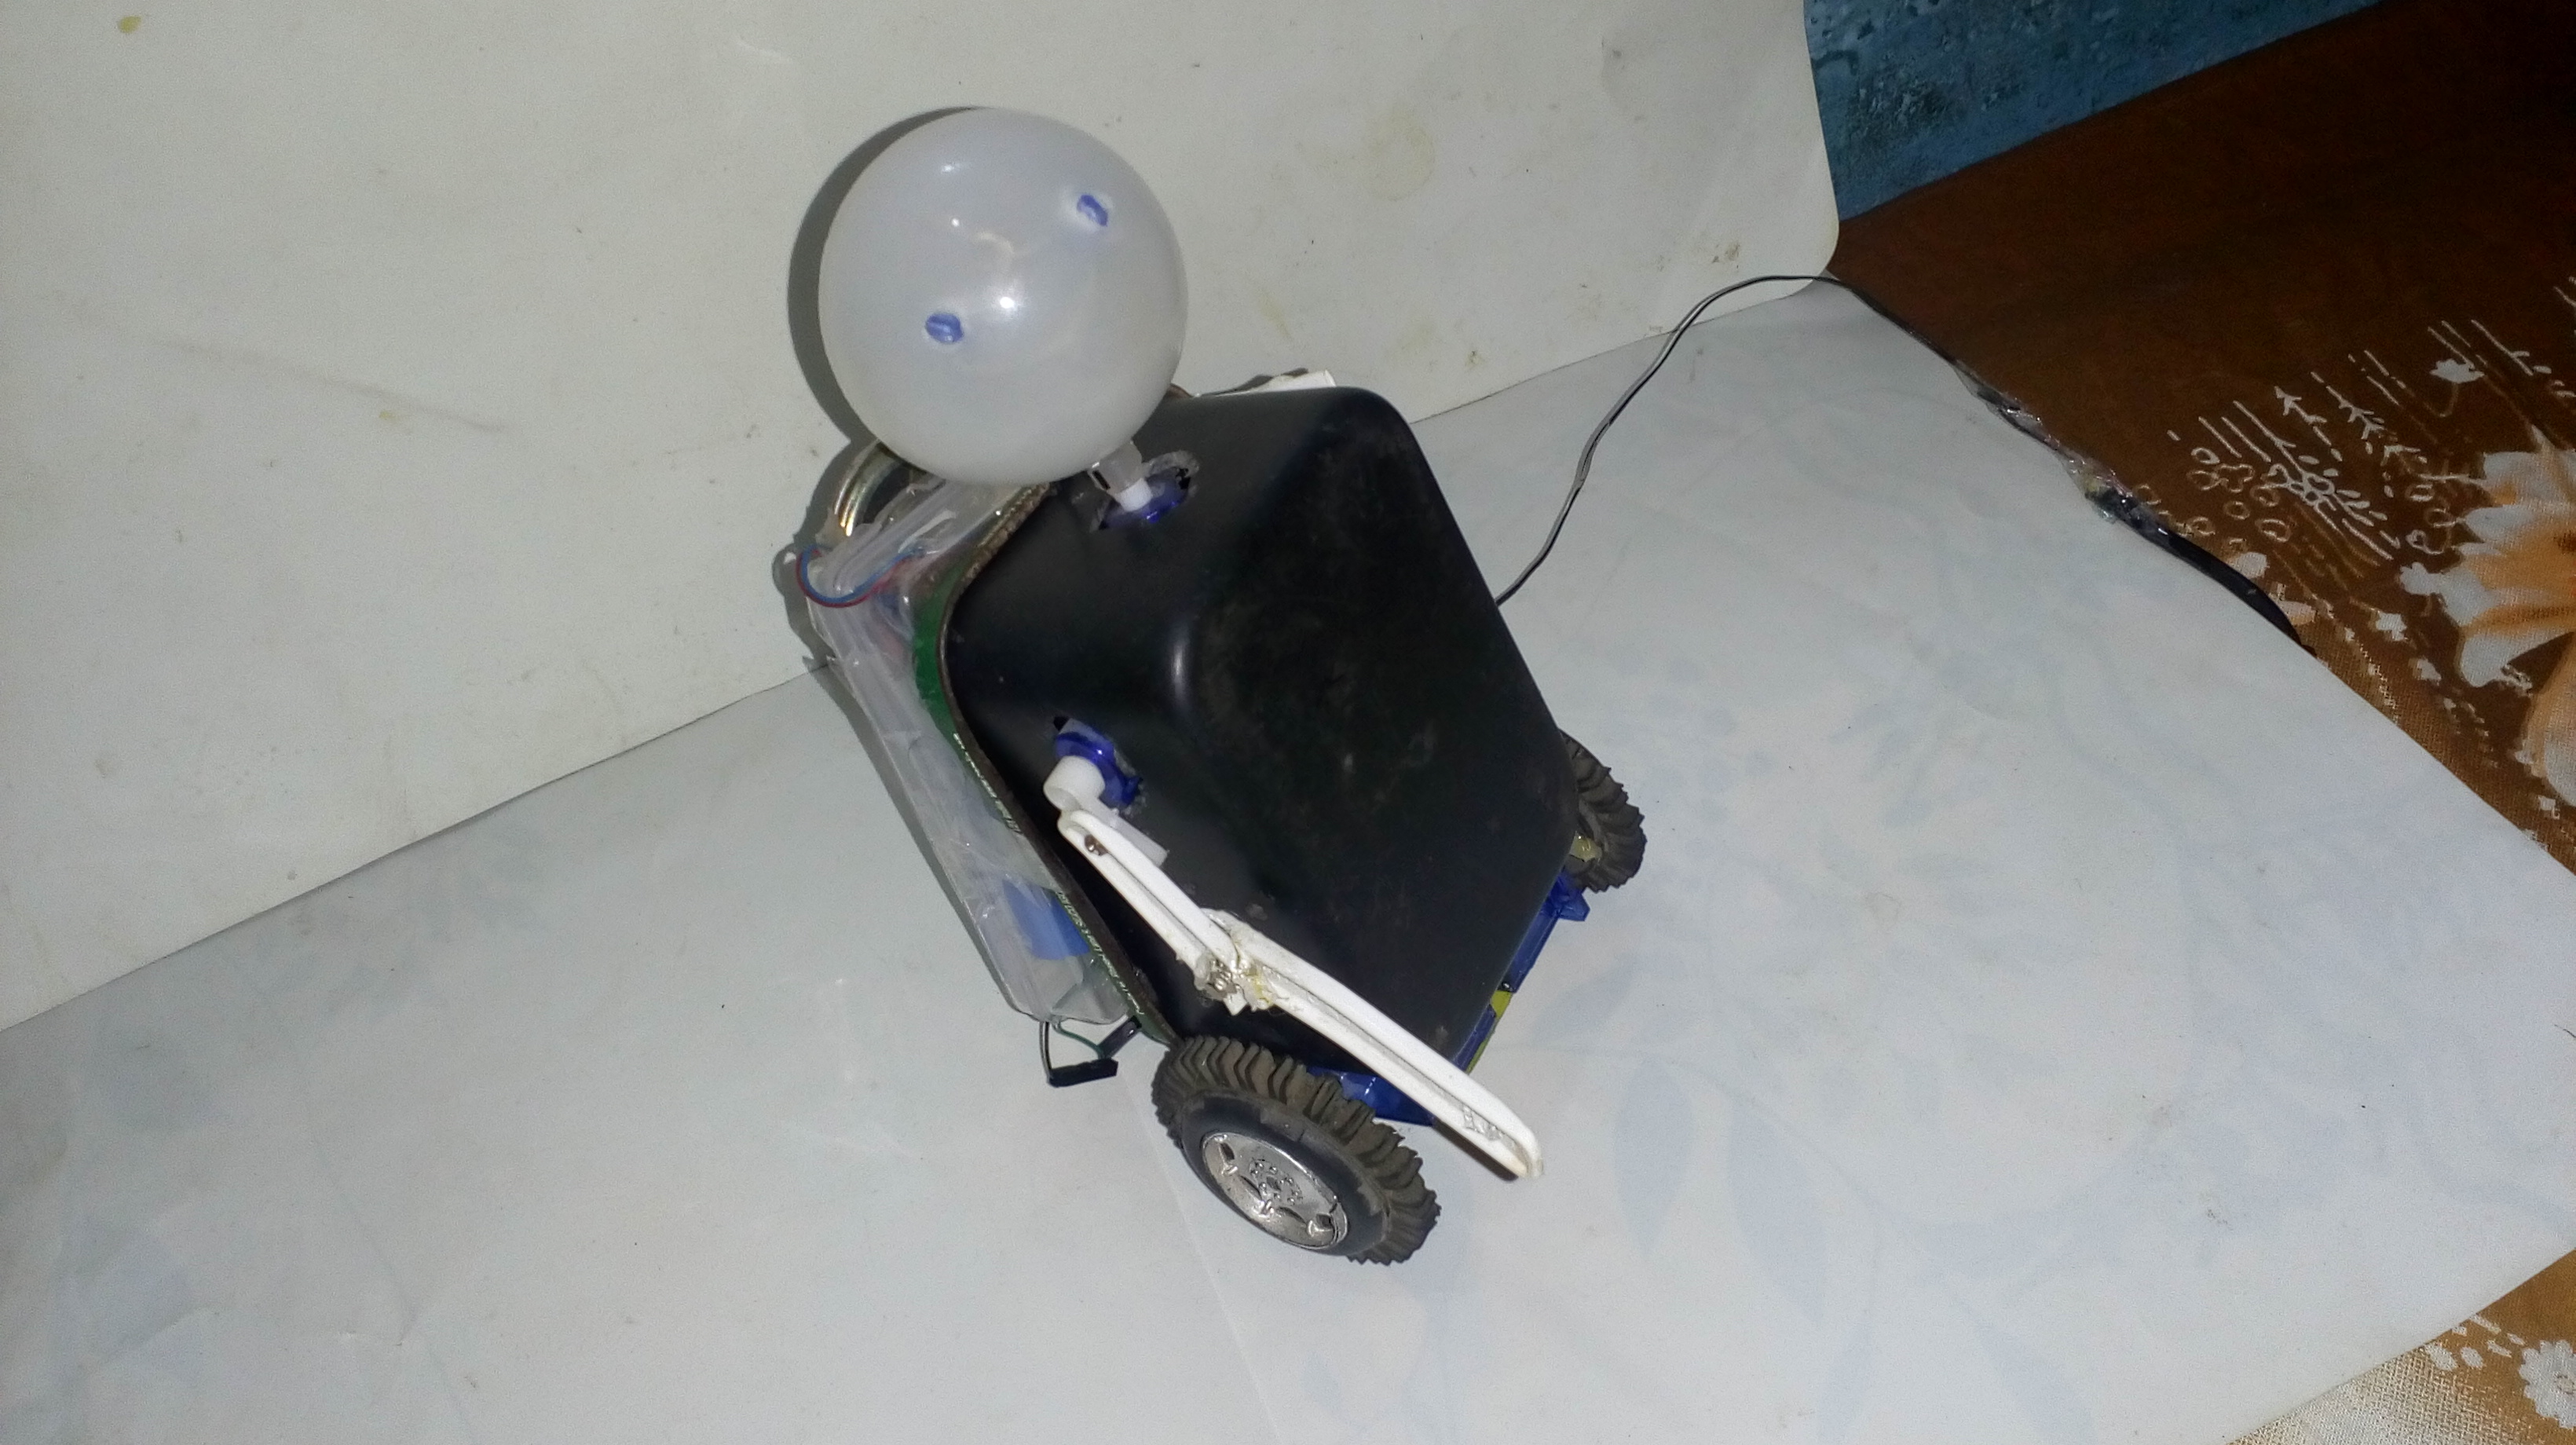
Lets make a simple robot that can talk to you and move according to your voice commands through android app.this robot can also give simple answers to some question according to the inbuilt question answer in app.You can also use google assistant with this robot to make more exciting.
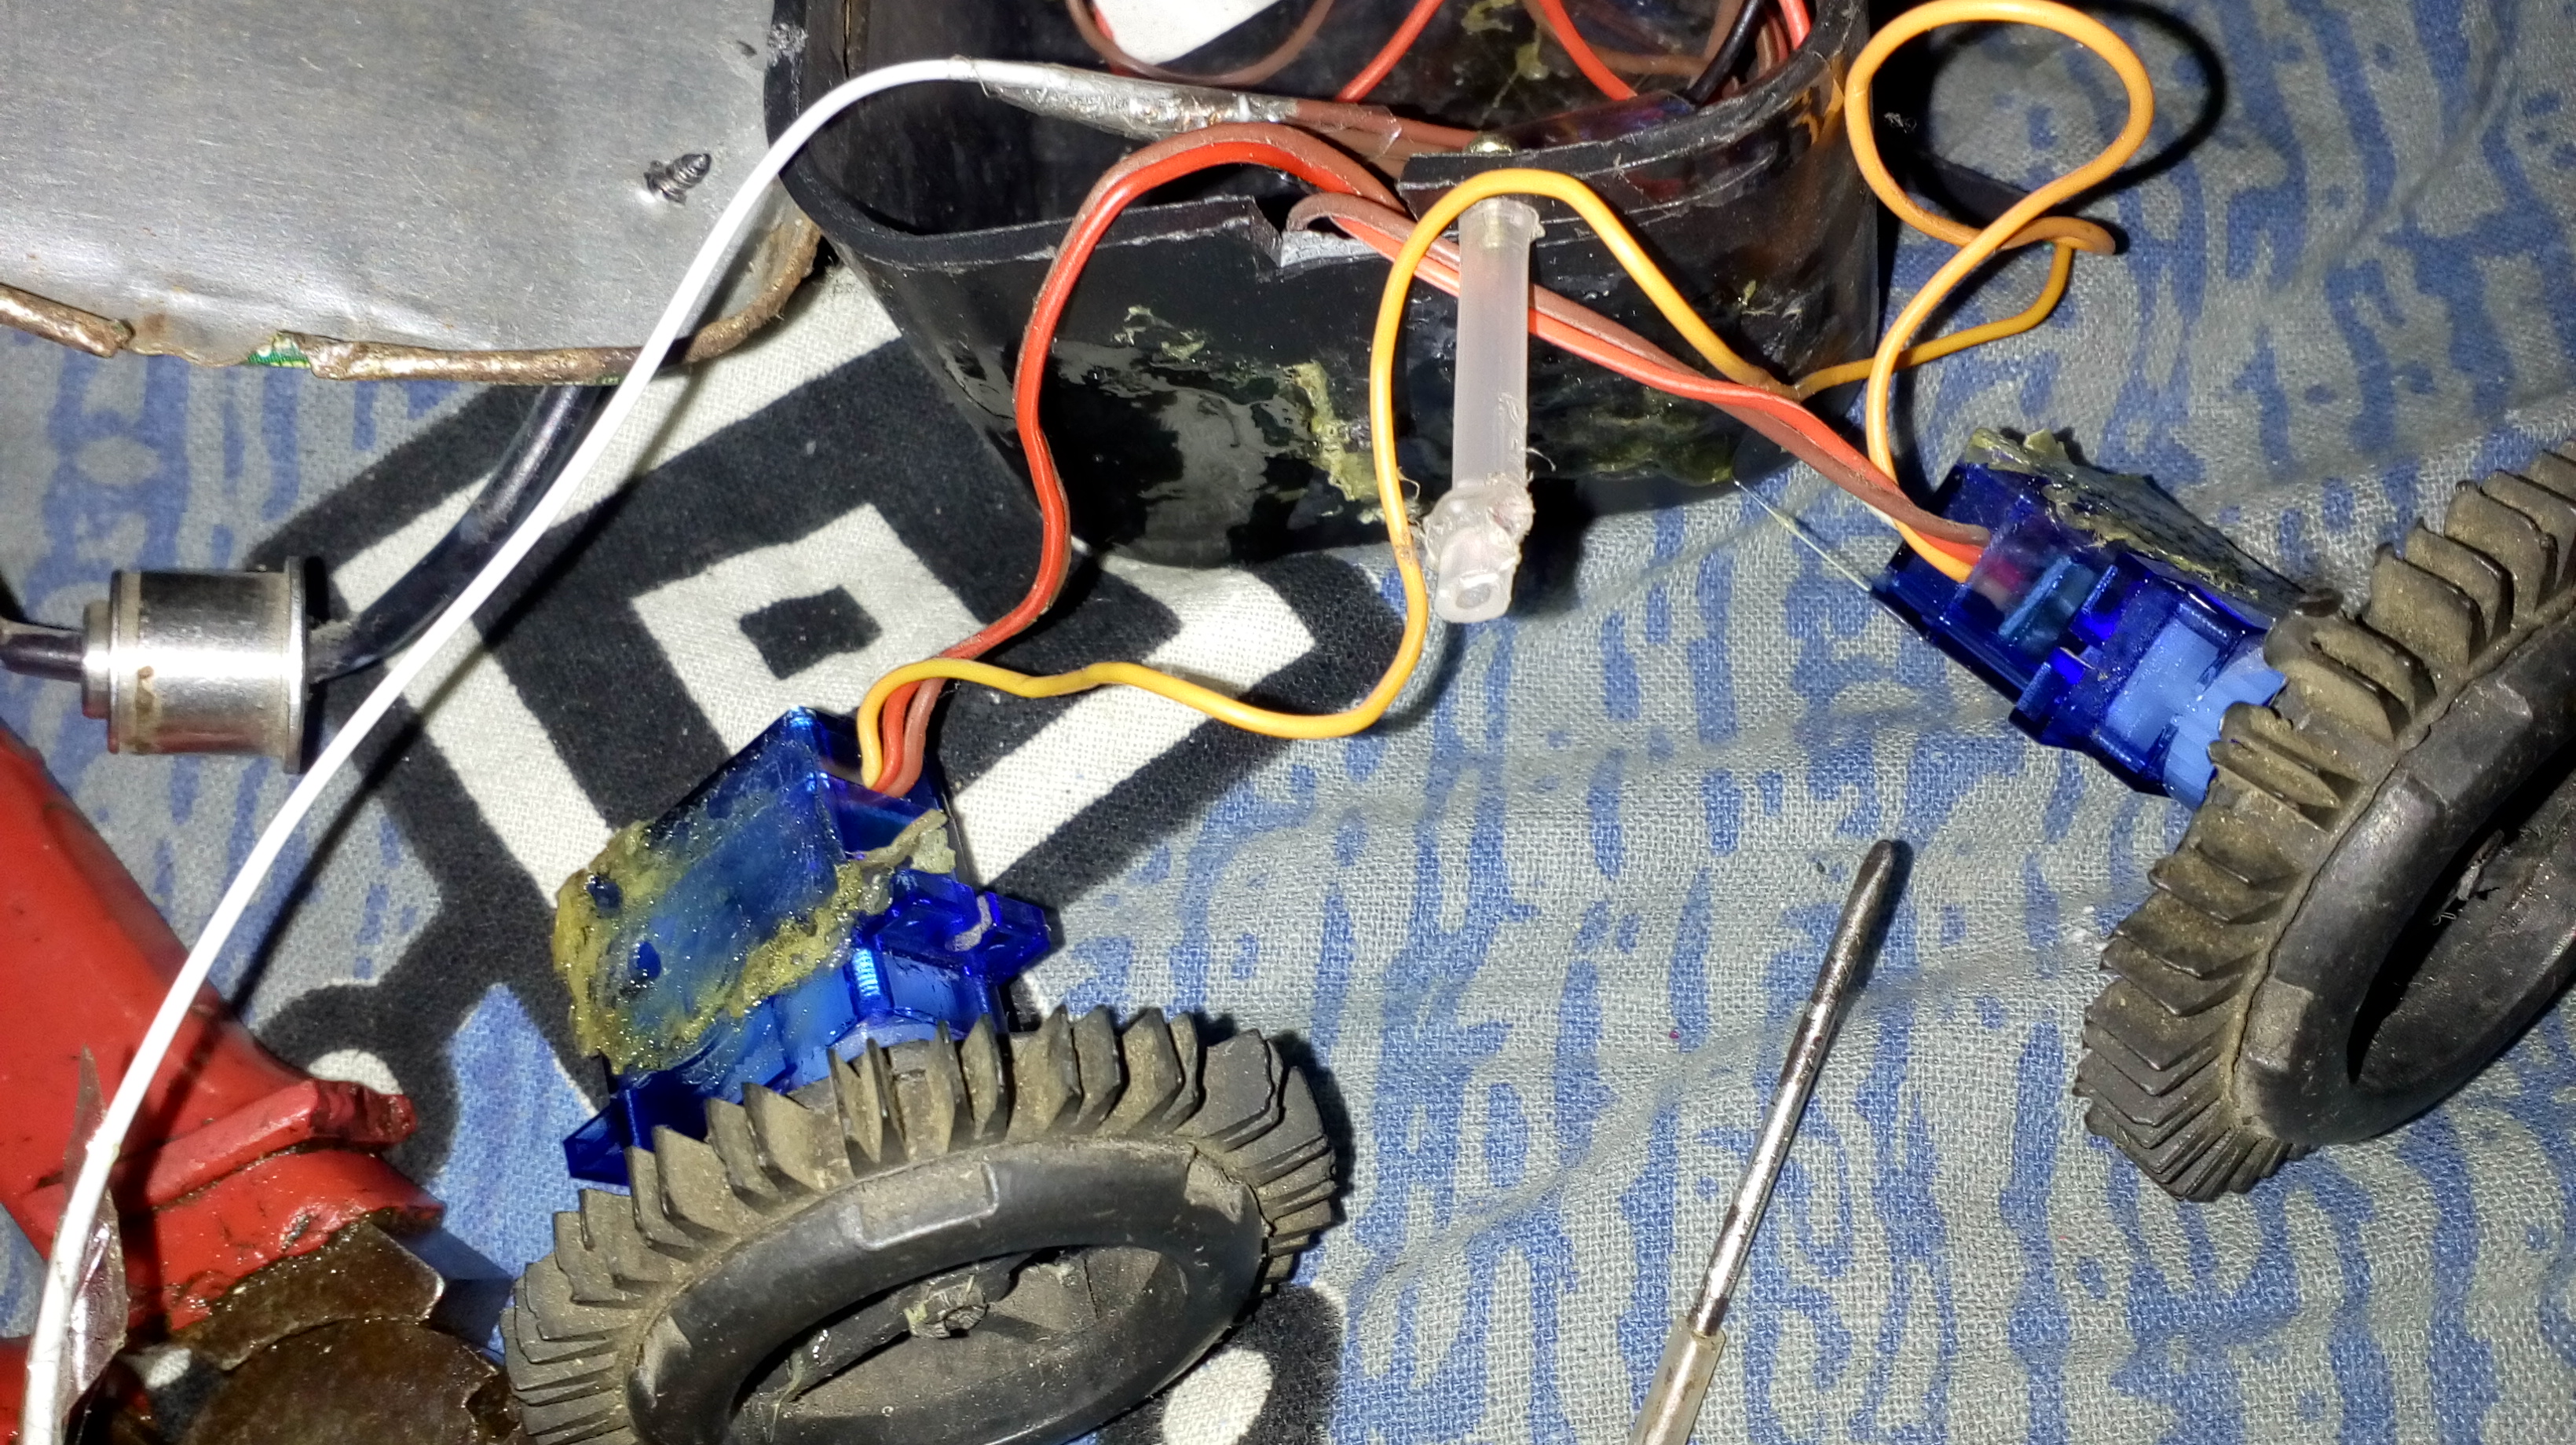
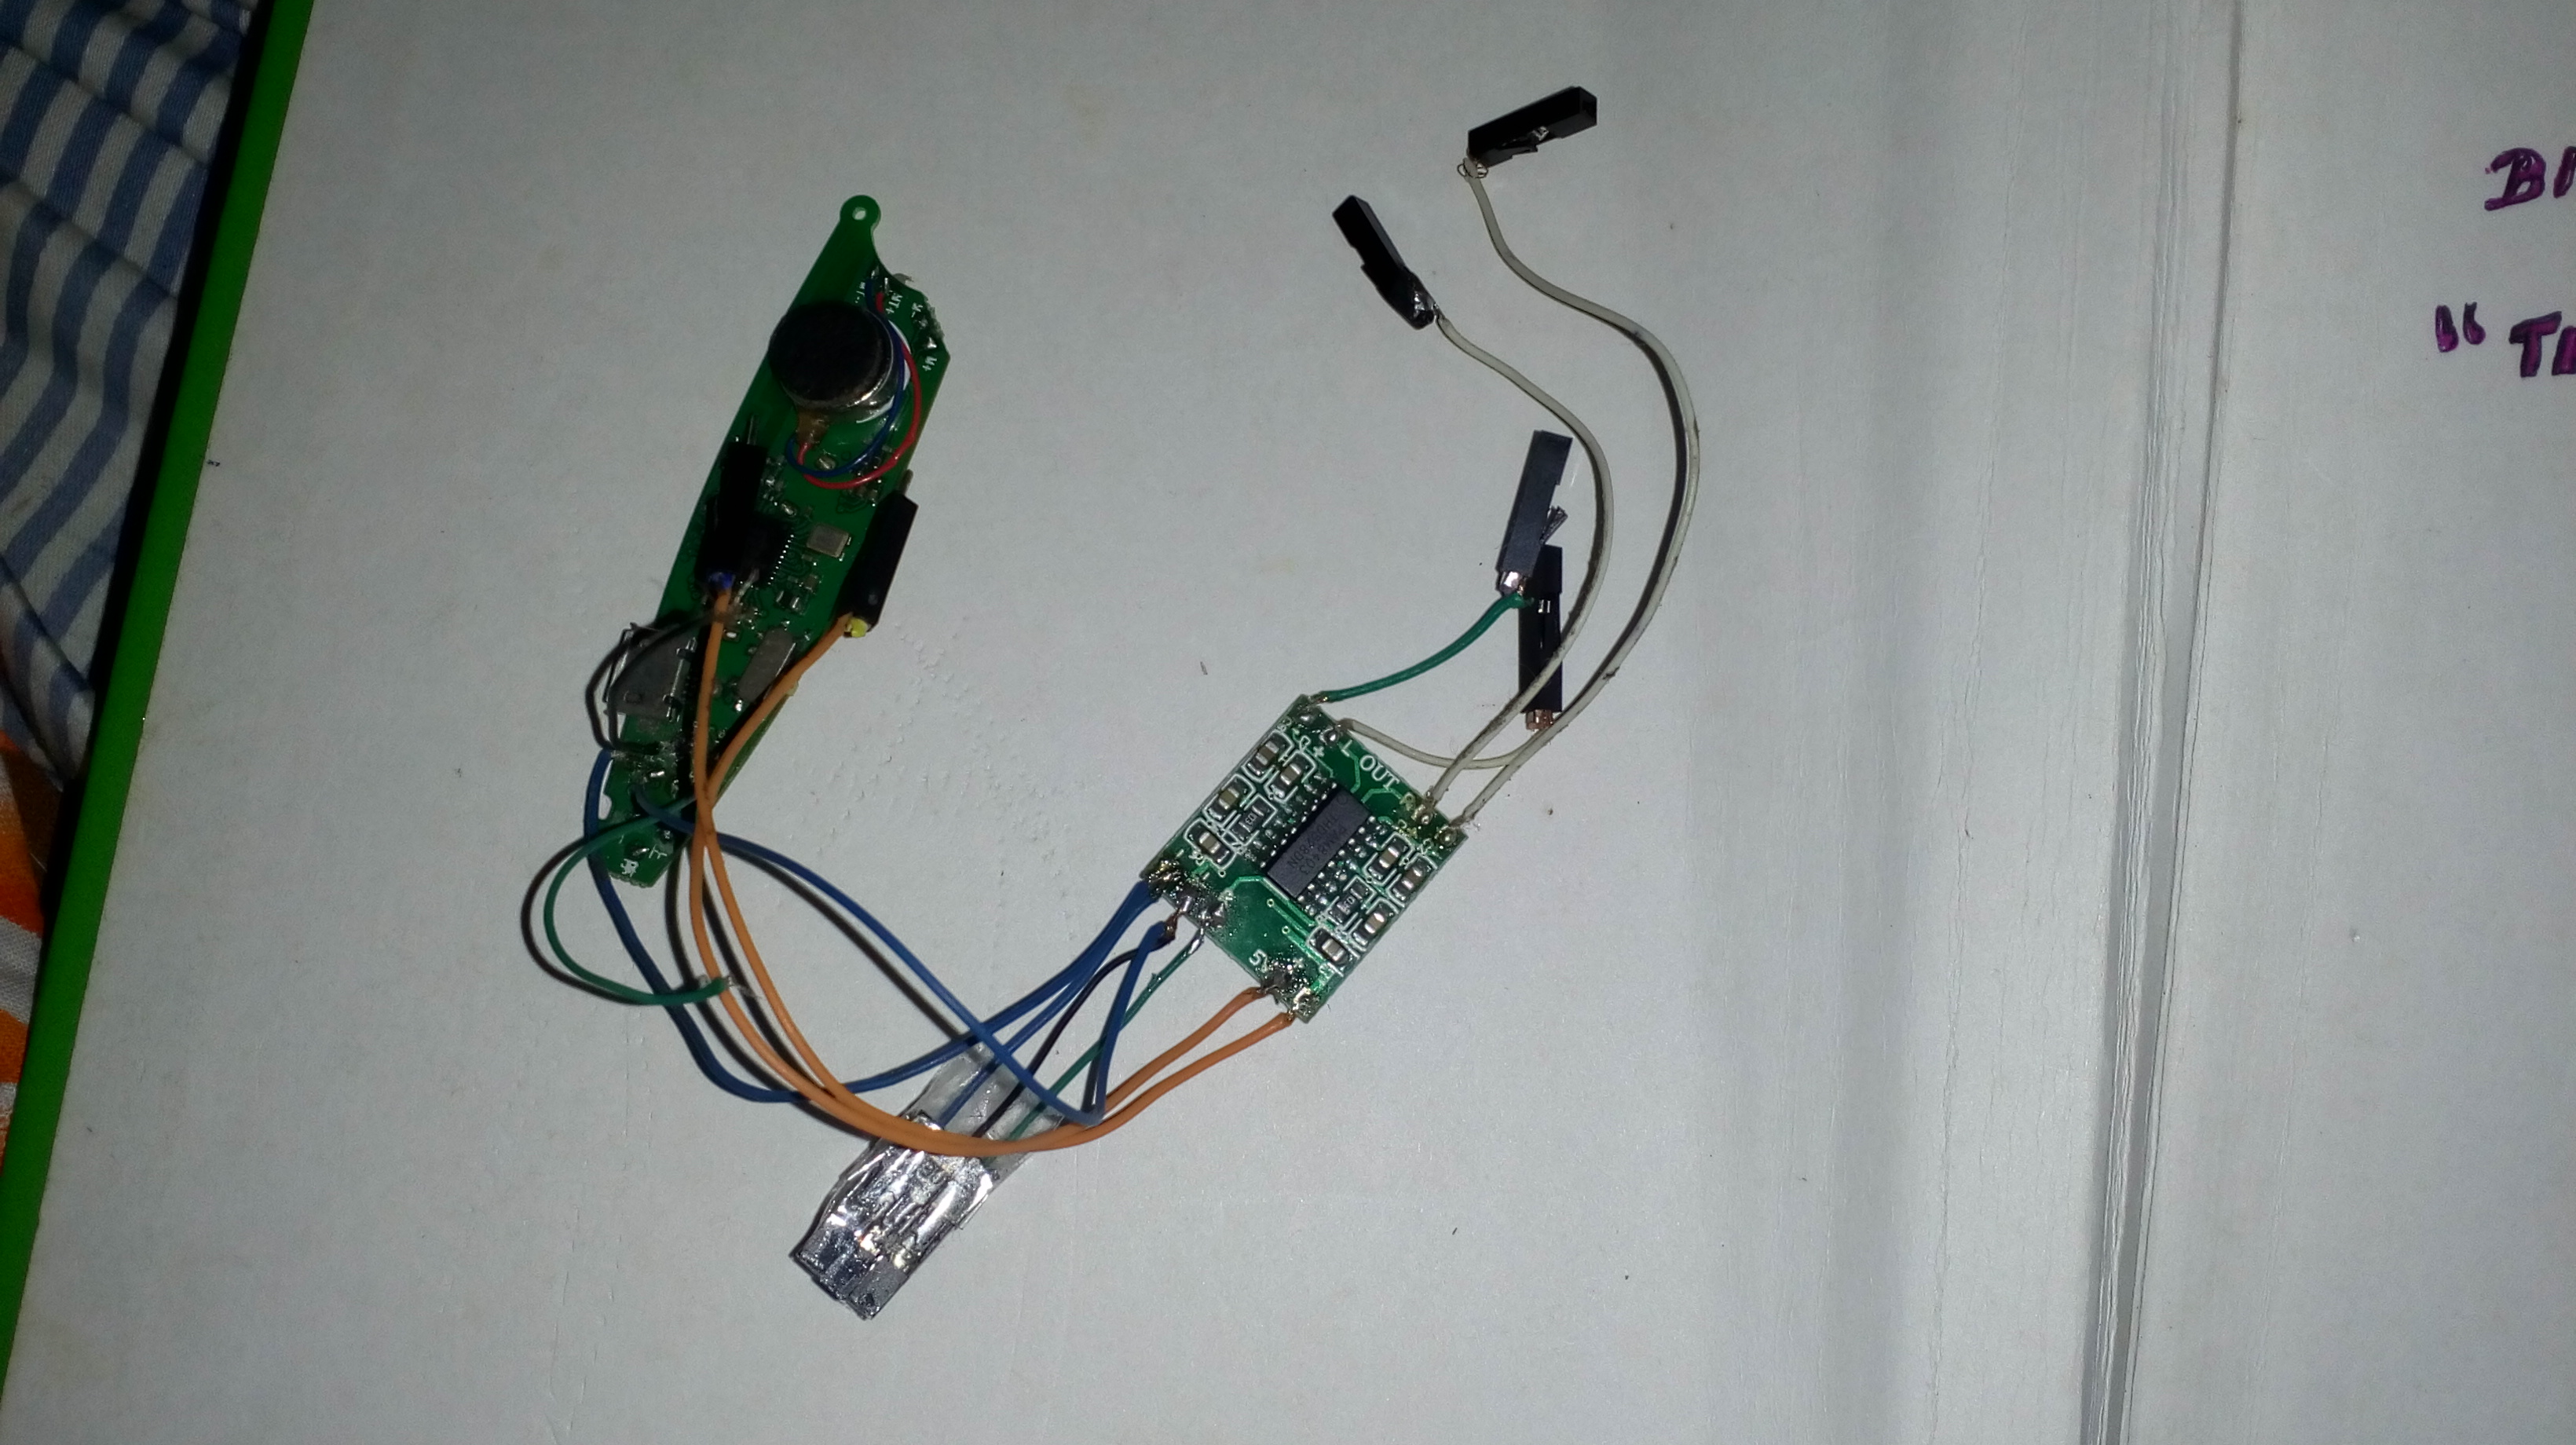
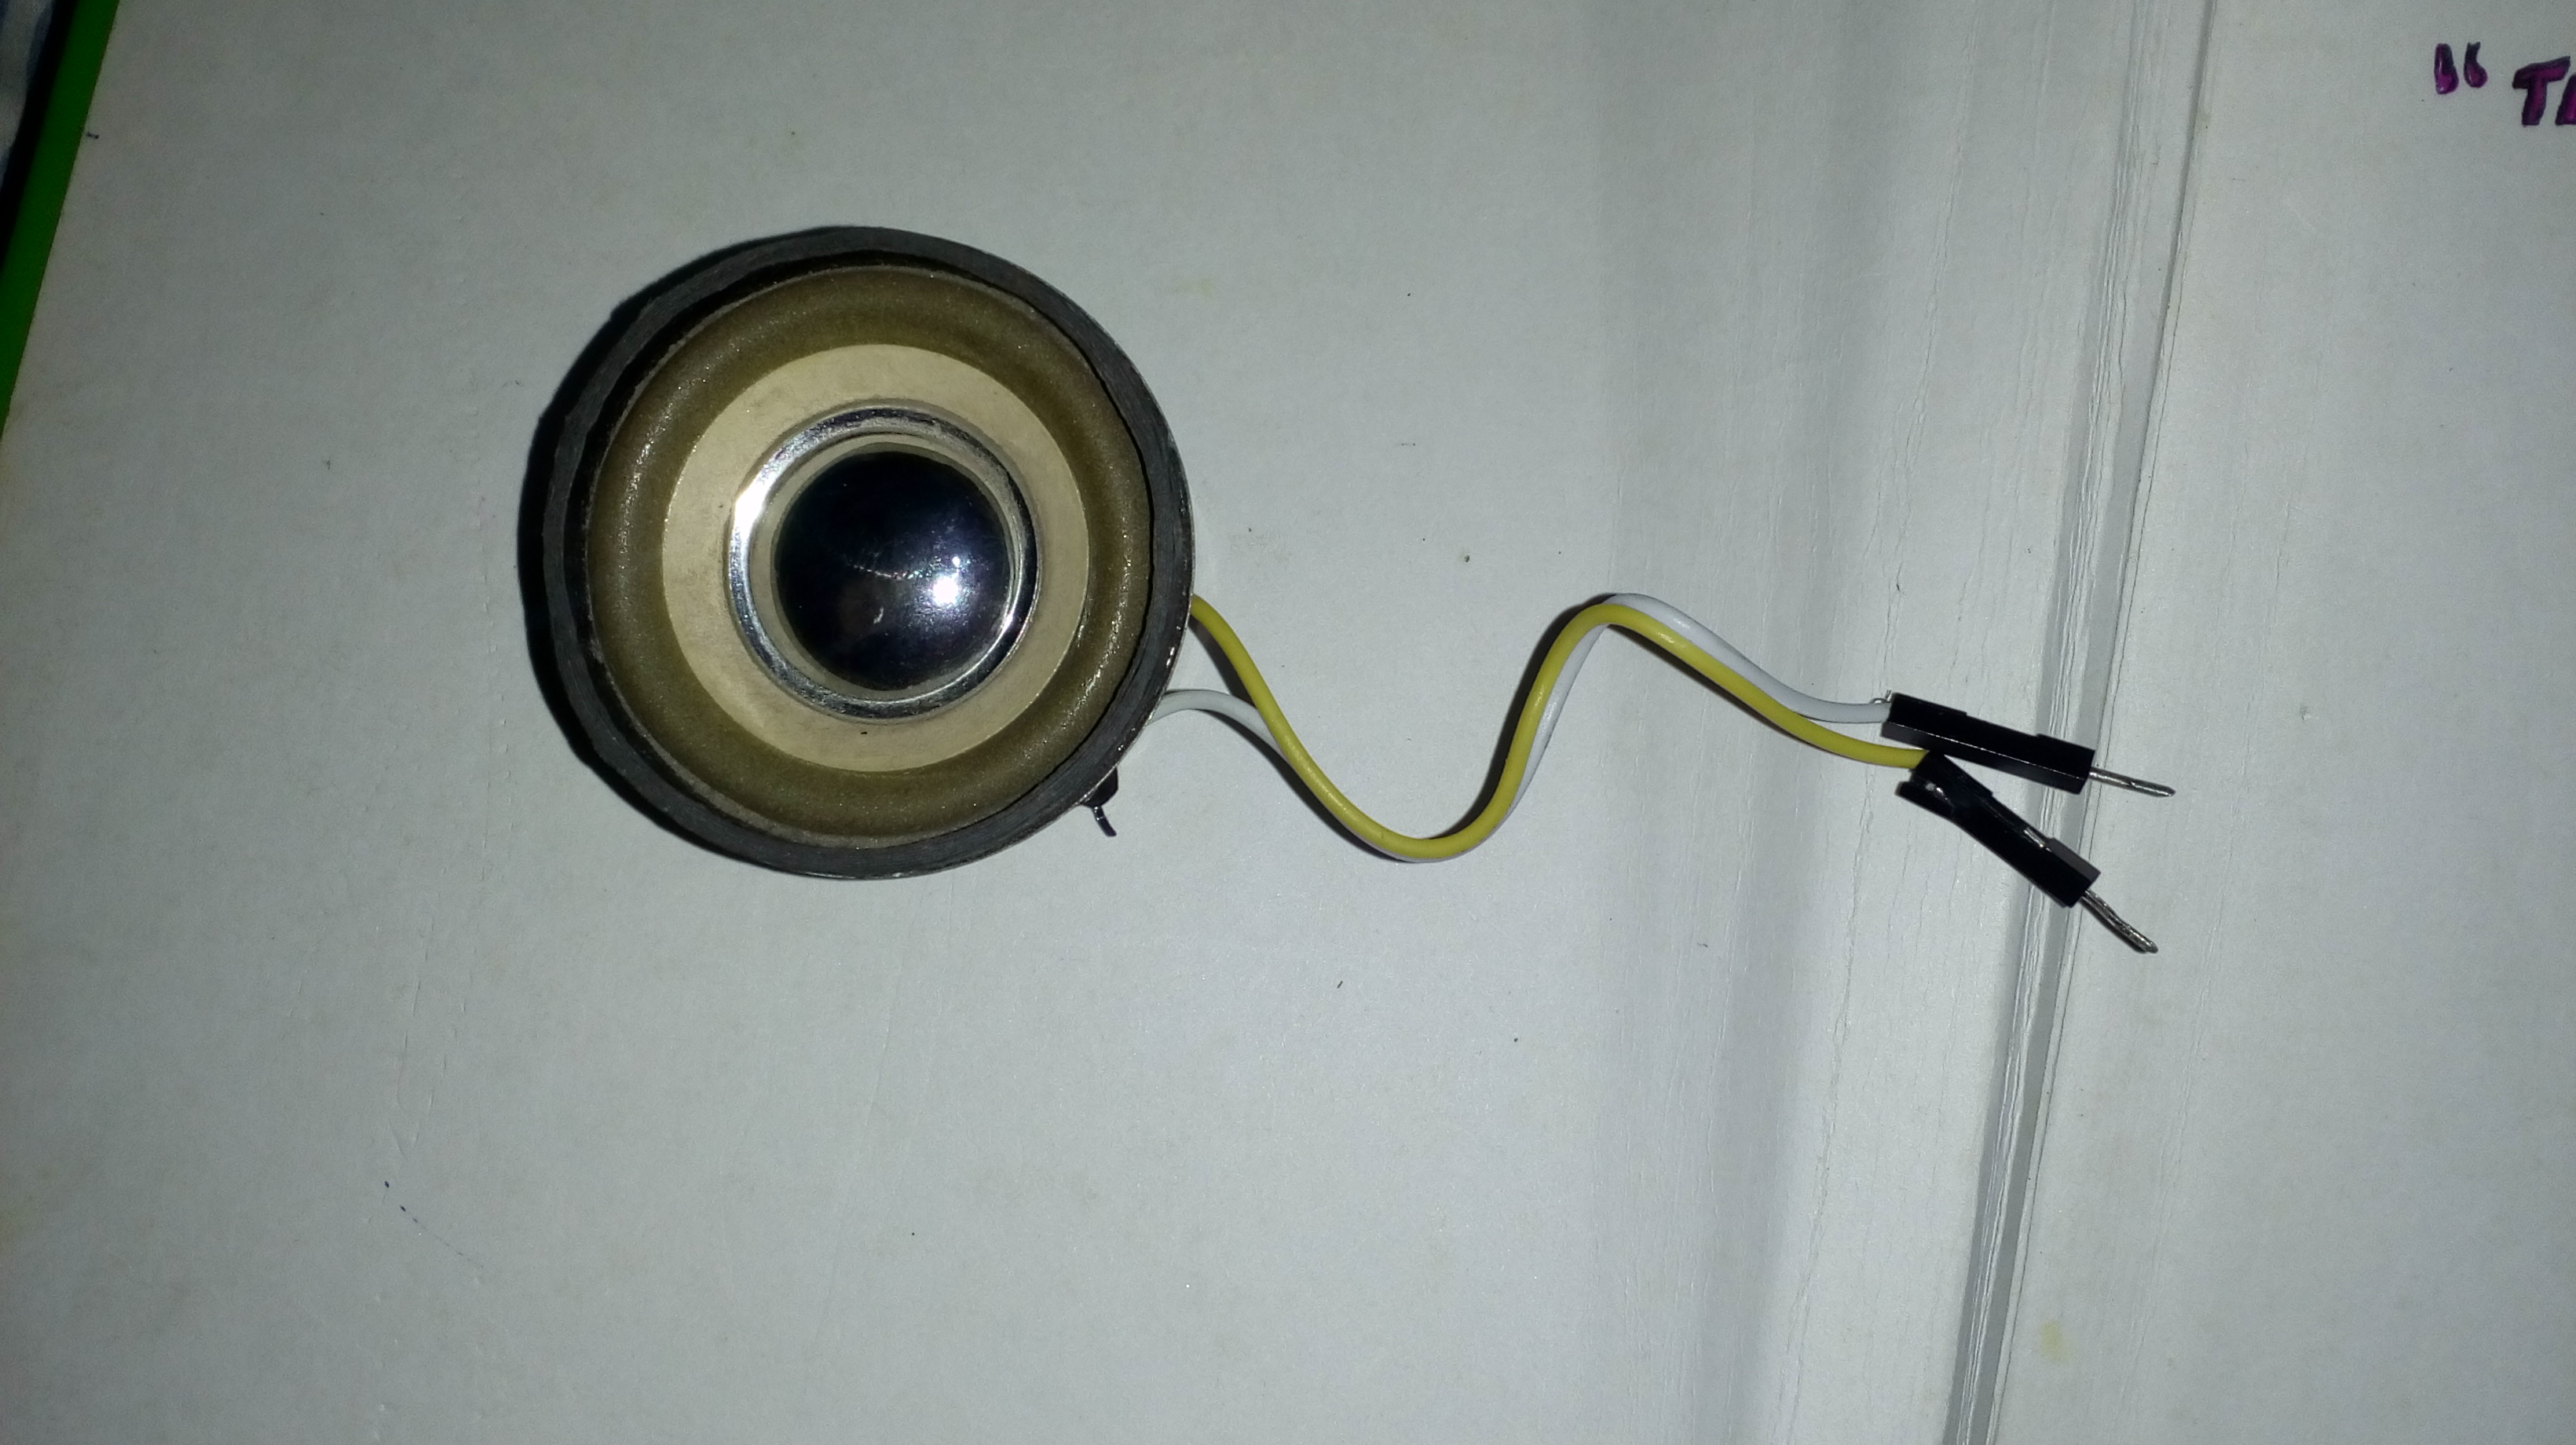
Materials we need
- Arduino pro mini /Arduino micro
- Amplifier circuit
- small speaker
- 5 servo
- 2 led
- 2 wheels that can attach to servo
Extra materials & Tools
- Hot glue gun
- Few screws
- One rectangular box
- Mini drill to make holes
- Small battery
Software We Need
- Mit app inventor
- Arduino IDE
Making the Servo Motor Continuous Rotation
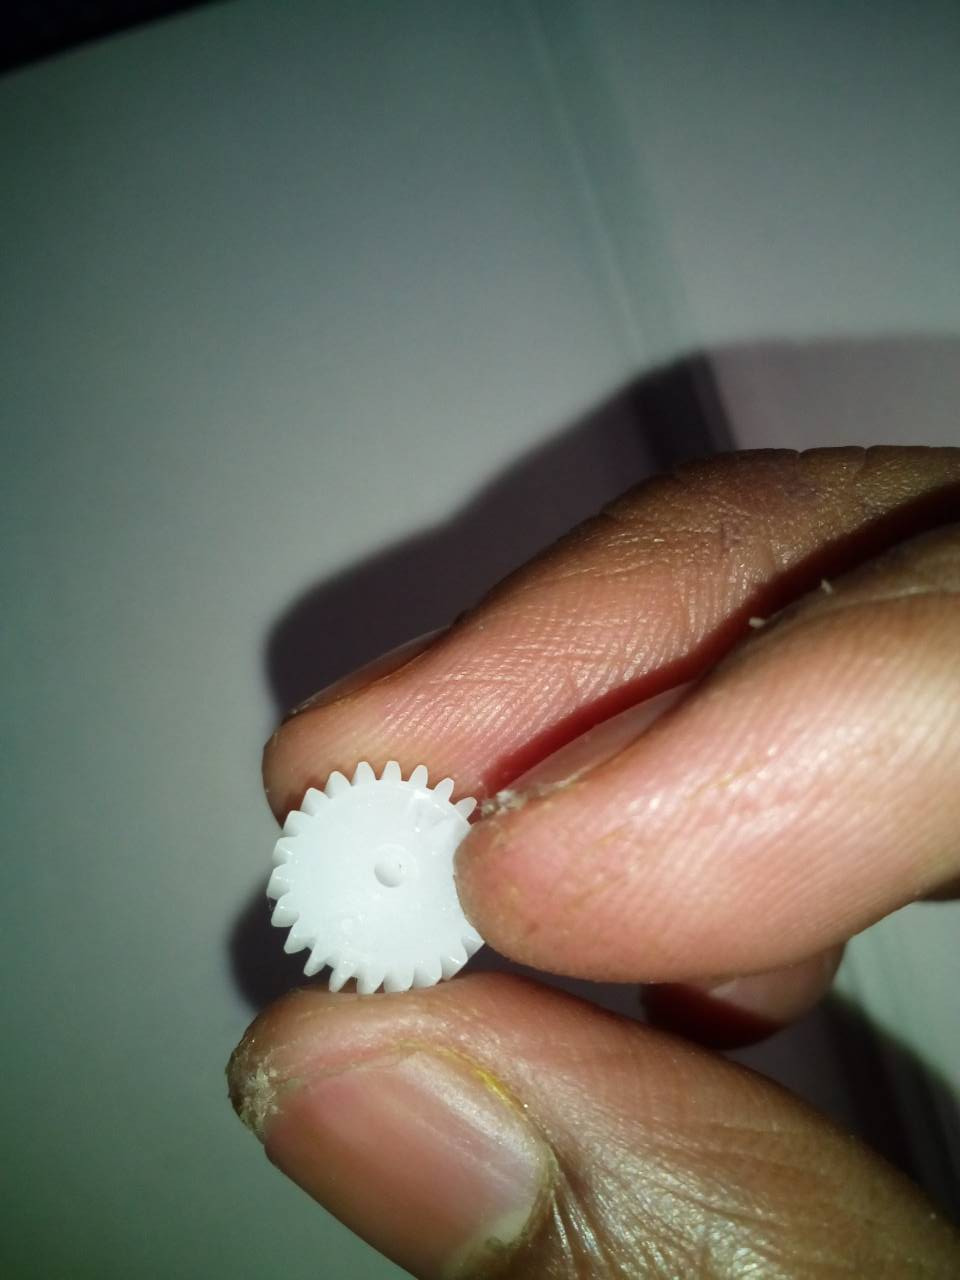
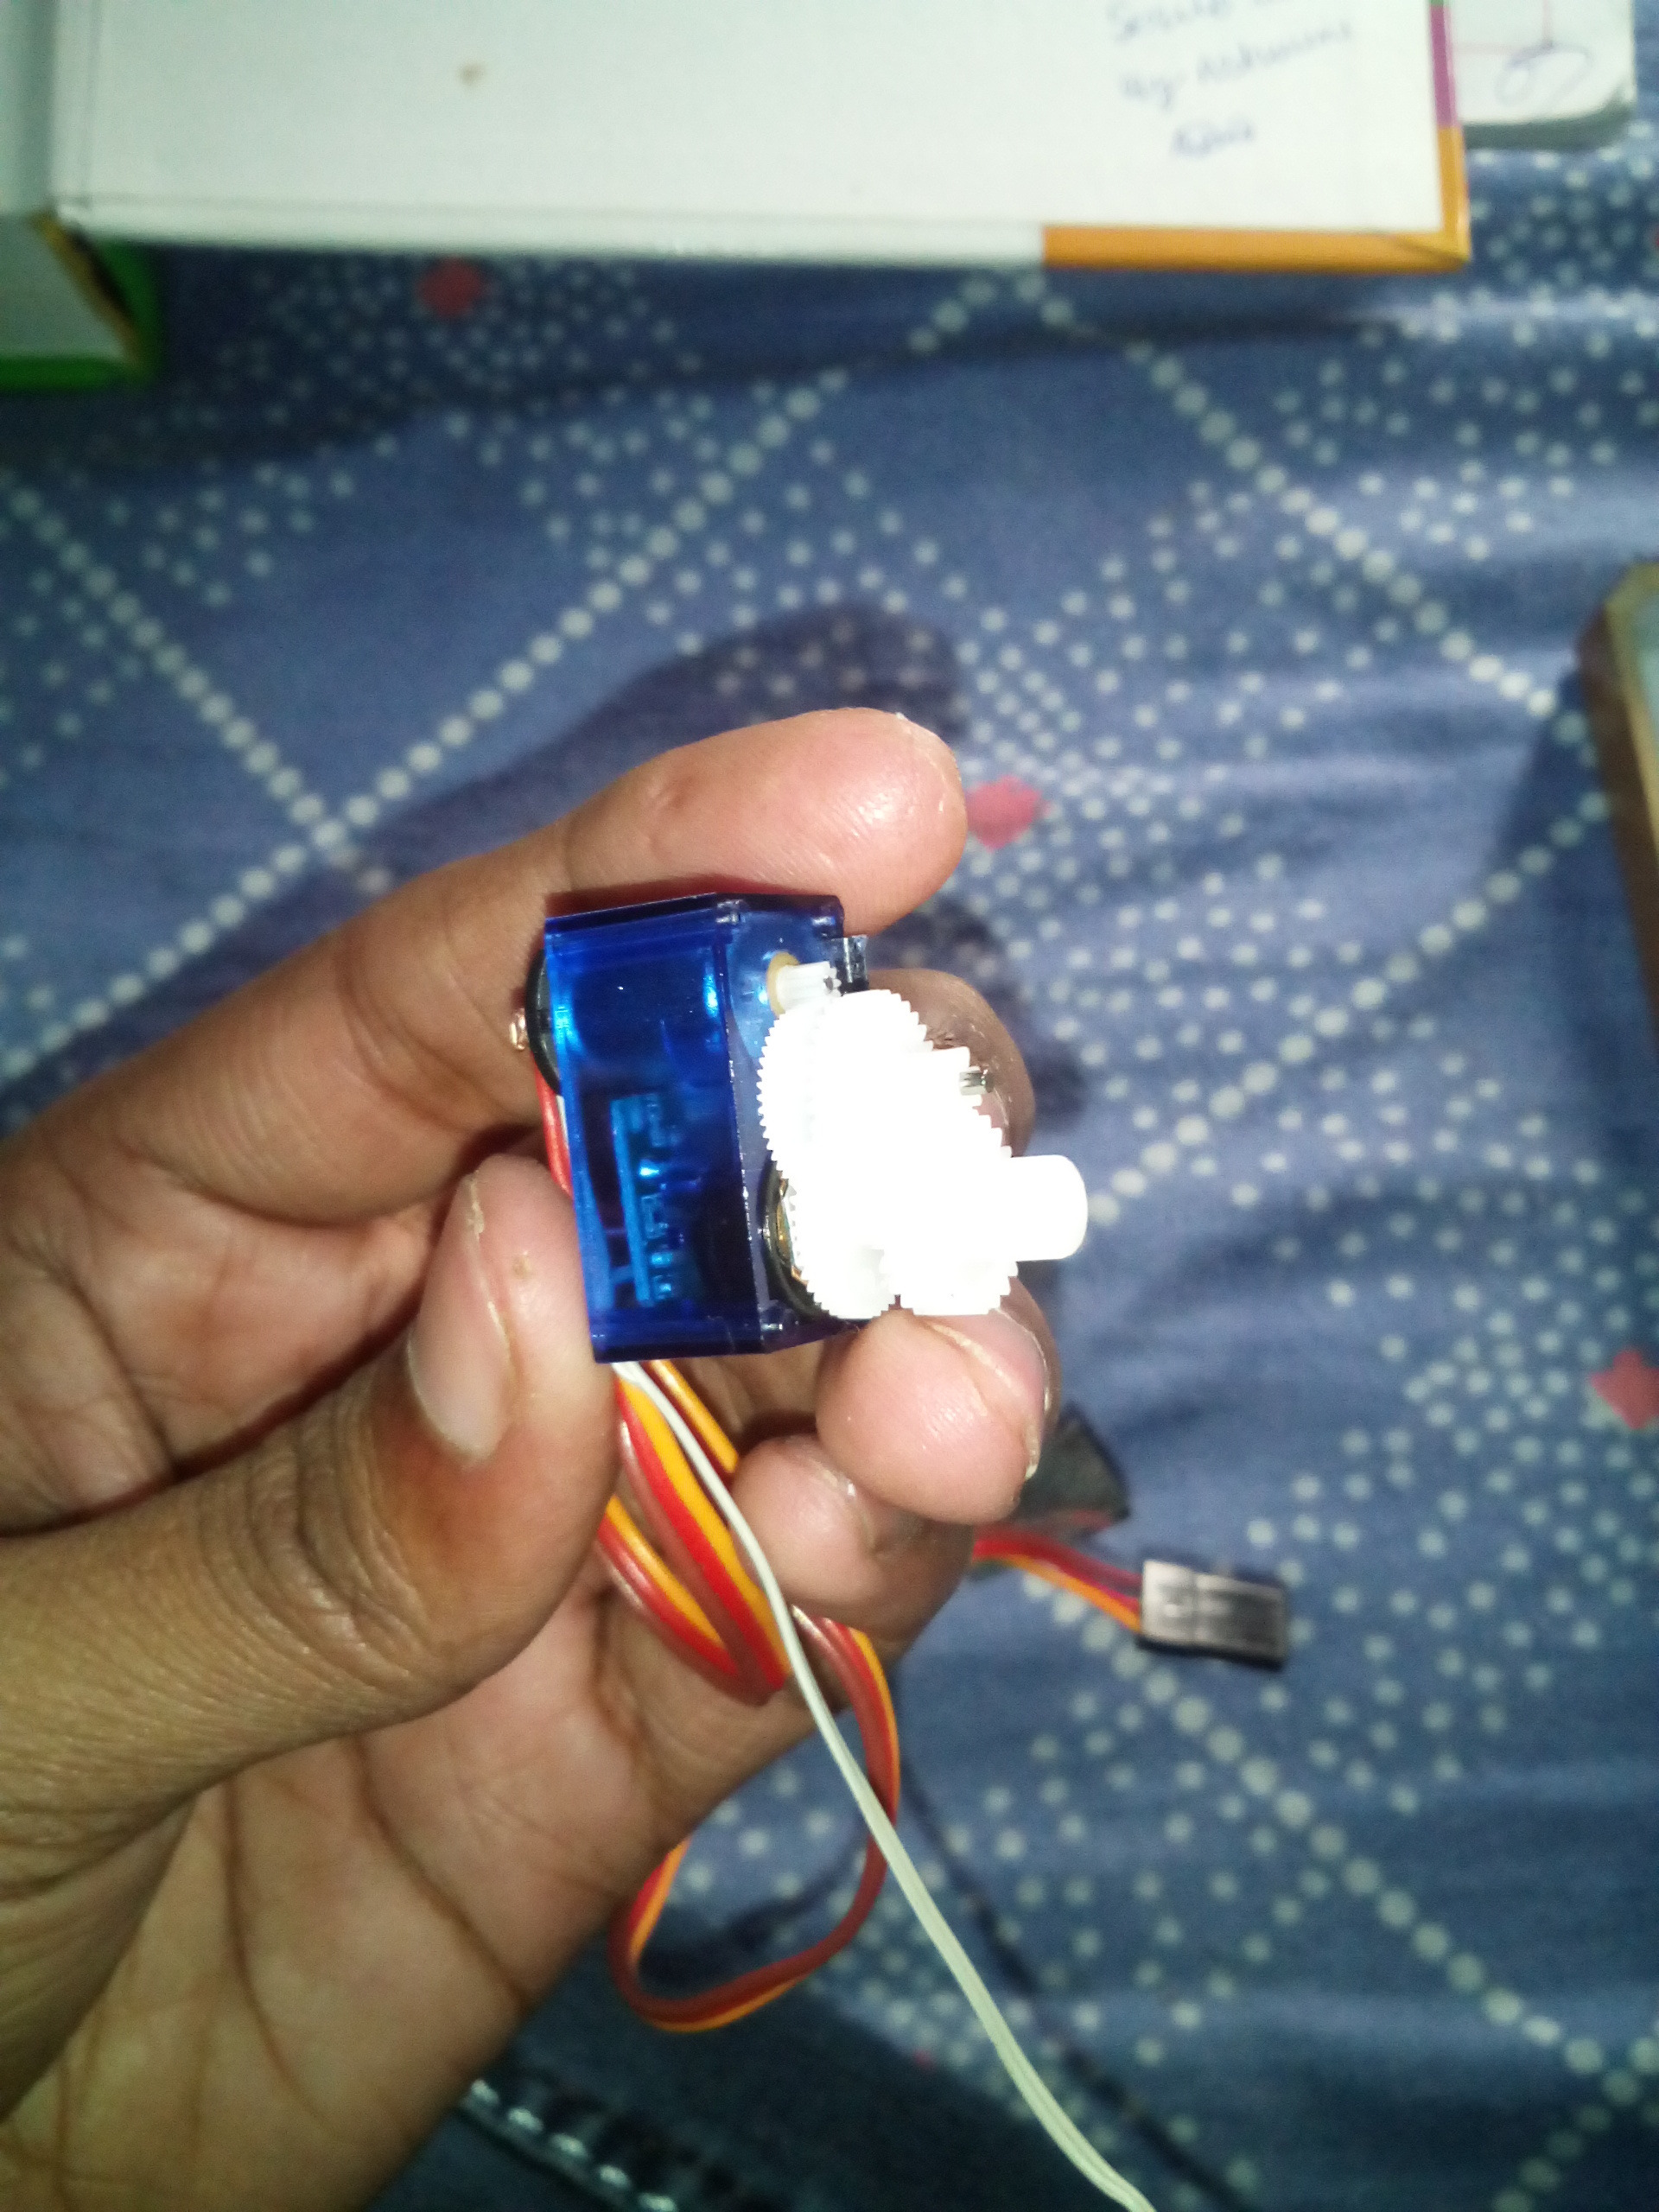
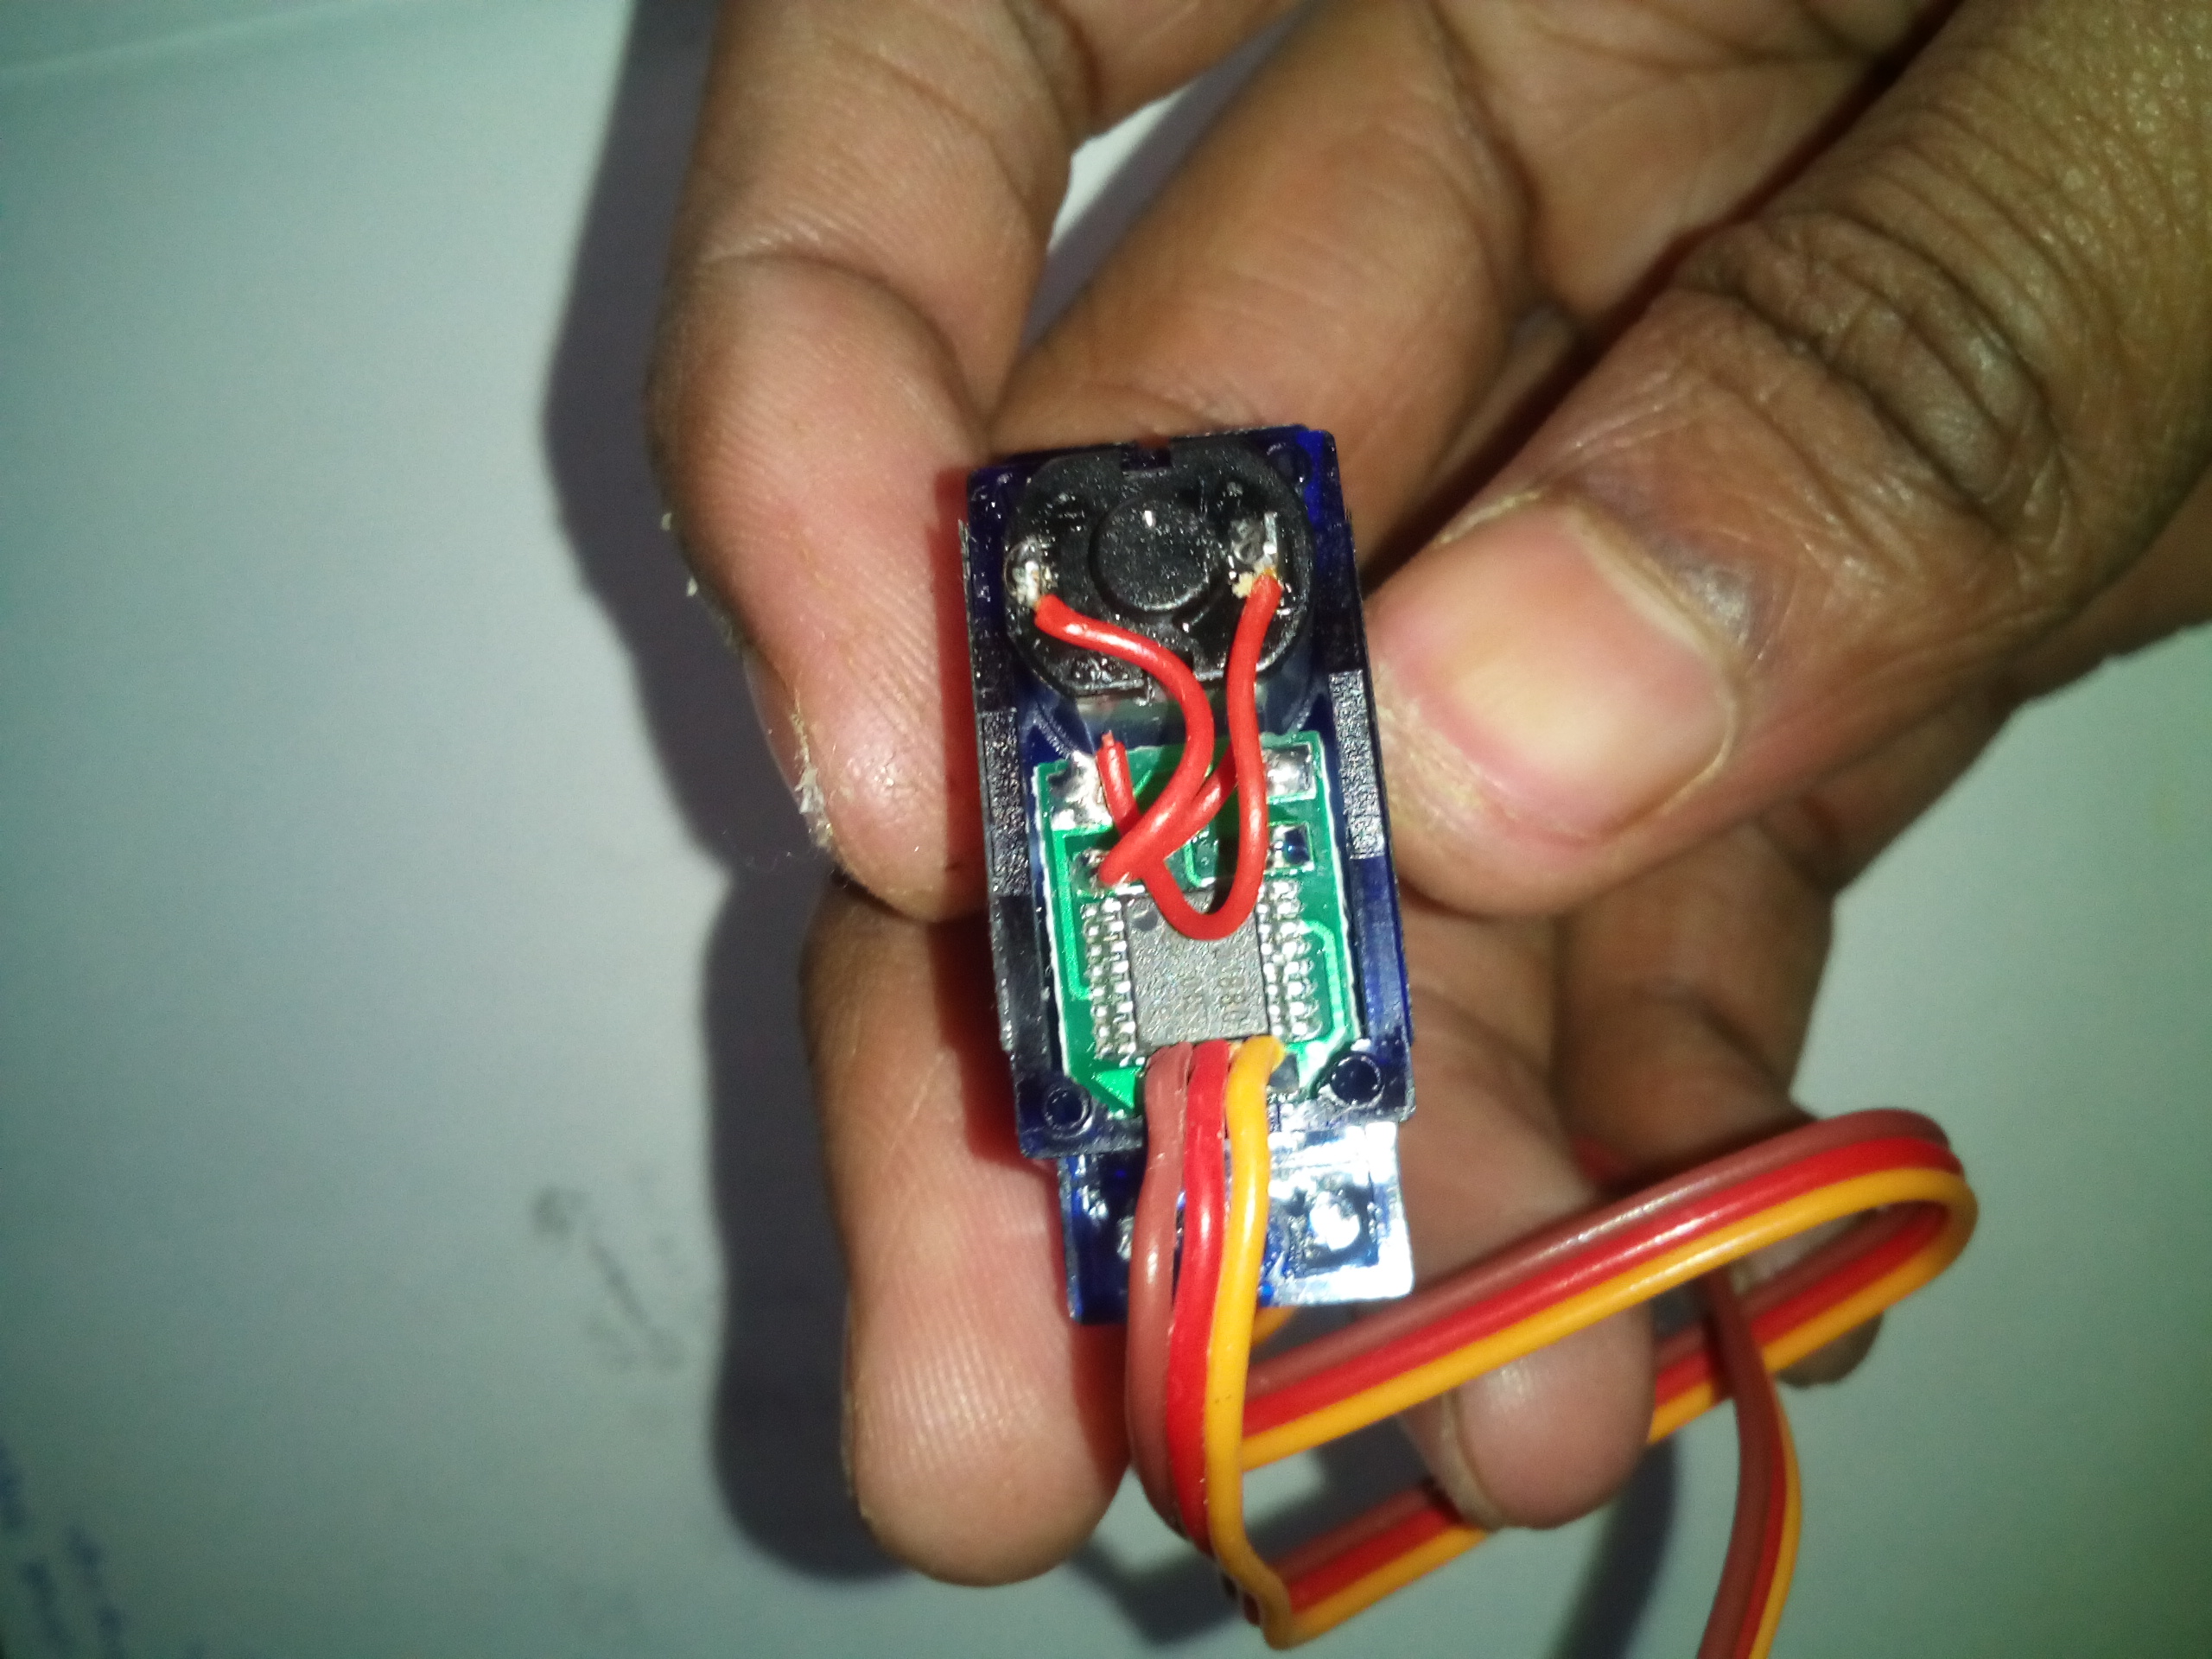
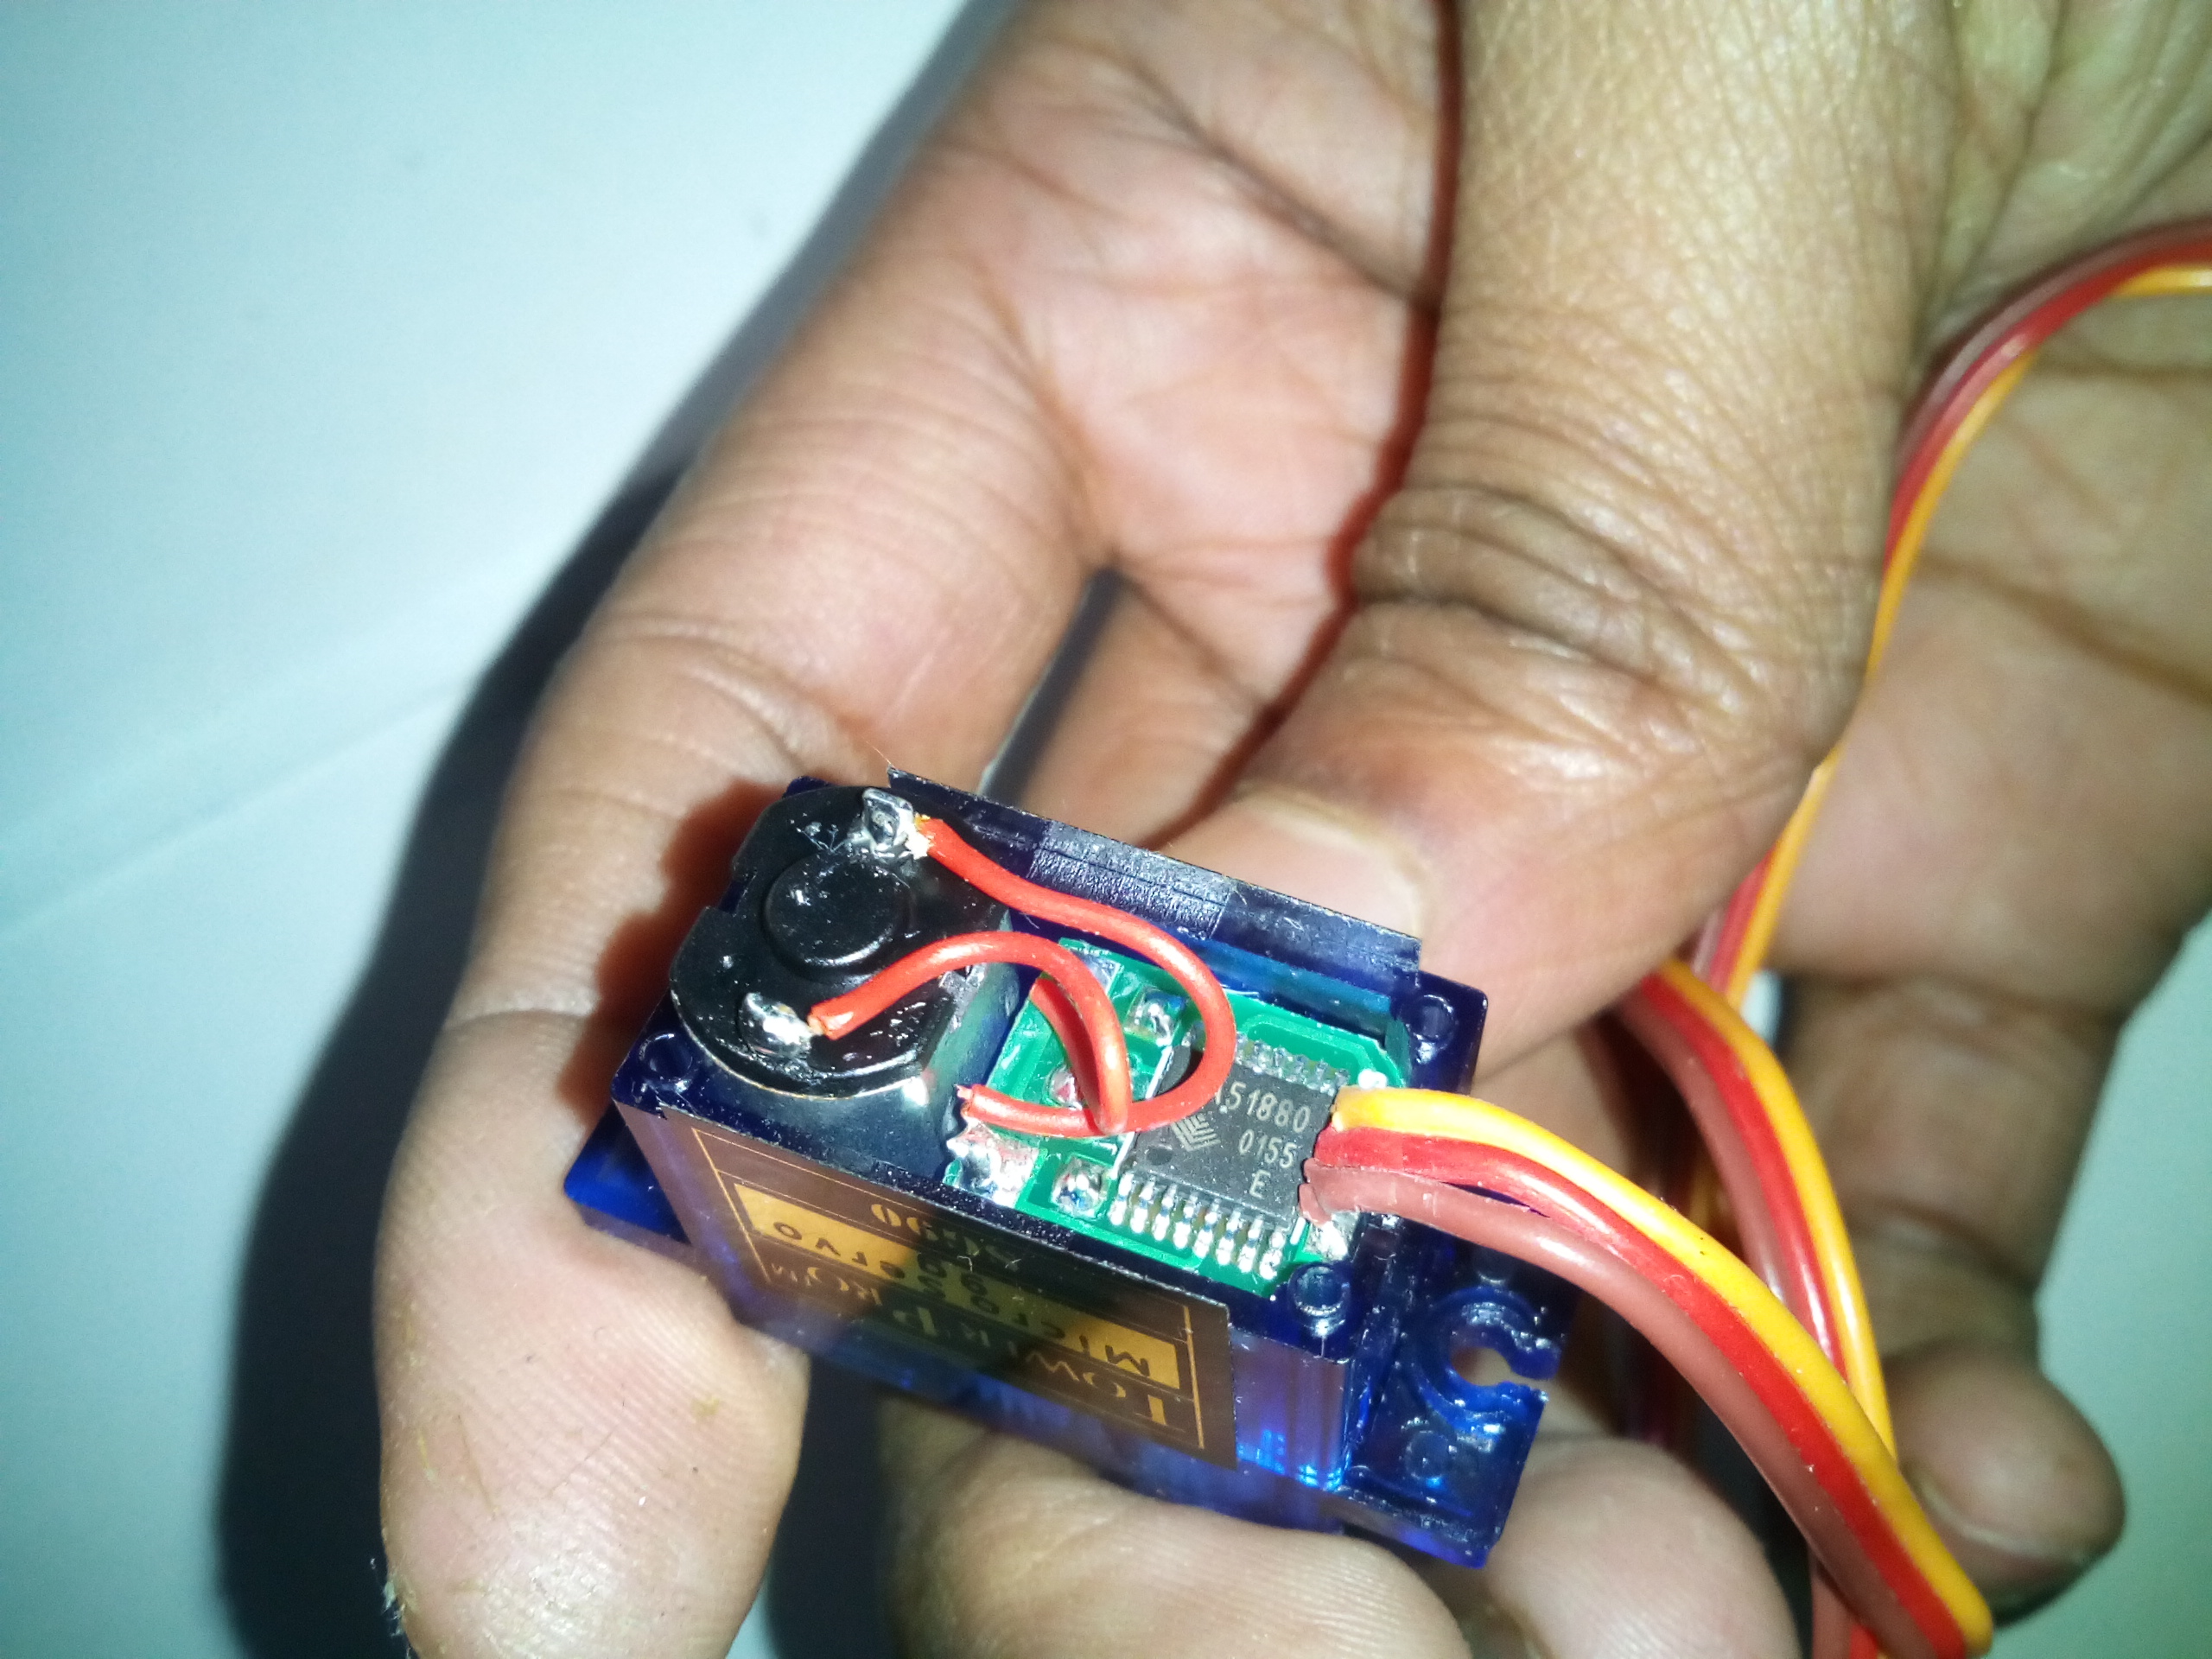
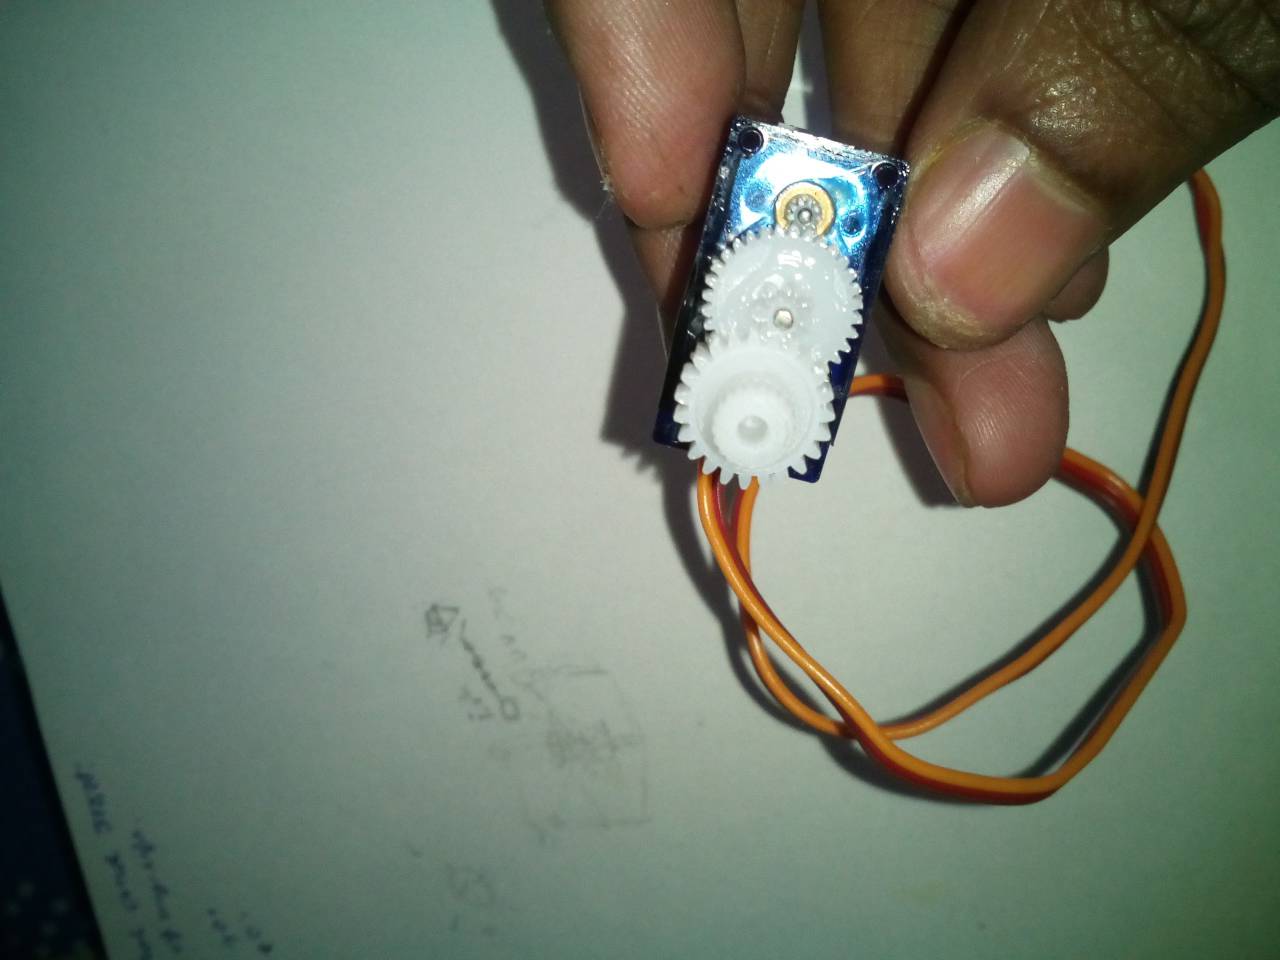
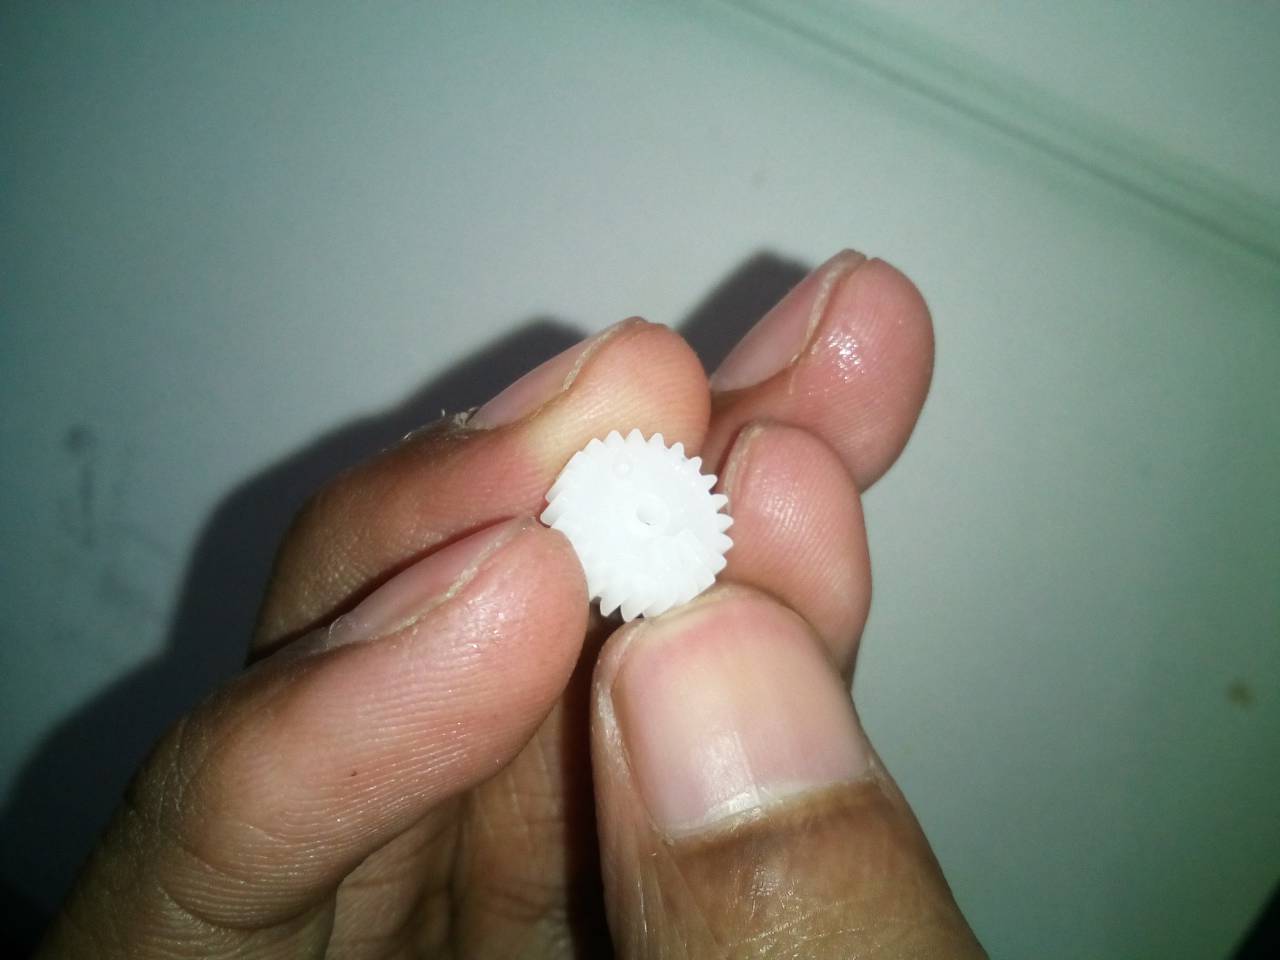
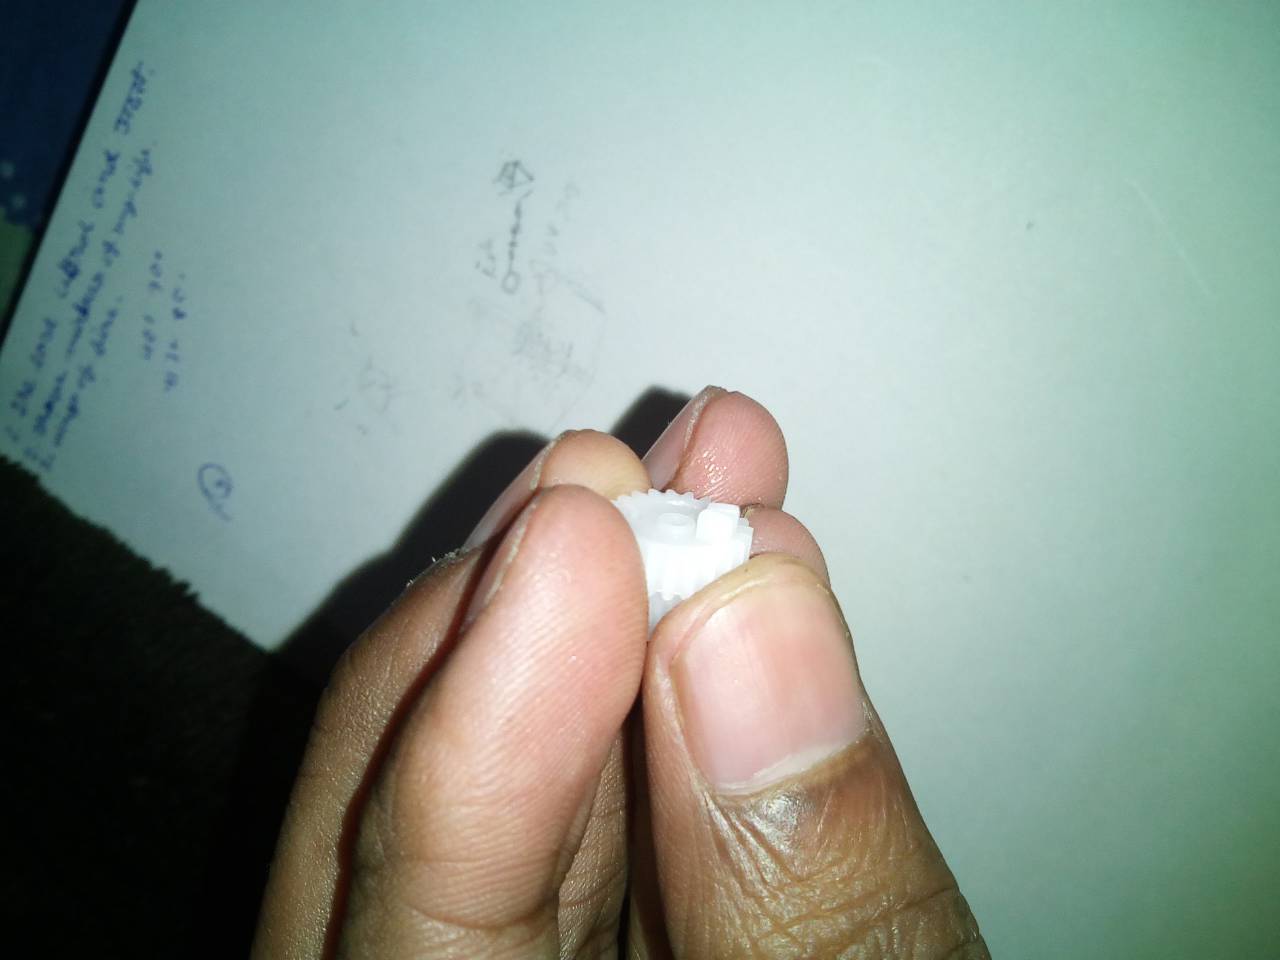
servo sweep from 0 degree to 180 degree and we are using the servo motor for our robot wheel so first we need to make it continuous rotation.(you can also buy continuous rotation servo motor from market to skip this step.).
First open the servo motor screw after opening you will find a set of gears as in pic on the upper part of servo.
now you need to to cut a little notch on the gear of servo as you can clearly see in pic above .This notch prevent the servo from further movement after 180 degree.Now you need need to fix the potentiometer inside the servo motor circuit at 0 degree position just apply some feviquick or other similar adhesive .
If you want to get details documentation of it just google it
How to make a continuous-rotation servo motor you get a lots of links of illustration of this process.
Making the Body of Robot
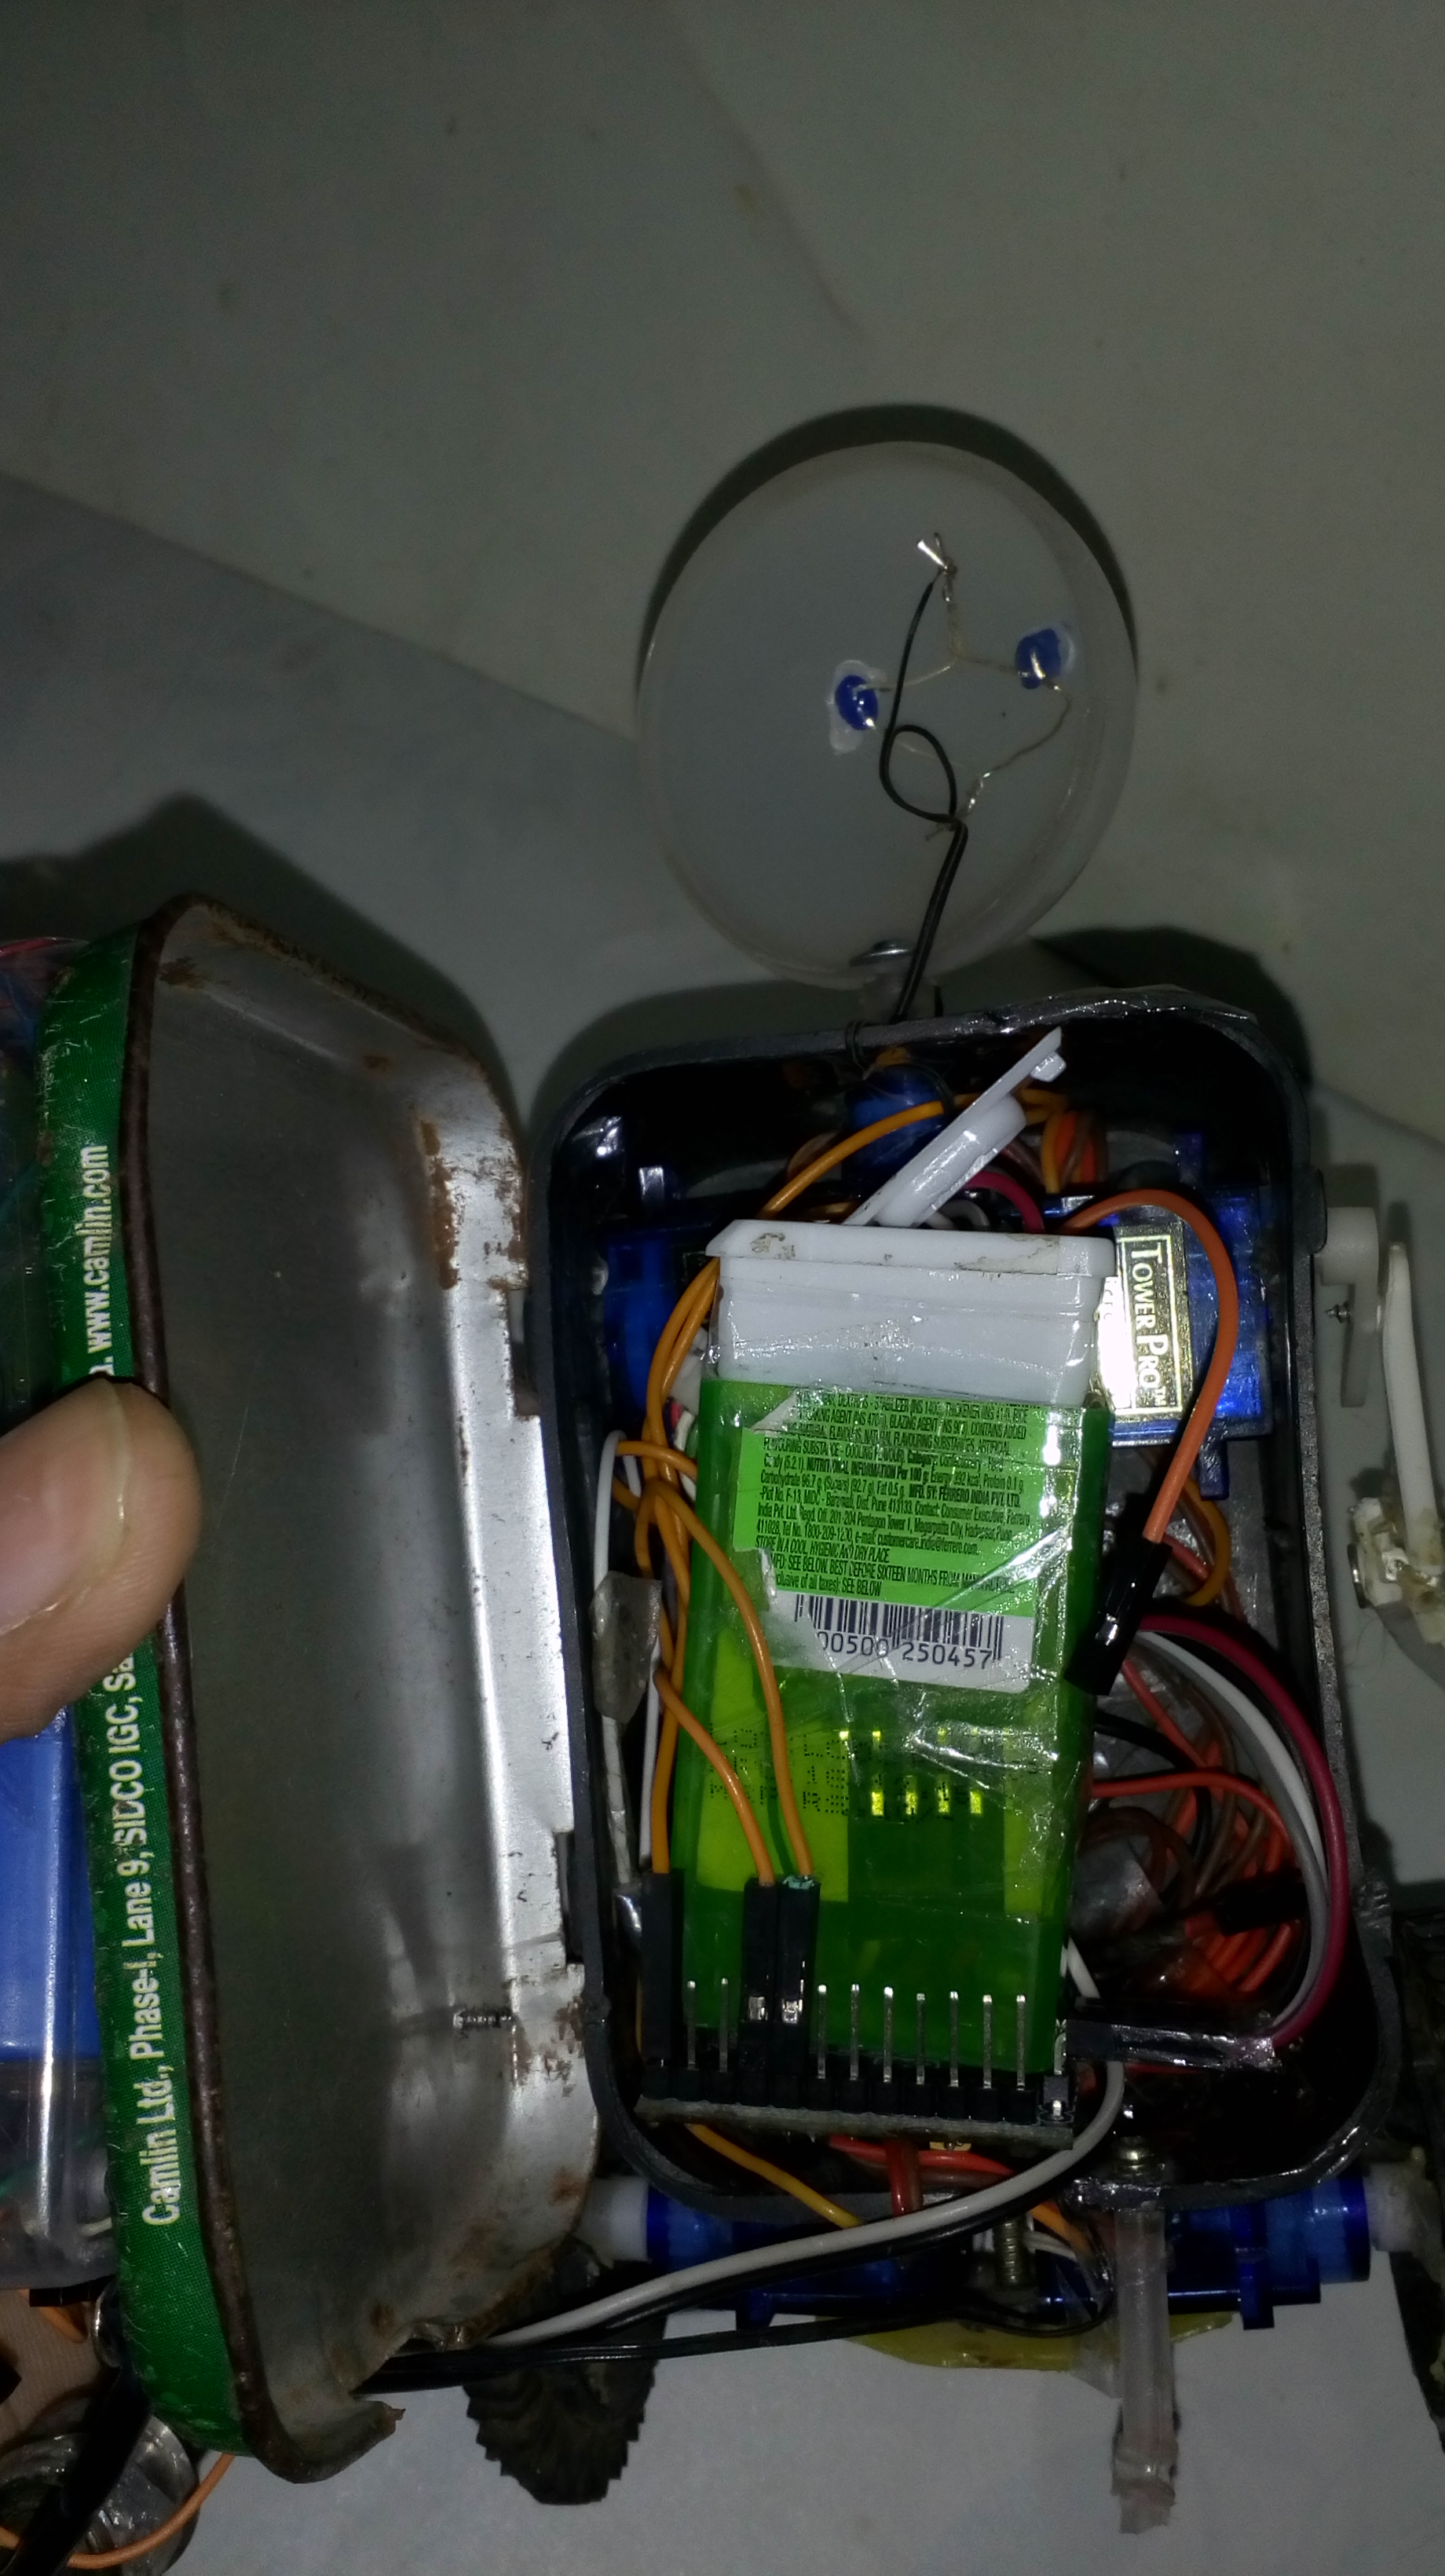
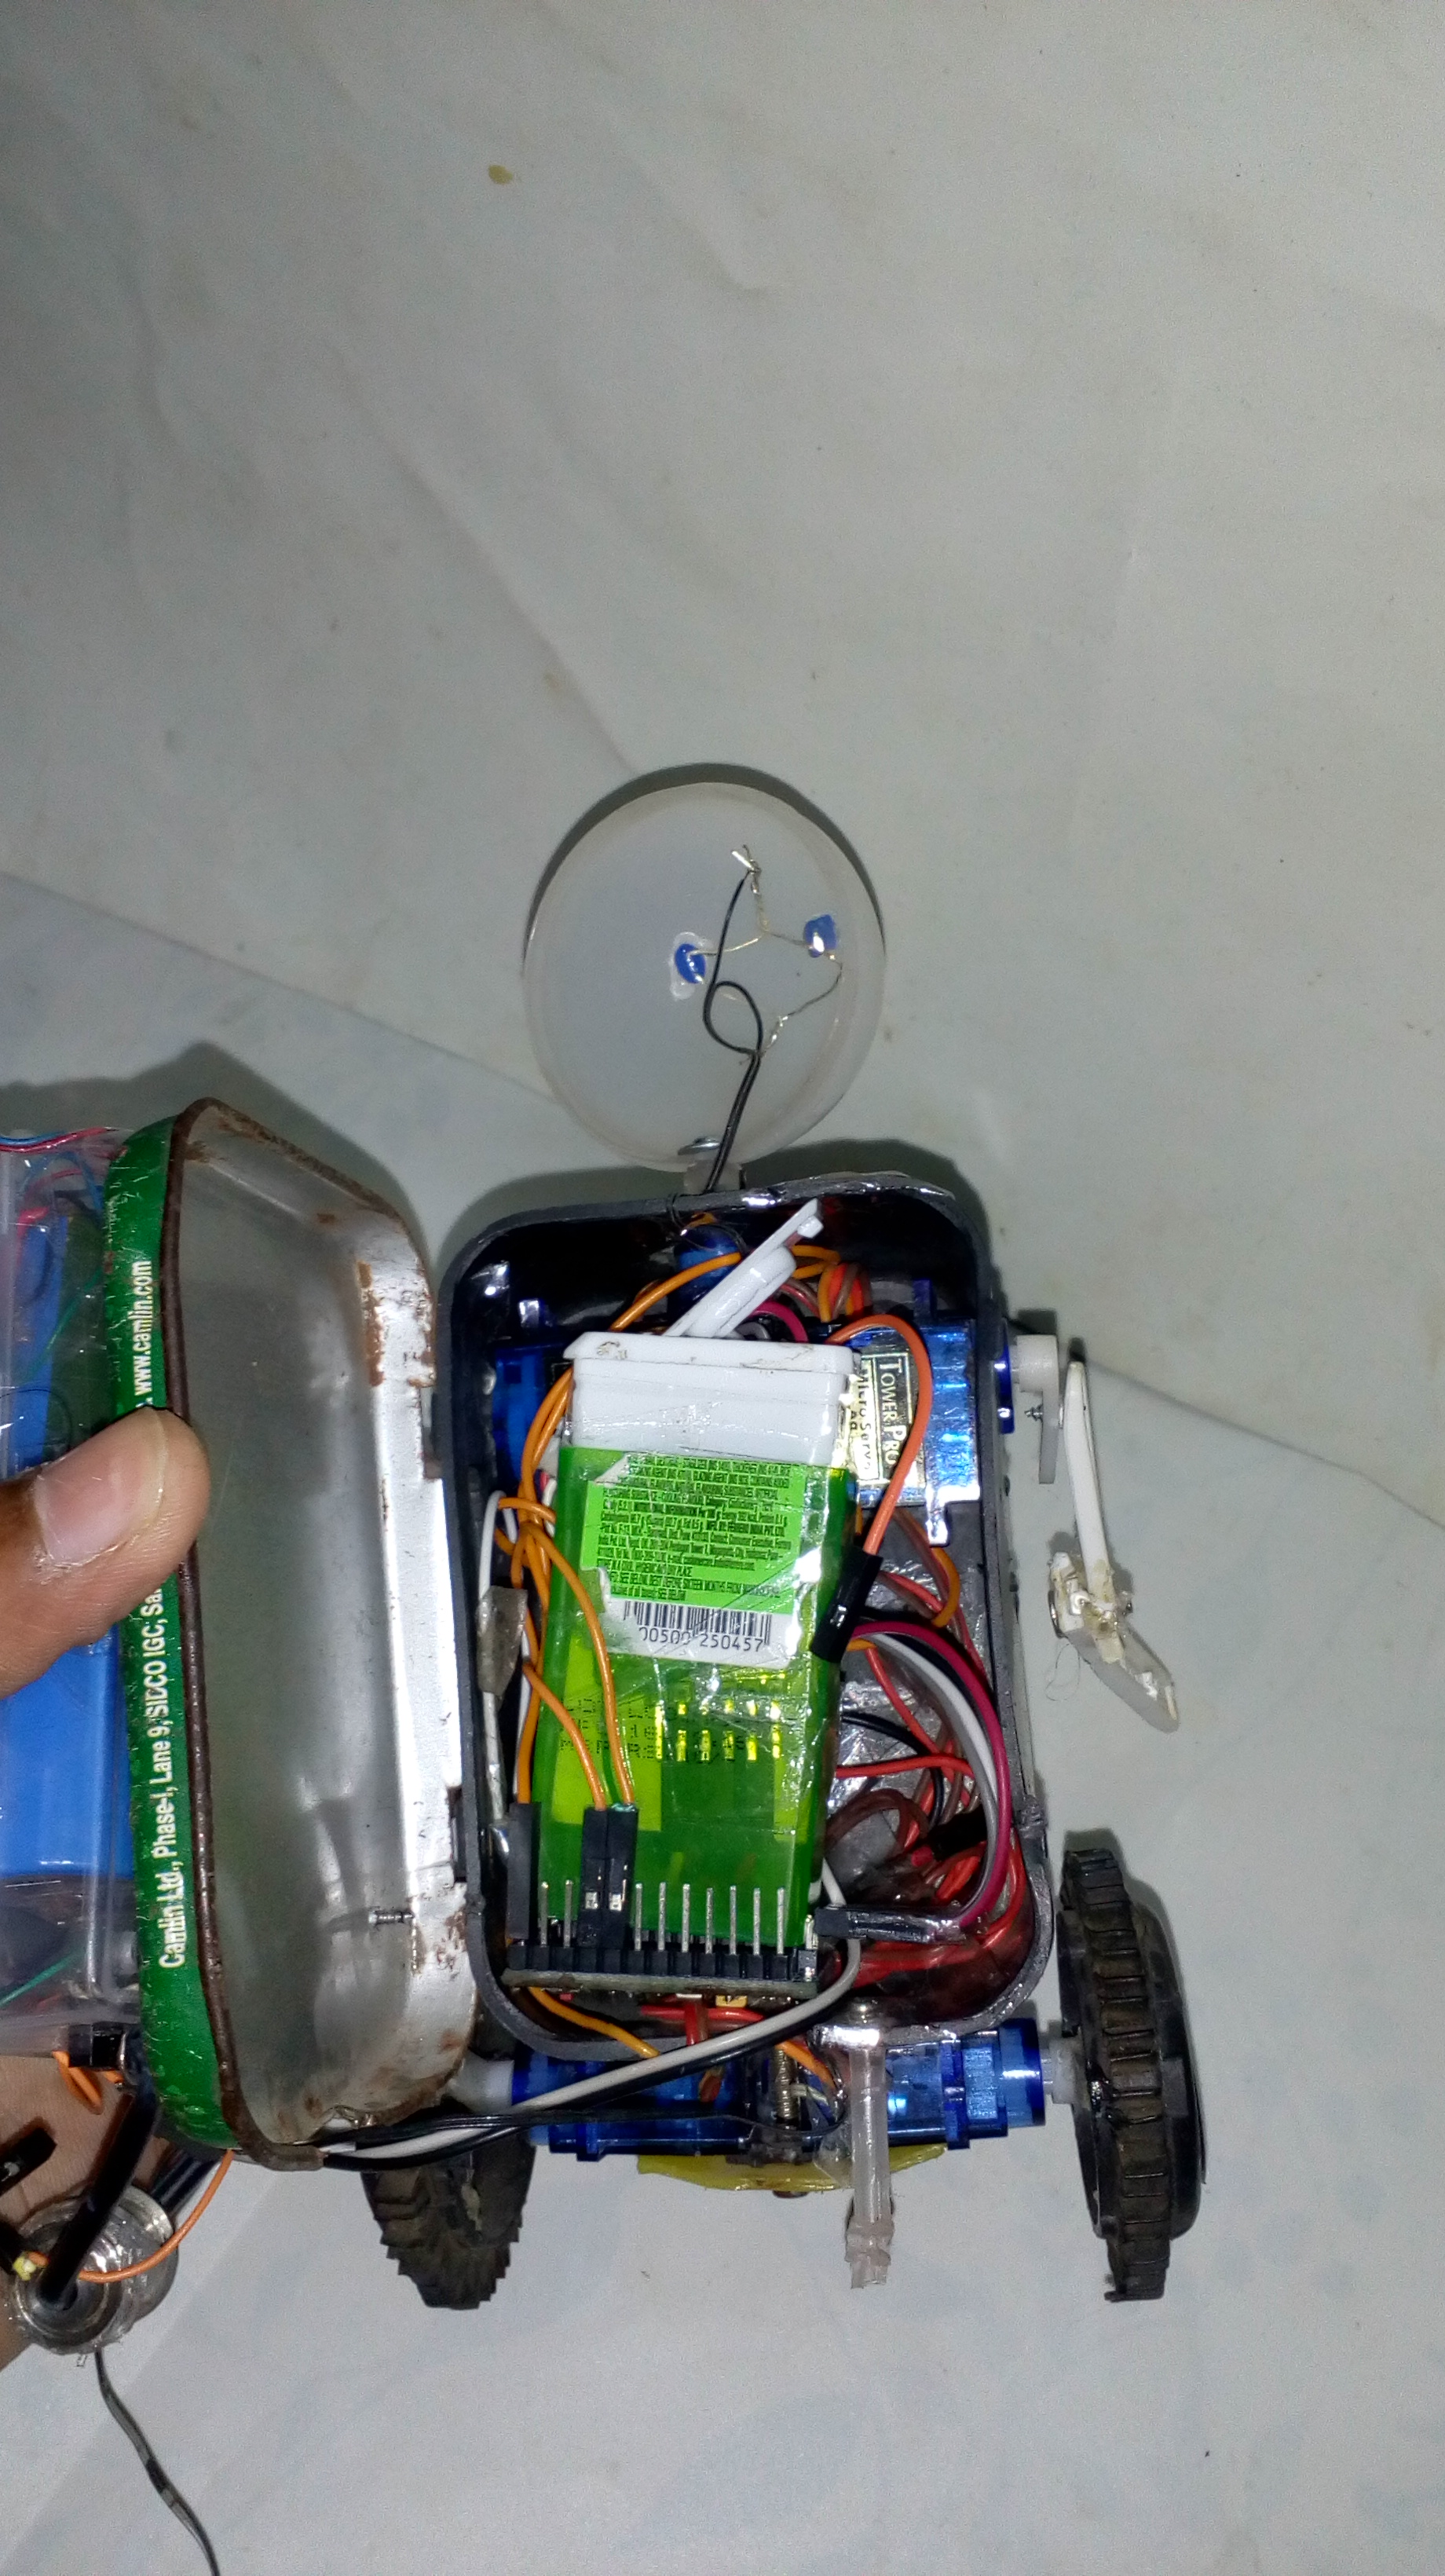
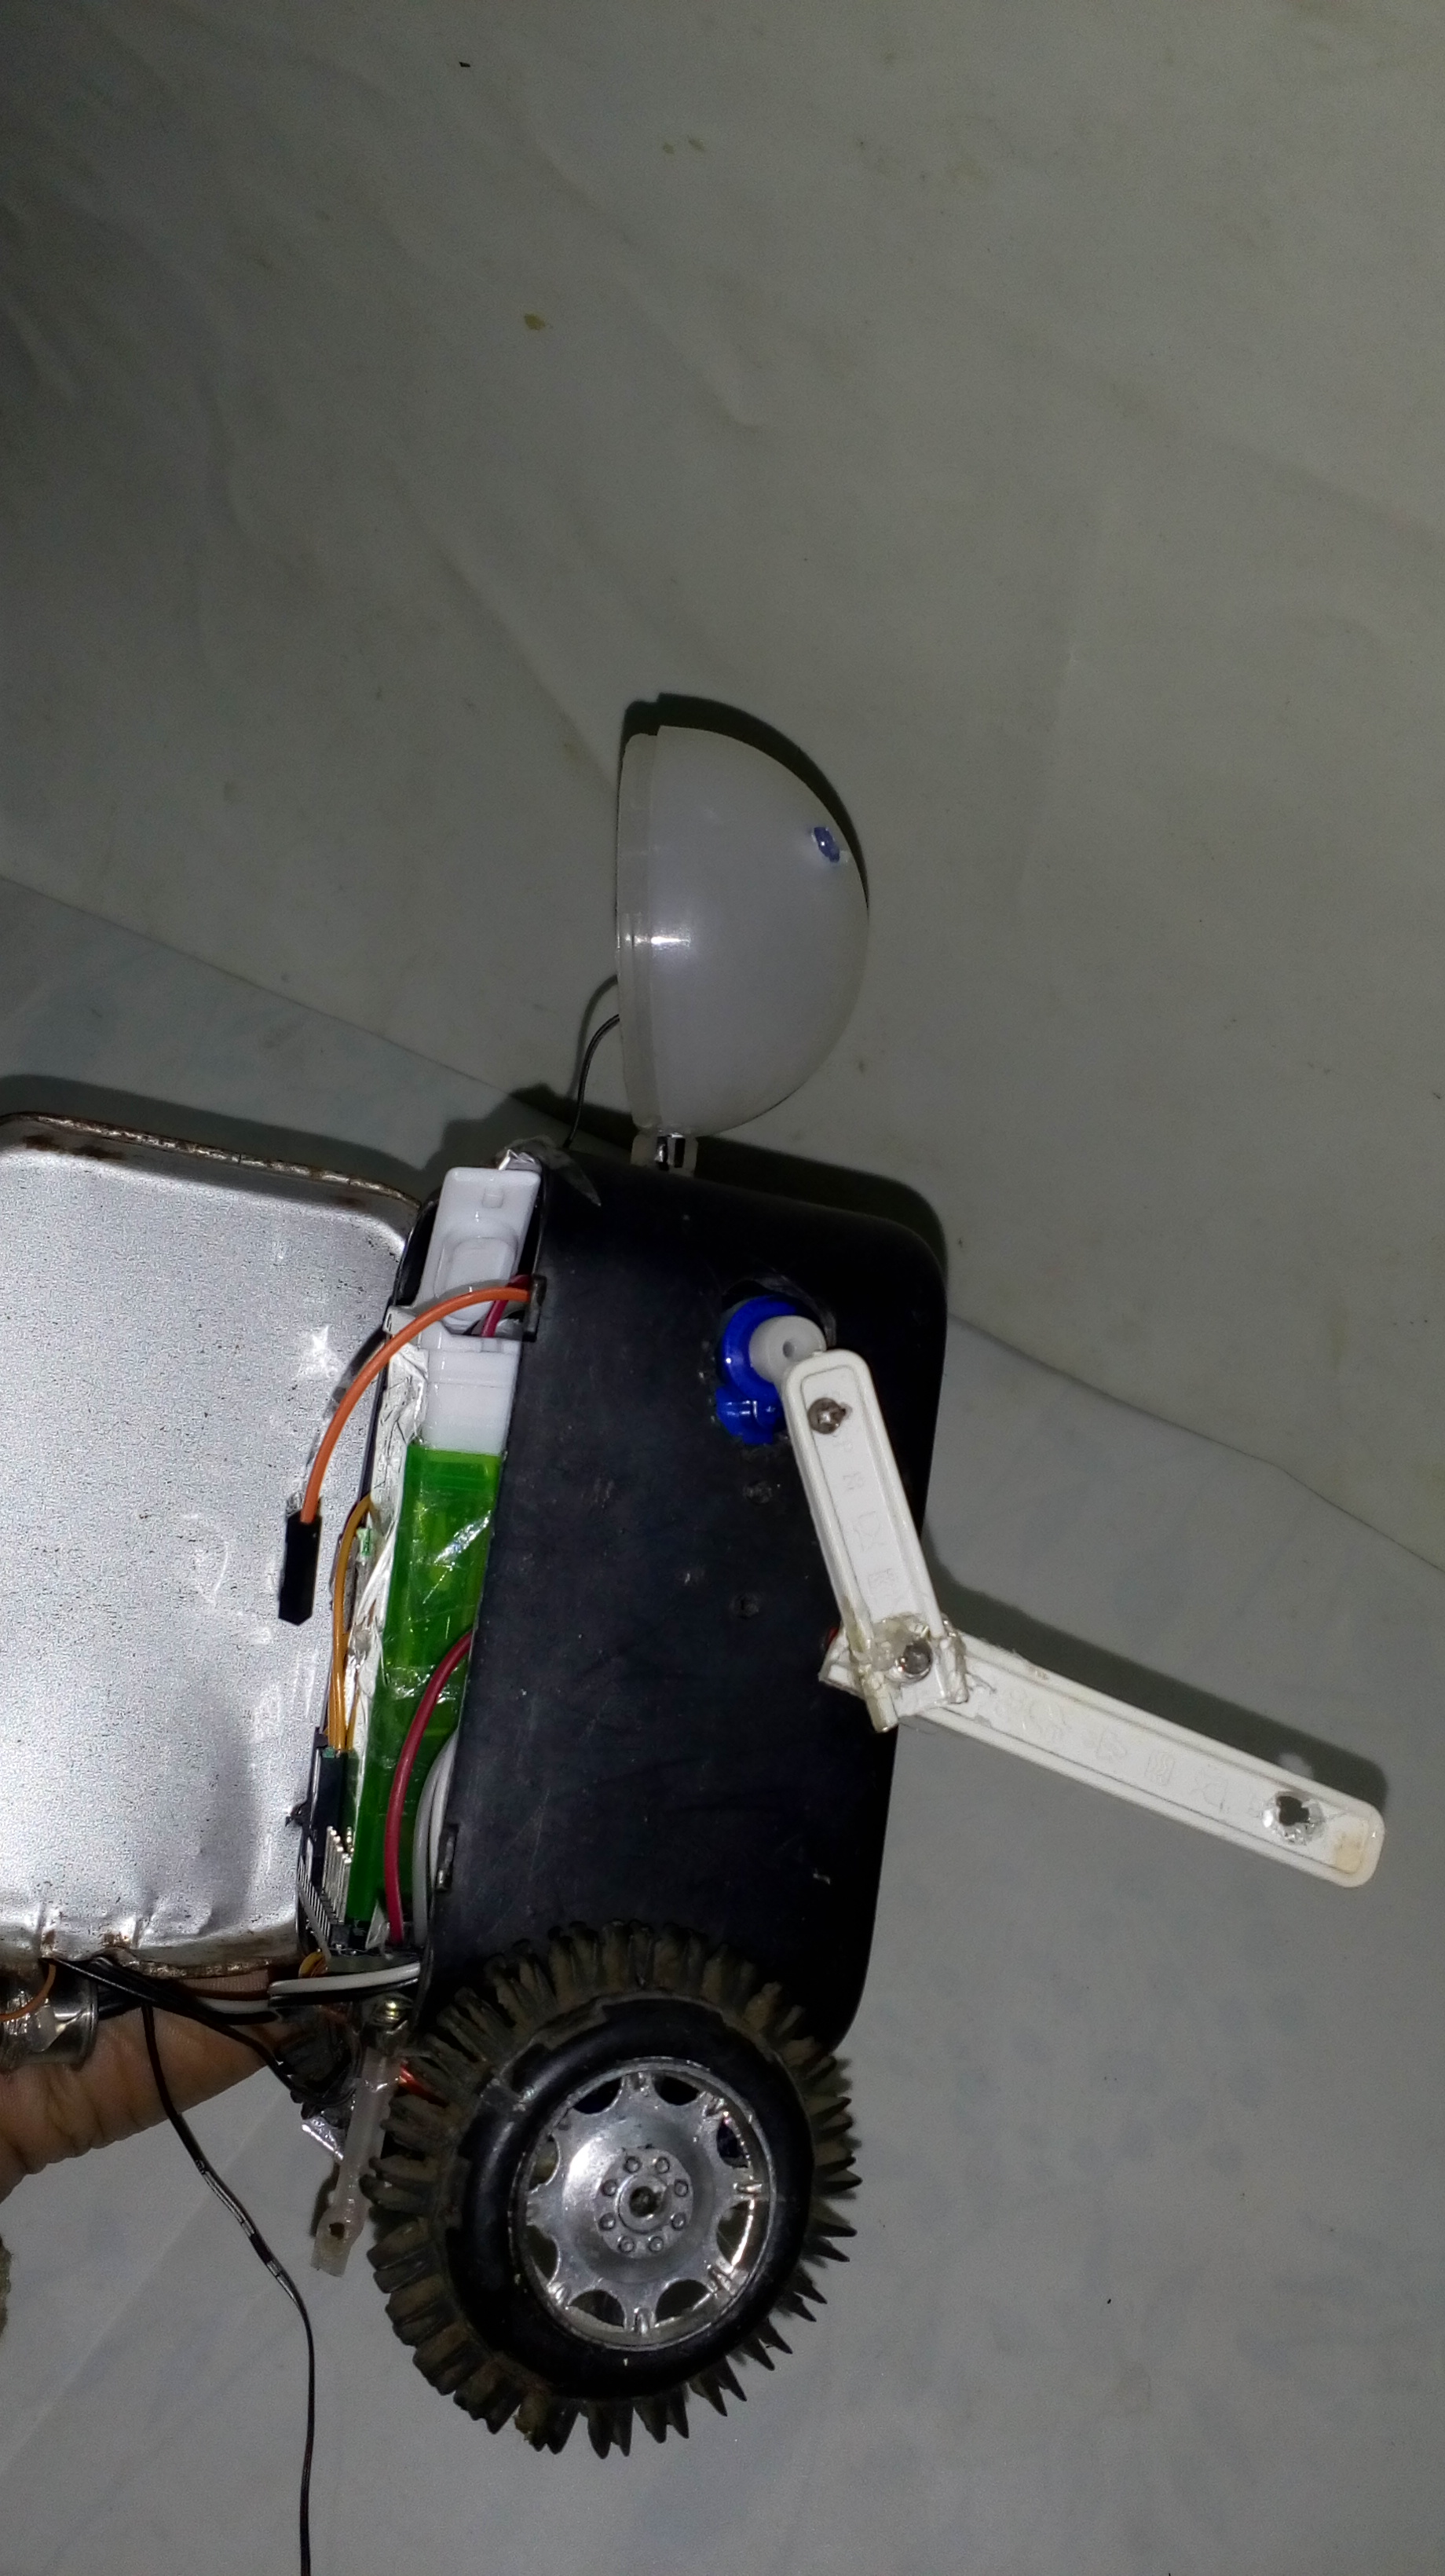
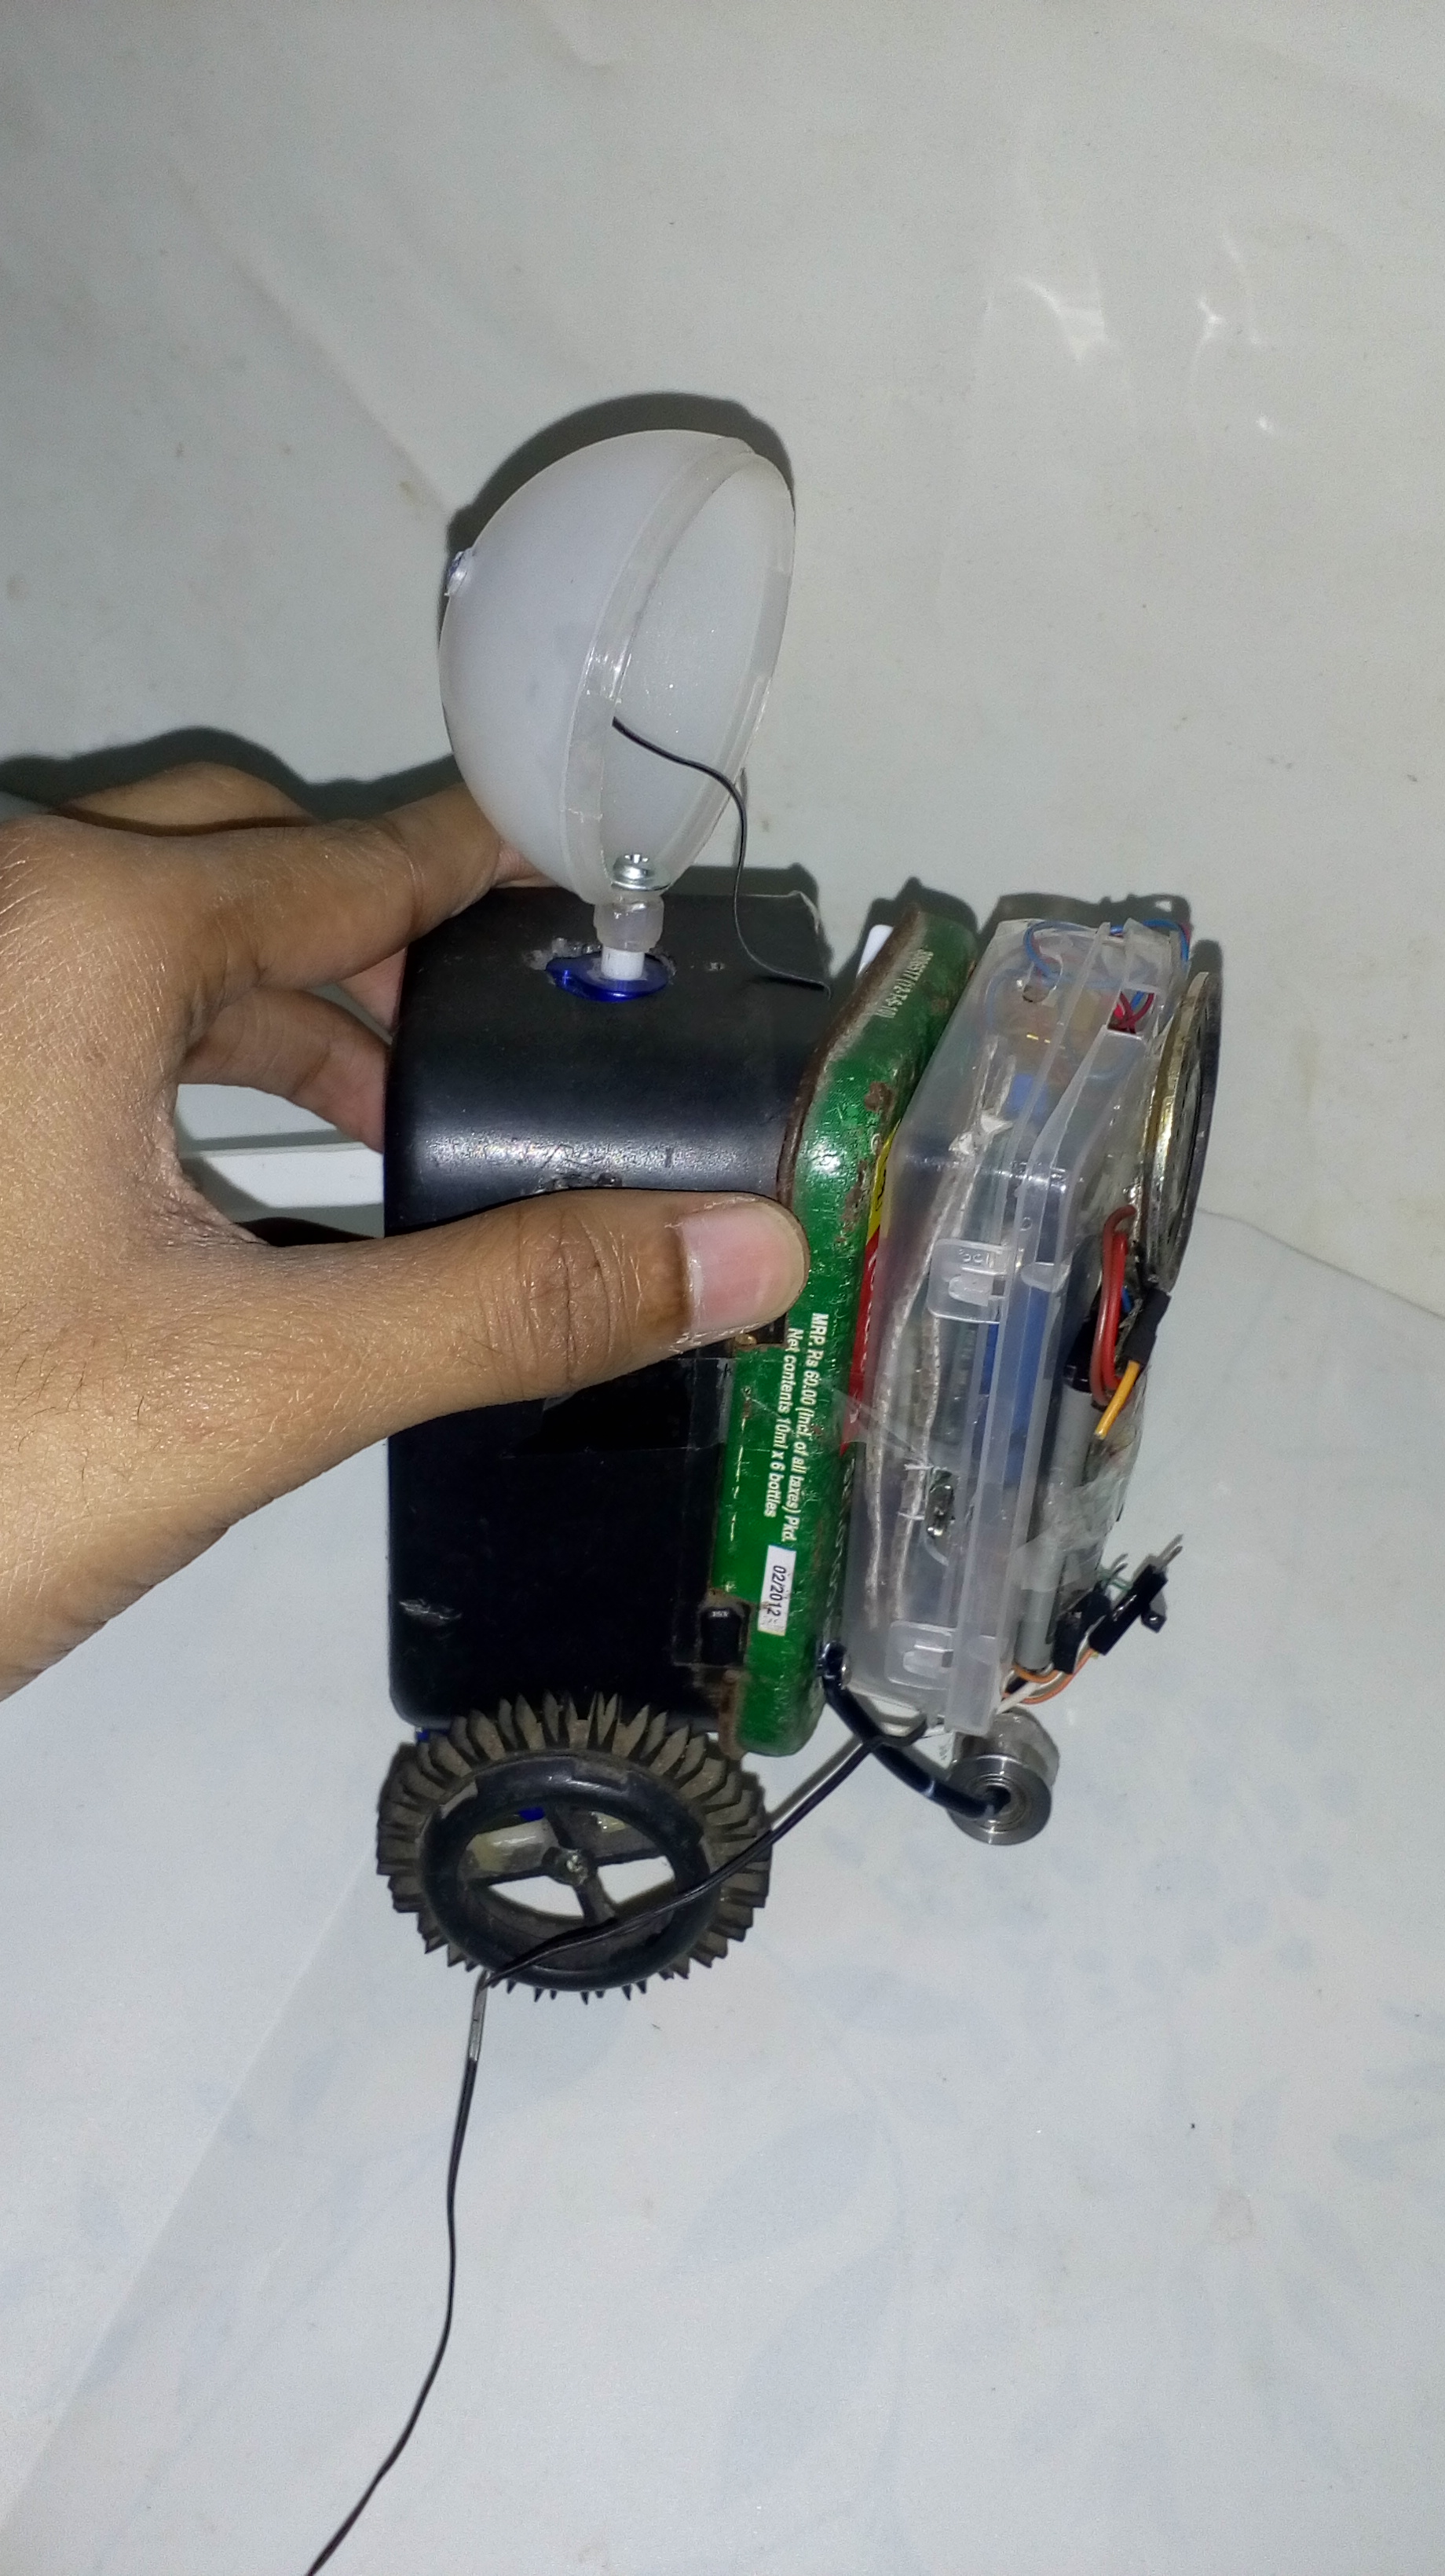
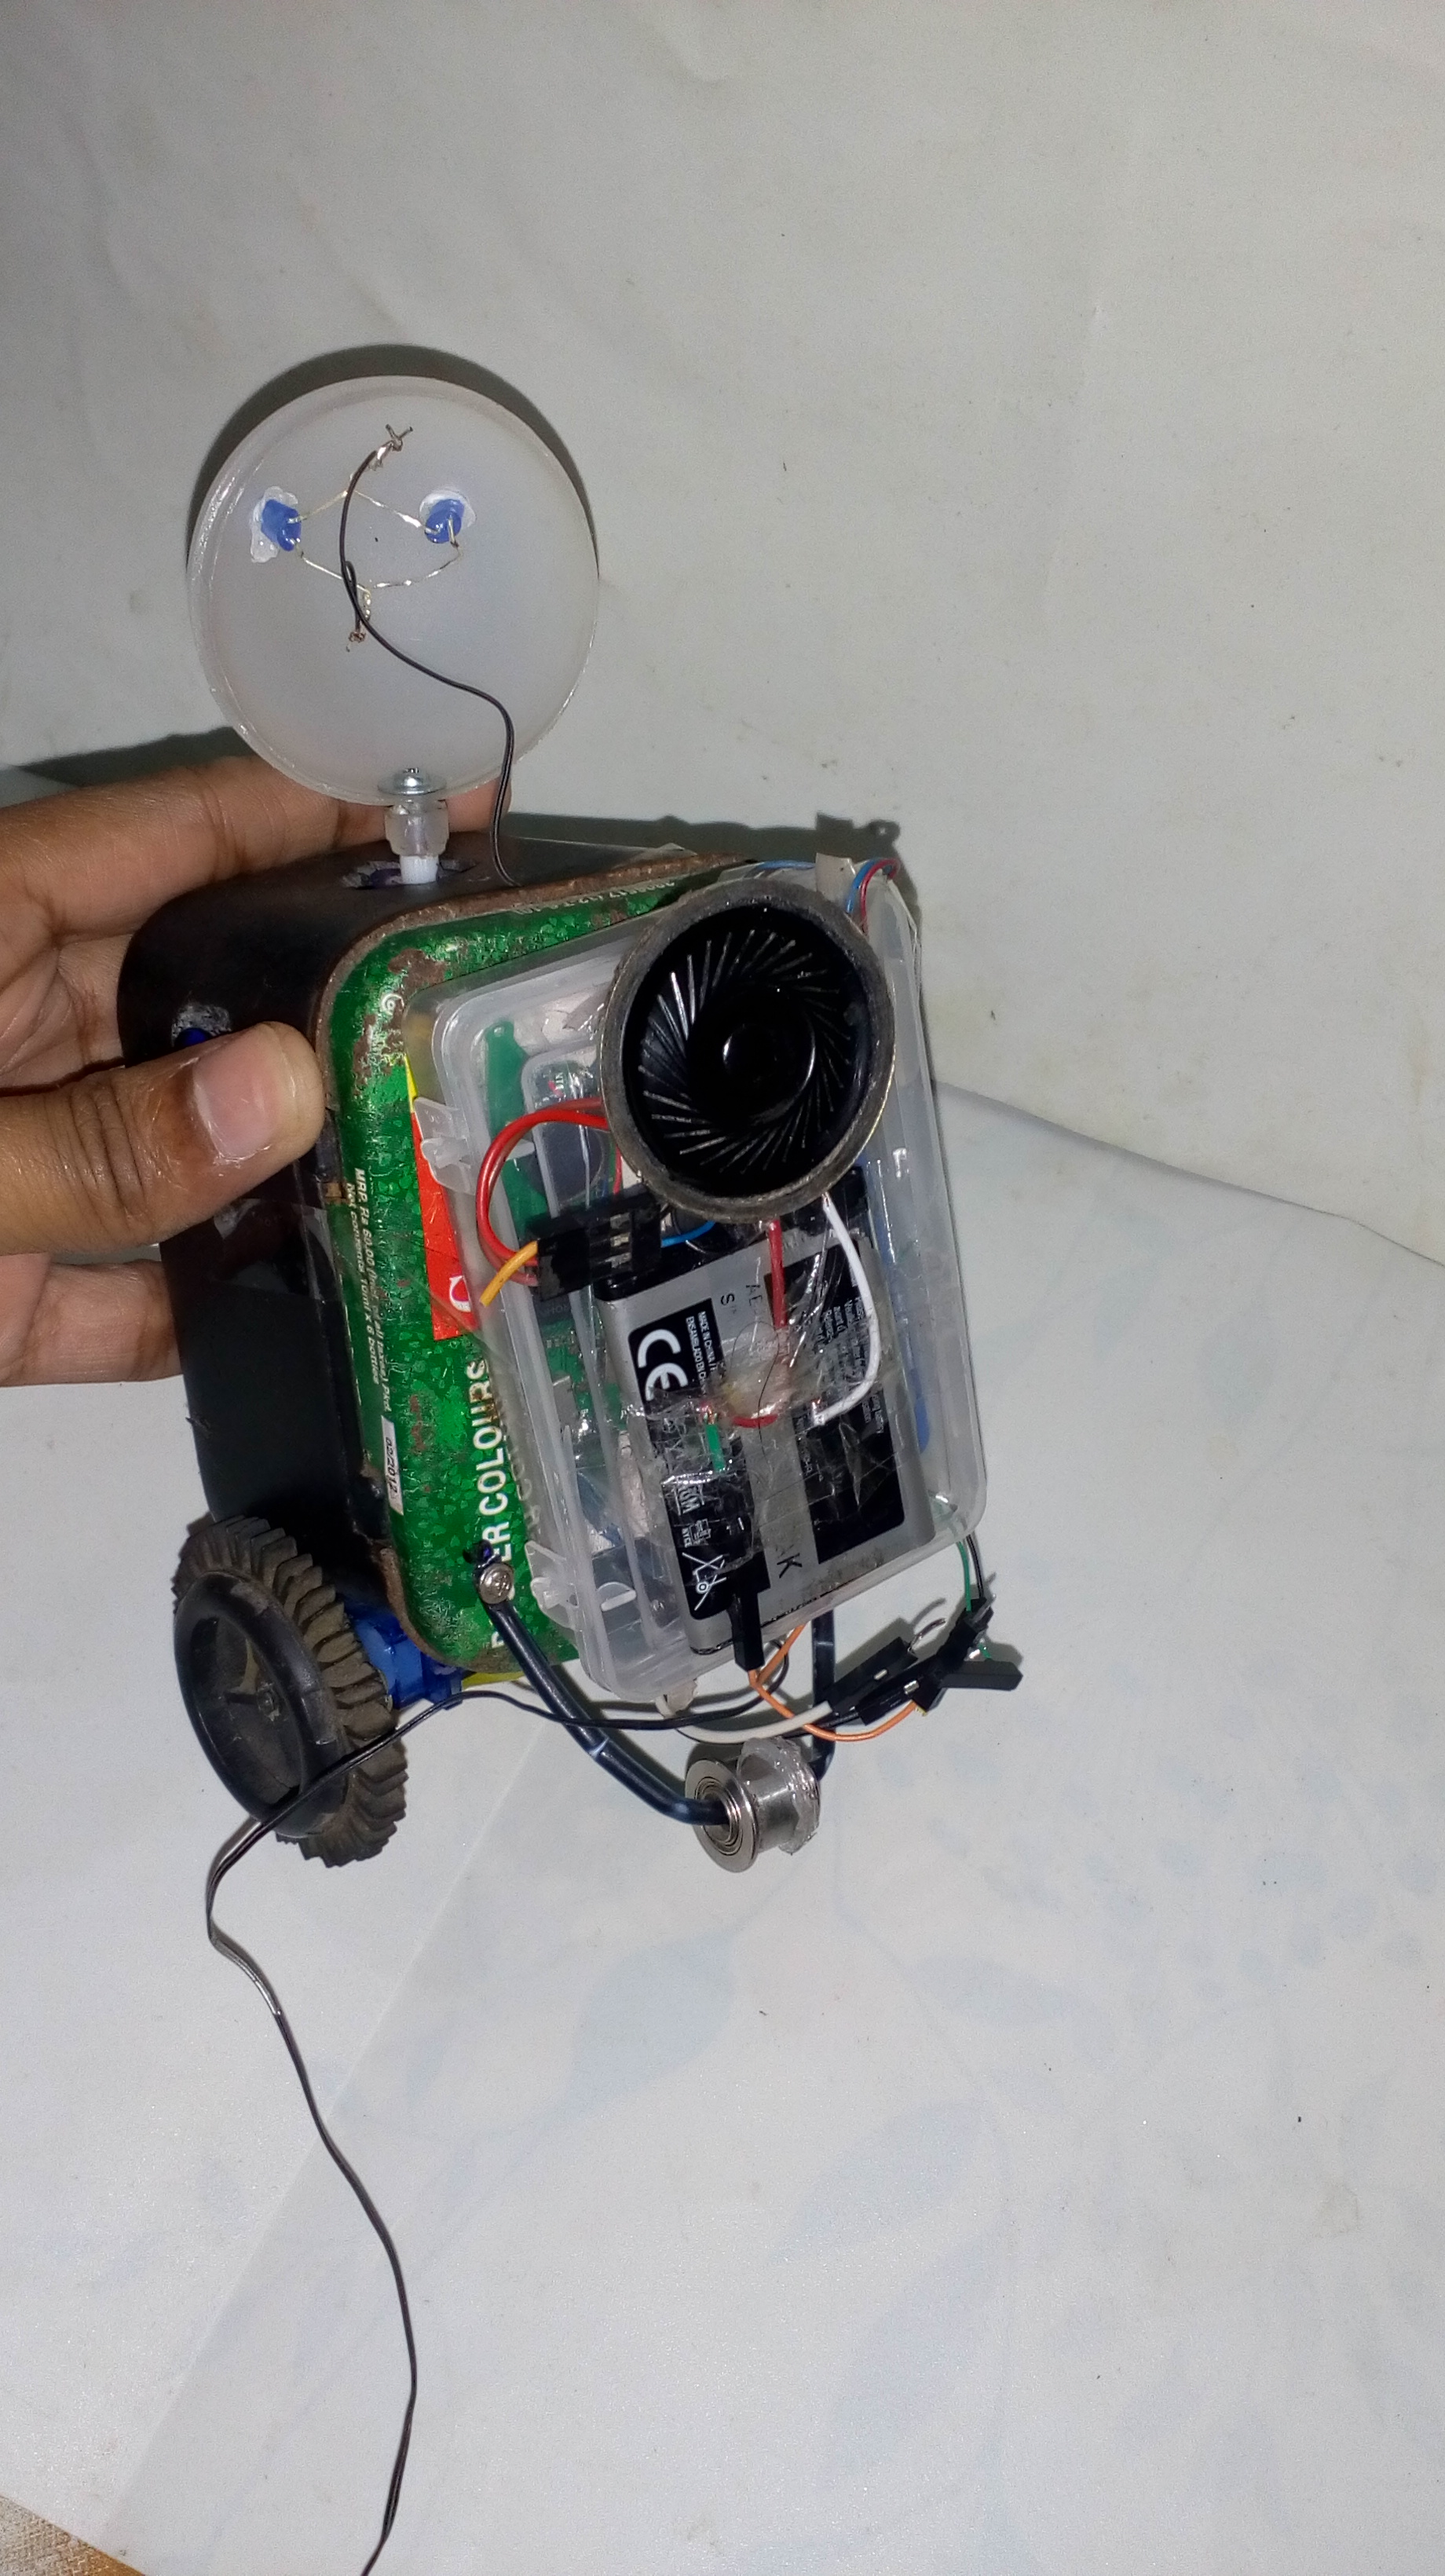
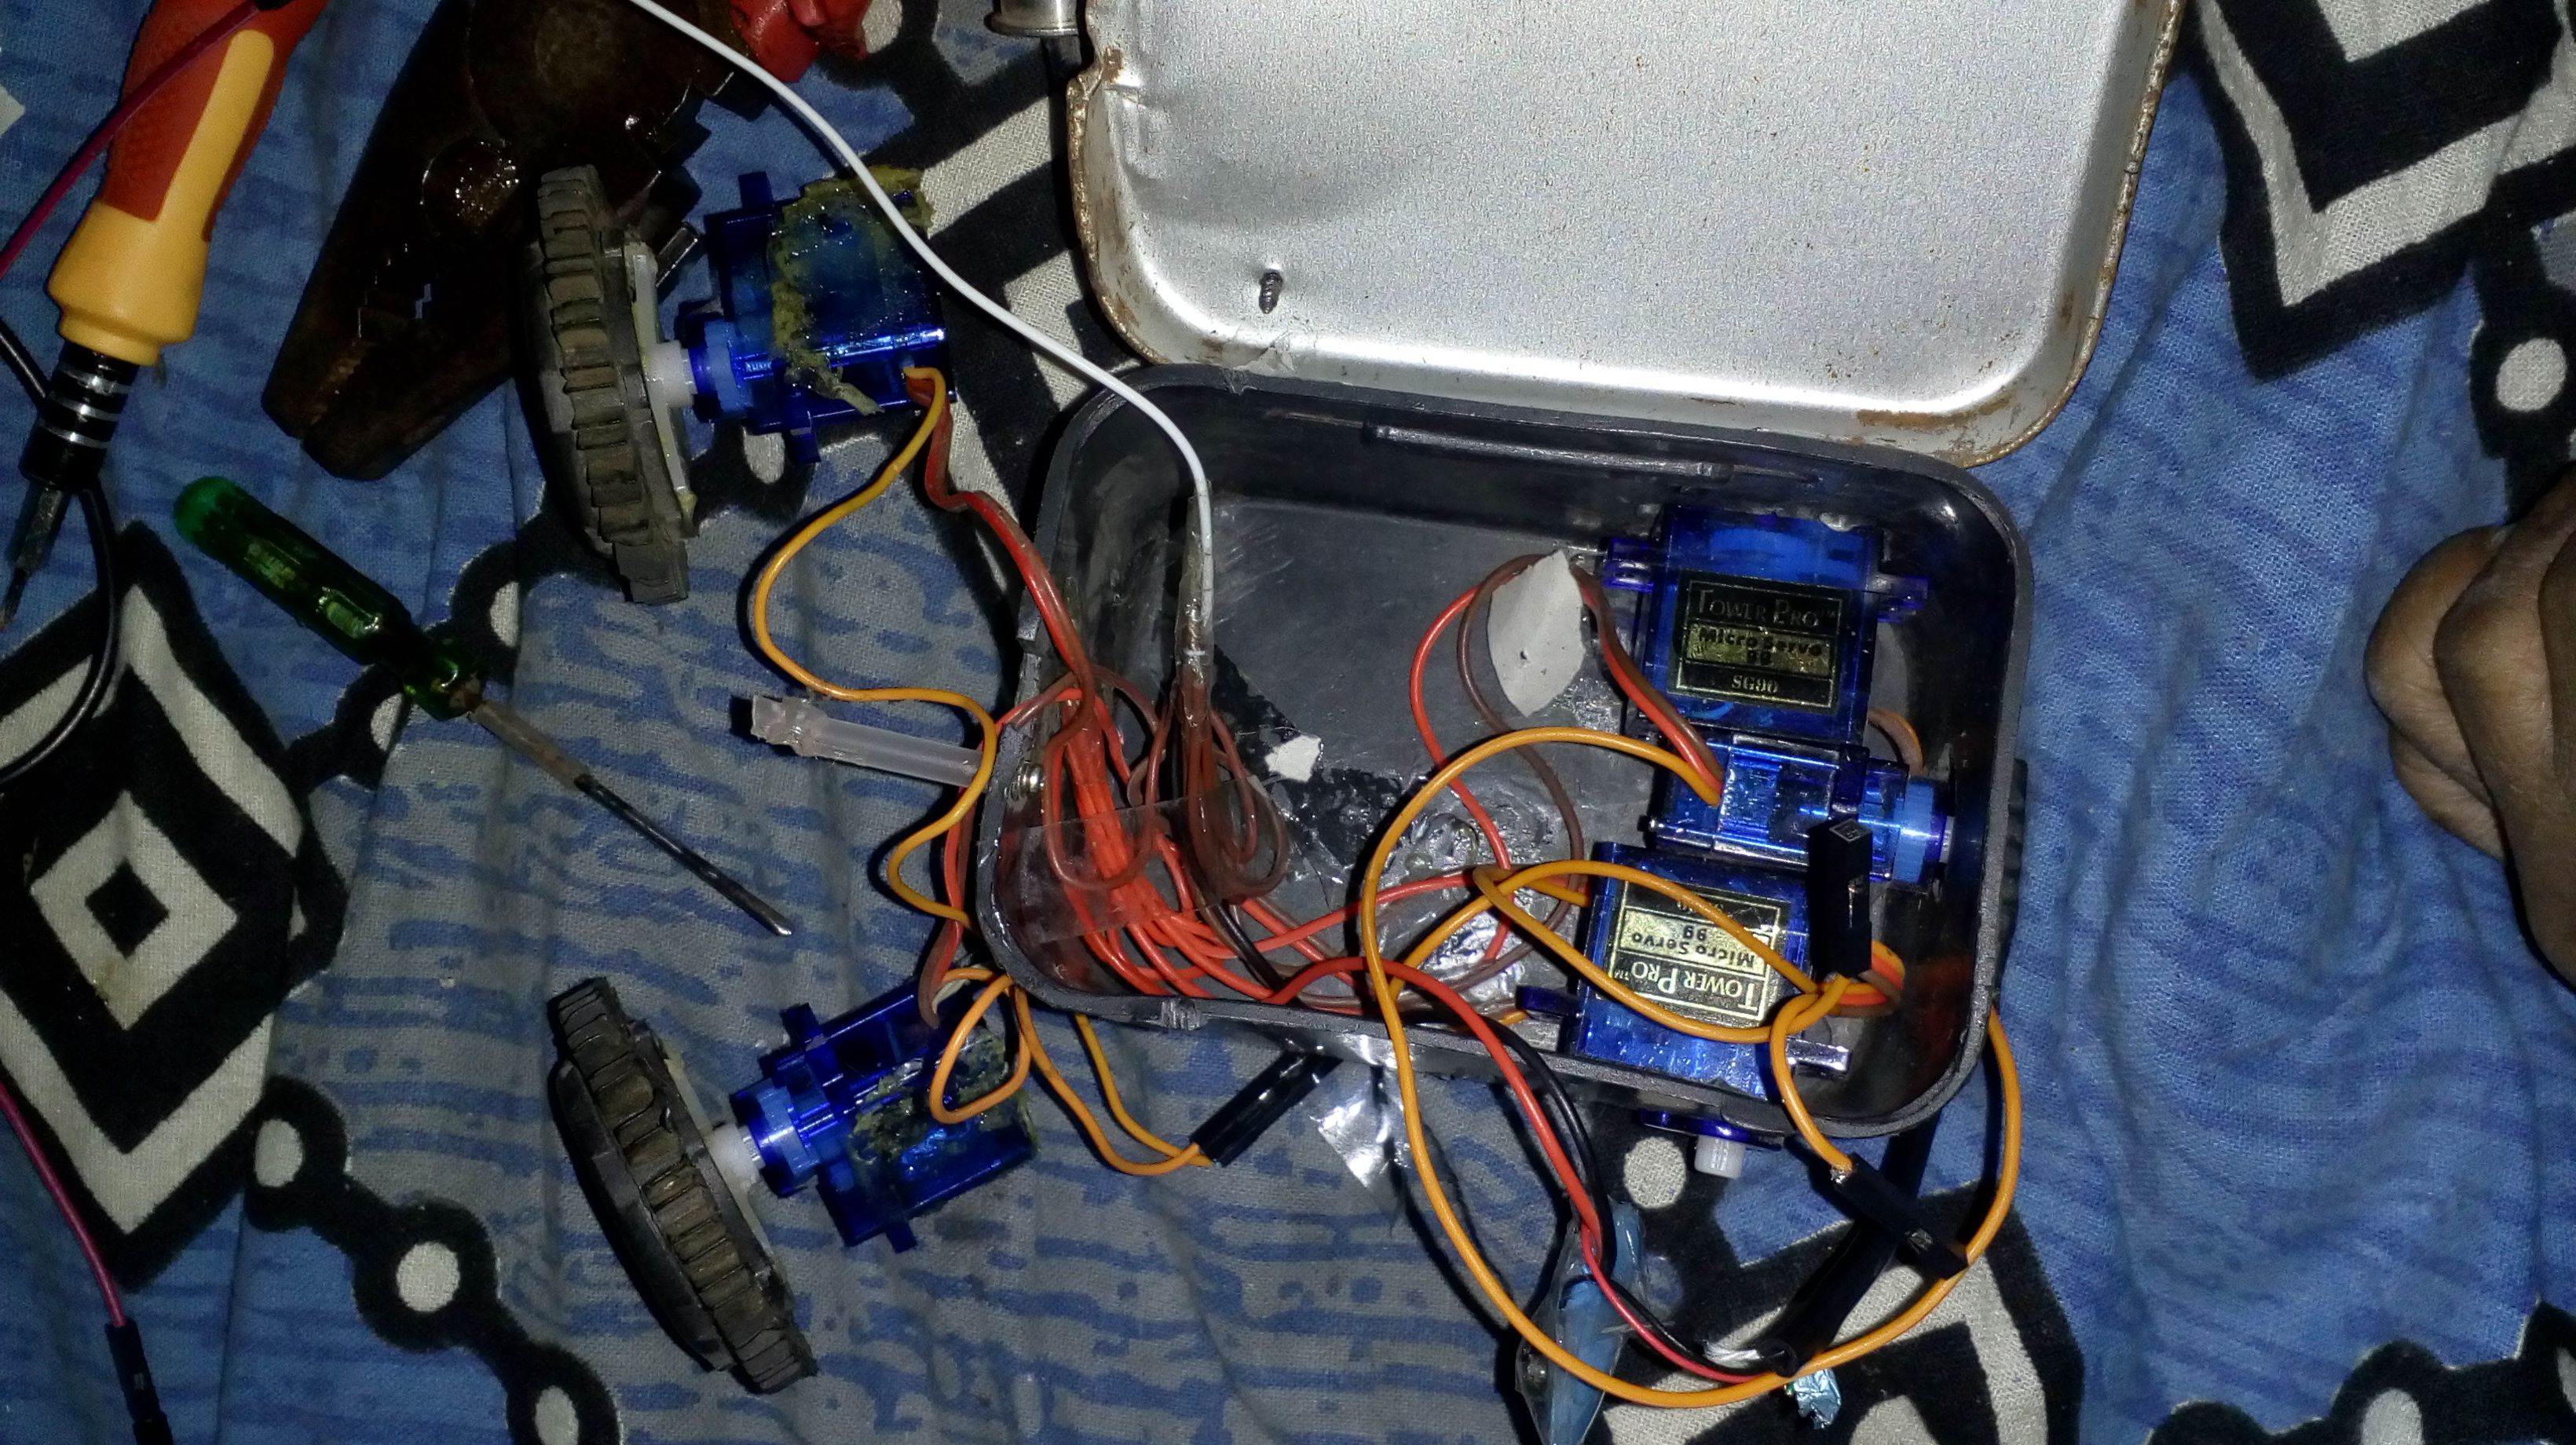
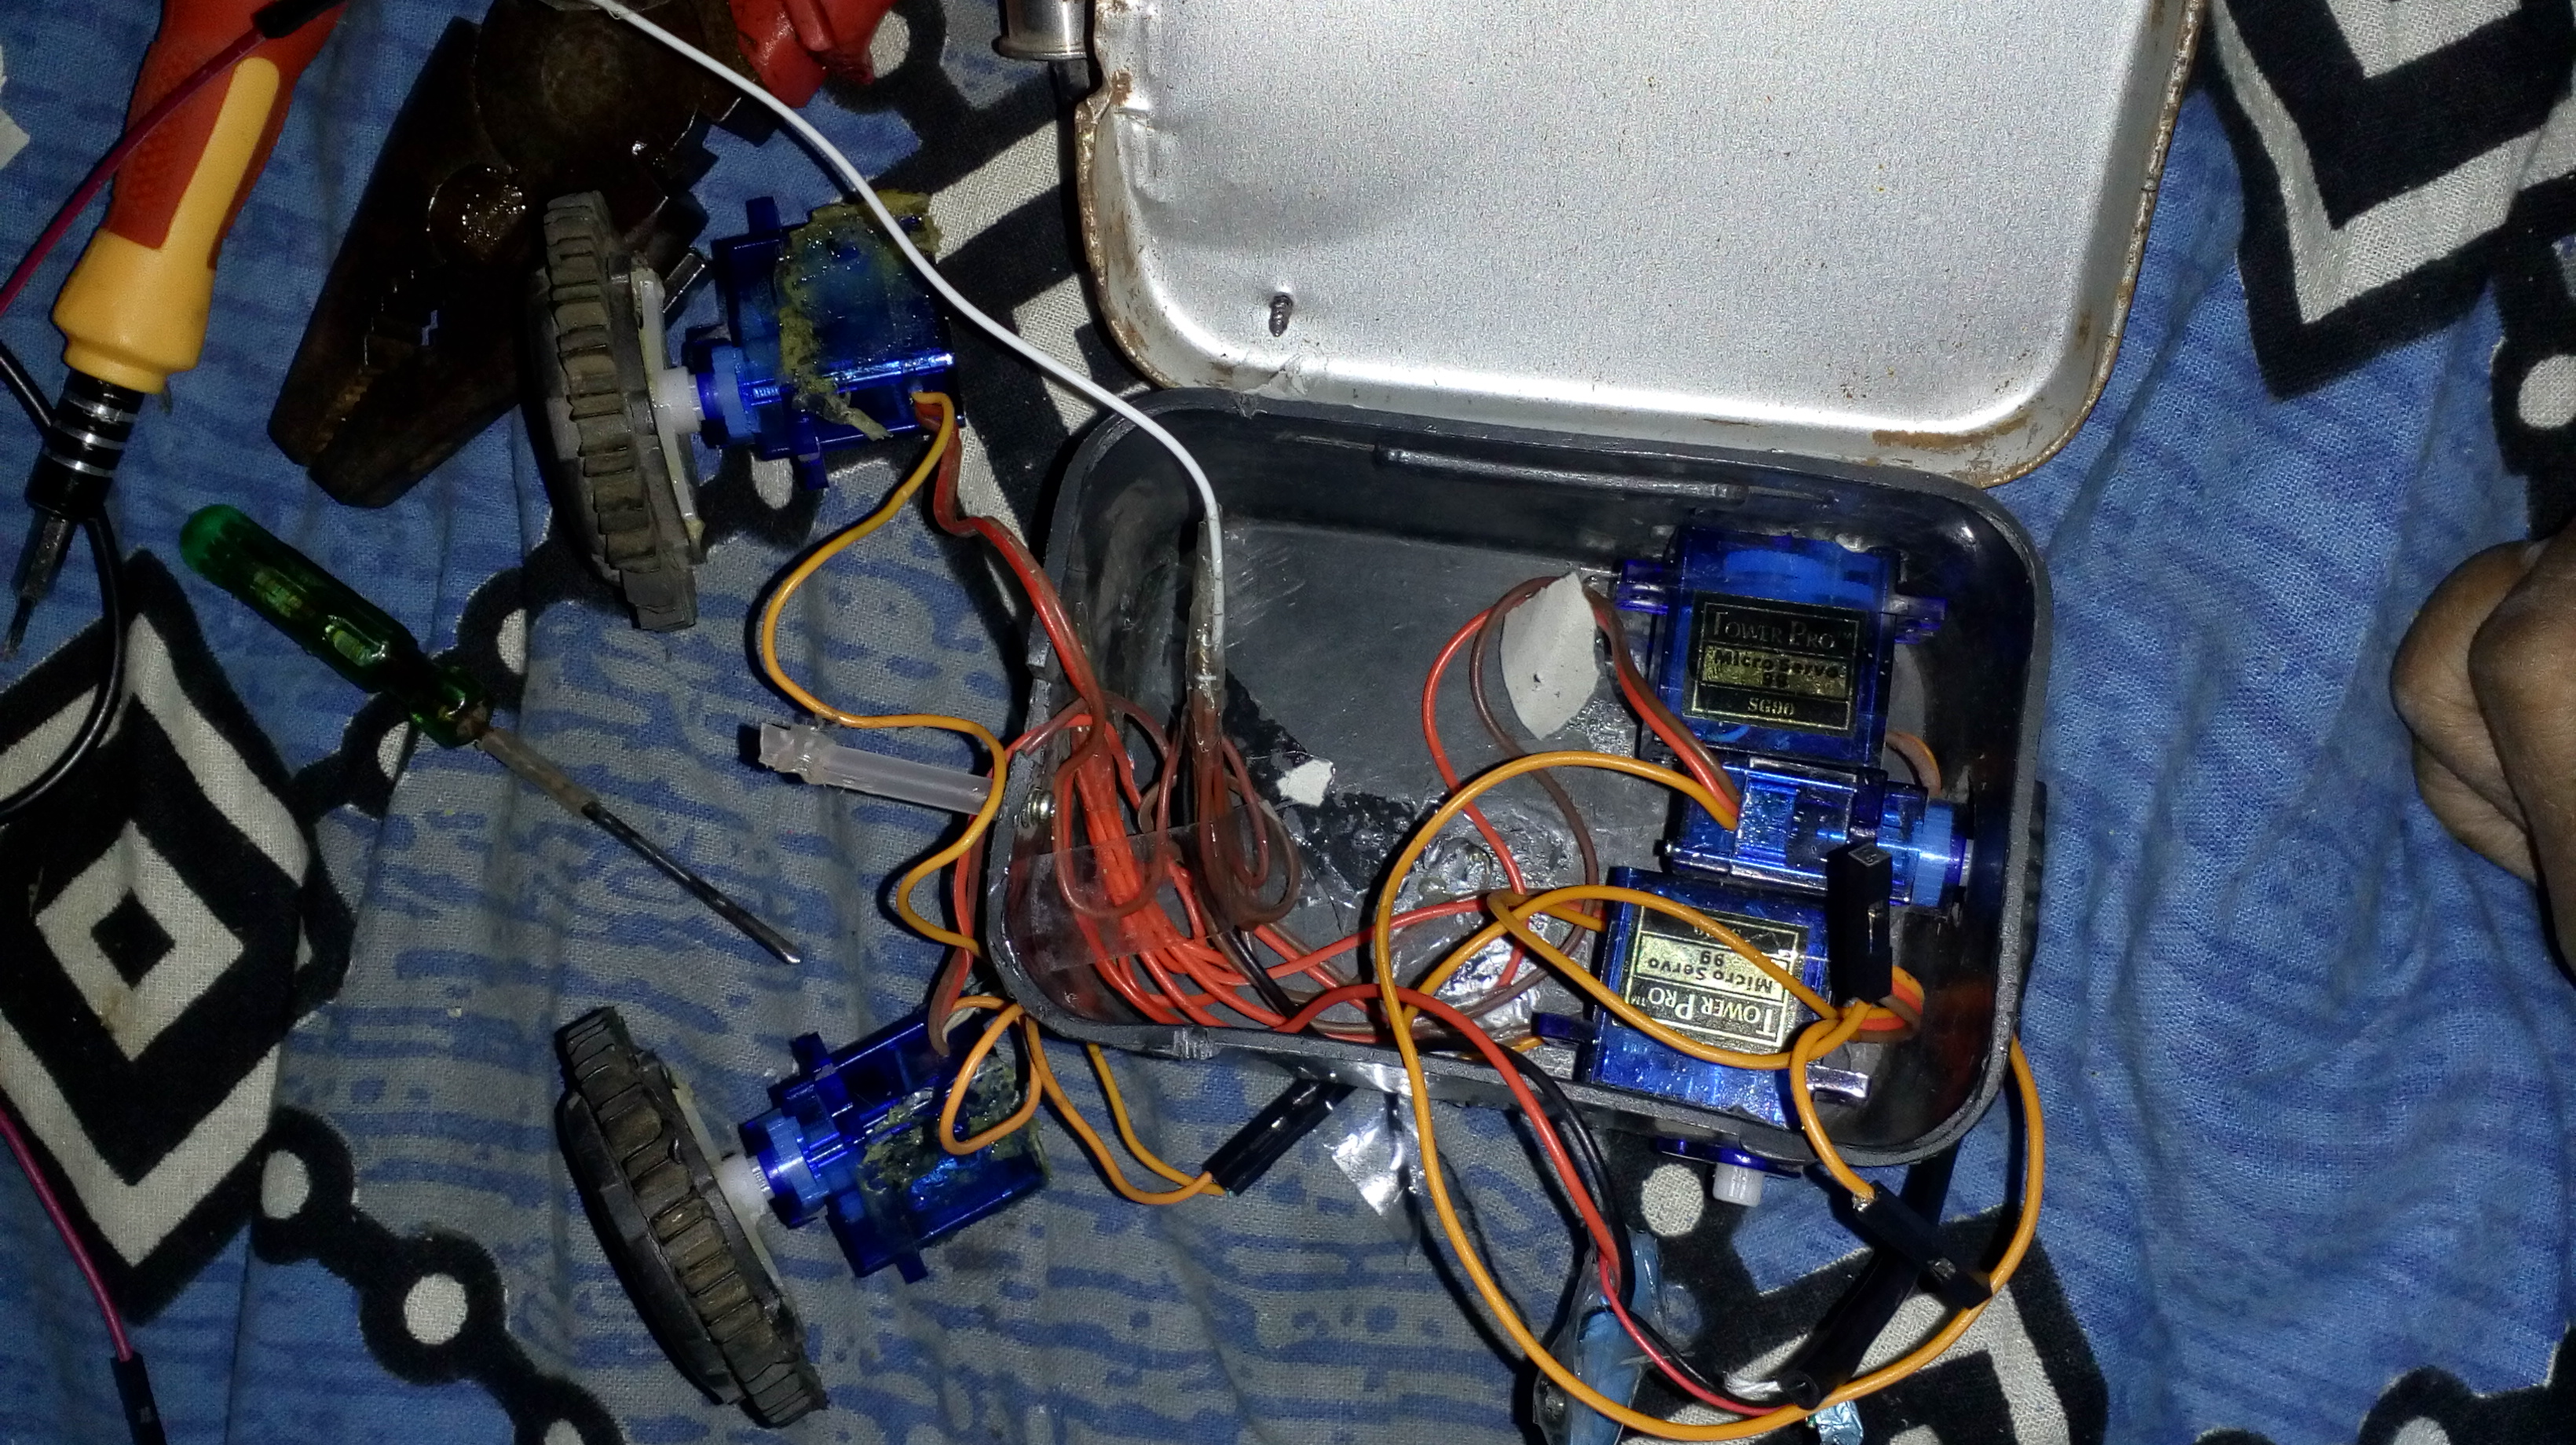
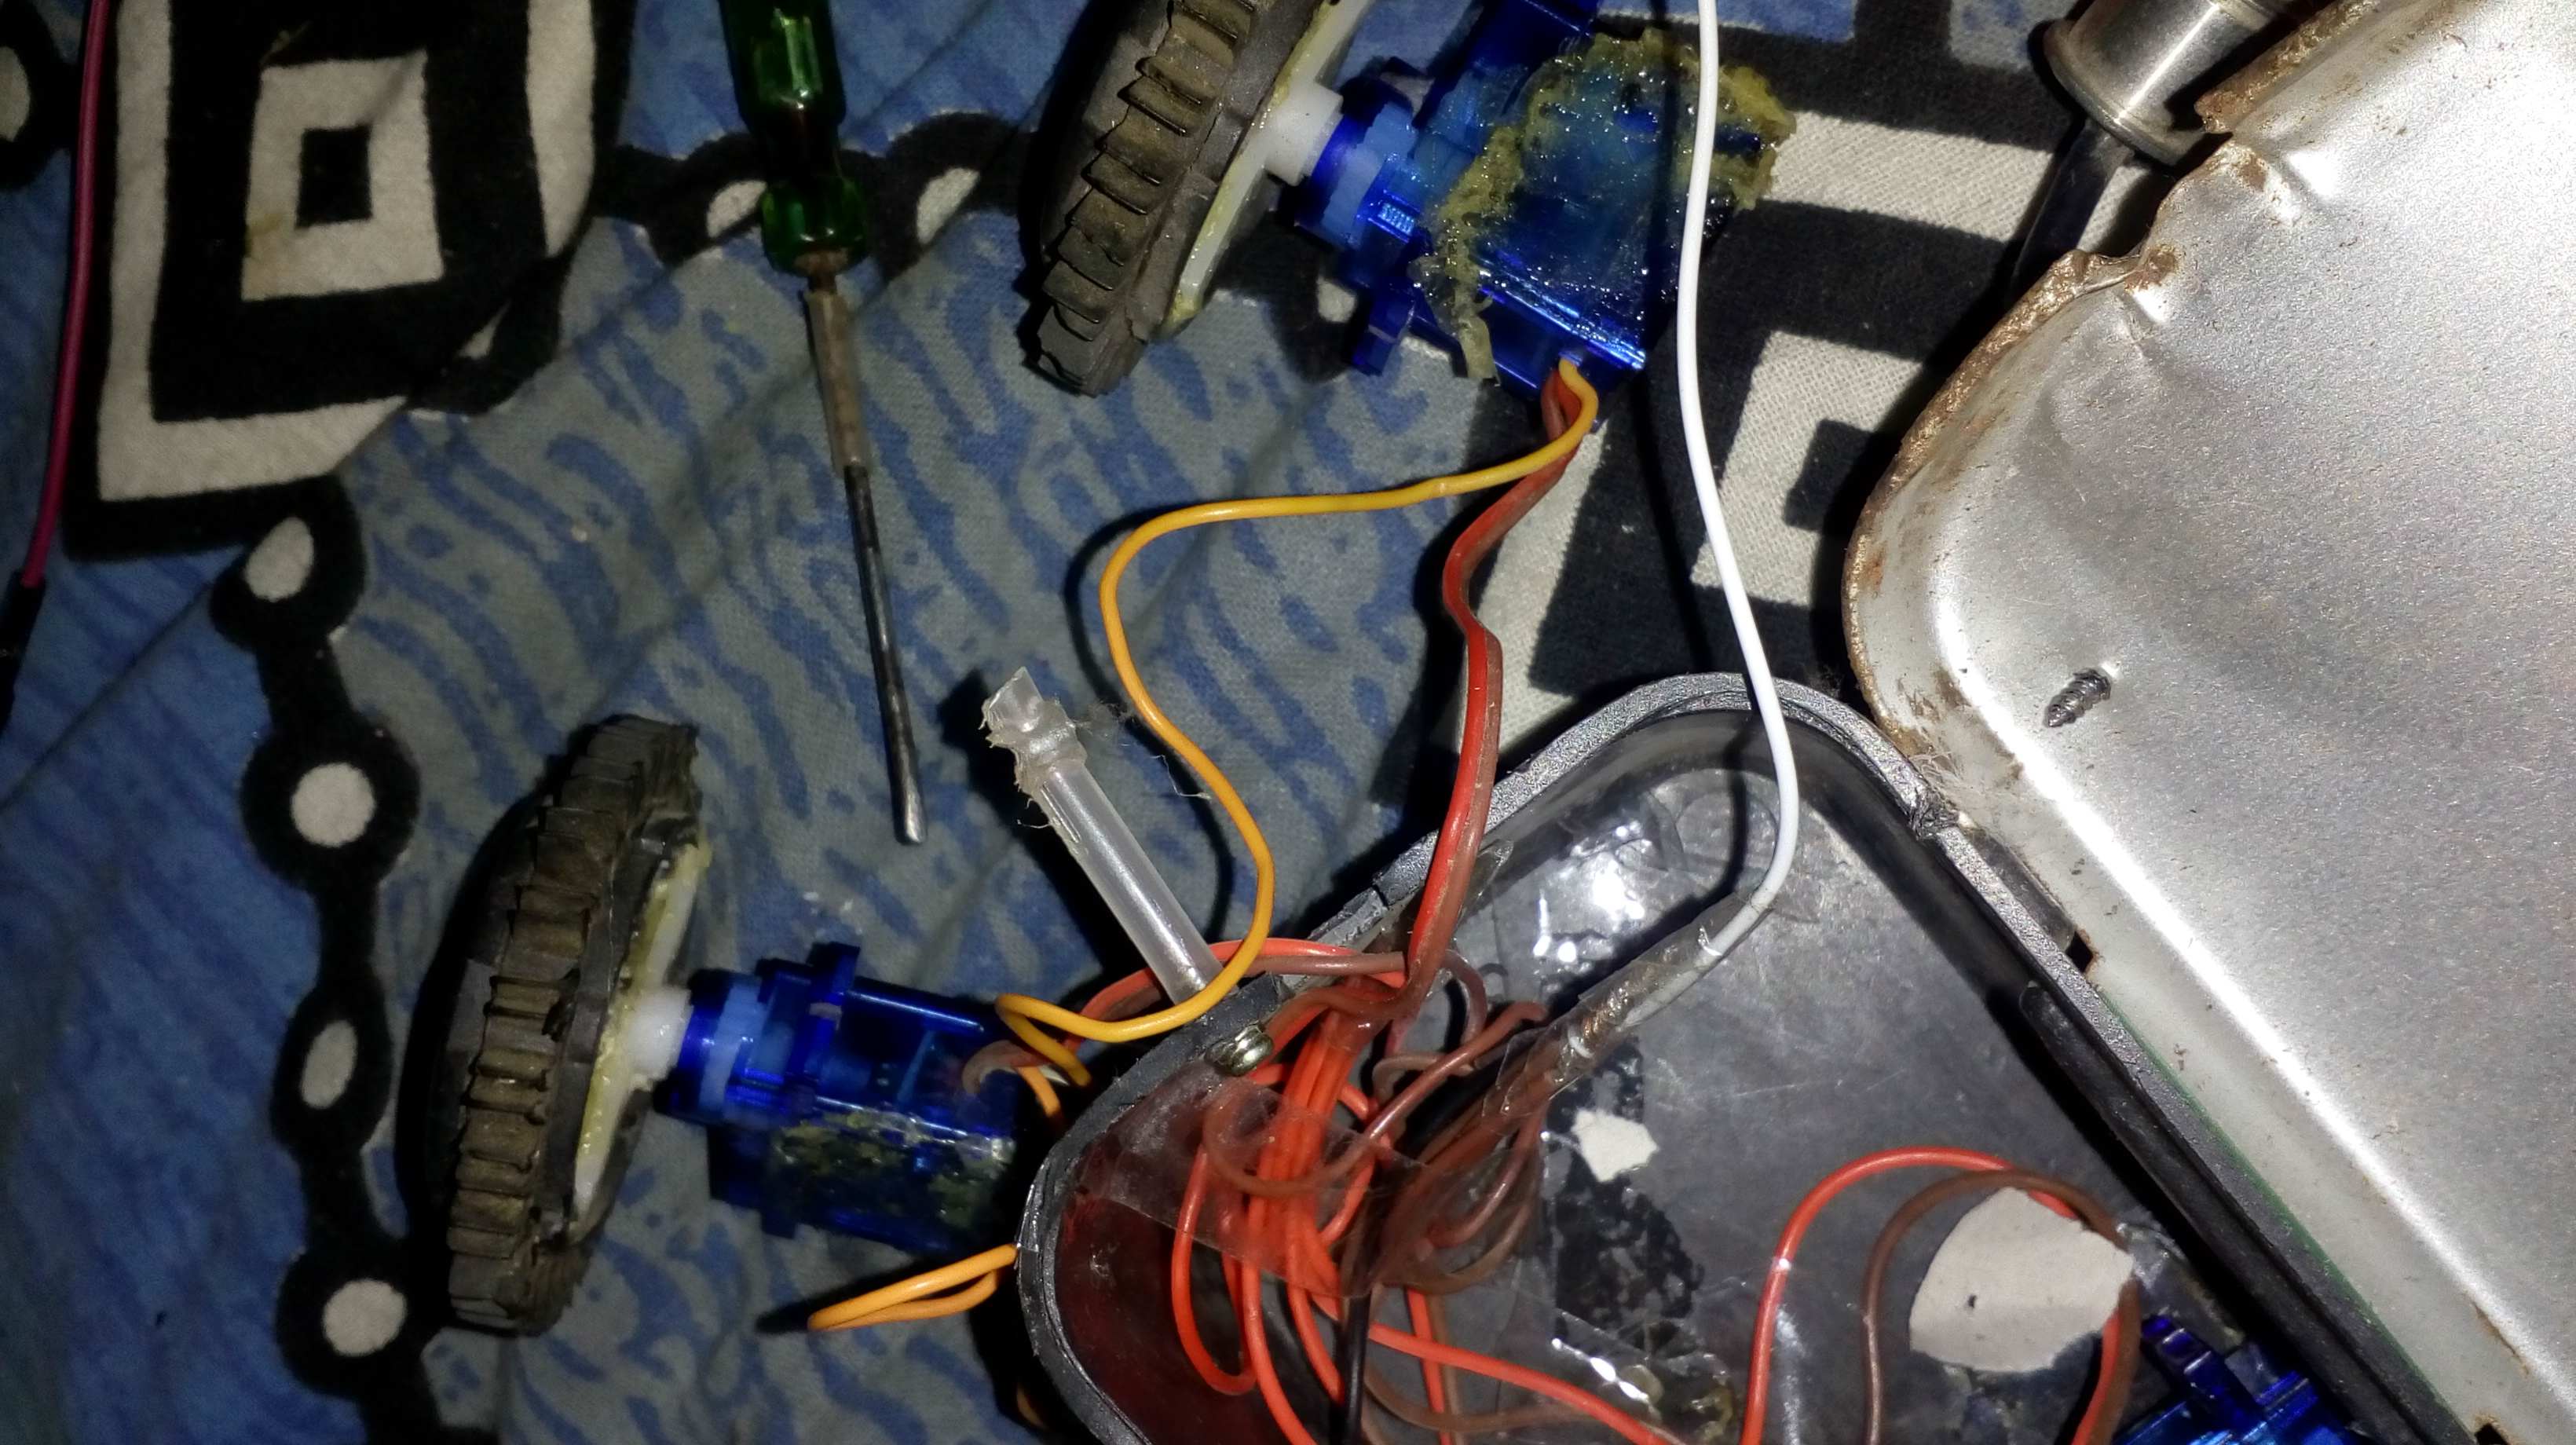
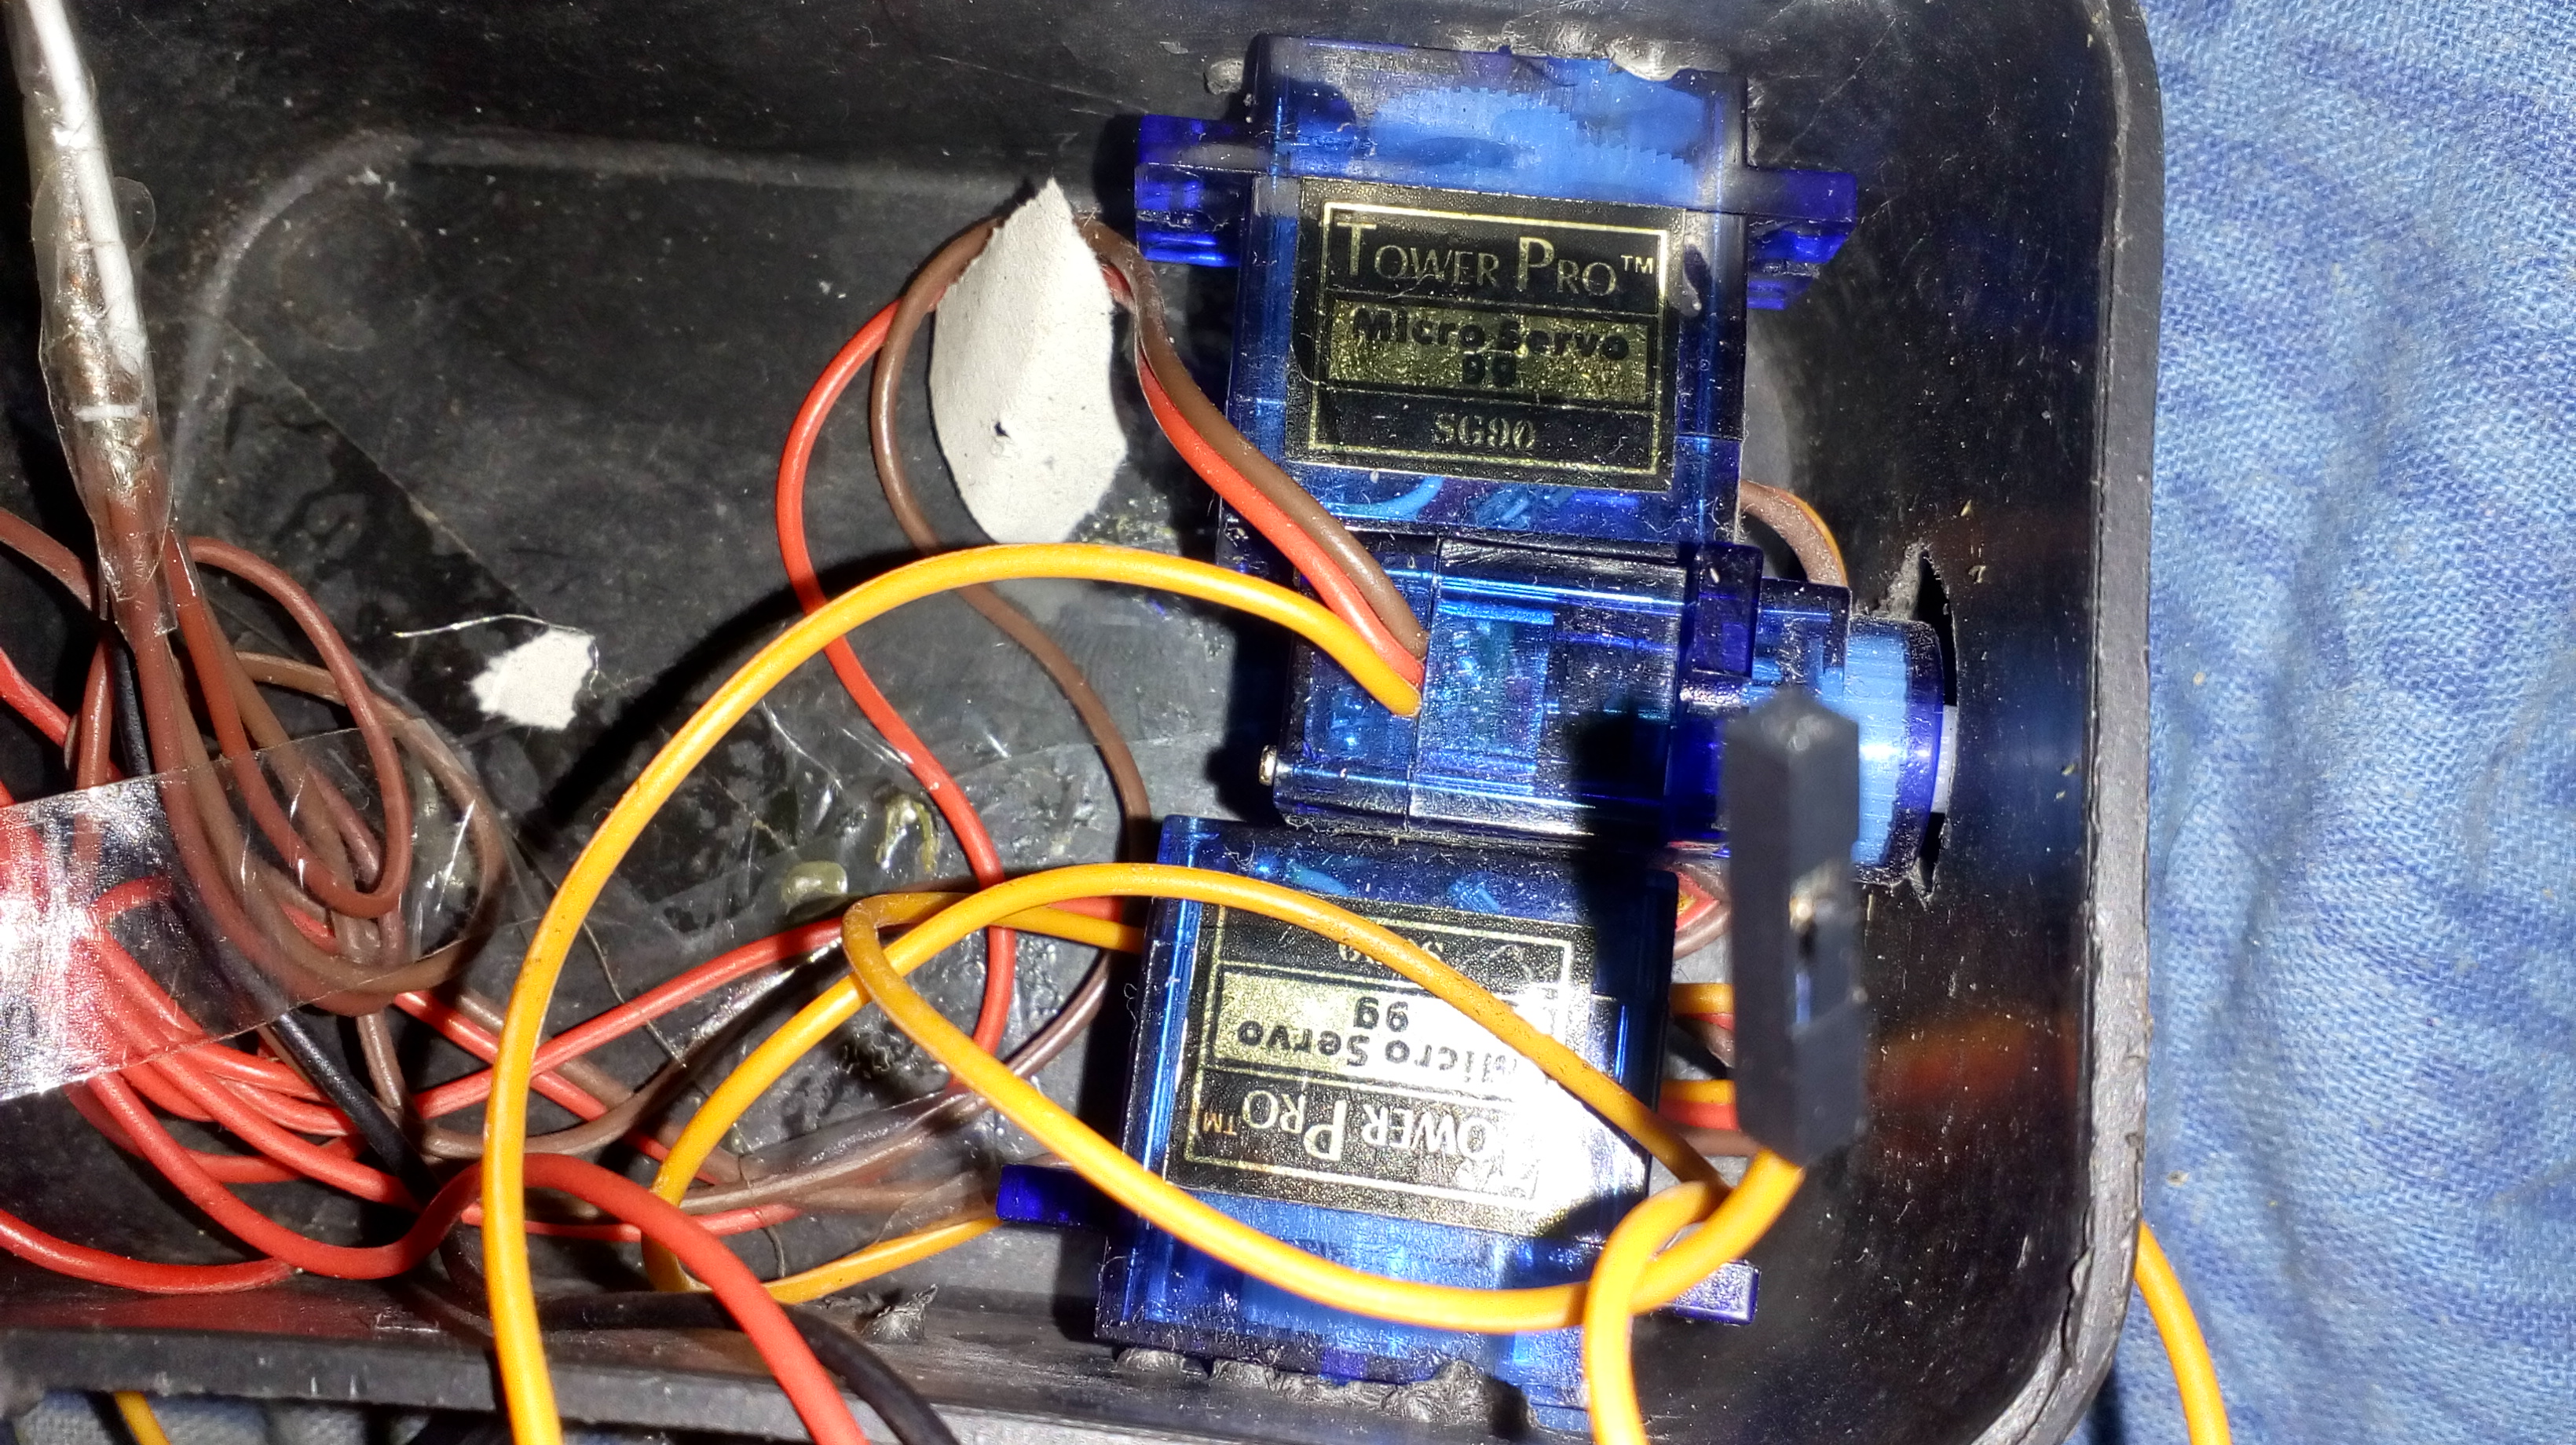
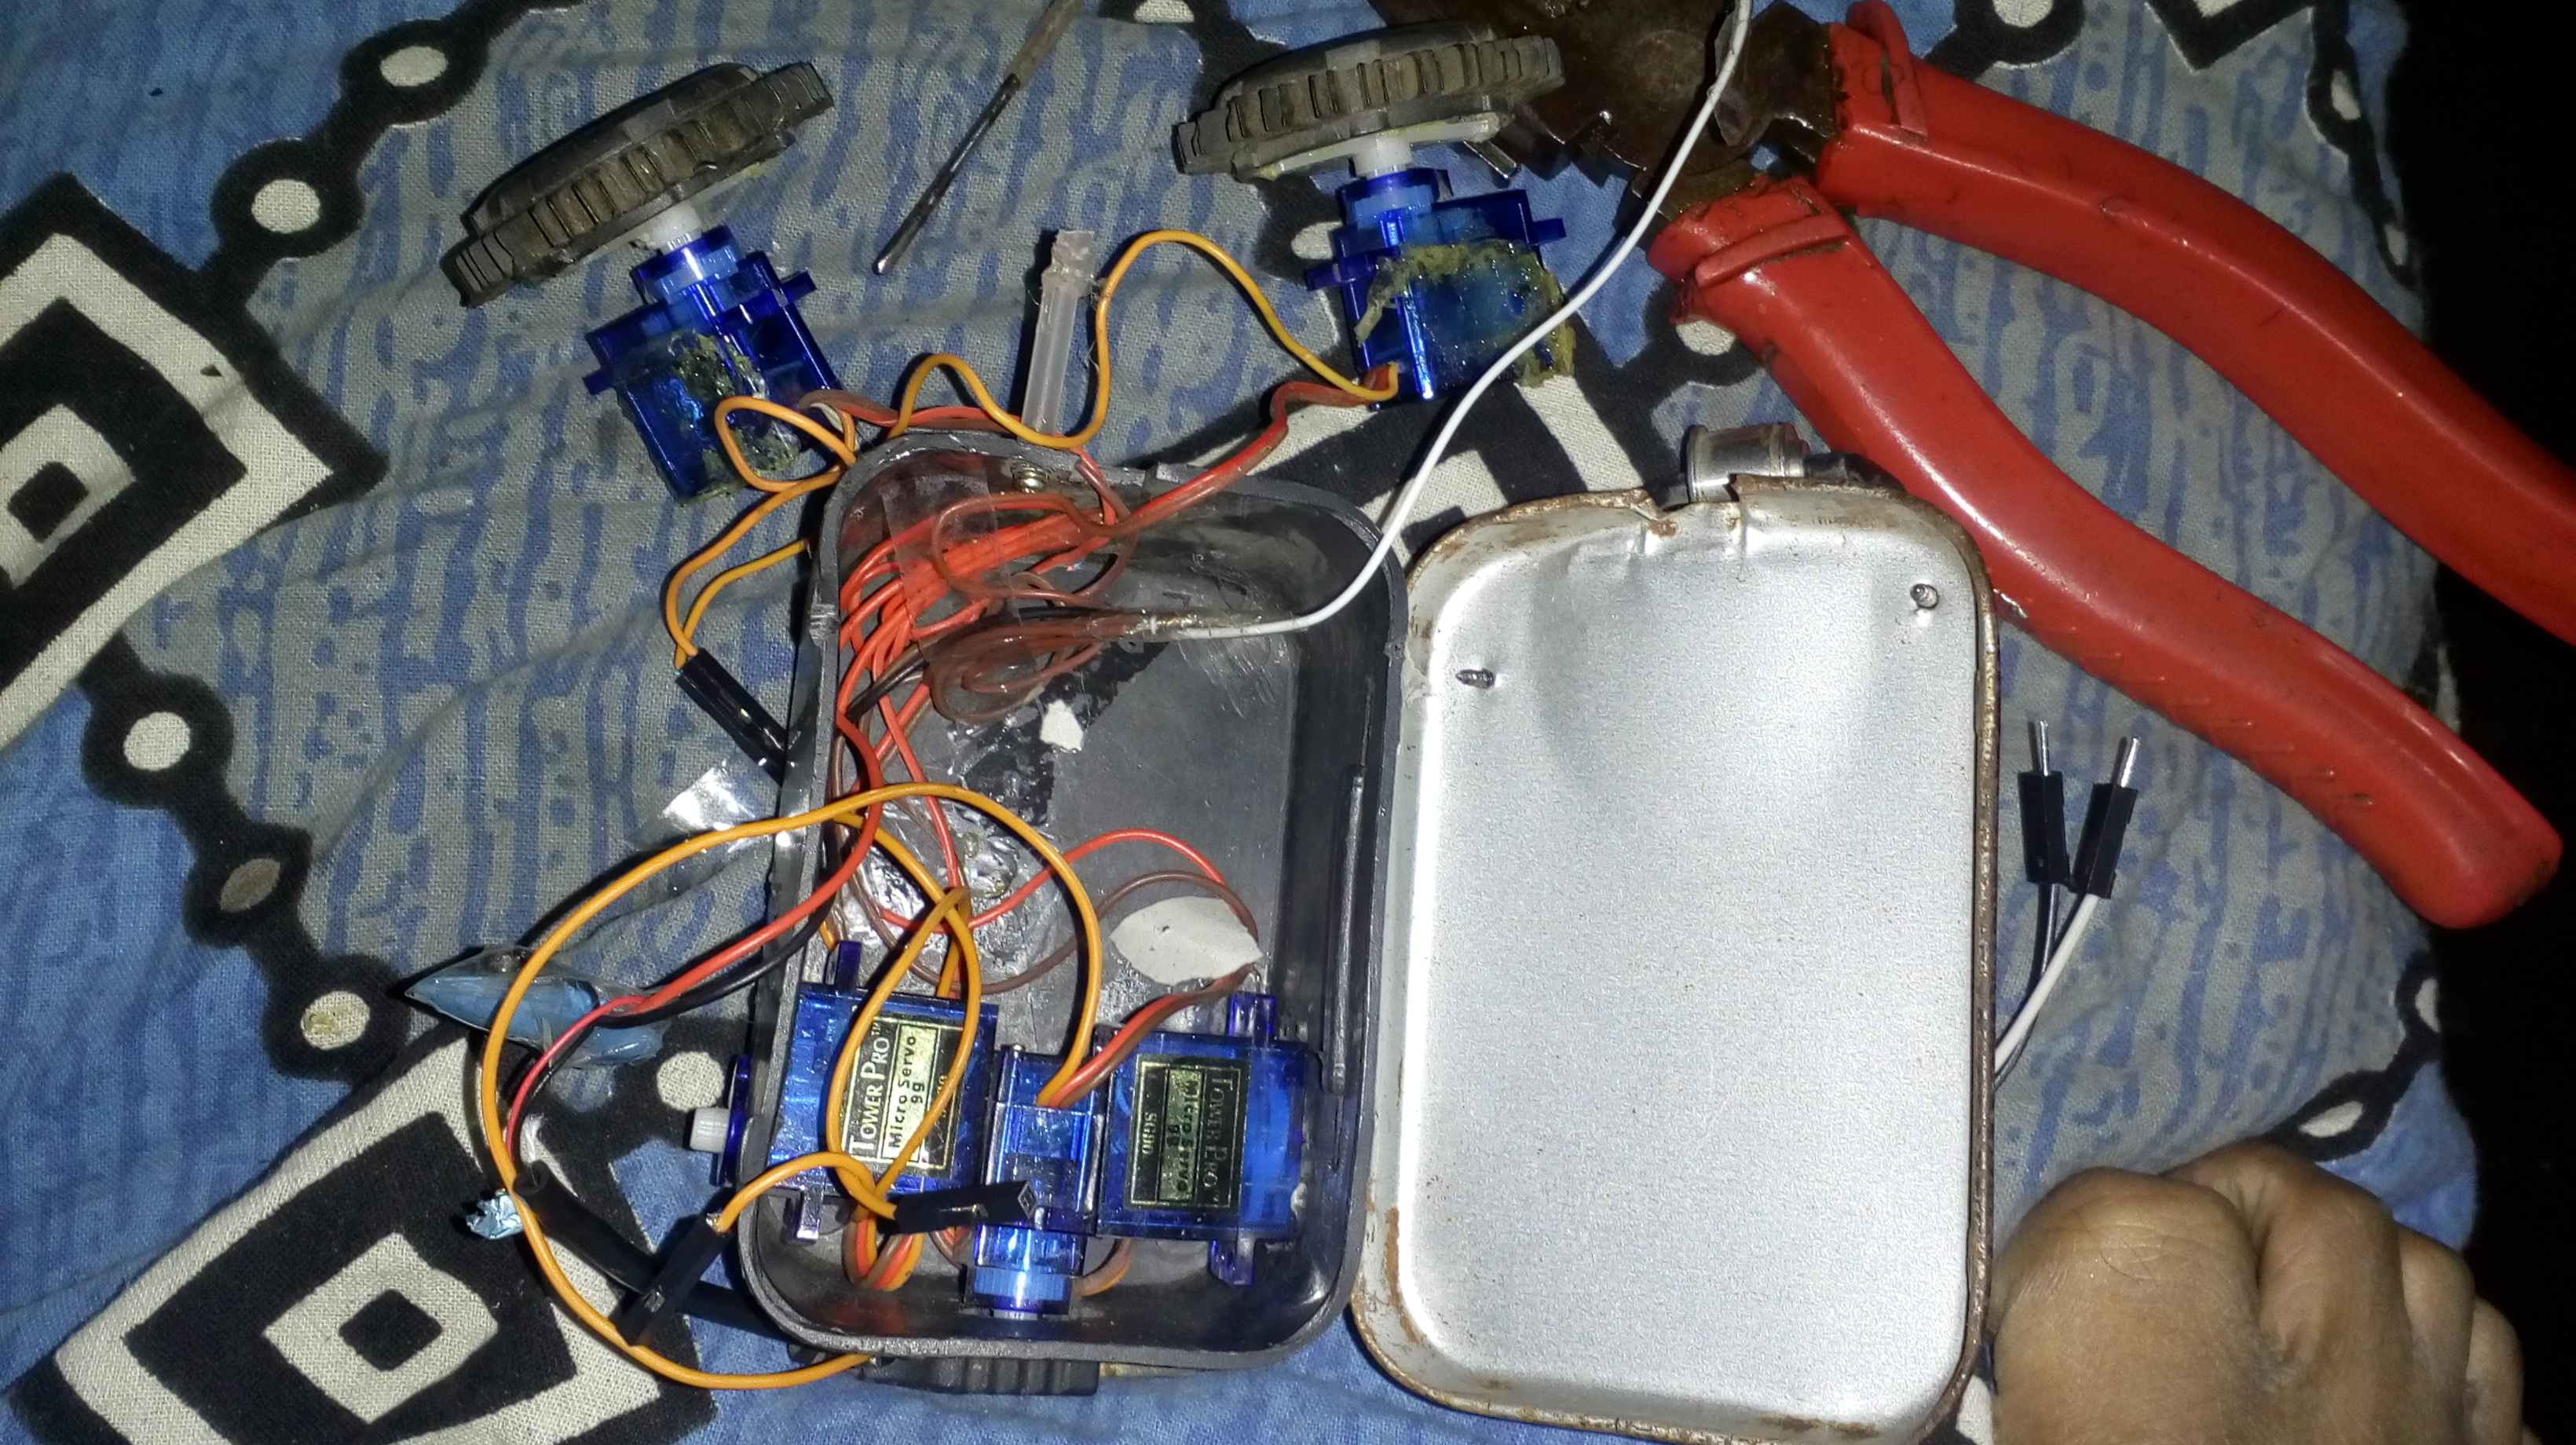
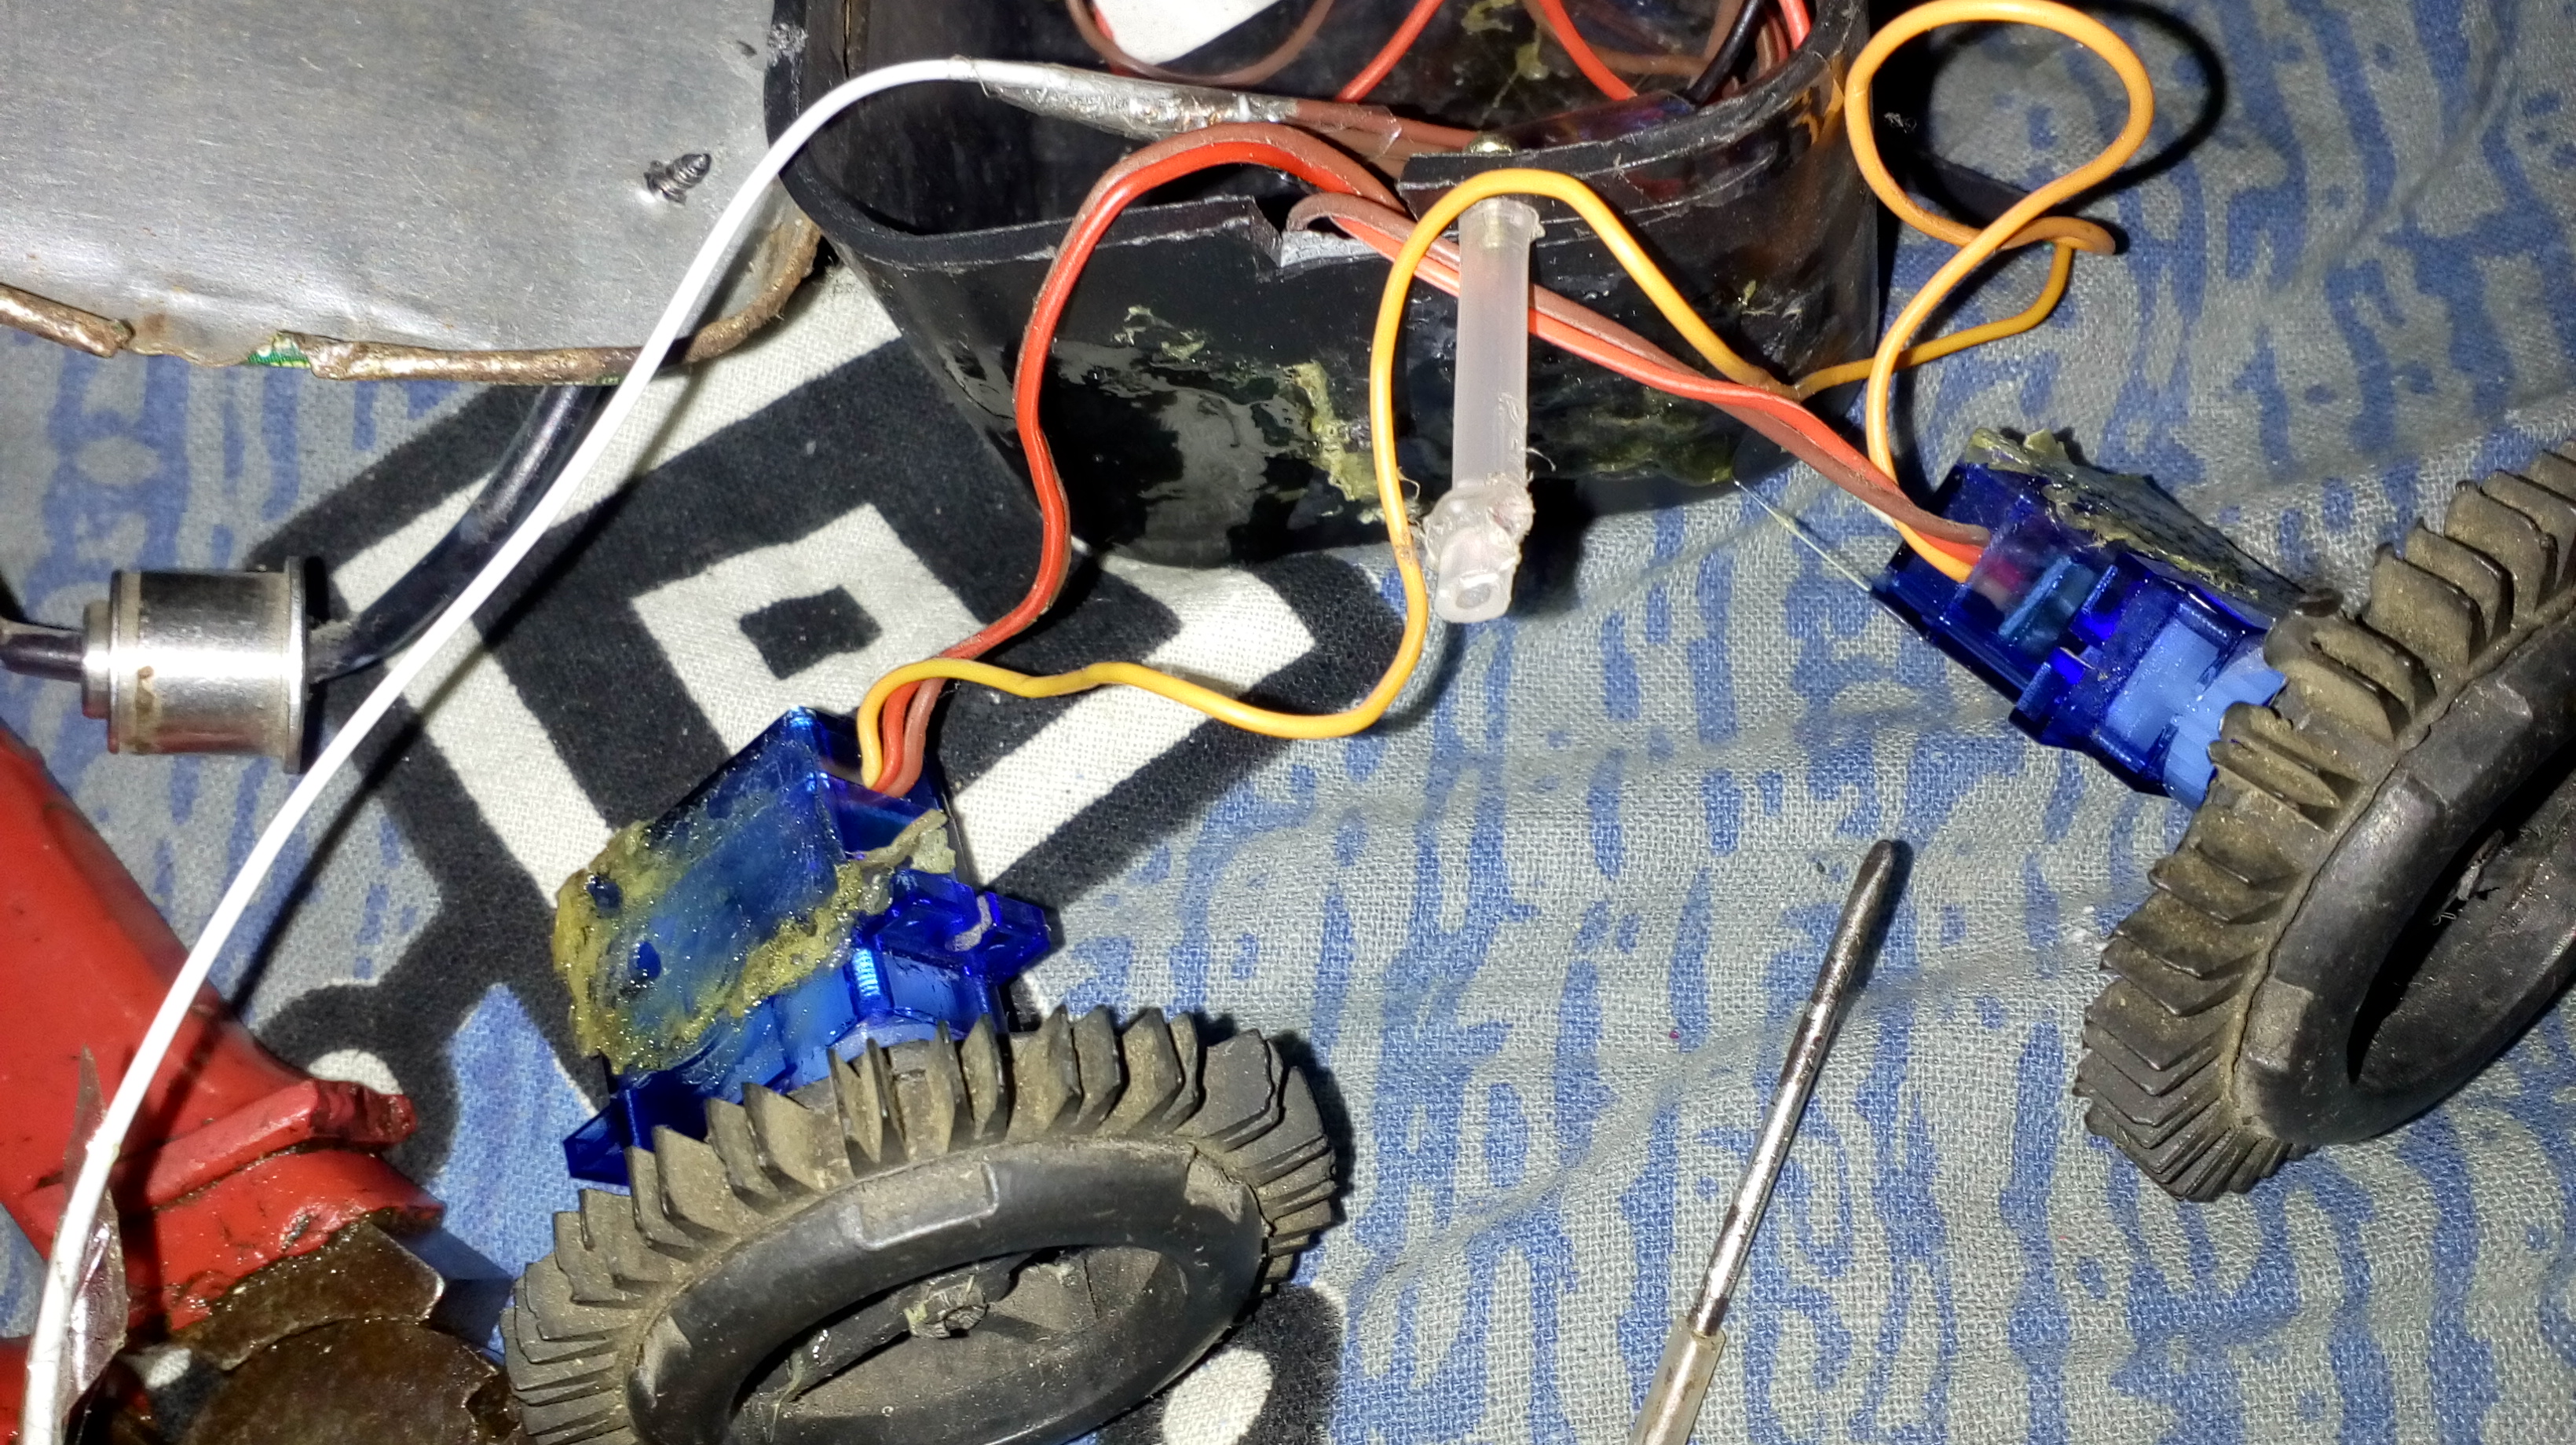
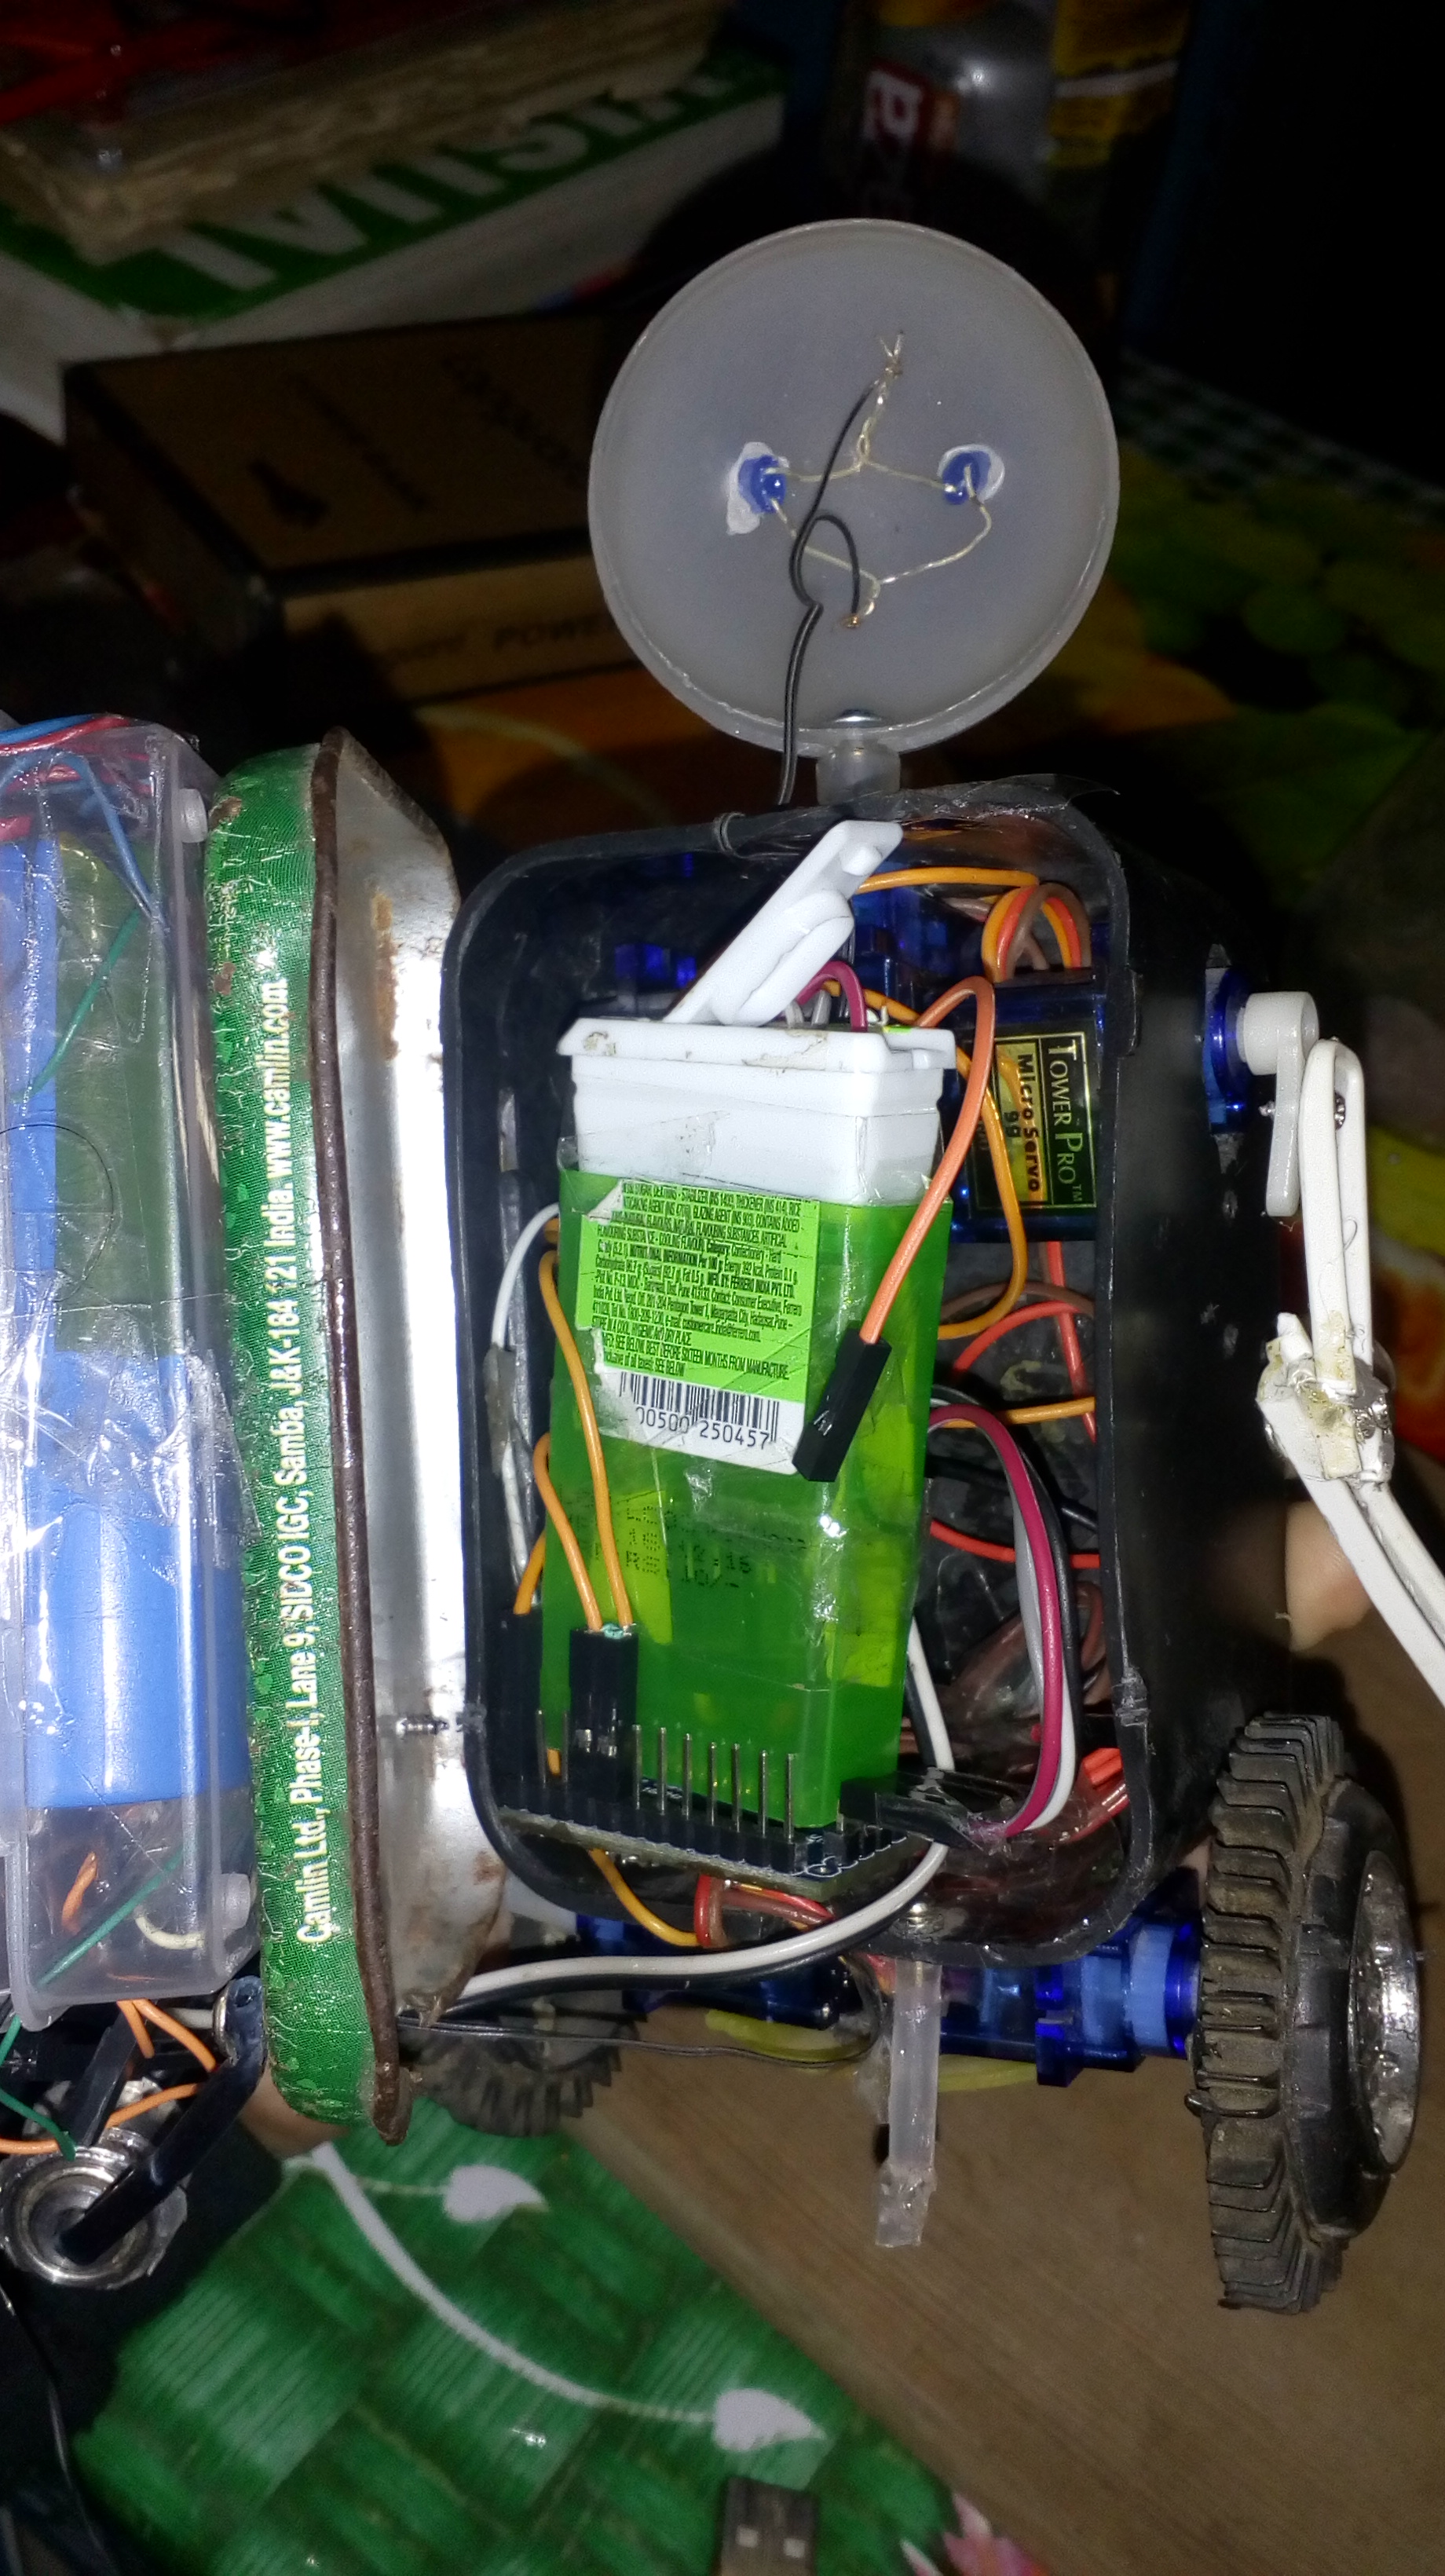
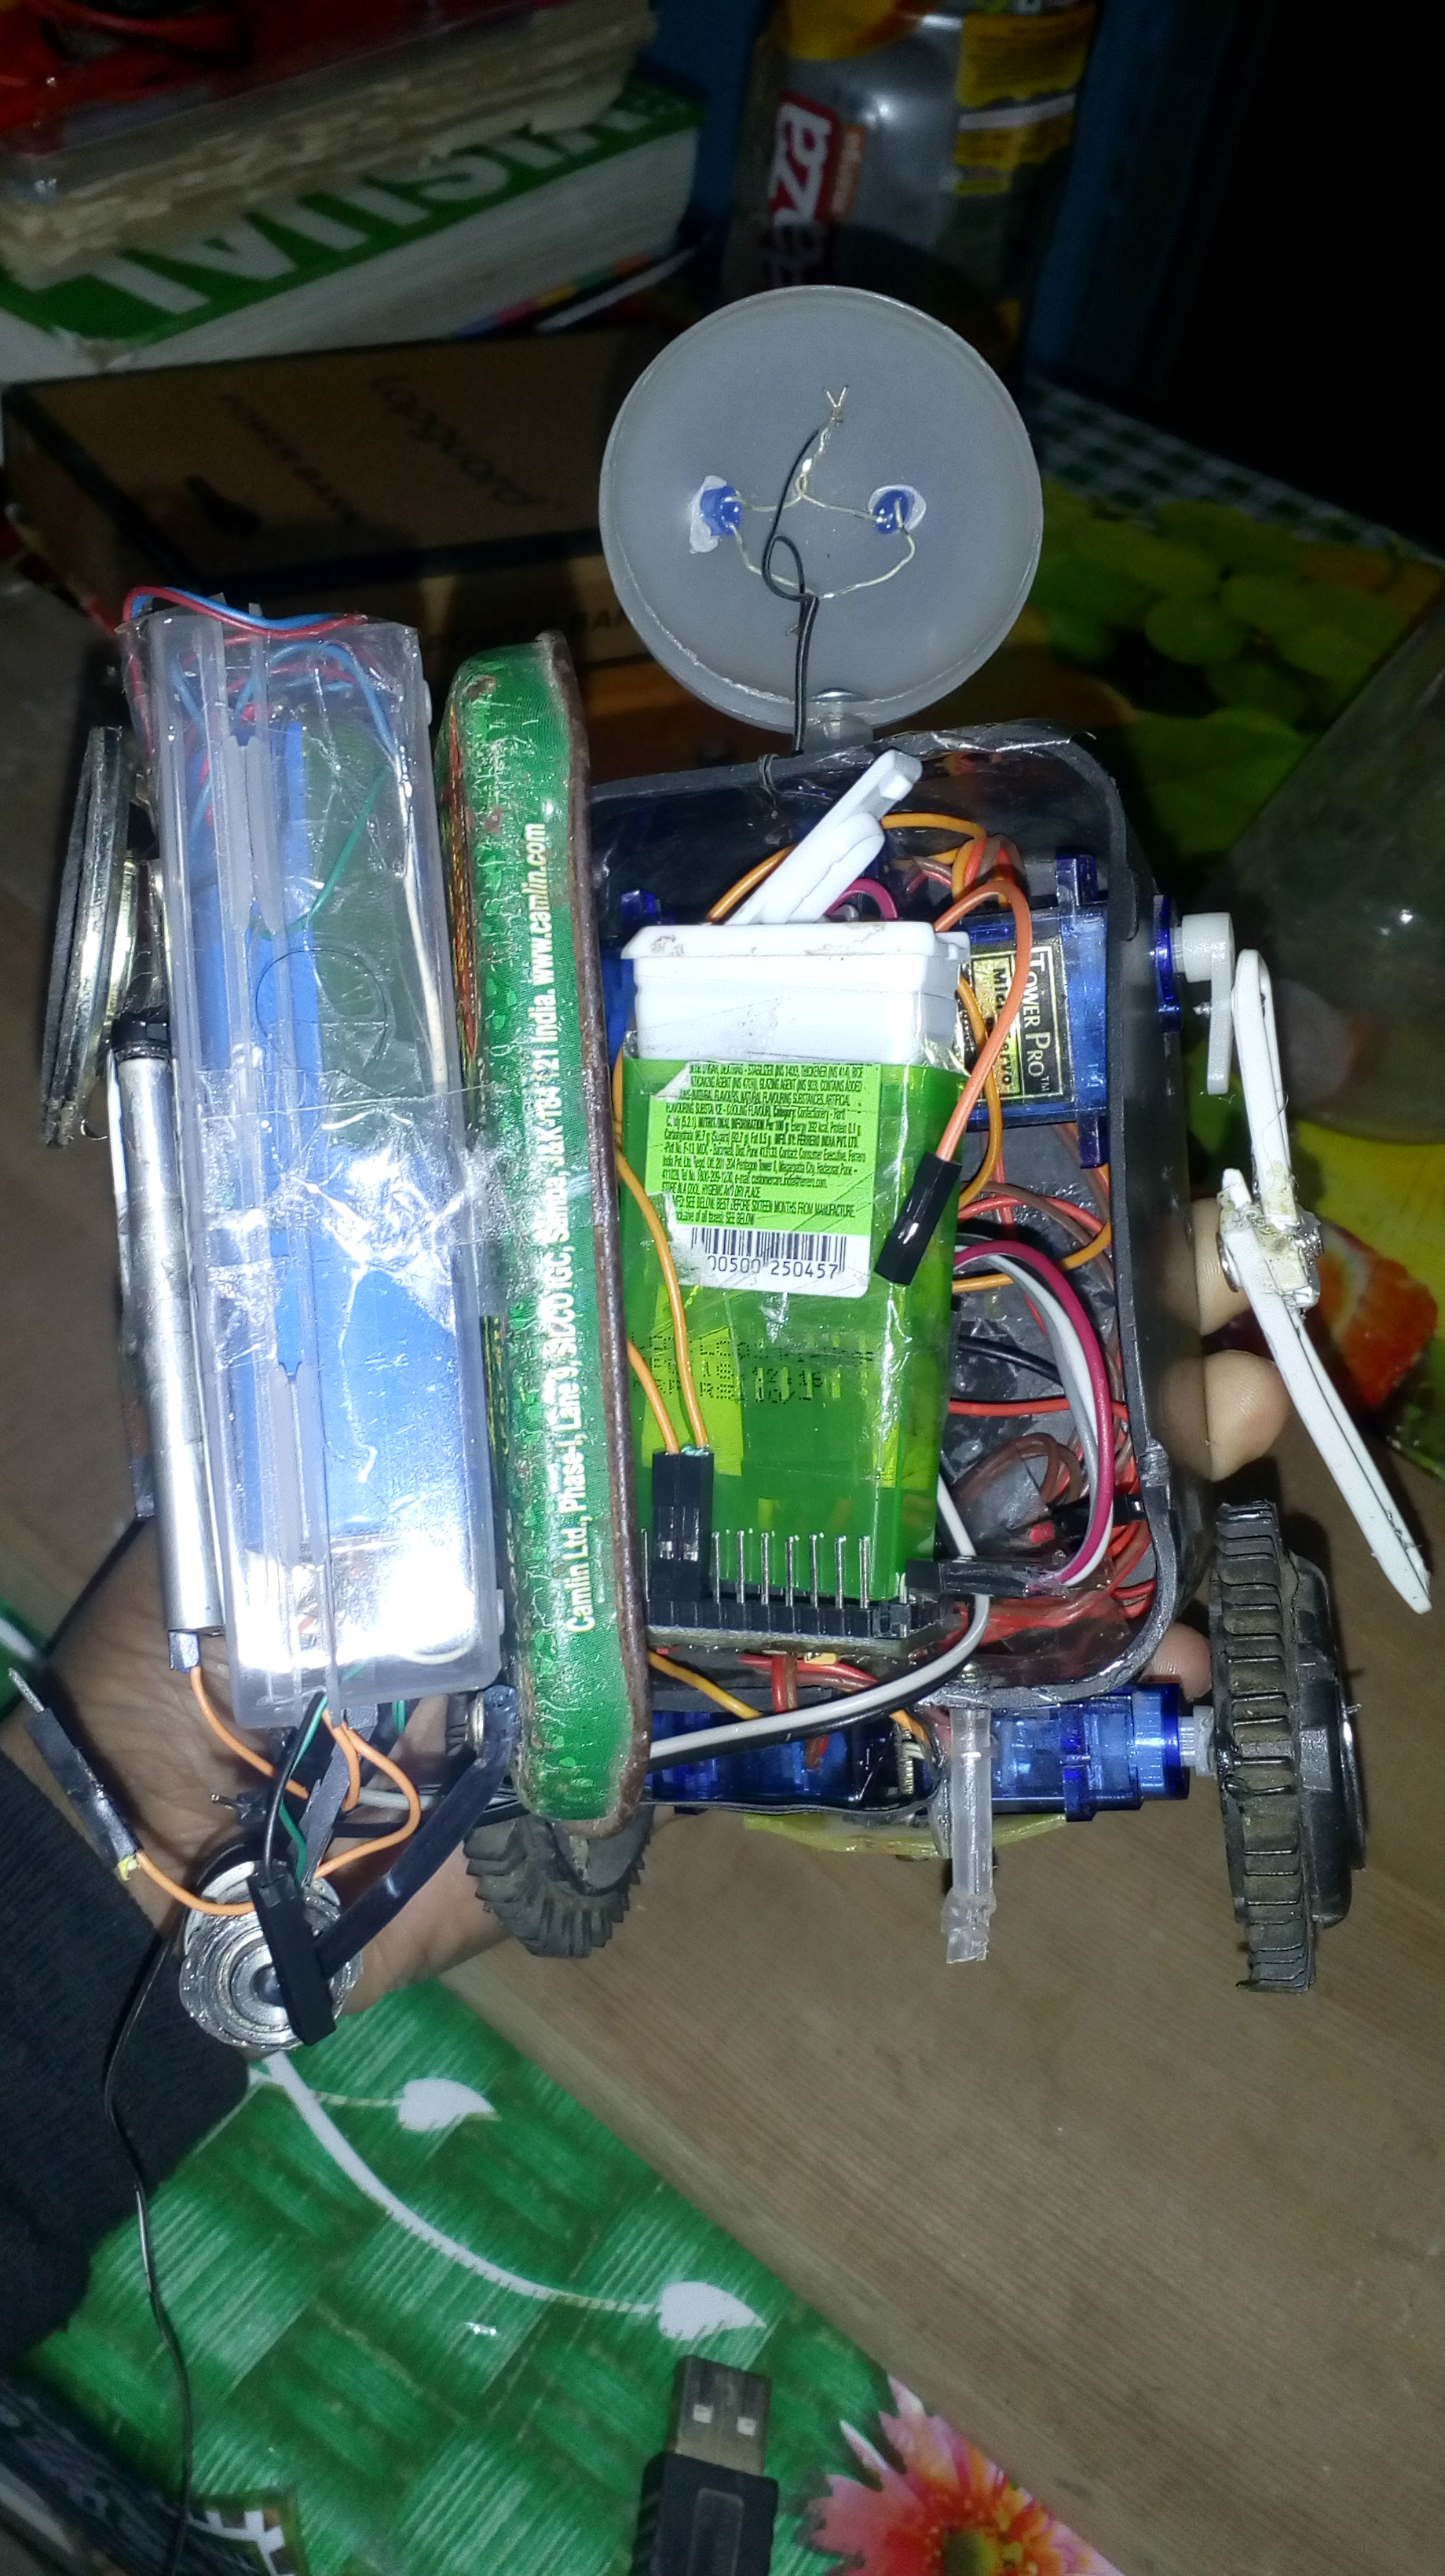
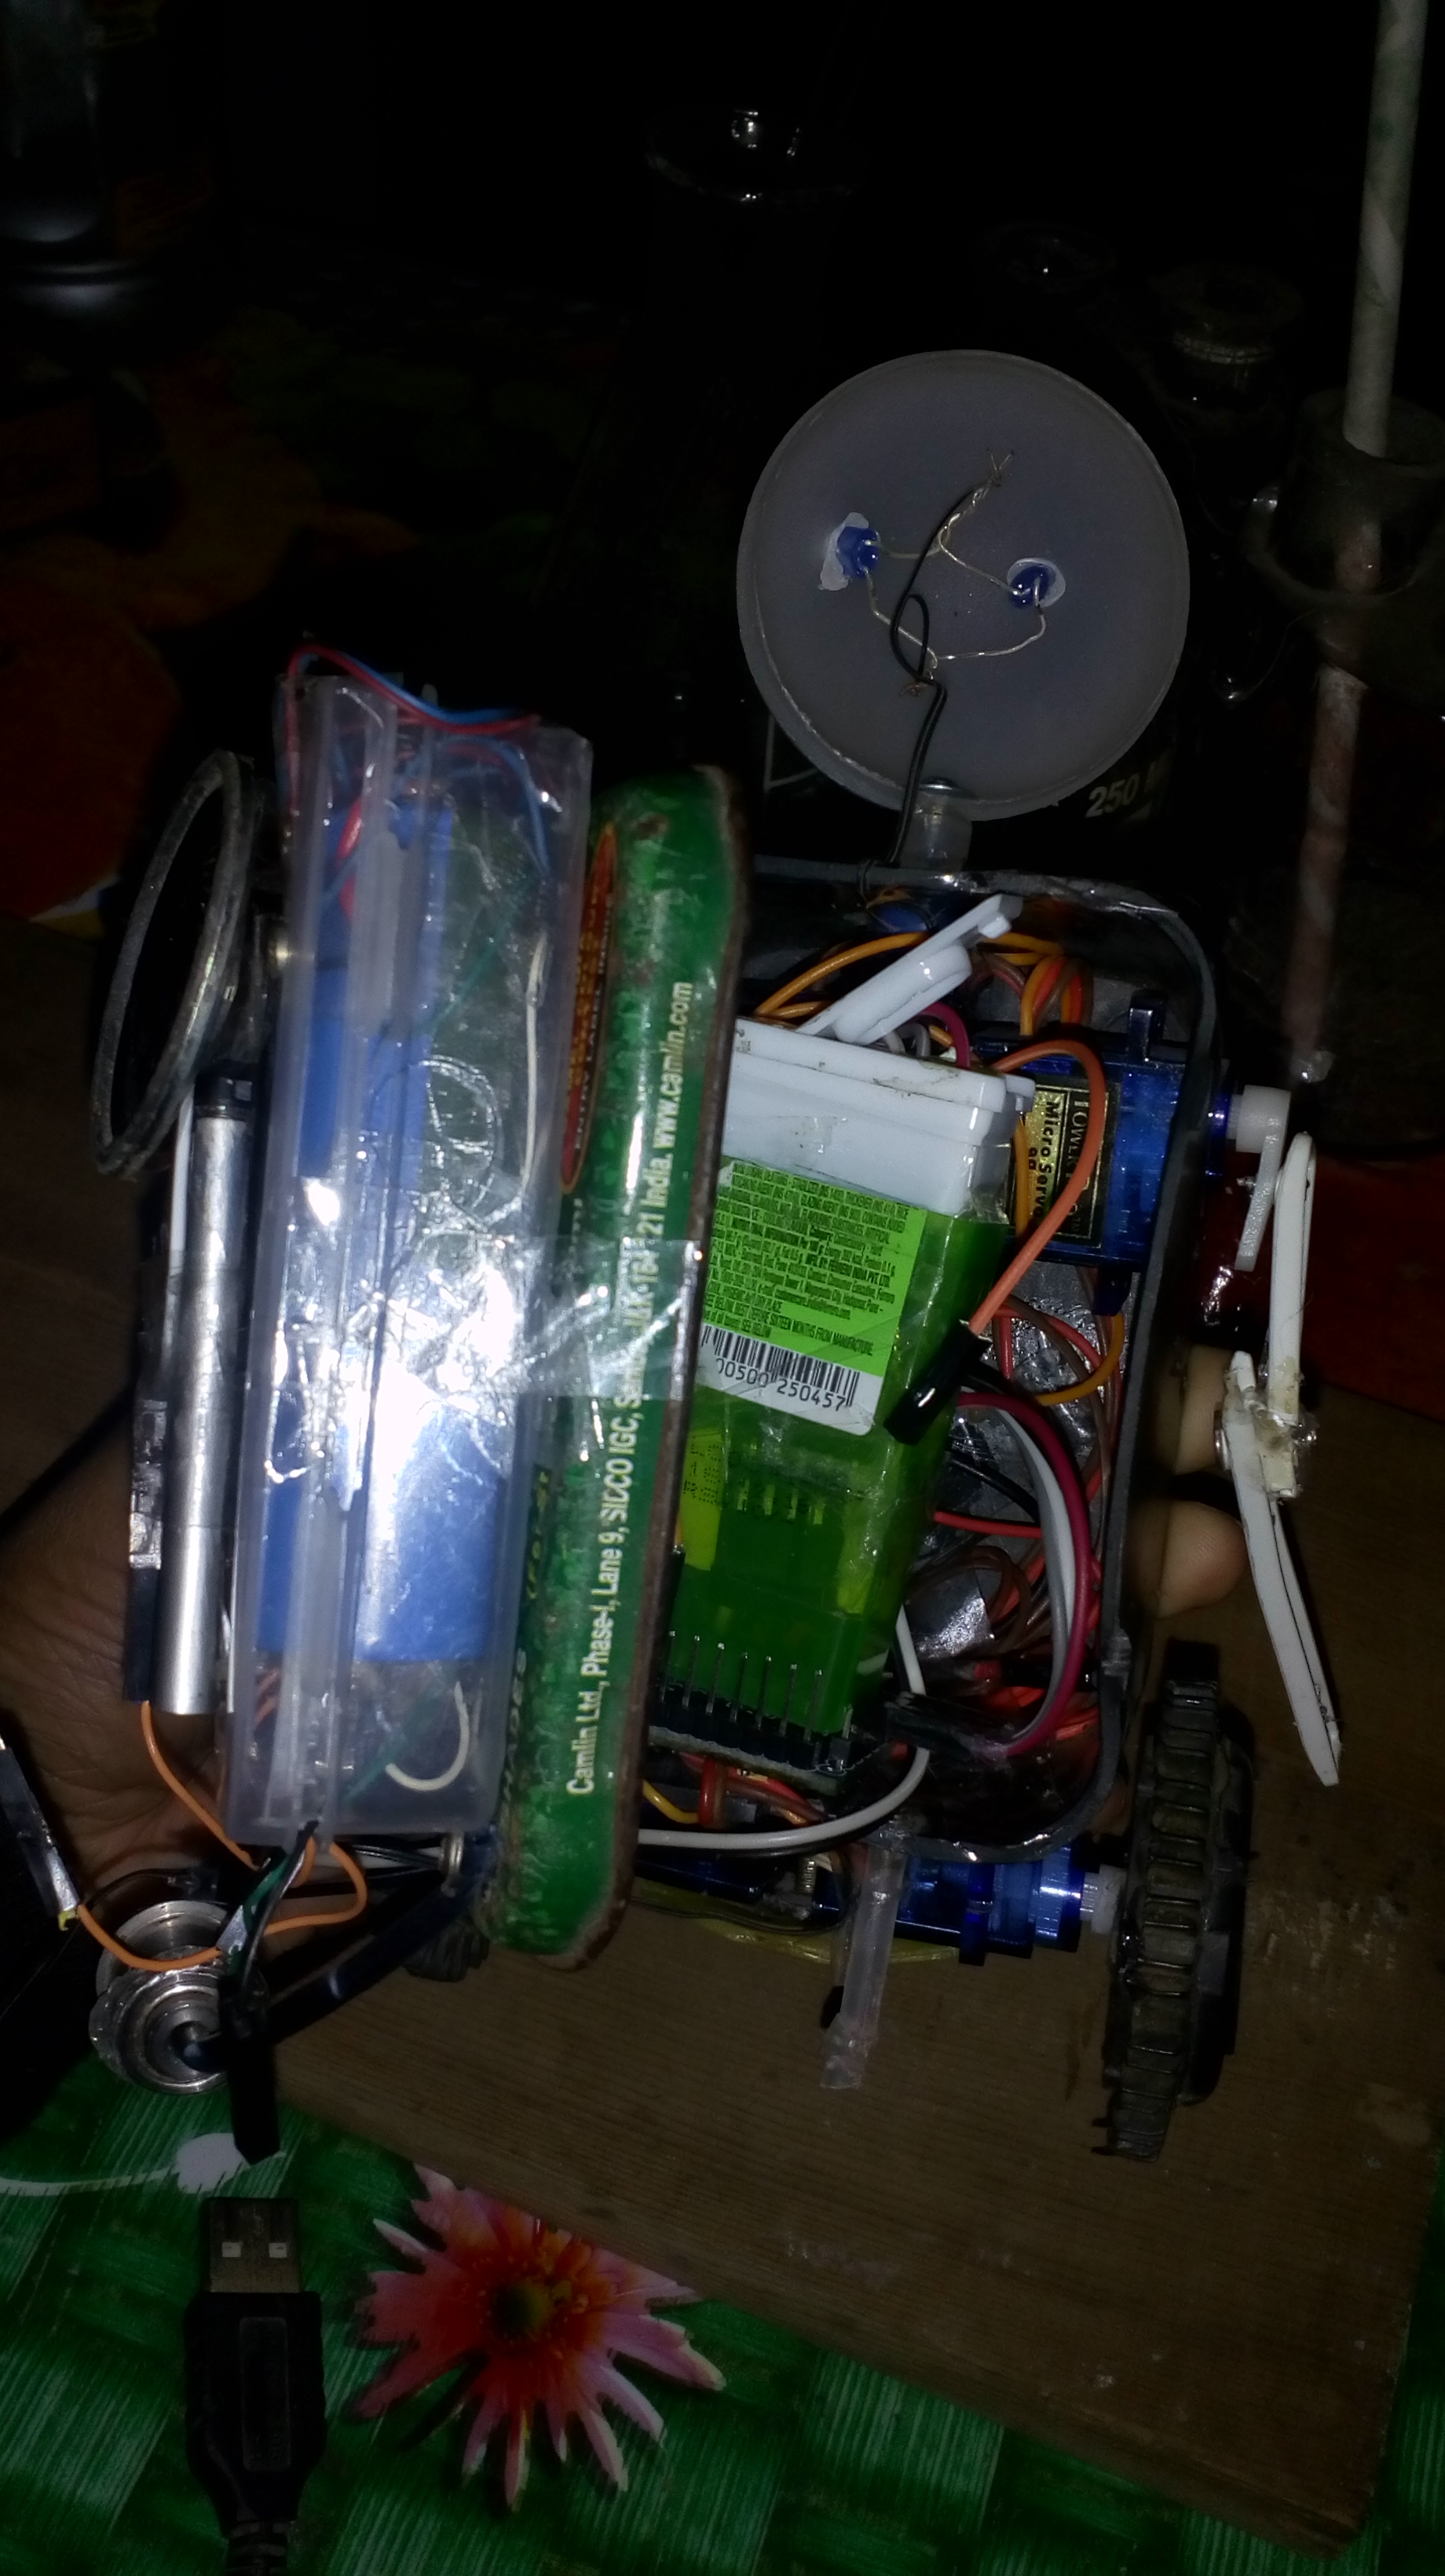
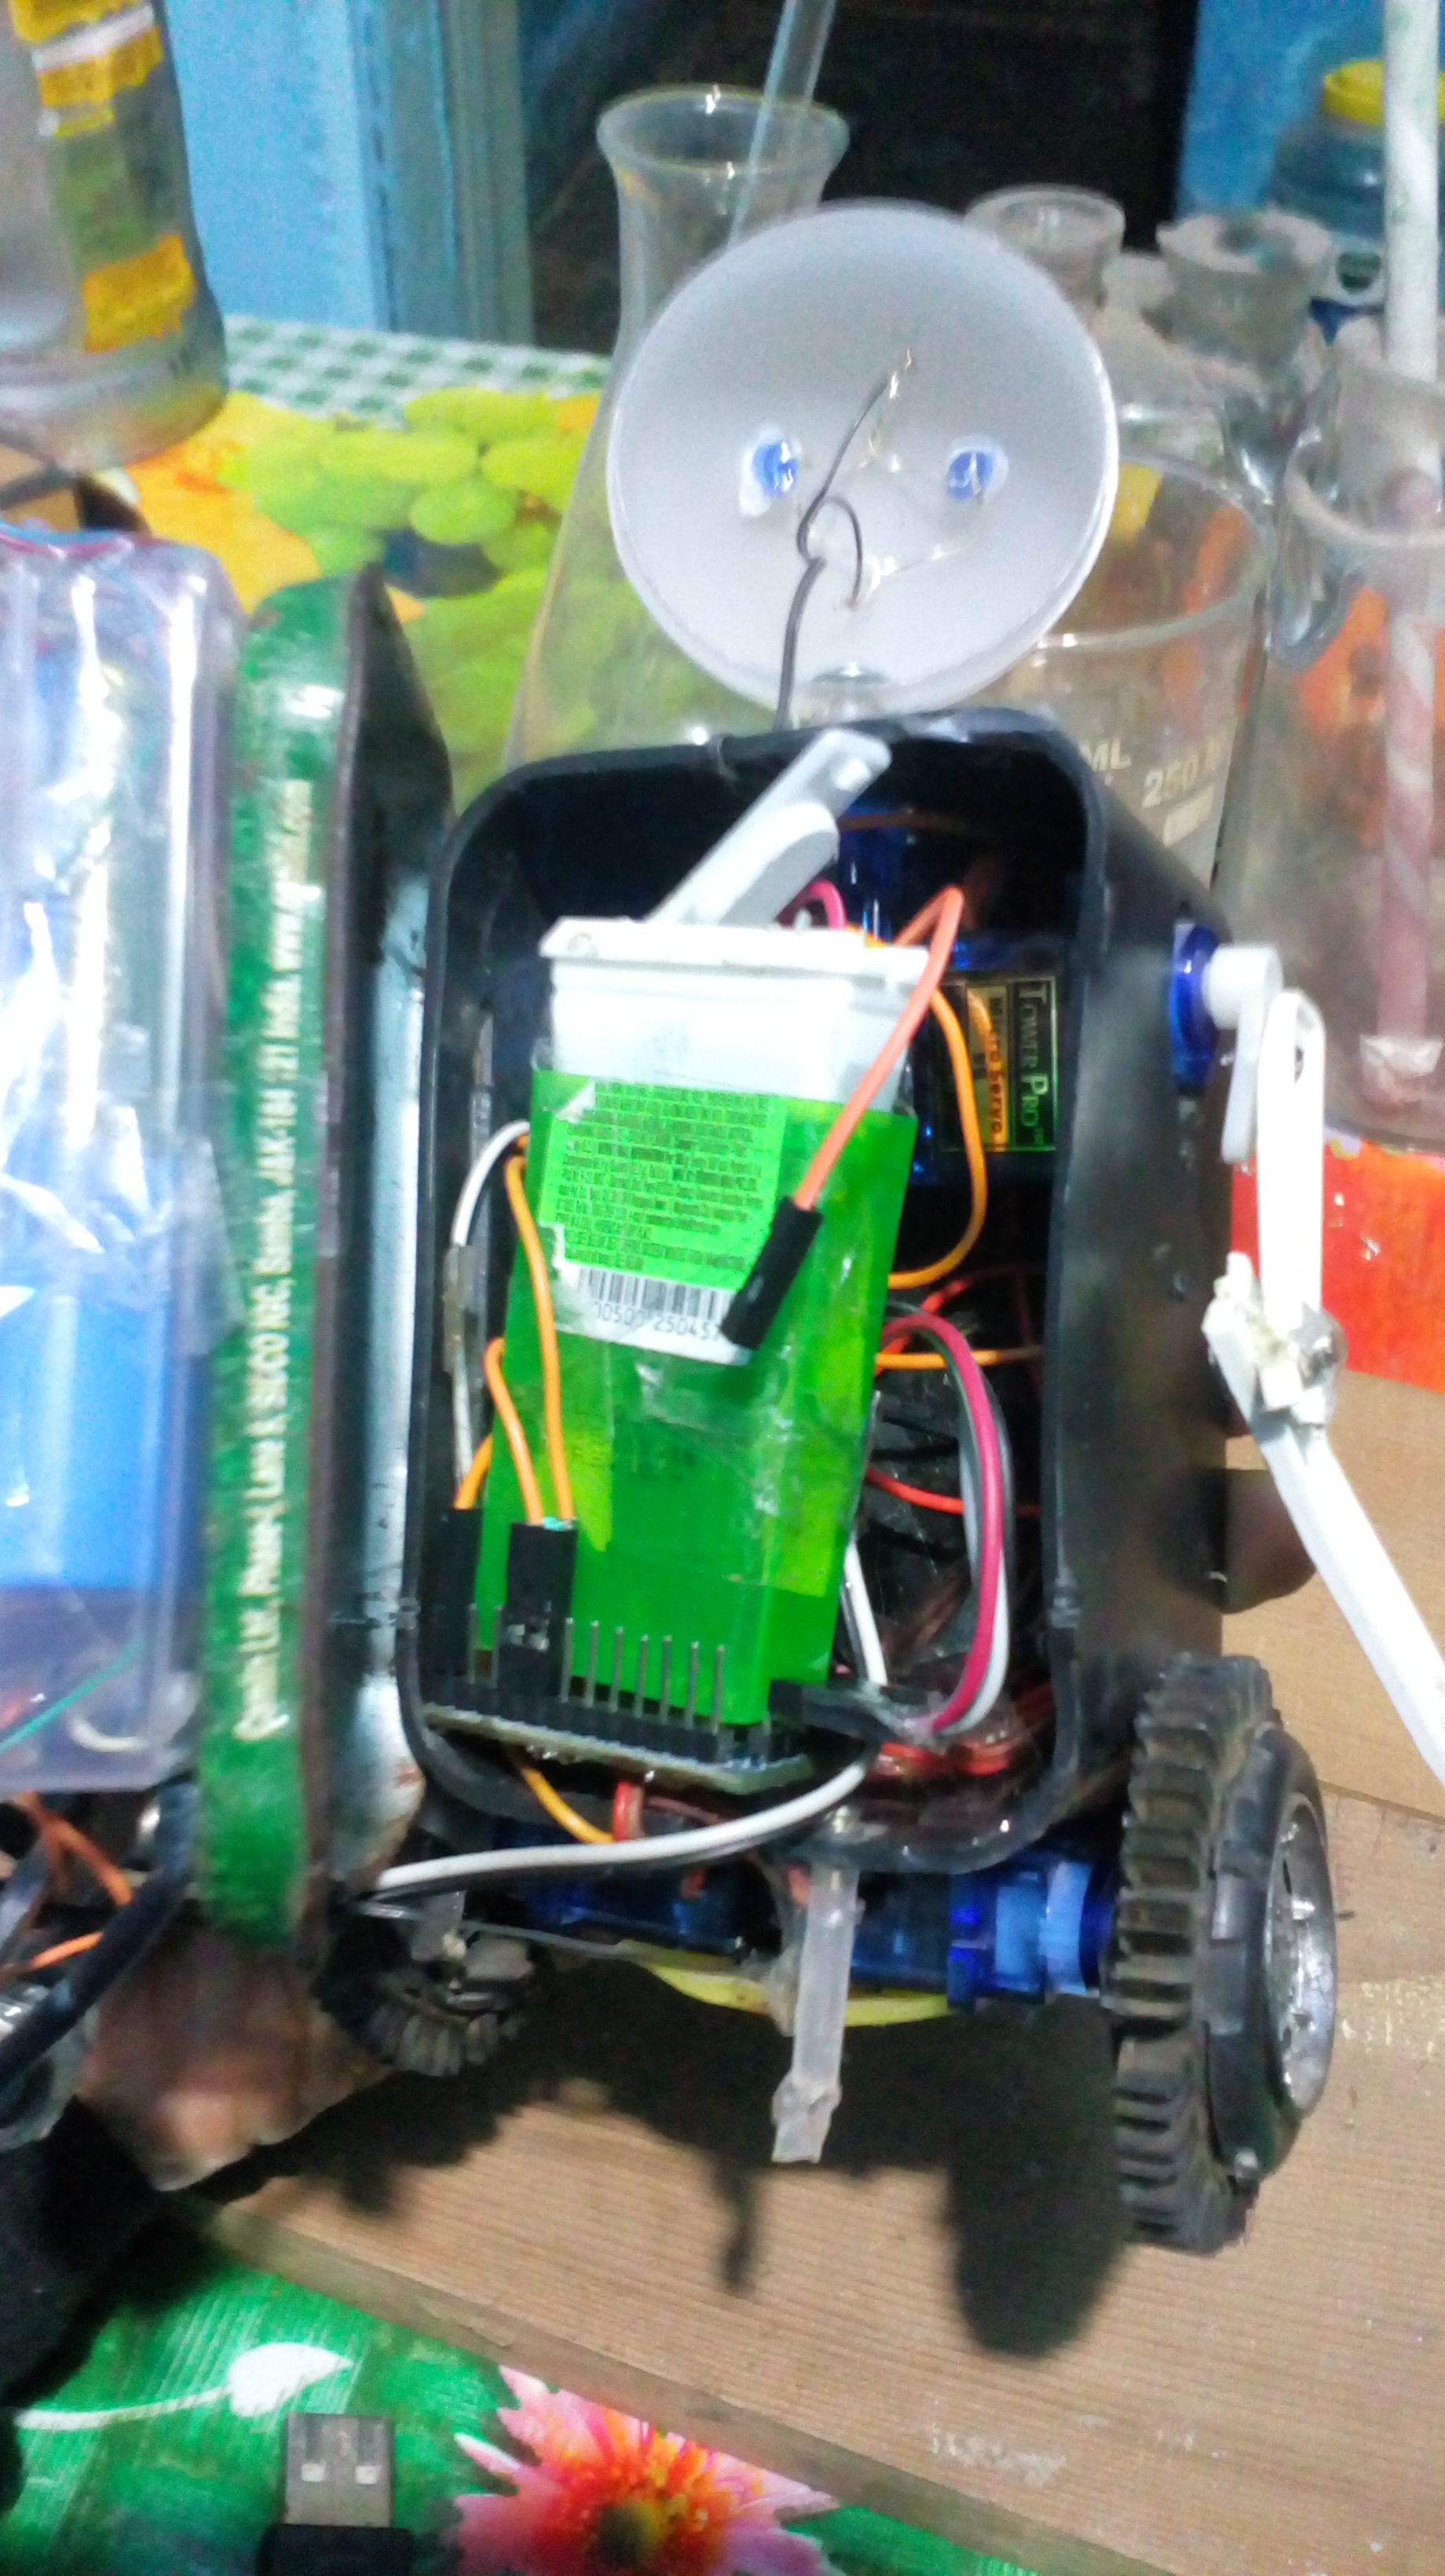
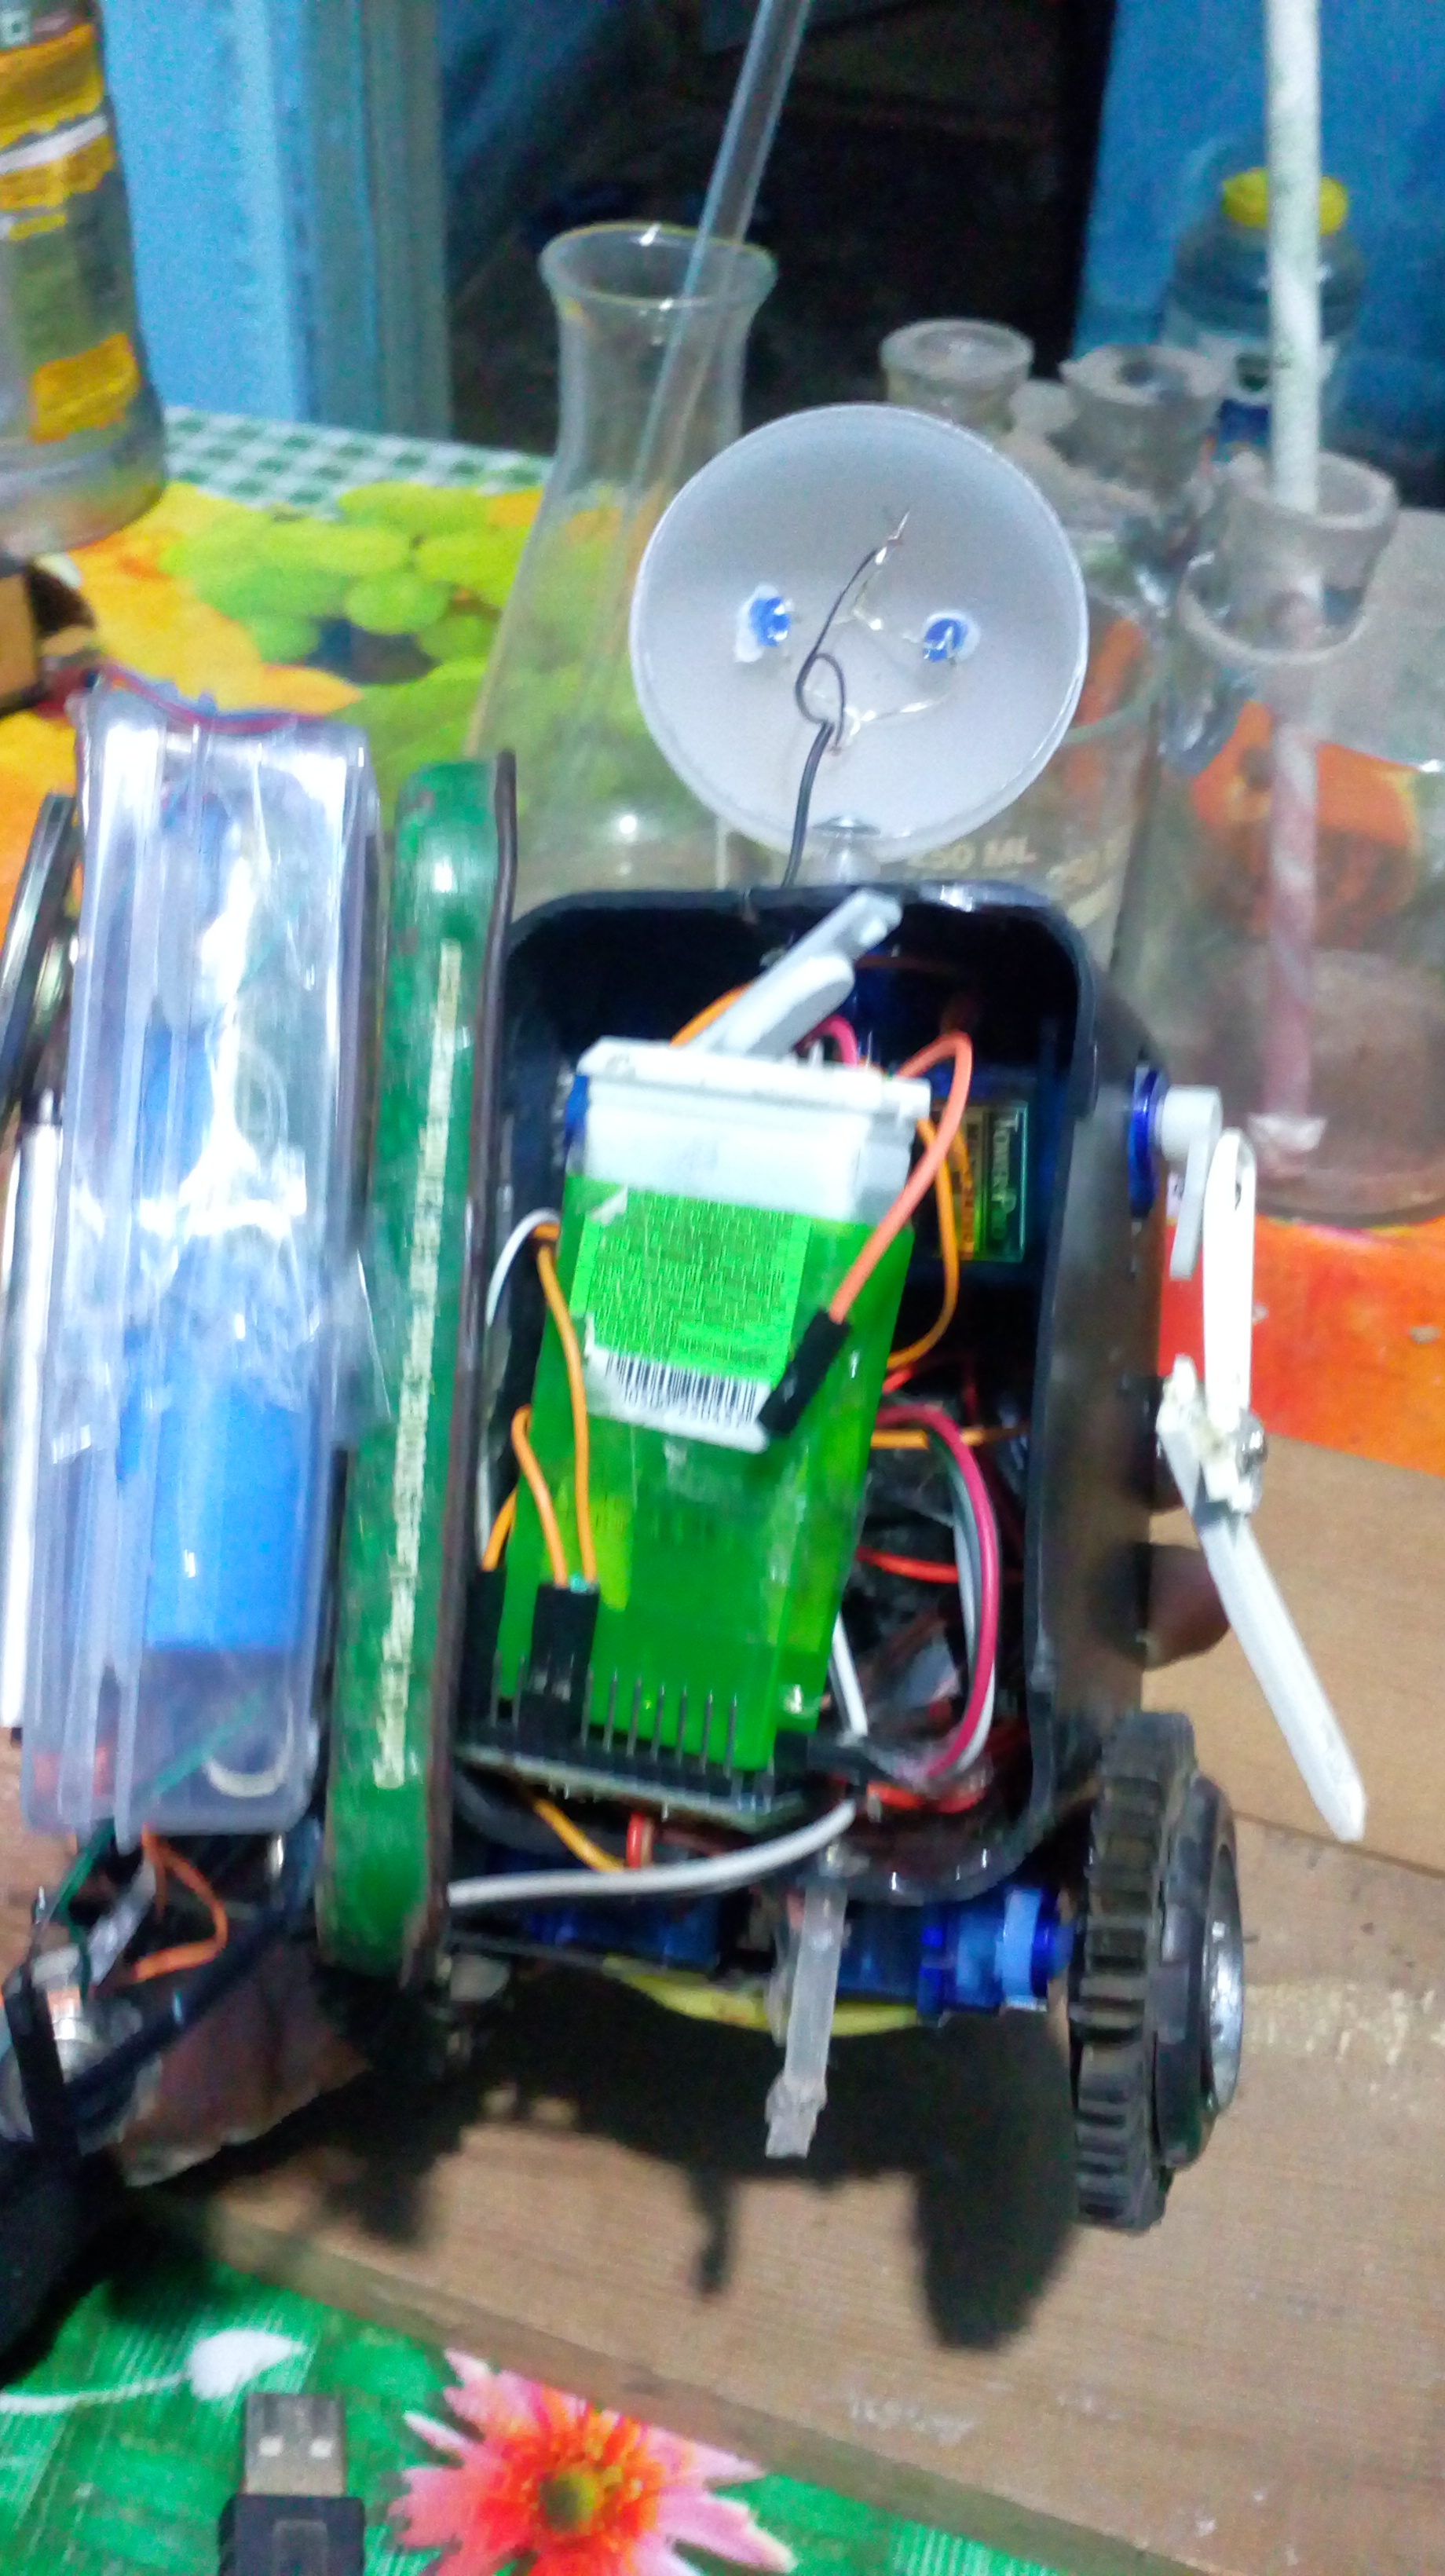
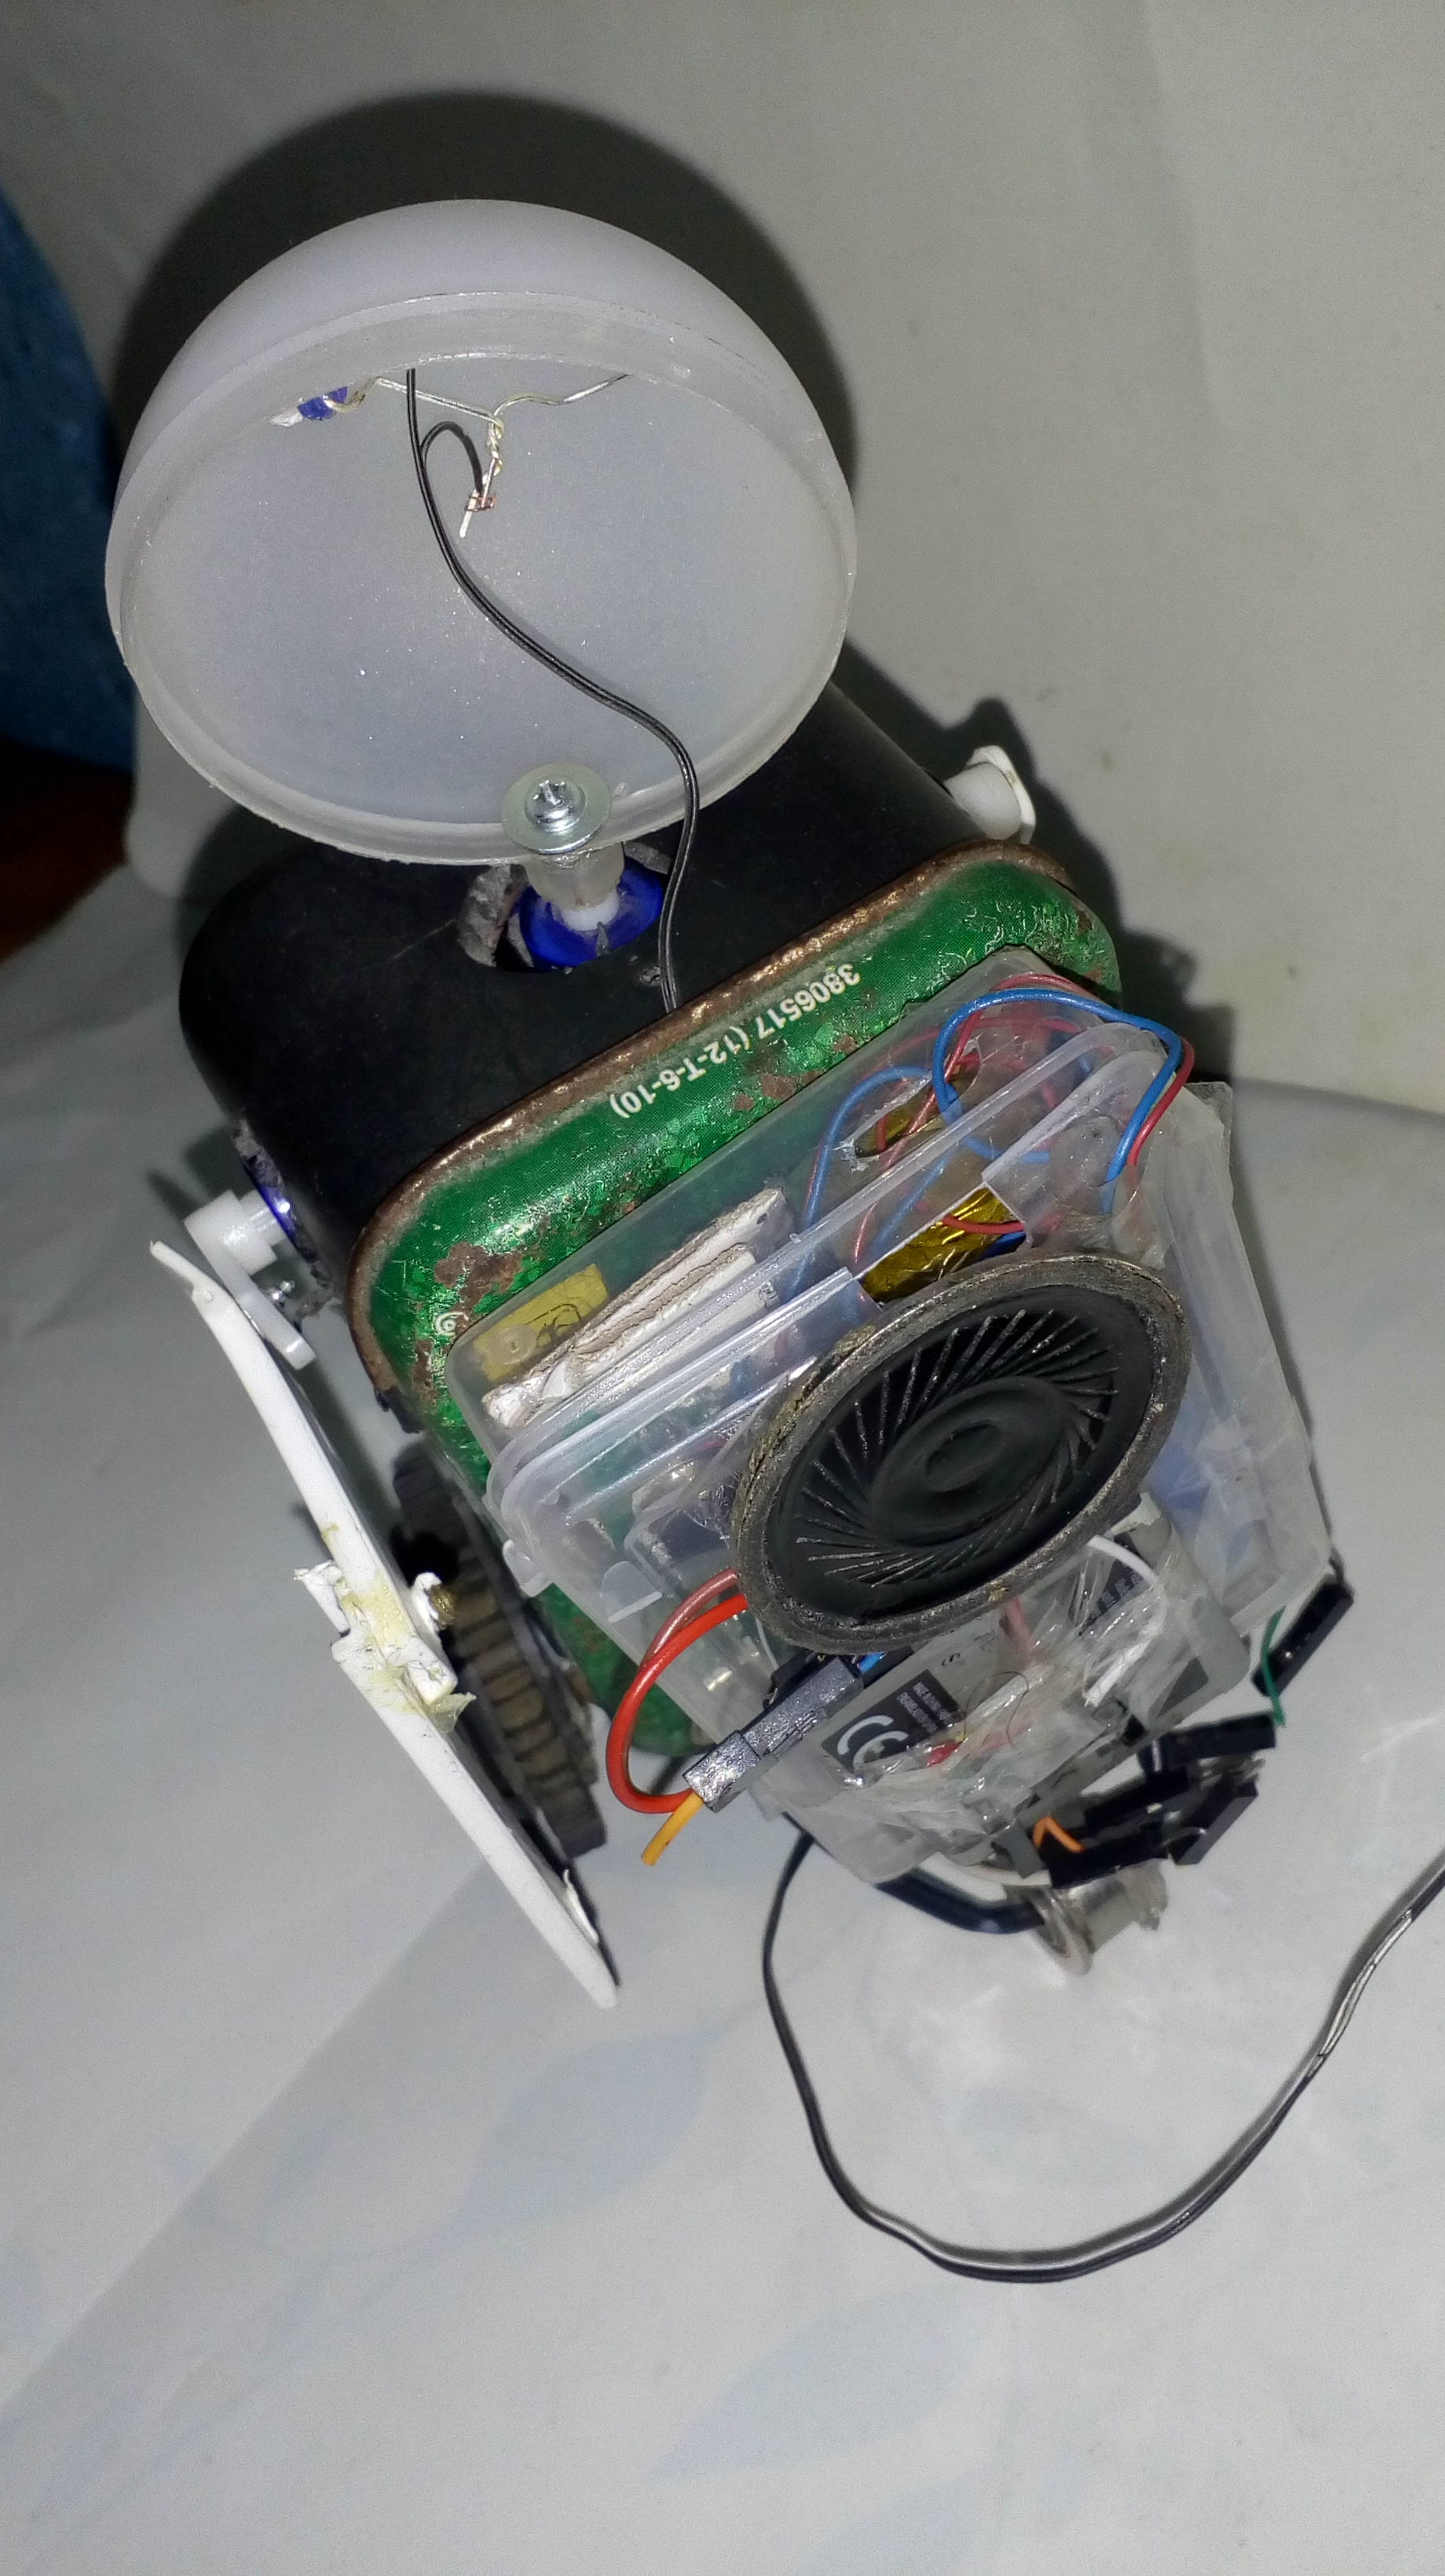
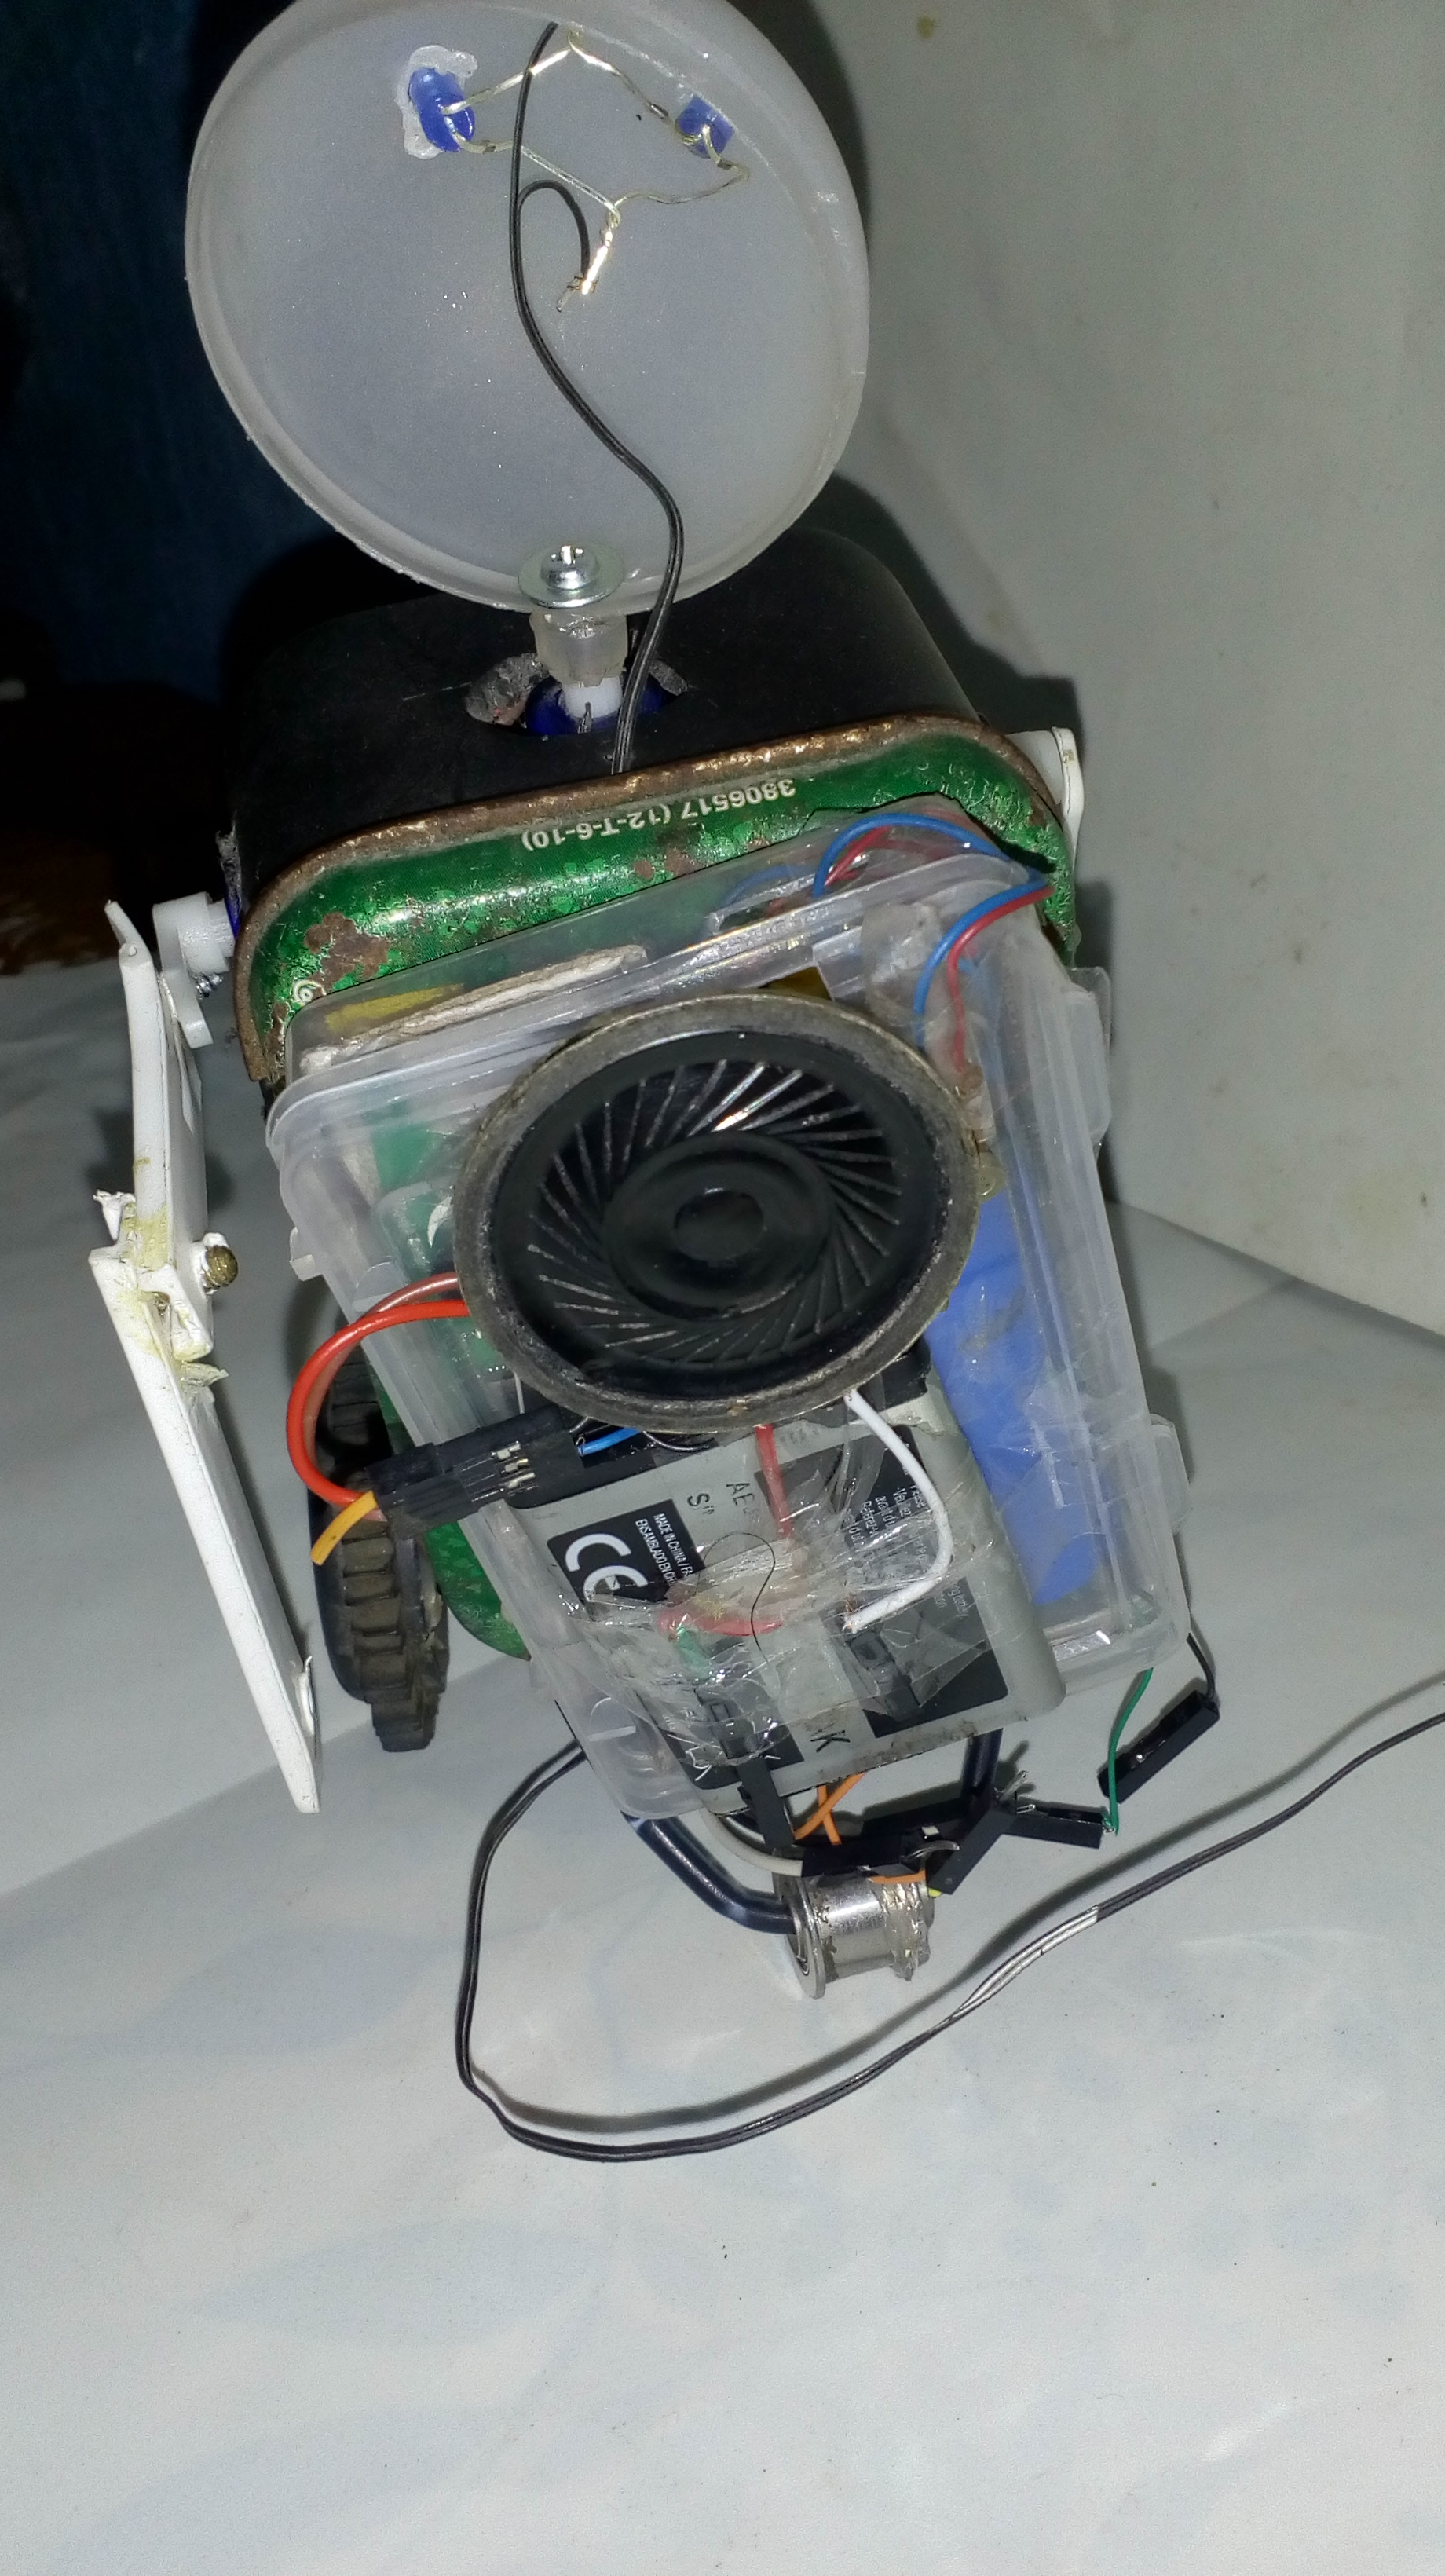
Now we need to make a body of our Robot.
To make the Body of robot we need a rectangular box like in pic above .
N follow the pics above in order to make the the body of robot.
just make few holes and fix the servo-motors as illustrated in pics above.
https://github.com/ASHWINISINHA/Artificial-intelli...
Now downlode the code from the link above and upload it to arduino micro .
FIrst open Arduino IDE and paste the code that you have downloaded then change the board to arduini pro mini.
select the the com port of arduino and upload it.
#include
Servo s1;
Servo s2;
Servo s3;
Servo s4;
Servo s5;
int mouth=12;
int command=0;
int pos = 0;
int led = 8;
void setup() {
Serial.begin(9600);
pinMode(led,OUTPUT);
pinMode(mouth,OUTPUT);
s1.attach(10);//hand
s2.attach(11);//hand
s5.attach(9);//neck
}
void loop() {
digitalWrite(led,HIGH);
if(Serial.available()>0)
{
command = Serial.read();
}
if(command=='w')
{//walk
for (pos = 0; pos <= 180; pos += 1)
{ // goes from 0 degrees to 180 degrees // in steps of 1 degree
s1.write(pos);
s2.write(pos); // tell servo to go to position in variable 'pos'
delay(15);
}
or (pos = 180; pos >= 0; pos -= 1)
{ // goes from 180 degrees to 0 degrees
s1.write(pos);
s2.write(pos);
// tell servo to go to position in variable 'pos'
delay(15); // waits 15ms for the servo to reach the position }
}
if(command=='s'){//stop s1. write(0); s3.detach(); s4.detach(); s2.write(0); s5.write(0);
}
if(command=='m')
{//move forward
s3.attach(5);
//leg s4.attach(6);
//leg
s3.write(0);
s4.write(0); }
if(command=='b')
{
//move back s3.attach(5);//leg s4.attach(6);//leg s3.write(180); s4.write(180); }
if(command=='r'){//mocve right s3.attach(5);//leg s4.attach(6);//leg s3.write(0); s4.write(180); }
if(command=='l'){//move left s3.attach(5);//leg s4.attach(6);//leg s3.write(180); s4.write(0); }
if(command=='n'){//neck for (pos = 0; pos <= 180; pos += 1) { // goes from 0 degrees to 180 degrees // in steps of 1 degree s5.write(pos); // tell servo to go to position in variable 'pos' delay(15); } for (pos = 180; pos >= 0; pos -= 1) { // goes from 180 degrees to 0 degrees s5.write(pos); // tell servo to go to position in variable 'pos' delay(15); // waits 15ms for the servo to reach the position } }
if(command=='e'){//exerciae for (pos = 0; pos <= 180; pos += 1) { // goes from 0 degrees to 180 degrees // in steps of 1 degree s5.write(pos); s1.write(pos); s2.write(pos); // tell servo to go to position in variable 'pos' delay(15); } for (pos = 180; pos >= 0; pos -= 1) { // goes from 180 degrees to 0 degrees s5.write(pos); s1.write(pos); s2.write(pos); // tell servo to go to position in variable 'pos' delay(15); // waits 15ms for the servo to reach the position } }
if(command=='z'){// lerft hand
s1.write(45); }
if(command=='y'){//right
s2.write(45); }
if(command=='q'){//left
for (pos = 0; pos <= 180; pos += 1) { // goes from 0 degrees to 180 degrees // in steps of 1 degree s1.write(pos); delay(15); } for (pos = 180; pos >= 0; pos -= 1) { // goes from 180 degrees to 0 degrees s1.write(pos); delay(15); // waits 15ms for the servo to reach the position } }
if(command=='p'){//right
for (pos = 0; pos <= 180; pos += 1) { // goes from 0 degrees to 180 degrees // in steps of 1 degree s2.write(pos); delay(15); } for (pos = 180; pos >= 0; pos -= 1) { // goes from 180 degrees to 0 degrees s2.write(pos); } }
if(command=='t'){ digitalWrite(mouth,1); }
if(command=='a'){
digitalWrite(led,LOW); }
if(command=='.'){
digitalWrite(led,HIGH); }
}


connect the wireless Bluetooth speaker to it with in the back of robot as in pic.
Wiring connect the wire according tho code to arduinio
servo left and right arm-->arduino pins(10, 11)
servo head--.>arduino 9
Bluetooth hc05
Rx to arduino txpin
and Tx of Bluetooth to rx pin arduino
now you are ready
connect the app to Bluetooth of arduino
and enjoy it.
sorry for any spelling mistake during the writing of instructables as I am new to it .Hope you Love it and vote us.
Now Yor Robot Is Ready for Your Fun.
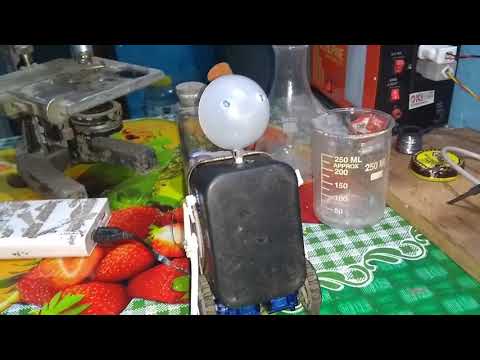
enjoy the verious pre build command and question answers in app
you can also change app according to you by importing the aia file in MIT app inventor.
you can also use google assistant to the robot via bluetooth.