How to Use a Push Button Switch With Arduino
by sidgupta in Circuits > Arduino
276705 Views, 53 Favorites, 0 Comments
How to Use a Push Button Switch With Arduino
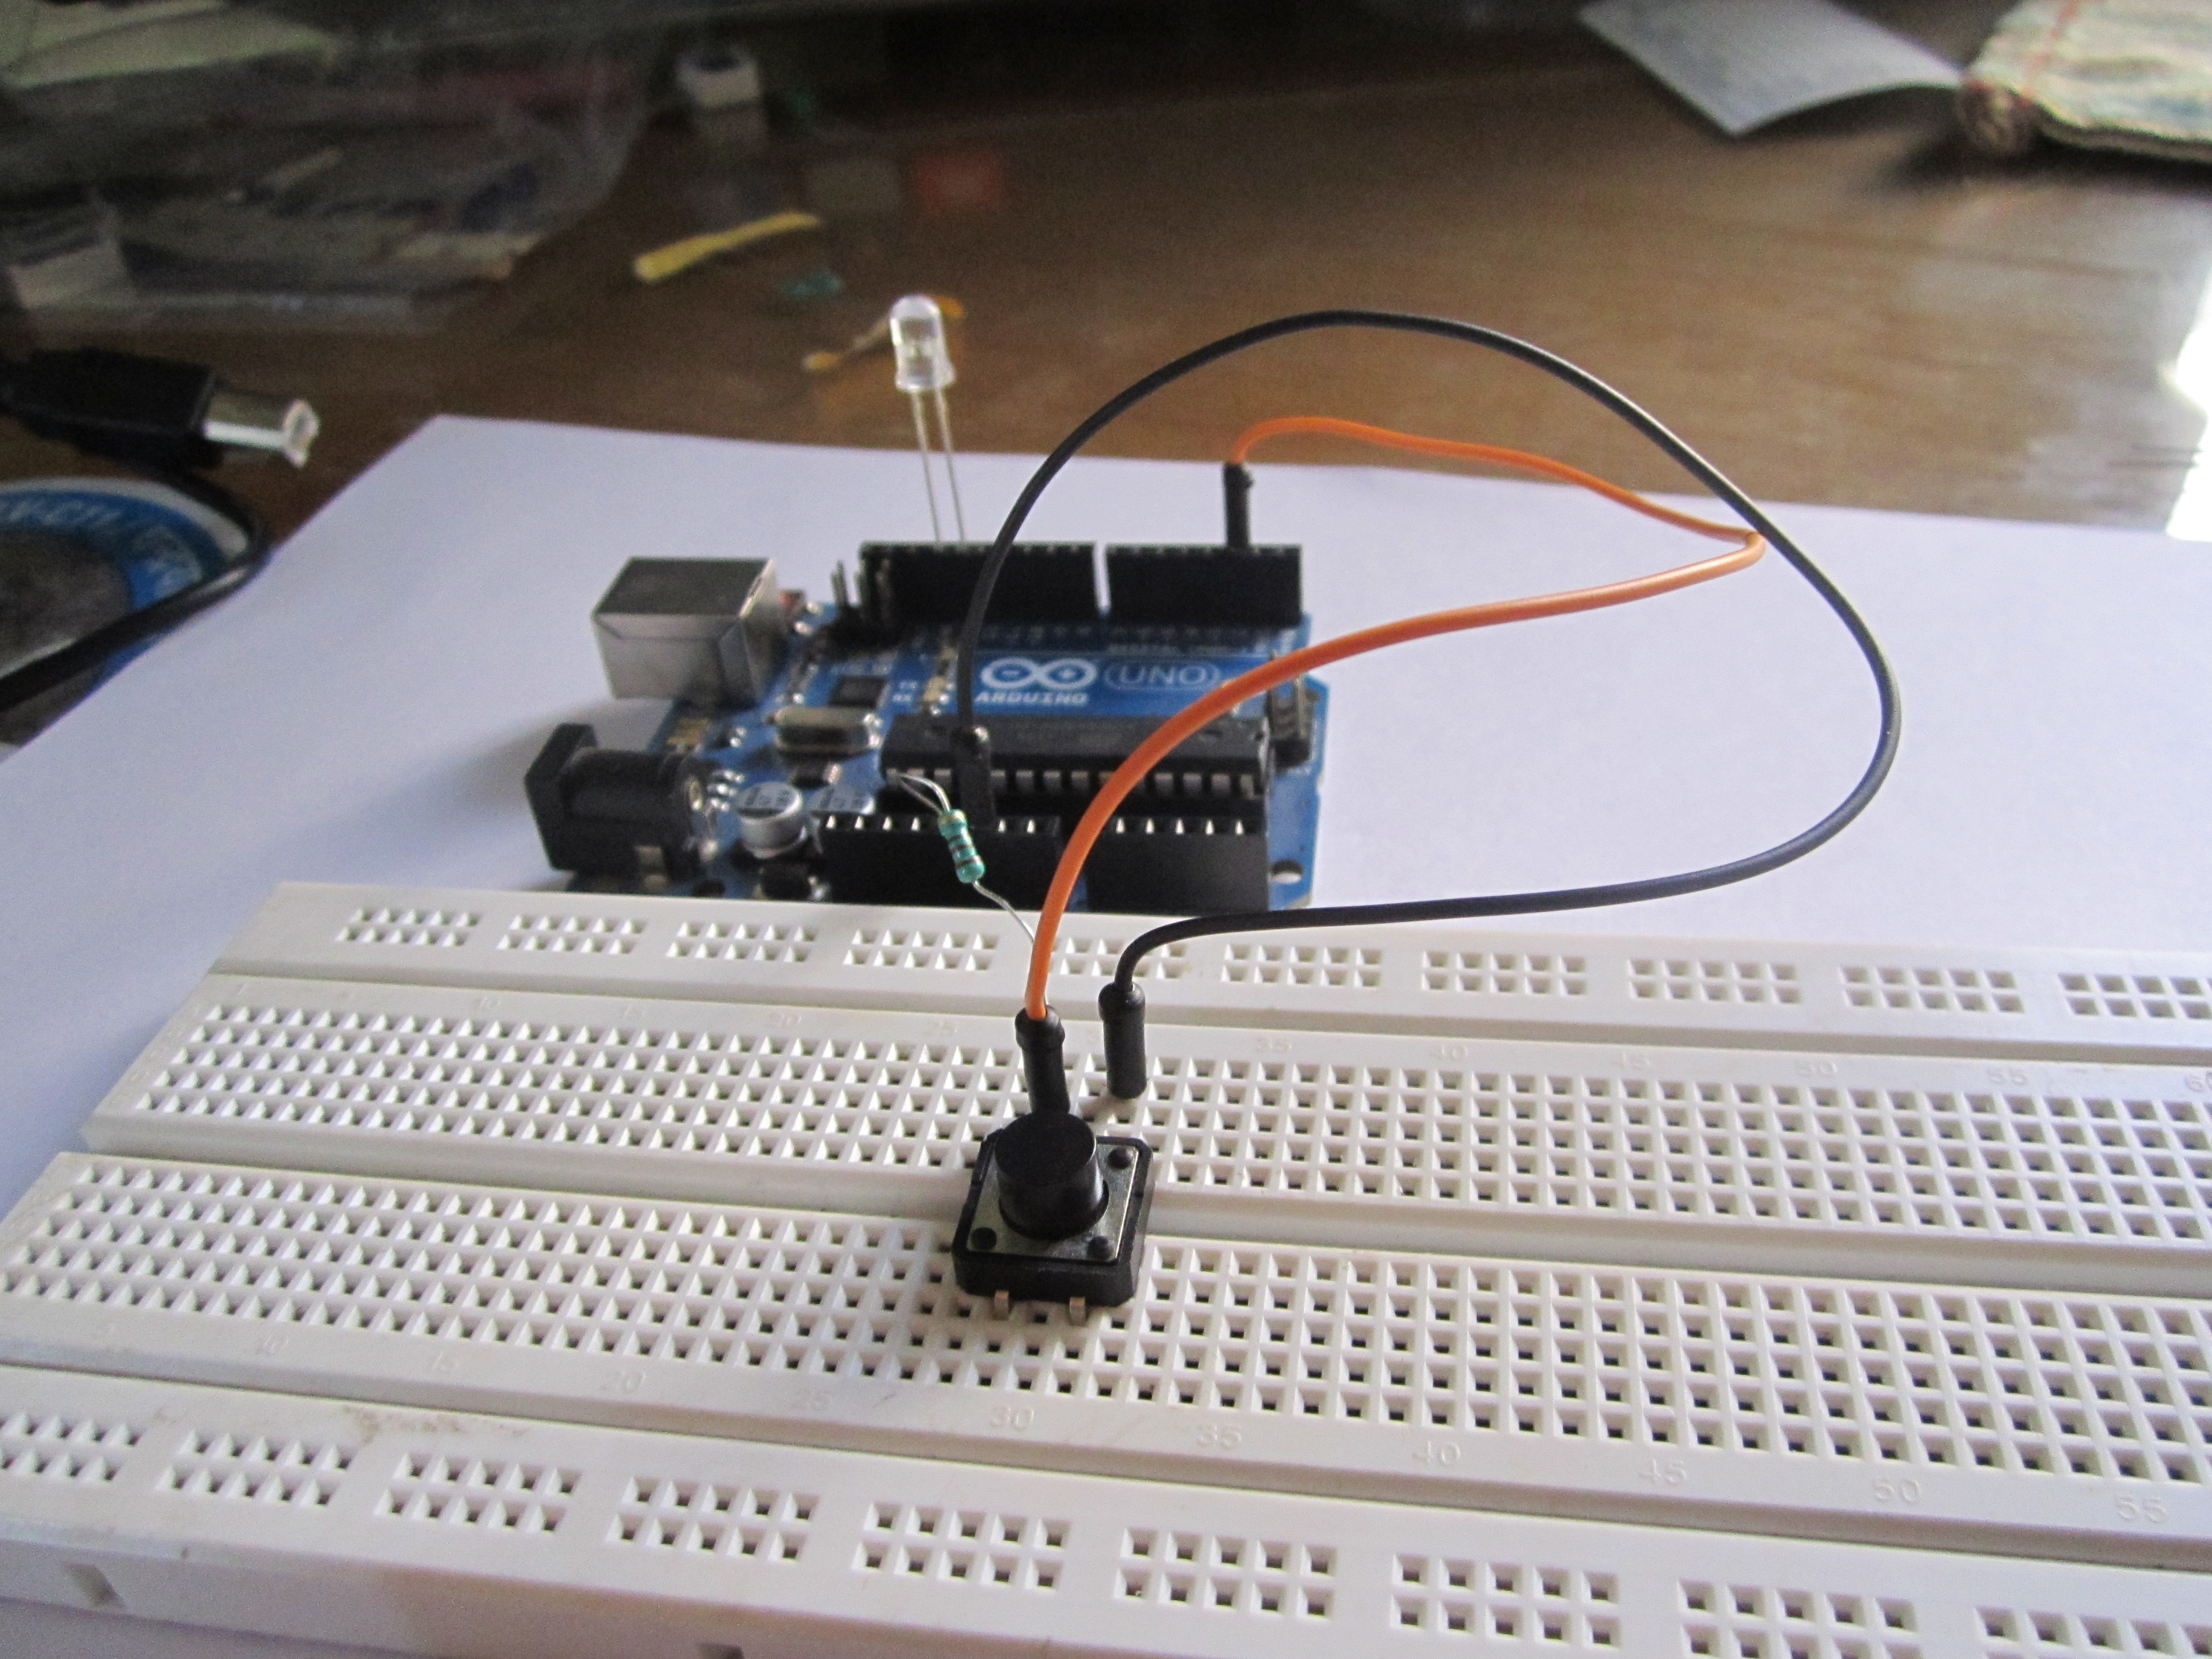
This is an Instructable that tells you how to connect a 4 pin push button switch with the Arduino.
The contraption allows an LED to be switched on when the push button is pressed.
What You Need:
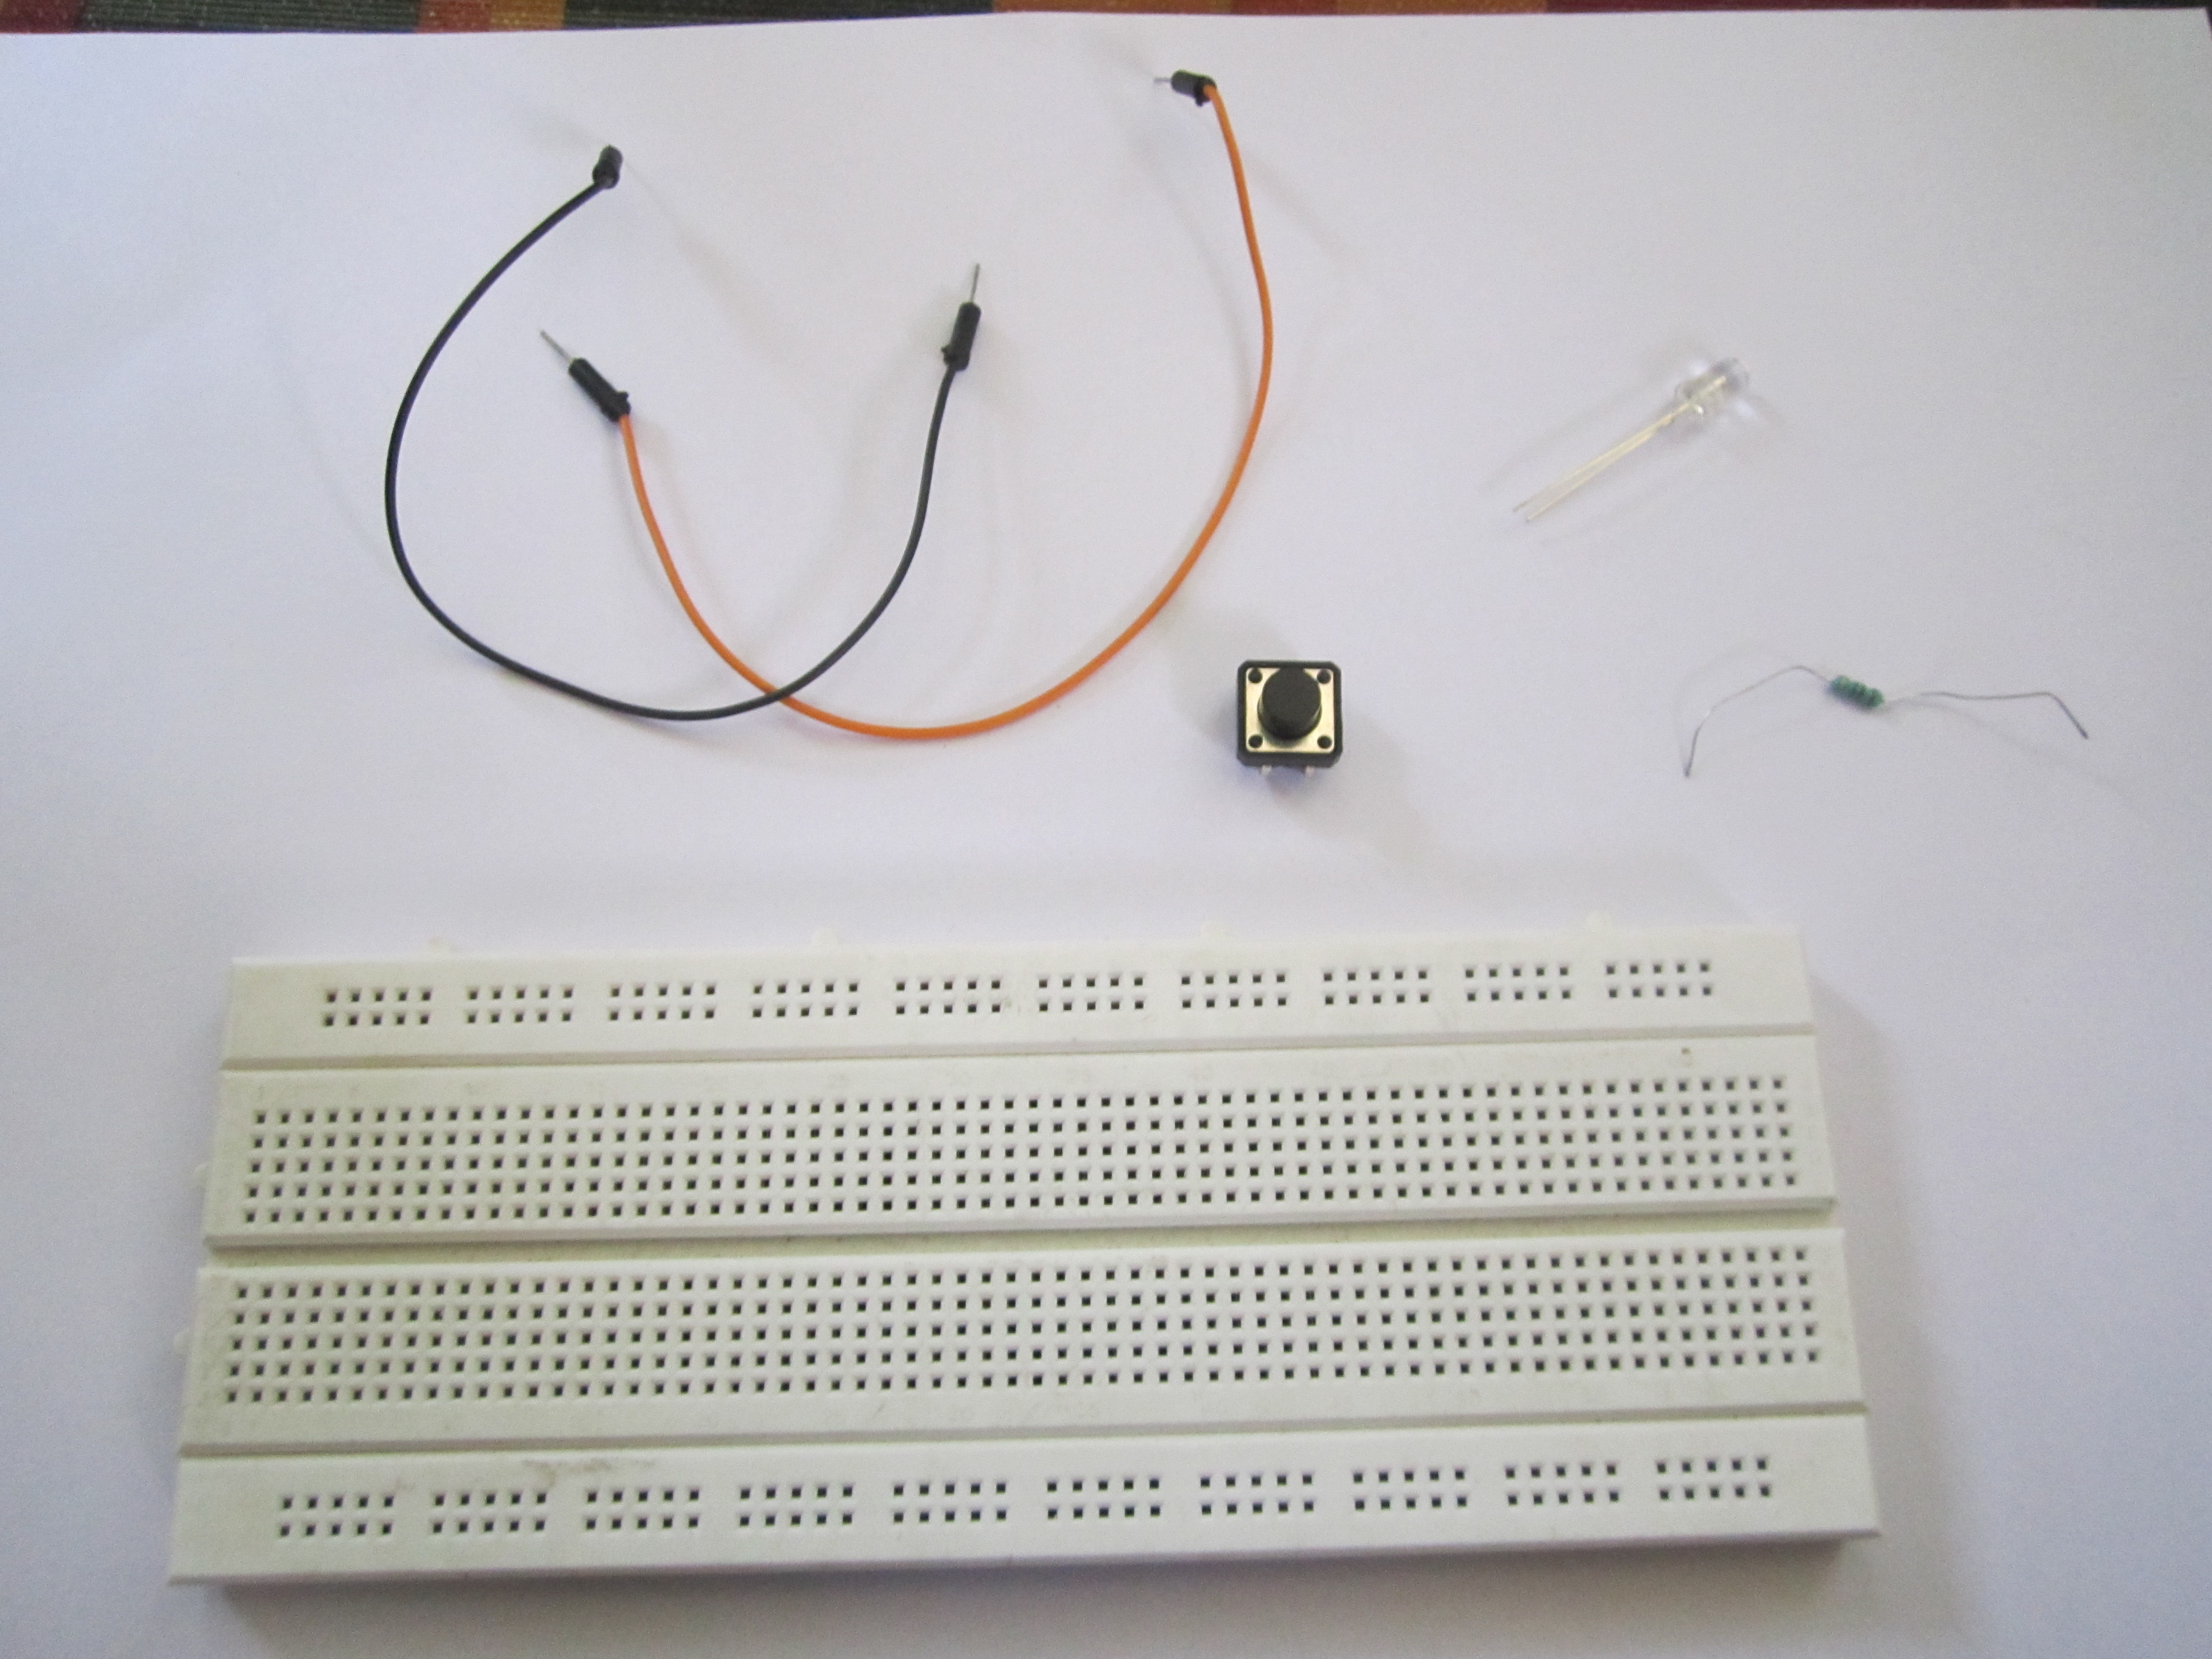
You need:
A push button switch
Arduino
1 Resistor (any value), I used a 220 ohm one.
2 Jumper cables(breadboard jumpers)
1 Breadboard (to make it easy)
LED
A push button switch
Arduino
1 Resistor (any value), I used a 220 ohm one.
2 Jumper cables(breadboard jumpers)
1 Breadboard (to make it easy)
LED
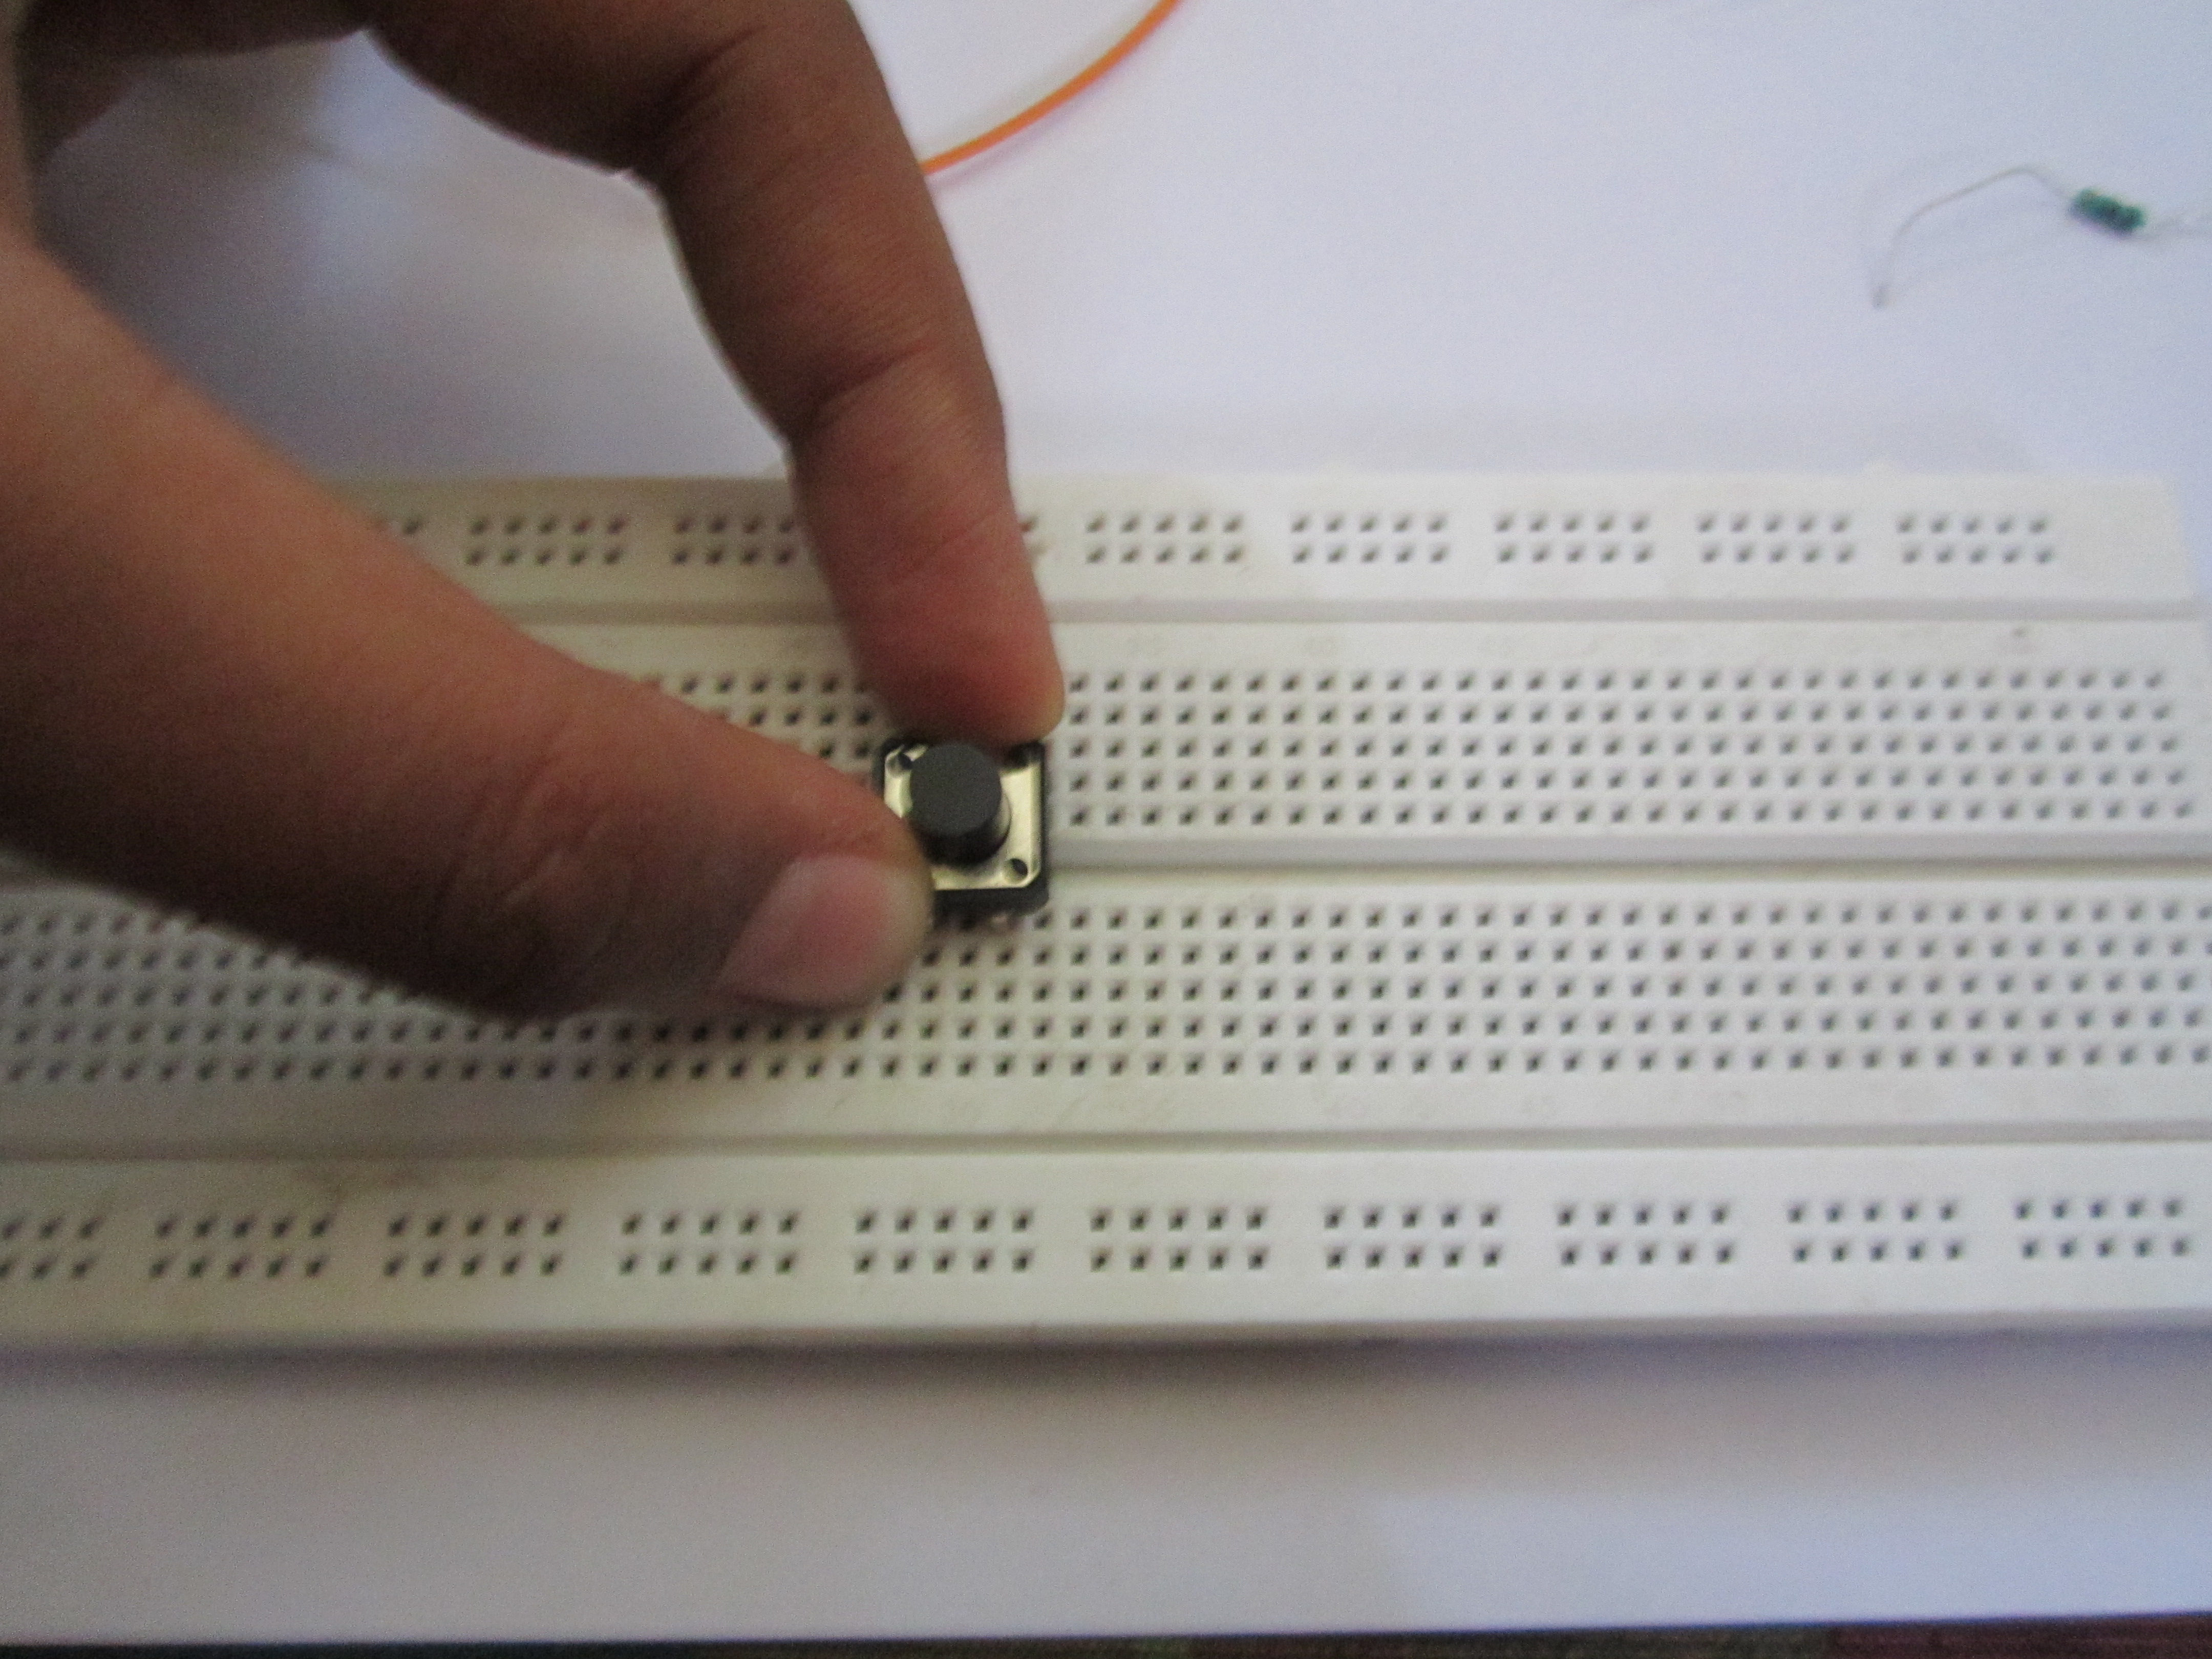
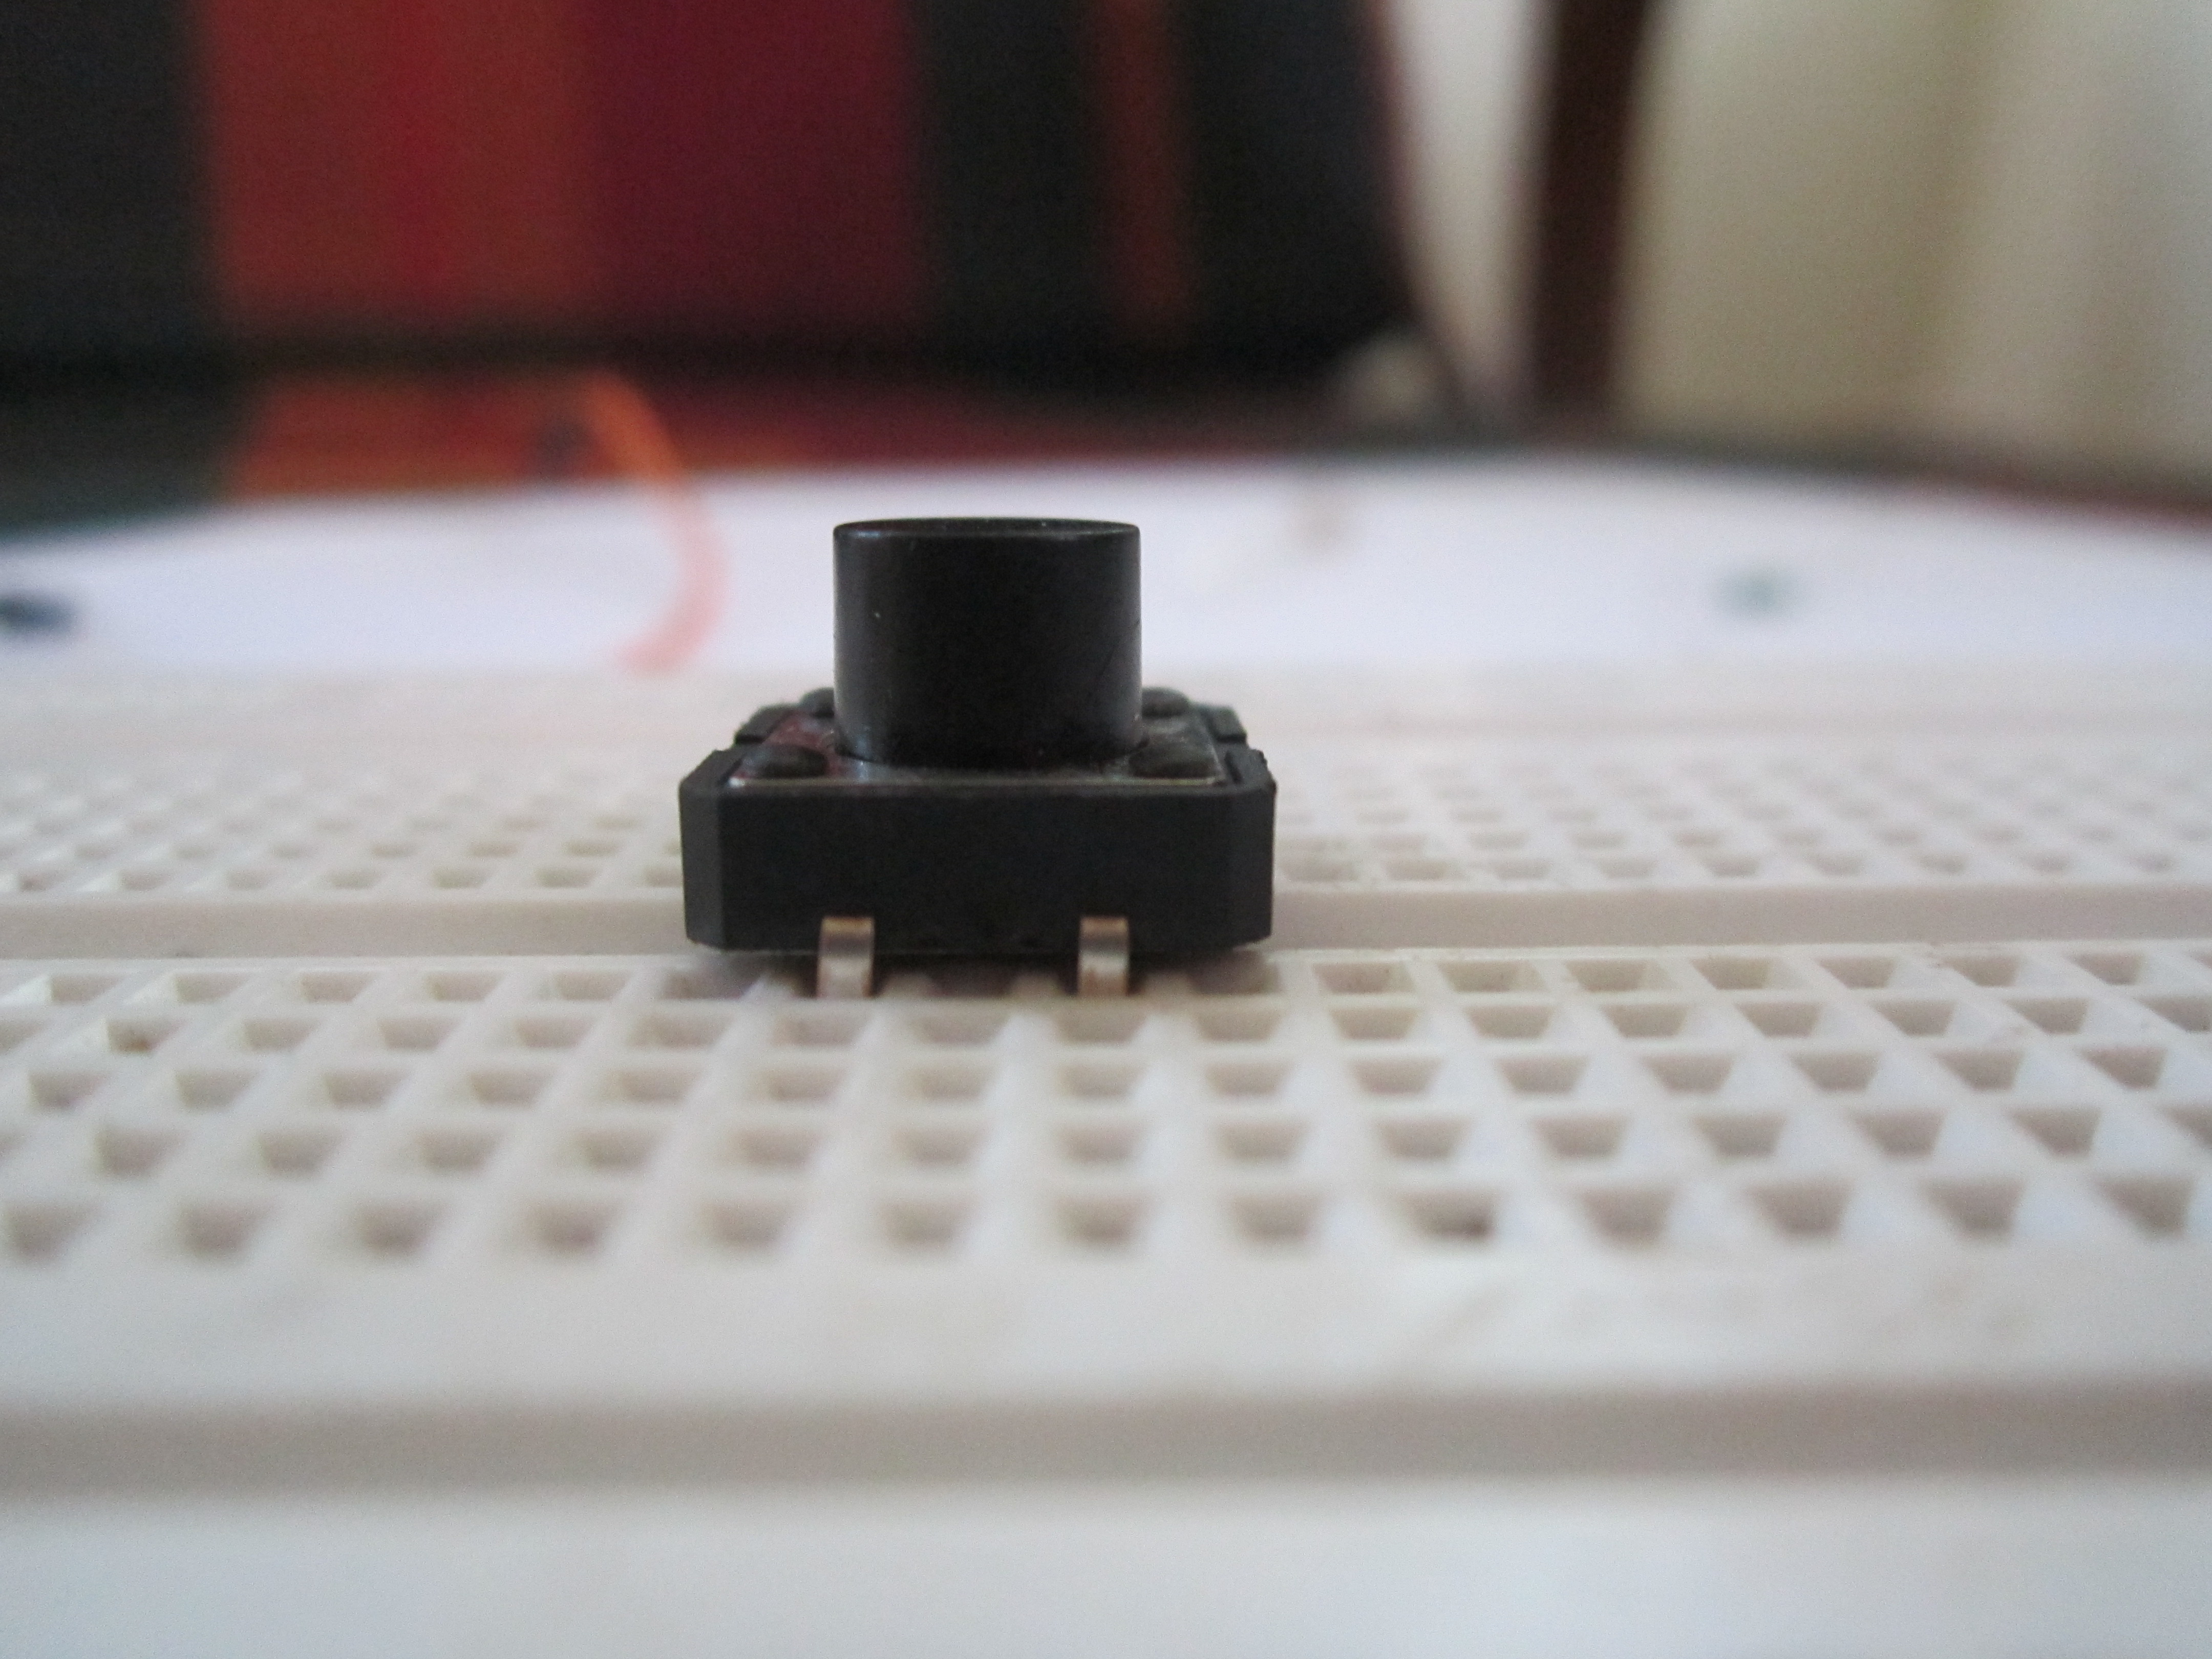

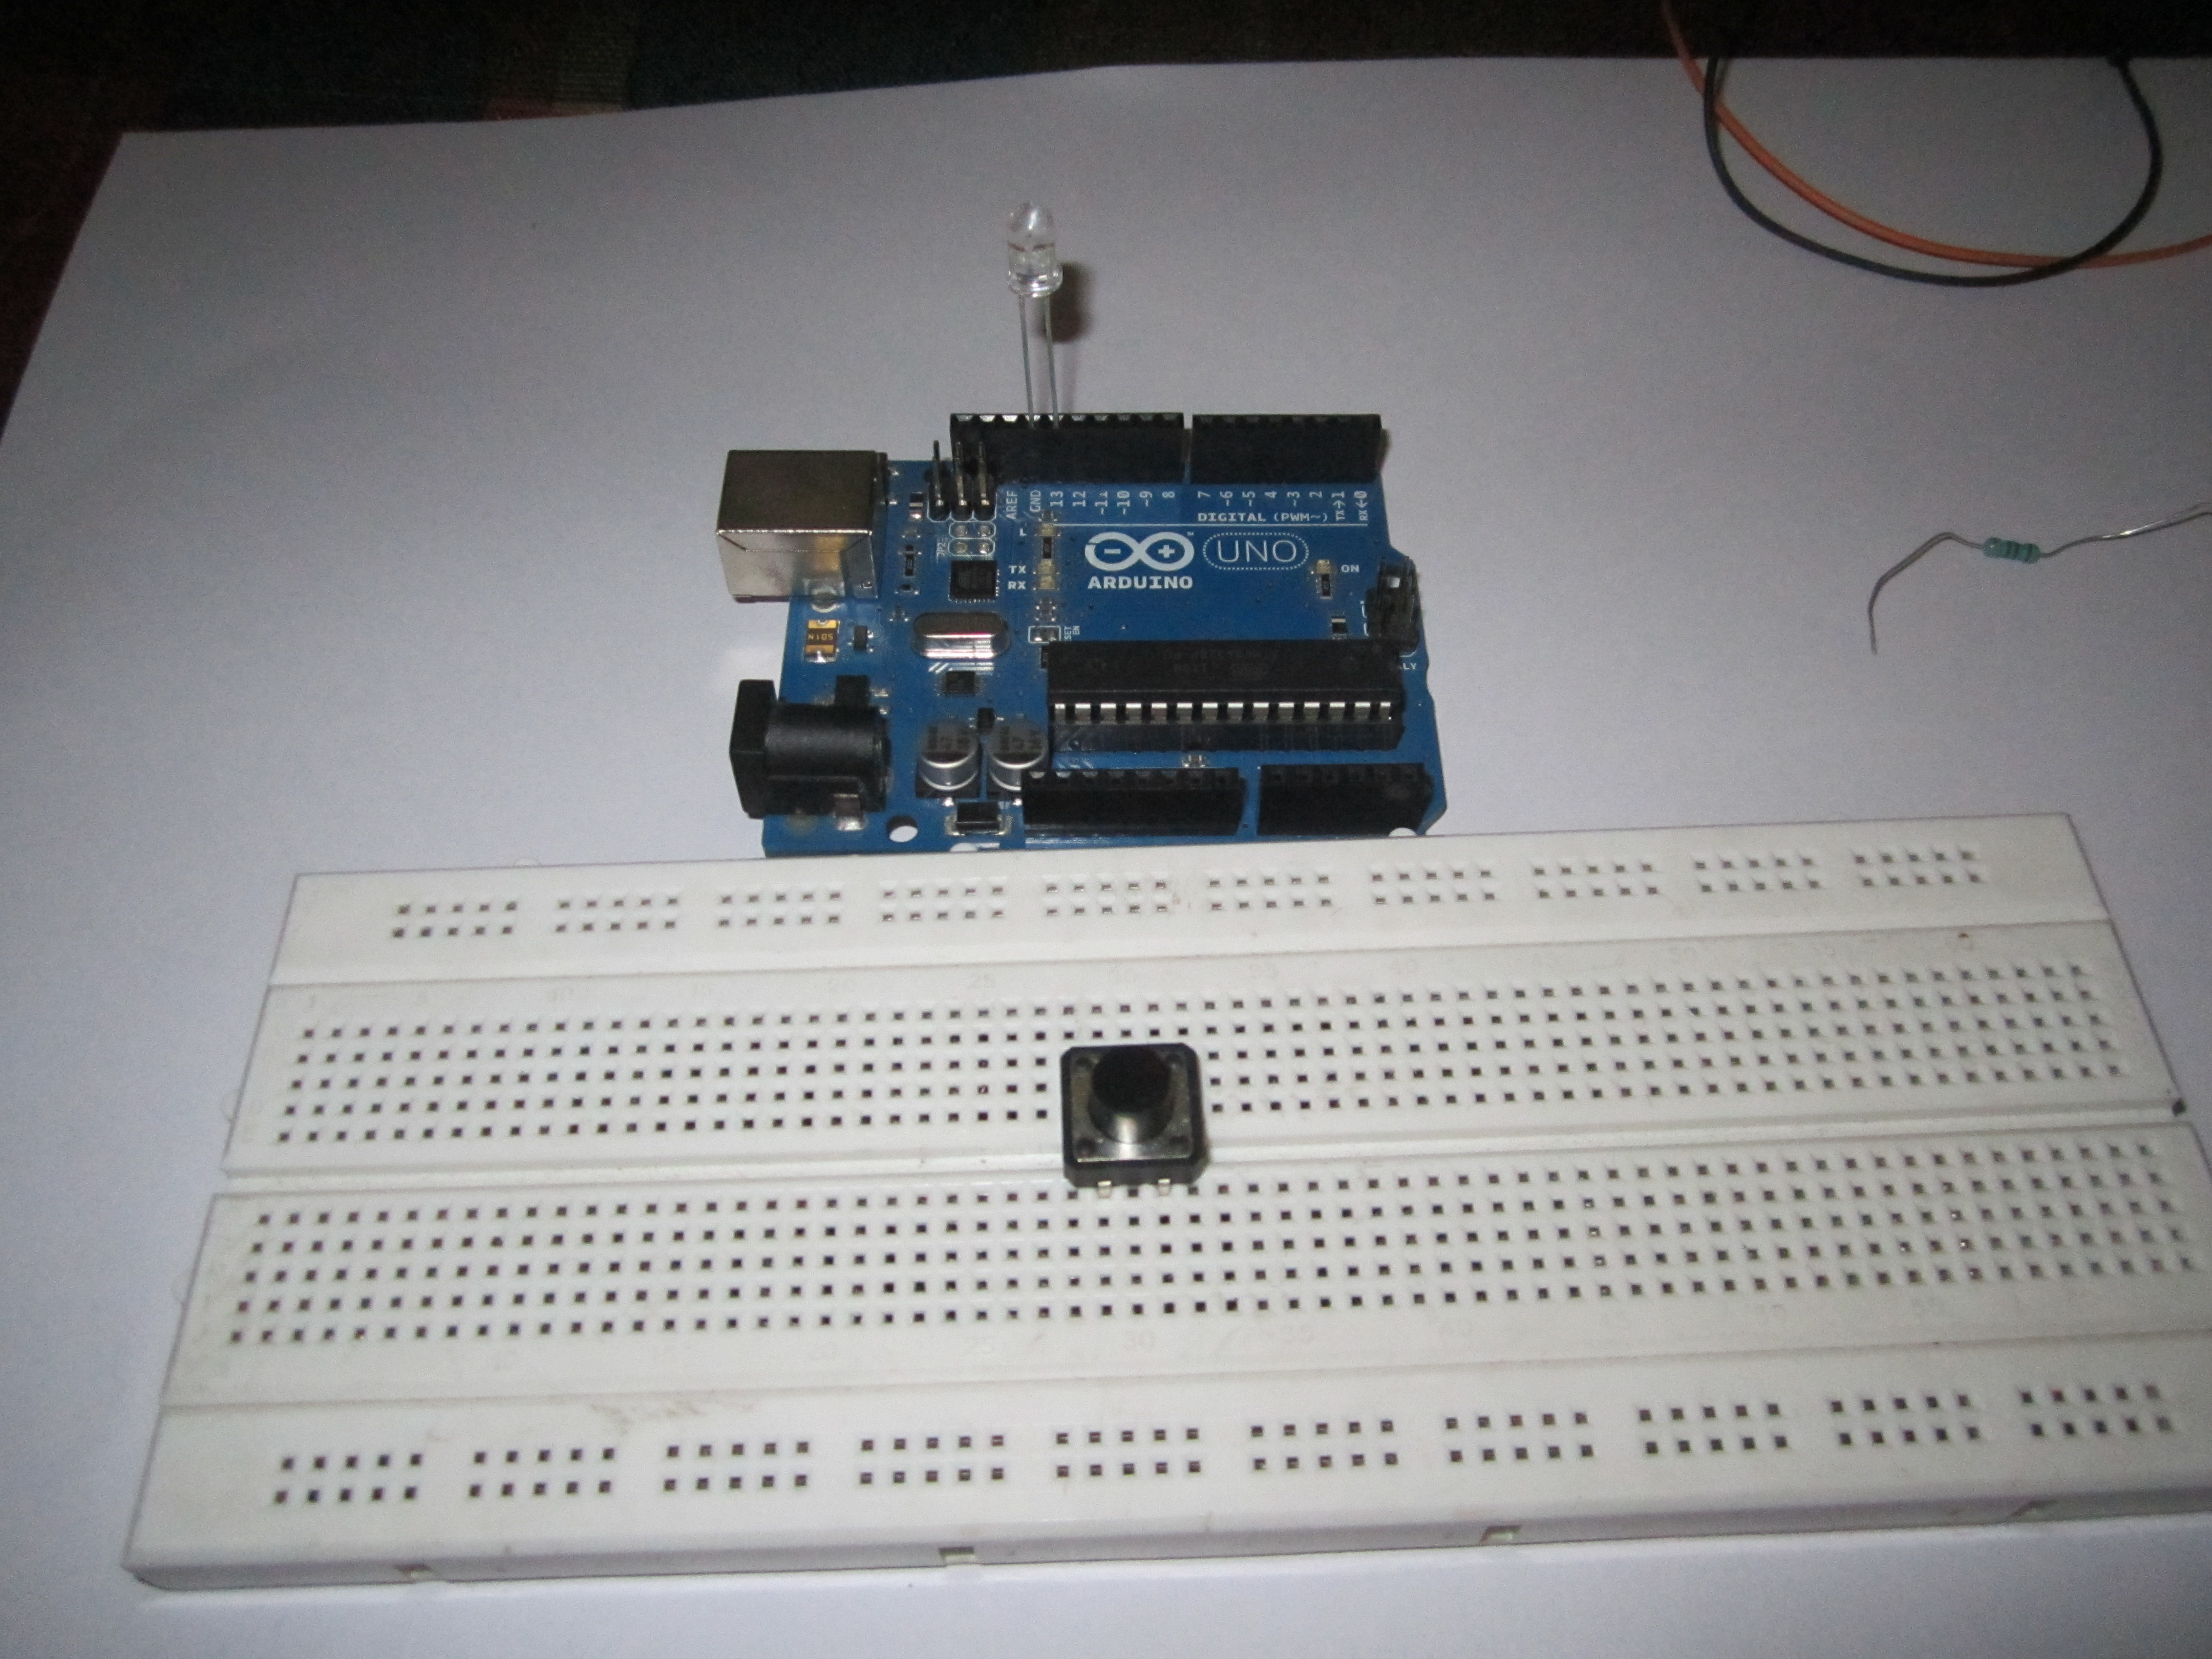
1. Put the switch in the breadboard and put an LED with the longer end into pin 13 and shorter end to the Gnd of the Arduino.
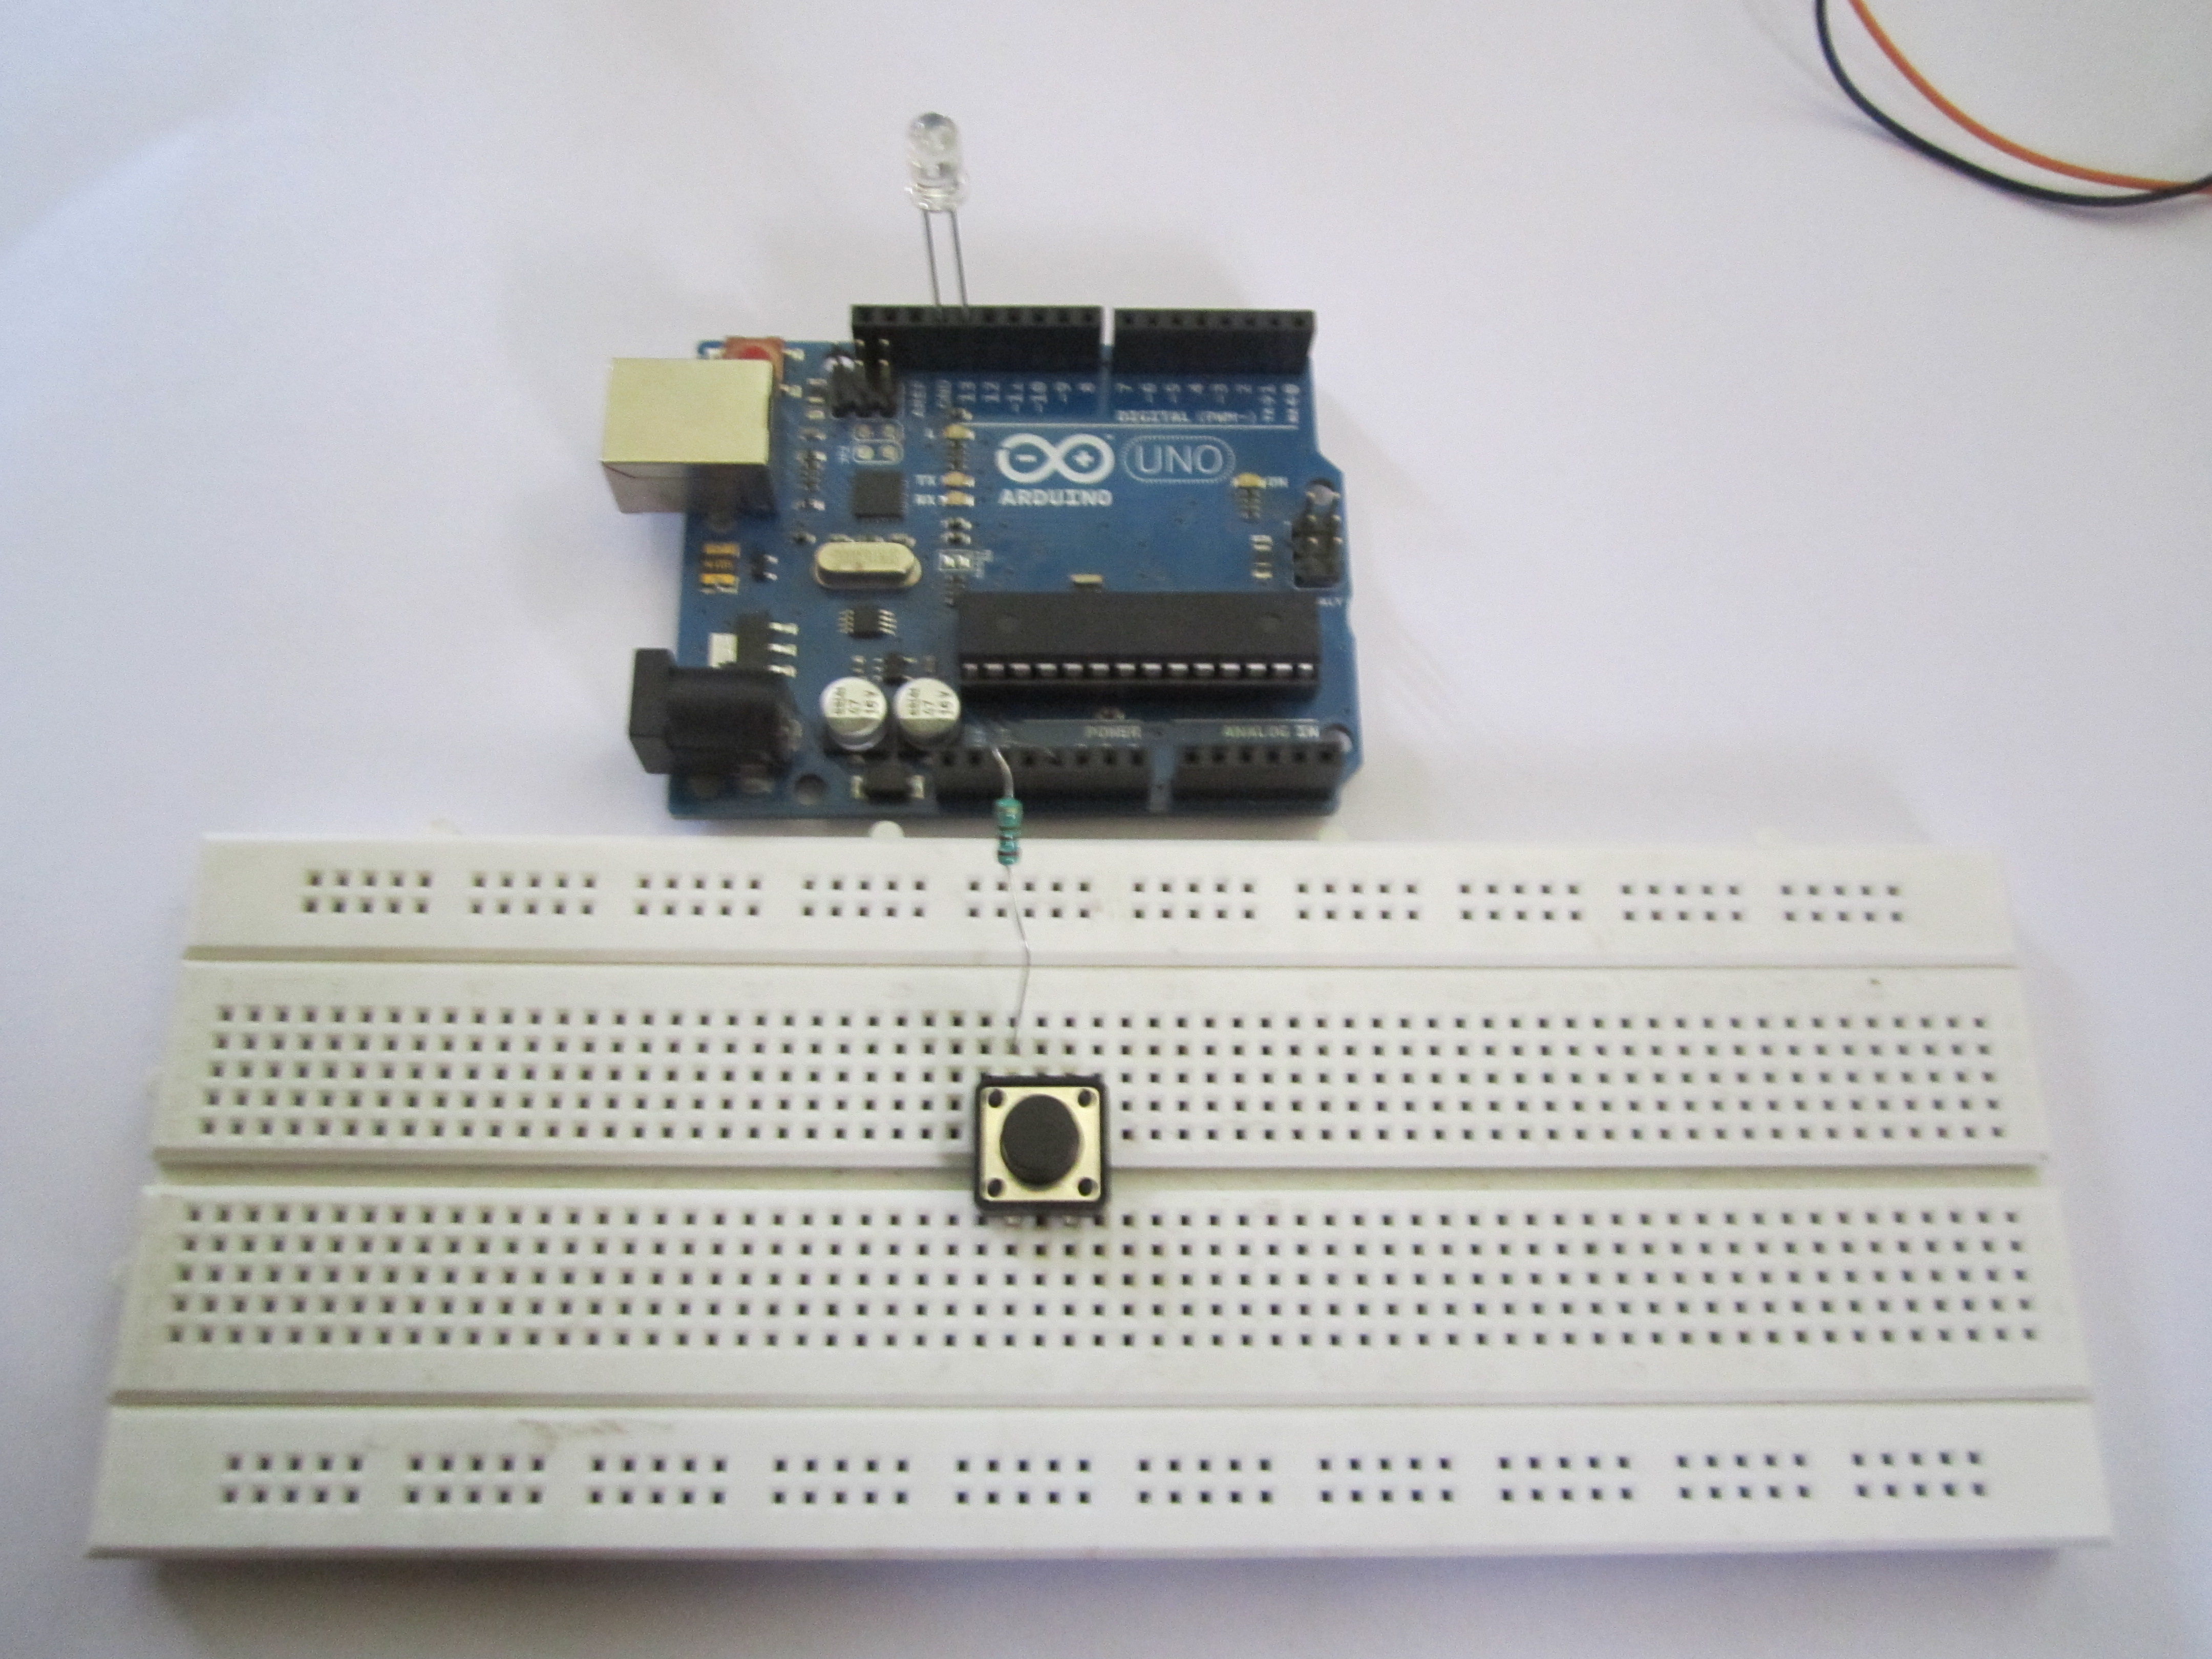
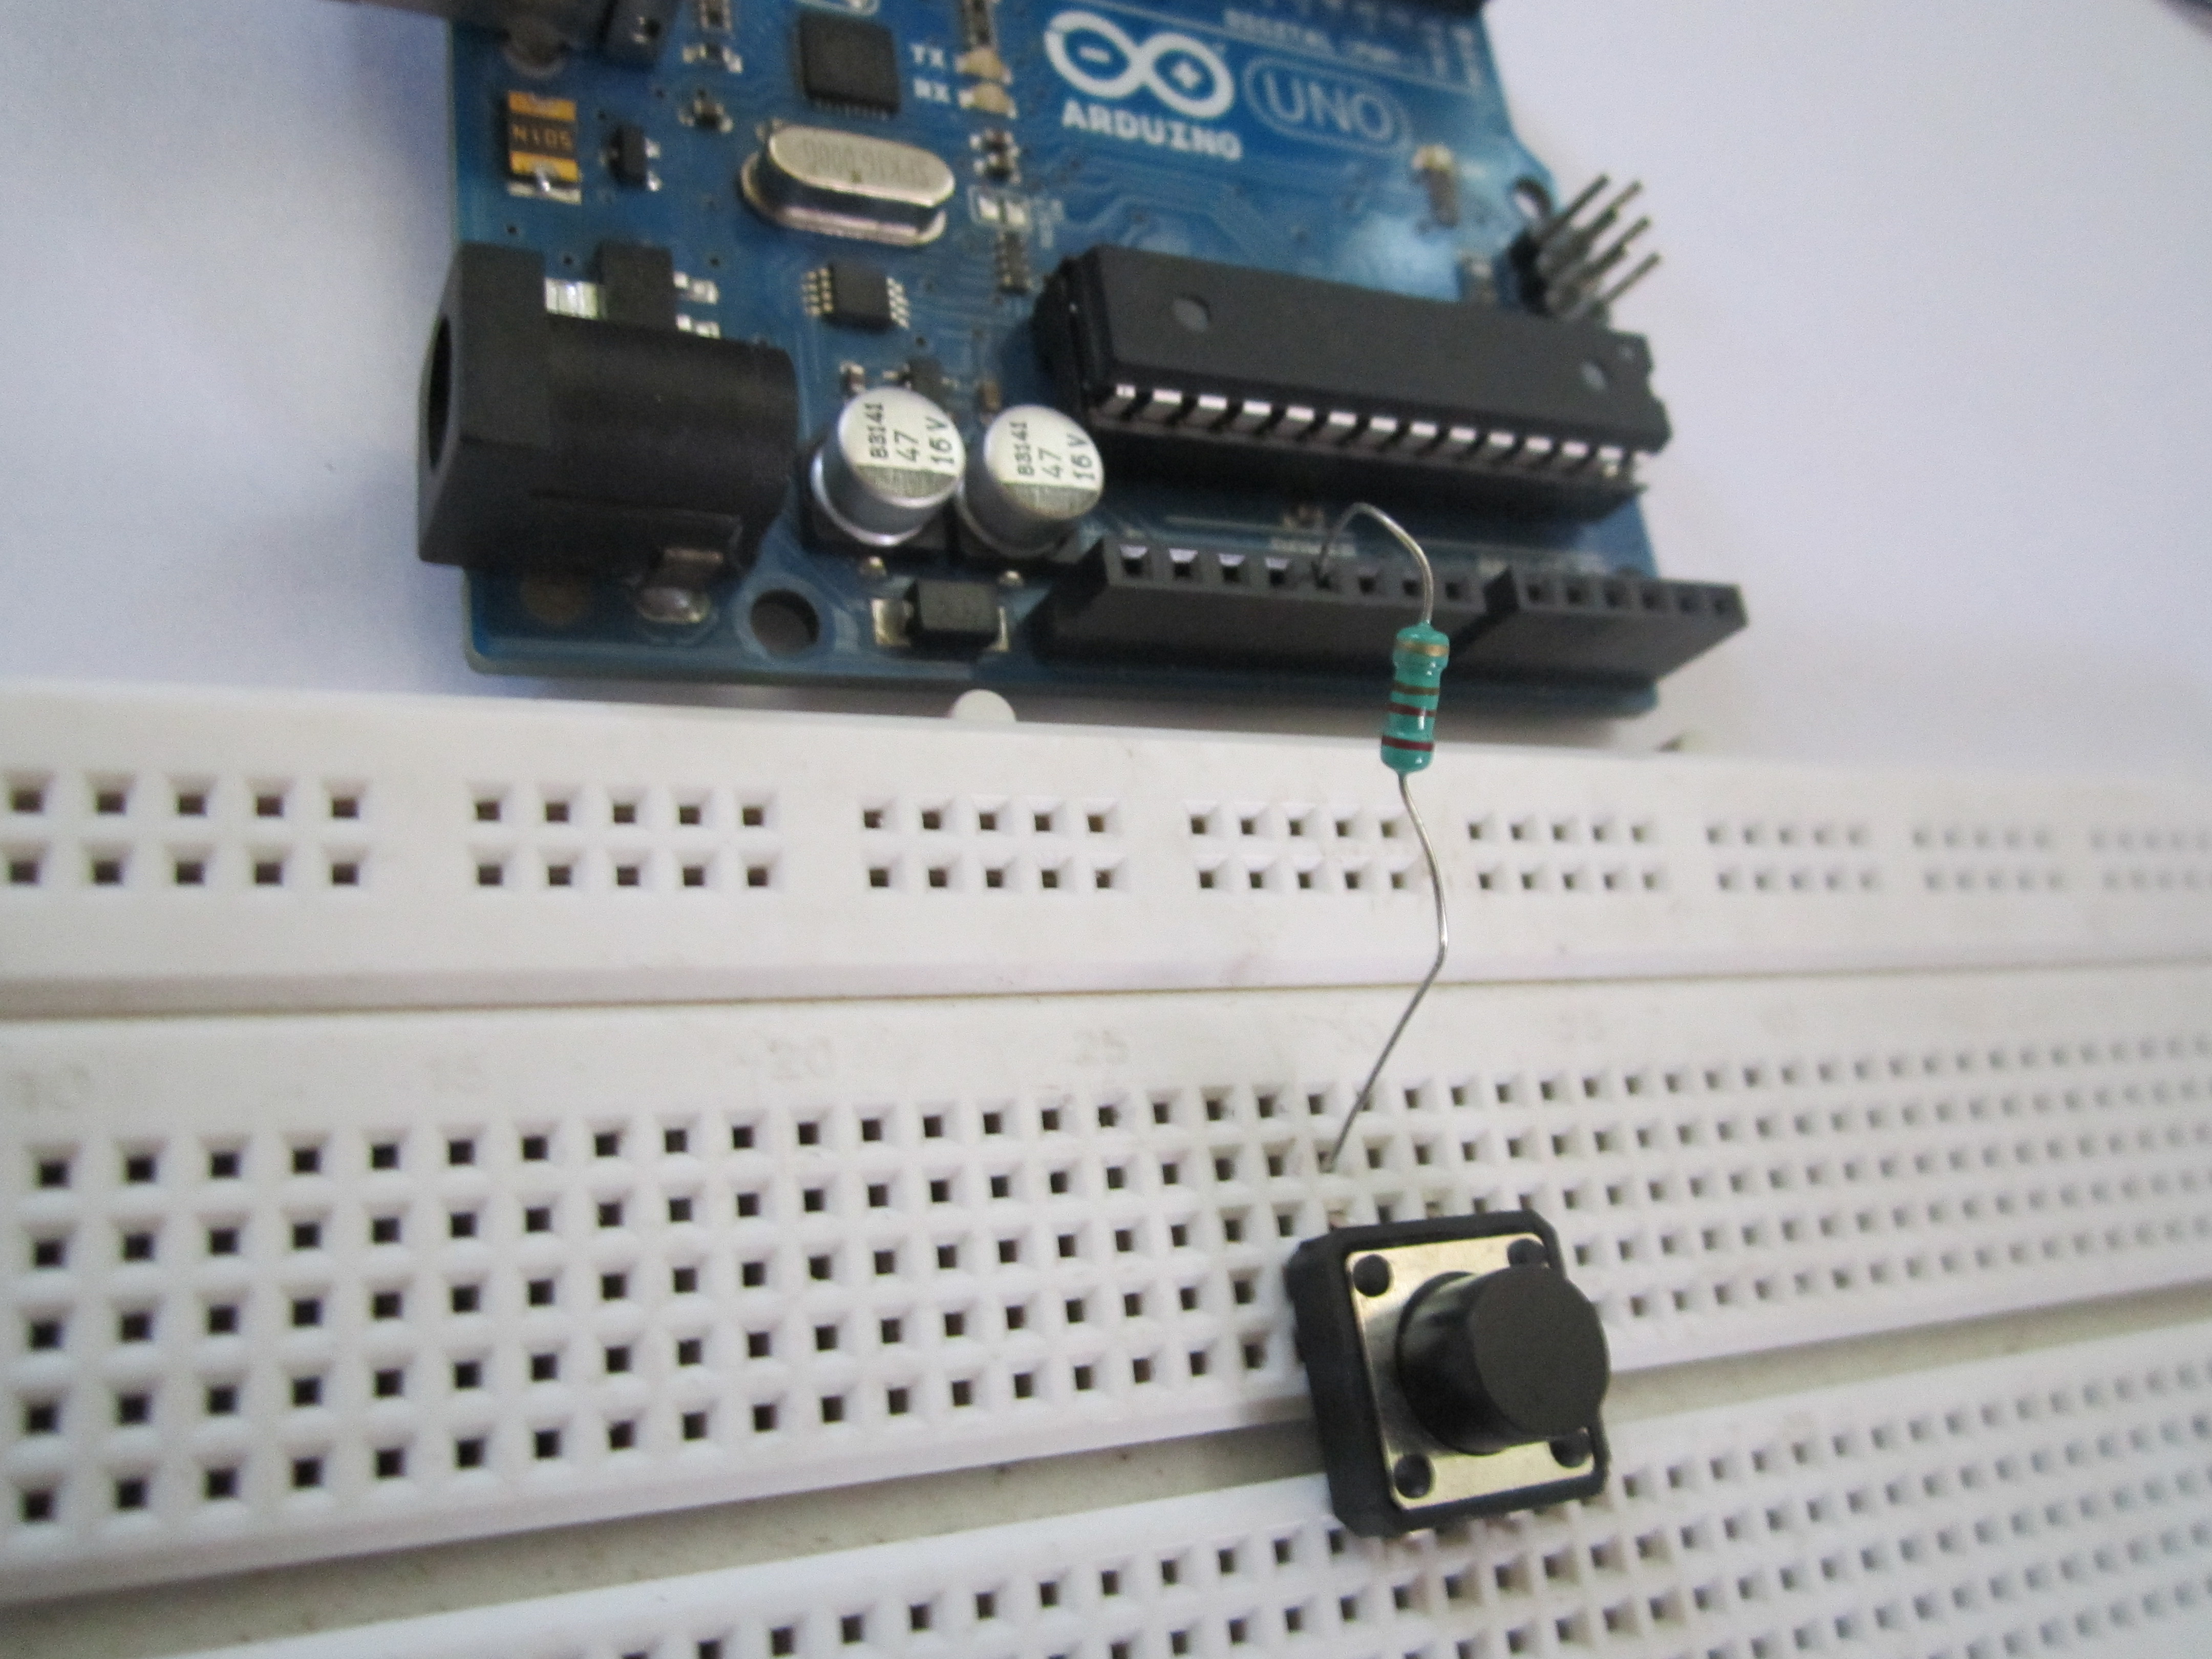
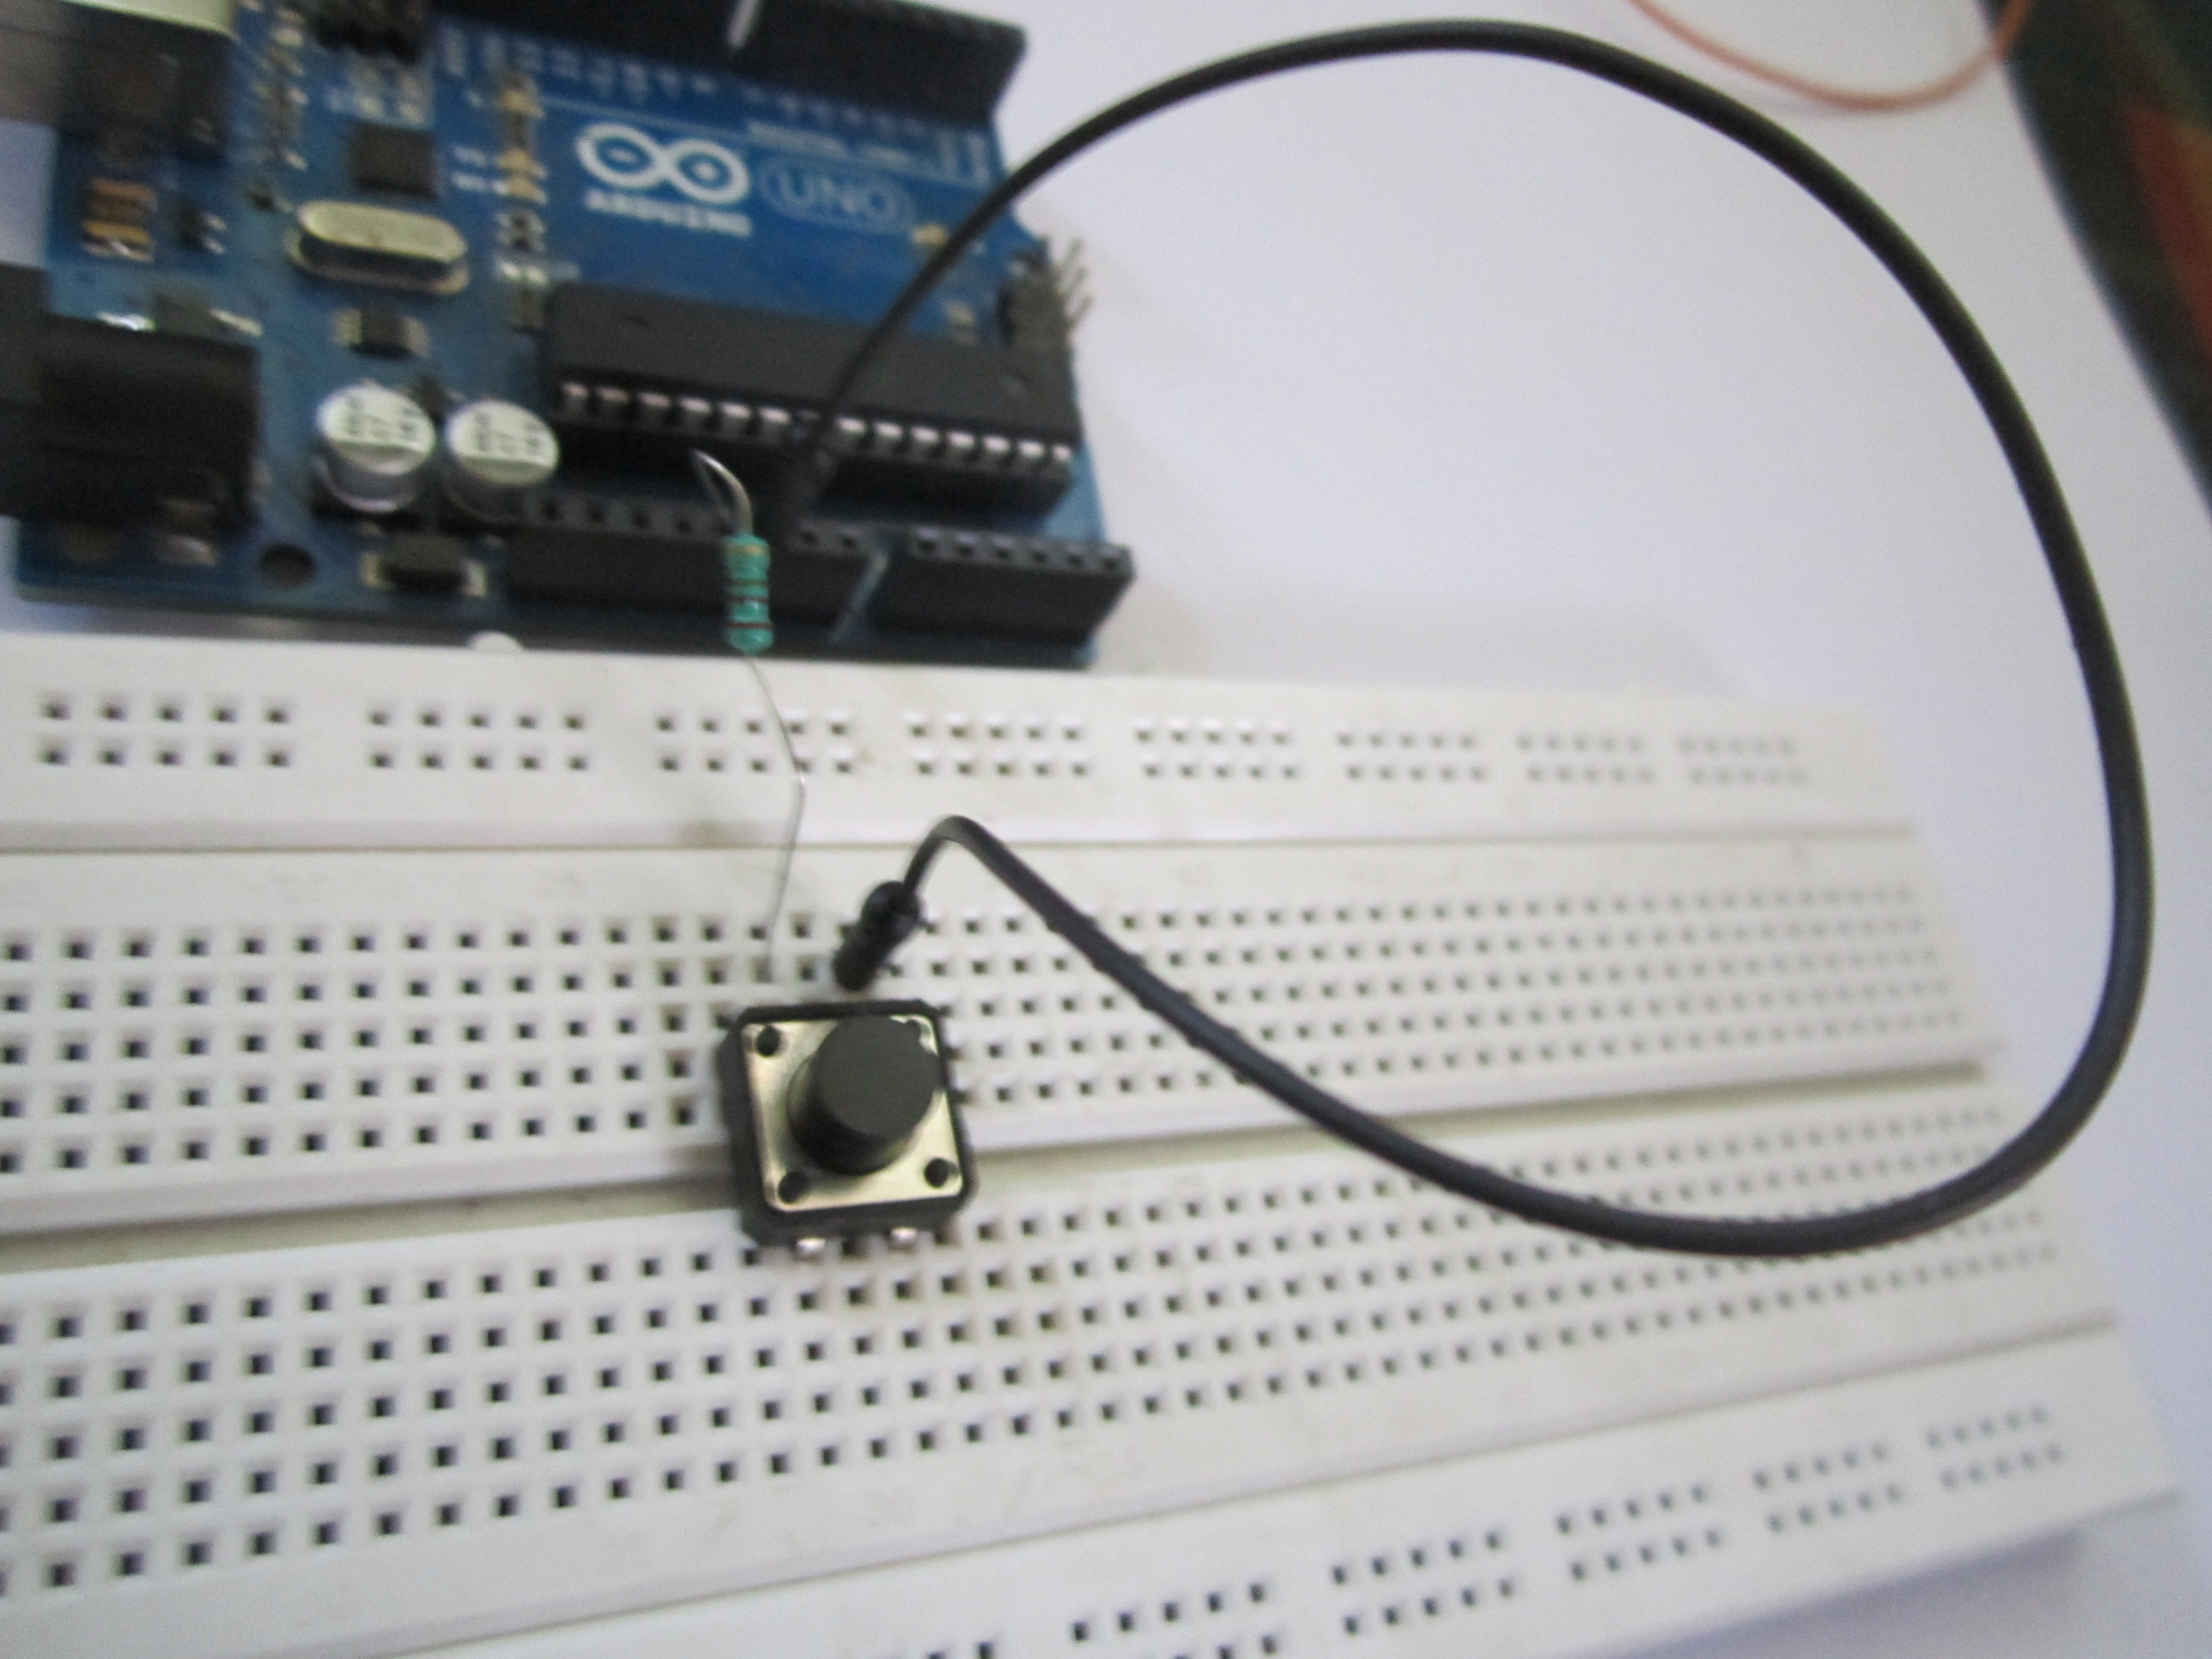
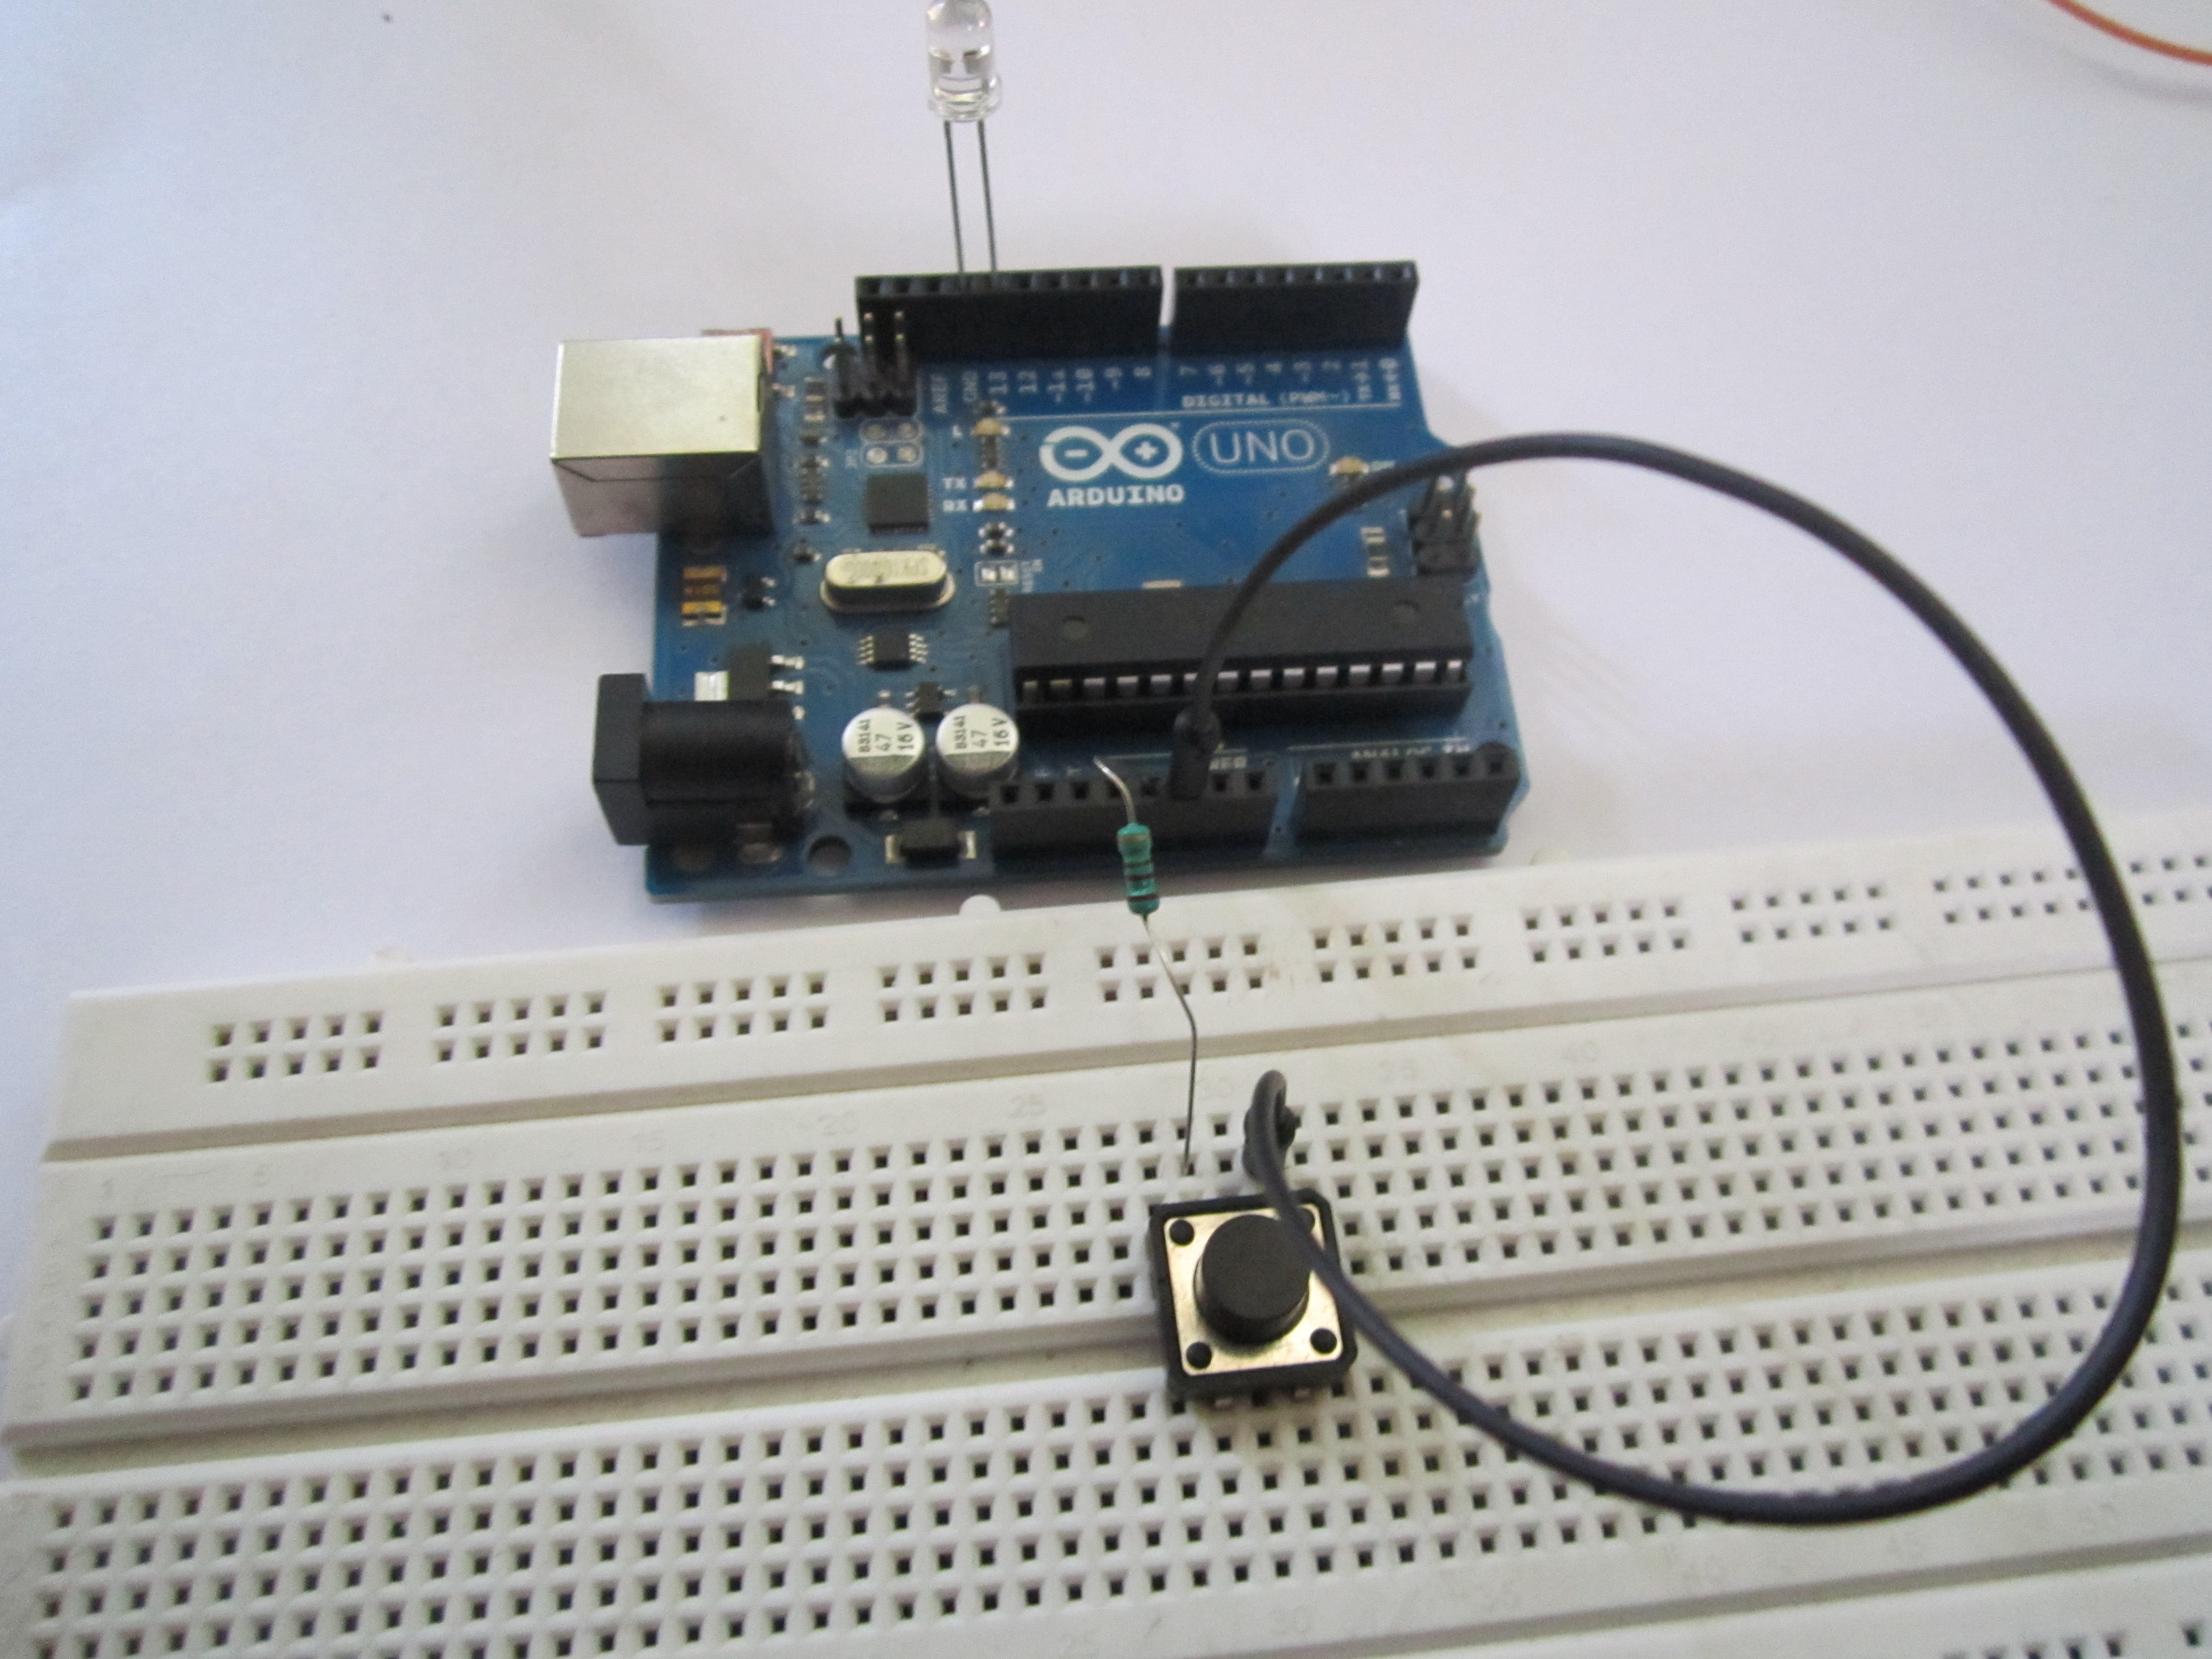
Put the resistor with one end in +5 V and the other end connected with one of the terminals of the switch.
Connect the other corresponding terminal to Gnd. The corresponding terminal is usually on the same side as the first one.
Connect the other corresponding terminal to Gnd. The corresponding terminal is usually on the same side as the first one.
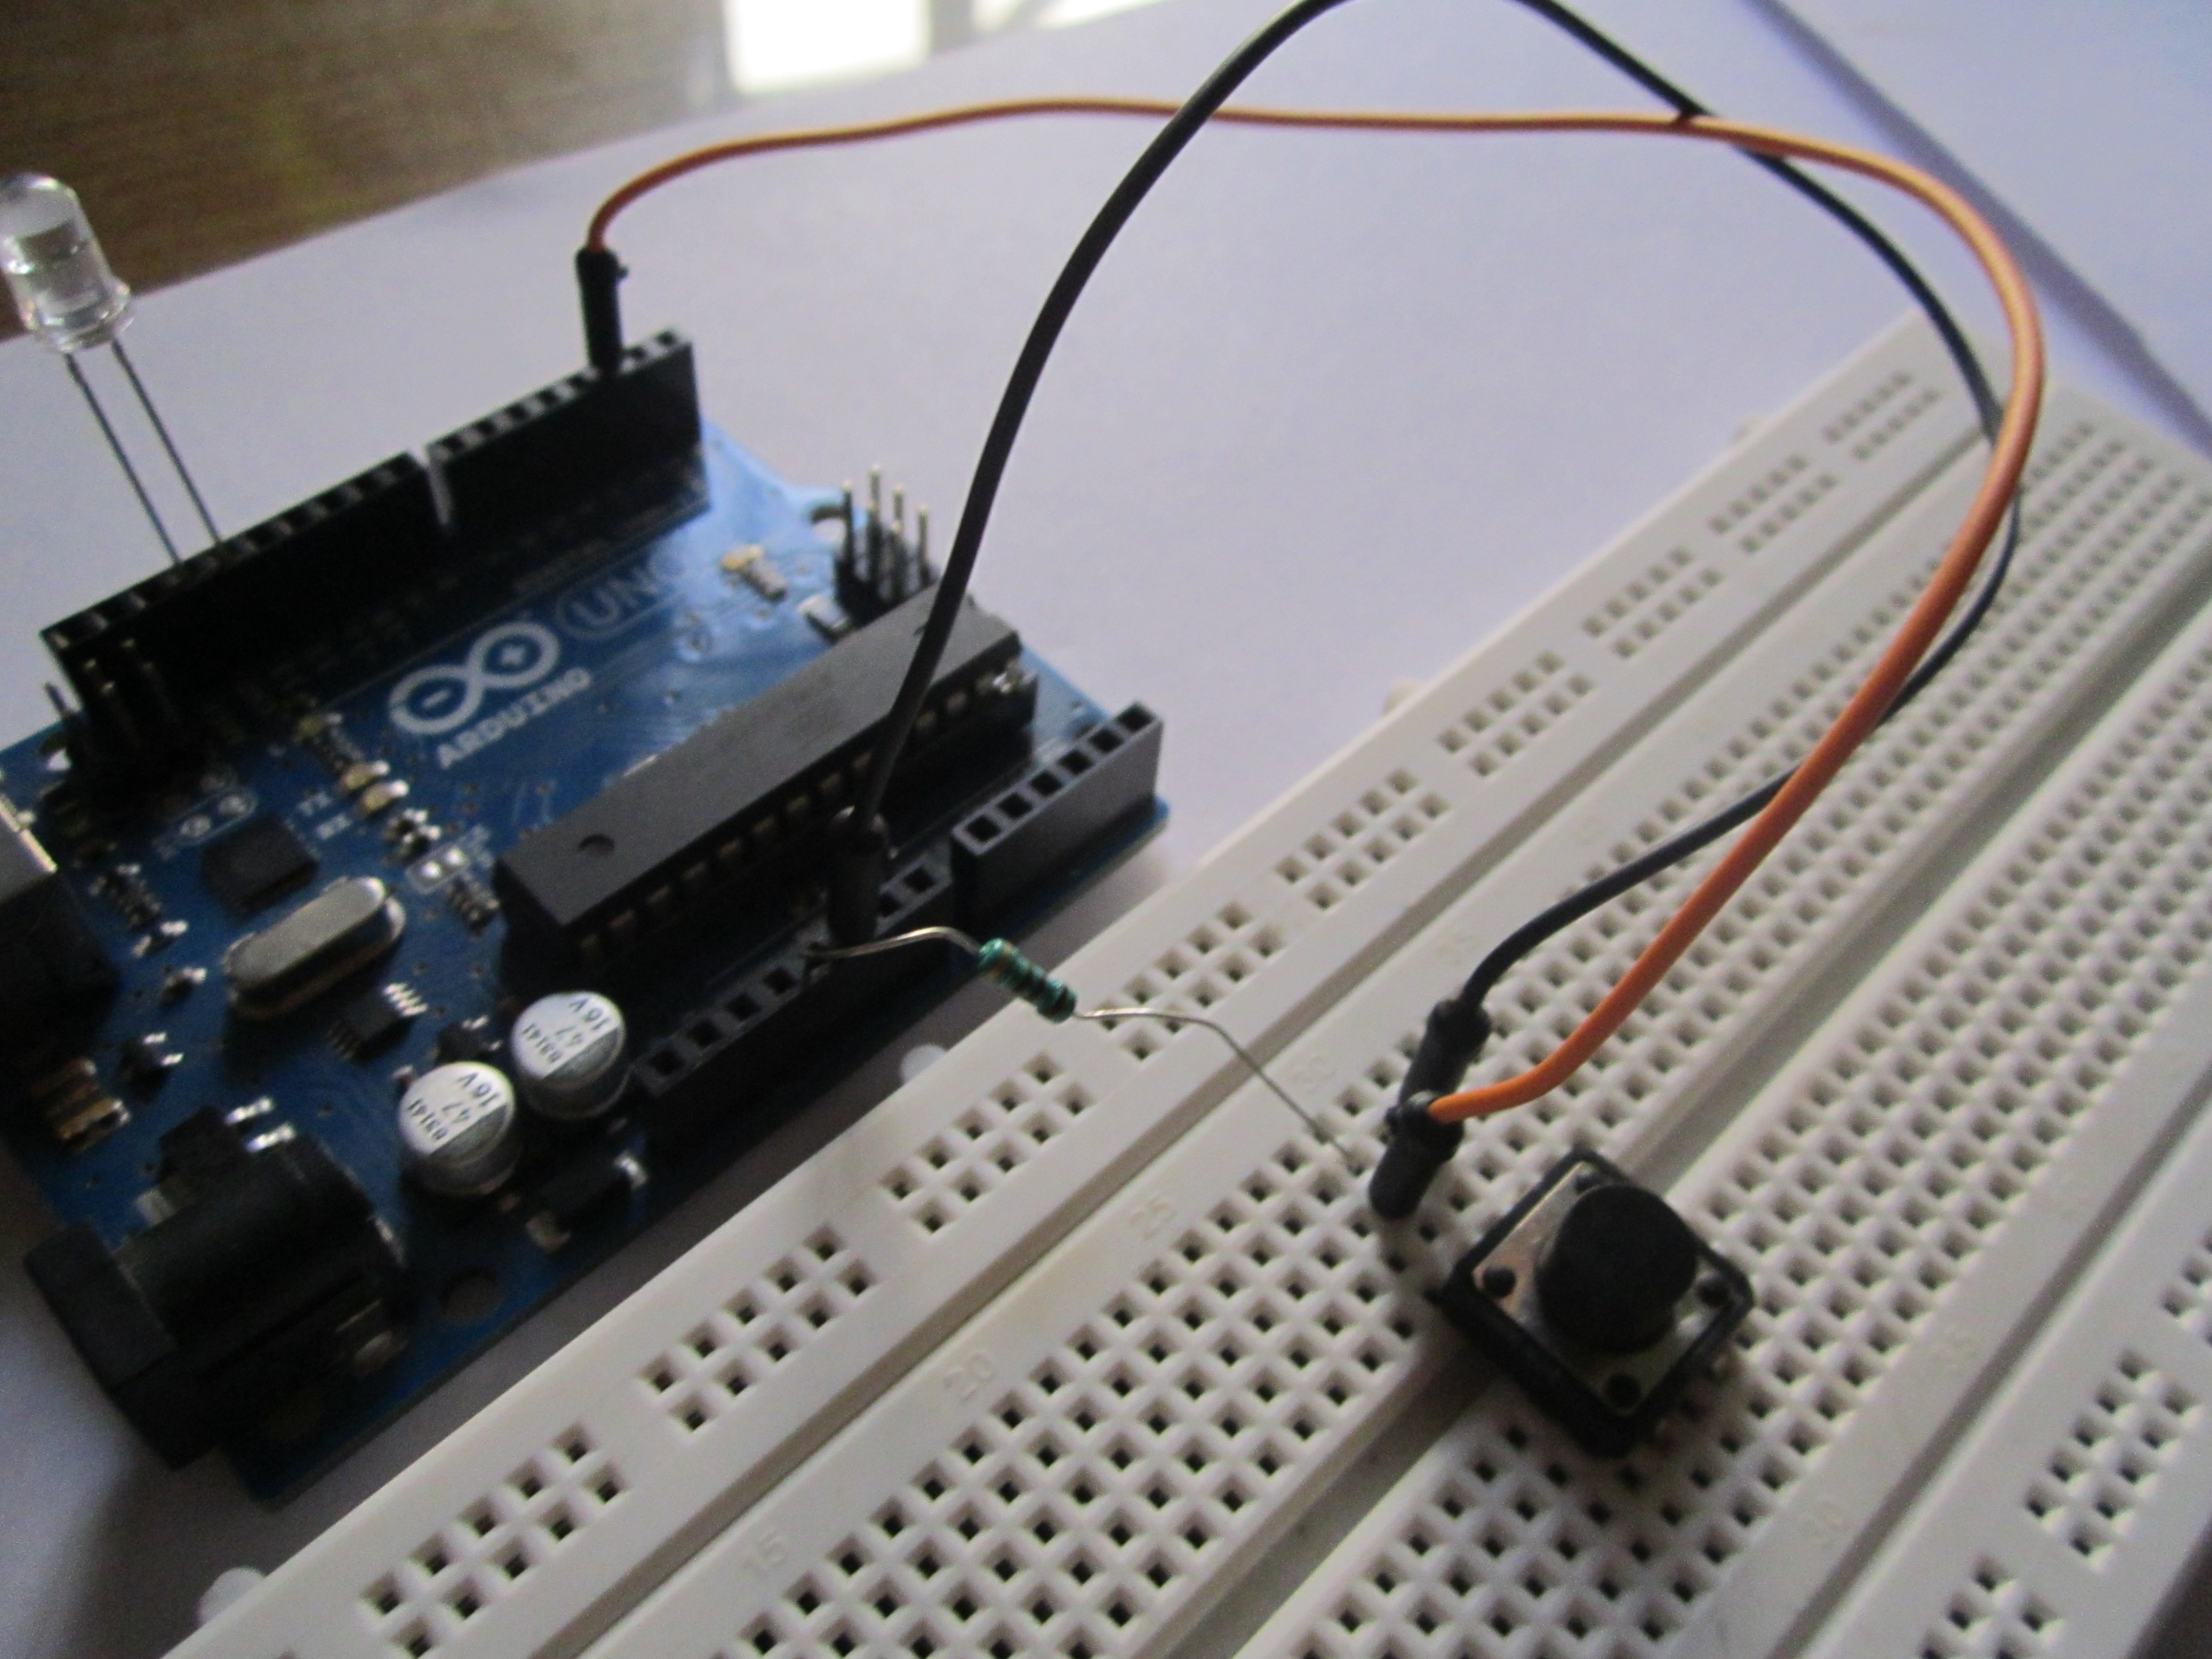

Connect the first terminal (the one with the resistor) to pin 2 on the Arduino and load the program:
int d=2; // to store on or off value
void setup()
{pinMode(2,INPUT);
pinMode(13,OUTPUT);
}
void loop()
{
d=digitalRead(2);
if(d==0)
{digitalWrite(13,HIGH);}
else
{digitalWrite(13,LOW);}
}
int d=2; // to store on or off value
void setup()
{pinMode(2,INPUT);
pinMode(13,OUTPUT);
}
void loop()
{
d=digitalRead(2);
if(d==0)
{digitalWrite(13,HIGH);}
else
{digitalWrite(13,LOW);}
}
You Are Done!!

Now just press the switch and the LED will light up!