How to Use Vavle's Hammer Editor
by Trainguyxx in Living > Video Games
93879 Views, 20 Favorites, 0 Comments
How to Use Vavle's Hammer Editor

This is a tutorial for making a small map to help out people who want to make maps for gmod, counterstrike, and half life 2.
Open Up Steam
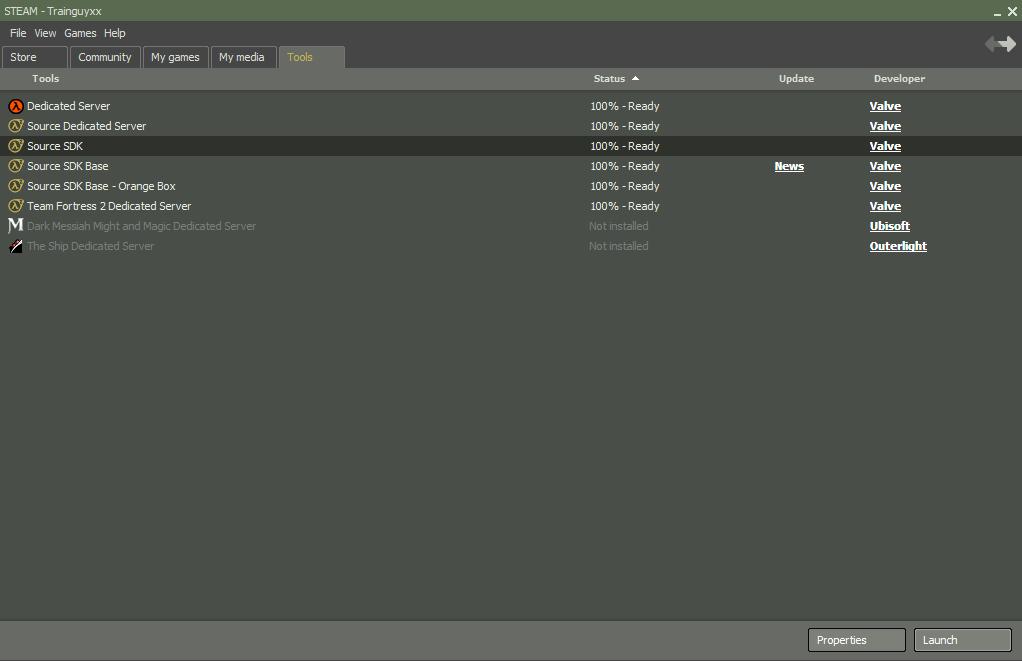
Open Up Steam. Look for the tools tab at the top, and, if you havn't already done this, download the tool "Source SDK". If you have it then open it up.
Enter Your Settings
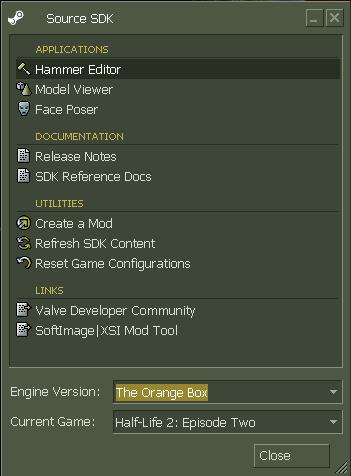
This is where you start to customize settings. If you want to play half-life 2 or garry's mod with your new map, choose orange box engine or the ep1 engine and then set the game to half life 2 (or any other game for gmod).
If you want to make a counterstrike source map, use the ep1 engine and choose the game counterstrike source.
For me, I'm going to use the ep2 engine.
When your done choosing the settings, doubleclick "Hammer Editor" at the top.
If you want to make a counterstrike source map, use the ep1 engine and choose the game counterstrike source.
For me, I'm going to use the ep2 engine.
When your done choosing the settings, doubleclick "Hammer Editor" at the top.
Click on the Brush Tool
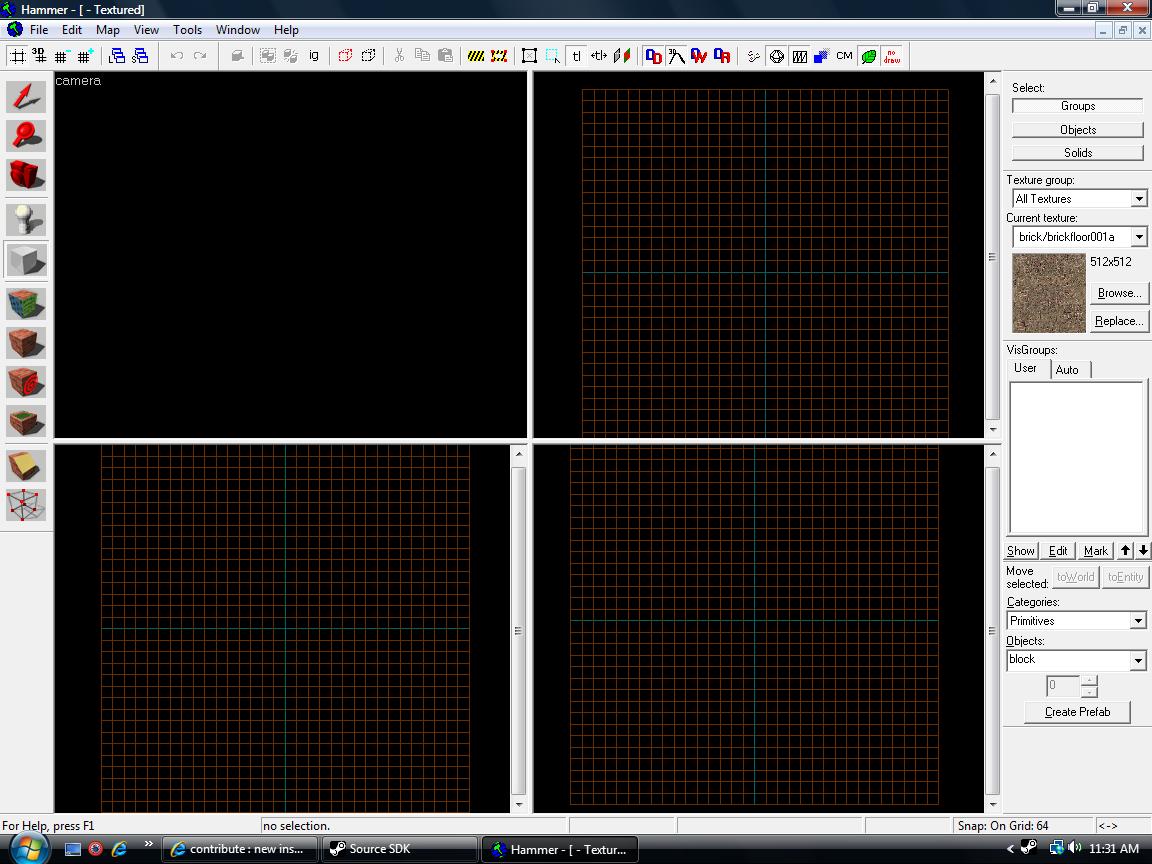
To make a new map, go to file at the top, and then click new. When you click that, 4 boxes should pop up in the middle mass of the window.
To start making the base of the map, click the brush tool. This is the small square icon in middle left.
To start making the base of the map, click the brush tool. This is the small square icon in middle left.
Click and Drag a Box
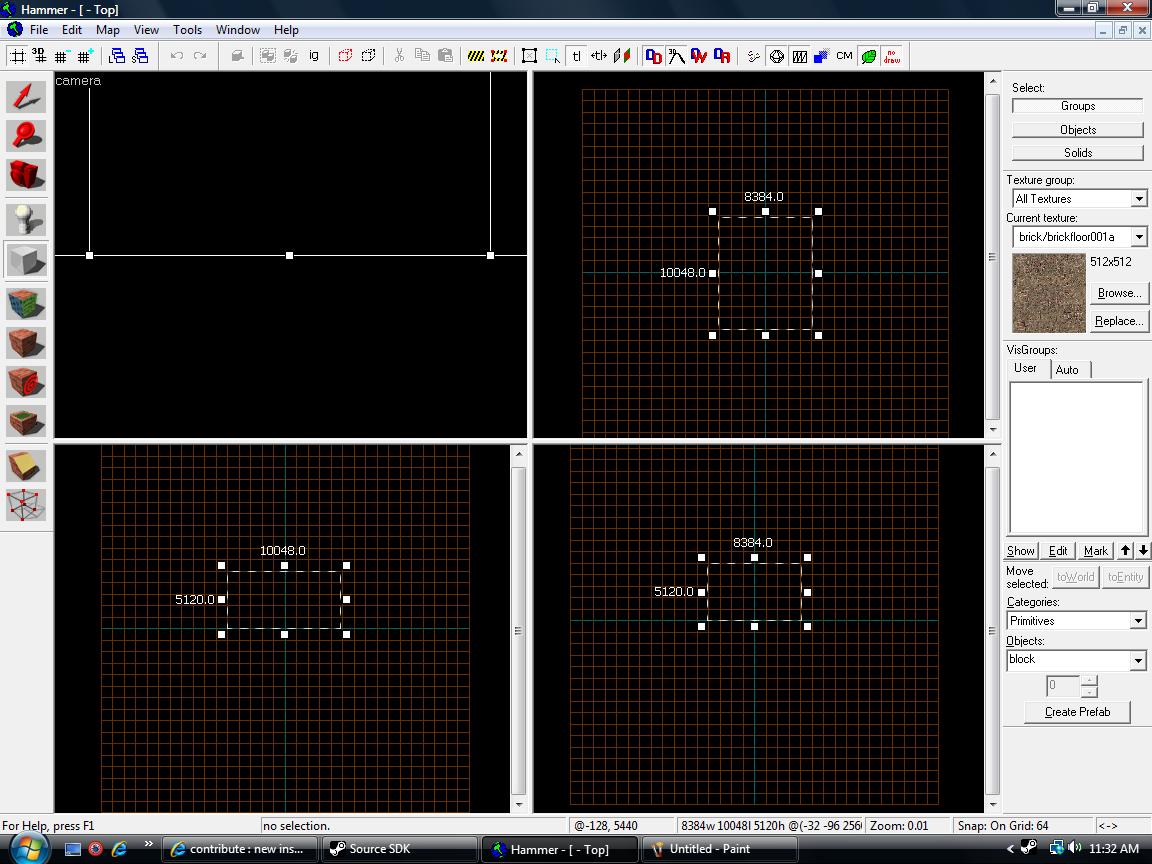
To make the base of the map, click and drag on one of the windows, but not on the top left box. Make a box of soem sorts. When you make the box that you find to be right, press enter.
Once you press enter, press Control+H. A window should pop up. In the input, put in "-12" (negative 12). Then press enter.
Once you press enter, press Control+H. A window should pop up. In the input, put in "-12" (negative 12). Then press enter.
Apply Entities
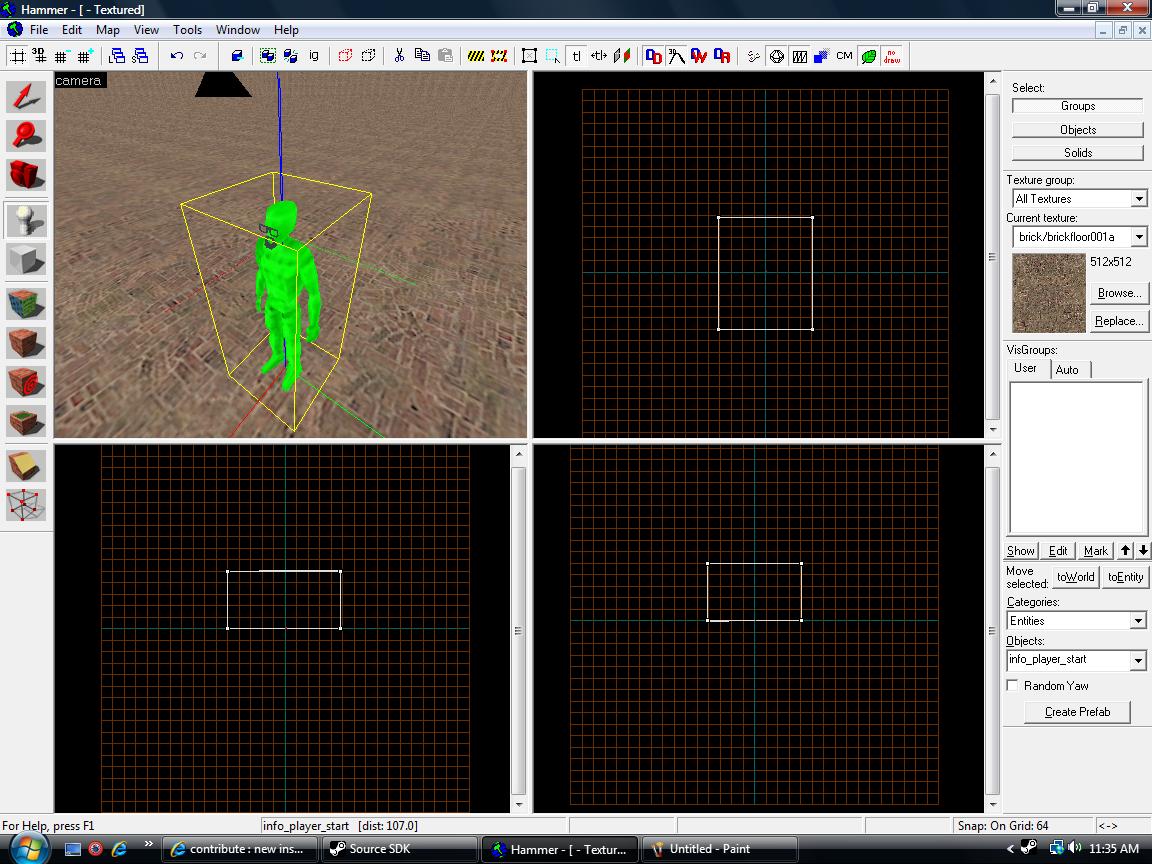
Once you have made you base for your map, click on the camara tool. This is located on the middle left toolbox. If it isn't anymore obvious, this tool is picutred as a camera.
Go back to one on the windows and click and drag to set yur camera. If you did that correctly, you should be looking at the inside of your box that you made at the top left window. You can now move around.
Once you get use to the controls for the camera, go down to the bottom of the inside of the map, right around the middle. We are now going to make a spawn point. In the toolbox on the left, click on the entities tool (the light bulb). Even though the default entity is the spawn point, I still want to let you recognise what do later on when you want to spawn things like nps, specicfic lights, ect. Click on the ground to make a spawn point. Your map is now playbale.
Compile the Map
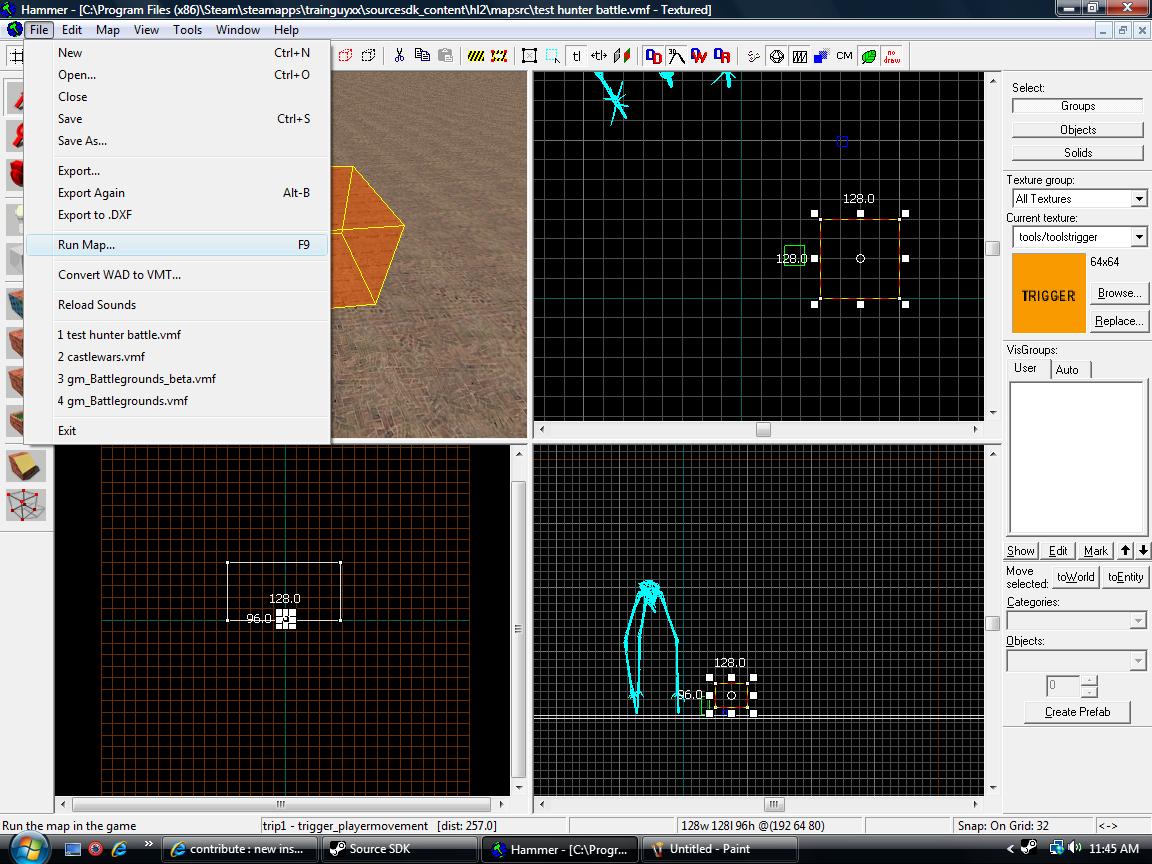
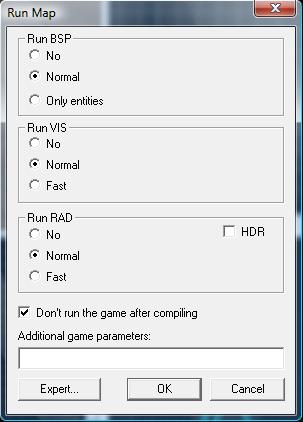
If you want, you can also put anything else that you want into your map. If your done, your now ready to compile and then play your new map. Go to file, run map. A window should pop up. The next picture will show you the setting I use alot. I would suggest them, but you don't have to. When your ready, click ok. A new window will pop up and it will begin to compile your map.
Find Your Map in the Folder Destination.
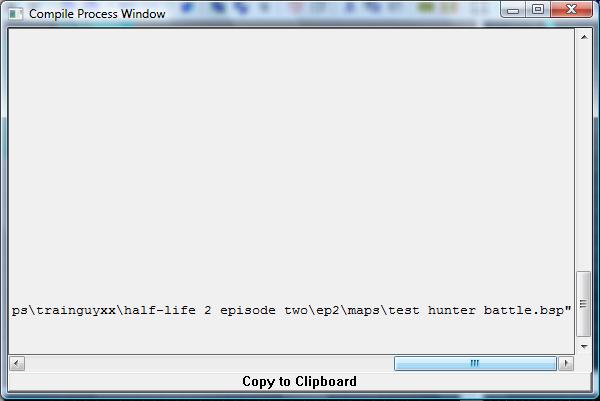
When the process is finished, you should see a link to the folder that the .vmf file is, and if you scroll the the right, you will see the link to the folder where your newly created map is.
If you want to move the map around to another folder (such as the gmod map folder), you can go to the link and copy and paste it to another folder. In a half life game, to run the map, open console and type in "Map (Exact name of map)". If you did it correctly, you should load into your map.
Congradulations! You made you first map! If you have any questions, just send me a message.