How to Use Google SketchUp for Ponoko 3D Printing
by fungus amungus in Workshop > 3D Printing
44298 Views, 132 Favorites, 0 Comments
How to Use Google SketchUp for Ponoko 3D Printing
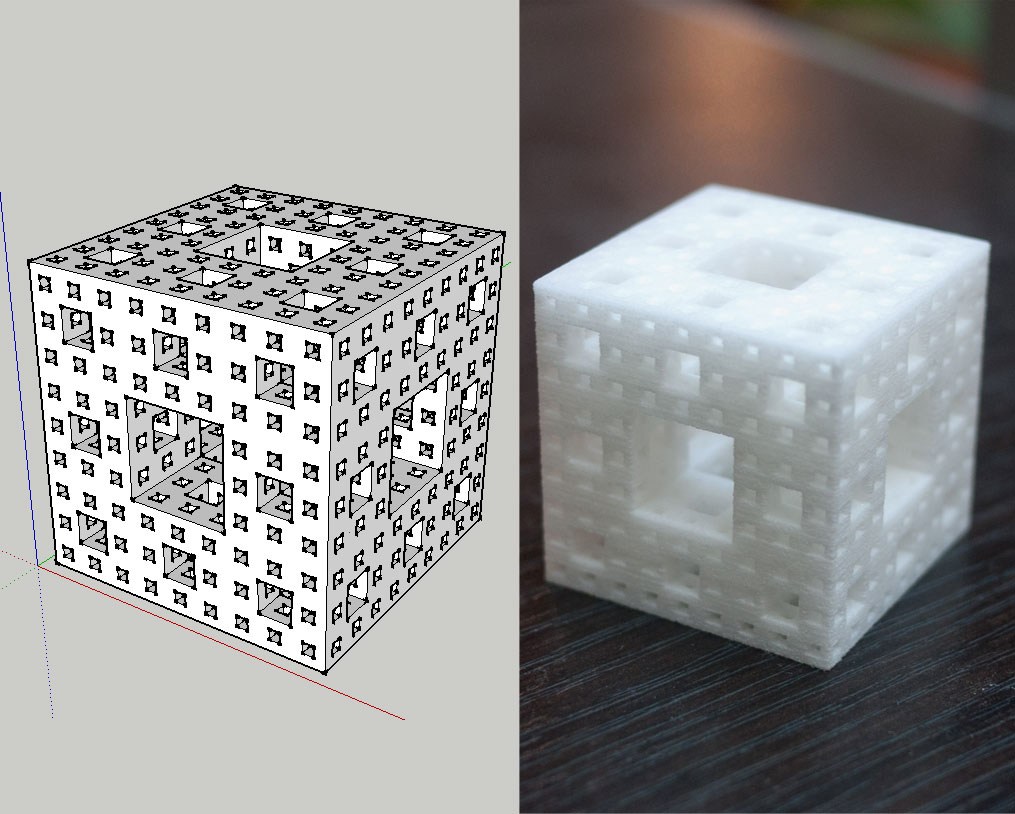
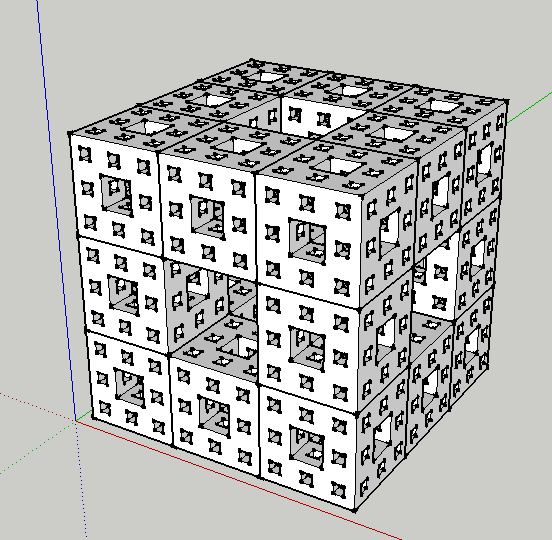
This Instructable covers making a 3D file in SketchUp and then exporting the file so that it can be printed up by Ponoko. The item being made here is a level-3 Menger sponge.
This Instructable is an entry for the Google Ponoko Challenge. It ends tomorrow, Dec. 17, so if you have an idea for an entry do it soon!
This Instructable is an entry for the Google Ponoko Challenge. It ends tomorrow, Dec. 17, so if you have an idea for an entry do it soon!
Starting With a Cube
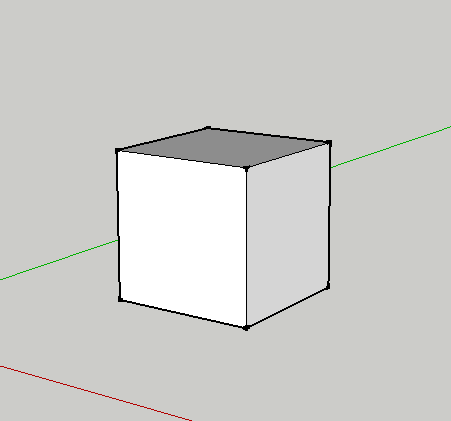
The Menger sponge starts with a basic cube. In theory you would be subdividing each face into 9 pieces and then "pushing through" each middle face to create a hole. This technique would work fine for the first iteration, but become a huge problem in the 2nd and a massive headache for the 3rd. Instead it's easier to build up.
Build the 1st Iteration
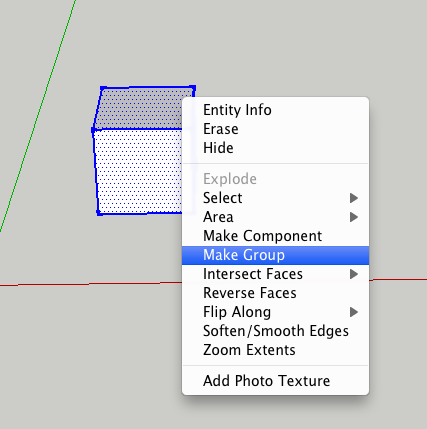
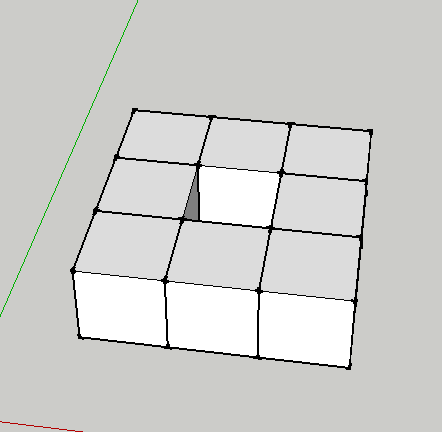
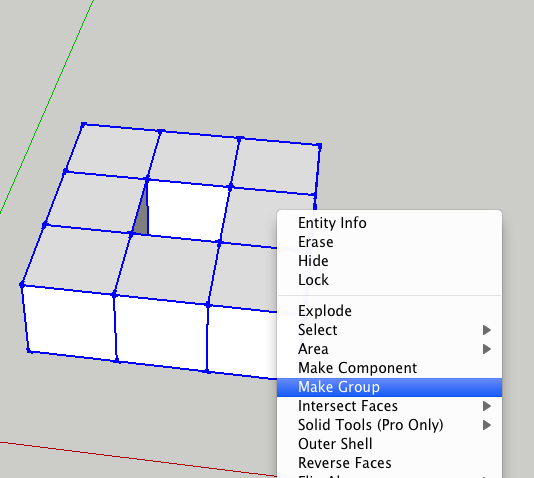
Make the single cube a group. This prevents the cubes from attaching when you copy them.
Now copy and move the cubes so that you have 8 in the arrangement seen in picture 2.
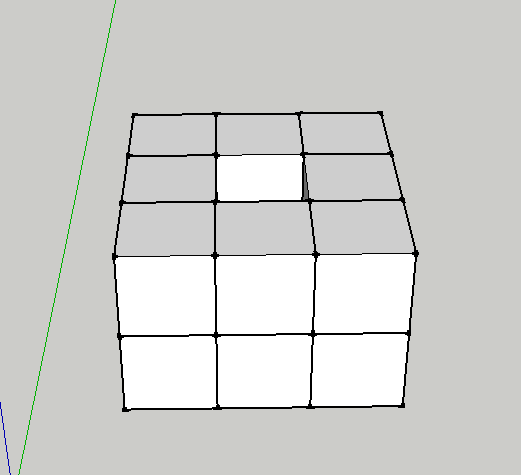
Group these 8 cubes and make 2 copies stacked on top of the first layer.
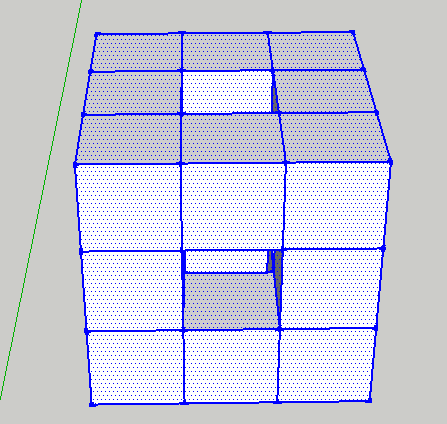
In the middle layer, delete the 4 non-corner cubes.
You should now have what's in picture 5 here. This is the first iteration.
Now copy and move the cubes so that you have 8 in the arrangement seen in picture 2.
Group these 8 cubes and make 2 copies stacked on top of the first layer.
In the middle layer, delete the 4 non-corner cubes.
You should now have what's in picture 5 here. This is the first iteration.
Explode and Erase
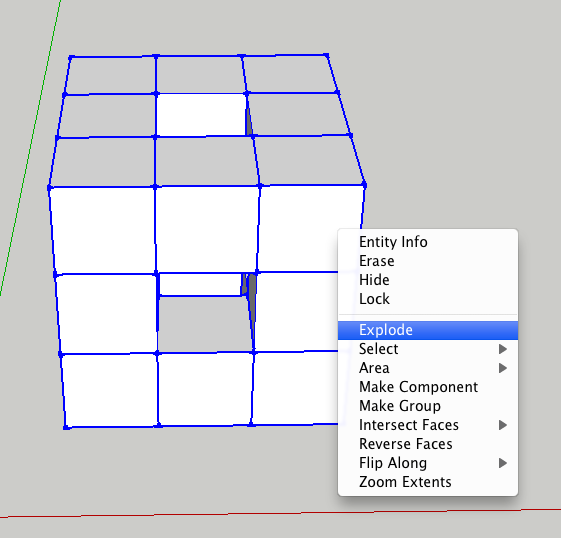
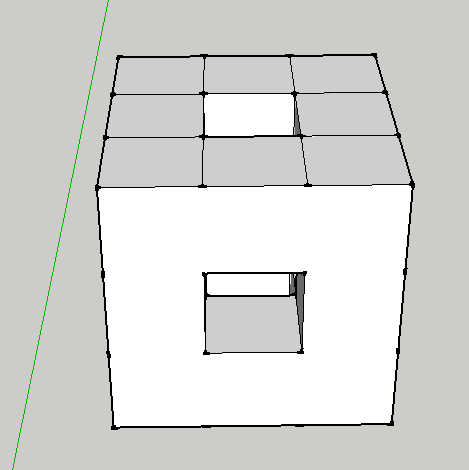
Select everything and explode the model. Do this twice and all the cubes should now be connected.
Now use the eraser tool to remove the internal lines in the model. Picture 2 here shows one side cleaned up.
Now use the eraser tool to remove the internal lines in the model. Picture 2 here shows one side cleaned up.
Second Verse!
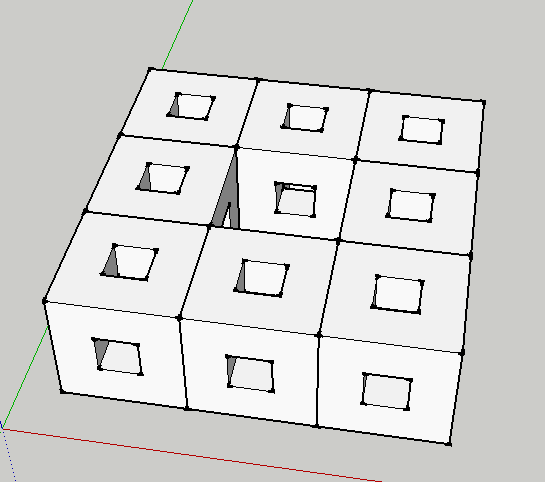
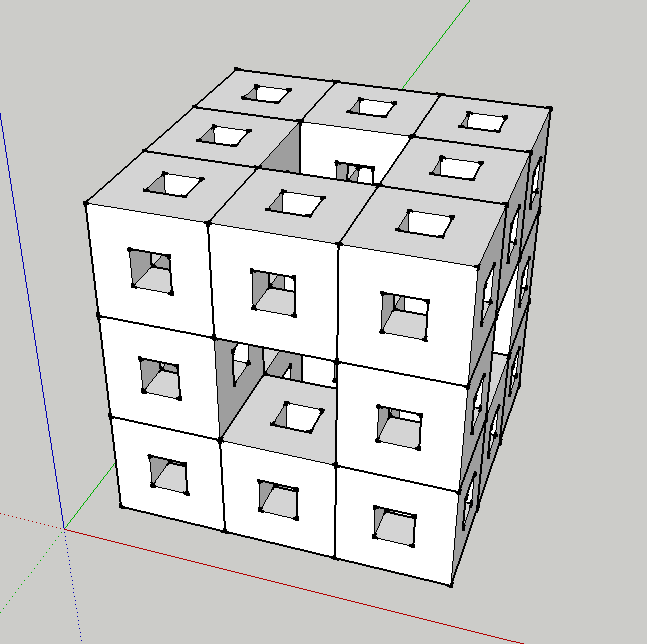
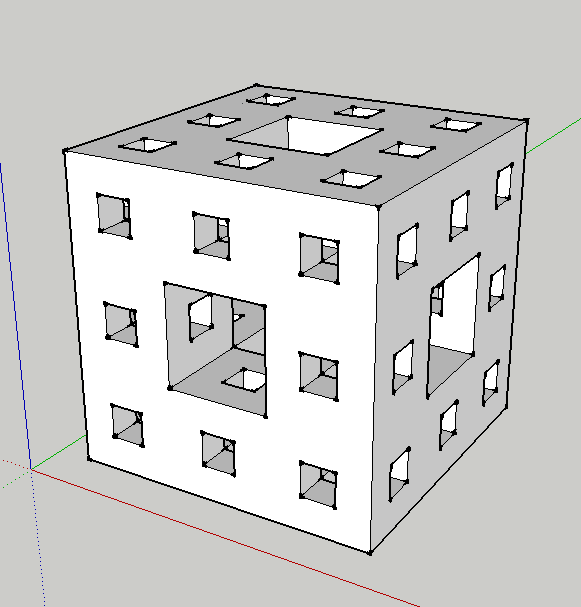
Make the new model a group and repeat step 2.
- Make one layer
- Group it
- Copy it
- Delete 4 squares in middle layer
- Explode x2
- Clean up with eraser
- Make one layer
- Group it
- Copy it
- Delete 4 squares in middle layer
- Explode x2
- Clean up with eraser
Third Verse!

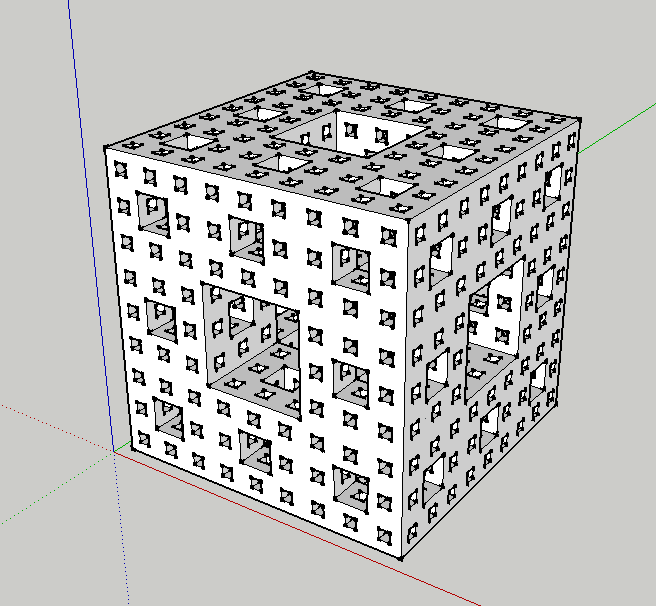
OK, you know what to do next, repeat step 2 again!
- Make one layer
- Group it
- Copy it
- Delete 4 squares in middle layer
- Explode x2
- Clean up with eraser
- Make one layer
- Group it
- Copy it
- Delete 4 squares in middle layer
- Explode x2
- Clean up with eraser
Export the File
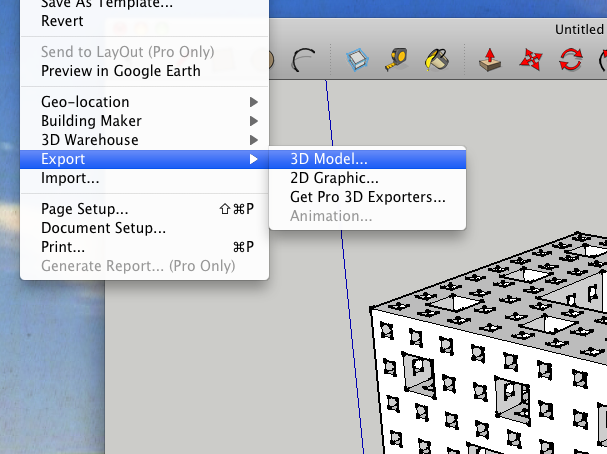
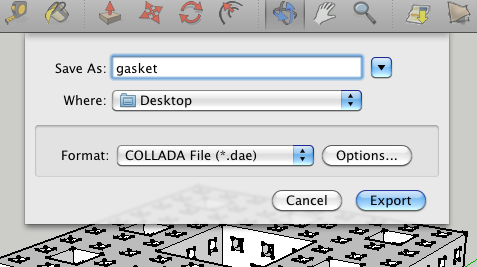
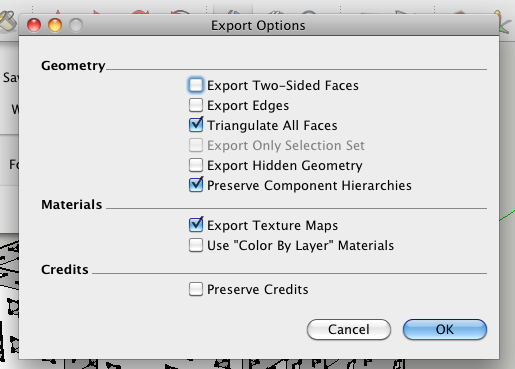
OK, the file is ready to be exported, so let's do it!
- Select File>Export>3D Model
- Choose a name, but before you export, click "Options"
- Make sure the same items are selected as in Picture 3 and click "OK"
- Make sure that the format is "COLLADA File (*.dae)"
- Click "Export"!
- Select File>Export>3D Model
- Choose a name, but before you export, click "Options"
- Make sure the same items are selected as in Picture 3 and click "OK"
- Make sure that the format is "COLLADA File (*.dae)"
- Click "Export"!
Step Into Reality
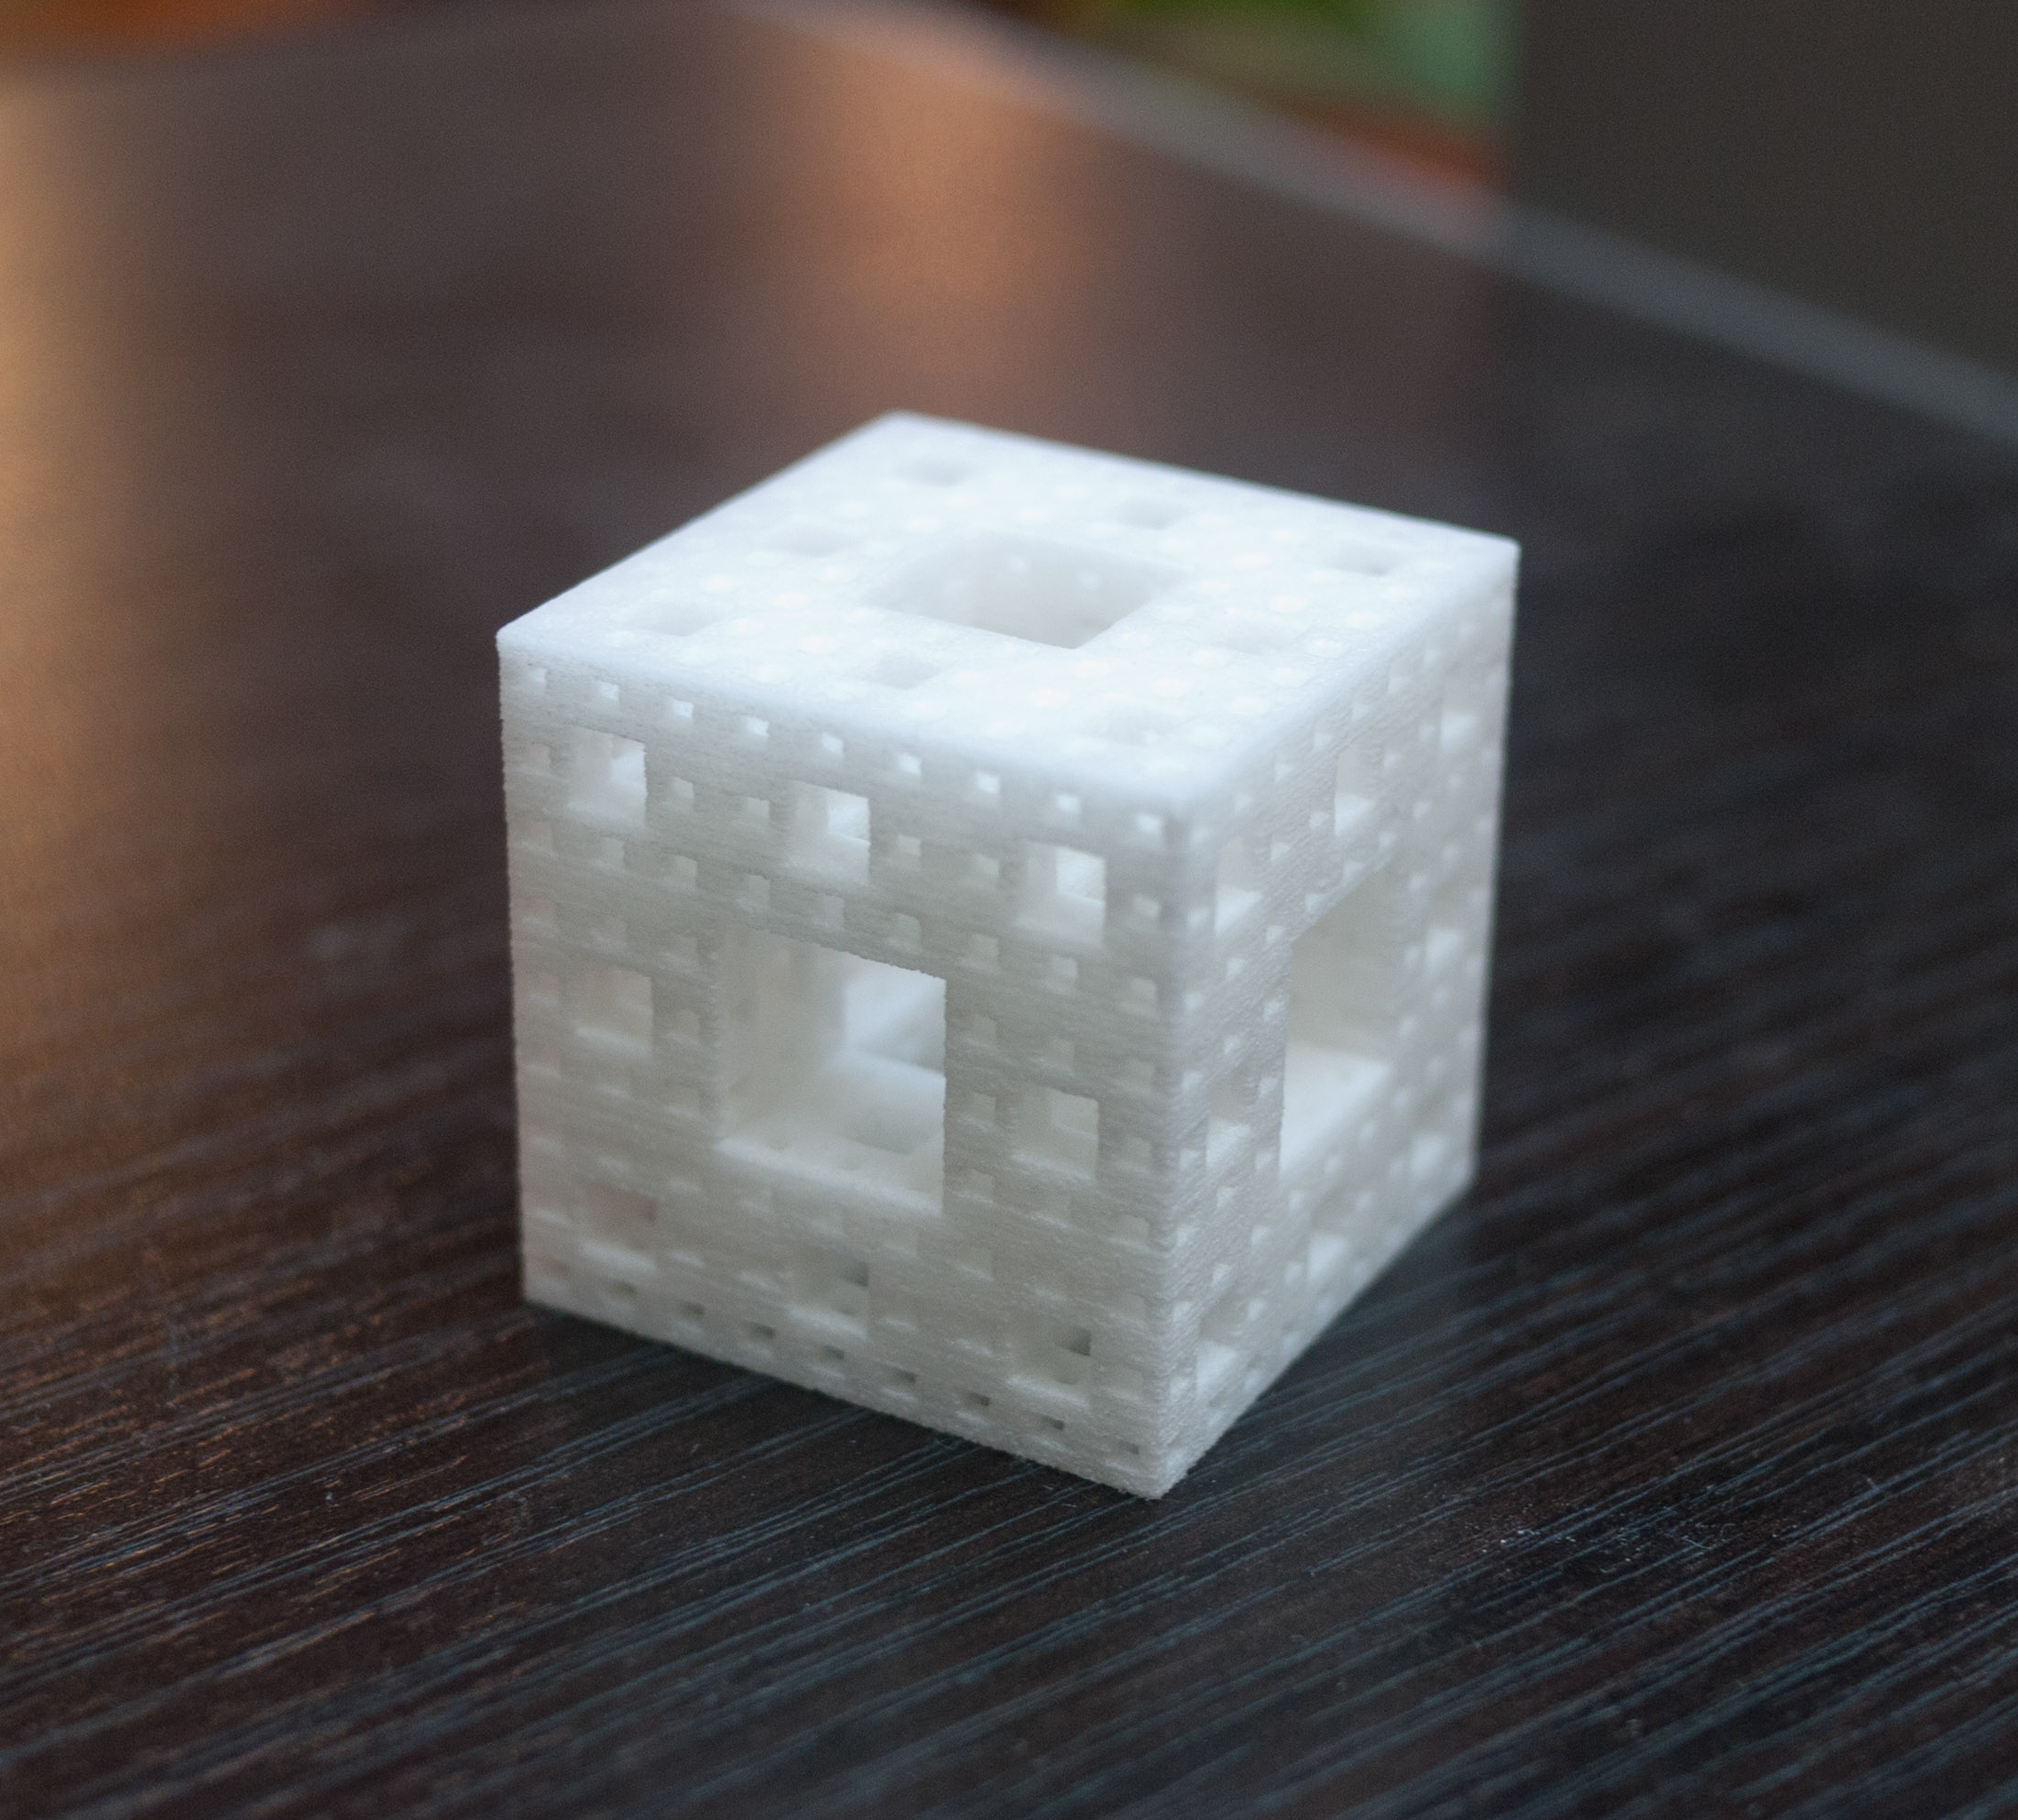
Now you have a file that is ready for printing by Ponoko. Upload the file and see how much it costs to print. Now you'll likely change your mind about how big you want it and shrink the model size. Then just export another file and upload it again. Repeat until you're happy with the size and cost of the final piece and poof! It becomes real!