How to Update and Jailbreak Ipod/Iphone on 3.0 OS (NOT FOR IPHONE 3GS)
8172 Views, 5 Favorites, 0 Comments
How to Update and Jailbreak Ipod/Iphone on 3.0 OS (NOT FOR IPHONE 3GS)
I will be showing you how to update and jailbreak your Iphone 2g/3g or Ipod touch 1g/2g. This instructable is not for the new Iphone 3GS. Please be advised that I take no responsibility if you break your Iphone/Ipod. If you want to do this please read on.
Getting the Software Needed.
You will need to download some software before you can start this process. Make a folder to store all of the files. Remember the location of this folder as you will need to point to it at multiple times throughout this instructable.
1. Itunes 8.2
http://www.apple.com/itunes/download/
2. The IPSW for your Iphone or Ipod.
Sorry, I cannot link to these directly but a search in google will get them for you. Also I have trouble finding them shoot me a PM and I can give them to you.
3. RedSn0w from the Dev-Team (Current version is redsn0w_0.7.2)
http://blog.iphone-dev.org/post/126908912/redsn0w-in-june
Setting Up Itunes.
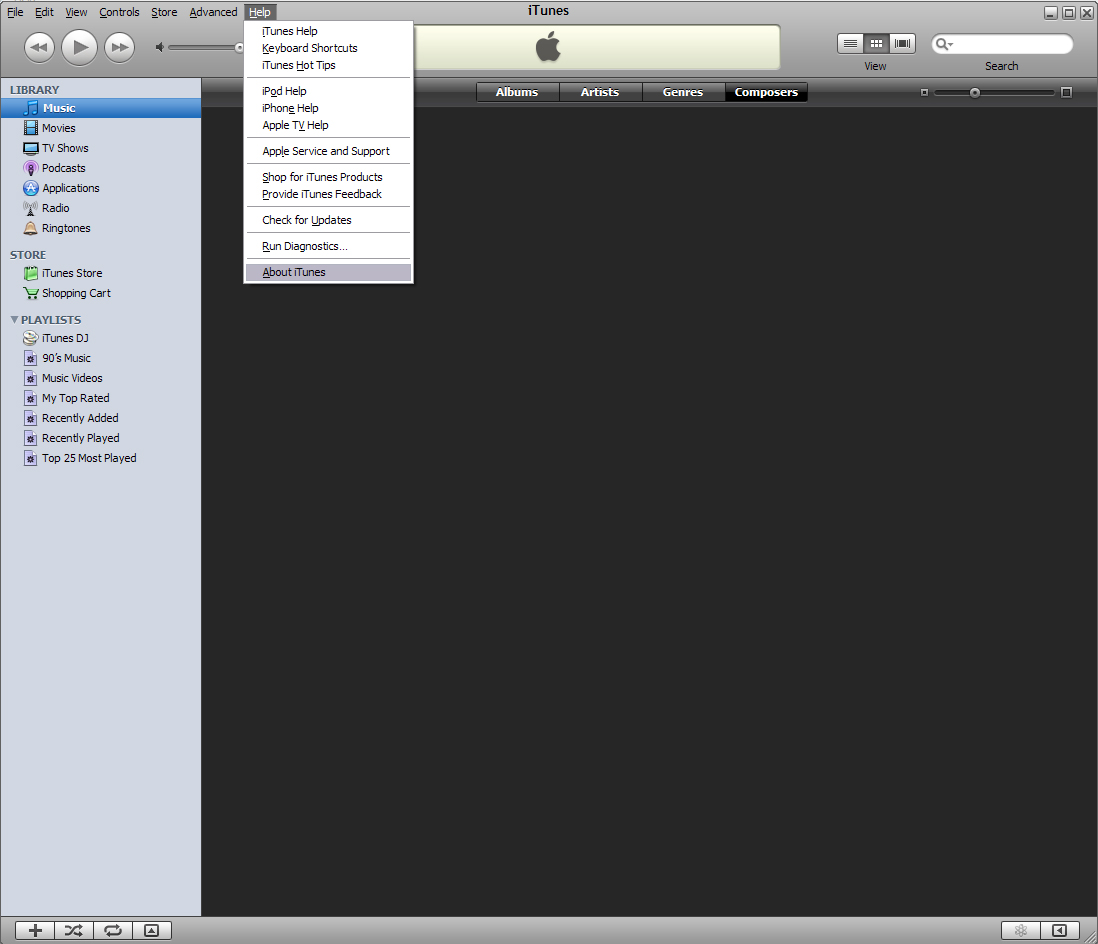
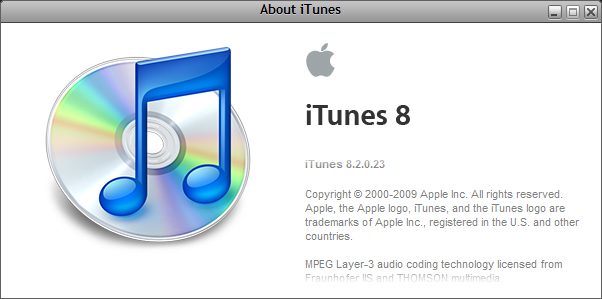
Install the updated version of Itunes. This step is a must if you are going to update your iphone/ipod to 3.0 firmware. The update will fail if you are not using Itunes 8.2 for the update. Run through the update and when finished you should see something like this. Check the version by going into Help, About Itunes. Make sure you have upgraded to version 8.2.
Backup and Restore of the Iphone/Ipod
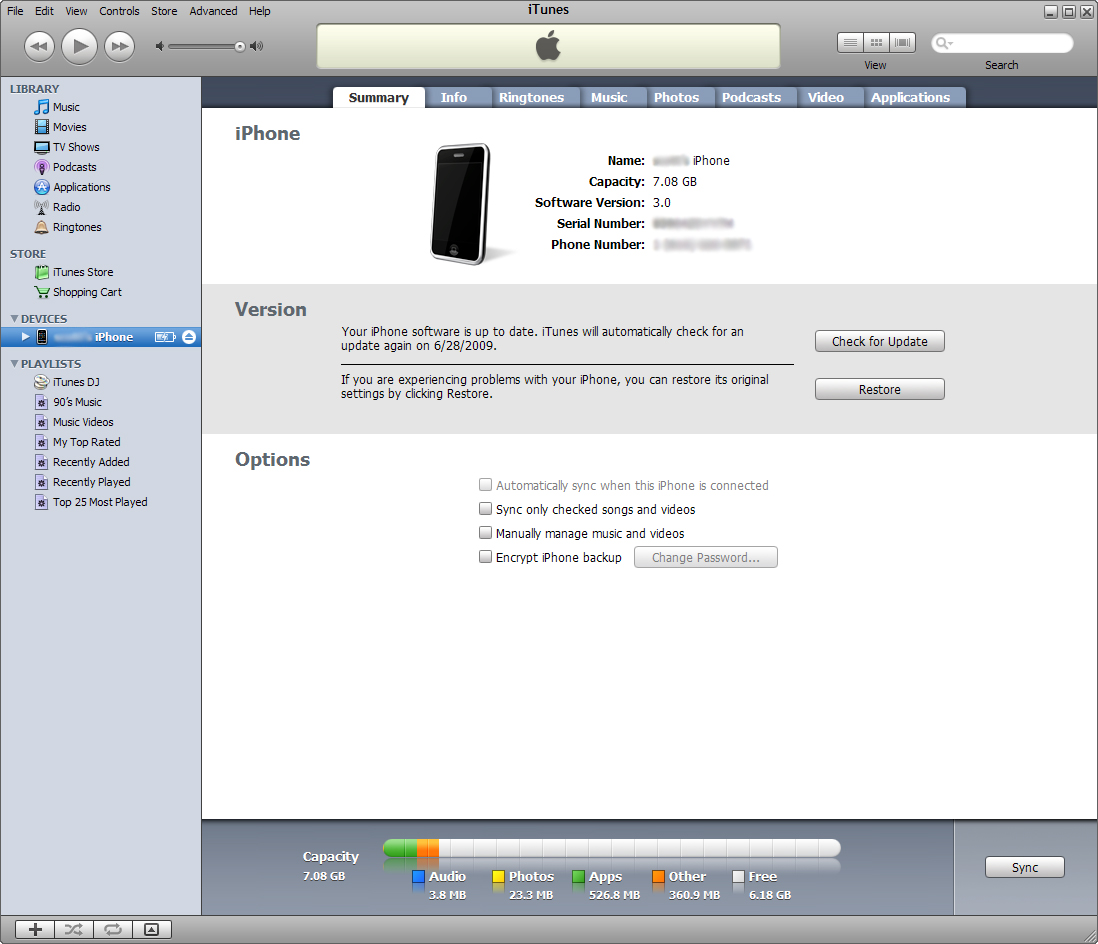
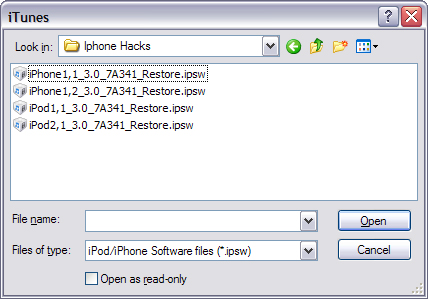
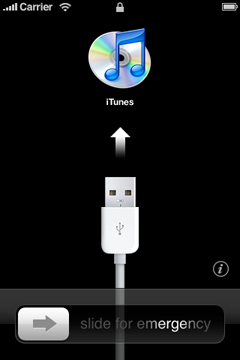
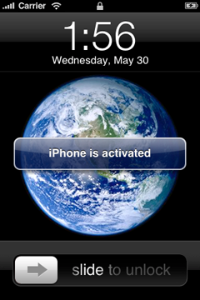
Once updated to Itunes 8.2 connect your Iphone/Ipod to your computer. It should be recognized in Itunes. Once it is recognized do one final sync just to be safe. You can then update by holding shift and clicking on the restore button. This will bring up a window to select the firmware you want to restore. Make sure you know where you downloaded your firmware to. This is the folder you created in step one.
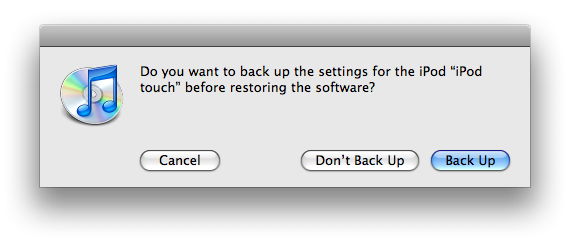
When prompted to back up your iPhone or iPod touch's settings before restoring, select the Back Up option. If have just backed up the device, it is not necessary to create another.
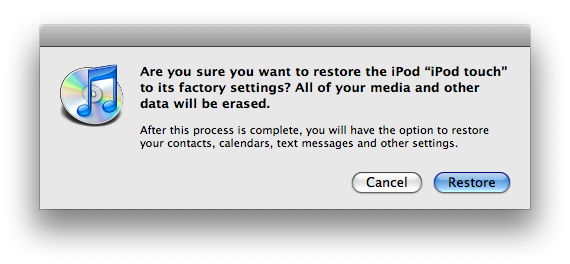
Select the Restore option when iTunes prompts you (As long as you've backed up your device, you should not have to worry about restoring your phone).
Once the restore process has completed the iPhone or iPod touch restarts and displays the Apple logo while starting up. This process also shows a progress bar.
iPhone only: For the iPhone only, after a restore, the iPhone displays the "Connect to iTunes" screen. Keep your device connected until the "Connect to iTunes" screen goes away or you see "iPhone is activated." If iTunes does not have an Internet connection, you cannot complete this step.
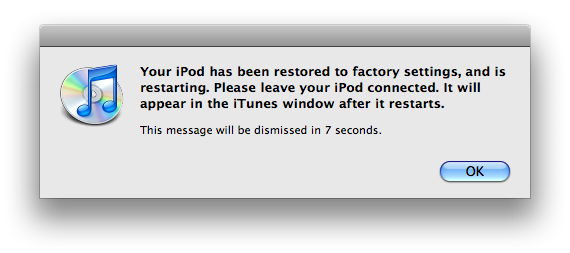
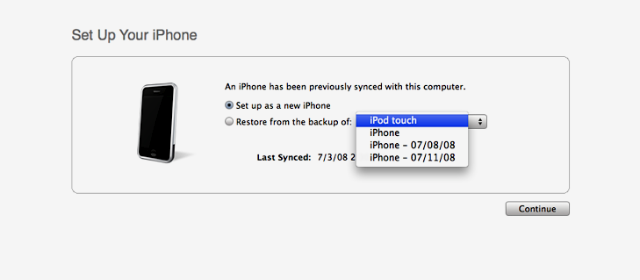
The final step is to restore your iPhone or iPod touch from a previous backup. Once your iPod touch or iPhone is restored and, in the case of the iPhone, in the process of activating, you should be able to see the last image in Itunes.
Select the back up you want for your iPhone or iPod touch and select the Continue button in order to complete your device's restoration.
Time for the Jailbreak.
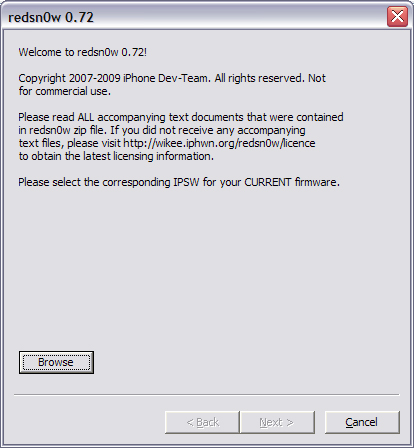
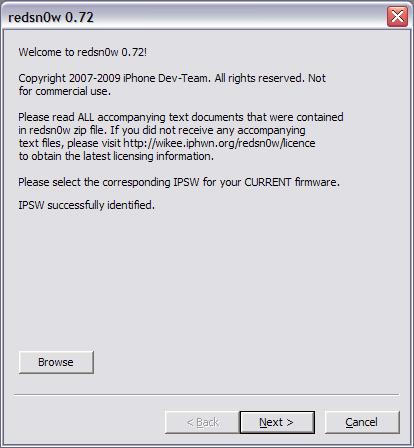
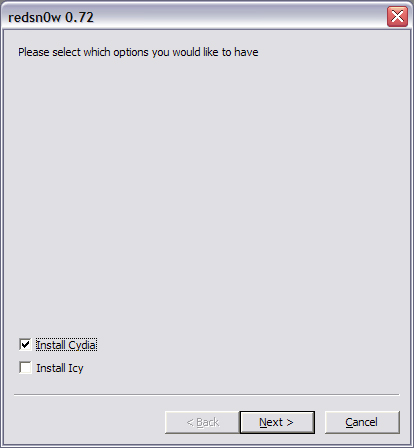
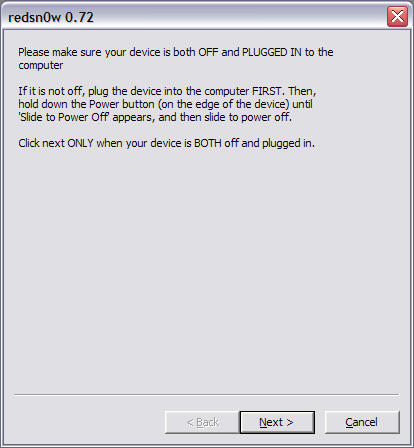
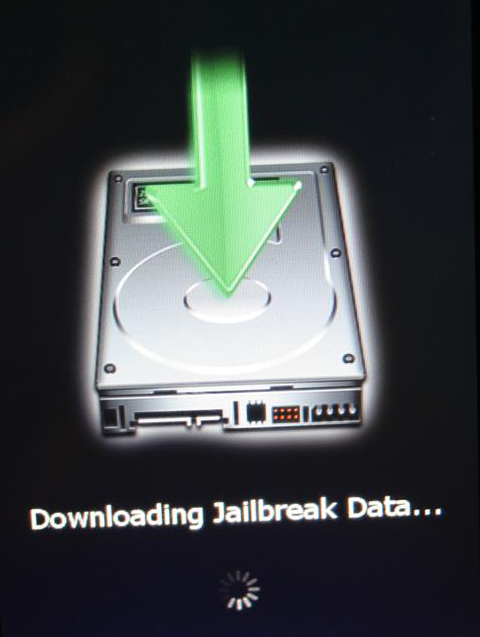
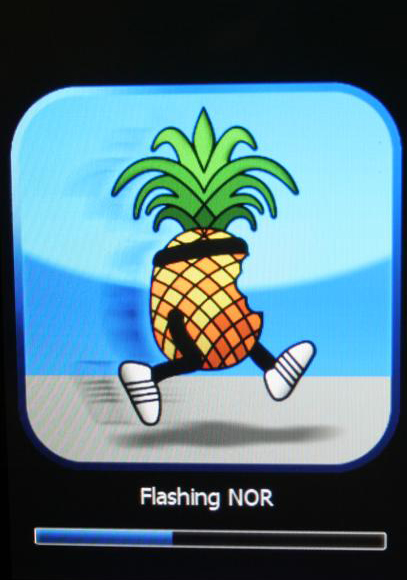
Unzip the redSn0w 0.7.2 software you downloaded in step 1. Run the Exe file inside. You will need to follow the steps exactly when doing the jailbreak.
1. Click on Browse. You will need to pick the firmware you used in the Iphone/Ipod upgrade.
2. Let the firmware be identified. Then click next.
3. The firmware will be read and patched.
4. You now have the option of installing Cydia, Icy or Both. I usually just use Cydia but it is your choice. Click next.
5. Make sure you read the next step very carefully. You must have the device BOTH OFF AND PLUGGED IN. Only click next after you have done this.
6. RedSn0w will then guide you to put your iPhone into DFU mode. Hold down the power button for 2 seconds. Without releasing the power button, also hold down the home button for 10 seconds. Without releasing the home button, release the power button but keep holding the home button for 30 seconds. (Sorry, I don't have pictures of this)
7. If done correctly, your iPhone should reboot and the jailbreak process should start. This step may take up to 15-20 minutes so be patient. You will see it updating the ramdisk along with other commands.
8. Once this process is over, you will get a message saying that it is done!
9. Click the finish button and reboot your iPhone. The reboot may take up to 10 minutes so again, be patient.
10. Congratulations, you just jailbroke your iPhone 3.0 with RedSn0w. Cydia, Icy, or Both should now be on your springboard. Now go out and have some fun.