How to Take Half Decent Pictures With Your Phone.
by killerjackalope in Design > Photography
4926 Views, 9 Favorites, 0 Comments
How to Take Half Decent Pictures With Your Phone.
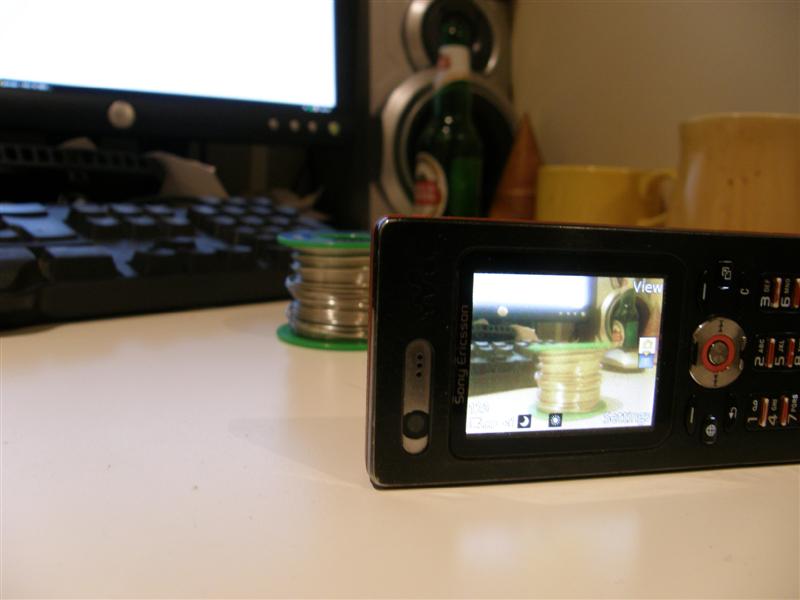.JPG)
A phone camera is not the most capable of cameras with their tiny apertures and fixed focus but there's no need to take terrible pictures, this instructable is here to help fix that little issue...
It also applies to webcams to some extent...
There has been a plague lately of very poor pictures on instructables and the excuse being they were using a phone...
Thanks to Anarchistasian, he gave me the idea after saying about an 'ible where I was forced to use a phone camera by the theft of the old one, so thanks again you mad asian...
Light Light Light.
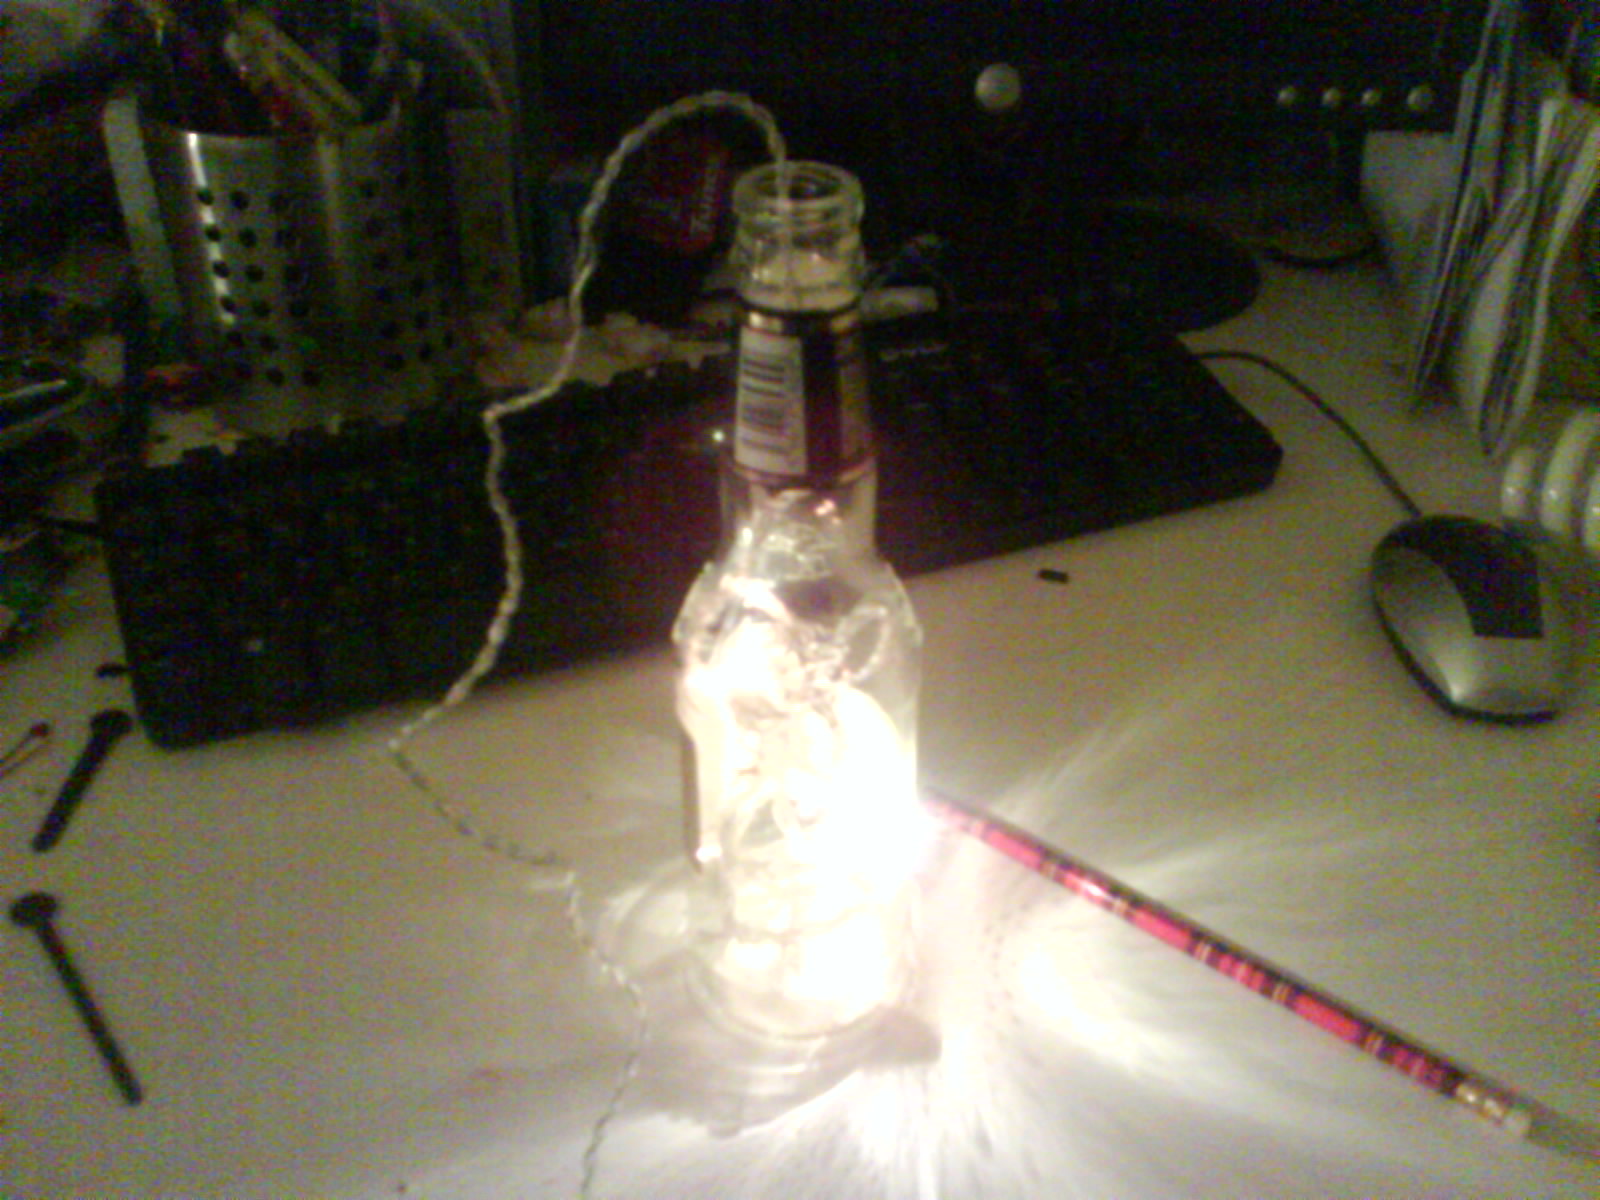
These little cameras have tiny apertures, as said, this means that darkness doesn't do well. Couple that with a pretty weak sensor and you've got to be working hard to get a decent picture.
So to help with this:
- When possible take pictures outdoors on nice days, always better.
- Use a white background, to help reflect light in, unless you have a white object then use a coloured or dark surround.
- When using artificial light find a bright place in the room and make it diffused since they don't deal well with glare.
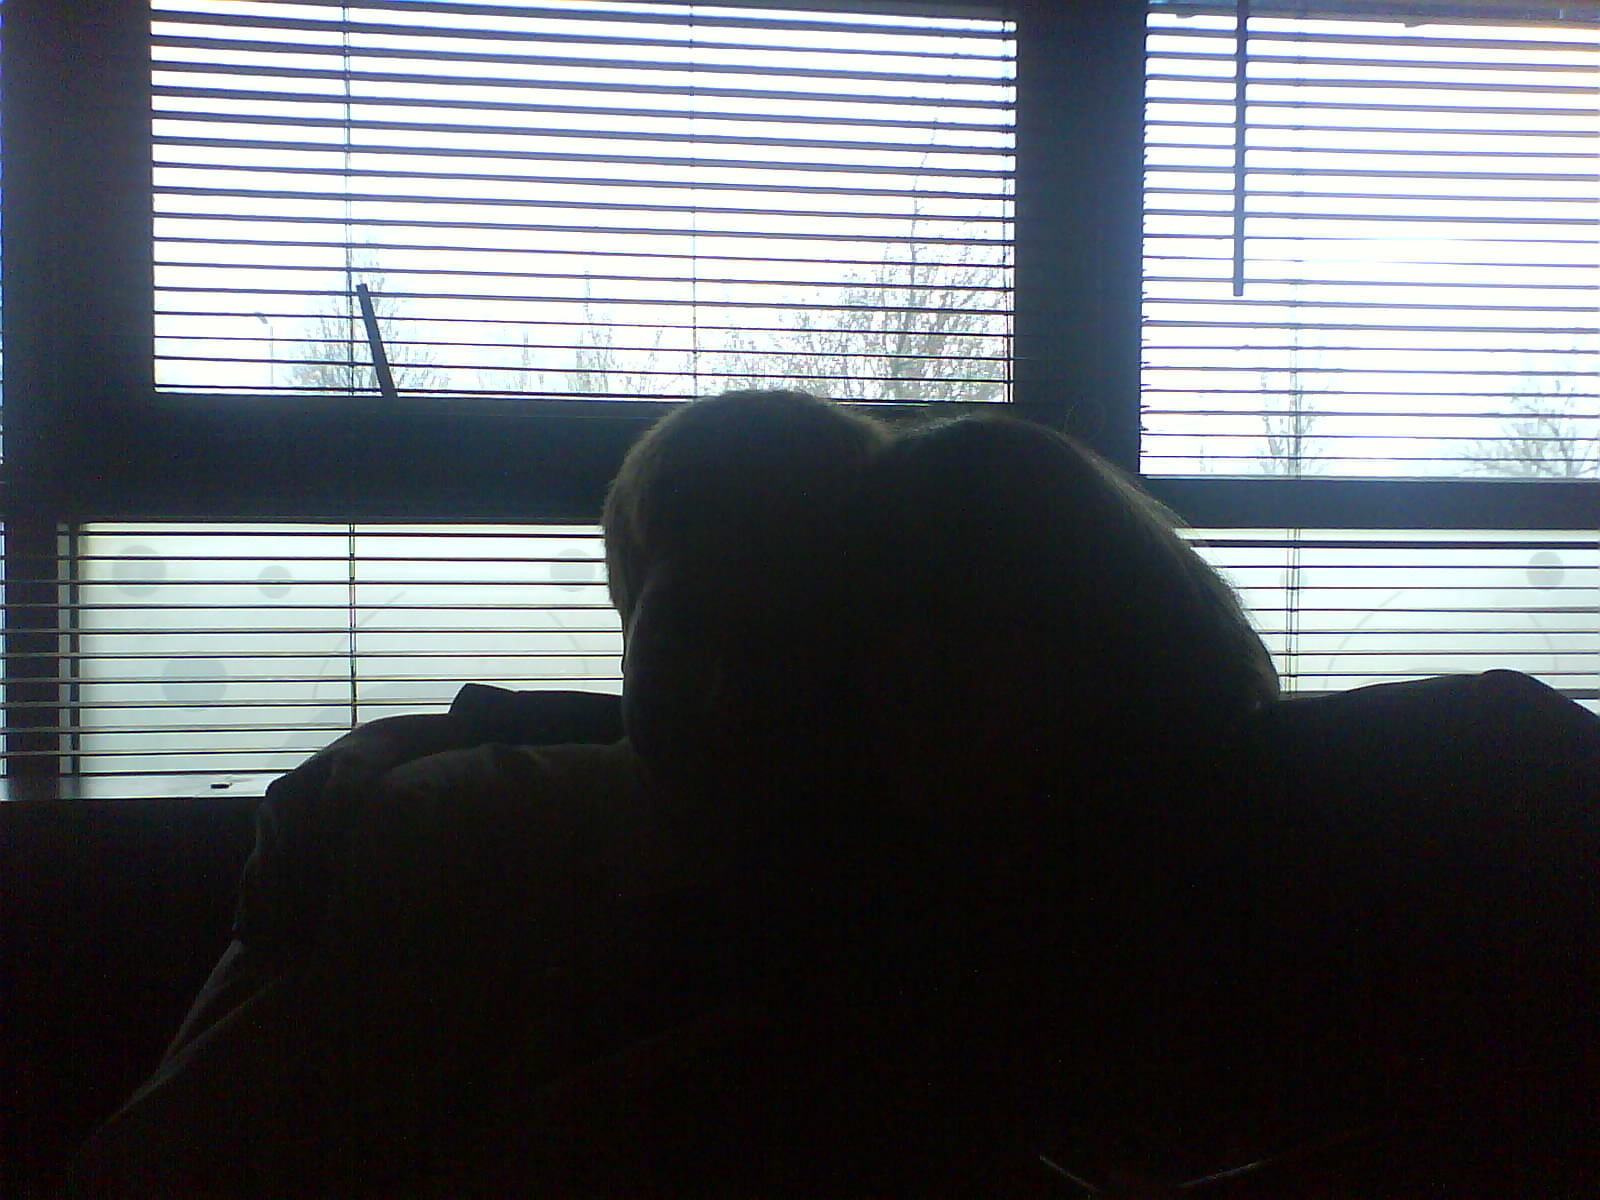
Remember that the light should be hitting them, if it comes from behind the subject you'll likely end up with a silhouette
below are examples of not enough light and proper light, I'll do this for each step, to help show how much the differences can be...
Funny Coloured?


You should just use the auto for general phototaking outside, it has a habit of not changing for indoor lighting, go through each one, looking for the right setting, it probably wont be the one for the lights your using, that's why you look for the one that's right.
Also look for ones that take the best advantage of lighting and have the least graininess, also look out for ones that look nice despite having off colours, arty shots can go down well...
Also look for ones that take the best advantage of lighting and have the least graininess, also look out for ones that look nice despite having off colours, arty shots can go down well...
Shake It Like a Polaroid Picture...


Now since they're so small and not very interested in light they have a habit of being very slow with the shutter, to combat this problem you'll need to be steady...
So take the phone in your hand in the best way to take a picture, usually landscape works well, now you need to brace against something like say, A wall.
Tables are good aswell, basically push gently against the object while you're taking your photo, to help eliminate camera shake, or with small things simply set the phone on the table and hold it up while taking the photos.
Your other option for standing shots is to simply tie a string around the phone in a non obtrusive way and stand on the other end while pulling gently, creating a tripod sort of contraption.
If you do get the shot wrong the first time try it again, it's just lazy not to.
Macro You Say?
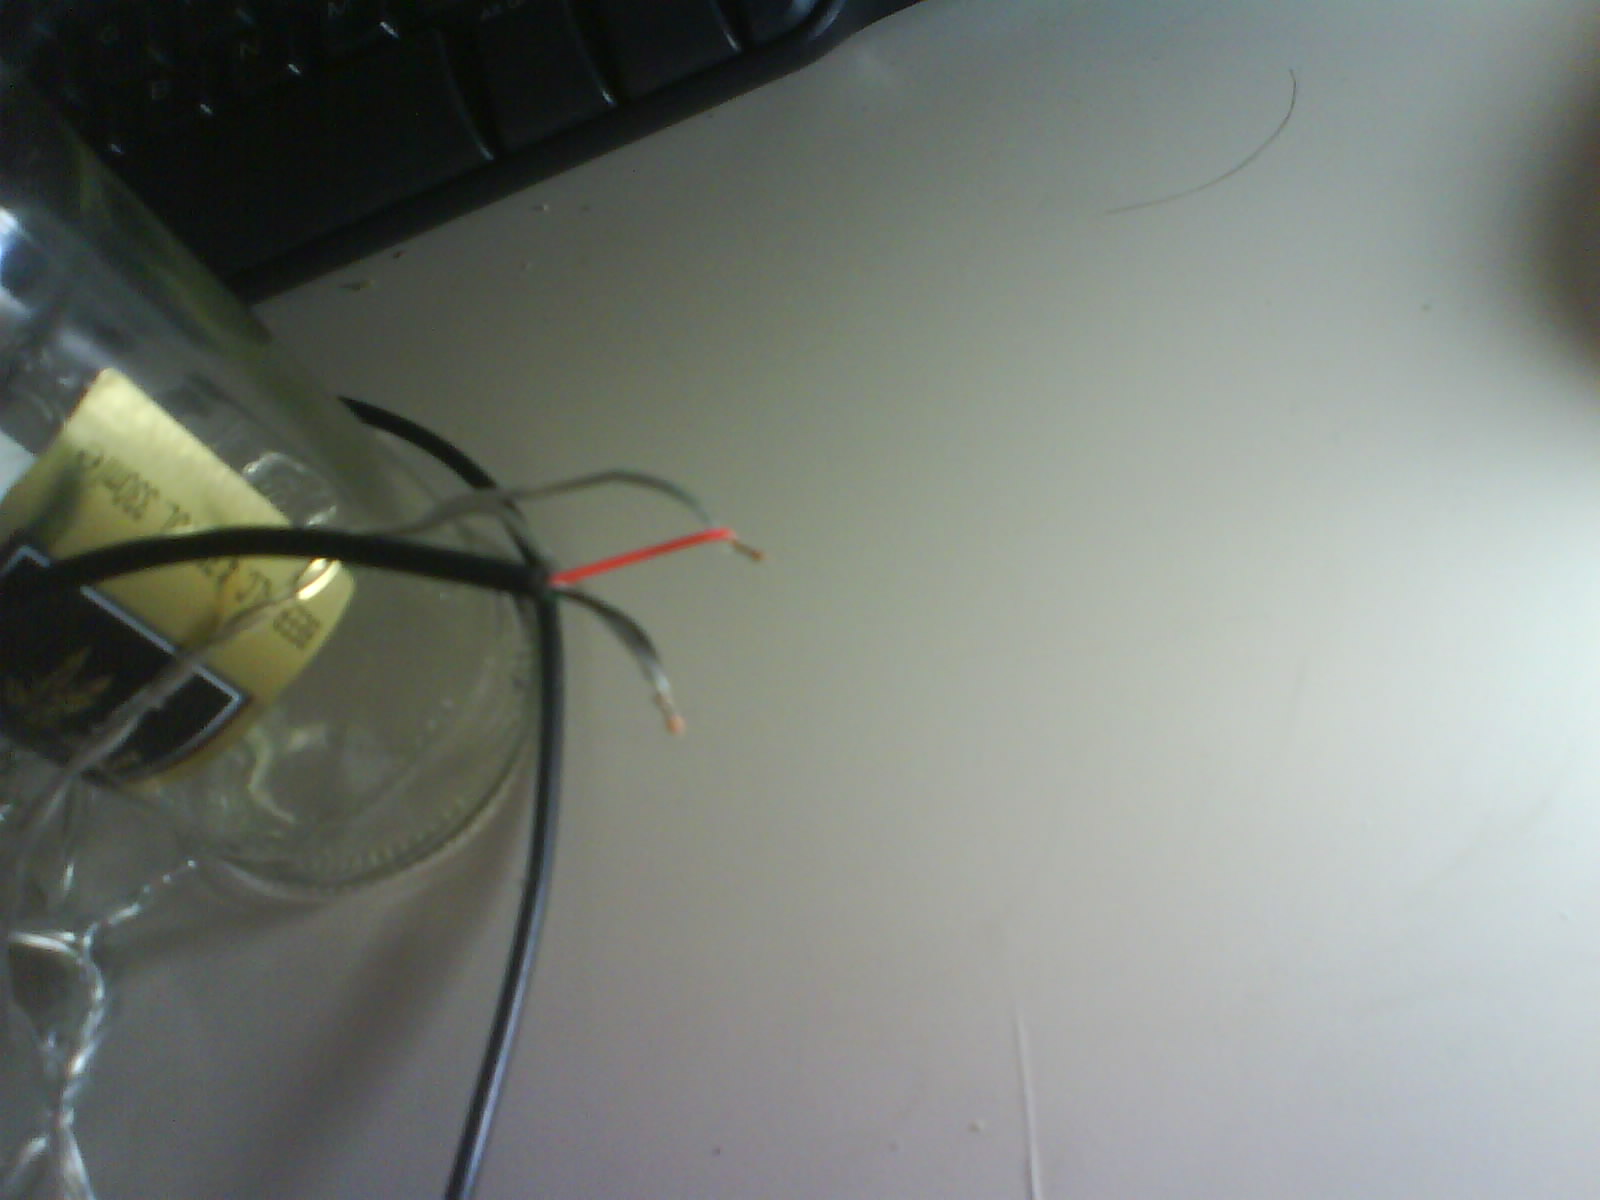
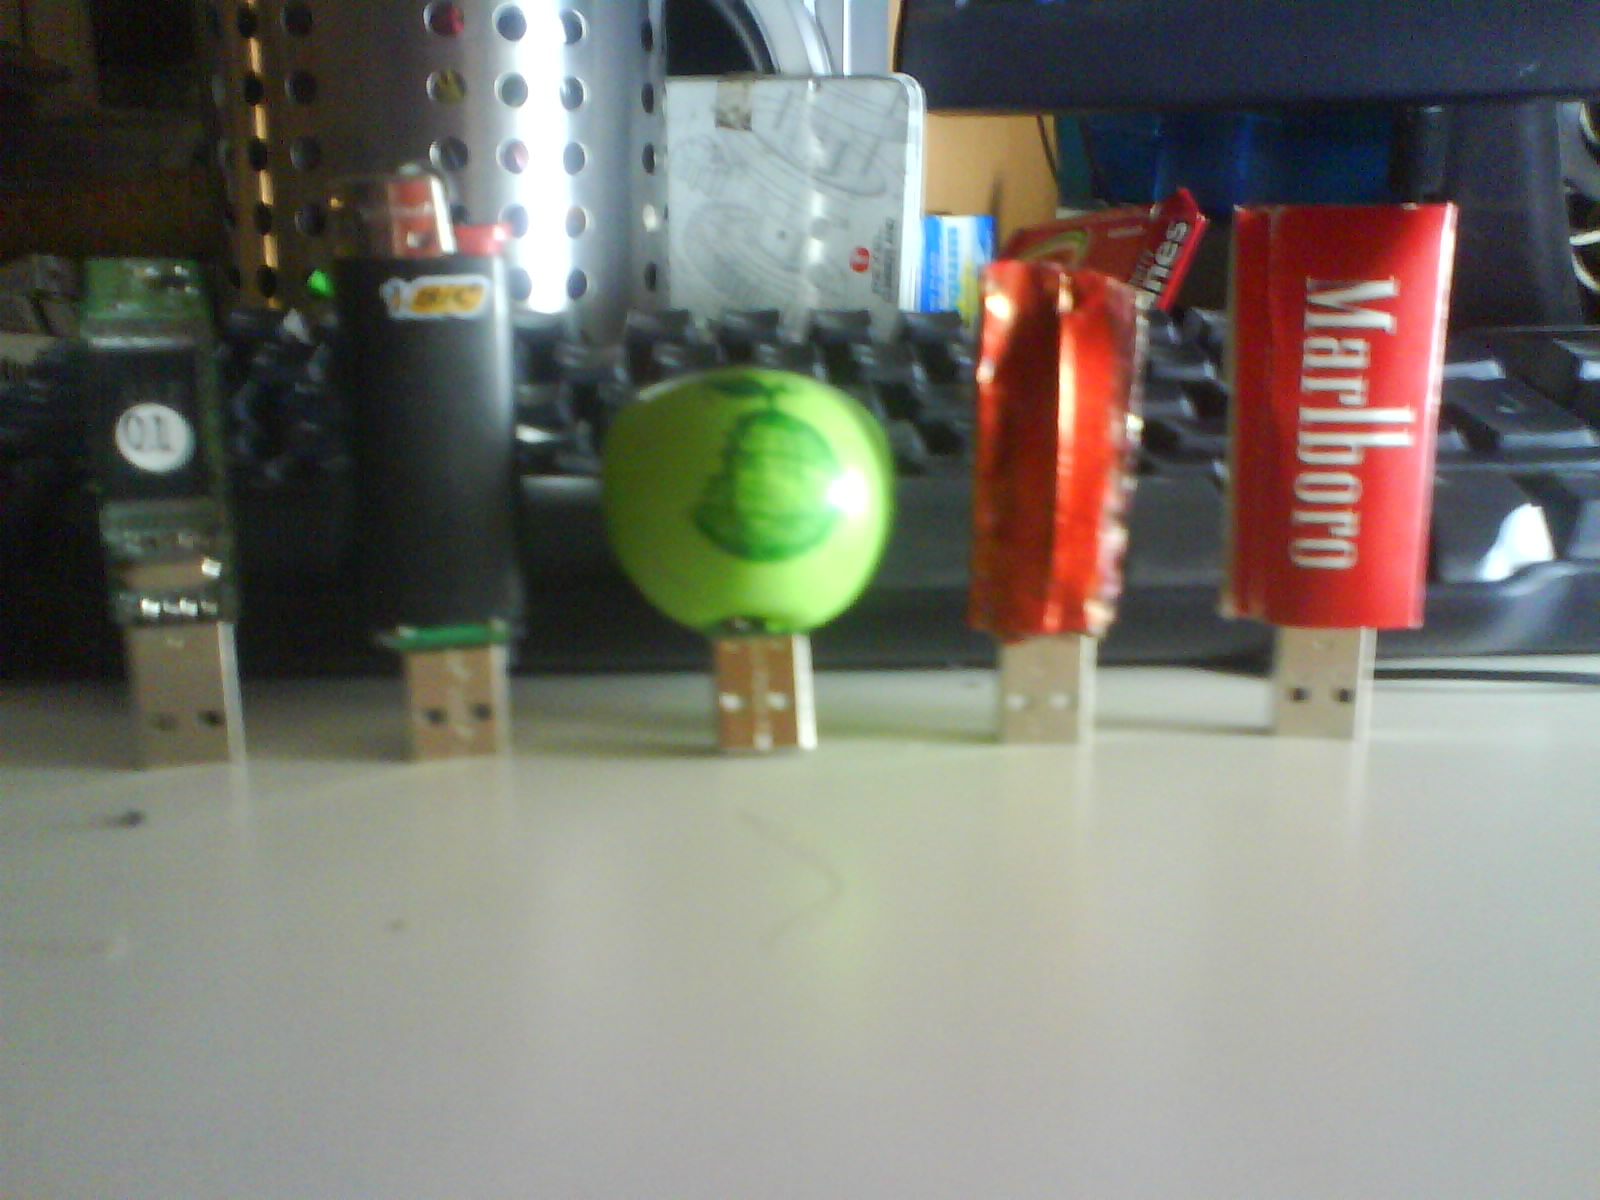
Now not many phones have a macro function, only some of the ones with proper camera crammed in to their straining innards...
For the likes of instructables the images are displayed at 500 X 335, now the bog standard phone cameras are mostly 2.0 megapixel which comes out at 1600 X 1200.
See where I'm going with this, though you can't get the phone to focus up close you can crop the image to show what you want at normal size on 'ibles, since they make the images smaller when you upload...
So take the picture at a distance it can focus at, so the shot you actually want fills the middle well or at least a fifth of the screen.
your other option is to use a magnifying lens like the many instructables about the place, that way you can get pretty impressive close ups if you learn to use it right, even with just a magnifying glass it can be done...
Tidying Photos Up After You Take Them.
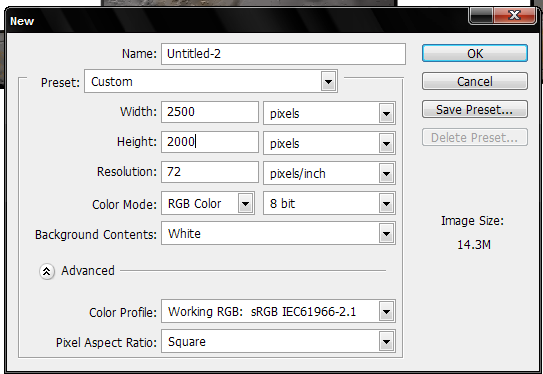
Once you've committed the photos to the phone memory you can tidy them up on your computer later, with the likes of photoshop or the GIMP.
Things you can do to help include:
- Adjusting the levels, if people are sketchy on this one leave a few comments and I'll make an instructable about doing so.
- Adjusting contrast, to help give images better definition.
- Removing noise, either in program or you could use a freeware program like neat image.
- Adjusting brightness, to help with glare etc, levels will also help with this
- Cropping, to cut down unneeded or unwanted bits of images
- Removing background, to bring focus to the object, this could also be done in other ways.
Most of all having a bit of wit while taking phone photos instead of just abandoning hope of them being decent.