How to Sew on a Button!

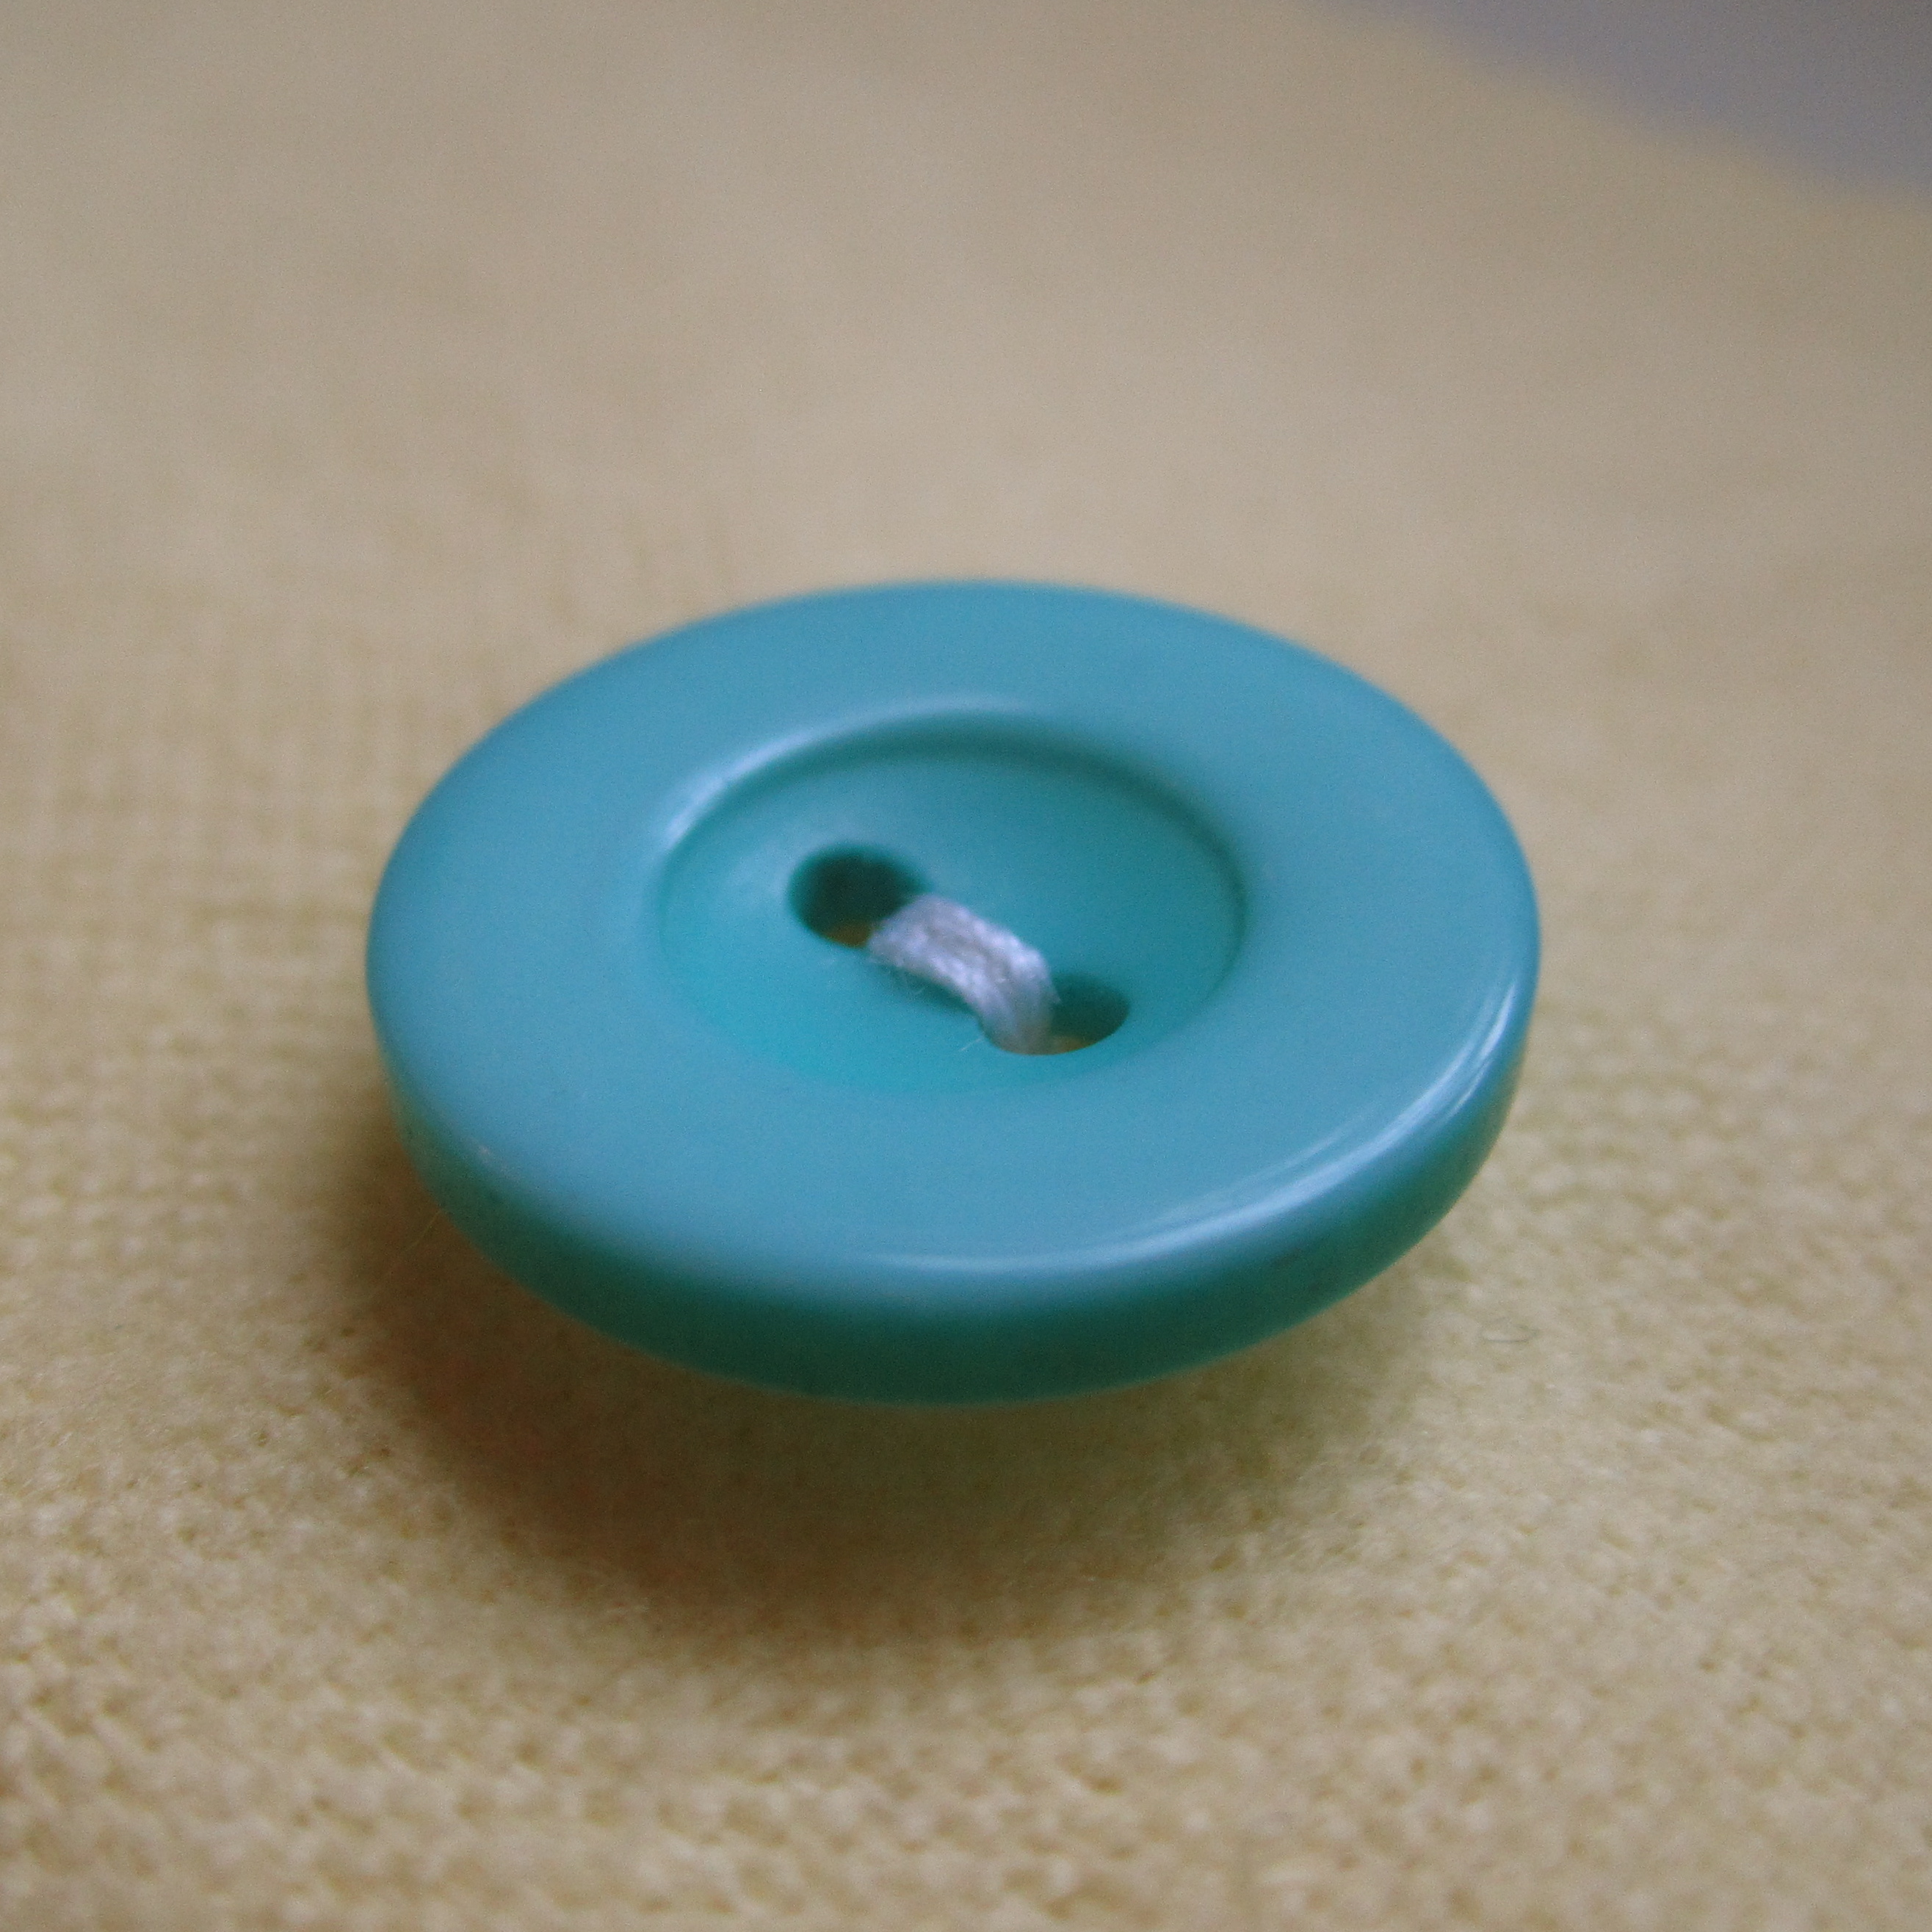

Sewing on a button is very simple once you know how to do it! I'll teach you how to sew on both shank and flat buttons so you're covered anytime one falls off. :)
Types of Buttons.


Flat buttons are the most common kind - they're what you'll find on dress shirts and most clothing. They have two or four holes, depending on the style.
Shank buttons have no holes on top, but they have a small protrusion on the back that is hollow at the end. They're more often found on dresses and coats.
Shank buttons have no holes on top, but they have a small protrusion on the back that is hollow at the end. They're more often found on dresses and coats.
Things You Need to Sew on a Shank Button:
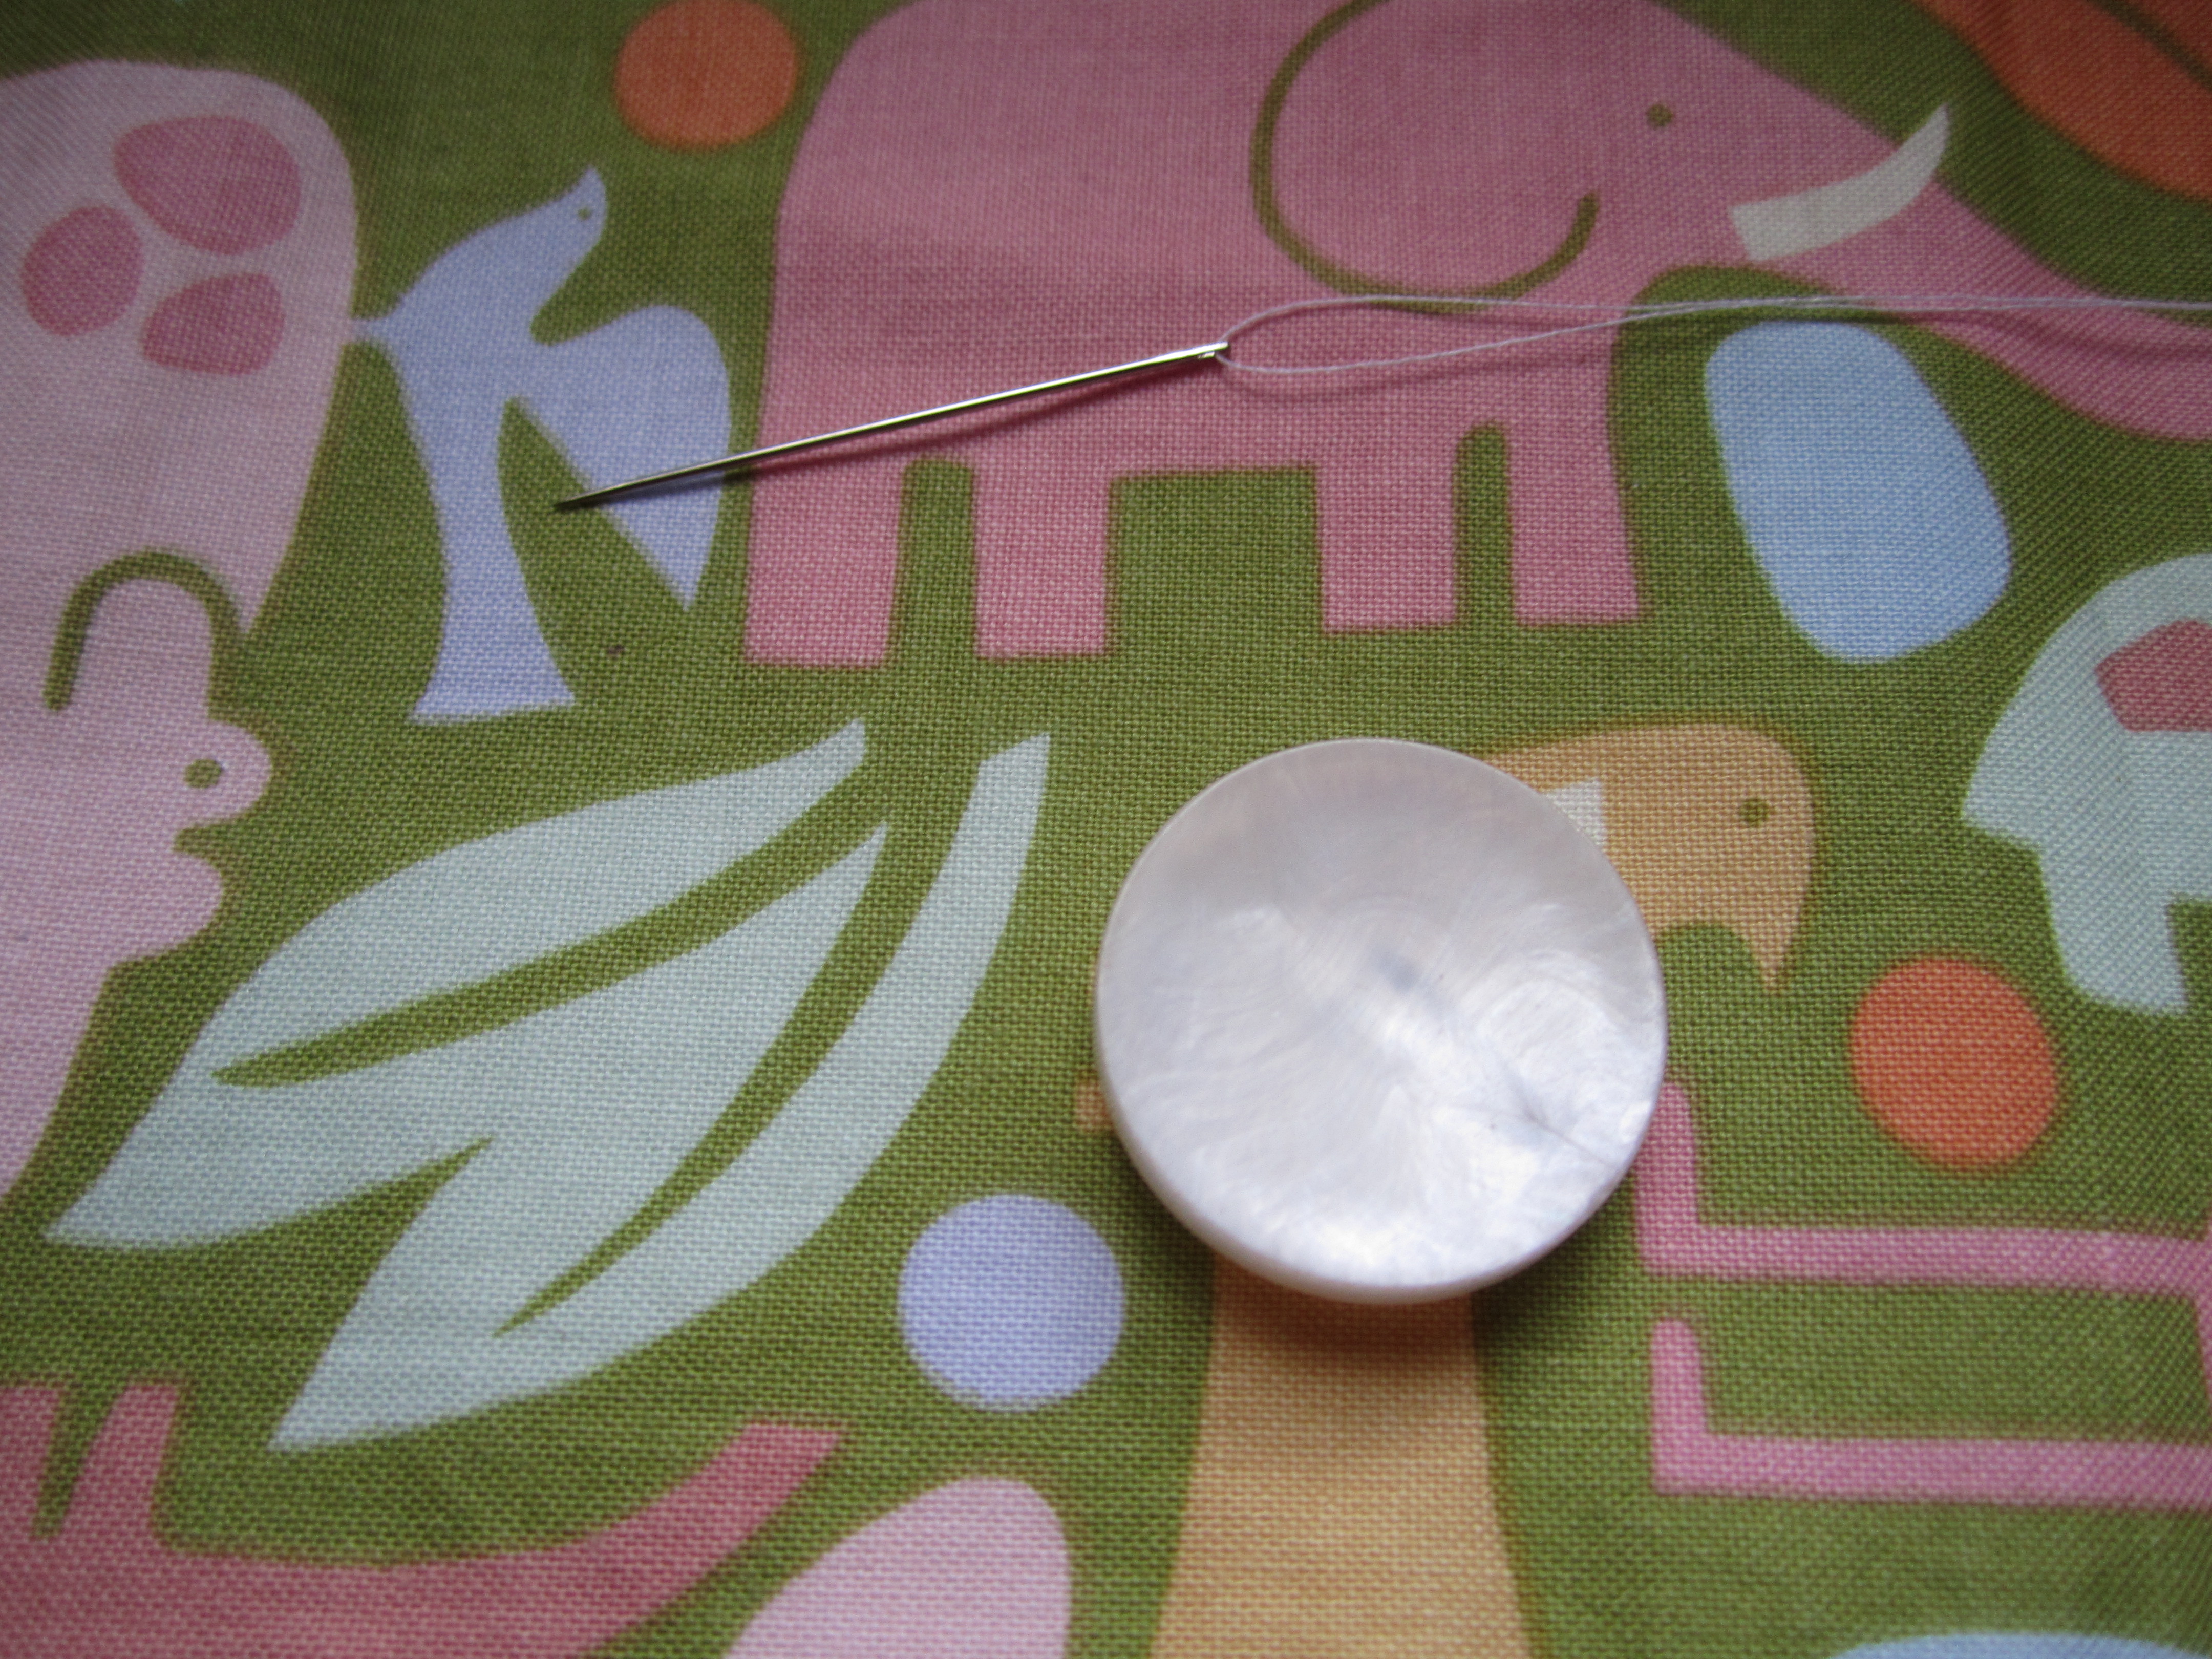
- needle
- 8 inches of doubled over thread - knot the ends a few times!
- shank button
- pen/pencil to mark your sewing spot
Sewing on a Shank Button, Part One.


- bring your needle and thread up through the fabric on the spot you marked
- pass them through the hole in the shank
- bring them down through the fabric in the same spot
Sewing on a Shank Button, Part Two.


- pull the thread tight so the bottom of the shank sits against the fabric
- continue passing the needle and thread through the fabric and shank, at least 8-10 times.
- bring the needle to the back side of the fabric on the last pass.
Sewing on a Shank Button, Part Three.


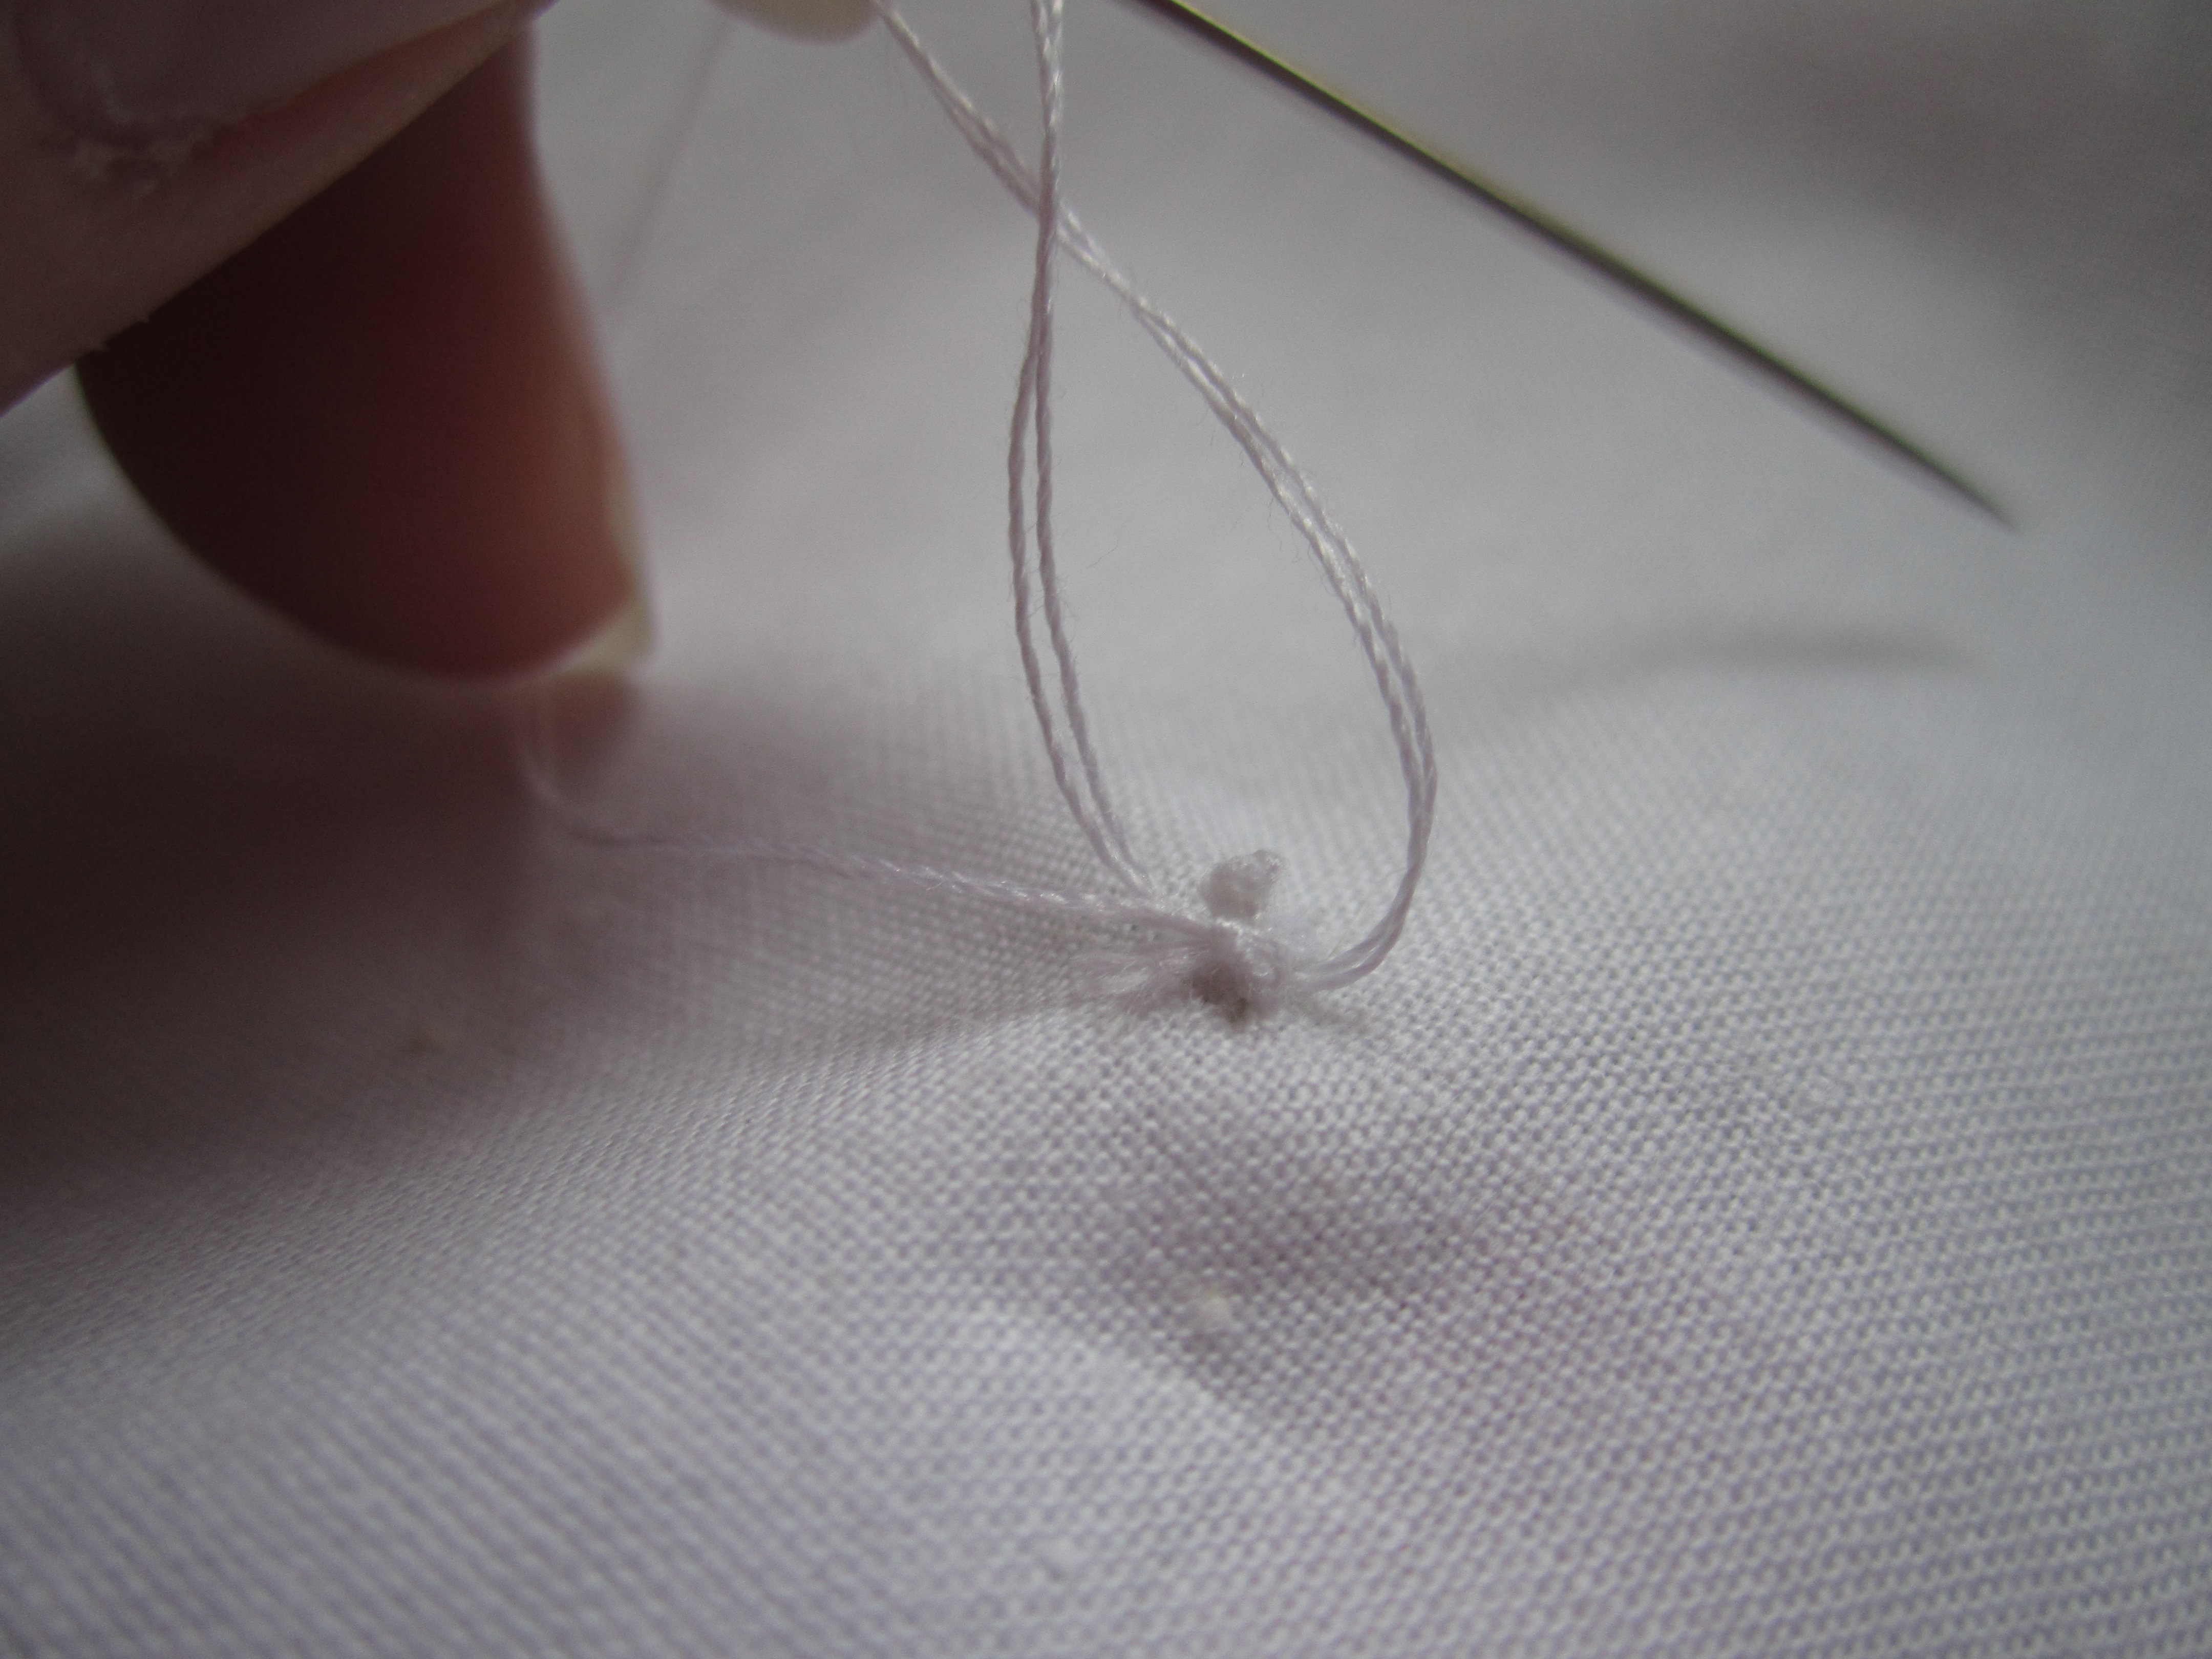

- on the wrong side of the fabric, knot the thread several times, anchoring the knots with small stitches.
- cut off your ends and enjoy your button!
Things You'll Need to Sew on a Flat Button:

- needle
- 8 inches of doubled over thread - ends knotted a few times!
- button
- toothpick
- pen/pencil to mark your sewing spot
Sewing on a Flat Button, Part One.
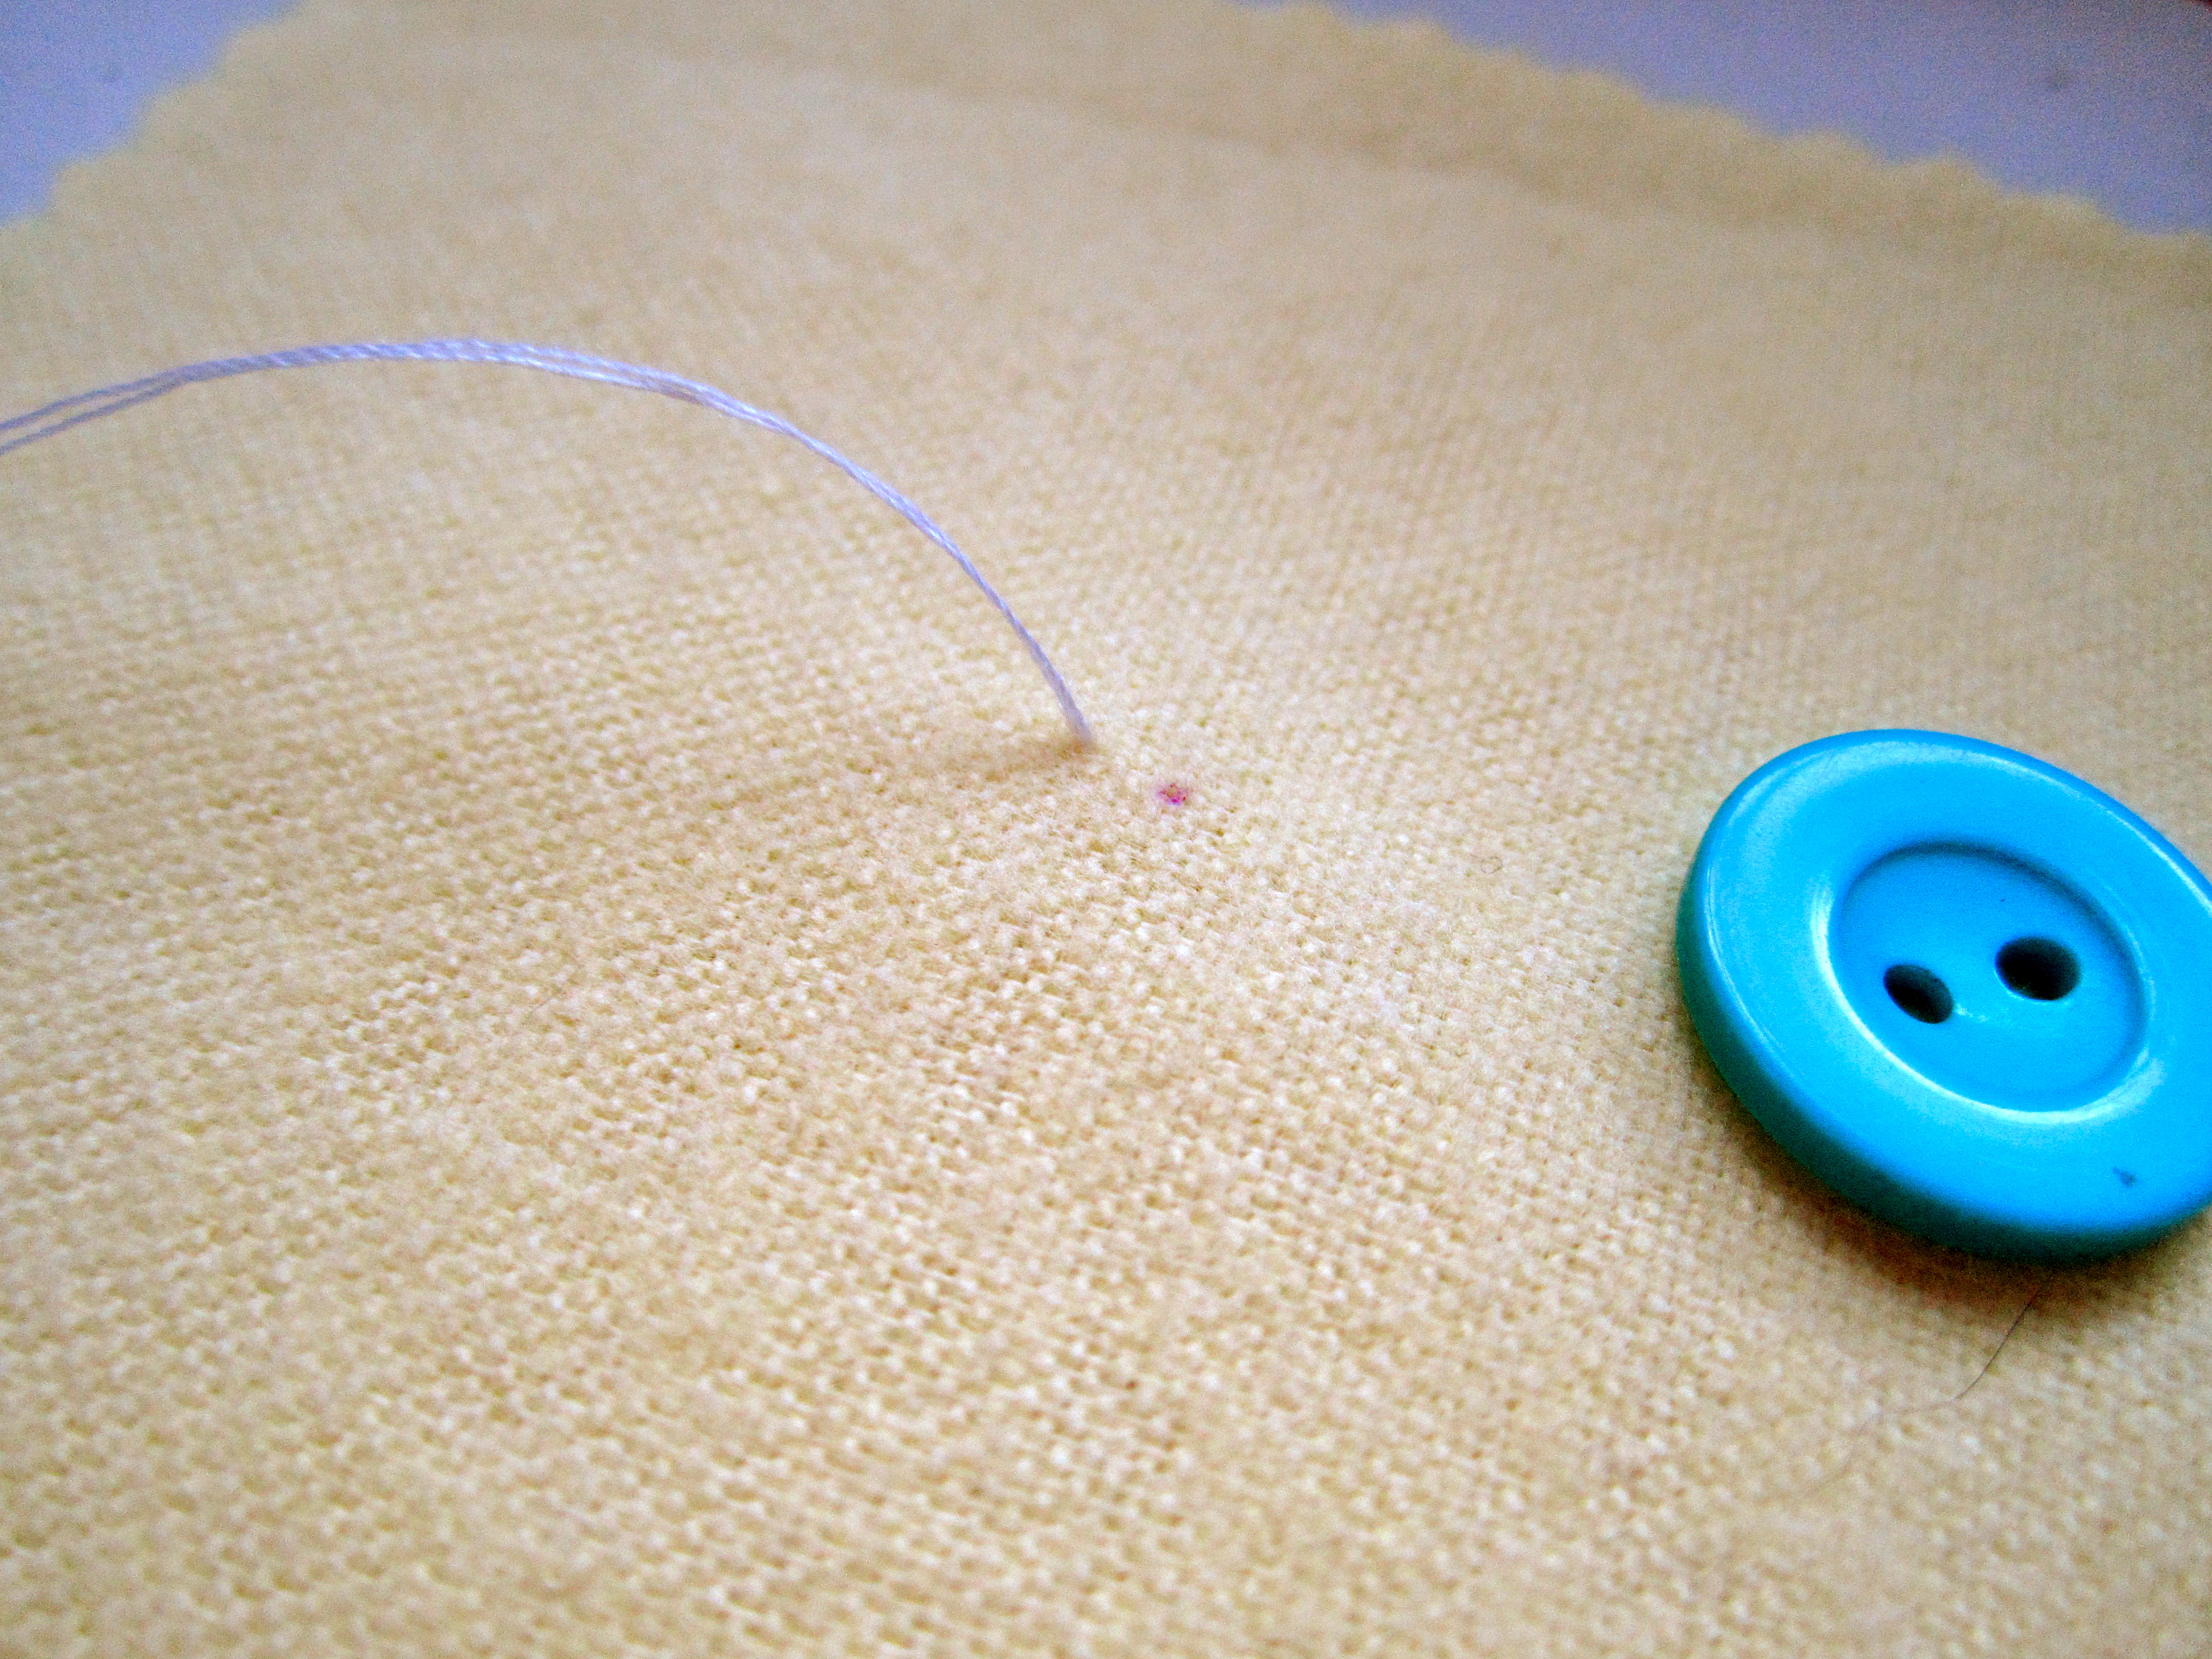


- start by marking the spot where you'll be sewing.
- bring your needle up through the fabric next to the spot
- bring the needle and thread through one side of the button
- then bring it down through the other side of the button and through the fabric next to the spot.
- now you have it anchored!
Sewing on a Flat Button, Part Two.


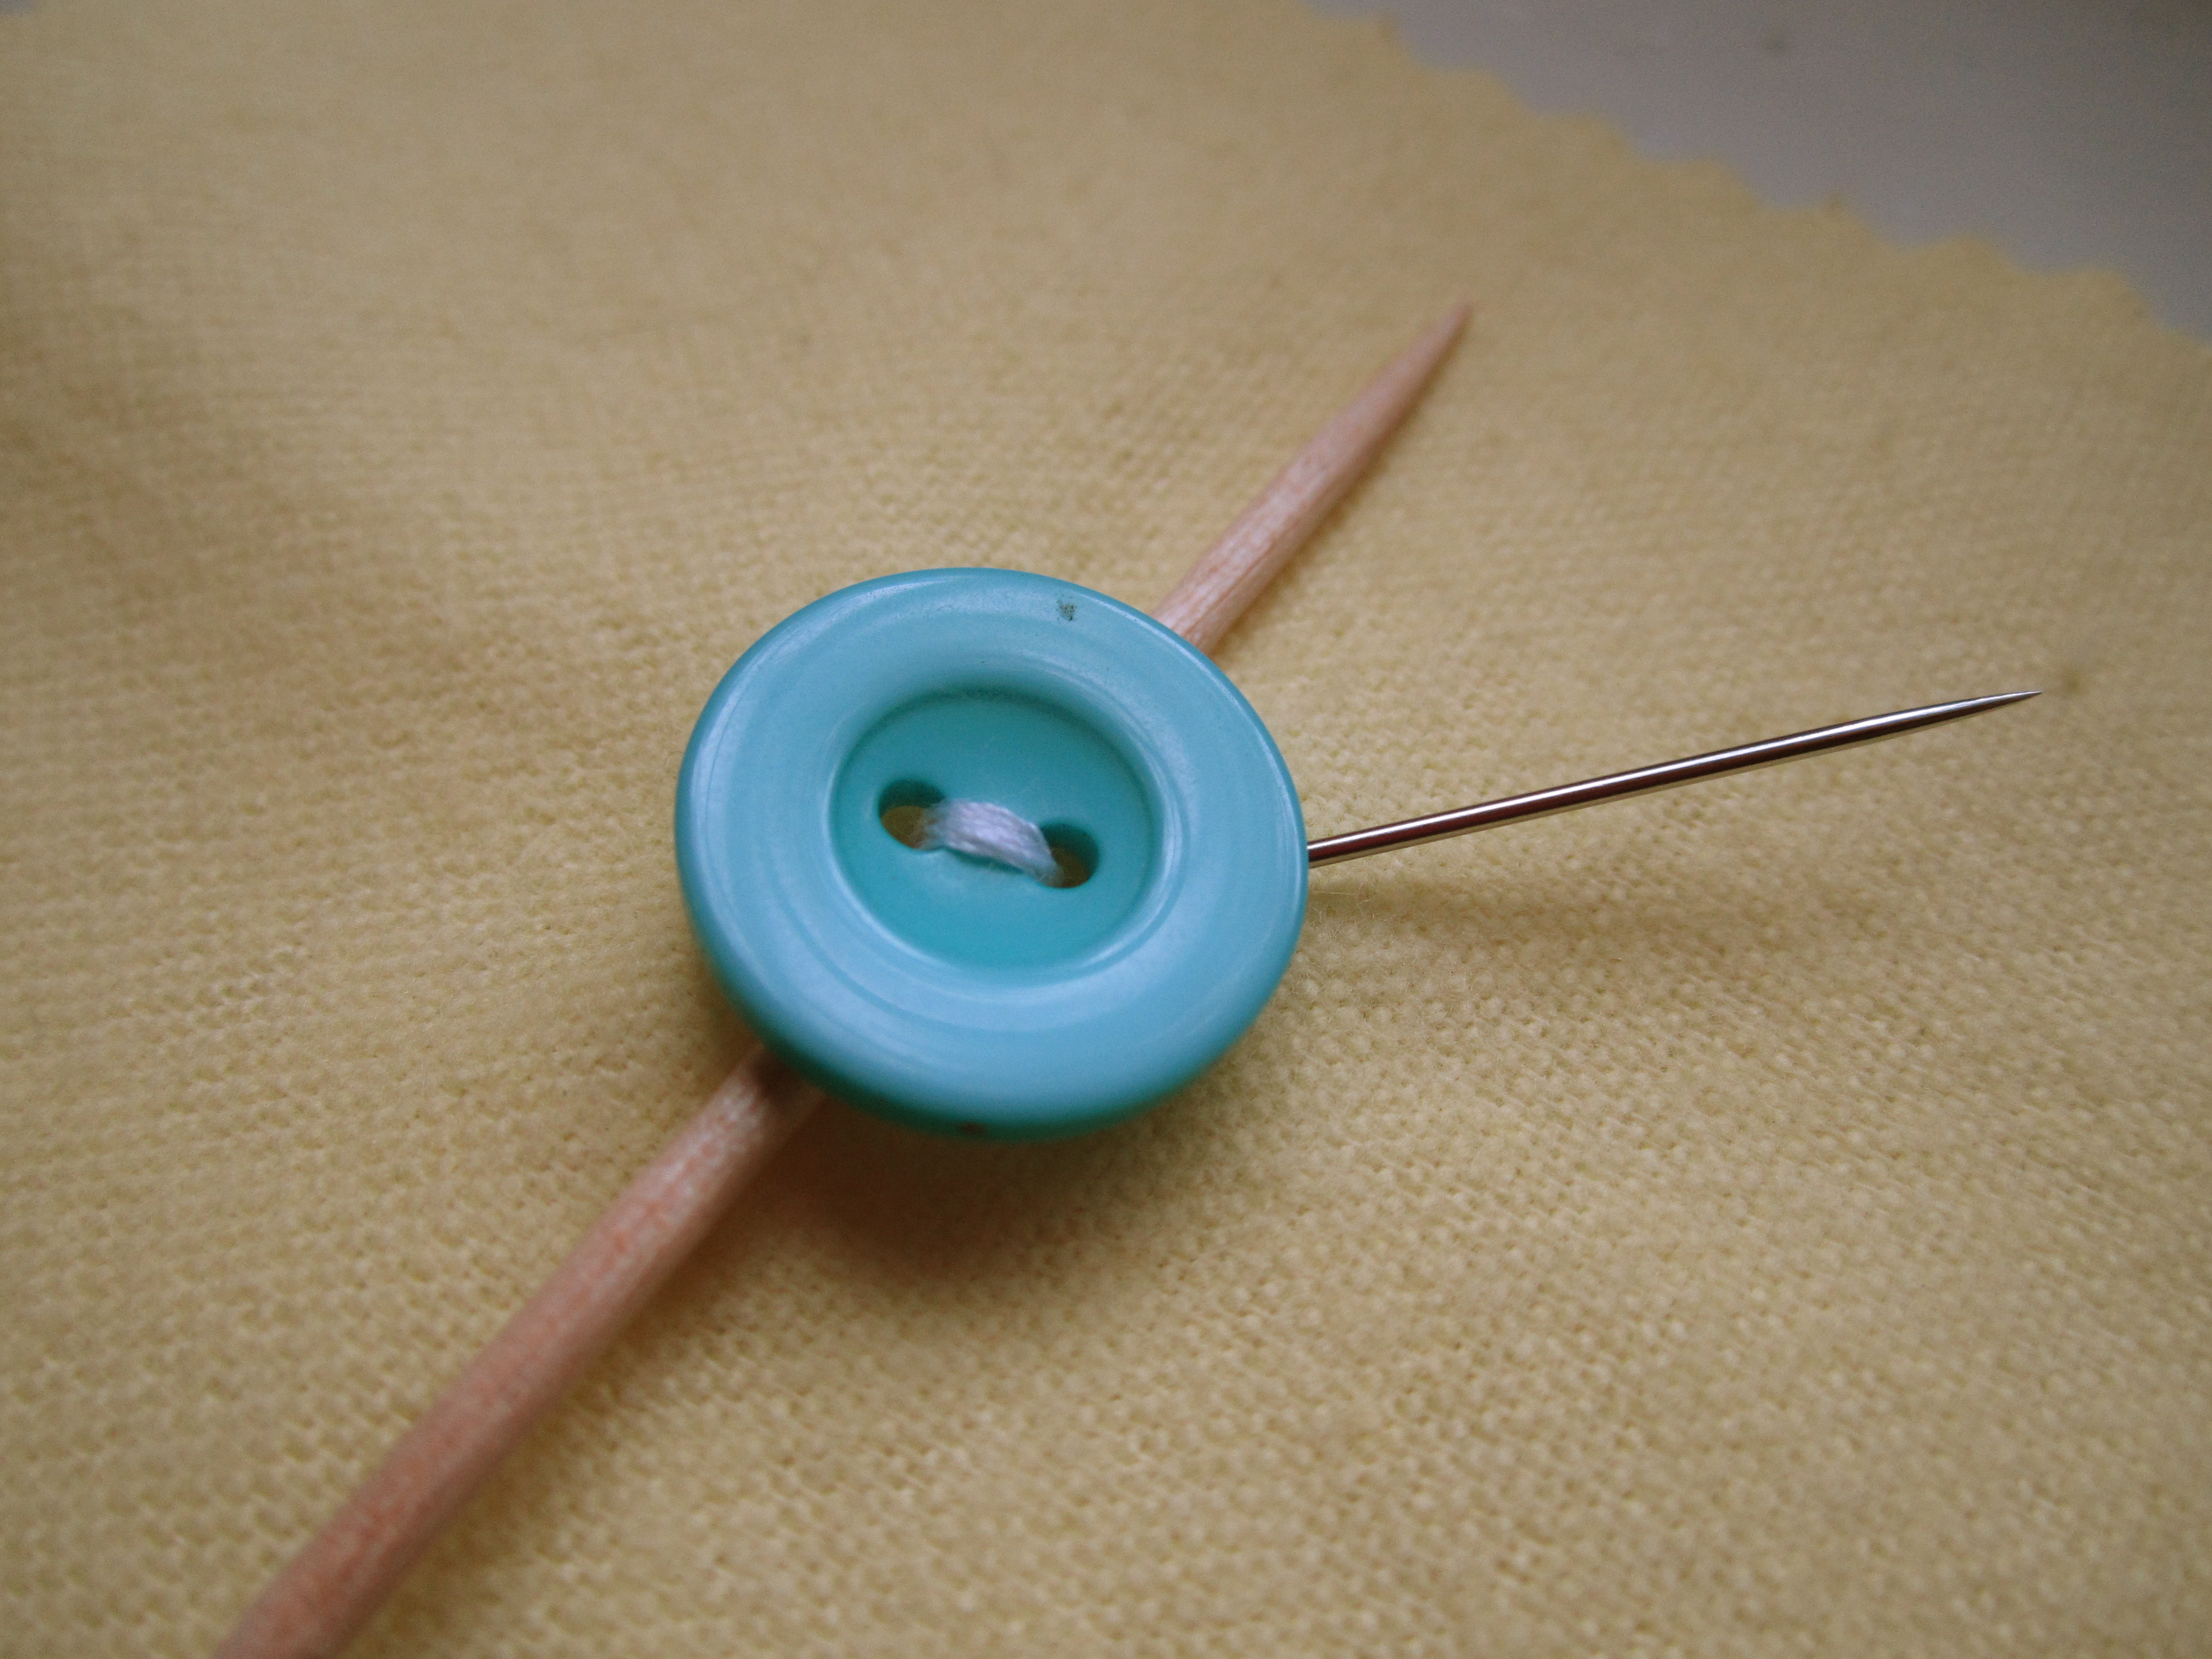
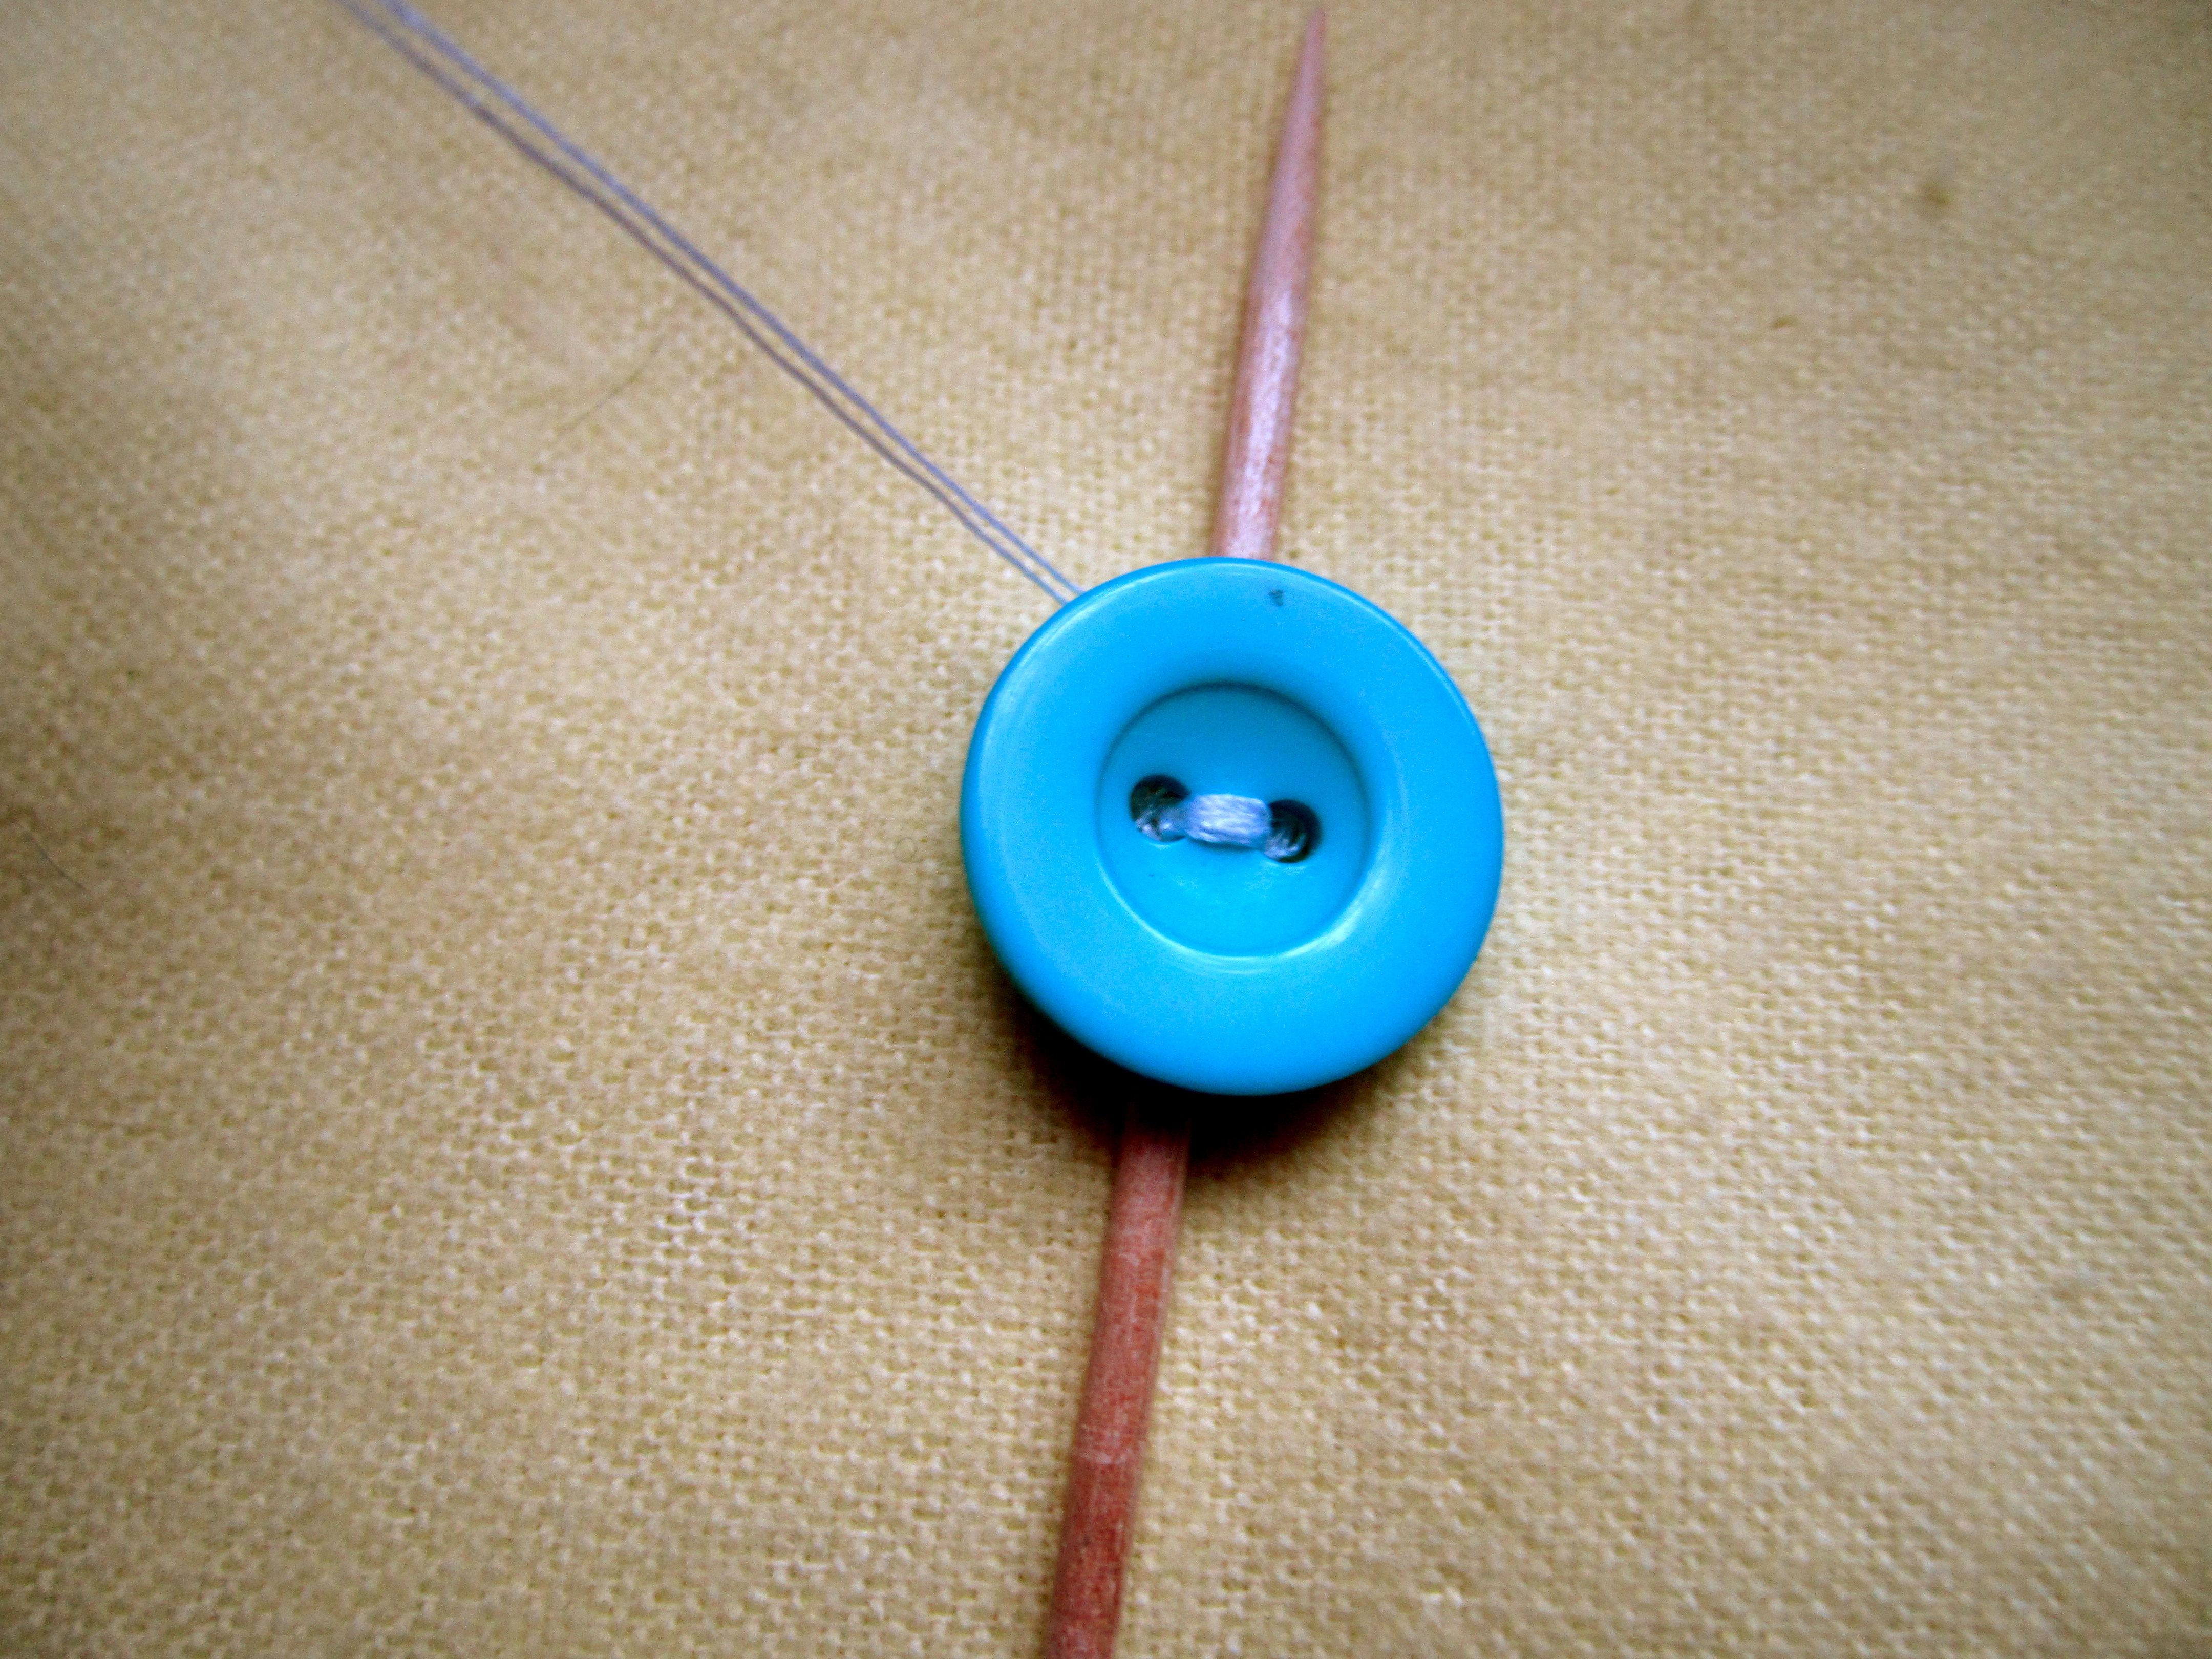

- push a toothpick between the fabric and button, between the two holes
- bring the needle up and down through the holes of the button and through the back of the fabric several times - I do this at least 8-10 times in most cases.
- on the last time, bring the needle up through the fabric next to the stitches that are already made, but not through the button (picture 3)
- wind the string counter clockwise around the thread going from the button to the fabric a few times, pulling it tight and leaving the toothpick in place.
- remove the toothpick and wind it a few more times
- it should look like the last photo when you're done!
Sewing on a Flat Button, Part Three.


- after winding, bring the needle to the wrong side of the fabric and knot well by making small stitches in the fabric and then knotting.
- knot at least three times
- knot security is awesome!
- trim your ends and marvel at your fantastic sewing abilities.
Additional Hints and Tips:

- always, always double your thread if using regular cotton or polyester thread. If you're using something more heavy duty like embroidery floss or upholstery thread, it's okay to use a single strand.
- if you'd like to further secure your knots, a dab of fabric glue (my favorite is Fabri-Tac) will do it.
- make sure that all your stitches are hidden under the button - otherwise it'll look messy and they could get snagged and break.
- if you're sewing on a flat button with four holes, anchor the top two holes first and then move to the bottom ones.