How to Set Up a Stepper Motor in Under 10 Minutes
by ak33m98 in Circuits > Electronics
34038 Views, 127 Favorites, 0 Comments
How to Set Up a Stepper Motor in Under 10 Minutes
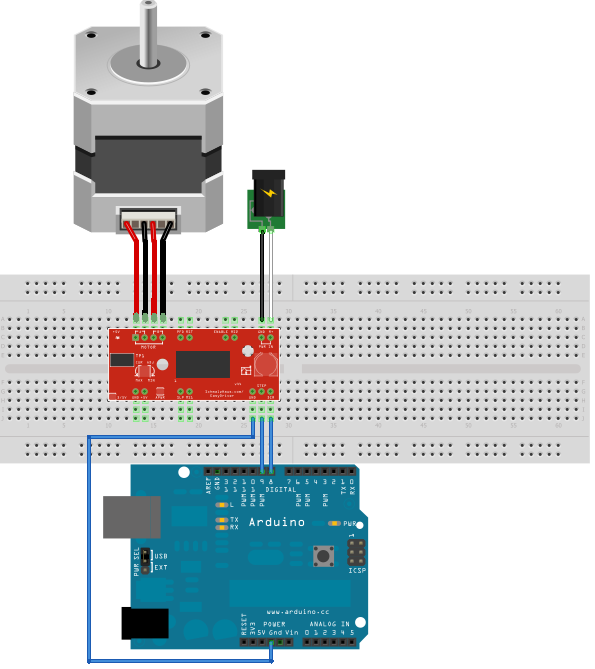
Recently, I purchased several steppers and drivers for a 3D printer project and I was curious to see how quickly I could set a stepper up. For this I will not count time like waiting for the soldering iron to heat up. So for my first instructible I will start simple and show you how to quickly and very easily set up a bipolar stepper motor with Easy driver boards and an Arduino.
Gather Parts
Partlist:
- EasyDriver 4.4 (Other versions will work similarly)
- Arduino (I have tested both the Uno and Leonardo with this project)
- Bipolar Stepper Motor (I used a NEMA 13 stepper in this project)
- Several wires (Preferably of different colours)
- Tape
- Access to a computer or any other means of uploading code to the arduino 12V power supply
- Soldering Iron and solder
- Breadboard
Solder
Start the timer
Note: Always solder in a well ventilated area with a fume extractor, removed from potentially flammable items, and beware, because the iron and the solder can get very hot
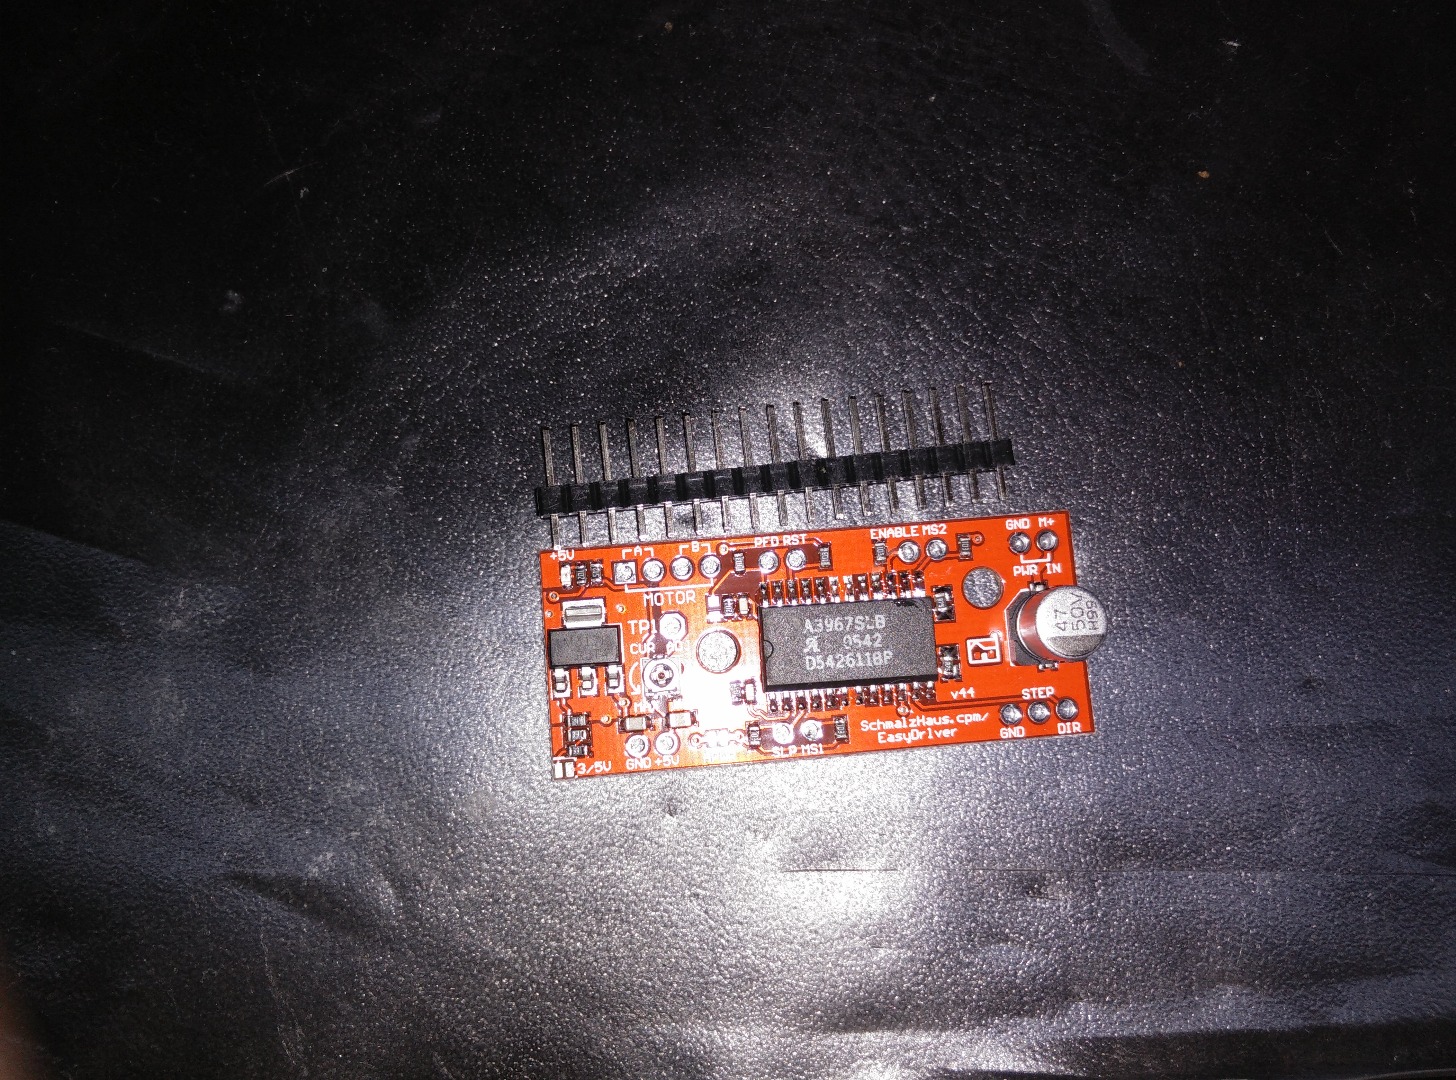
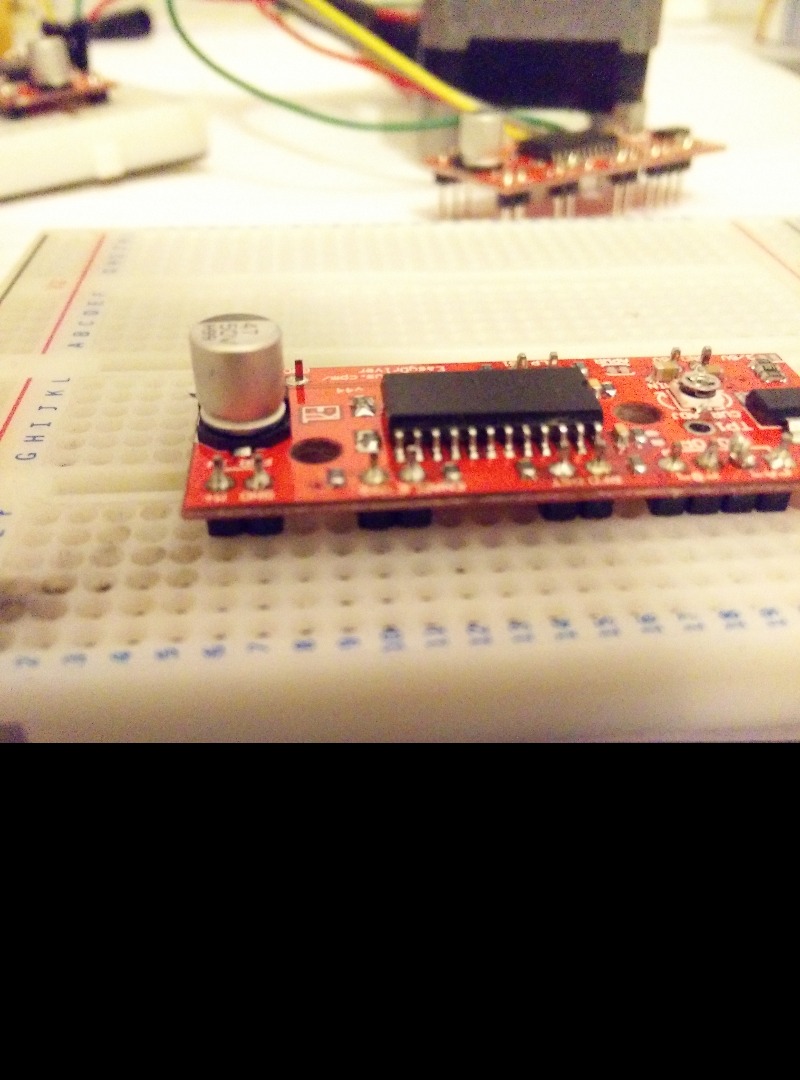
Break away the pins into the required smaller quantities and place them in the holes on the EasyDriver, the “short end” is the bit going into the driver, leaving the plastic and the longer lead pointing out of the bottom of the drive.
Turn this whole thing upside down, so now you have the driver laying upside down and the long ends of the pins (and the plastic) pointing upwards, and ensure all the pins are straight. Push a breadboard down gently on this and now all the pins should be stuck in the breadboard and the EasyDriver should be on the bottom. turn this entire thing upside down again so now you have the pins sticking into the breadboard and the easy bit driver on top. This bit was all done to fasten the pins in place to make things easier while soldering. Proceed to solder the part of the pin sticking out the top of the EasyDriver to the driver itself, taking time to ensure to make sure all solder joints are made correctly.
Timer: 3 minutes
Setting Up Power Supply
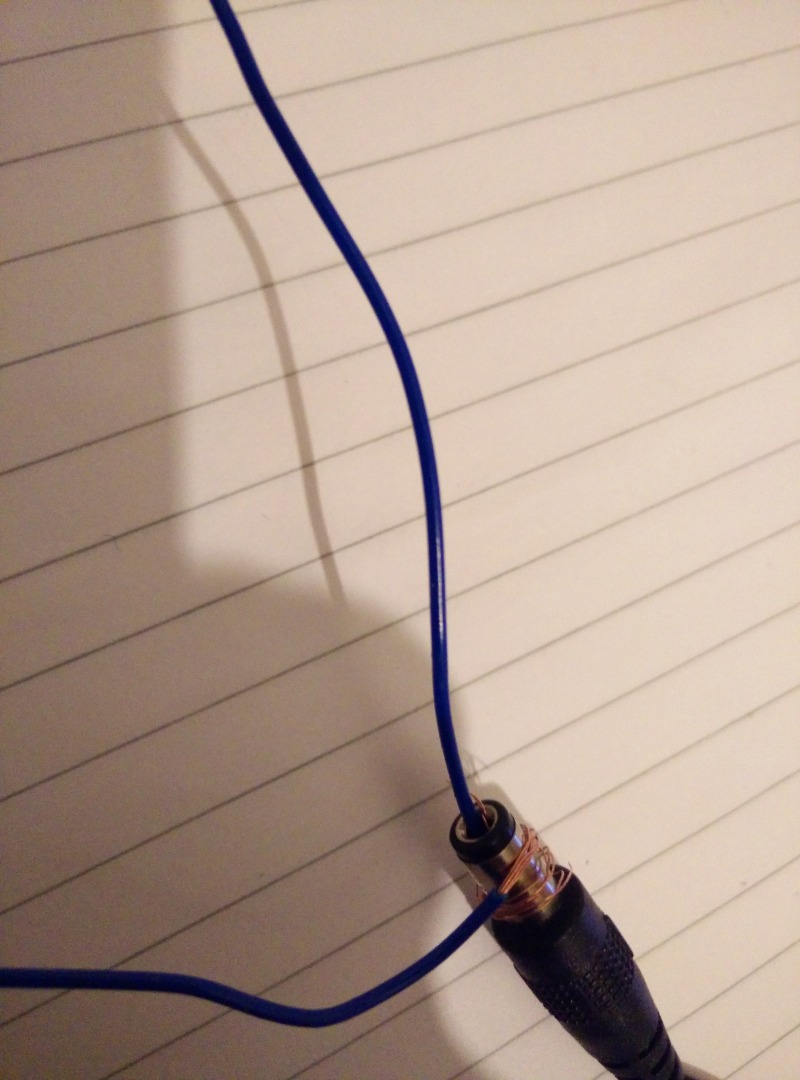
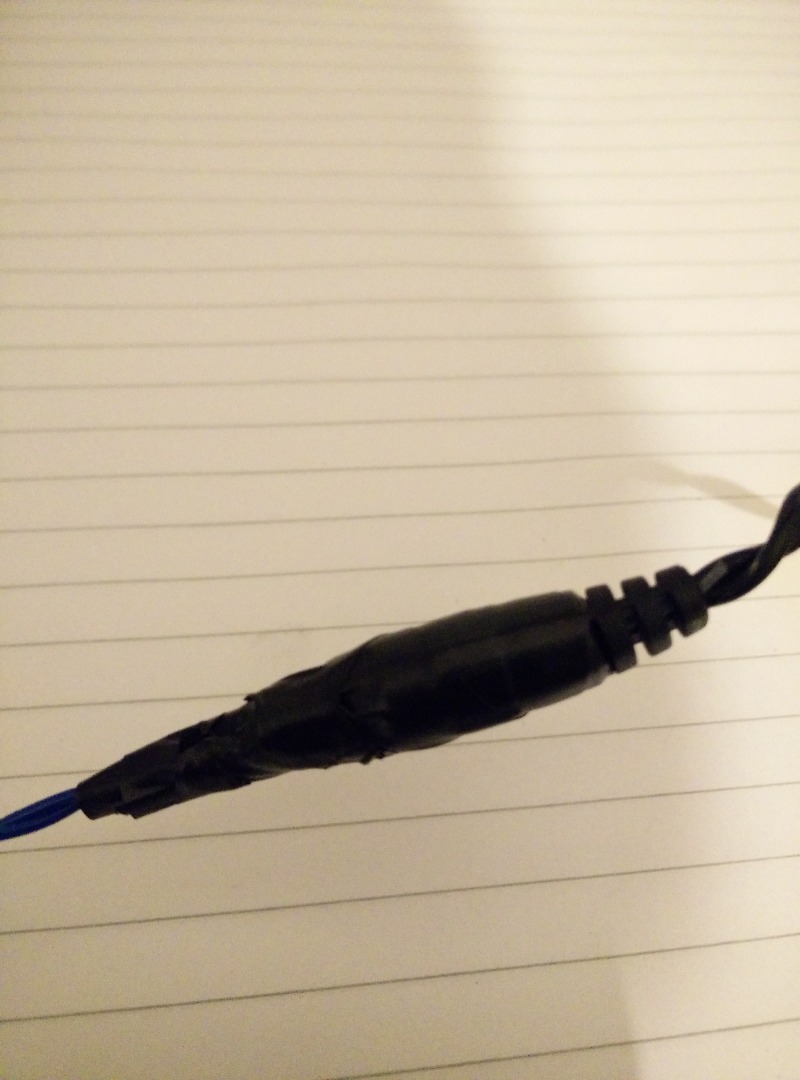
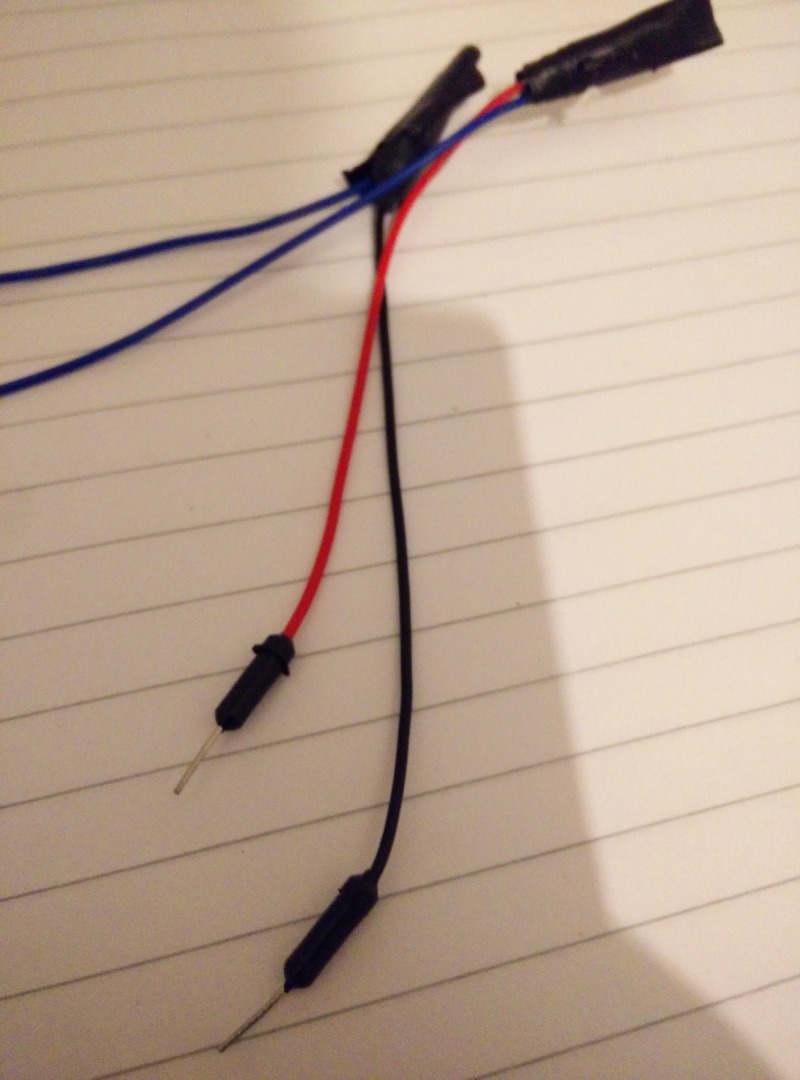
Timer: 4.5 minutes
Wire Up Stepper
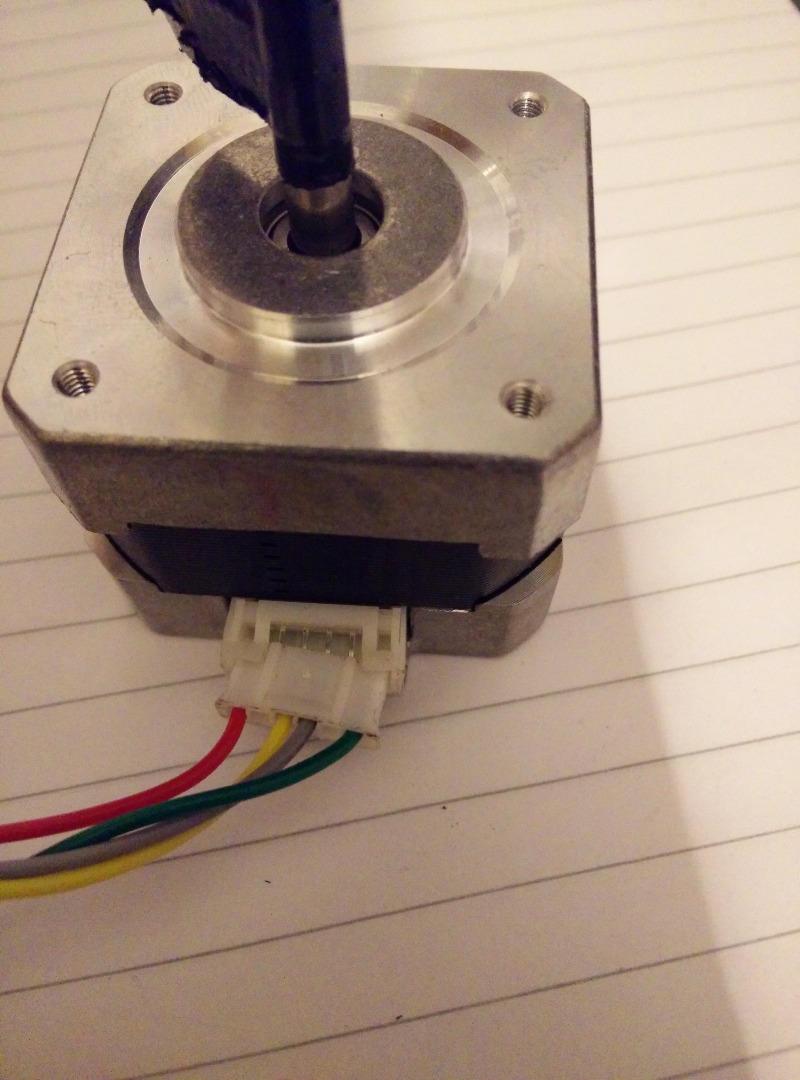
Timer: 6.5 minutes
Upload Code to Arduino
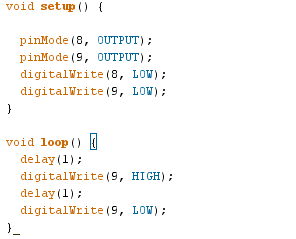
Code
void setup() {
pinMode(8, OUTPUT);
pinMode(9, OUTPUT);
digitalWrite(8, LOW);
digitalWrite(9, LOW);
}
void loop() {delay(1);
digitalWrite(9, HIGH);
delay(1);
digitalWrite(9, LOW);
}
Timer: 7.5 minutes
Connect Everything on the Breadboard
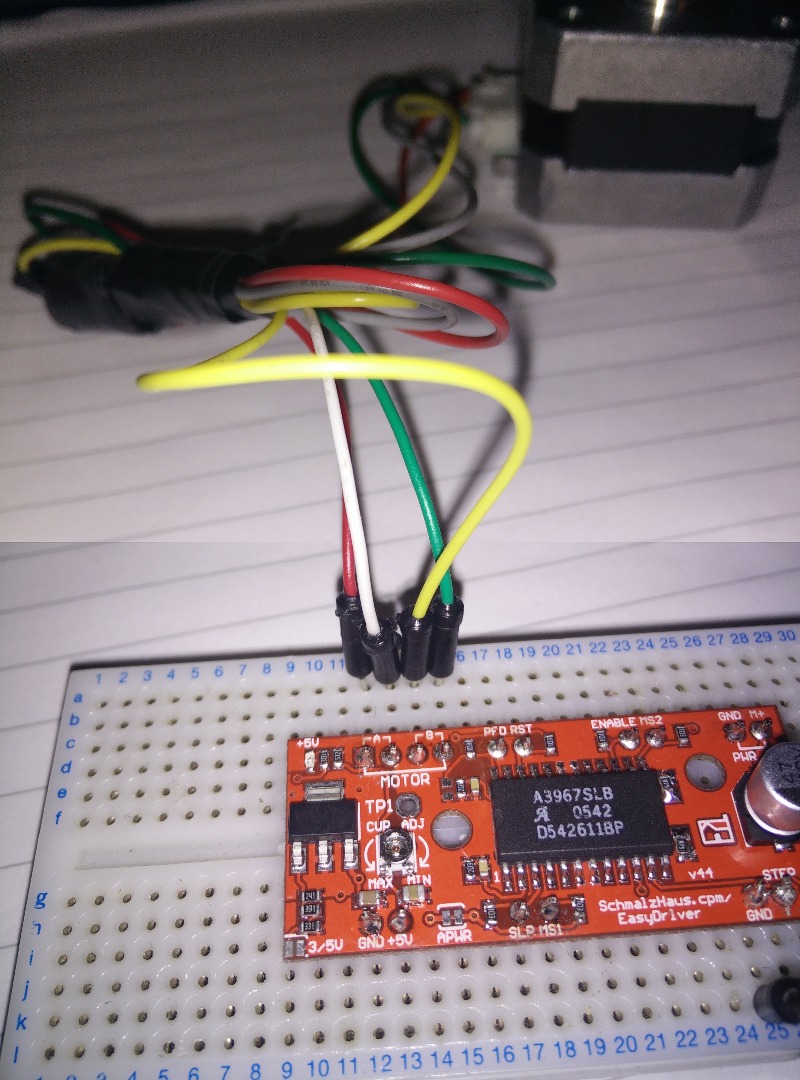
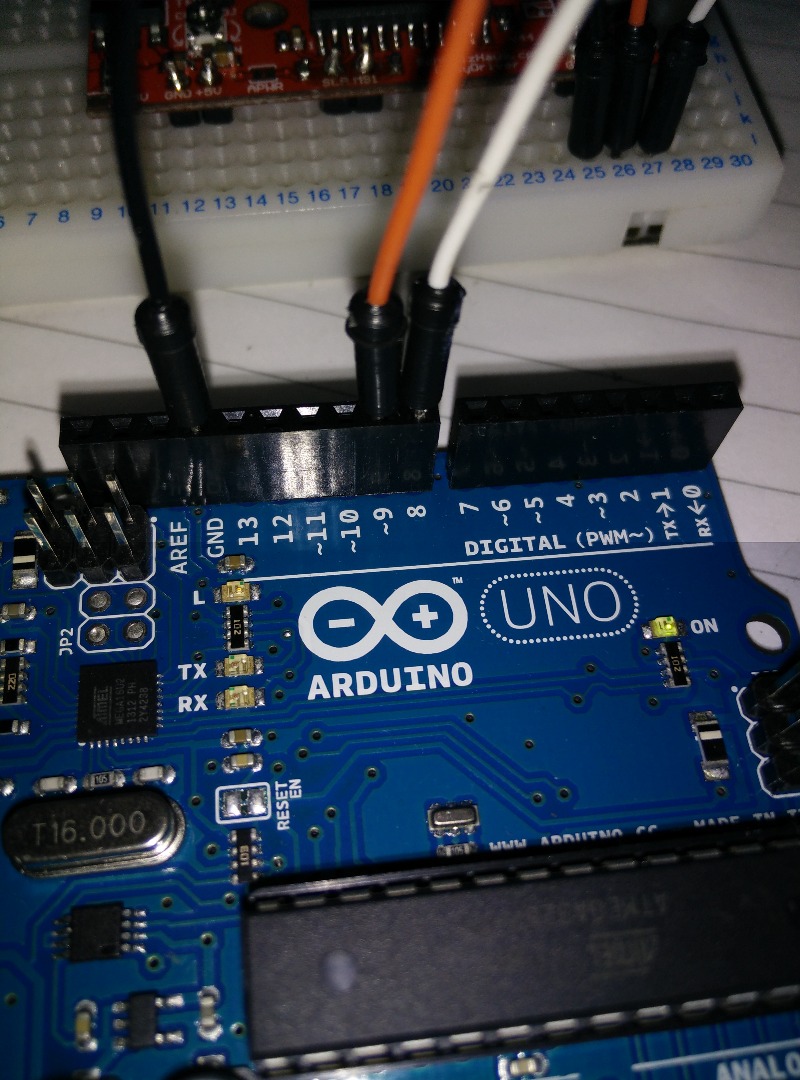
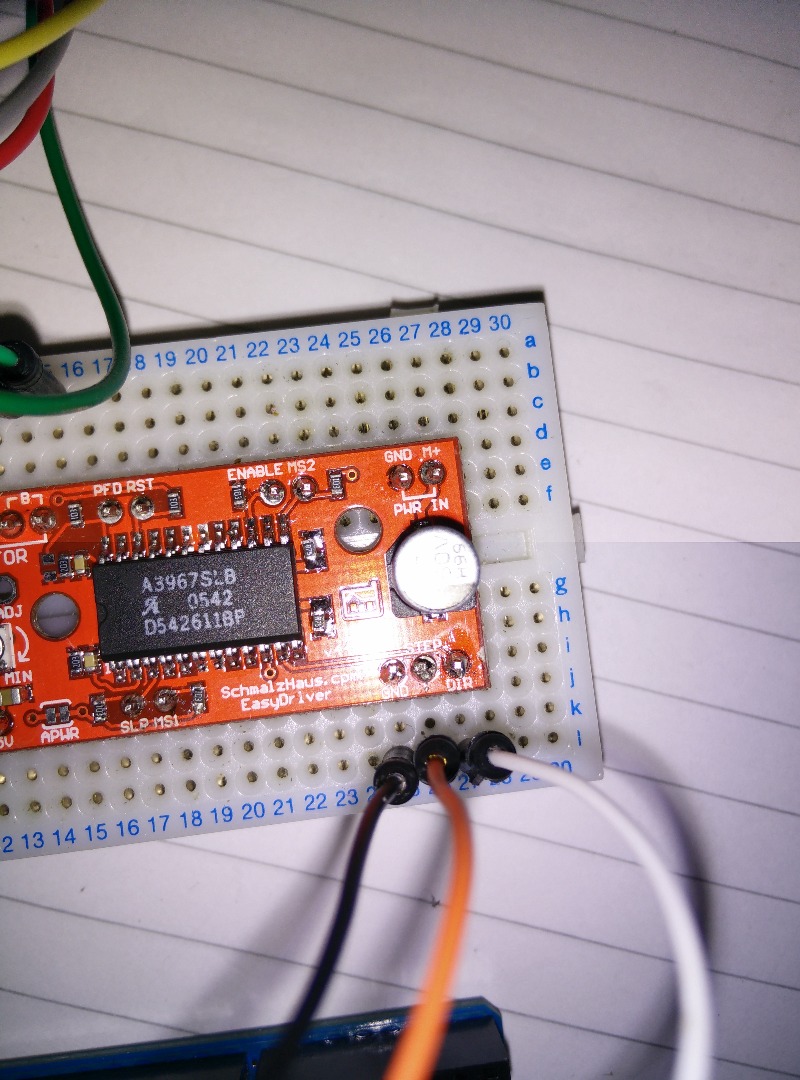
Timer: 8.5 mins
Thunderbirds Are Go
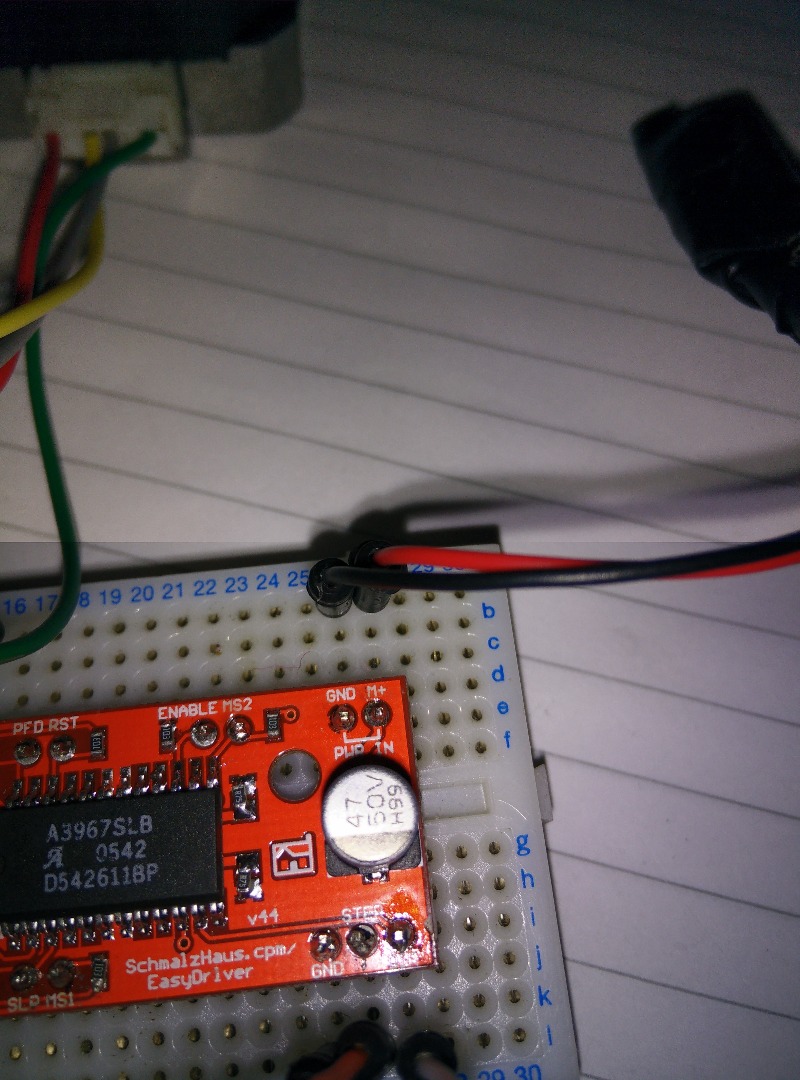
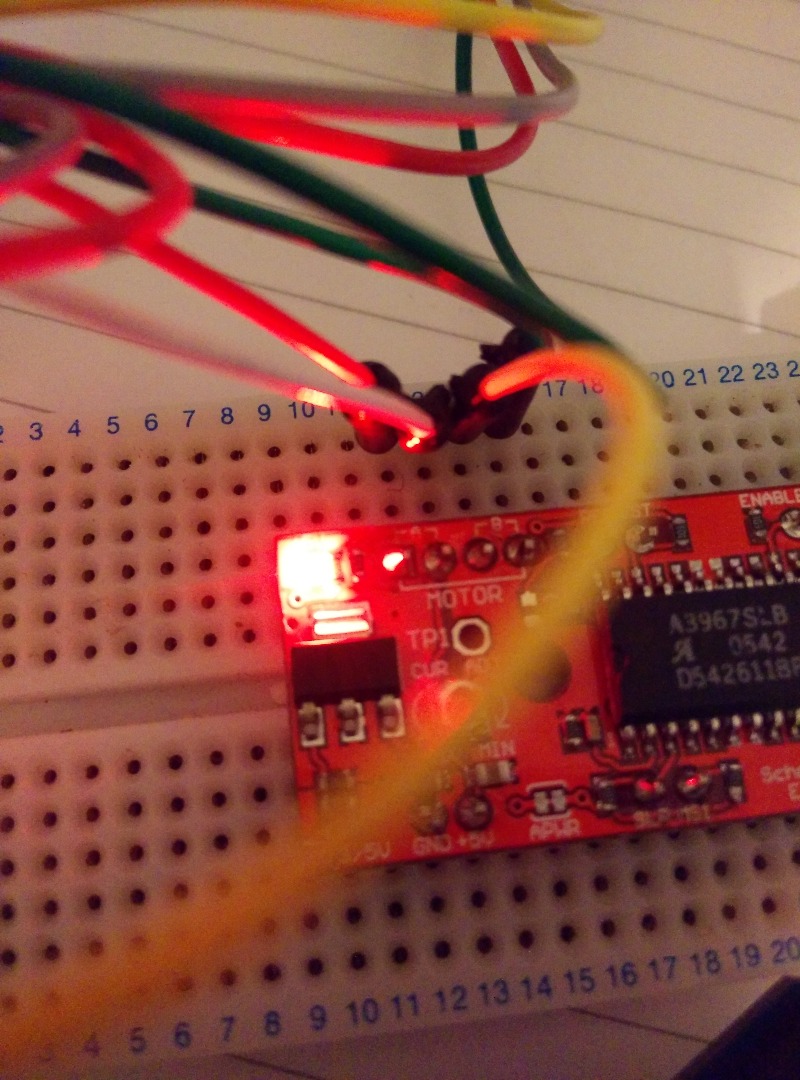
Timer: 9 mins
Notes
Note 1:
If as stated above you aren't aware of your servo wiring, just begin with any arbitrarily chosen combination of the 4 wires and let’s say that the order is now ABCD, test to see if that works, if not remove power from the EasyDriver board and reverse the last two wires to give you ABDC, power the driver and test to see if that works, if not remove power from the EasyDriver board and reverse the middle 2 giving you ADBC and power the driver to test to see if that works. If none of these combinations work it is likely that your driver is faulty or your connections are broken, or there was a bad solder joint. If the motor is spinning but in the opposite direction of where you intend then remove power from the driver and reverse the wiring, ABCD becomes DCBA and try again.
Also: Never unplug the stepper while the driver is connected to the power supply this could permanently damage the board
You can check out this tutorial and others like this on my blog