How to Set Up Email on Your IPhone
by HannahHumble in Circuits > Apple
1902 Views, 3 Favorites, 0 Comments
How to Set Up Email on Your IPhone
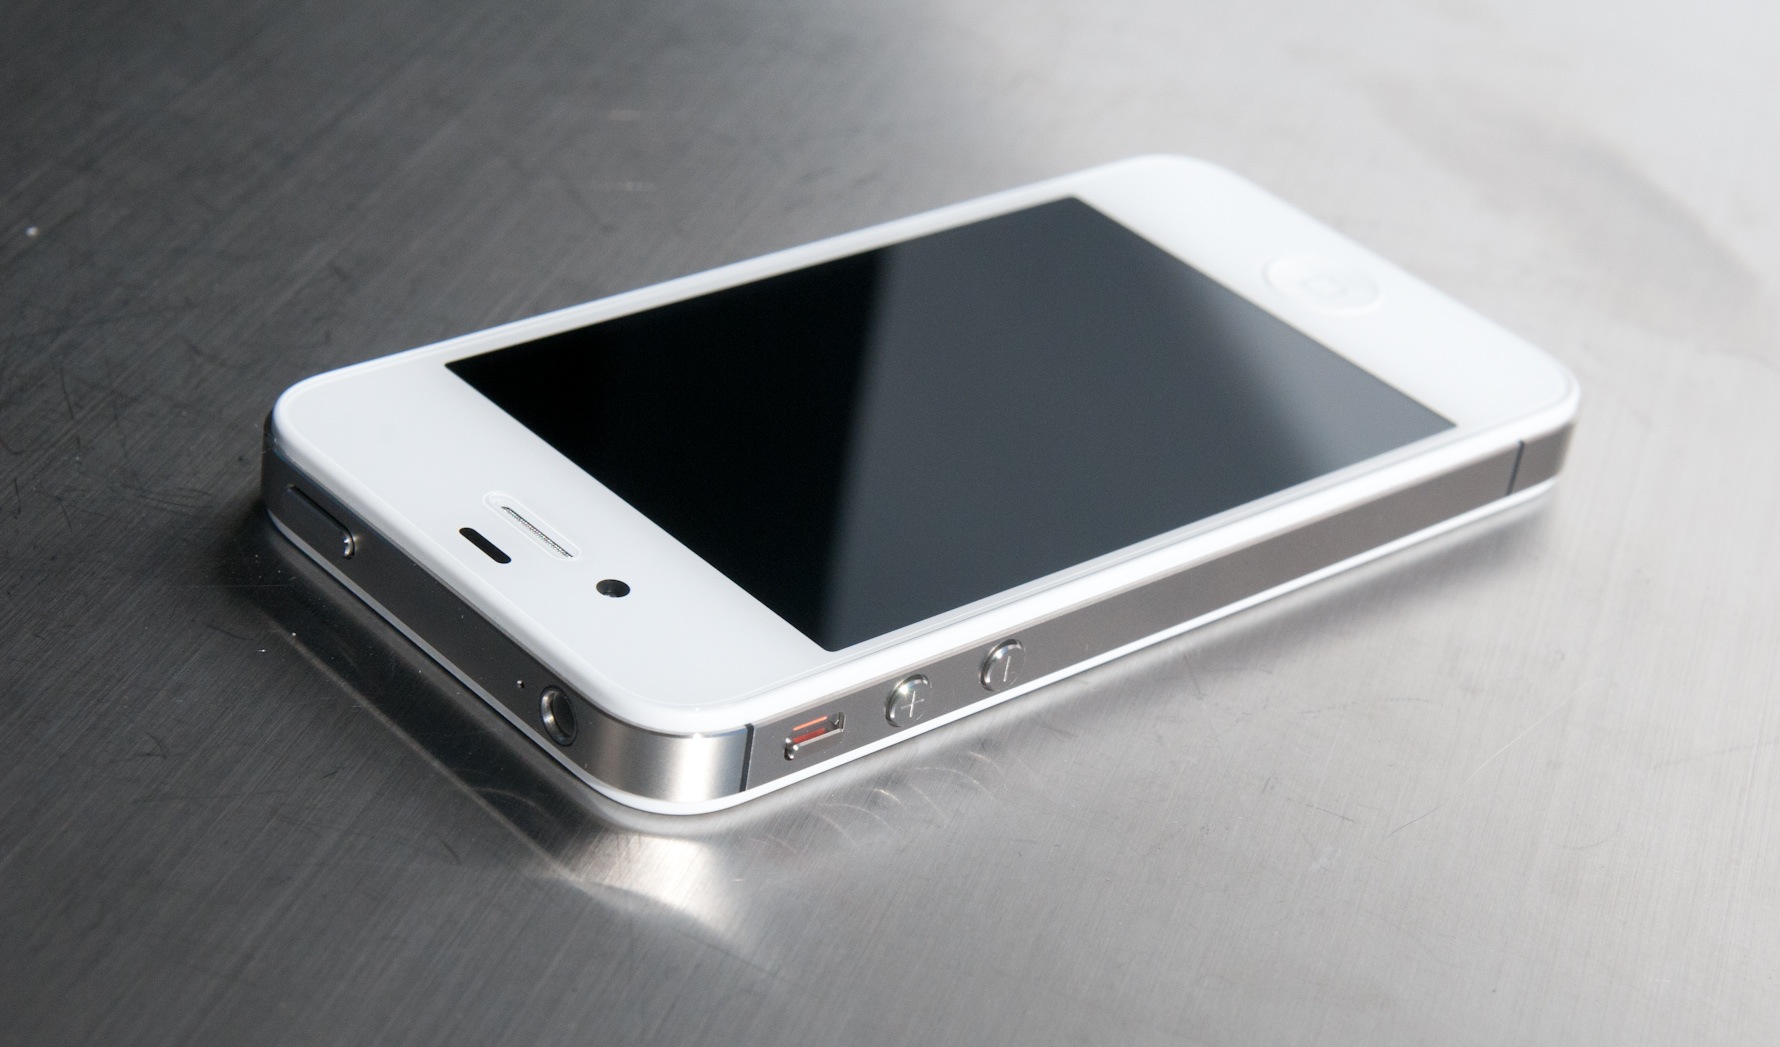
Materials List:
iPhone
Existing email account
Know your email address
Know your password
Wi-Fi or Internet connection
Phone charger (optional)
Intro:
Have you ever needed to access your personal or work email account while on the go? Using today’s technology and these seven simple steps, you will be able to email anyone you wish no matter where you are!
In today’s fast paced world, being able to communicate efficiently with others is very important. Where time is money, a faster response time usually generates a better outcome. While text messaging between phones is a great way to send short communications, sometimes interaction between phone and computer is necessary. Below are a few scenarios that illustrate the advantages of accessing your email on your iPhone.
Imagine that you have just started the first day of your new job as a logistics coordinator for a large warehouse. While working on the floor in the warehouse, you remember that your boss wants you to send hourly email updates on an expedited order. One problem: your office is on the fifth floor of the office building next door. There has to be an easier way to communicate with your boss, other than running back and forth every hour. The solution: Set up your work email on your iPhone and send the emails from the warehouse floor!
Or, while on vacation, you want to share pictures of your recent visit to the zoo with your parents. The internet at the hotel is too expensive for you to send them from your computer, so you need another way to show your parents all of the cute animals you saw. If you set up your personal email on your iPhone, this will be no problem!
As a student, it is always important to stay informed on what is going on in each of your classes. Suppose that one day, your usually very strict chemistry teacher decides to give his students the day off and sends an email explaining that class has been cancelled. This is good news for your classmates, who read the email on their iPhones and enjoy the afternoon off. However, this is bad news for you, since you haven’t set up your email to your iPhone yet. When you hurry across campus to arrive on time, you find that you are the only one there and class has been cancelled. Save yourself from this sort of situation by following the steps below to install your email onto your iPhone.
*Note: These instructions were written using the iOS 7.0.3 version of the iPhone software. If you are using a different software version, you may see differences in the processes for installing an email account onto your iPhone.
Finding the Settings App
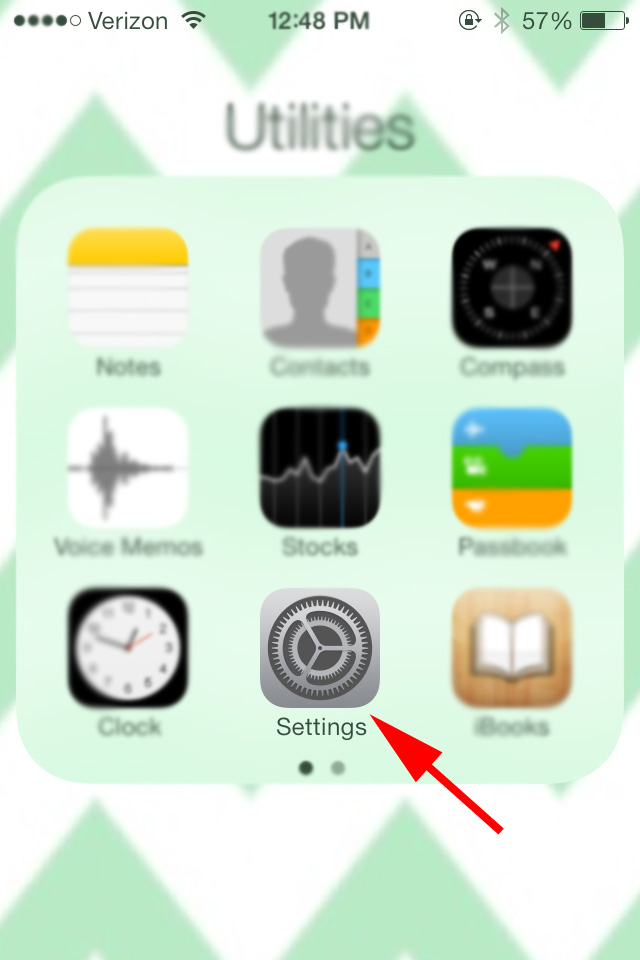
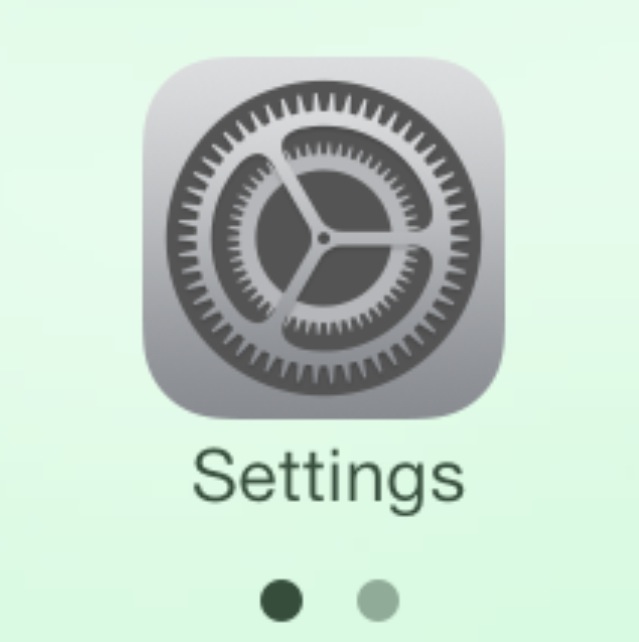
1. Locate the “Settings” app on your iPhone.
2. Tap to open it.
*Tip: The app could be anywhere on your home screen or could be in a folder with other apps. If you can’t find it, press the home button and drag your finger down anywhere on the home screen to access the spotlight search. Search for “Settings.”
2. Tap to open it.
*Tip: The app could be anywhere on your home screen or could be in a folder with other apps. If you can’t find it, press the home button and drag your finger down anywhere on the home screen to access the spotlight search. Search for “Settings.”
Entering the Mail Folder
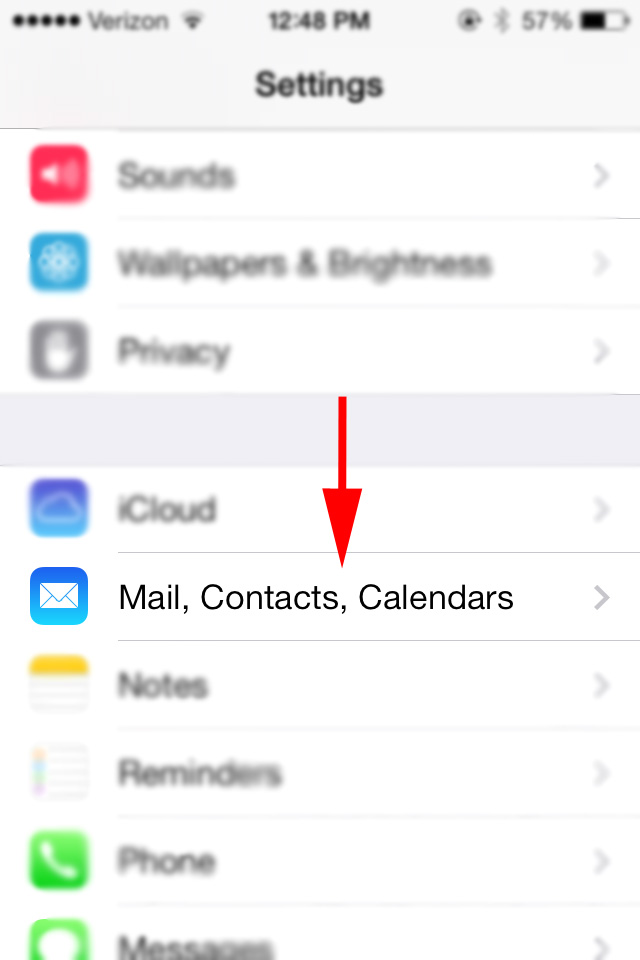
1. Scroll down to the “Mail, Contacts, Calendars” and tap to open the folder.
Adding Your Account
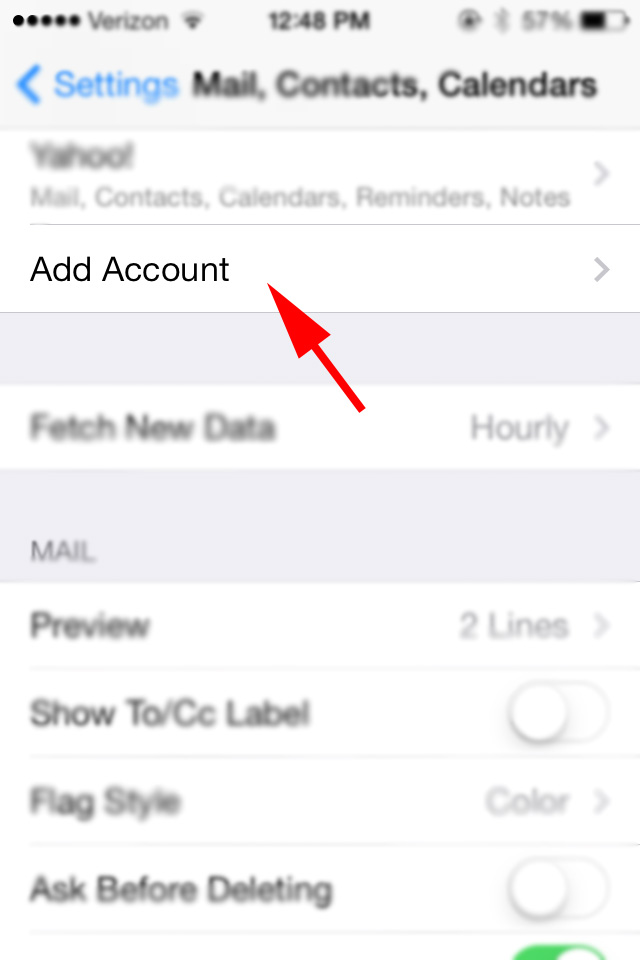
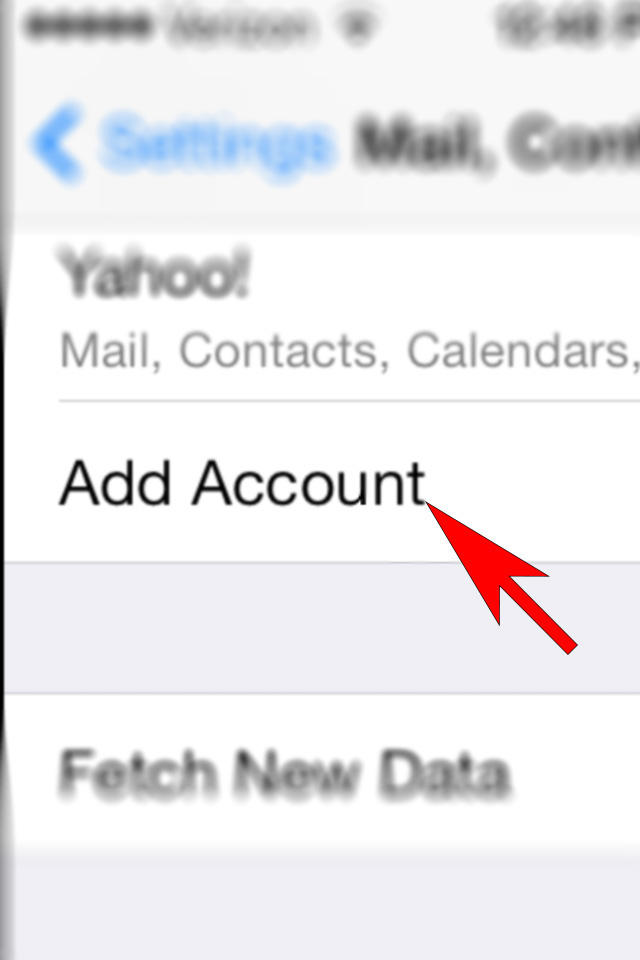
1. Tap “Add Account” at the bottom of the “ACCOUNTS” heading.
Choosing Your Email Provider
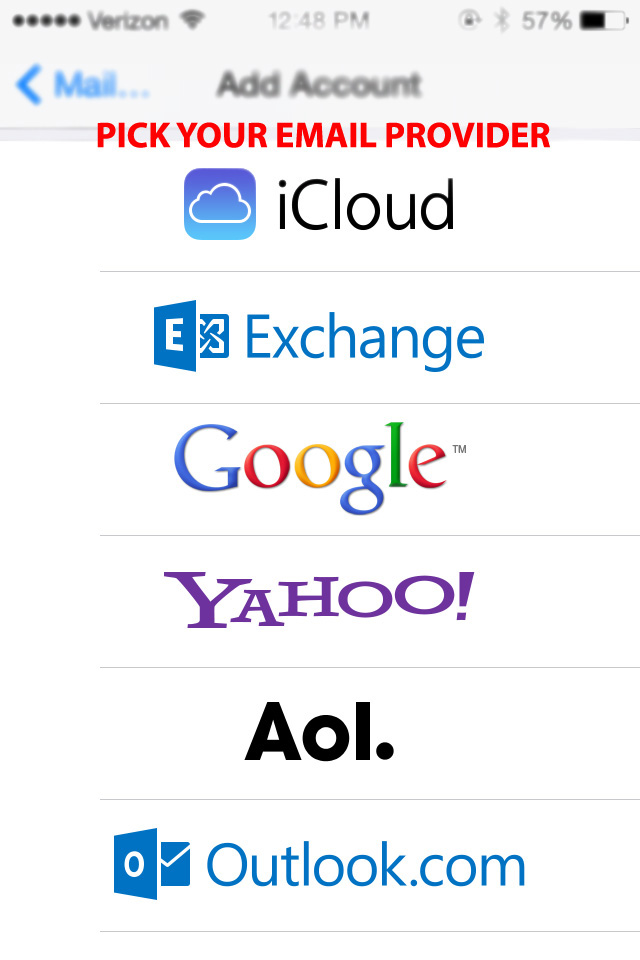
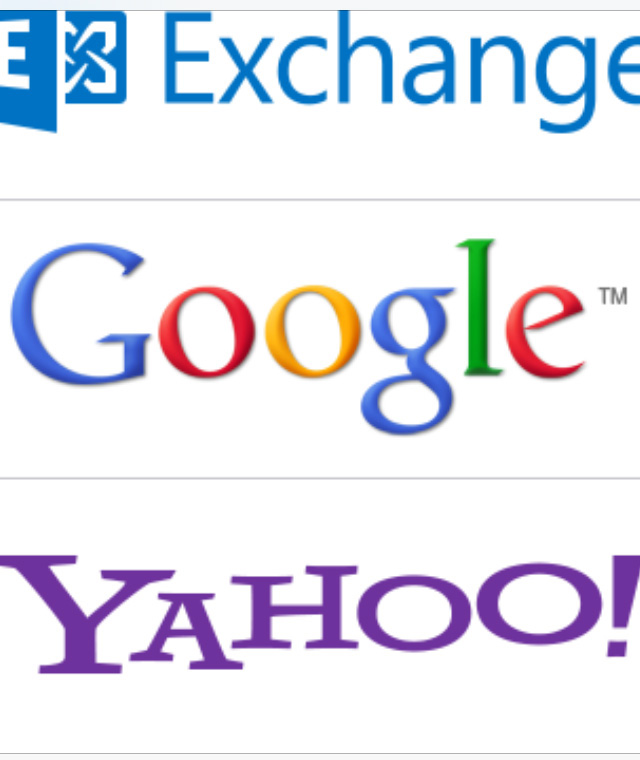
1. Select the email provider that your email address can be accessed through.
Entering Your Personal Information
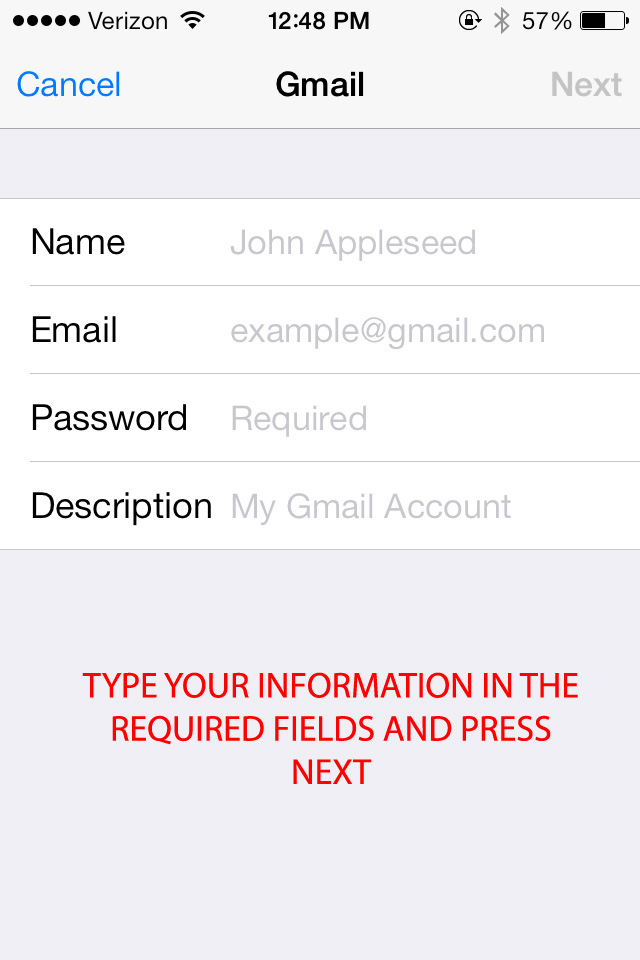
1. Enter your first and last name in the first text box labeled “Name.”
2. Enter your email address including the domain into the text box labeled “Email.”
*Example: "youremail@yourprovider.com."
3. Enter your password into the text box labeled “Password.”
4. Leave the description text box alone; it will change automatically as you enter your information.
5. After you have finished entering your personal information, tap "Next" at the top right corner.
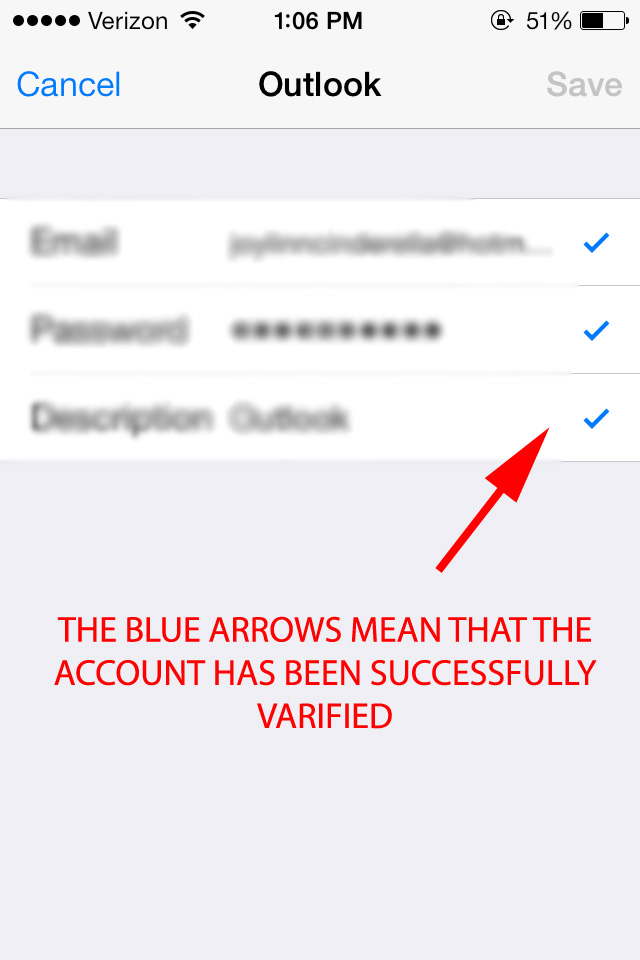
When the blue check marks appear, your account has been successfully verified.
Choosing What to Sync
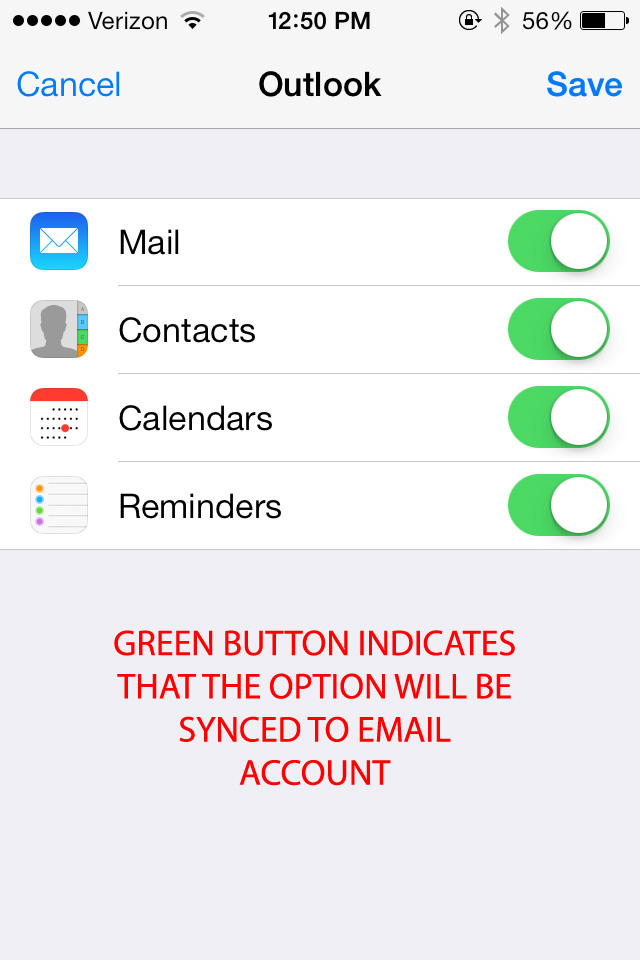
1. Turn on the options from the list that you would like to sync to your phone from your email settings.
Tip: (The interface will show green behind the “button” if it is turned “on”.)
Note: Each of the options will allow your email account to access a different part of your phone.
• The "Mail" option will need to be turned "on" to allow emails to come straight from the server to your phones mail app.
• The “Contacts” option will integrate your email’s address book to your contact list on your phone. When enabled, this makes it easier to access the email addresses of people who are saved onto your email account’s contact list.
• The “Calendars” option will combine the calendar events you have created through your email account to the Calendar App on your iPhone. You will see these events on Today’s Calendar when this option is enabled.
• The “Reminders” option will sync any reminders you have set up on your email account to the Reminders App on your iPhone. When this is enabled, a window will “pop up” on your phone to notify you of a set reminder at the specified time.
Saving Your Account and Options
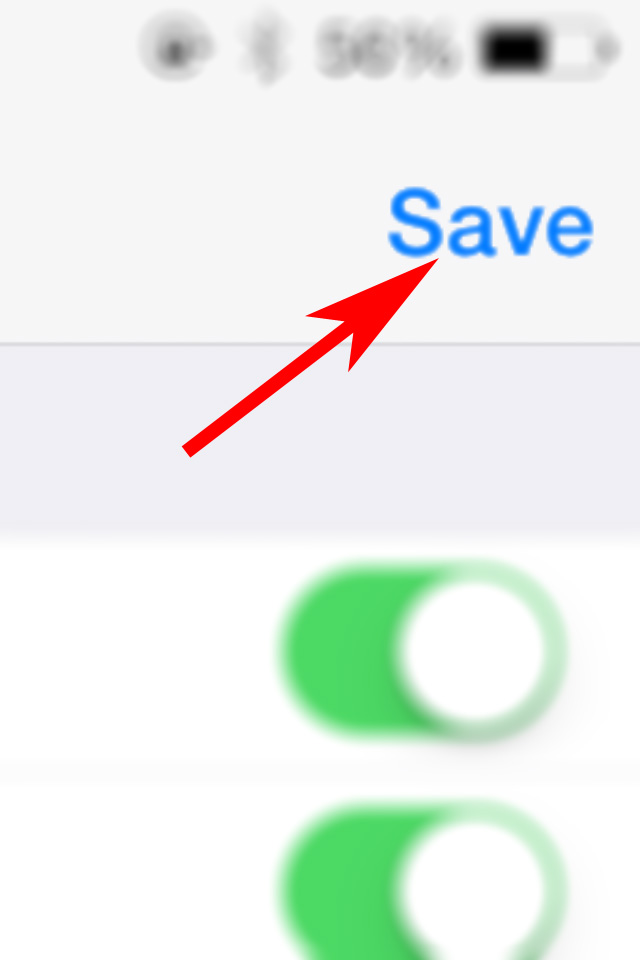
1. Tap “Save” at the top right corner of the screen.
Now that you have successfully installed your email account onto your iPhone, you can stay in touch more efficiently. You can now email your boss those hourly updates from the floor of the warehouse; send your parents the pictures from your trip to the Zoo; or fully enjoy your day off when your professor sends an email to cancel class!
Now that you have successfully installed your email account onto your iPhone, you can stay in touch more efficiently. You can now email your boss those hourly updates from the floor of the warehouse; send your parents the pictures from your trip to the Zoo; or fully enjoy your day off when your professor sends an email to cancel class!