How to Replace Your RAM & HD in a Macbook!
by Command-A in Circuits > Apple
2428 Views, 6 Favorites, 0 Comments
How to Replace Your RAM & HD in a Macbook!
This should be a pretty comprehensive repair guide for upgrading your RAM and hard drive in your Macbook. This will be the same for all B&W macbooks. I may leave something or, or omit, and this is something done at your own risk.
It is very easy, it can be done in less than 10 minutes and can save you a bunch!
Keep your goods safe and grounded, in the photo below check out some materials you should have before you get started. You will also need a hex key for the tins bolts holding the drive onto the sled. I'm not sure the exact size, and if you don't have a kit, you should buy one :-)
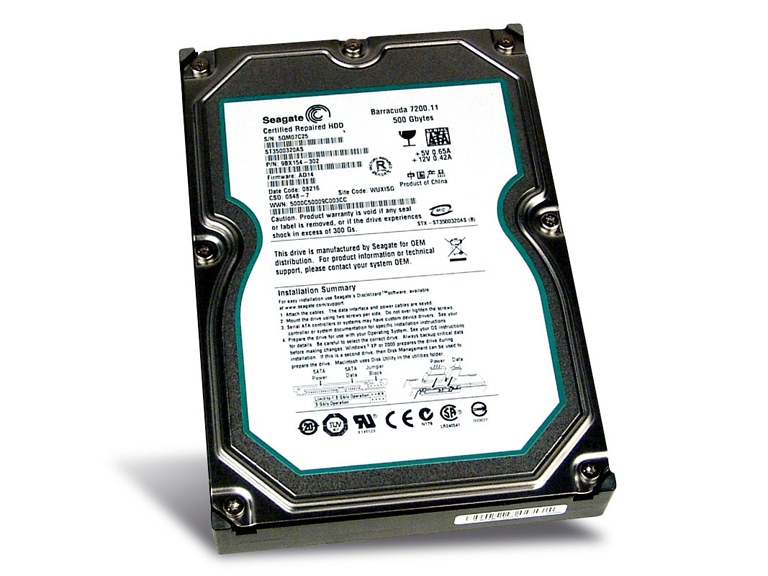
You can really increase the performance of your machine with these two upgrades. I took this 2.16 macbook with 1GB & 120GB wd hard drive to - 500GB seagate barracuda & 4GB of RAM for $120 through macsales.com They have the best gear and a great price.
Please rate highly if you think this is valuable!
Materials Needed.
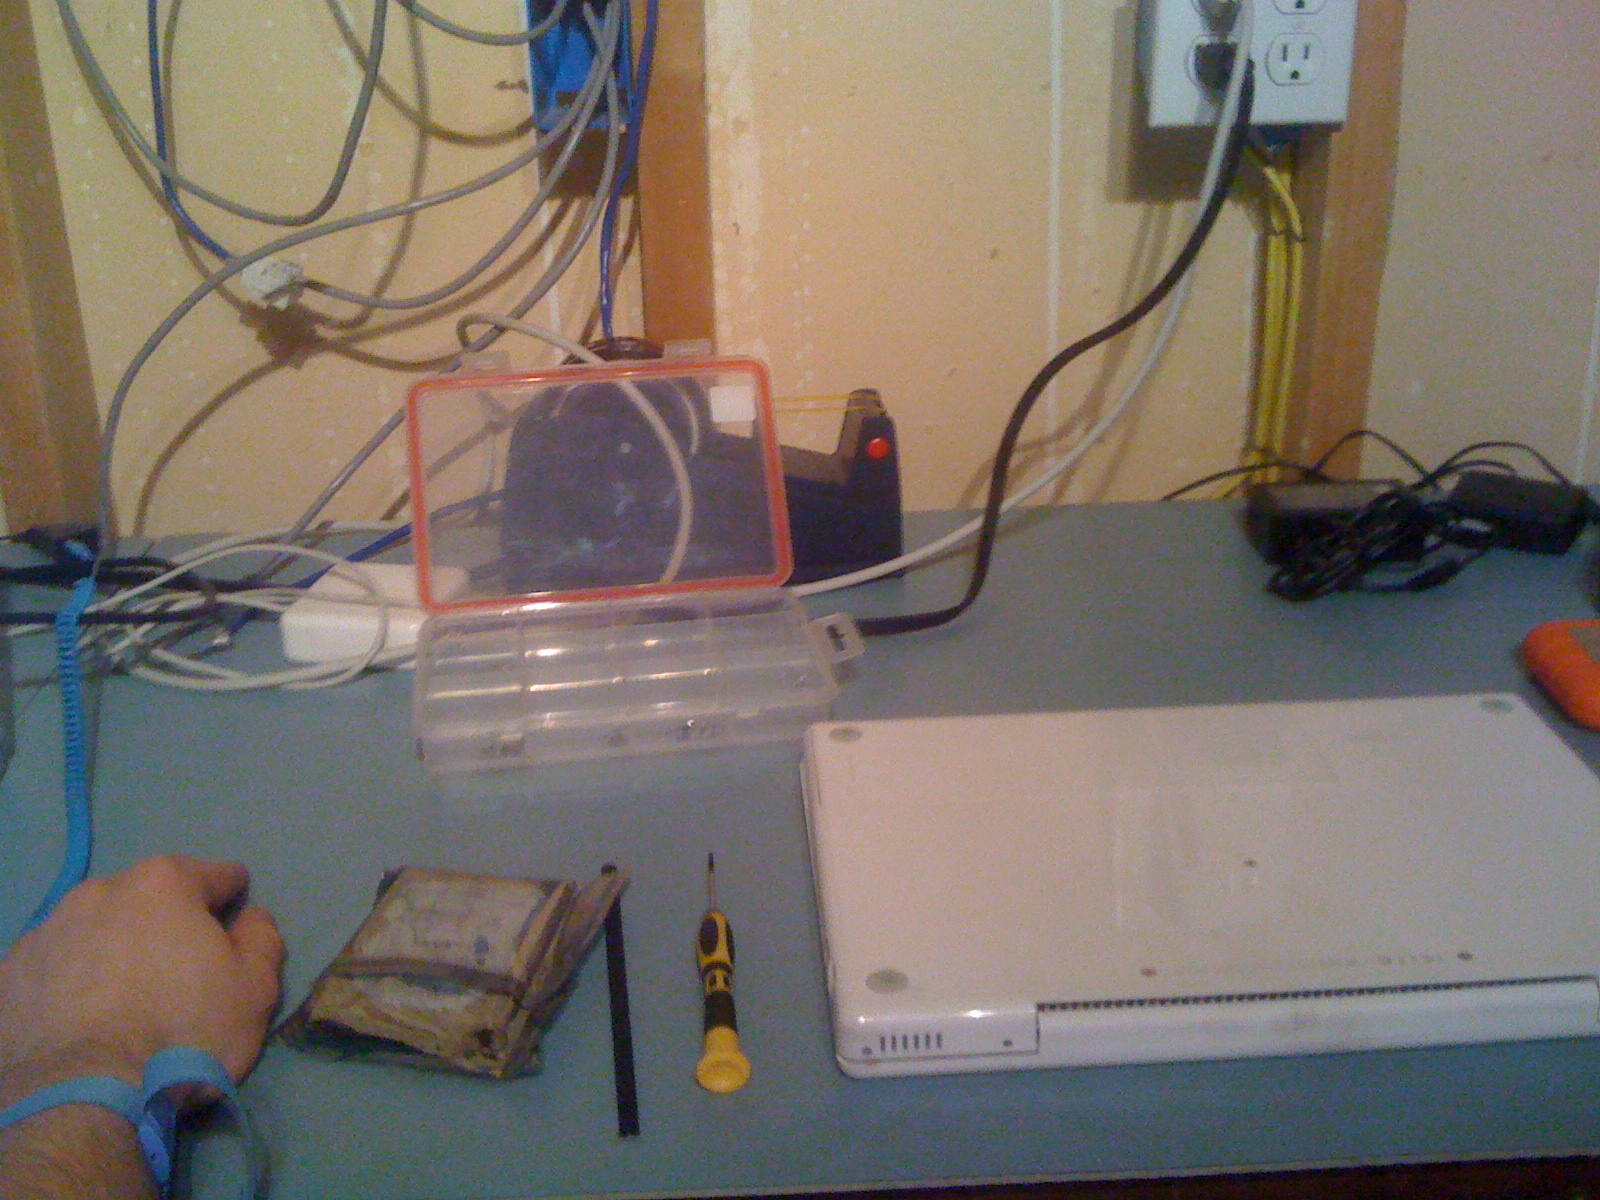
Quality Hard drive - I am using a Seagate Barracuda 7200rpm 500GB drive, 3 year warranty and excellent performance. Spend the $80 and get one. Don't skimp on your Mac!
RAM
Phillips 00 screwdriver
Star hex kit
Static mat/grounding strap
Geek stick
RAM
Phillips 00 screwdriver
Star hex kit
Static mat/grounding strap
Geek stick
Pulling Out the Pack.
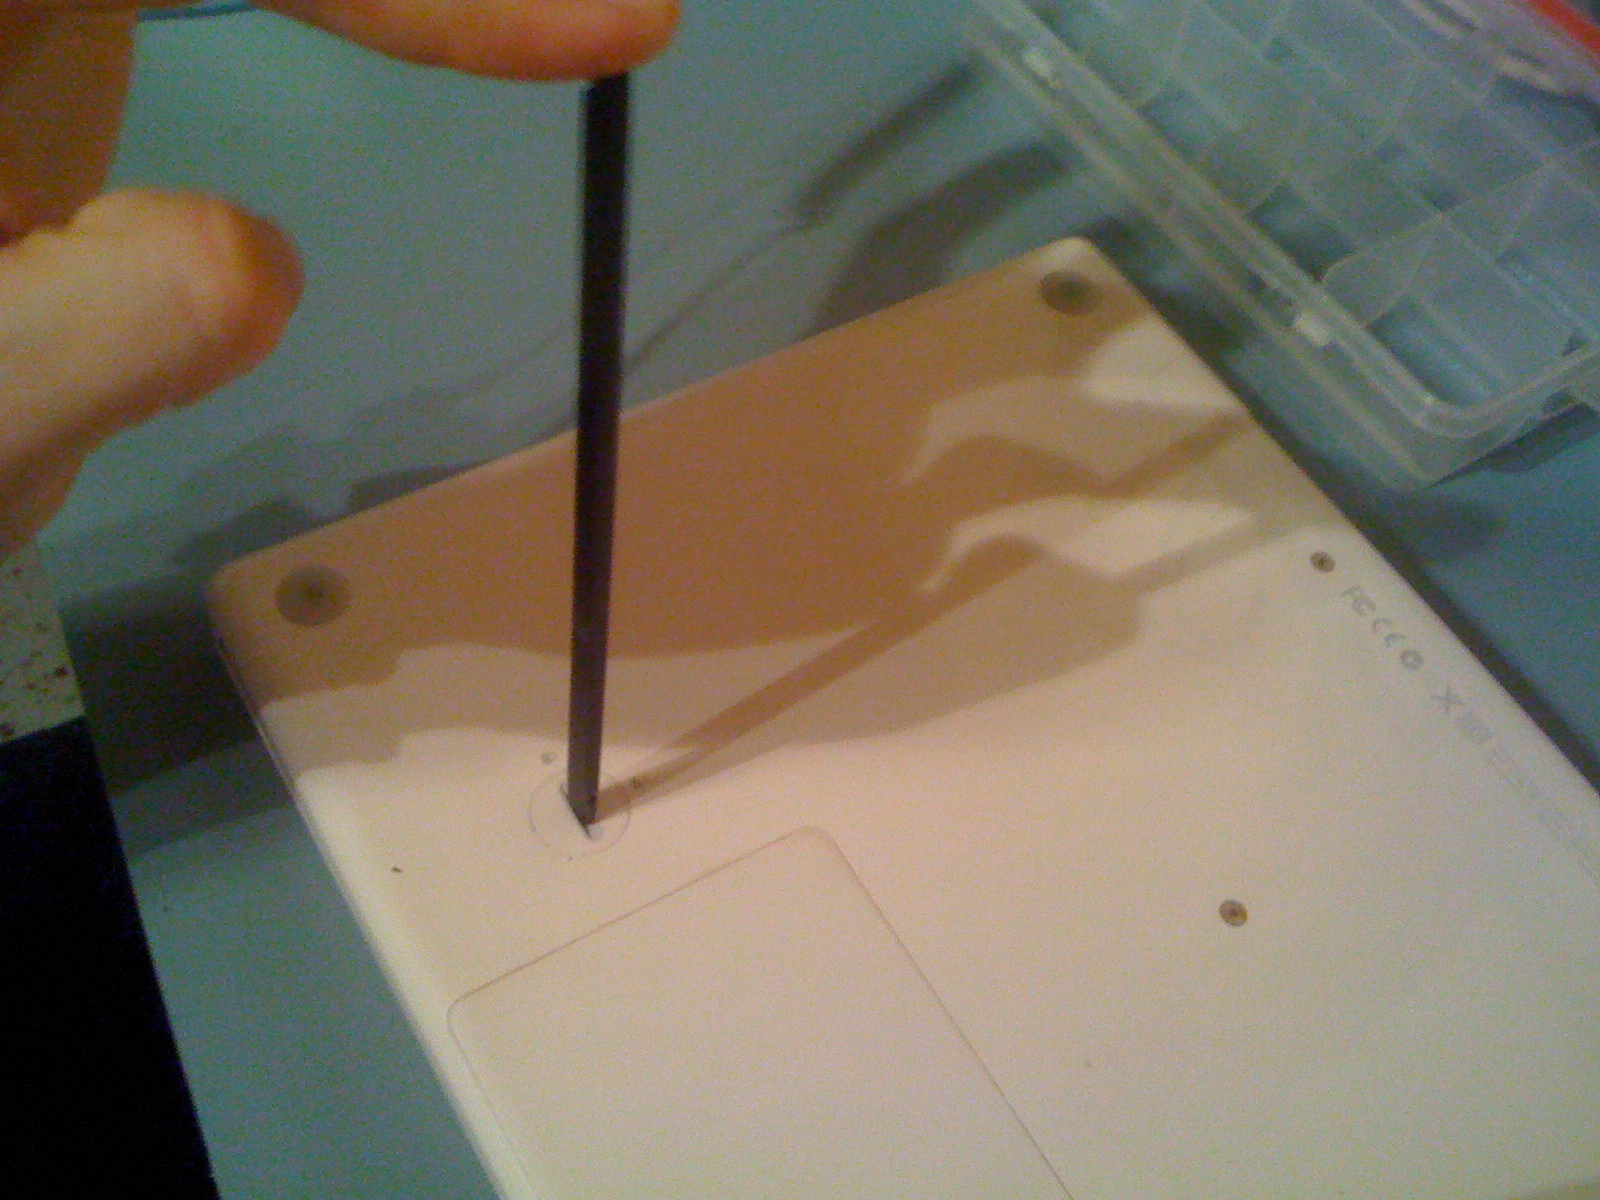
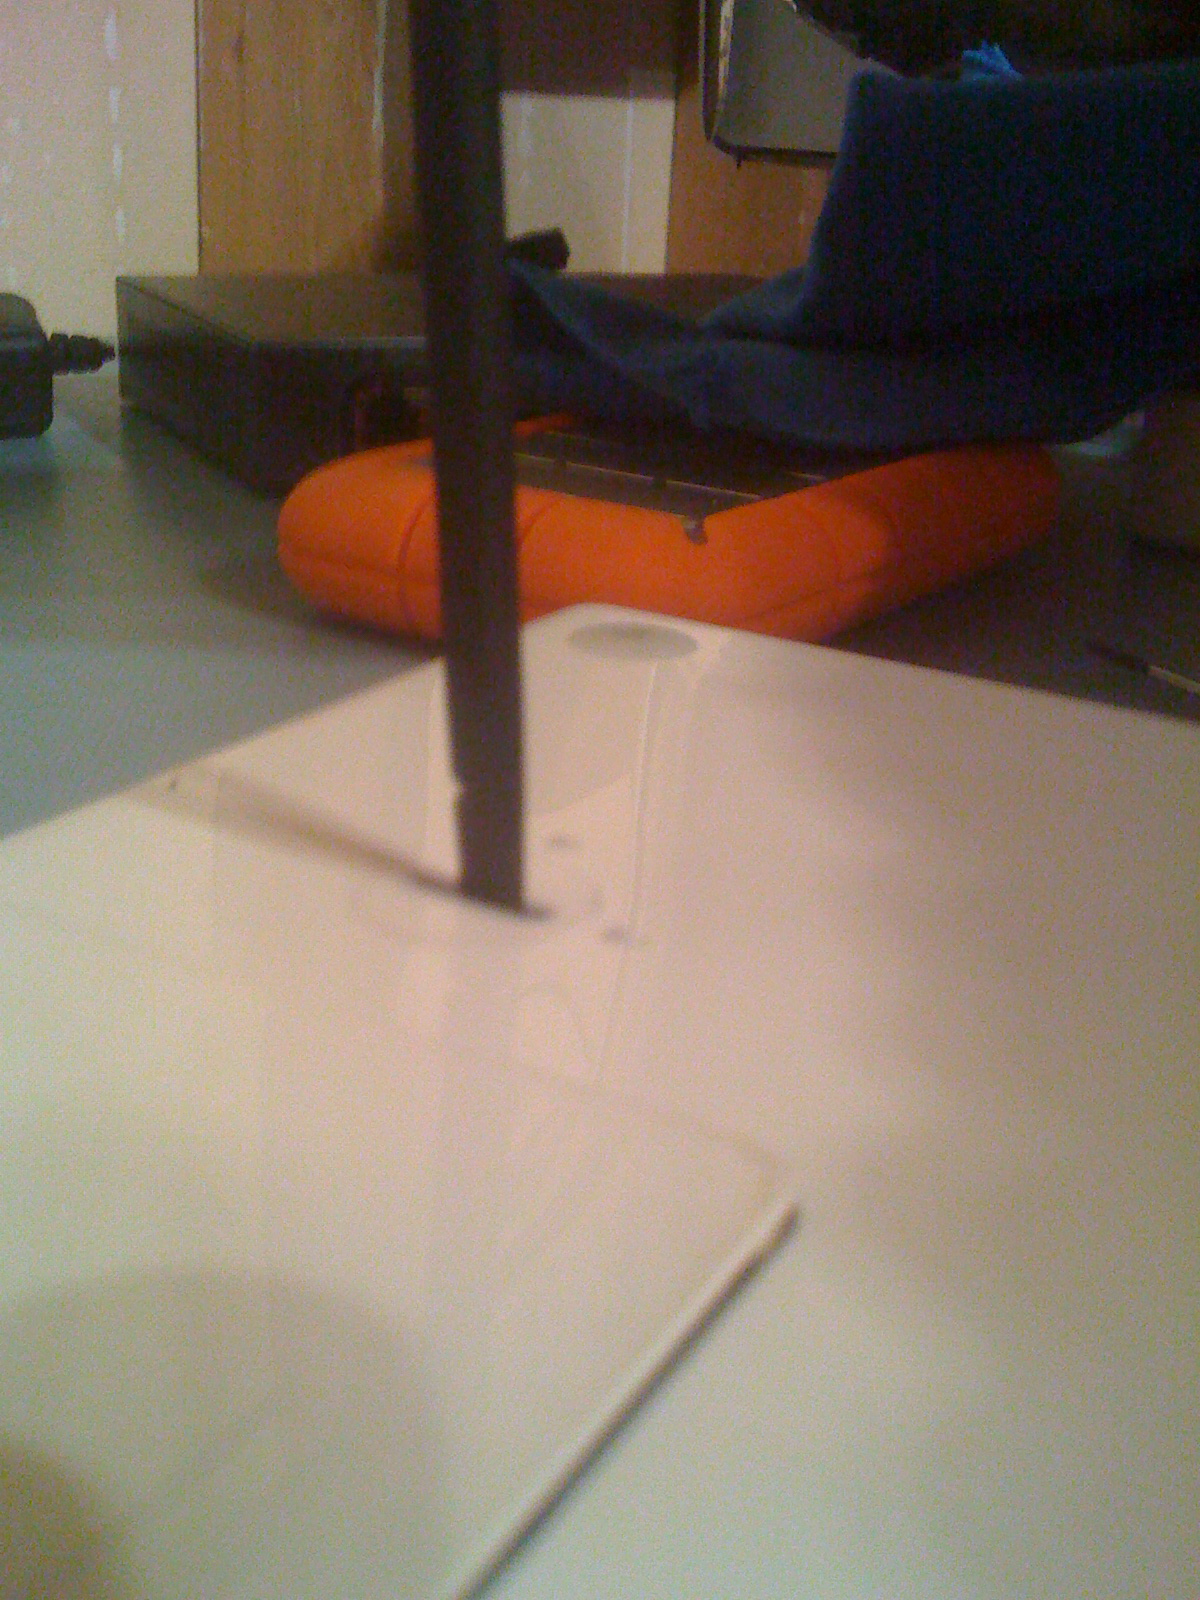
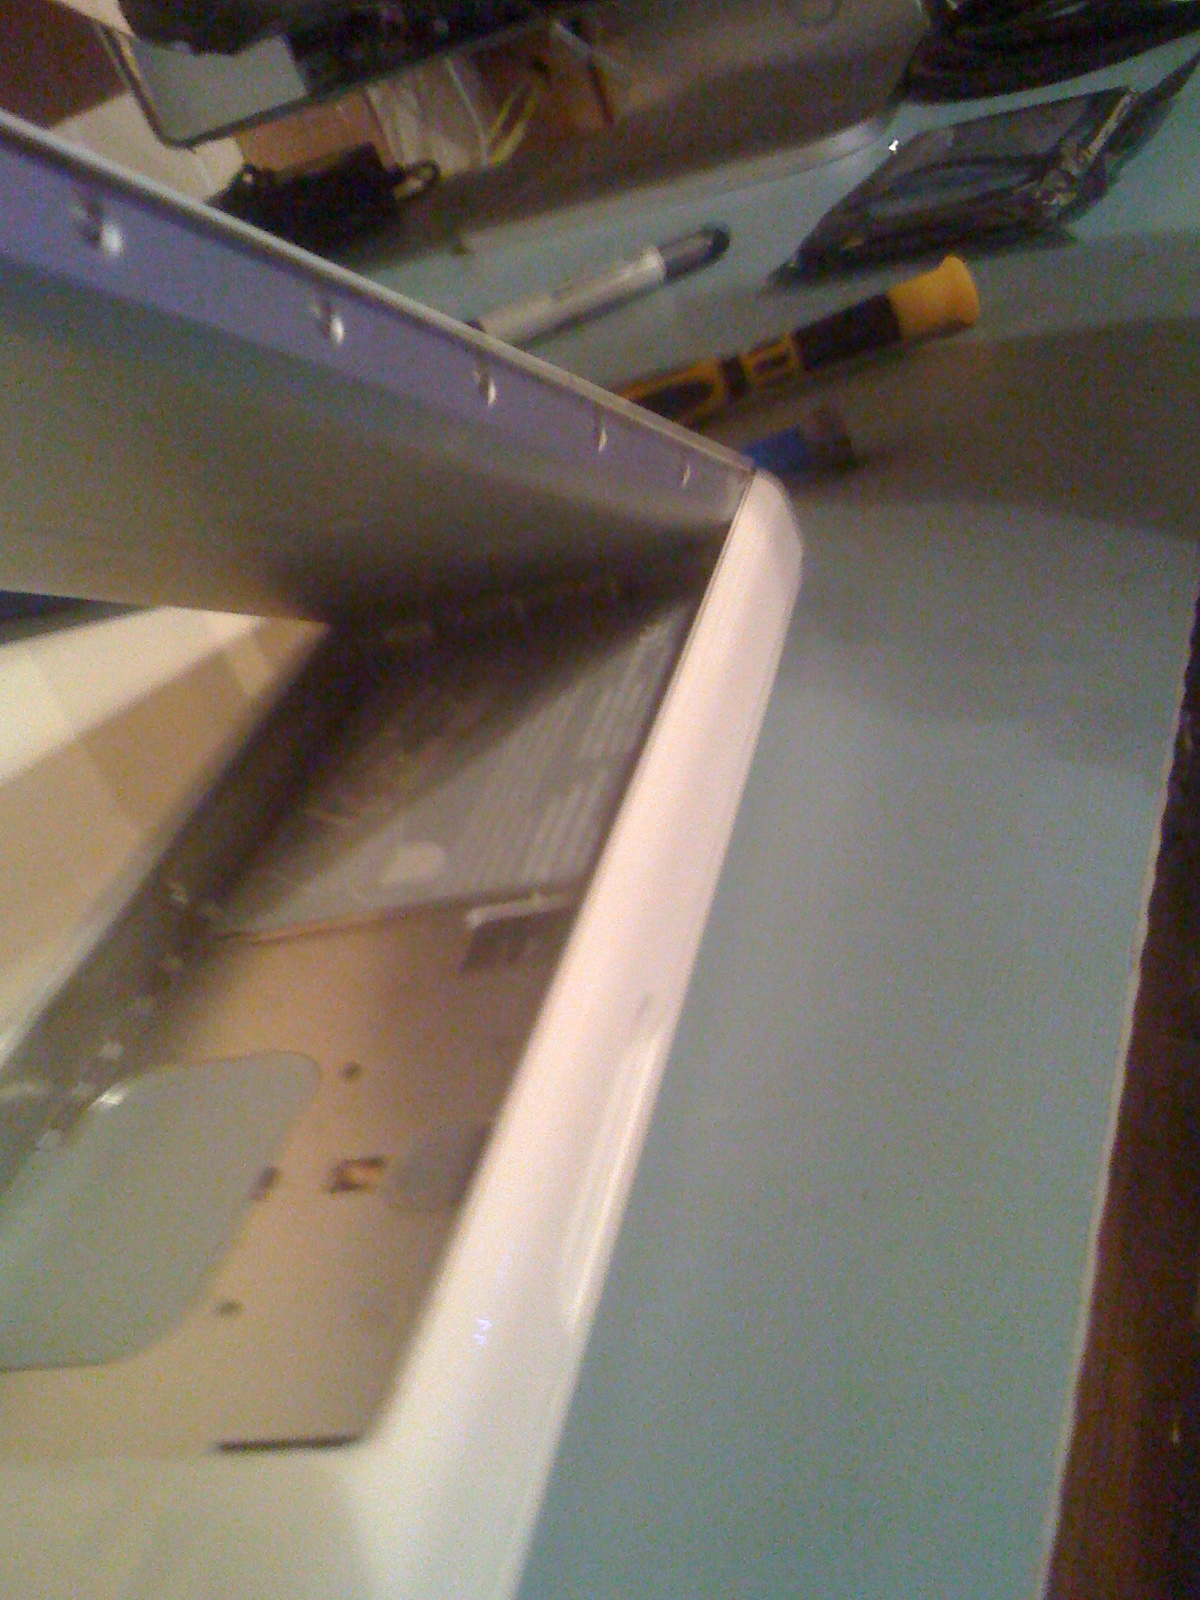
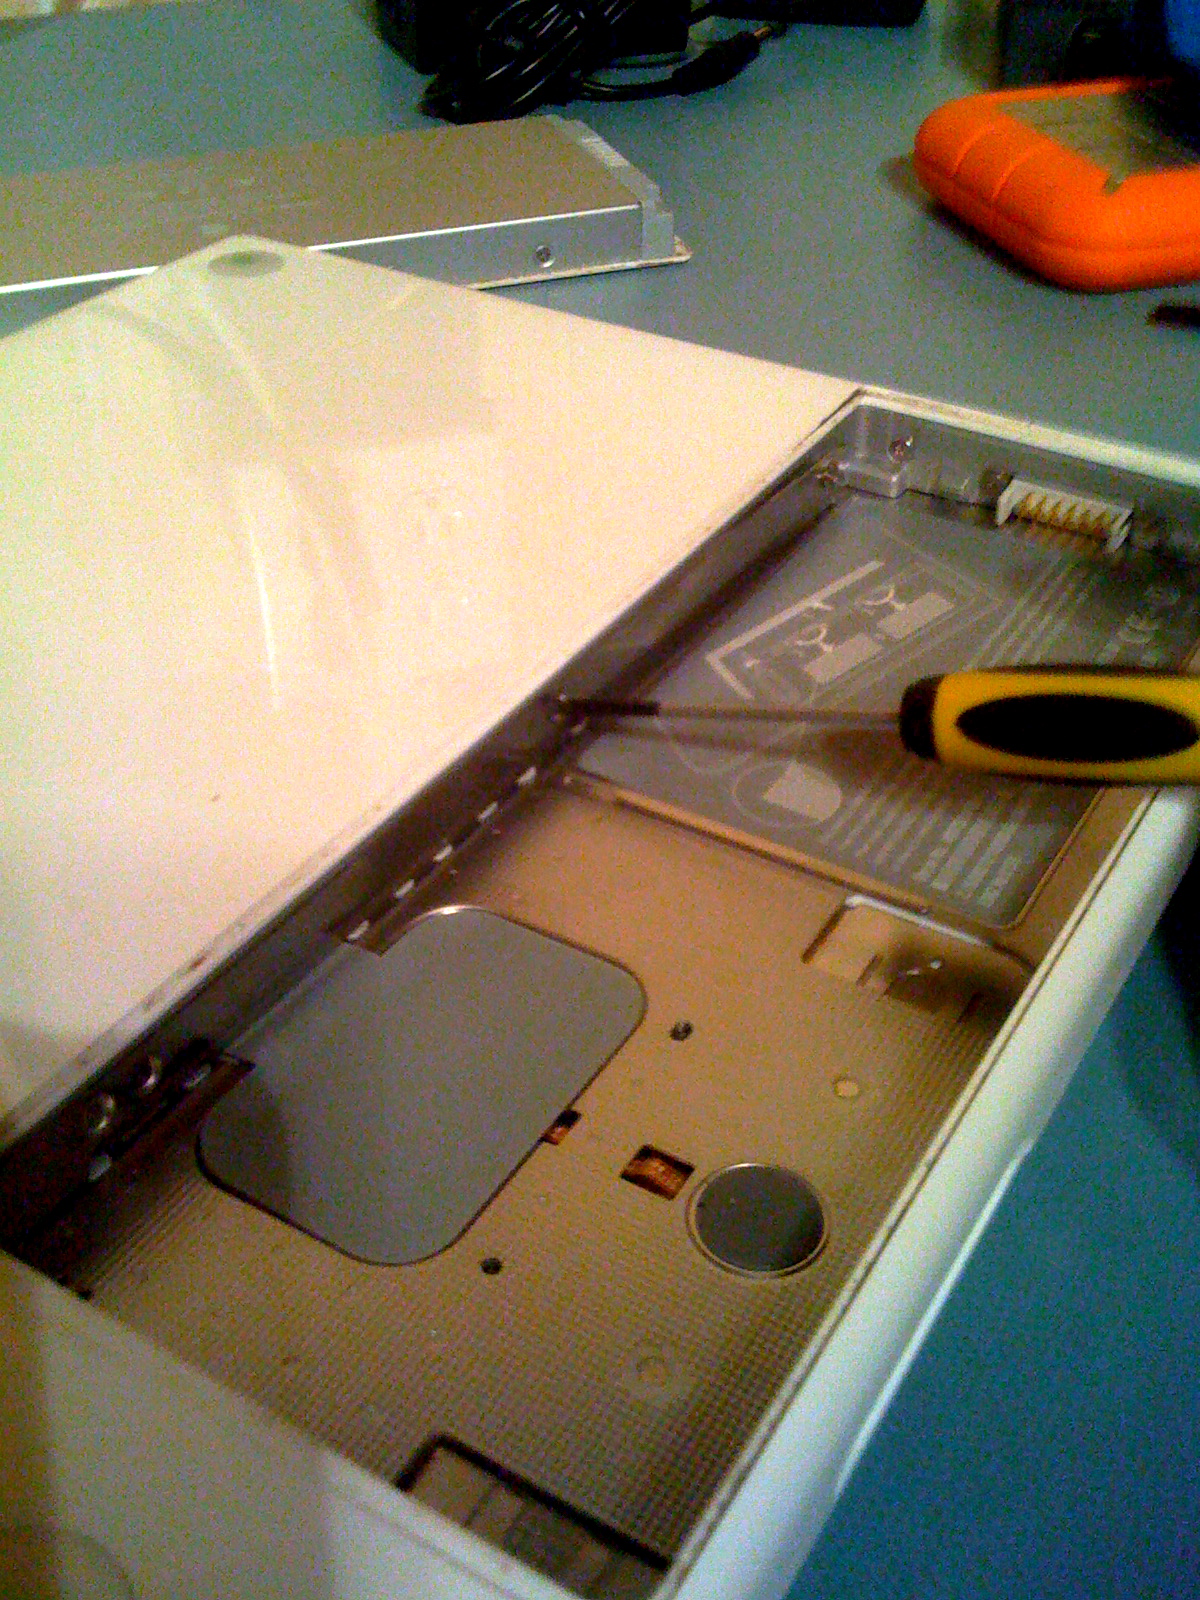
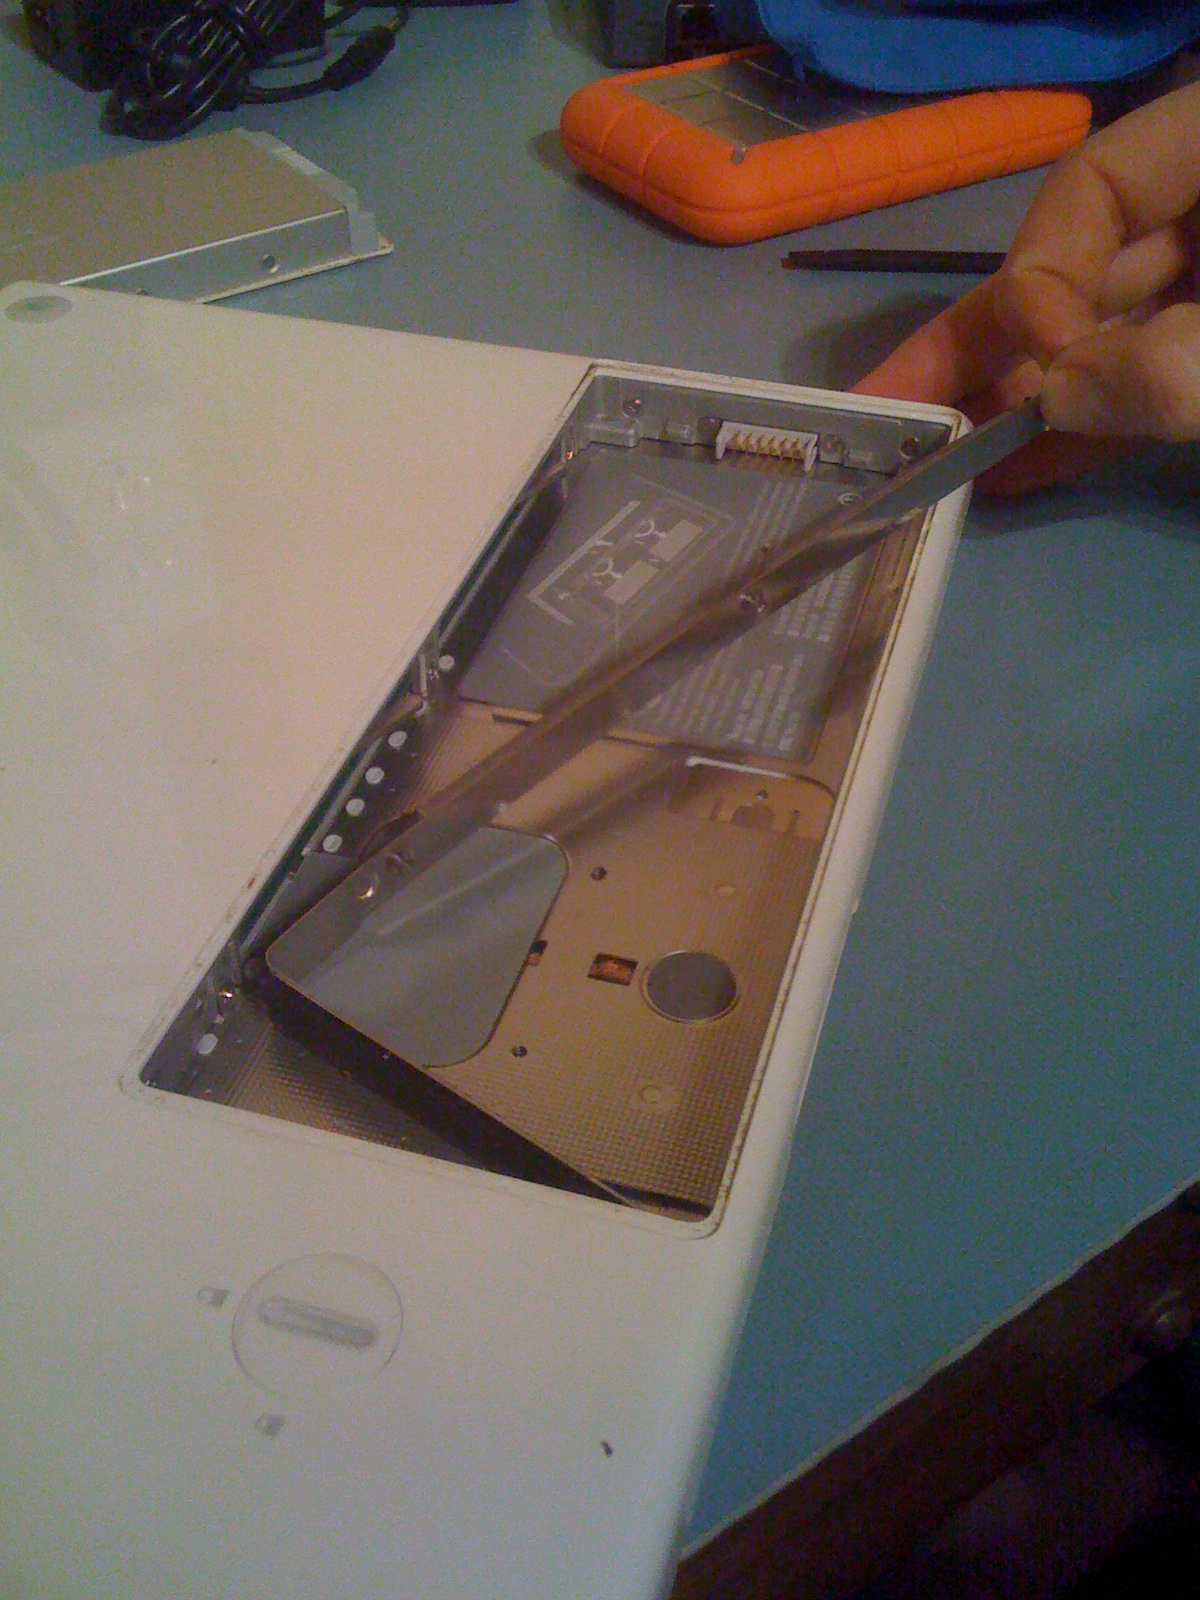
First, using your geek stick, turn the battery lock from locked to unlocked.
Next, remove the battery. It will clearly pop up from the locked position when you turn the unlock tumbler. One the lock side where it pops up, just remove it!
After the battery has been removed it's time to remove the RAM shield. There are 3 screws that must be removed first. After the 3rd screw has been removed pull (from screw #1 pictured) towards the front of the machine. It is seated in the metal on the front side, make sure and pull out from this angle and don't bend the tab.
Swappin the RAM!
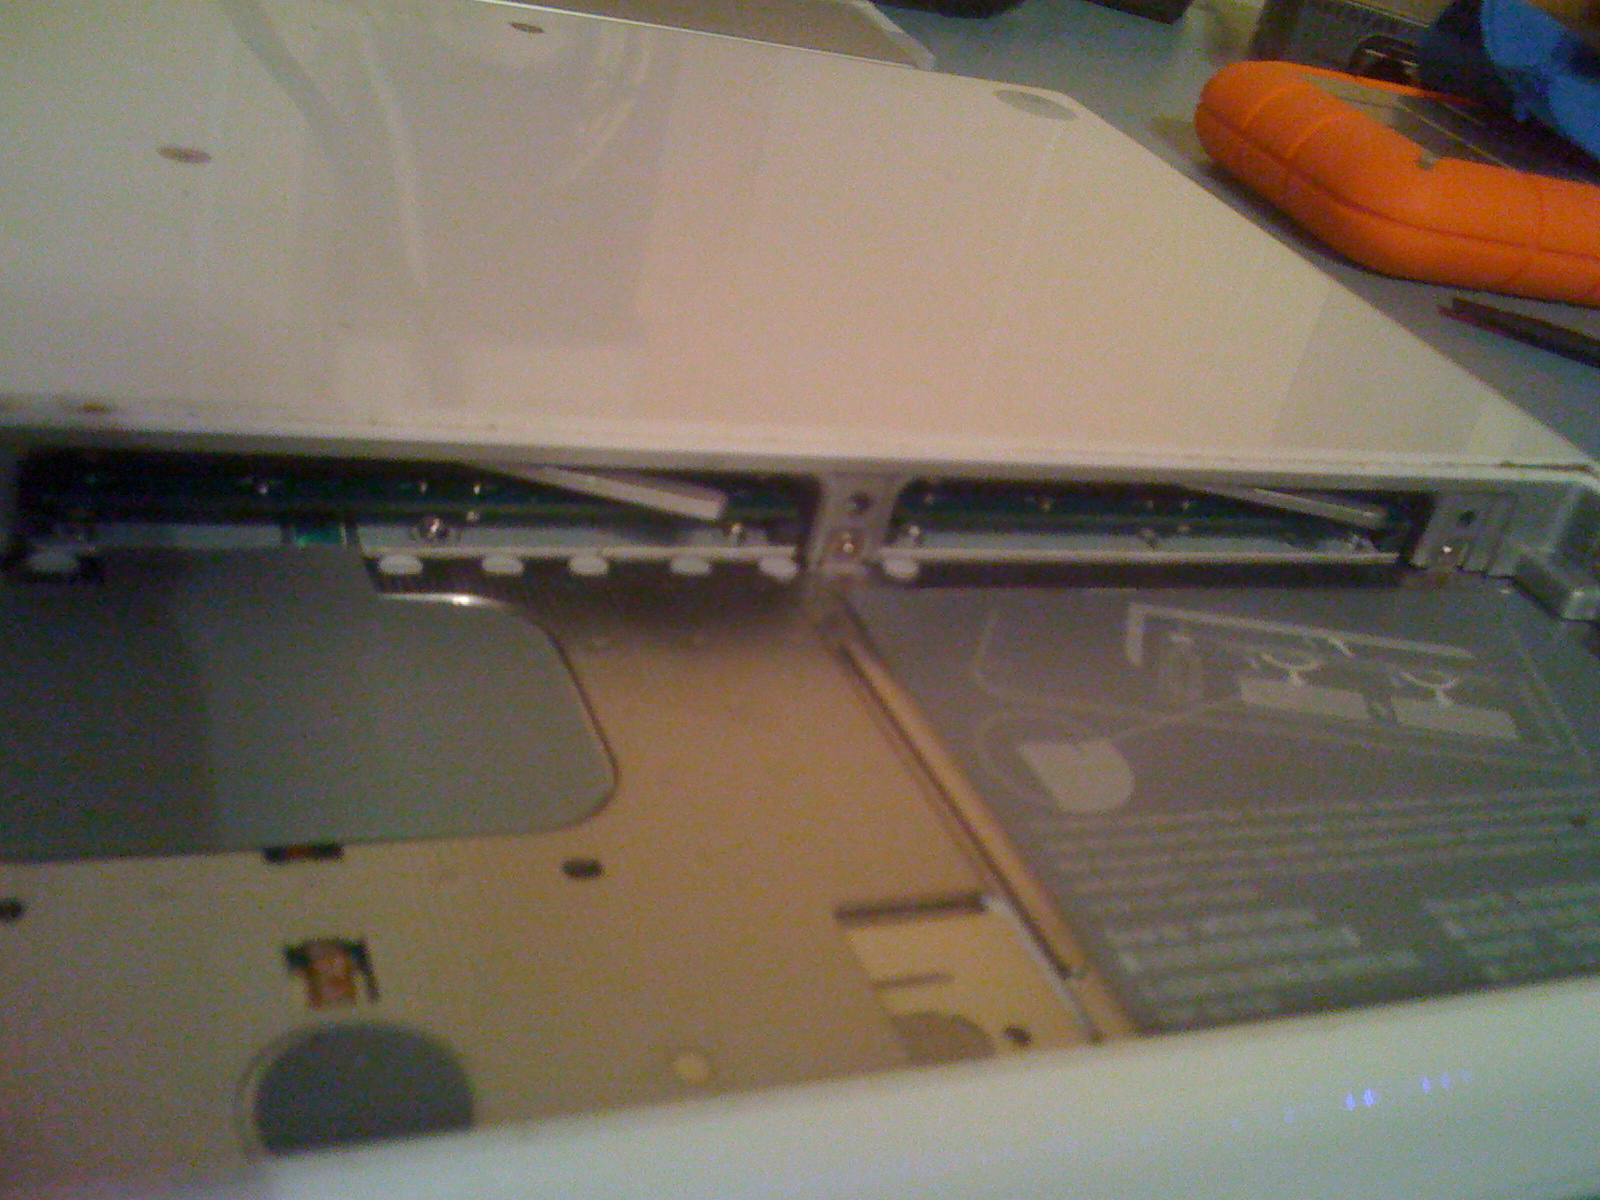
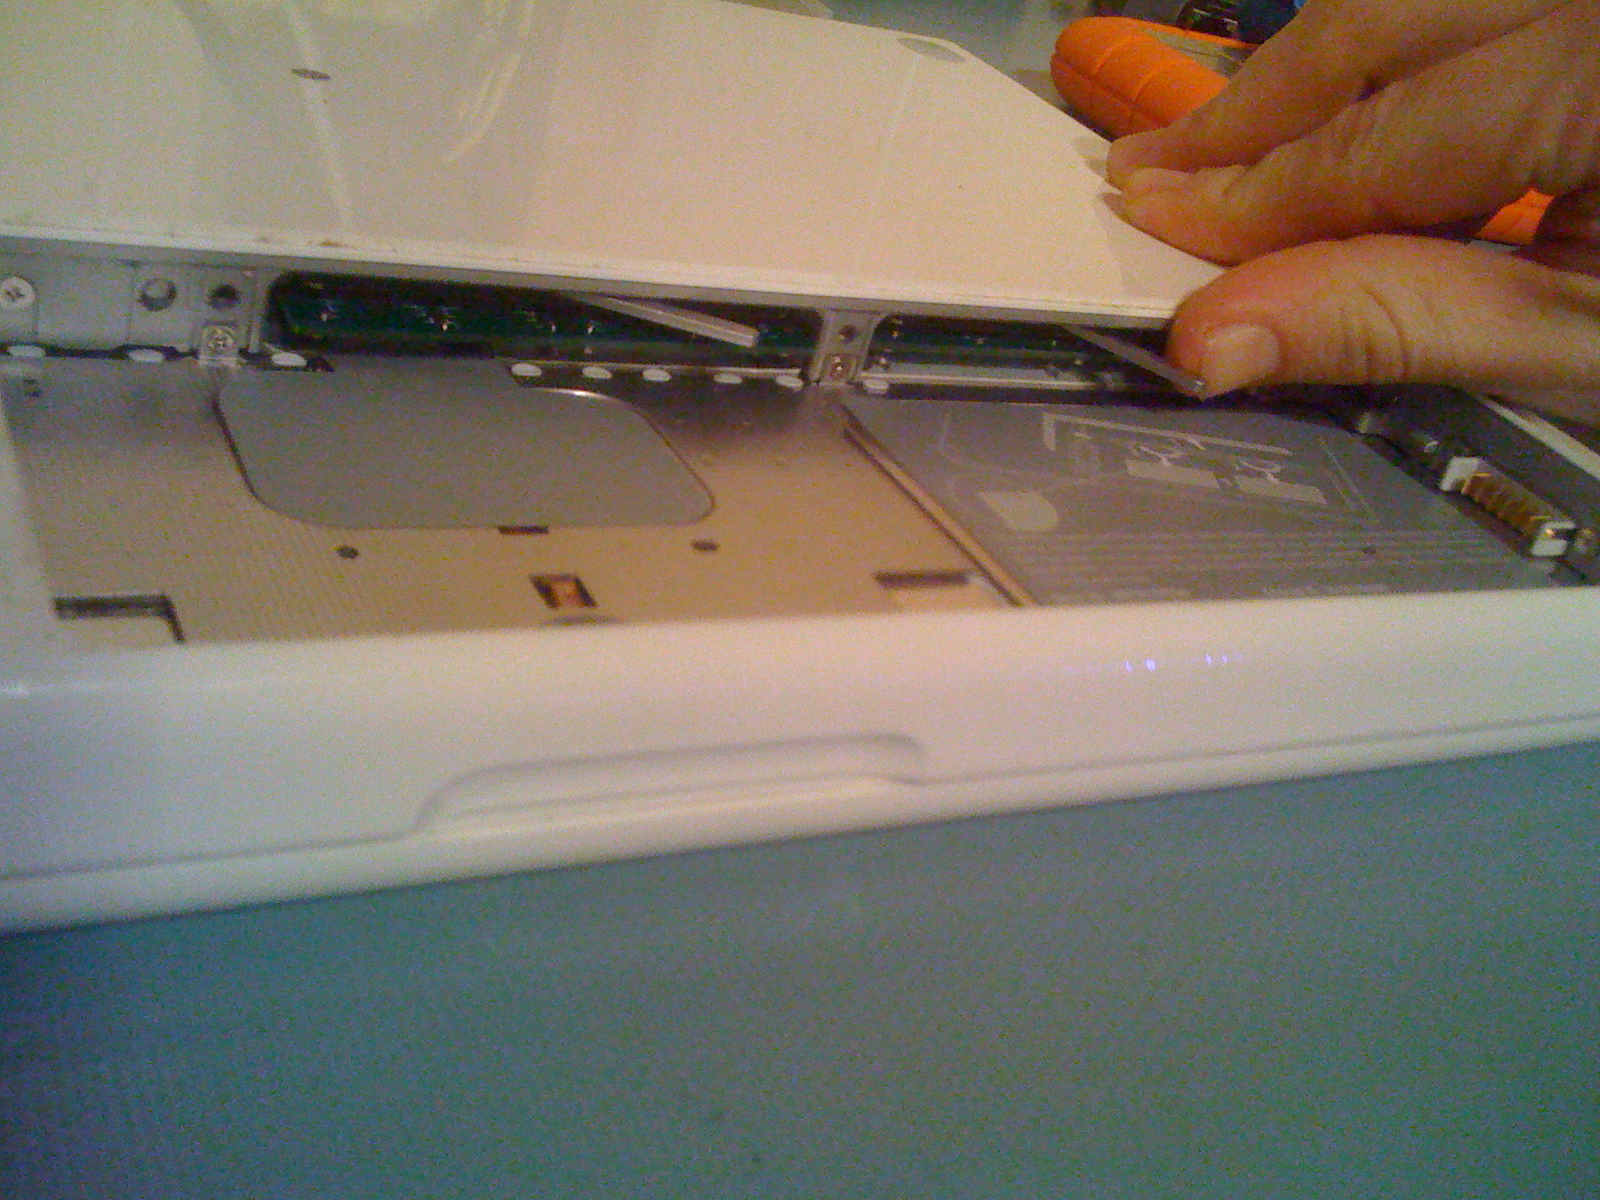
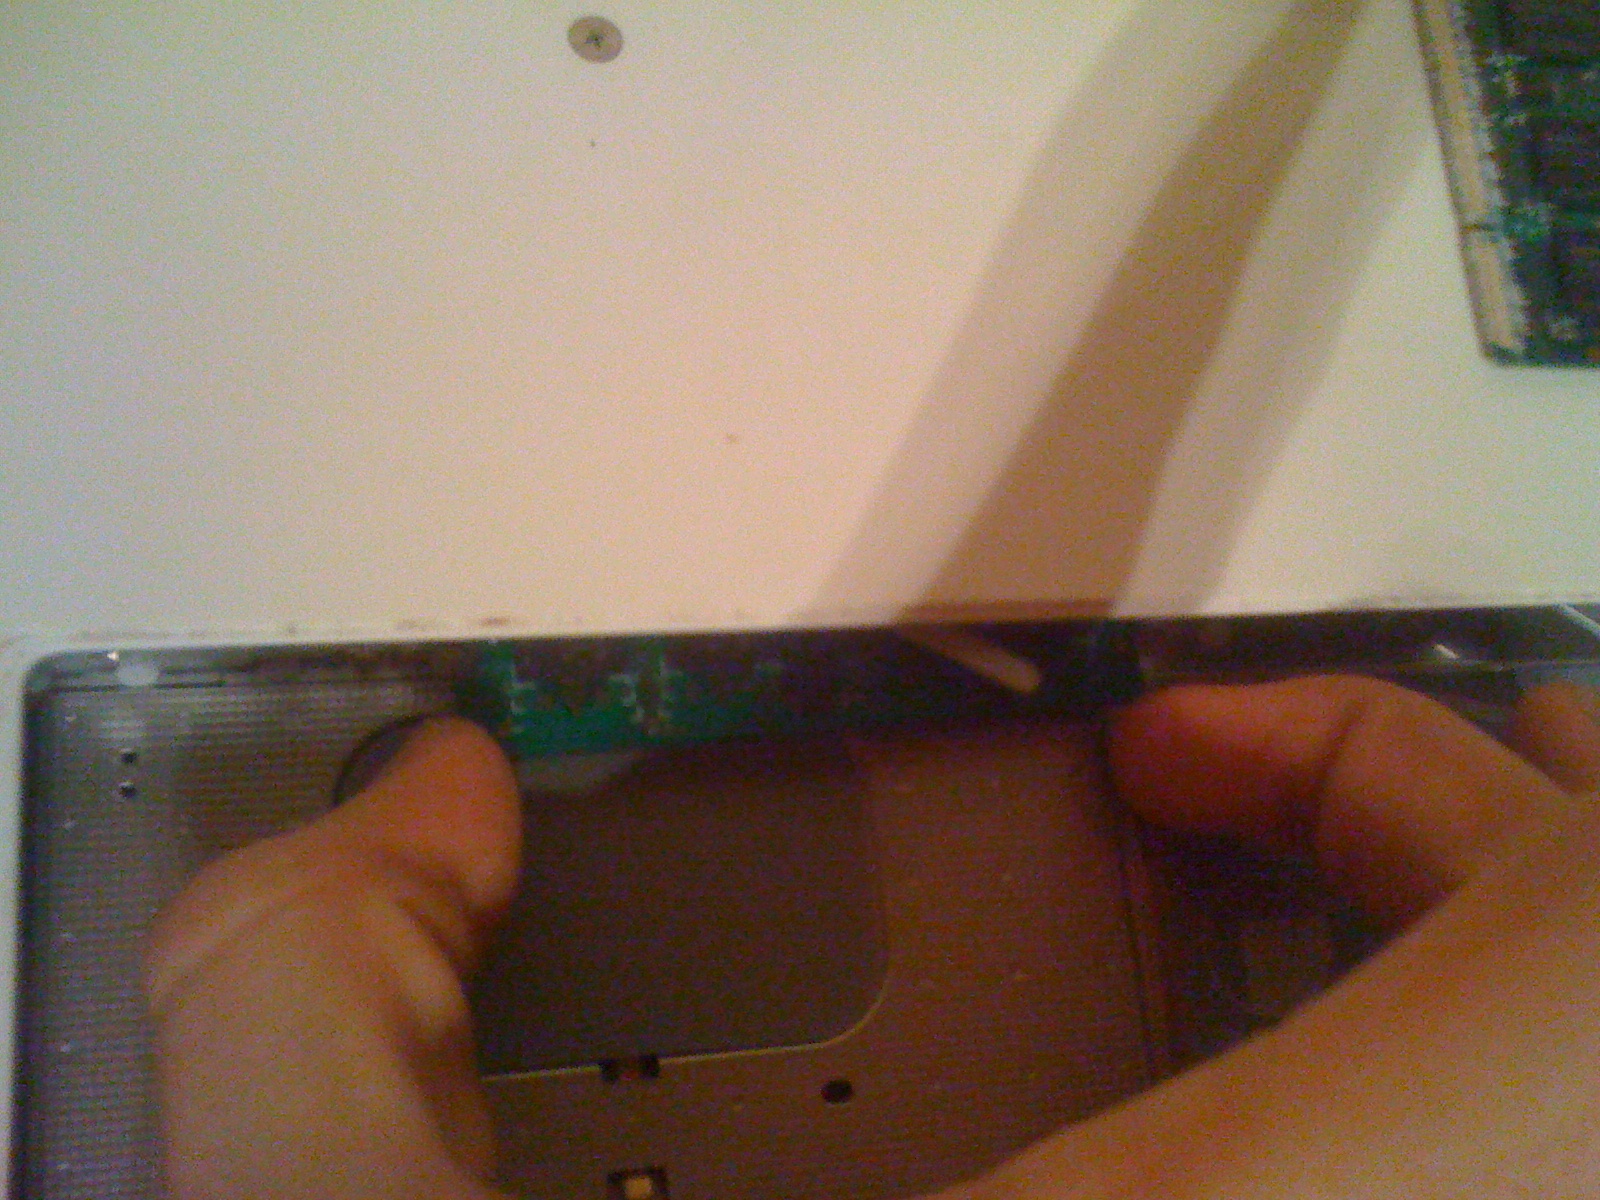
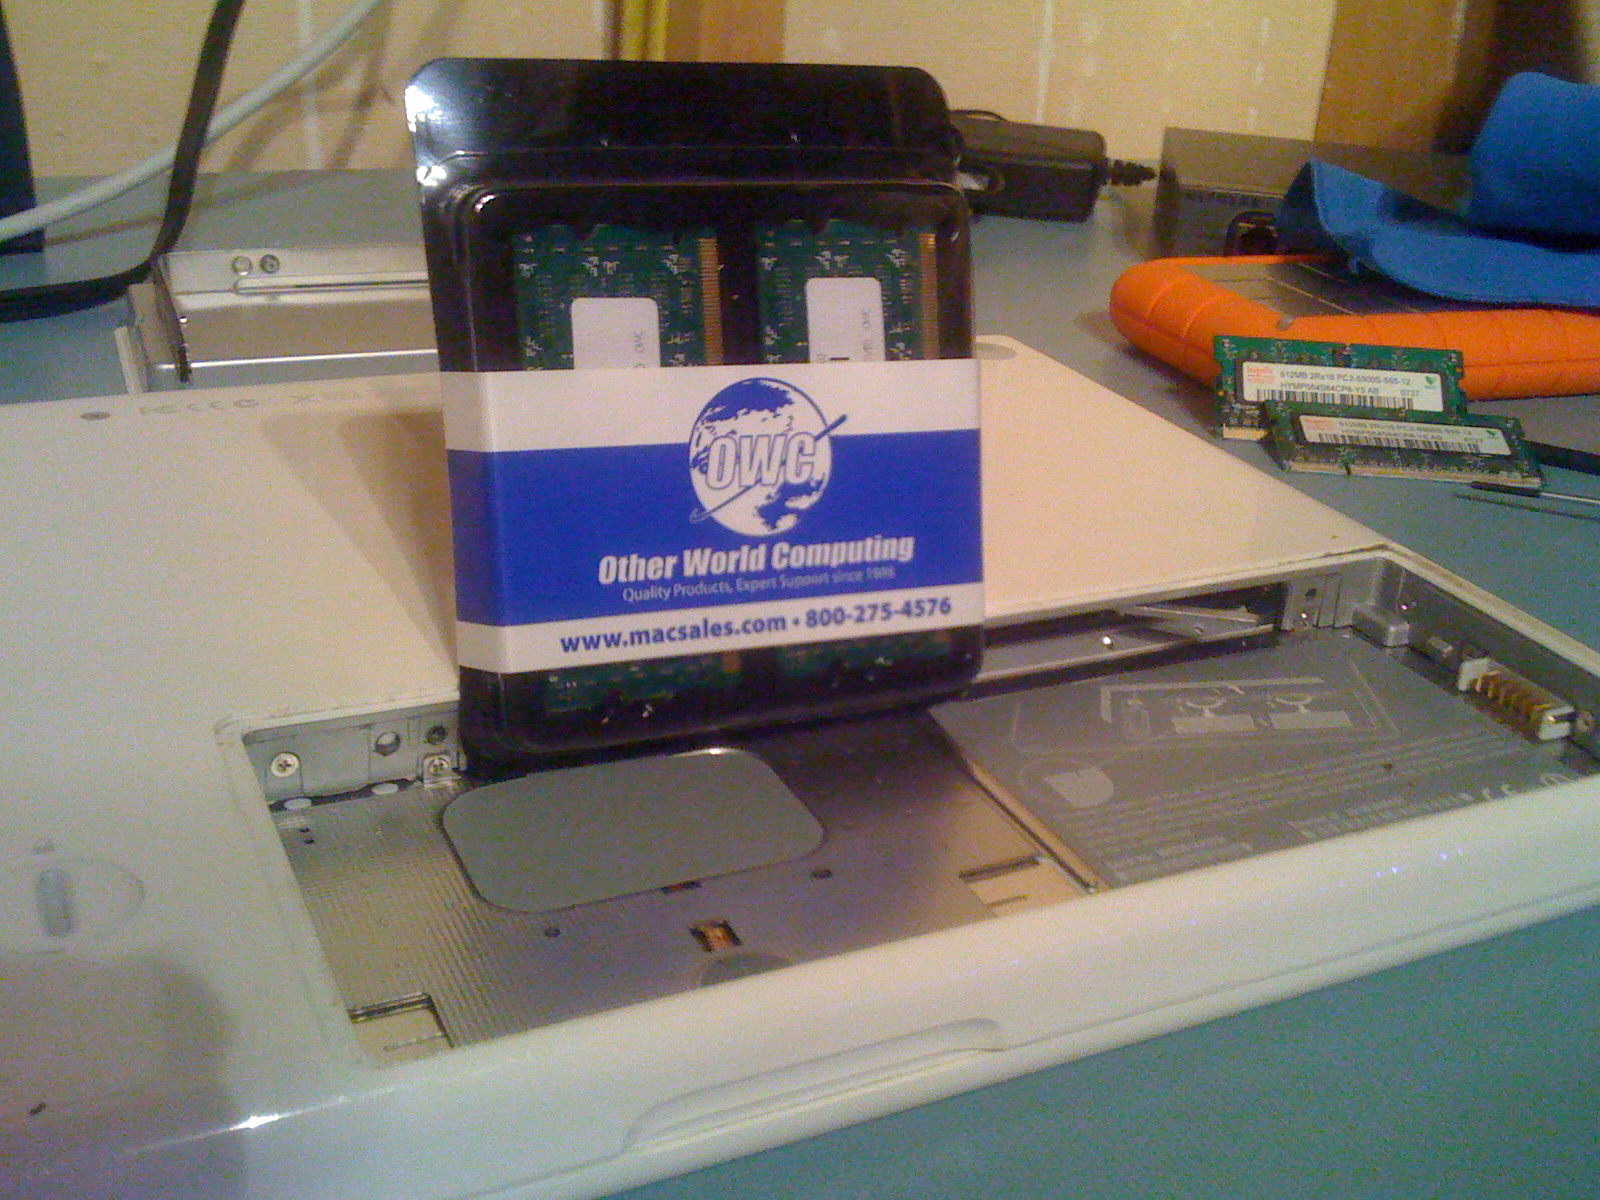
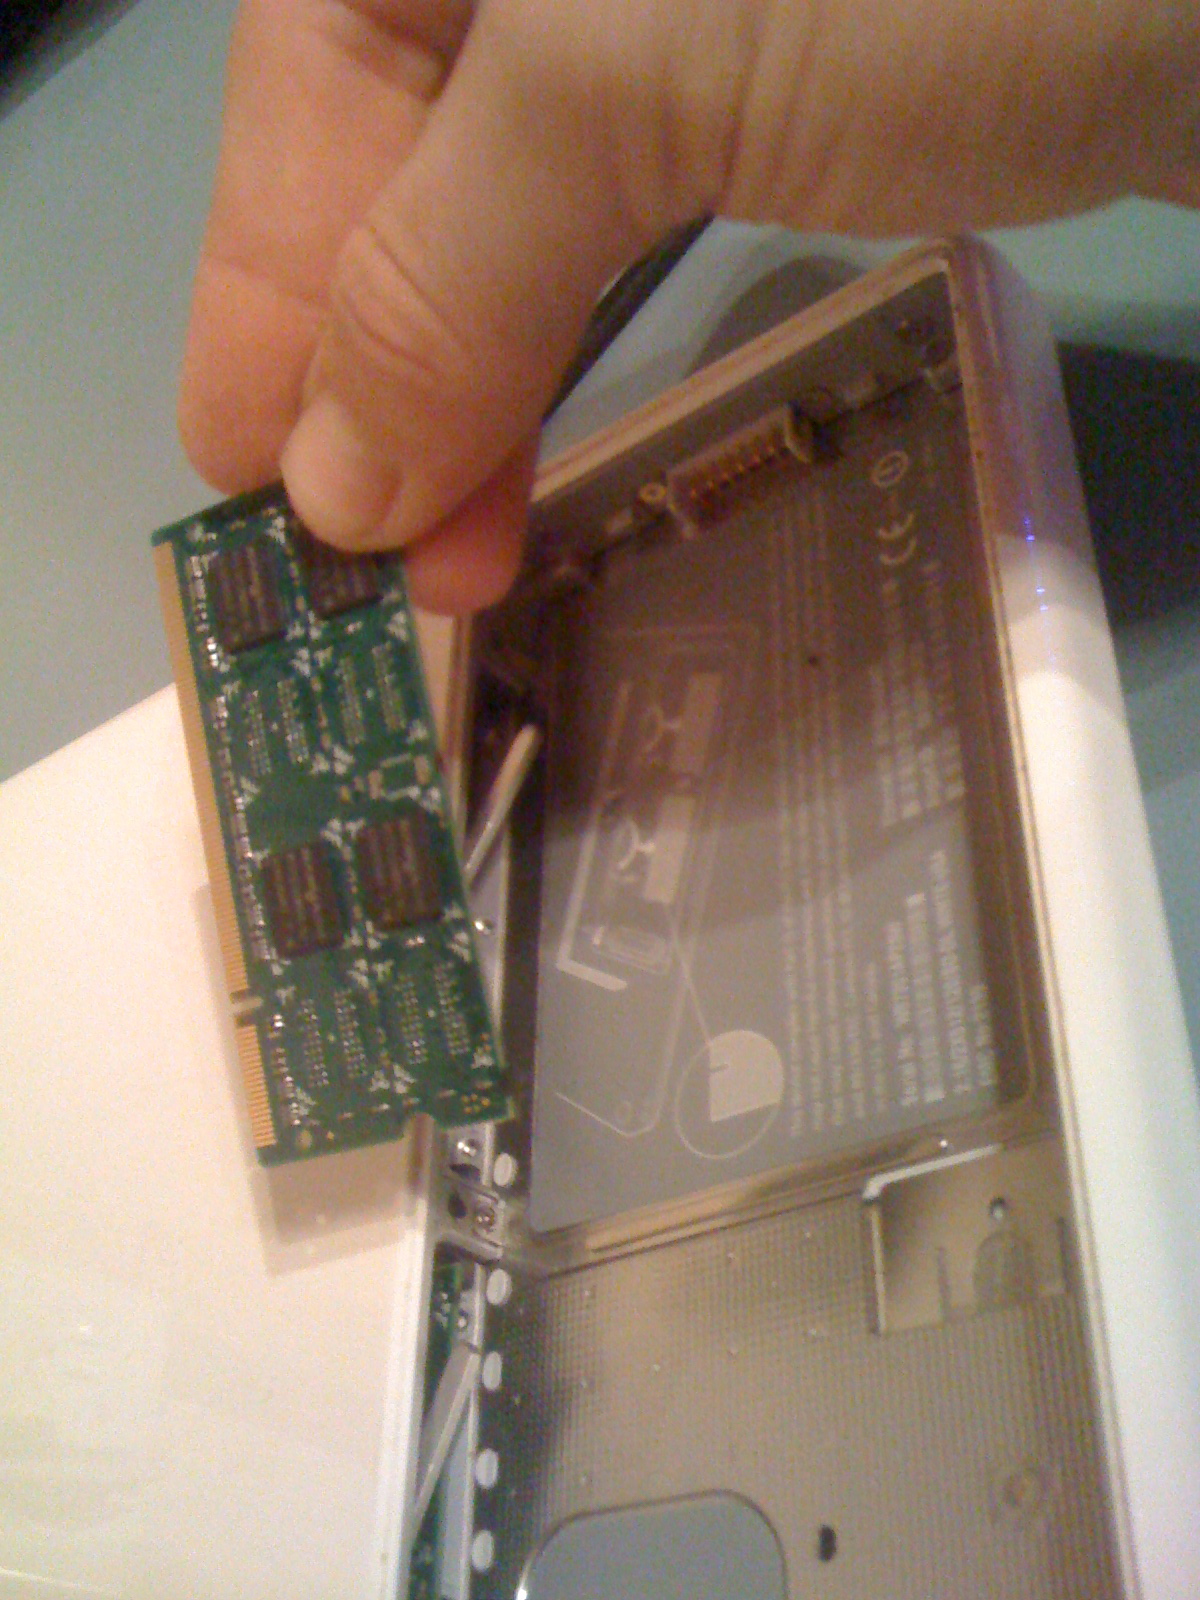
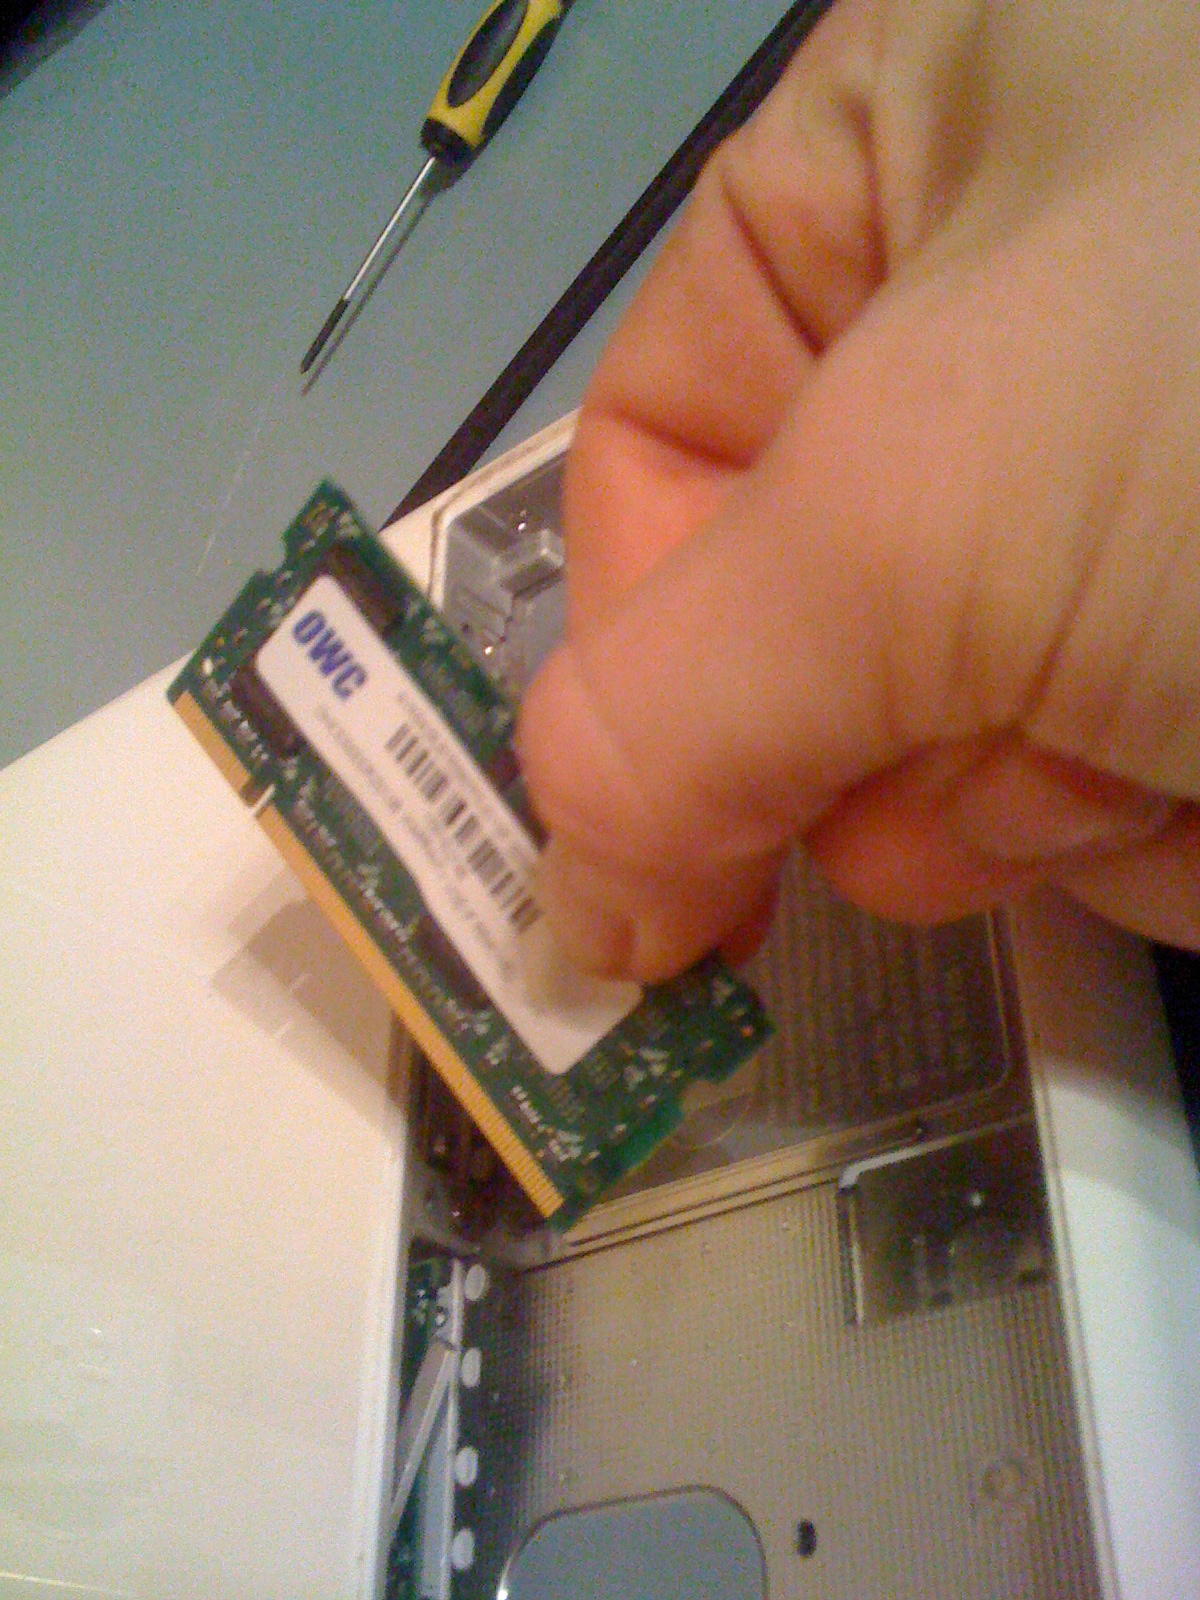
After removing the metal RAM shield you are ready to pull out the RAM.
You will notice when you remove the shield there are two metal slides that protrude into the space that was previously occupied by your battery. These are how you pop the RAM out of place simply. Use your thumb or finger to slide them to the left. You will feel resistance until it pops loose and you will then see the RAM slides slightly back. This means it is no longer seated.
After you have popped both RAM chips loose it's time for removal. Pinch the RAM between your thumb and index finger. Keeping angle the same, pull straight back out of the bay. It should be very easy and not need much force.
Pay attention to the RAM orientation. The new chips will need to slide in the exact same way the old ones were removed. Pinch grip, and slide it back into the bay. You will no longer feel any room to move, this is when you evenly apply pressure to the back of the chip directing forwards. The RAM chip will seat.
Now onto the hard drive.
Removing the Drive.
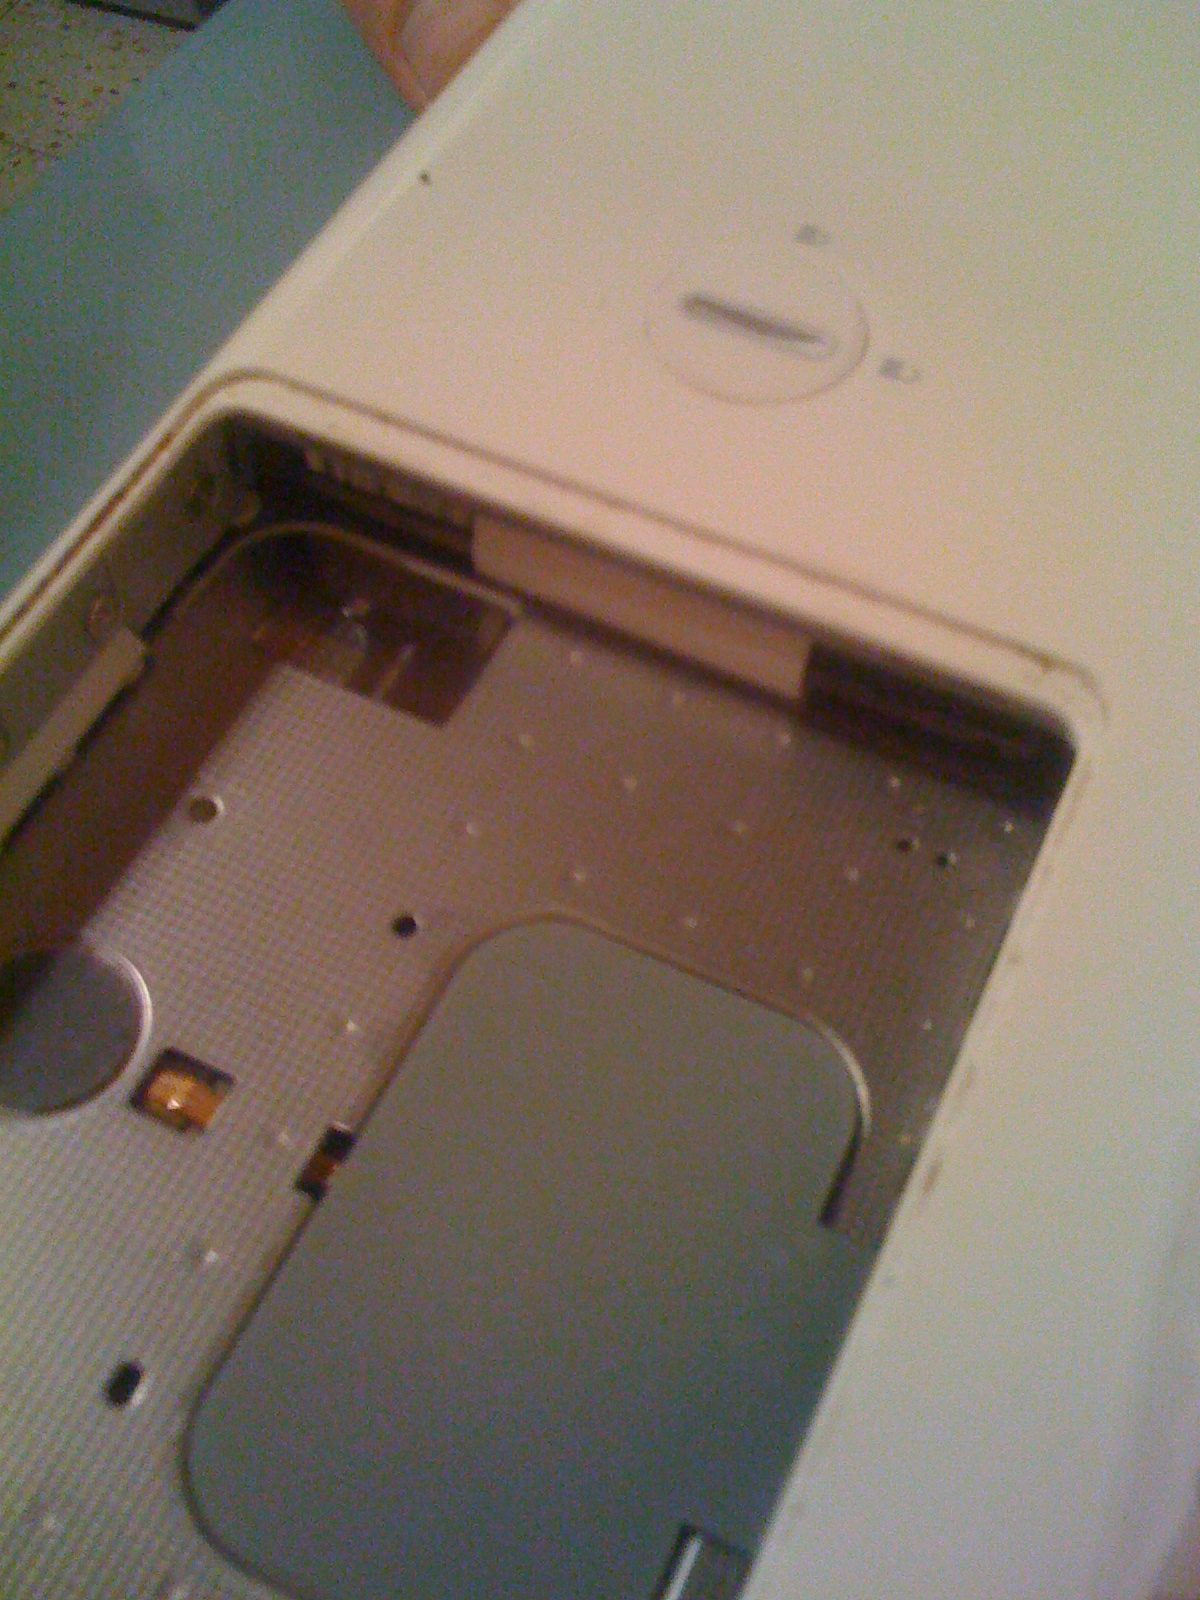
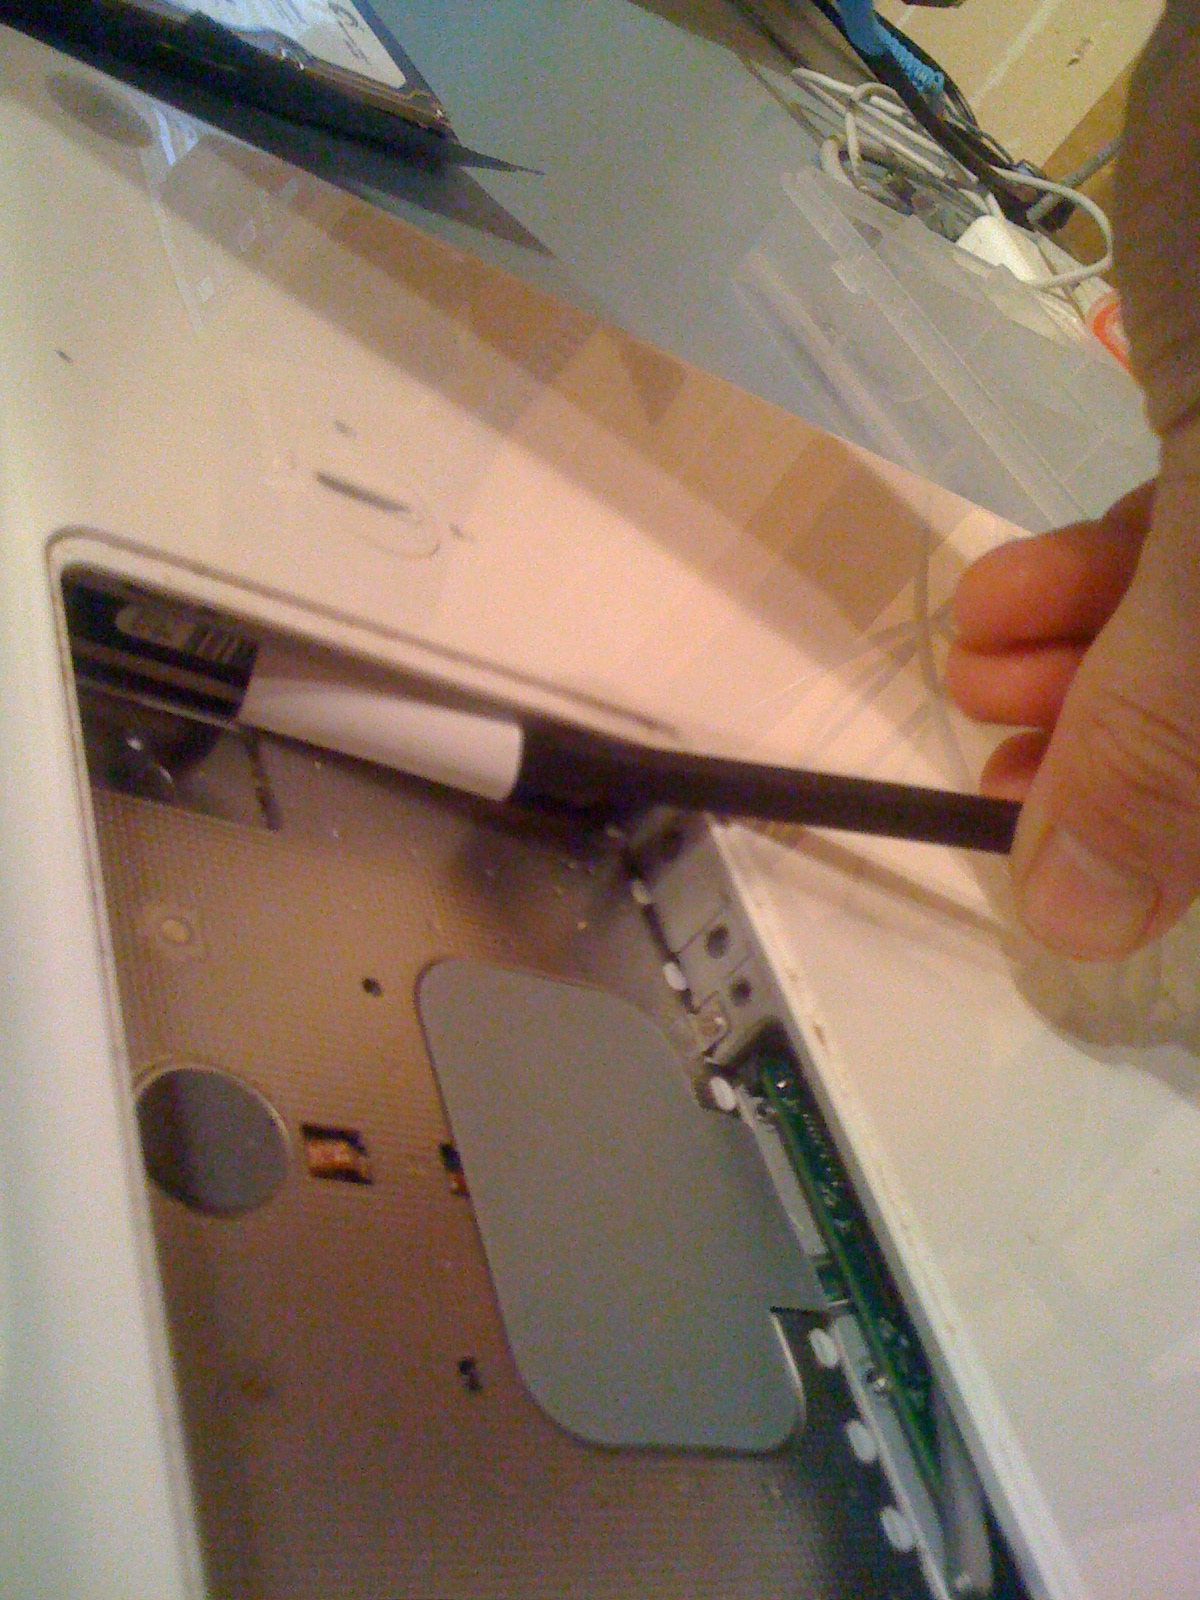
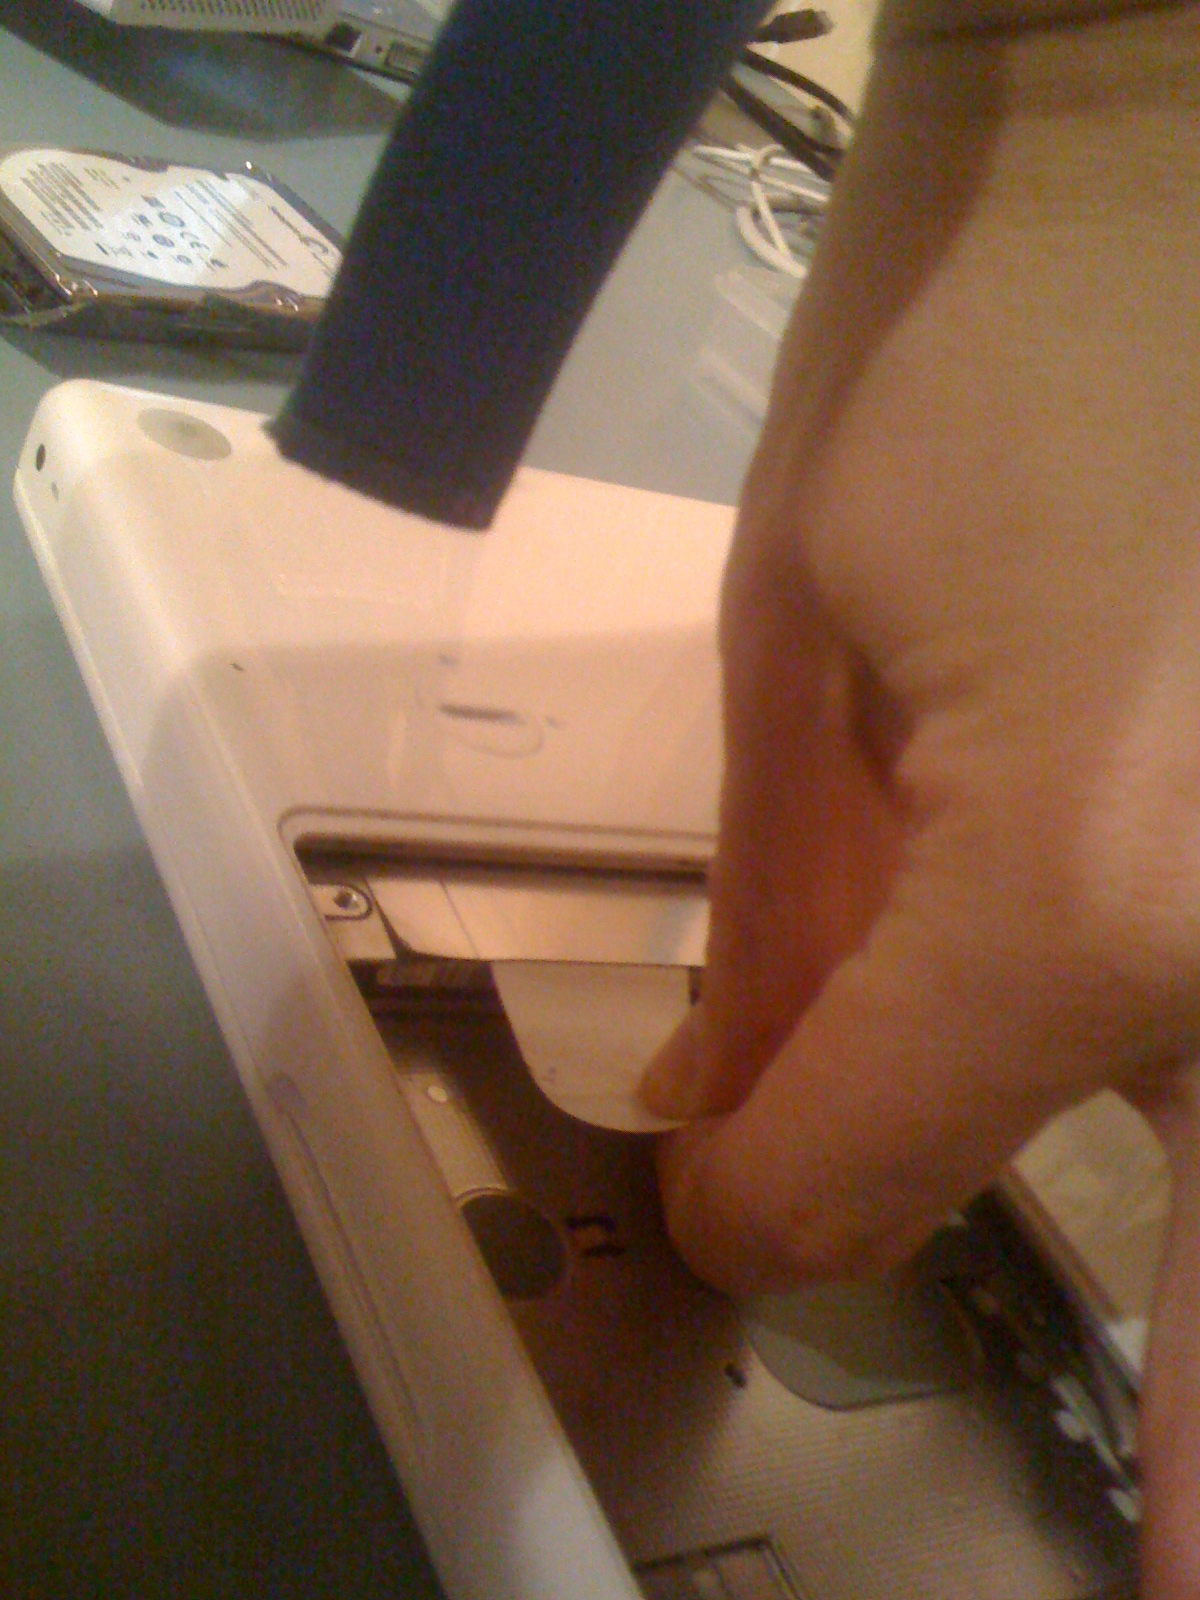
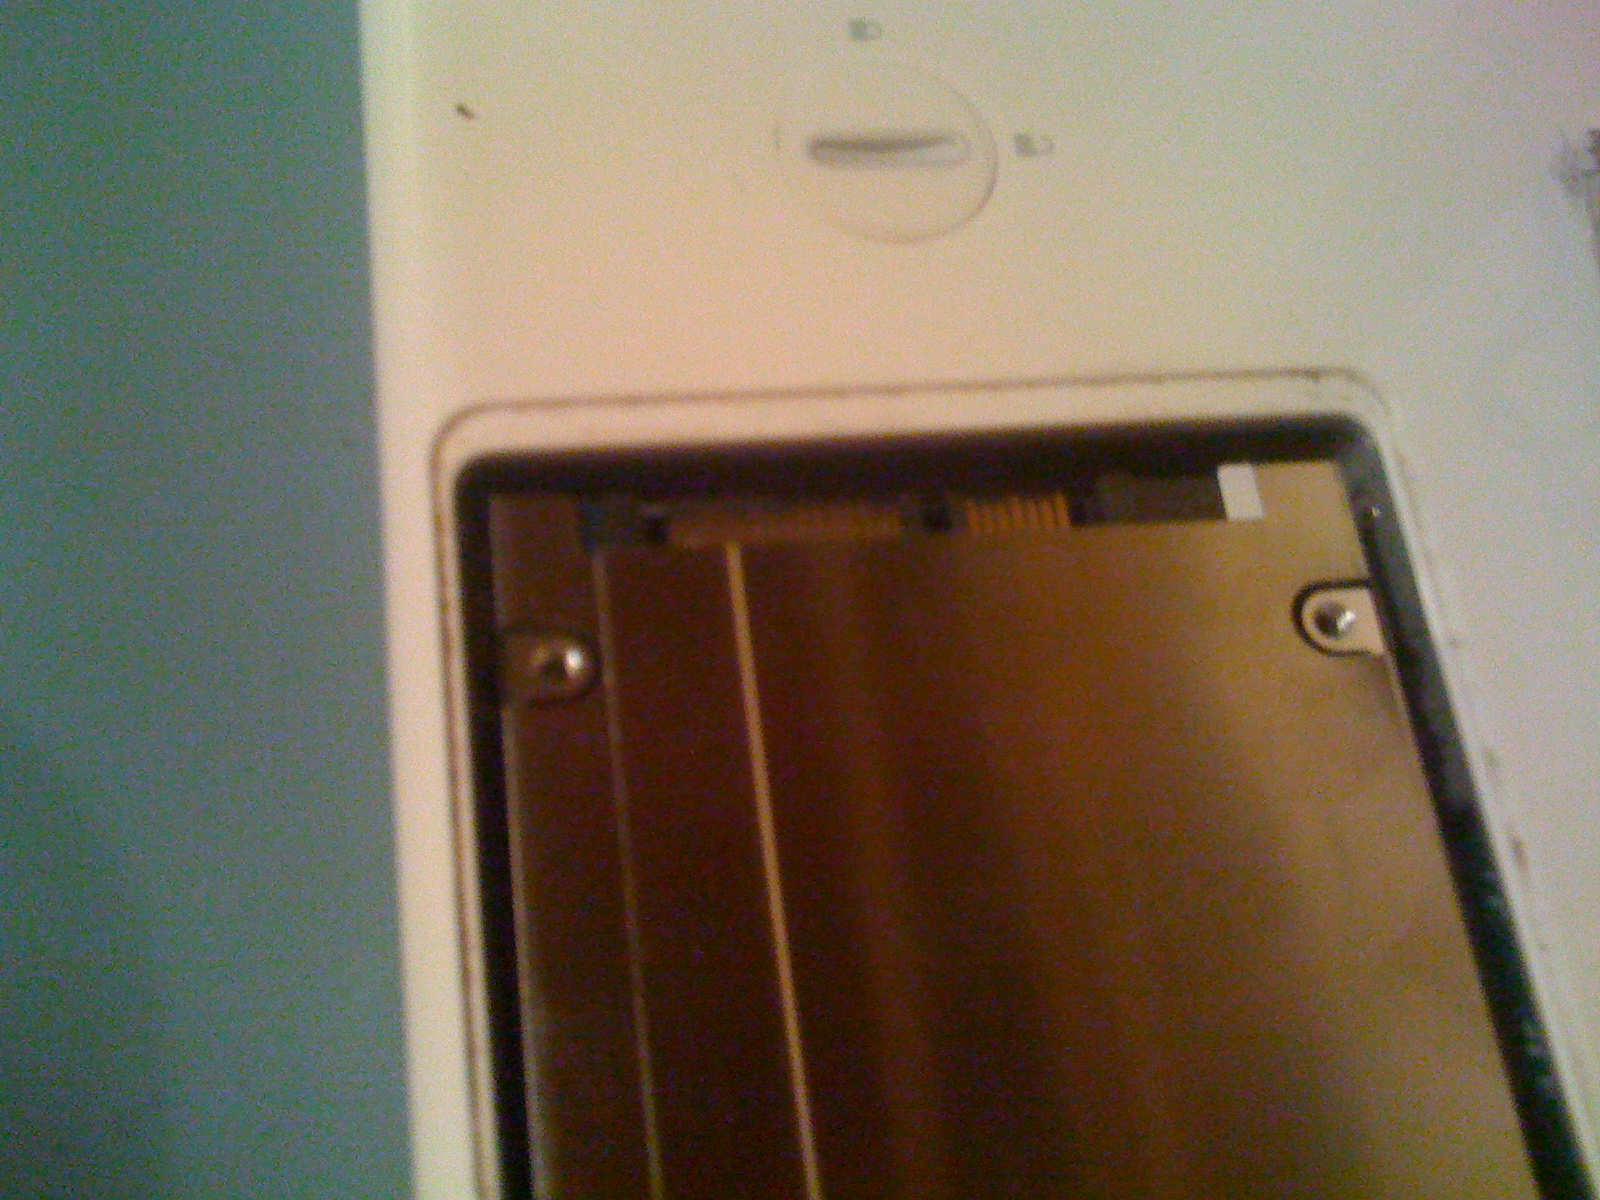
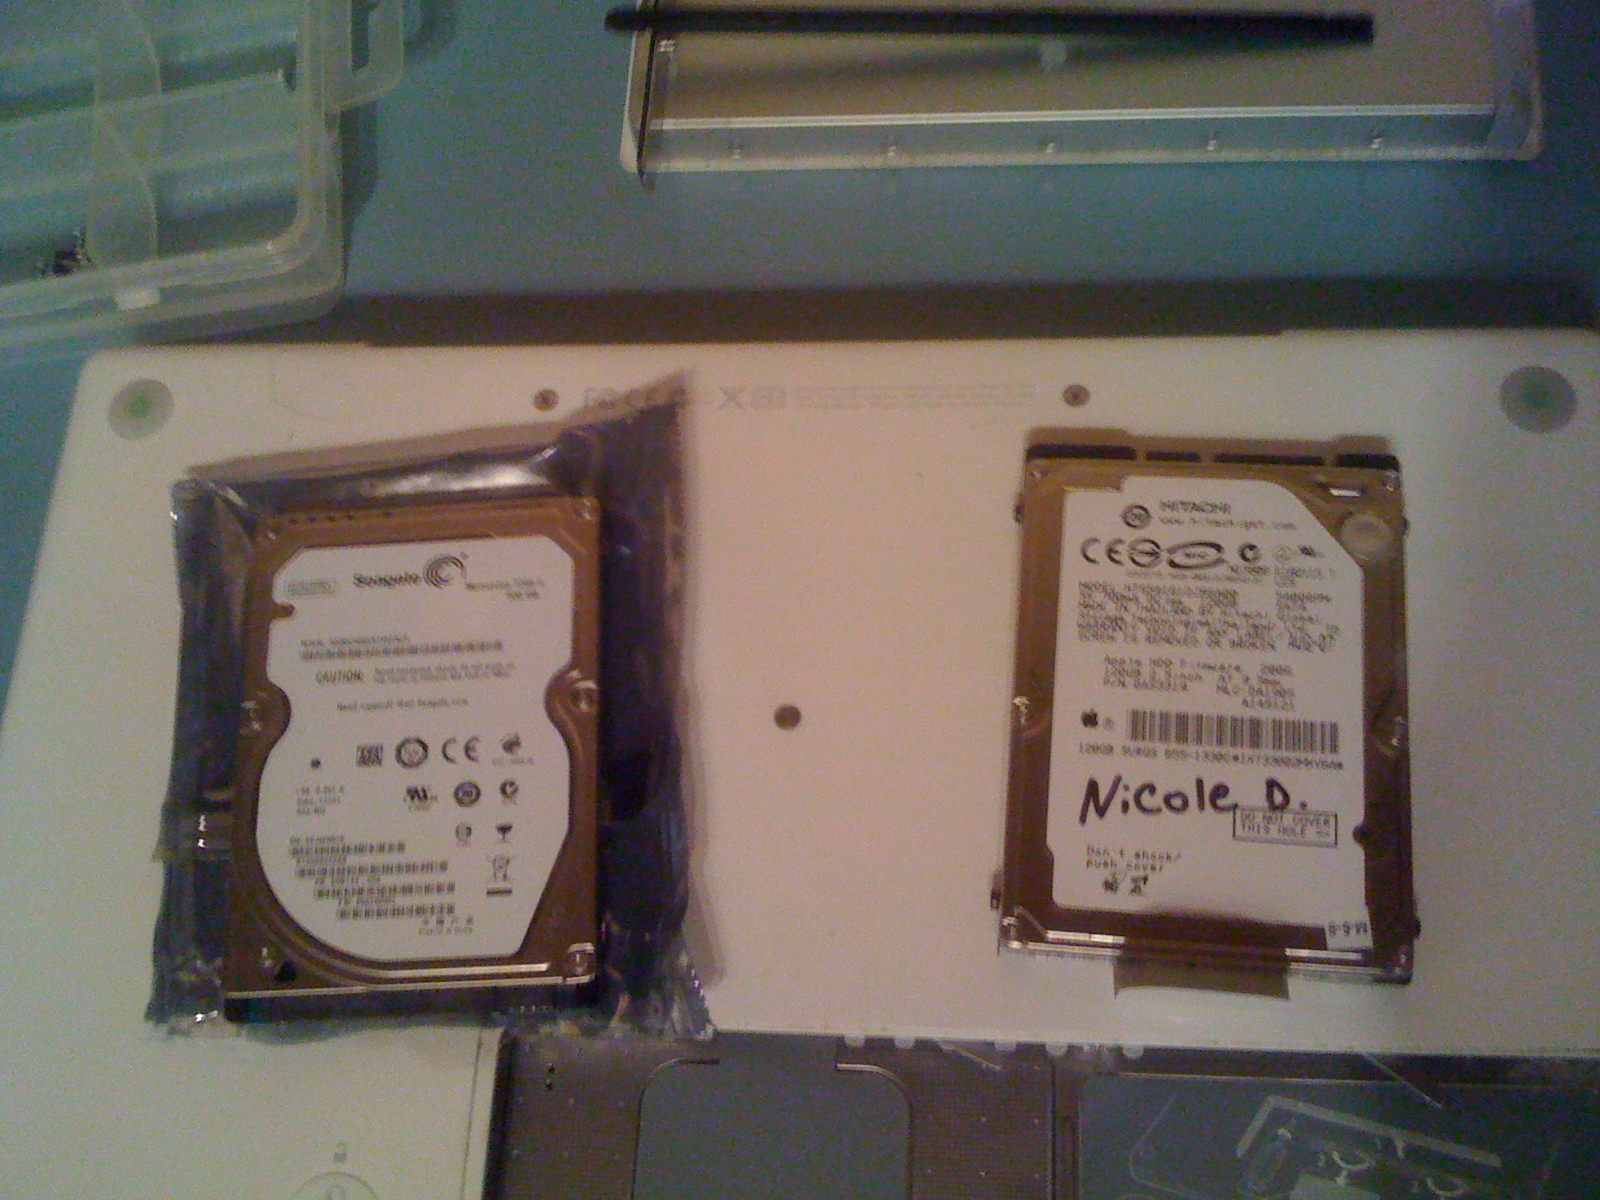
Now your ready for the meat and potatoes.
Start by sliding your geek stick behind the tab (or your finger) and unfold from underneath the drive. Pull the tab slowly straight back.
VERY IMPORTANT to do this slowly, and there are rubber guides inside and the glue is usually bad. If these rubber guides become dislodged you will have to remove the top case to fix, which is a huge pain compared to just being careful. Again, this is one reason this repair can be tricky. There is no way to know if the rubber guides will become dislodged and often time they do on myself with no warning.
Remove drive from computer, label immediately with a sharpie or pencil. Getting drives mixed up is easy to do and data loss can be permanent. Always take your time!
Swapping the Sled
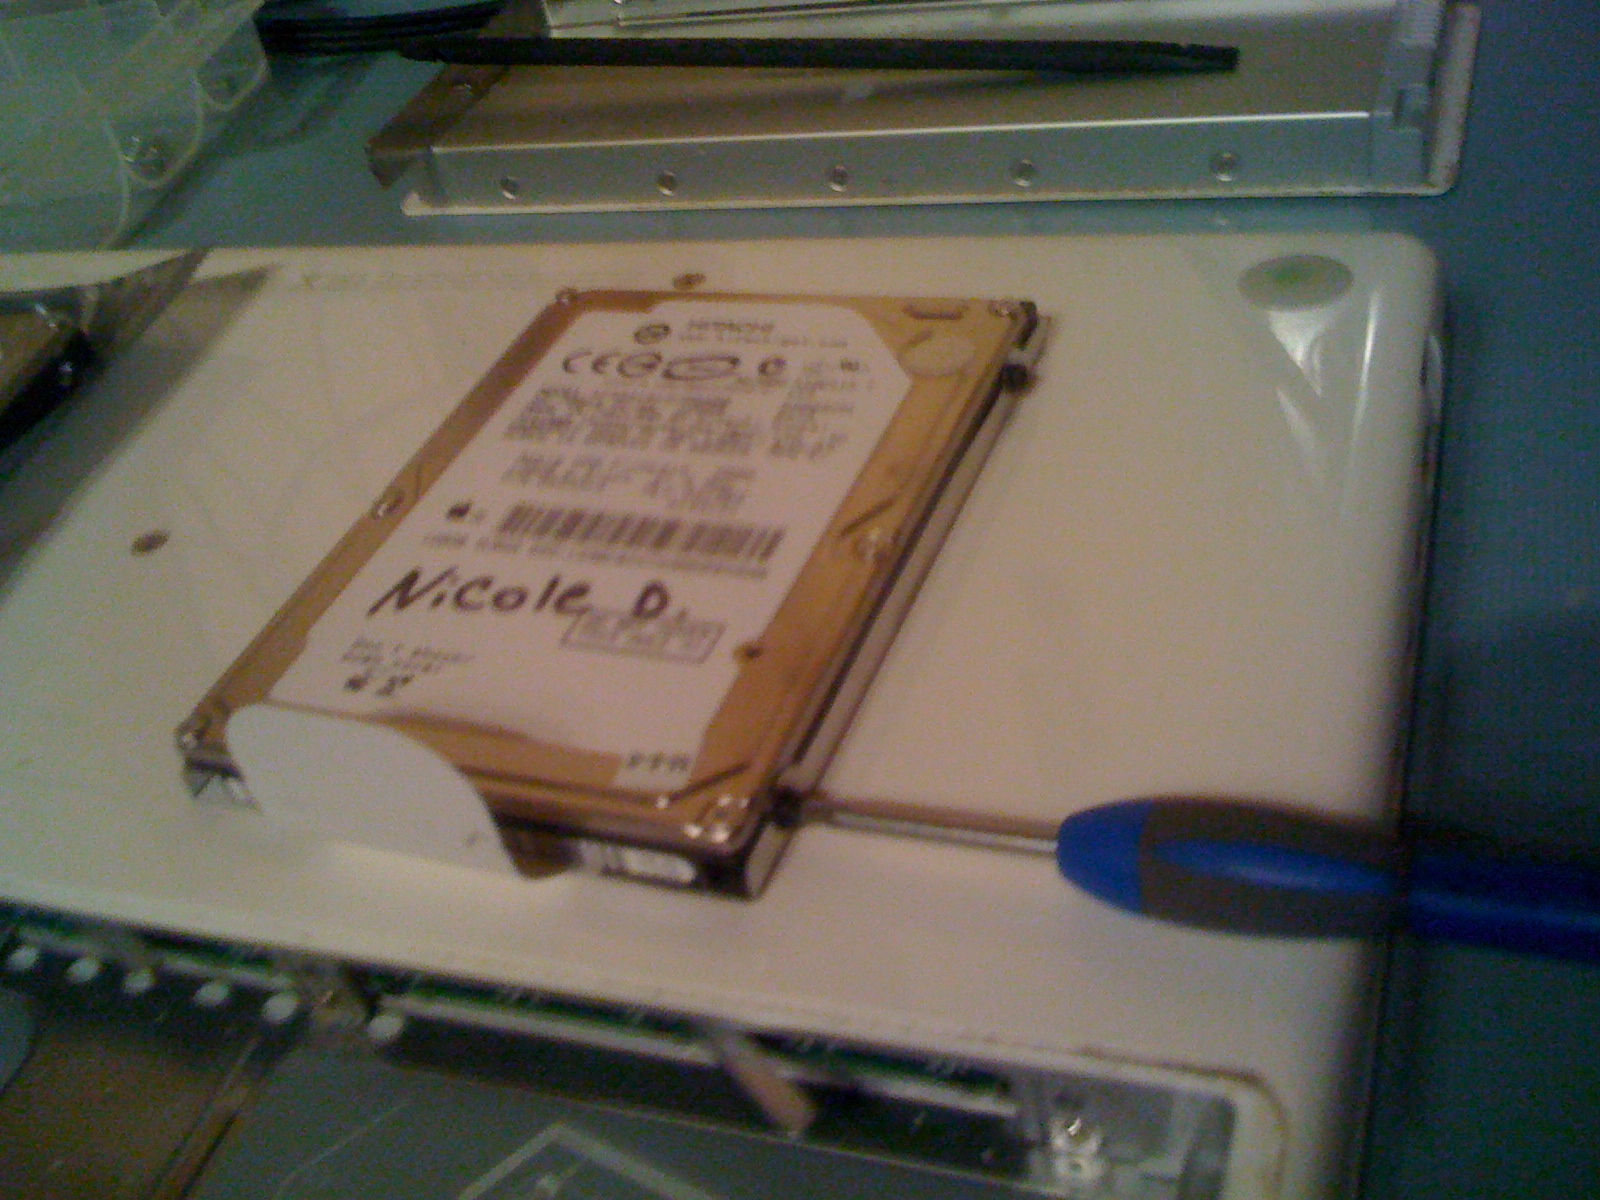
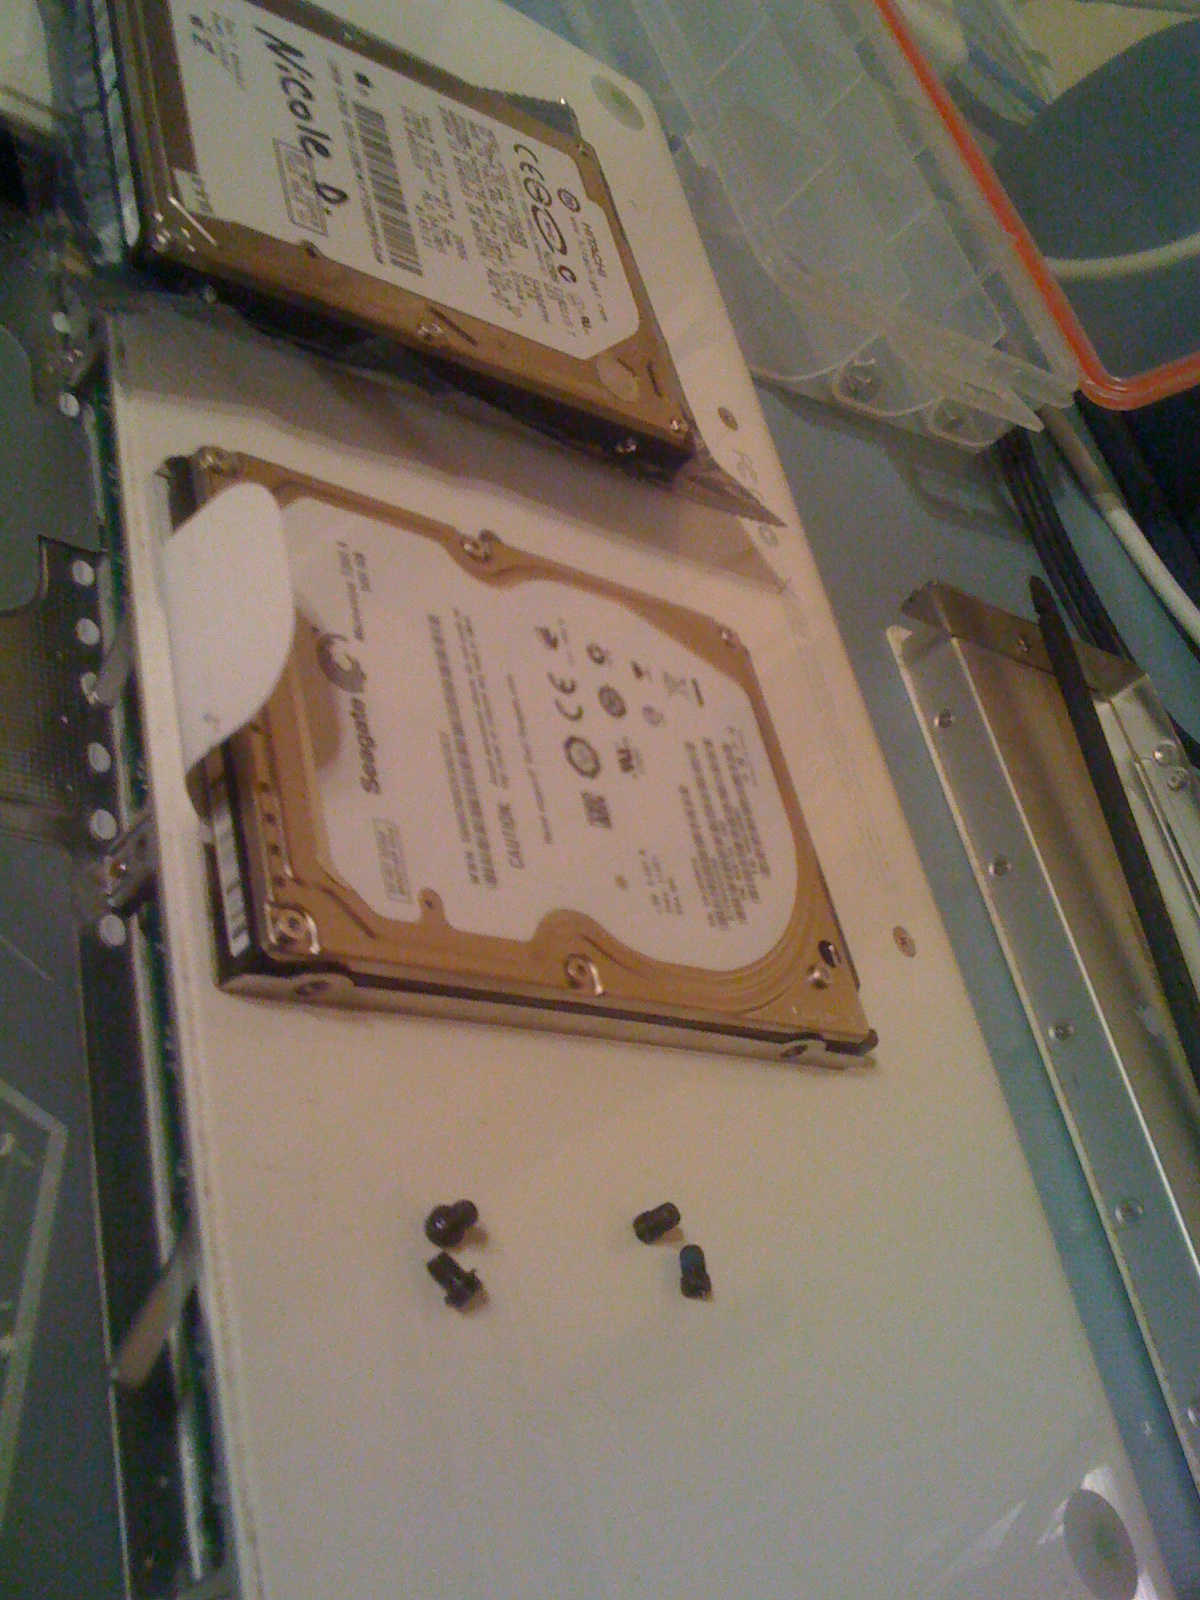
The drive sled must be switched before we can install the new drive.
This is simple, and you must be absolutely sure you use the correct screws or you WILL tear the rubber guides out of position.
The front screw are smaller and fit perfectly into the rubber guides, placing the rear screws in front will cause the guide to become dislodged.
After removing all four screws the sled can be swapped. Orientation again is vital. I have the drives in the same orientation before I pull the first one off. I usually leave the sled on the surface, and pickup the old drive, and replace it with the new one. I do this to just make certain I don't mess it up. When it comes to your gear fixing it once is the way to go.
Installing New Drive.
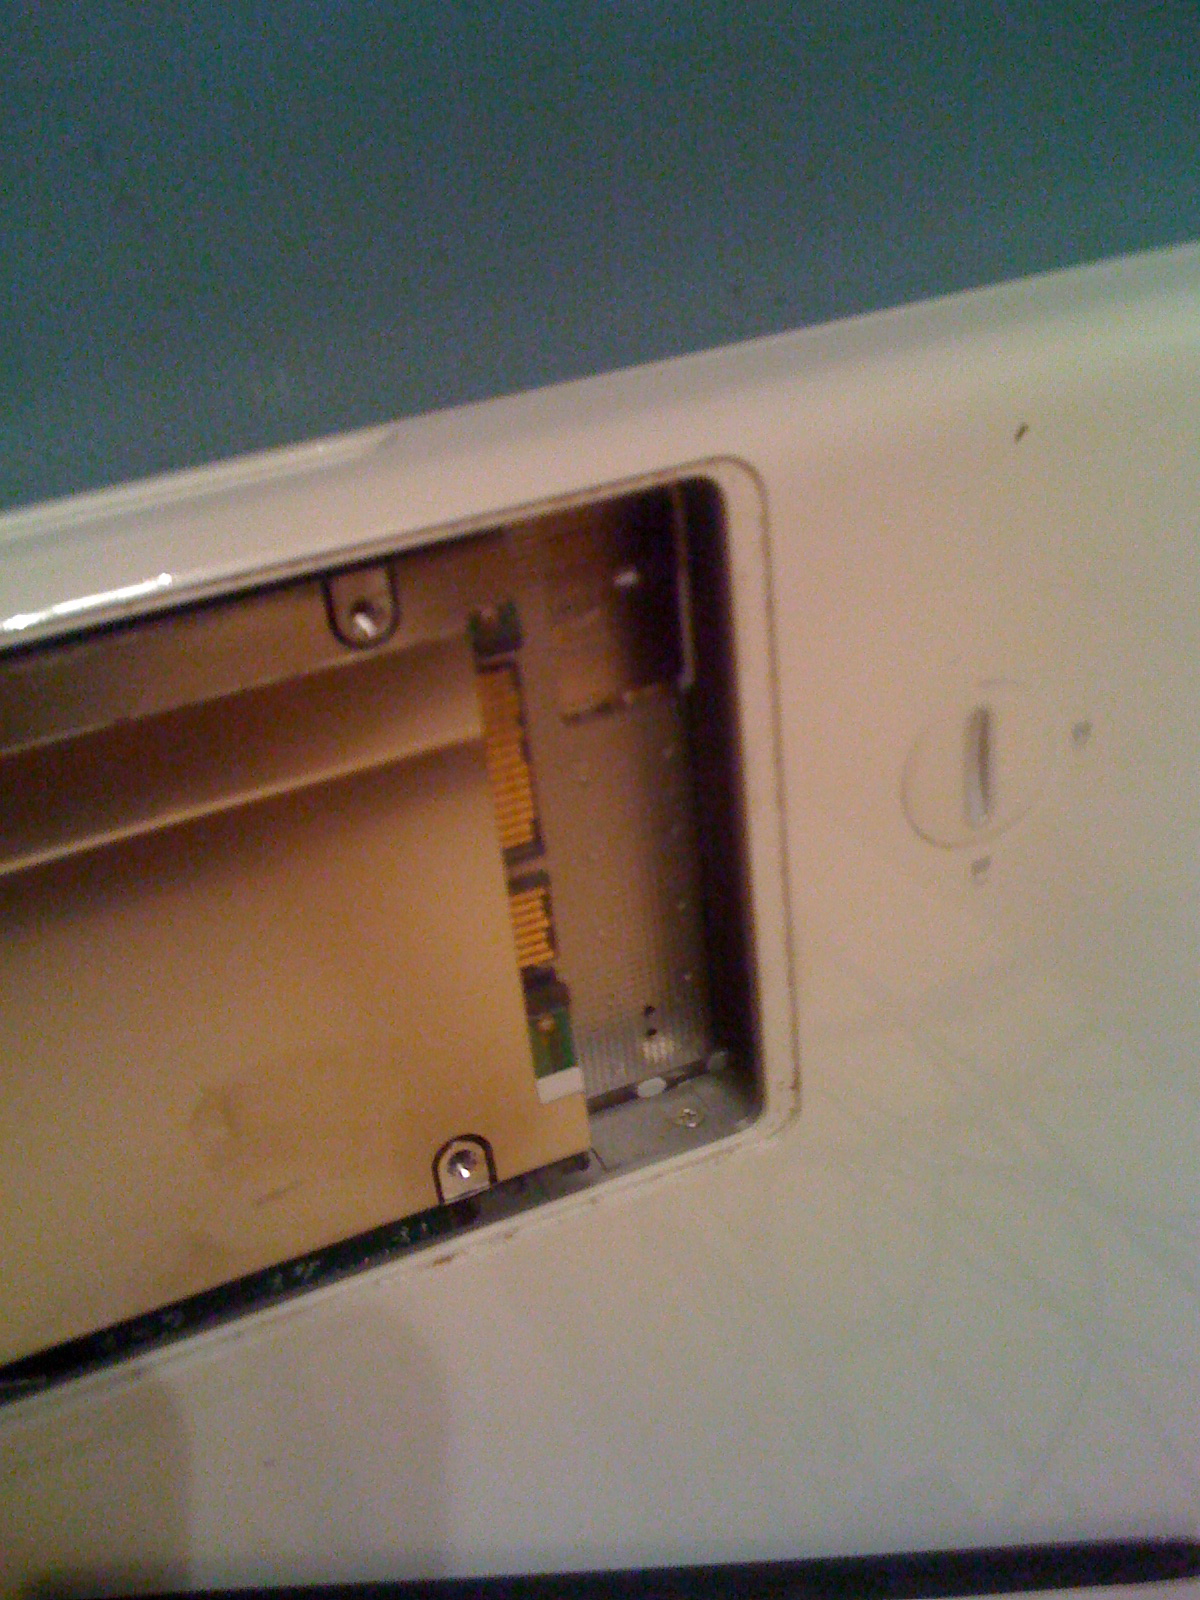

Installing the new drive is the easiest part.
Place the drive and sled back into the area where the battery was. Make sure your SATA connections are facing the same as before. Slide the drive into the bay slowly and give it a small wiggle to let the screws slide easily along the rubber guides.
Similarly to the RAM you will feel it stop, and you can push it is another 6-7mm for the final click. This seats your SATA connection inside the machine. If you can feel push back your rubber guides may have become dislodged in which case you have to removed to top case to fix it. This involves removing all the case screws and interior case screw on the front side of where the battery is located.
We are going to assume your install went smoothly and the drive was able to seat. It should look exactly as it did before you removed it! Push the tab back underneath the drive to keep it flush!
Finishing Up!
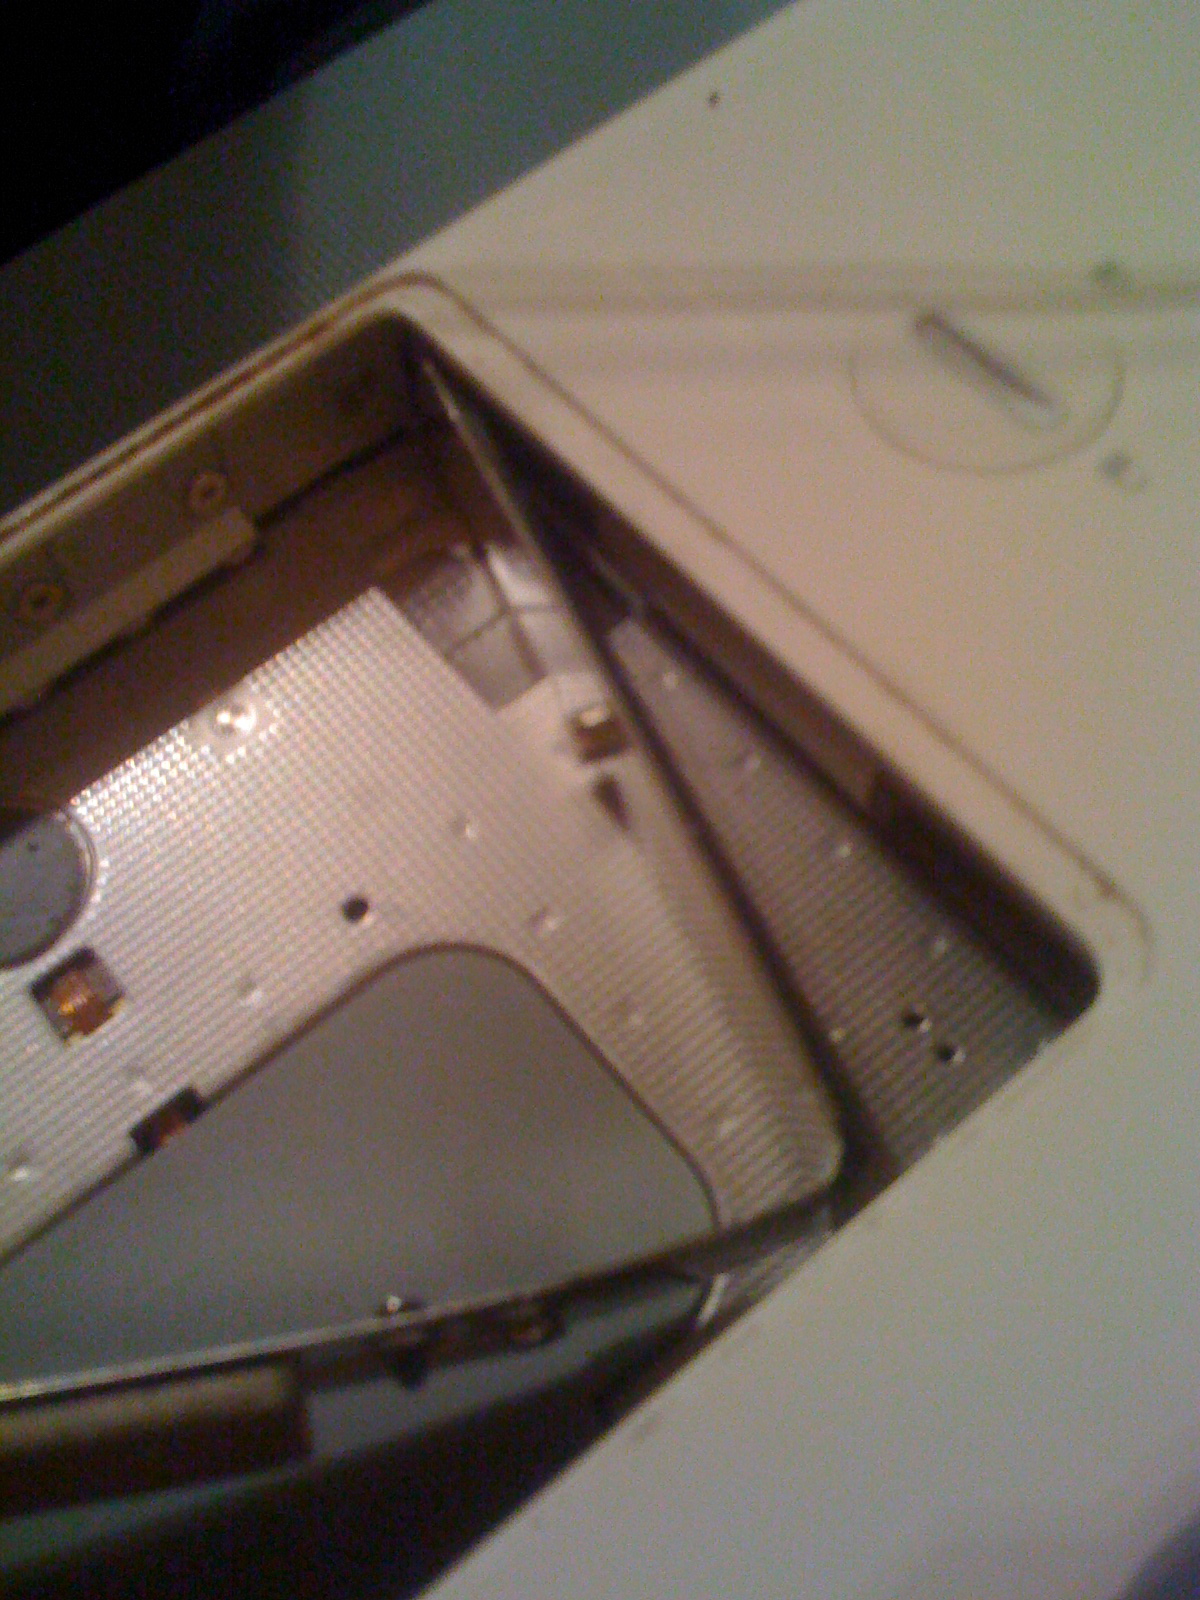

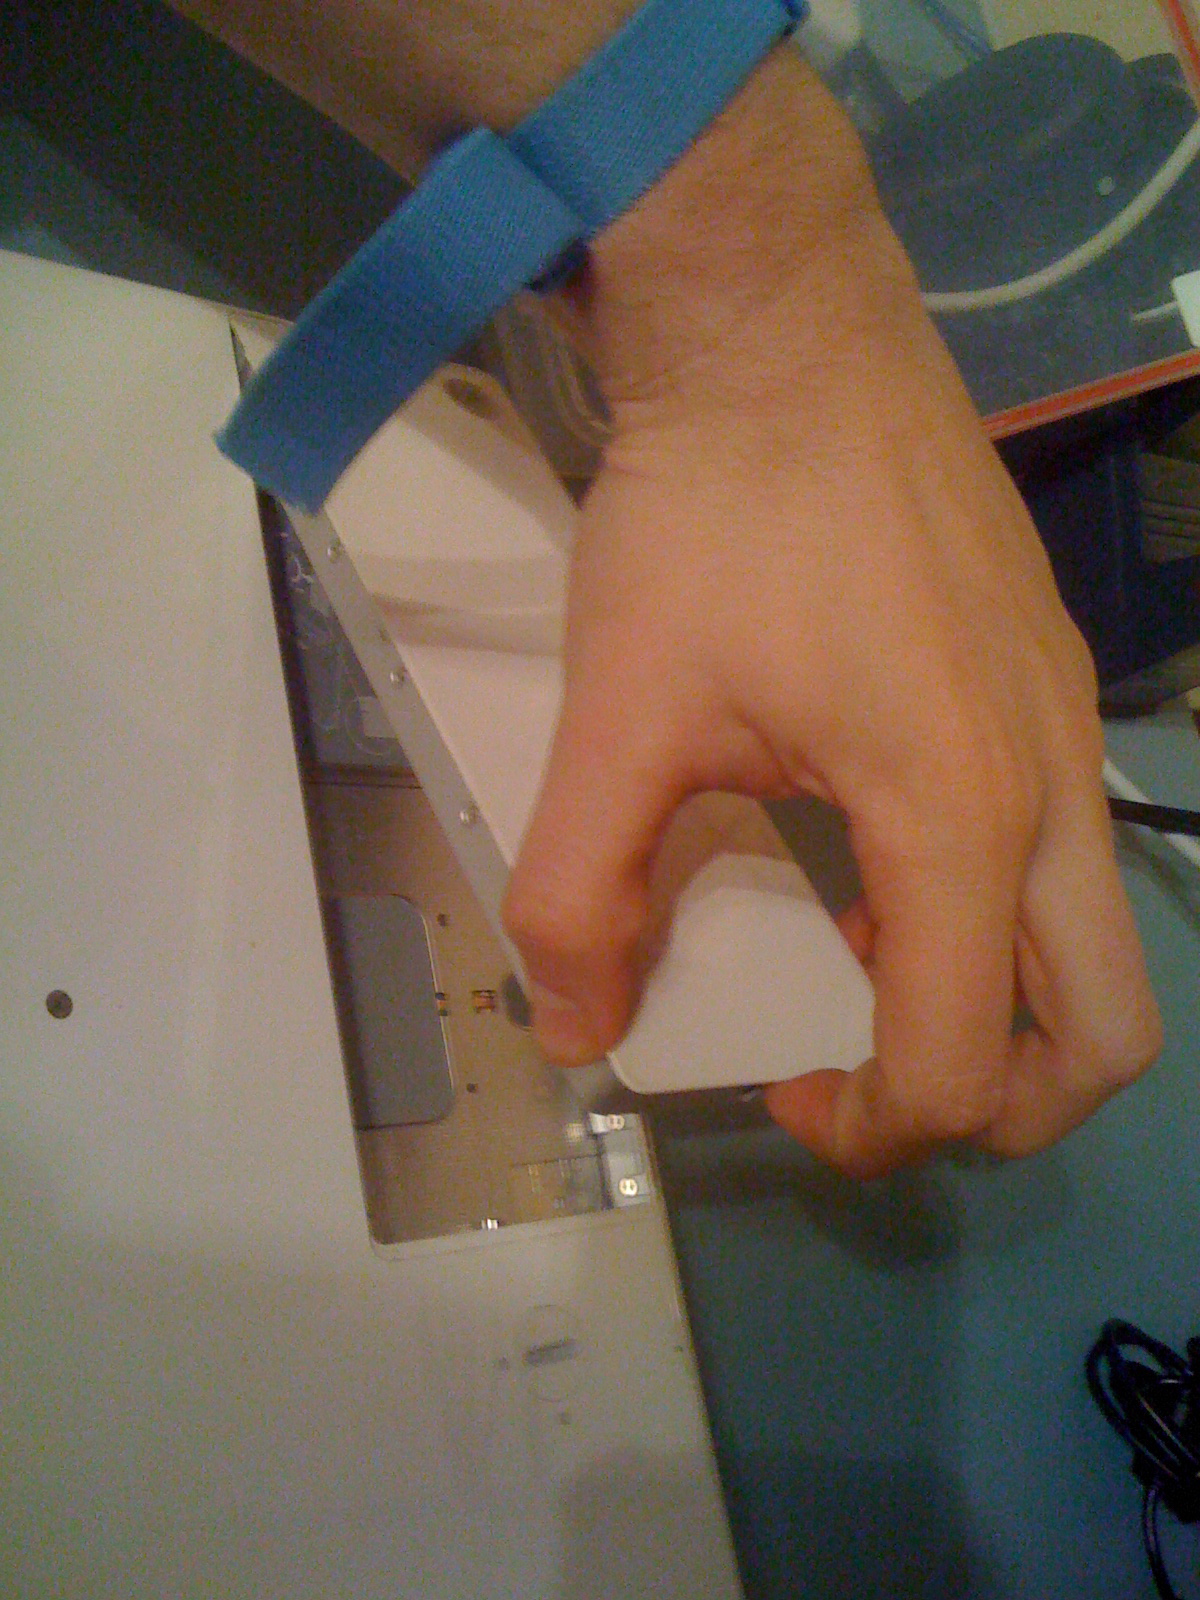
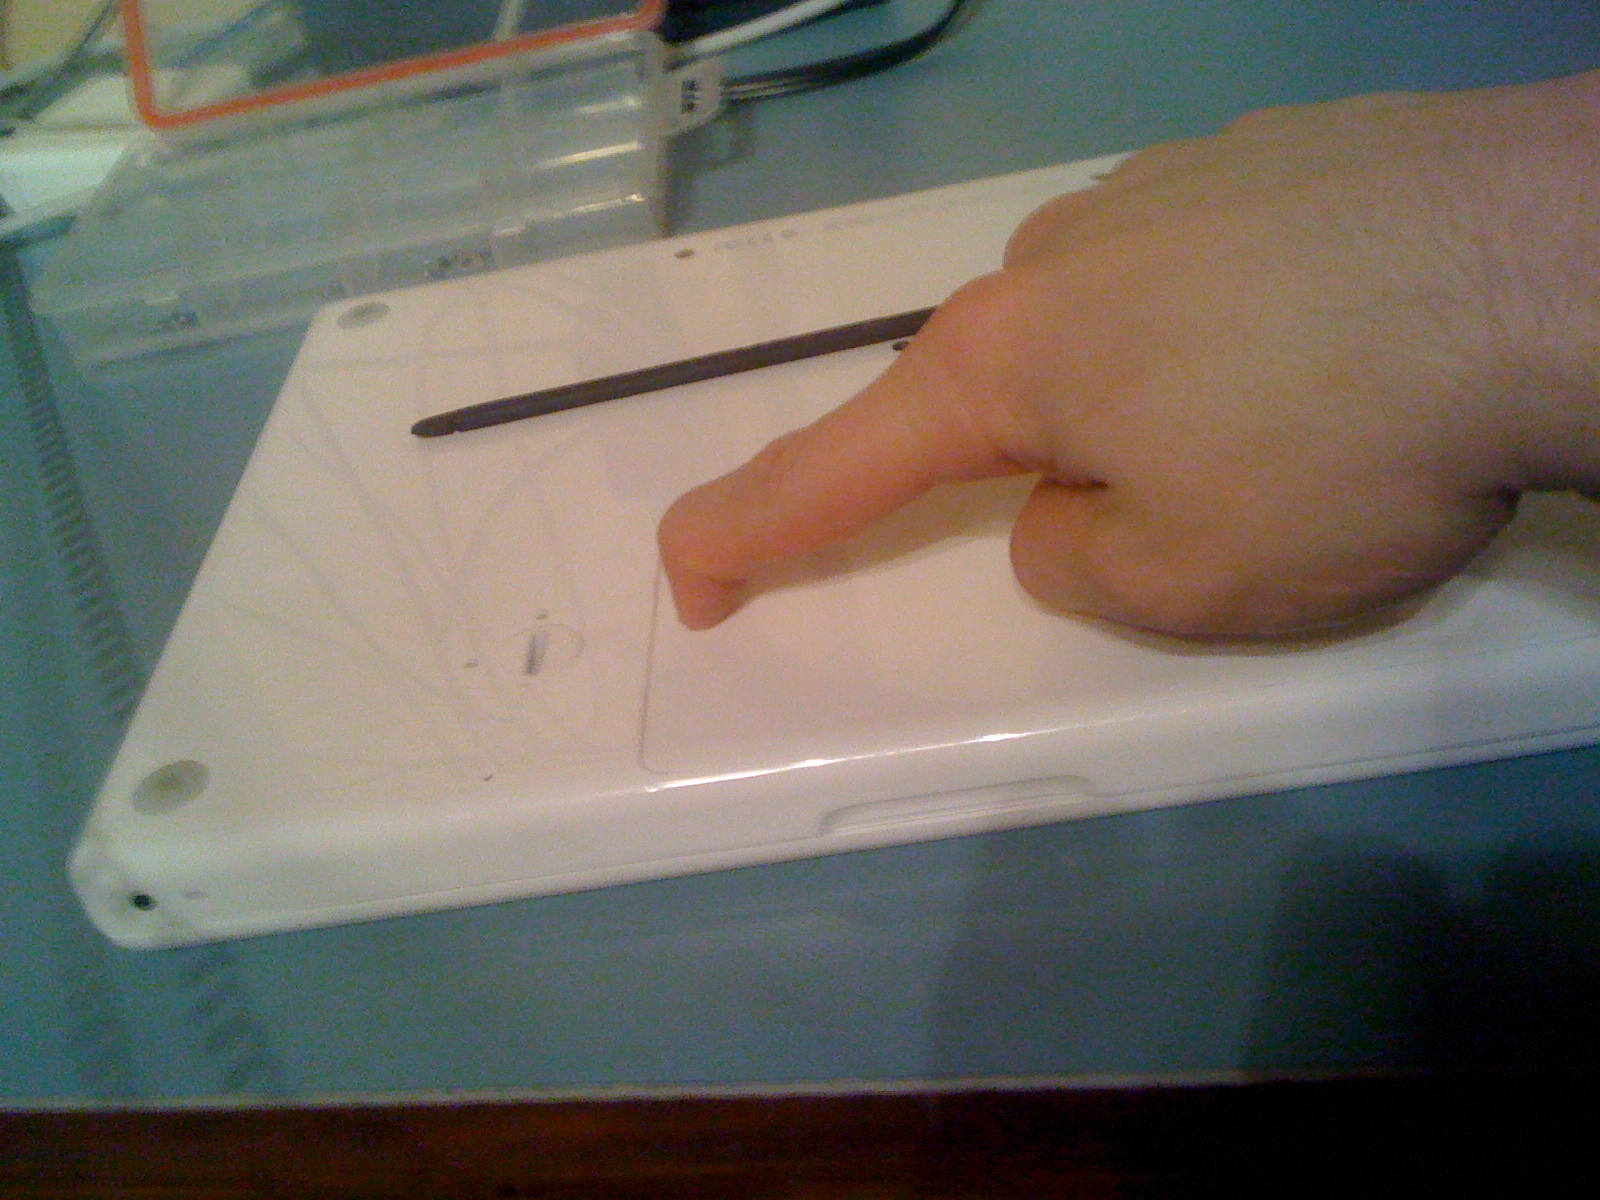
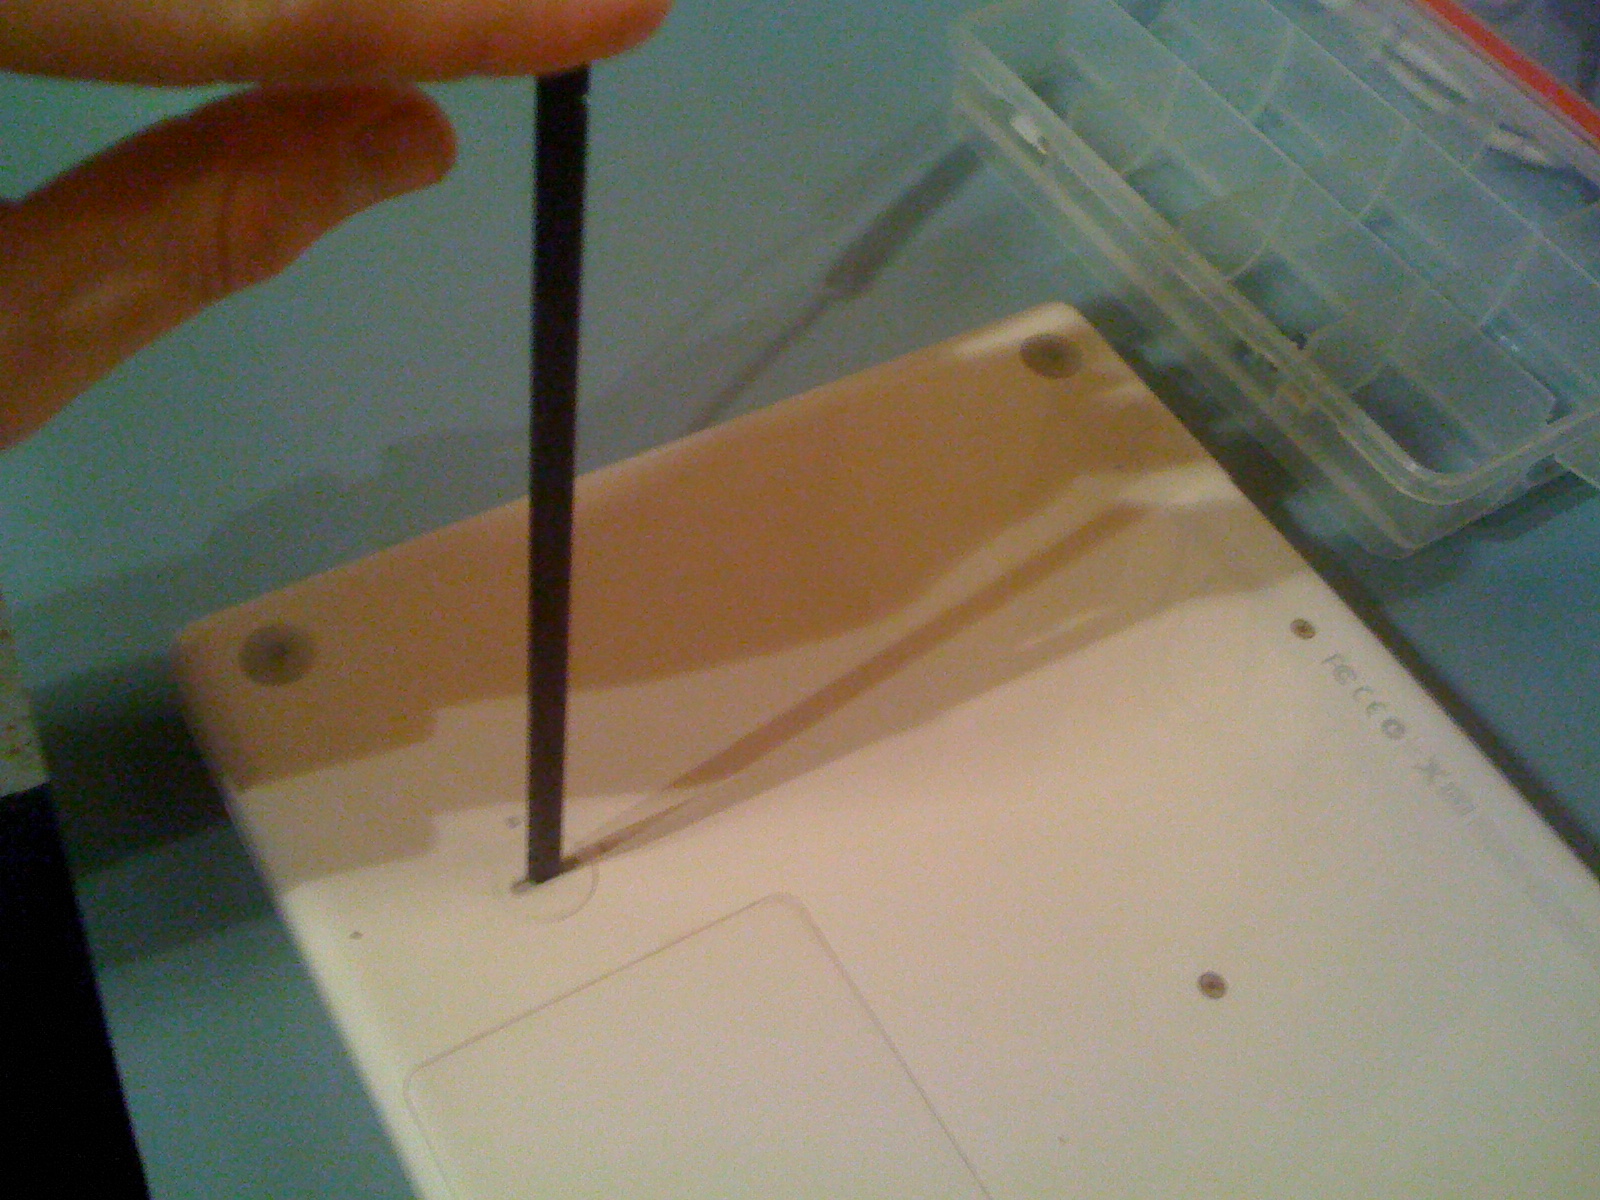

Here we are gong to retrace our first steps and close up the machine. Insert the RAM shield back into position starting with the short end. The hole in the frame will allow for a perfect seat.
Sometimes the RAM slides will give you hassle. Just push them in and close it up. It it gives you any sass just move a little quicker. Once you have it in place, screw back in all 3 screws to seal back up your baby.
Install the battery back into the machine. The battery "terminals" is where you first seat, and lastly on the locking side. After you get it pushed back into position, use your infamous geek stick one last time to seal her fate.
This does not elaborate in much detail on how to install OSX, but I will give basic instructions.
If you have the install disk there is only one step you will need to do to install your software, and that is format the drive!
Do this when you startup from the install disk: Control-C. When you boot up, go to the utilities menu, then choose disk utility.
Once you have Disk utility open, select your drive and click on the erase tab, choose your format (I suggest OS extended journaled) and click erase. Now the installer will be able to see your drive, click install and let the magic happen!
Congratulations you have just replaced your RAM & Hard drive!