How to Print the 2015 Google Cardboard
by xenobiologista in Circuits > Gadgets
61782 Views, 31 Favorites, 0 Comments
How to Print the 2015 Google Cardboard
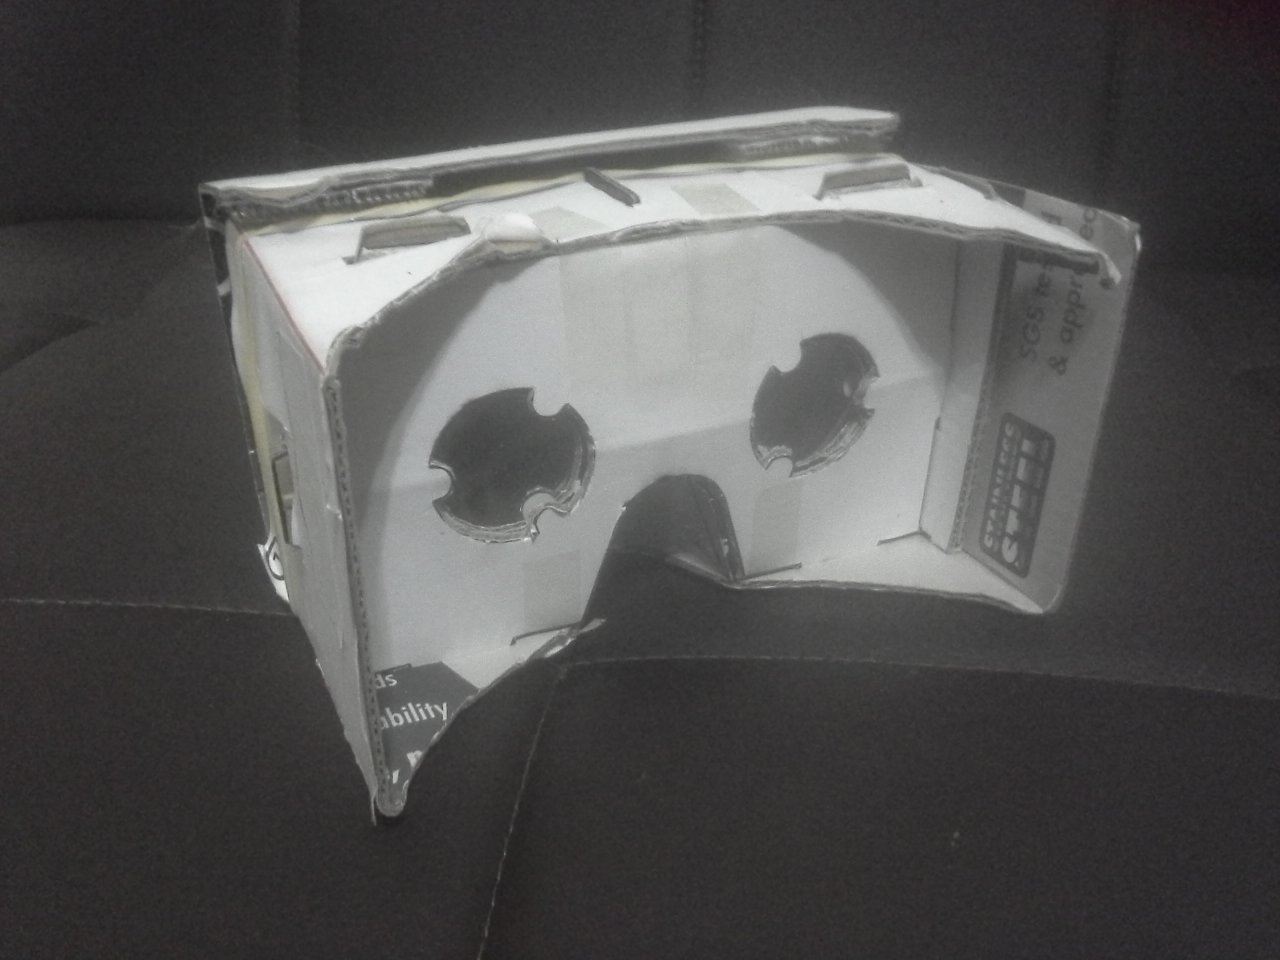
If you like Google Cardboard VR Goggles you may have noticed that they came out with a new version a few months ago. Supposedly it's more user-friendly, has a conductive strip-based pushbutton instead of the magnet clicker, and can also fit bigger phones.
HOWEVER, if you wanted to print it out, you may have noticed that unlike the PDF that they provided for the original, this one has a whole bunch of files as a "kit" in a .zip archive which is a bit confusing. The kit contains DXF files which are nice for people who own laser cutters or computer-controller cutters, but not for the average person who only owns scissors. The worst part is, even the PDF isn't divided up into a bunch of regular size (A4 or "letter") pages any more.
The purpose of this Instructable is just to show you how to edit the printer settings in Adobe Acrobat reader in order to be able to print it out in pieces on regular size printer paper. Assembly instructions can be found in the kit itself but they aren't comprehensive; I may update this Instructable later when I get around to actually building mine.
Photo of my old version Cardboard for illustration only.
Download the Cardboard Manufacturers' Kit
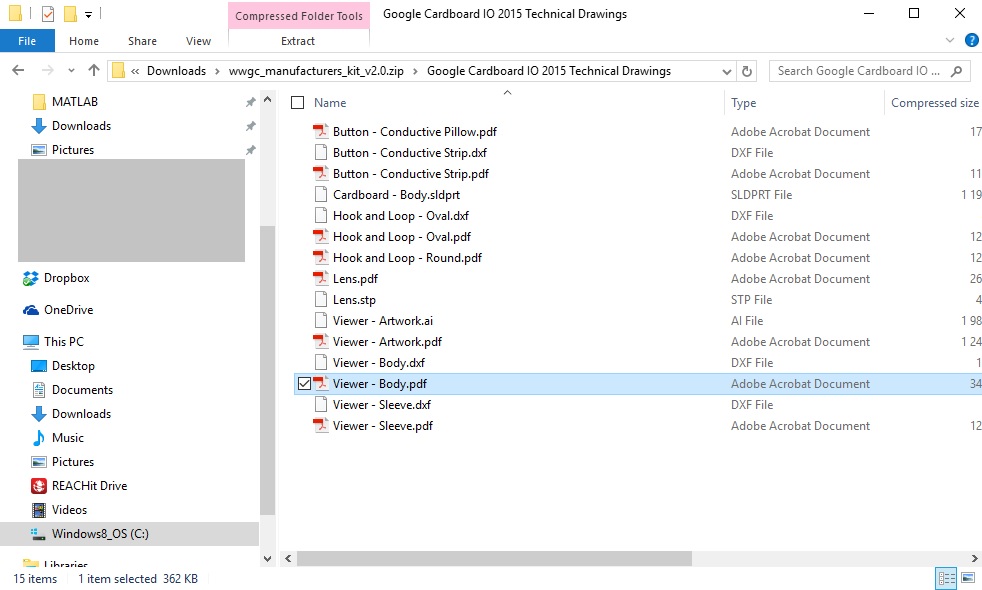
You can download the .zip here. Scroll down to "Build it yourself" and click on "Download Instructions". https://www.google.com/get/cardboard/get-cardboar...
Open the .zip archive and go into the folder "Google Cardboard IO 2015 Technical Drawings".
Open the "Viewer - Body.pdf" in Acrobat Reader. Notice that in the bottom right corner, there is a little box that says "SCALE 1:4". This tells us how big to blow up the printout.
Method 1: Acrobat Reader Only
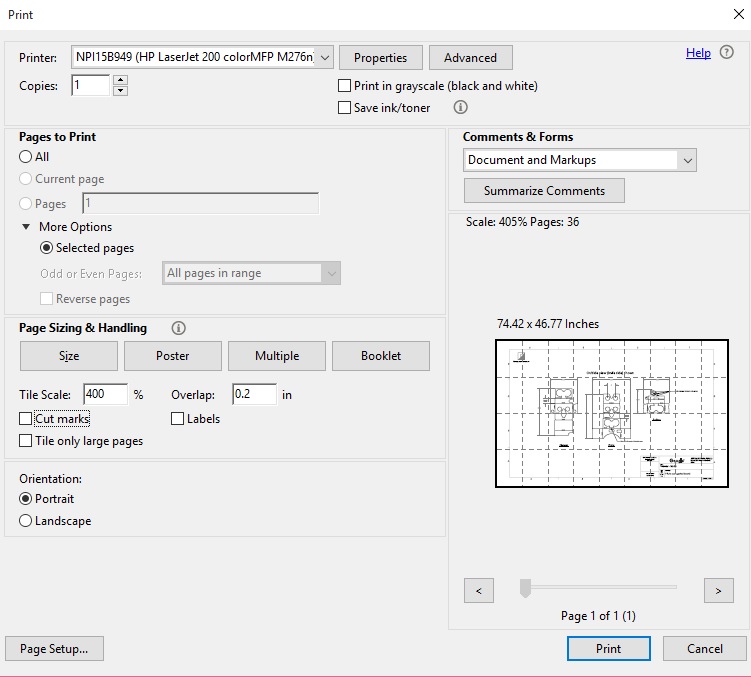
If you only have Acrobat Reader it doesn't really let you edit PDFs much. But you can still scale it larger during printing.
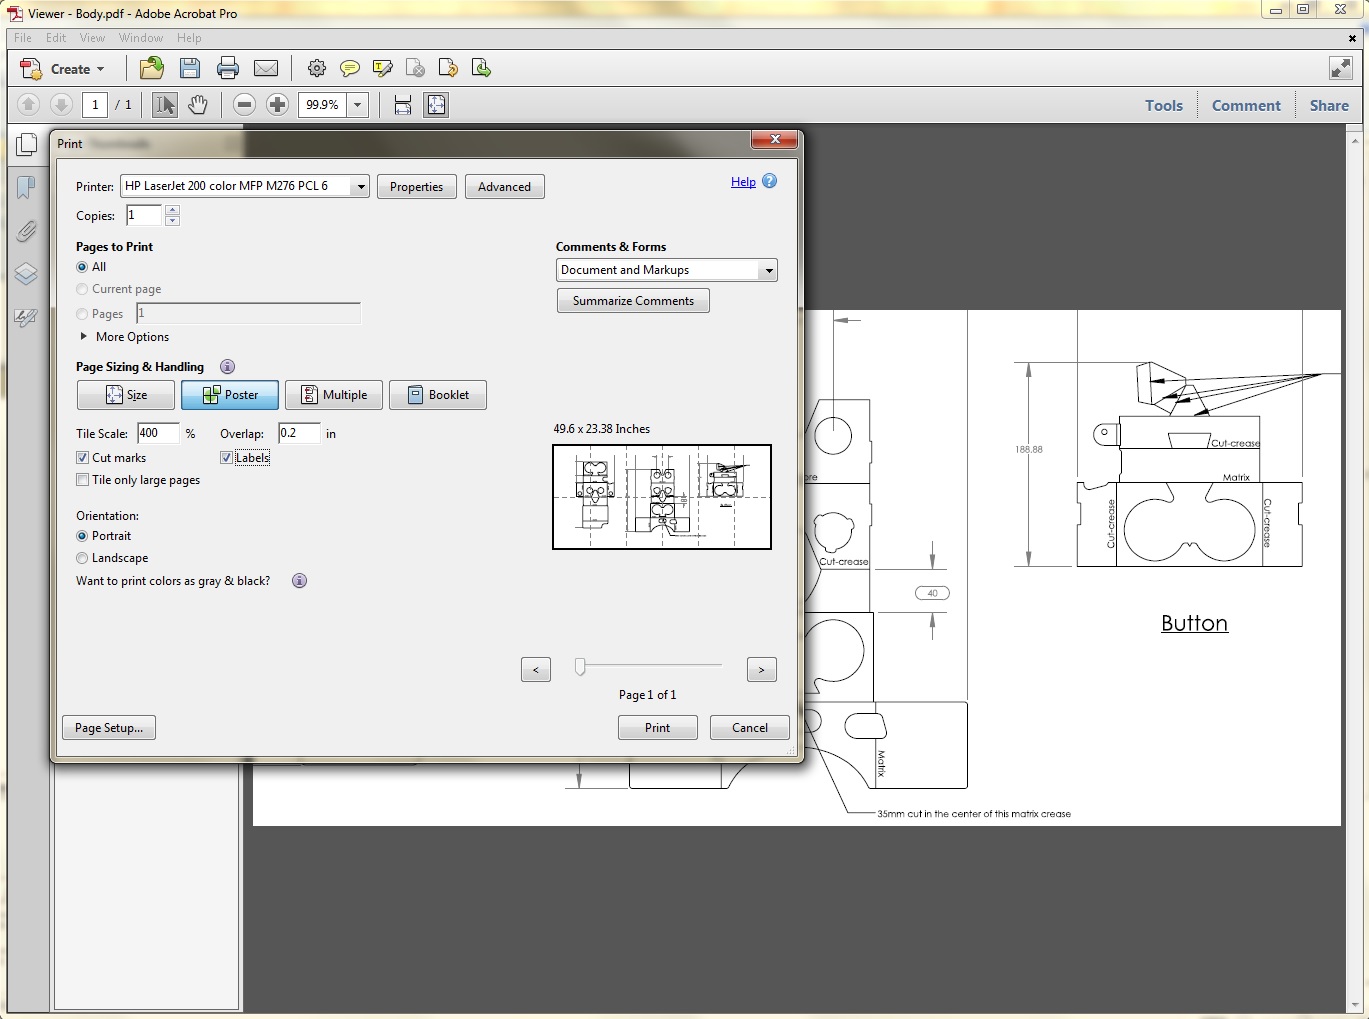
Go to File > Print.
In the section that says Page Sizing & Handling, click on the button that says "Poster".
Since this PDF is 1:4 of life size, we want to blow it up 4 times to get it back to the correct size. Under Tile Scale %, enter 400.
Under Overlap, put whatever amount of overlap you want to give yourself for lining up the pieces. I put 0.2 in since that's about half a cm.
You can see how it will print out in the preview on the right. Unfortunately this wastes a lot of paper since it's going to generate 36 pages but you only need the 12 in the centre that have the actual pieces of the viewer on them. Still, you can recycle or reuse the other 24.
You can select Cut Marks and Labels if you like, but those take up room so it's going to require even more pages (49). This gives headers numbered with Cartesian coordinates of where each page goes in the layout, which is helpful for organising large posters that print on many pages (see next step for photo of the printouts to see what I mean).
Method 2: Cropping in Adobe Acrobat
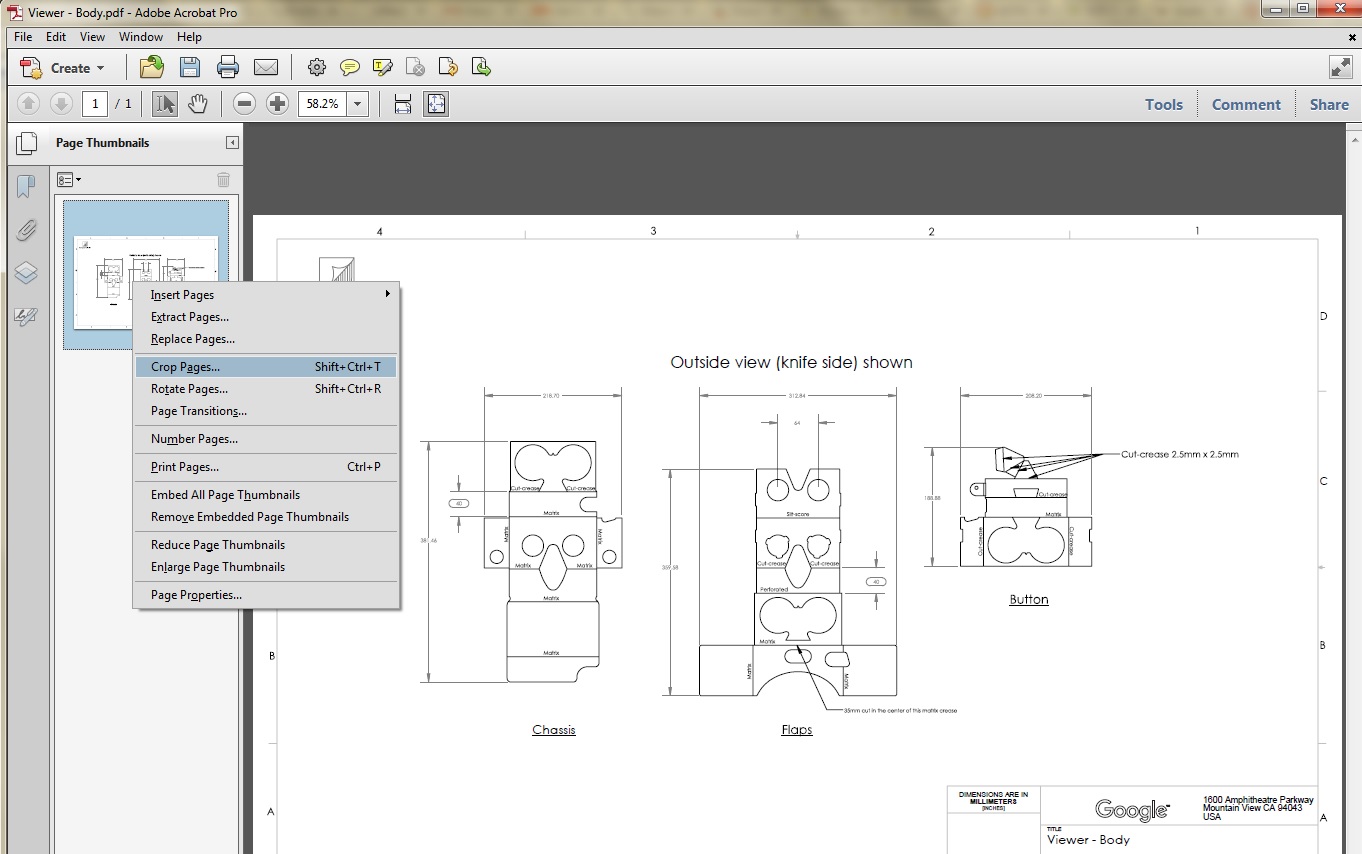
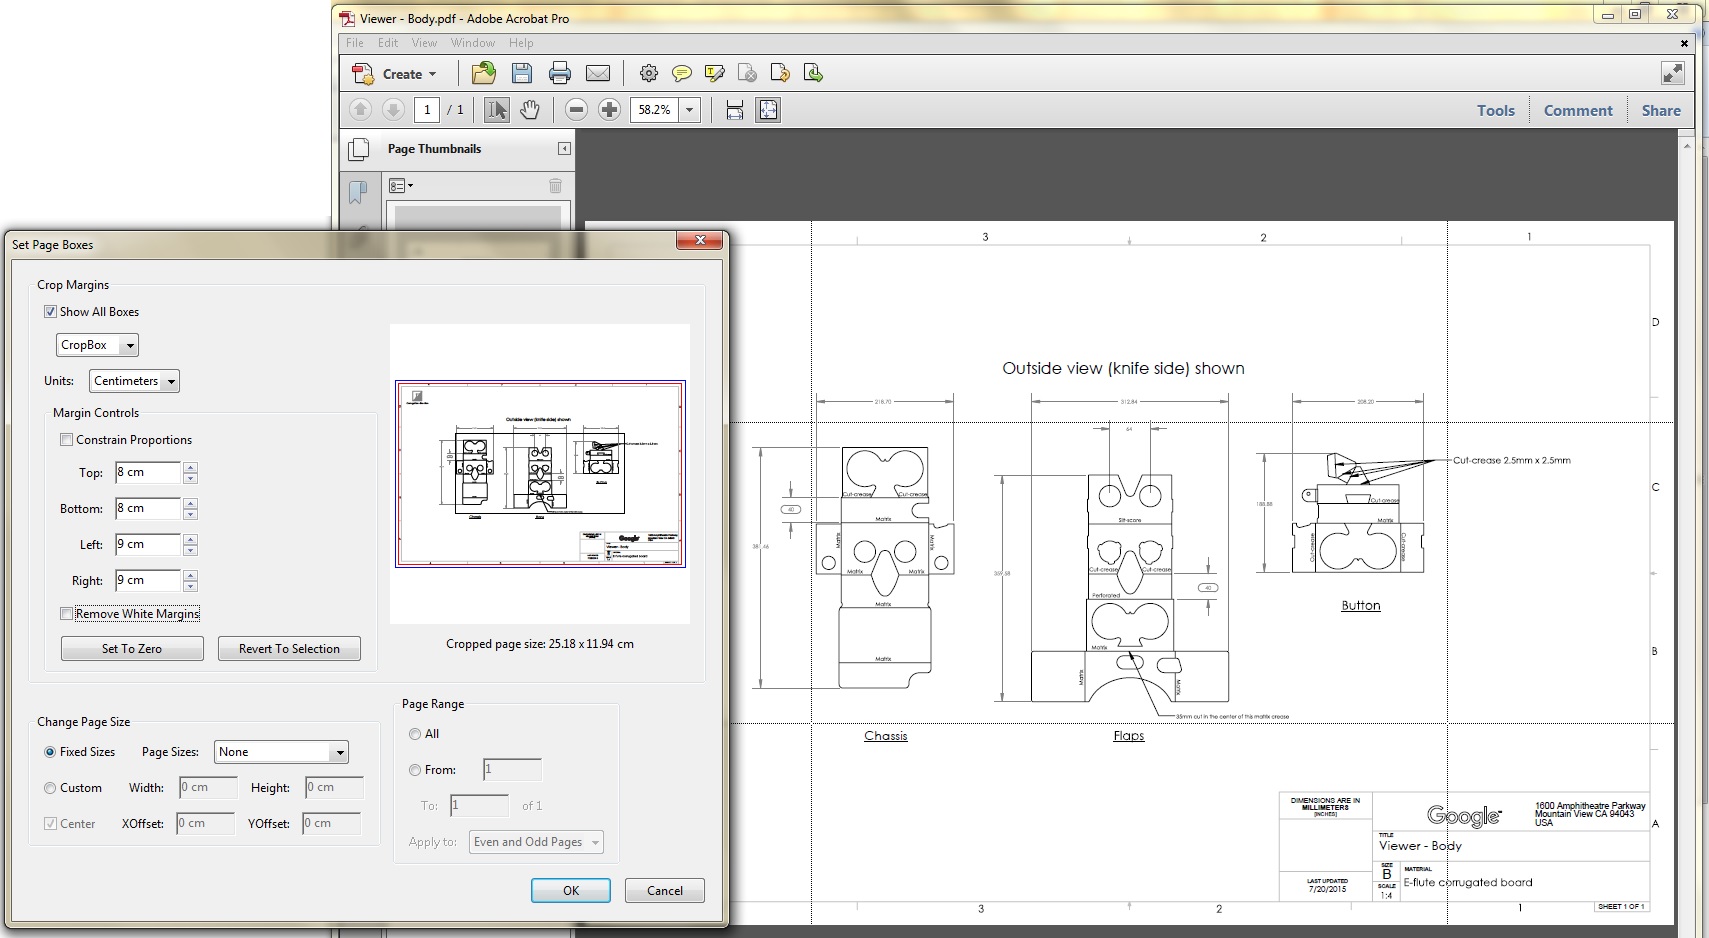
If you have the full Adobe Acrobat you can save some paper by cropping before printing.
Click the Page Thumbnails icon in the upper left. Right-click on the page in the thumbnail pane and select Crop Pages.
Play around with the numbers under "Margin Controls" until the crop box in the preview on the right shows up as being fairly tight around the pieces of the Cardboard viewer. In cm, it should be as shown:
- Top = 8cm
- Bottom = 8cm
- Left = 9cm
- Right = 9cm
Go to print and set Tile Scale to 400%. I did select Cut Marks and Labels in this case.
Check the Layout and Assemble
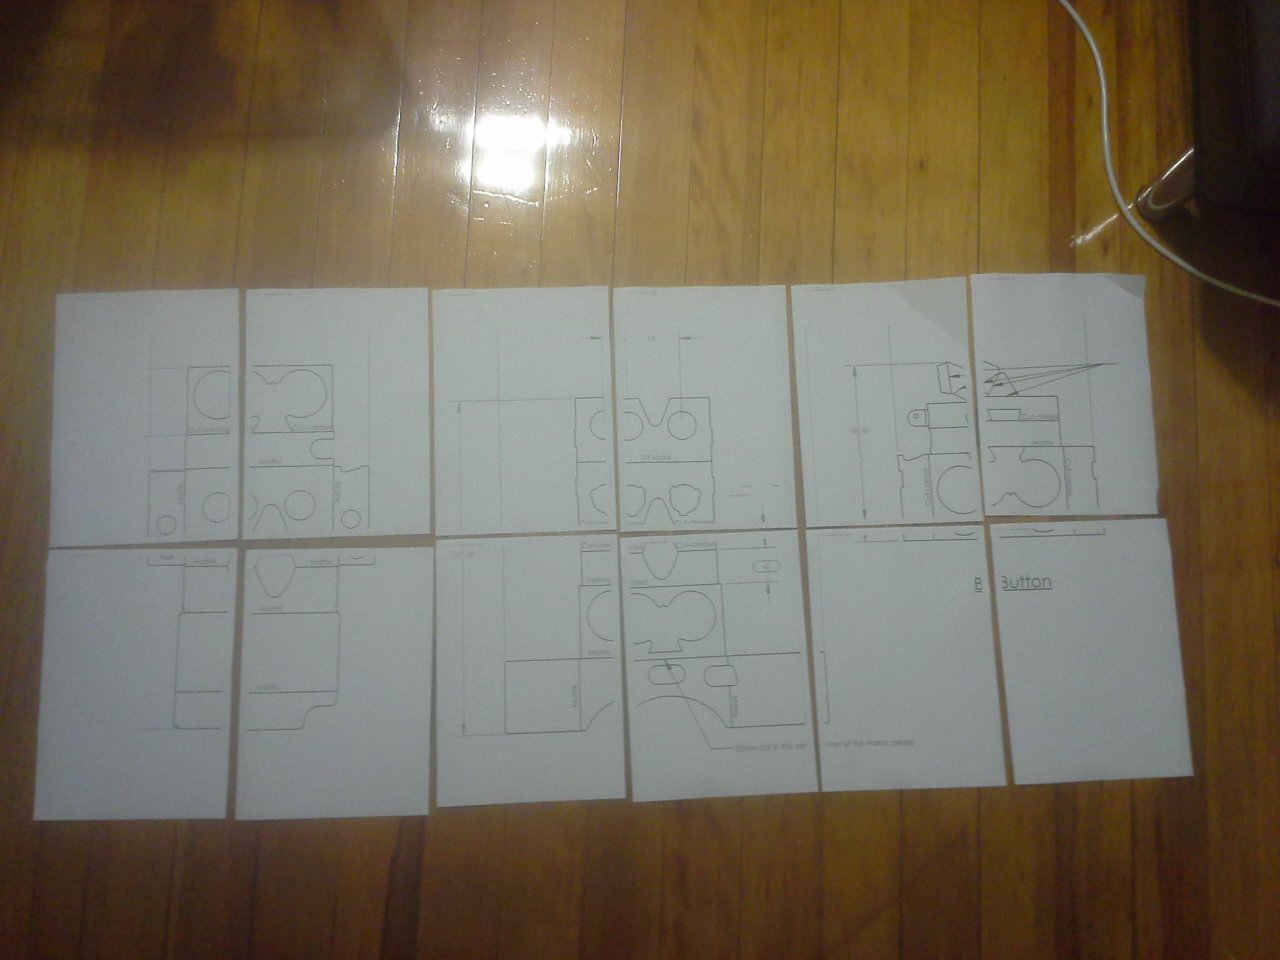
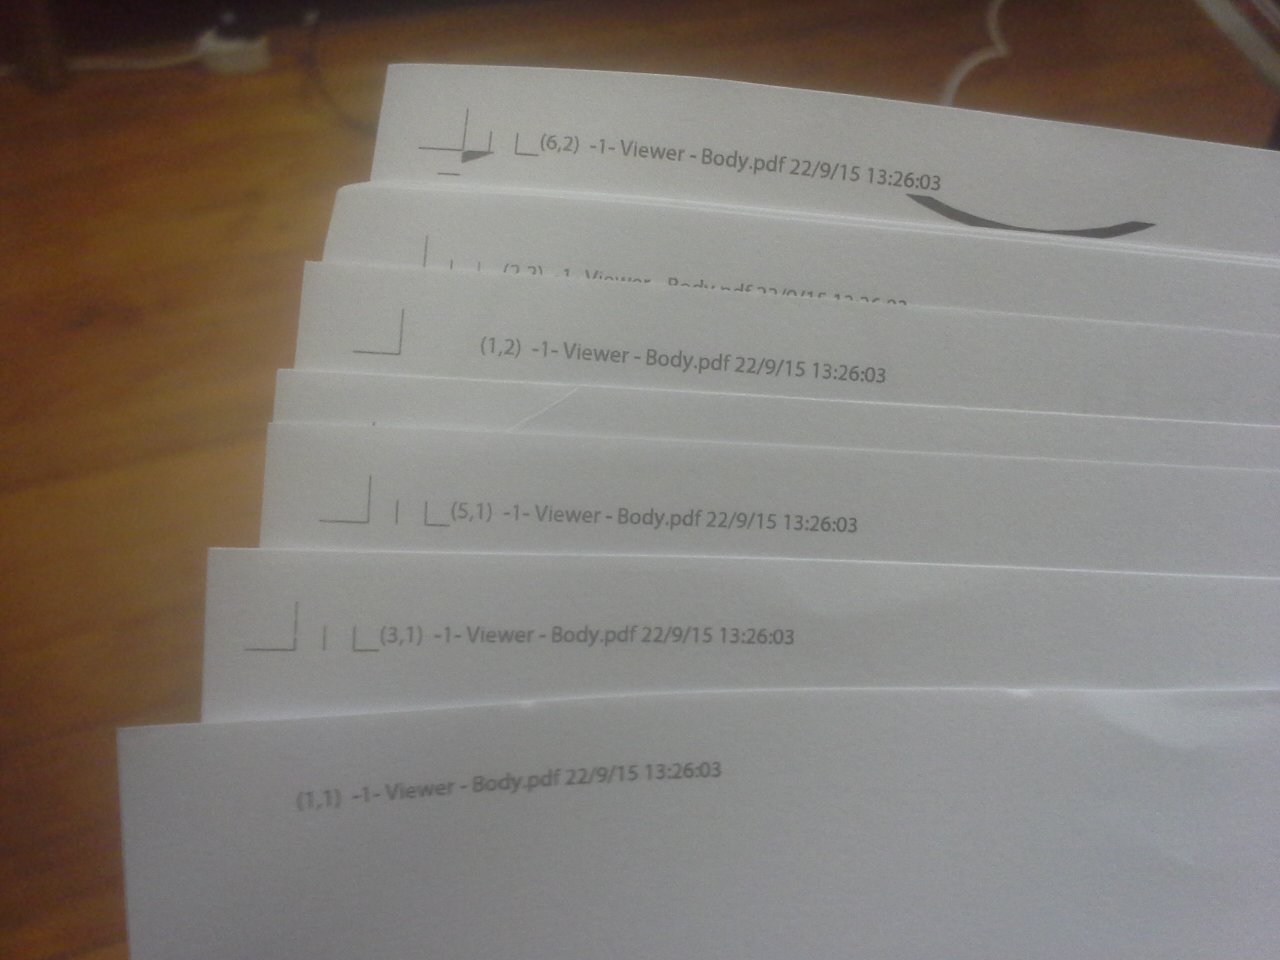
If you selected Labels in the print dialog you can use the coordinates to lay out the sheets, otherwise just figure it out from the picture. I believe the cut marks are the little crosshatches in the corners and the labels are the headers with the coordinates. So for example (2, 5) goes in the 2nd row, 5th page from the left.
Assembly: The "Viewer - Artwork.pdf" shows how it goes together. Unfortunately there are no detailed instructions and it's hard to figure out some things from the photos, like how the 3 pieces are attached to each other and where to put all the velcro and the conductive strips for the button.
I'll re-title and update this Instructable when I actually do mine and figure out what goes where.