How to Prepare Your Lasercutting Files (Inkscape)
by lutkeveld in Workshop > Laser Cutting
13286 Views, 65 Favorites, 0 Comments
How to Prepare Your Lasercutting Files (Inkscape)
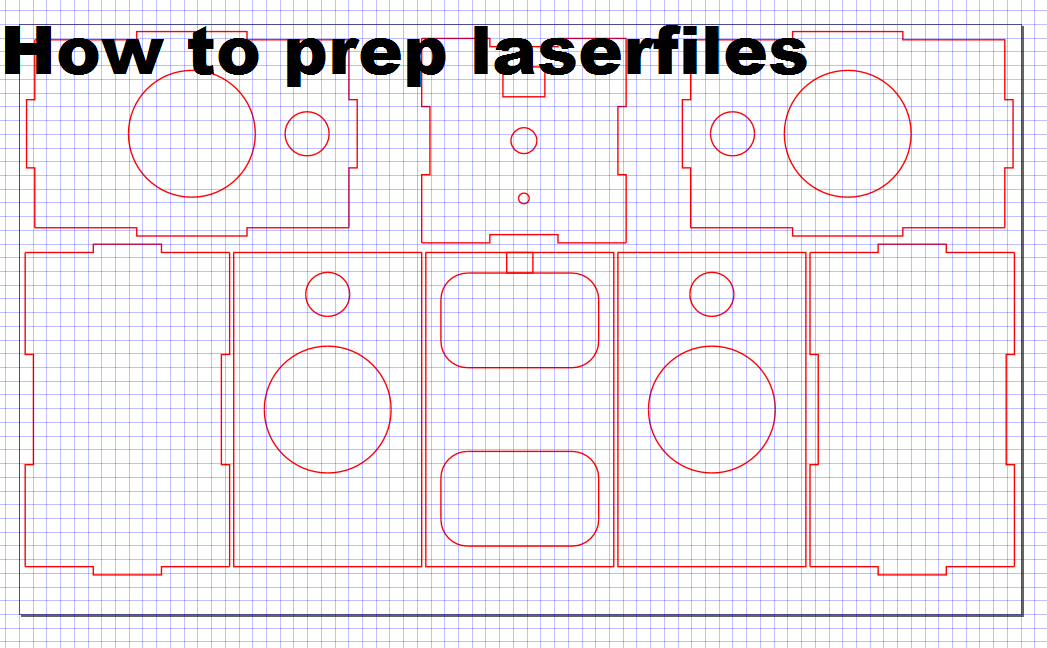
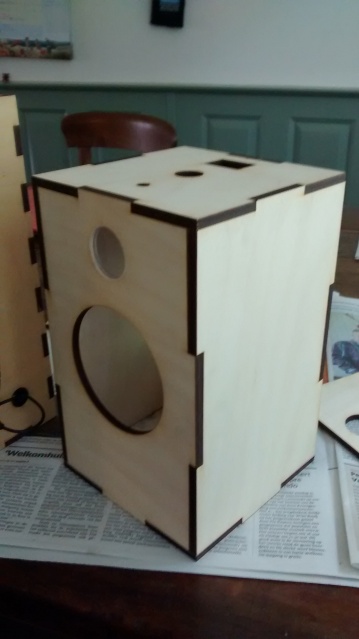
This is a tutorial for people that want to get their project lasercut but don't know any software to prep their files (yet).
I'll be explaining how to do the setup, basic shapes and tabbed boxes in Inkscape.
At the end you'll have a DXF or SVG file that you can use to get your project cut at a Makerspace, Fablab or commercial provider. The picture is of a project I got lasercut out of 6mm plywood.
Please drop a comment, like and or follow if this tutorial helped you.
Installation and Setup

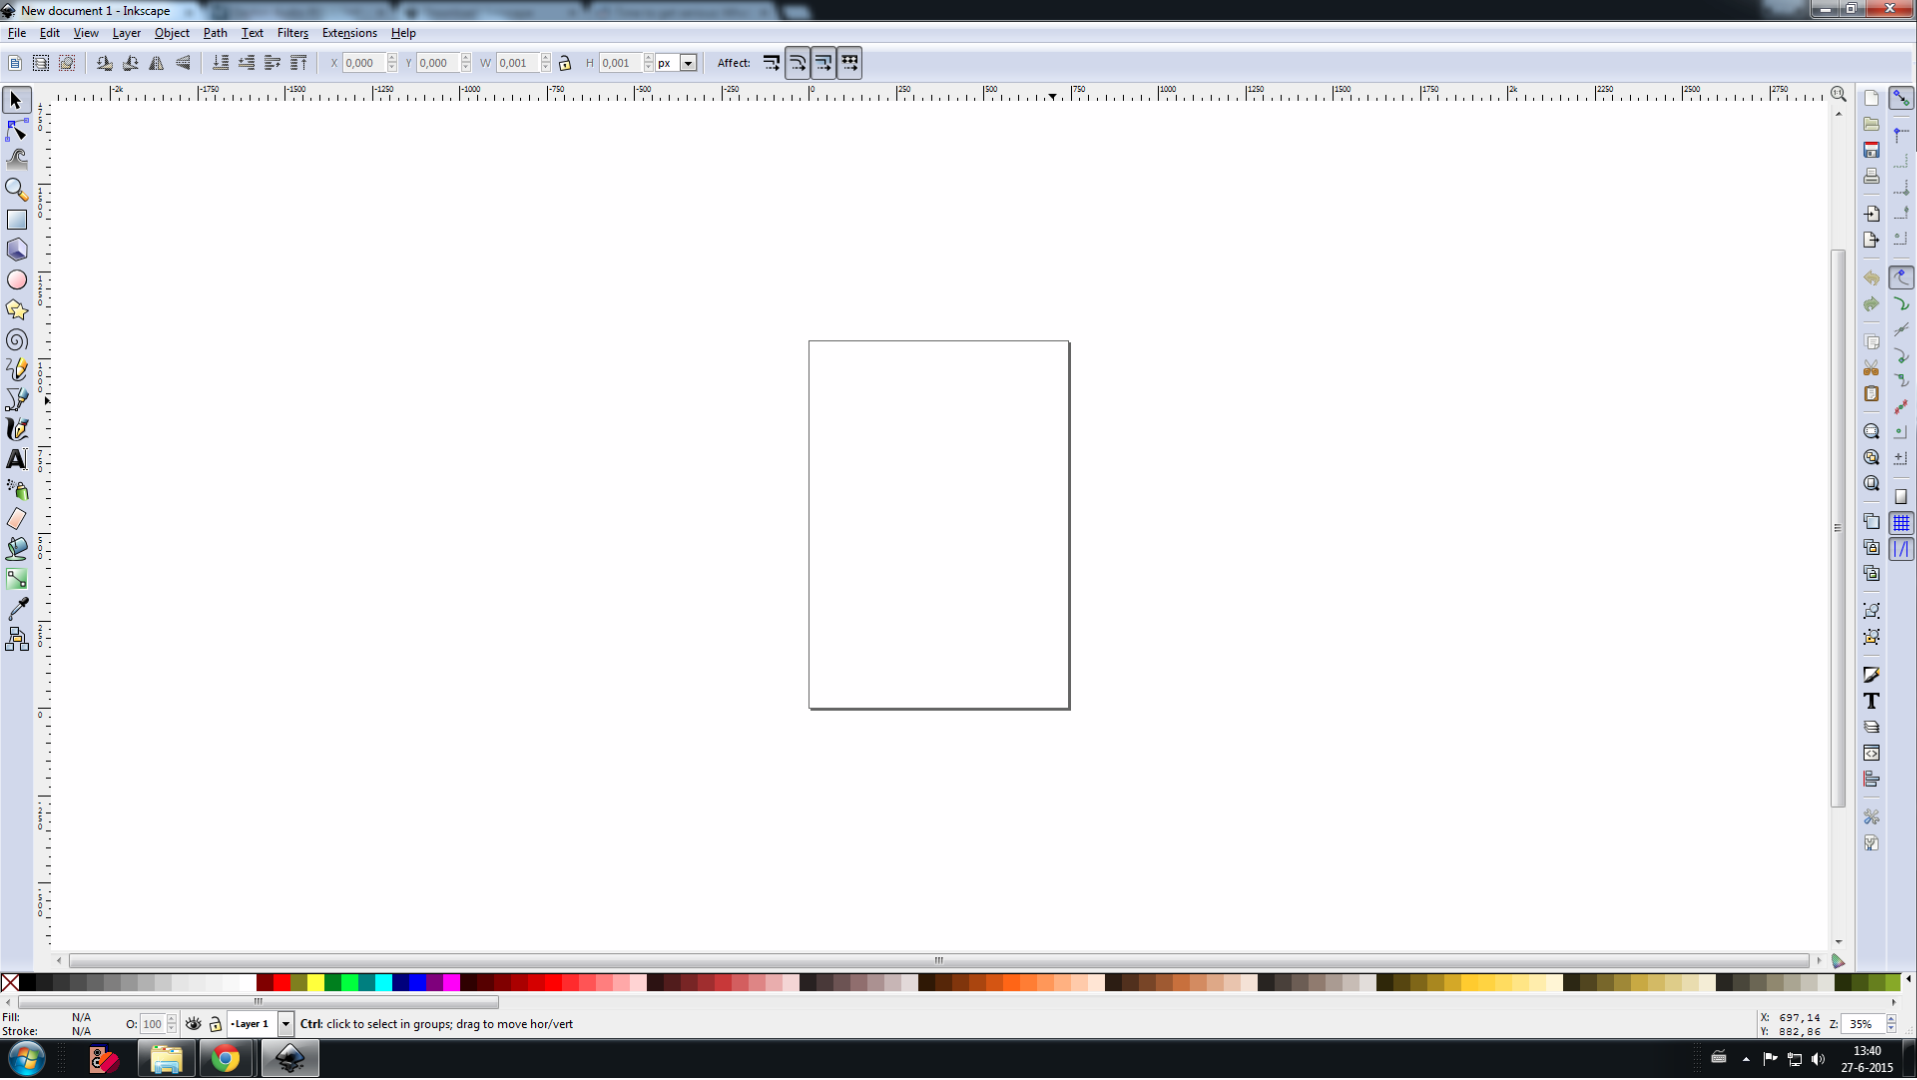
Download the free 2D CAD software named Inkscape for the platform you're on:
https://inkscape.org/en/download/
Setup is pretty straightforward, so I'm not going to bother with explaining that.
When you start the program you'll see an empty screen. Press Ctrl+Shift+D to open document properties.
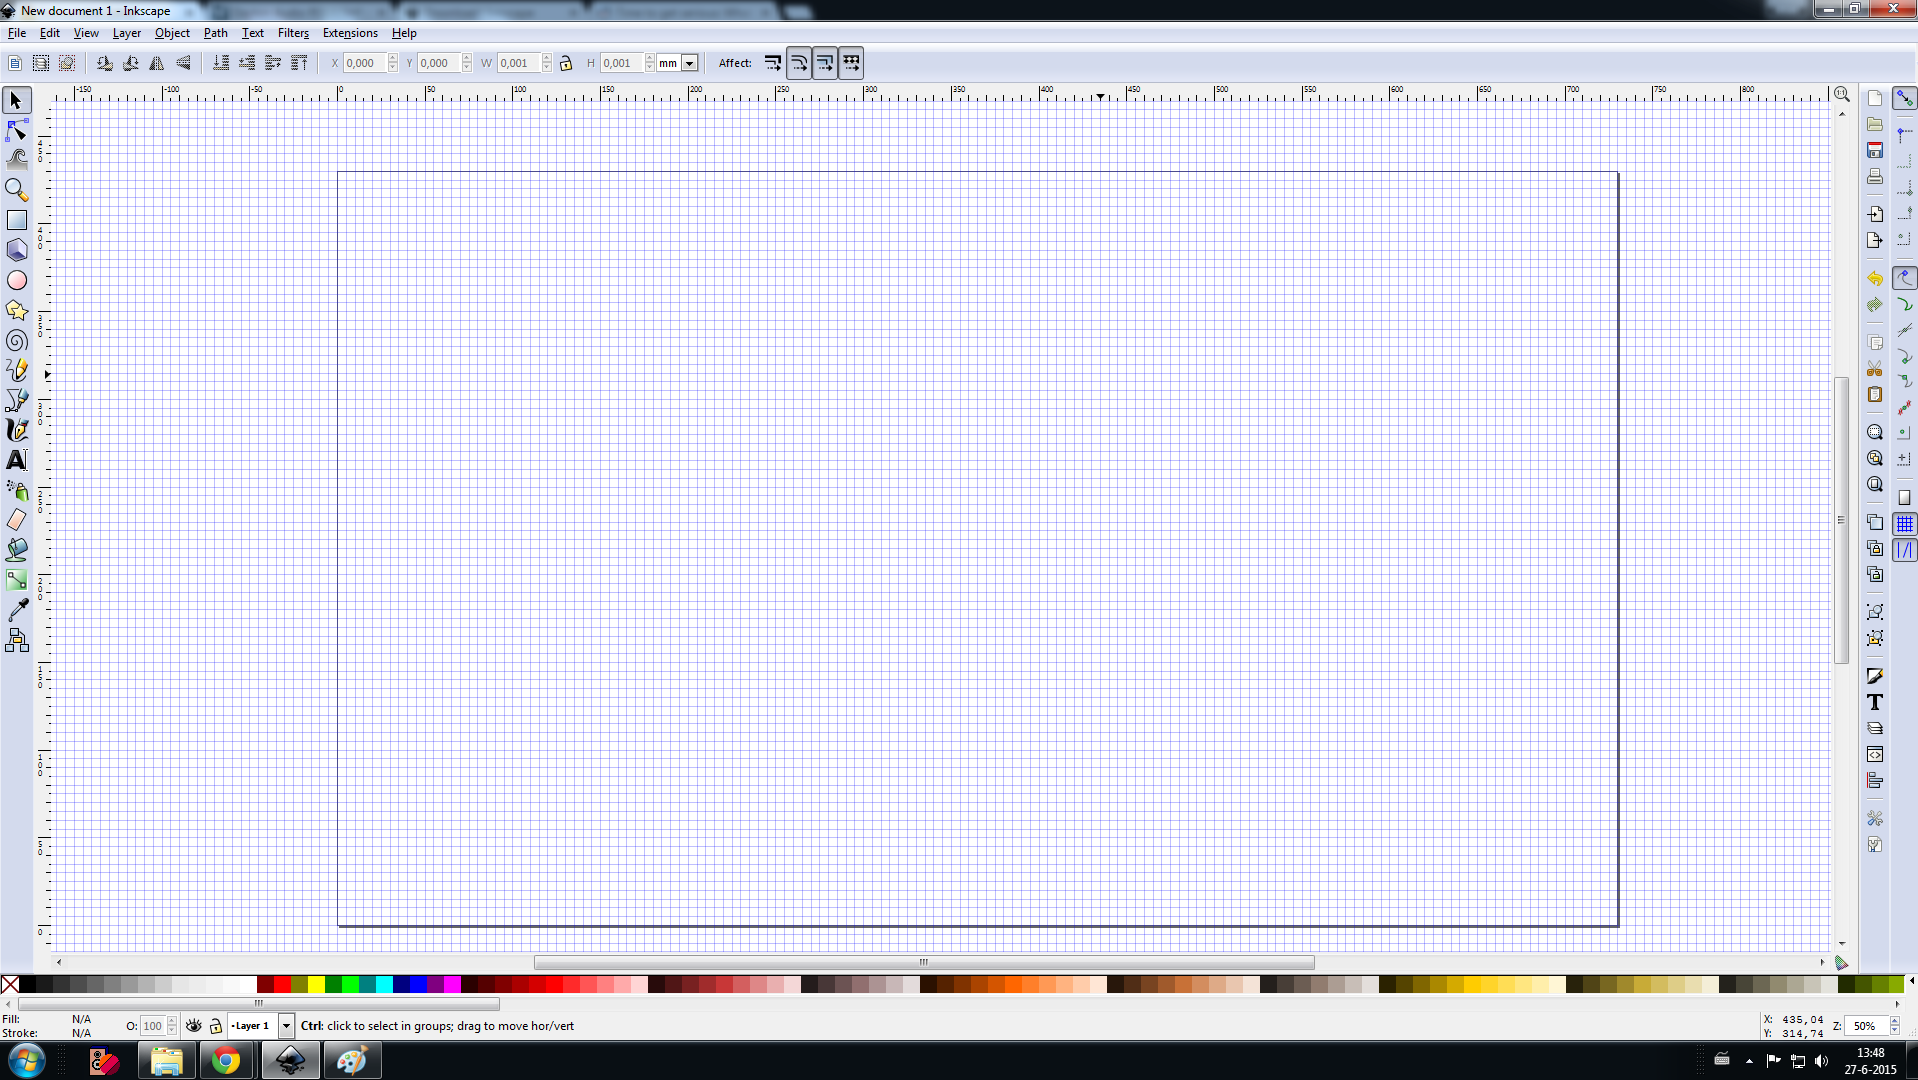
Set the units to your liking, I'll be using metric (mm). Set the custom page size to the cutting area of the printer, 730x430mm in my case. Go the the 'grid' tab and use handy increments (0.1", 1mm for example).
When you go back to the main page the raster/grid and working area will be visible. Select the snapping options in the toolbar on the right side. I like to snap to bounding box corners (second option from the top).
Basic Shapes

With the 'Fill and stroke' toolbar you can change the color and thickness of the fill/stroke. For lasercutting you need no fill and a small stroke. 0.01mm seems to be common, but have a look at the recommendation for your specific printer to be sure. Same thing with the color, a lot of printers use red as standard, but this can be changed.
It's difficult to see the objects with such a small stroke, so I like to work with a bit bigger stroke.
With 'allign and distribute' you can space the objects accurately. Select multiple objects and space them by center, top, bottom etc. The pictures on the buttons speak for themselves.
With 'transform' you can move, scale or rotate objects. Horizontal and vertical movement are upwards and to the right. You can invert that by entering a negative value.
Tabbed Box Maker
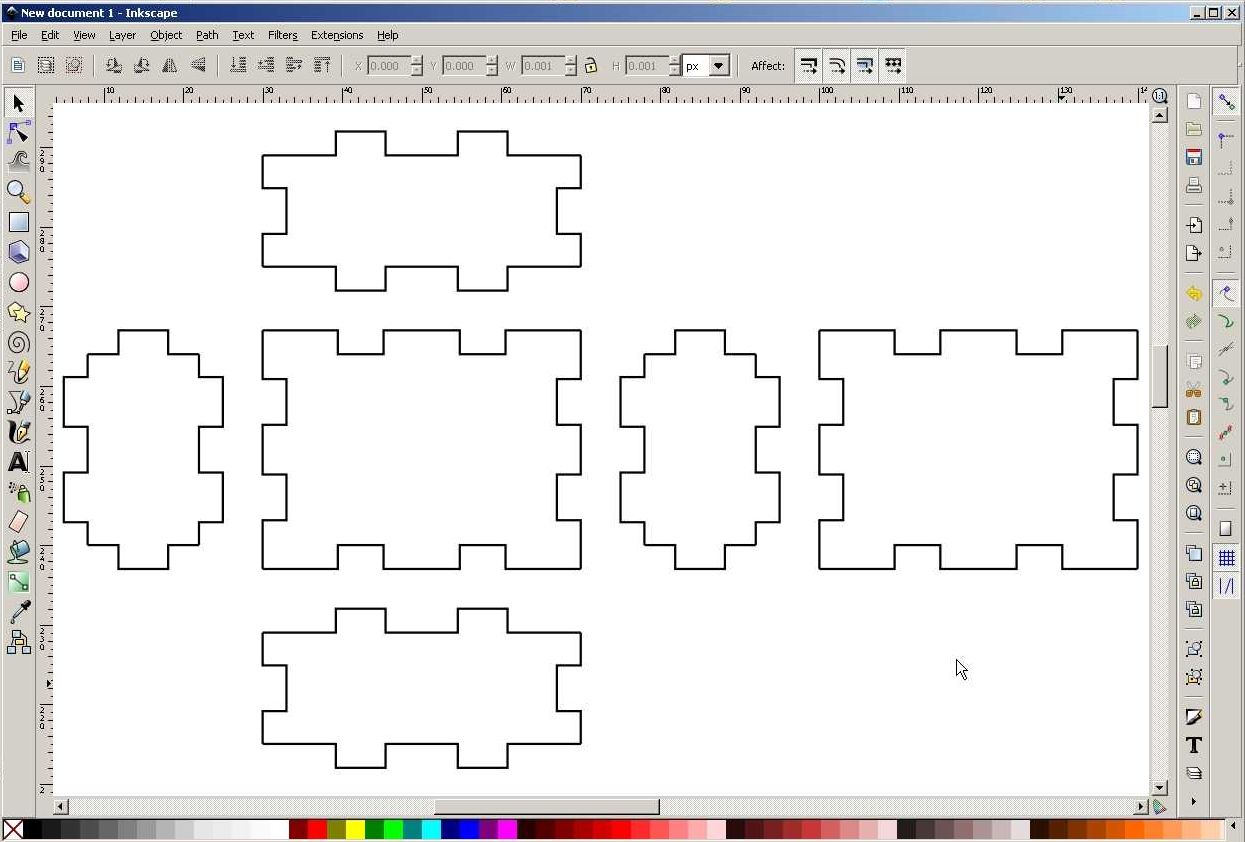
When I was in the Fablab I saw some guys drawing a tabbed box by hand. Those poor guys didn't know that this extension exists:
www.twot.eu/111000/111000.html
Once you install it you can find it under 'Extensions -> laser tools'. Enter the parameters and it'll spit out the box. If you want to group the panels to move them; select and press Ctrl+K (combine). You can also group/break apart/intersect etc via the tab 'Path'.
Export and General Tips:
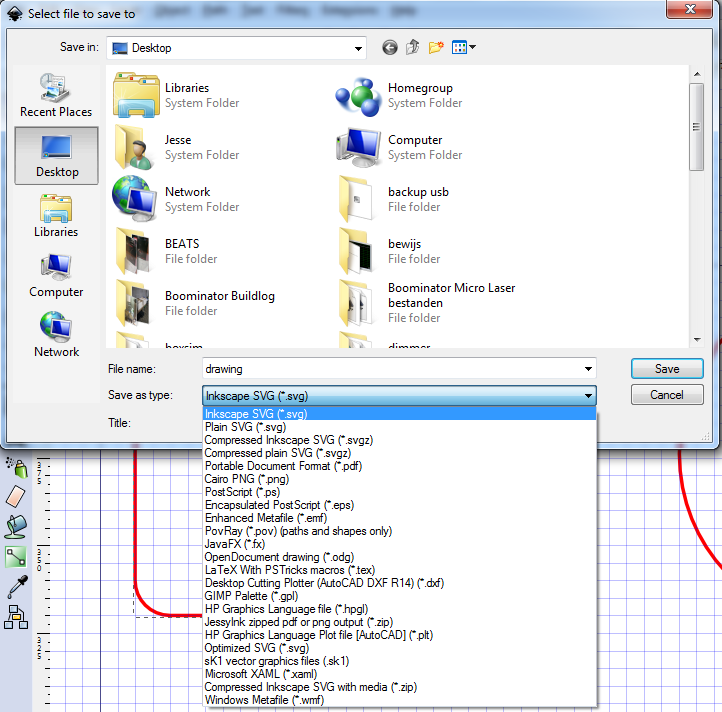
Make sure everything is the correct size/color/stroke width.
To export press save and save as DXF or SVG. Almost all printers take DXF, but you can never be sure enough, so save both :)
General tips:
Hold Ctrl and scroll to zoom in/out
Hold Shift and scroll to move horizontal
Hold Shift and click to select multiple objects
You can round edges of objects by pressing F2, selecting the object and drag the round points.
Hope this helped you.