How to Model an Anthropomorphic Skull in Meshmixer
by Ladycartoonist in Workshop > 3D Printing
10064 Views, 86 Favorites, 0 Comments
How to Model an Anthropomorphic Skull in Meshmixer
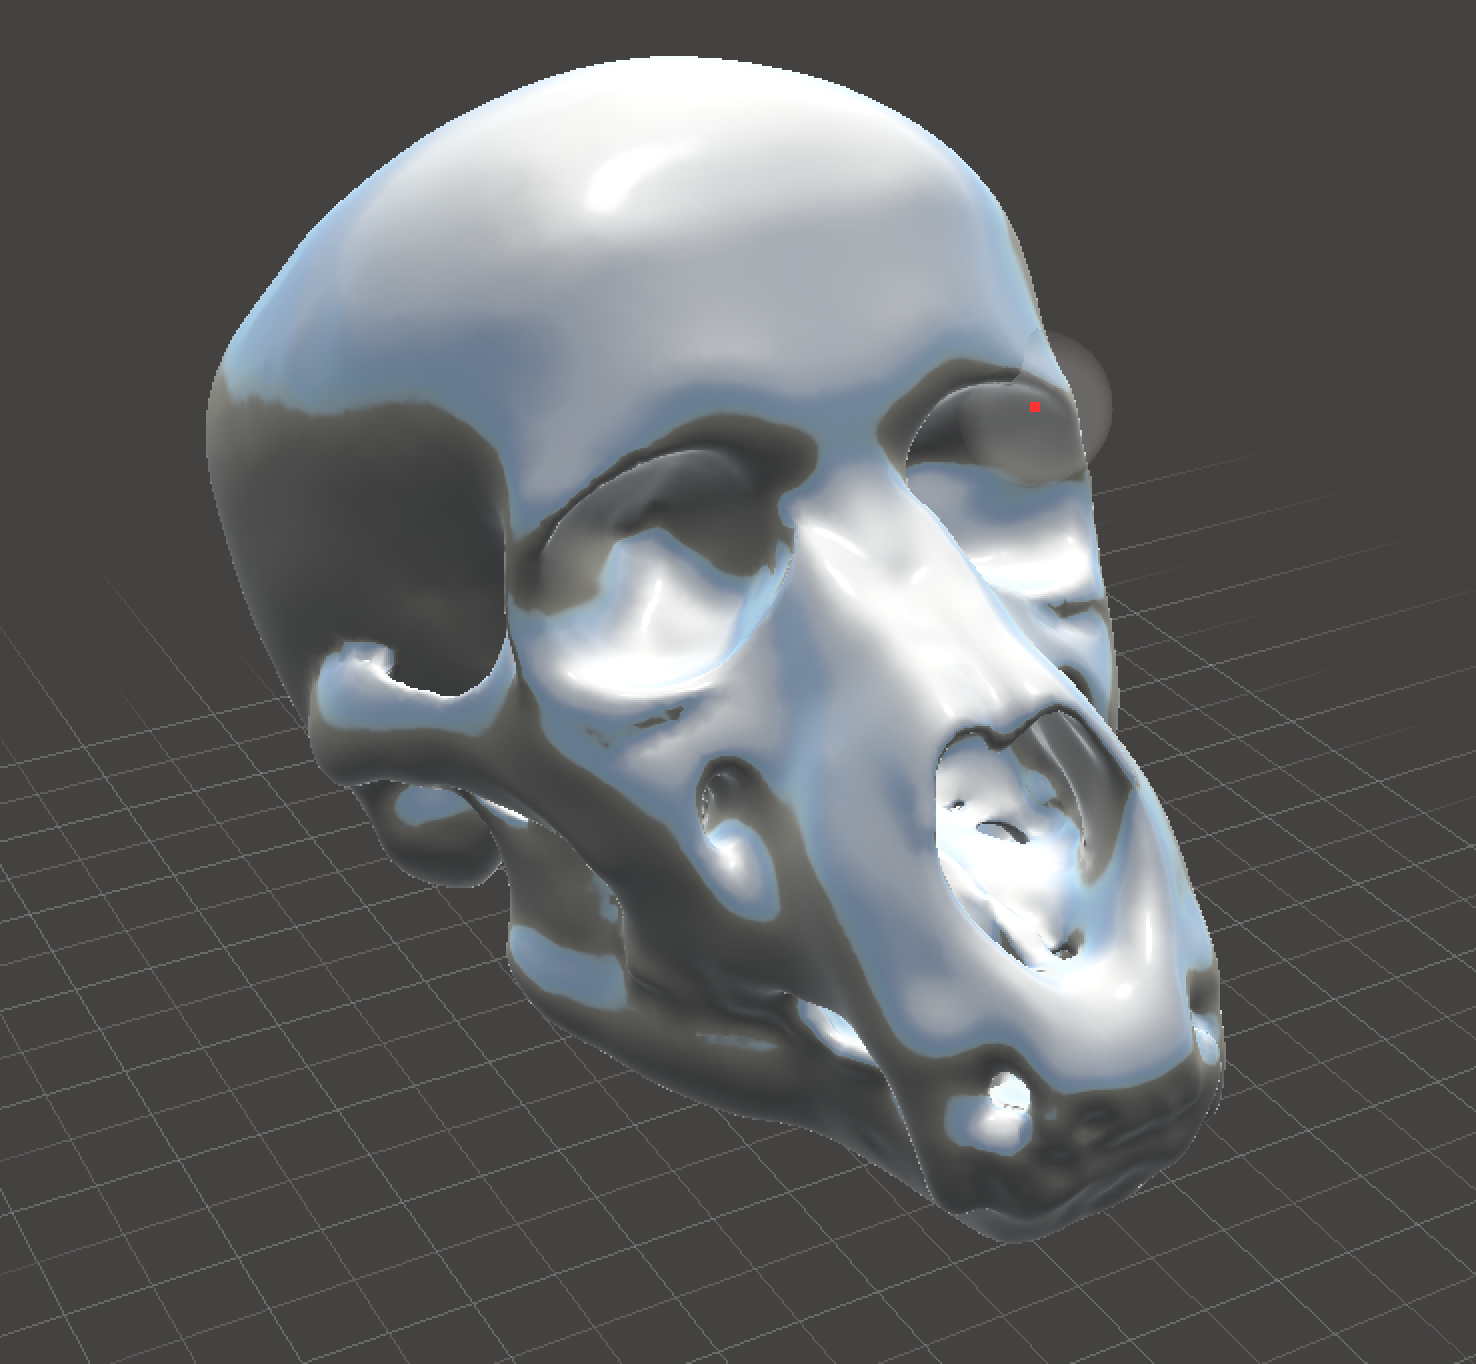
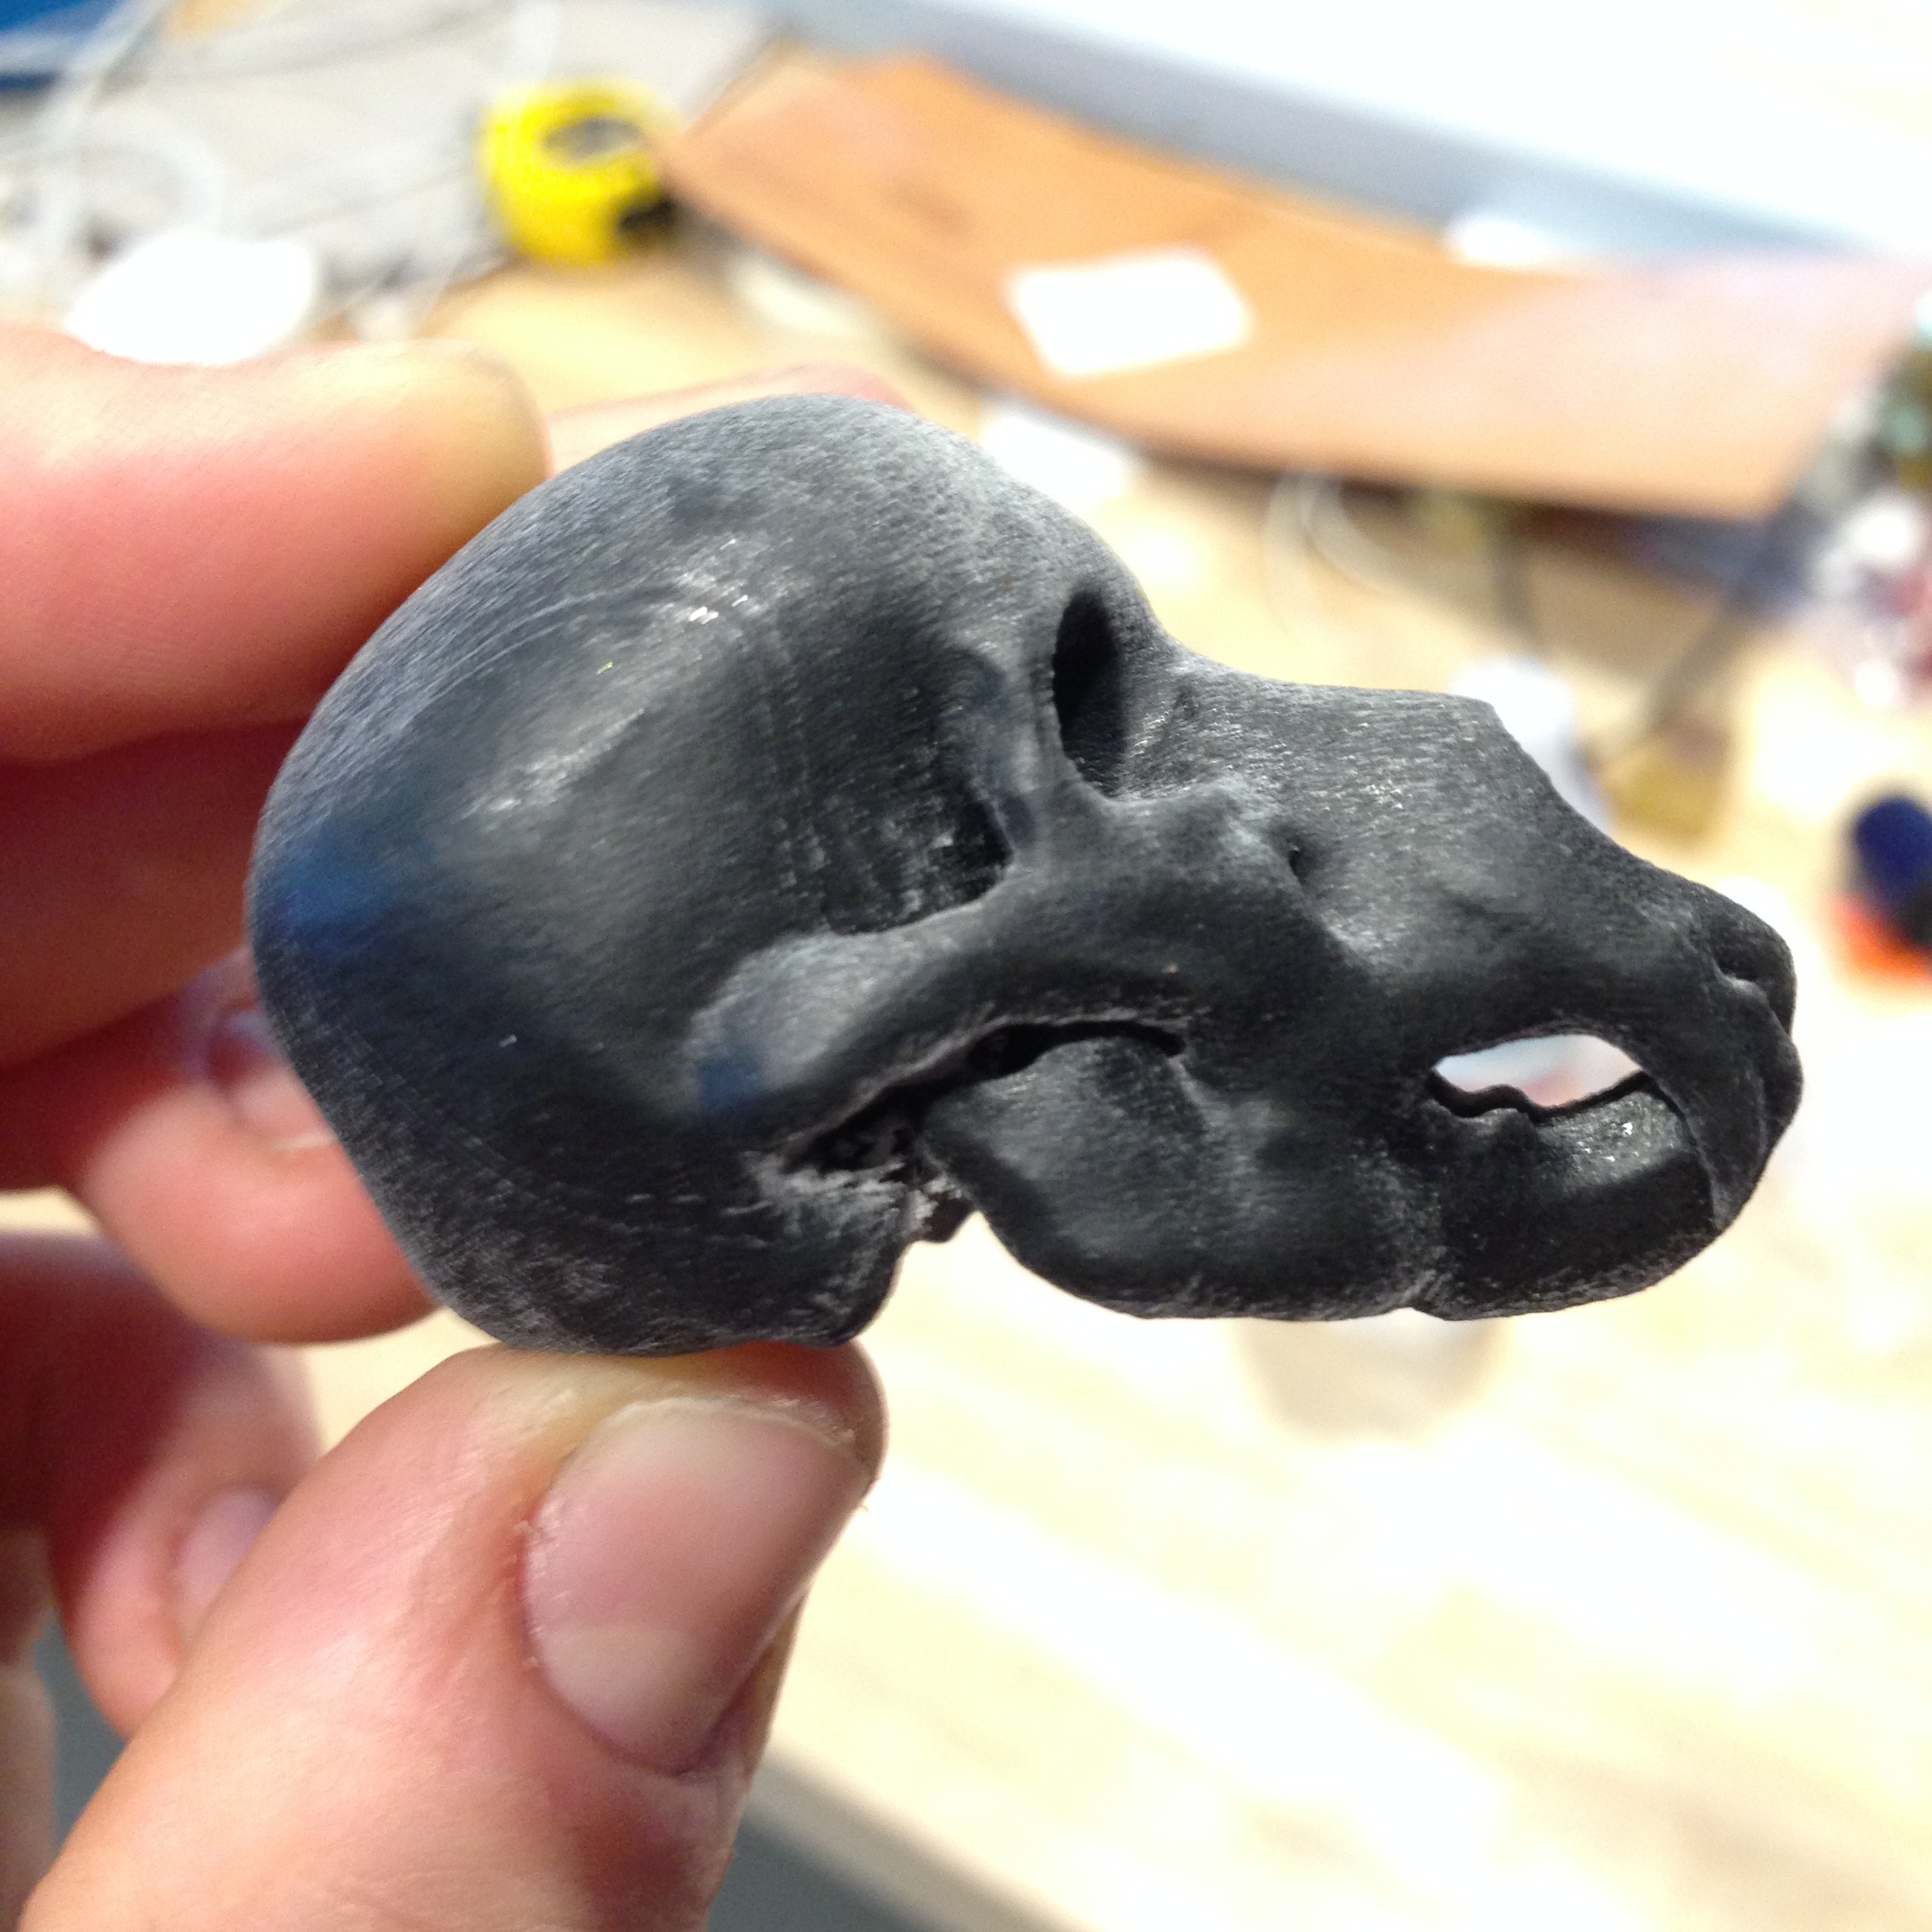
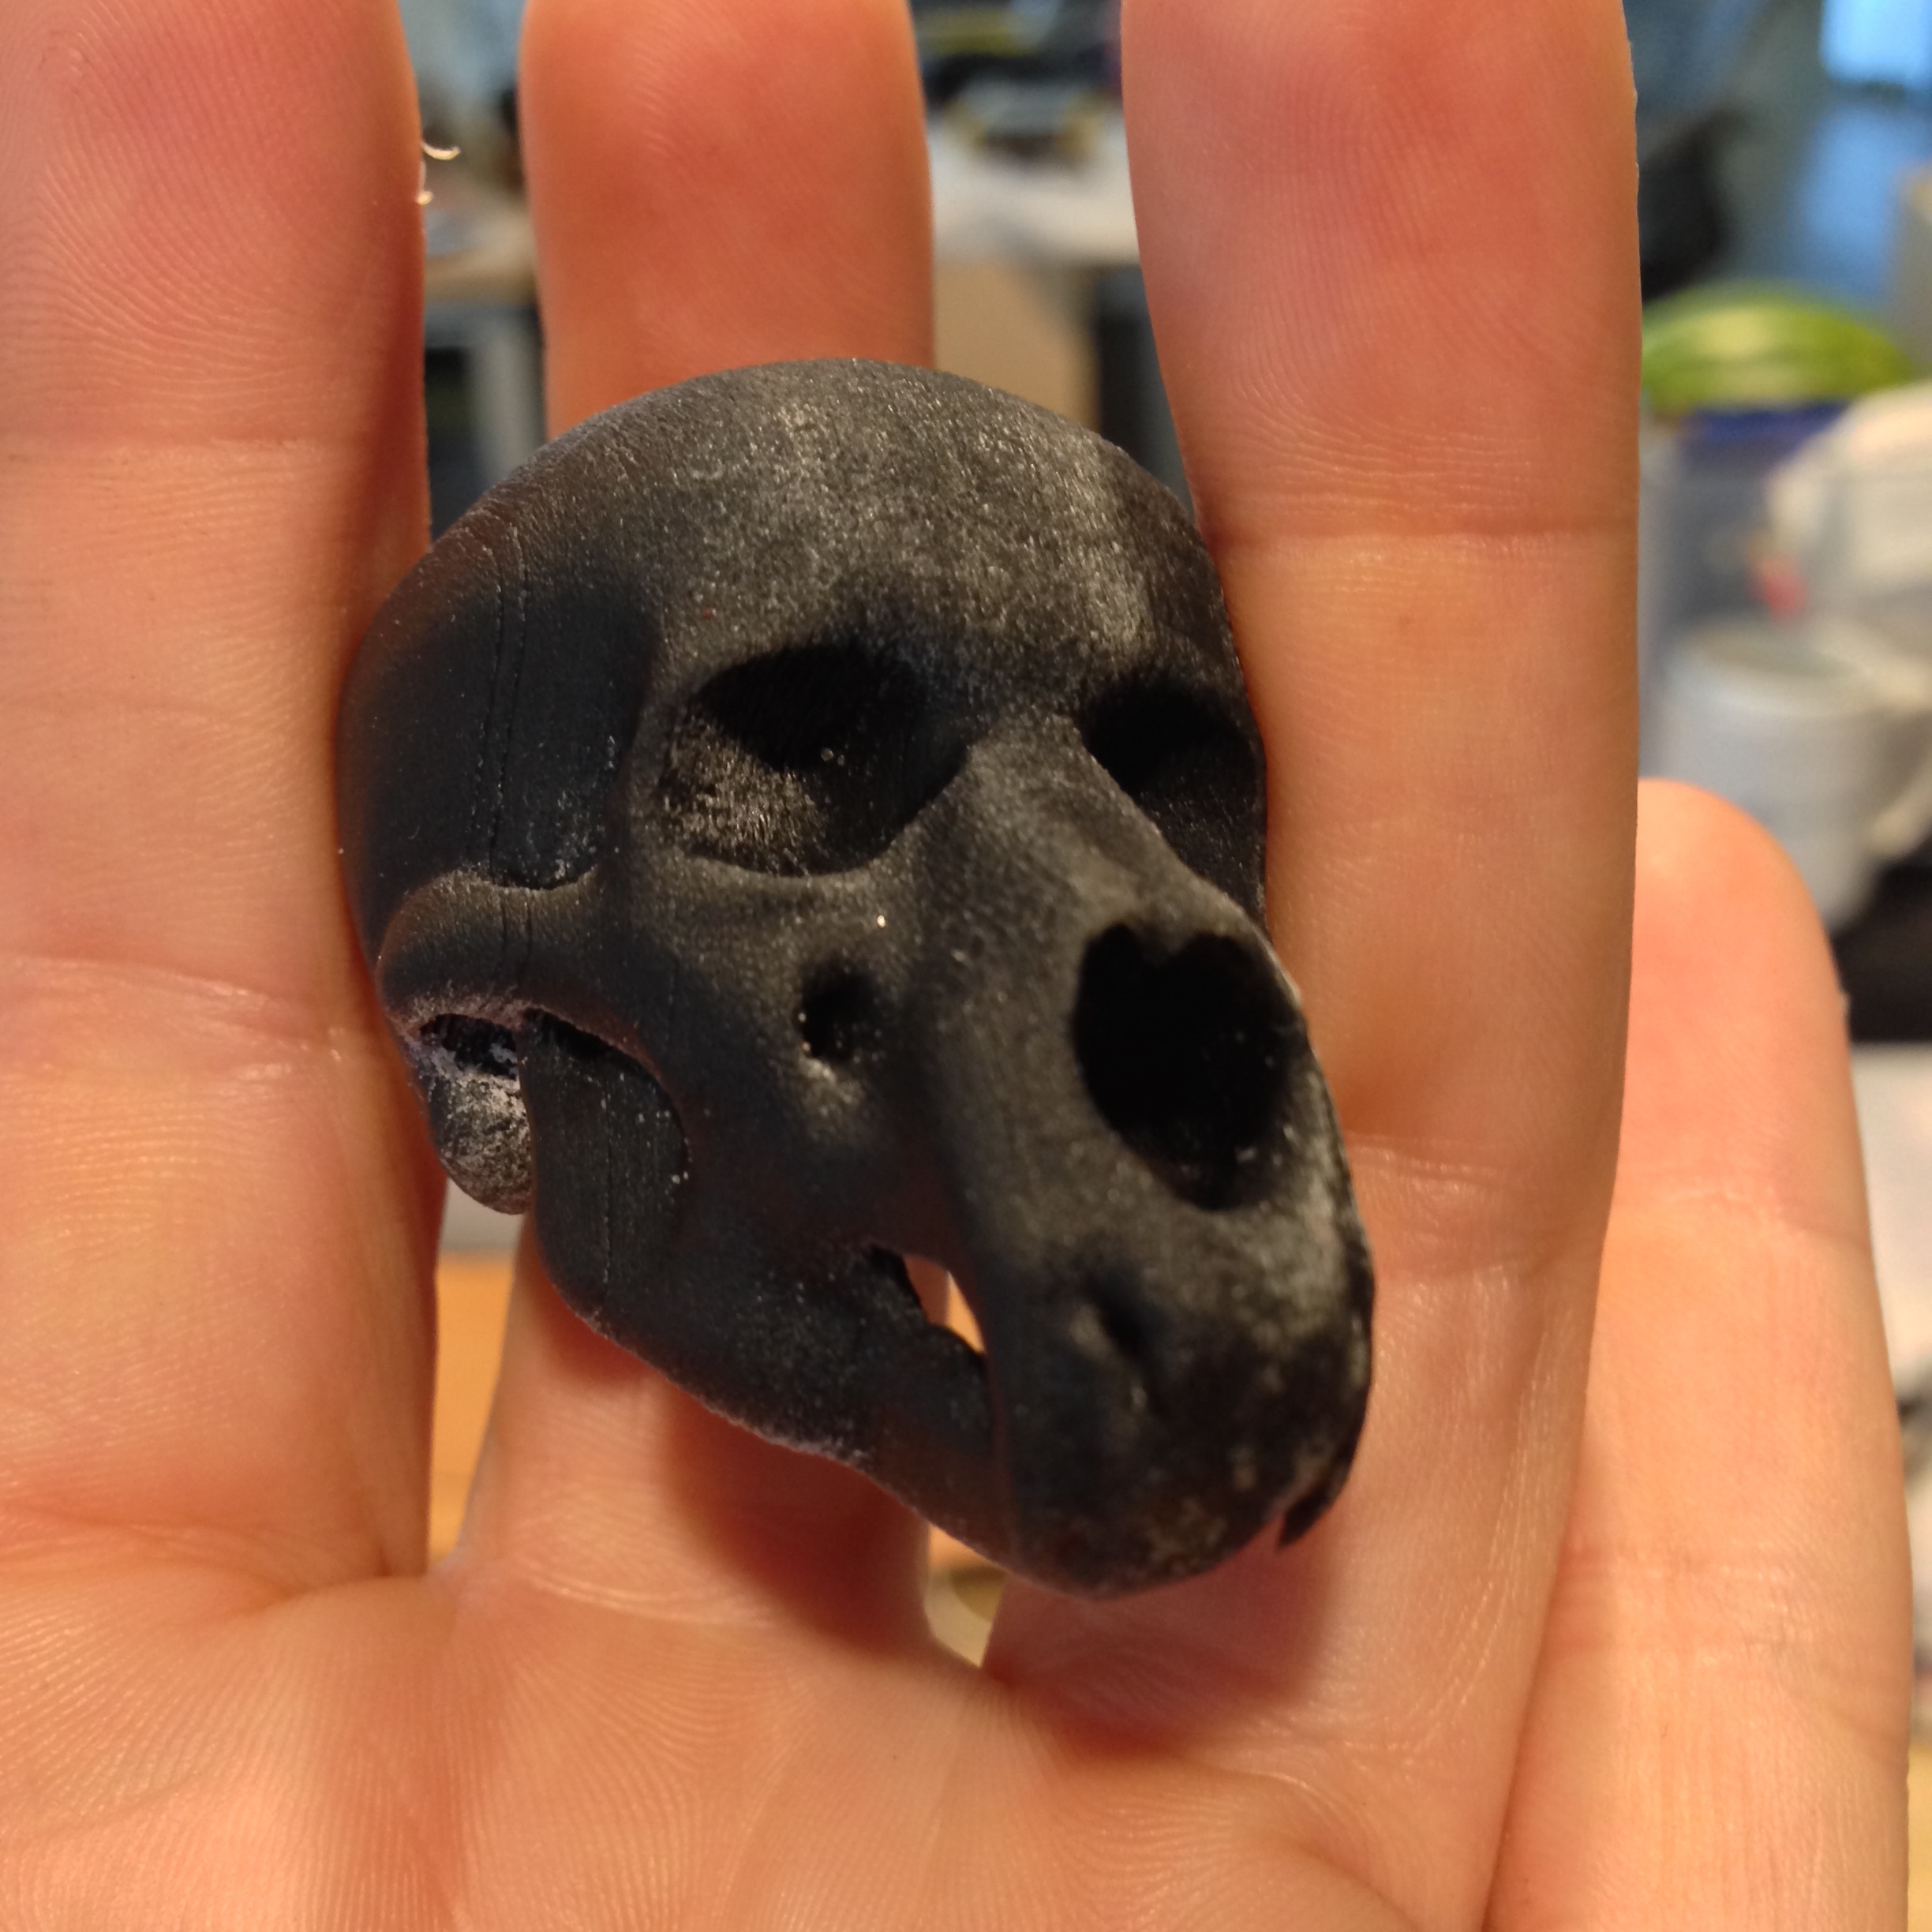
I've been having fun modeling anthropomorphic skulls for halloween lately, and I thought I'd share the basics of my process.Why skulls? Because it's easier to make a realistic anthro character/model going UP from a skull than to model them based on soft tissue (skin, cartilage) going down. It's also a great way to learn anatomy!
Please do note that is is an extremelly rough guide to, ahem, genetic splicing.There are many aspects of how to combine the two models, which aspects of each to keep, etc- you can make your own decisions. This instructable is to help get you on your way, or to make a little fun thing. Don't hunt me down with the finer points of anthro canon. Thanks.
I do a lot of additional modeling to add dimension and character, but for this Instructable I will try to help you go from 2 models (one animal and one human) to one completed anthropomorphic model with as few steps as possible and with as minimal sculpting as possible. That being said, go nuts! Meshmixer is fun. See what you can add and change.
I HIGHLY recommend that you watch at least the first few videos of 'Meshmixer 101' on YouTube. There are many quick keys and controls that will make this a much easier process.
Things you'll need for this Instructable:
Meshmixer (available from Autodesk for Mac and PC)
2 models of skulls (one human, one animal)
optional:
Mouse (way better than trackpad) or better yet, Wacom tablet
3d printer
Find Your Models
There are a few great resources for .stl files online. Human skulls are relatively easy to come by, but there's also lots of animals to choose from! Try googling 'free animal .stl' or 'free skull .stl' here are the sites I used:
http://www.thingiverse.com/explore/newest/models/a...
will take you directly to the animals category on that site,
http://www.digimorph.org/resources/STLs.phtml
I used this lion skull:
http://digimorph.org/specimens/Panthera_leo/adult/
and this human skull:
Clean Up Models
If you got your models from Thingiverse, they rarely need much cleanup. Just to be sure, before you do any alignment, to select all (ctrl-a) and make solid part (edit>make solid part).
Allign, Adjust, Mesh
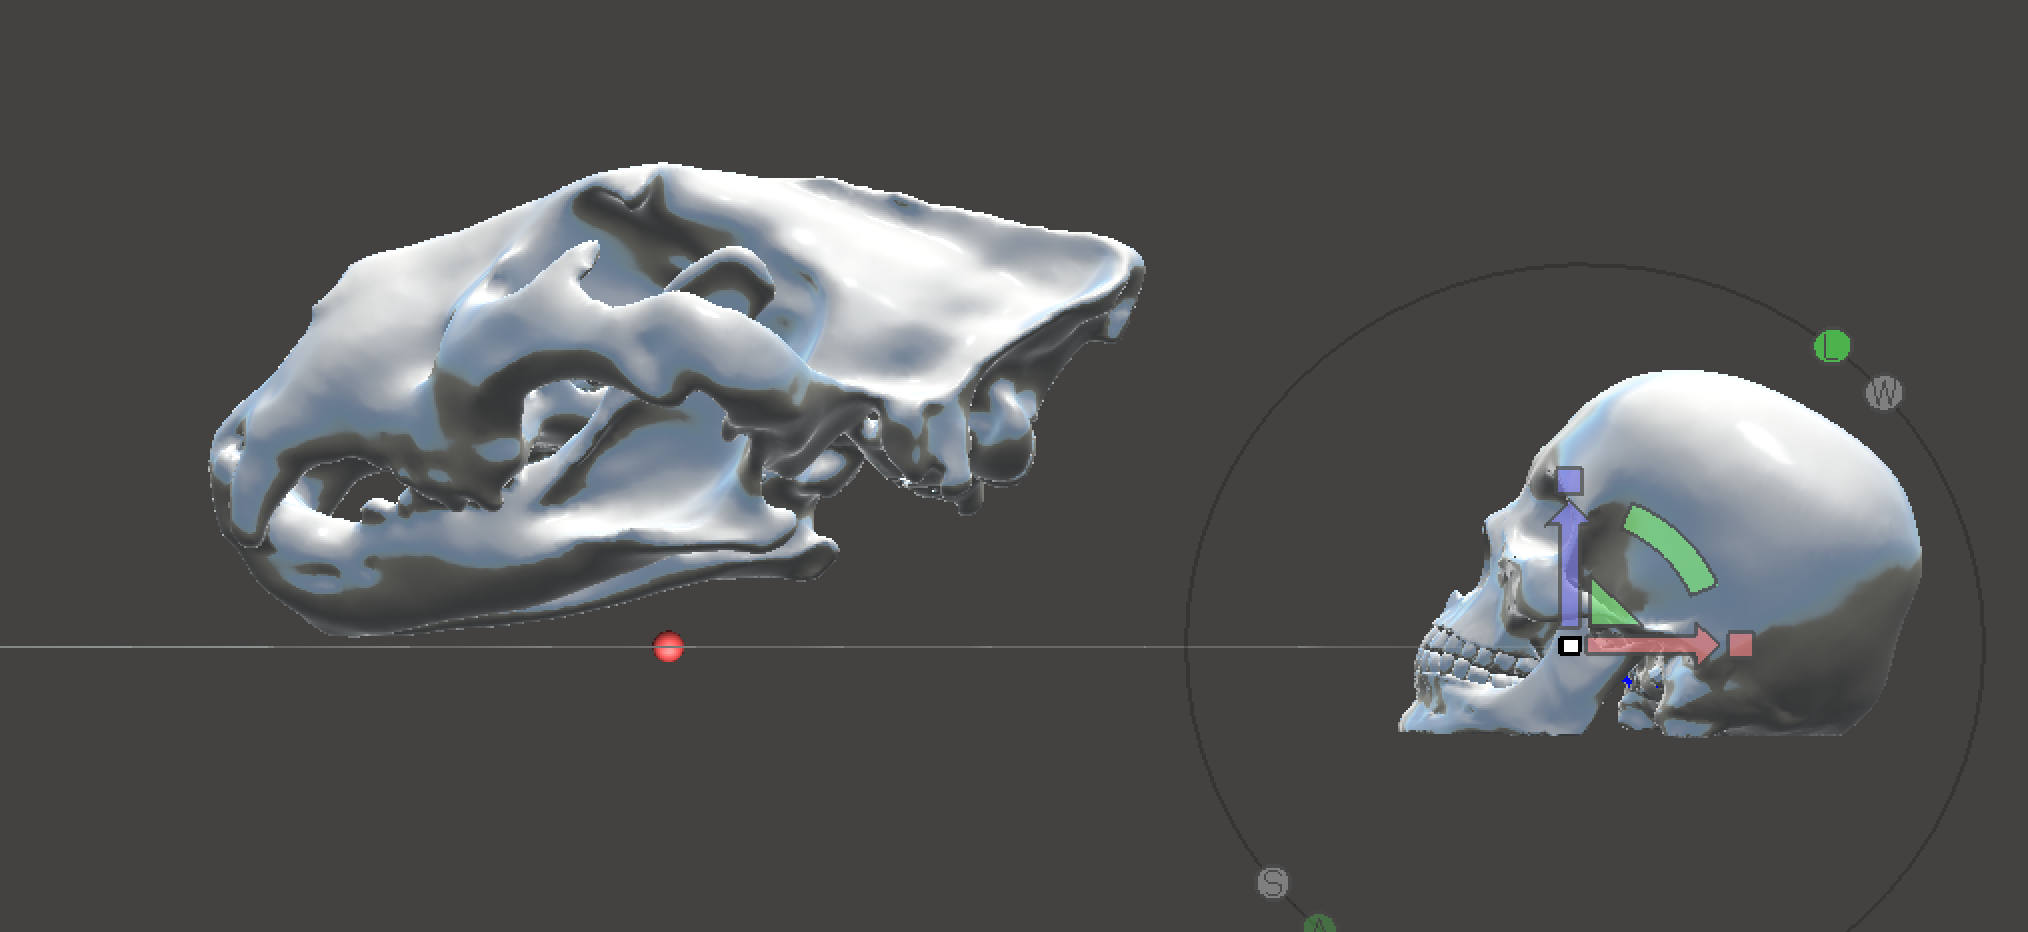
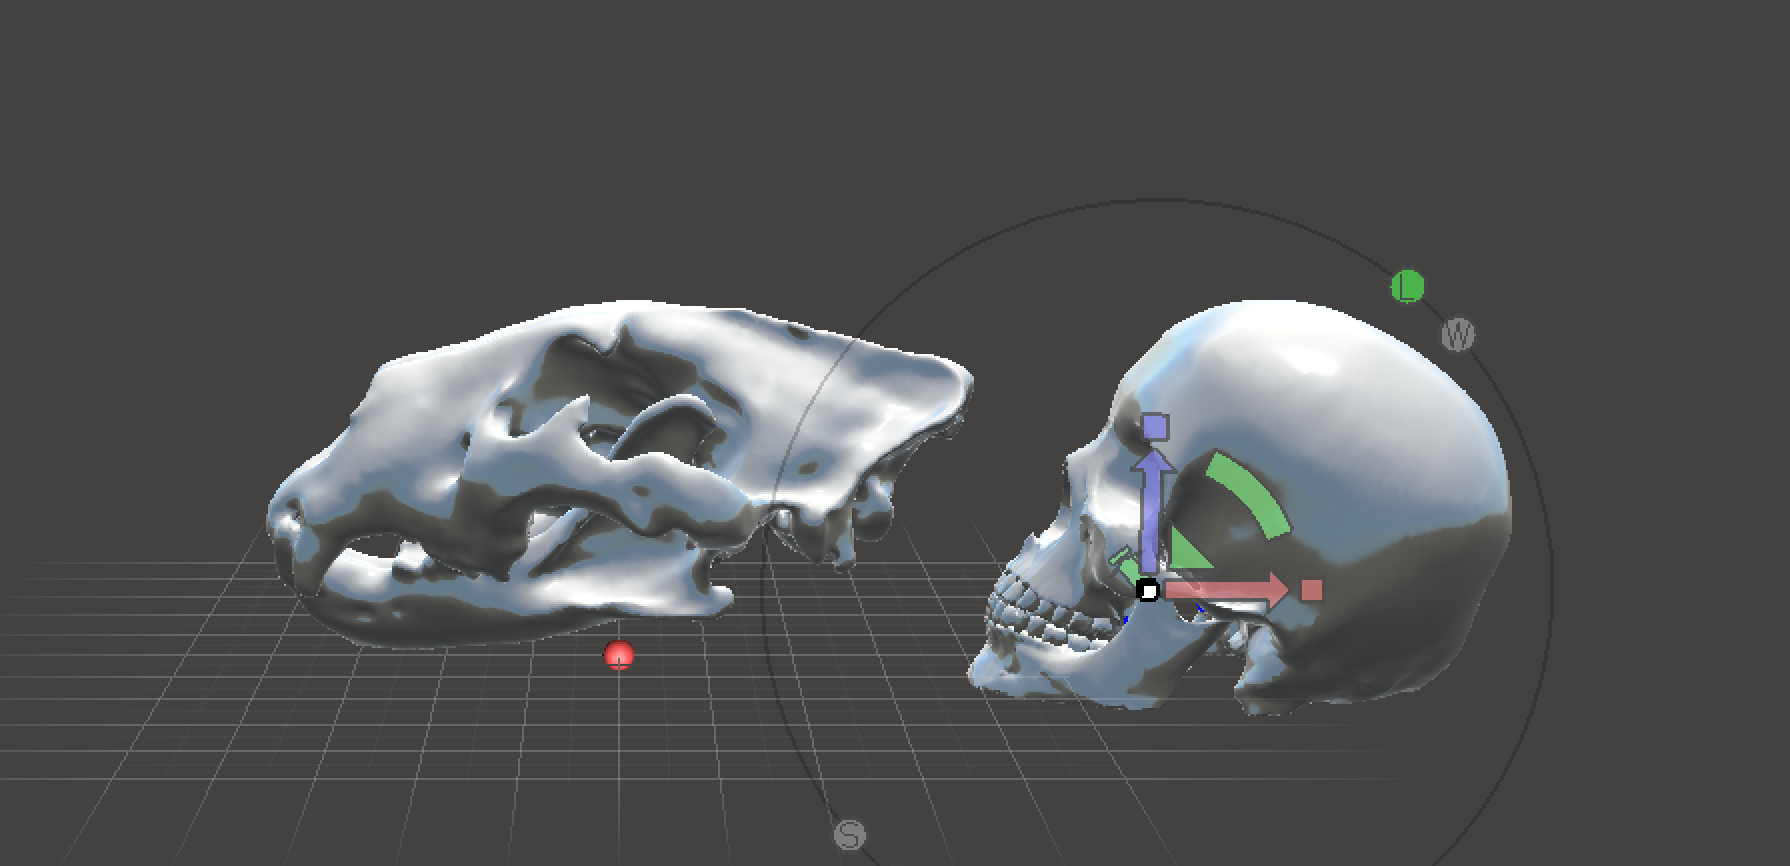
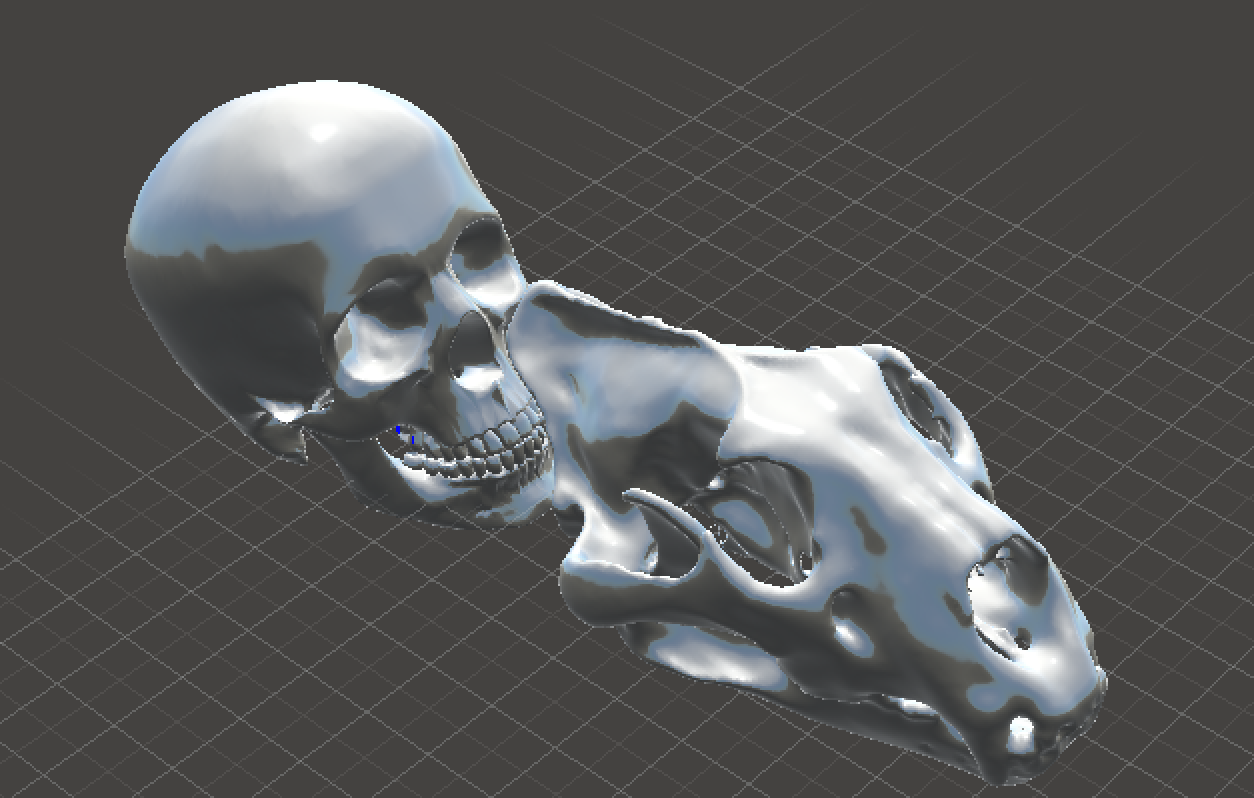
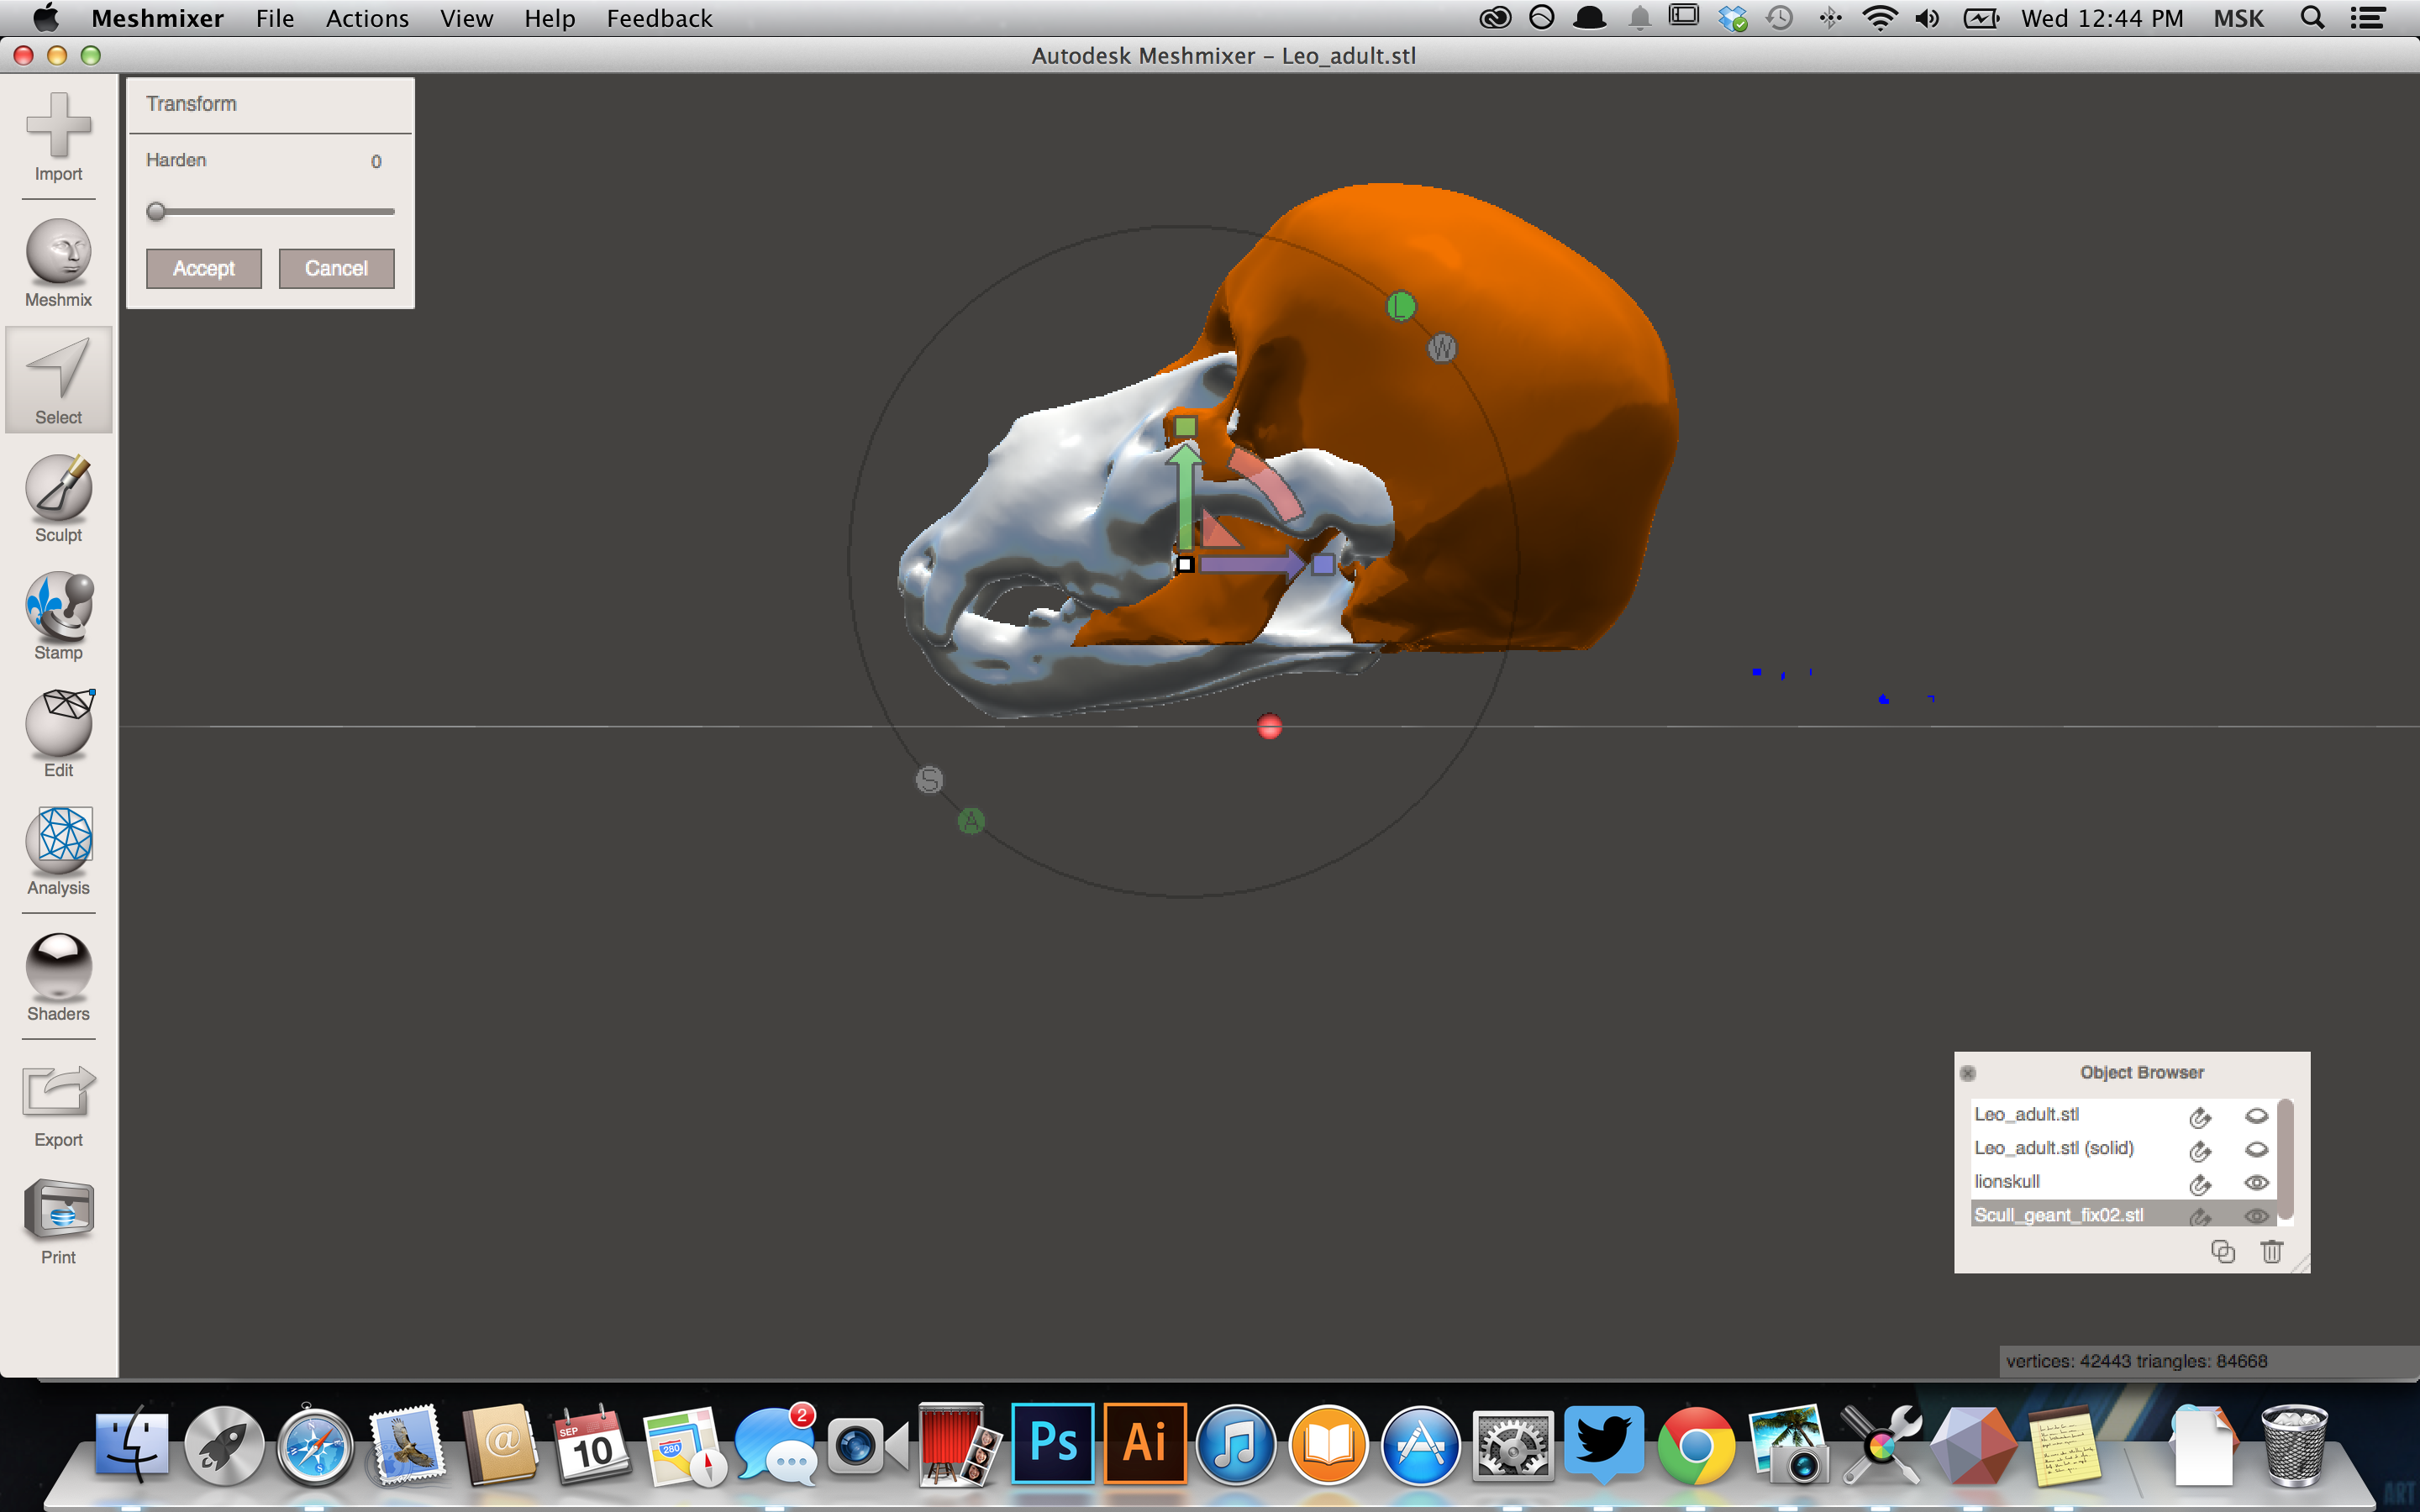
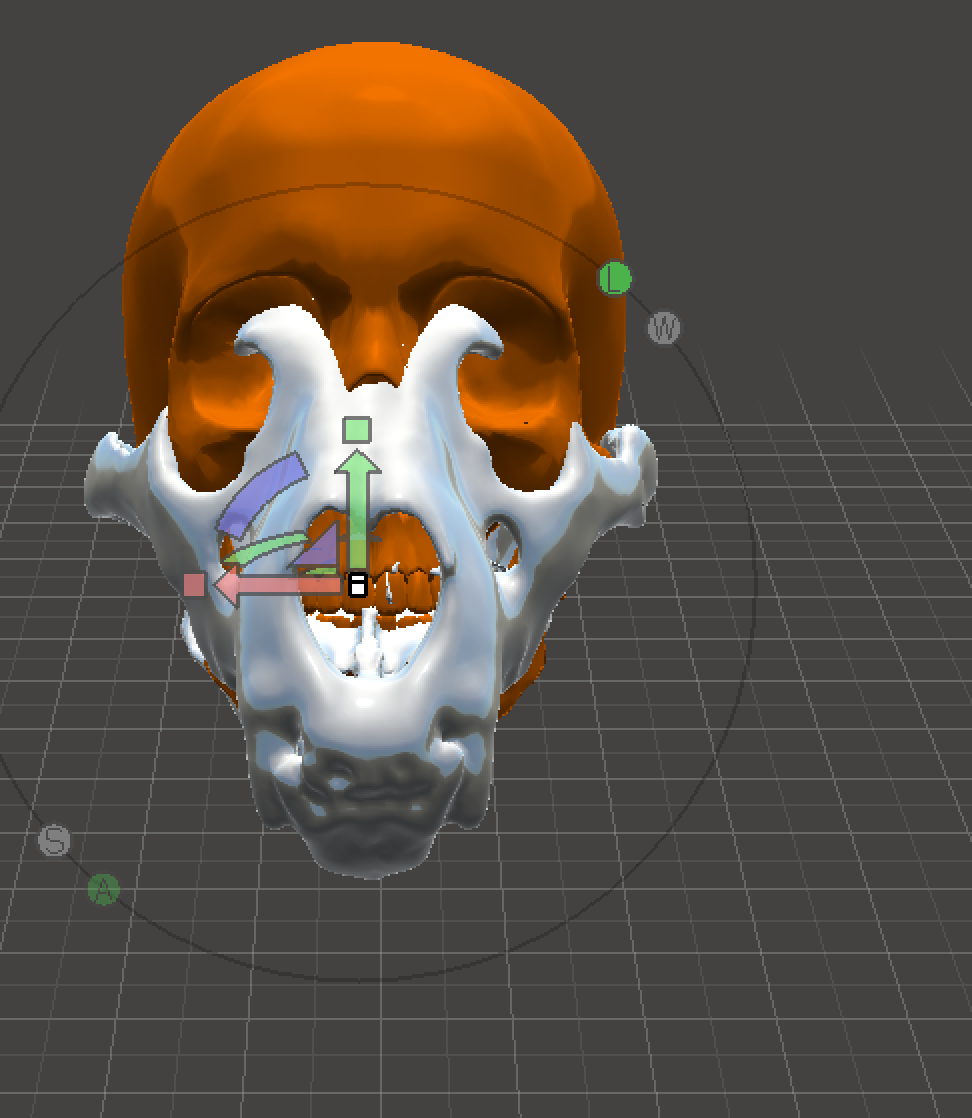
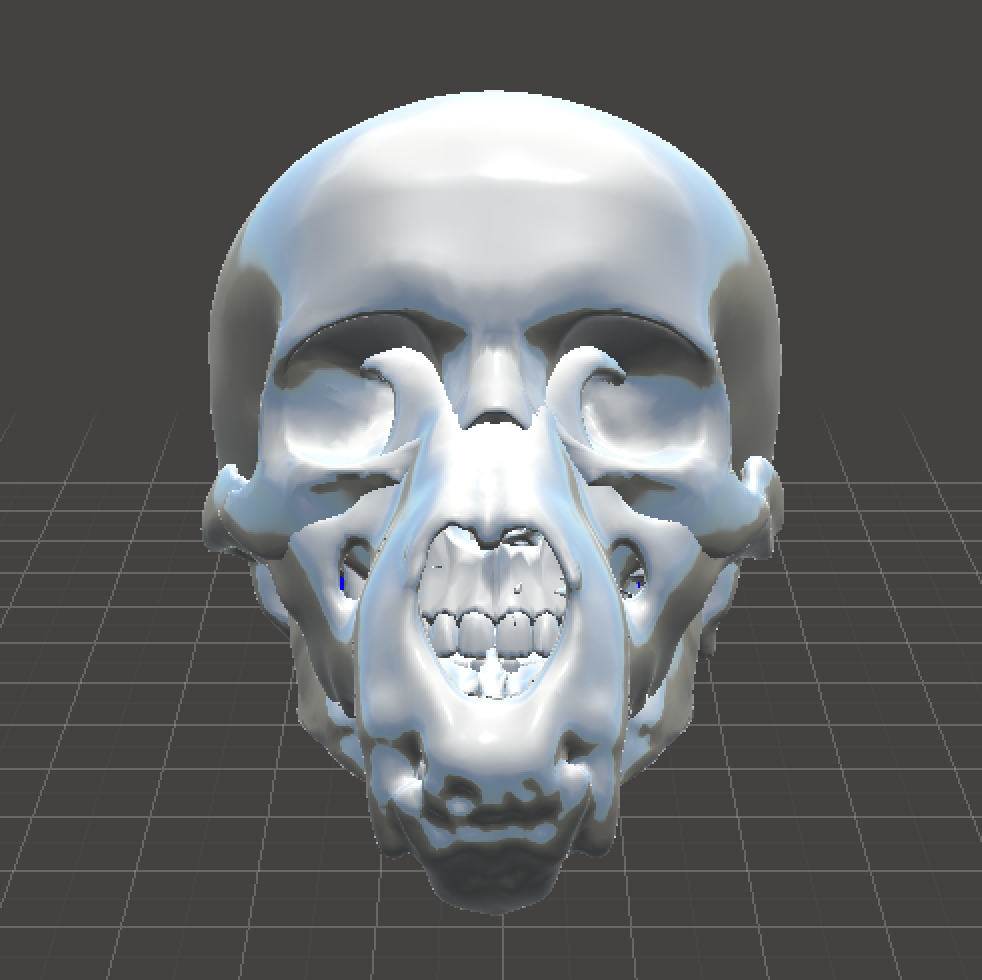
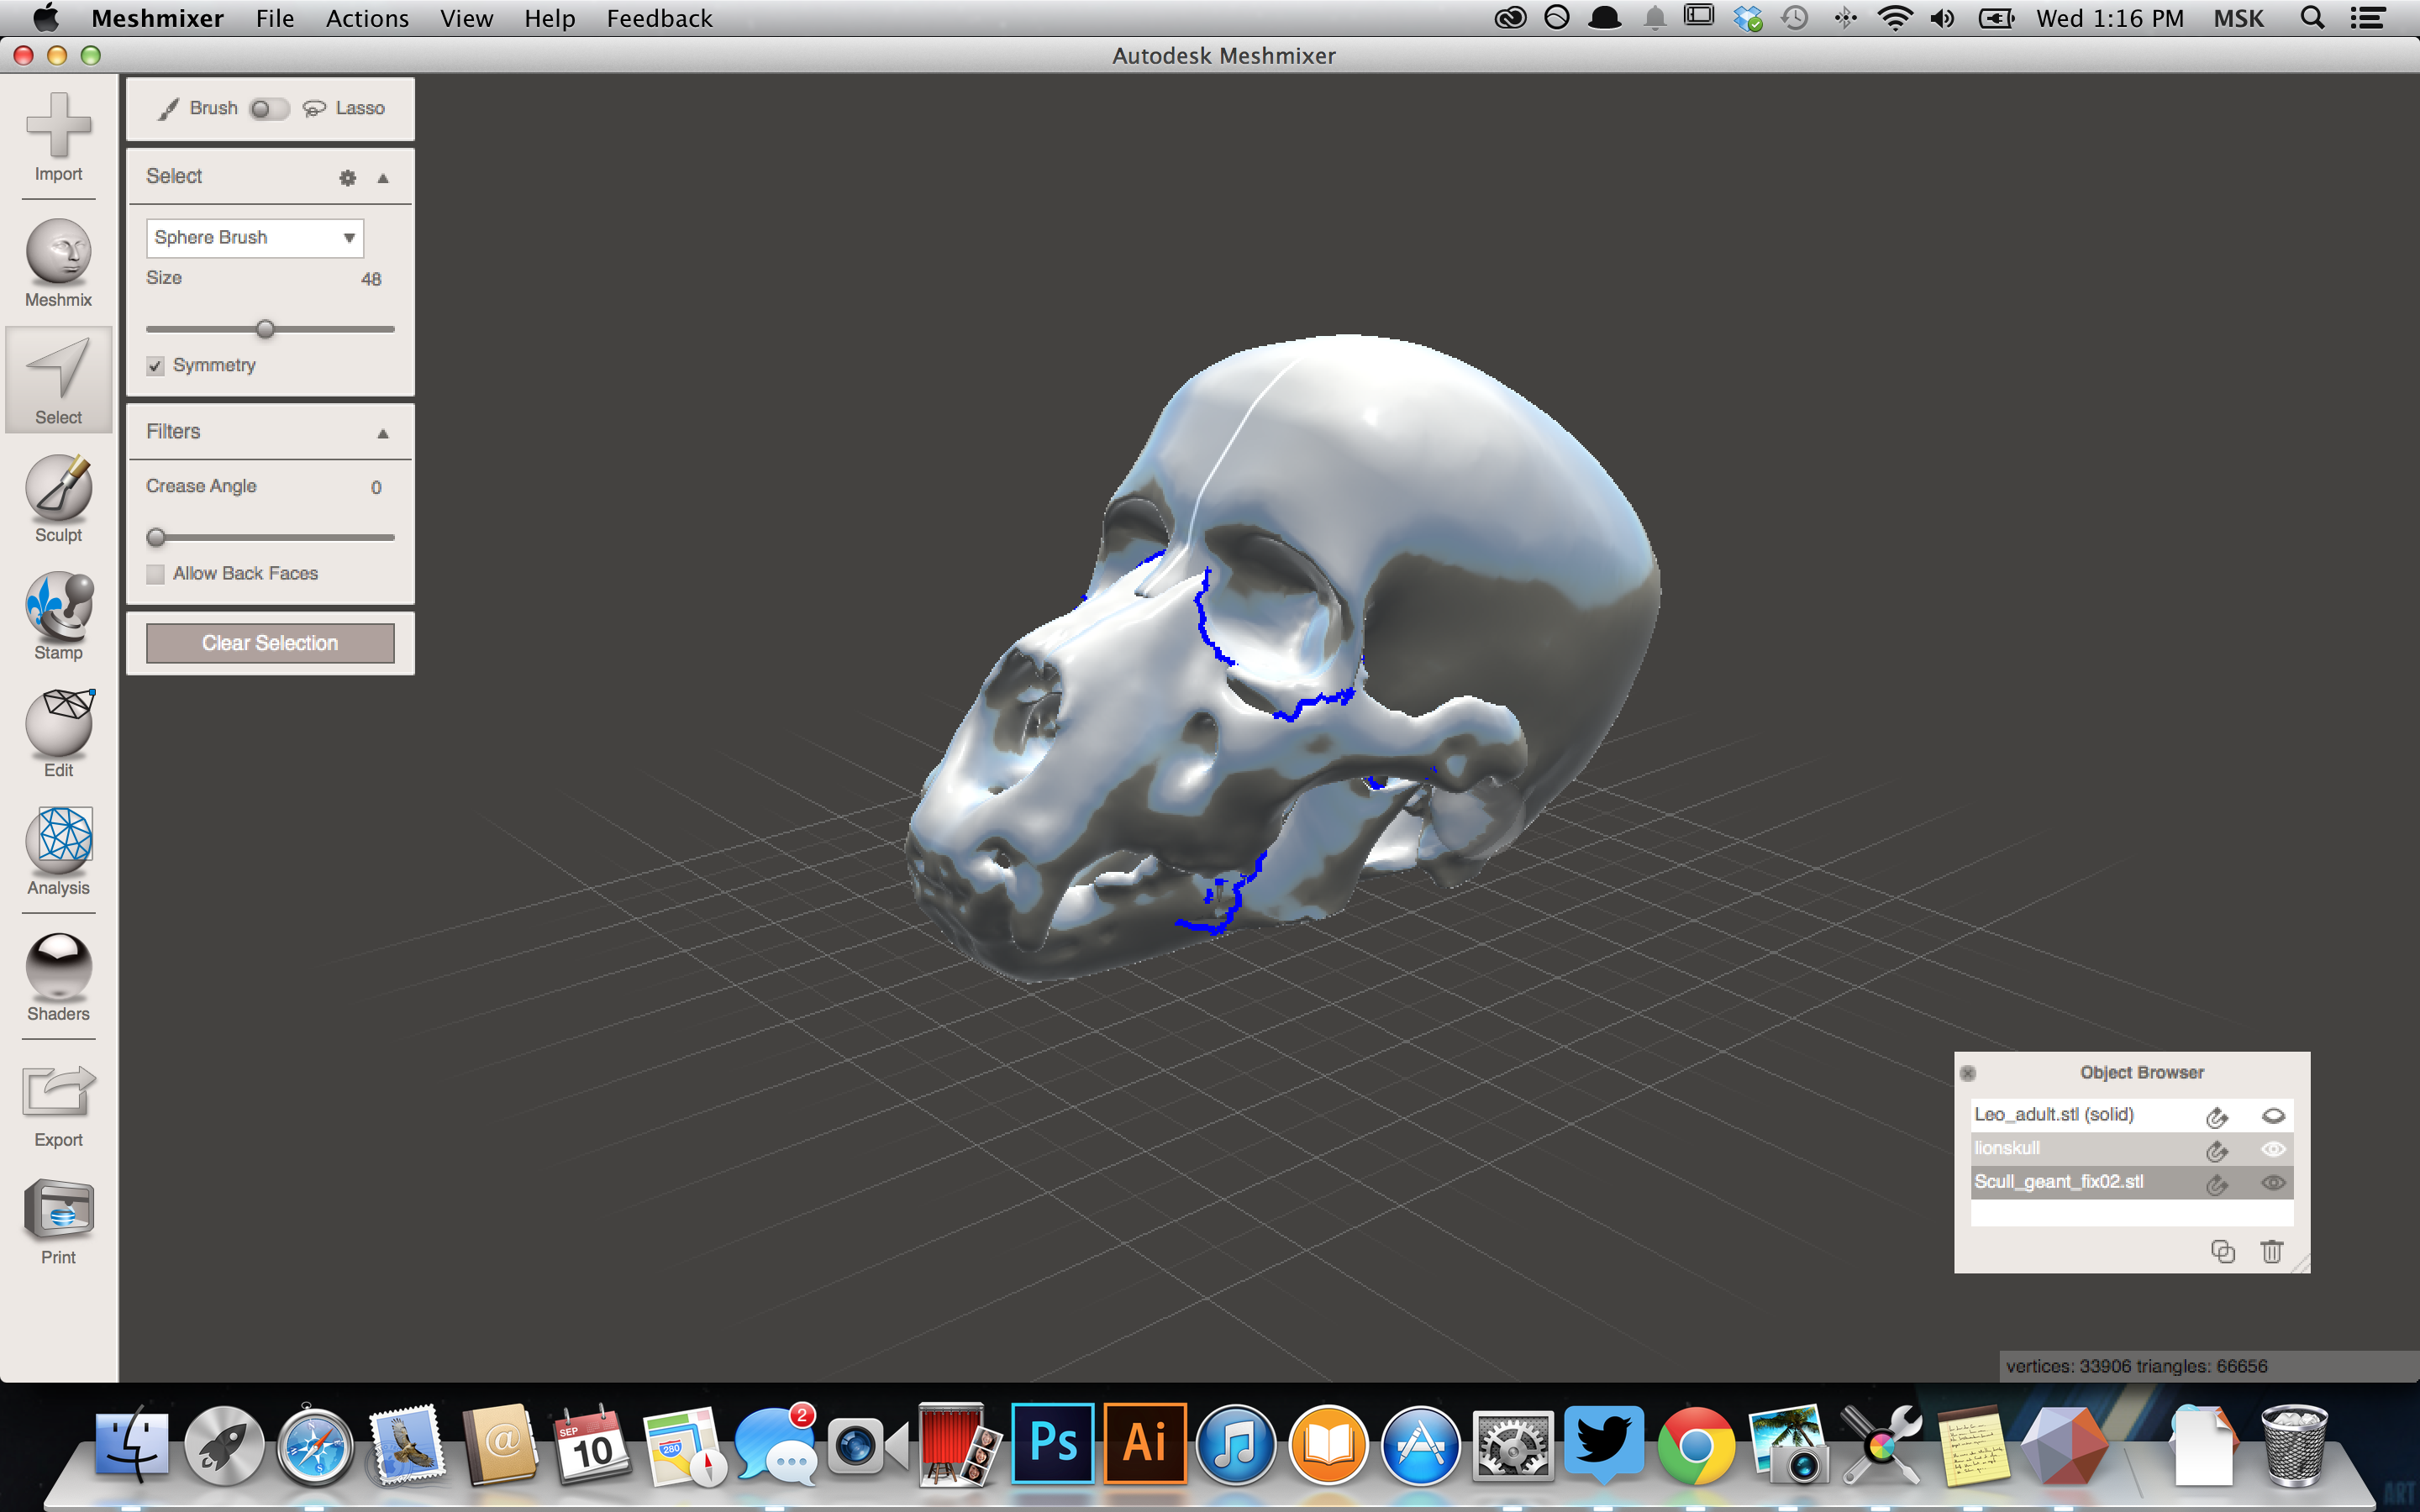
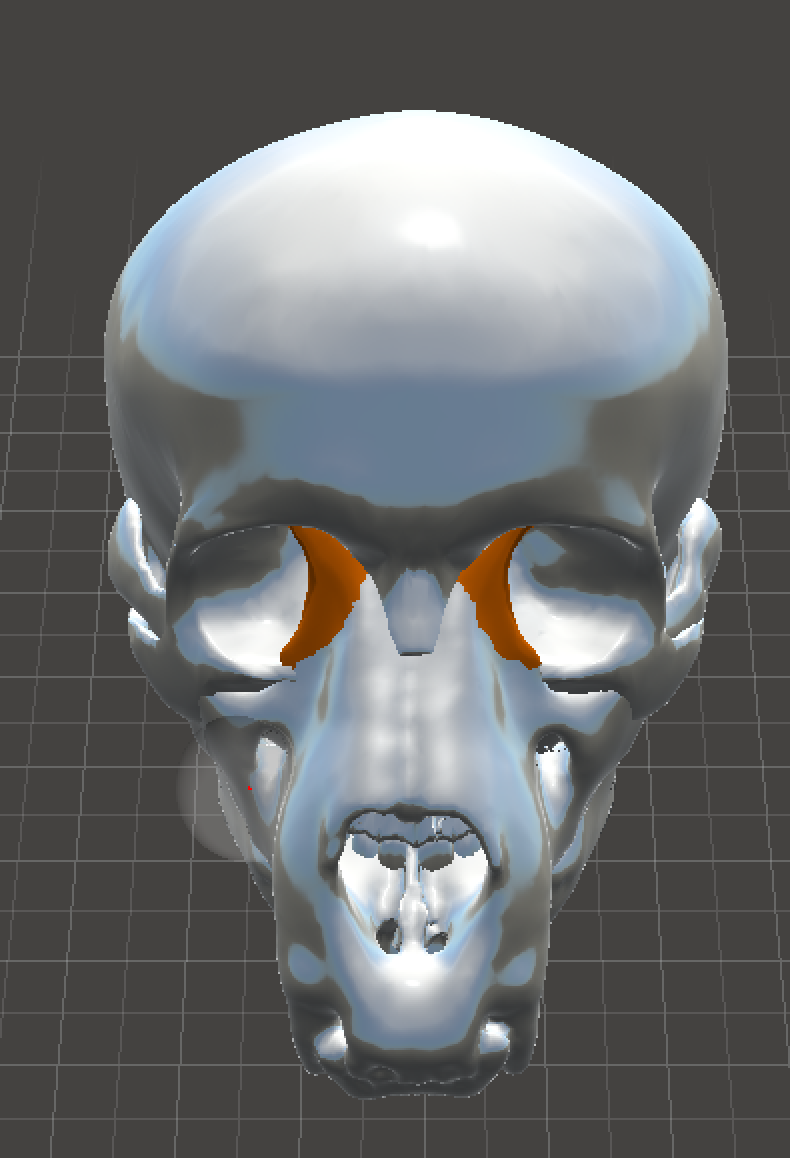
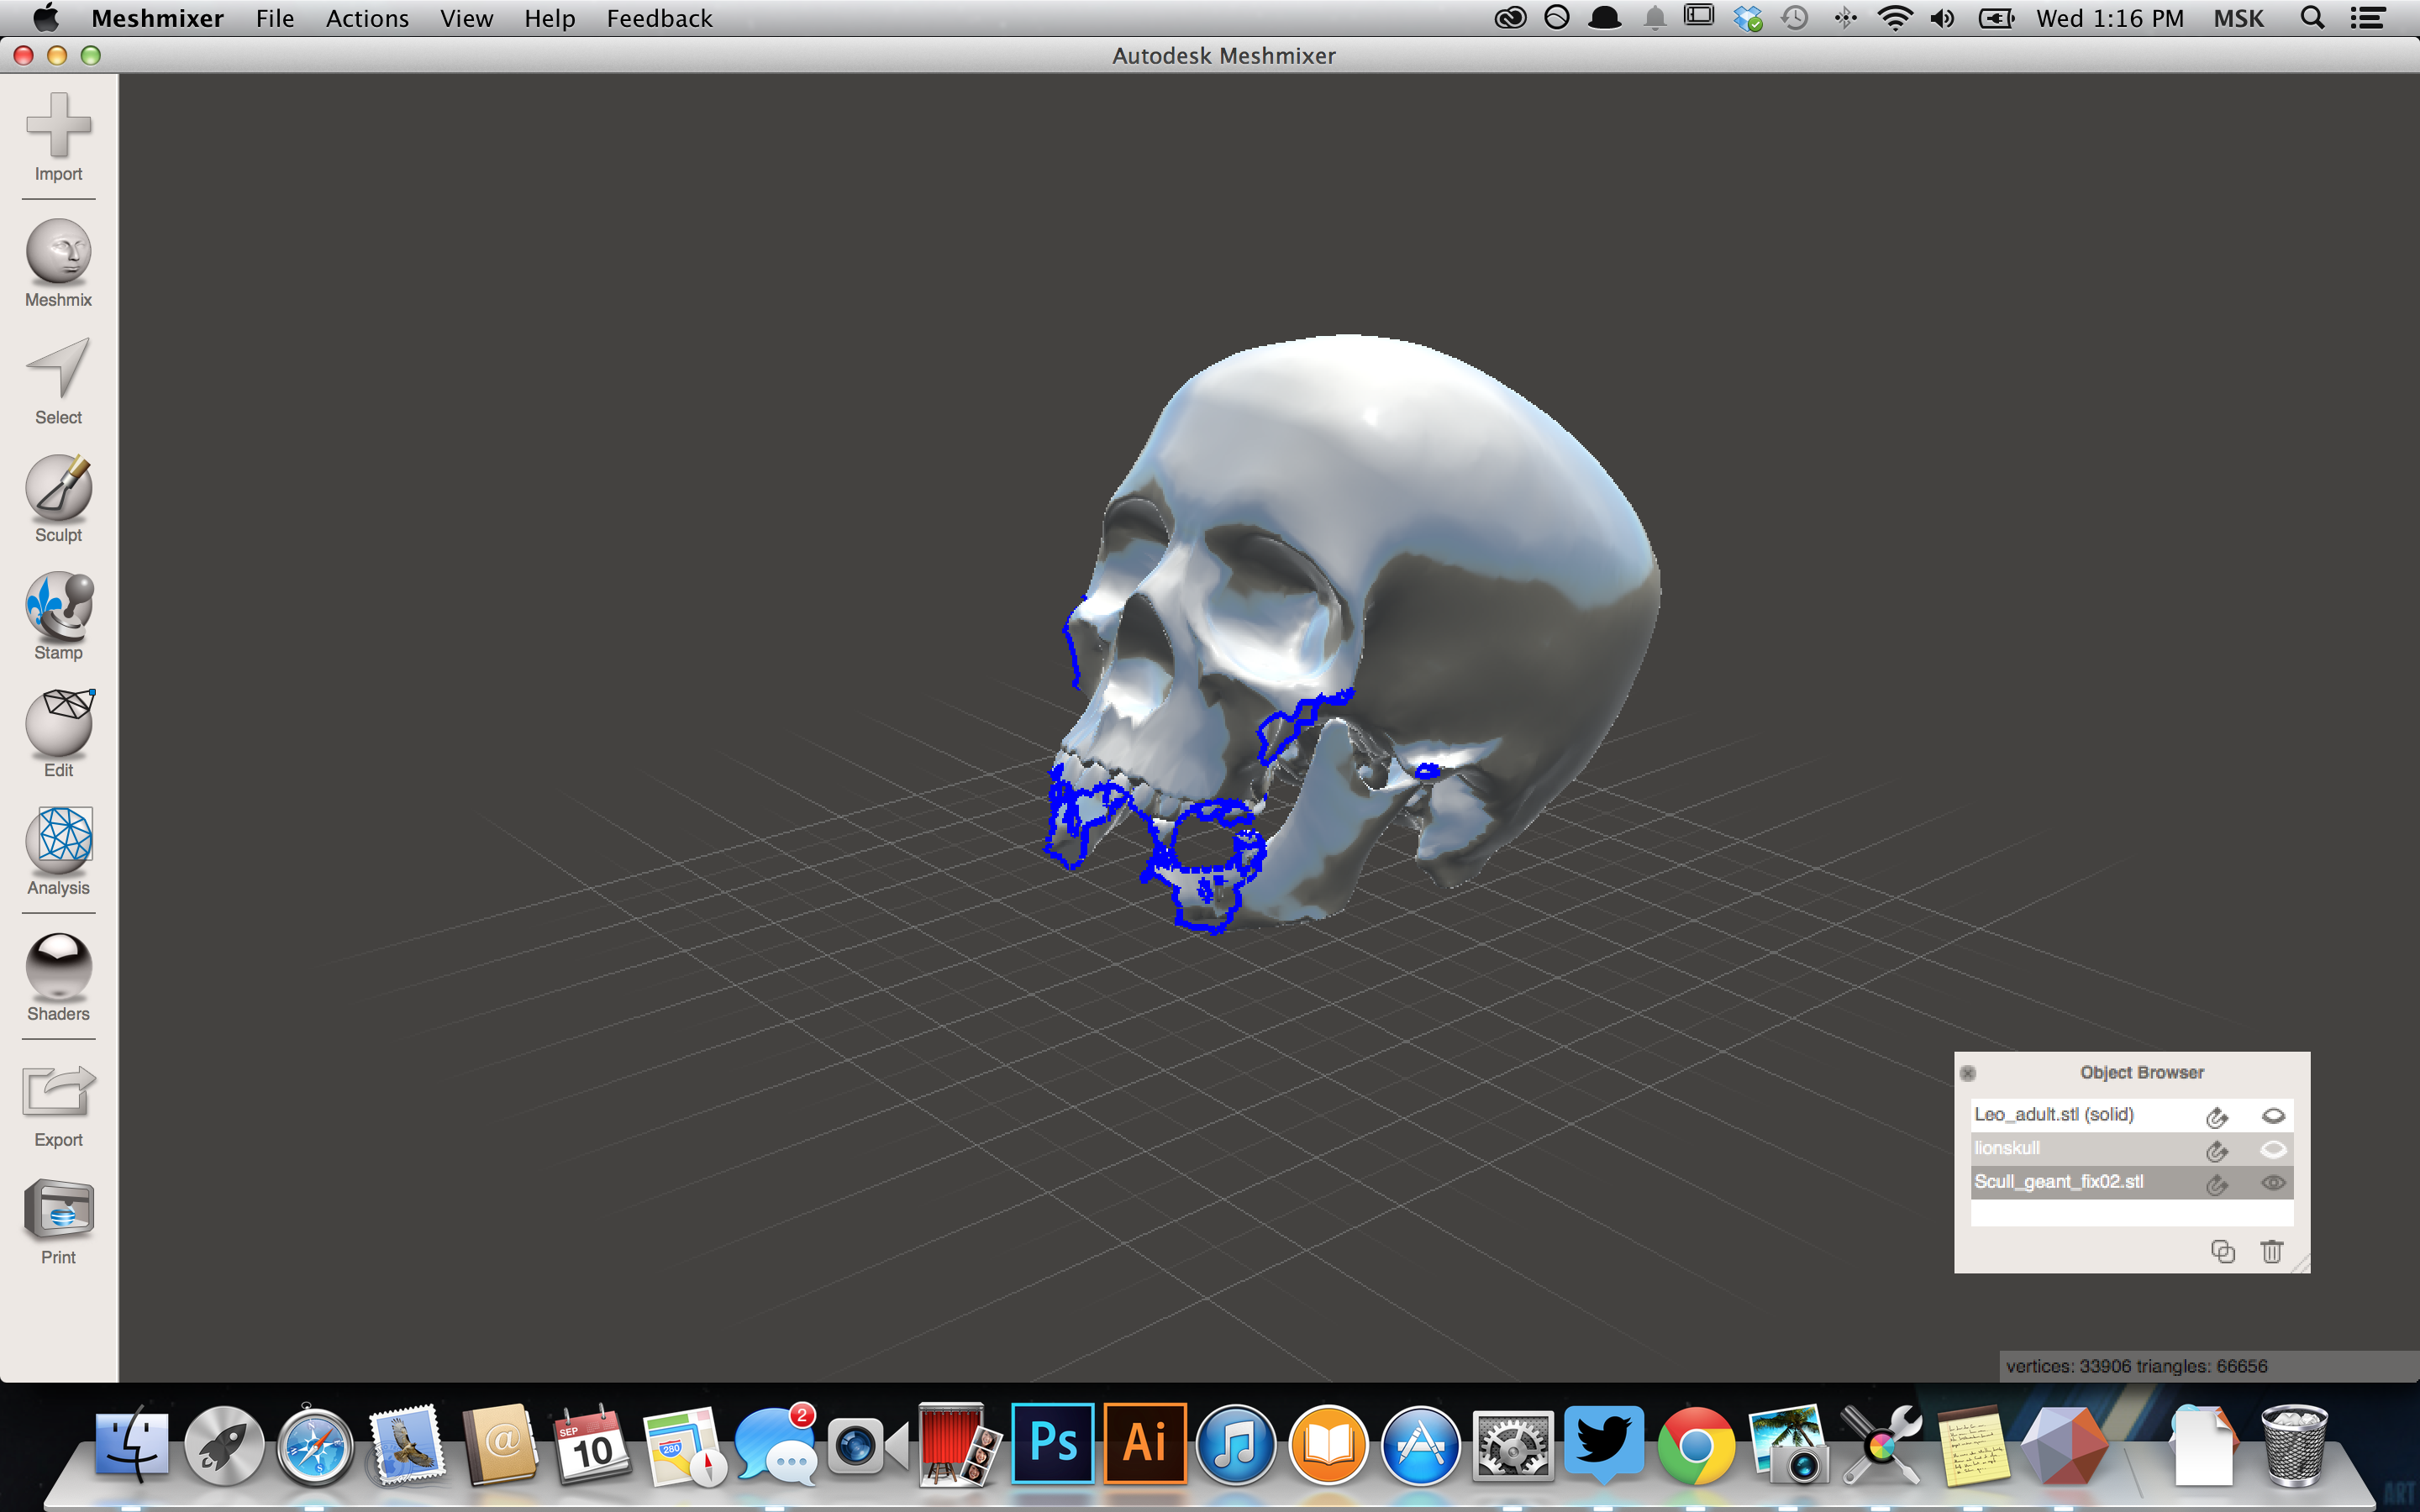
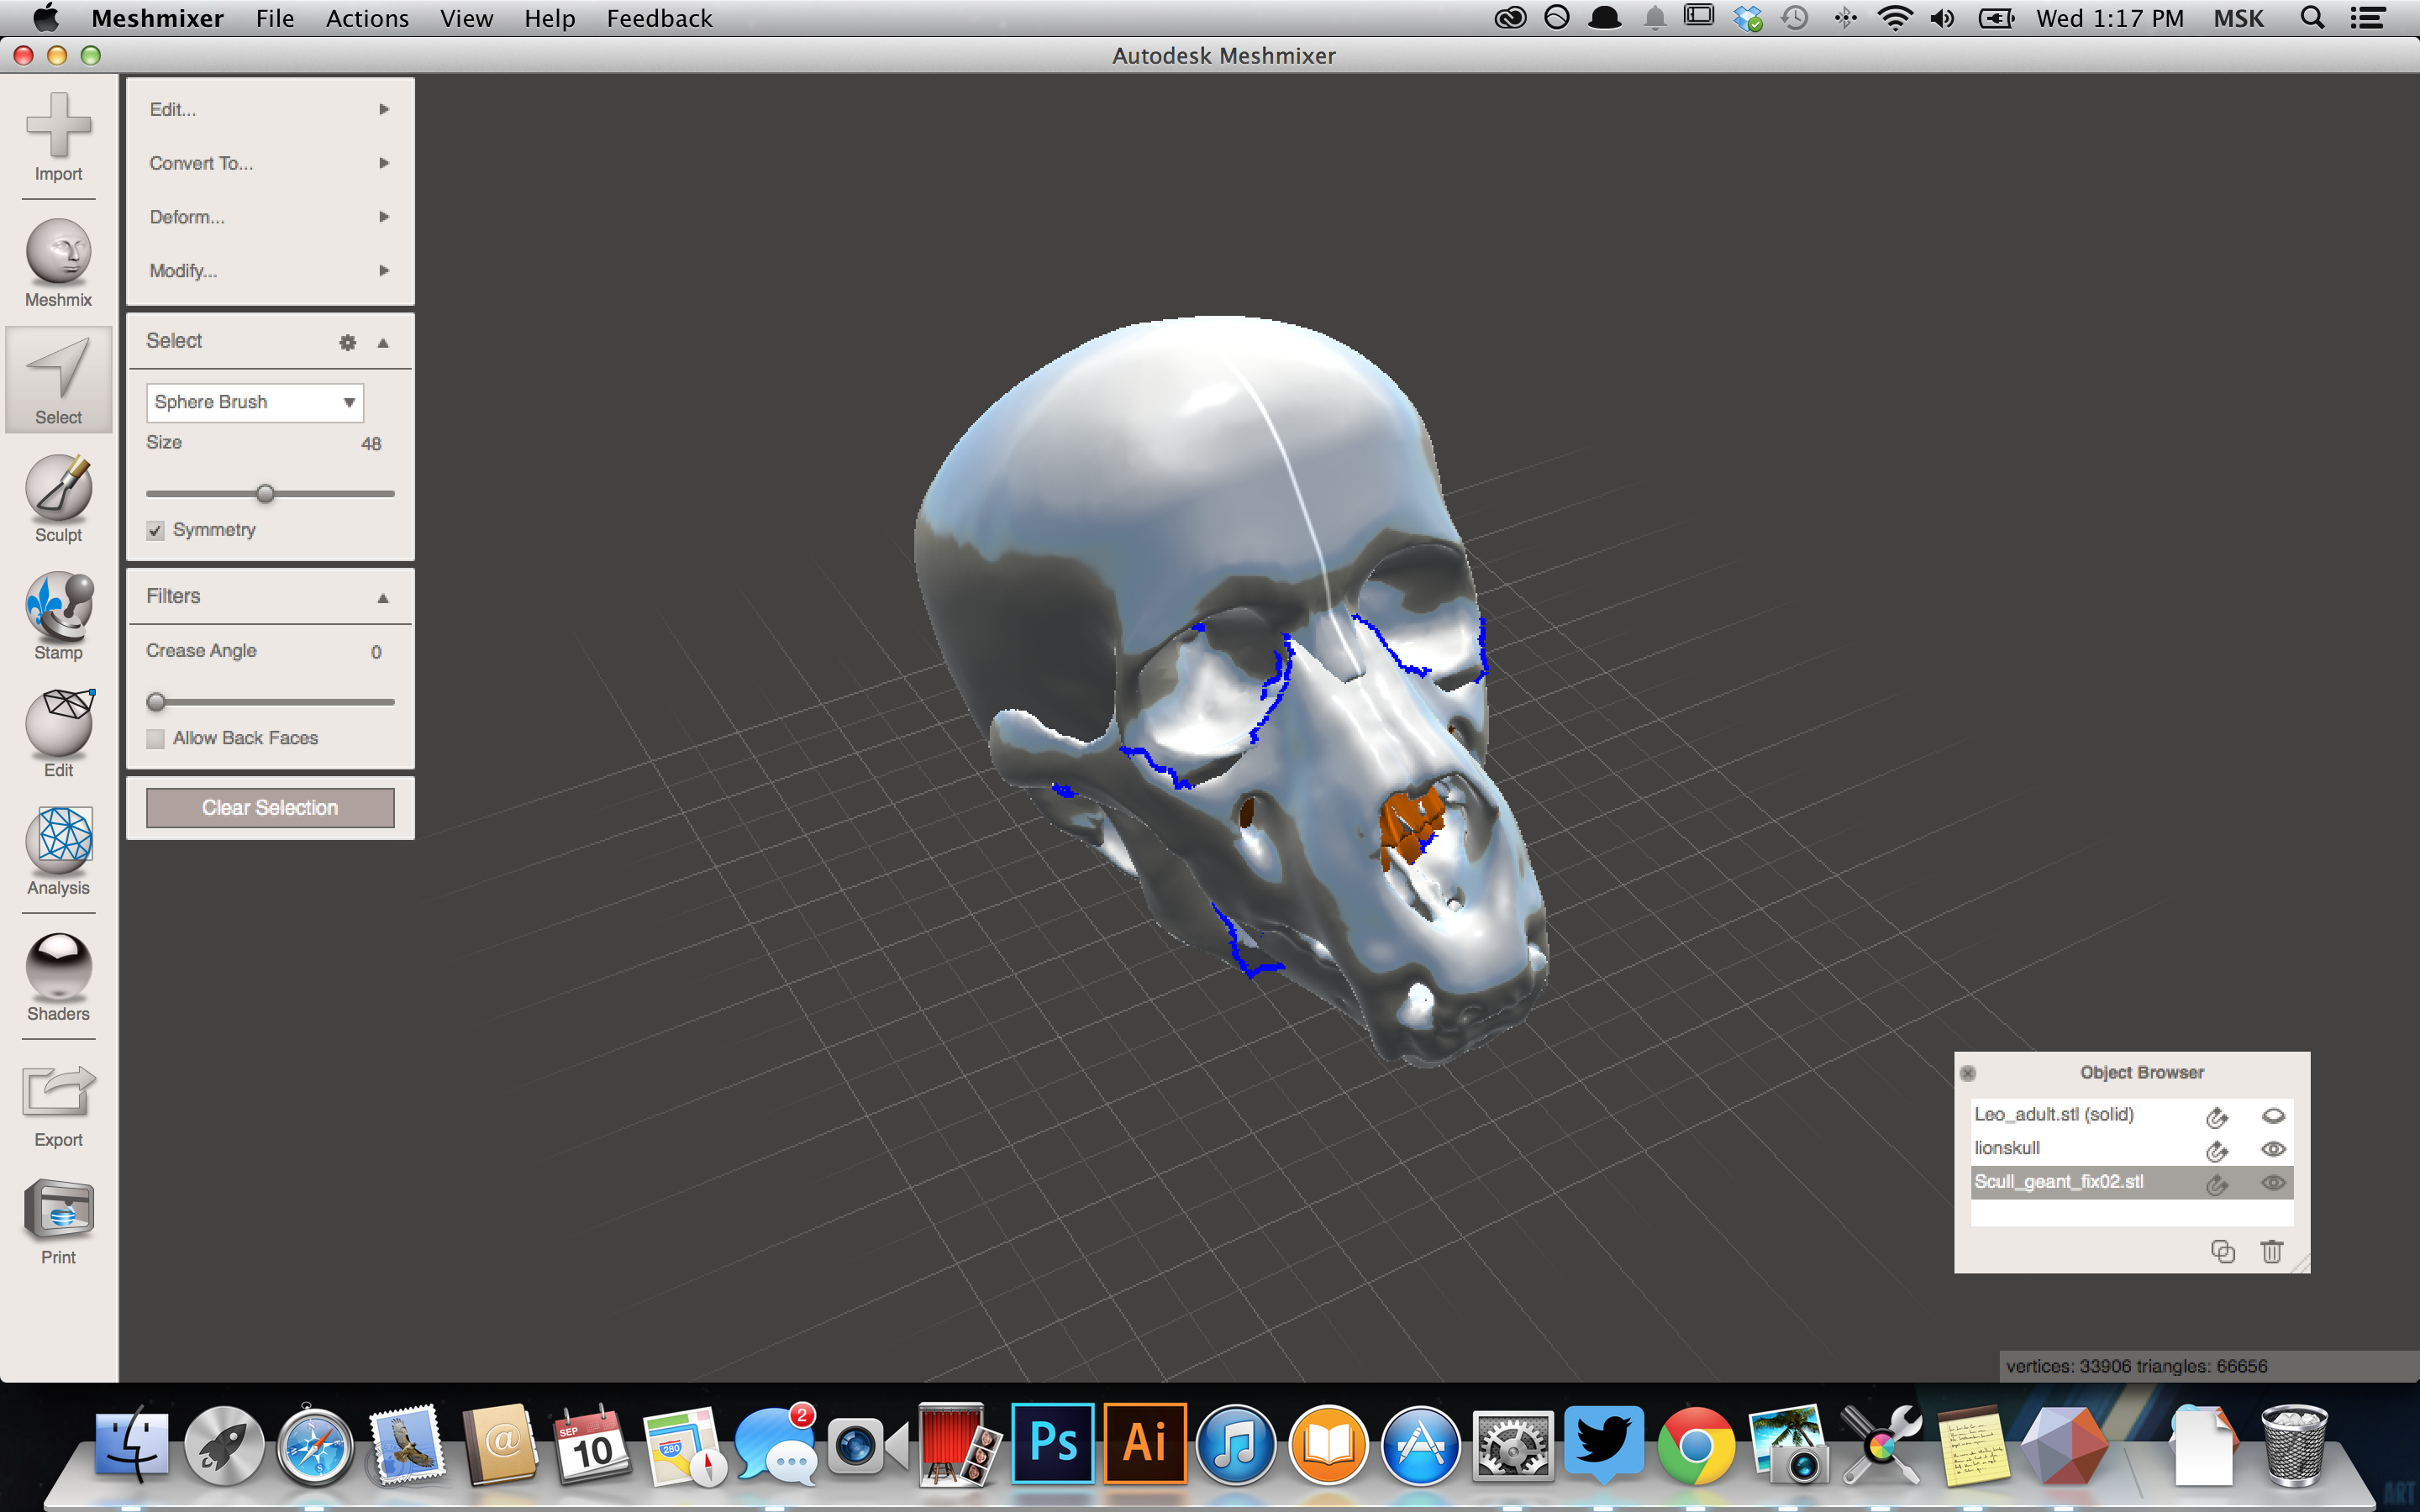
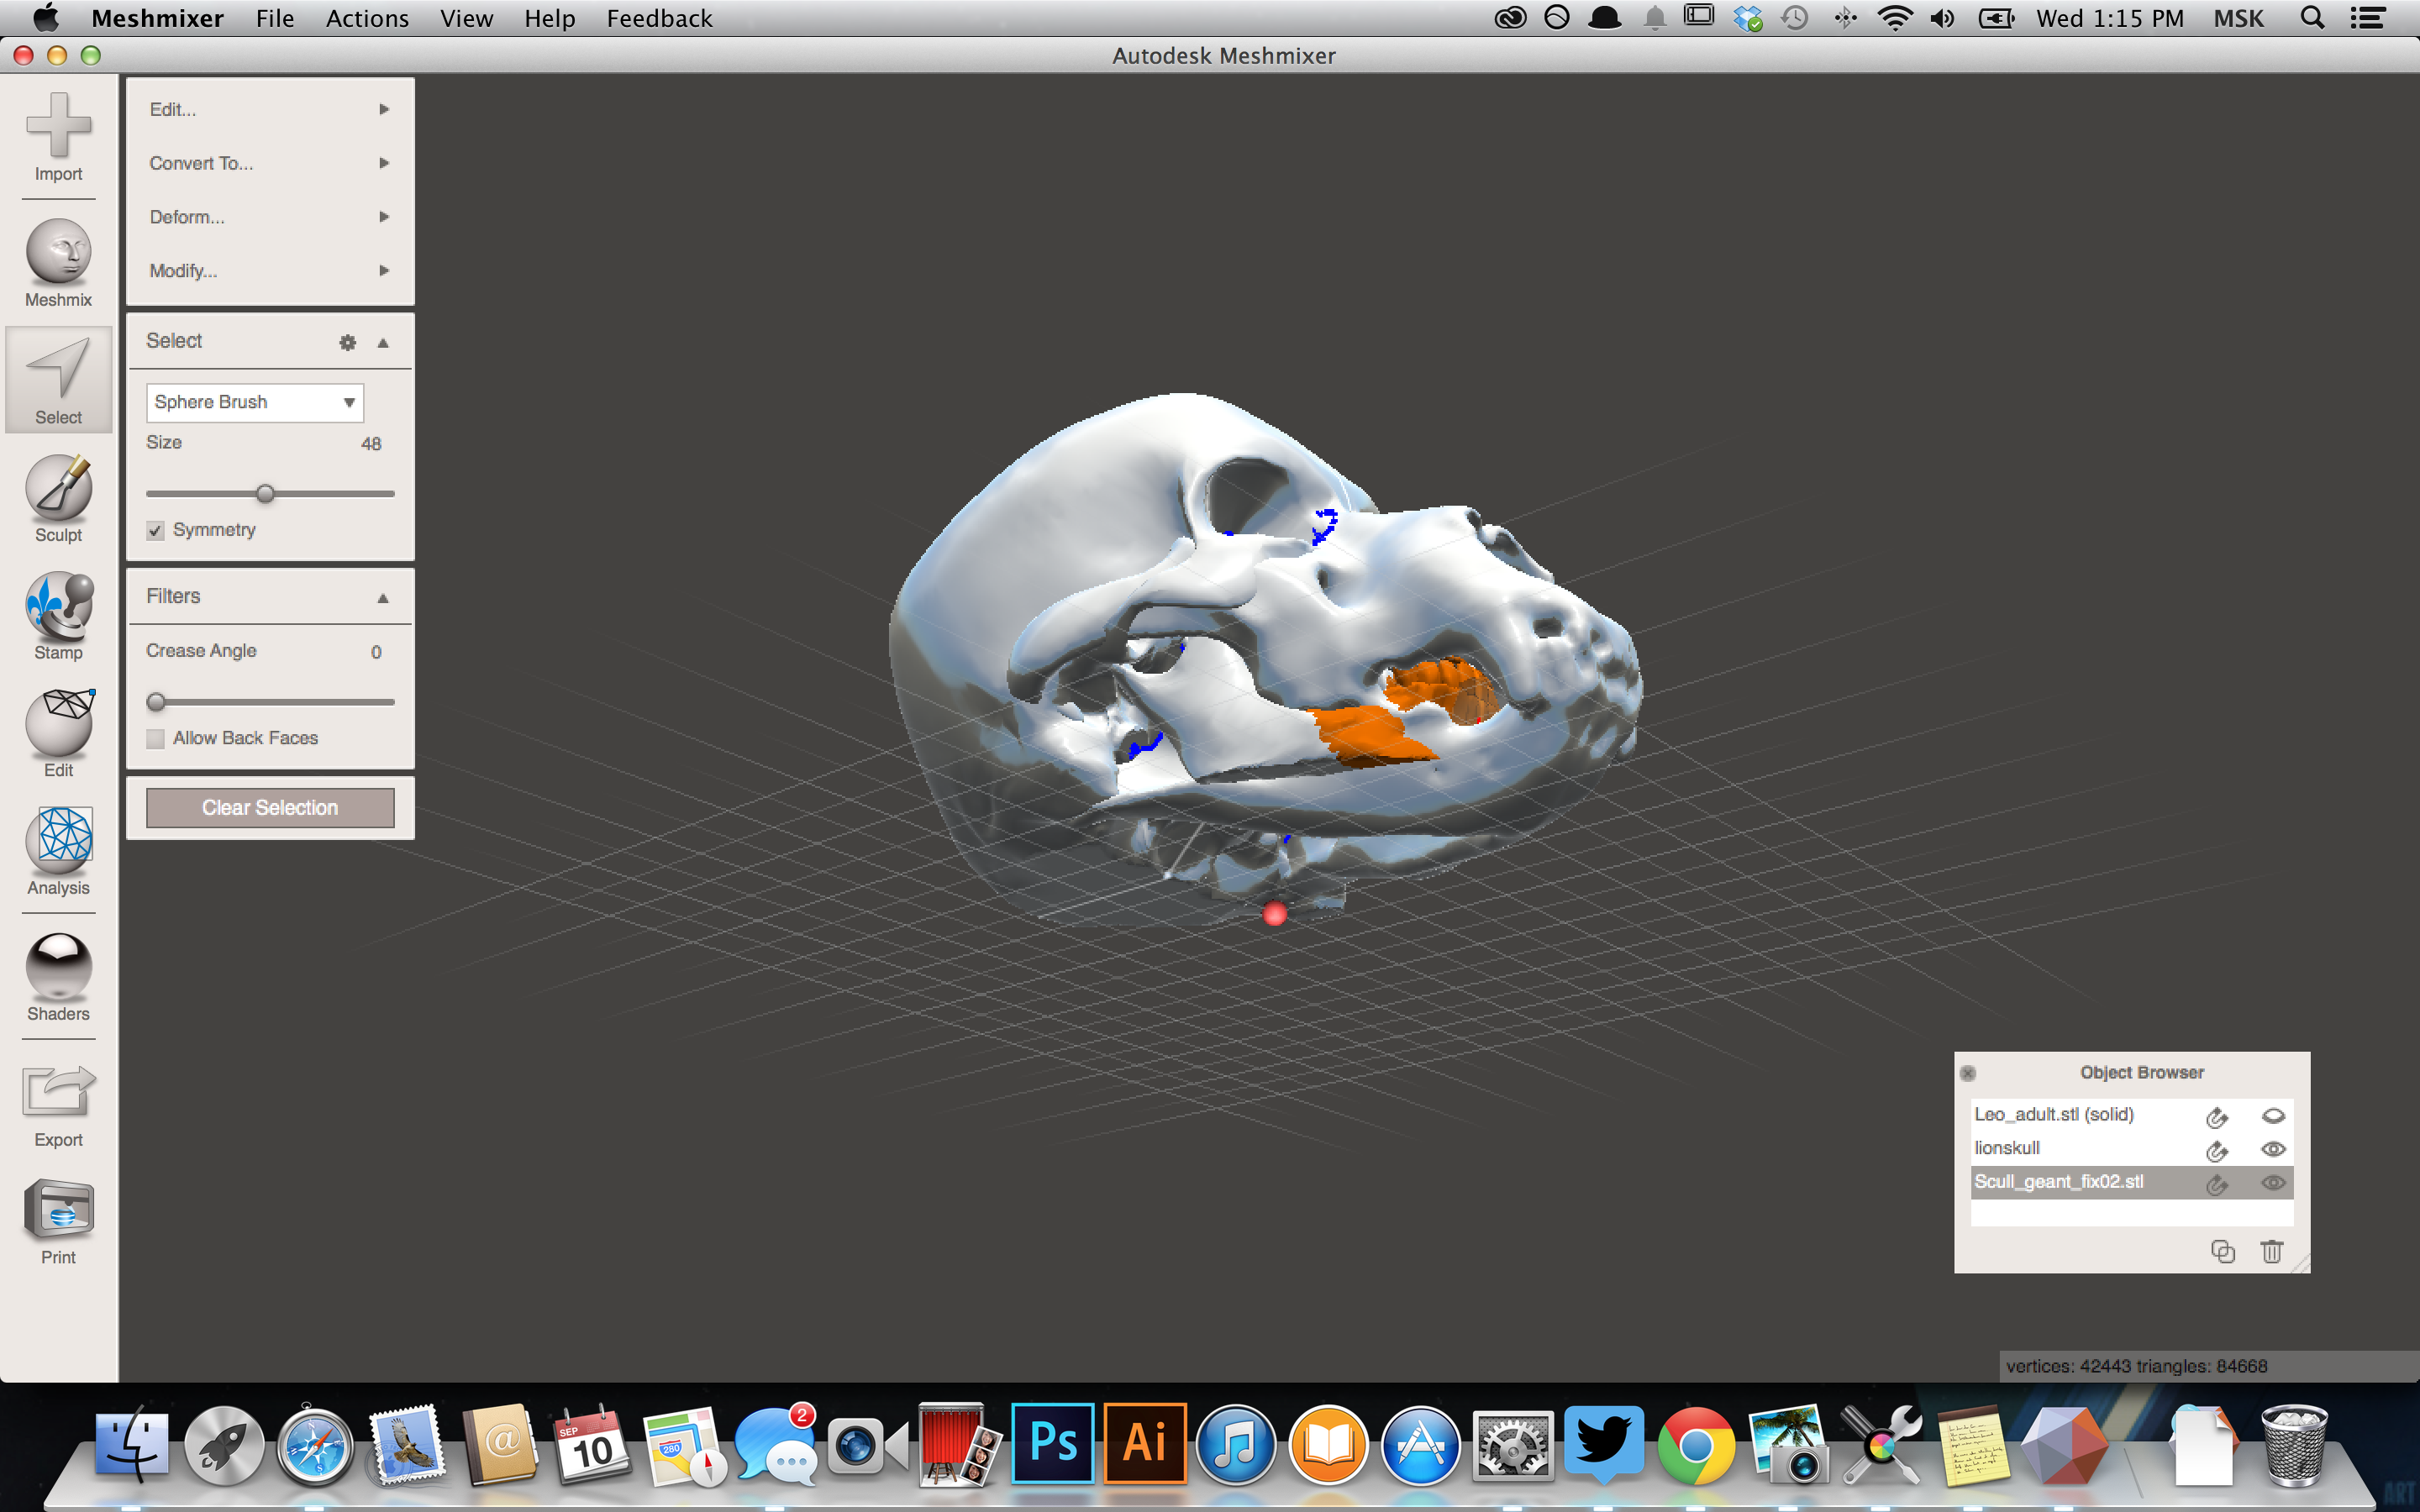
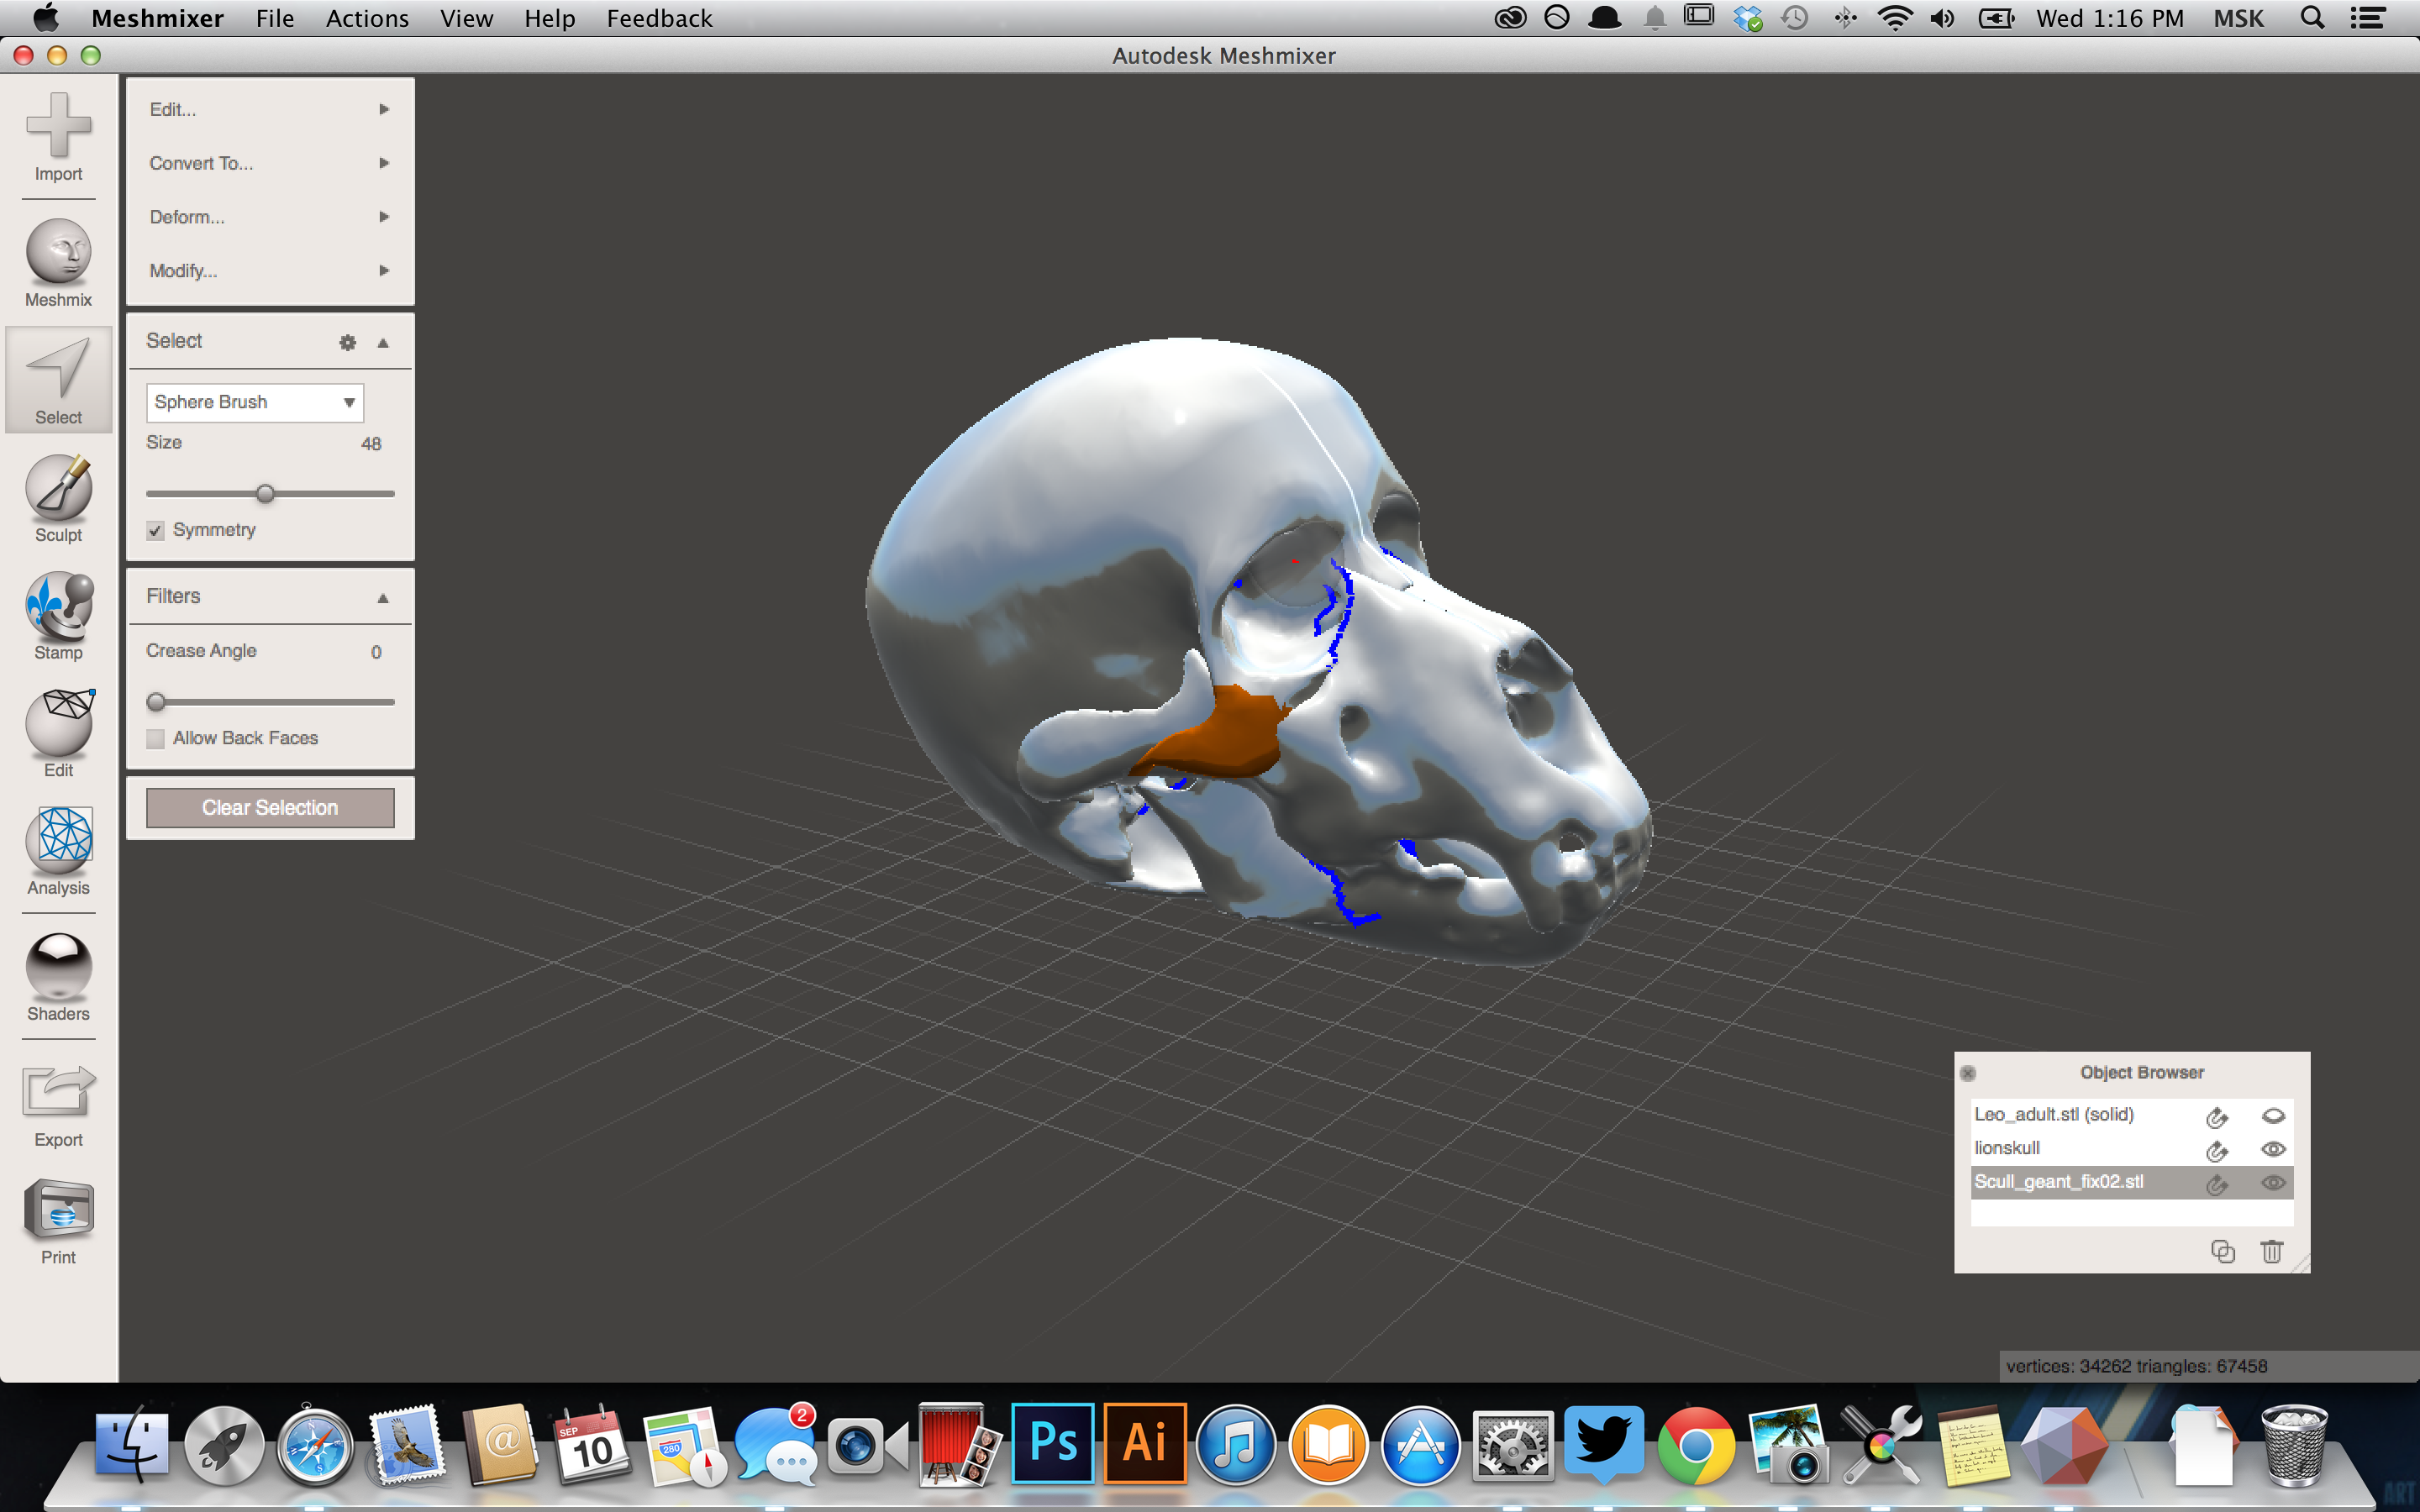
This is the fussiest part of the whole process, and the one with the most personal options. First, allign your models- I prefer them to be alligned in a row front to back, but you can do side to side if you prefer. When you're looking at their lateral allignment, look at the jaw line instead of the eye line.
First, get them approximately the size you want. Then, move one to intersect with the other to see how they look, and adjust the size as needed.
Once you have them the same size, I suggest widening the human skull a bit.
Keep playing with orientation, height, and size until you have what you like.
Then, you're going to have to delete some parts of each. Use the brush select tool to select unwanted areas, and then edit>discard. It's good to click on and off views of each skull so you know which parts you want to keep and which to discard. You can see where I've done this in the eye sockets, 'cheek' bones and lower jaw in the photos- orange marks selected faces.
Once you get to an approximate point, select all and edit>make solid part. You might have to do this a couple times- I don't know why, it's either a quirk of MeshMixer or..whatever.
Sculpt and Smooth
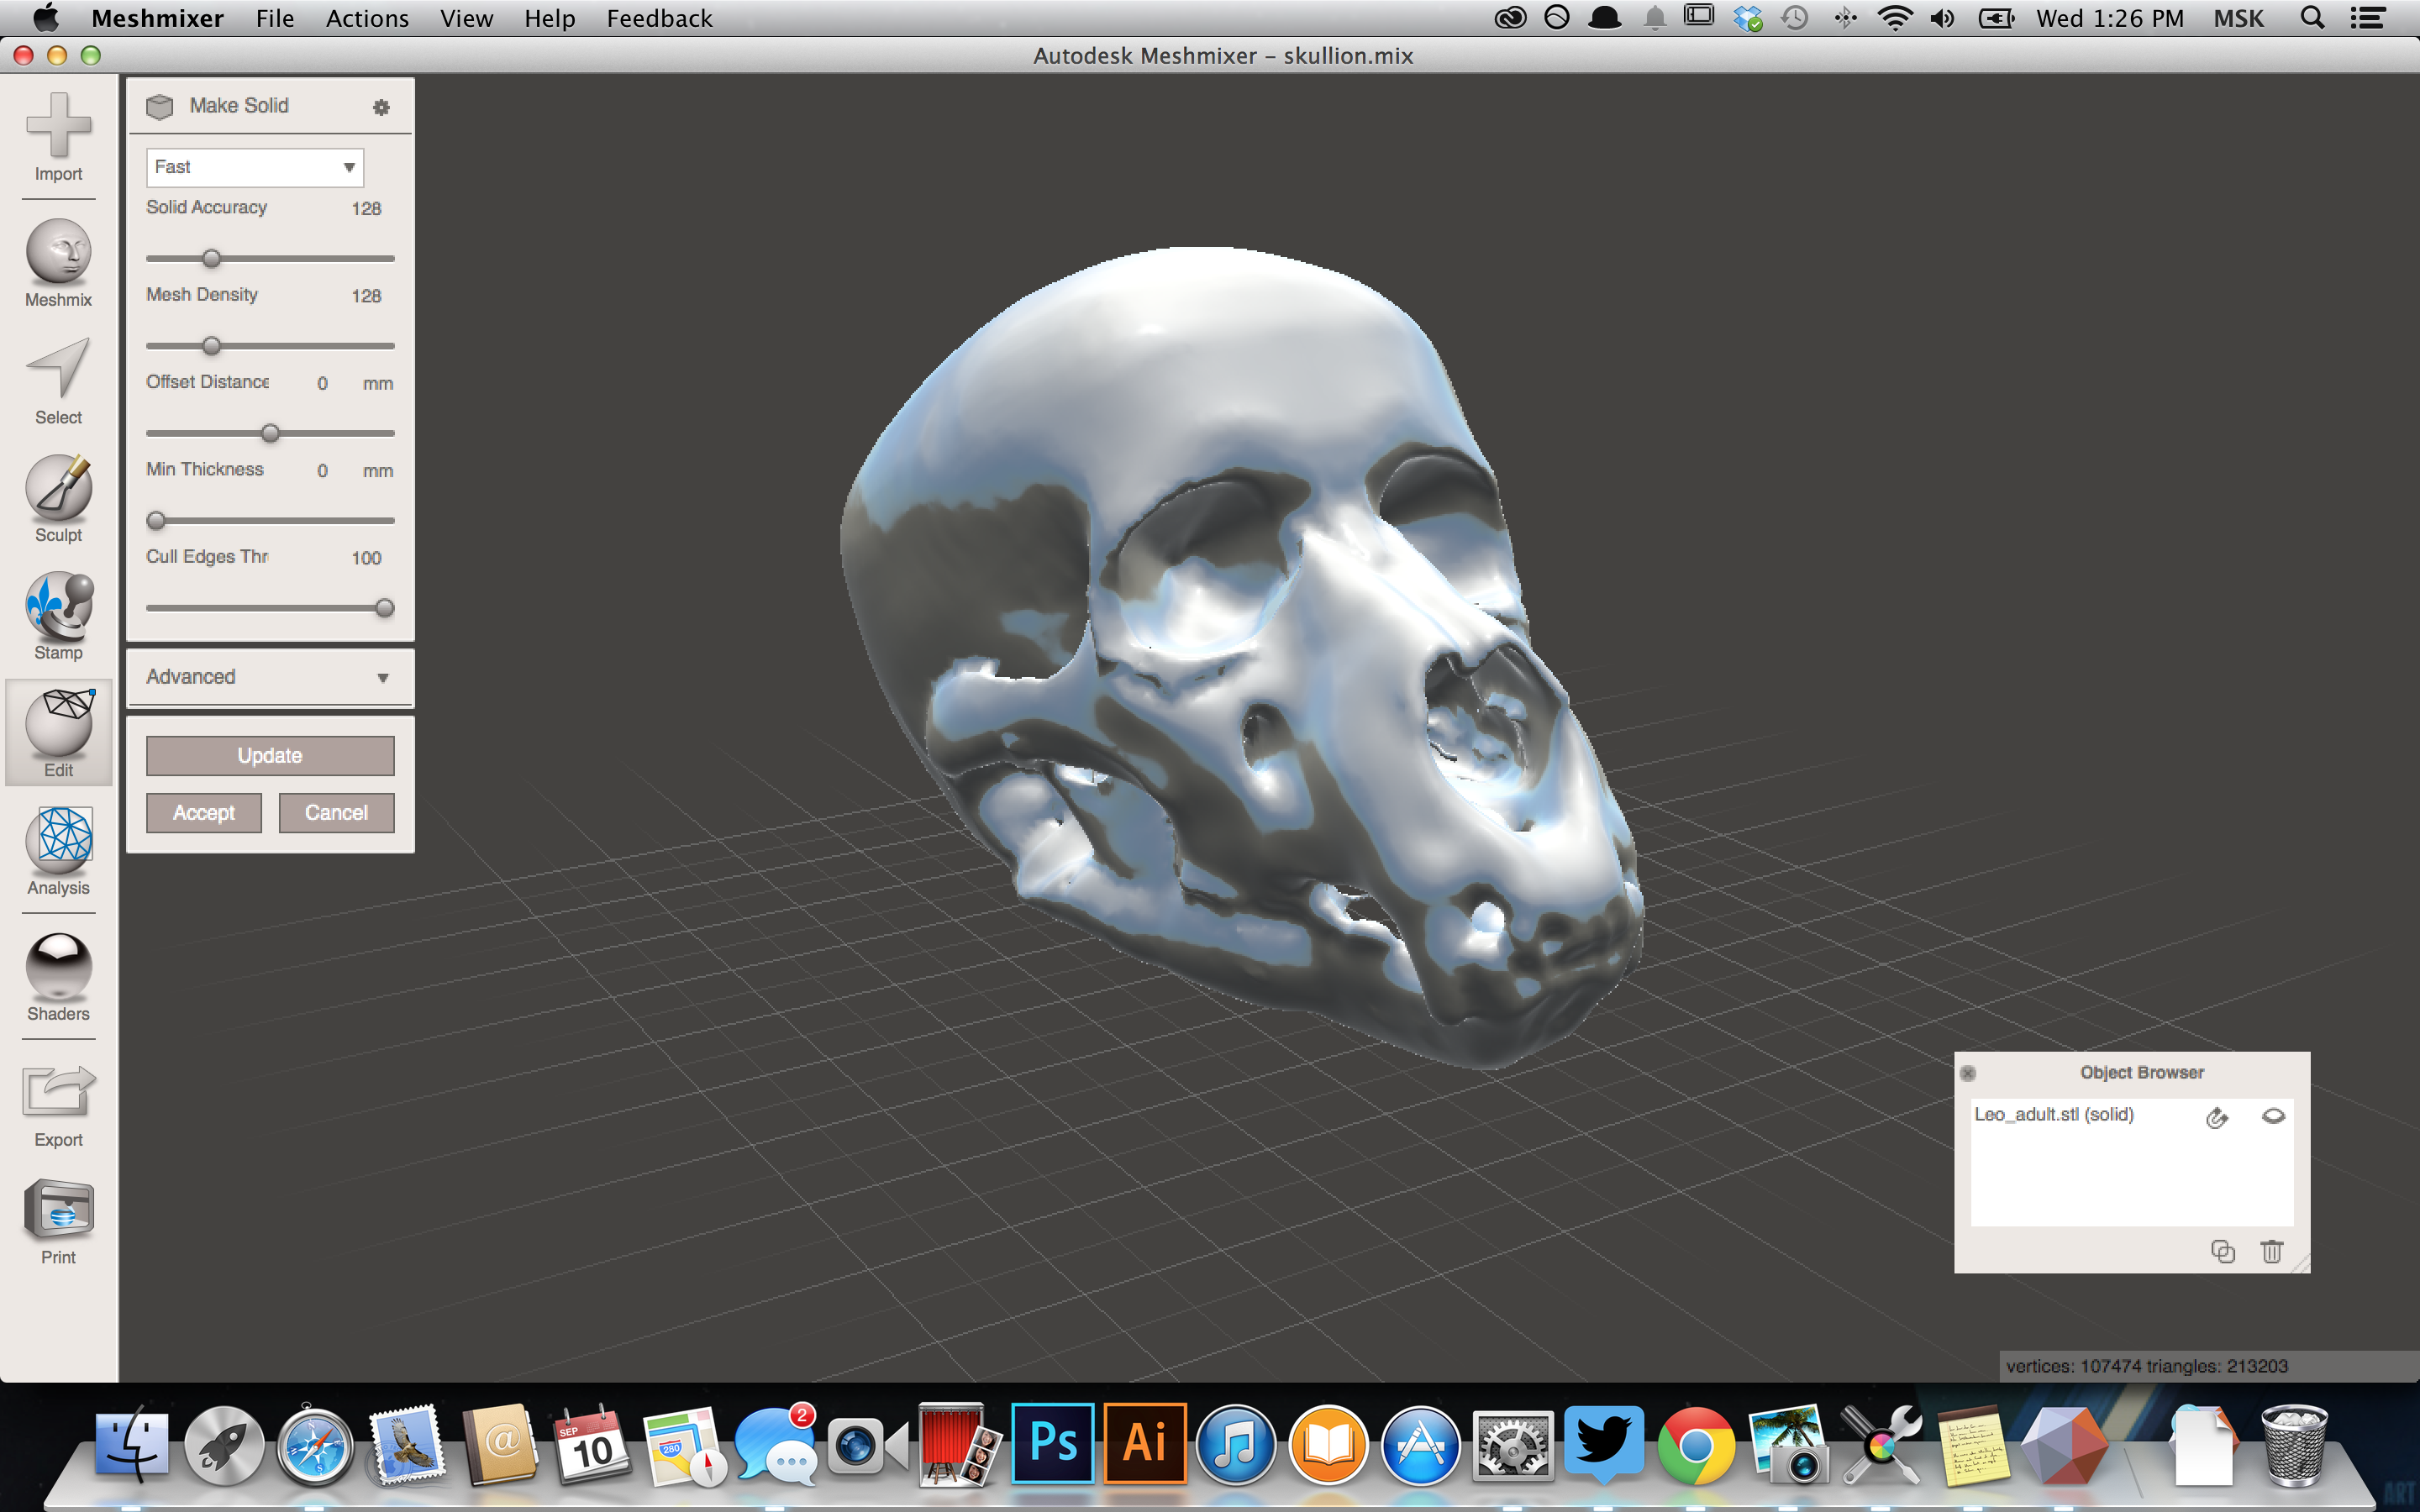
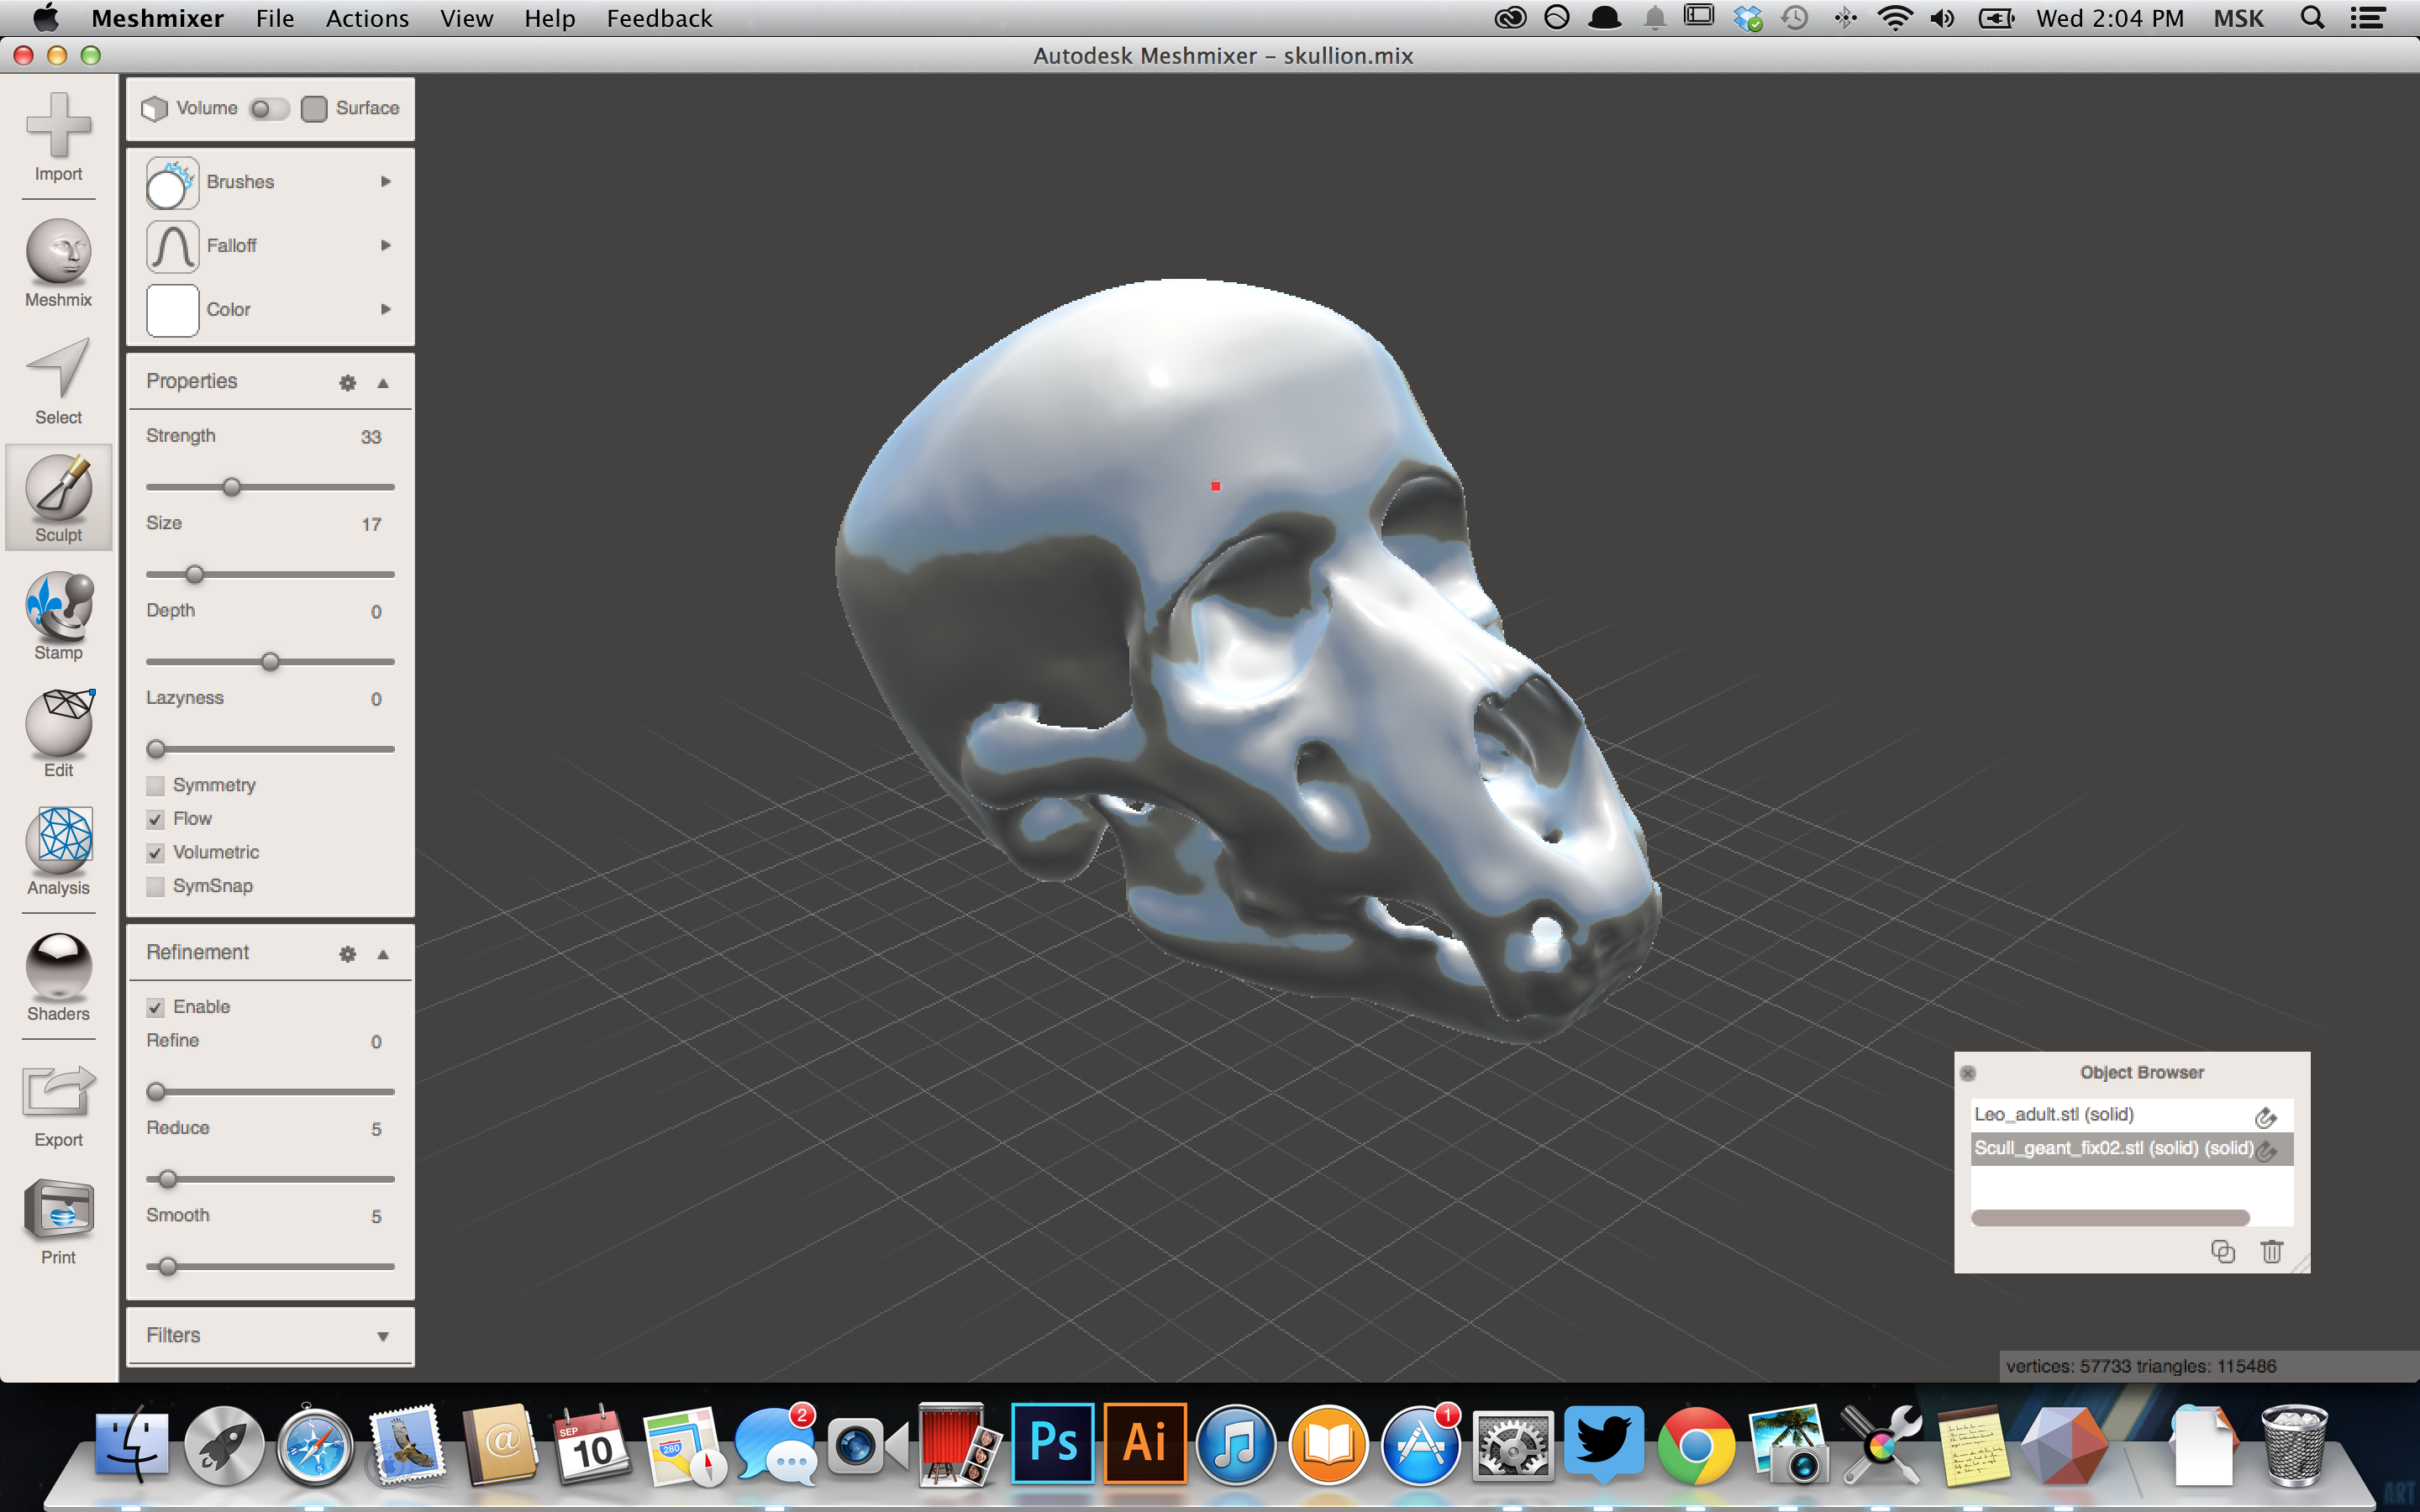
The hardest part of this particular model, for me, was the jaw. I had to use a combination of move, pinch, inflate, flatten and robust smooth brushes to get it about where I want.
Since I'm going to be 3D printing, I also went in and erased a bunch of details in the sinus cavity using select brush>edit>discard.
Now to look at the anatomy and see what you do and don't like, what to remove, and what to add. You can be as precious about this as you want; but I suggest playing around a lot with the different brushes to change the anatomy as you see fit. Use the inflate brush to 'grow' new parts, then the 'robust smooth' or 'shrink smooth' to smooth them out. Use the 'move' brush or 'drag' brush to adjust positions. Don't worry about lumps, that's what the smooth tools are for. I wound up having to do a crazy concoction to get the jaw as I wanted it, but everything else was pretty good. Another thing you can do is adjust the height and angle of the forehead. Think about what the different angles of forehead do for how 'animal' or 'human' your skull will look.
You can also do select all>deform>smooth. That'll get rid of a lot of artifacts. You can adjust the smoothness, as well.
Like I said- I'm new to this program, but this workflow works for me. Onwards!
Save, Share, Print!


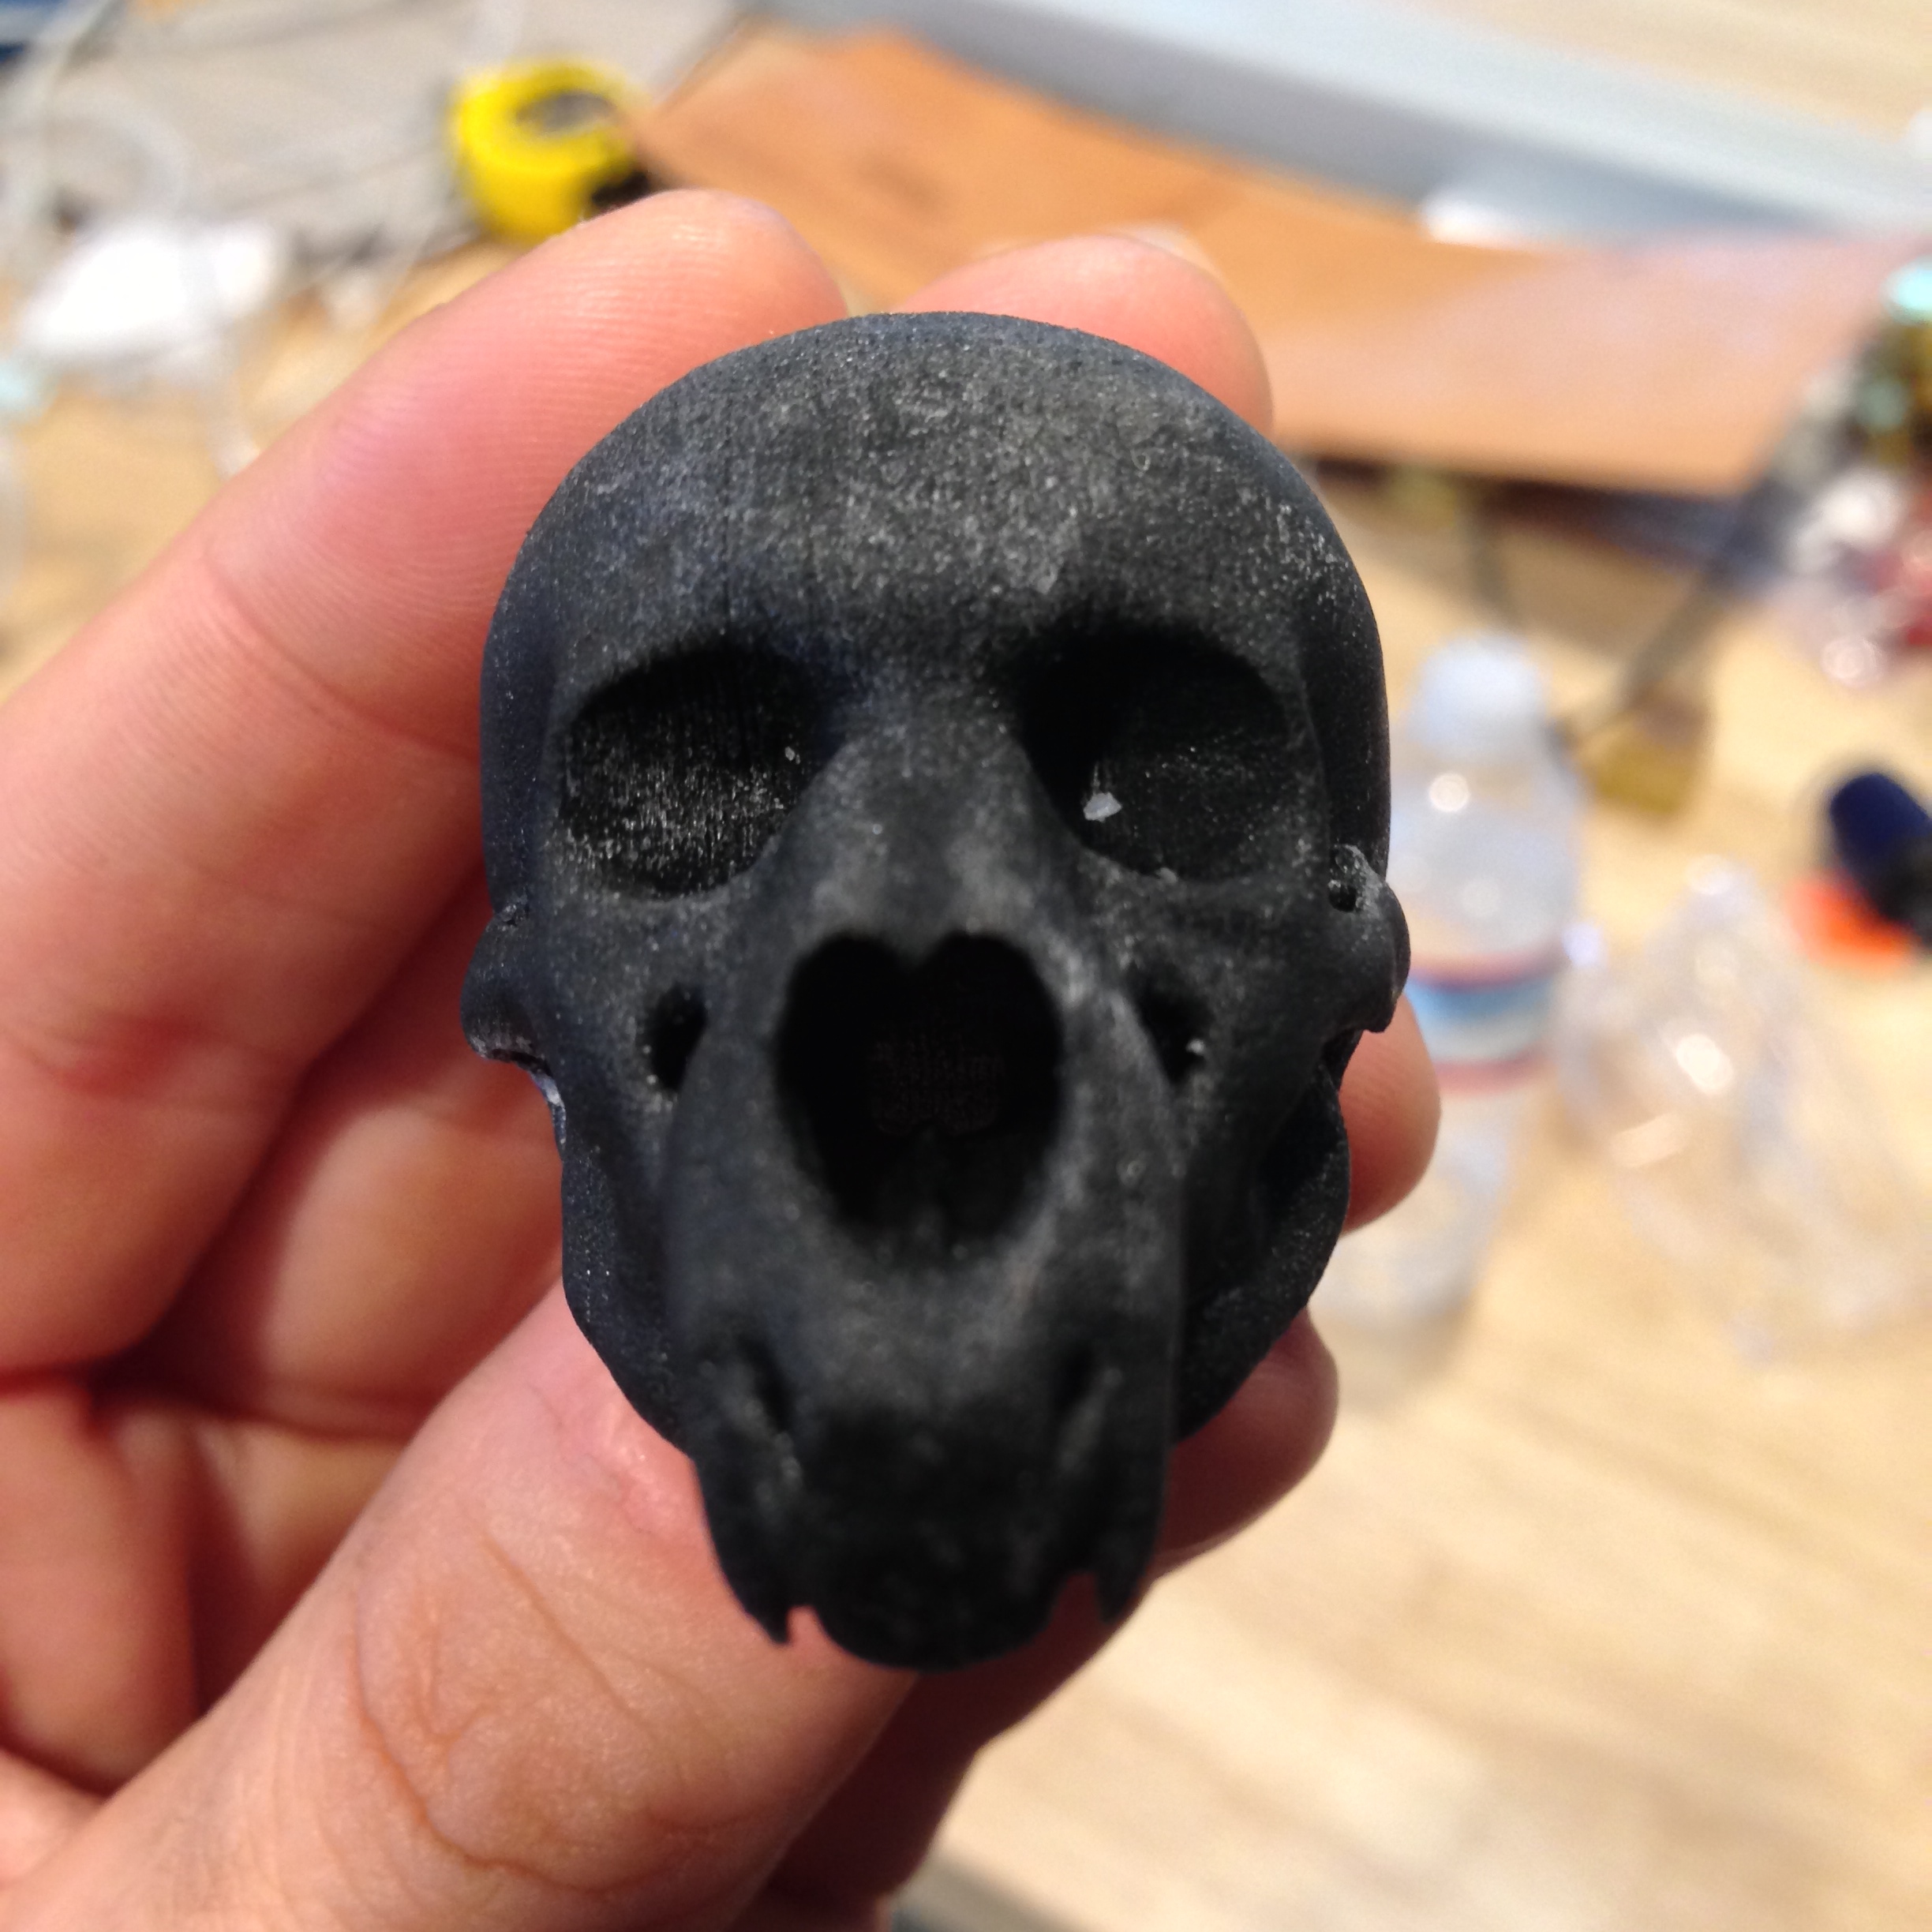
I wanted to print this out, since I'm doing a study for a mask. You can save it, export to other programs, order through shapeways..whatever you want!
After printing this out I realized I want to make the human part of the skull a little bit more narrow- that is, the back of the skull be thinner, while leaving the widened eye sockets I made earlier.
Have fun!