How to Make Your Own Icon Set for Mac.
by martymunch in Circuits > Apple
9483 Views, 7 Favorites, 0 Comments
How to Make Your Own Icon Set for Mac.
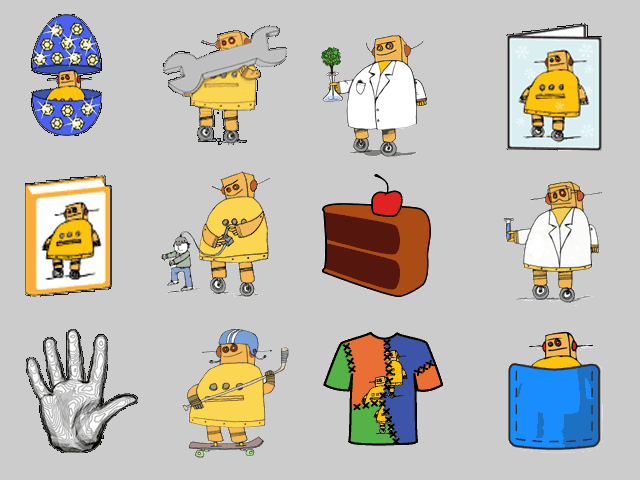
I've made a lot of different icons for my old PC and since I got a Mac this year I haven't had much time to customize it. Well last weekend I started looking into creating some icons and found that there was a lot more to it for Mac.
This Ible will show you how to go from start to finish. I am not a pro at this so if you have some ideas to simplify a step or two please post it. I did a lot of searching to find out how to make everything work.
There were two main sources I used for my ideas and ways to work things out. Here are the links.
Macinstruct
diviantART member - fo-ur article
Disclaimer: I am not promoting these sites in any way, I am merely giving credit where credit is due. This Ible wasn't all my doing just something I couldn't find here so I created one.
Materials
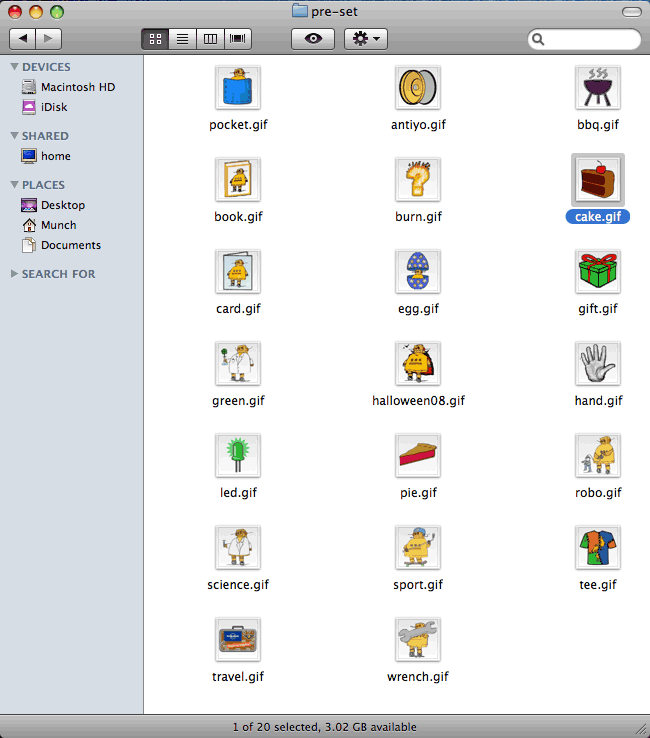


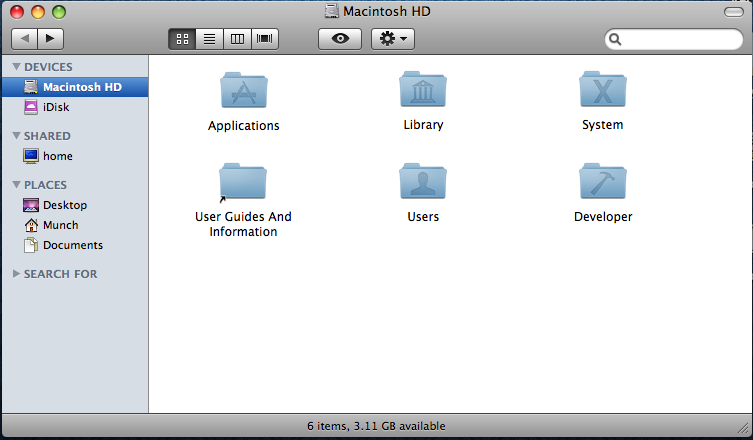
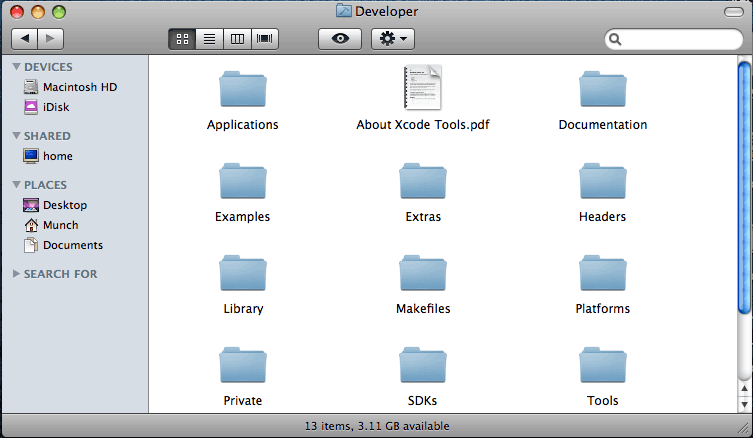
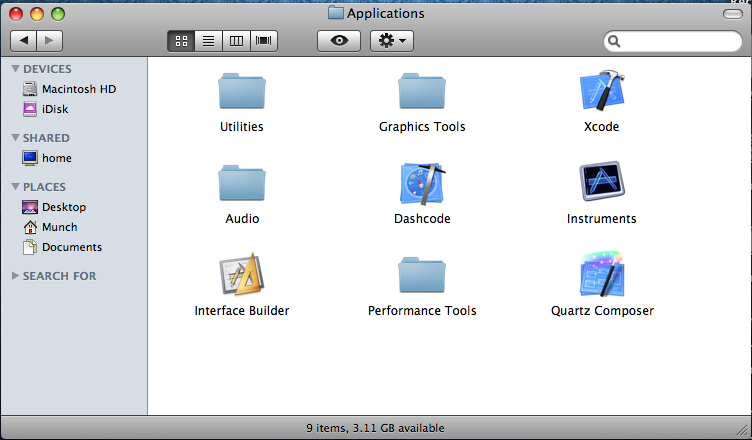
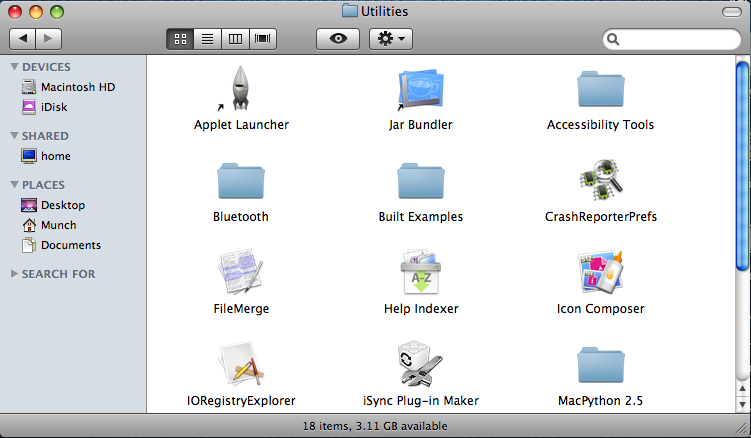
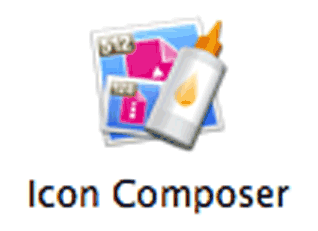
Image editor (optional):
I used Adobe Photoshop. This just makes the icons look a little nicer and gives you a little more control over the end look. You could also use a free program such as Gimp. I personally have never used it but I hear a lot about it.
Mac with Developer tools, specifically Icon Composer:
HERE is the link to the developer tools if you don't already have it. You may have to create a free account like I did, but it's free and it takes about two minutes.
To check for it, click on:
HD > Developer > Applications > Utilities > Icon Composer
Images
As many or as few as you like. Almost anything can be used to create an icon. Remember larger (in pixels) is better.
Images to Icons.

You should already have an idea of what you want your icon or icon set to look like.
There are probably tons of different ways to go about getting images to use. If you decide to use images from the internet make sure you are not stealing someone's hard work. I will not cover where to get the images but how to make them into icons.
Get the images you would like to use. Remember that the larger the image the easier it will be later on to scale it down and still maintain a quality icon. An image that is scaled up in size loses image quality because your computer has to fill in the extra pixels from existing pixels in the picture. It is much easier to just stick with over sized images than undersized ones.
For this Ible I used most of the images from current and past contests here at Instructables. I came up with a set of 21 icons that looks pretty good for a two hour work up.
Picture Edit (optional)


If you don't need to edit anything - skip to the next step.
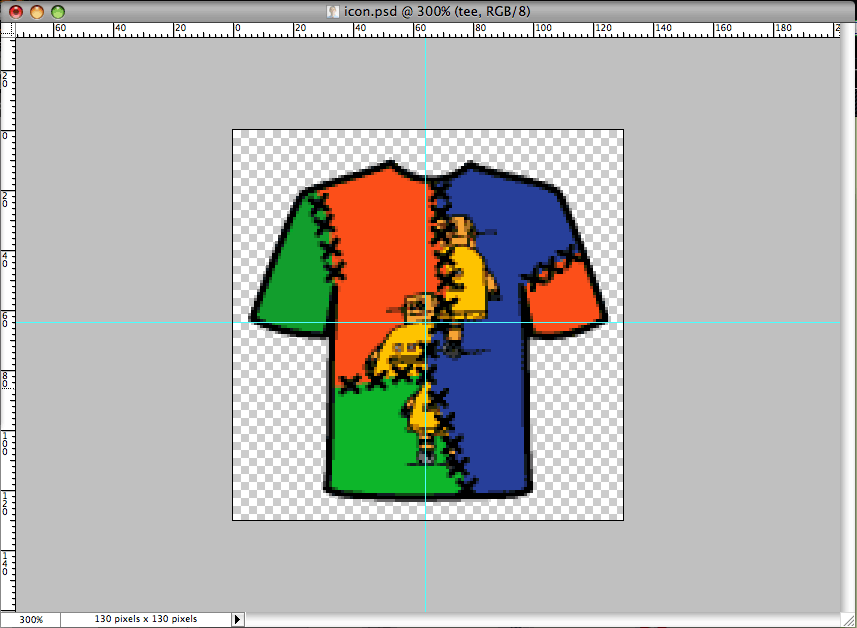
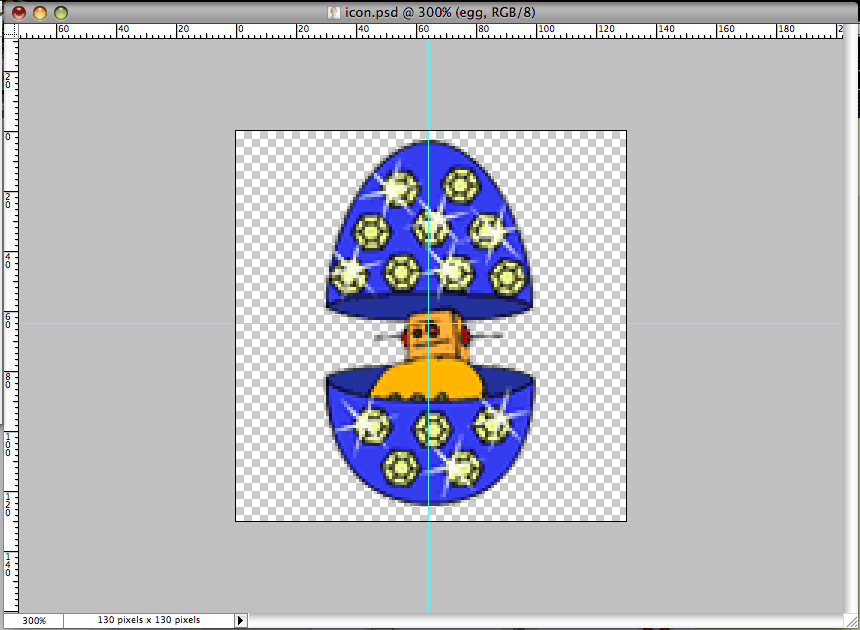
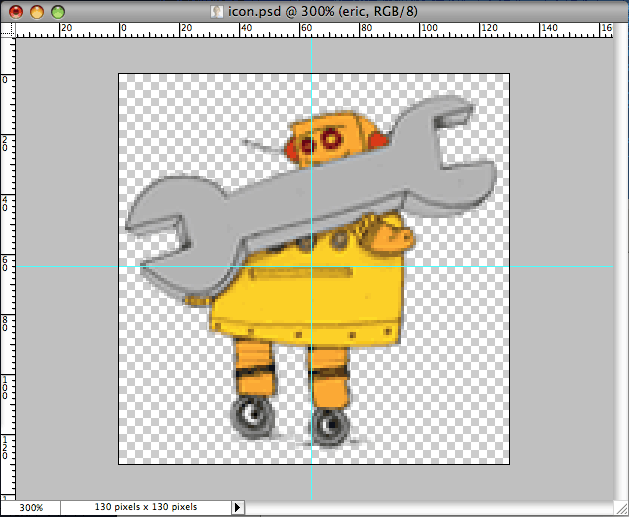
OK, let's get to it. I downloaded 20 images from www.Instructables.com that were all about 128px x 128px. Most of them required little to no editing but I wanted my icons to have a transparent background versus being a block. This required a little editing. I am using Photoshop CS2.
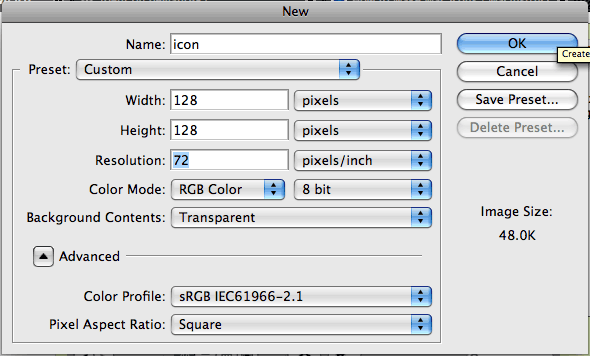
Open a new file with the settings below (second picture).
Name: name your file
Preset: when you change the Width and Height this will automatically change to Custom
Width/Height: 128 x 128 > pixels (if your image is larger you can use 512sq px or 256sq px)
Resolution: 72 > pixels/inch
Color Mode: RGB Mode (RGB is for computer screen - CMYK is for printing. RGB is light - CMYK is ink.) 8 bit is fine, I didn't play with this at all.
Background Contents: Transparent or White/Black (I like to be able to have mine blend in)
Color Profile: you can leave that alone unless you know what you are doing. I have mine set up for printing so I just use those colors and click web safe colors if I need to add a color other than white or black. Photoshop will re-color everything when you use the "Save for web" save feature.
Remove anything you don't need, add anything you'd like and finally save your file.
Repeat for as many files that you have to change into icons. I opened my stock images and added them right to my already correct sized psd file and added layers. Just remember when you save you only have the one layer you want to save an icon for with the "eyeball" on next to it.
Create the Actual Icon.
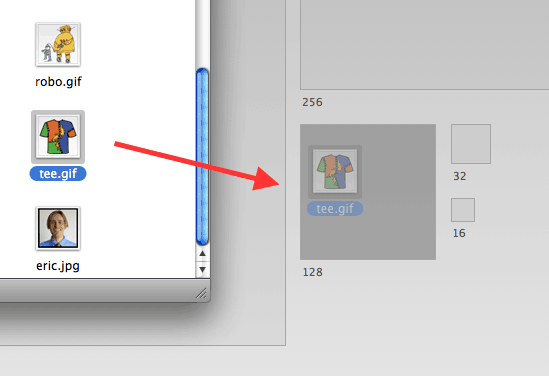
Open Icon Composer.
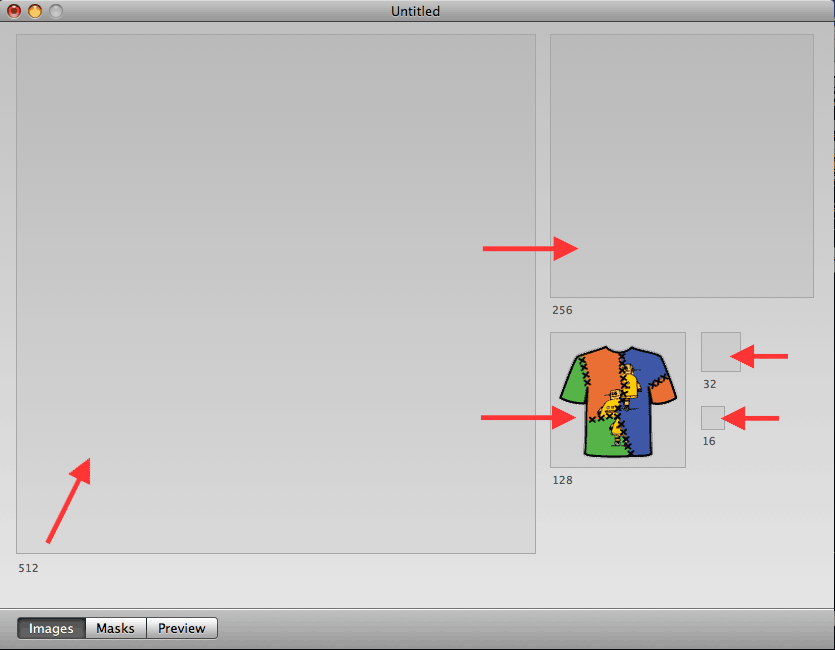
Drag and drop your image into the corresponding slot in Icon Composer.
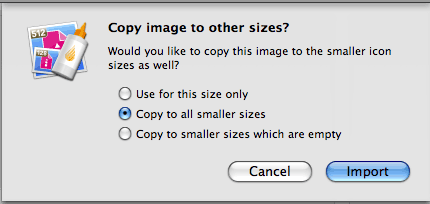
I created files that were 128px by 128px. After you drop the files in Icon Composer it will ask you to choose what you want to do:
Use for this size only.
Copy to all smaller sizes.
Copy to smaller sizes which are empty.
Choose whichever you prefer and click on "Import". I chose "Copy to all smaller sizes." (second picture)
On the bottom left you can click on the "Preview" button to check out your handy work. This allows you to check your icons at various sizes on various backgrounds.
If everything looks good...
Click > File > Save as
and save your file in your preferred folder.
Preview Your Icon.
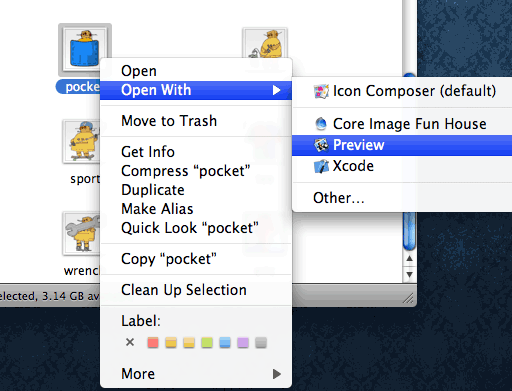
Go to the folder you saved your icon file in and open it with Preview.
Right Click > Open With > Preview
Once open click on the preview of the icon.
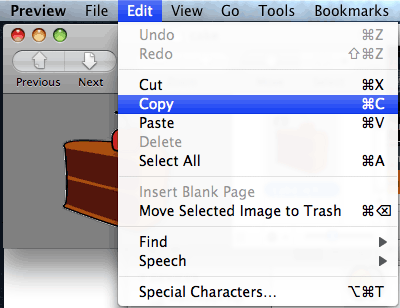
Then click on:
Edit > Copy
or
hit command + C (to copy)
Right Click > Open With > Preview
Once open click on the preview of the icon.
Then click on:
Edit > Copy
or
hit command + C (to copy)
Use Your New Icon.
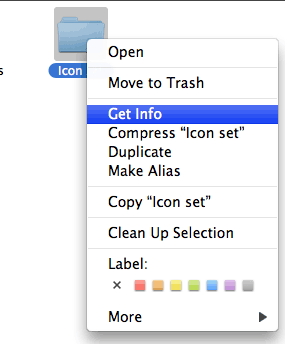
Right click on a folder.
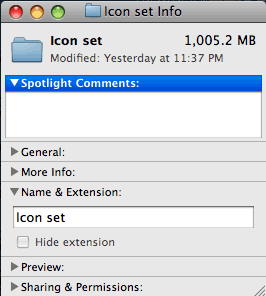
Click on > Get Info
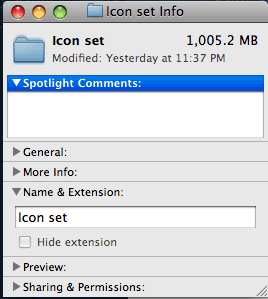
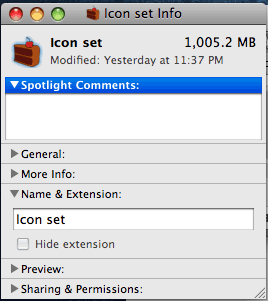
Left click on the icon for the folder in the "Folder info" box. The icon should now be highlighed.
Click on Edit > Paste
or
hit command + V (to paste)
If you did everything correctly you should now have a cool new custom made icon. Good job, you are the bomb!
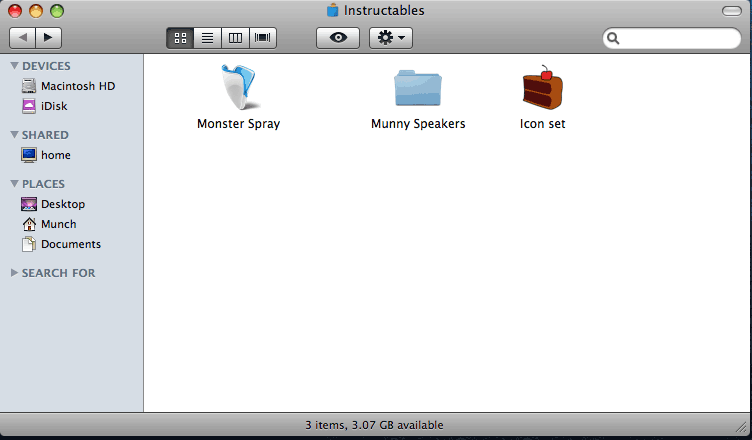
If you just don't have the time or don't feel like doing it right now, you can download my complete set of 21 icons special made for Instructables members in a nice small zip file. Download and follow steps 5 and 6.
Thank you very much for reading.