How to Make the Pandorica Lamp (from Doctor Who)
by Nerdyme in Living > Organizing
12637 Views, 161 Favorites, 0 Comments
How to Make the Pandorica Lamp (from Doctor Who)
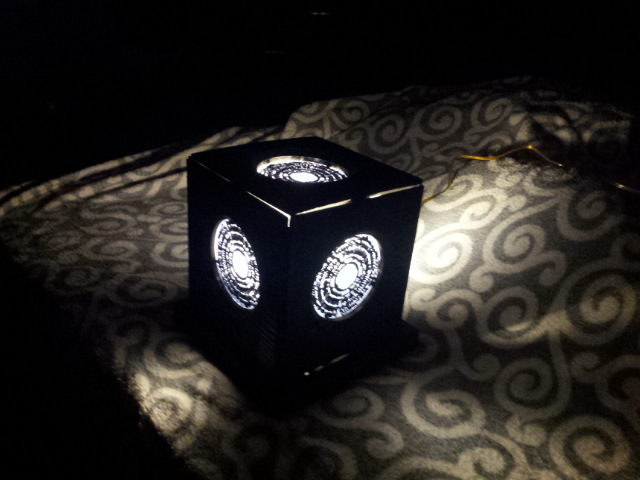
![DSC_0891[1].JPG](/proxy/?url=https://content.instructables.com/F38/UEOW/IDQBR1D1/F38UEOWIDQBR1D1.jpg&filename=DSC_0891[1].JPG)
Stuff you will need:
Wood (However you are going to cut it depends on how much you will need.)
Acrylic (For the printer, and for the hole protectors)
Black paint
A do it yourself lamp kit
This is everything that you will need.
Find Your Picture That You Want to Use
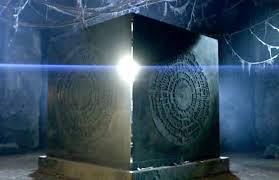
For my project, I wanted to make a lamp, so I incorporated the Pandorica into a lamp. We first had to find the picture so that we could have a blueprint type for our 3D printer.
Get Rid of What You Feel You Need To
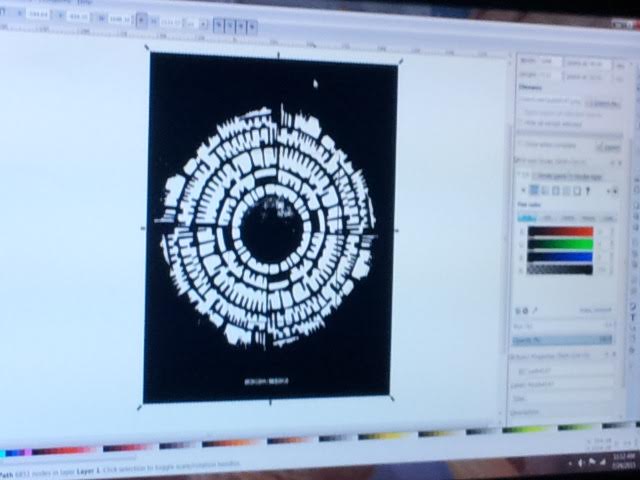
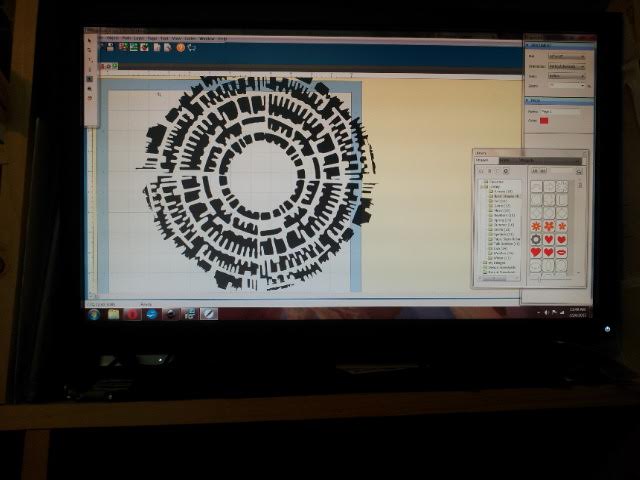
For this part, we got rid of the background so that it was just the circle. After that we cleaned up anything that would instantly be ruined by the printer.
This Is Where Everything Was Put Together
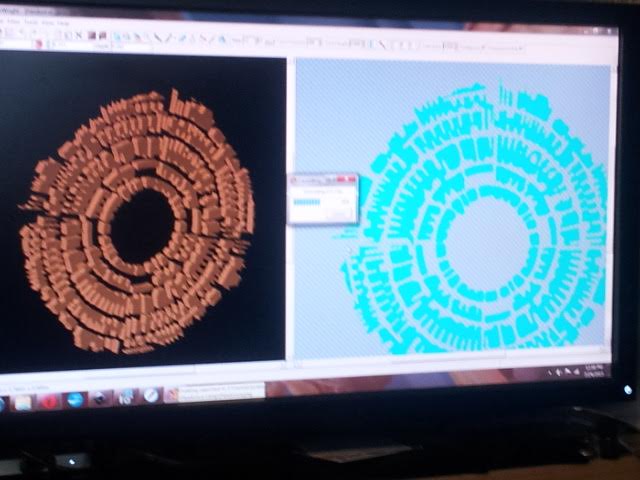
At this point, we had gotten to the point where all that was left before the print was making sure that everything was connected once it was cleaned so that it would stay together after the print. The brown was to see what it would look like in 3D form, and the blue was where we were able to edit it to how we saw fit.
Download Onto Your 3D Printer's SD Card to Begin Print
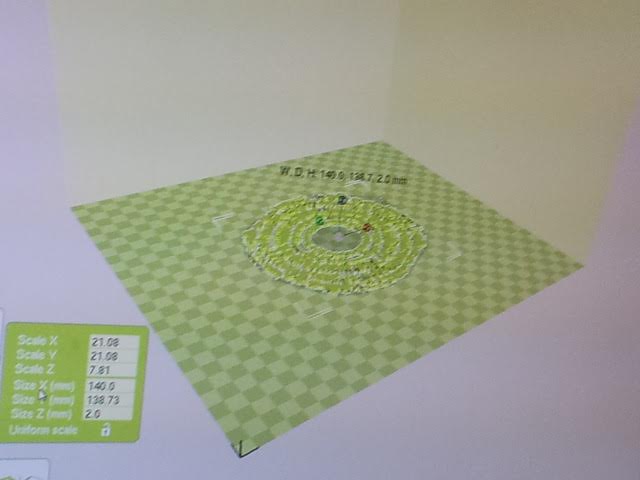
The title says it. For this step, after all of the editing was done, we put it on the printers example setup. Then, once satisfied, we downloaded it onto the card, and put it into the printer.
Have Your Printer Ready
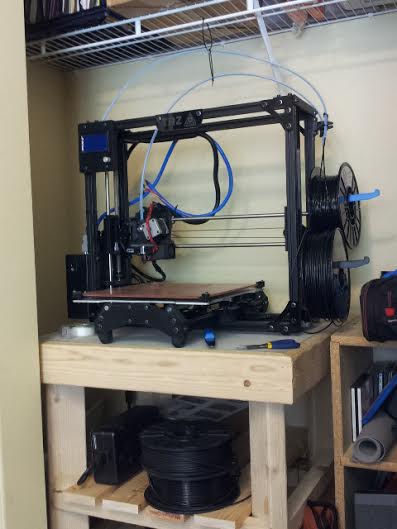
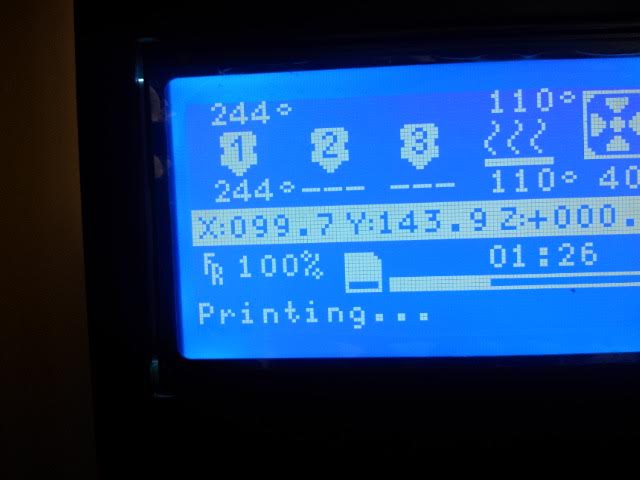
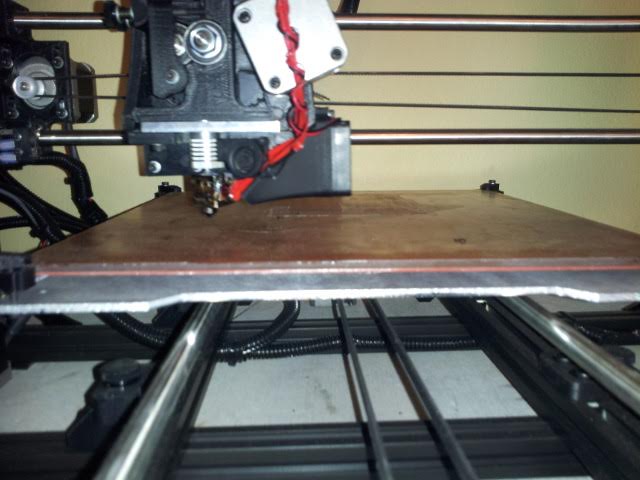
You need to make sure that you have your printer set up and ready. That includes, heating it up to the right temperature, and making sure that the plastic will come out of the nozzle. You will also need to make sure that you use acrylic before you print.
Now You Just Have to Wait...
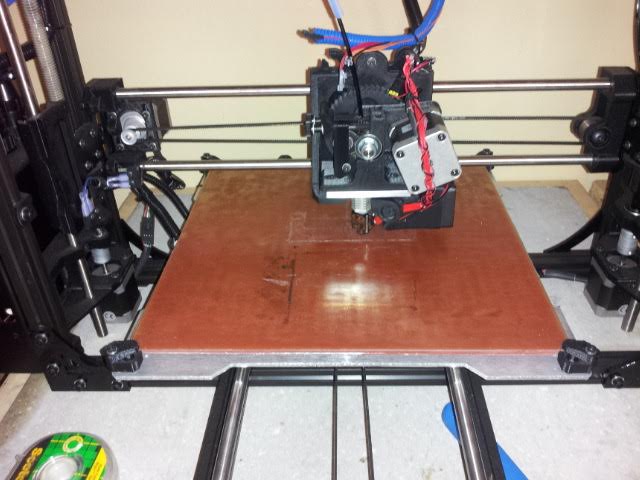
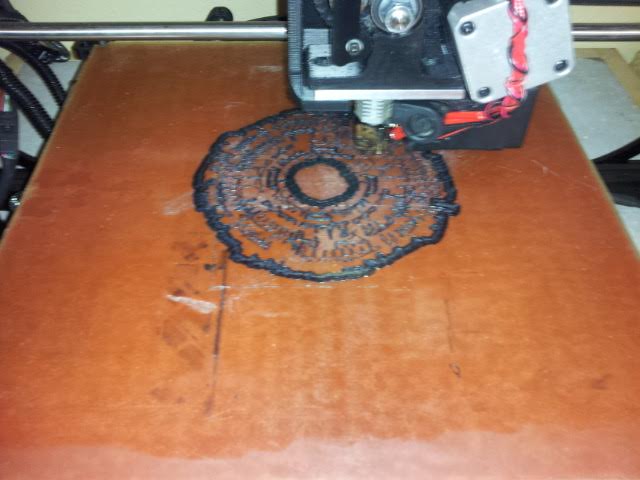
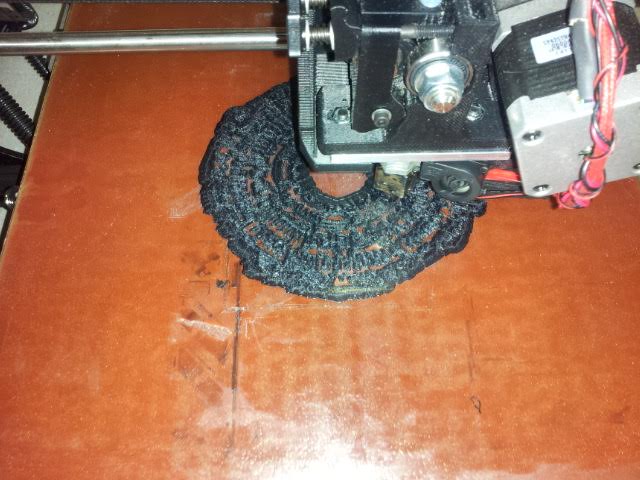
This part is the part that usually take the longest. It will take a few hours to print, but once done, it is worth it.
The First One Is Done!
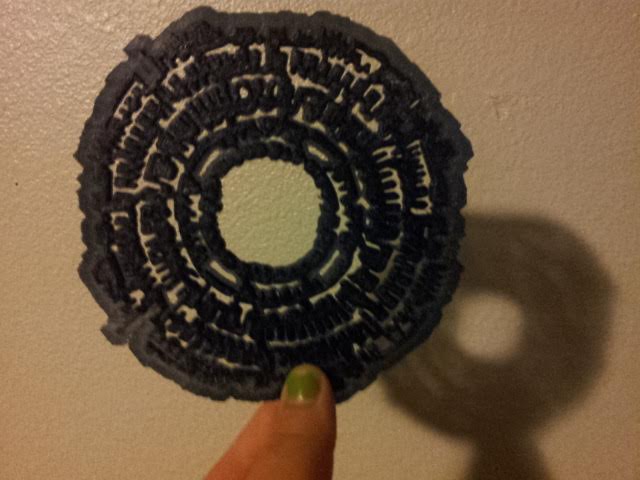
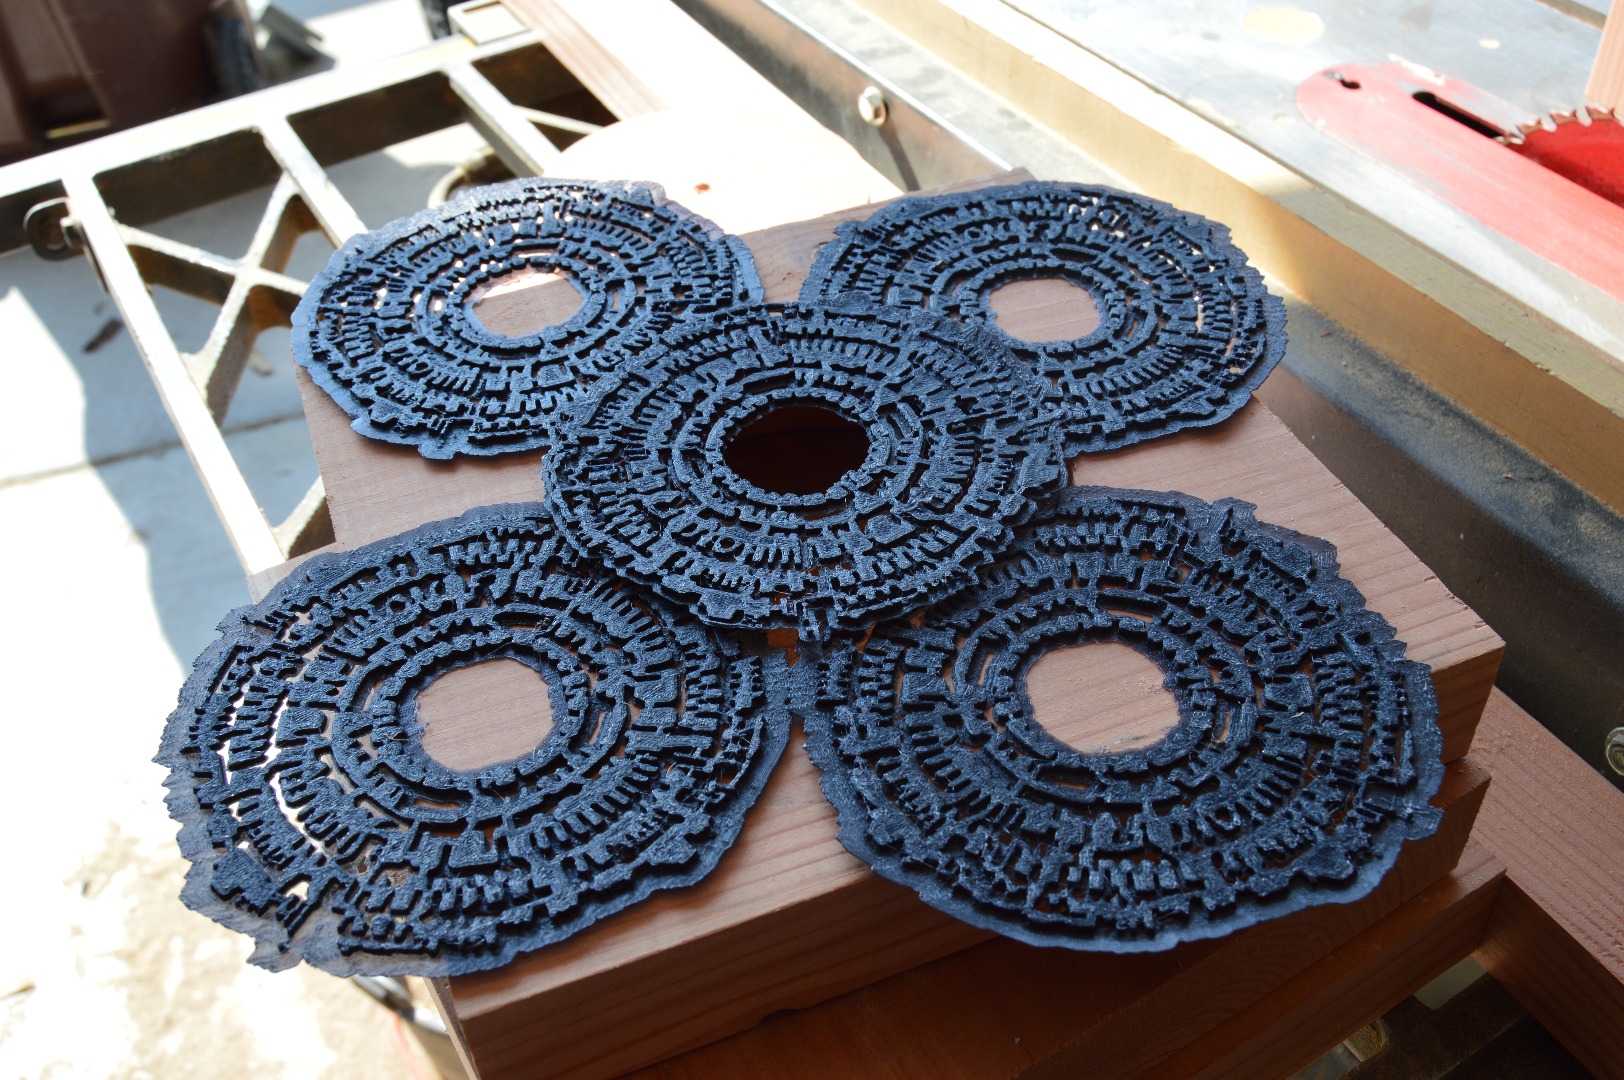
This is now complete, pat yourself on the back. Be proud. But I have bad news for ya, you need to print out FOUR MORE. I'm sorry, but it needs to go on all sides of your lamp.
Now, the Tools
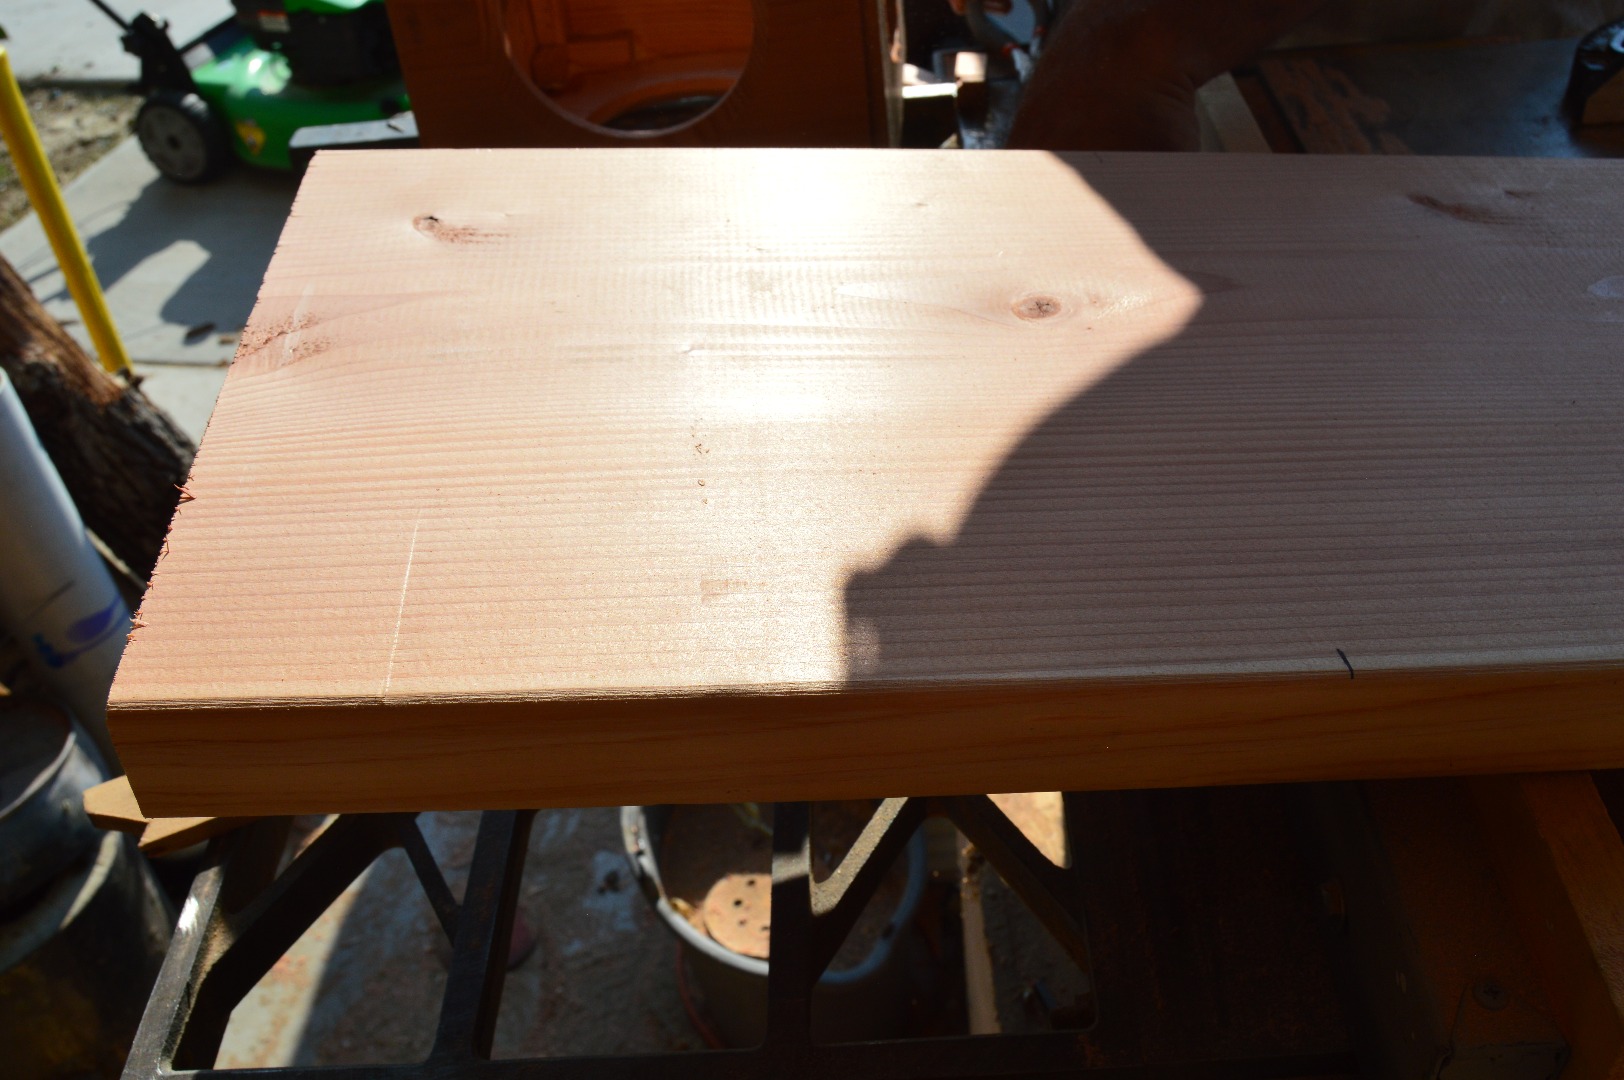
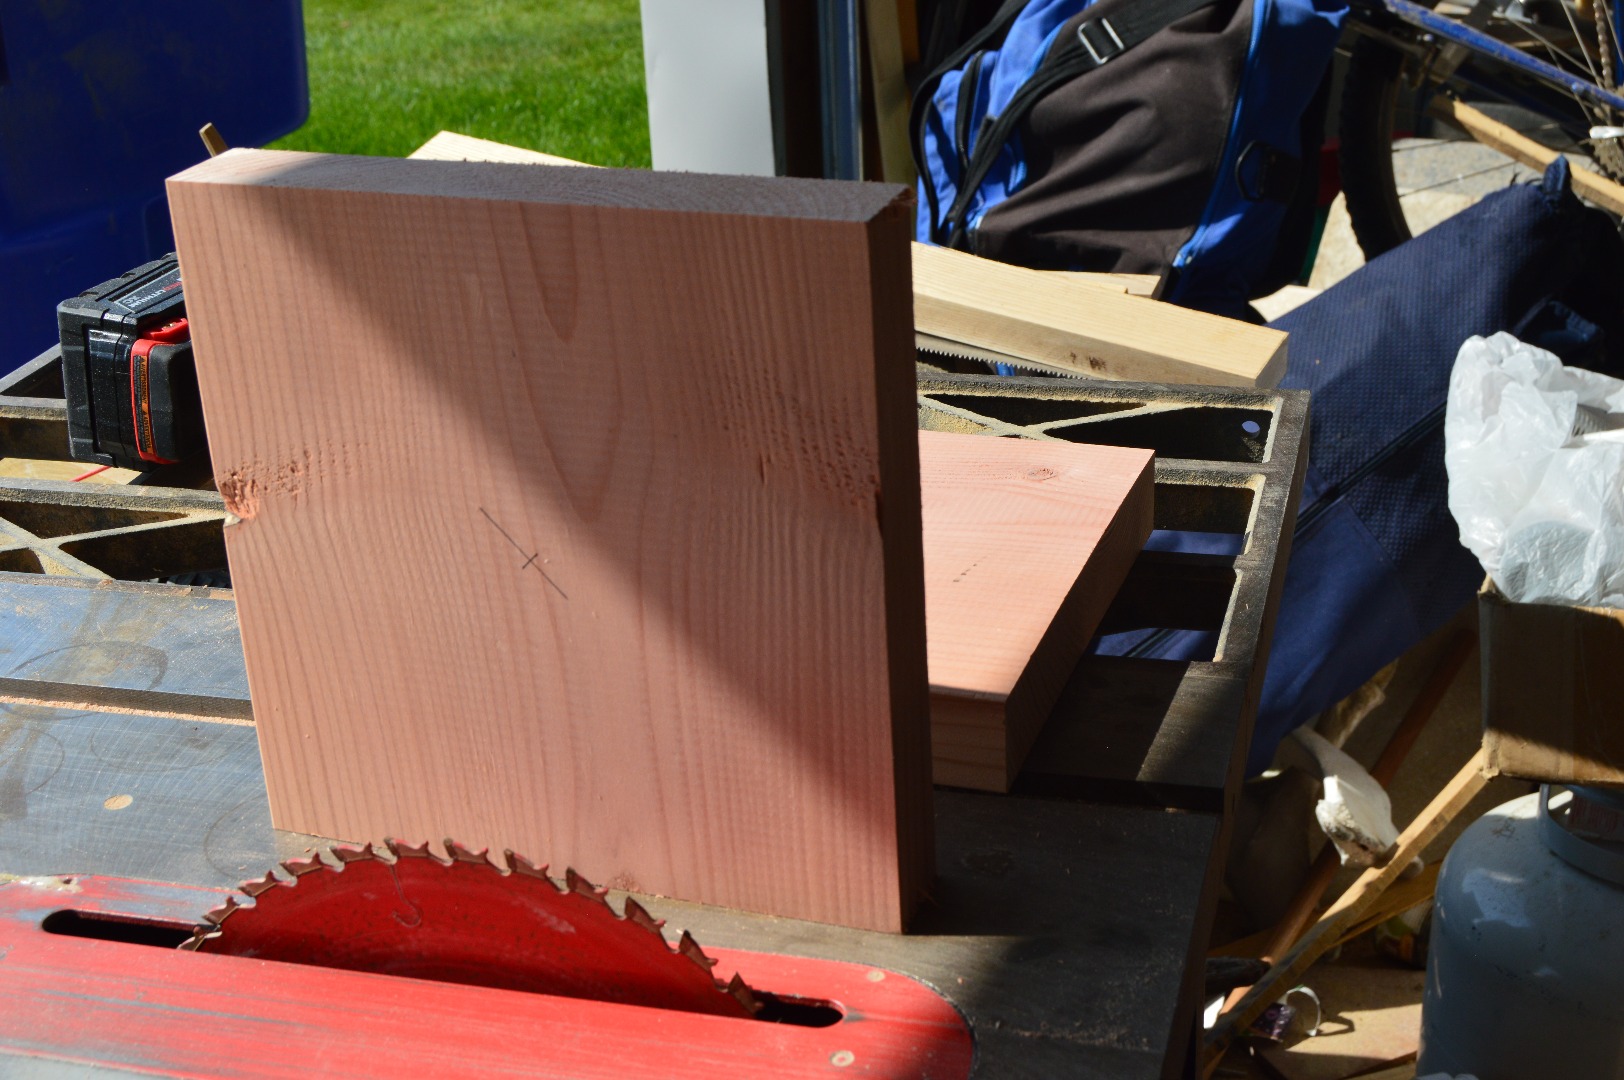
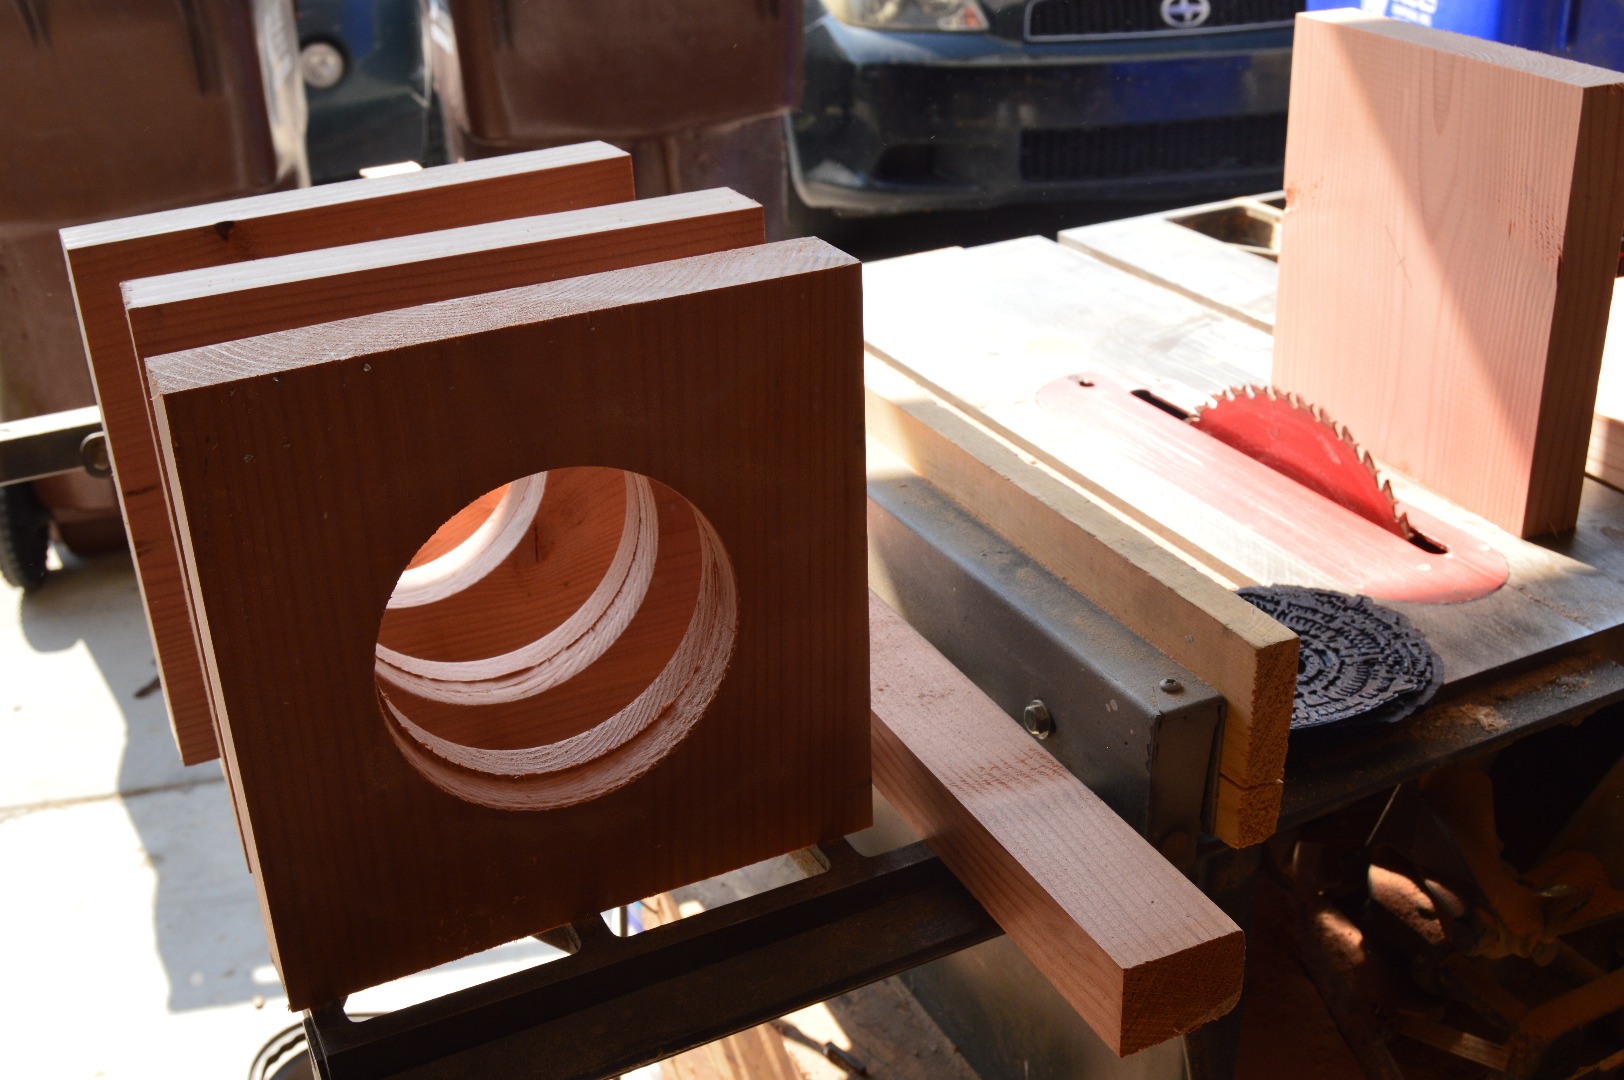
This is the fun, cutting and shaping wood part for the walls of the box. You will need to cut three nine by nine blocks of wood, using a table saw.
Once You Have the Three Blocks Cut...
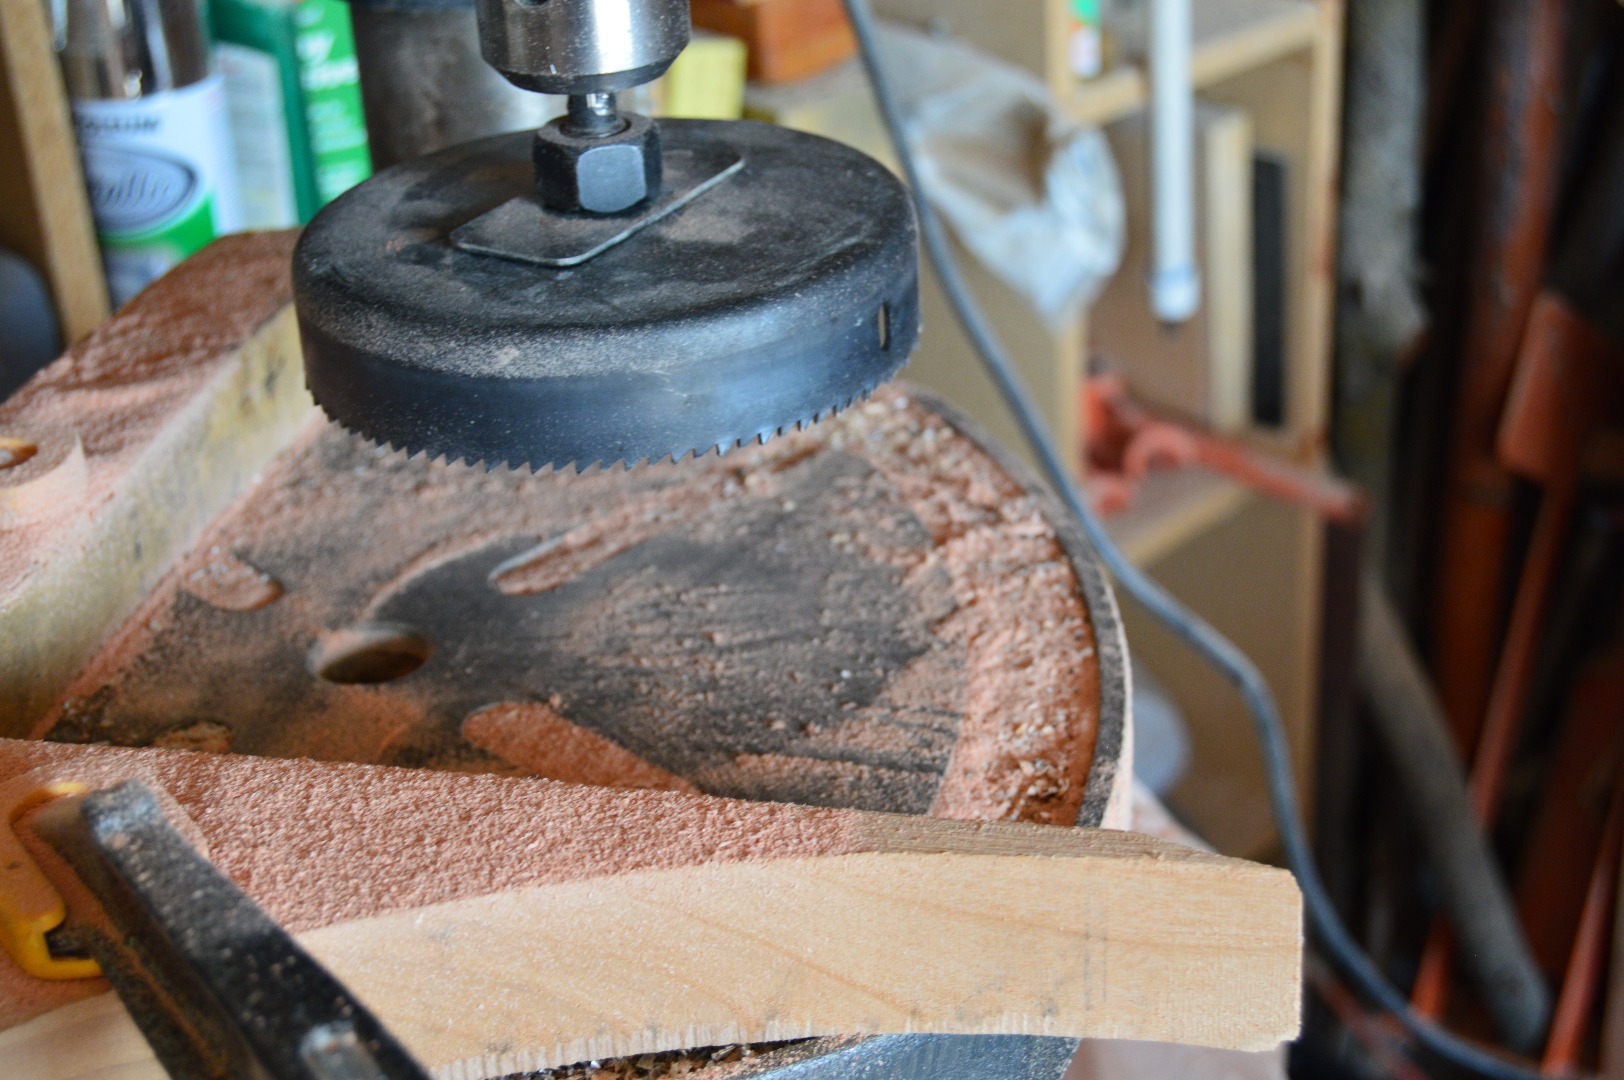
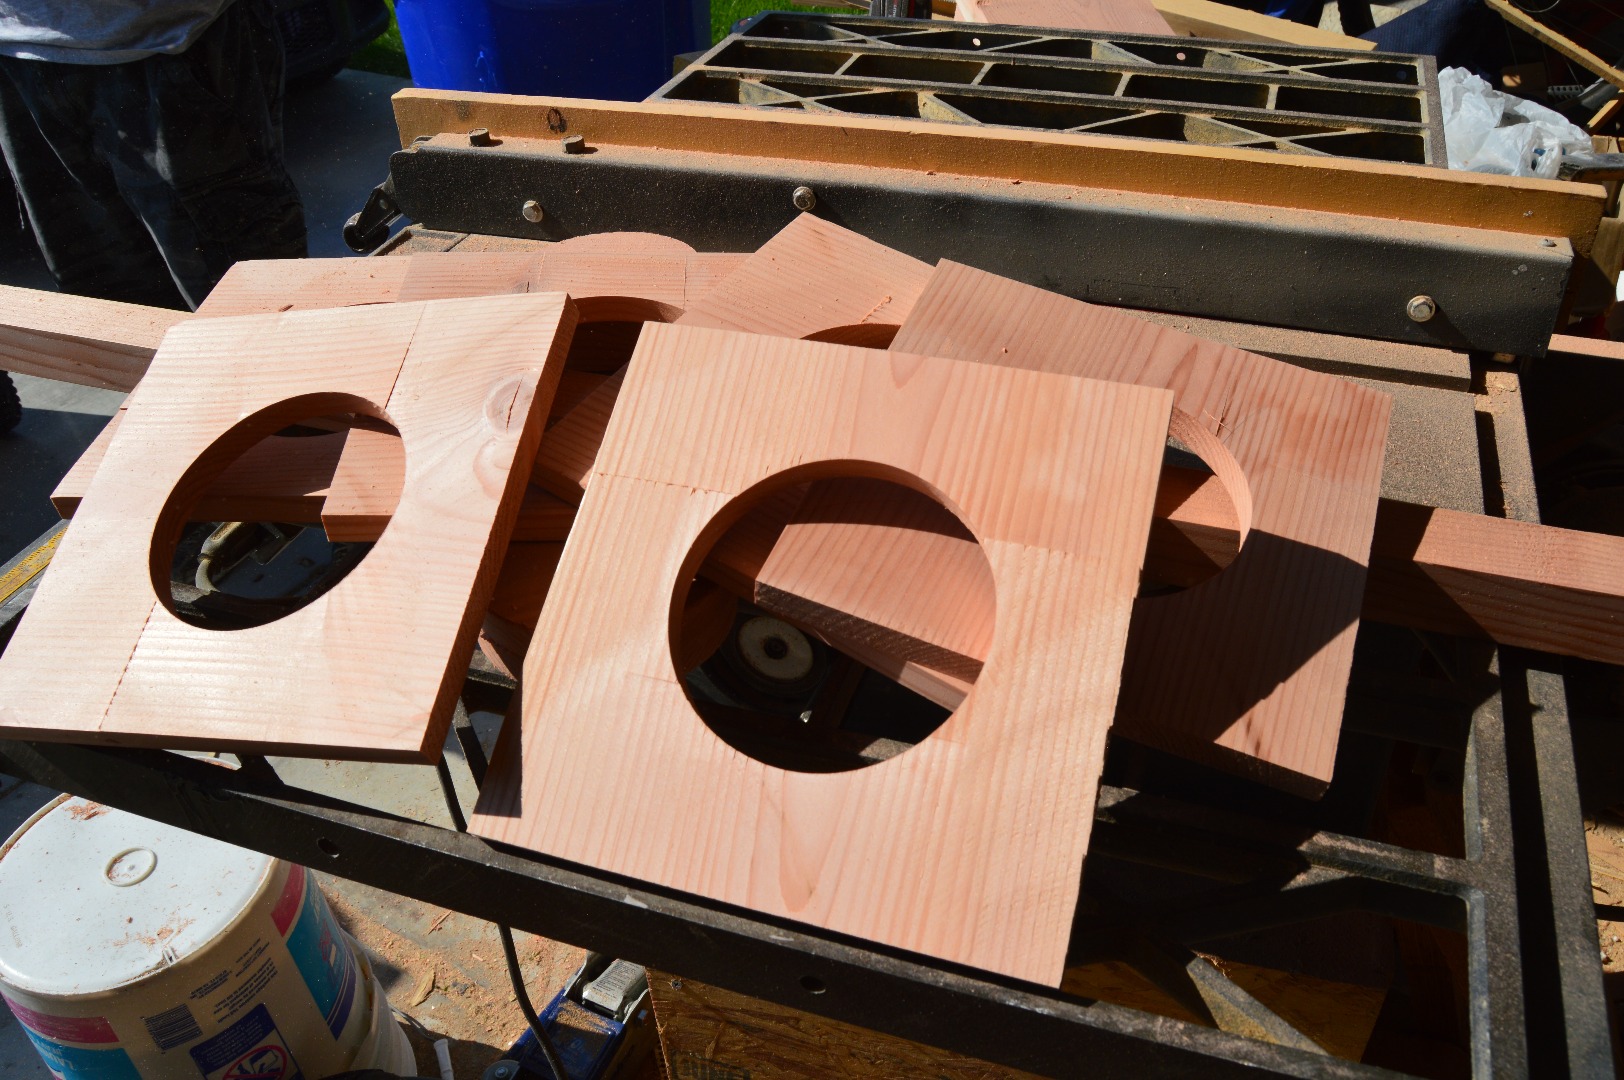
Once you have completed cutting the nine by nine blocks, you will need to use a drill press with a hole saw. How big your black designed circle is will depend on how big you want it, and how it will fit into the circle once the whole box is complete. These block will be thick, and you are now questioning me, "Why cut three? Shouldn't we cut six?" The answer is no, but yes. Again, once the circles are cut into the three blocks, you will want to use the table saw to cut those three blocks in half. Then you will have your six!
The Router
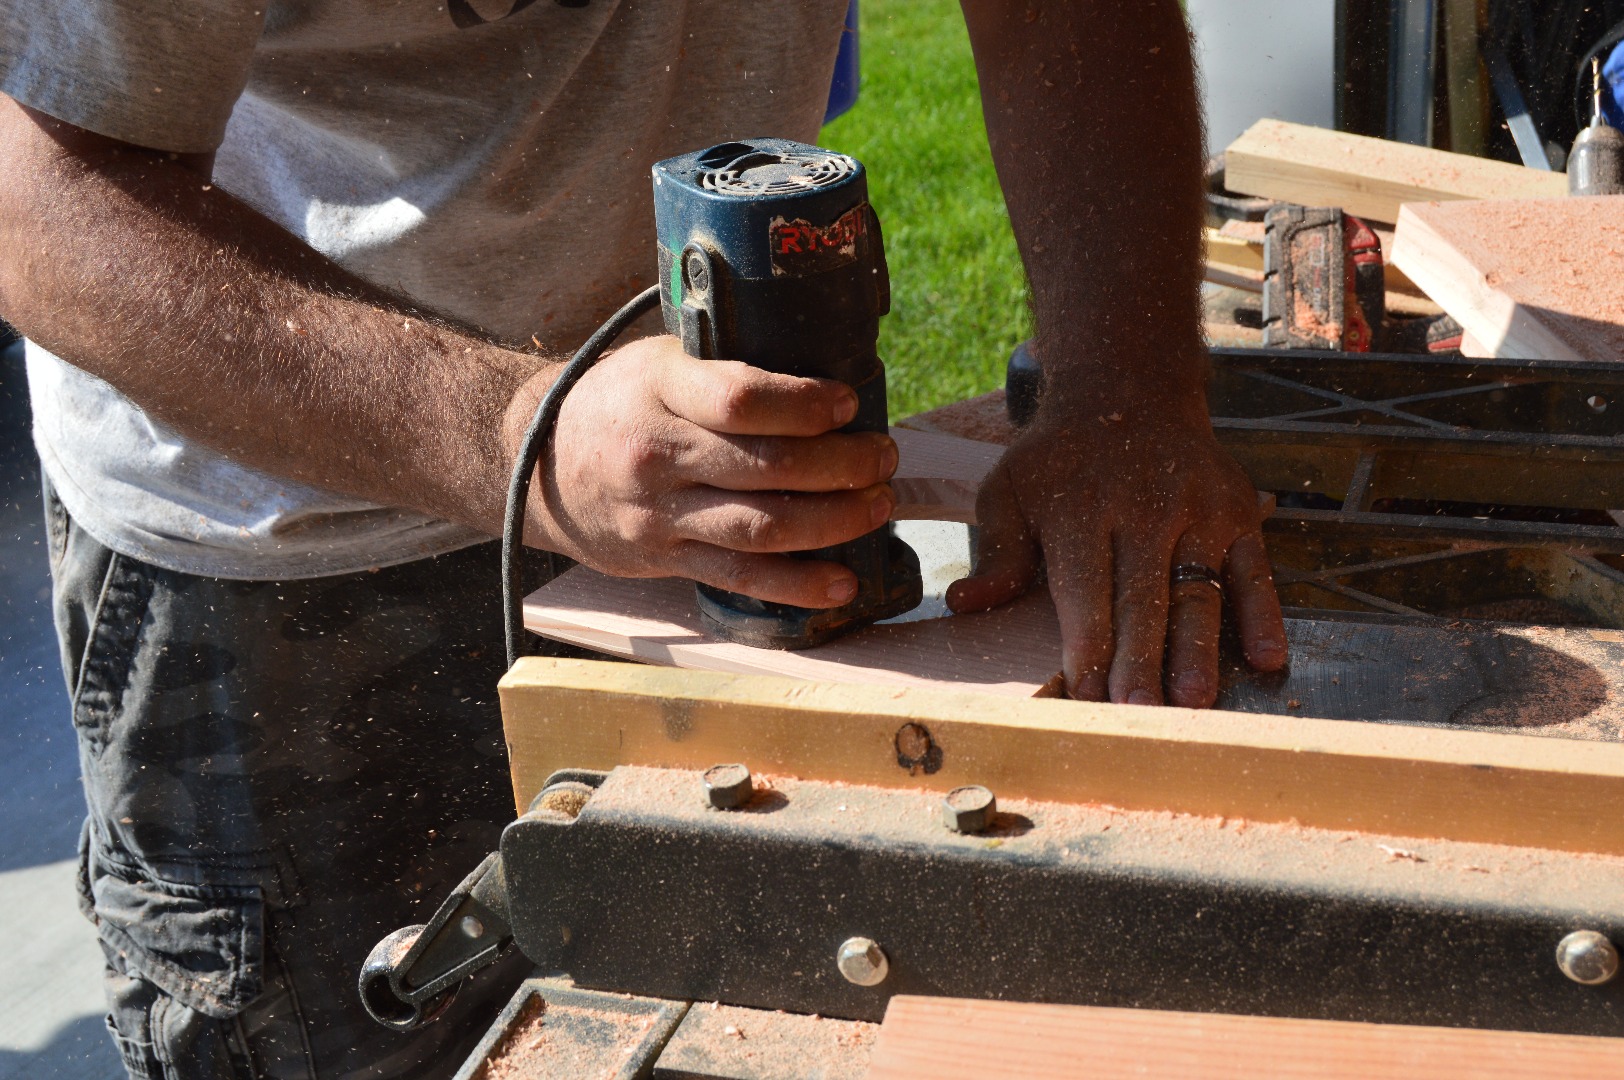
If you have a router, then this is easy. For this part, on each of the squares you can choose whether you want a slant on each of the edges and on the inside circles. You don't have to do the router, but it makes it ten time easier to put the final box together.
Start Putting It Together!
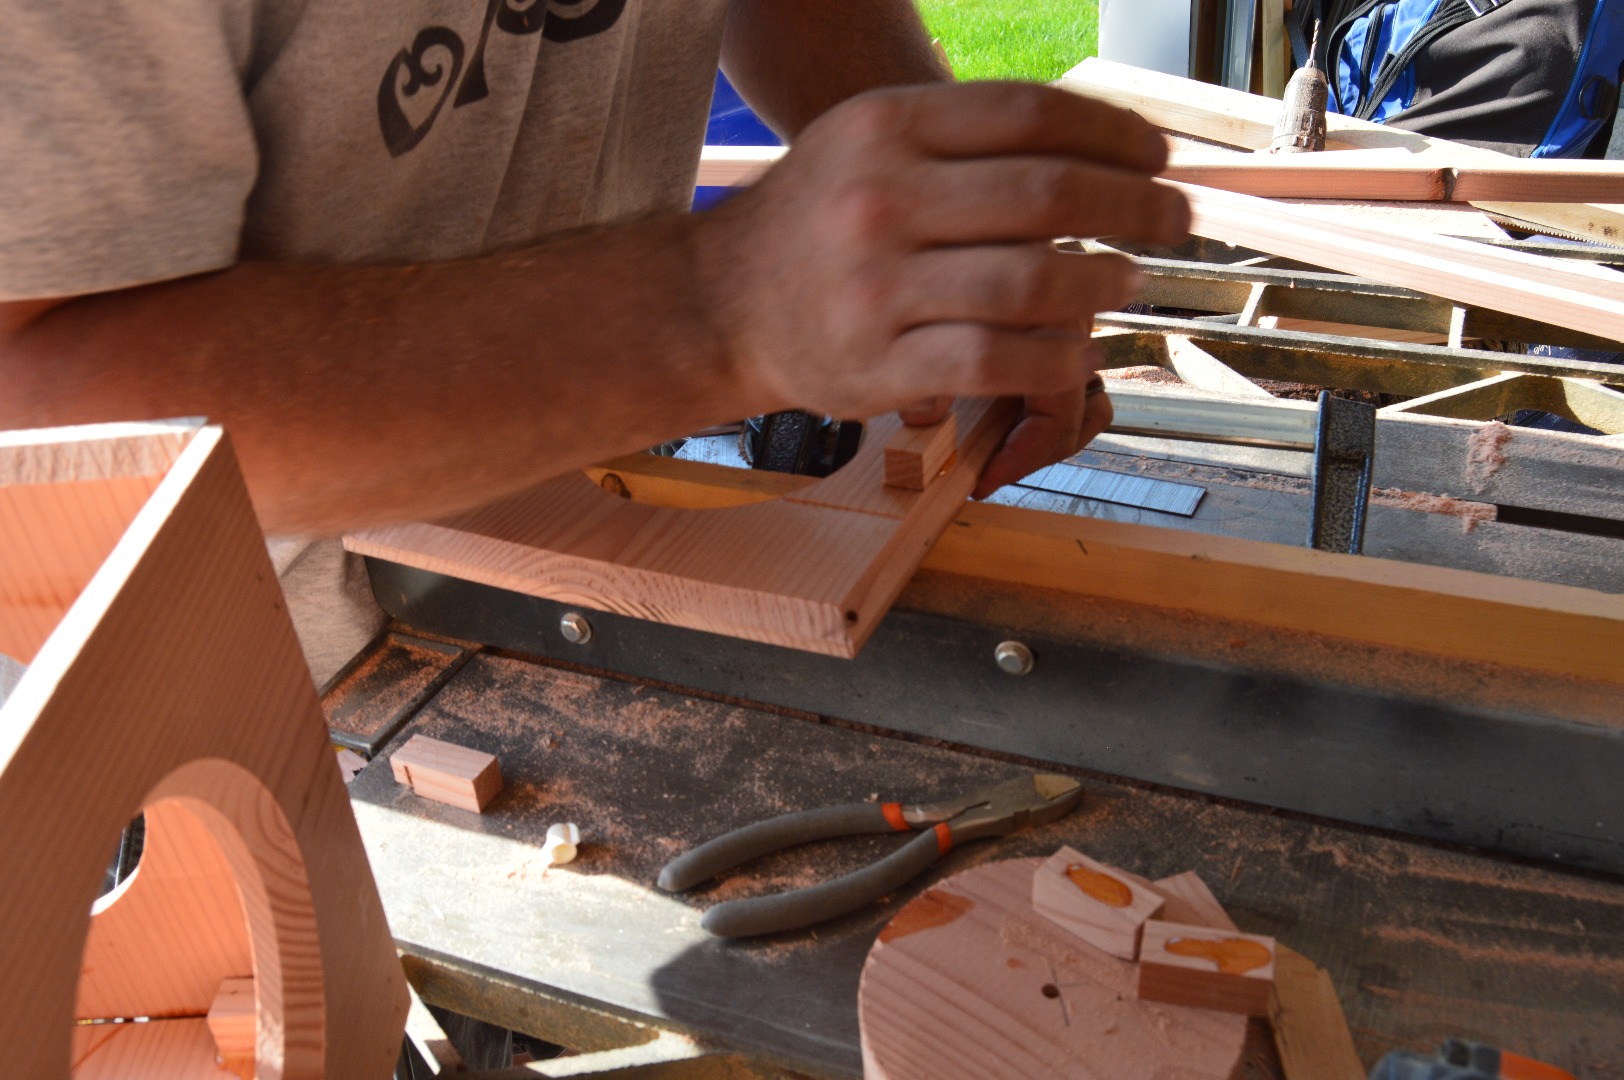
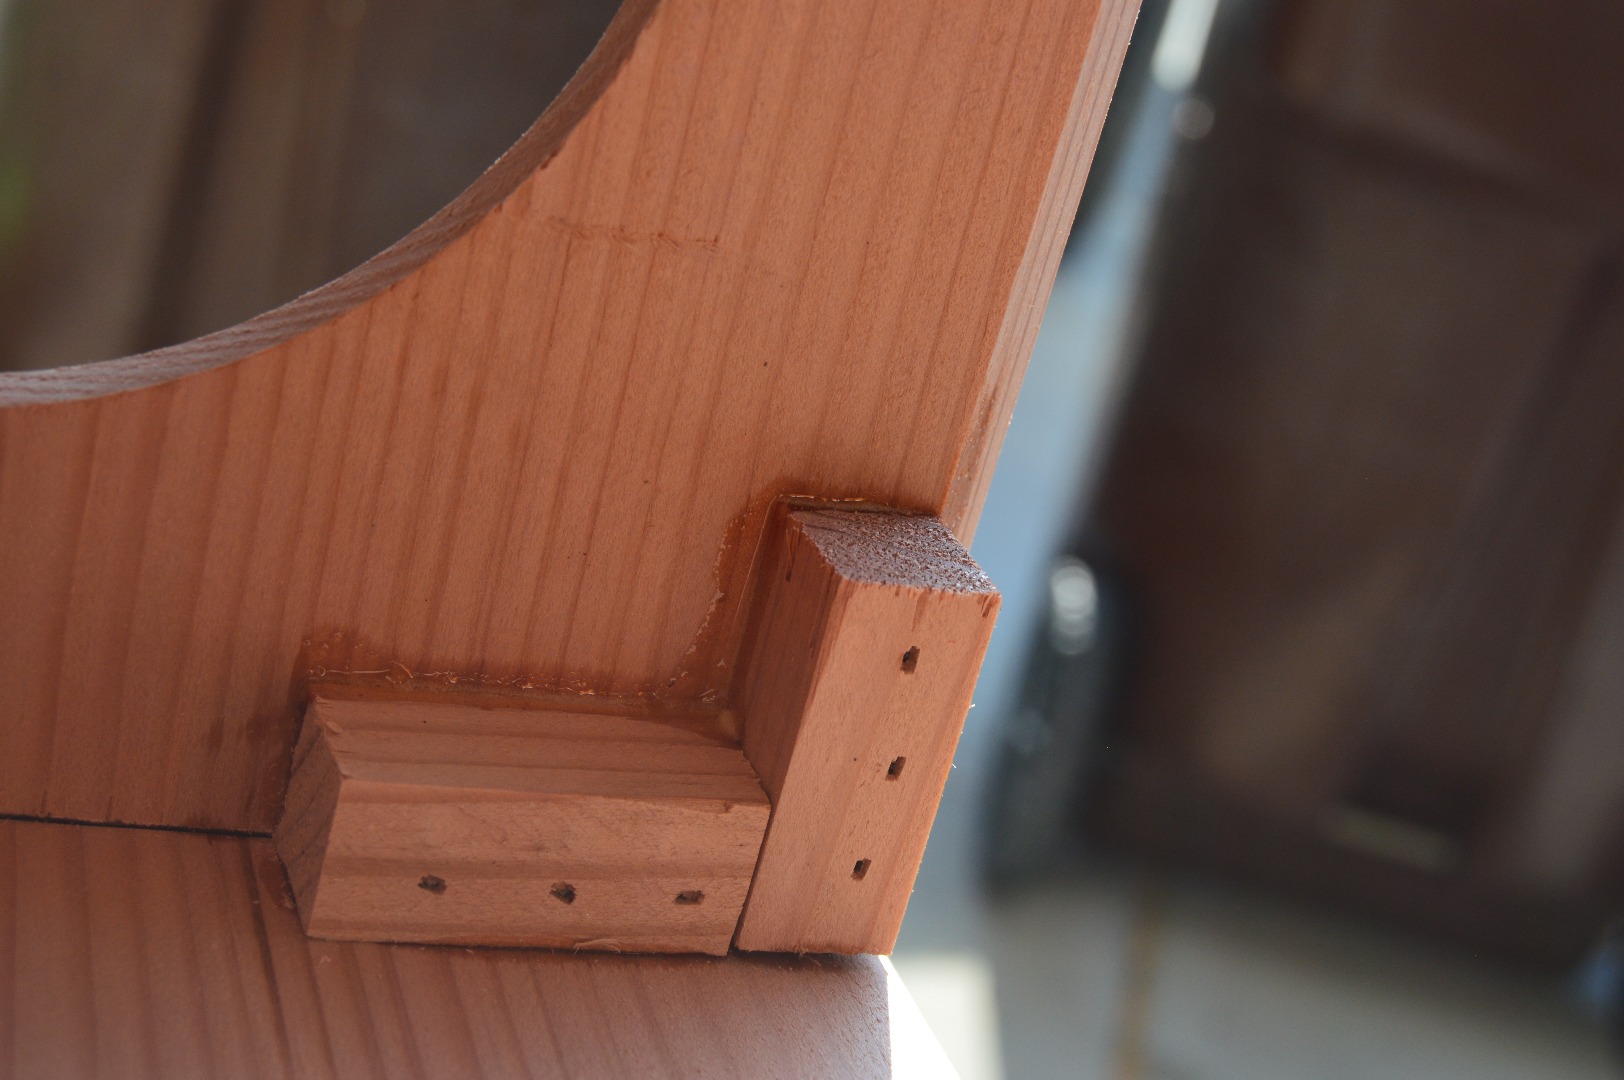
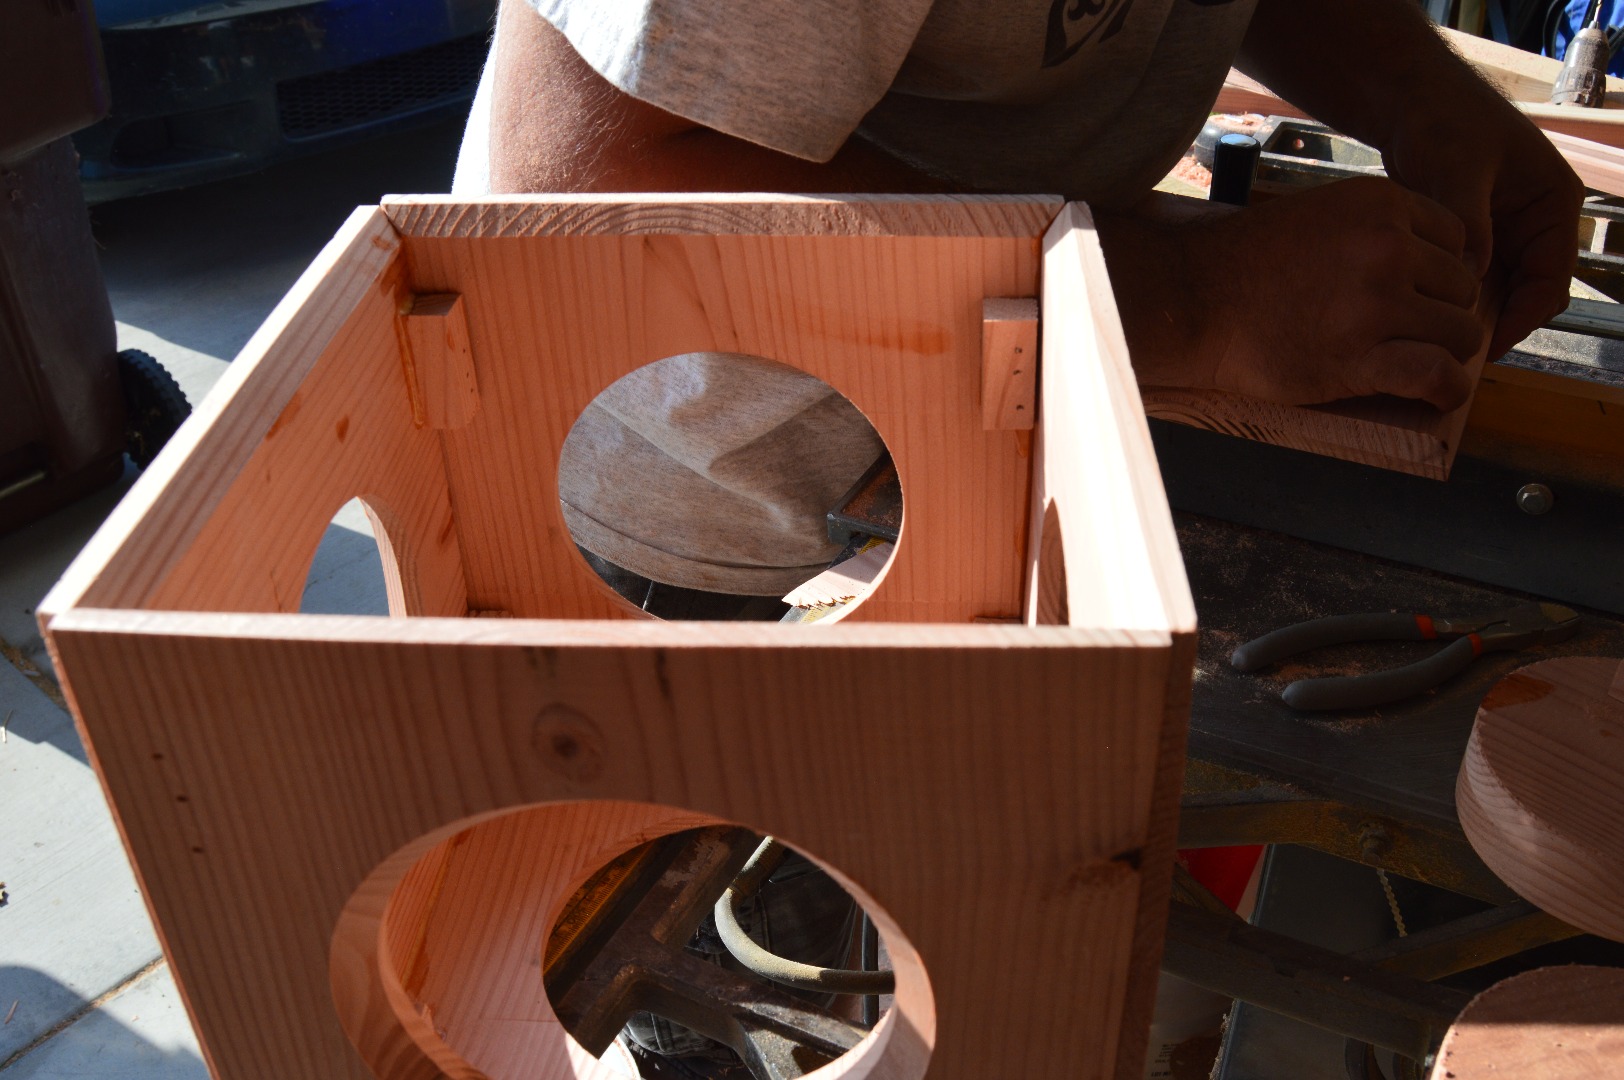
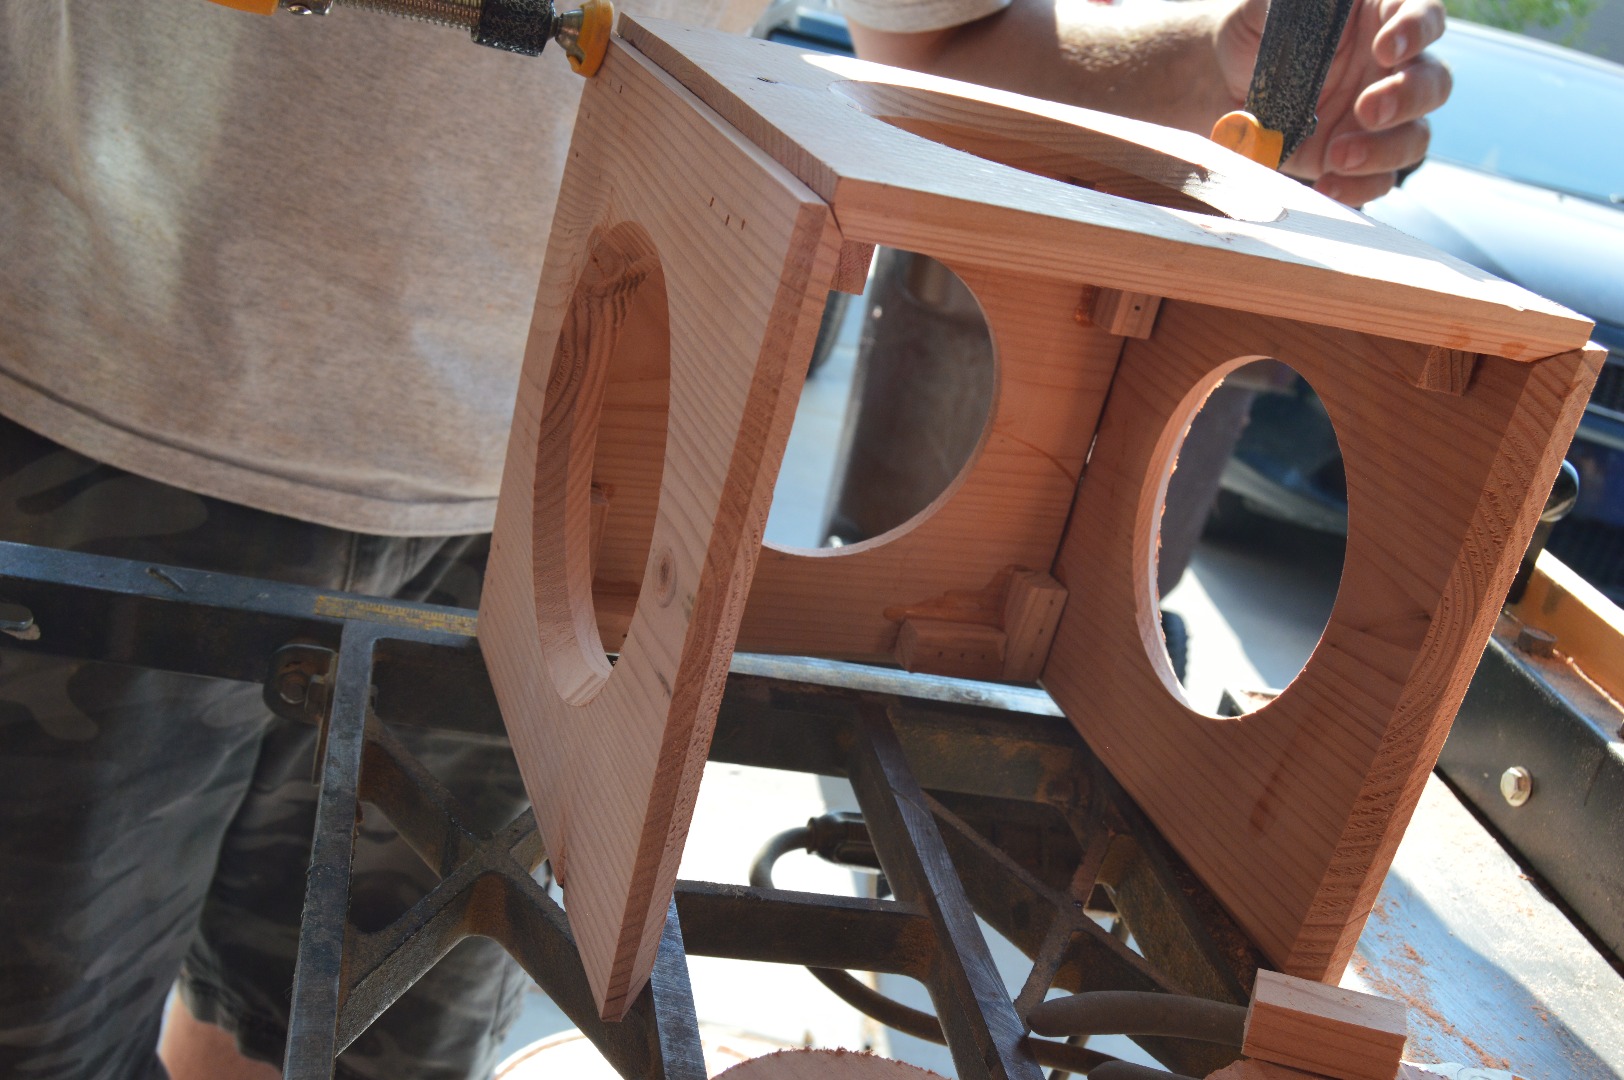
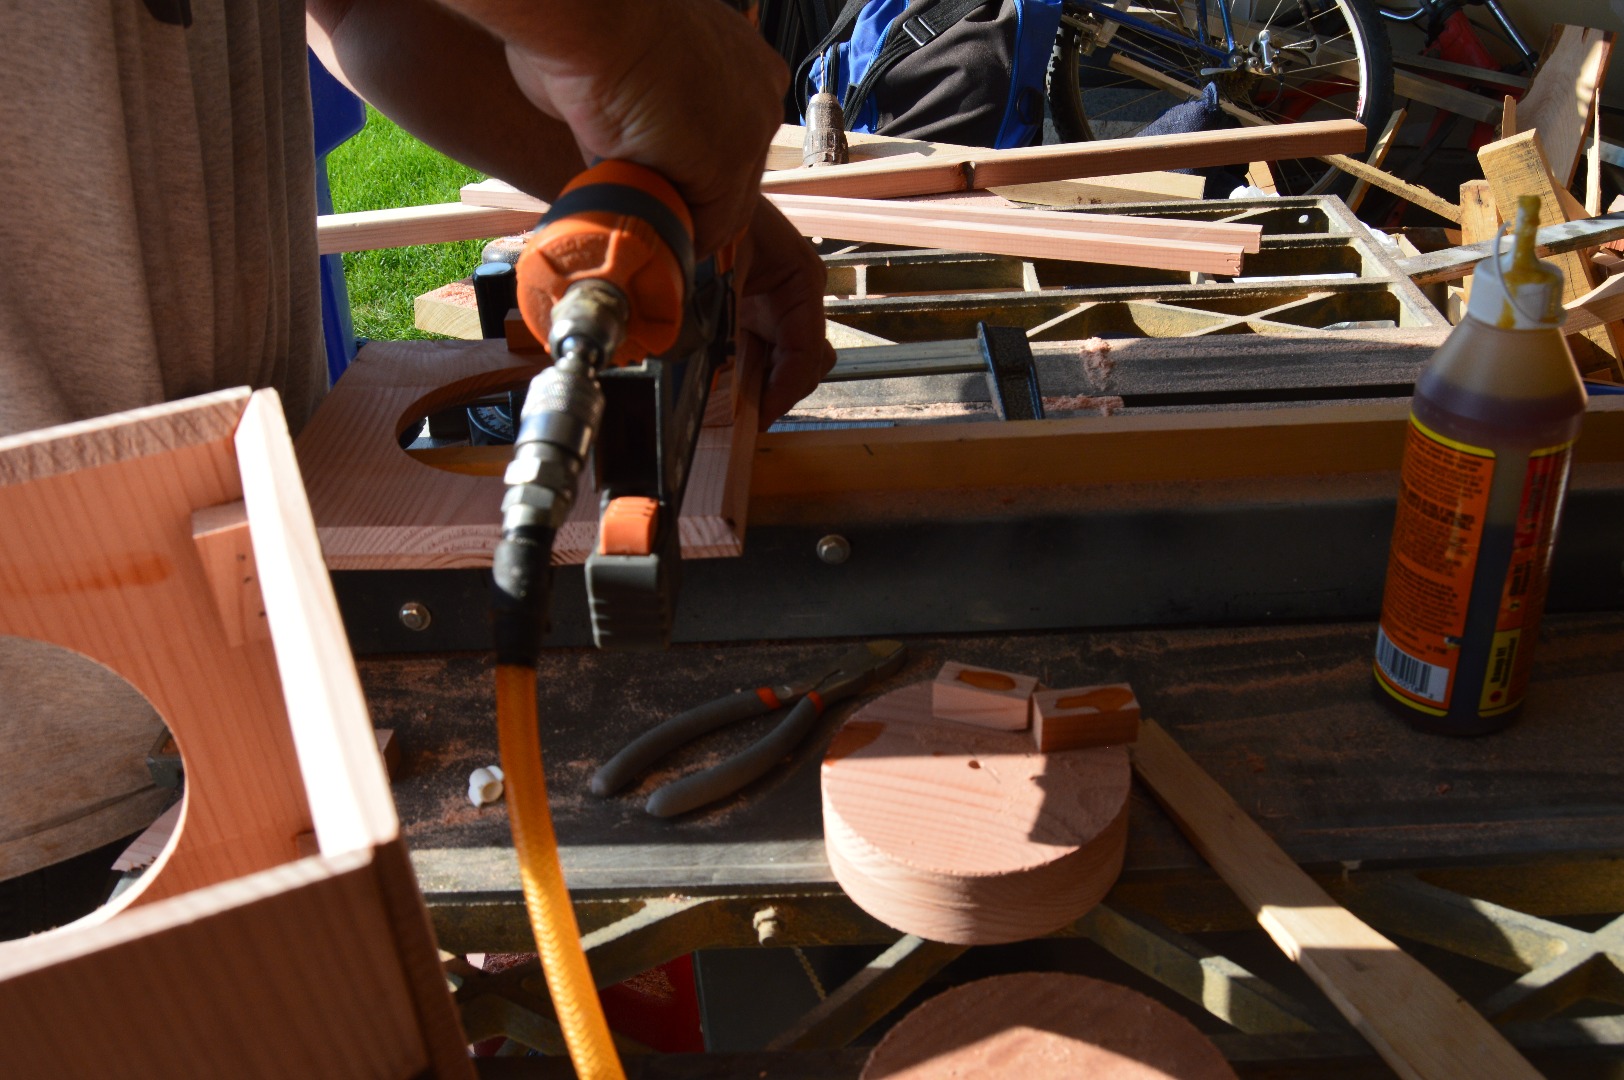
You can choose how big you want to have the little blocks to be when you put it together. We did smaller ones so that they weren't entirely in the way. These blocks we used to glue to the bigger squares and then nail them to the little blocks too. We used a nail gun to nail everything together. And once you are done gluing (Use gorilla glue) and nailing everything together, admire your work. You may need to use clamps to make sure that every corner fits together perfectly.
The Base
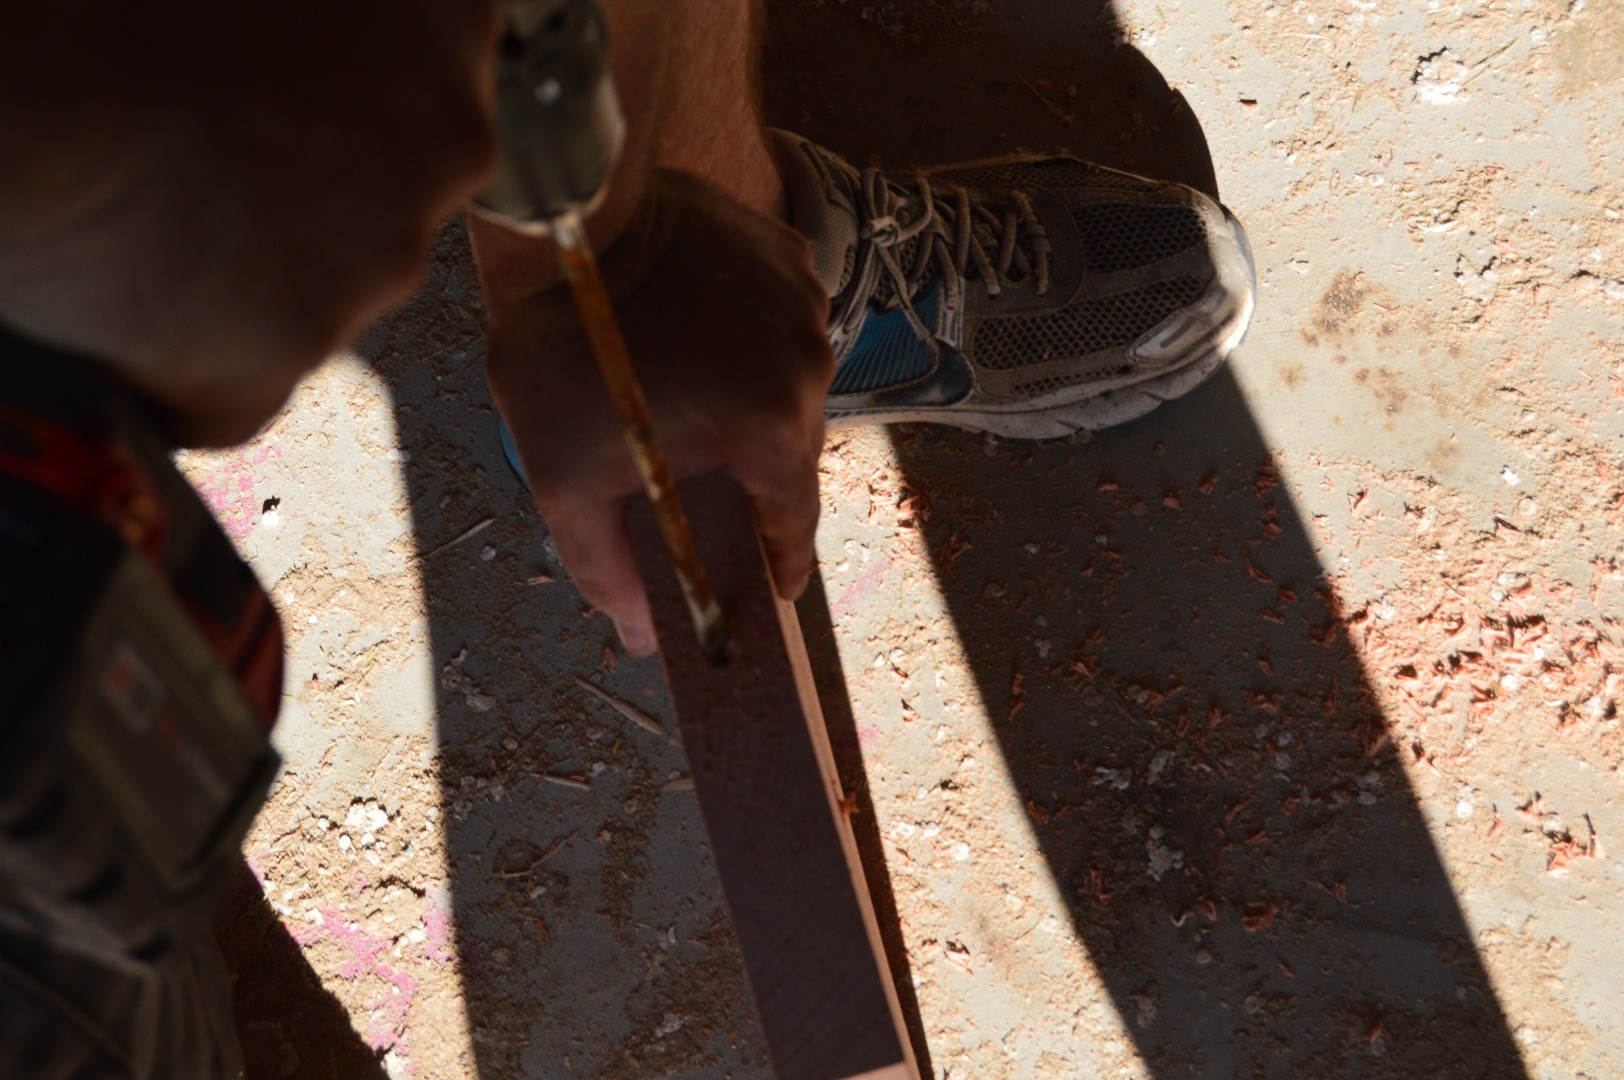
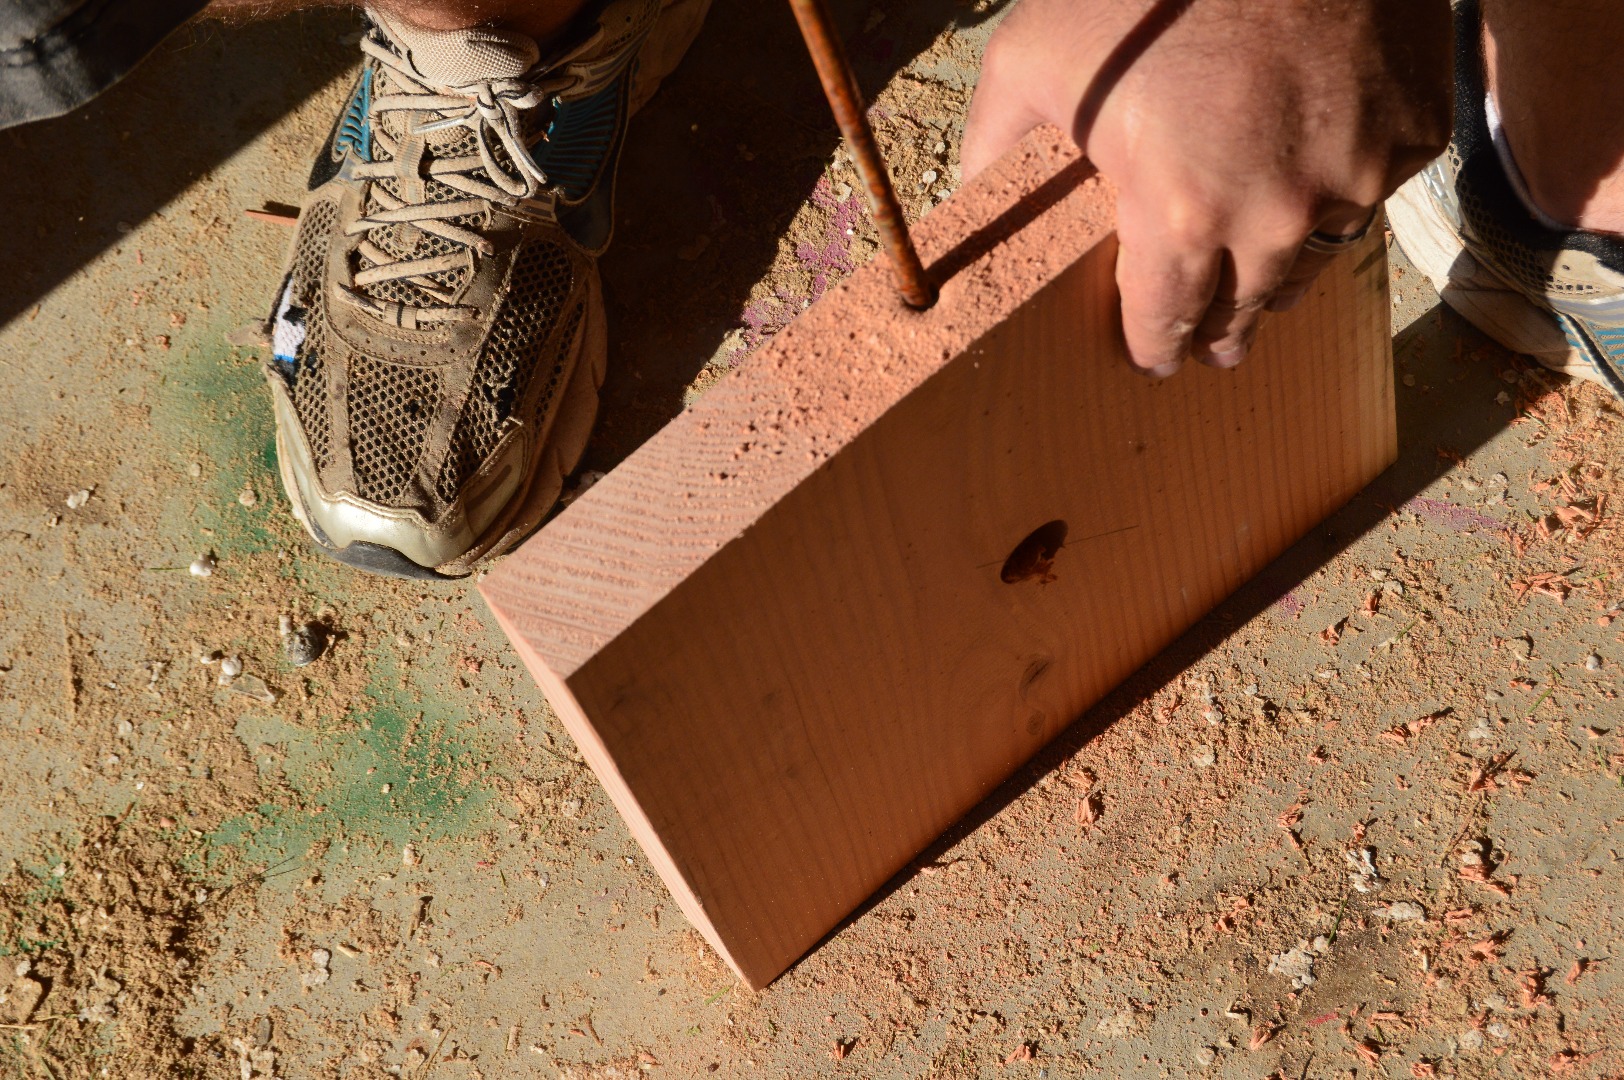
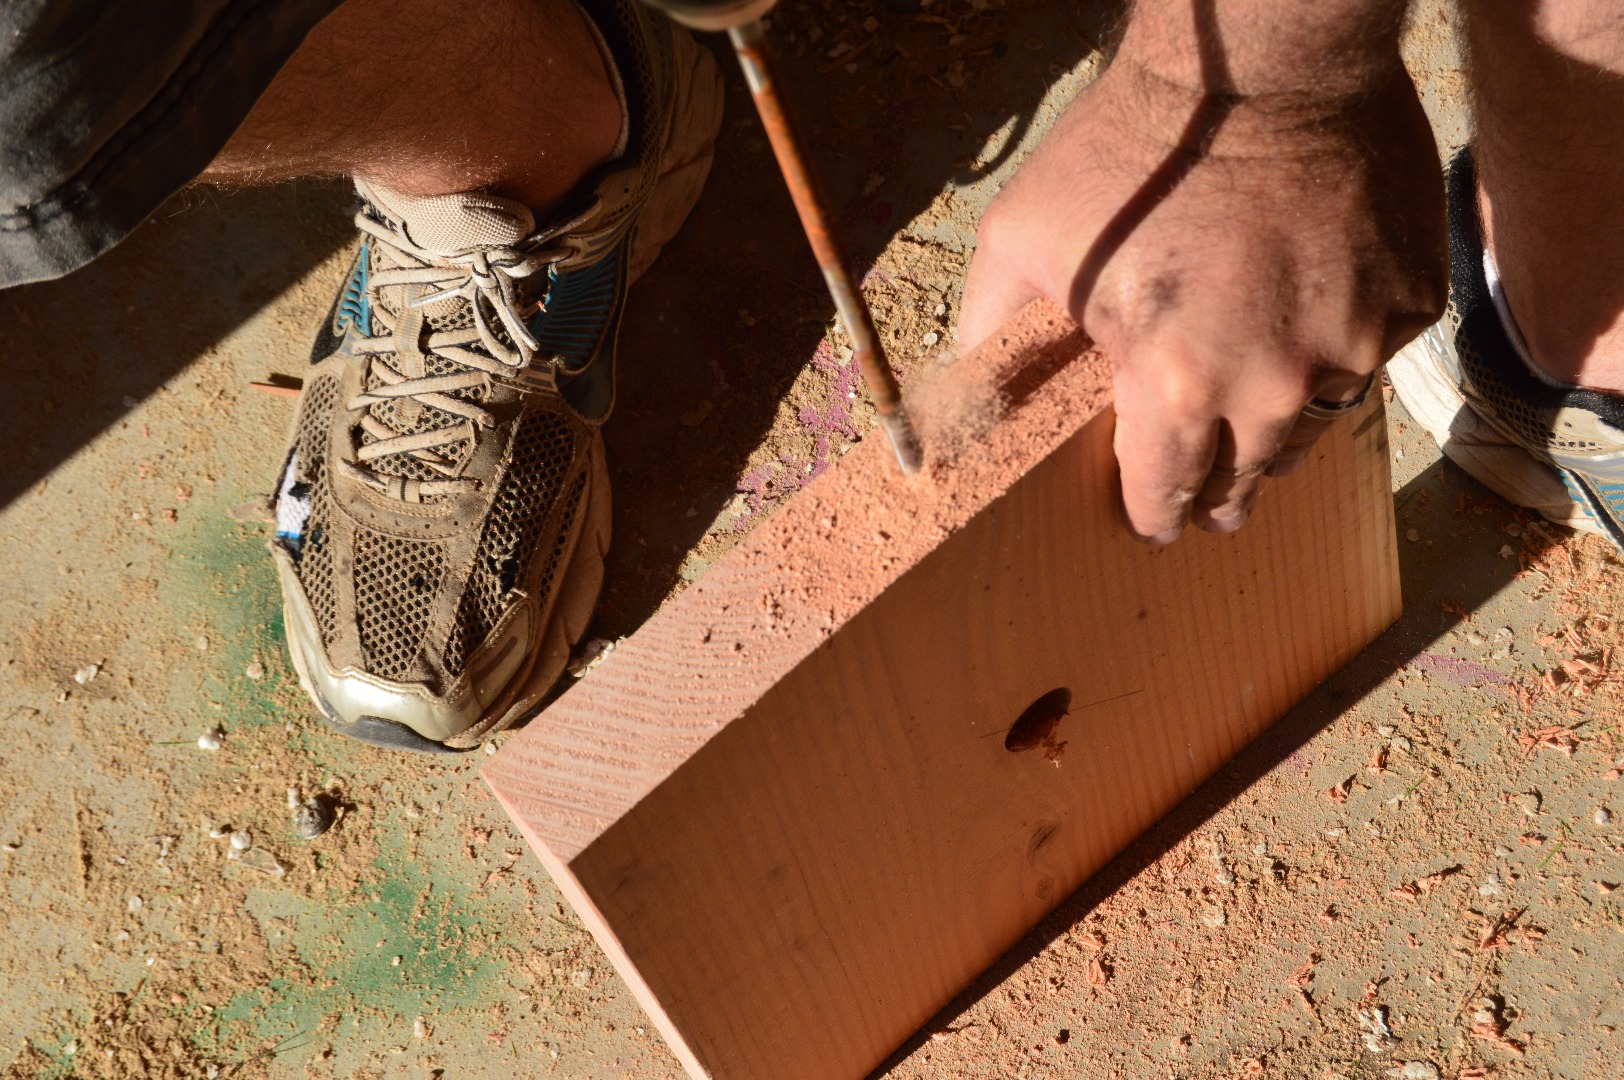
It all is up to you and how big you want this base to be. But when you do it be ready to make two different types of holes in it. The first one you want to make sure it is in the center or your base and goes down about half way through. Then turn it onto its side, (doesn't matter which side) and drill a hole big enough to fit a cord inside, but that hole needs to go to the bigger hole that you made in the center of the base. When the holes are done, blow the dust off, and put your cord through the side hole and up the center one.
The "filling" Kind Of.
![DSC_0872[1].JPG](/proxy/?url=https://content.instructables.com/FHQ/PL4L/IDQBR1BU/FHQPL4LIDQBR1BU.jpg&filename=DSC_0872[1].JPG)
![DSC_0873[1].JPG](/proxy/?url=https://content.instructables.com/F0H/CTVG/IDQBR1CG/F0HCTVGIDQBR1CG.jpg&filename=DSC_0873[1].JPG)
![DSC_0874[1].JPG](/proxy/?url=https://content.instructables.com/FL5/15VN/IDQBR1CI/FL515VNIDQBR1CI.jpg&filename=DSC_0874[1].JPG)
![DSC_0875[1].JPG](/proxy/?url=https://content.instructables.com/F02/VGXH/IDQBR1CL/F02VGXHIDQBR1CL.jpg&filename=DSC_0875[1].JPG)
You can use clear acrylic, or blackish acrylic, or no acrylic. But cut it with whatever works best for you into a somewhat smallish square. and then use double sided sticky tape. (The brown tape) and attach it to the your Pandorica circle. and do the same thing for the last four. This step is complete, and you are almost done. Applaud yourself!
Painting!
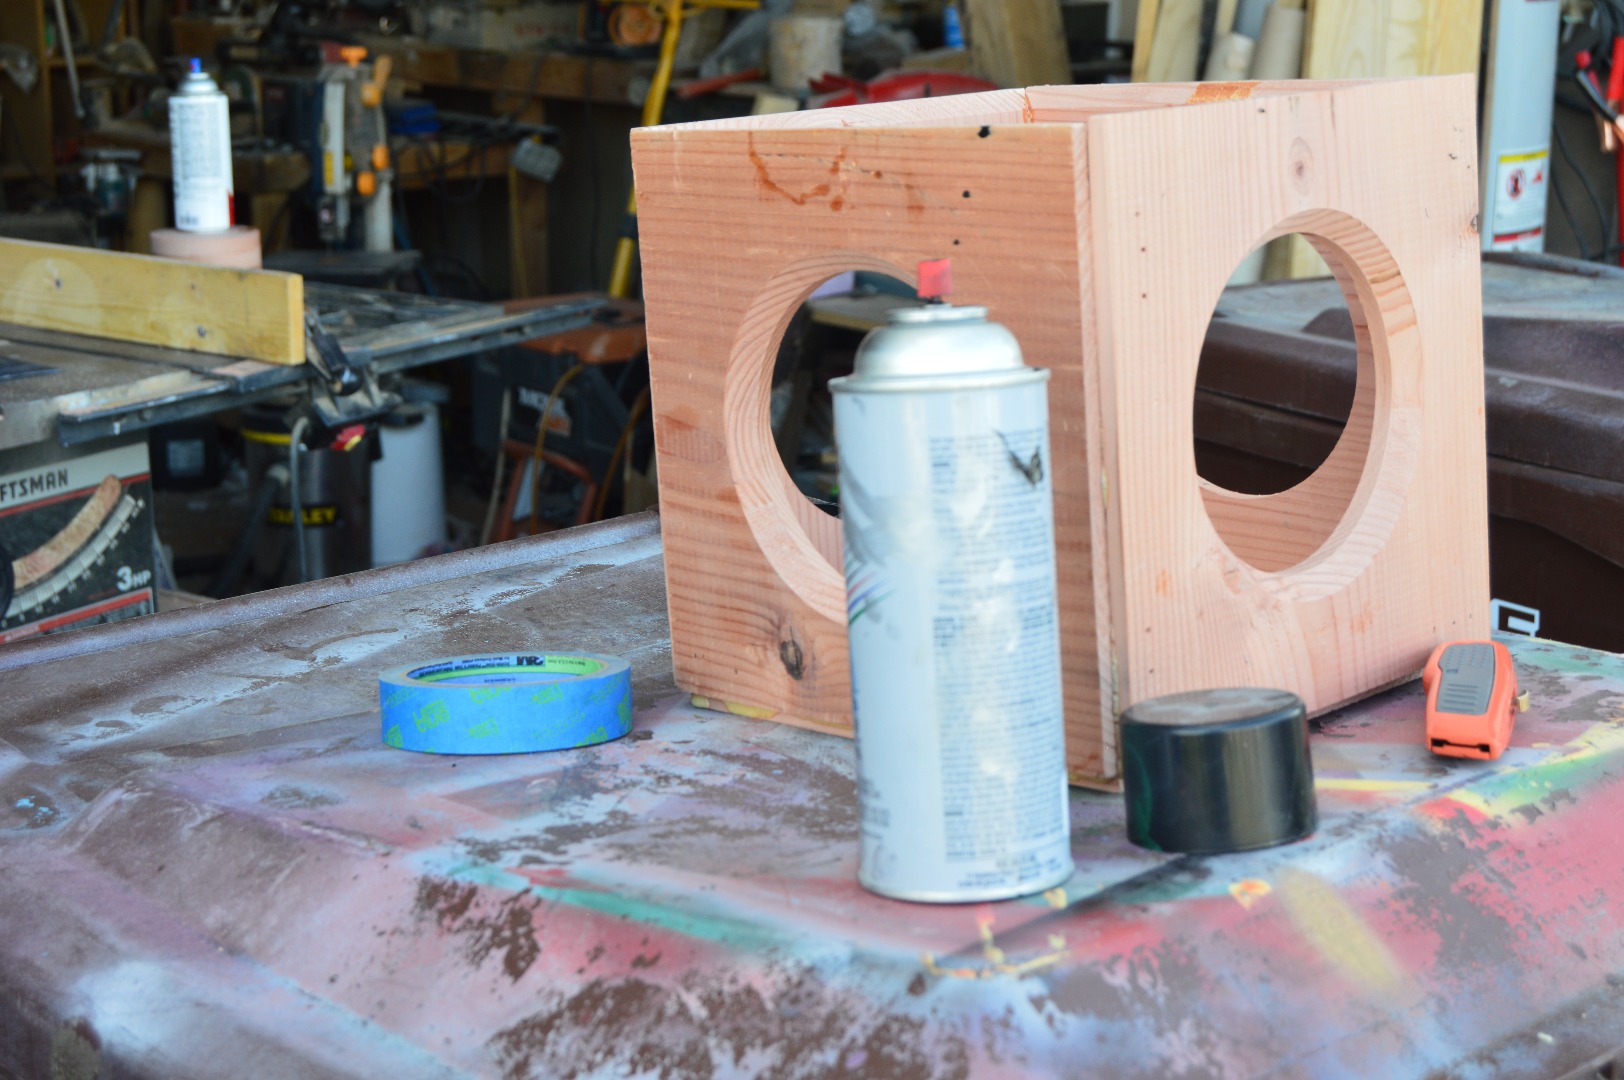
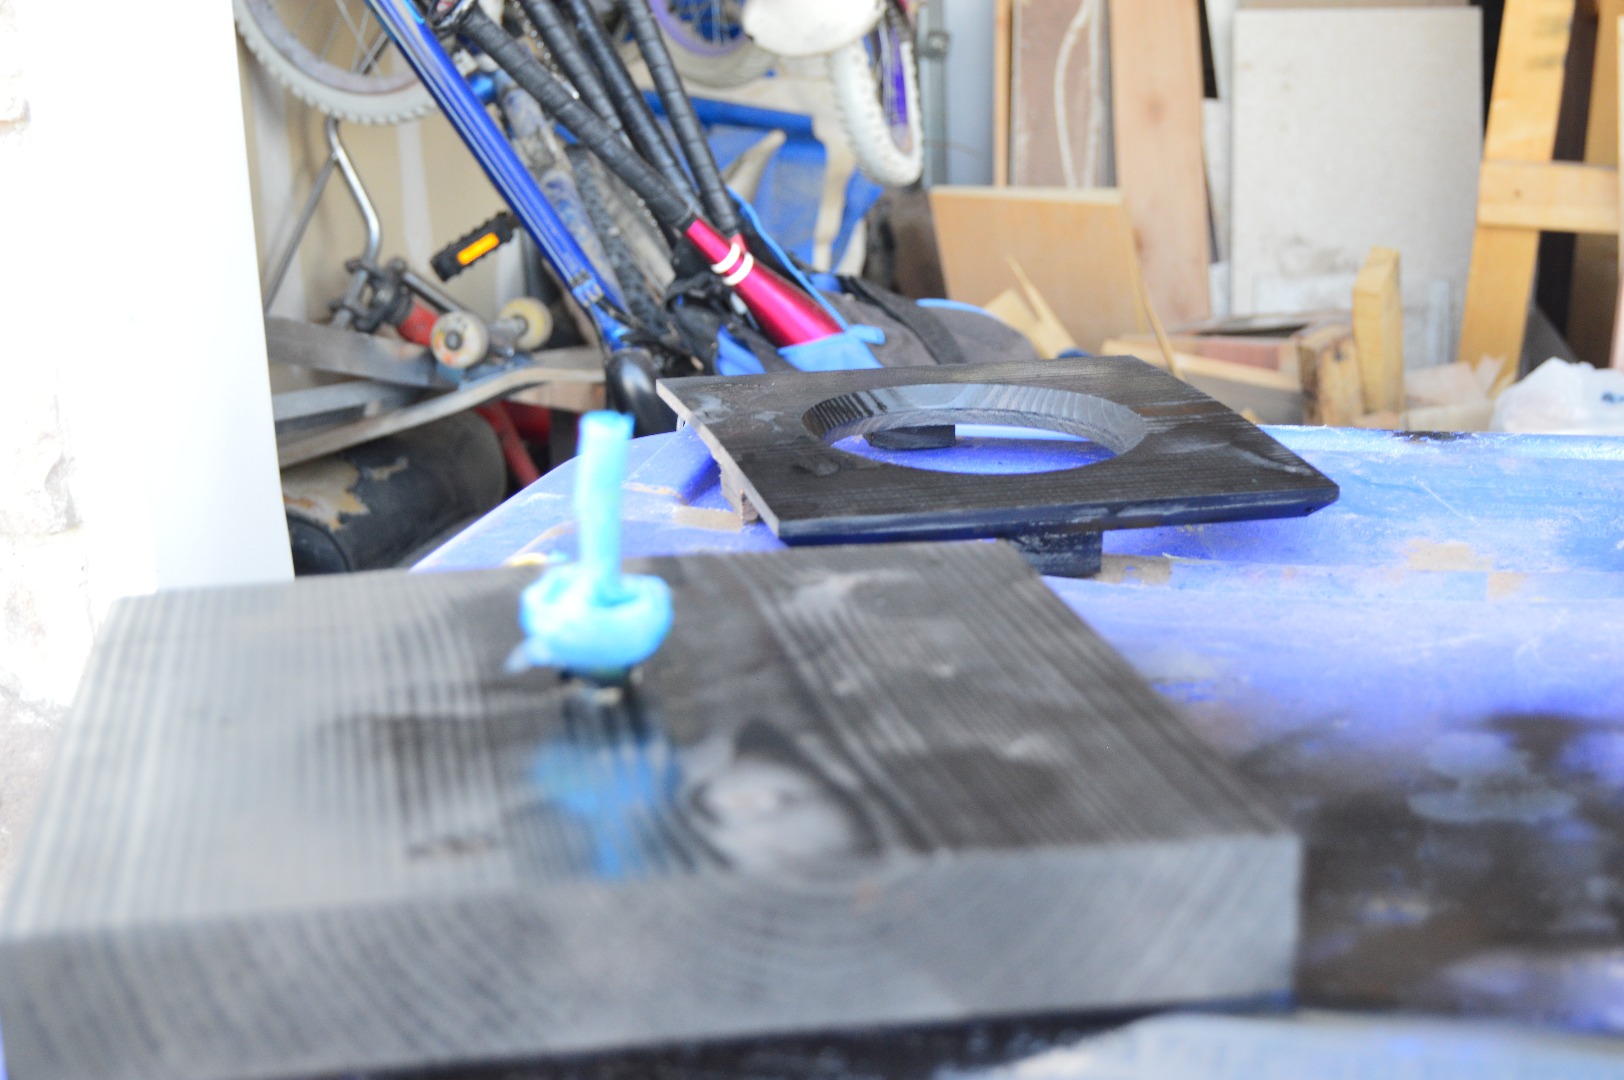
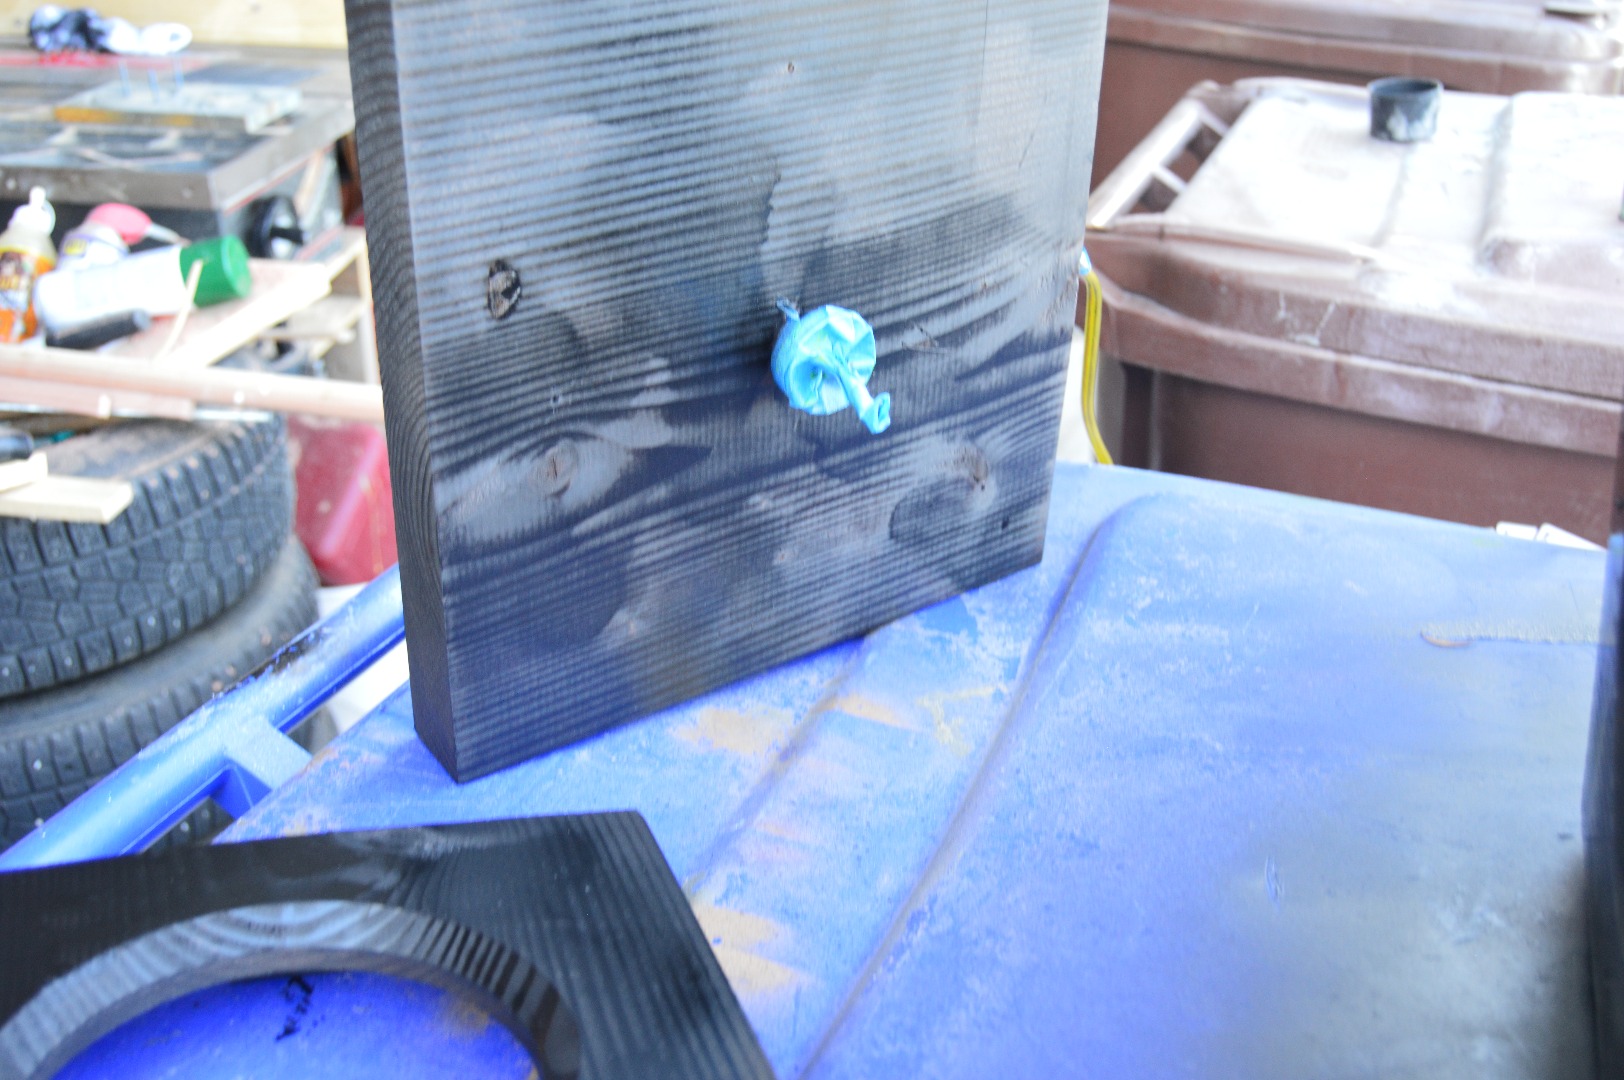
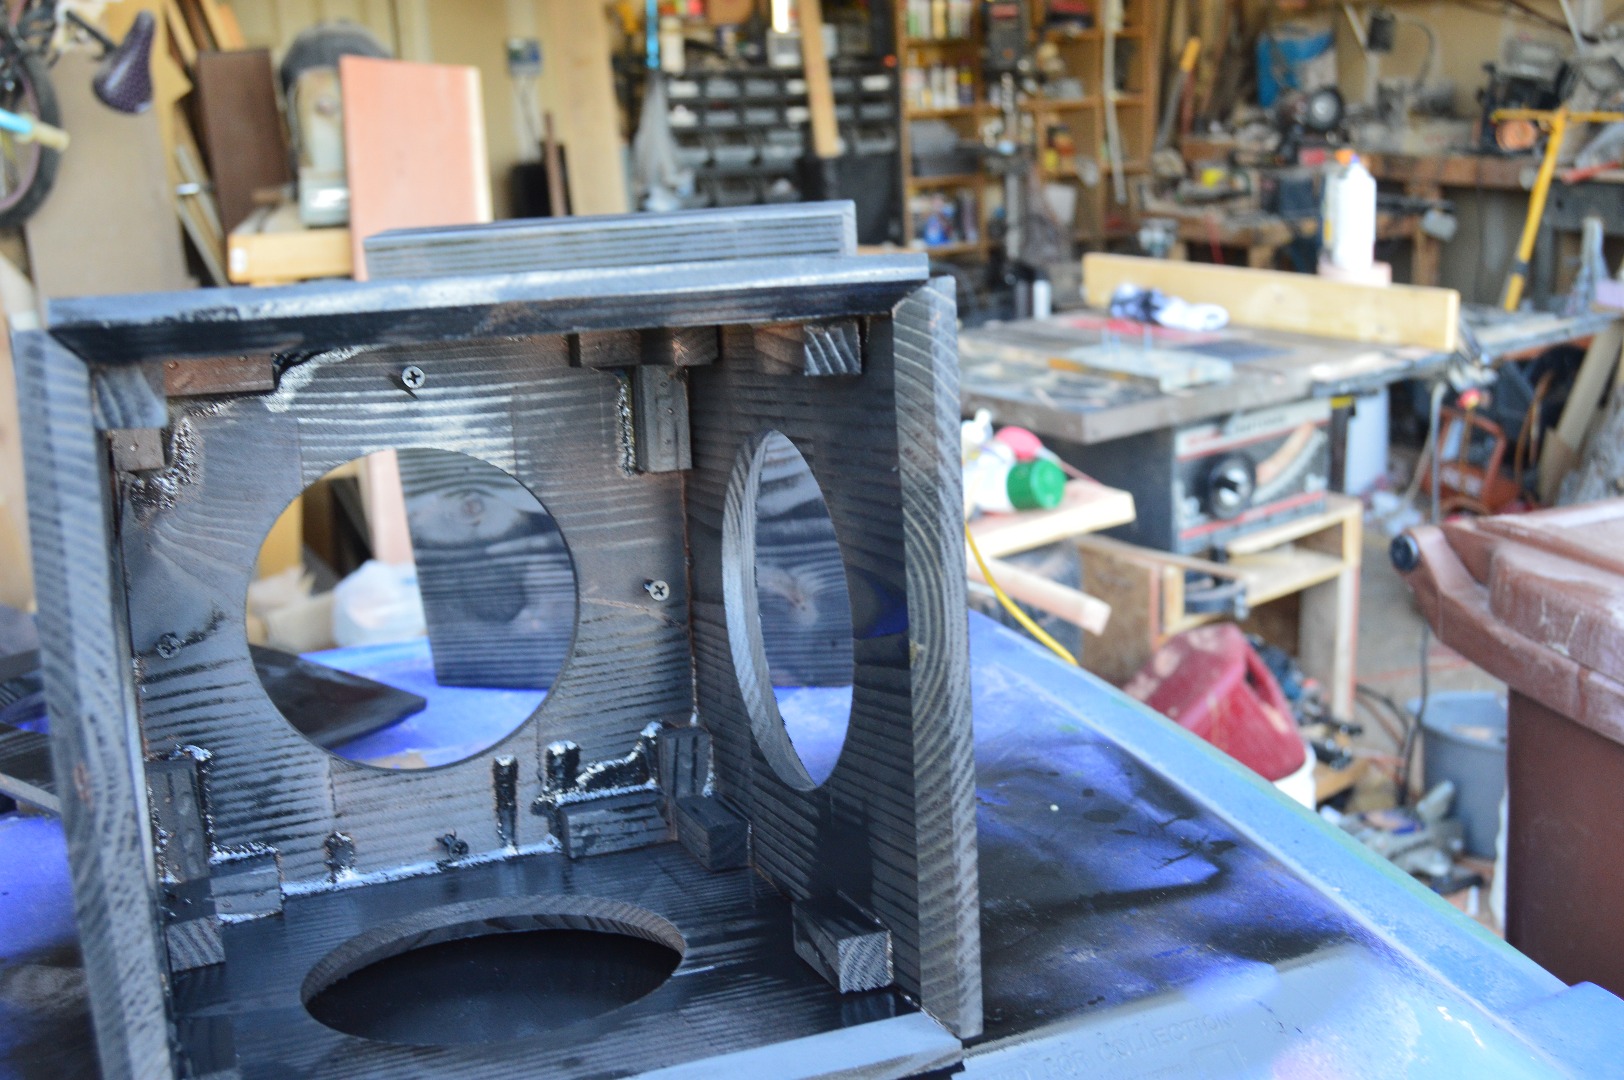
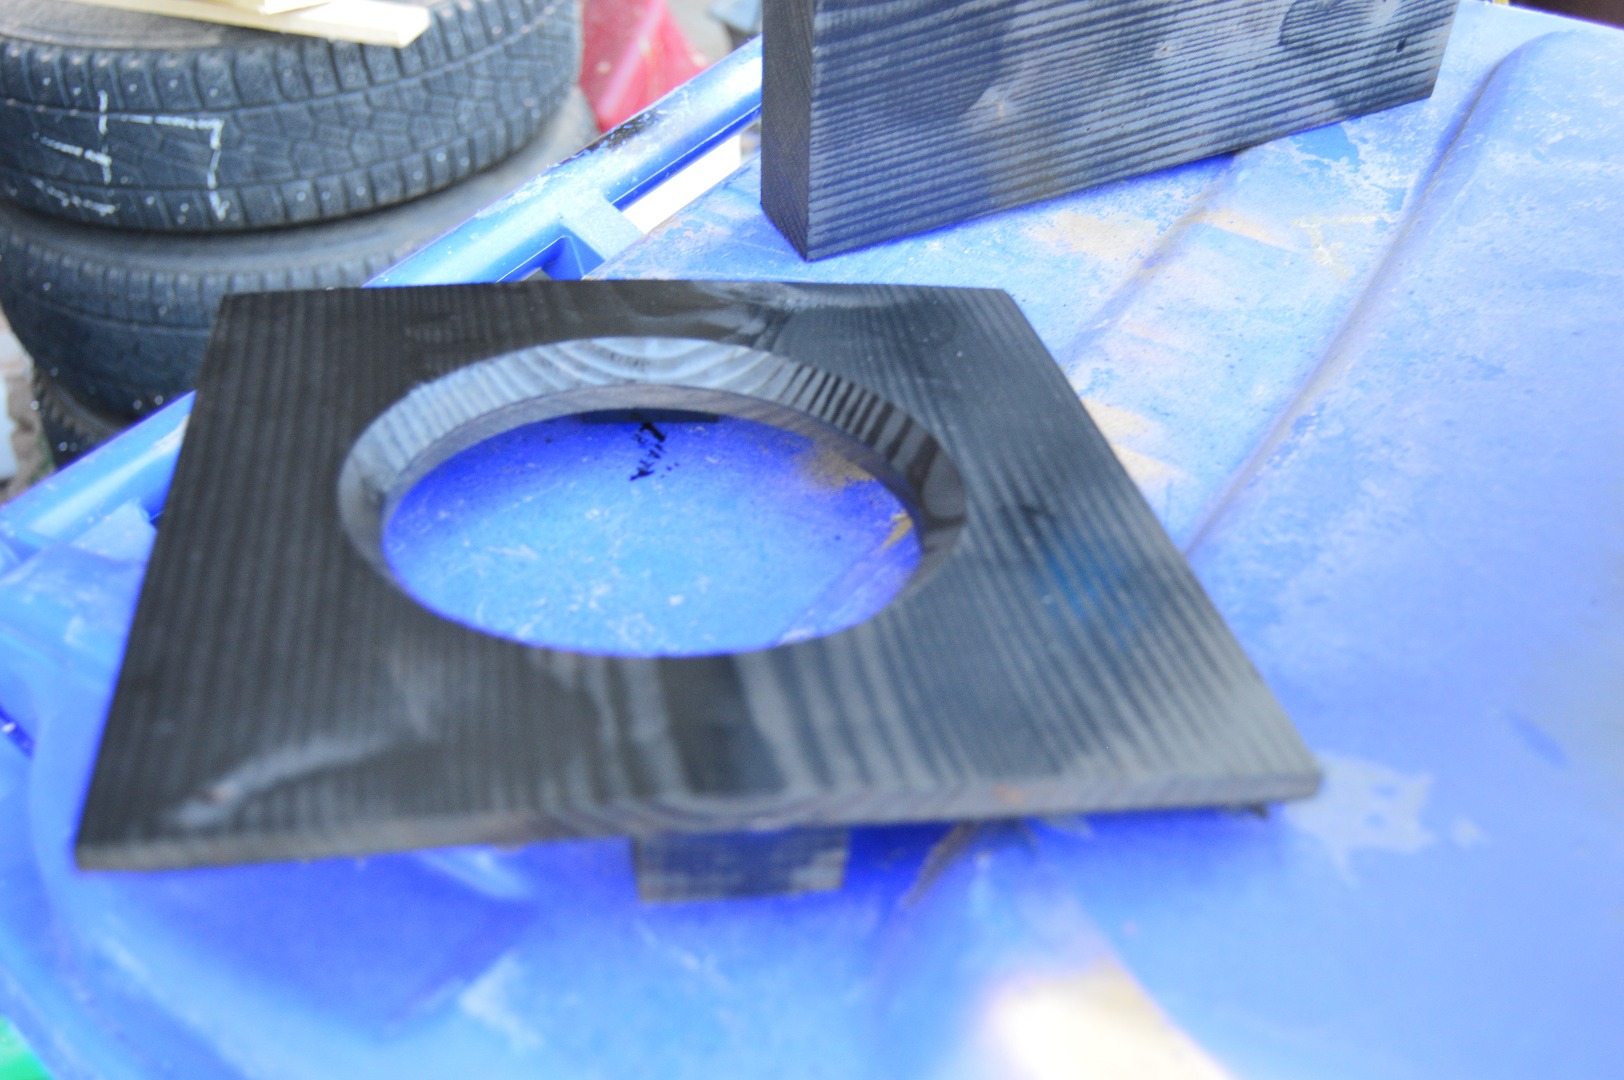
You can use a paint brush or you can use spray paint. (I used spray paint.) And paint the whole thing! But make sure that you don't get the cord covered in paint. Or the light won't work. Finish painting and then let it dry. Almost done!
Now Use Your Circle Square Things
![DSC_0877[1].JPG](/proxy/?url=https://content.instructables.com/FM7/HS1Z/IDQBR1CN/FM7HS1ZIDQBR1CN.jpg&filename=DSC_0877[1].JPG)
![DSC_0887[1].JPG](/proxy/?url=https://content.instructables.com/FRA/F9Q8/IDQBR1CU/FRAF9Q8IDQBR1CU.jpg&filename=DSC_0887[1].JPG)
![DSC_0888[1].JPG](/proxy/?url=https://content.instructables.com/FRS/ZLDT/IDQBR1CV/FRSZLDTIDQBR1CV.jpg&filename=DSC_0888[1].JPG)
![DSC_0892[1].JPG](/proxy/?url=https://content.instructables.com/FQQ/9LT6/IDQBR1D2/FQQ9LT6IDQBR1D2.jpg&filename=DSC_0892[1].JPG)
Now you have to add them to the box. I used glue dots, but you can use tape or glue. Depending on your resources. Do all sides, and you have completed your lamp!
After Paint
![DSC_0886[1].JPG](/proxy/?url=https://content.instructables.com/FLP/22LR/IDQBR1CR/FLP22LRIDQBR1CR.jpg&filename=DSC_0886[1].JPG)
![DSC_0885[1].JPG](/proxy/?url=https://content.instructables.com/FWB/ESSK/IDQBR1CP/FWBESSKIDQBR1CP.jpg&filename=DSC_0885[1].JPG)
![DSC_0881[1].JPG](/proxy/?url=https://content.instructables.com/FPV/1F14/IDQBR1CO/FPV1F14IDQBR1CO.jpg&filename=DSC_0881[1].JPG)
This is a useless step. This is just a sunlight picture from after the paint.
Complete!
![DSC_0890[1].JPG](/proxy/?url=https://content.instructables.com/FHJ/V6W5/IDQBR1CY/FHJV6W5IDQBR1CY.jpg&filename=DSC_0890[1].JPG)
![DSC_0889[1].JPG](/proxy/?url=https://content.instructables.com/FQ2/B9N0/IDQBR1CX/FQ2B9N0IDQBR1CX.jpg&filename=DSC_0889[1].JPG)
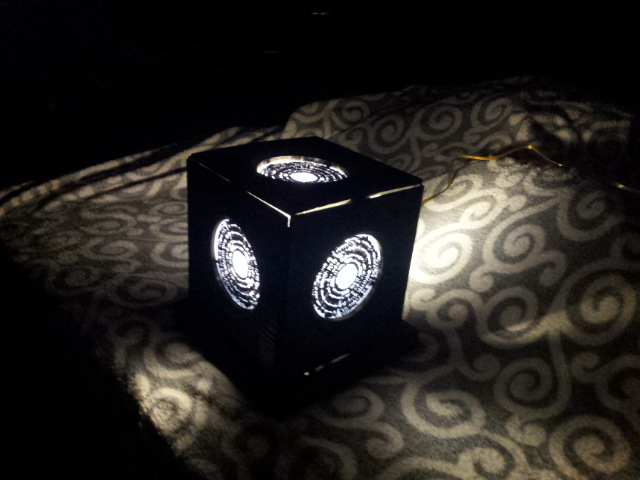
This is the end, you have your choice of light bulb can be placed in the bulb place. And it will glow now. You did it!