How to Make Glowing Text in Paint.NET
by mad_scientist in Circuits > Cameras
62956 Views, 9 Favorites, 0 Comments
How to Make Glowing Text in Paint.NET
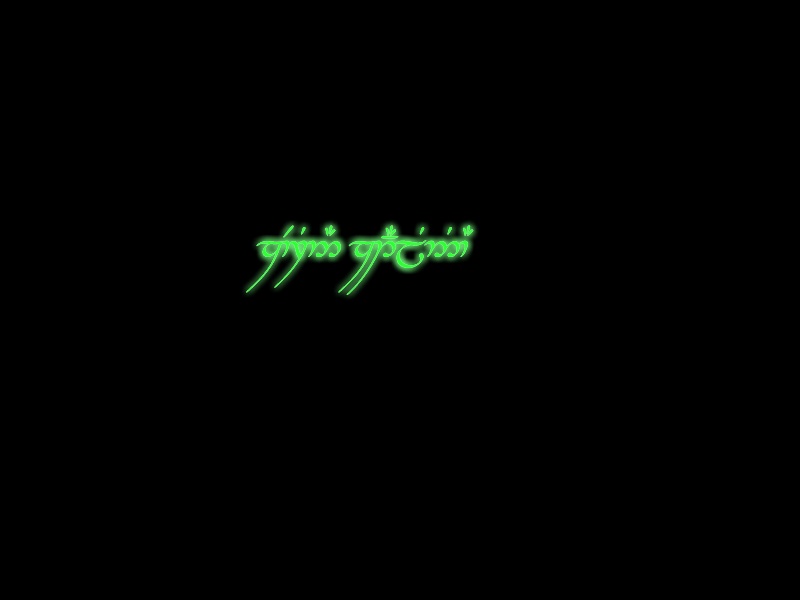
This is how to make text have a glowing effect in Paint.NET. In this instructable, I used the Tengwar Annatar font with the glowing effect to make a kind of "magic runes" look; however, this technique can be applied to every font.
Paint.NET
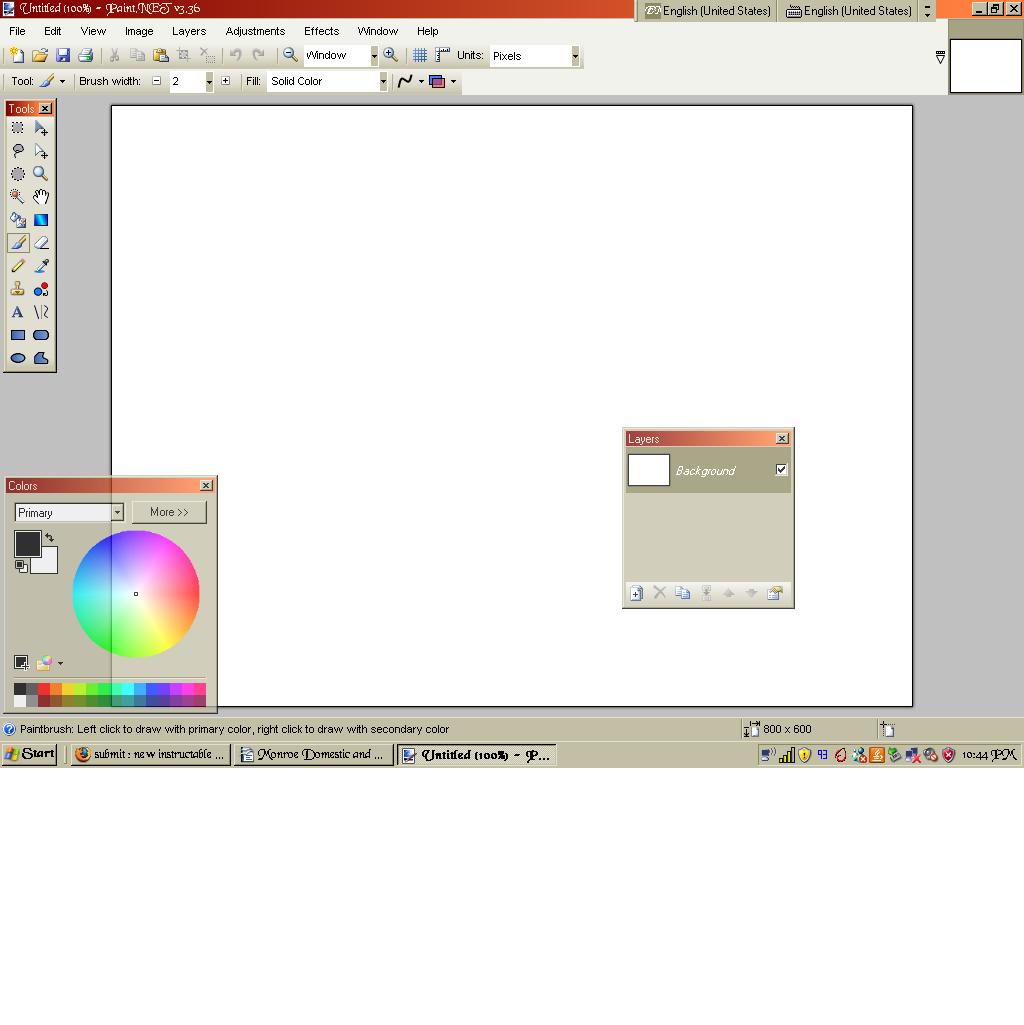
If you don't have Paint.Net, you should download it for free. Search Paint.NET on google, and download the Windows installer if you have windows, etc. Install it, and run the program.
Layer 1
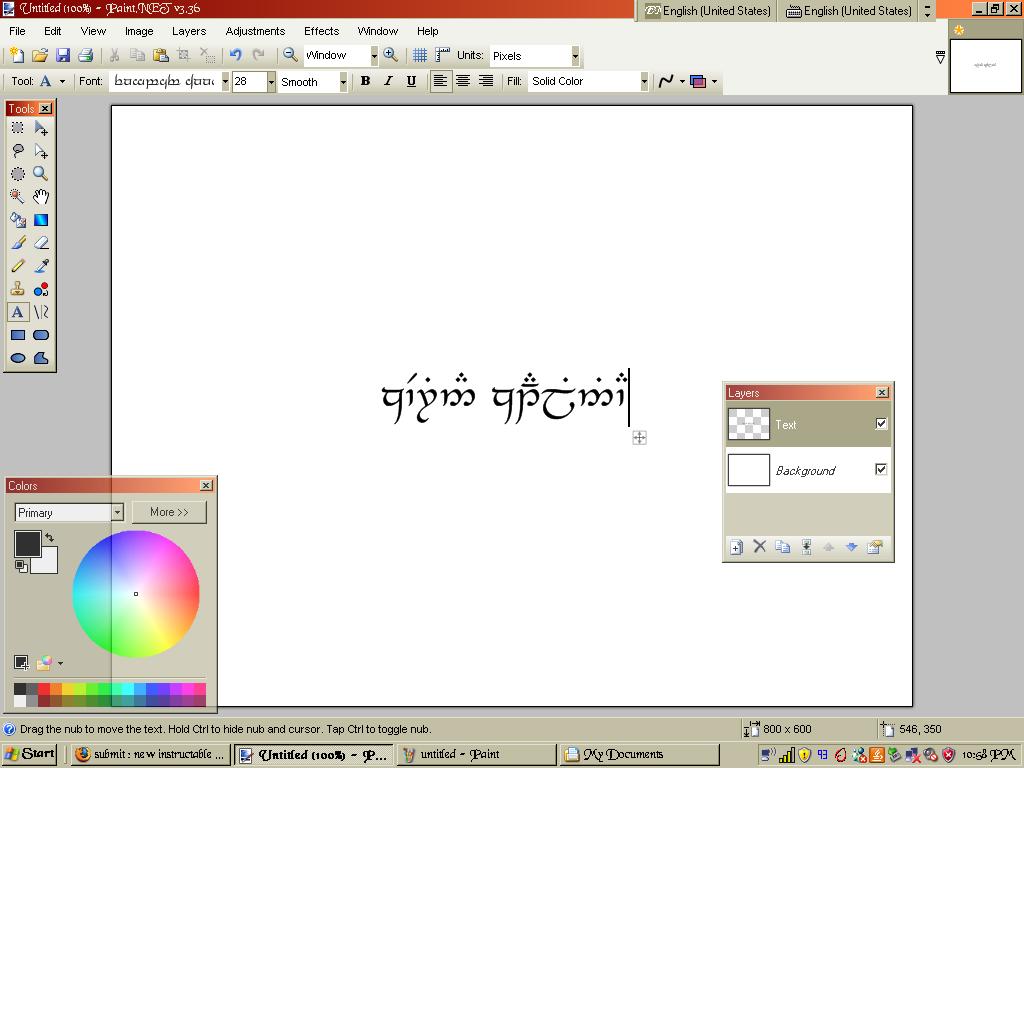
When you first open the program, you will see a lot of open boxes. If you've used a graphics program before, this should not baffle you. The bottom left box is for choosing the color of what you are doing, and the box on the right is for your layers, which I will explain in a moment.
First, you want to leave the "Background" layer alone and instead click the "New layer" icon which is the one on the bottom of the layers window all the way on the left. It looks like a paper with a plus sign on it. Double click on the new layer to open a window and name the layer "text". This layer is where you want to type your text normally.
To do this, click on the text tool on the left sidebar (It looks like the letter A) and then click on the drawing space. Type the text you want to have the effect applied to, the font and size and such are controlled by the bar on the upper part of the screen. When you've typed your desired text, move it by dragging the little plus sign under the text box. Leave the upper (primary) color box black and the lower (secondary) color box white like in the picture.
Layer 2
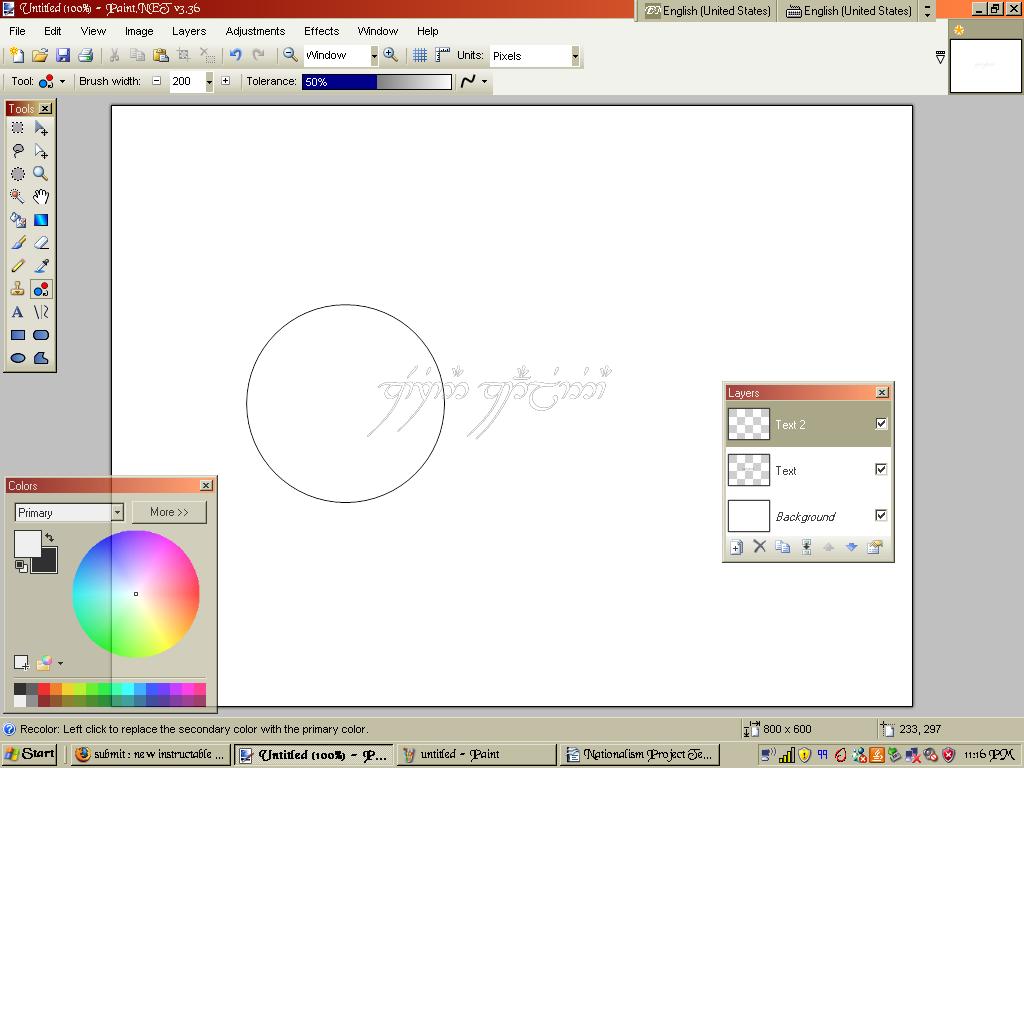
For this, you want to make sure your "text" layer is selected. Now, click the "Layer duplication" icon, which is the one to the right of the "X" icon. It should clone your "text" layer. Name this second layer (the one above the other "text" layer) "text 2". Make sure your "text 2 layer is above the "text" layer in the list.
Select your new layer, and click the "recolor" icon, the one on the sidebar that looks like the red circle pointing to the blue circle. Go to the top bar and change the brush width to 200. Now, in the color box, reverse what you had before. Make the upper (primary) box white by clicking on it and then selecting the white icon on the bottom rows. Then make the lower (secondary) color black in the same way.
After this, when you hover your mouse over the drawing area, you should see a big circle. Click and drag the circle over your text until it looks like white text with a thin black outline.
Layer 1 - Blur
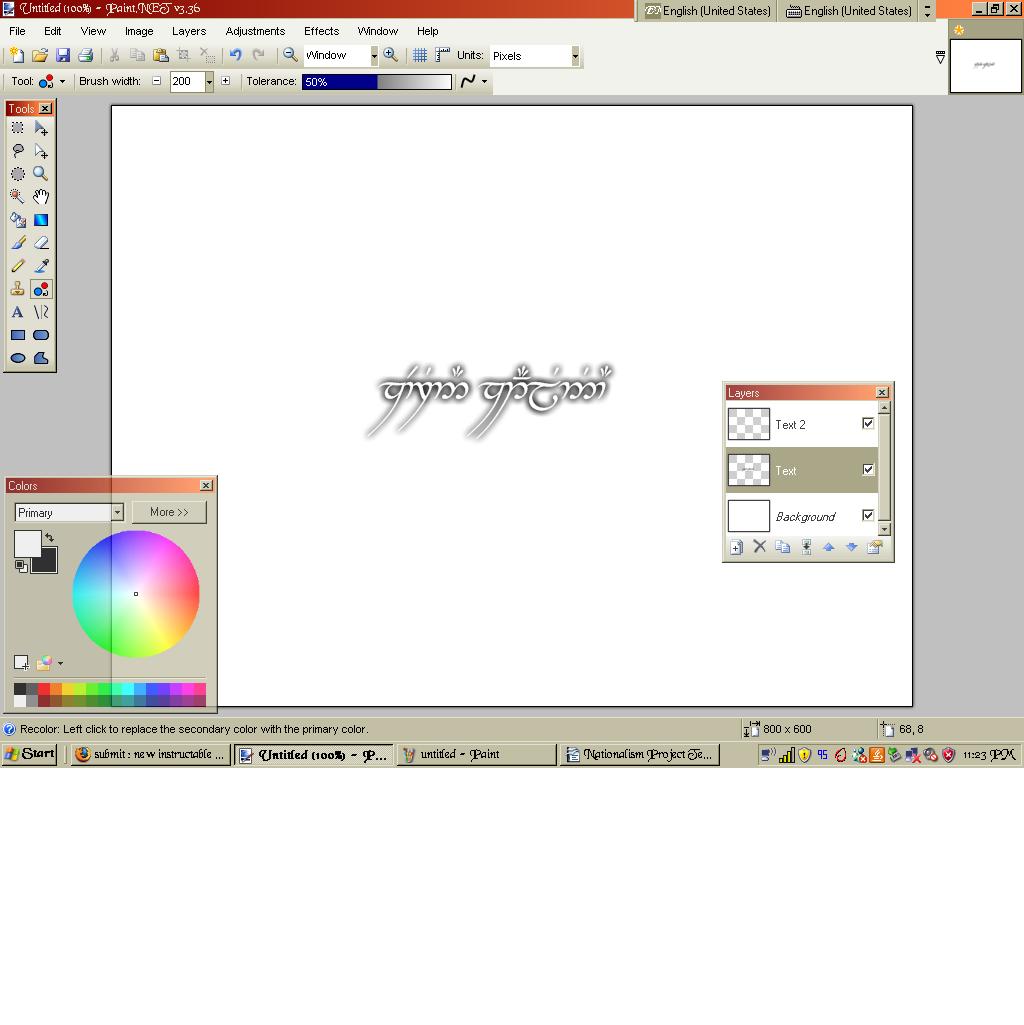
Now, select your "text" layer in the layer box. In the topmost tool bar on the screen, click Effects - Blurs -Gaussian Blur. In the dialog box, change the number on the right to 7, or a bigger number if your blur doesn't look right. Then click OK. You should get a shadowy kind of effect with white text in front of it. Now, staying on your "text" layer, click the Layer duplication icon two times. You will end up with the blur thing being darker, and three layers labeled "text". Immediately after, click the icon labled "Merge down" (the one to the right of the duplication icon) twice. The 3 "text" layers should become one layer.
Add Color (to the "glow")
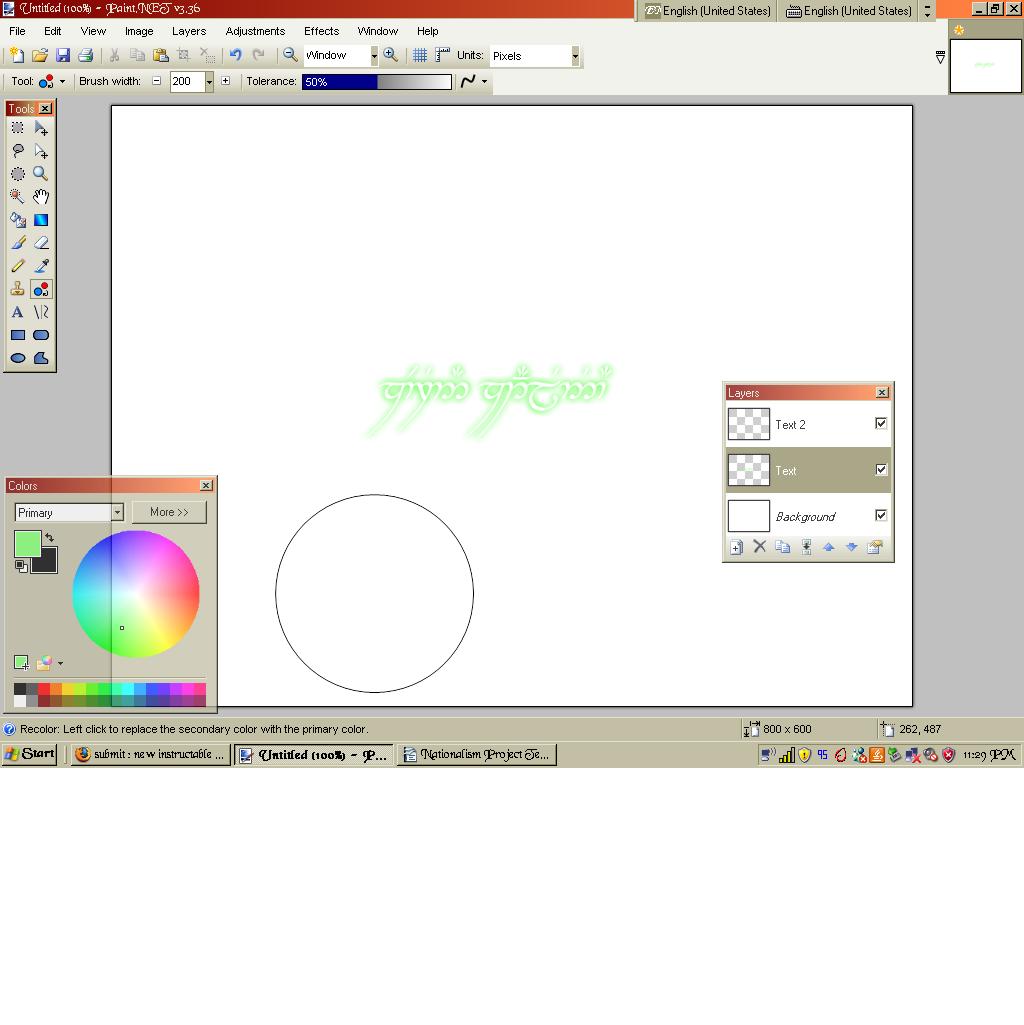
Make sure your "text" layer is still selected. Now, go down to your color box, and make the upper box the color that you want the glow to be. Then, using the color replacement tool, drag the circle over the text and the blur shadowy stuff should turn into the color you want. If you don't like the color you picked, just click undo in the Edit menu.
Making the Main Text Color
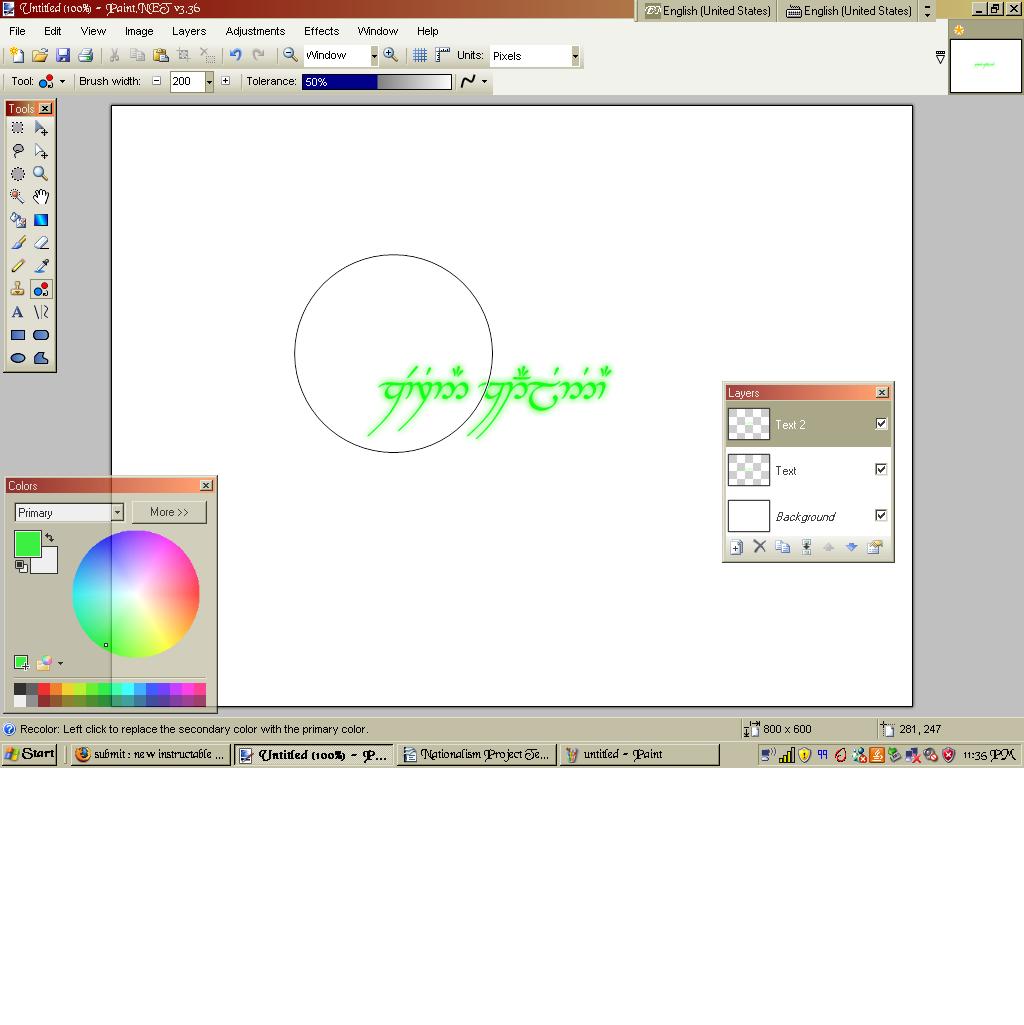
Now, to make your main text, (the text currently white that is your "text 2" layer) into the color you want. Make sure you are on your "text 2" layer. Now, change the lower color box to white in the aforementioned way. Now do the same thing as in the previous step, except choose the color you want the letters to be. Drag the circle over the text. Once again, undo if you don't like it.
Background
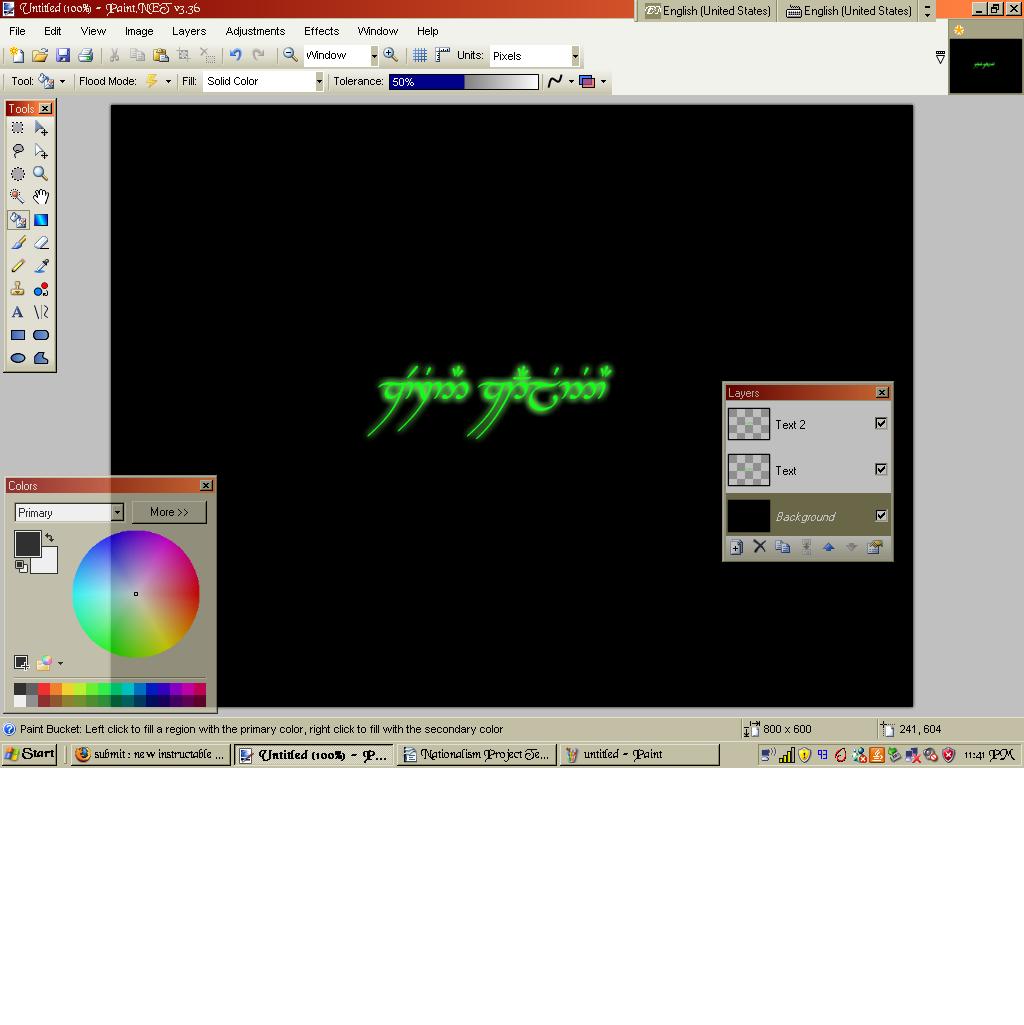
Now, you can make your background color. Fiddle around on your "background" layer to get what you want. I made my background a simple black by selecting the background layer, making the upper color box black, and the lower color box white, and then selecting the paint bucket icon on the side bar. I clicked on the drawing area, and it turned the background black.
If you feel you are done at this point, then save the file. One note, Paint.NET saves files as its Paint.NET format by default. To get pictures that you can easily use elsewhere, click save as and set the file type as a bitmap or jpeg, etc.
If you feel you are done at this point, then save the file. One note, Paint.NET saves files as its Paint.NET format by default. To get pictures that you can easily use elsewhere, click save as and set the file type as a bitmap or jpeg, etc.
You're Done!
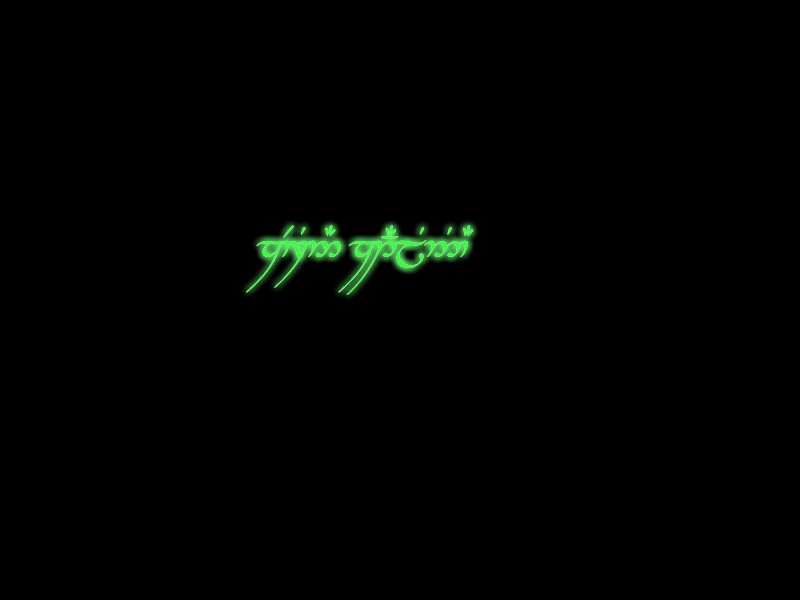
This step title is pretty much self explanatory. Use the effect in any creative way you wish, and have fun experimenting.