How to Make Custom Fonts
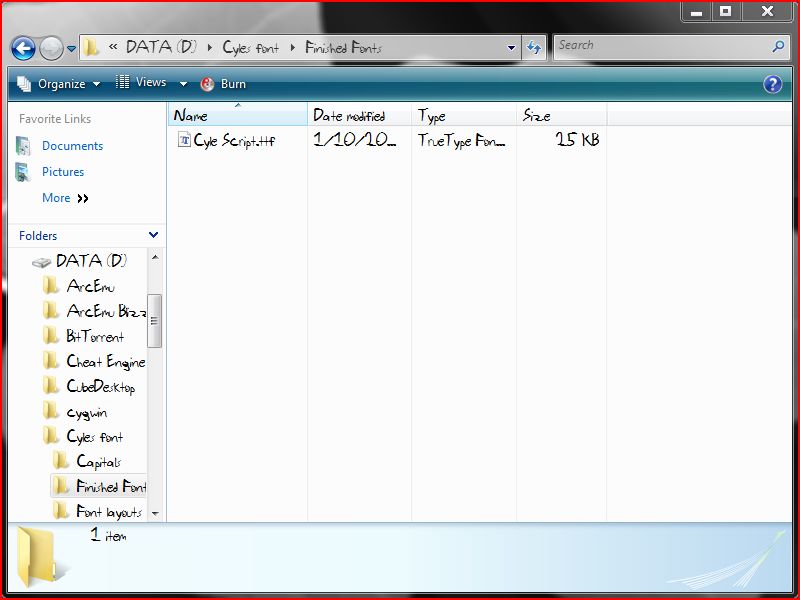
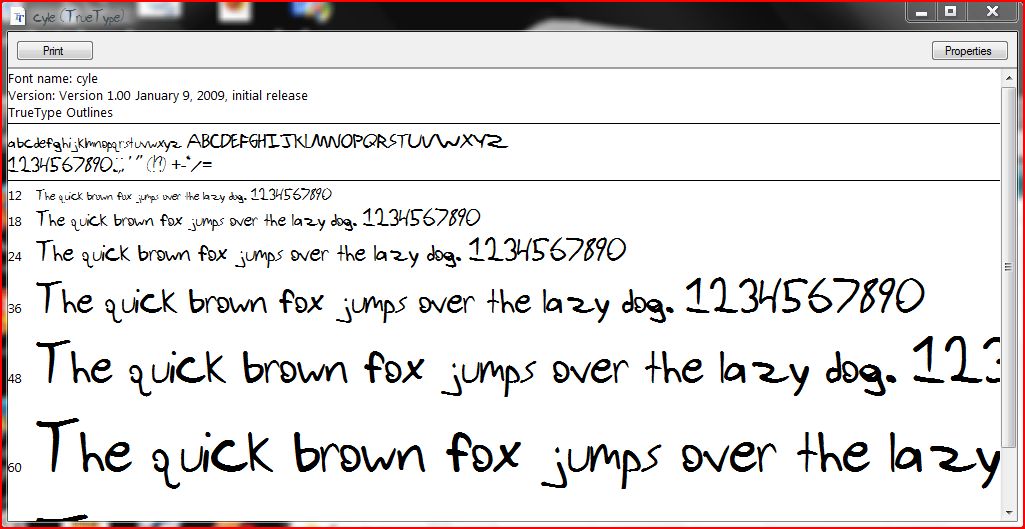
hey keystone buddies. i am making this for everyone, but you in particular.
There are a couple of font making instructables here, but none of them are very high quality. i mean, they work just fine, but the finished product is choppy. i will be using the 30 day free trial of font creator to show you how to turn a custom made character set into a font.
There are a couple of font making instructables here, but none of them are very high quality. i mean, they work just fine, but the finished product is choppy. i will be using the 30 day free trial of font creator to show you how to turn a custom made character set into a font.
Downloads
Supplies
here is the stuff you will need:
1. Font creator demo. it is the demo, but it includes the main features we need to make a full font. better be quick!! download edit: you have 30 days. sorry if i messed up your psyke lol.
2. a piece of paper with all of the upper and lower case letters, numbers 0-9, and all of the symbols you are planning to use. this is your chance to customize your font, make it however you want. fontcreator has a function to make the glyphs thicker once you insert the letters, but you can write in pencil, sharpie, anything.
3. Gimp, or photoshop. you will need to be able to put a threshold on your scanned paper to get rid of any unintentional marks. a threshold reduces the image to only 2 colors, in this case black for the glyphs, and white for the background.
you can use photoshop if you already have it, but its about $450 dollars so use gimp if you dont have anything. gimp
i give you these installers under the assumption you have windows. gimp.org has a download for linux, and you might be able to use wine to run font creator but i doubt it.
Get Your Glyphs!!
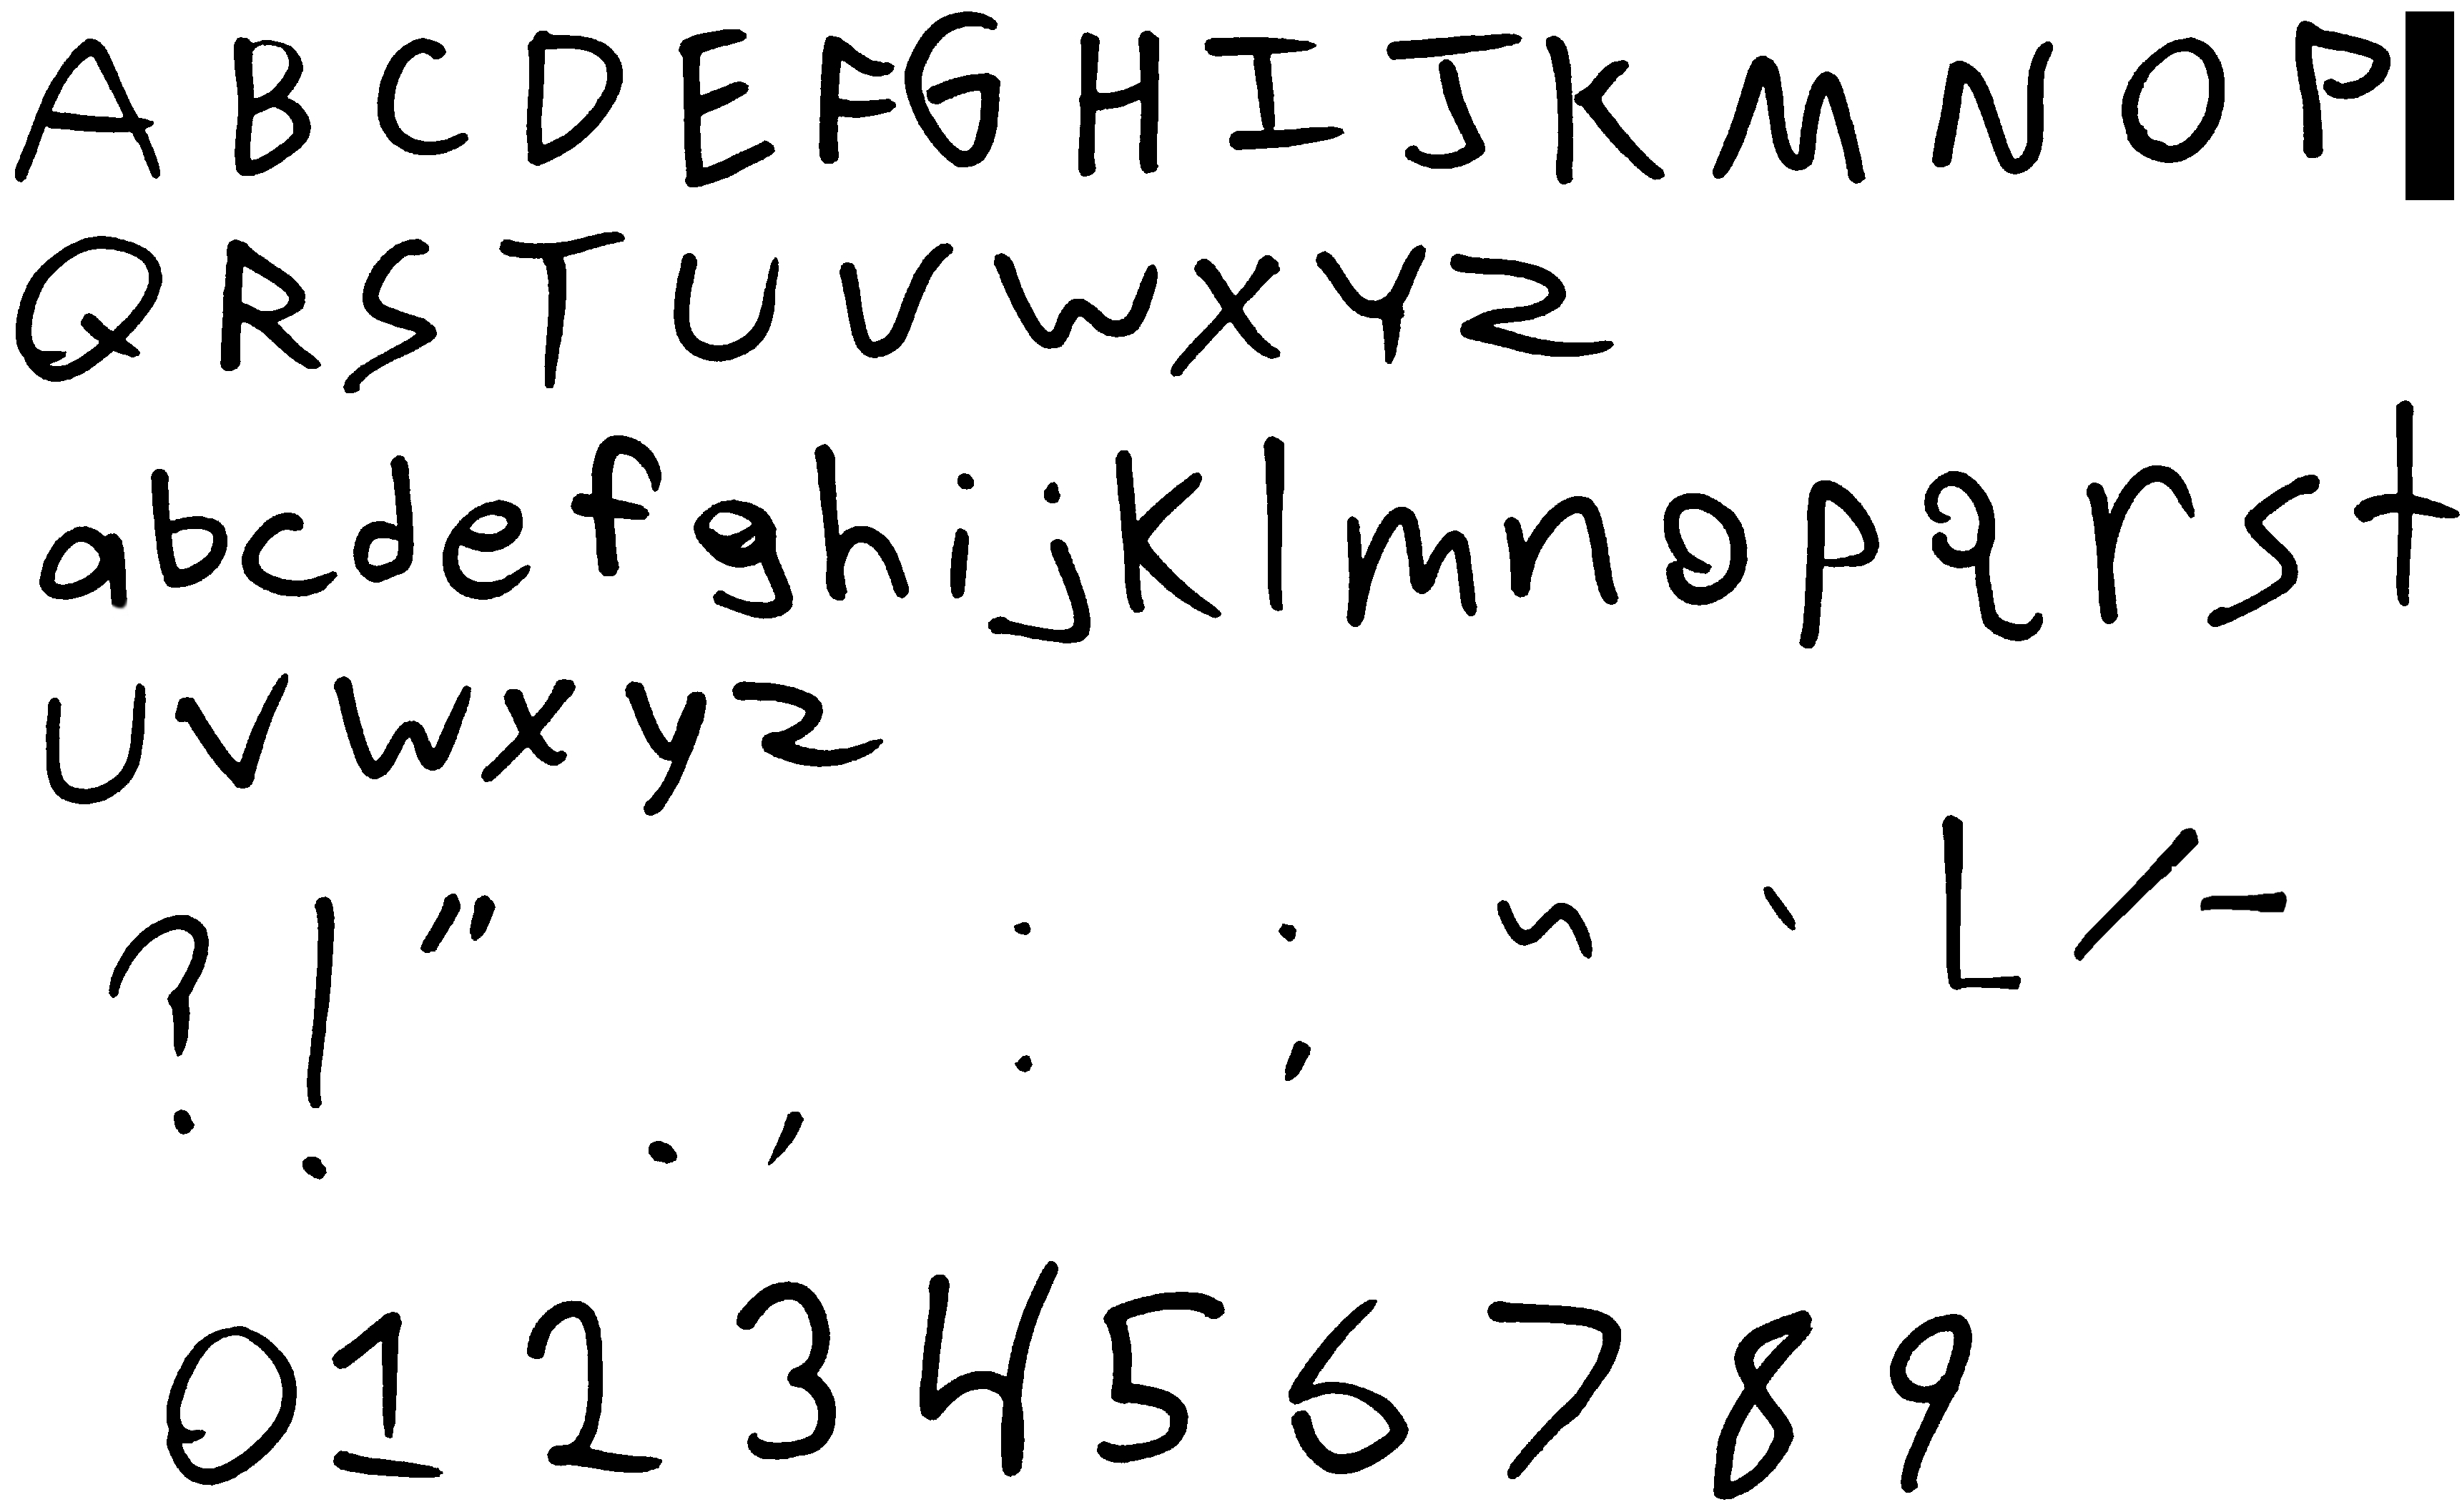
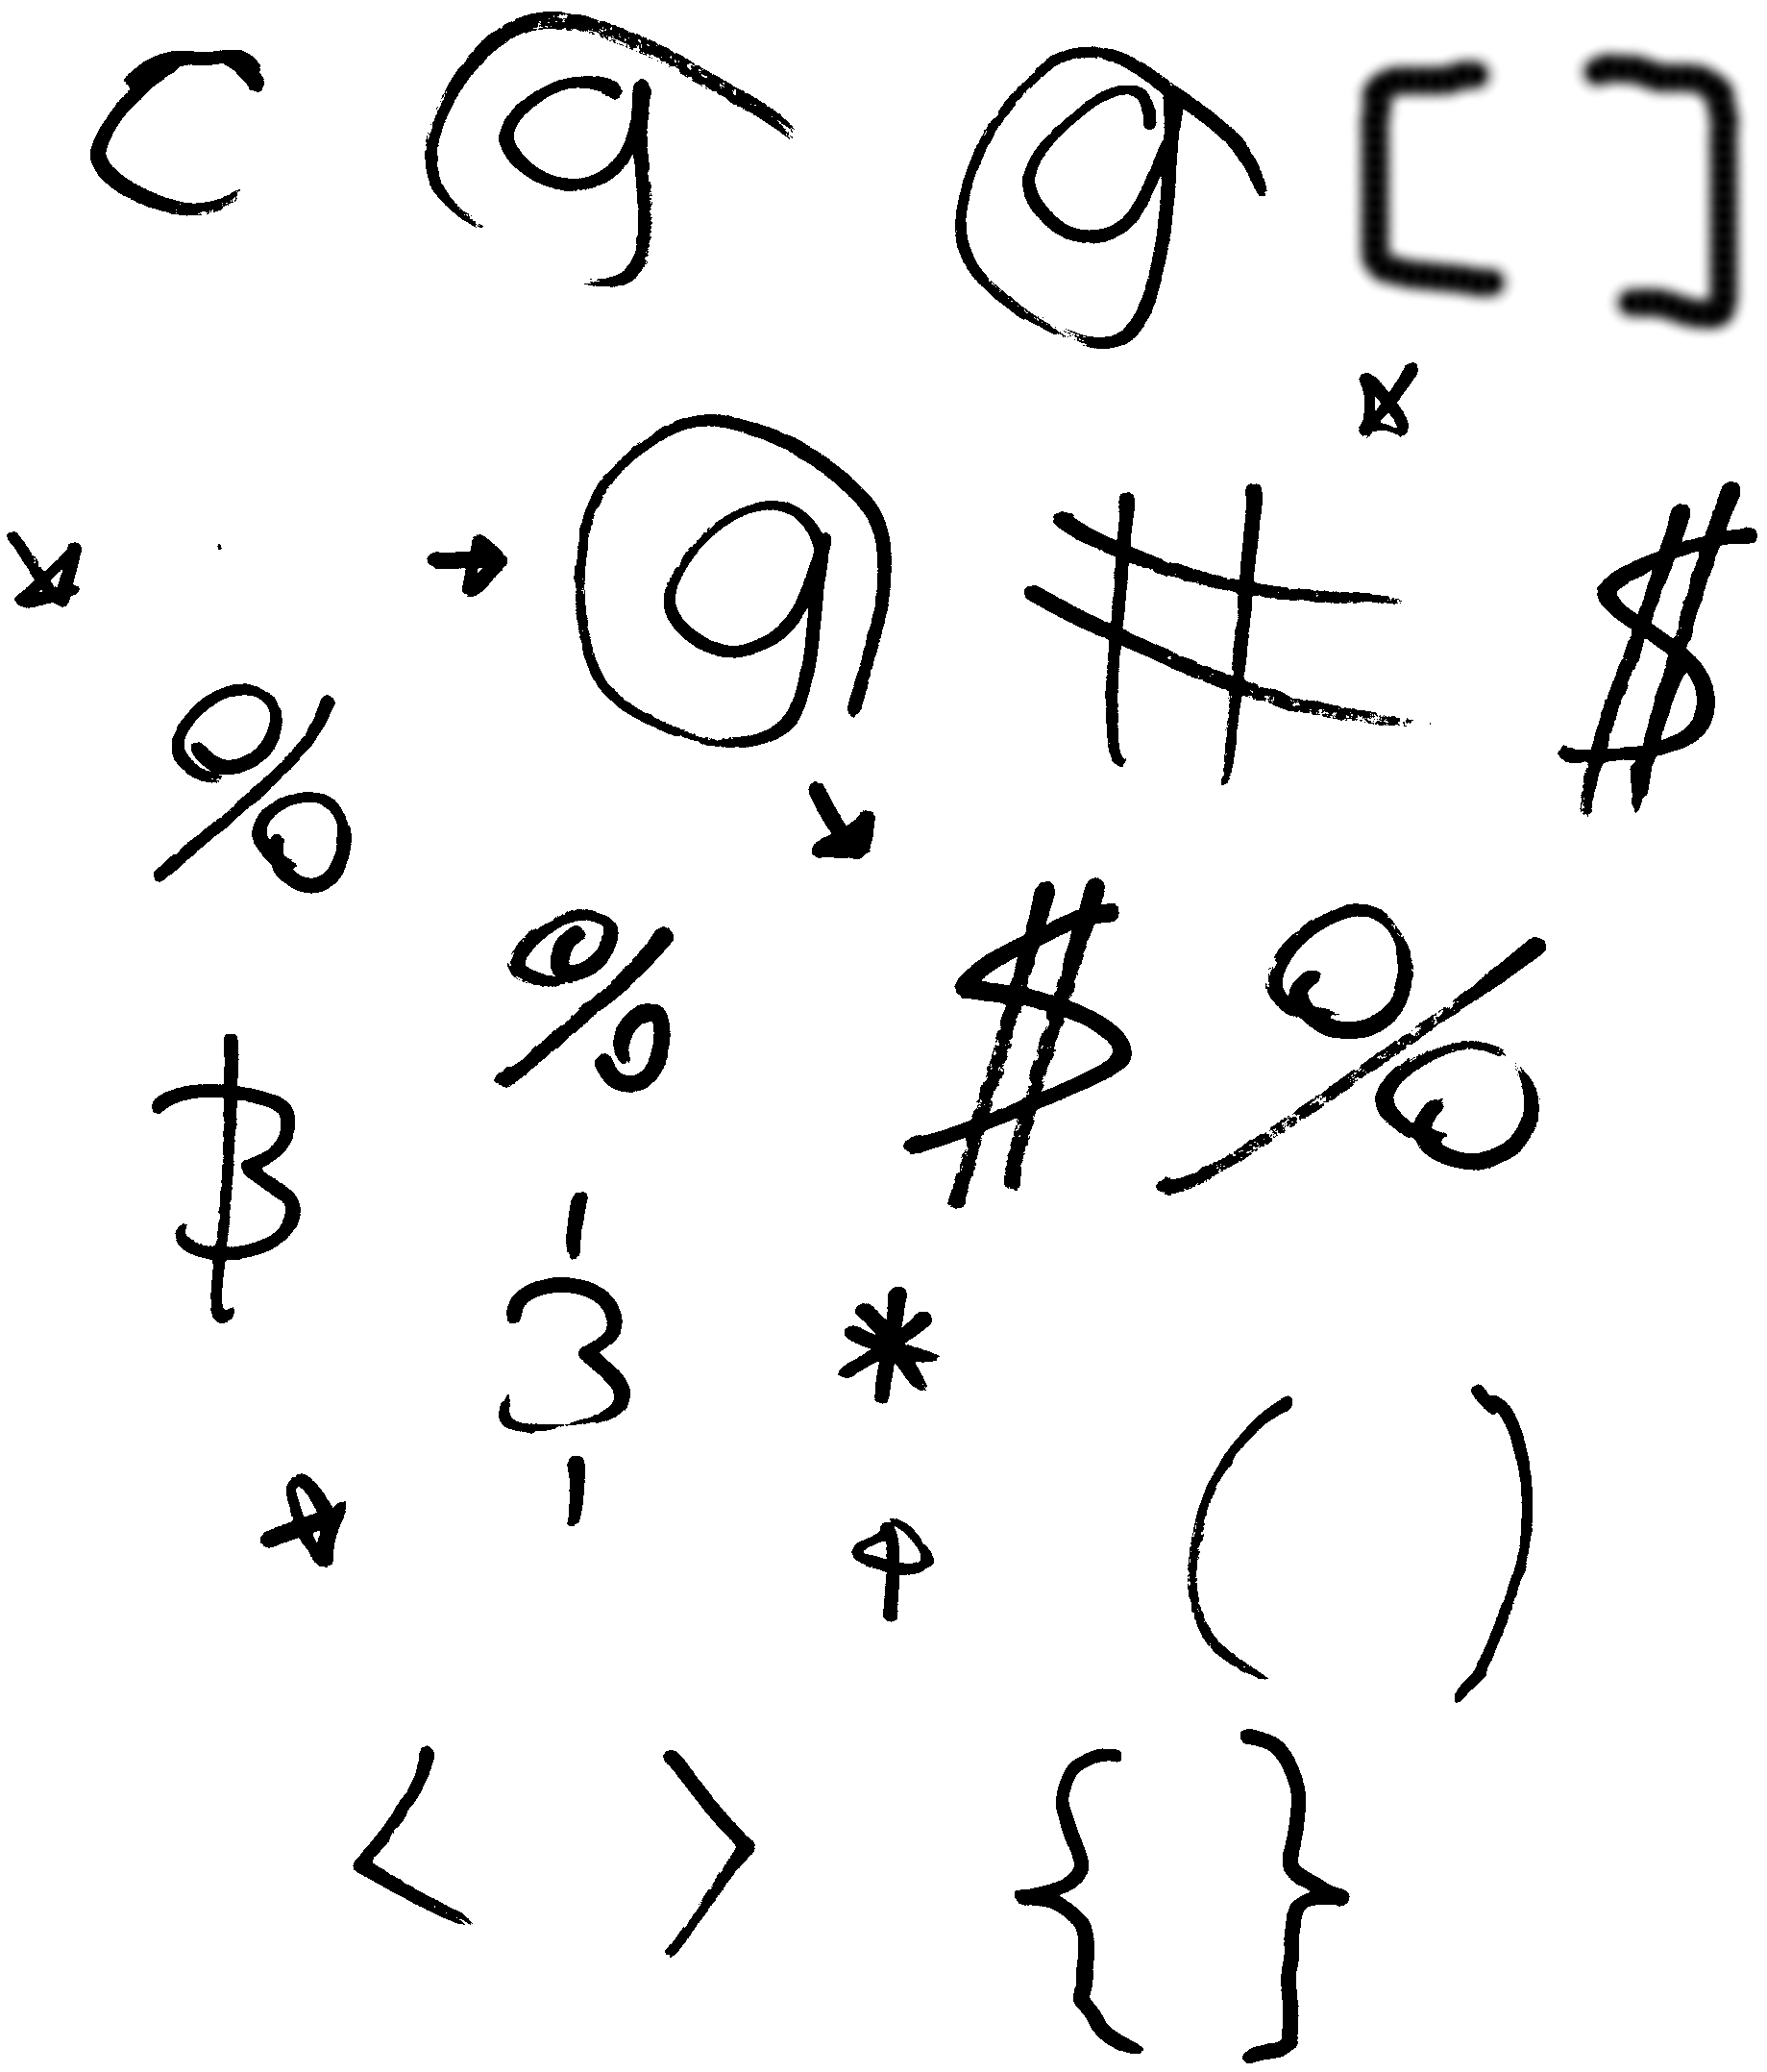
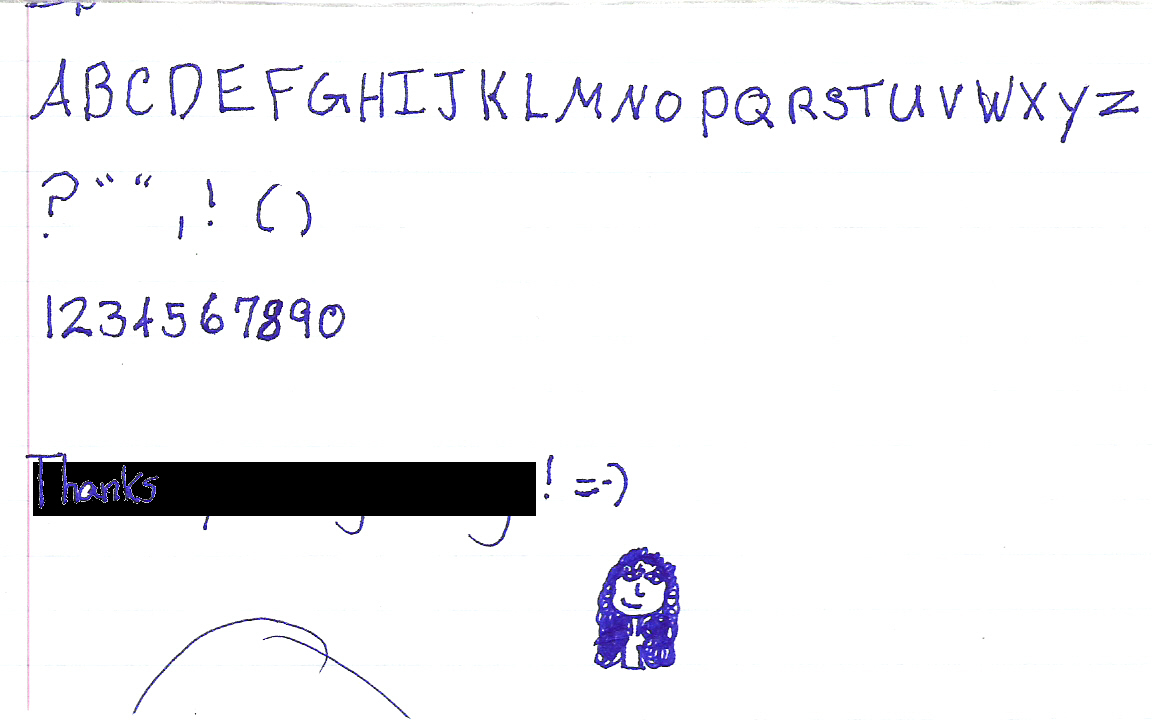
make your font, then scan it into your computer at the highest dpi possible. mine was 300. fun fact: dpi= details per inch. the first 2 pics are my font. the second 2 are a friend's from keystone. i will be using her "Chanelle" font as a demonstration for this instructable.
Making the Threshold
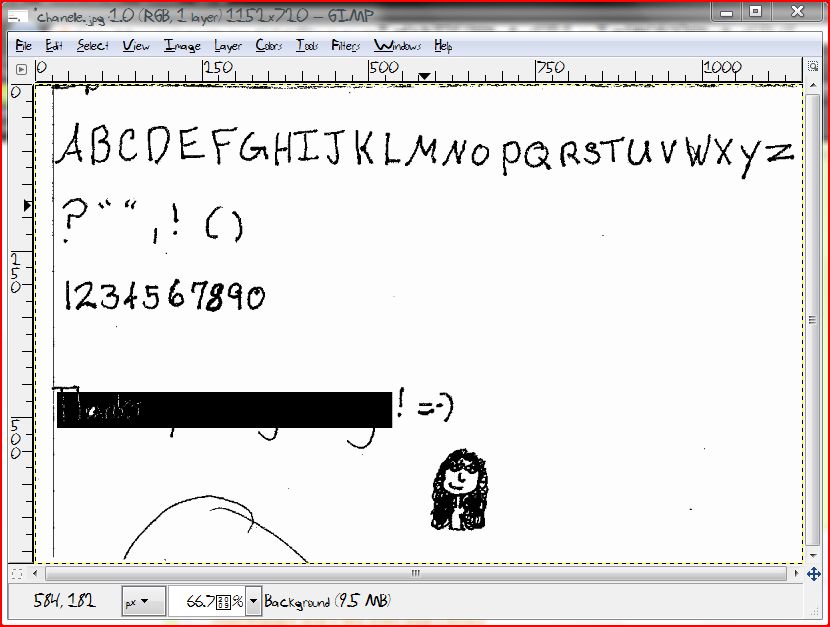
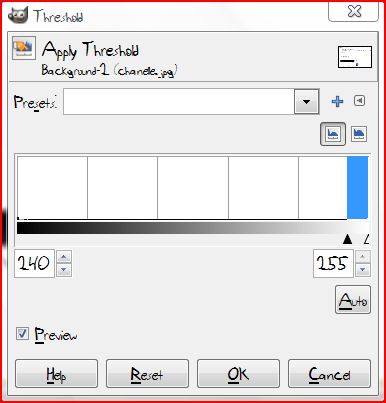
this step will describe how to make the threshold. first click colors, then threshold. if you used black sharpie to make your font, just click ok. because this was blue/purple, i had to adjust the values a little. fontcreator smooths it out. Edit: i was screwing around with the chanelle font, and i decided to give it a guassian blur to reduce some of the pixalization from being scanned at low dpi.. it worked great!! i used 5 pixels in each direction, and i think that was a bit too much, but it gave the font a smoothish look like comic sans, but still custom drawn. i might go back and give everything guassian blur at 2 or 3 pixels and see how that works out. for guassian blur, goto Filters>Blur>Guassian Blur.
Making Individual Glyphs
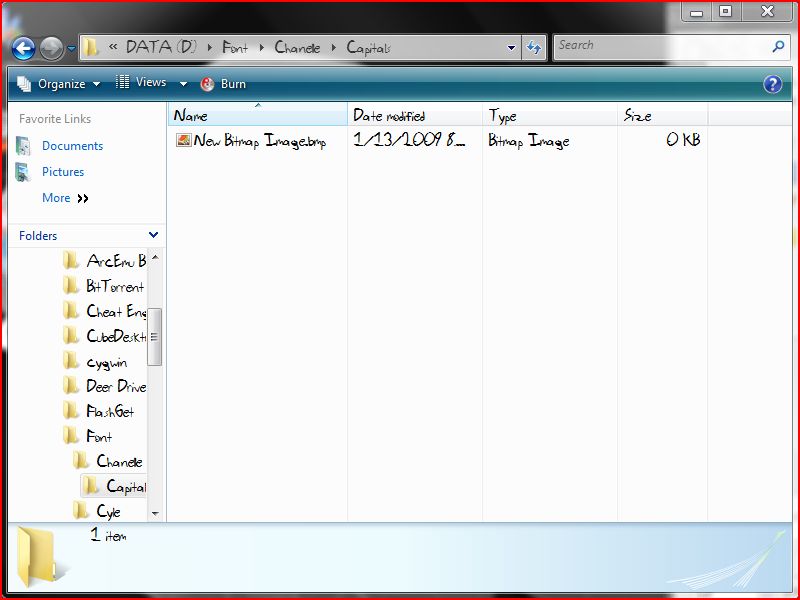
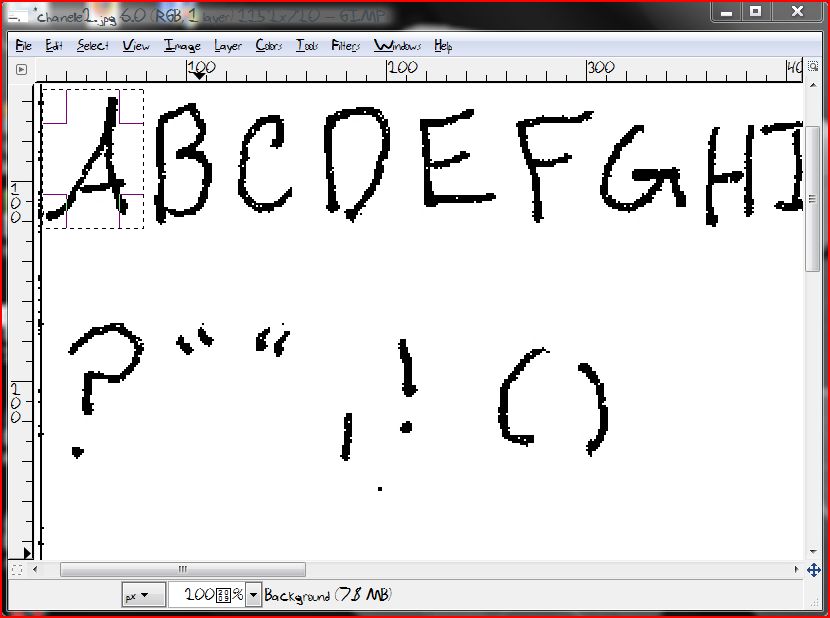
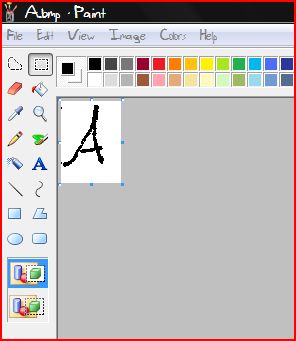
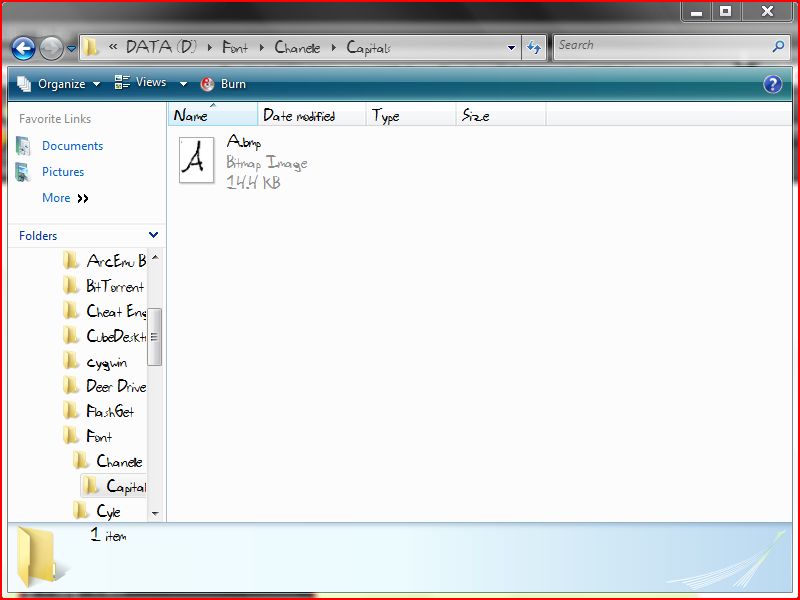
here is the time consuming part. you need to get the rectangular select tool, then select and copy each individual letter (i will refer to them as glyphs from now on) into their own seperate bmp image in paint. save. repeat.
Font Creator
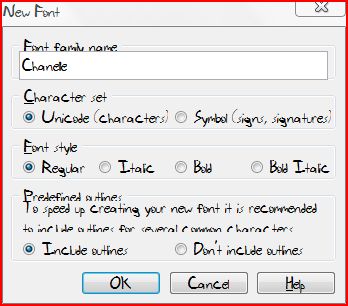
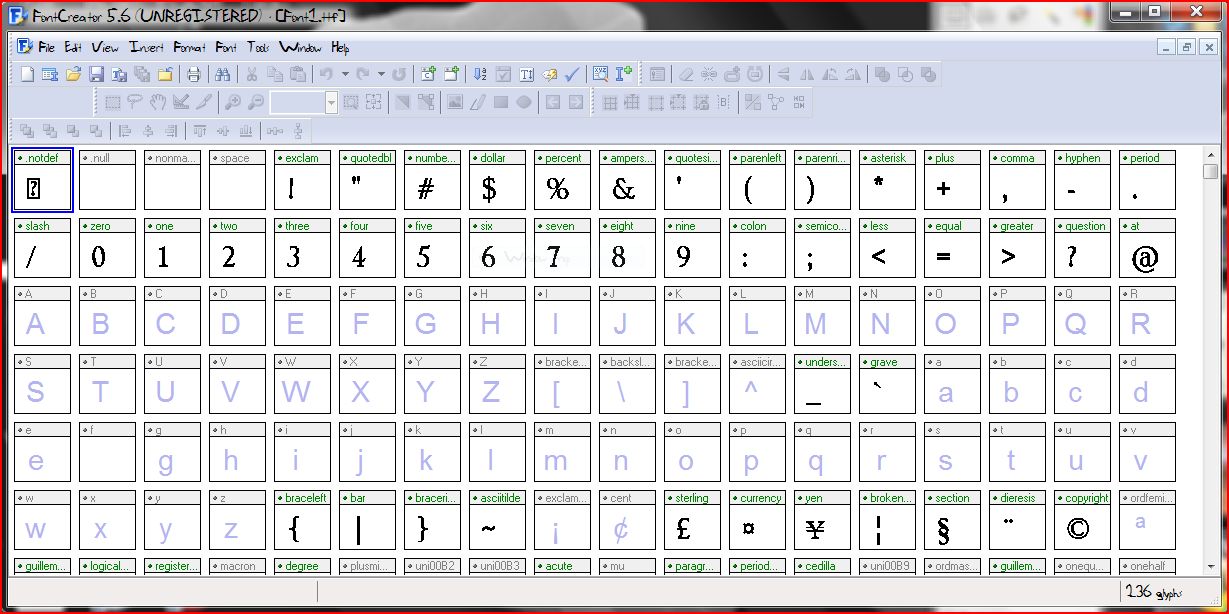
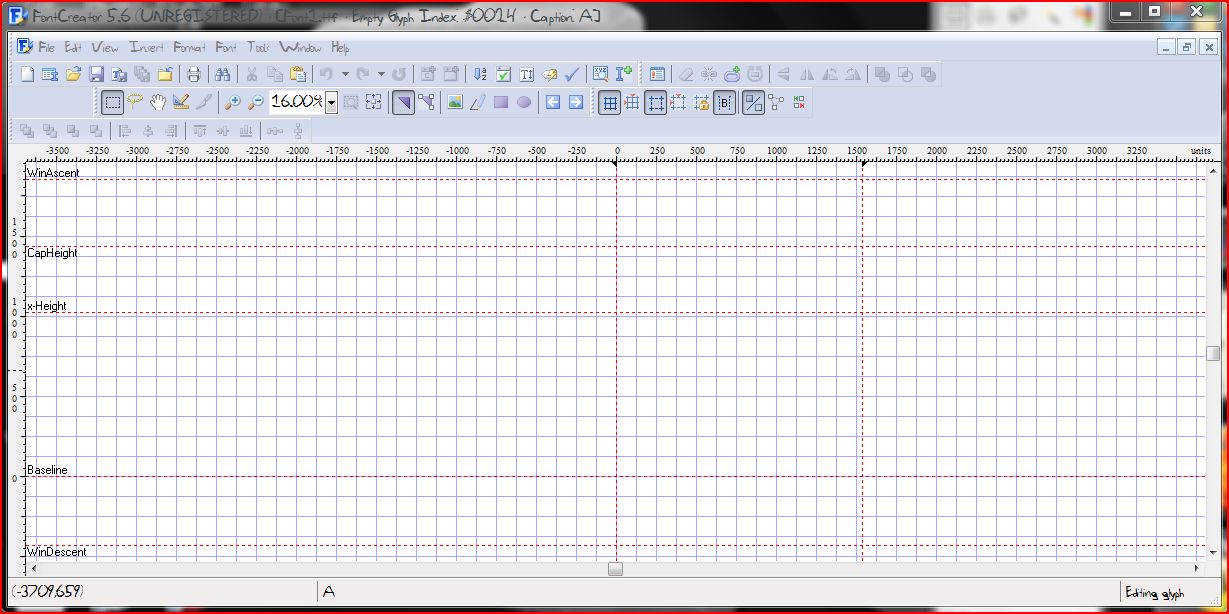
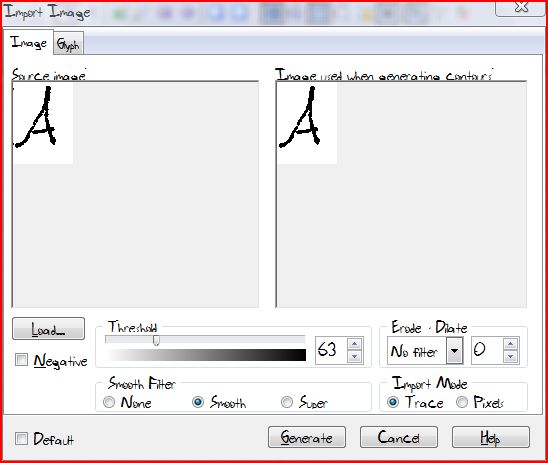
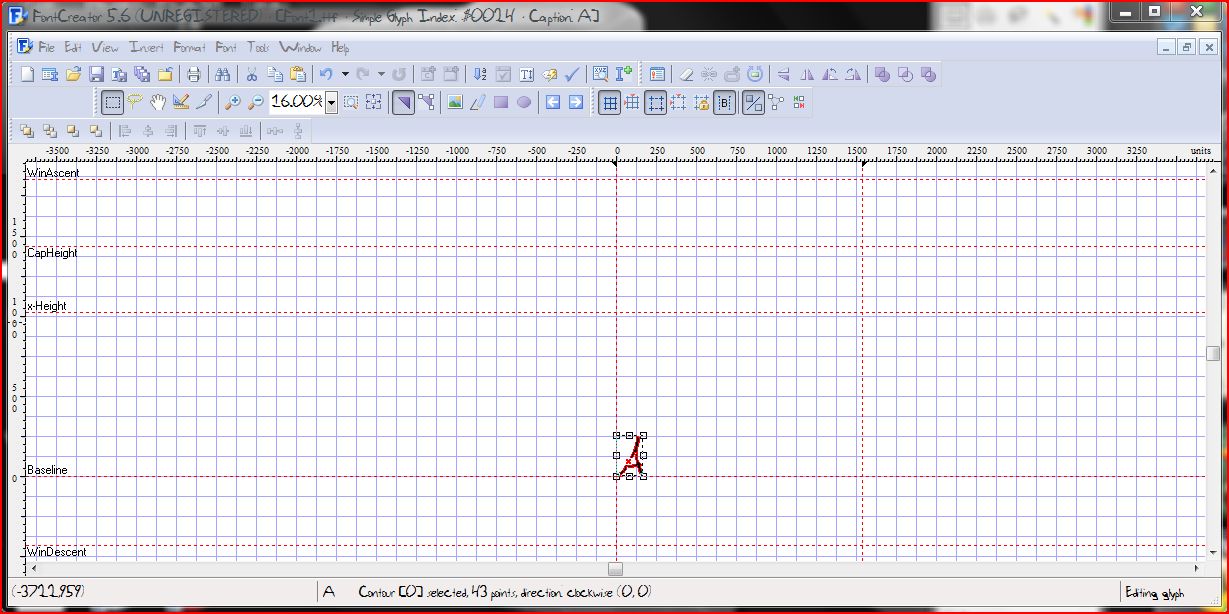
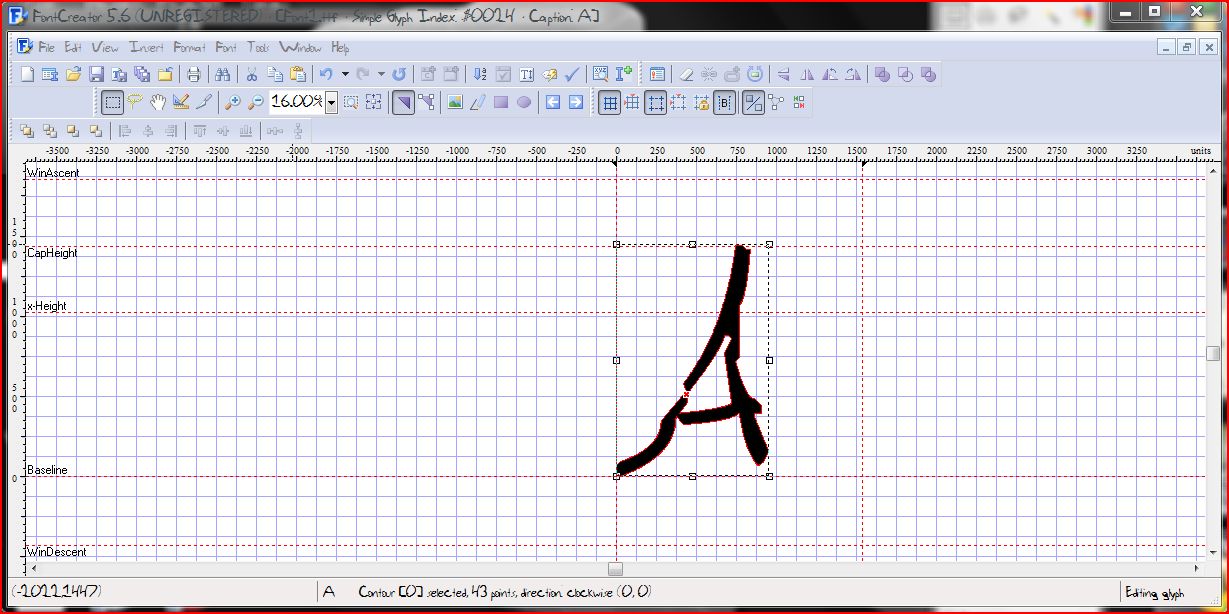
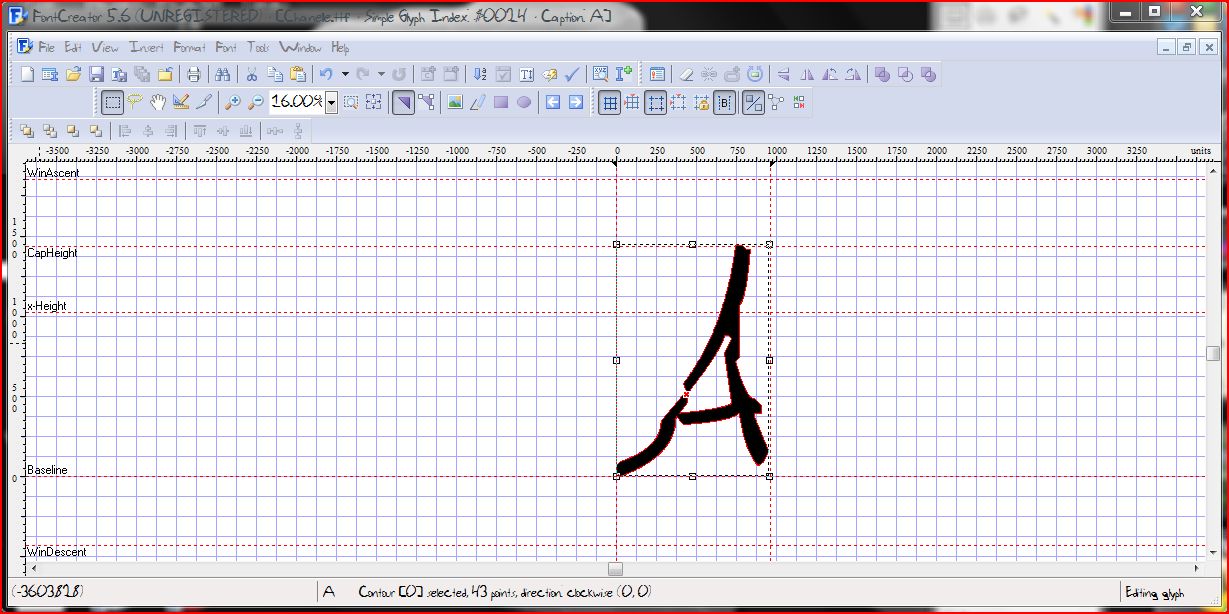
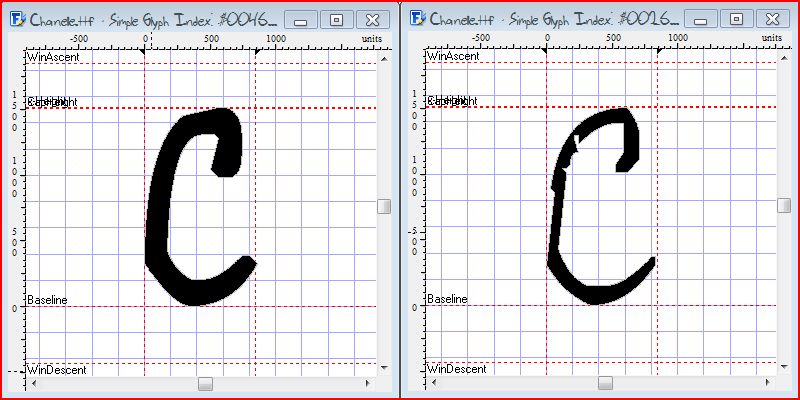
install the font program, then click file > new. after you open it. name the font whatever you want. leave the rest defaults. double click on the capital A glyph box. press the insert file button, then navigate to your capital a glyph file. open it. after that you need to to resize the image to fit the capital line. you can resize evenly by holding down the left shift button on the keyboard. after you are done resizing, press ctrl s to save. save somewhere you remember. you can press the next glyph button to move to next spot, and look up at the top to see what glyph you should upload. once you have finished the whole character set, move onto the next step. If something crazy happens and your letters look like they turn inside out, let go, press ctrl Z to undo, then drag a box around the WHOLE glyph. that should select the whole glyph, and not just the inside or outside outline. Edit: btw, you need to make a whole new font with the same family name as your last one but followed by the word bold to get the bold effect. use erode filter one or two when importing your glyph's bmp image.
Installing
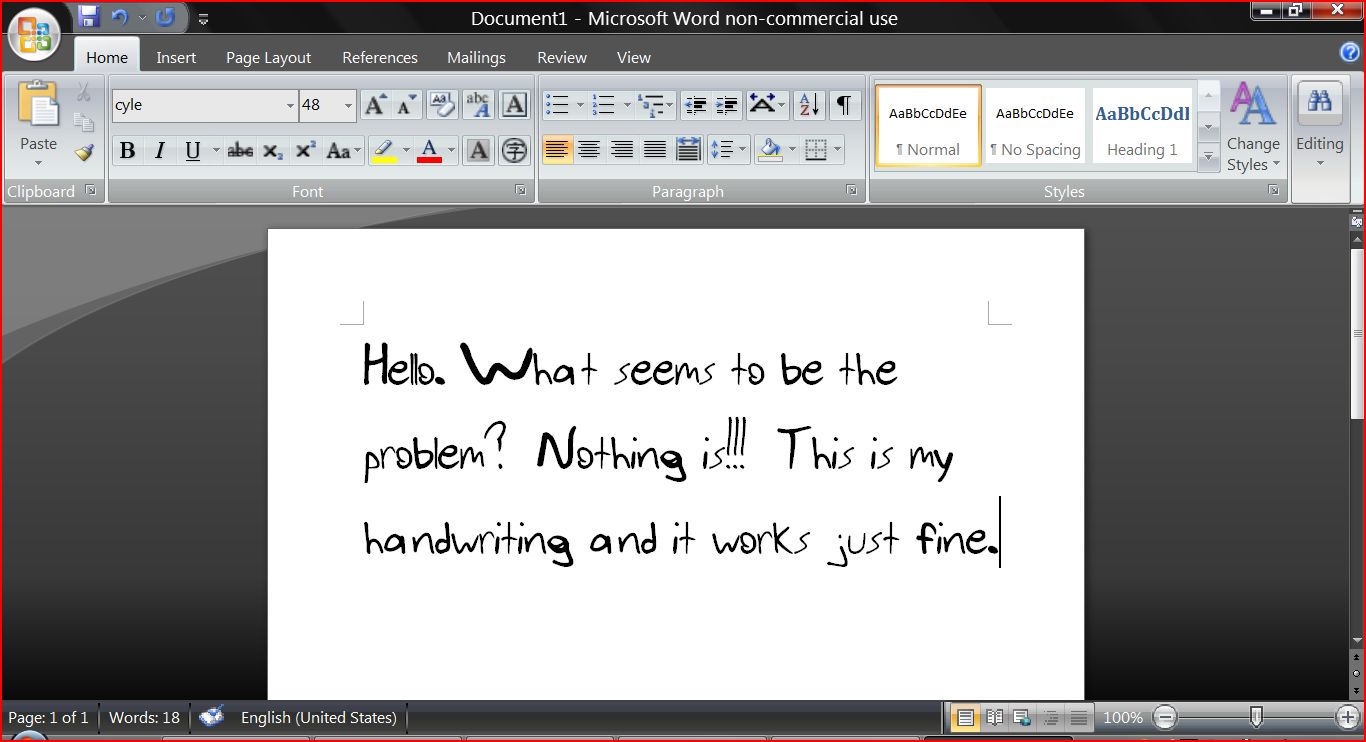
Edit: to install a font through fontcreator, click font>install.
test your font in fontcreator by clicking Font> test, or pressing F5. make sure you can type everything. save again, then locate the .ttf file. if you have windows vista, right click the ttf and press install. if you have xp, goto the control panel, and click classic view. find where it says fonts. drag your font file in there. done!! anywhere you can select a font, look for where it says whatever you put as your font family name. click. if you notice some letters dont type or revert back to times new roman, it means you didnt insert that glyph. open up font creater, open your font, and fix. reinstall. done.
test your font in fontcreator by clicking Font> test, or pressing F5. make sure you can type everything. save again, then locate the .ttf file. if you have windows vista, right click the ttf and press install. if you have xp, goto the control panel, and click classic view. find where it says fonts. drag your font file in there. done!! anywhere you can select a font, look for where it says whatever you put as your font family name. click. if you notice some letters dont type or revert back to times new roman, it means you didnt insert that glyph. open up font creater, open your font, and fix. reinstall. done.