How to Make Custom Scrabble(tm) Tiles.
by gtoal in Living > Toys & Games
23396 Views, 28 Favorites, 0 Comments
How to Make Custom Scrabble(tm) Tiles.
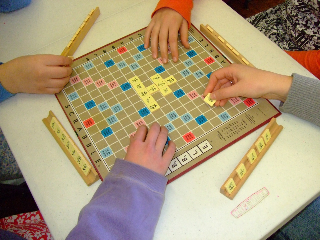
A lady posted on a group I'm on asking if anyone knew of a source for a Scrabble set using the American Sign Language finger-spelling alphabet. I was pretty sure there wasn't one but I suggested it would be an easy thing for her to make herself. Well, on reflection a couple of days later I thought that if it were that easy, I might as well do it for her as a Christmas present for her and her pupils.
Making good quality Scrabble tiles from scratch was perhaps a little too ambitious, but making labels to stick to existing Scrabble tiles was definitely an option.
This instructable uses an inkjet printer to print the stickers, and a Cricut paper cutter to cut them to exactly the right size to stick to the Scrabble tiles. You'll also need a rotary guillotine (or a metal edge at least a foot long plus a sharp cutting knife - either a scalpel or an exacto knife)
By the way I'm using the old-style plastic tiles that came before the wooden ones in the USA. These are still the current design in Europe and Mexico. (You can find them on eBay fairly often; I bought mine in Mexico which is just a few miles away from where I live)
(This technique should be possible with the wooden tiles but the artwork will have to be created differently to match.)
Print the Replacement Tile Tops
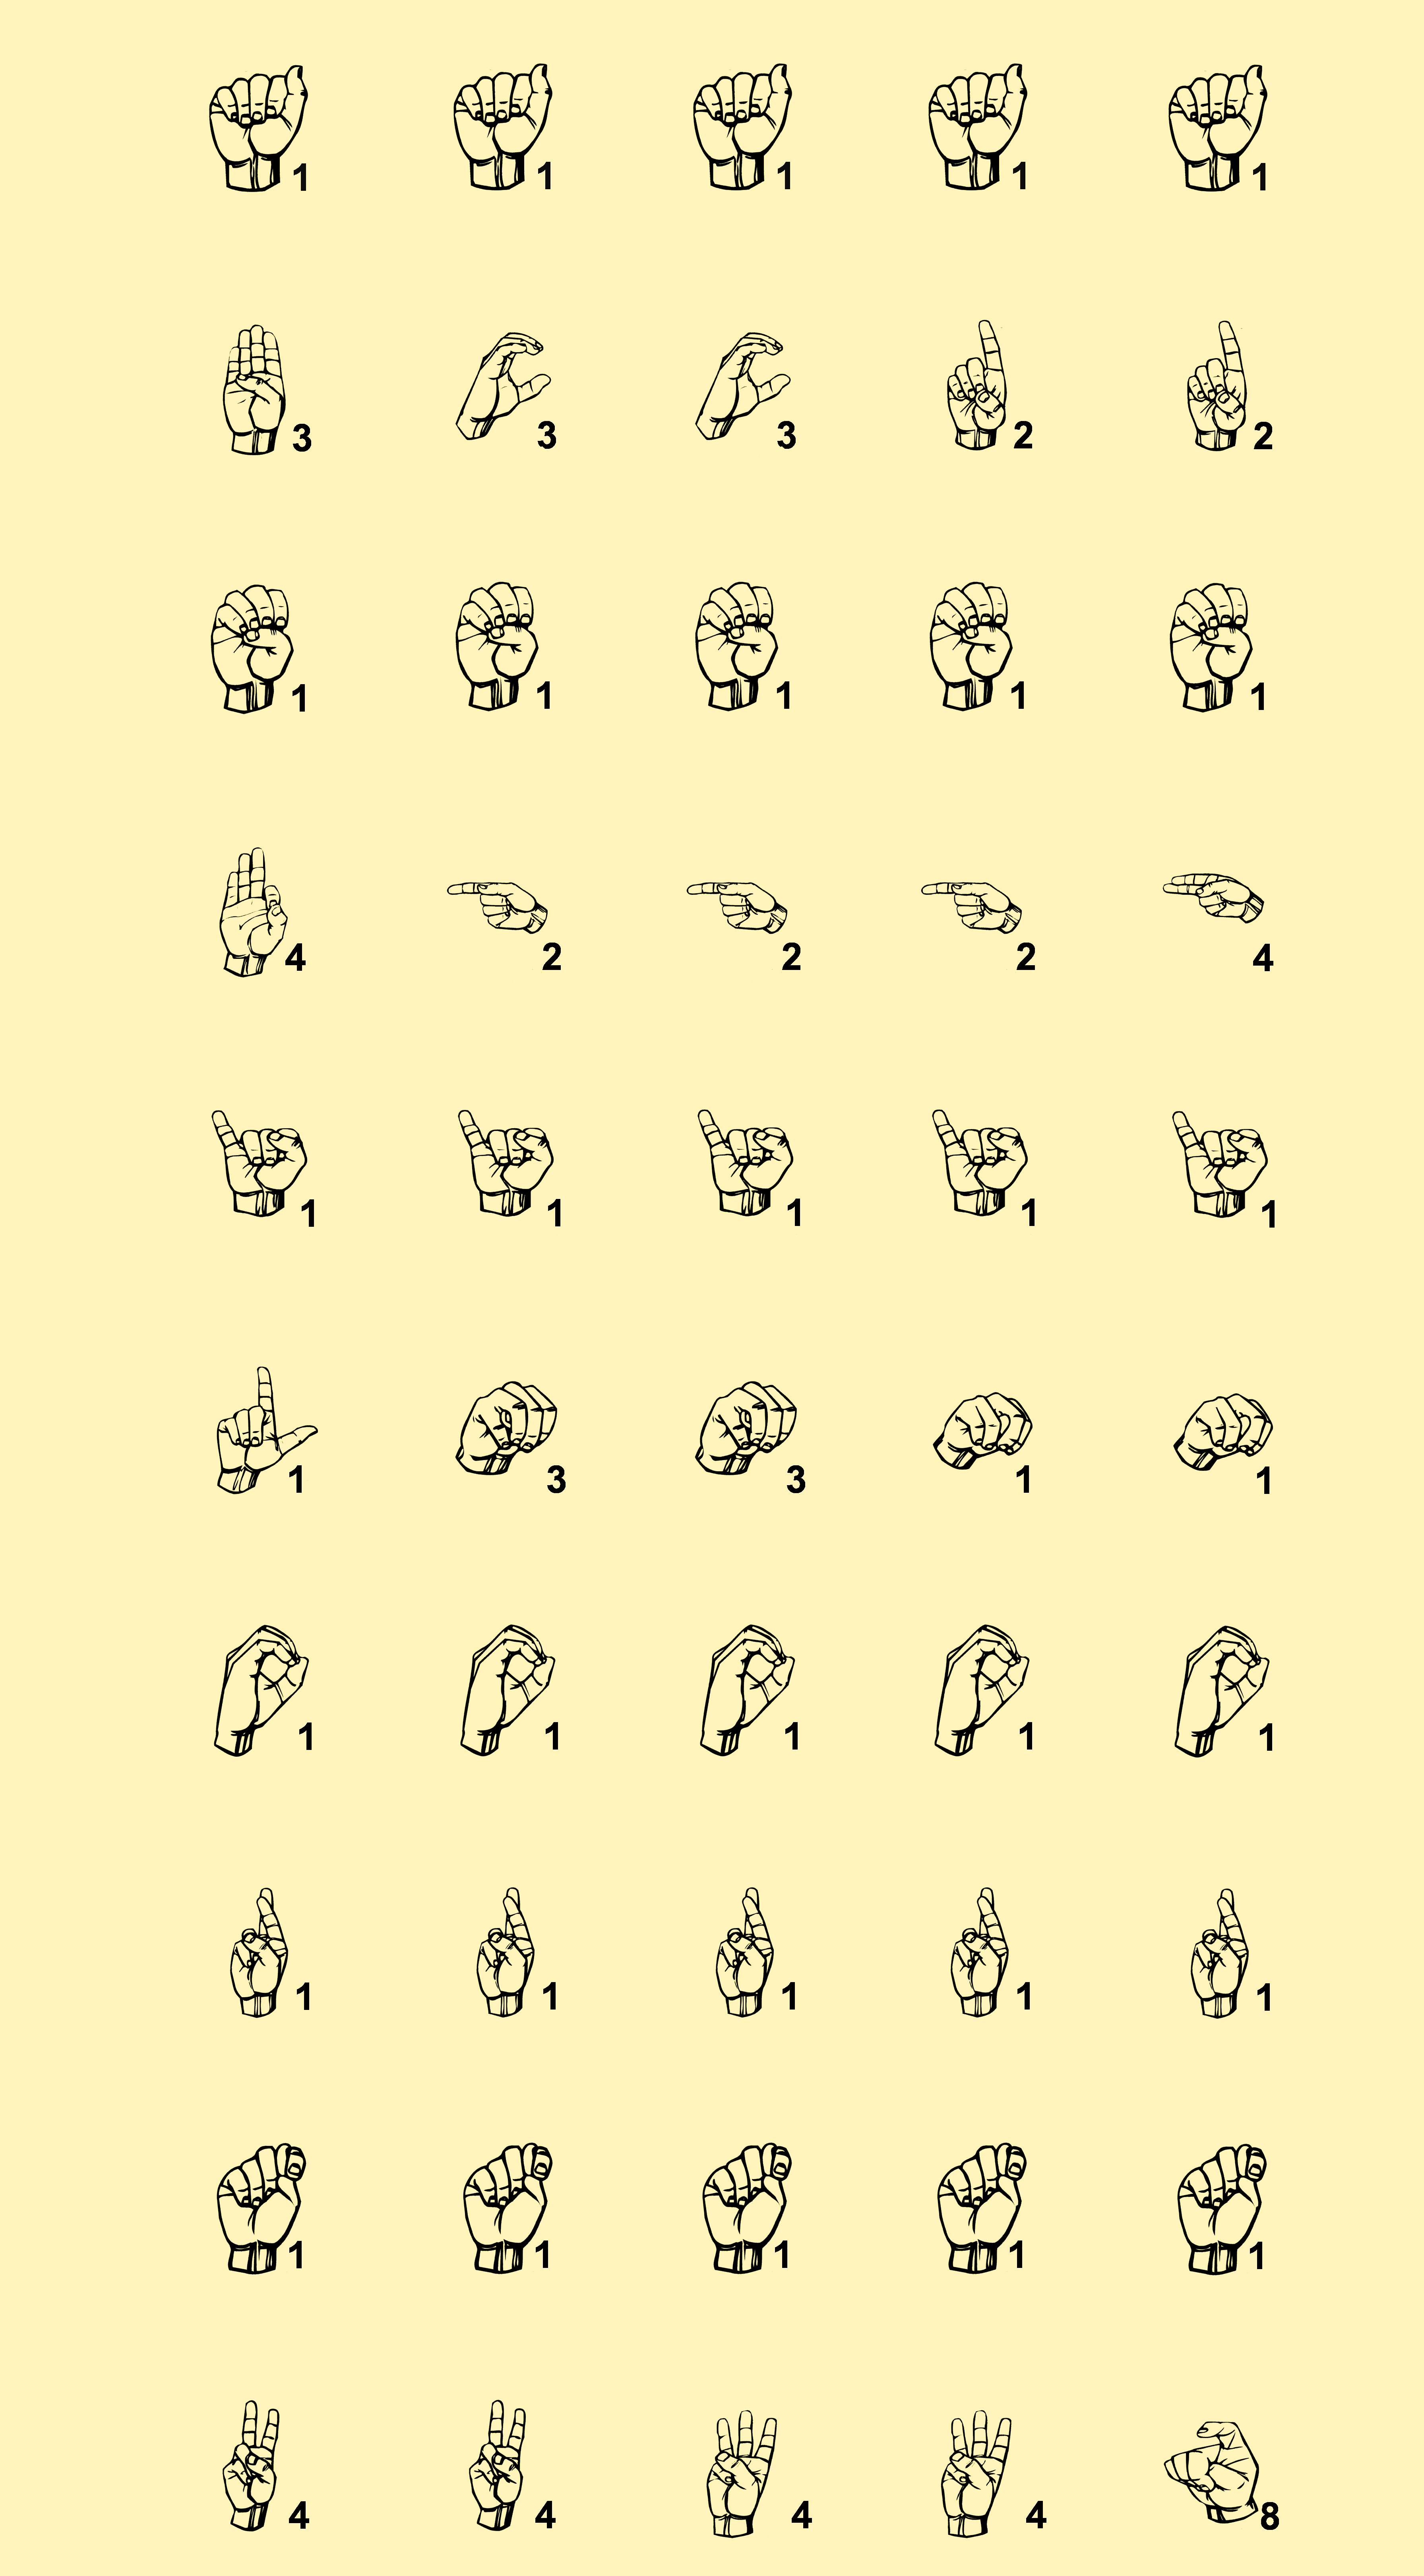
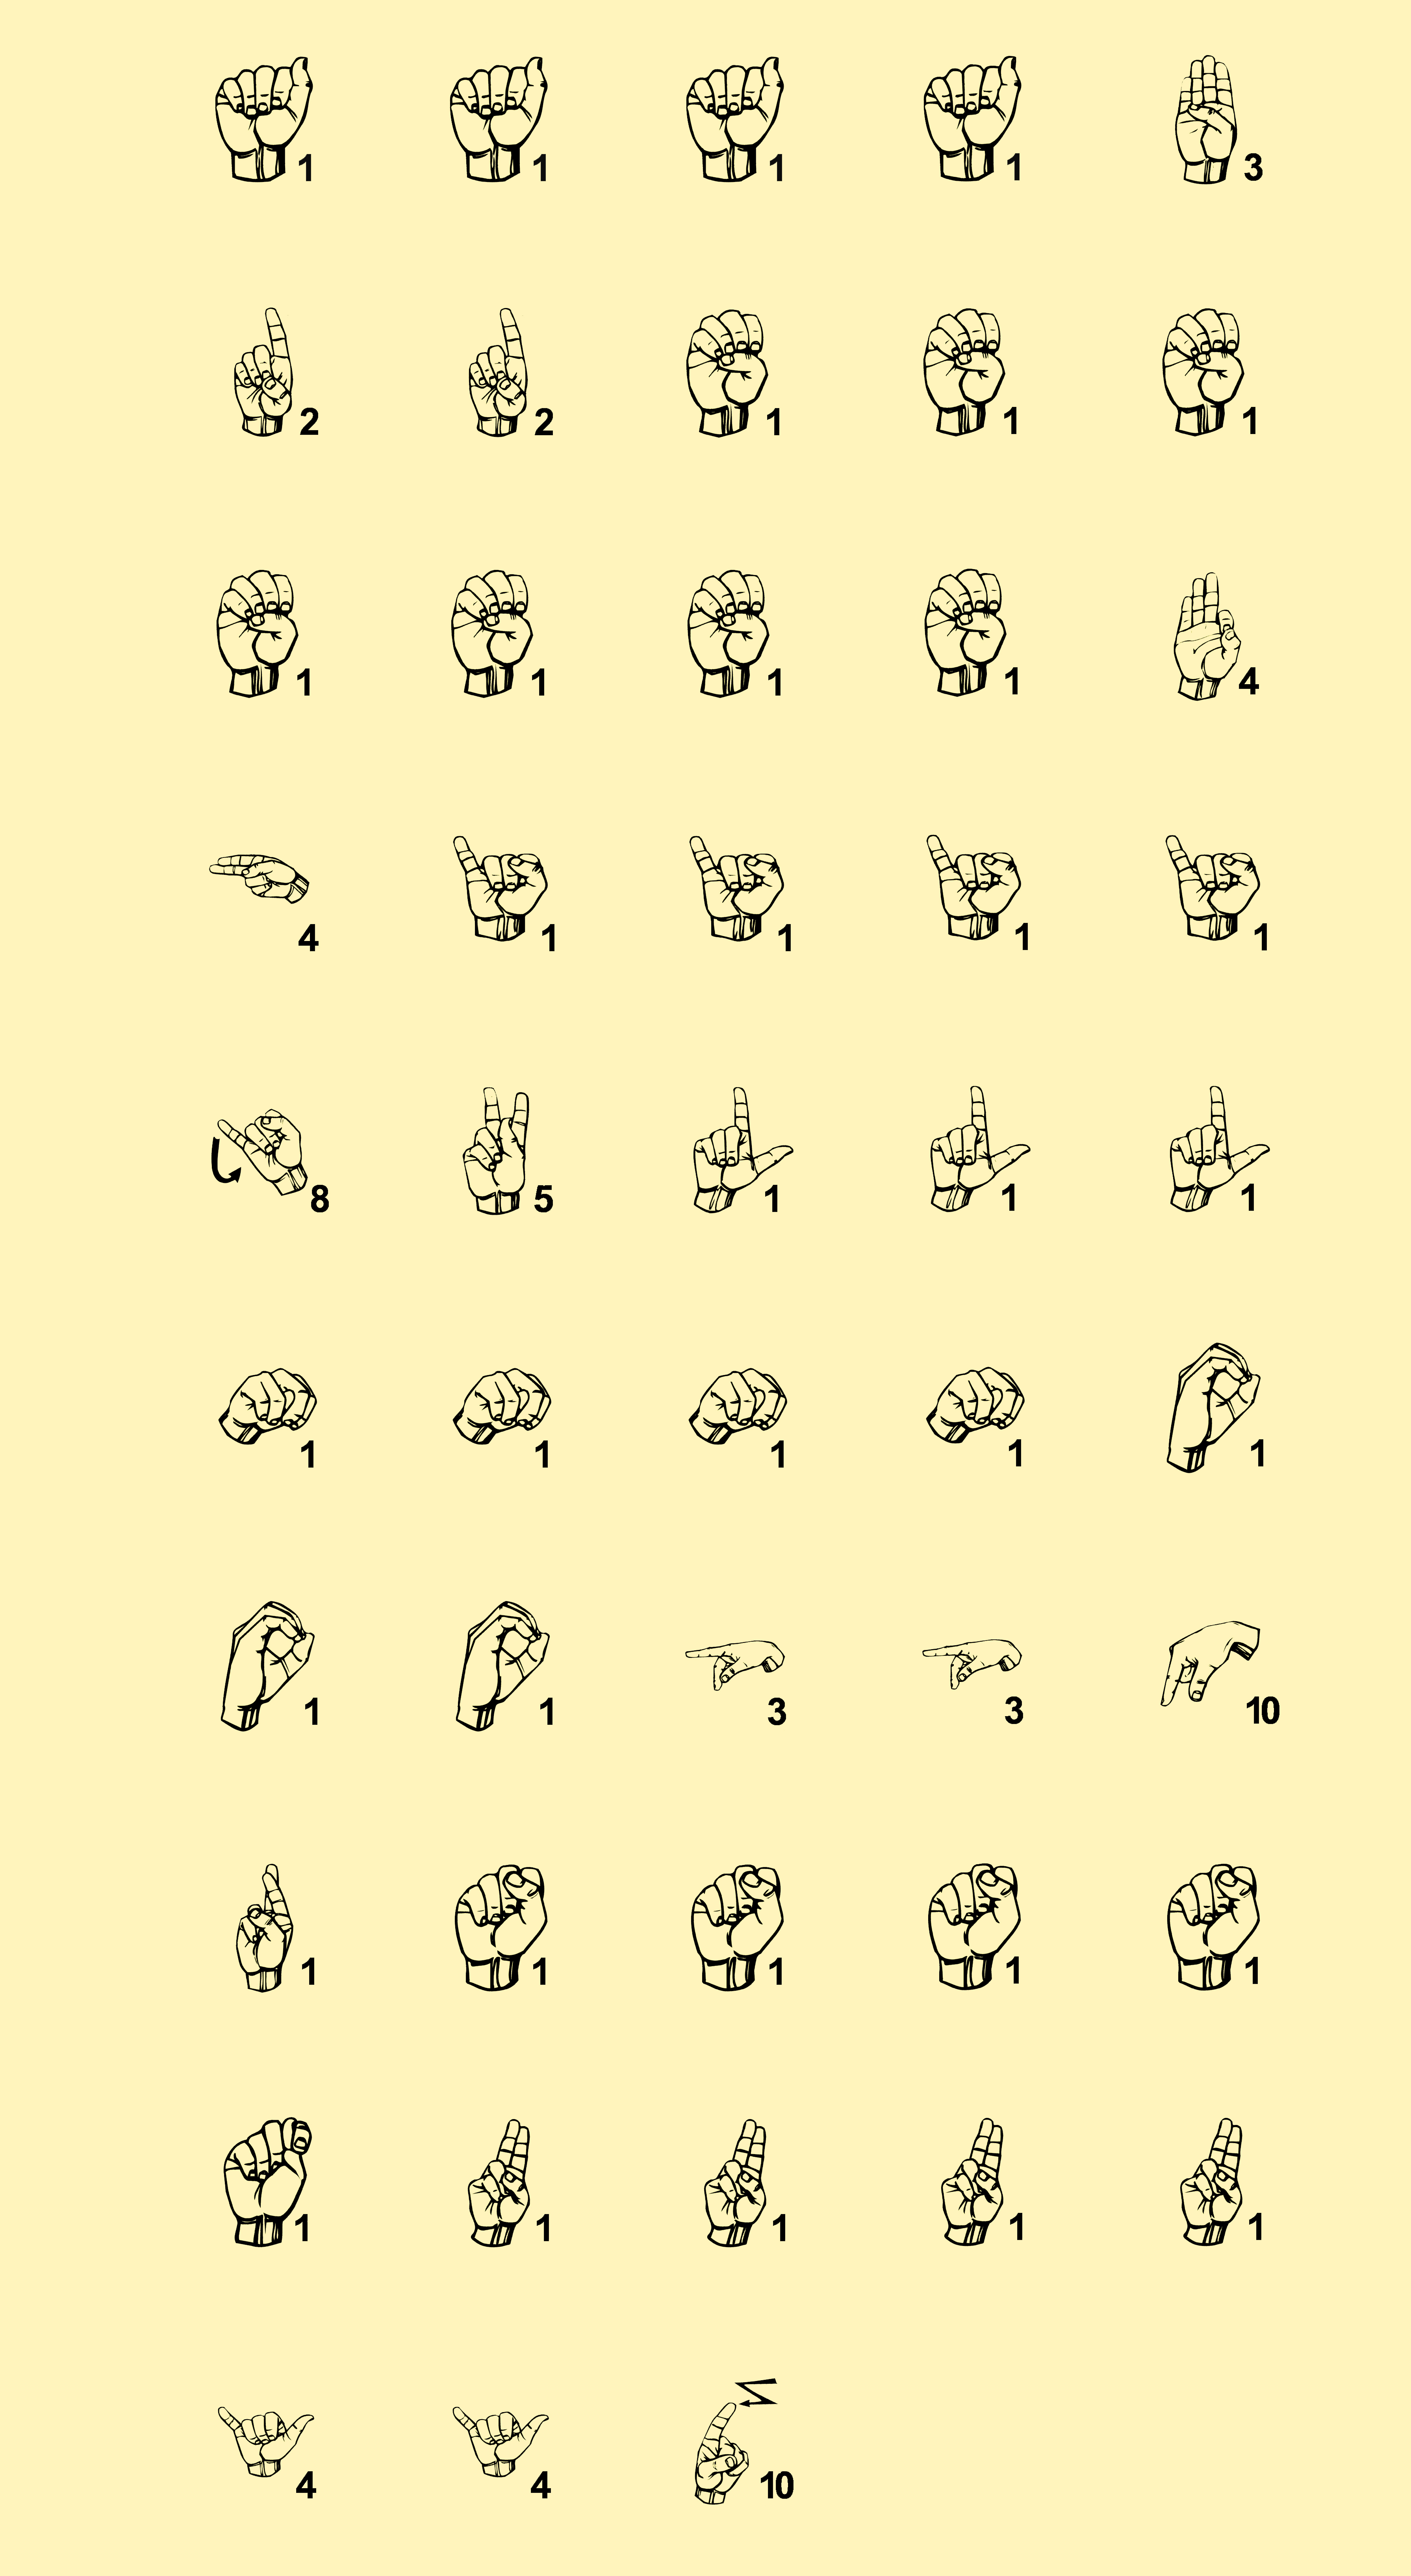
First step - print the two attached images. You can use self-adhesive backed paper if you want, but you don't have to. Either way, the paper should be glossy. I used some HP Brochure Paper 180g I had handy (8.5in x 11in paper). Once printed, cut round the yellow area which will give you a rectangle exactly 6in wide, and 11in long.
These images must be printed at 600dpi to be the correct size for the tiles.
Because of the size of the image you will probably get a warning that 'some clipping will occur' - that's OK, it's only a couple of millimeters outside the area that will be cut out to make tiles.
The tile image looks a little pinkish on my screen but as you can see from the photograph of the board, they printed correctly in yellow at just the right shade to match the plastic tiles. If you don't get such a good color match, you might have to tweak the color of the images in your drawing program before you print them.
Trim the Sides of the Printout
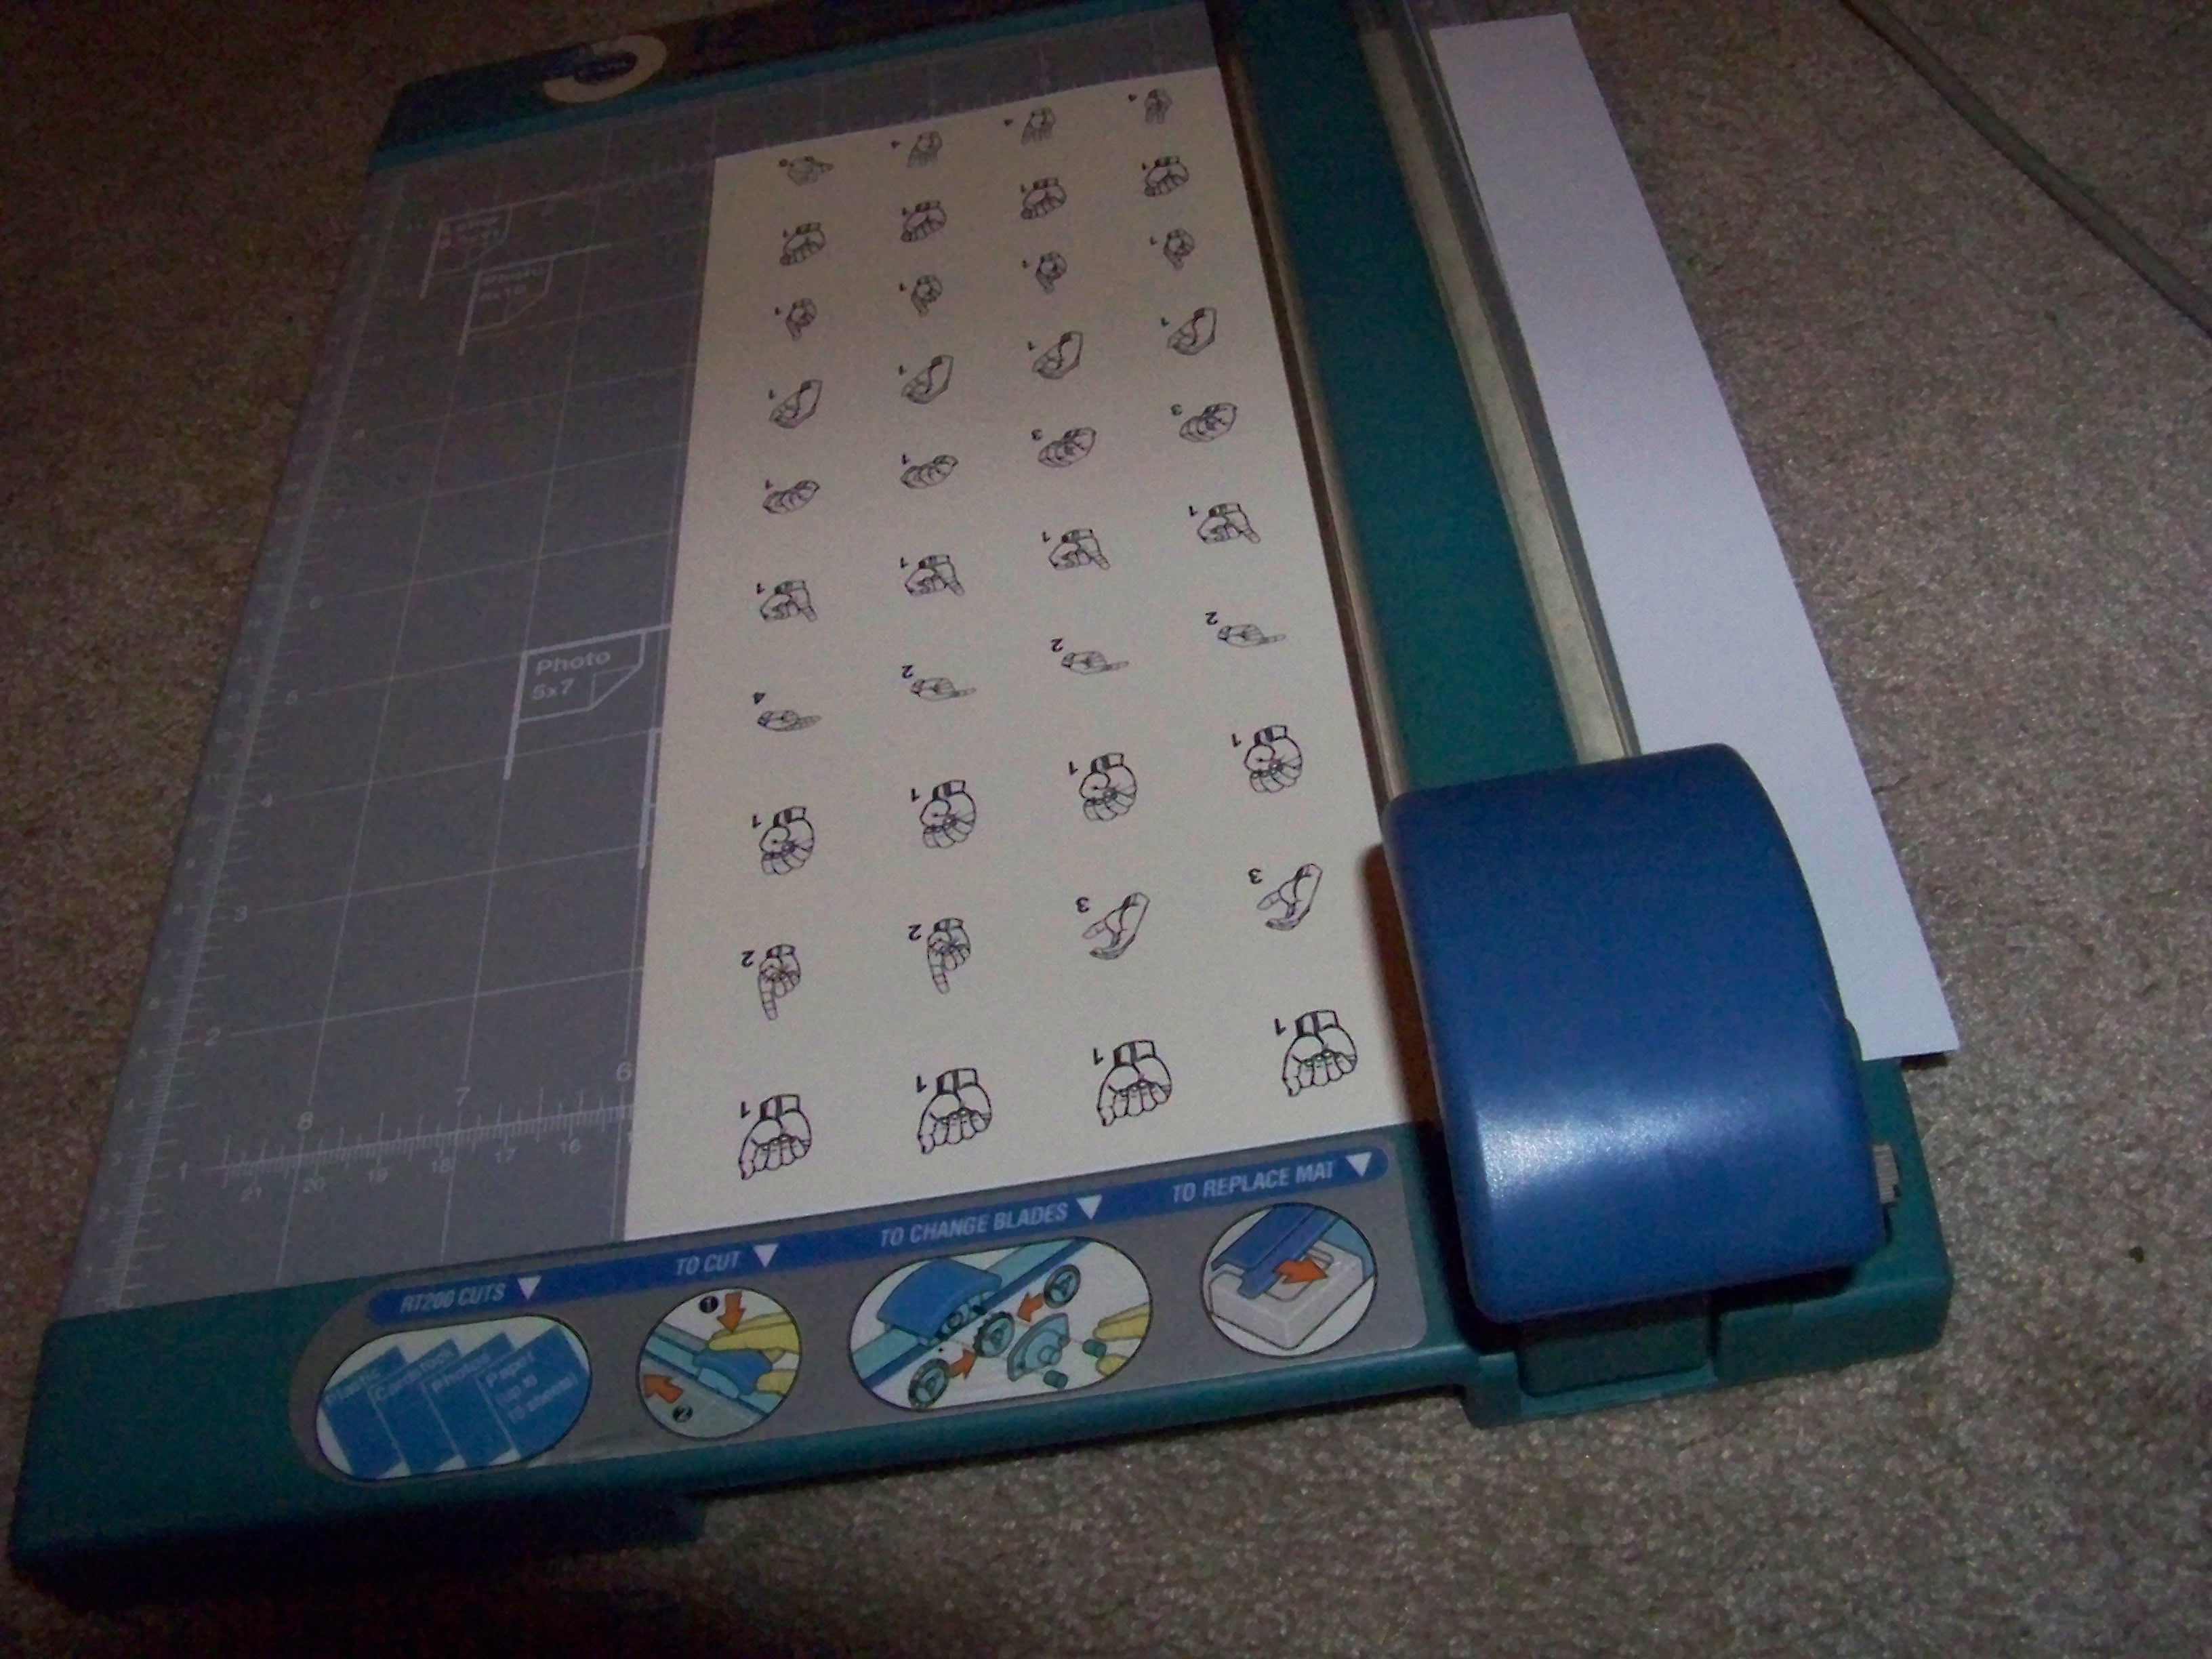
Trim the sides of your printout with a guillotine to the exact edge of the coloured area so that it is 6in wide. Don't trim the top or bottom margins.
Load the Cutting File
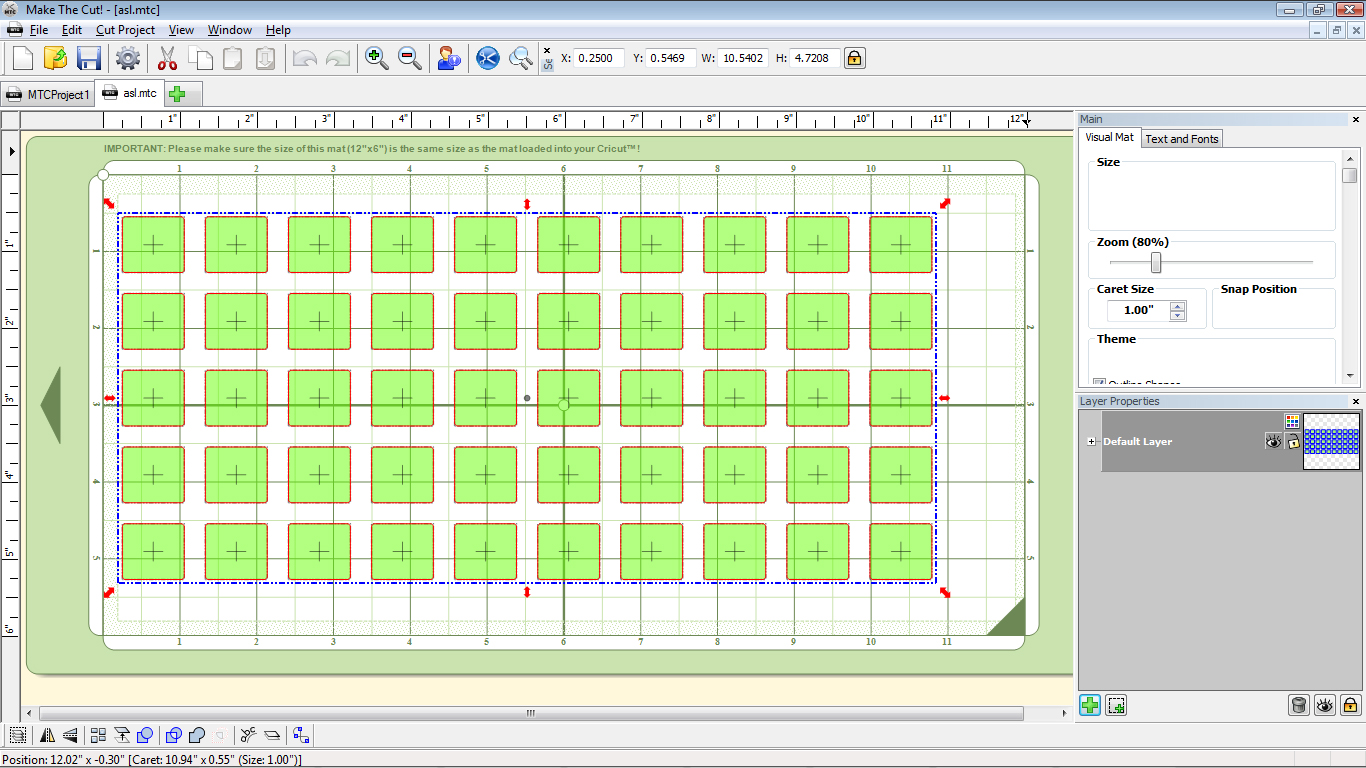
If you're lucky enough to own a Cricut cutter (the cheapest model of which can be found for as low as $70 at times, at places such as Big Lots clearance sales or Walmart on Black Friday), and you've bought the almost essential 3rd-party "Make The Cut" software which allows you to cut arbitrary vector files, then download the attached MTC file and use it to cut the two print outs from the previous step. They were deliberately printed on two sheets so that they'll fit in the smallest of the Cricut cutters, which has a maximum mat size of 6in by 12in.
Downloads
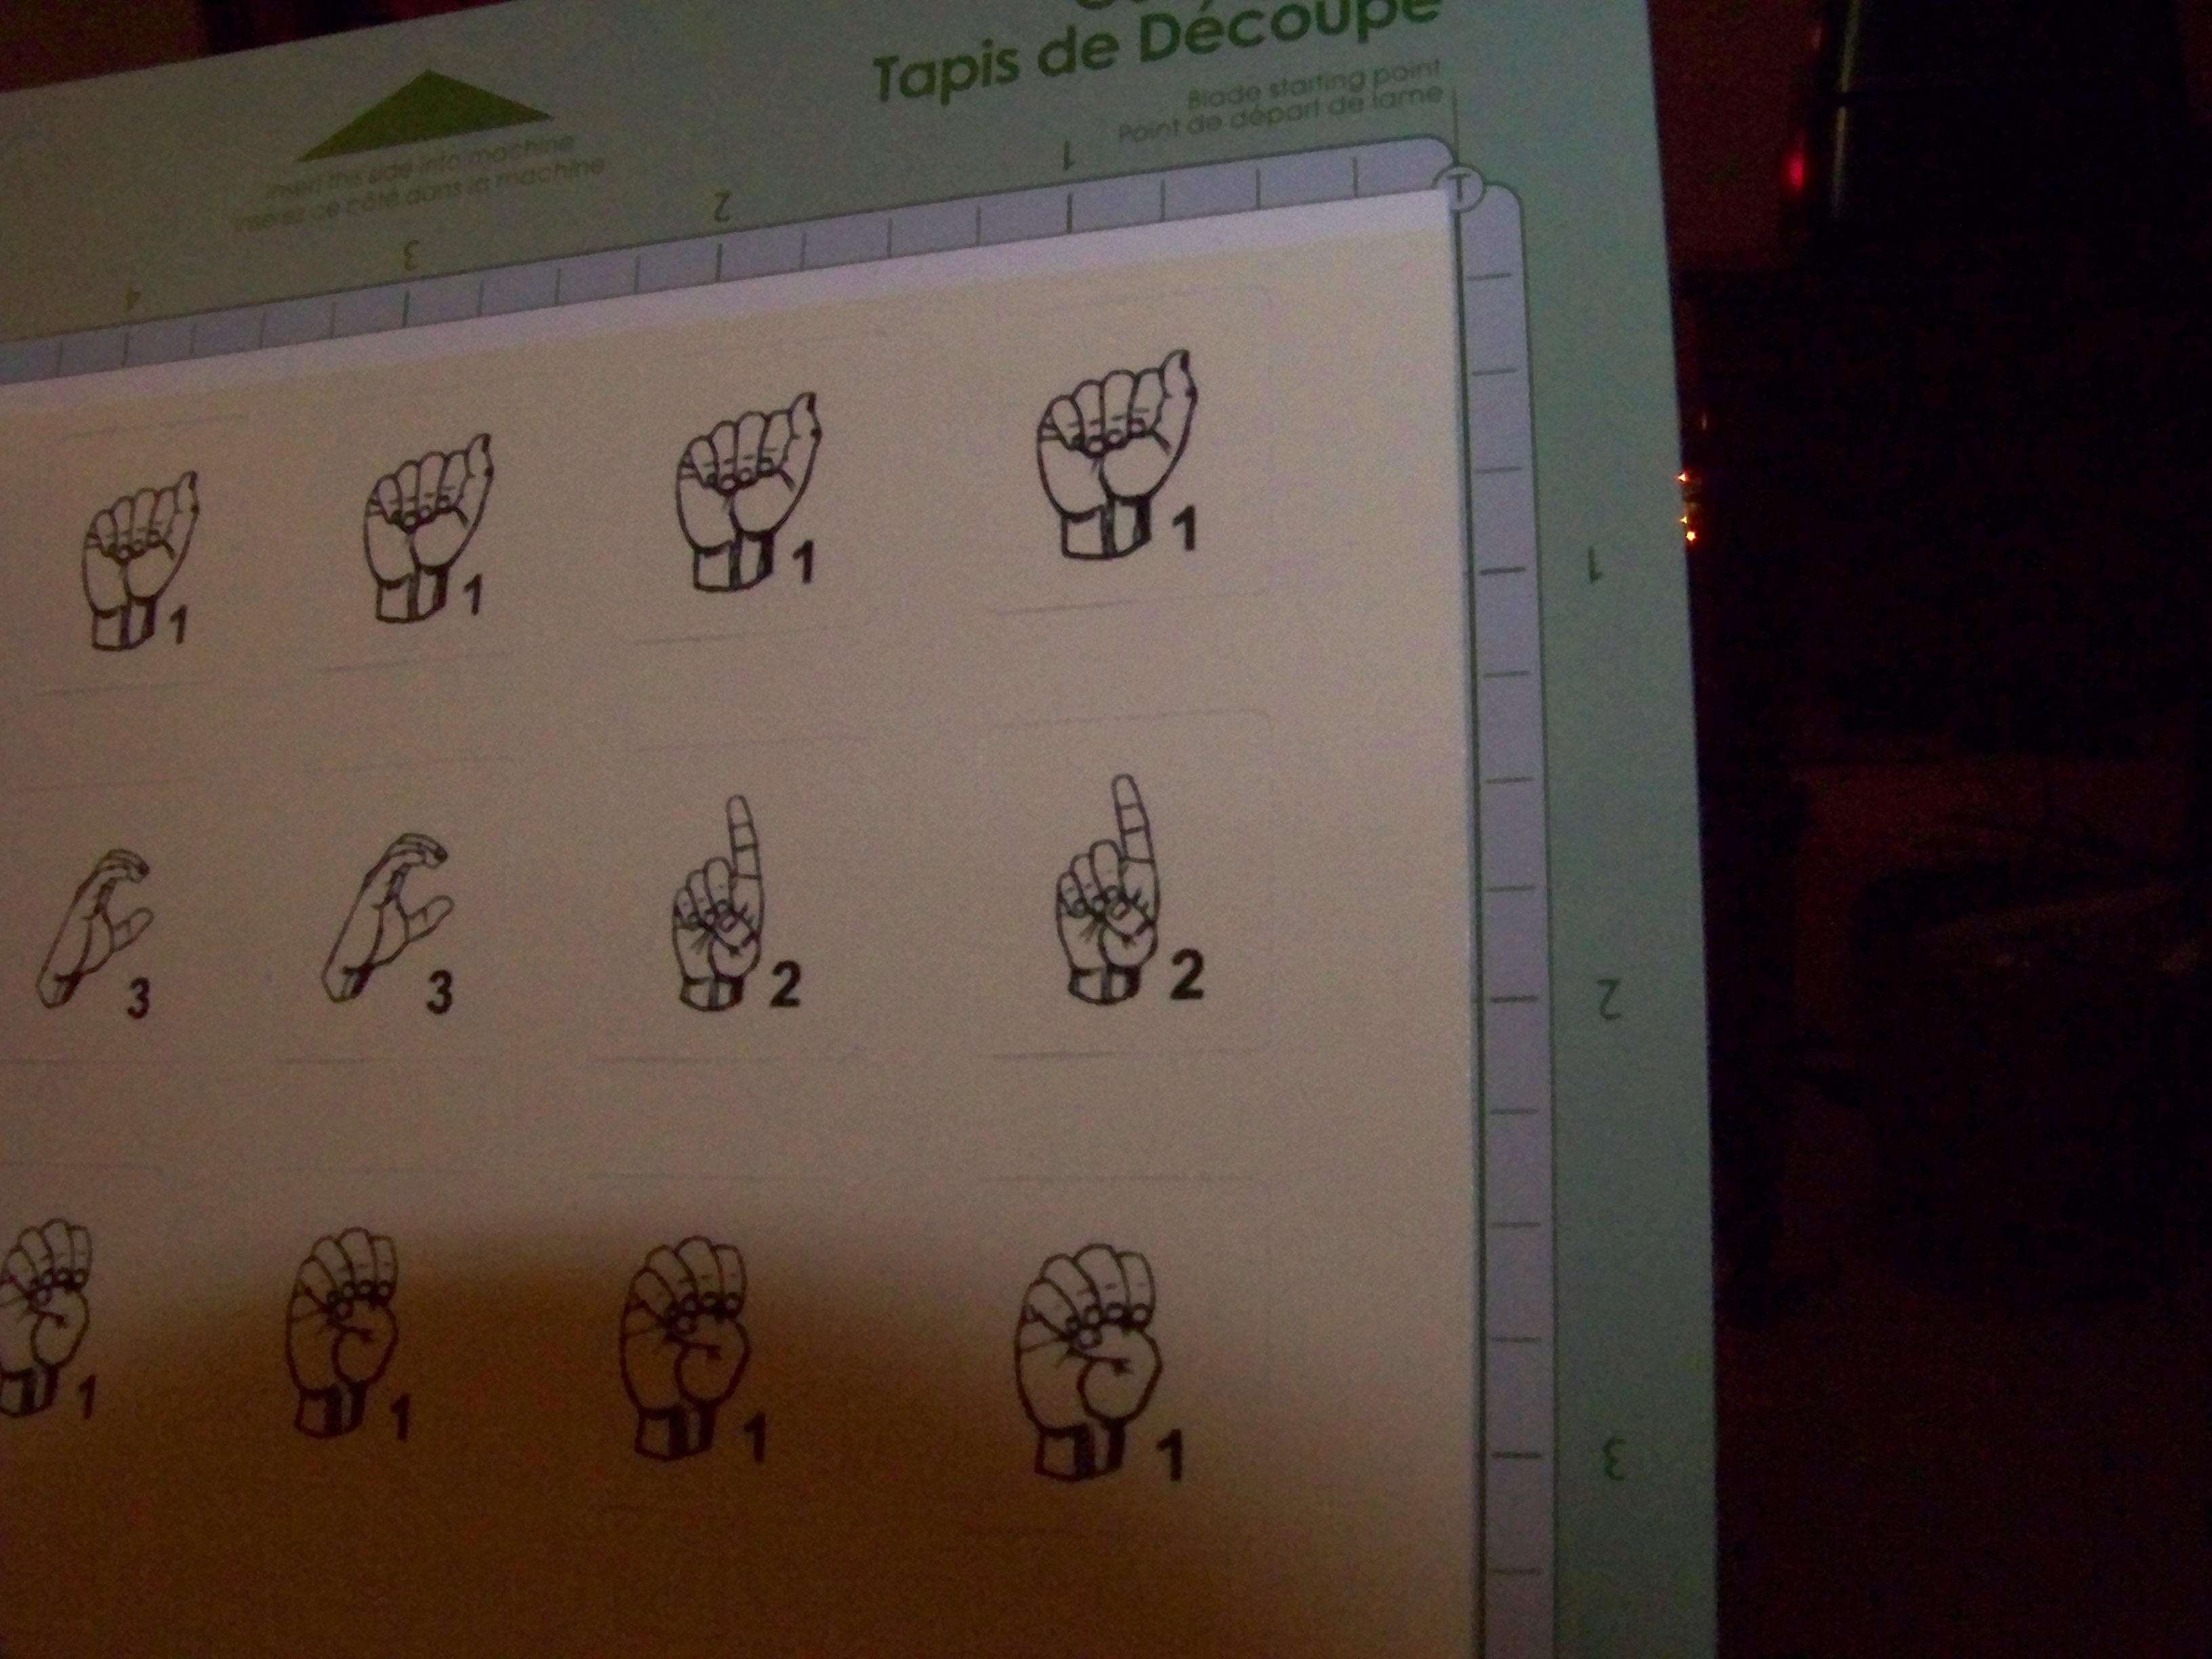
Align on the Cutting Mat
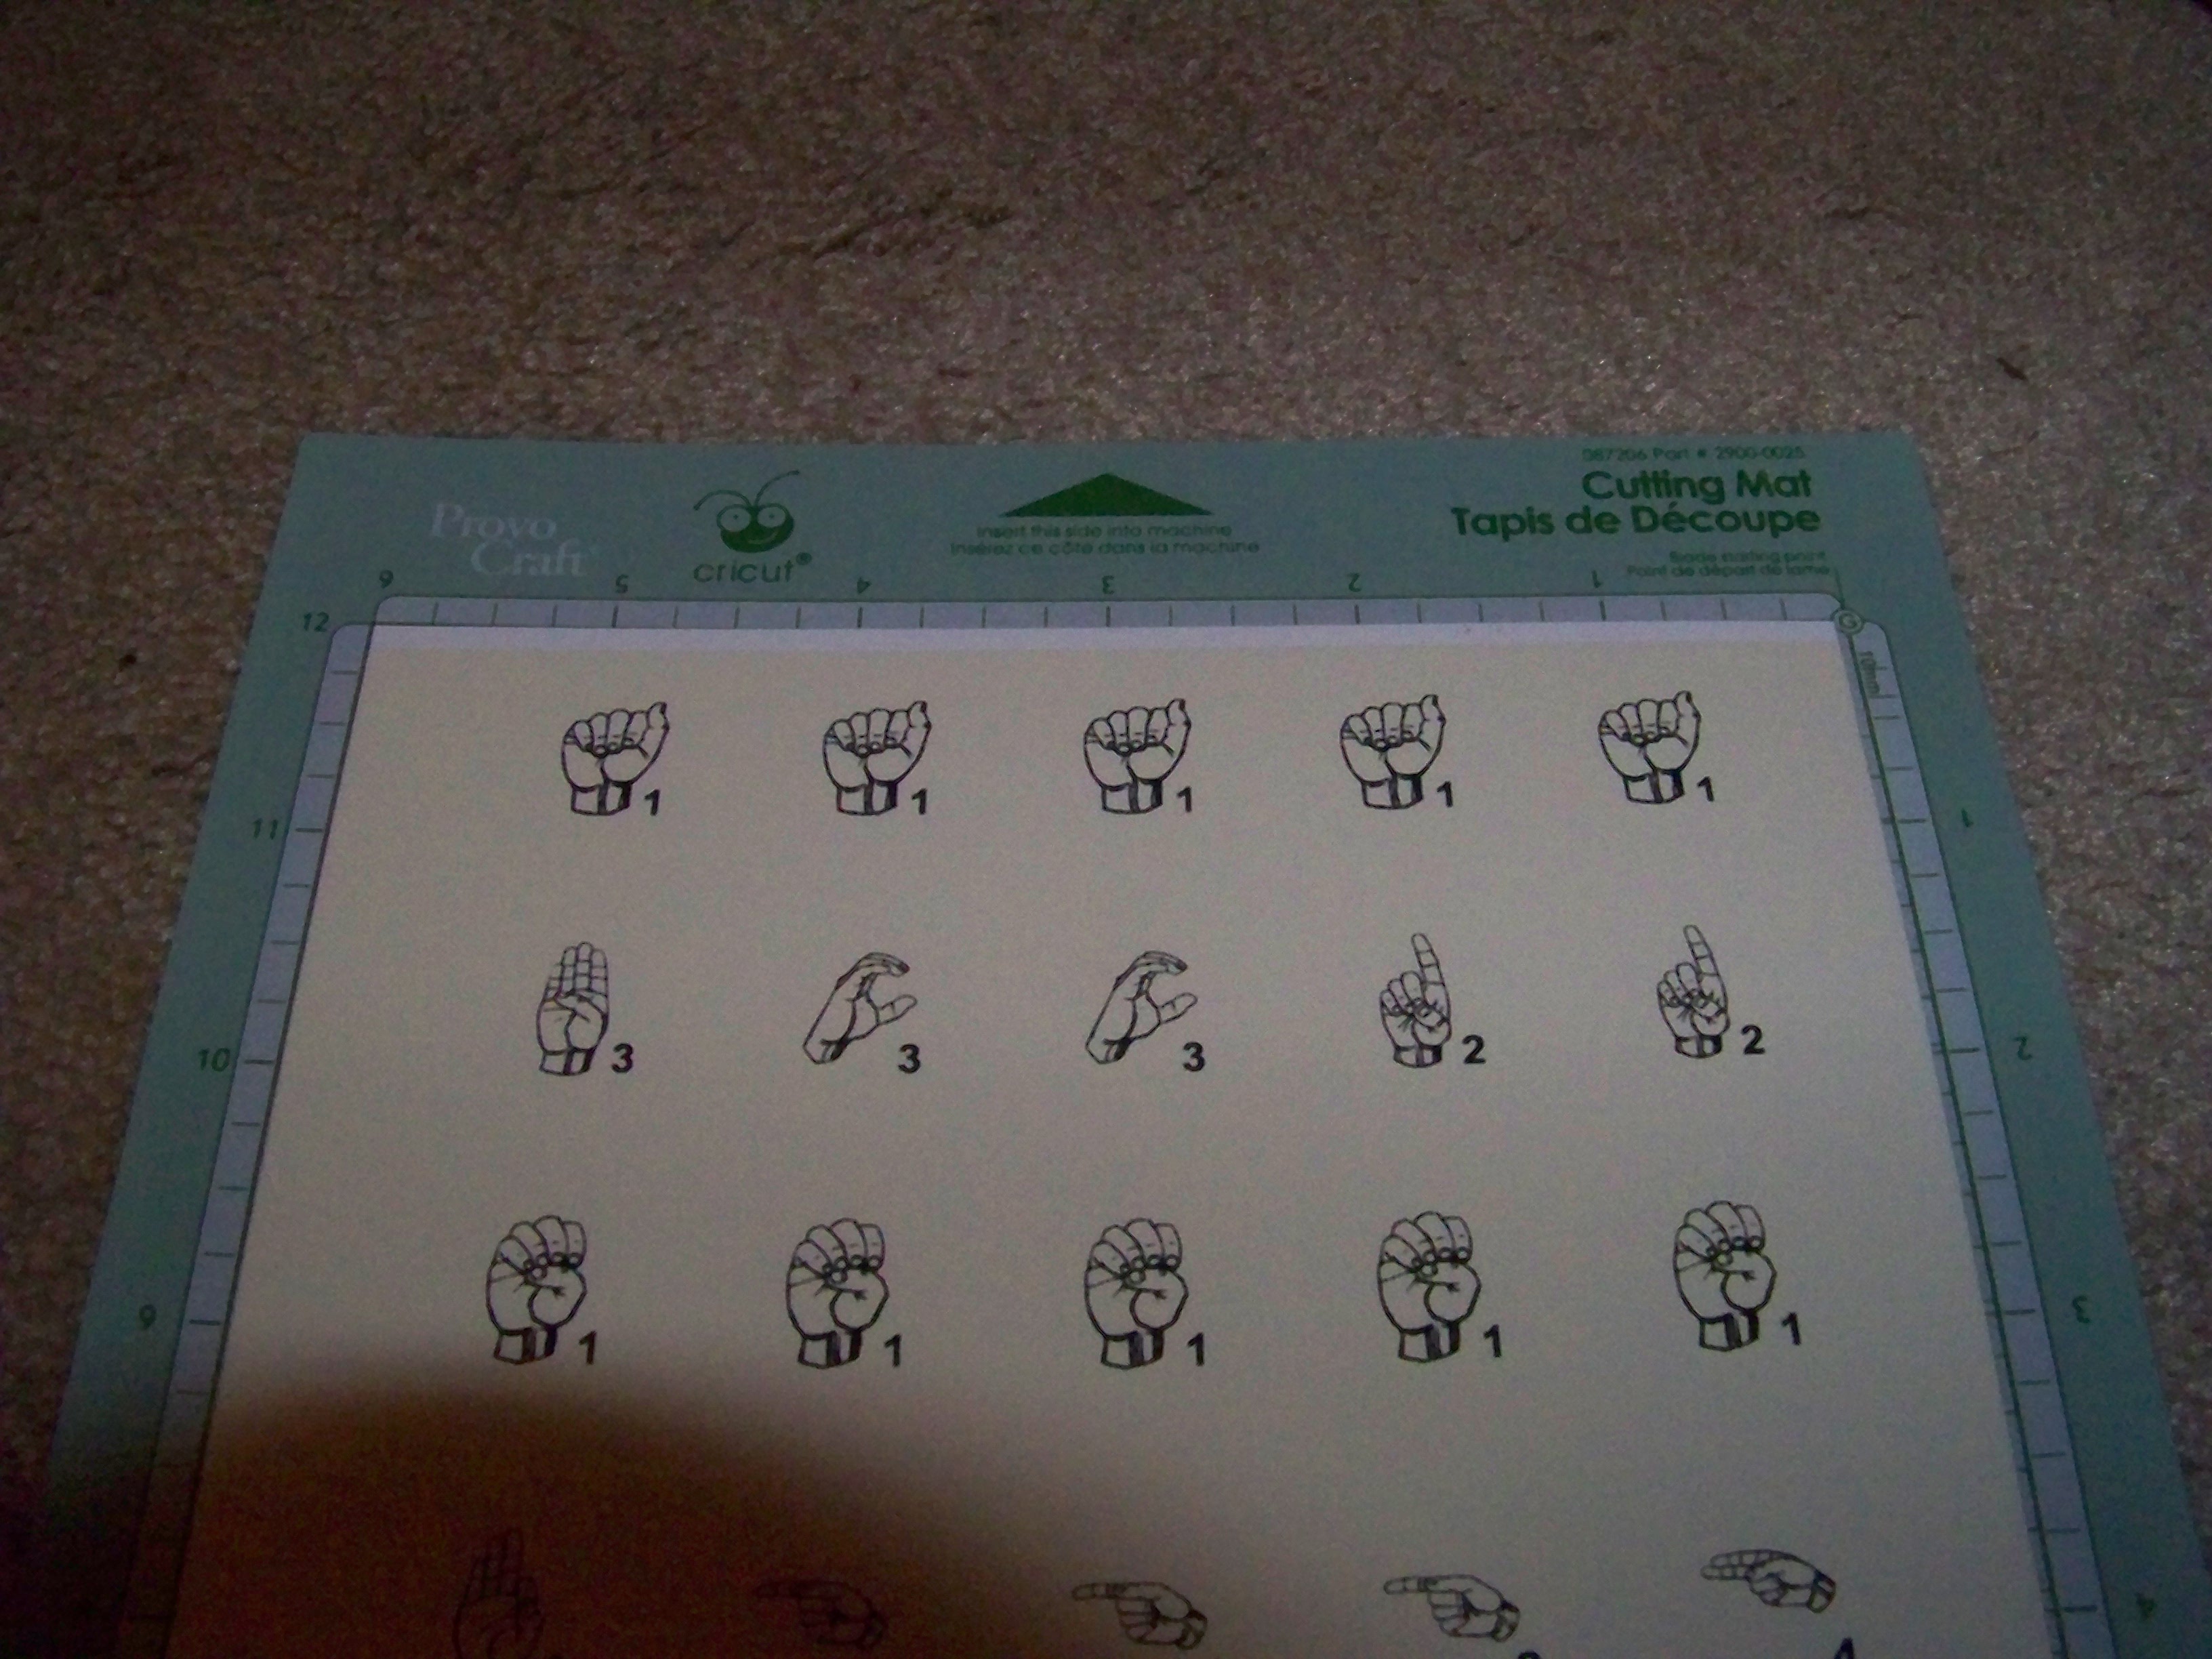
Align the paper to the top of the 6x12 mat - there's a small unprinted margin at the top, but that's taken into account in the cutting template. It should cut perfectly if you are consistent at loading your mat; if not, it may take a couple of tries to align the paper exactly on the Cricut mat so that the images are correctly positioned, so be prepared to reprint the images if the cut is misaligned. I deliberately did not draw a bounding box around the tiles (which would have helped with manual trimming) so that if they're just a little offset, they won't look too bad. You do have a couple of millimeters of leeway to play with.
Cut Out the Tiles
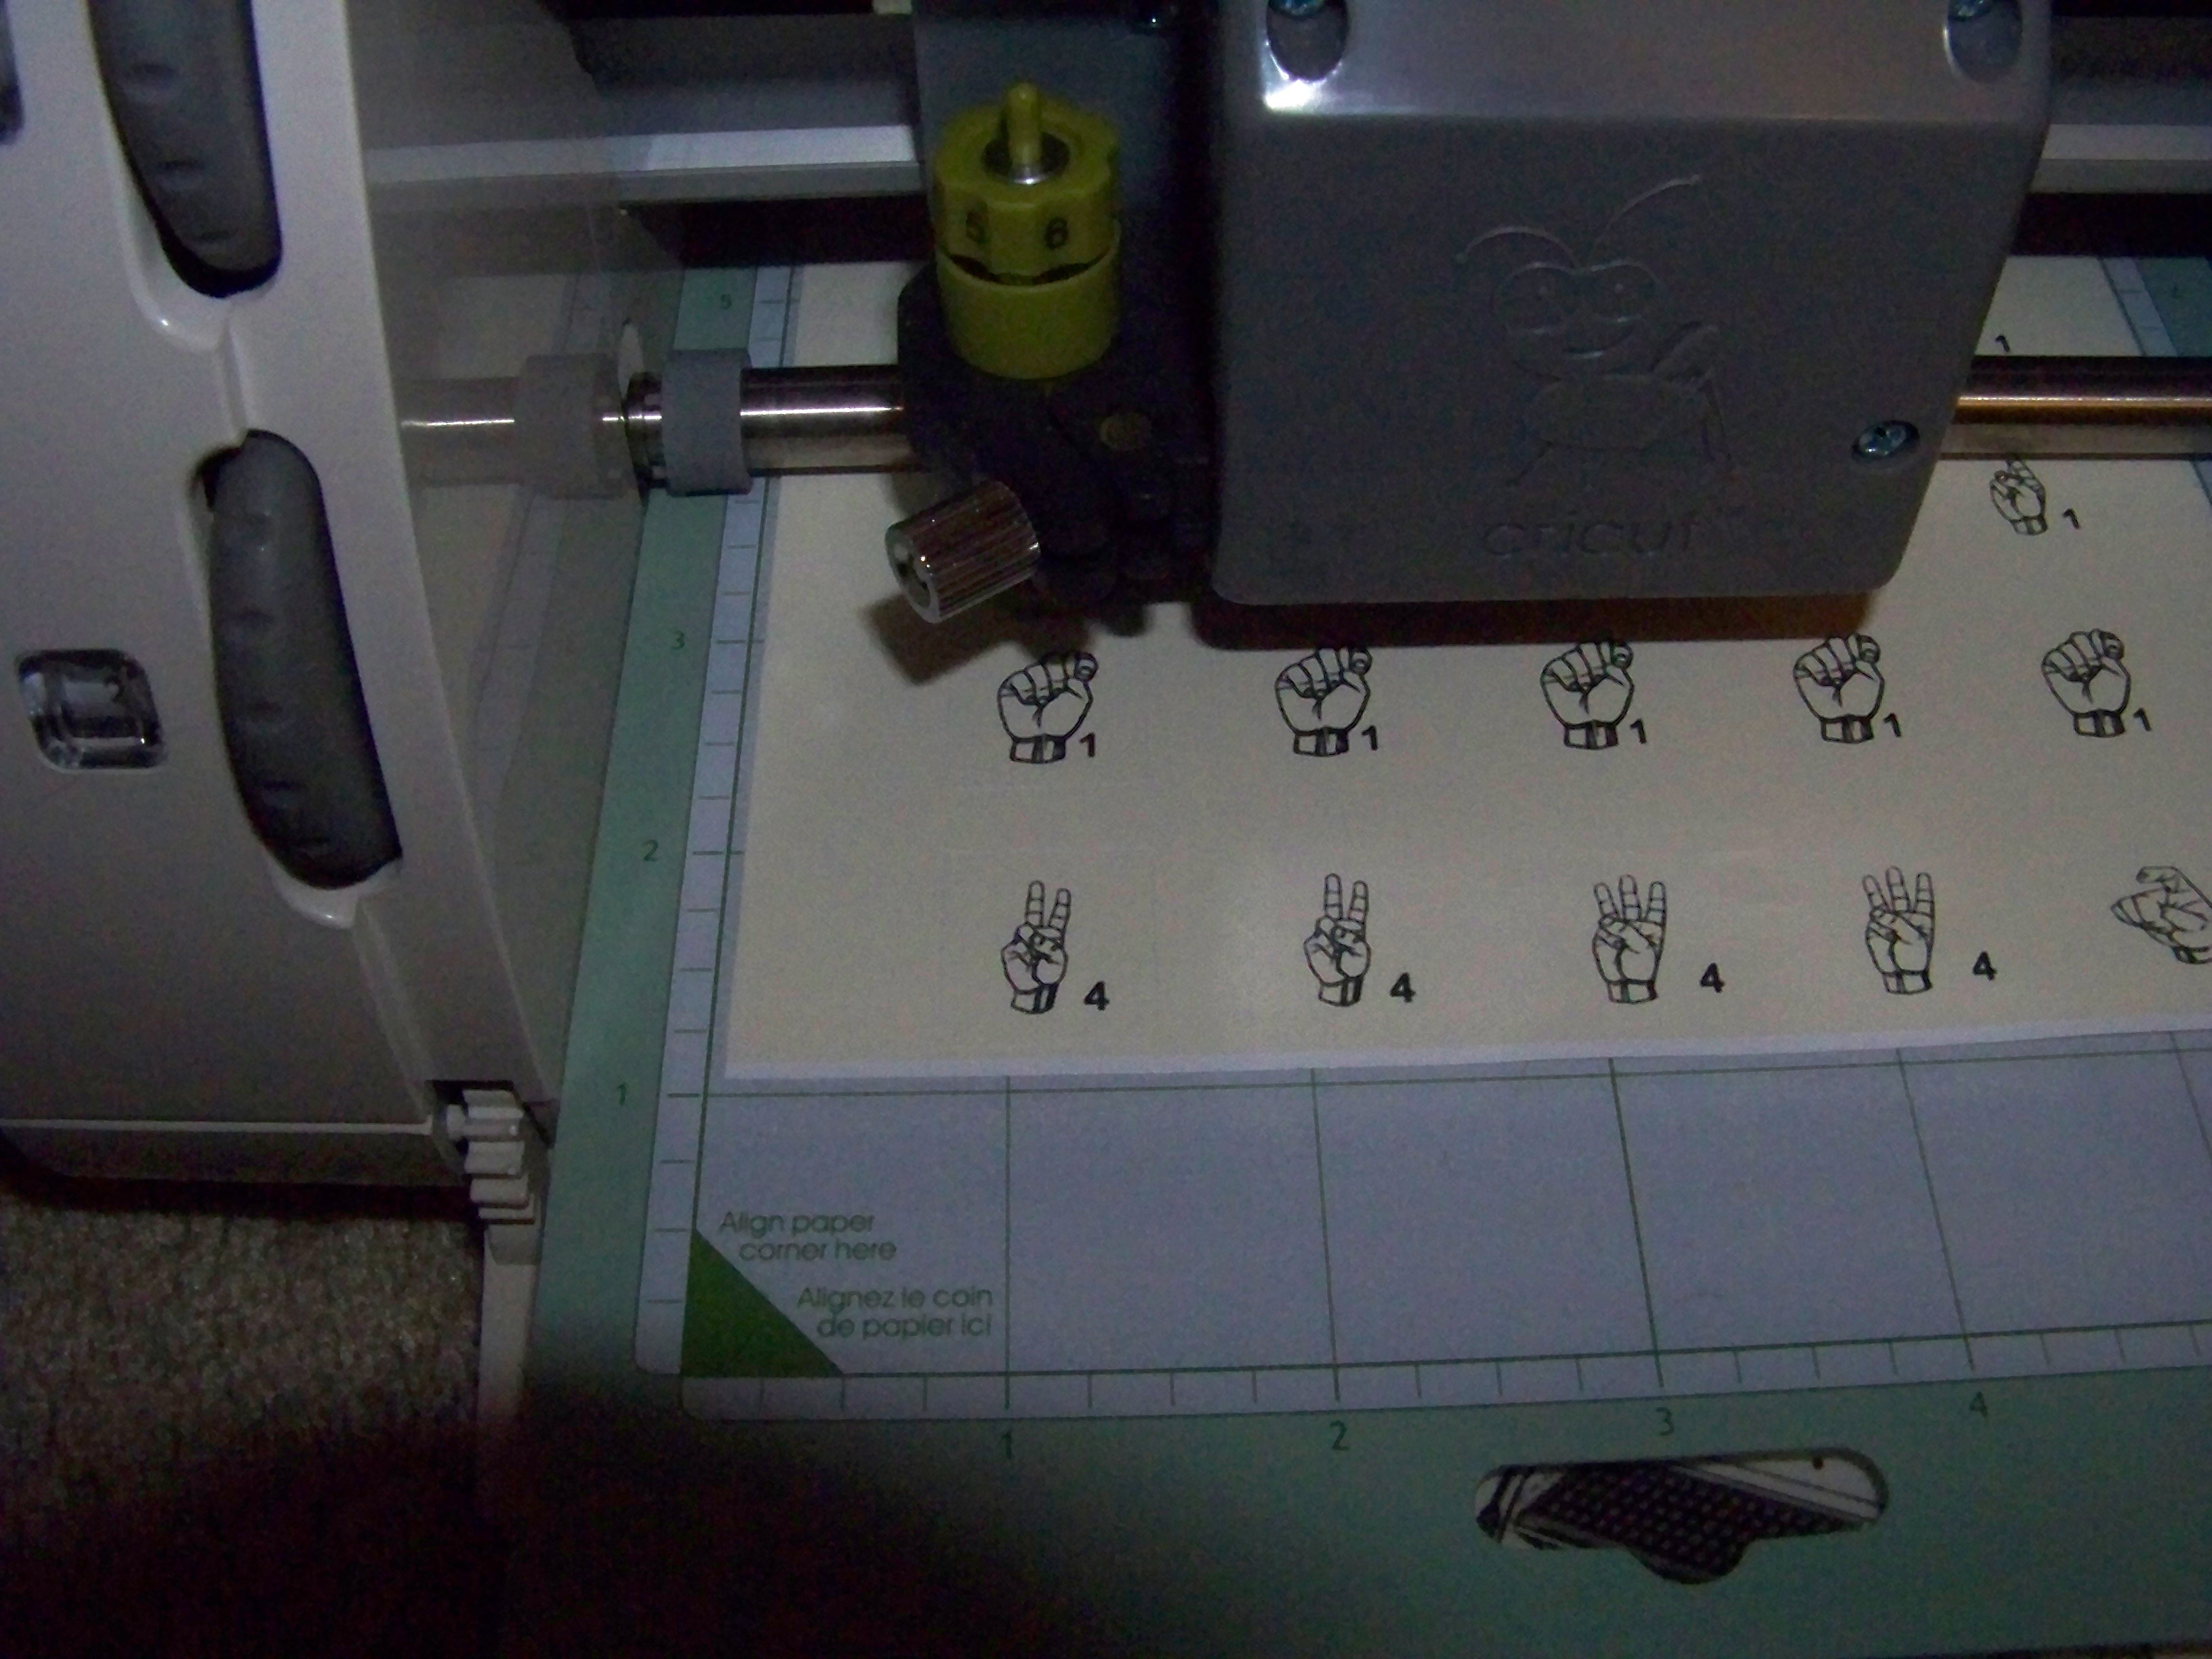
Run the Cricut! The tiles should pop out cleanly; if they didn't, you need to set the cutting pressure wheel a little higher.
If you don't own a Cricut, cut them carefully with a guillotine, and perhaps round the corners off with a craft corner cutter, however the Cricut will cut them to the exact size of the Scrabble tiles, including the rounded corners.
(The Cricut is a great tool for engineers, even though for some reason it is primarily marketed at ladies for making birthday cards etc)
Stick to the Scrabble Tiles and Play!
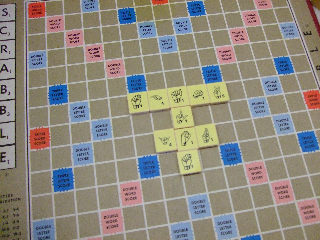
Separate the squares from the background and attach the labels to the original Scrabble tiles. If you didn't use self-adhesive paper, try a glue such as Loc-tite Superglue Gel Adhesive. Once they're well stuck down, you're ready to play!
If you want some other alphabet rather than ASL - such as Klingon for example - modify the graphics in step 1 - and post the files for the rest of us to share! - thanks.