How to Make an Iphone/android/web Controllable Extension Cord That Can Be Used to Control Your Crockpot, Garage Door, Coffee Maker, Rice Cooker, Smoothie Blender... Fish Tank Bubbler or Any Other Electronic Device From Anywhere With Internet Access.
by walt.schlender in Circuits > Electronics
7900 Views, 35 Favorites, 0 Comments
How to Make an Iphone/android/web Controllable Extension Cord That Can Be Used to Control Your Crockpot, Garage Door, Coffee Maker, Rice Cooker, Smoothie Blender... Fish Tank Bubbler or Any Other Electronic Device From Anywhere With Internet Access.
This instructable will teach you how to create a computer/iPhone/Android-controllable power cord that can control anything electrical from anywhere with internet access. The build will cost you 60$ and It's quite easy to do. It will probably take you 30 minutes to complete.
Here's some reasons this cord rocks --
1. you can turn it on and off via a big switch (very convenient)
2. you can turn on and off from anywhere in the world with your phone
3. you can control write software on your computer to turn on and off at certain times of day or when certain conditions are met (like maybe turn on a light whenever you're broadcasting at a radio station)
Assemble the Materials


Parts? You'll need the following:
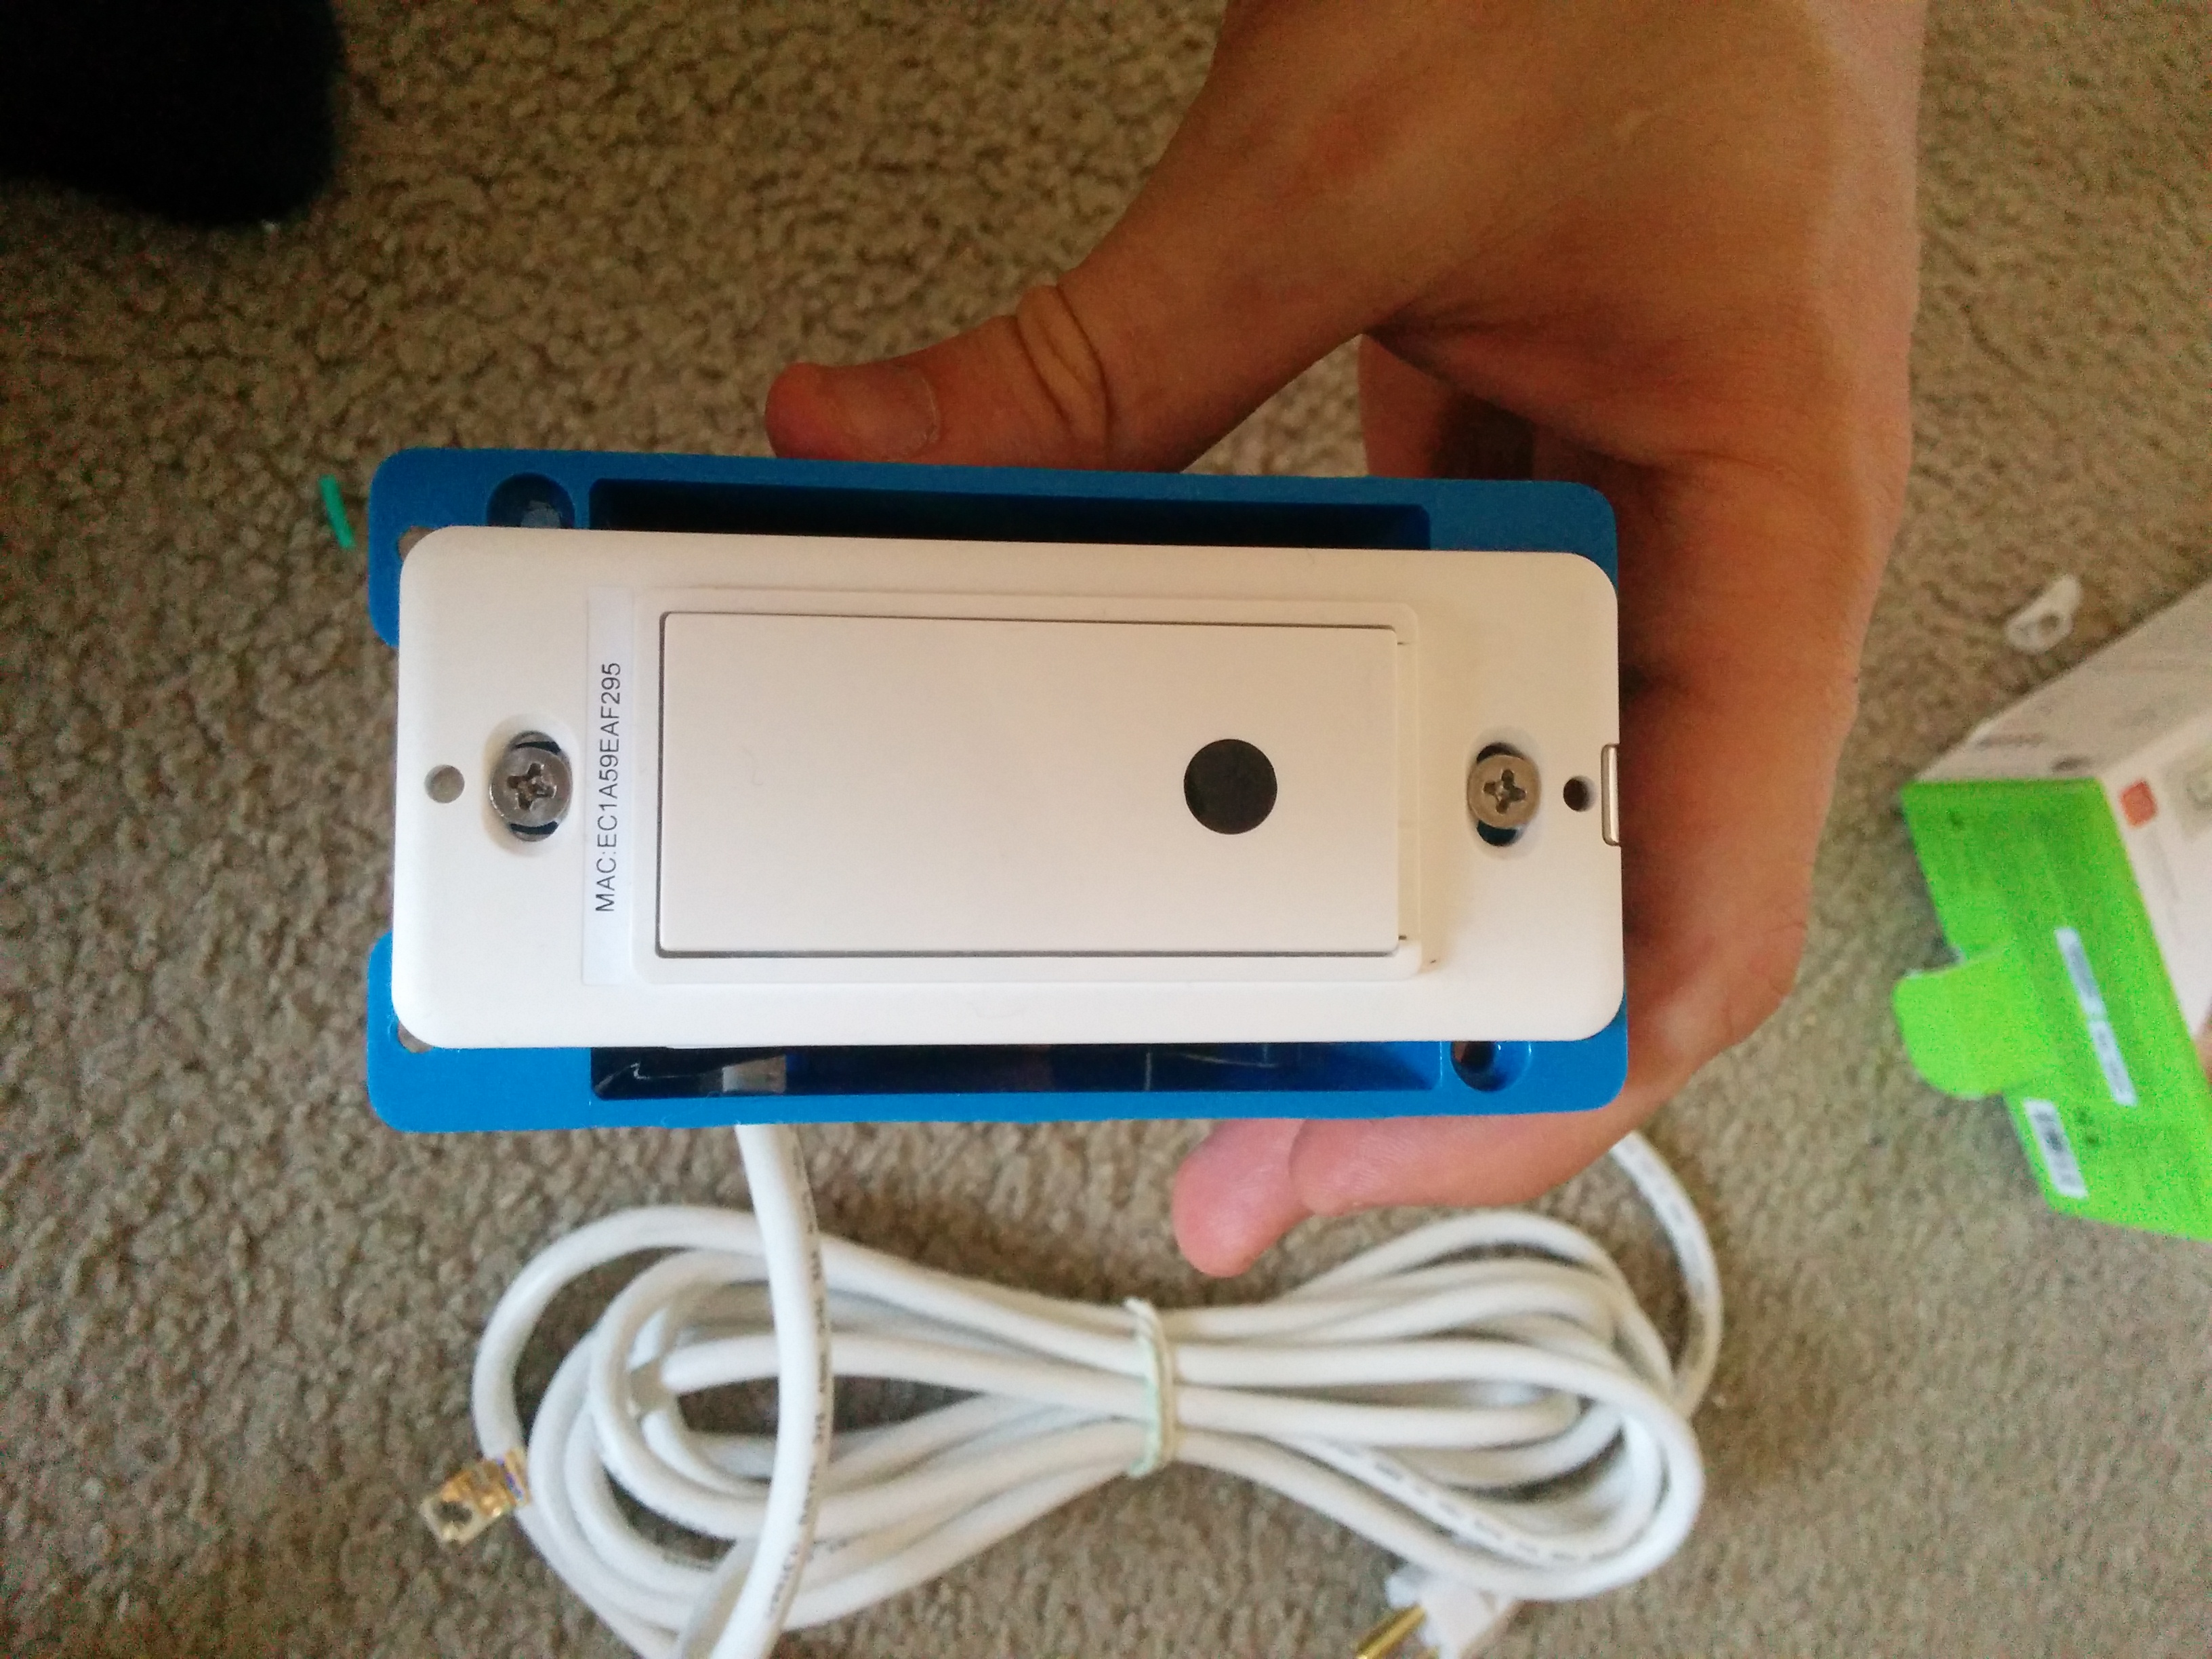
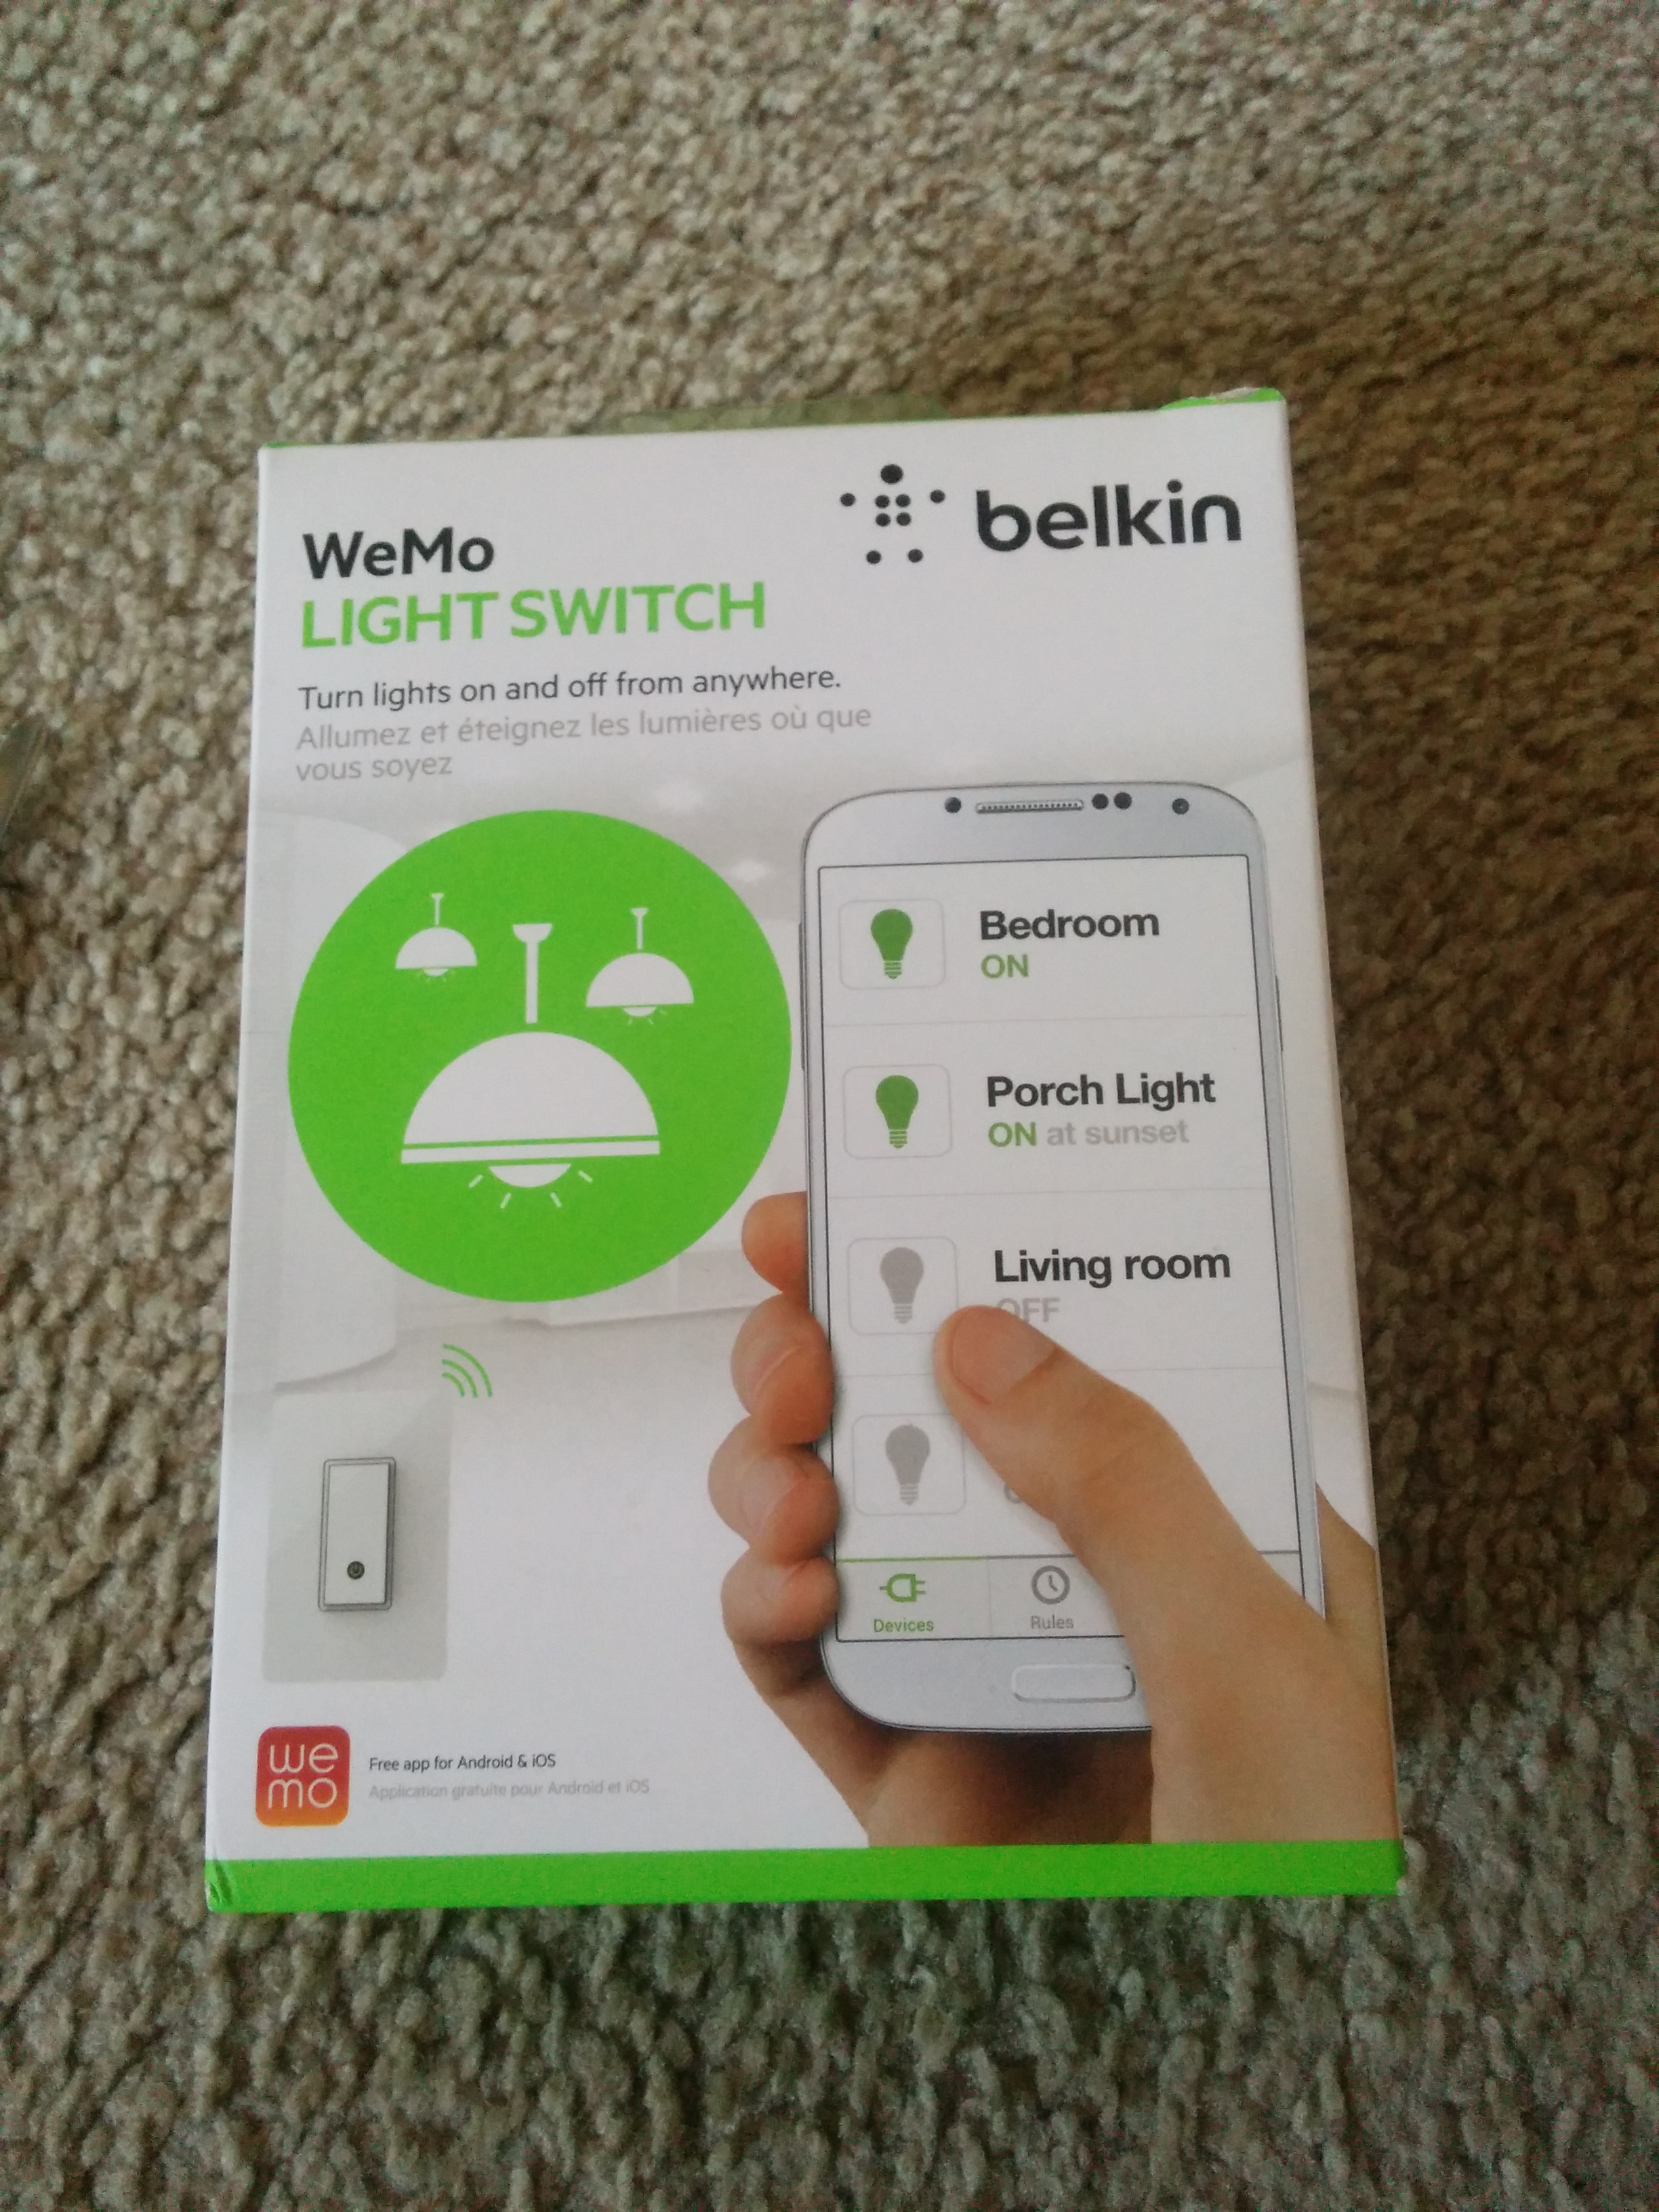
1. A Belkin WeMo - 50$
2. An extension cord - 8$
3. A 14 Cubic Inch Zip Box - 2$
Dissect the Extension Cord
So now that you have your materials it's time to dissect the extension cord.
Before you begin NOTE that modifying extension cords can be dangerous. Getting electrocuted can kill you. Be 100% sure that sure the extension cord is NOT PLUGGED IN -- that is COMPLETELY disconnected from the wall before you modify it. Also, NEVER touch any exposed wires when the power is plugged in. If something doesn't work be sure to disconnect the extension cord from power before examining it to fix it. Be SAFE!
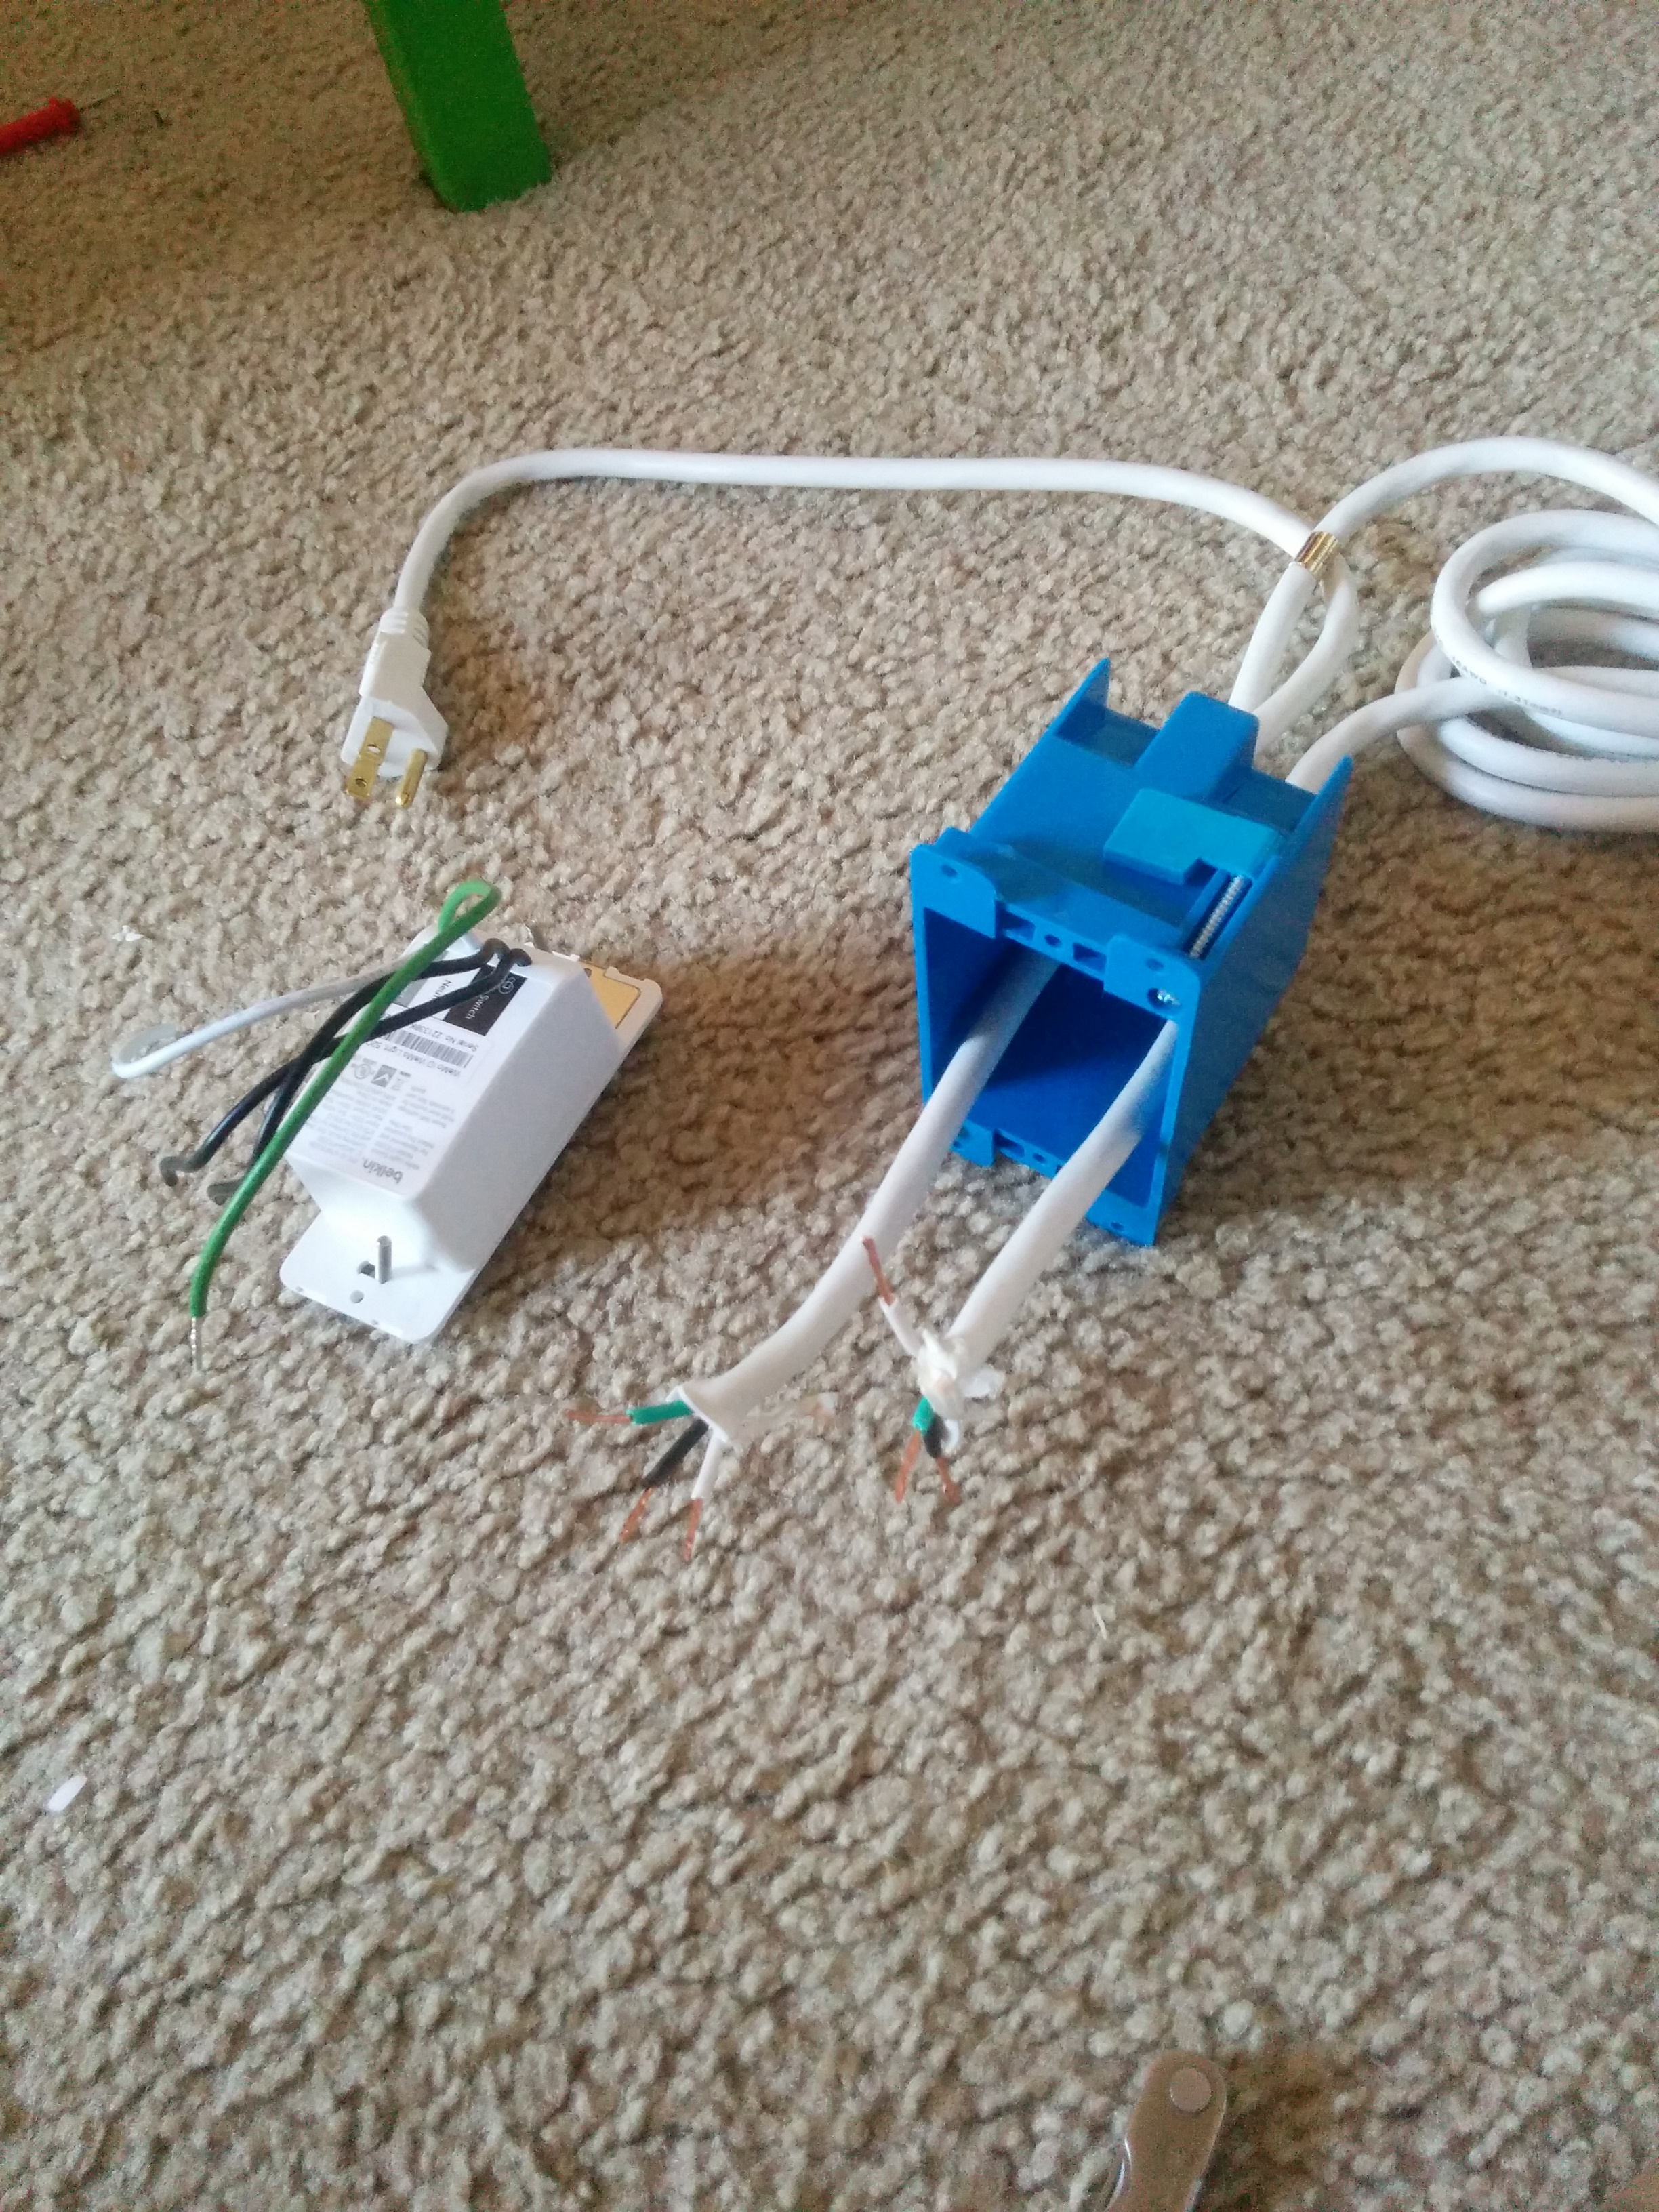
Cut the extension cord into 2 pieces. The pieces do not need to be the same length but you probably want a little bit of distance from the plug.
When you make the cut you'll find that the extension cord is a rubber sleeve rapped around 3 wires. These wires should be green, black, and white. You'll need to strip the insulation off of each of these wires so that you expose maybe half an inch of metal.
Now this is how an extension cord is supposed to be wired. Green is GROUND - the big roundish prong on the cord. White is neutral - one of the two prongs. Black is hot - the other of the two prongs. This will match the color code on the wires attached to the back of your WeMo.
Just to be 100% safe I tested my extension cord's wiring using a digital multi-meter. To do this I set the multimeter to measure resistance (ohms or omega) and then touched one end of the multimeter to one piece of the stripped wire and then the other to one of the 3 prongs on the extension cord. When the ohm-meter read 0 I knew that the stripped wire was connected to the current prong. On my extension cord green, black and white all were connected to the proper prongs.
Take the two ends of the extension cord and thread them into the zip box (the blue thing).
Wire Up the Box

My WeMo came with 4 twist-on XPT connectors (the orange things).
These guys are used to take loose wires and join them together without having to do any soldering.
Do the following:
Take all 3 green wires, put them close together and screw an XPT connector onto them joining them.
Take all 3 white wires and do the same thing
Take 1 black wire from the WeMo and join it with one black wire from one side of the extension cord with an XPT connector
Take the other black WeMo wire and join it to the black wire from the other side of the extension cord.
You're done with the wiring.
Package Up the Box + Test

Screw the WeMo into the zip box making sure that none of the colored wires are accessible to people.
Now find some sort of desk lamp and plug it into your extension cord. Then find a surge protector and turn it OFF.
Plug the other end of your extension cord into the OFF surge protector. Turn on the surge protector.
You should see a little green power light turn on on the faceplate of the WeMo. If you see this it's likely that everything is good to go. Wait for a few second (it takes the wemo a little bit of time to boot up) and then press the switch. It should turn on the light. You're good to go.
** I wrapped my box in gaffer's tape just to make it slightly better packaged.
Try Out Your Light
Follow the steps in the WeMo manual to configure your cell phone to talk to your light switch.
Once you've done that you may say, "this is cool but I really want to be able to issue more complicated commands". Here's where your computer comes in.
I use ruby for controlling my WeMo. It's a programming language which can be installed on mac or windows. Installing it is beyond the scope of this tutorial but if you are familiar with ruby you can install a gem called 'wemo' that can control your light switch.
Here's a little bit of code which turns my light off and then 3 seconds later turns it on -- In my setup I've named my switch ExtCord1.
require 'wemo'
Wemo.off('ExtCord1')
sleep(3)
Wemo.on('ExtCord1')