How to Make a Woodcut From... a Photo of a Woodcut Using Your CNC Mill
21215 Views, 81 Favorites, 0 Comments
How to Make a Woodcut From... a Photo of a Woodcut Using Your CNC Mill
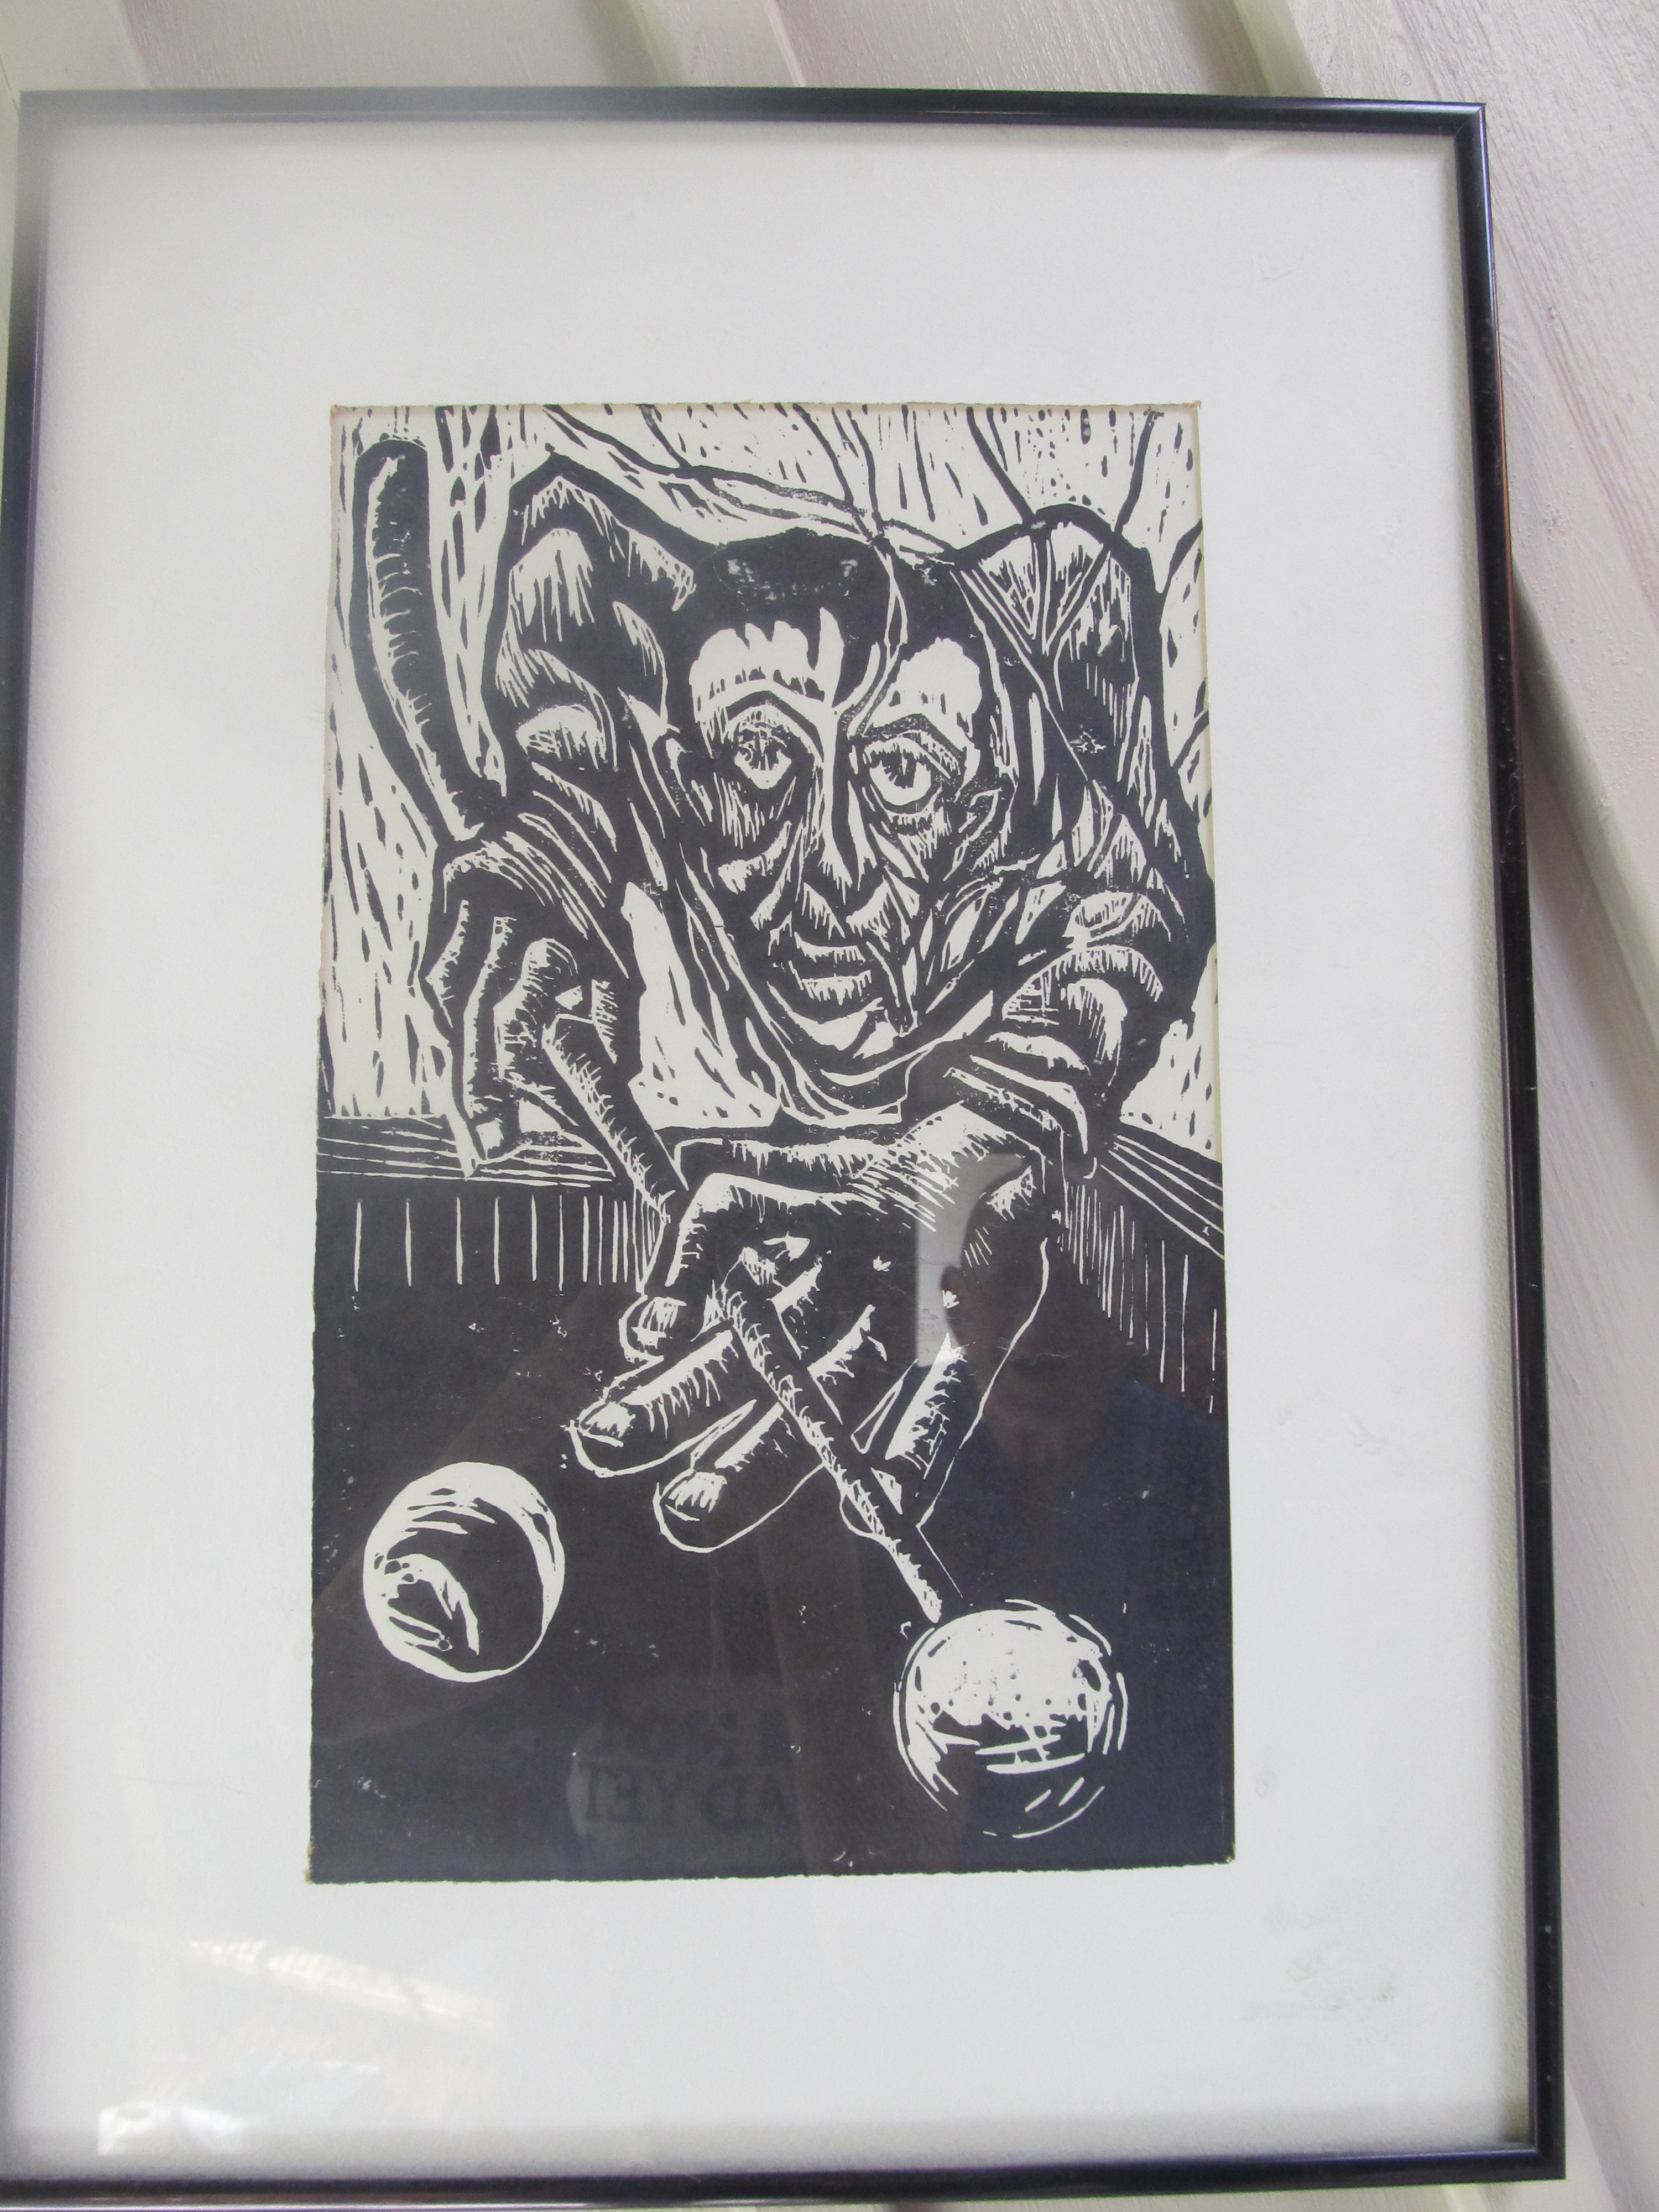
My dad was just visiting, and he asked me if I could use my new CNC router to make a woodcut. That got me to thinking... sure, why not?
He sent me a photo of a woodcut hanging in my sister's house, and in a few hours I was able to make this woodcut! Very neat.
Unfortunately, this instructable uses the incredibly awesome, and extremely non-free Vectric Aspire software.
Stuff you'll need:
- a CNC mill/router
- a 90 degree V router bit
- a photo
- a hunk of MDF or other flat wood
- a buddy with Vectric Aspire or something similar. Somebody let me know if there is some free software that will do this!
Crop Your Photo and Invert
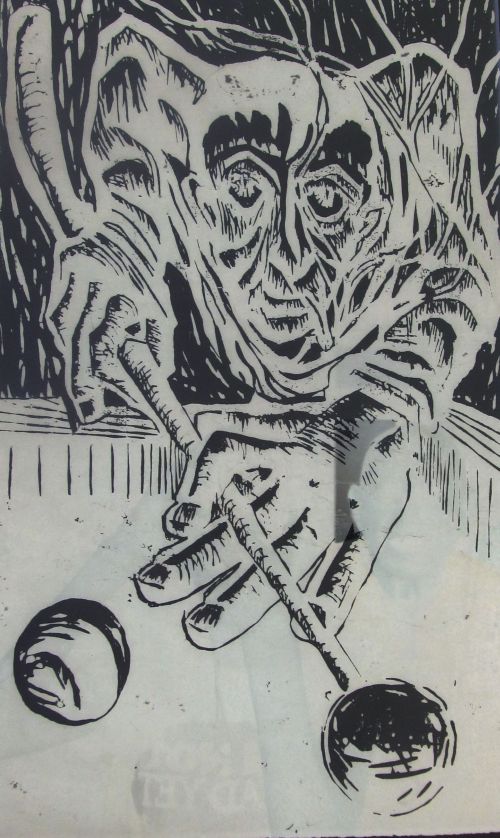
Open your original photo, crop it, and reverse black & white. I re sized it to 500 pixels wide. This helps reduce the size of the traced image.
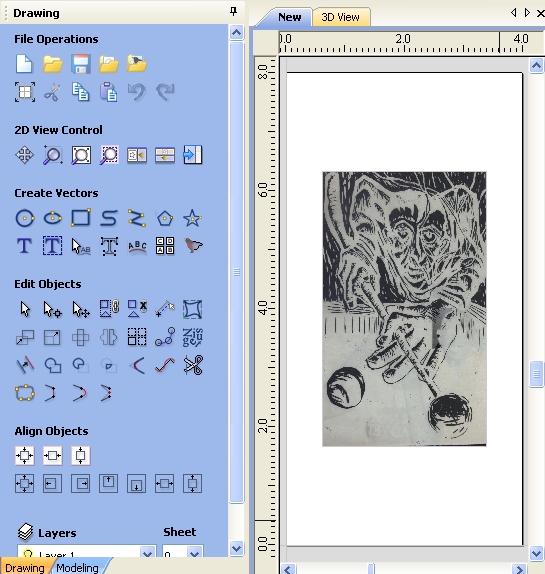
Import Into Aspire
Open a new document in Aspire, set the document size to the size you like.
Then, import the photo.
Then, import the photo.
Fit Vectors to Bitmap
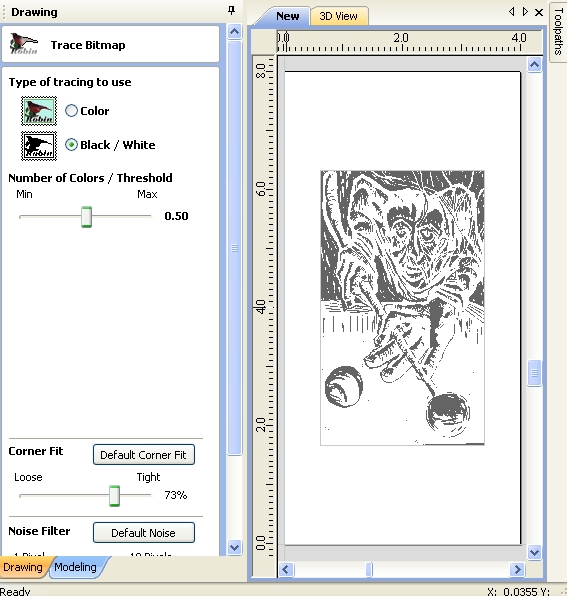
This is pretty simple -- just click the Fit vectors to bitmap button. Choose 'Black and White', and slide the slider around until it looks good. When happy, click 'Fit Vectors'.
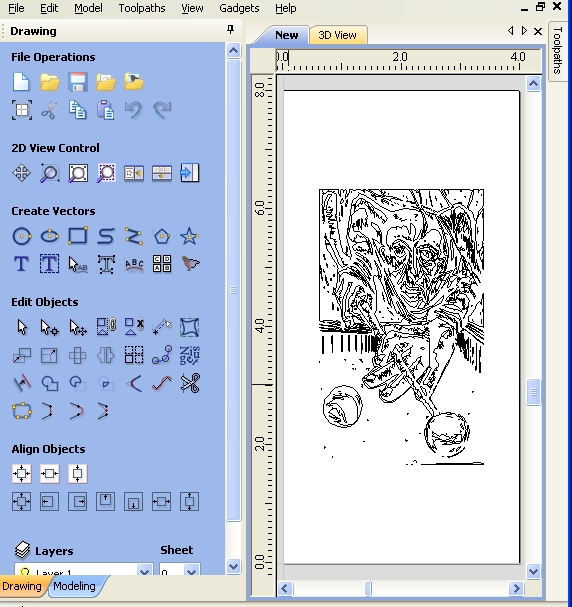
I like to delete the original bitmap so I can see the vectors more clearly.
I like to delete the original bitmap so I can see the vectors more clearly.
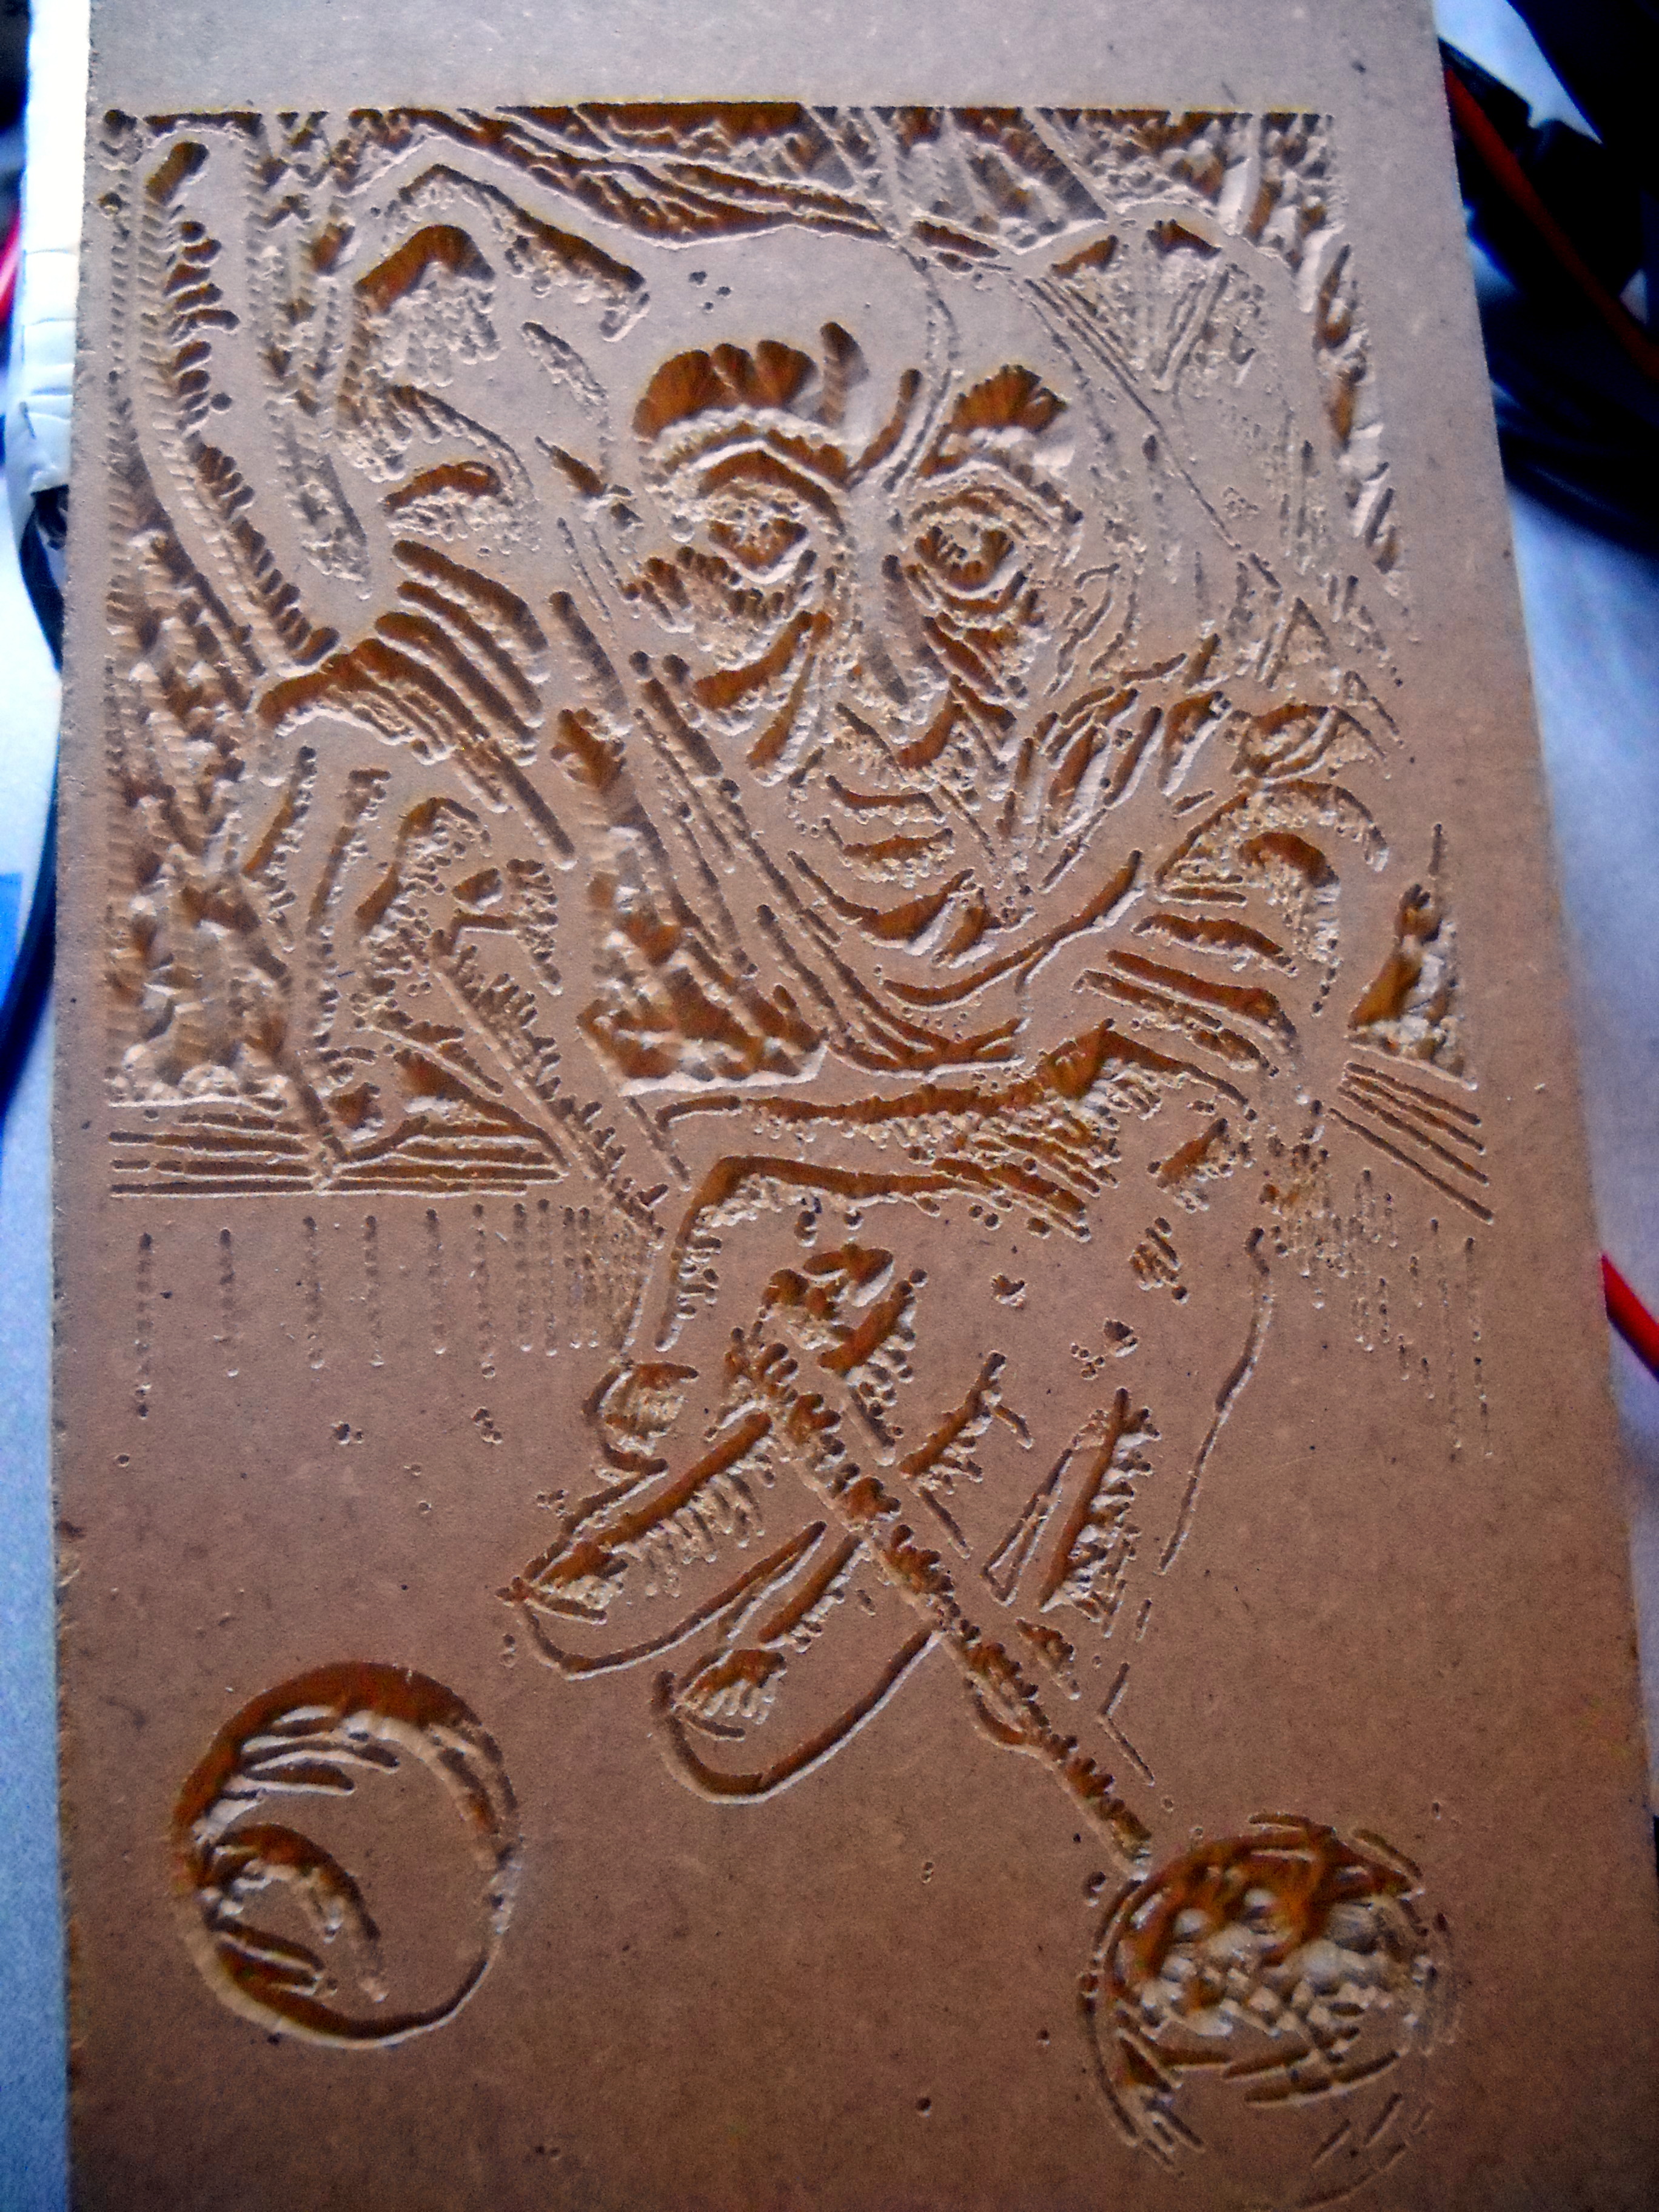
Create Your Toolpath
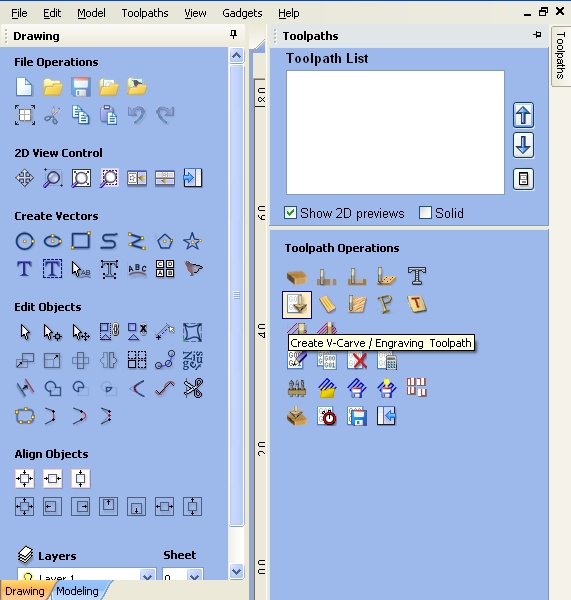
Choose Toolpaths->Create V-Carve/Engraving toolpath.
Select a V shaped bit, select all your vectors, and 'calculate'.
Then you can do a 3-D preview.
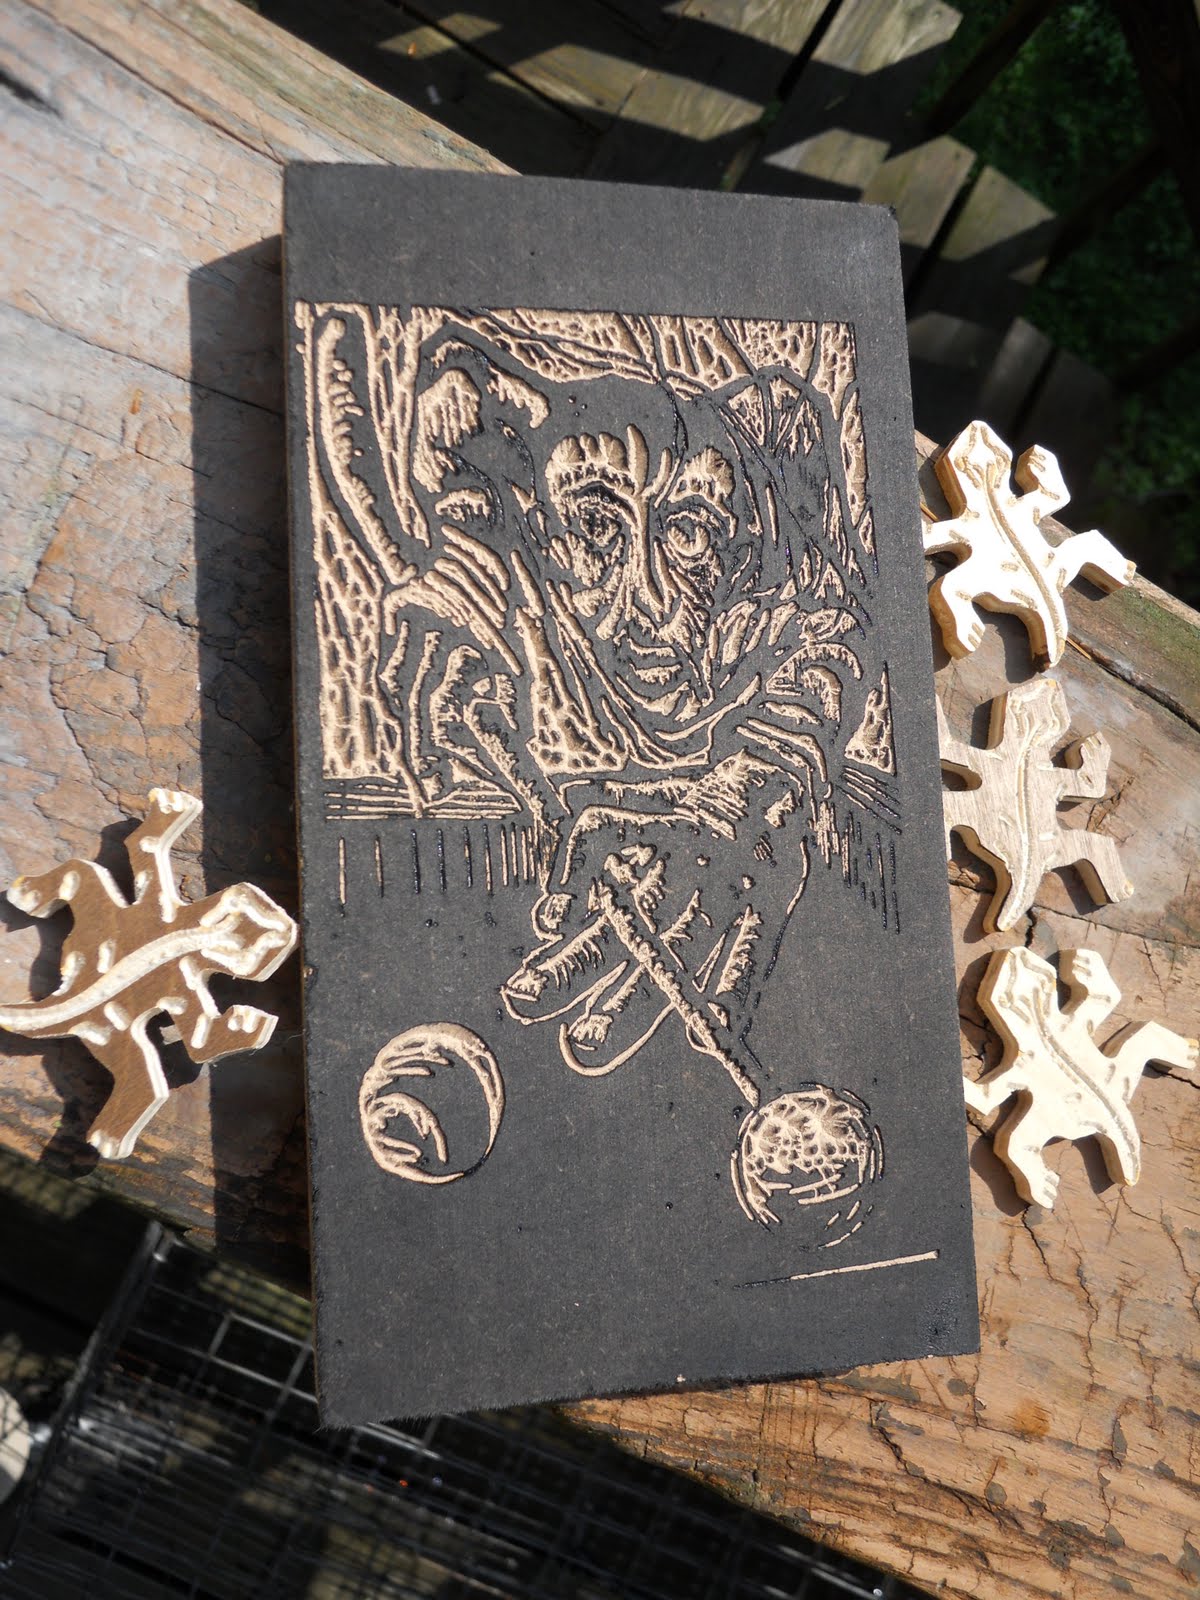
That's pretty much it! Export your g-code and carve.
Like I said, Vectric is pretty awesome.
Select a V shaped bit, select all your vectors, and 'calculate'.
Then you can do a 3-D preview.
That's pretty much it! Export your g-code and carve.
Like I said, Vectric is pretty awesome.
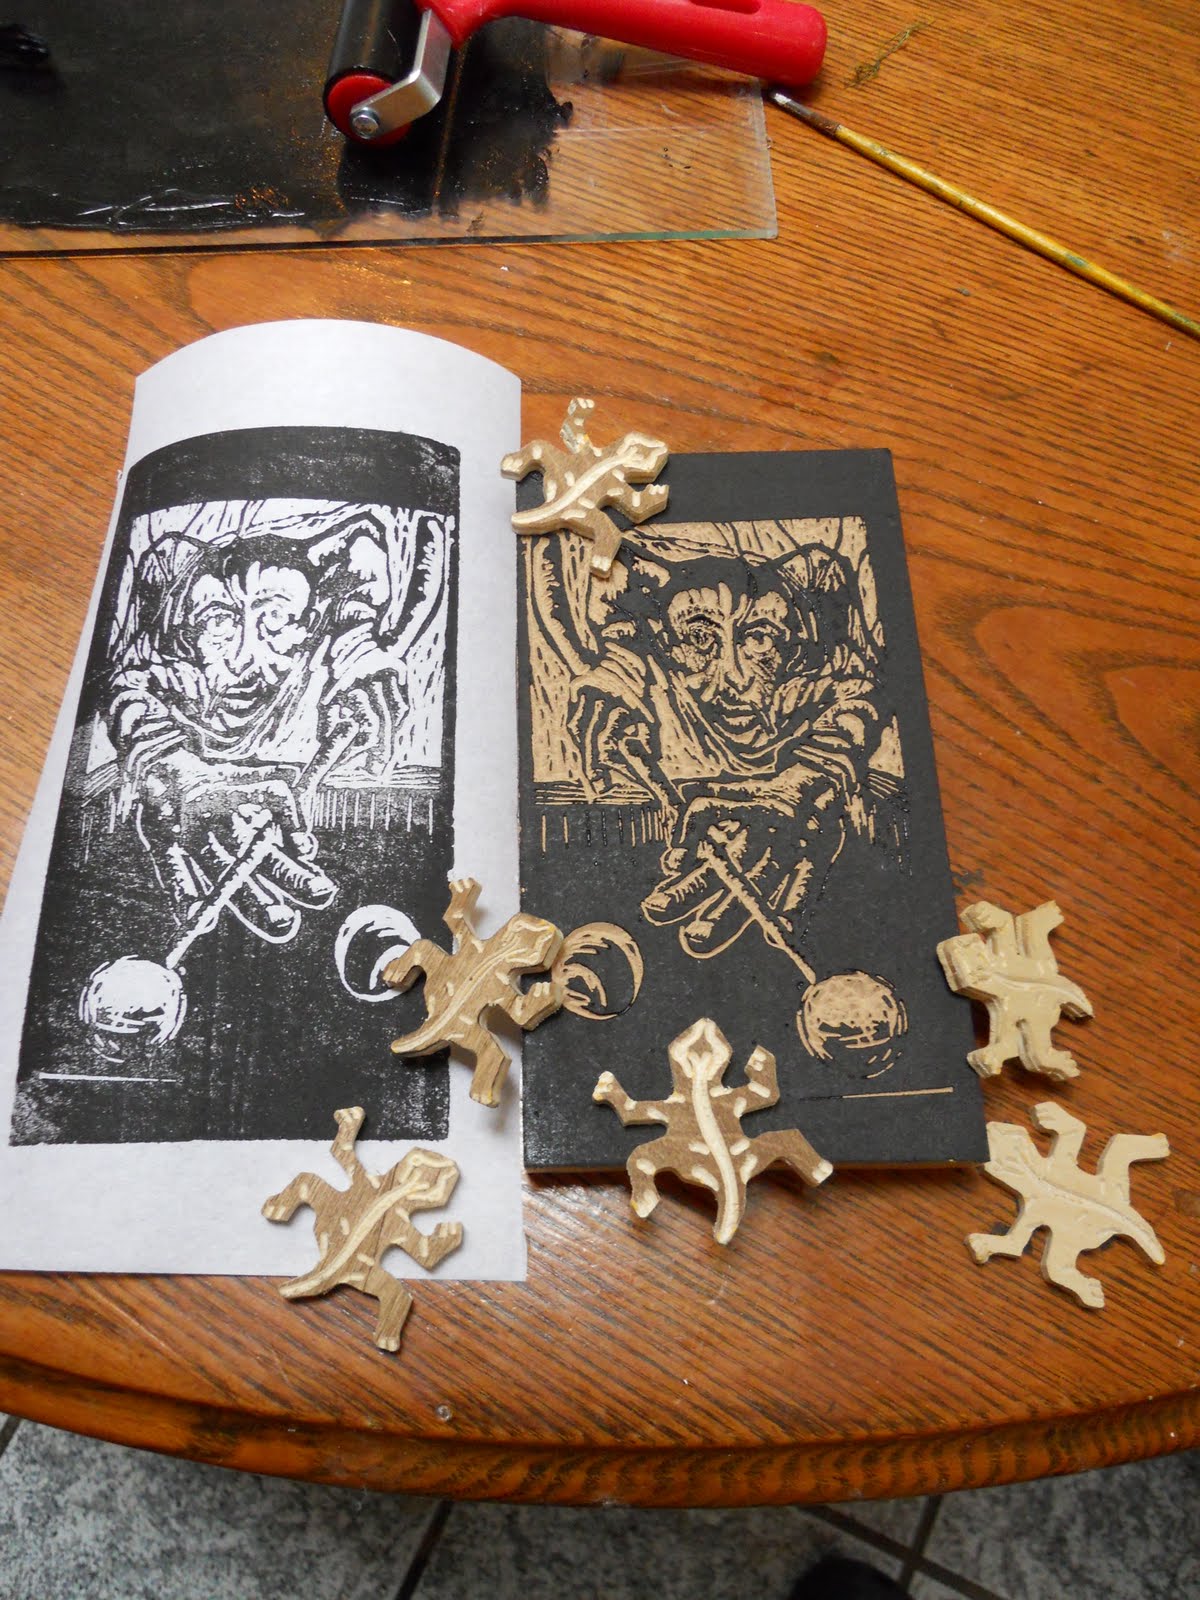
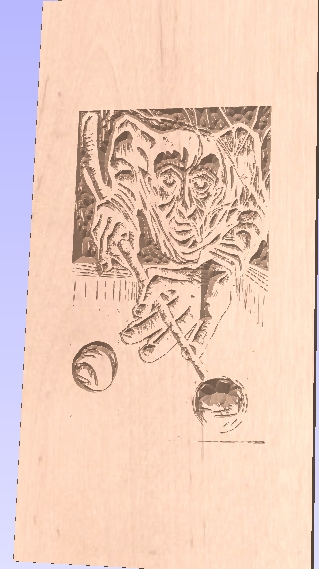
Make the Print
So, I sent this to my dad, who actually made some prints. Here are the results!
Looks like it worked quite nicely :-)
Looks like it worked quite nicely :-)