How to Make a Transformer in 123D Design
by M.C. Langer in Workshop > 3D Printing
30653 Views, 96 Favorites, 0 Comments
How to Make a Transformer in 123D Design
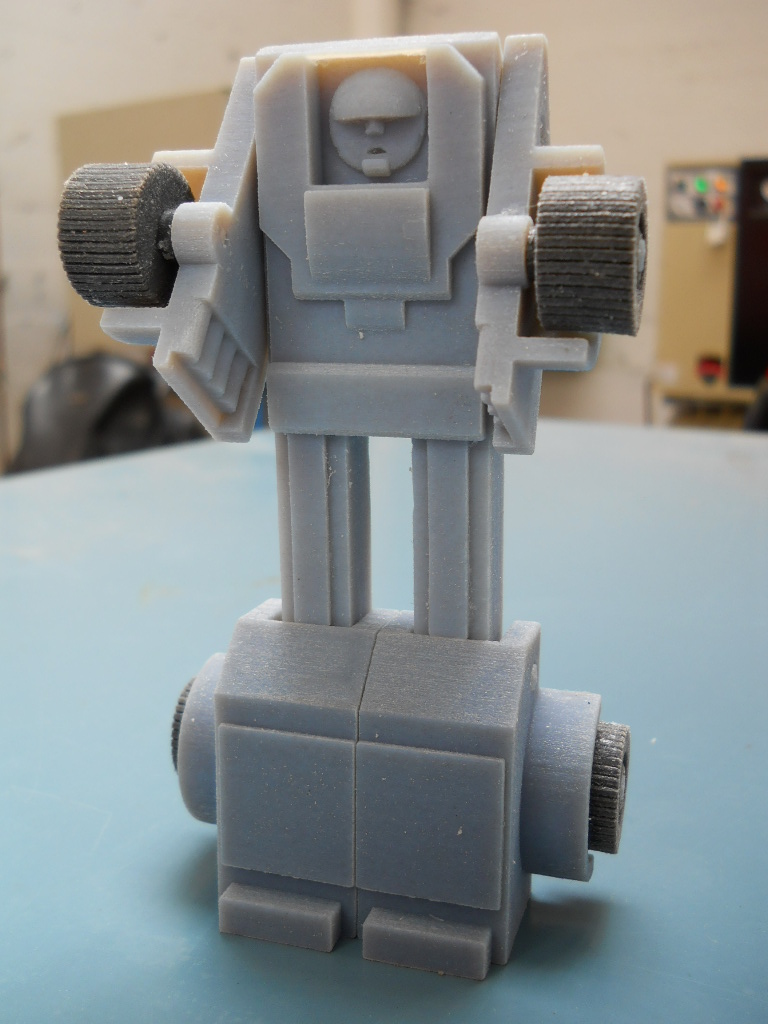
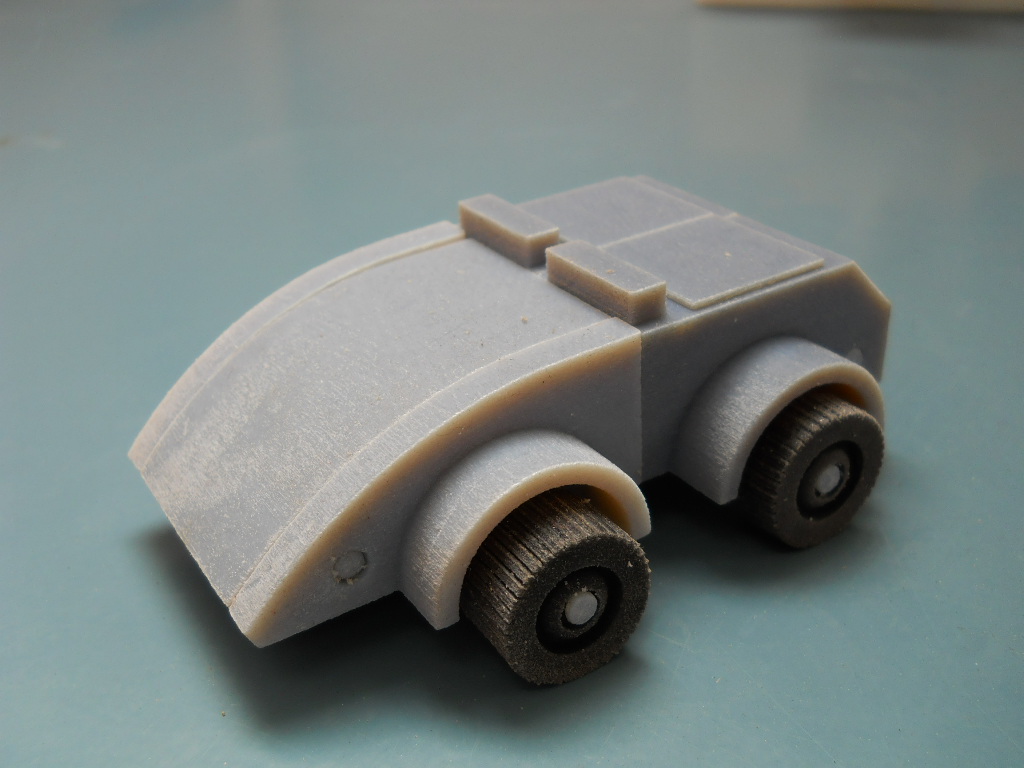
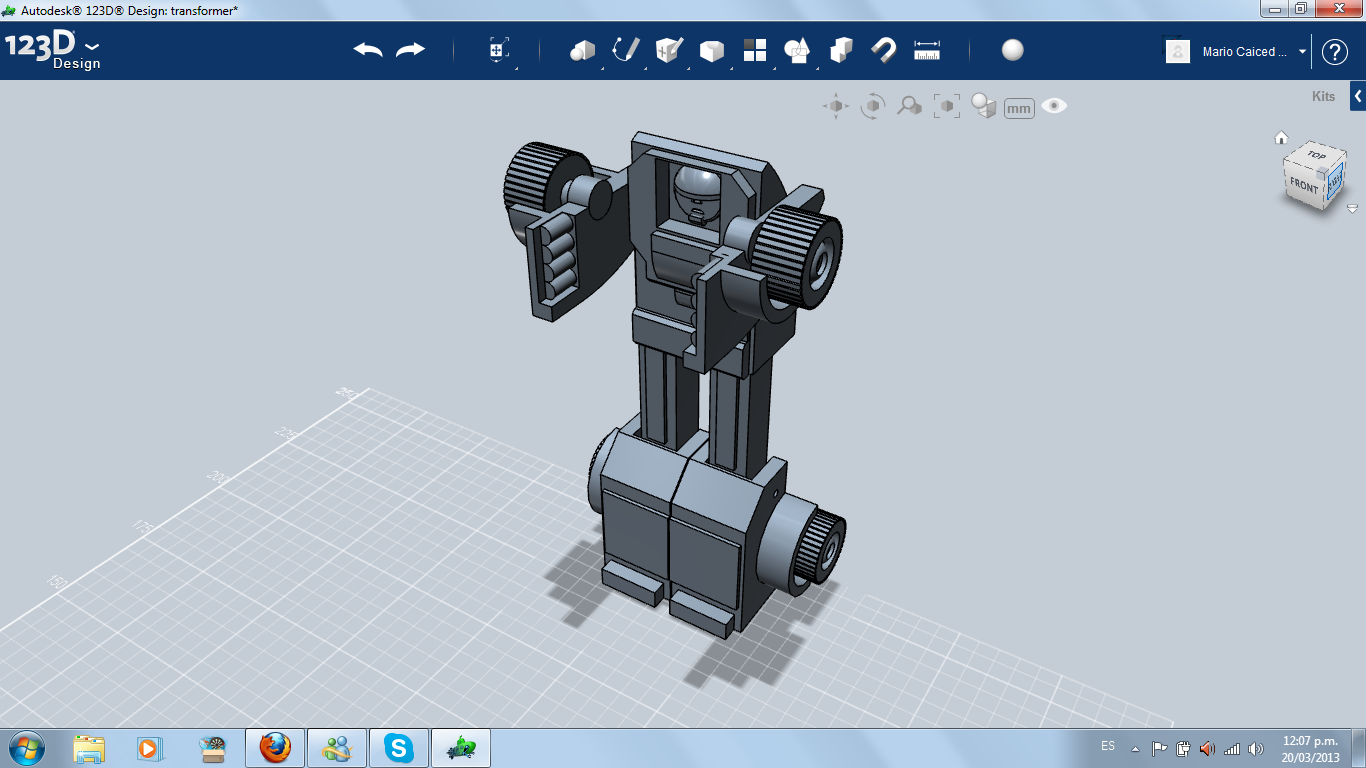
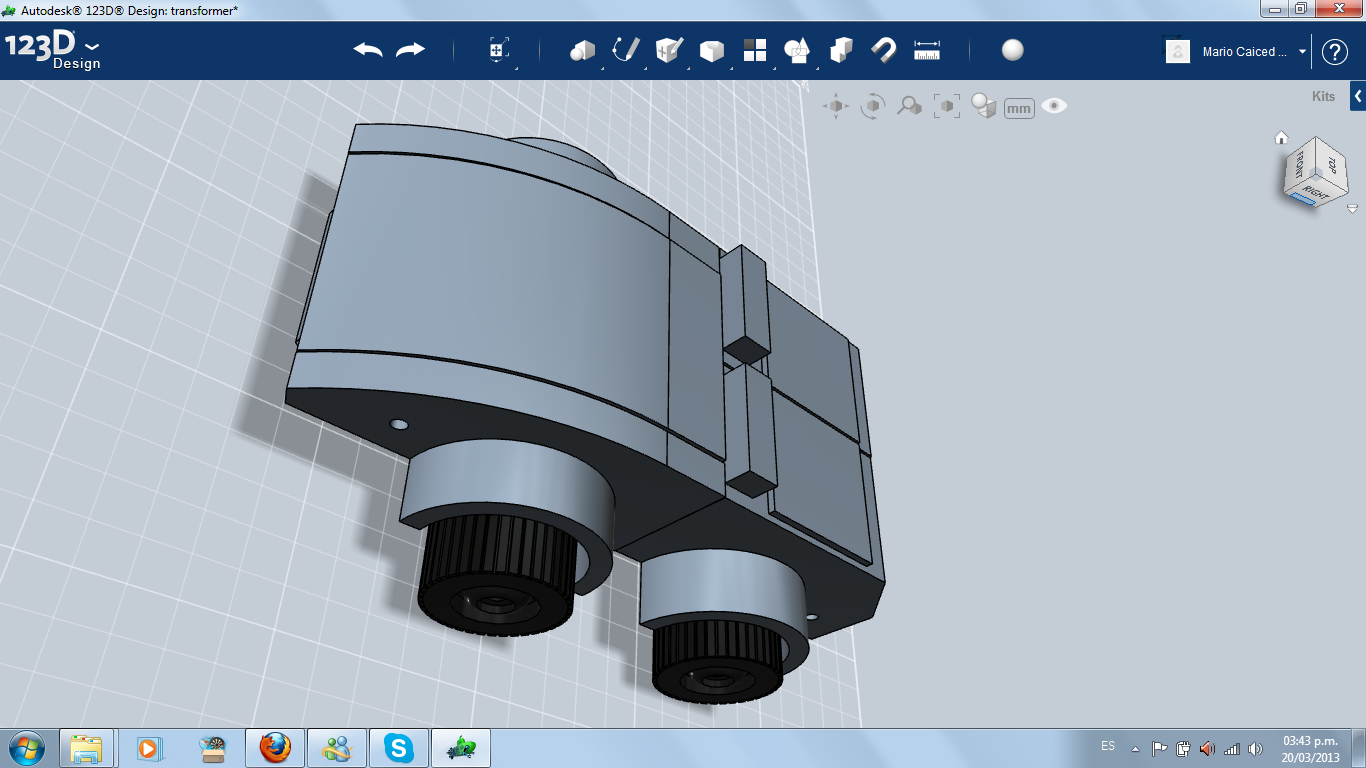
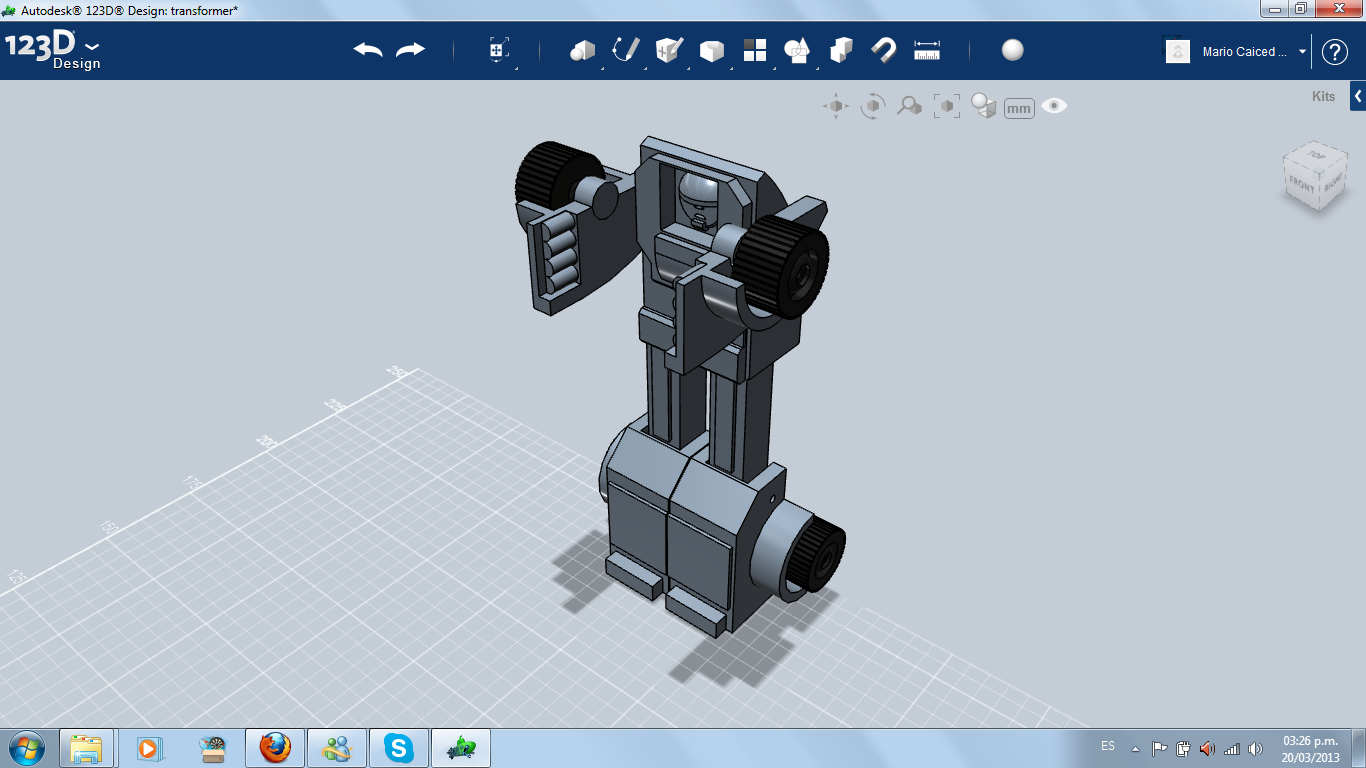
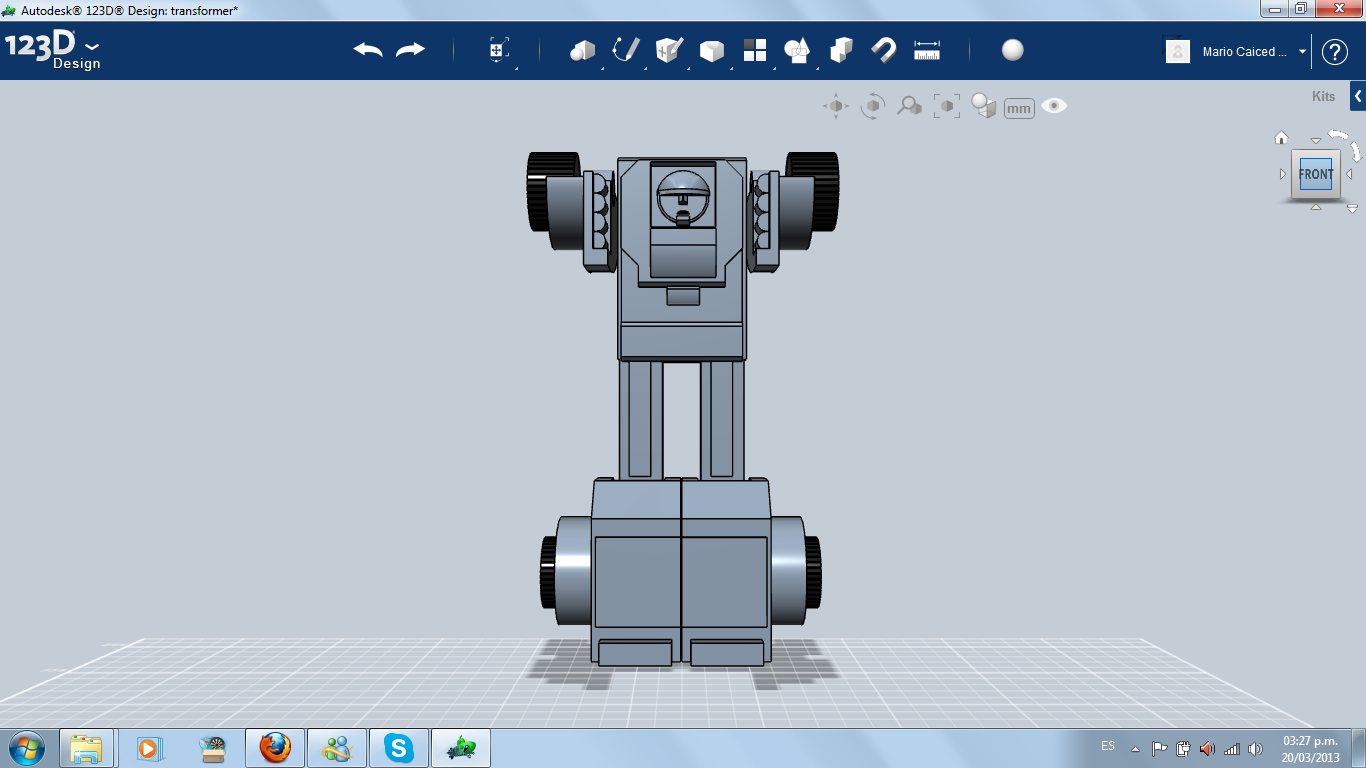
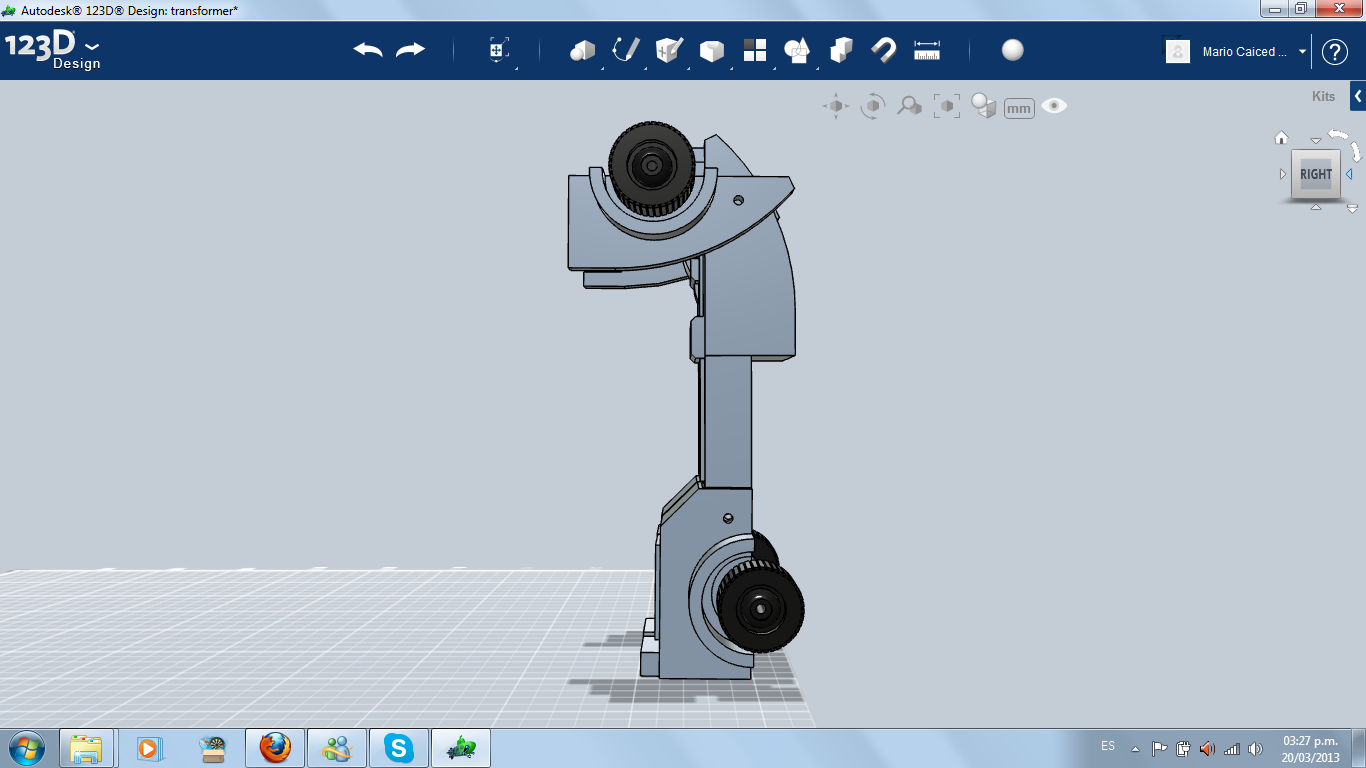
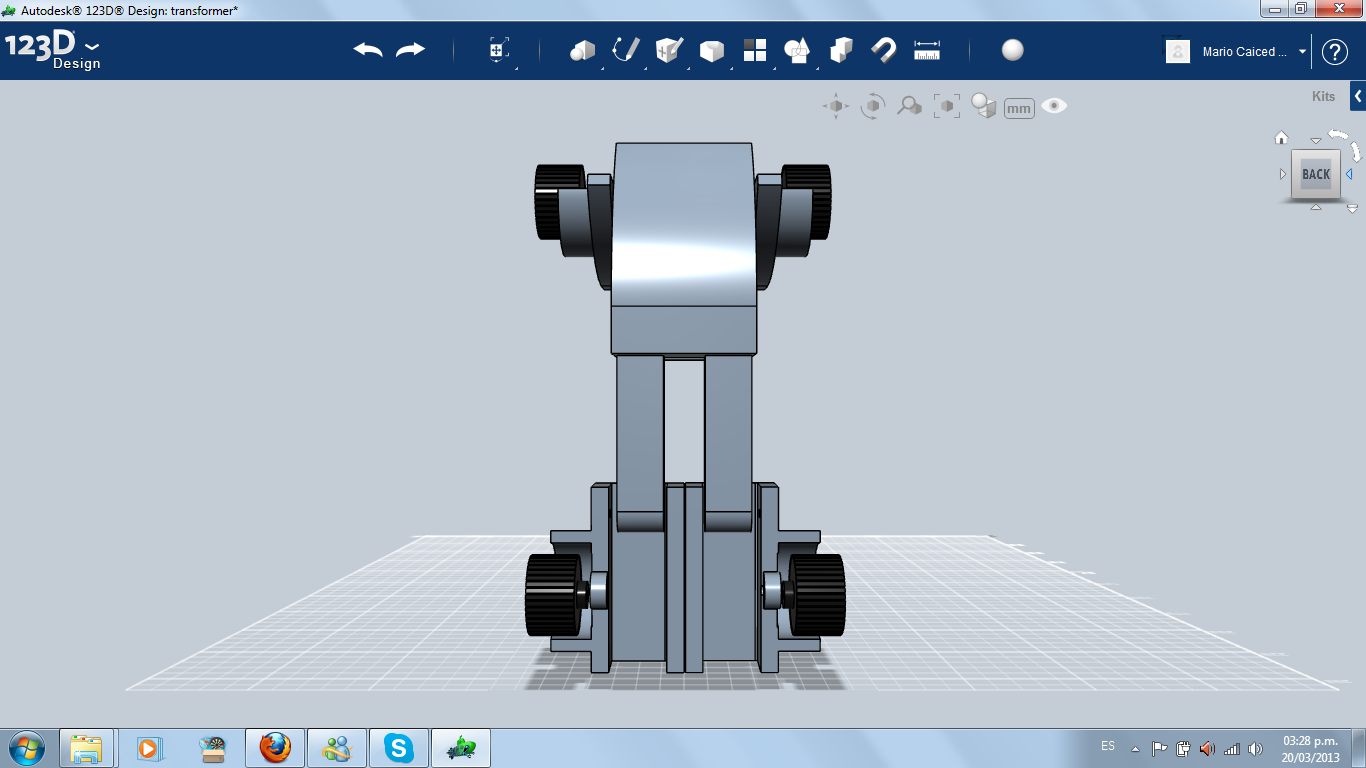
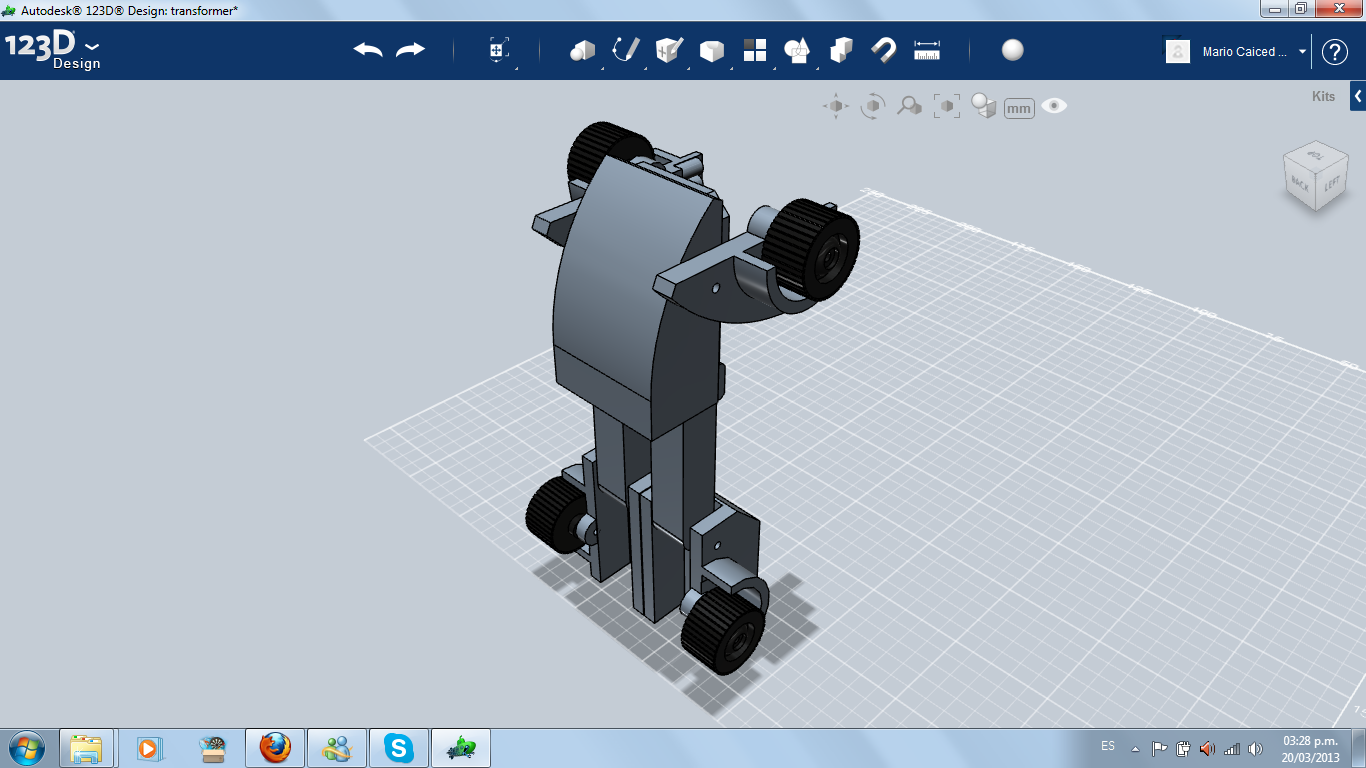
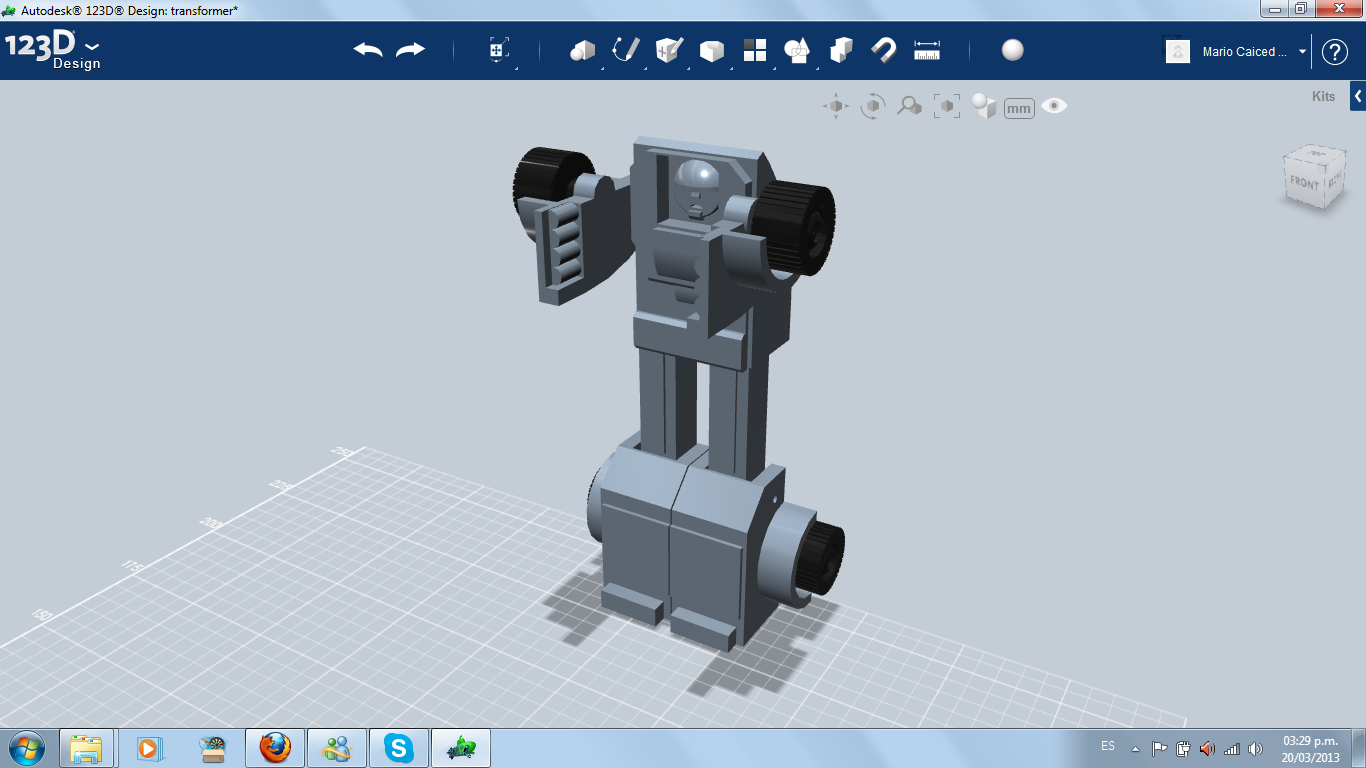
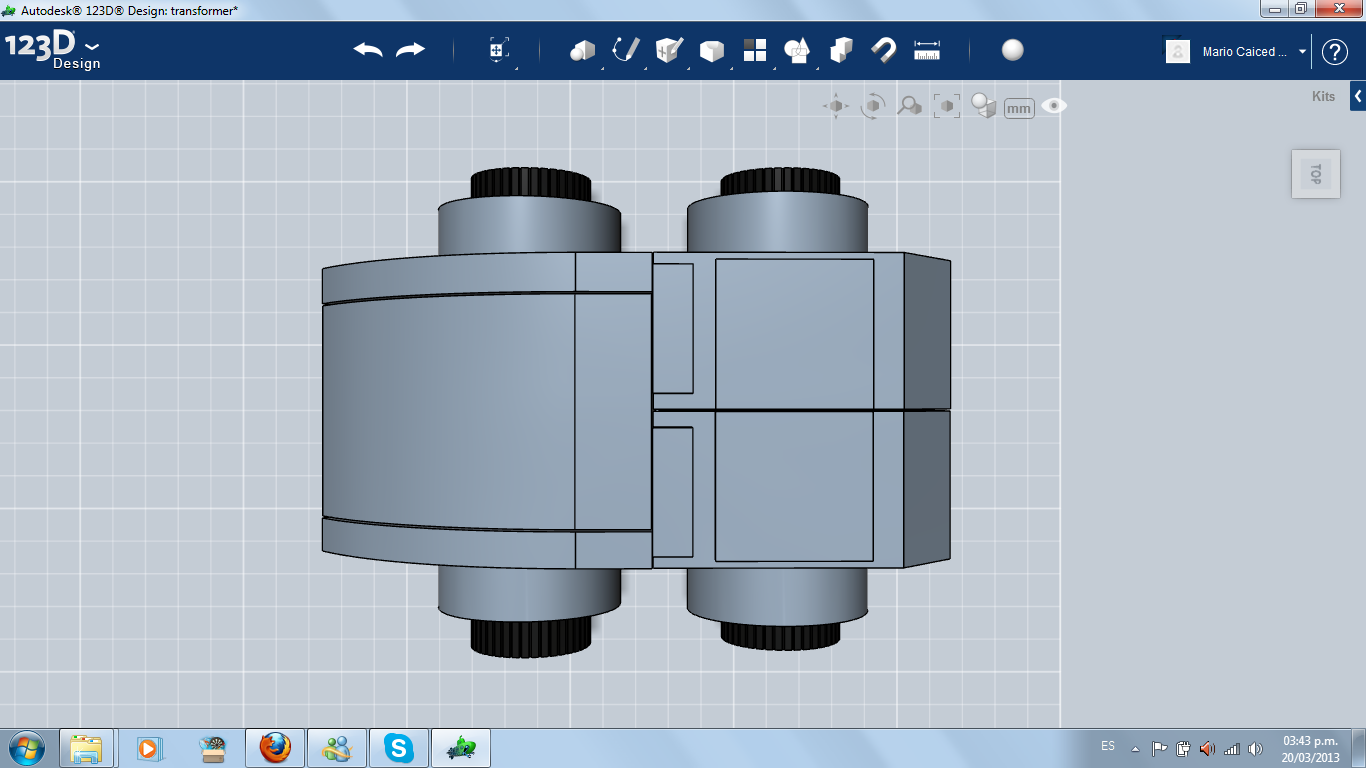
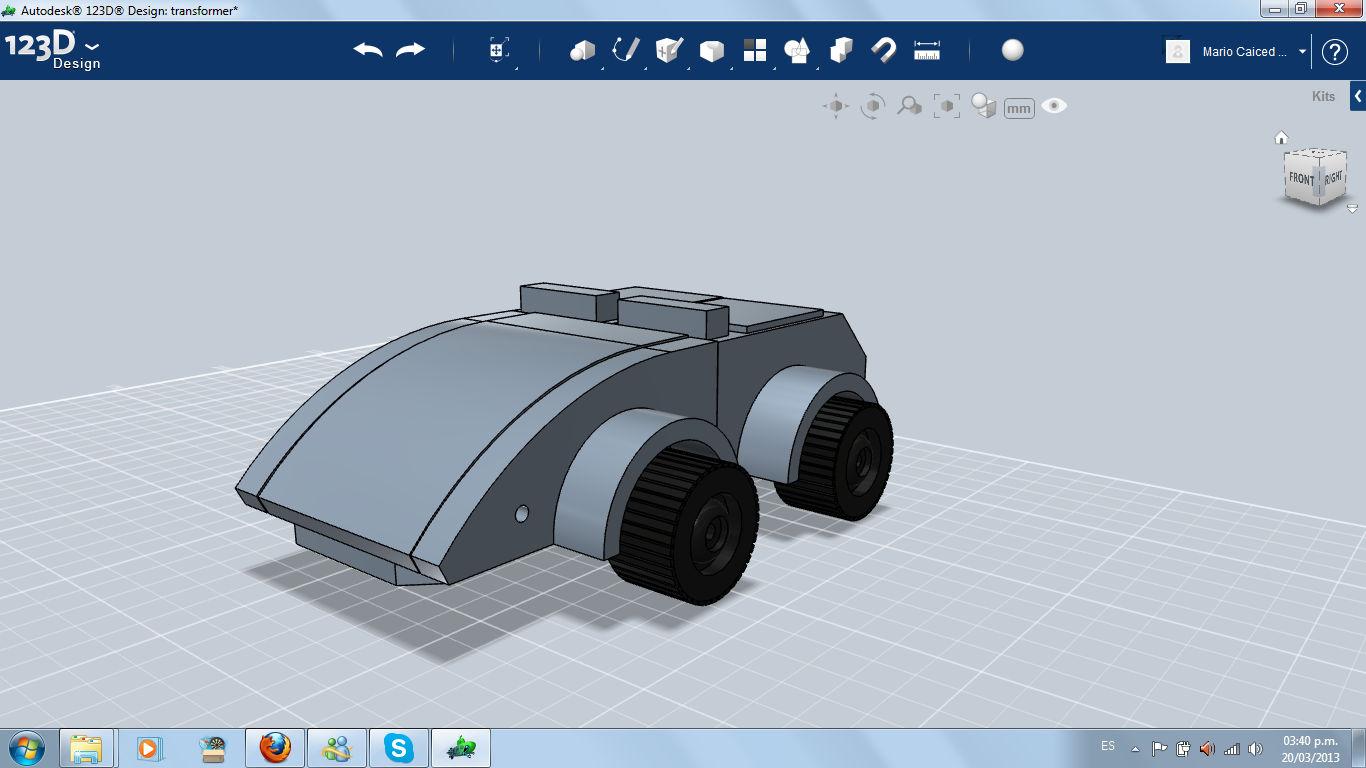
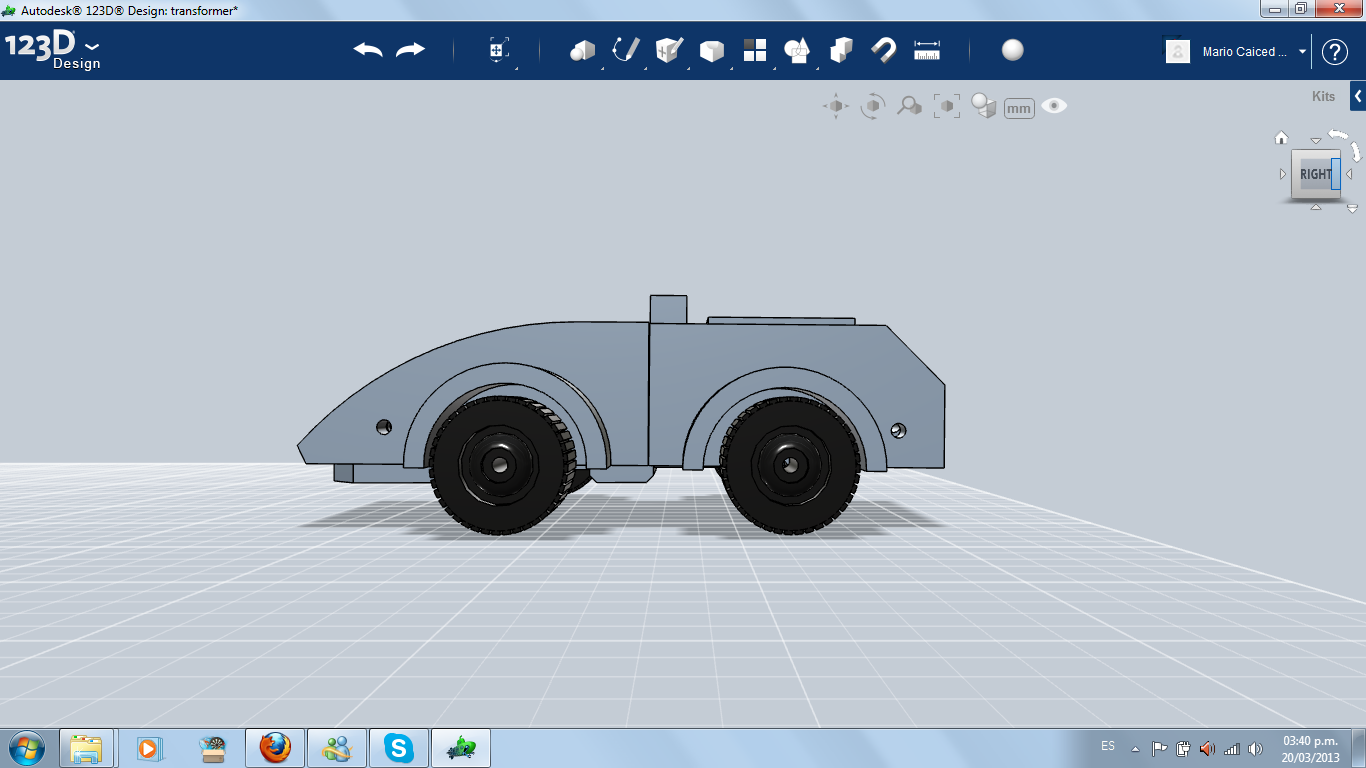
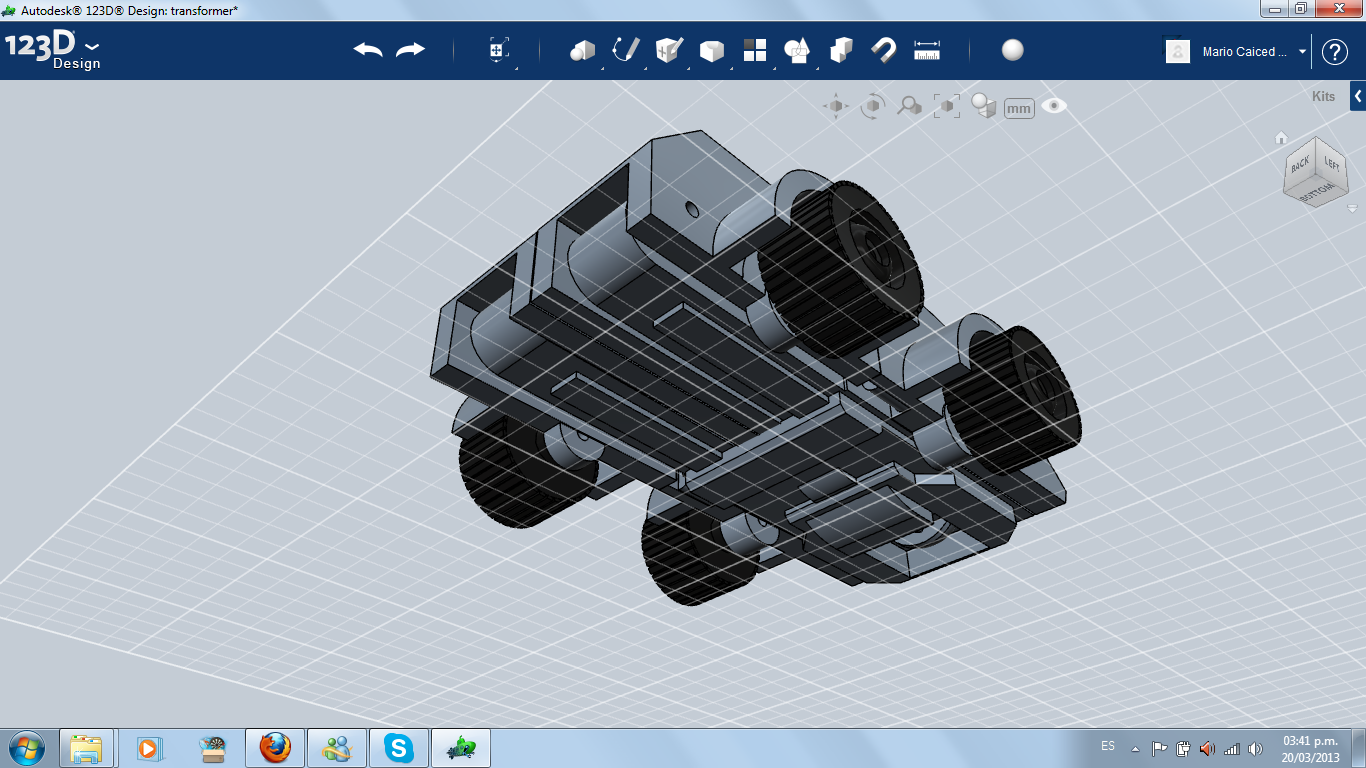
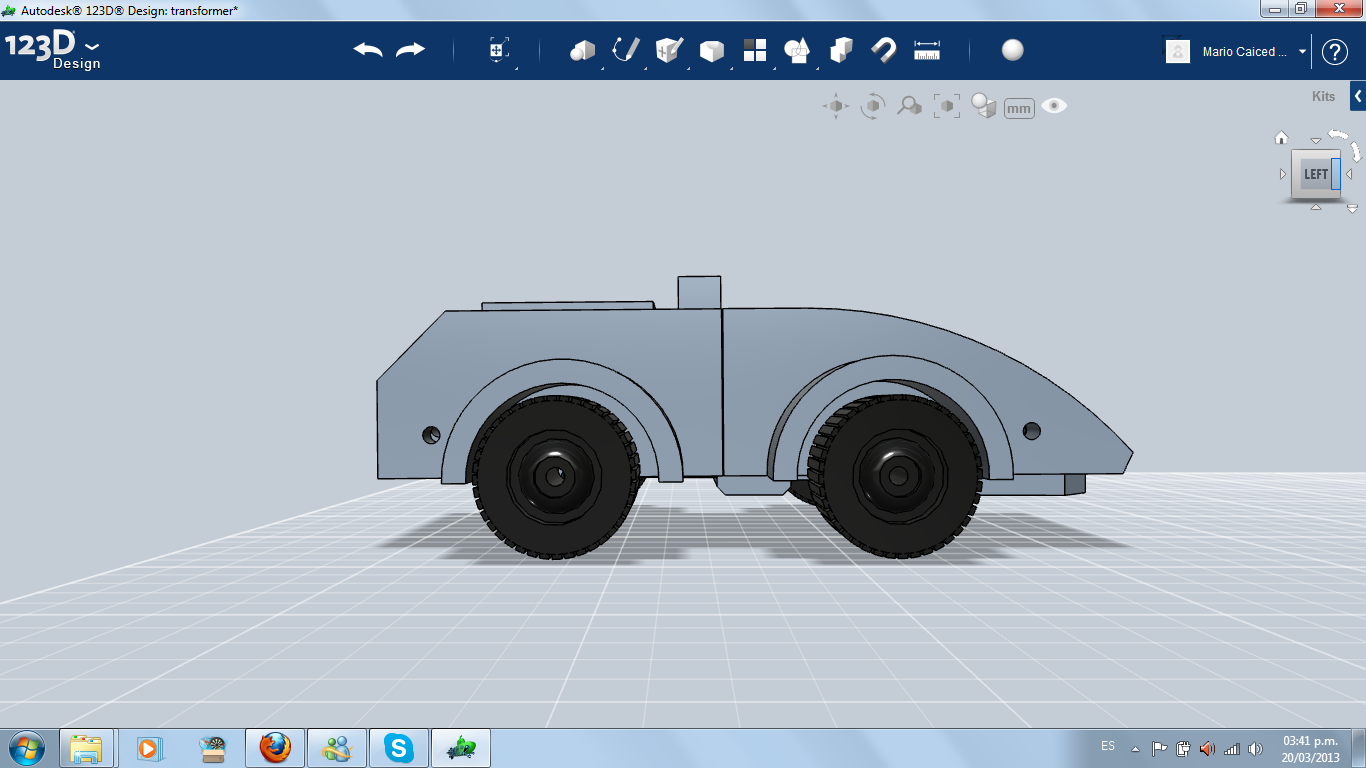
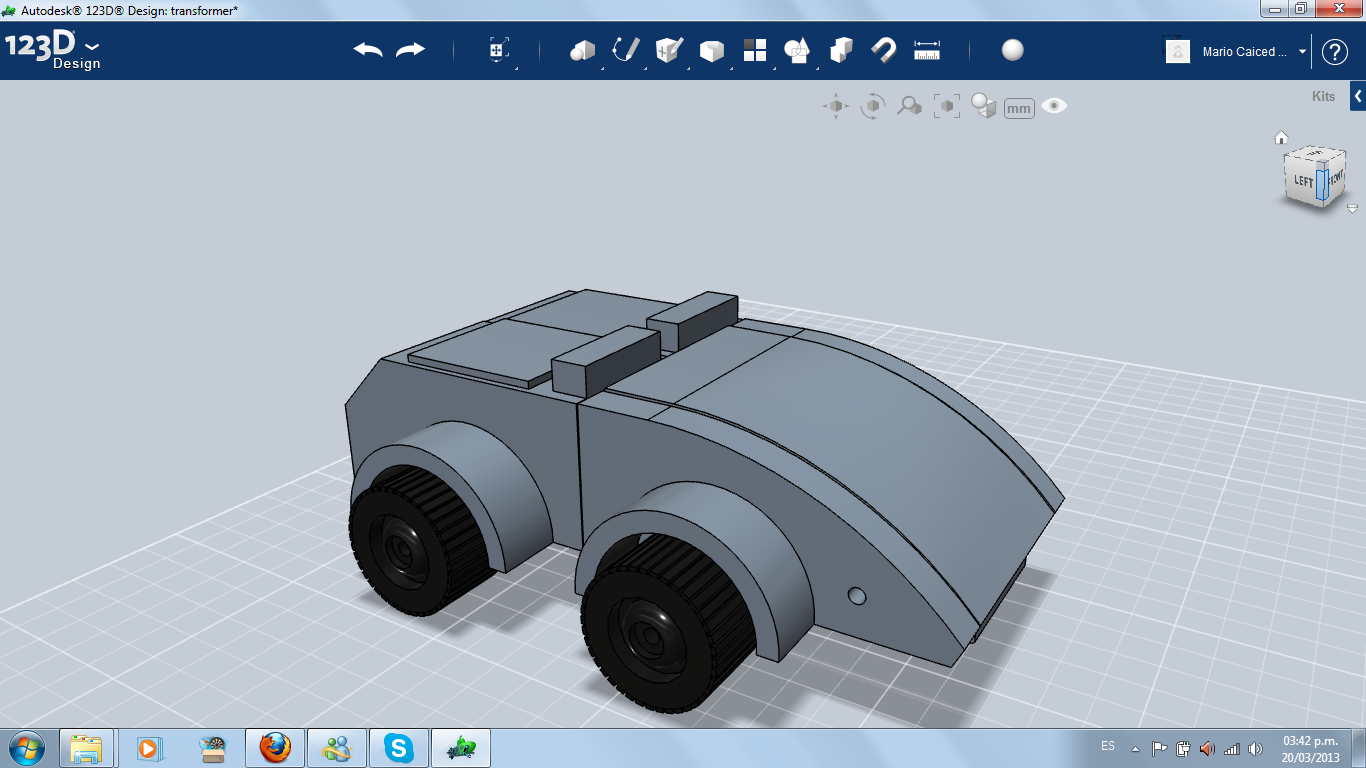
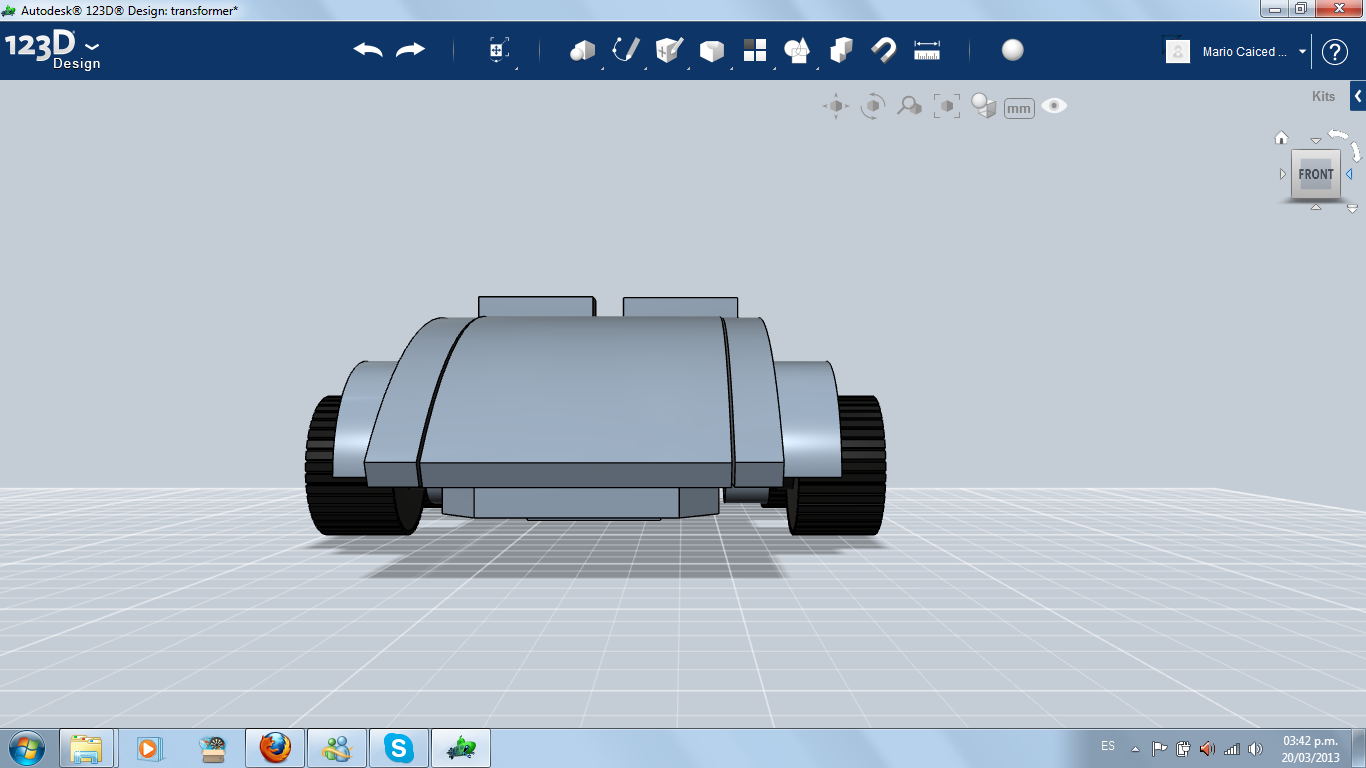
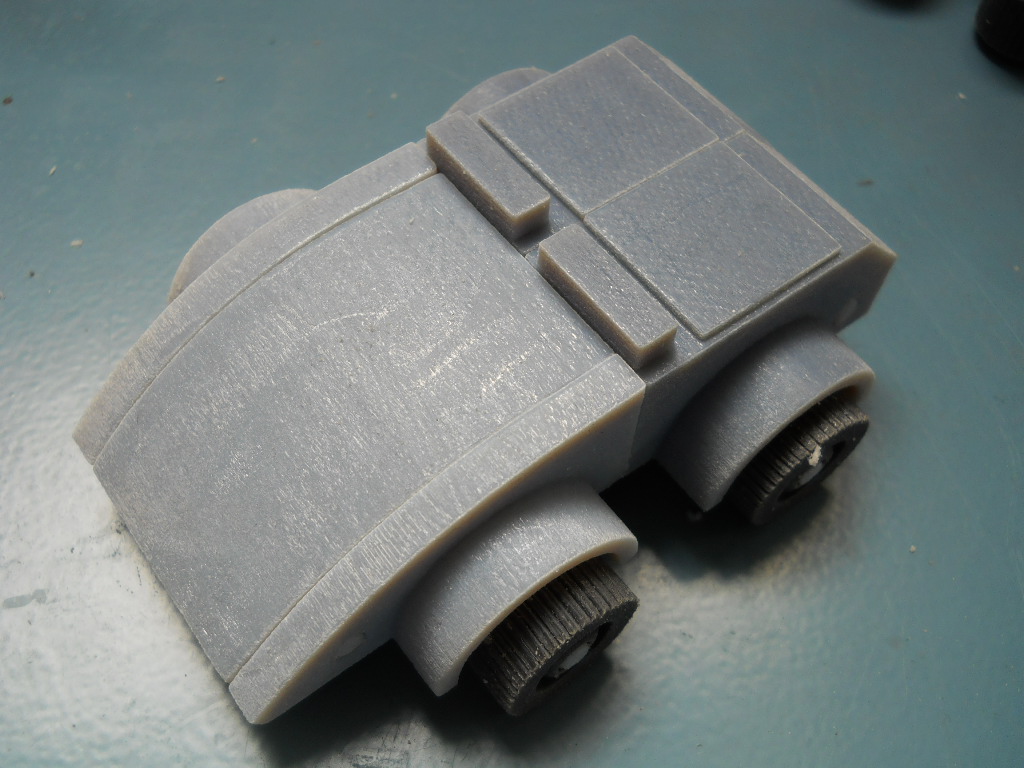
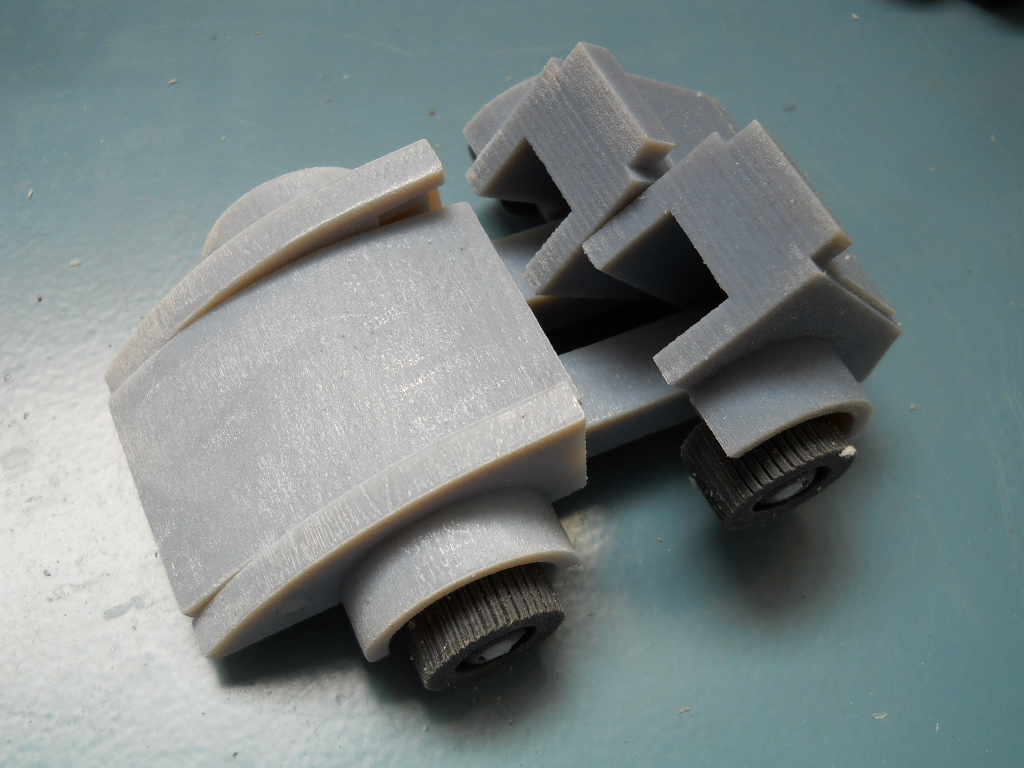
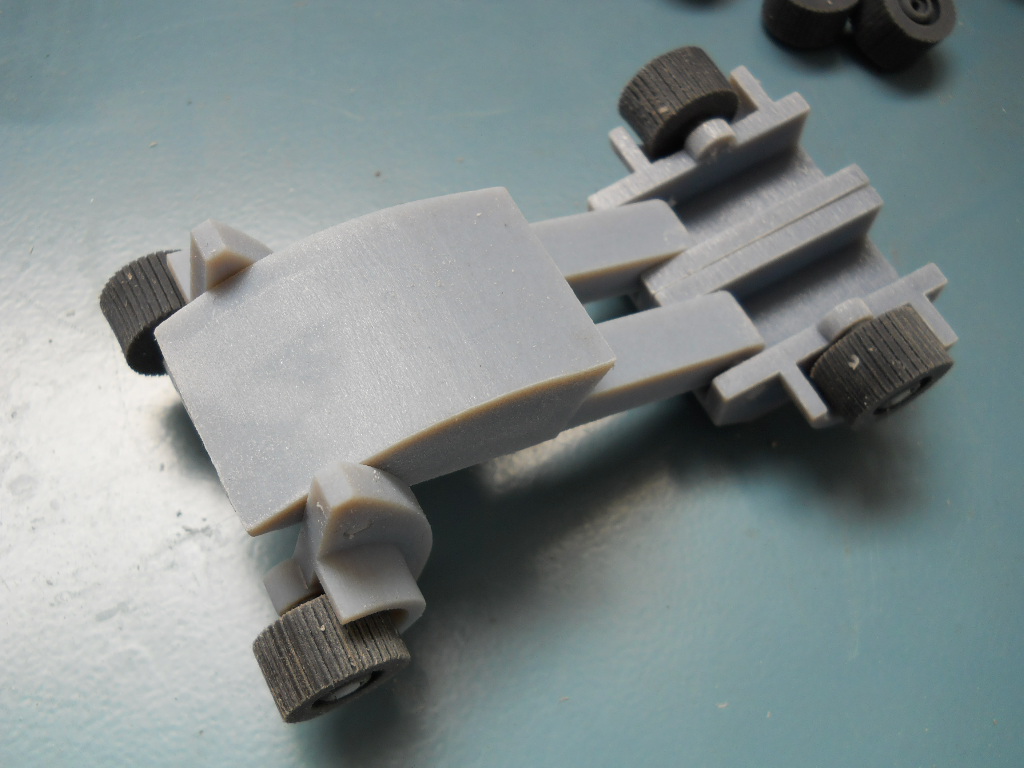
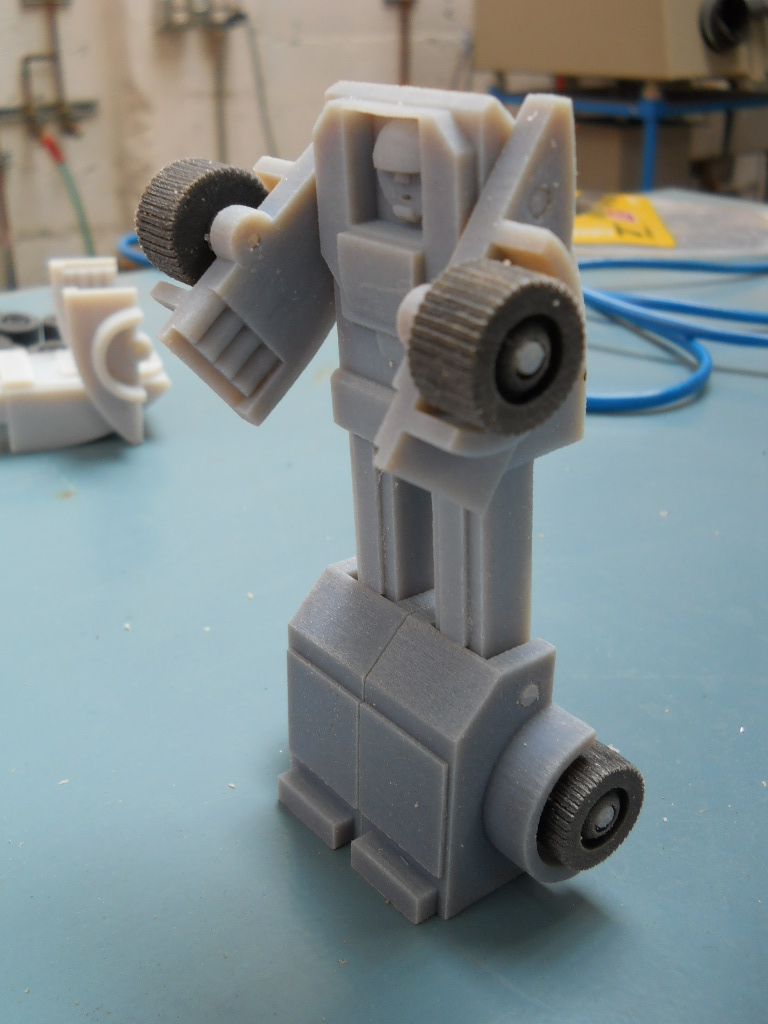
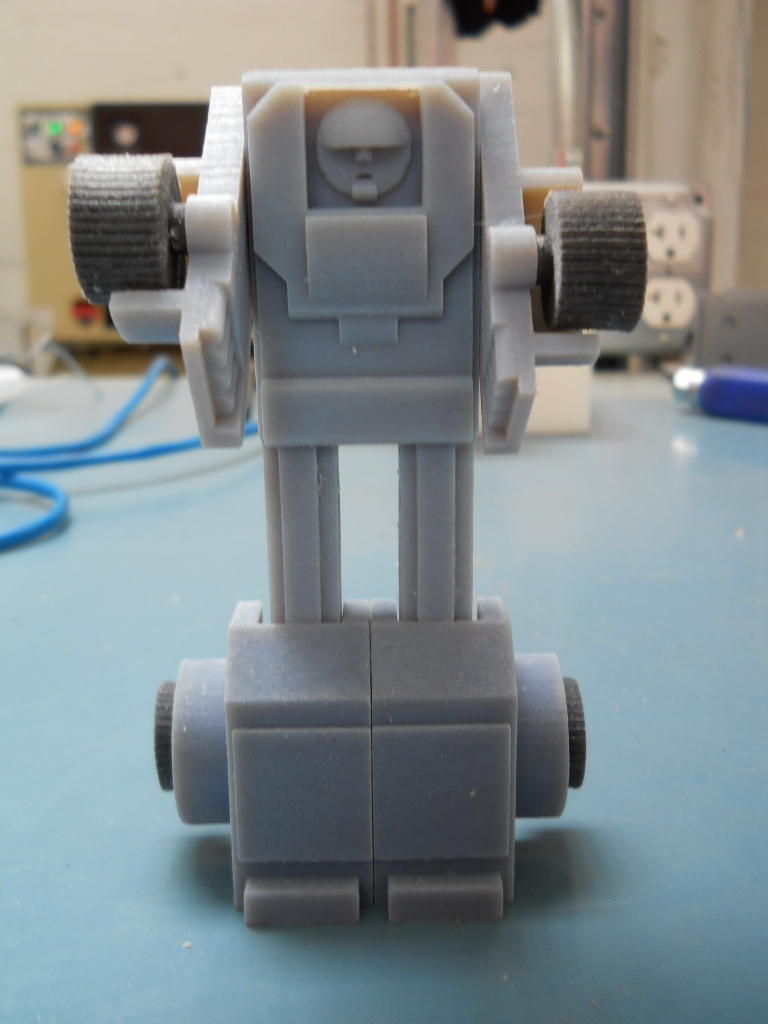
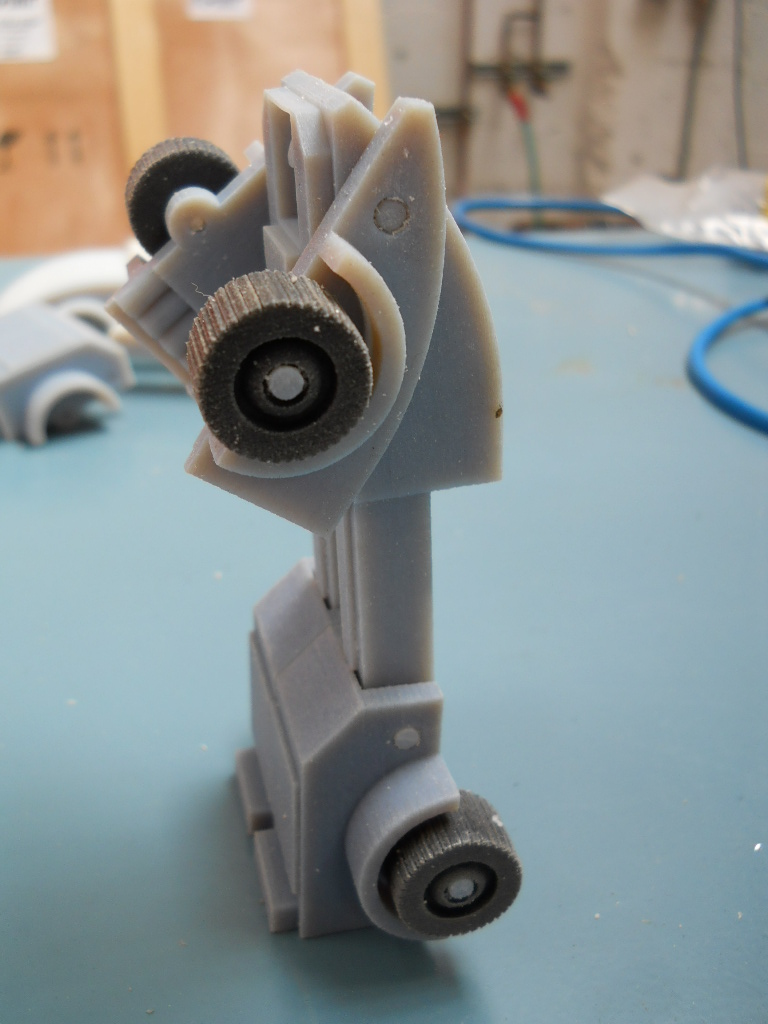
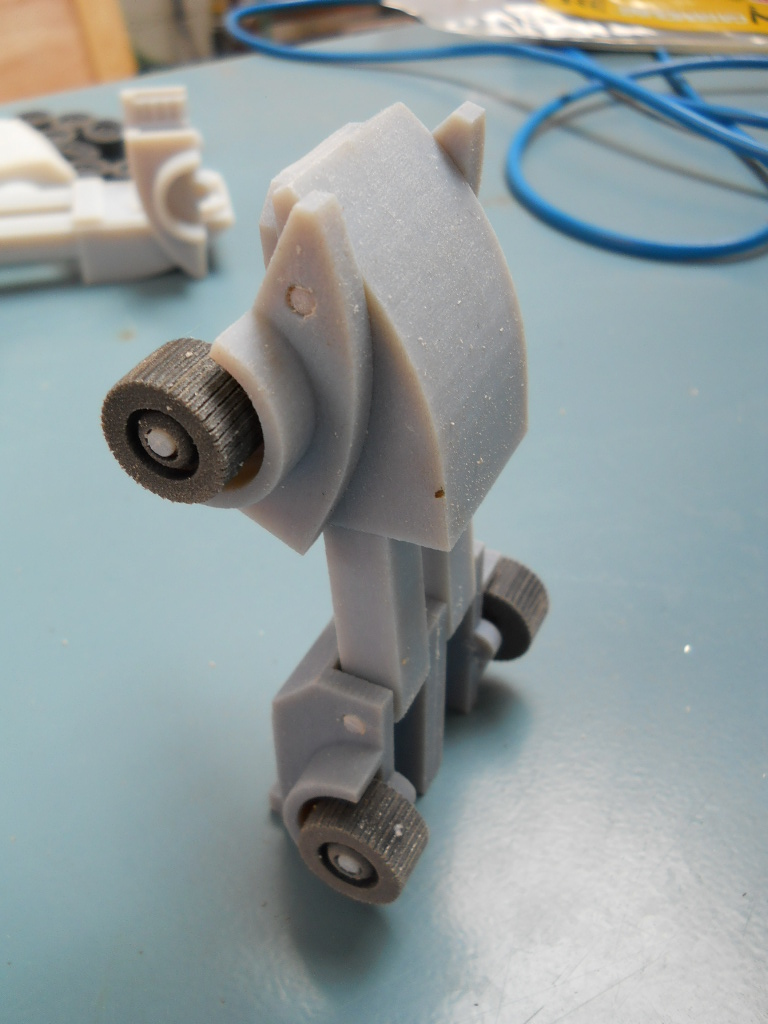
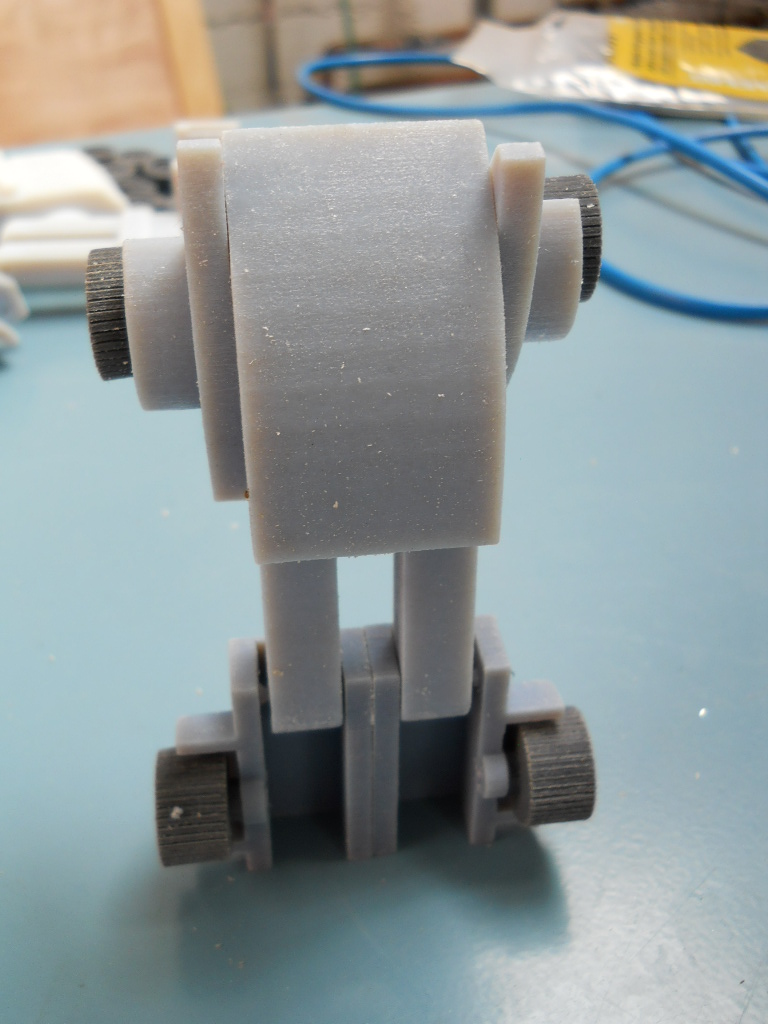
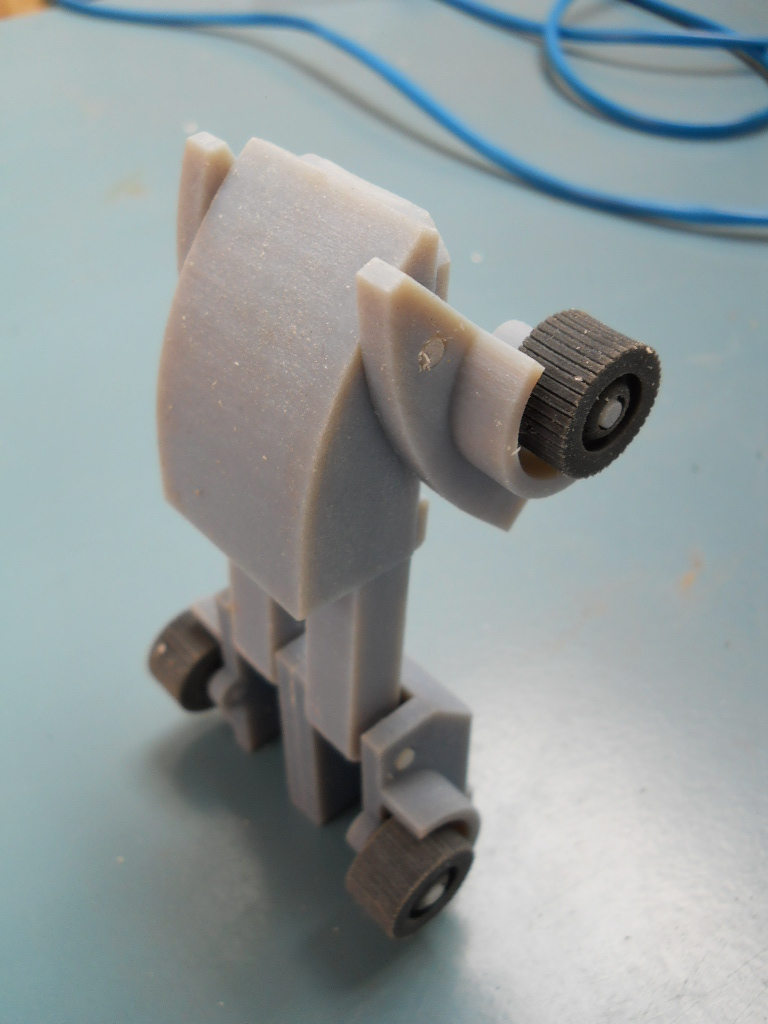
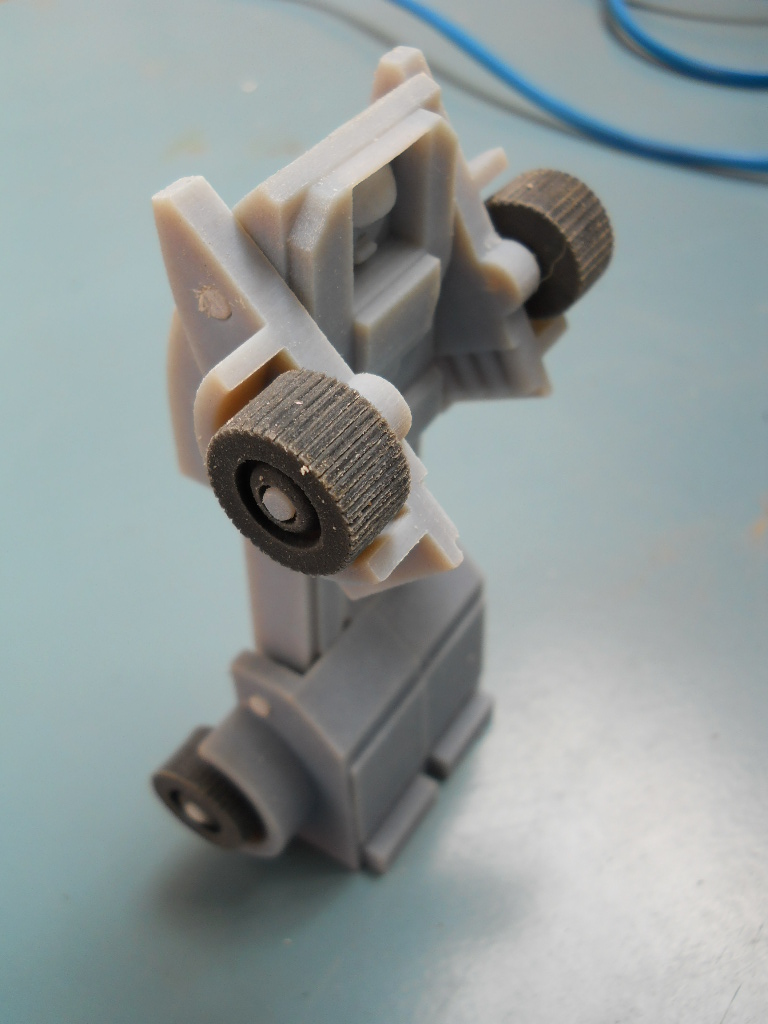
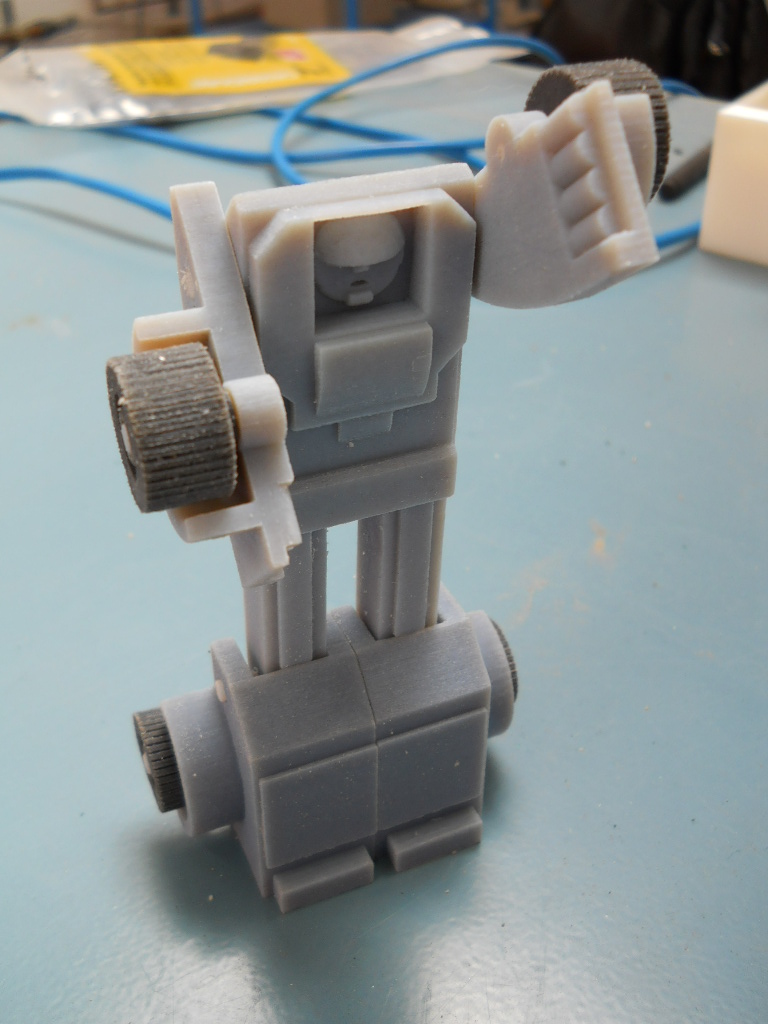
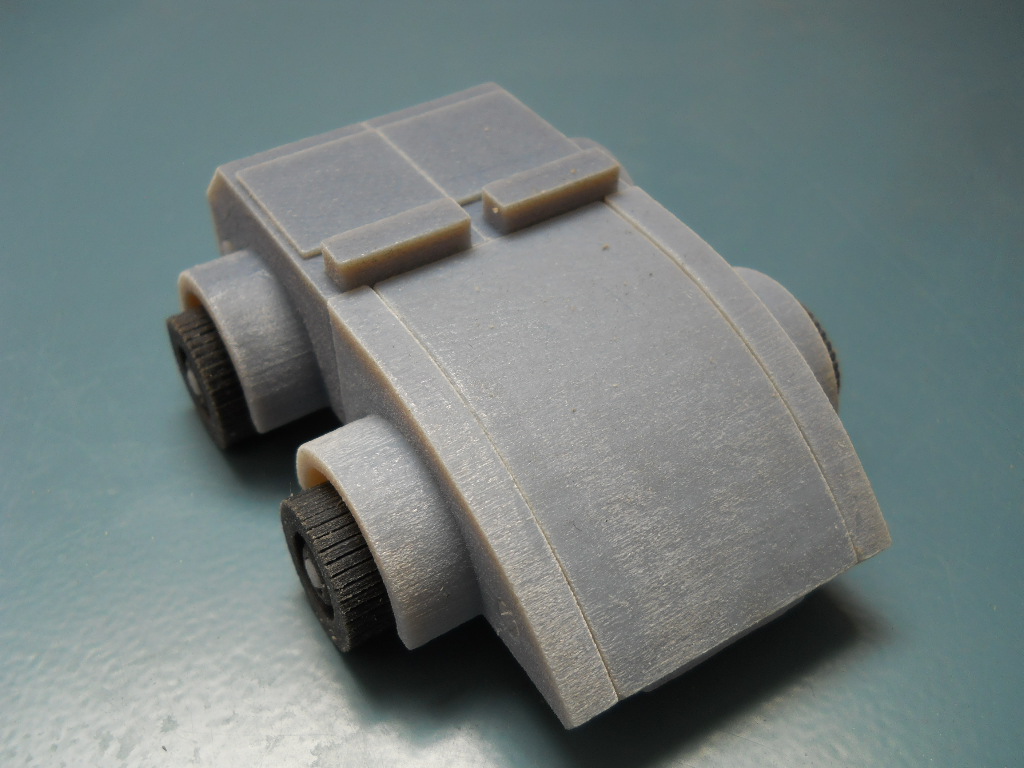
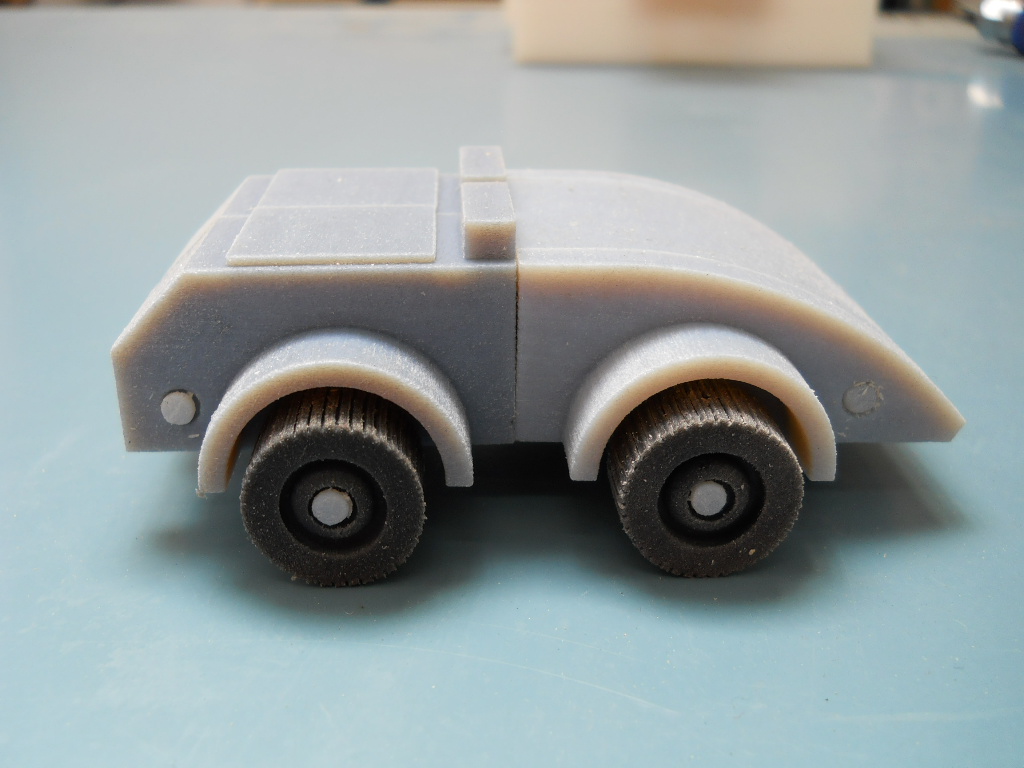
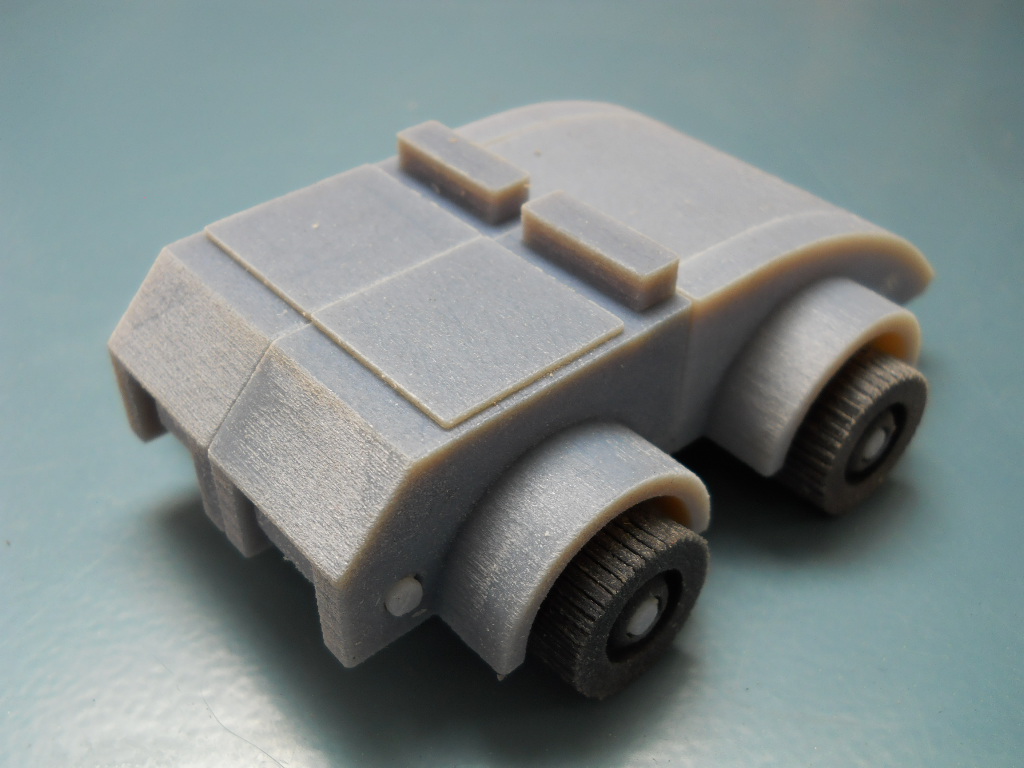
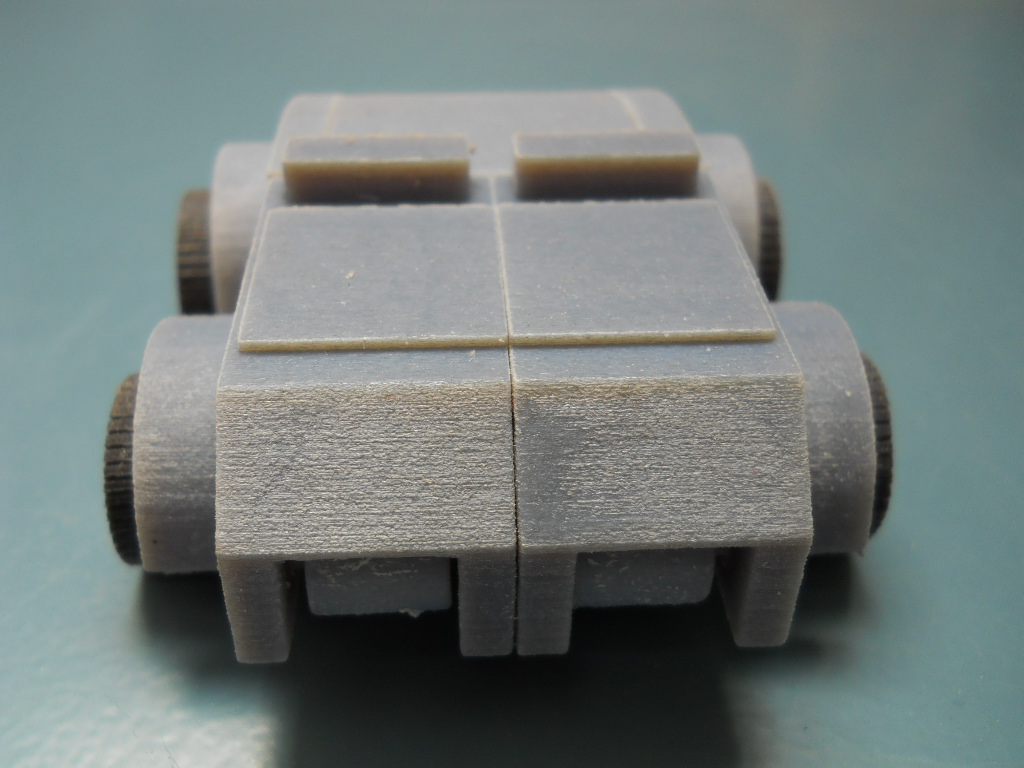
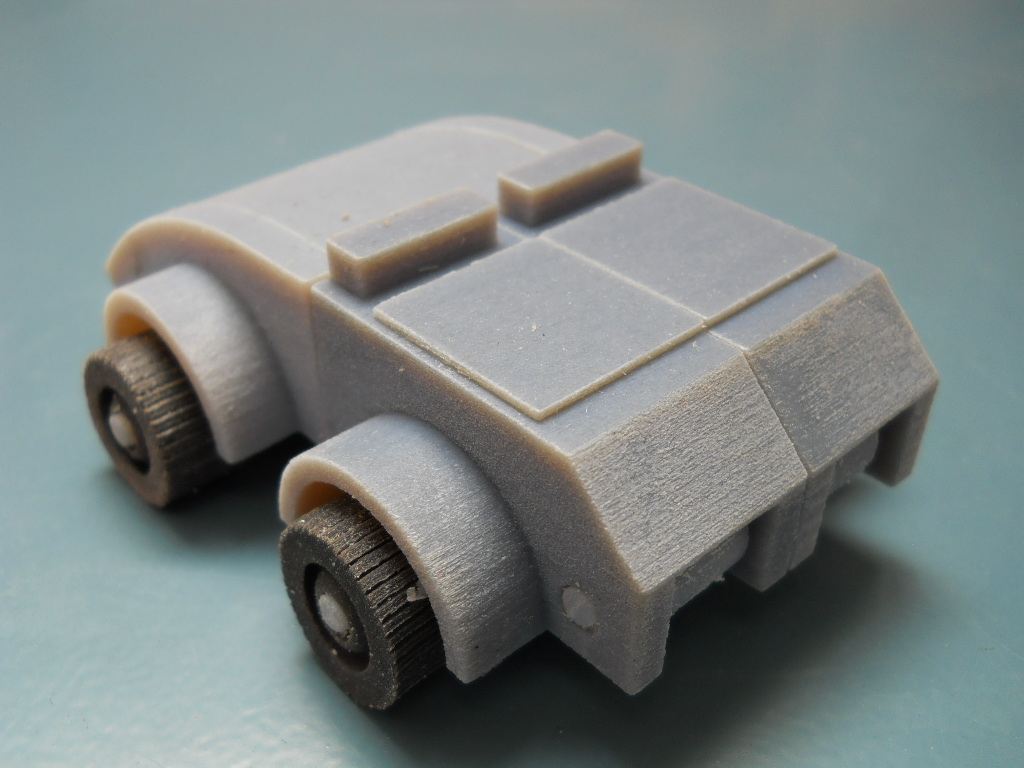
After two days of learning and practicing, officially this is my first project in 123D Design, the Autodesk CAD program made specially for makers. Also, this is my first time with a CAD program. You know how I love to get my hands dirty and build things with physical stuff and physical tools. But It's always good to learn something new.
So, I decided to make a transformer, not as complicated as the Michael Bay ones, but more like the vintage toys from the 80's.
The difficult parts are the joints and that everything you make in the robot mode, you have to consider it in the car mode and vice versa.
About the 123D Design software, I have to say: I really like it. It's friendly, you don't need to be industrial designer or engineer to learn it, but having visual-spatial ability helps a lot (relax! most of the makers have it). And it's free! You can download the program in this link.
NOTES: I used the 123D Design 64bits version for PC. My laptop is a Samsung with Intel Core i3-2370M 2.40GHz processor, 4,00 GB RAM and Windows 7.
In the design, I used the orthographic view in almost all of this instructable.
I recommend: when you are working in a project, save it in your computer every time you can, because the program don't have auto-save.
Robot mode:
Car mode:
Pieces:
So, I decided to make a transformer, not as complicated as the Michael Bay ones, but more like the vintage toys from the 80's.
The difficult parts are the joints and that everything you make in the robot mode, you have to consider it in the car mode and vice versa.
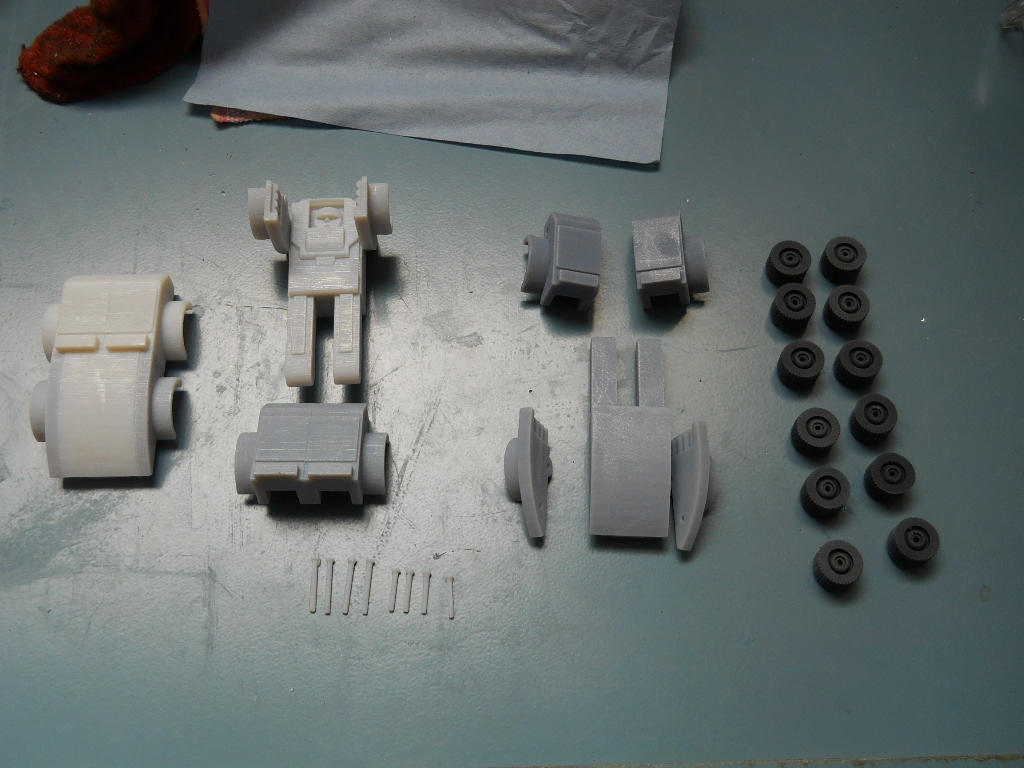
- 2 arms (car sides)
- 1 main piece: torso, face and thighs (car front)
- 4 wheels
- 4 long pivots (for each limb)
- 4 short pivots (for each wheel)
About the 123D Design software, I have to say: I really like it. It's friendly, you don't need to be industrial designer or engineer to learn it, but having visual-spatial ability helps a lot (relax! most of the makers have it). And it's free! You can download the program in this link.
NOTES: I used the 123D Design 64bits version for PC. My laptop is a Samsung with Intel Core i3-2370M 2.40GHz processor, 4,00 GB RAM and Windows 7.
In the design, I used the orthographic view in almost all of this instructable.
I recommend: when you are working in a project, save it in your computer every time you can, because the program don't have auto-save.
Robot mode:
Car mode:
Pieces:
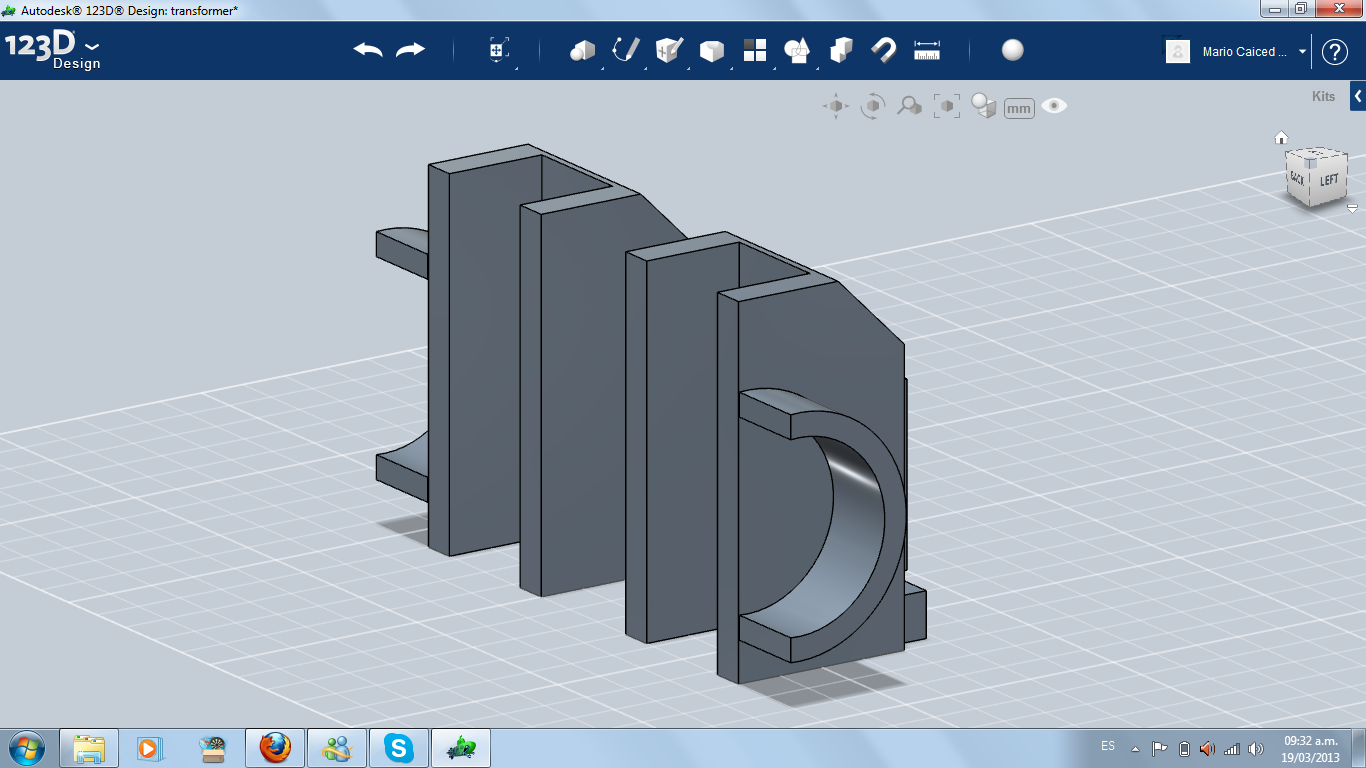
Robot's Legs (back of the Car)
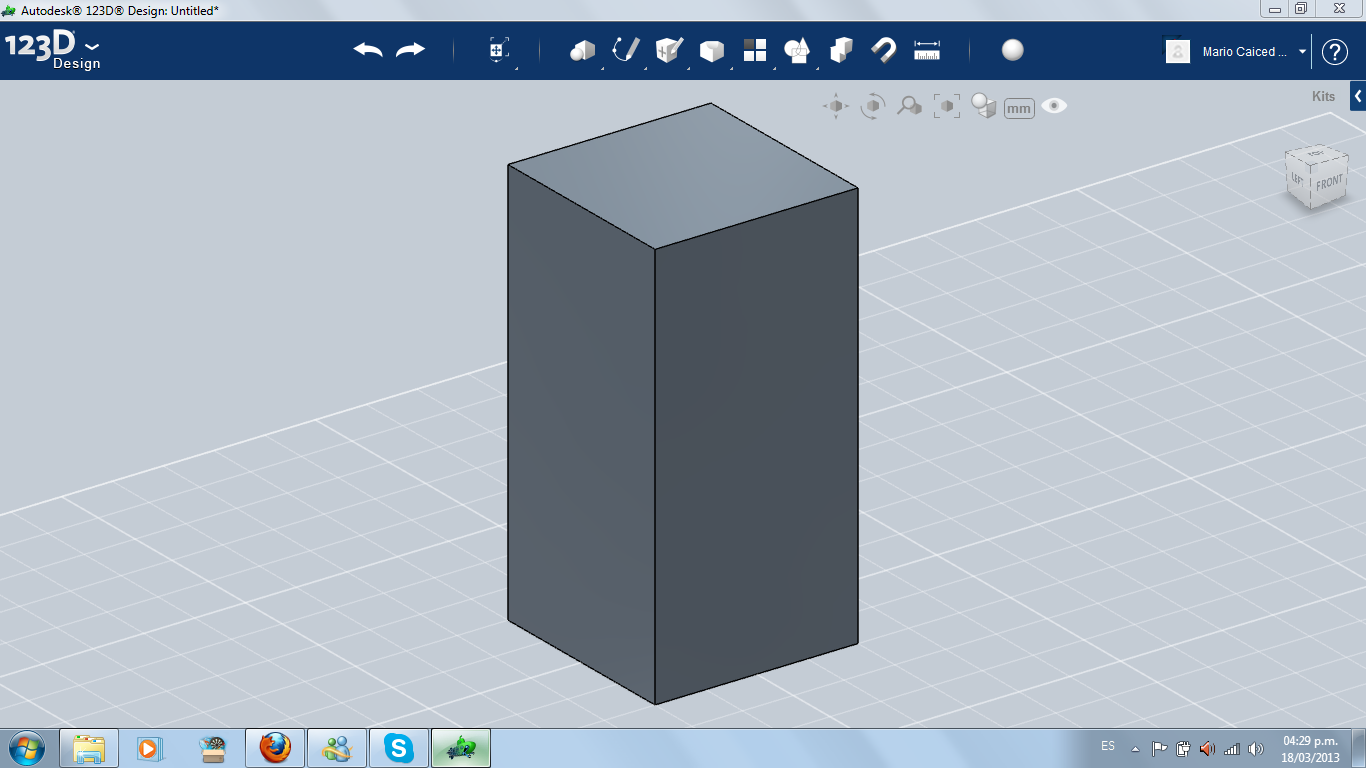
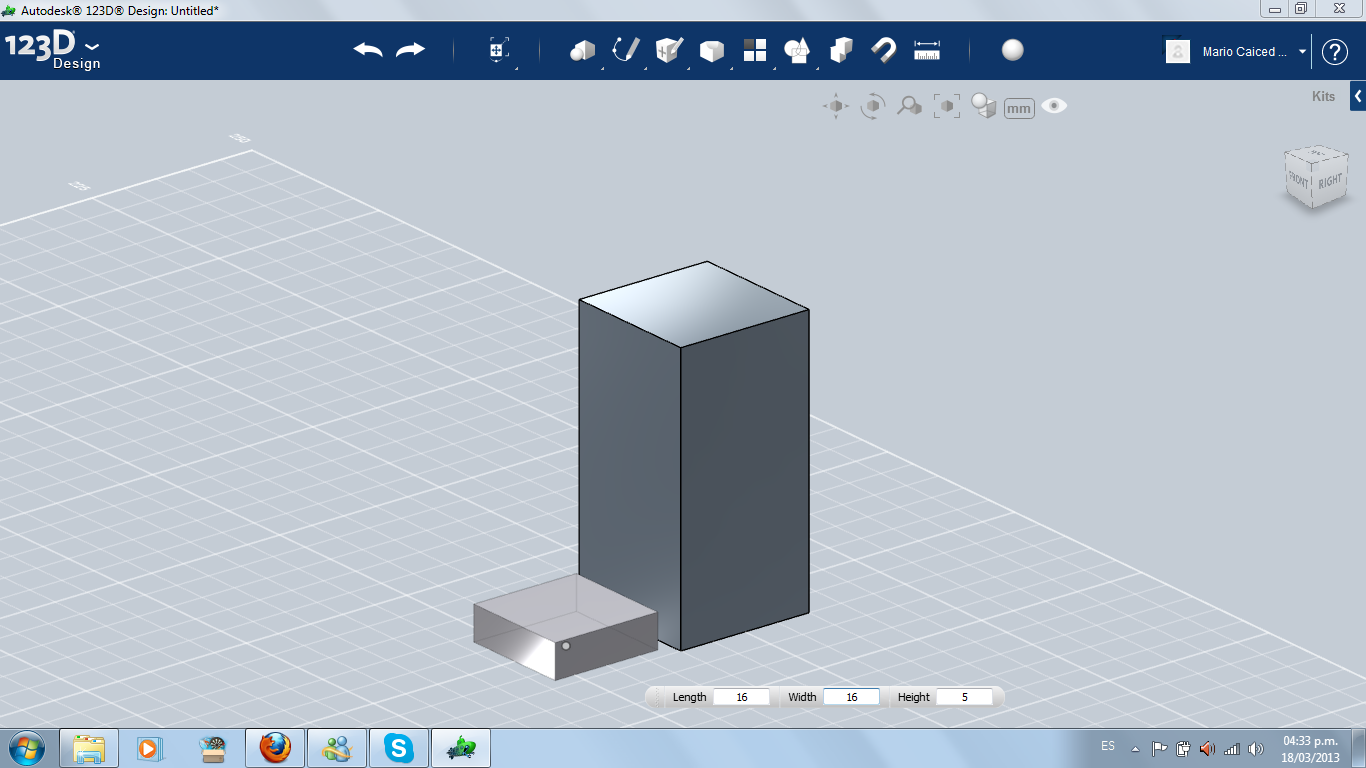
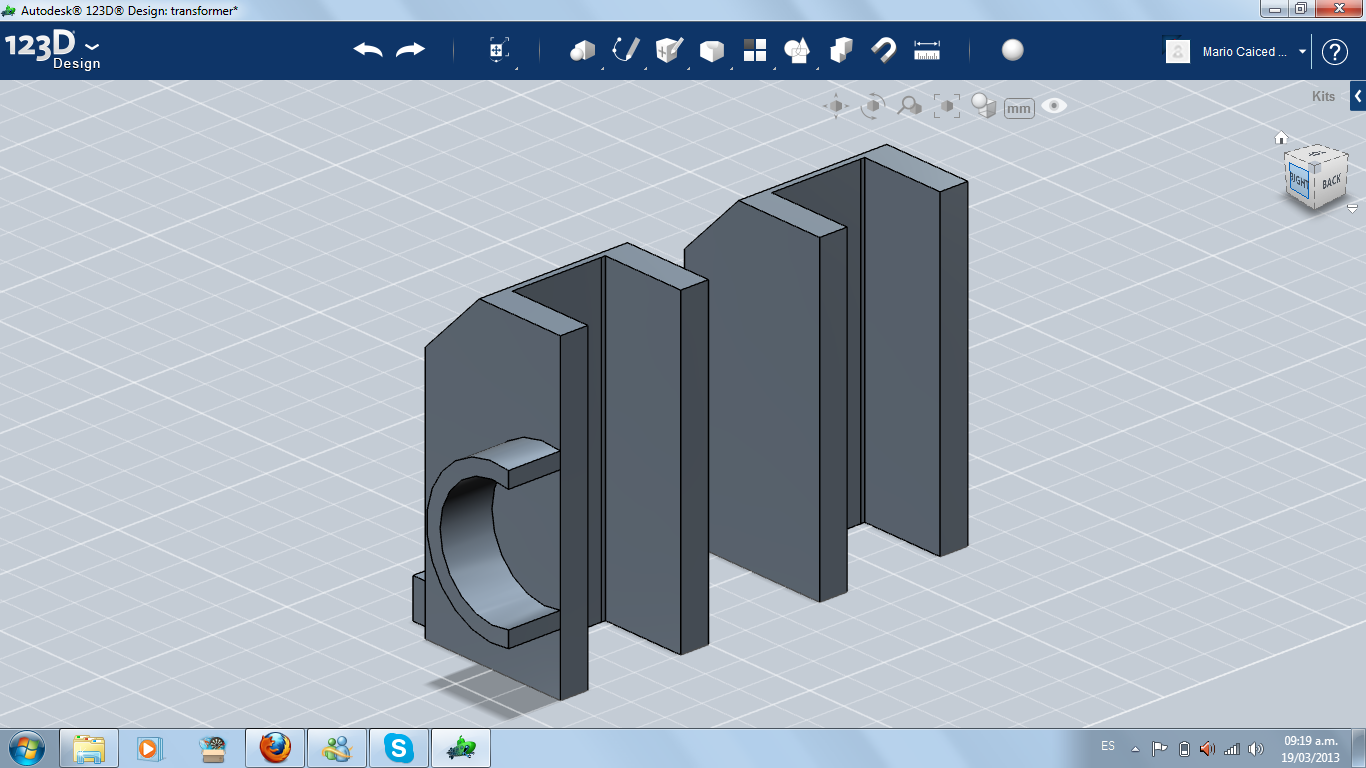
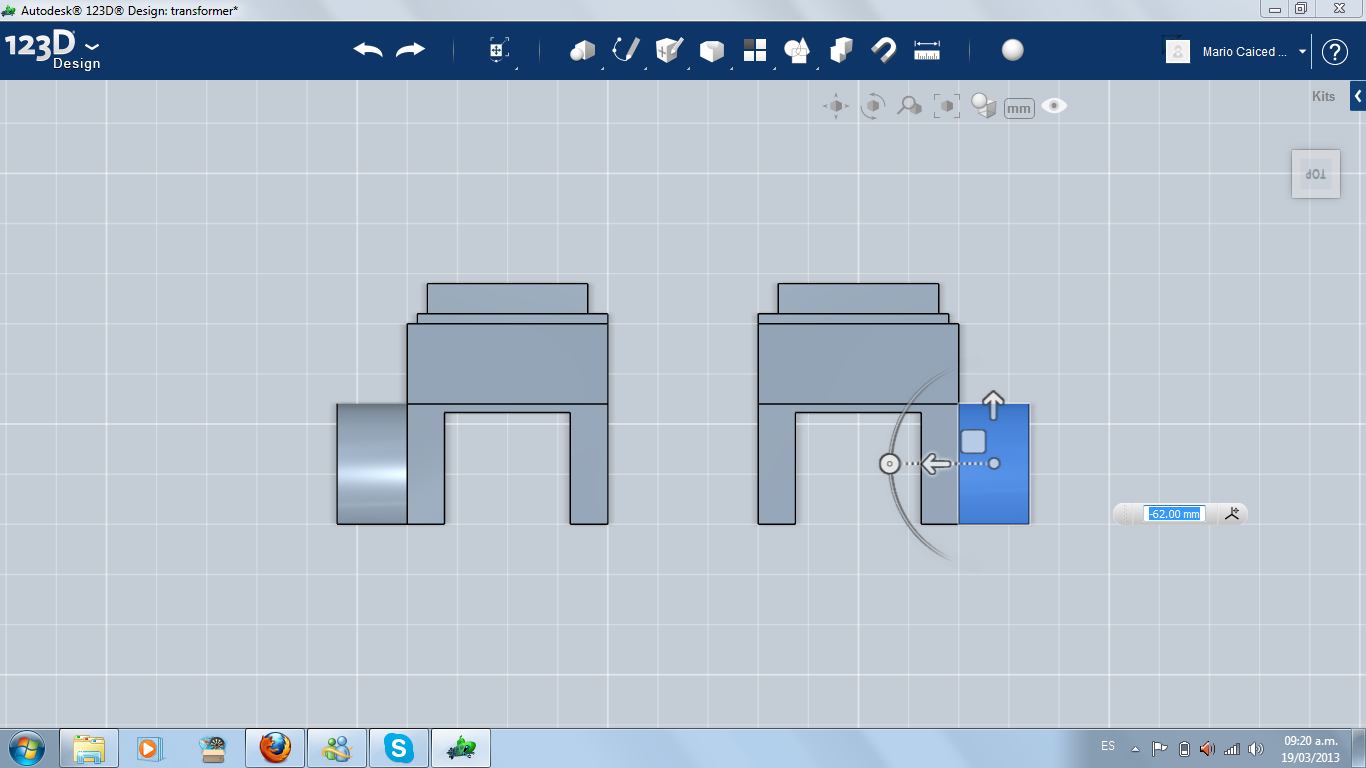
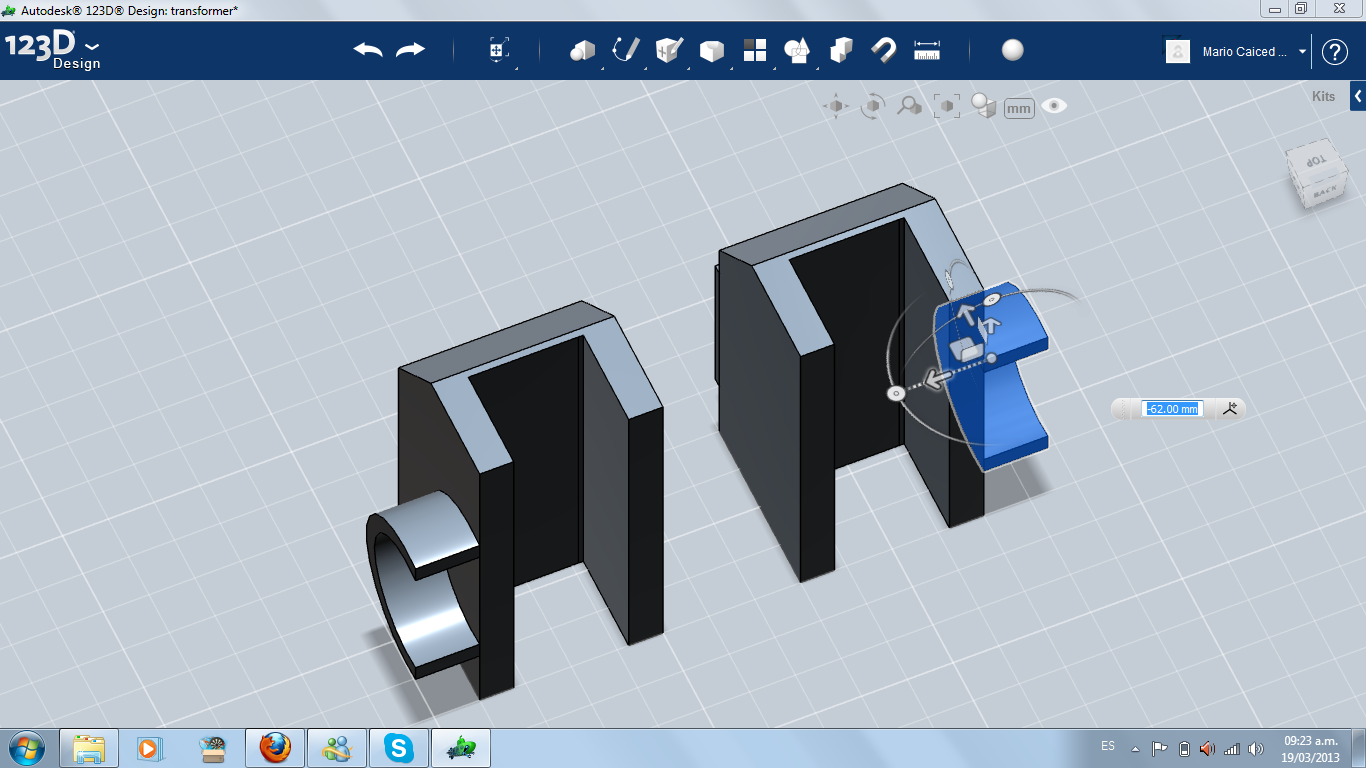
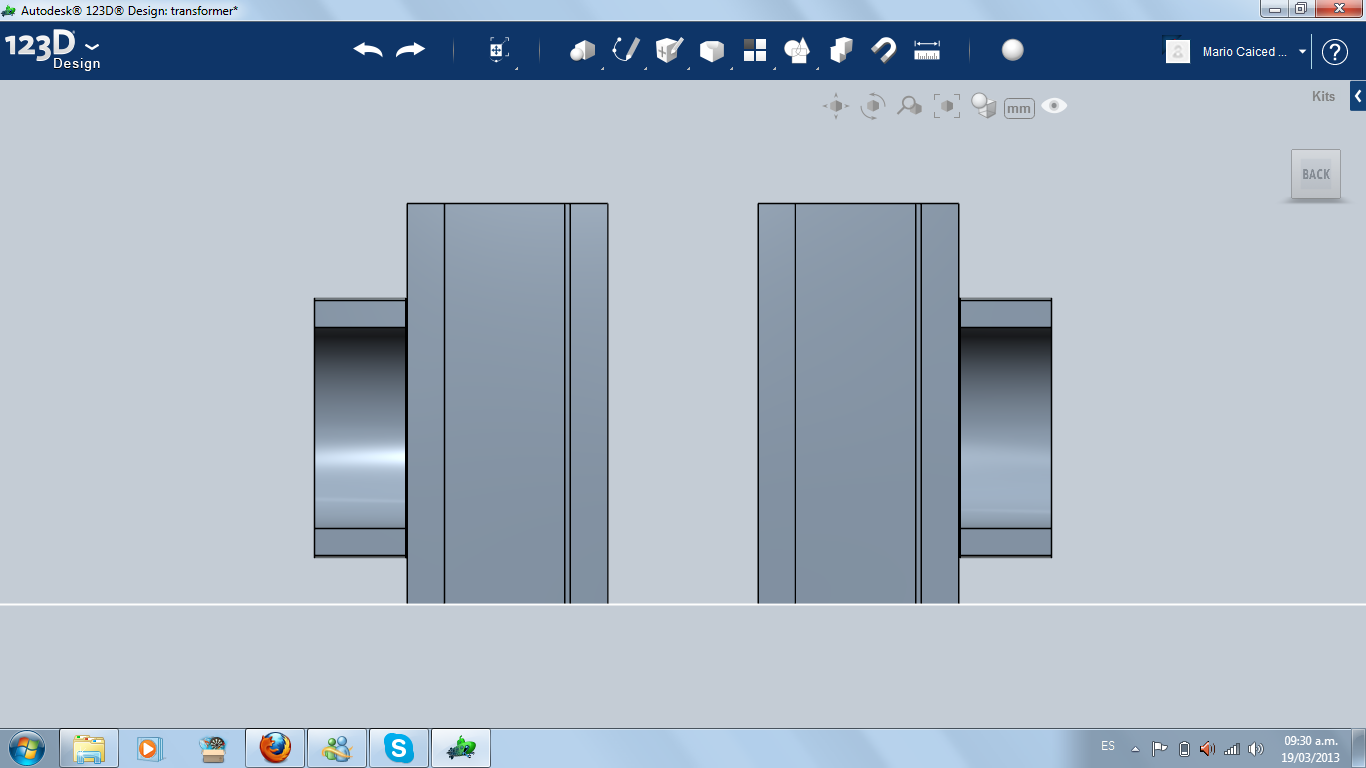
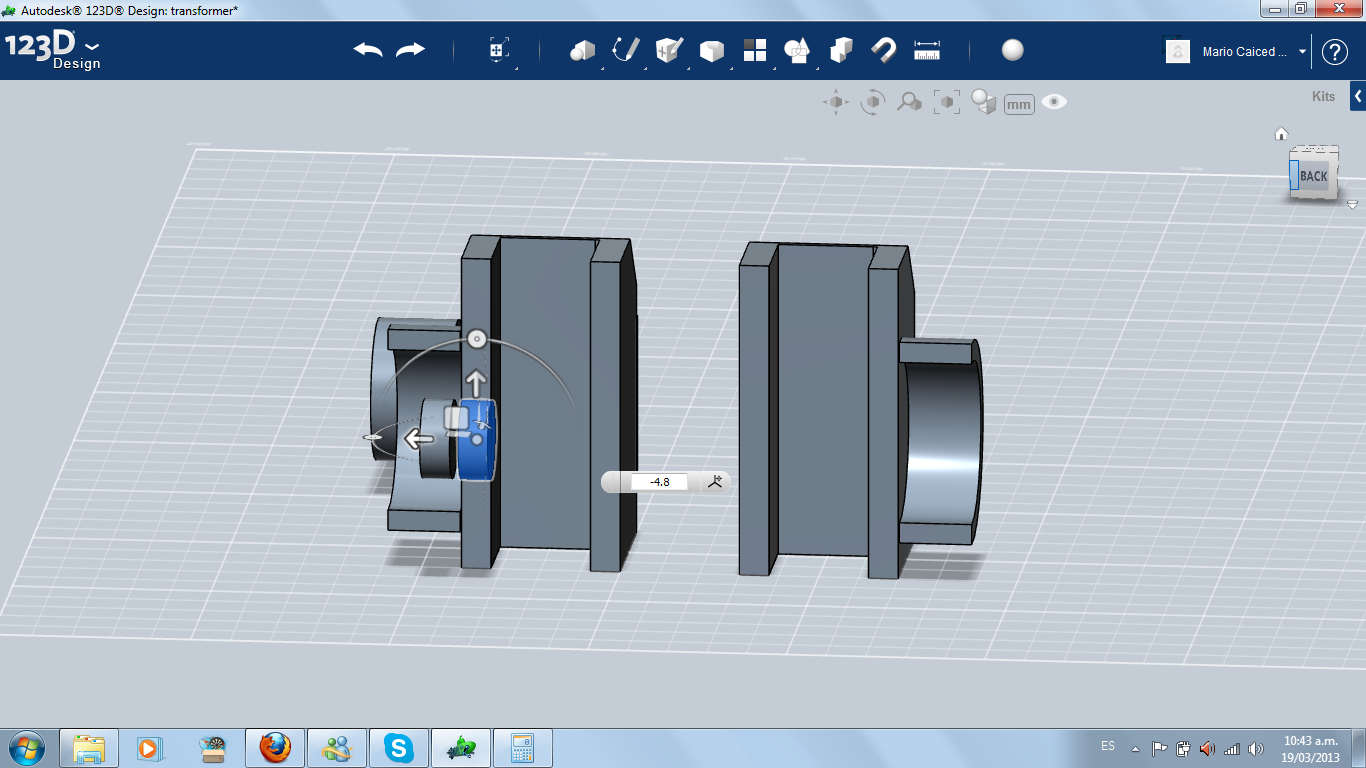
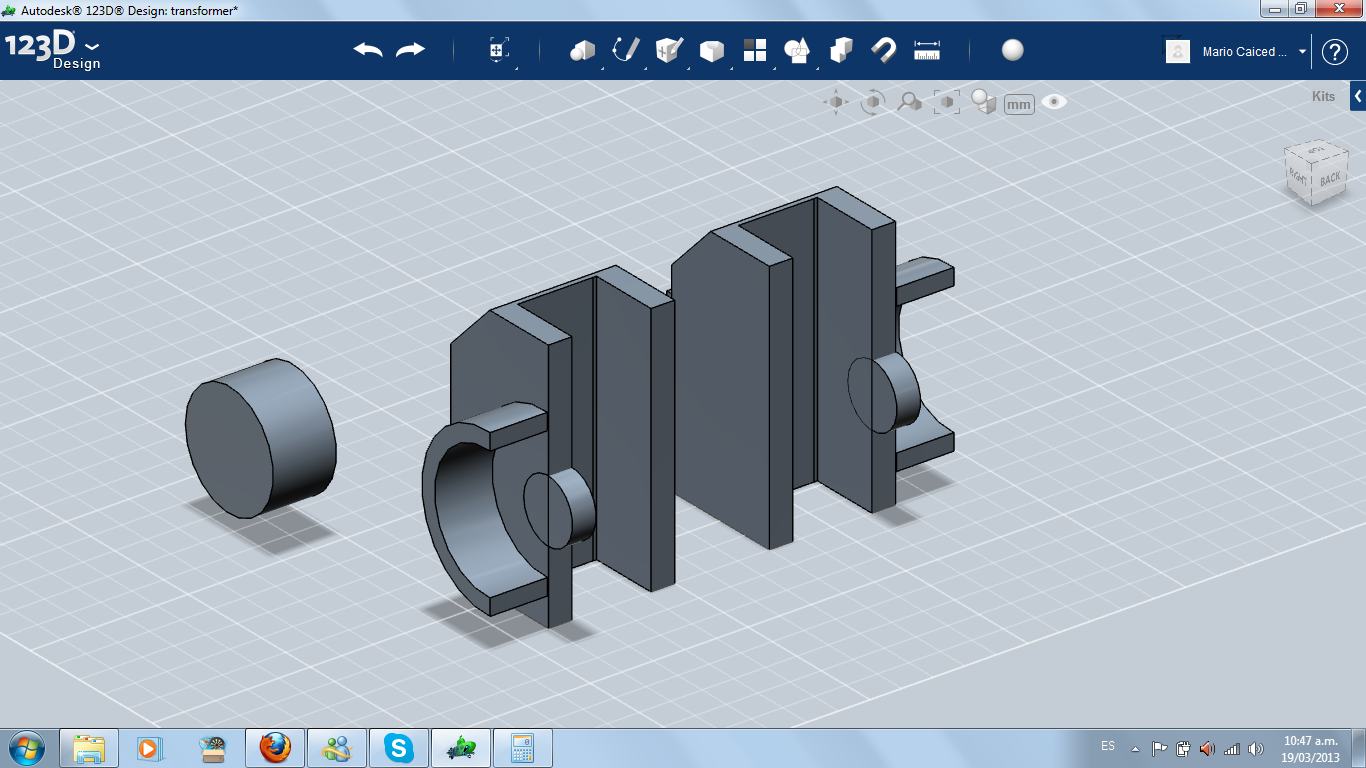
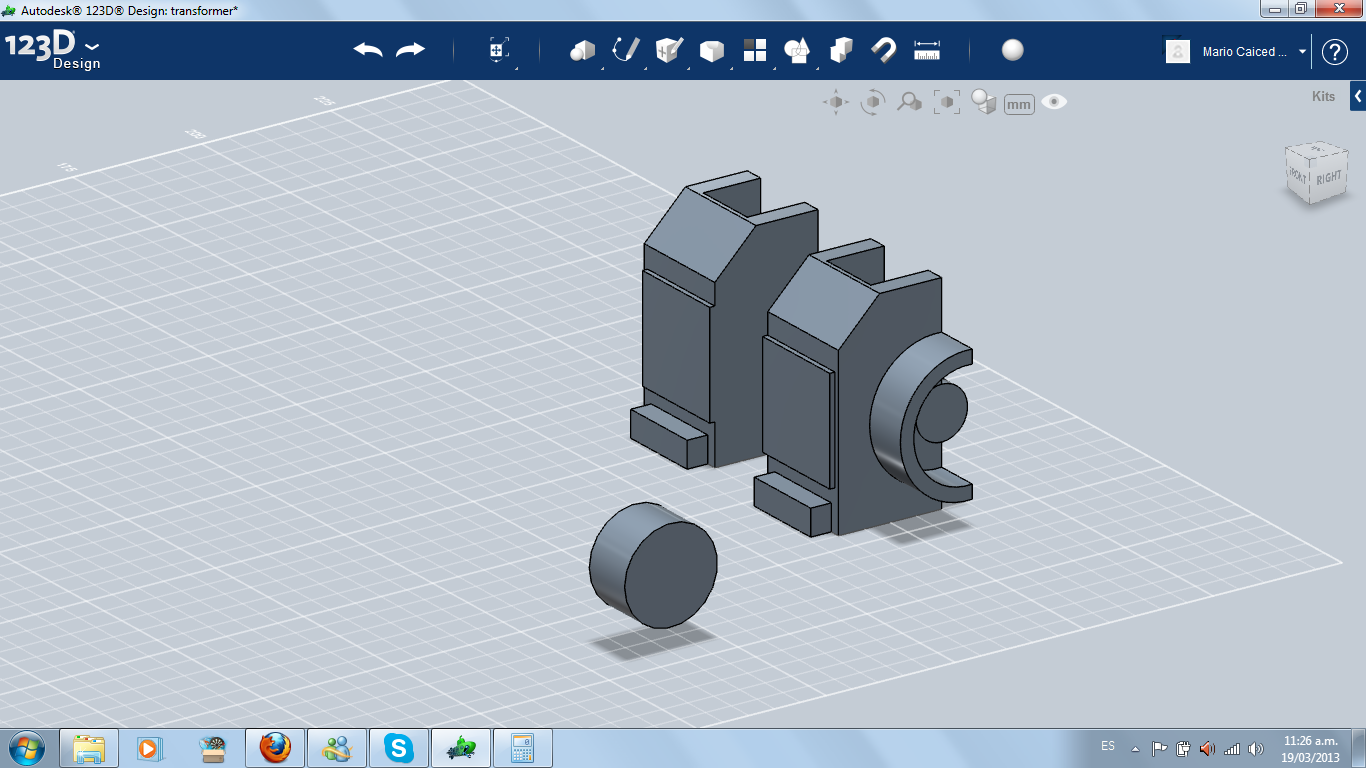
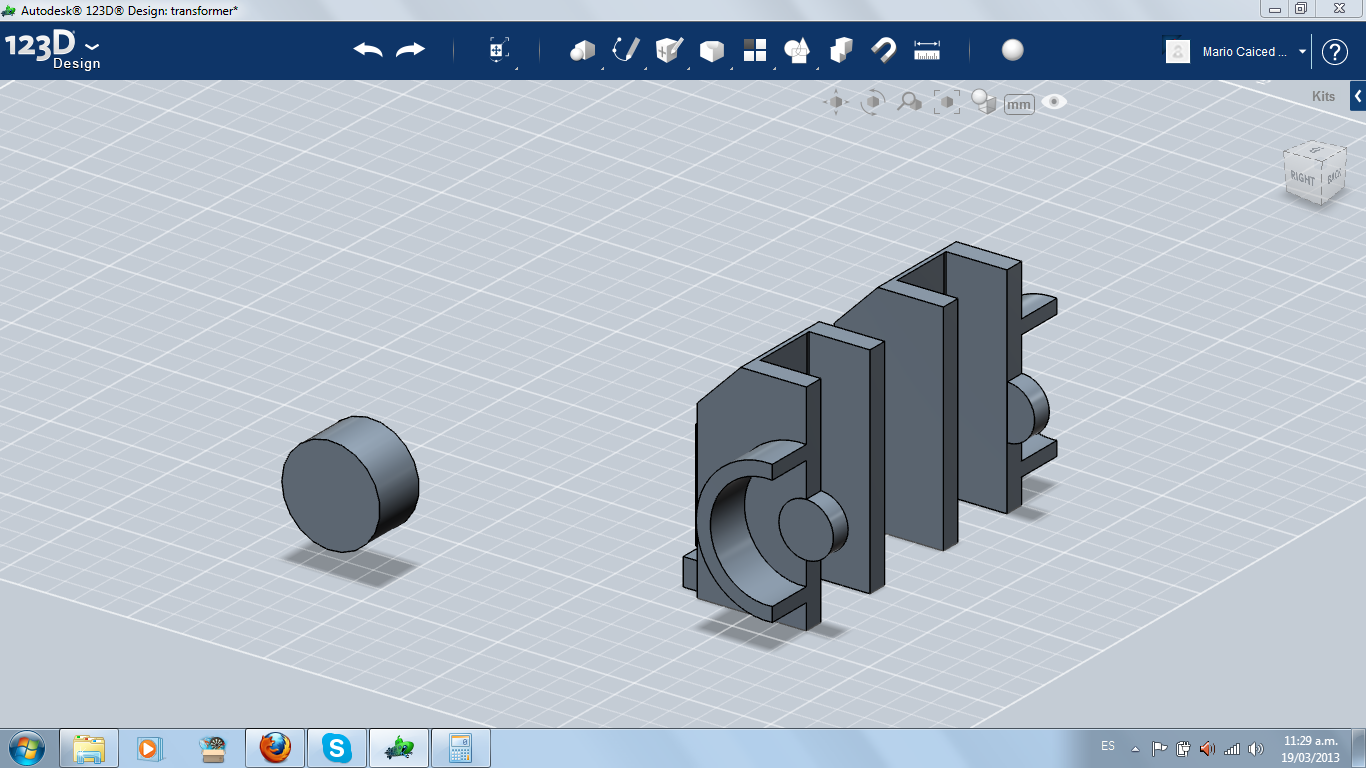
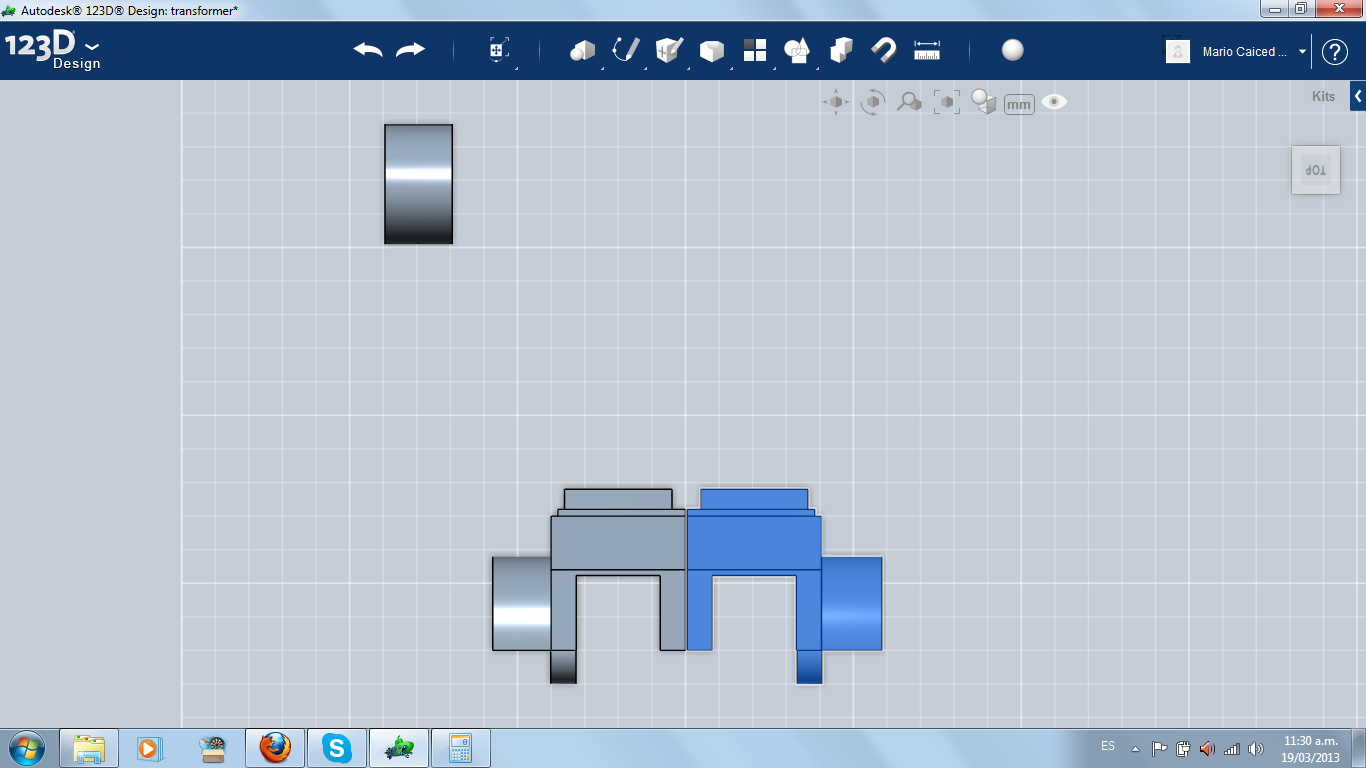
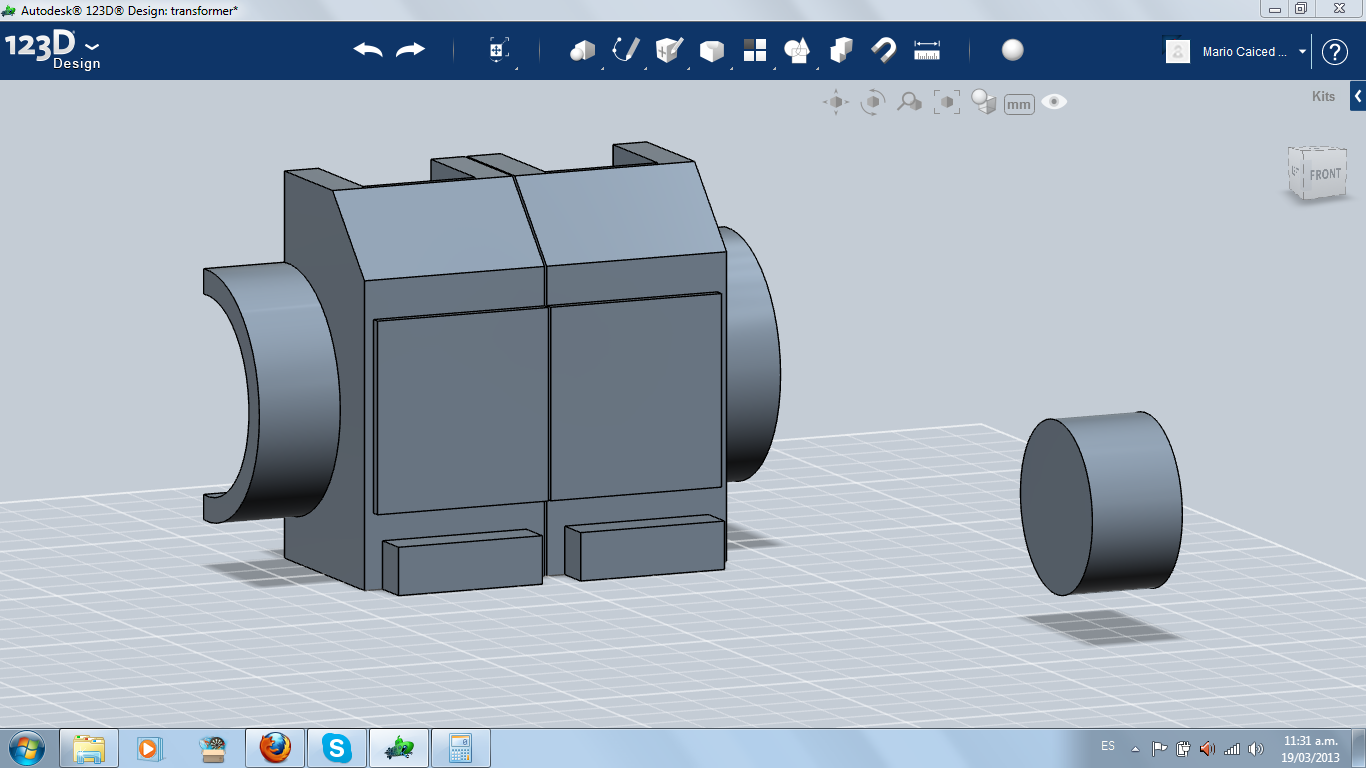
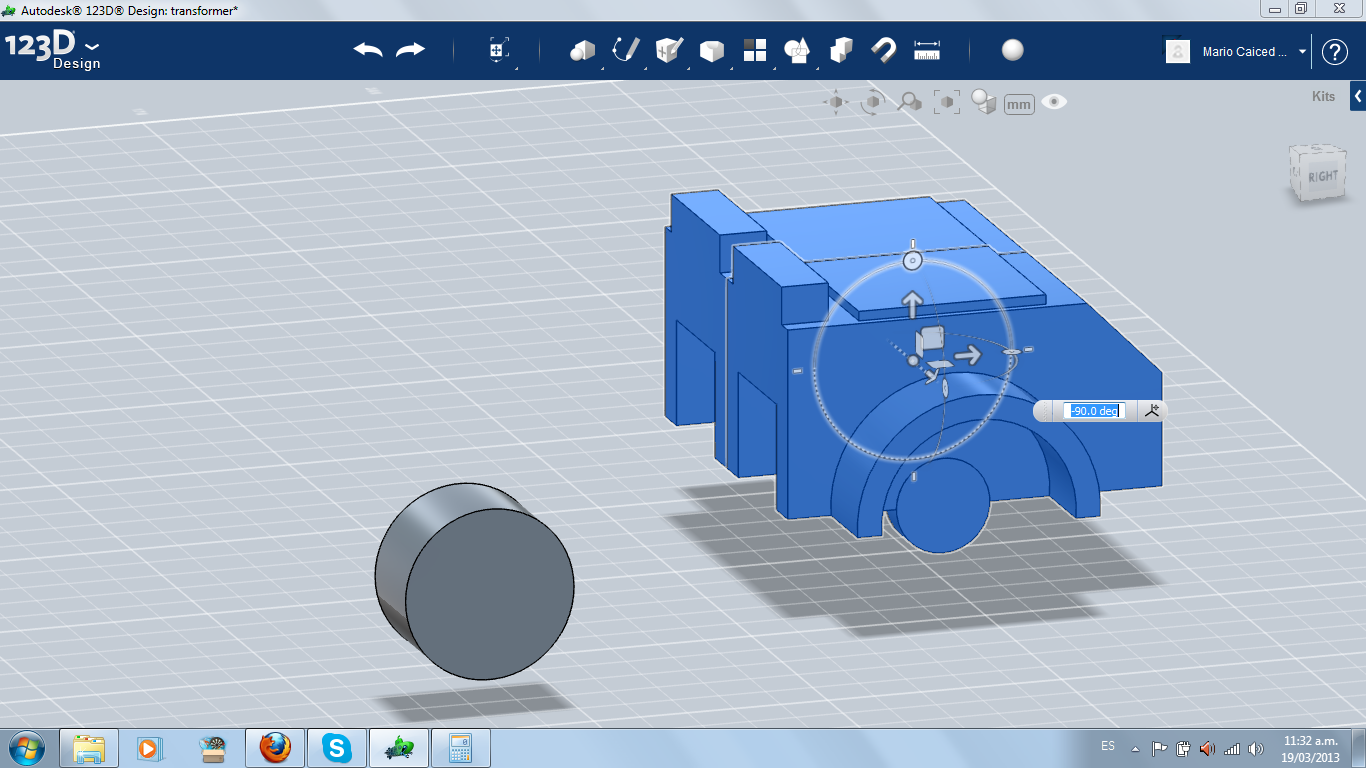
TIP: Before starting, remember: this project has 17 main pieces. Every piece is made combining primitive solids. Don't forget to combine each form into the single piece. If not, when you try to manipulate a piece looking for how it fits to another, you will have forms dispersed everywhere.
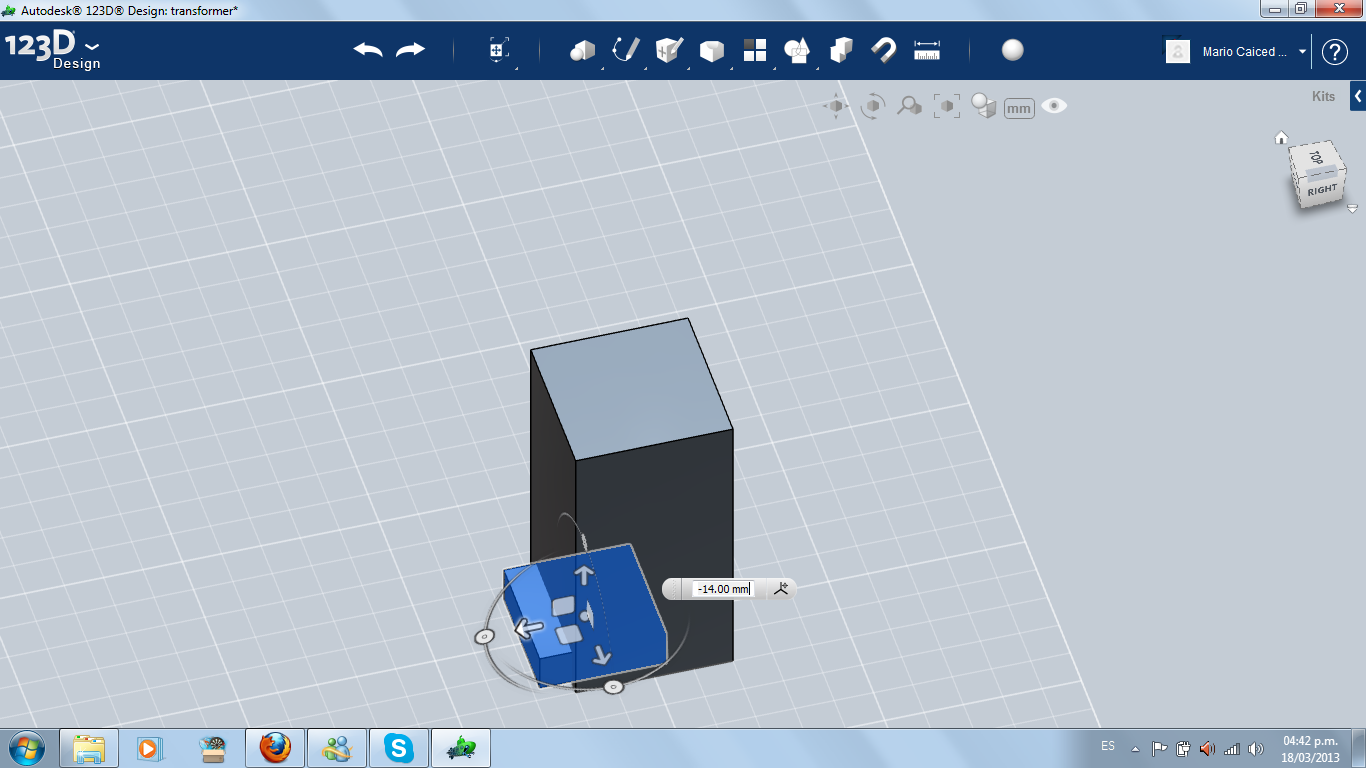
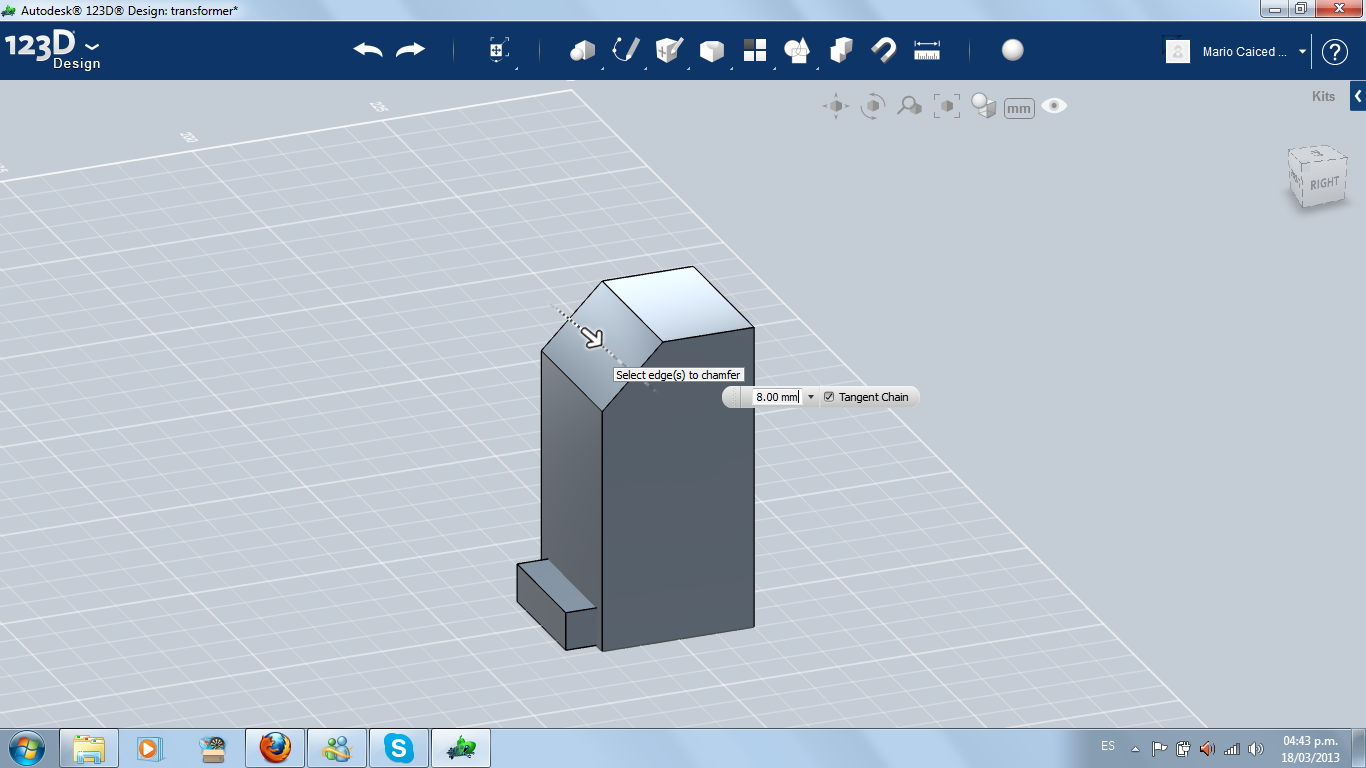
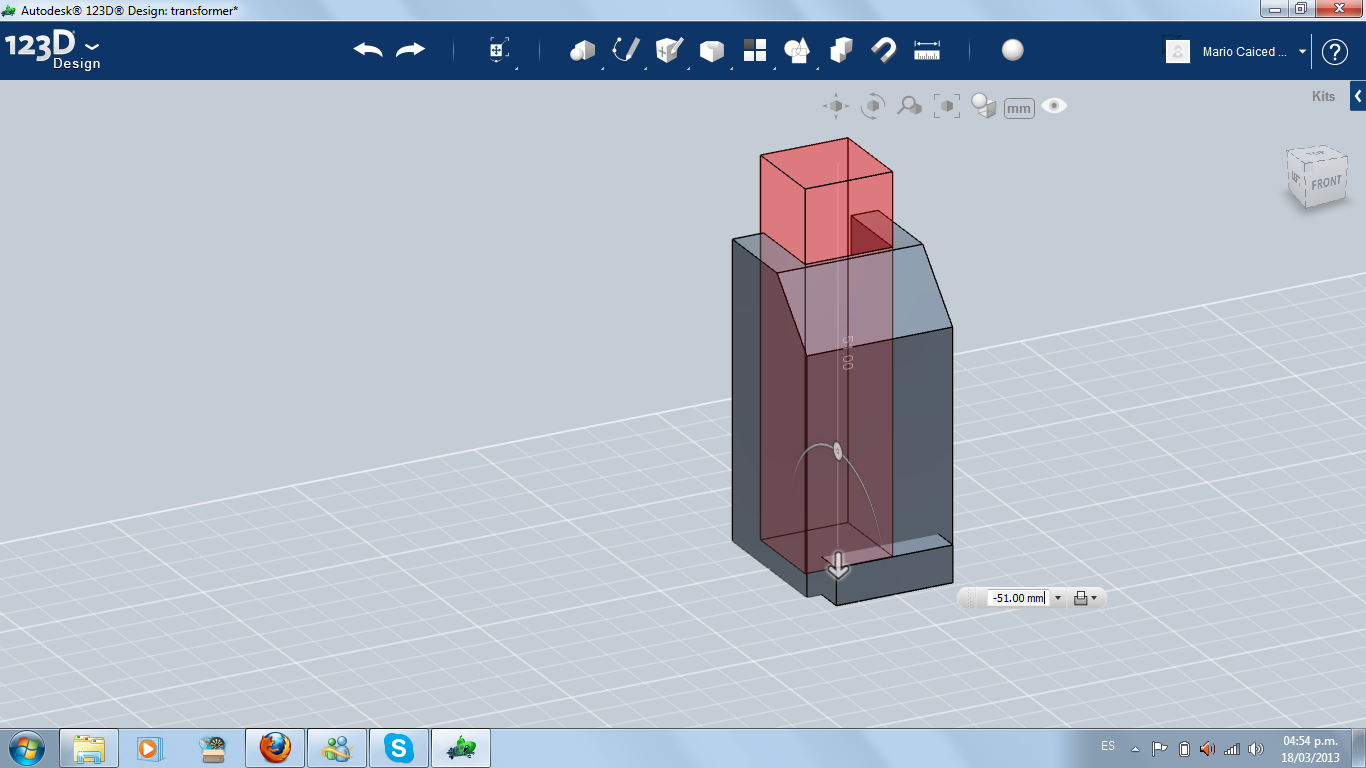
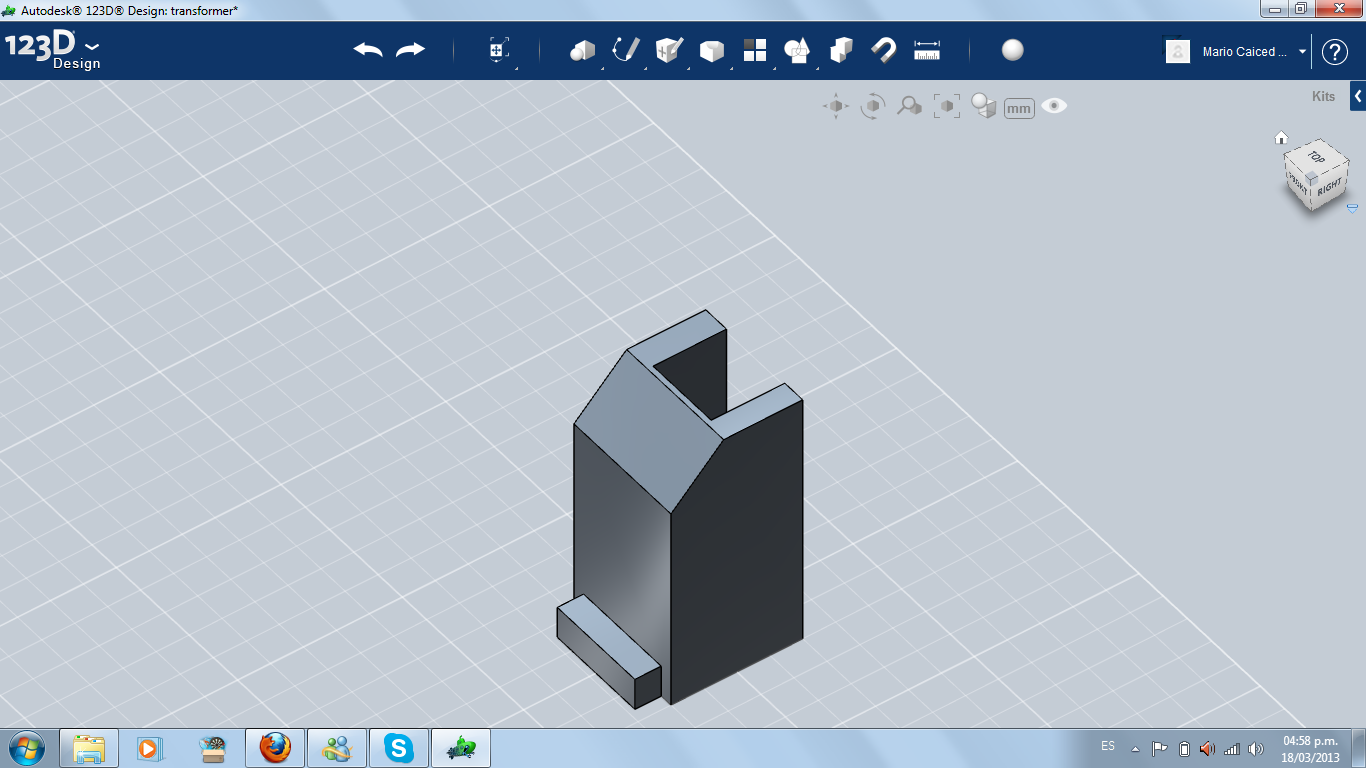
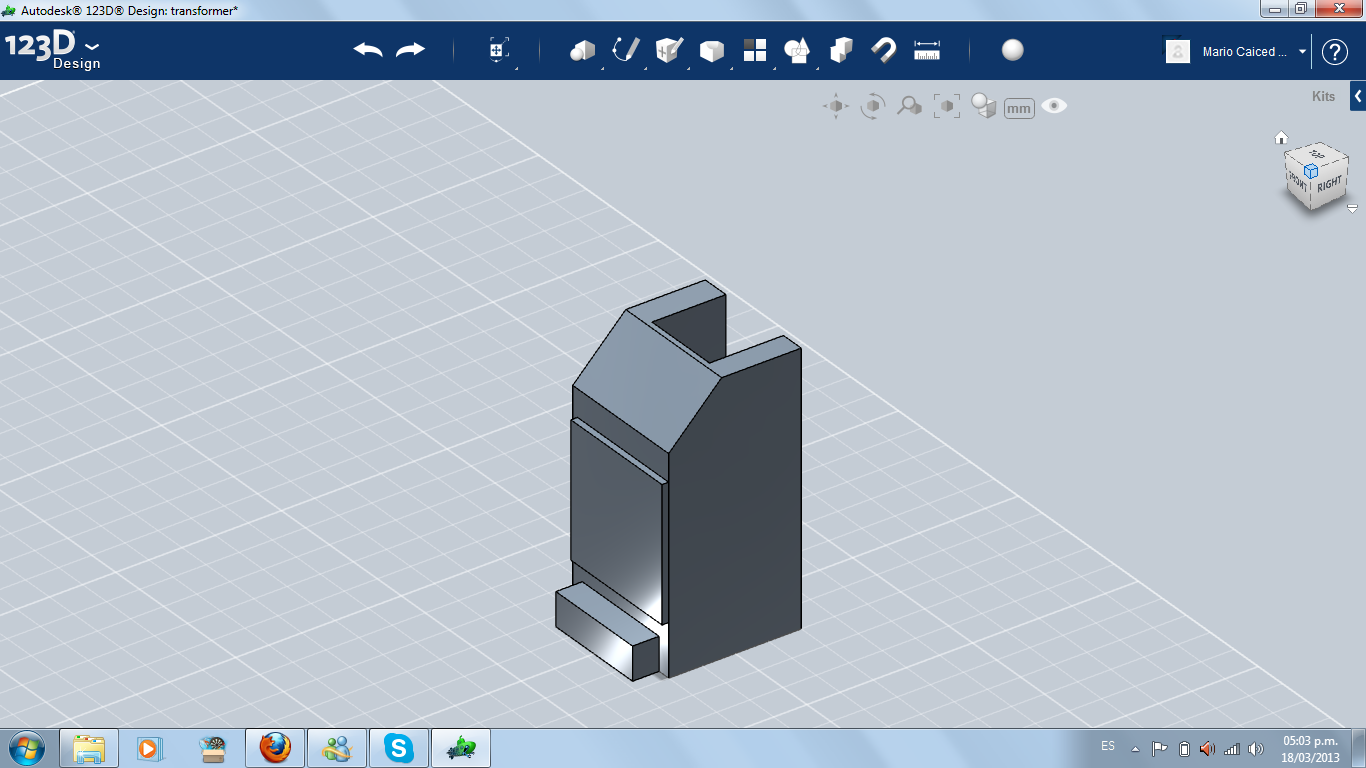
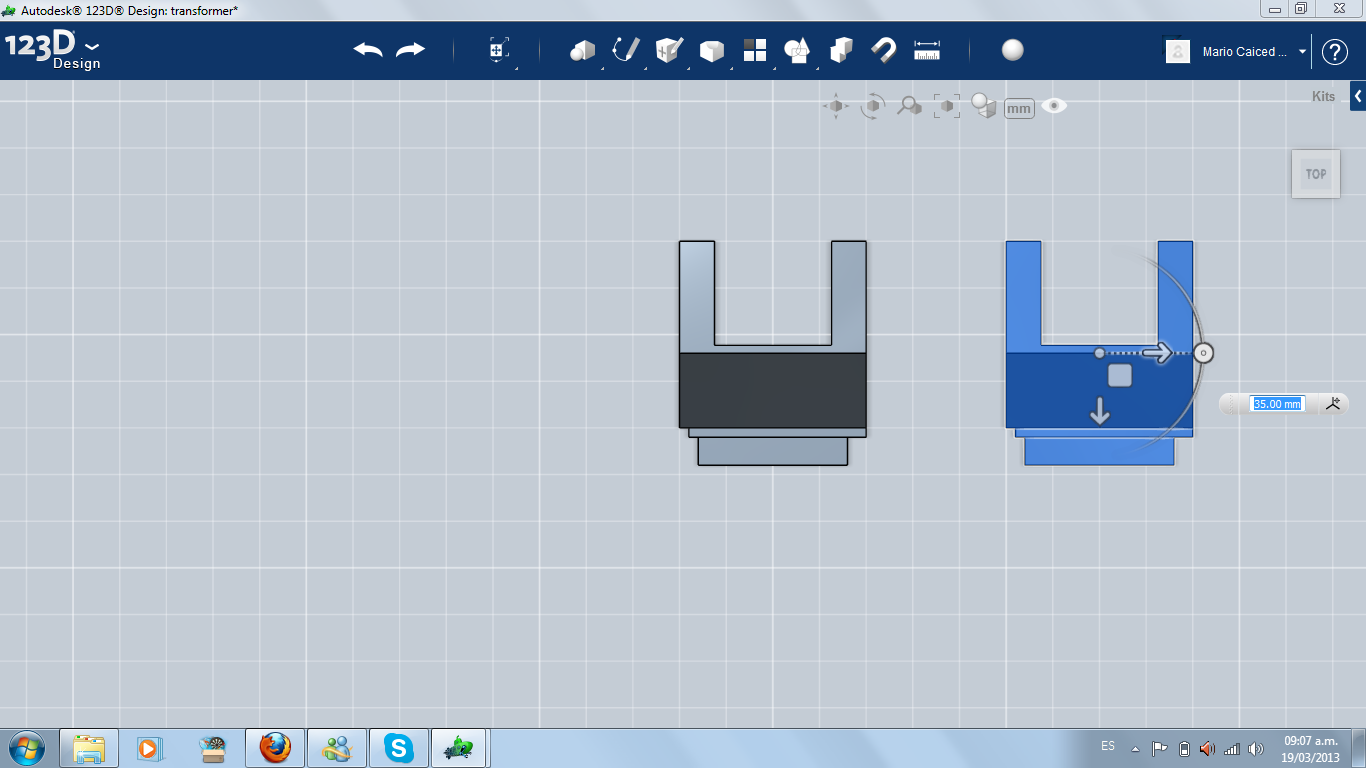
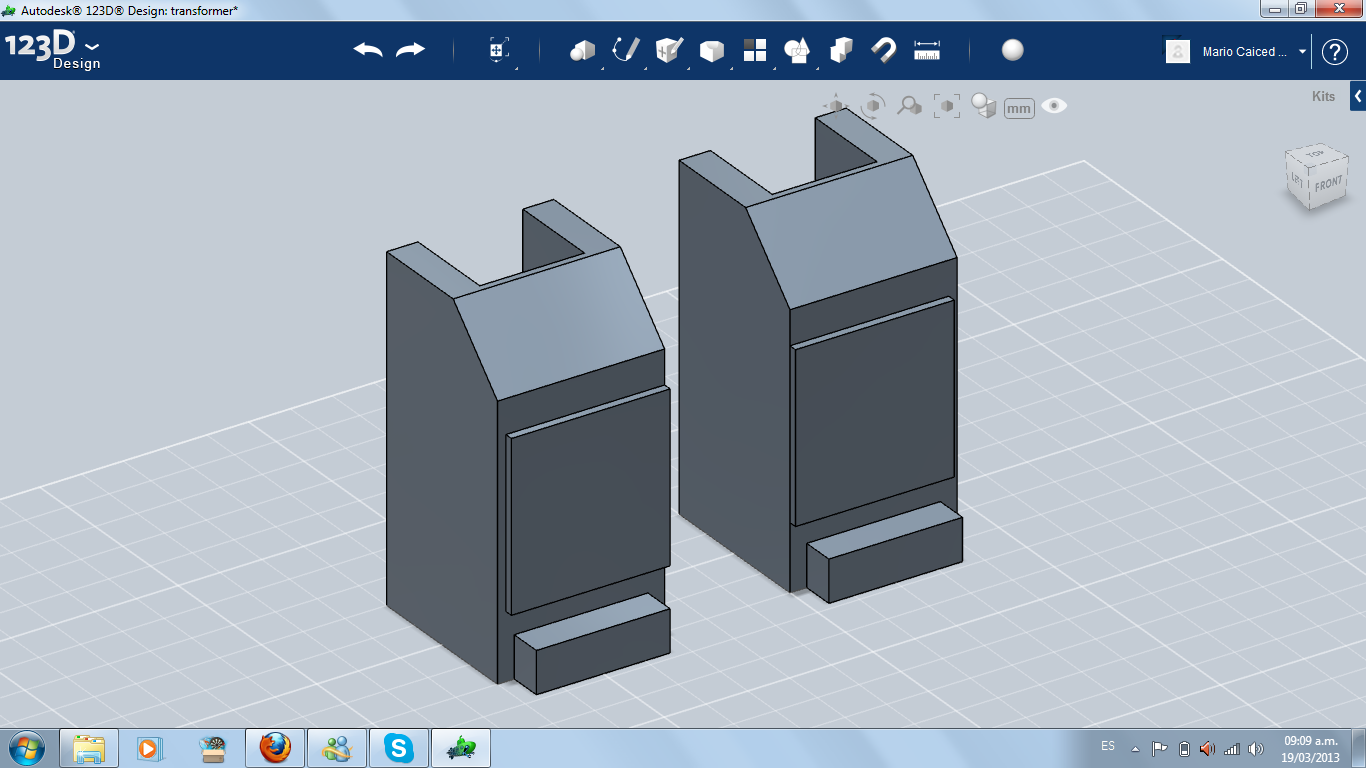
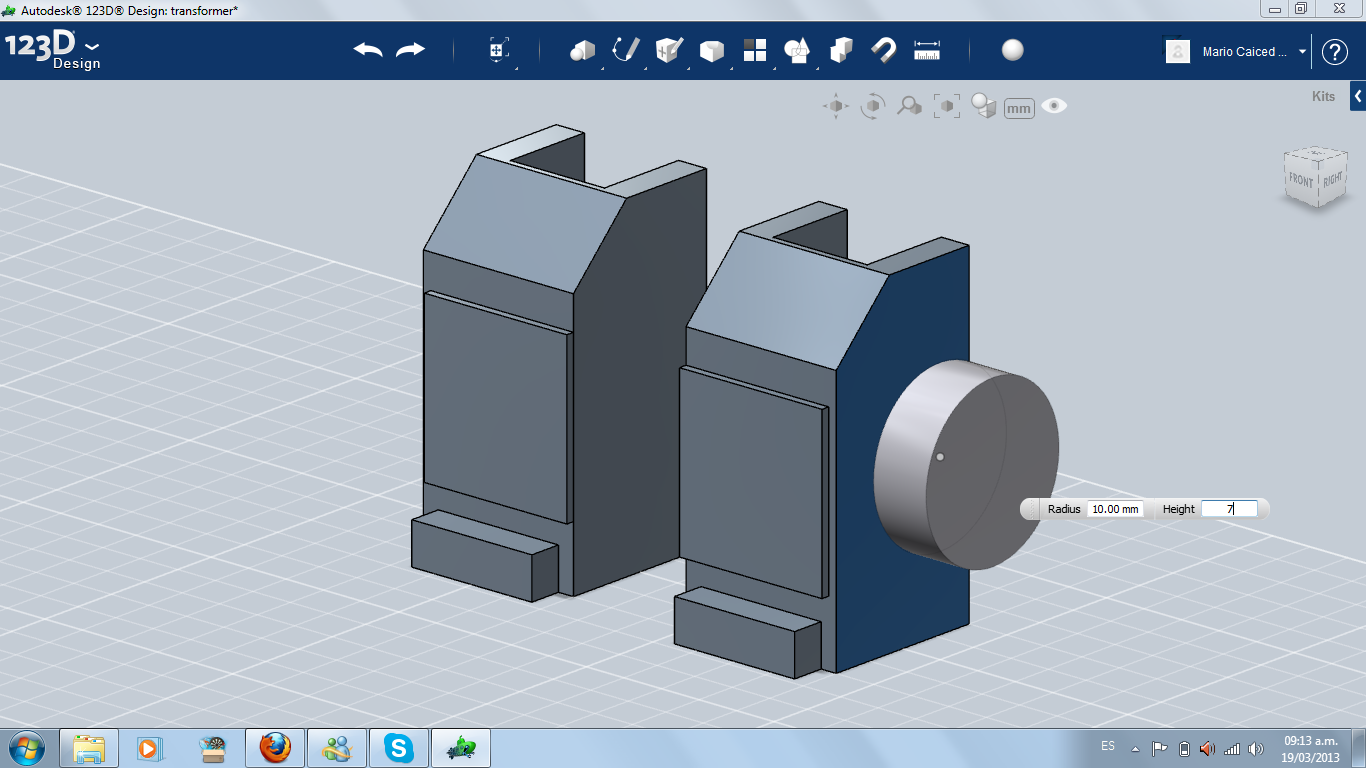
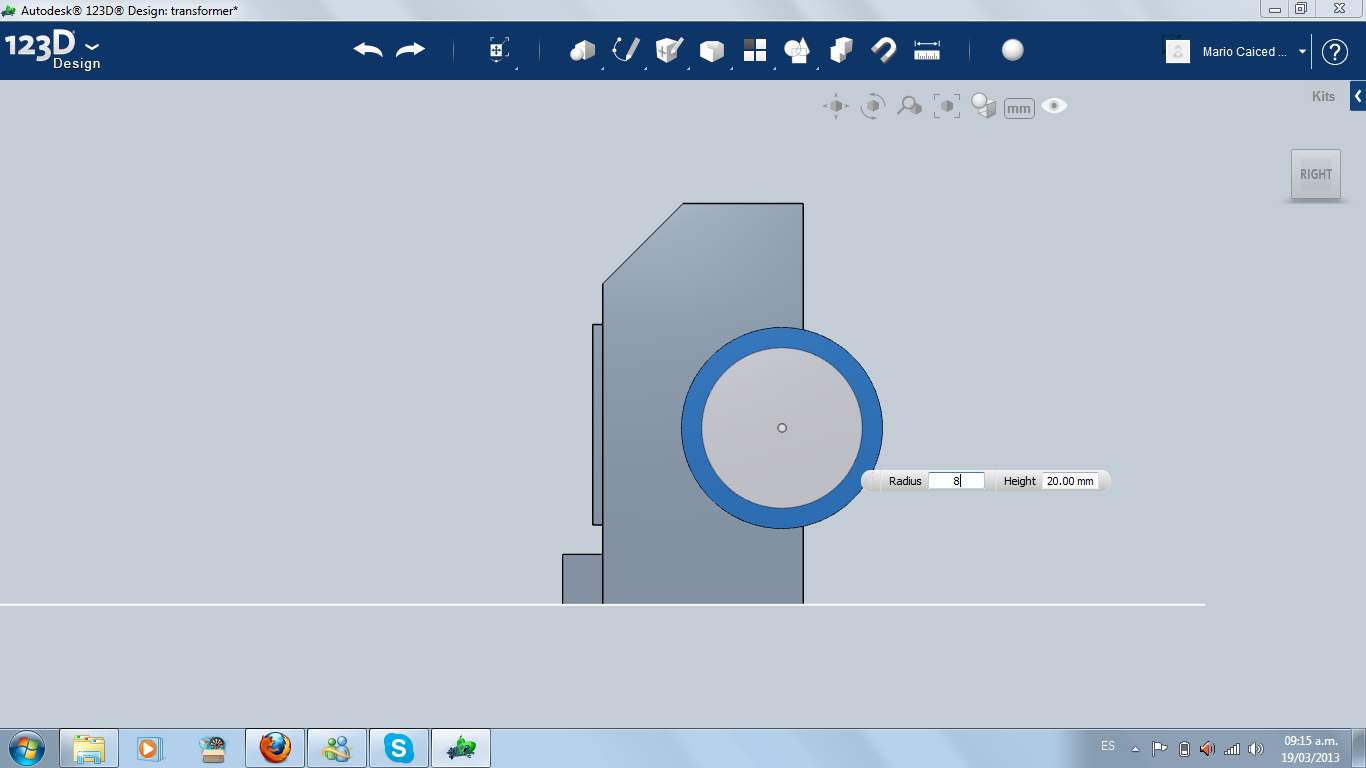
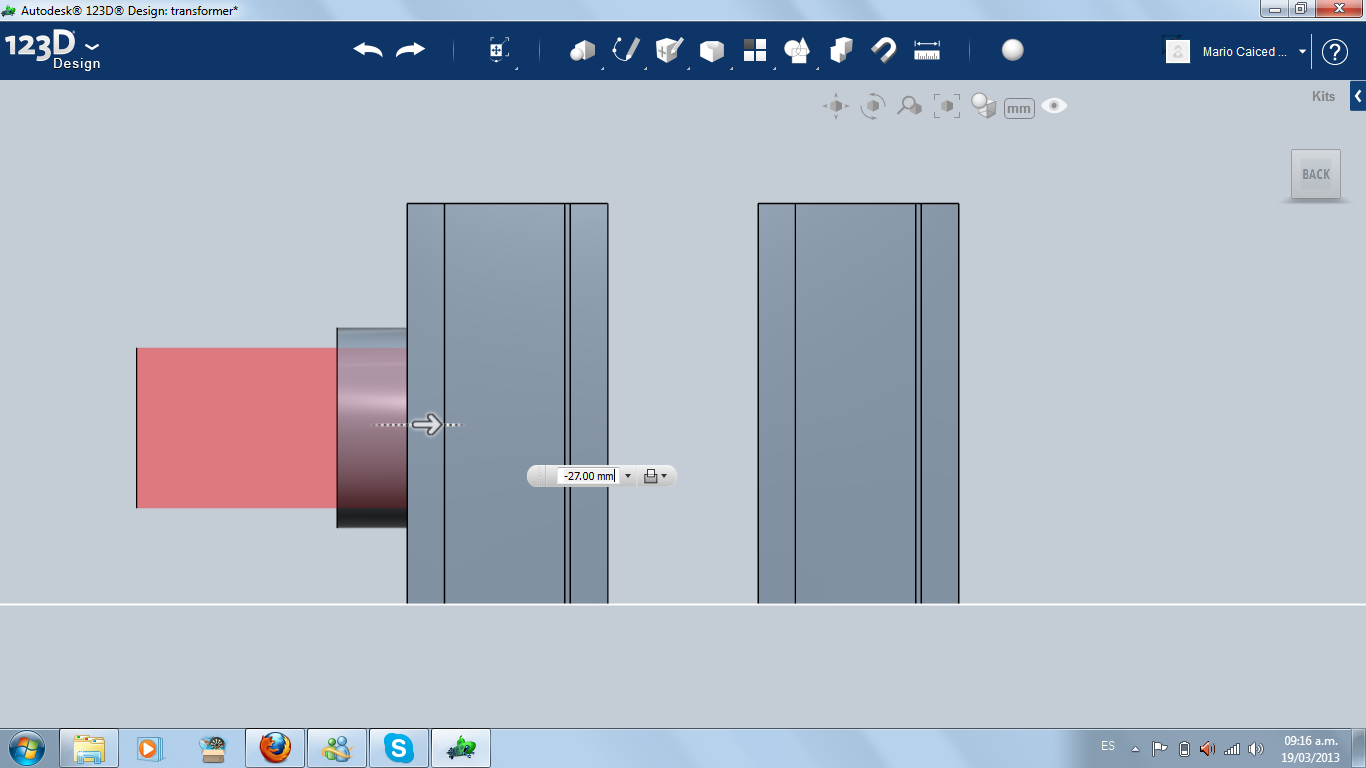
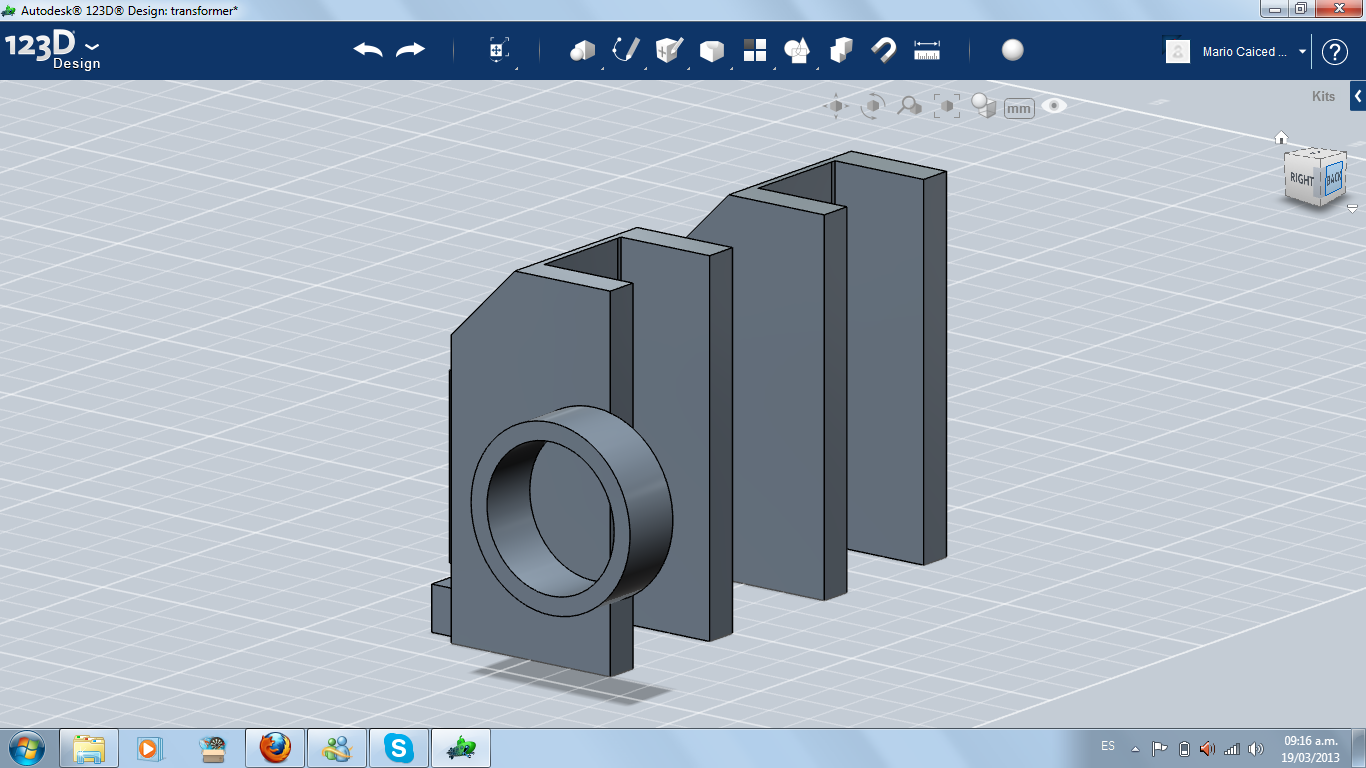
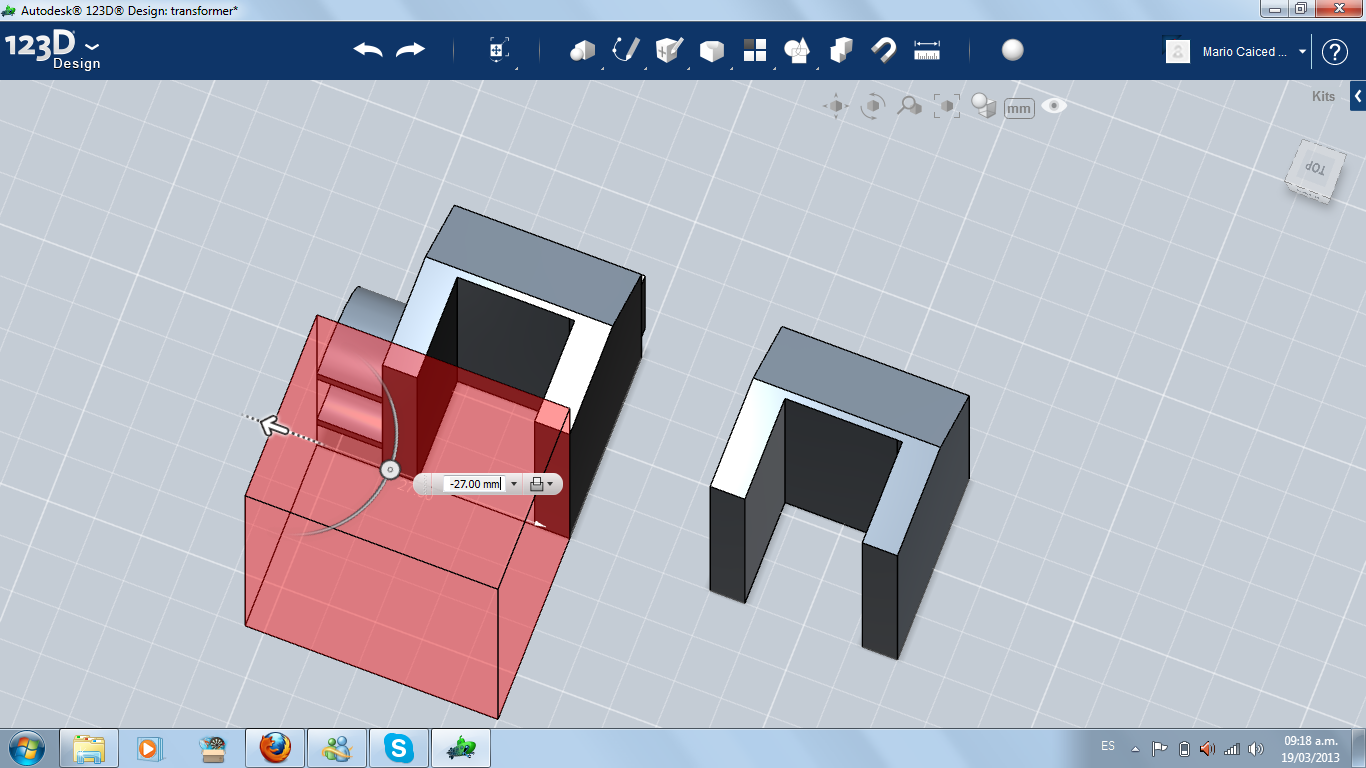
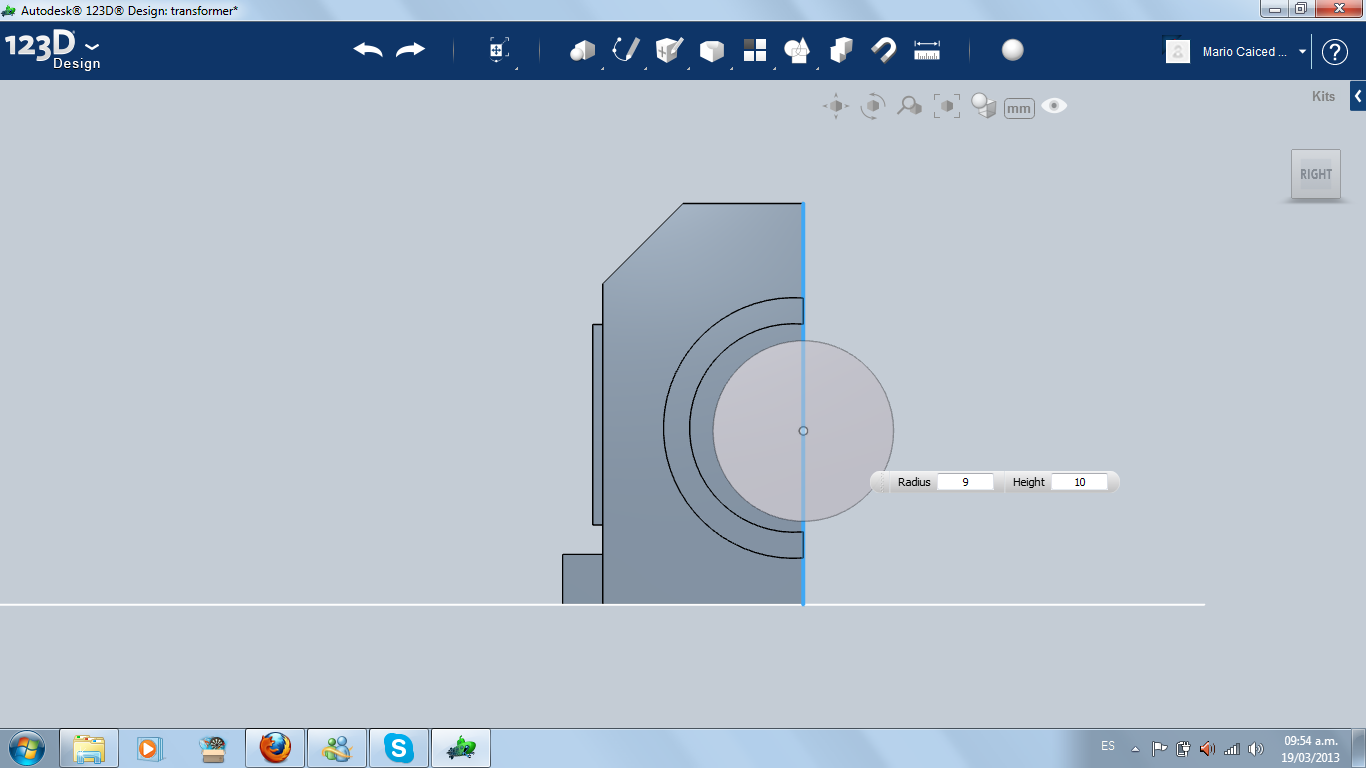
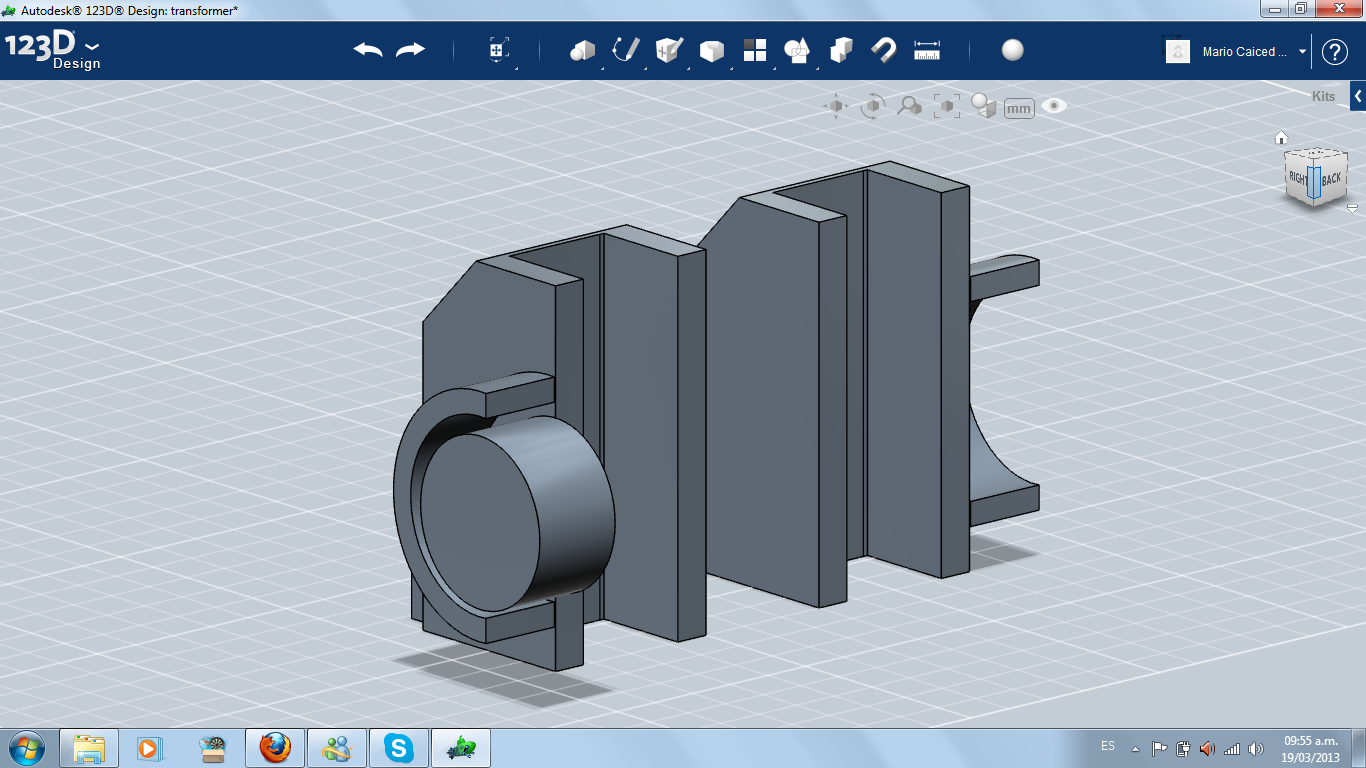
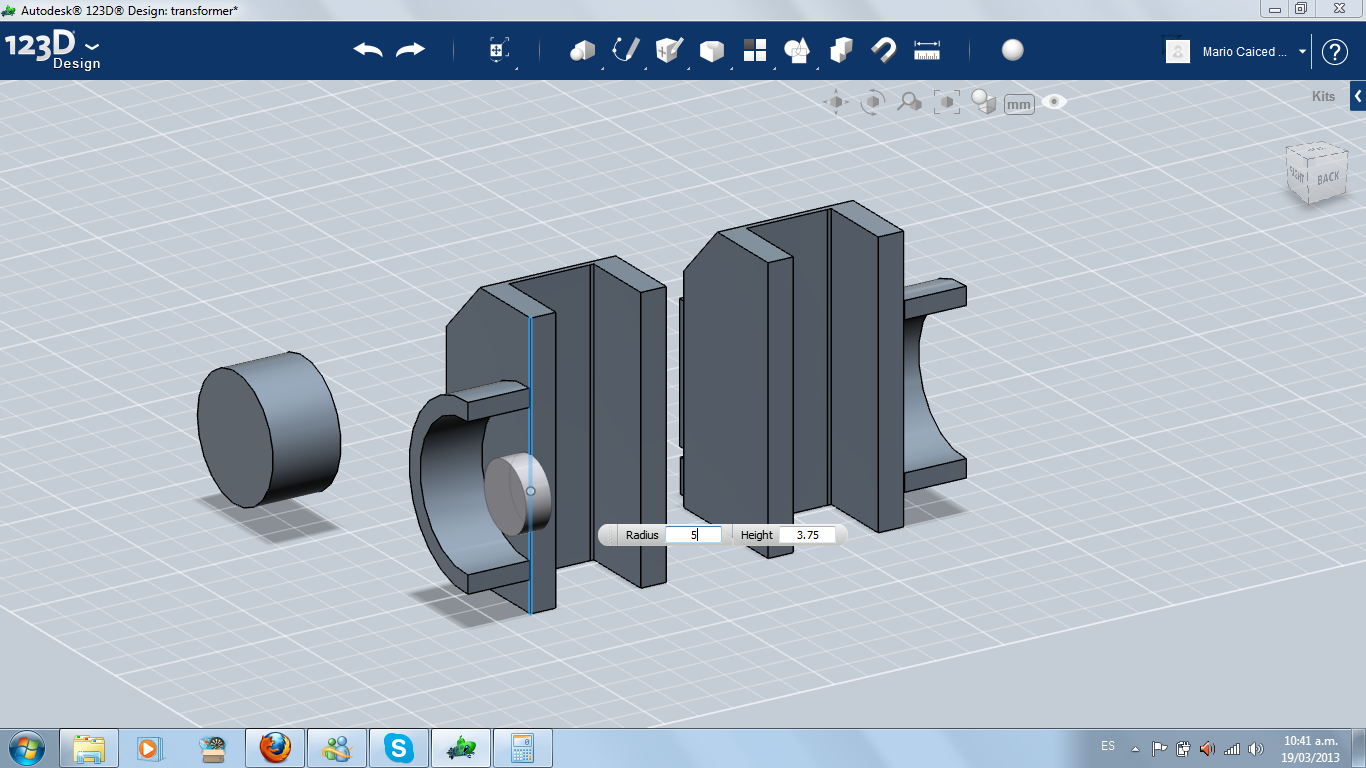
I started designing the legs. Each one is a big primitive box with others smaller primitive boxes giving form to feet and decoration. In this design I use a lot of negative extrude for hollowing the pieces where another pieces need to be housed in car mode. For the "knees" I used chamfer. I made one leg, then I duplicated it, verifiying the symmetry. In each leg I use a hollowed half cylinder for housing the wheels. I made a primitive cylinder as wheel, for keep a reference for each robot limb and its place in car mode.
TIP: Negative extrude: Do you want to make a hollow into a piece? Create a new primitive form with a face equal to the form you want inside the piece, and situate it exactly over the place you want to hollow. Use the "extrude" tool over the mentioned face. Extend the face negatively (positively: blue color; negatively: red color) until you finish to carve the piece. It's a very useful tool. In the real world, I love the rotary tool for working with physical objects. In CAD, negative extruding became my virtual "rotary tool".
Main Piece: Car Front
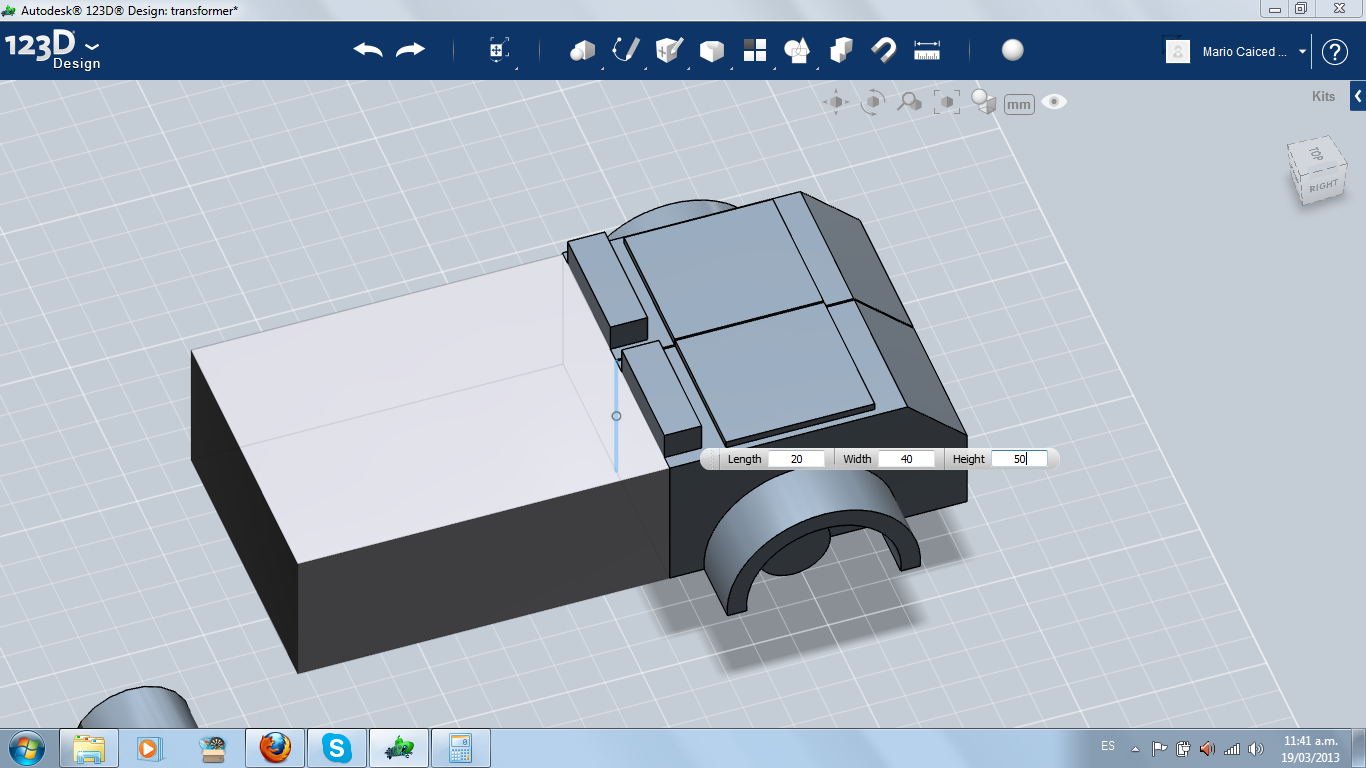
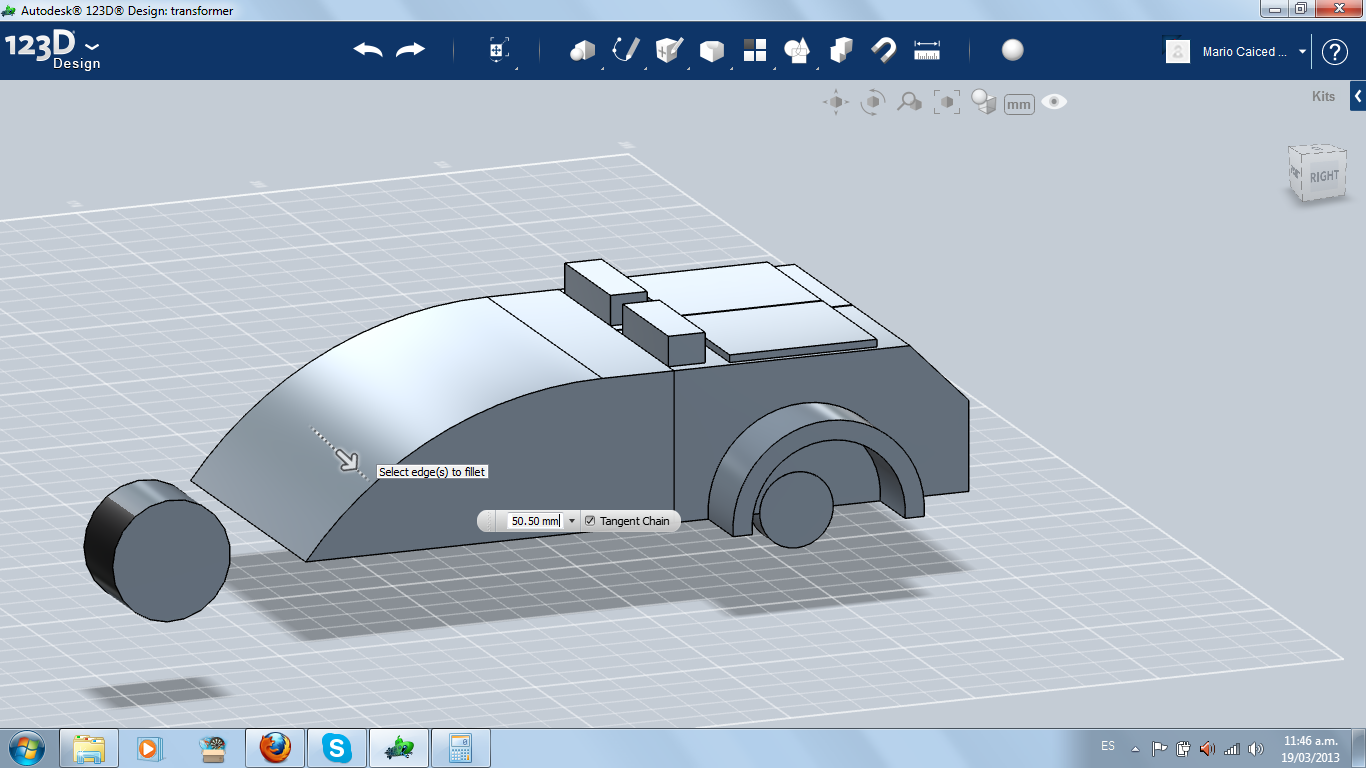
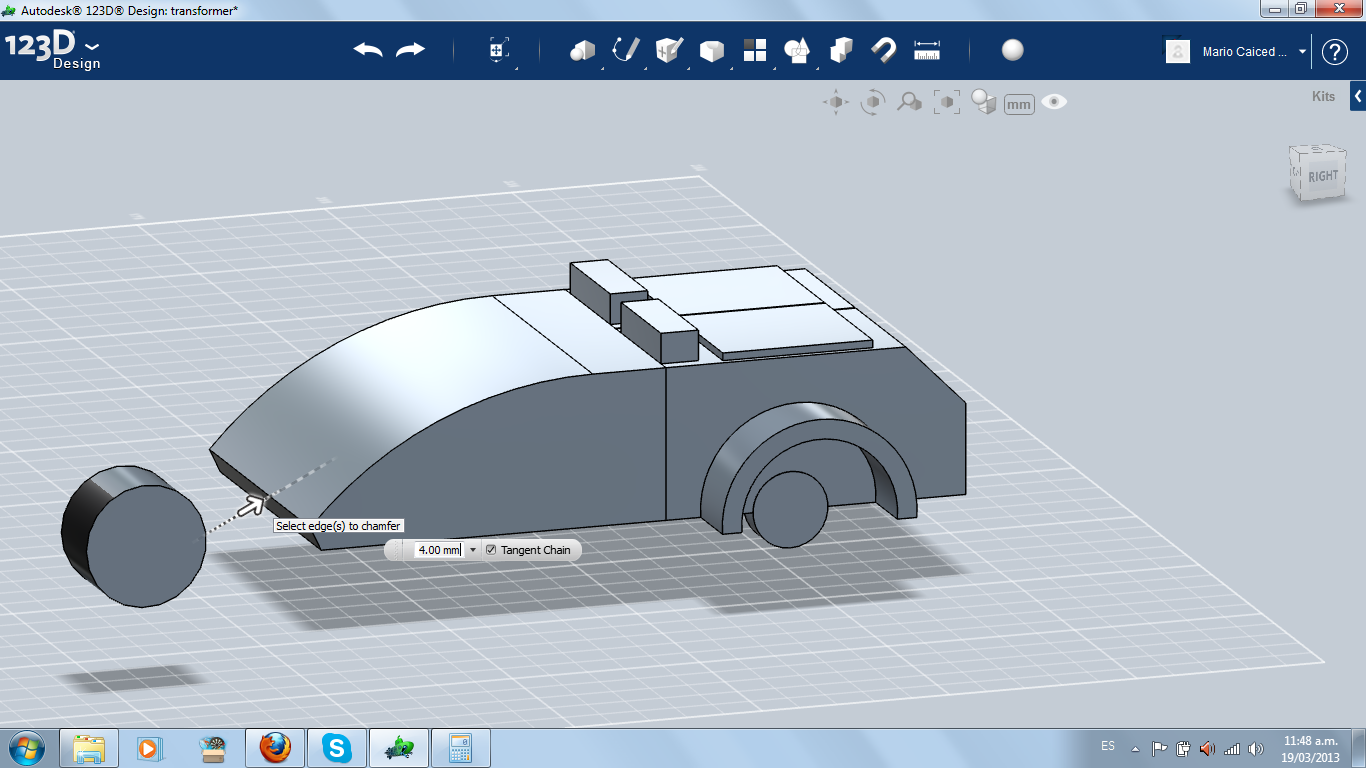
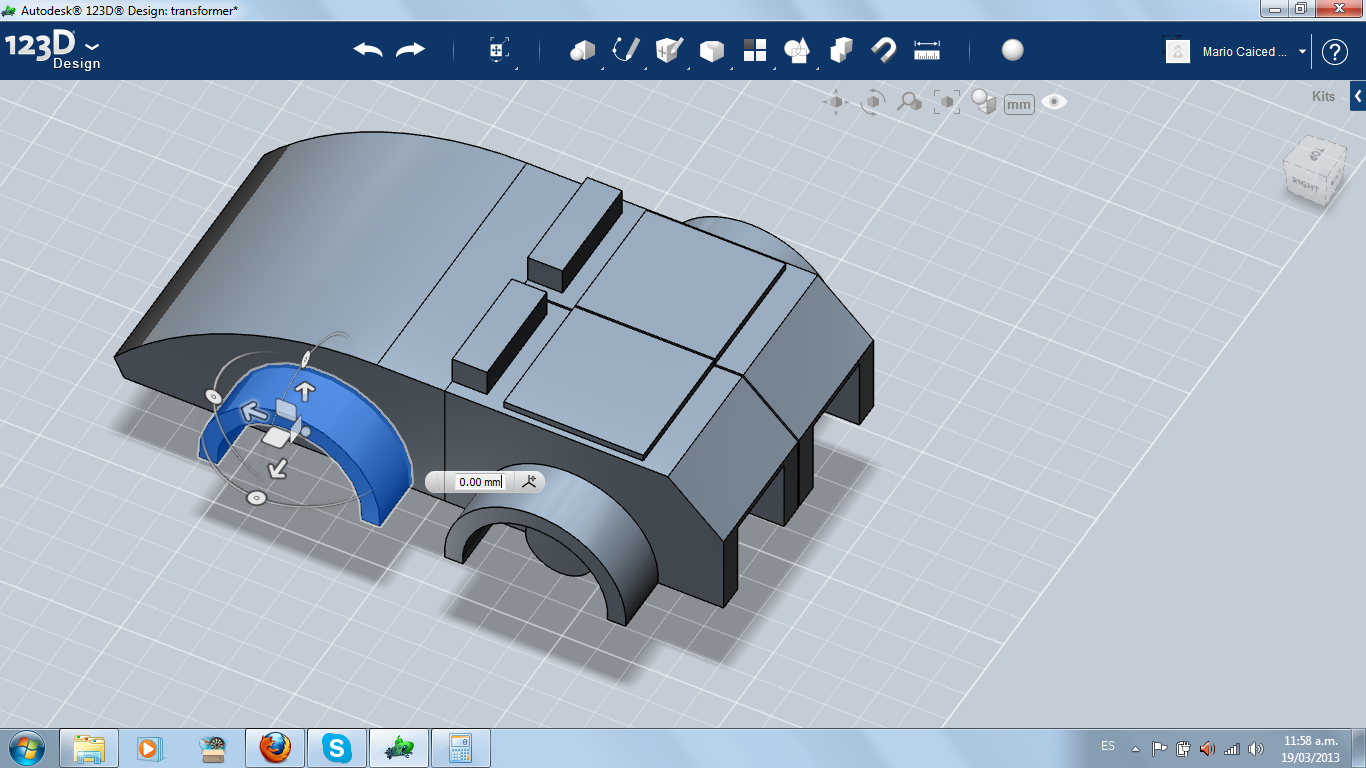
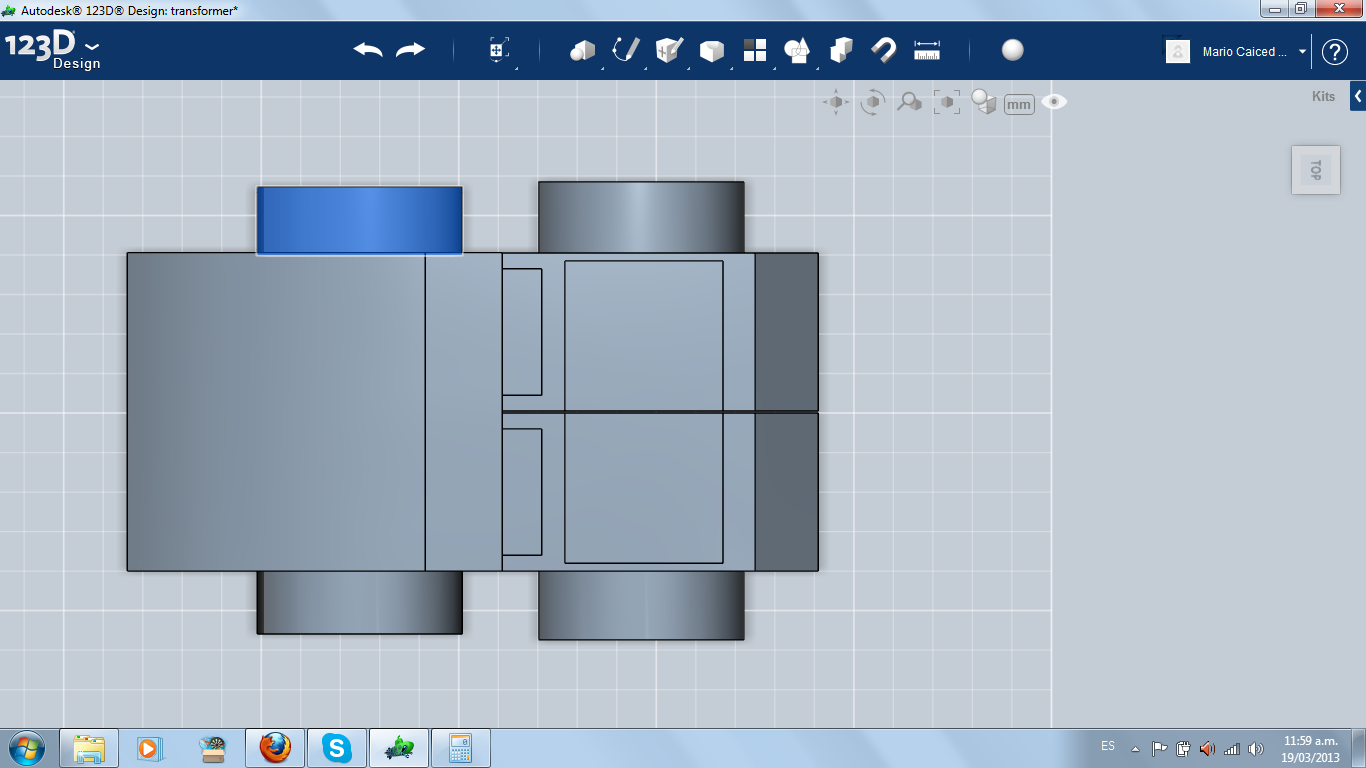
I made a new primitive box for the main body, of the same heigth and width of the legs together, but longer.
With fillet and chamfer tools, I give it the shape of some kind of minimalist futuristic car.
I copied the wheels housing from the back (legs), and I pasted these in each side of the front.
With fillet and chamfer tools, I give it the shape of some kind of minimalist futuristic car.
I copied the wheels housing from the back (legs), and I pasted these in each side of the front.
Cutting the Front for Making Robot's Arms
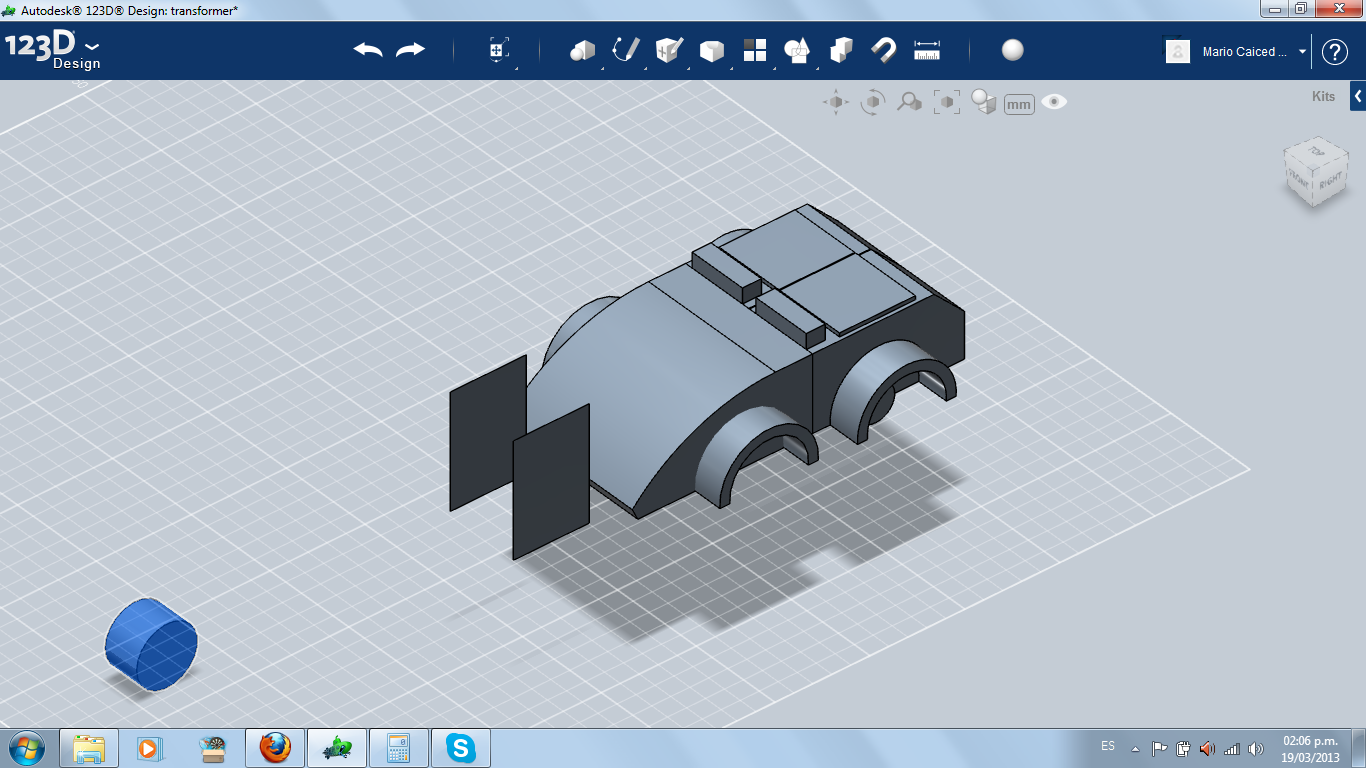
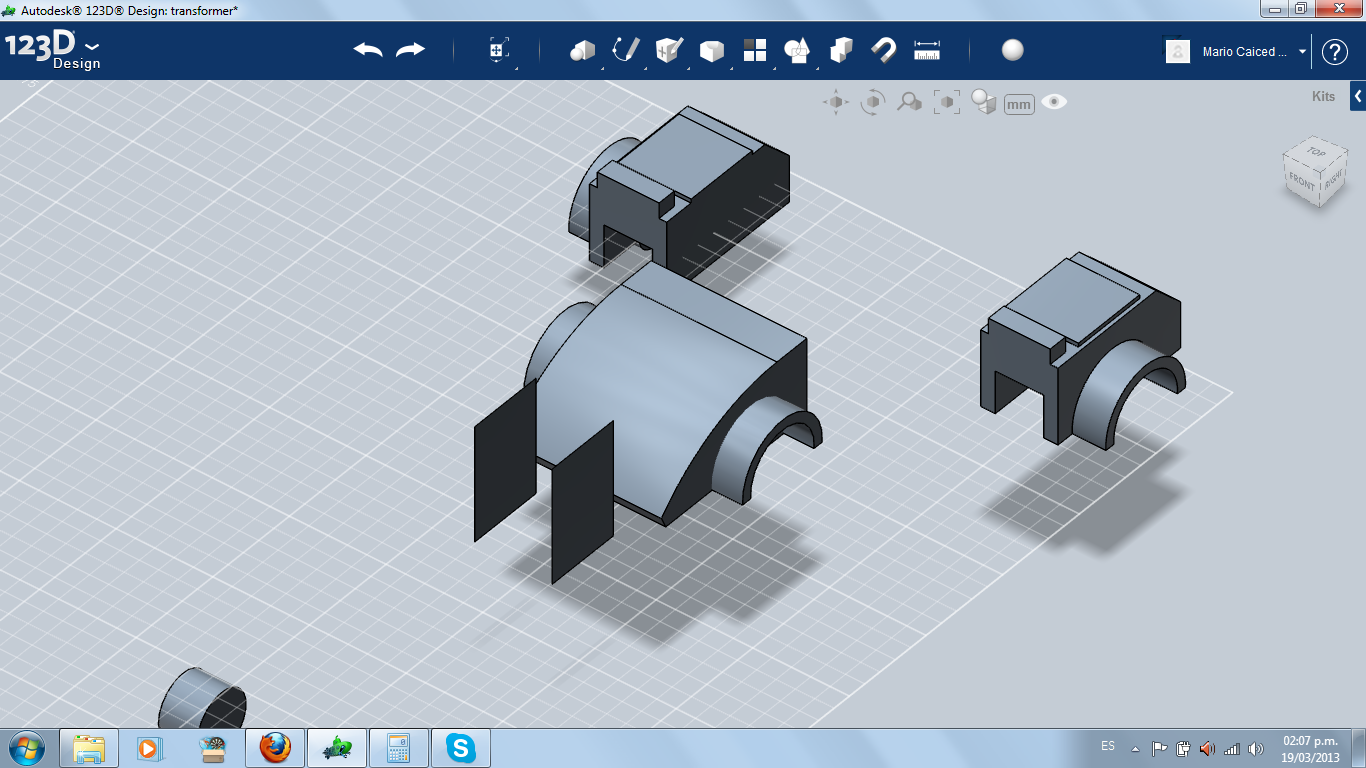
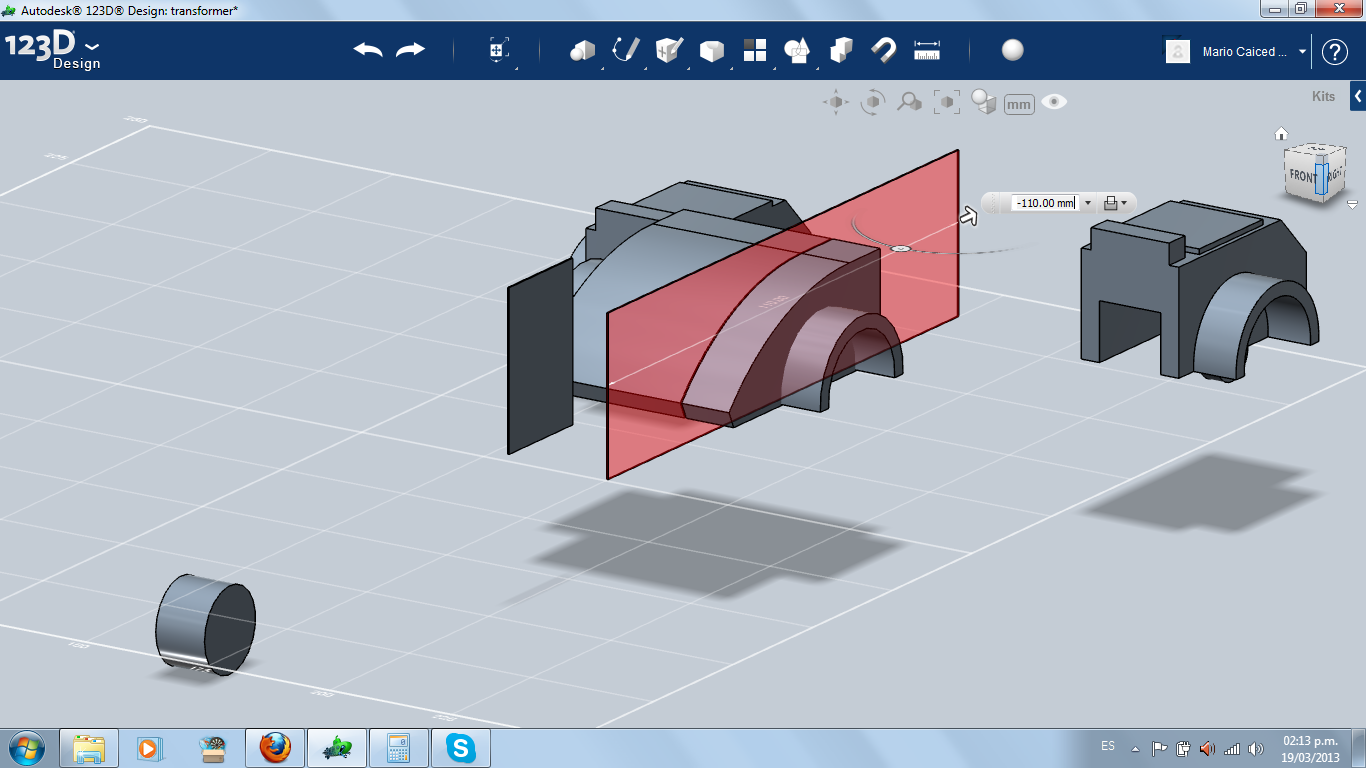
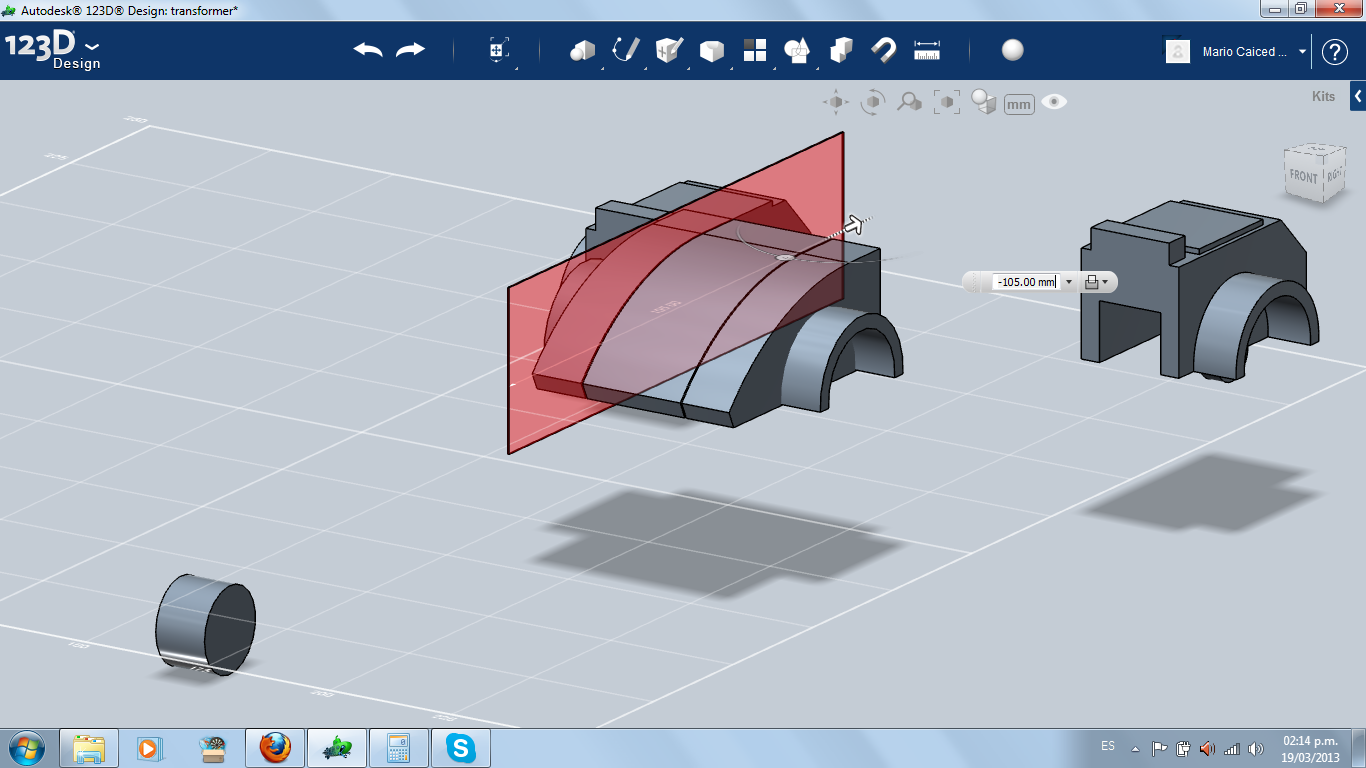
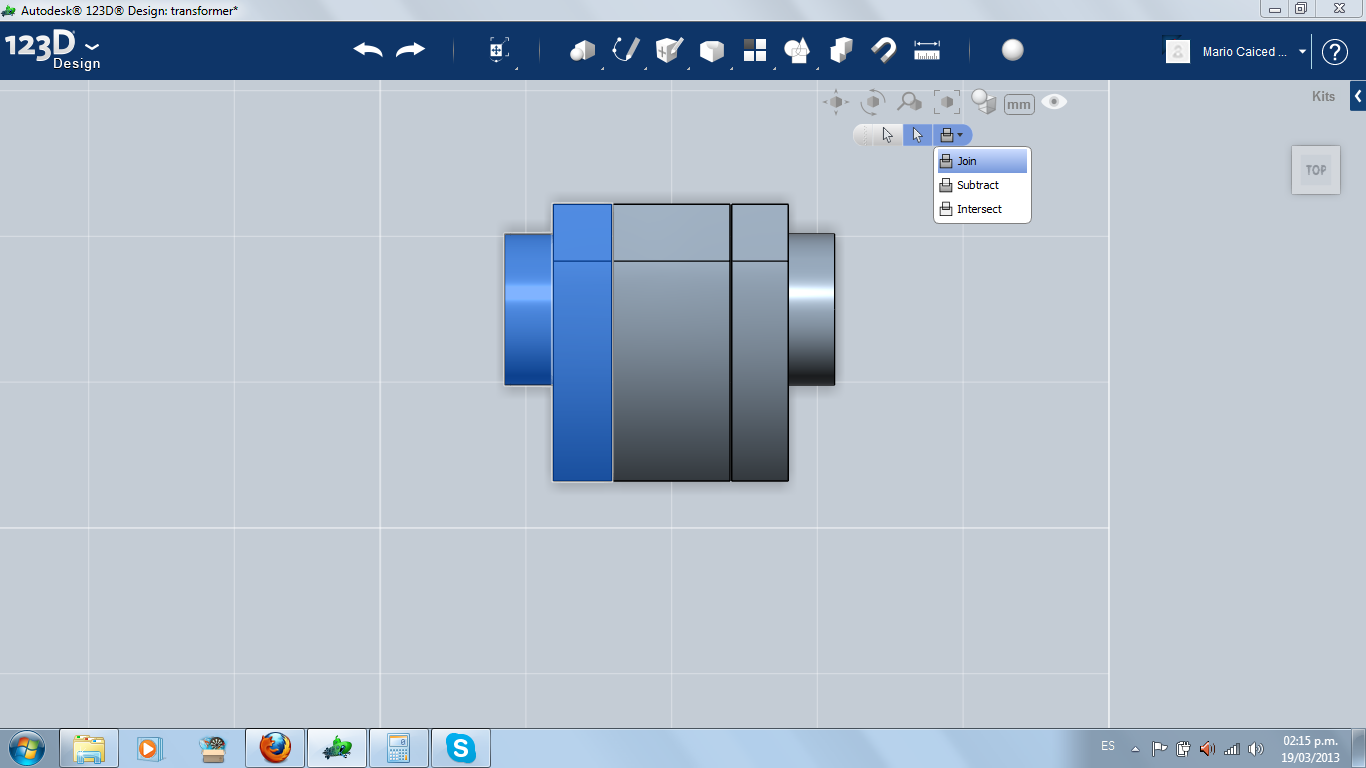
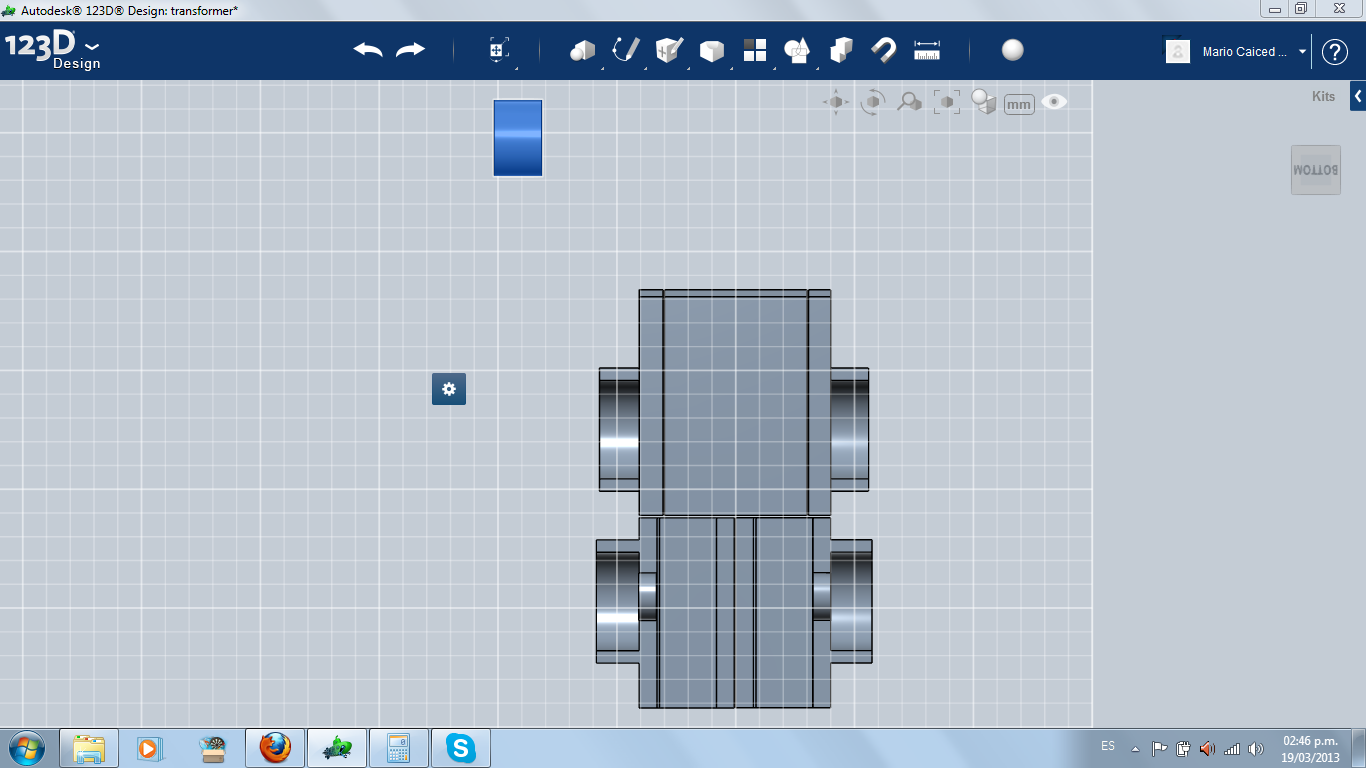
In front of the car, I put two boxes with small width ("razors") and extruded it for cutting the arms from the car's front.
TIP: Take away the legs. You don't want to cut these, too.
TIP: Take away the legs. You don't want to cut these, too.
Robot's Thighs and Axes
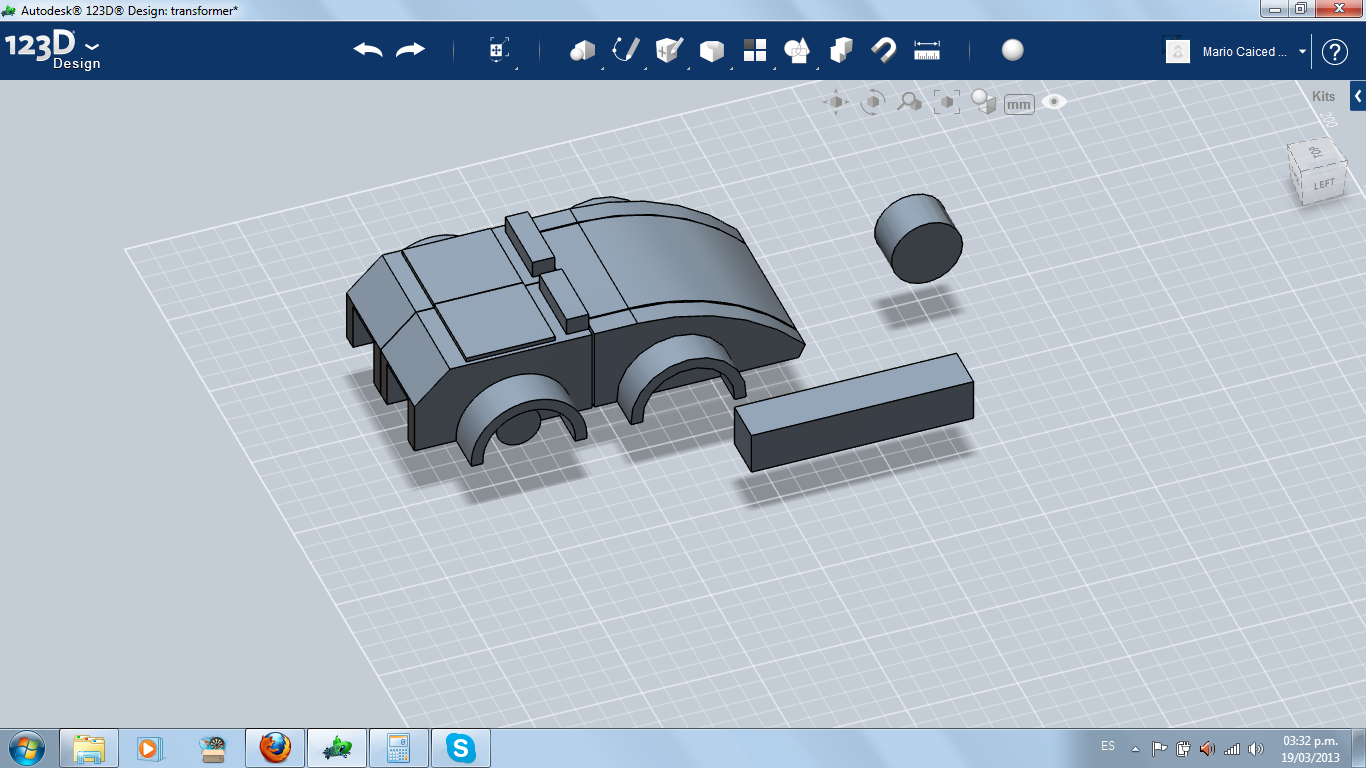
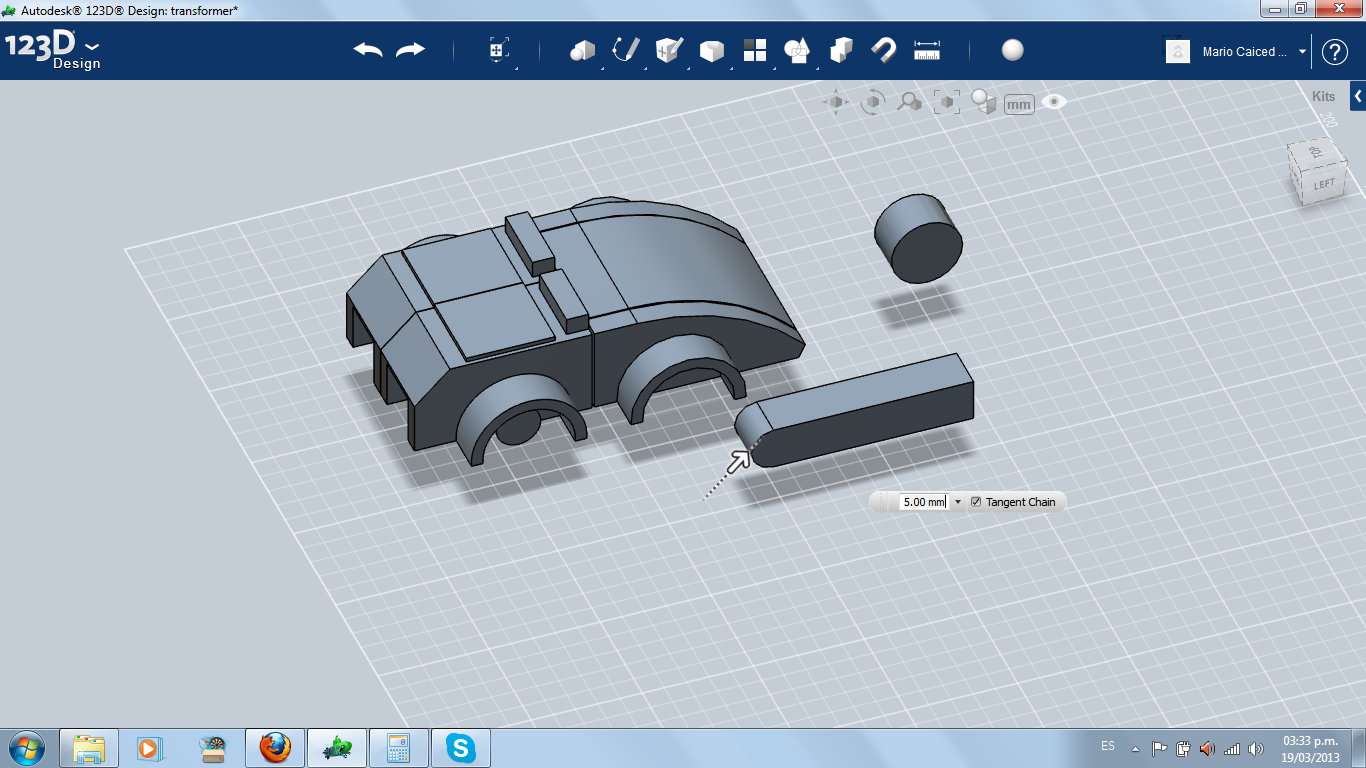
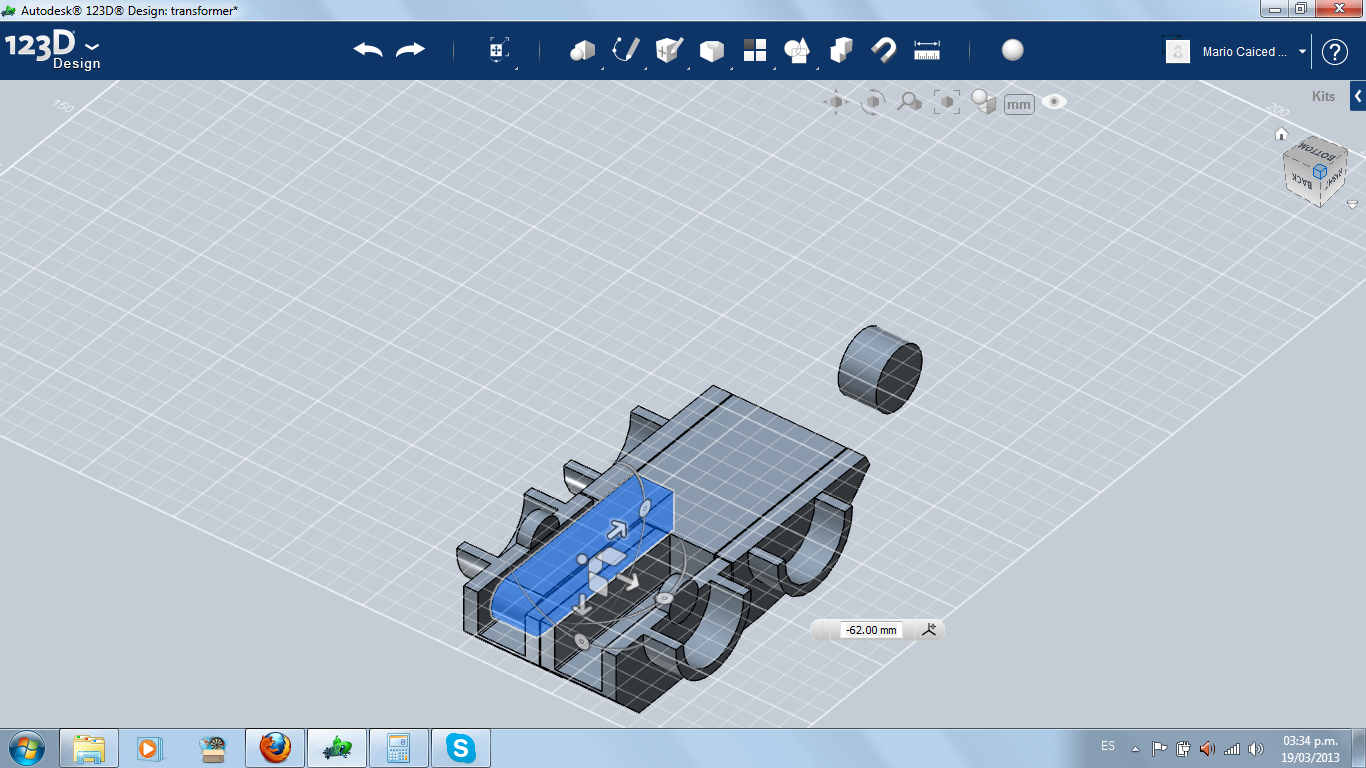
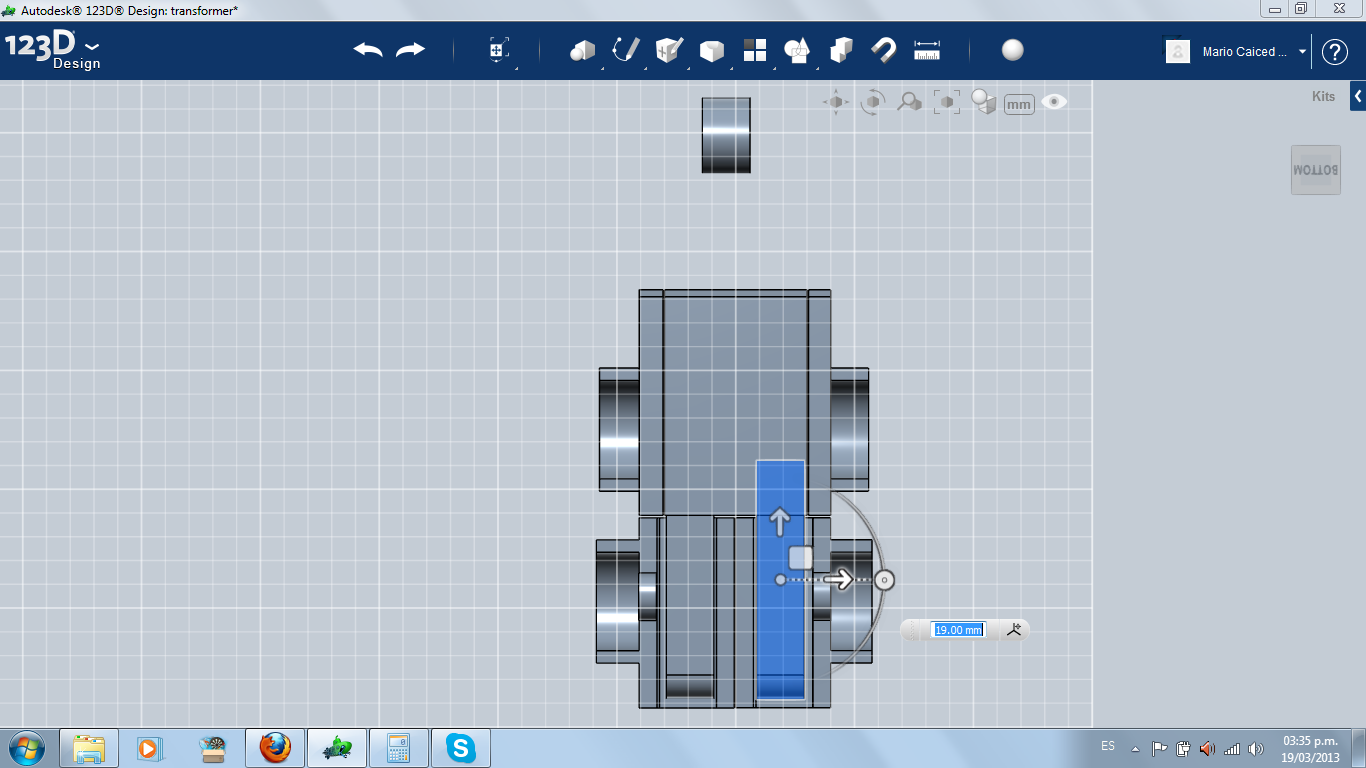
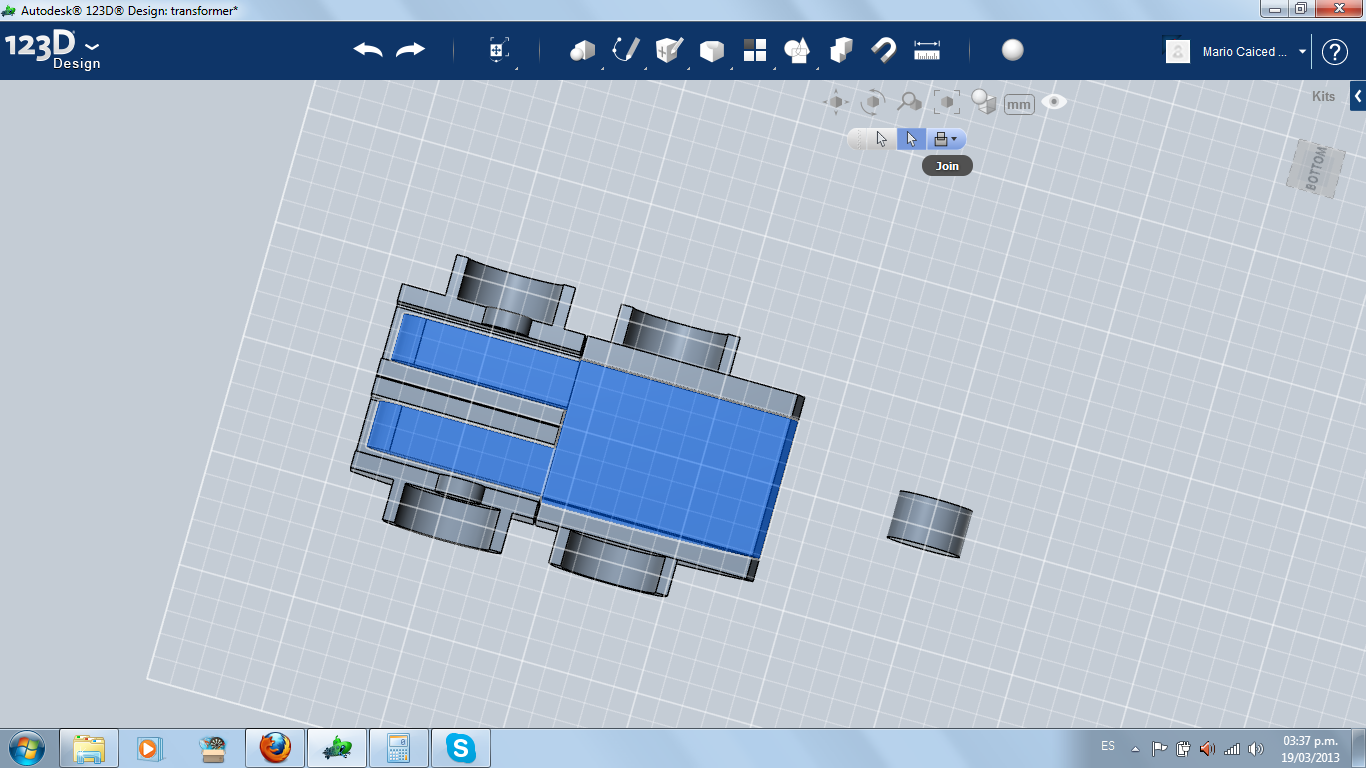
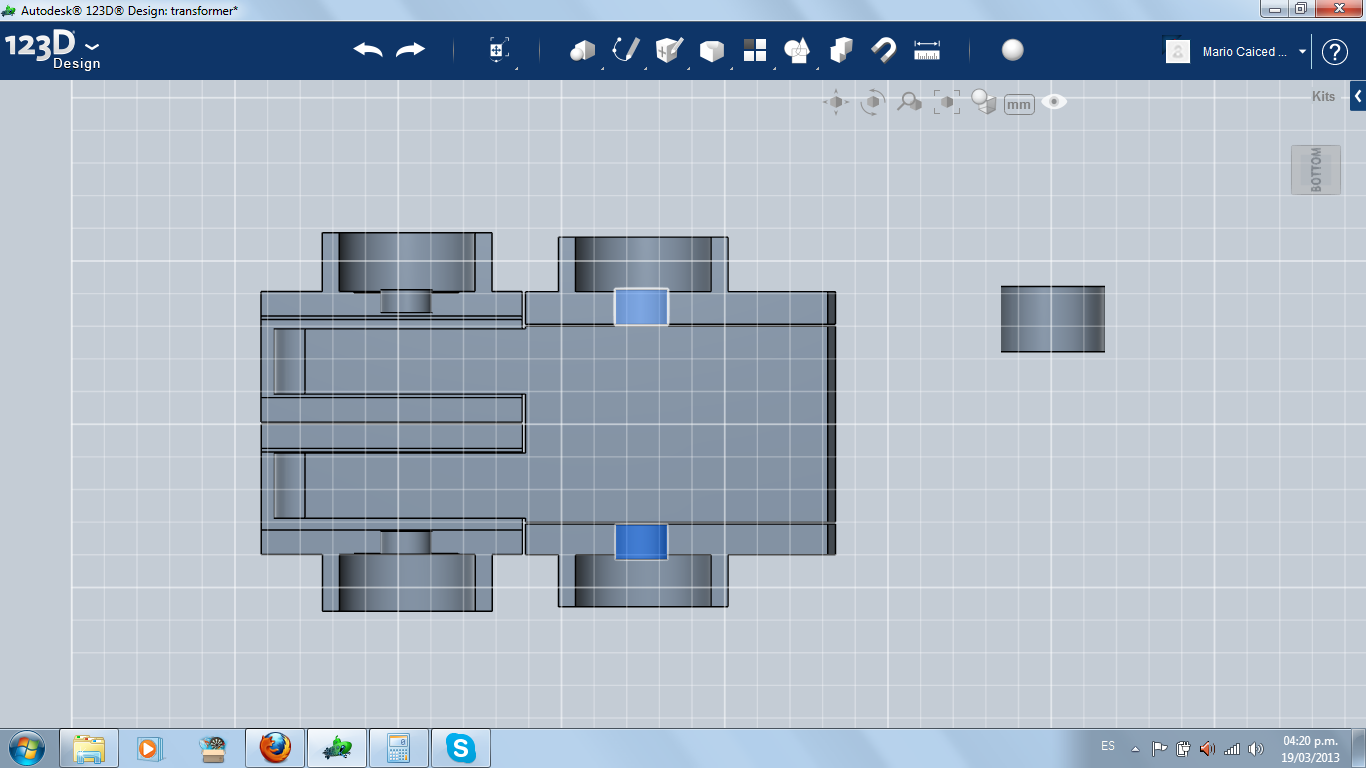
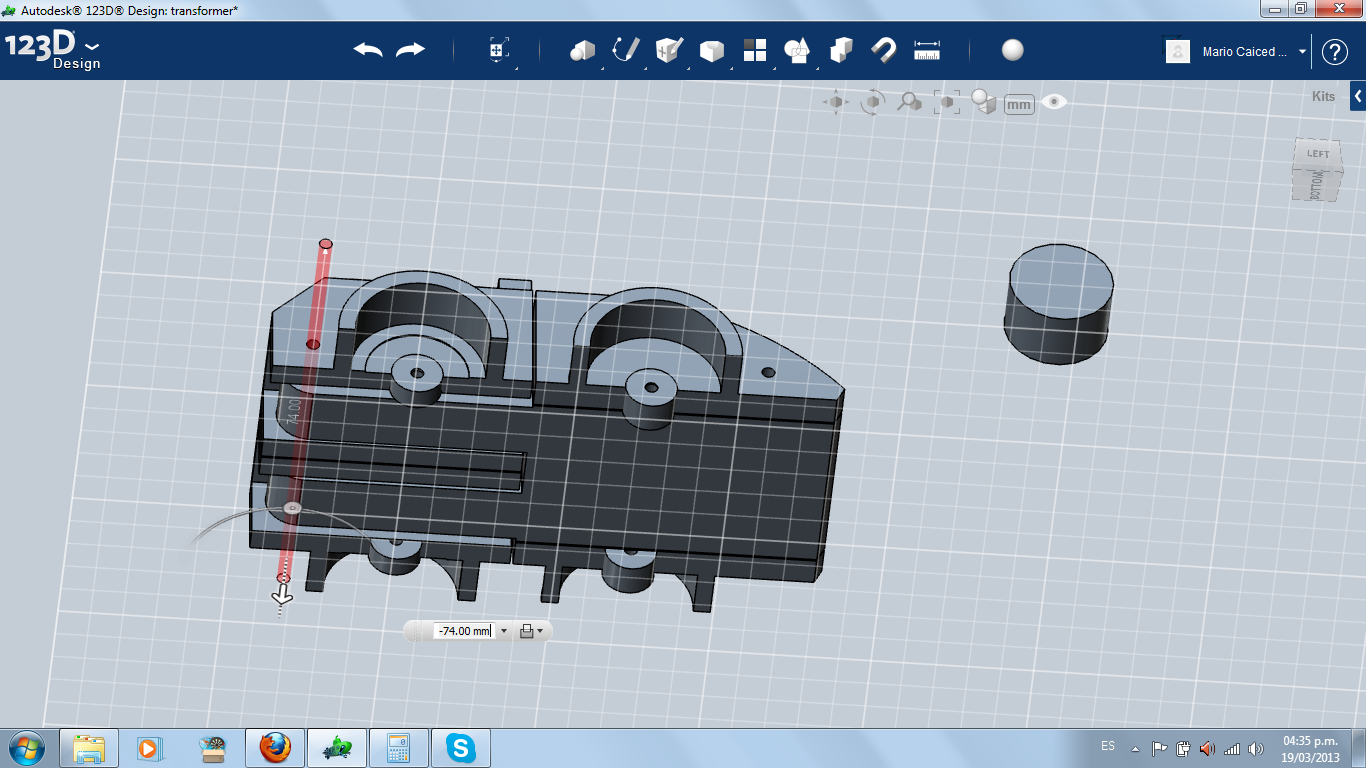
I made a primitive box, same width and height ot the leg hollow, but much longer for inserting in the body. I double fillet the end of the thigh for a better hinge effect of the leg. When I got it inside, I copy and paste it into the other leg. I combined the thighs with the main body.
With all pieces together, I negatively extruded small radius cylinders: one for the body-arms axis, and other for the thighs-legs axis. I did the same for the wheels axis, too. Remember the radius of these cylinders, because you will need it for making the pivots.
With all pieces together, I negatively extruded small radius cylinders: one for the body-arms axis, and other for the thighs-legs axis. I did the same for the wheels axis, too. Remember the radius of these cylinders, because you will need it for making the pivots.
Wheels
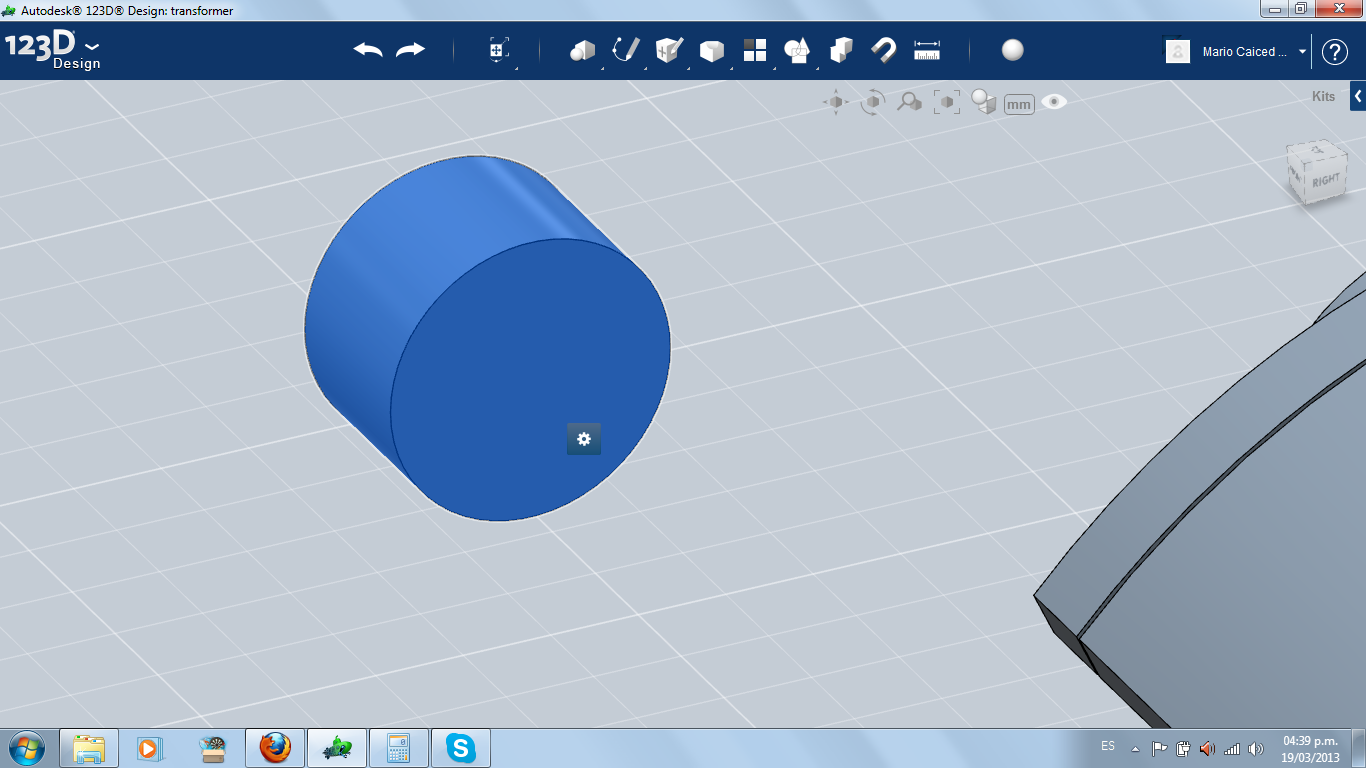
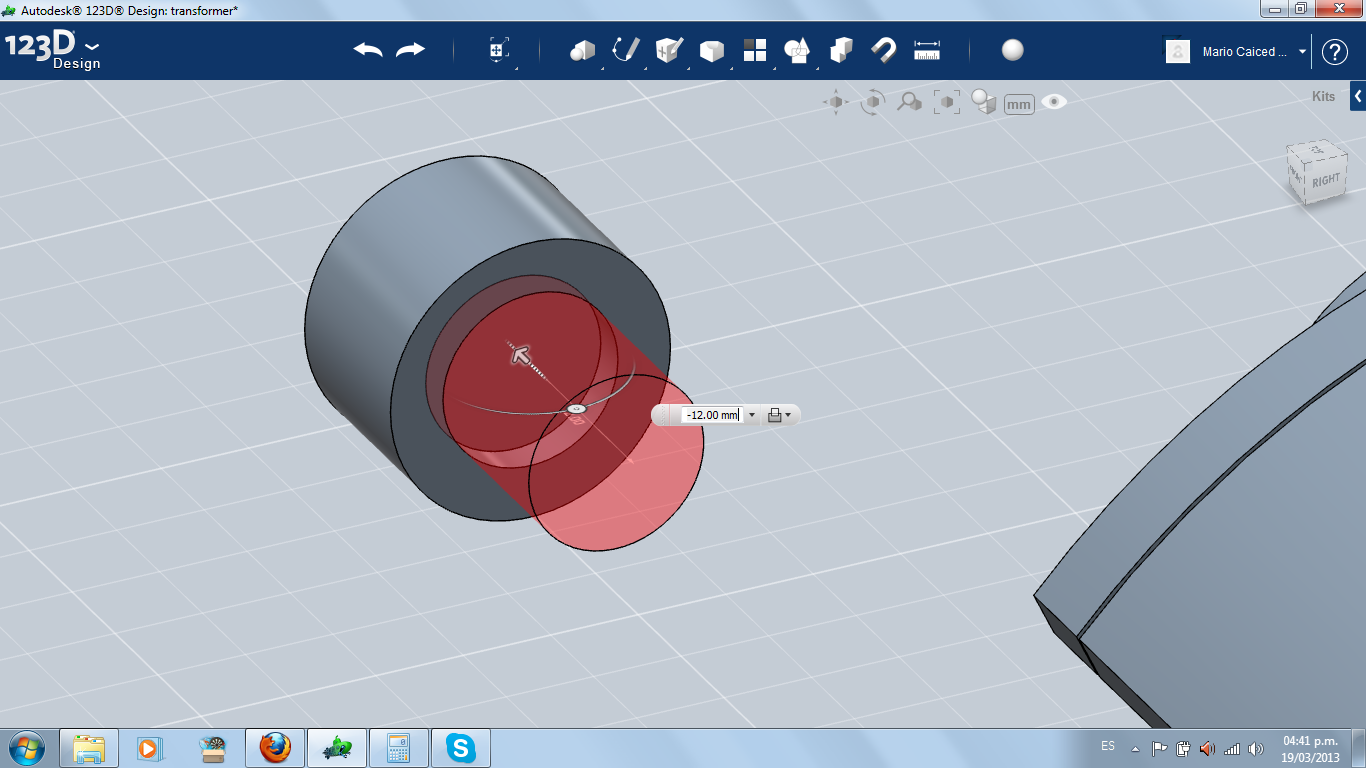
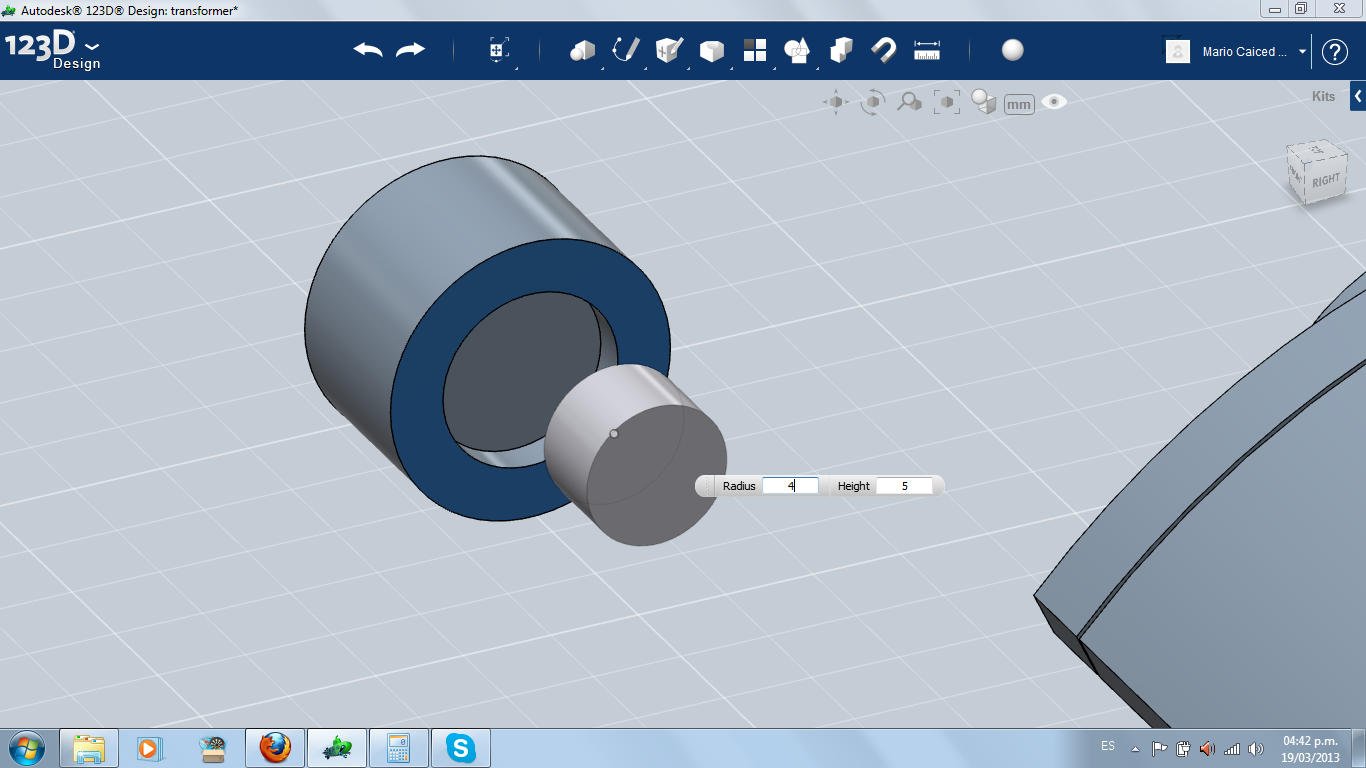
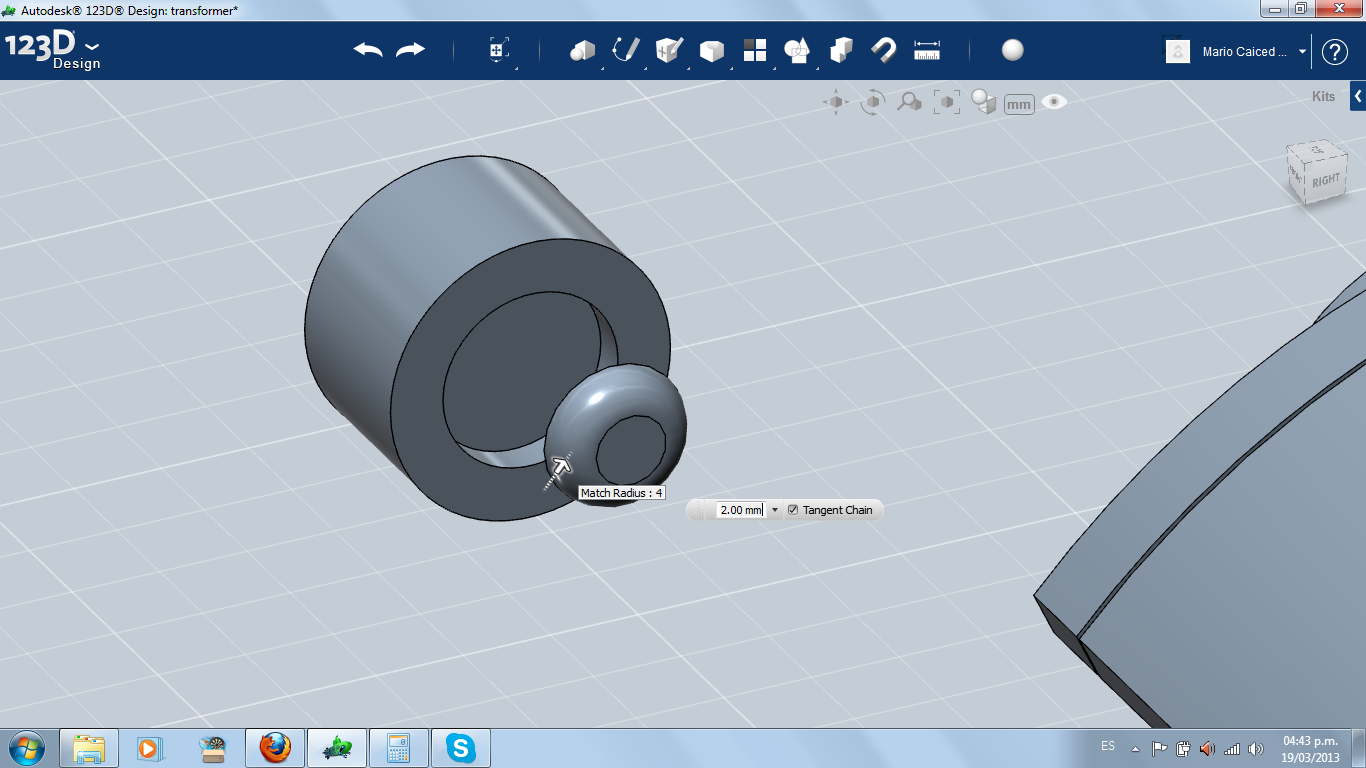
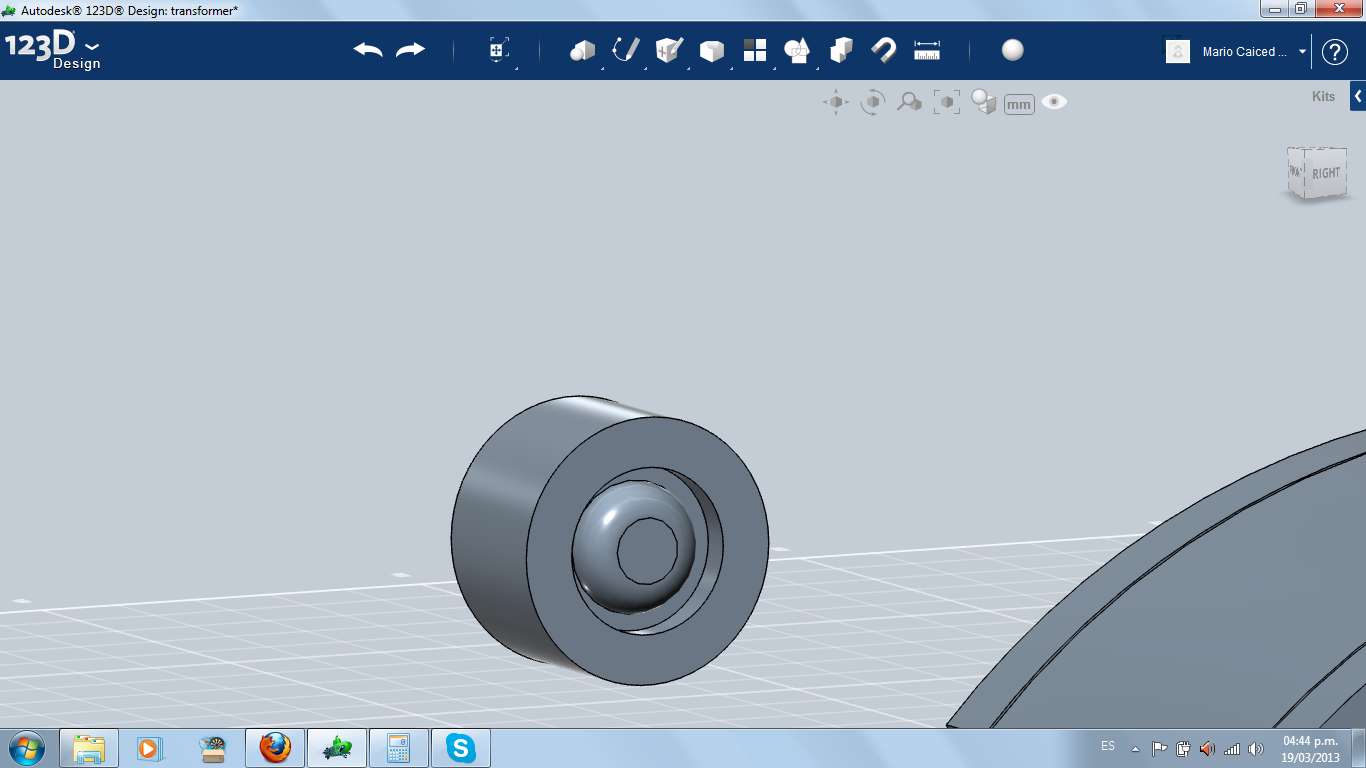
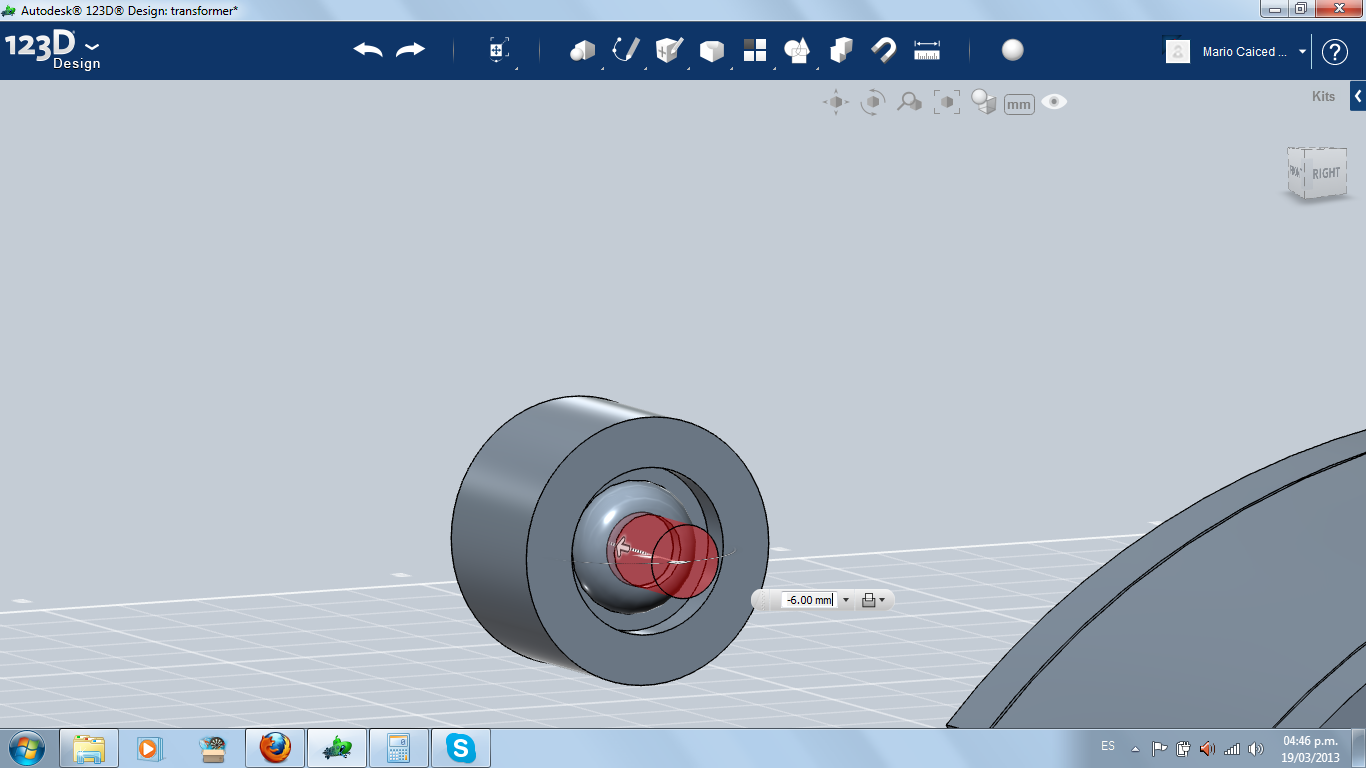
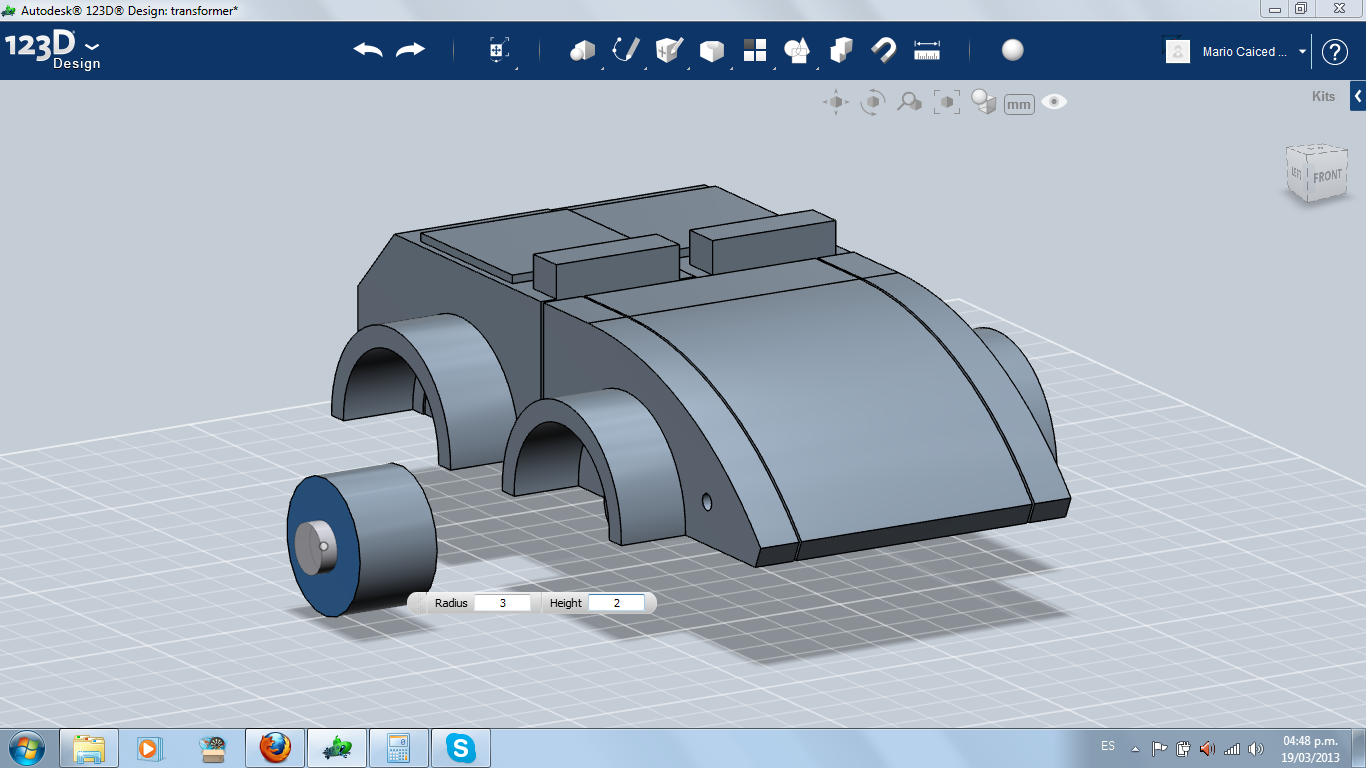
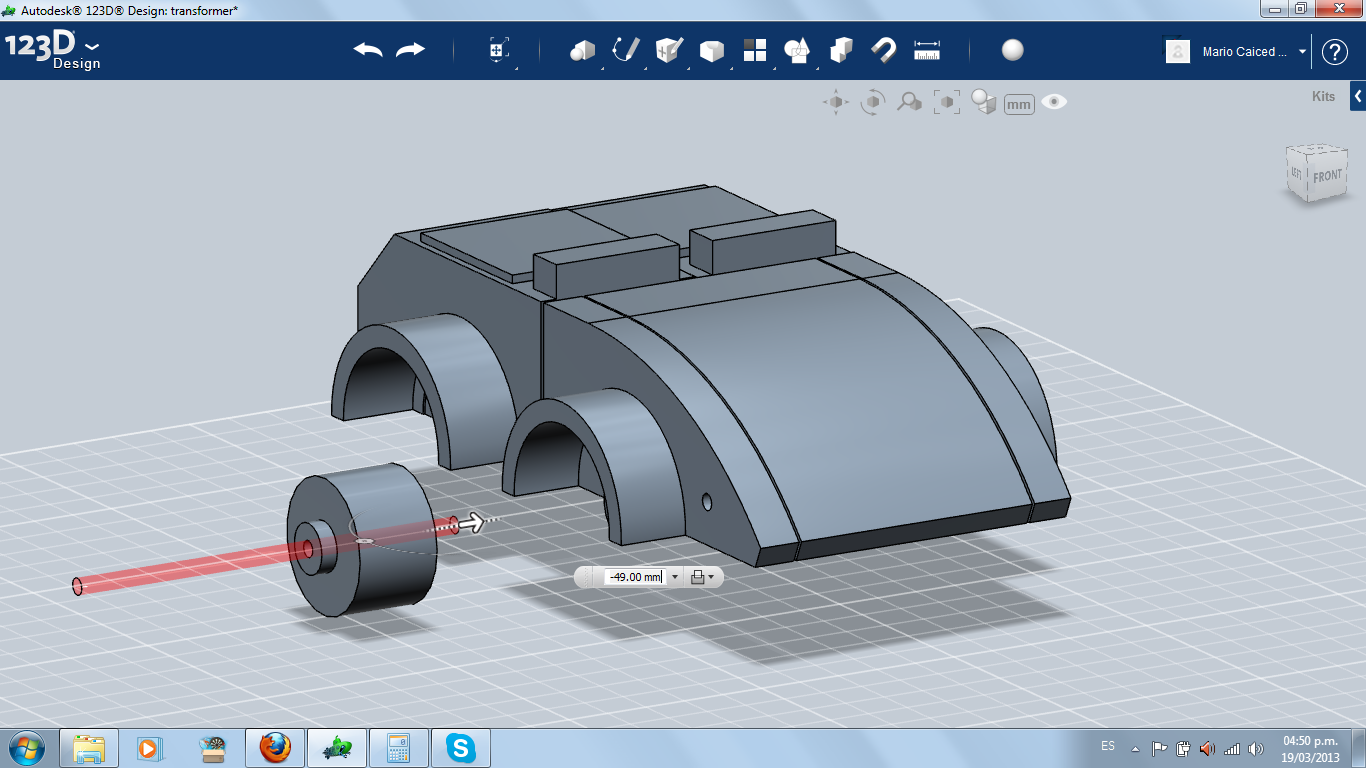
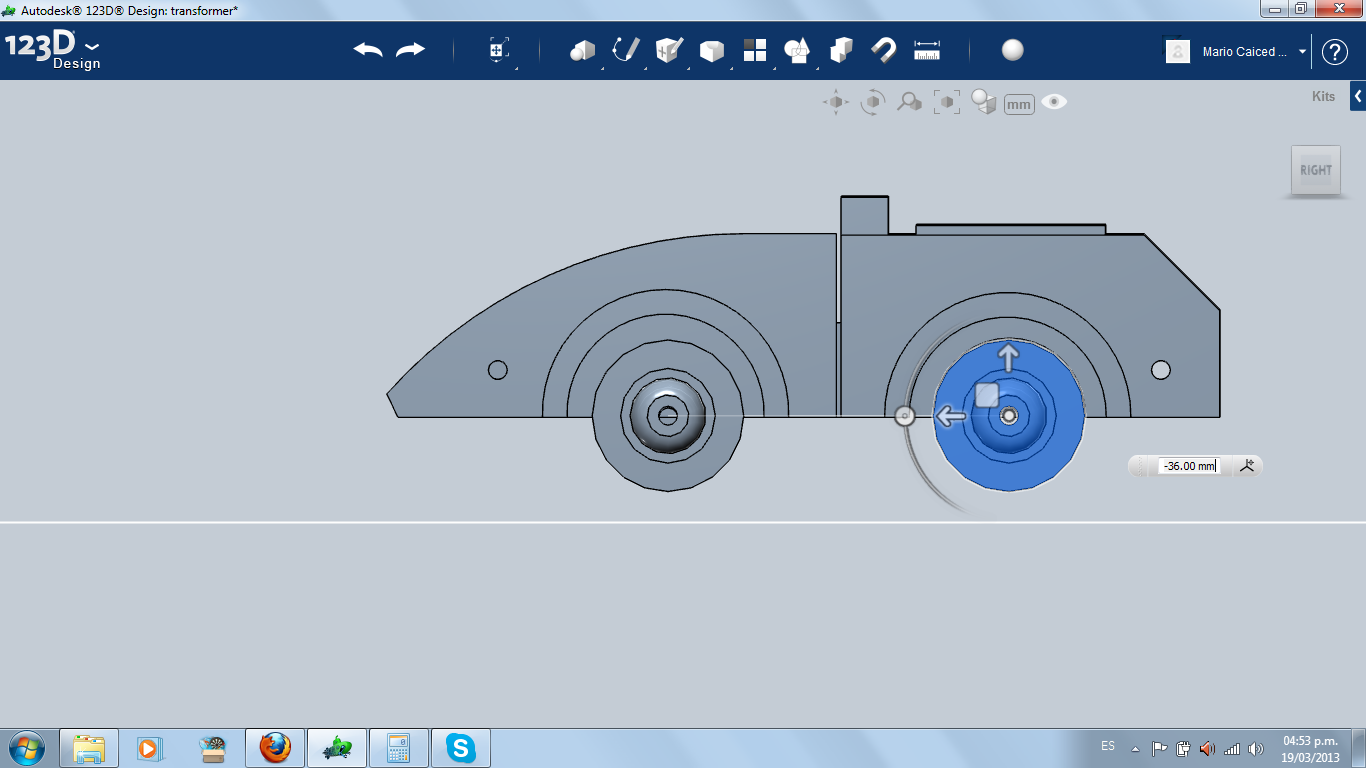
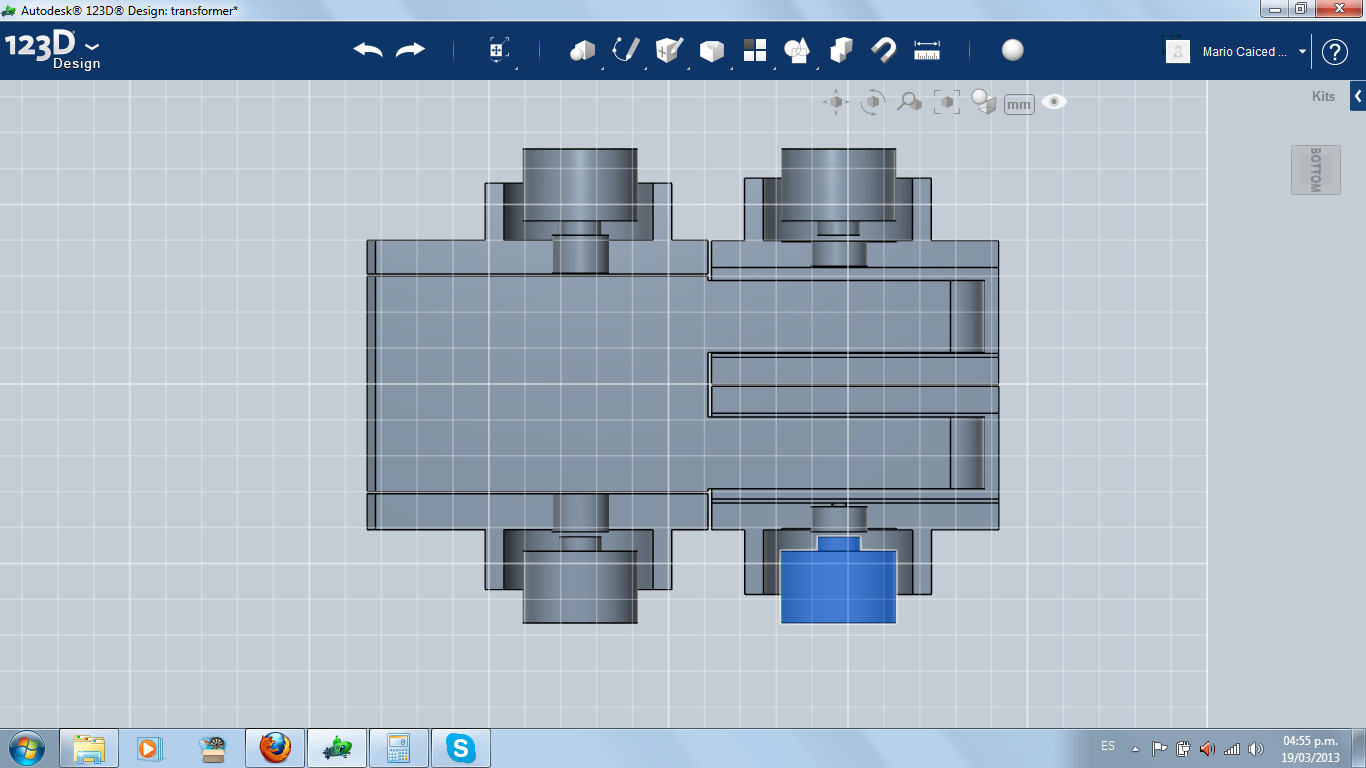
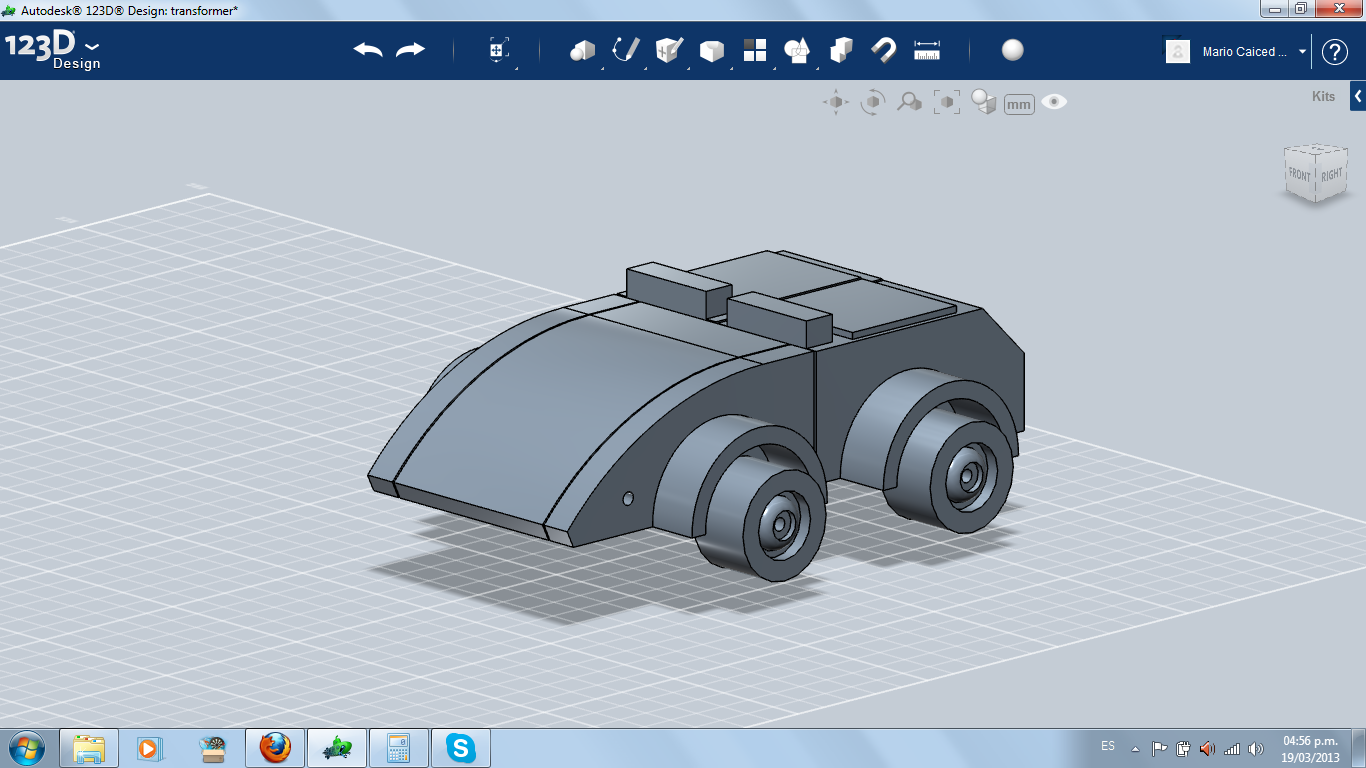
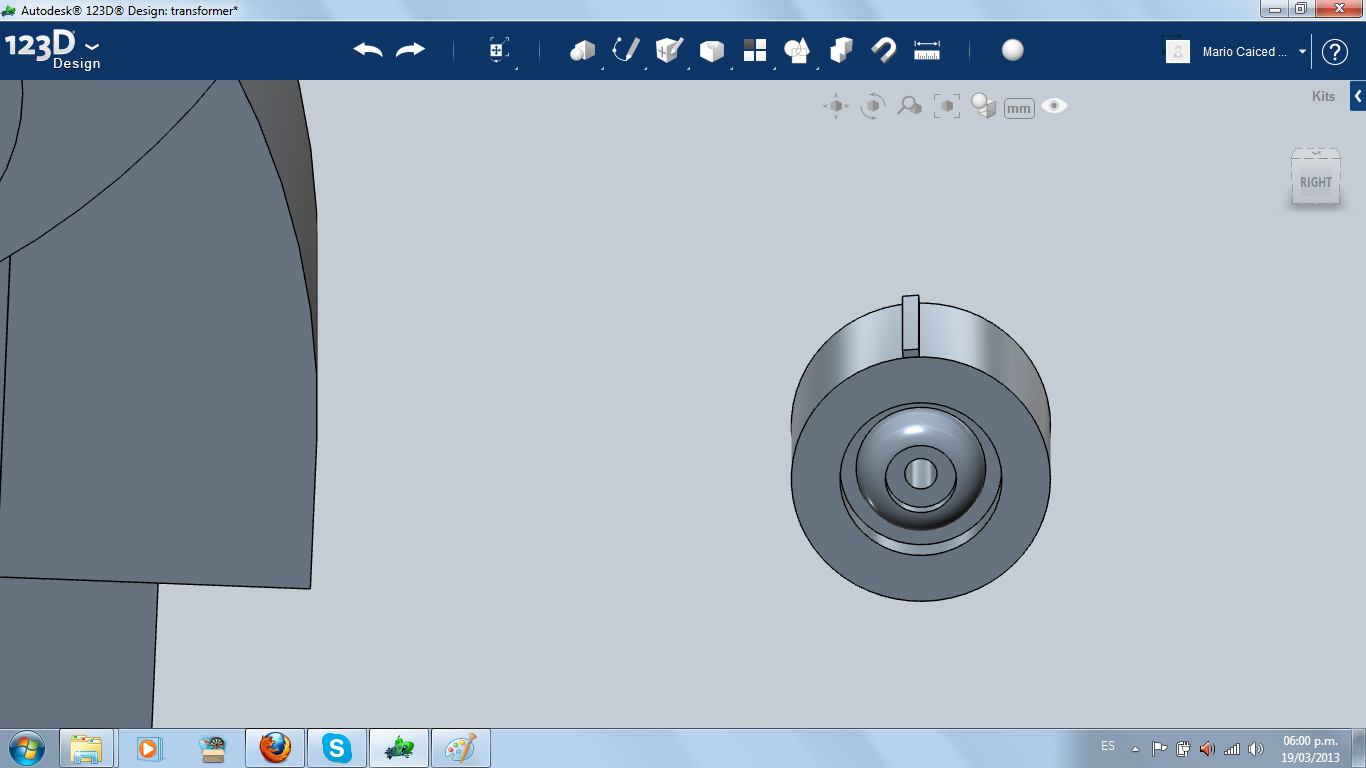
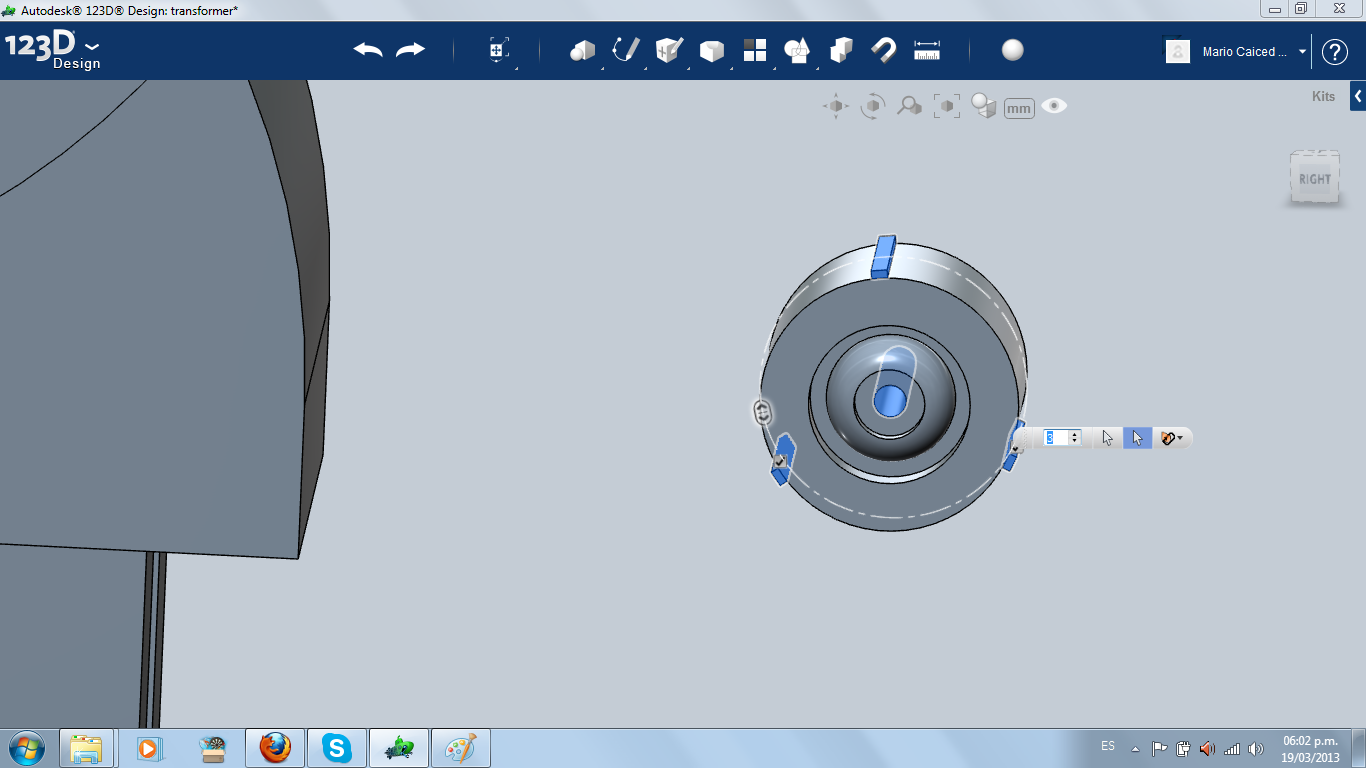
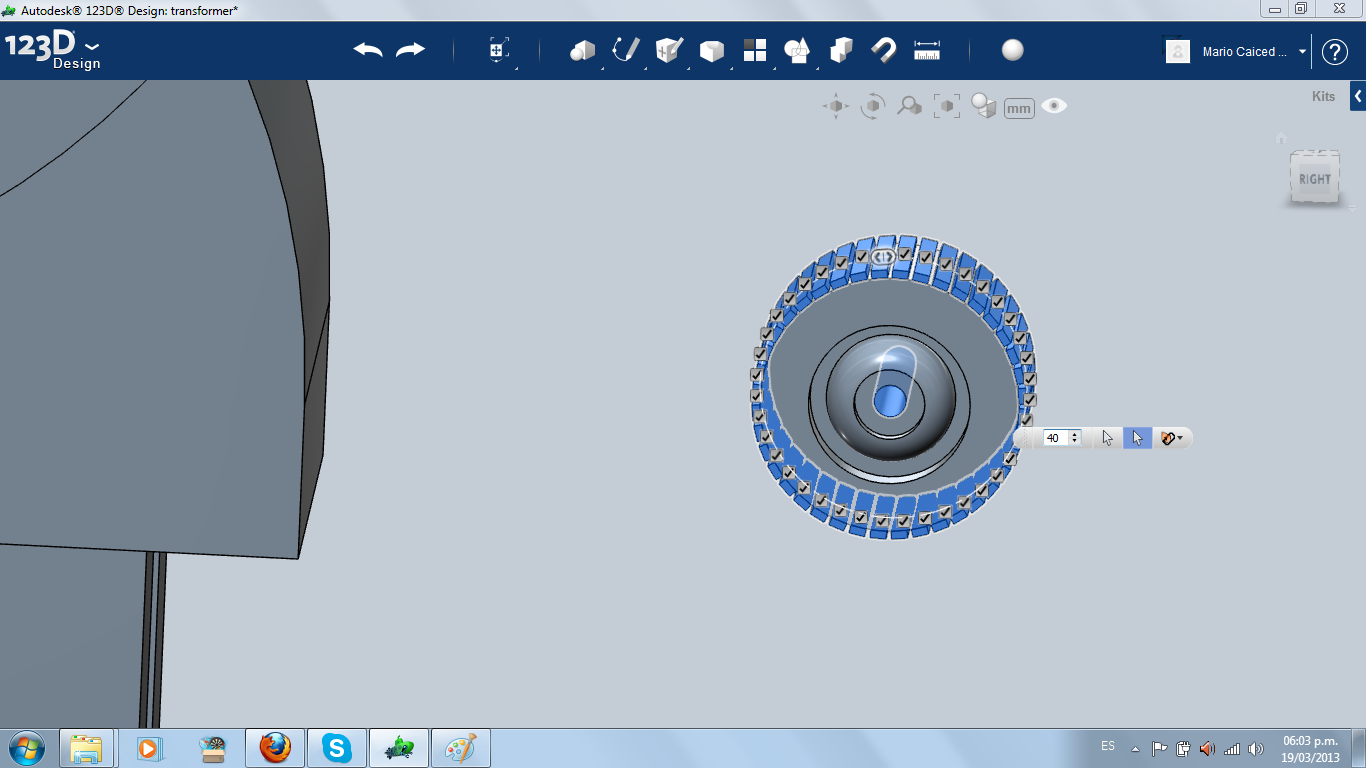
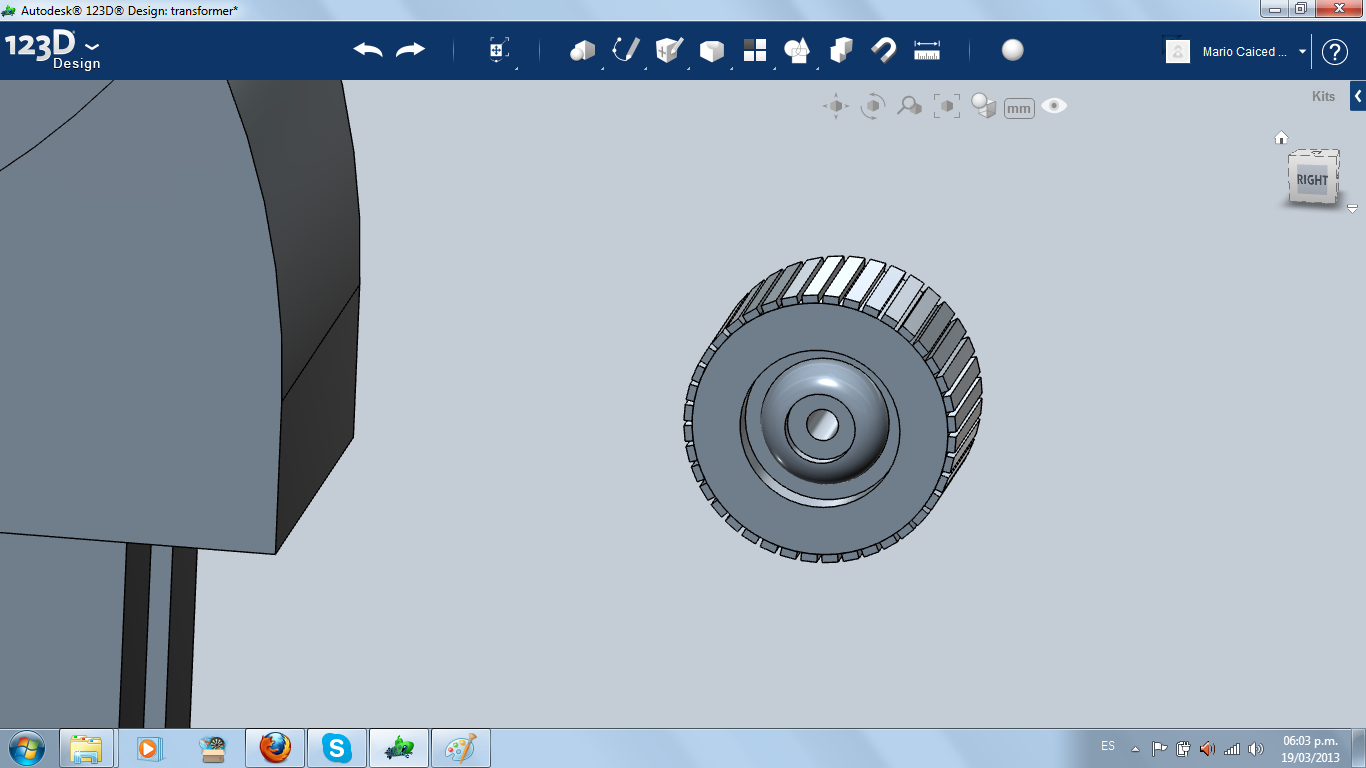
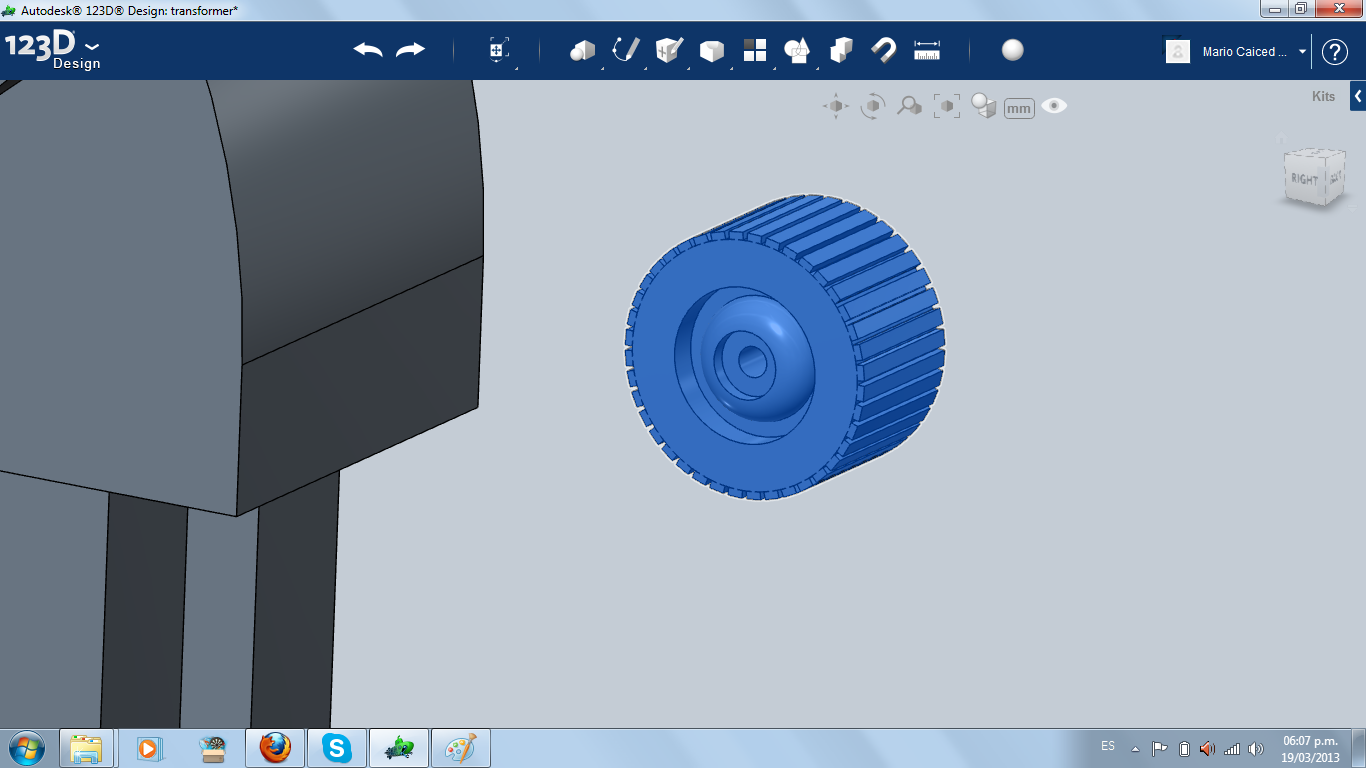
I made one wheel using the cylinder I kept in reference. Then, I used other cylinders for extruding and making the wheel cover. At the center, I extruded a hole for the axis. Later I found out you can make circular paterns for the tire, so I used small boxes (On the next steps of this project you will see flat tire wheels, but in some moment you will see the finished wheels).
The First Transformation
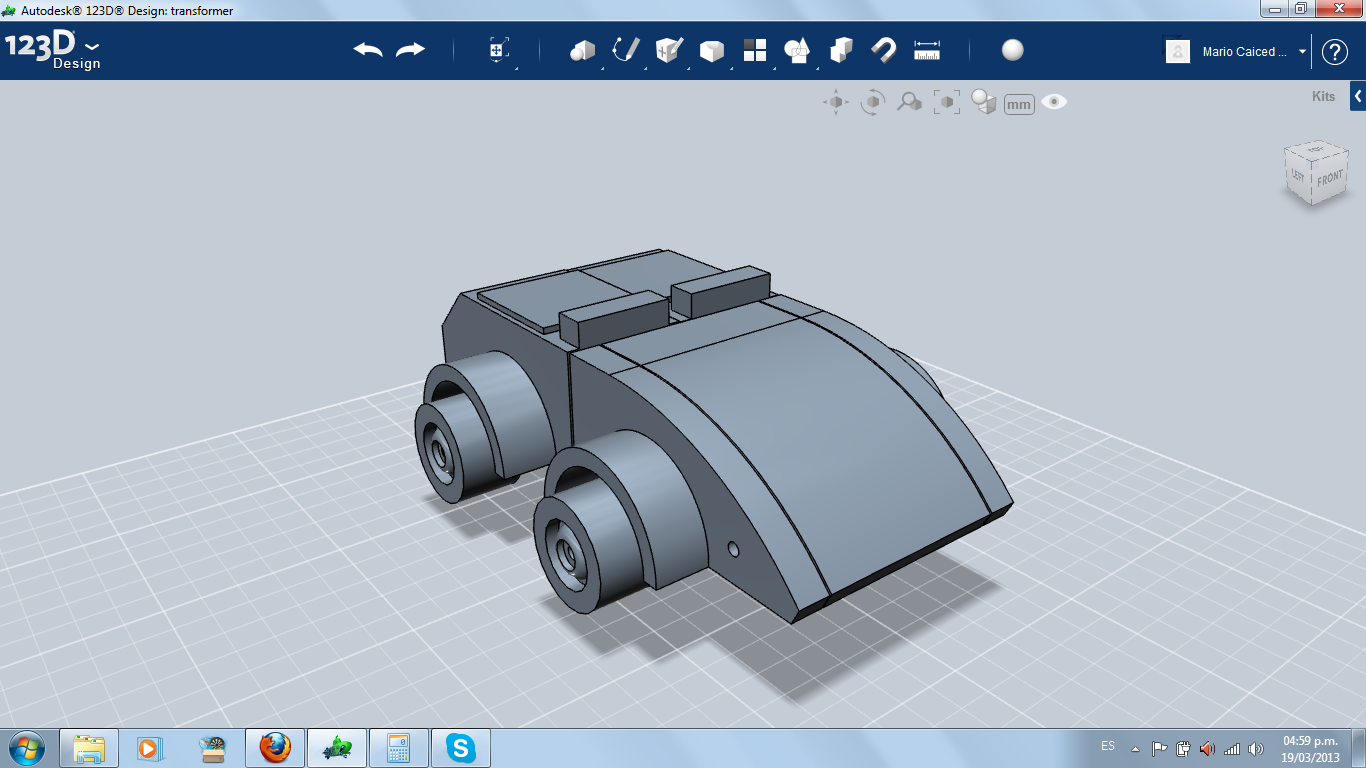
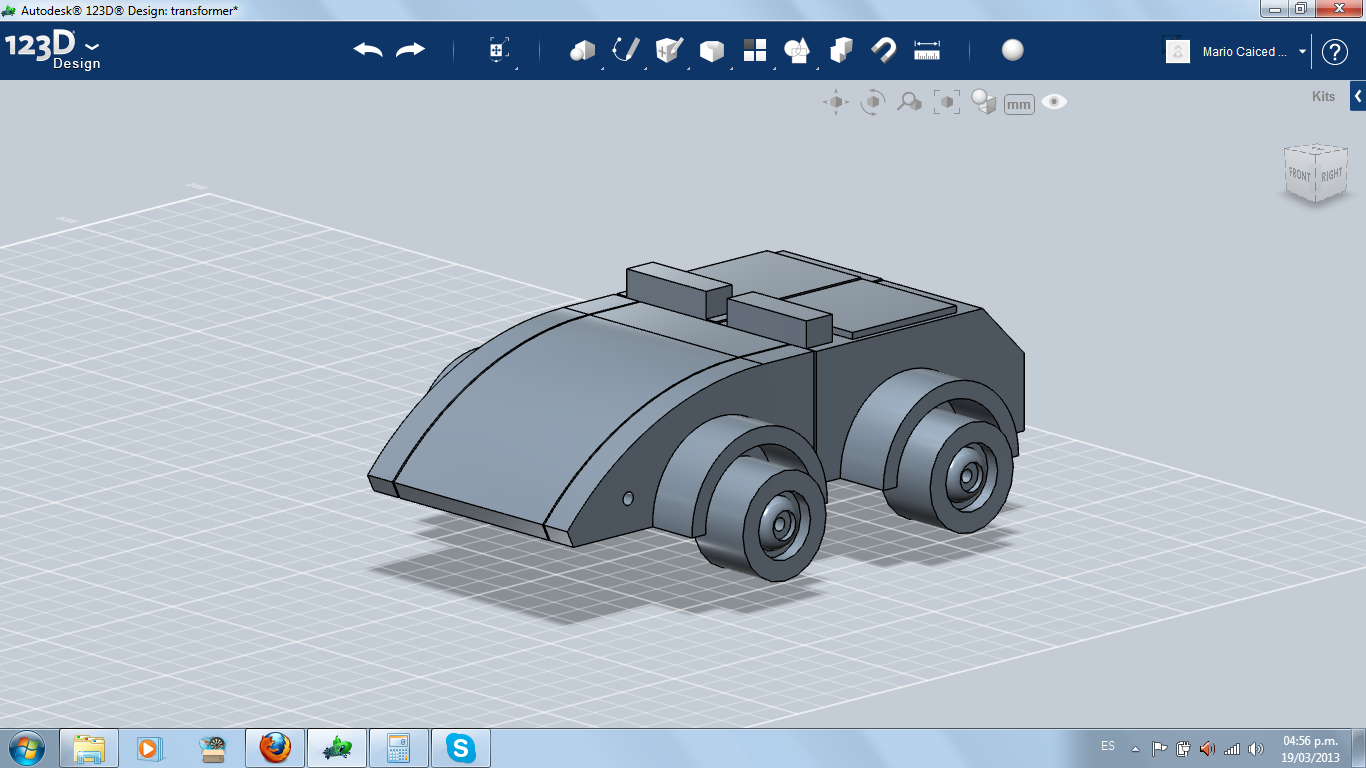
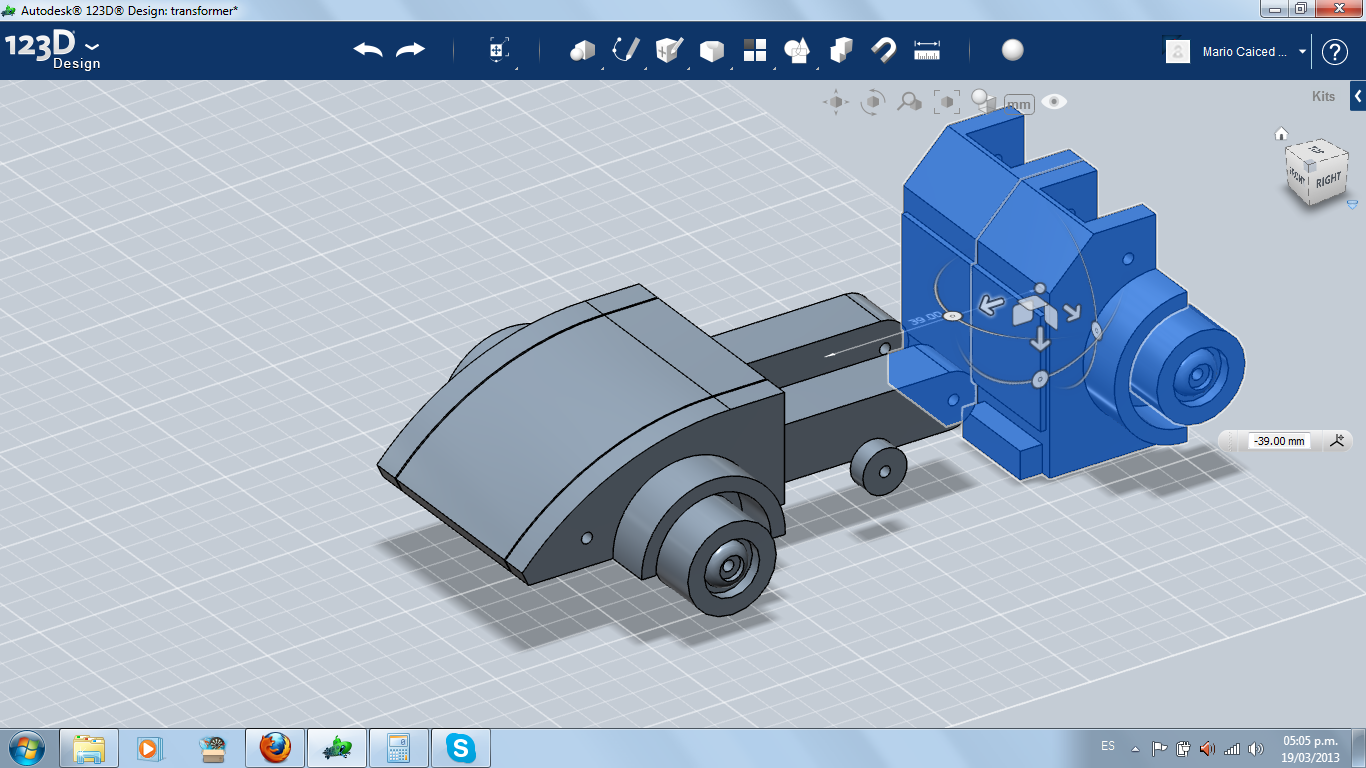
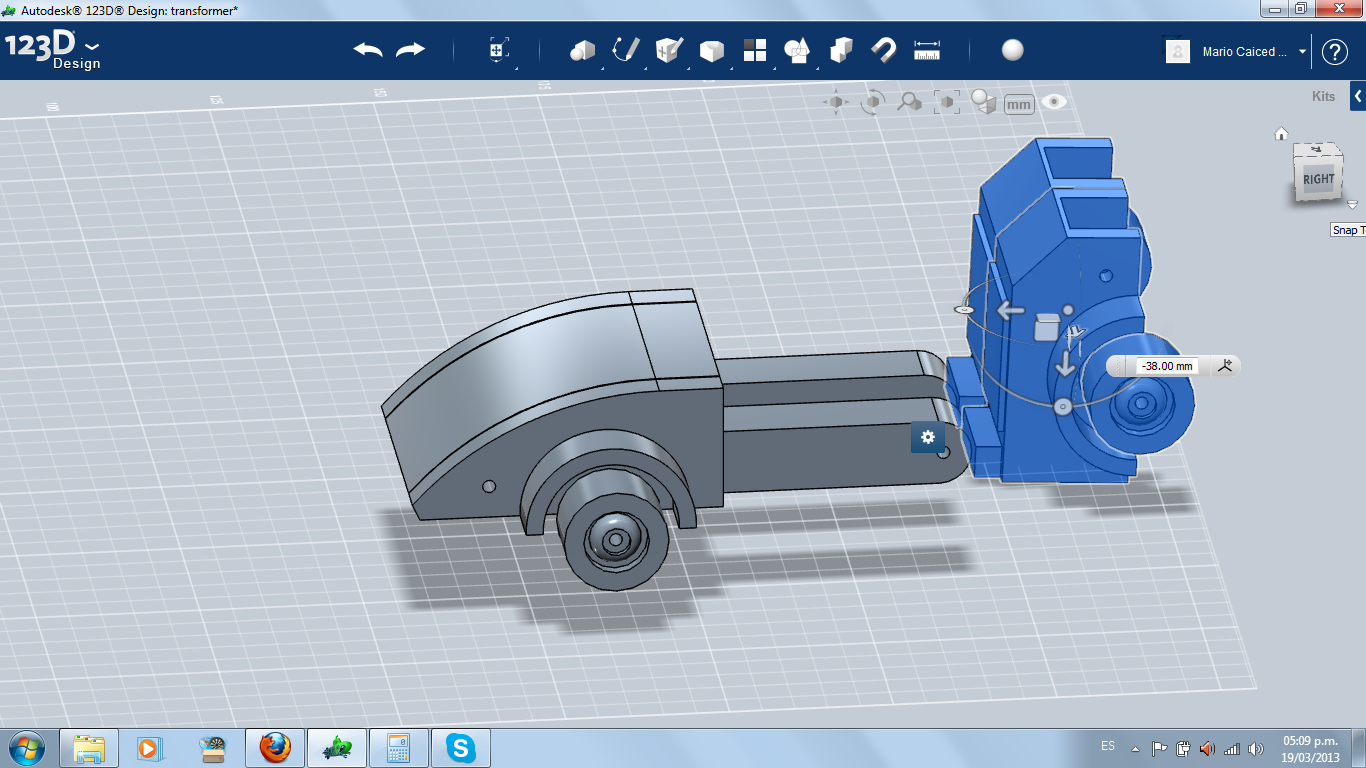
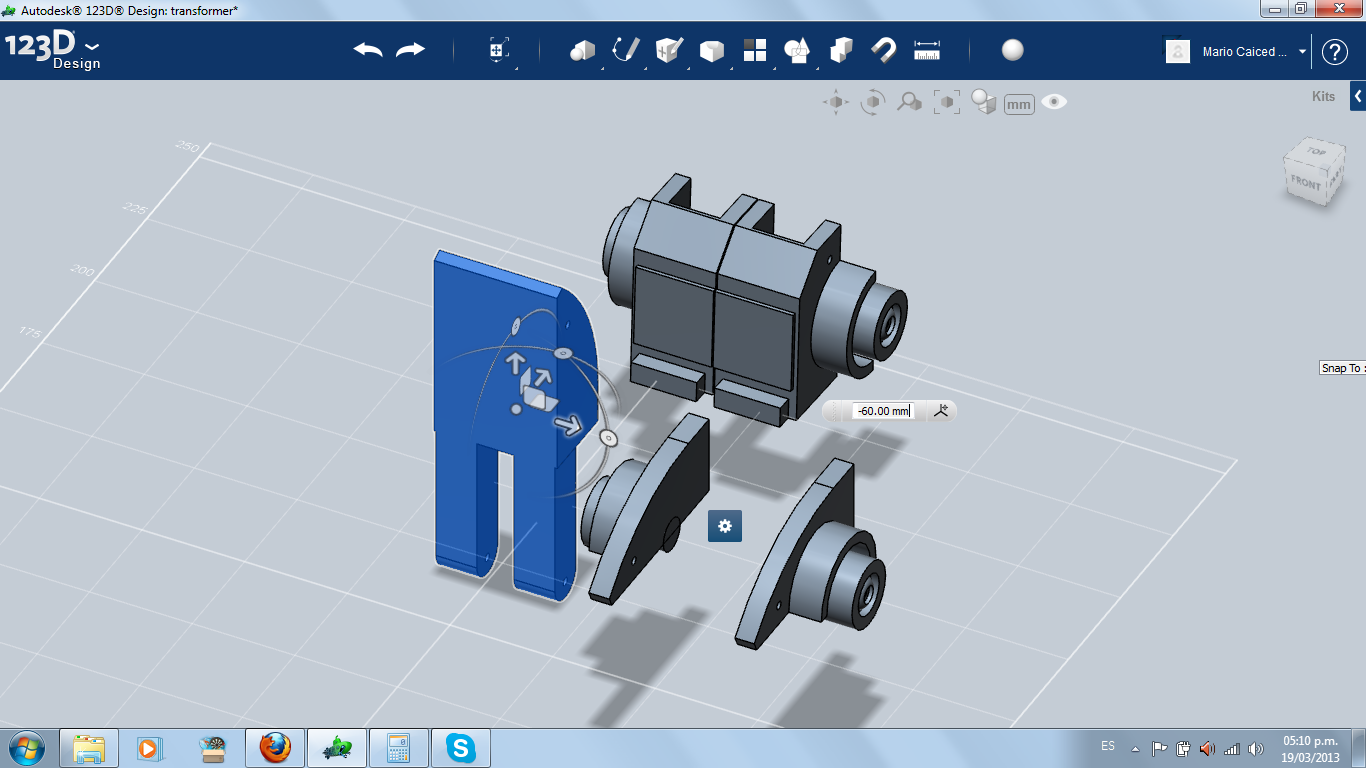
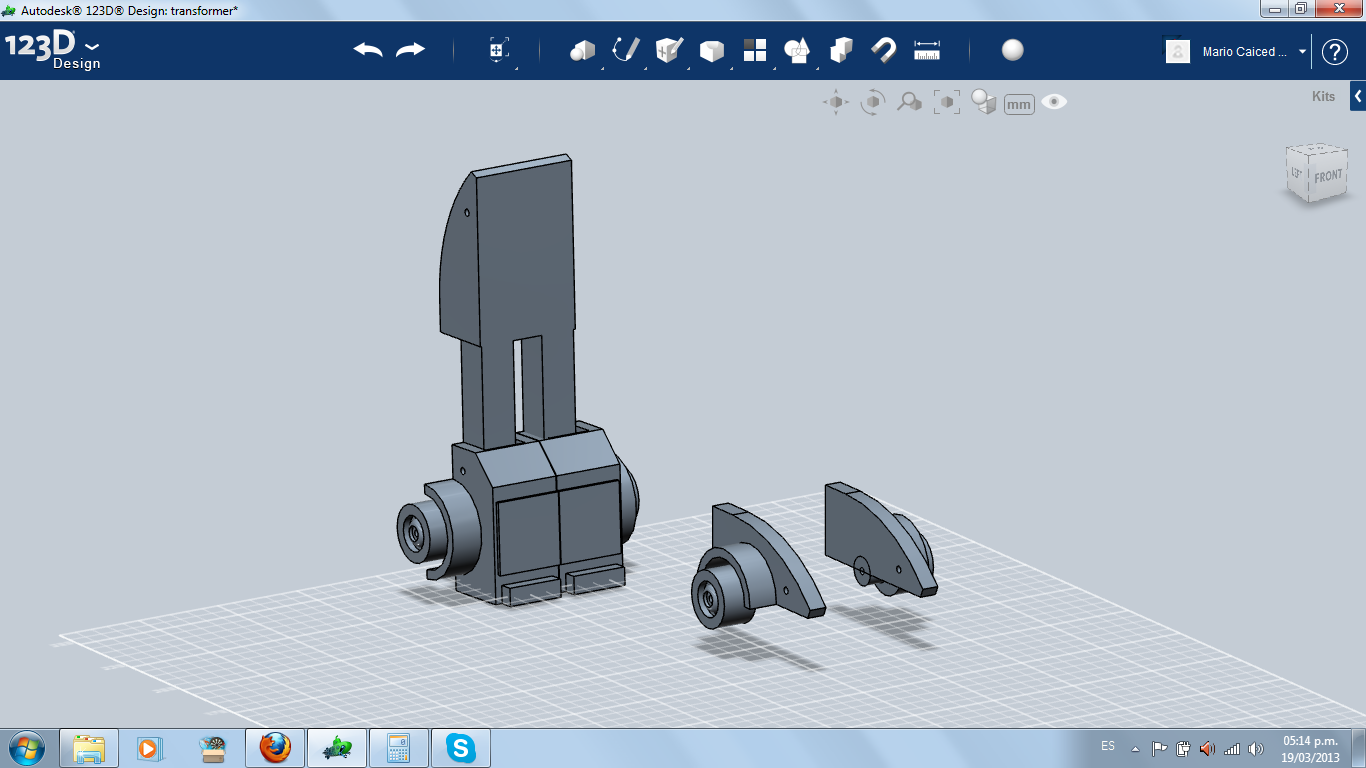
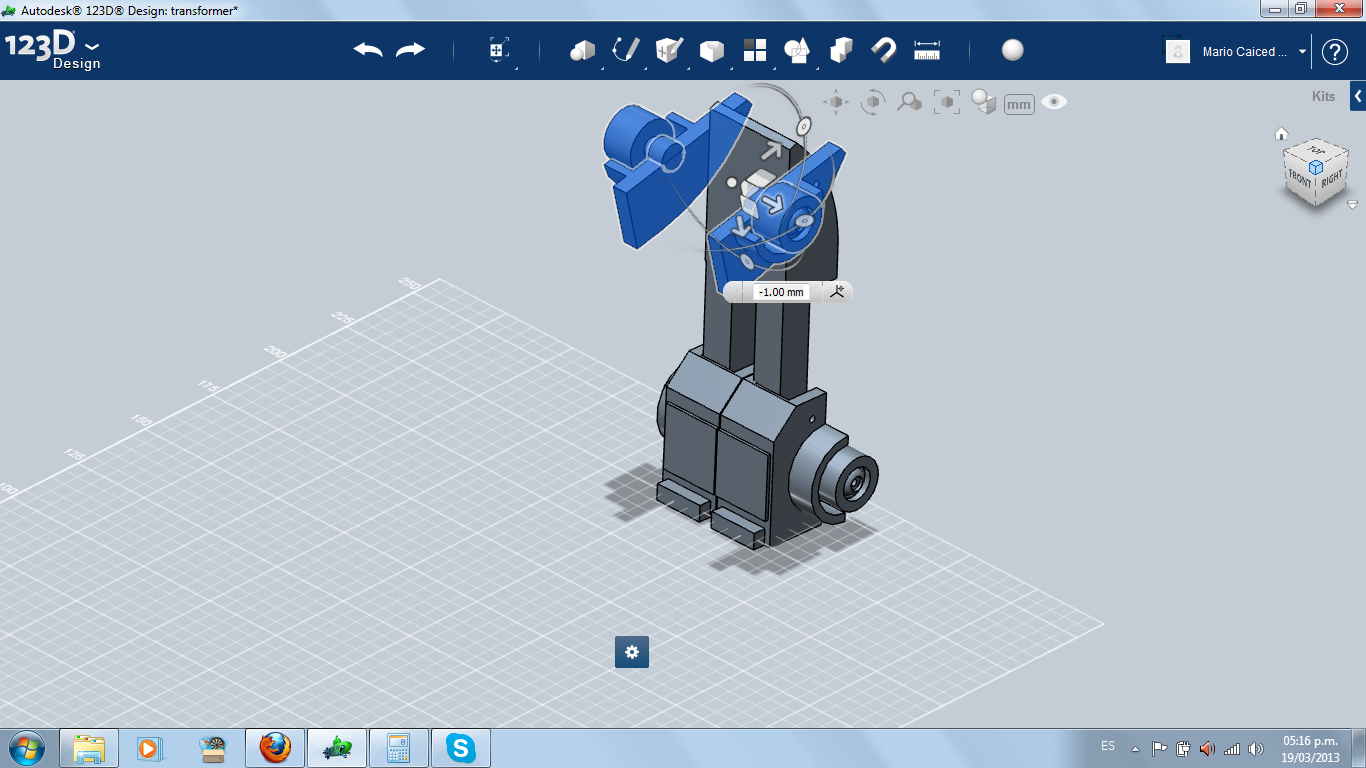
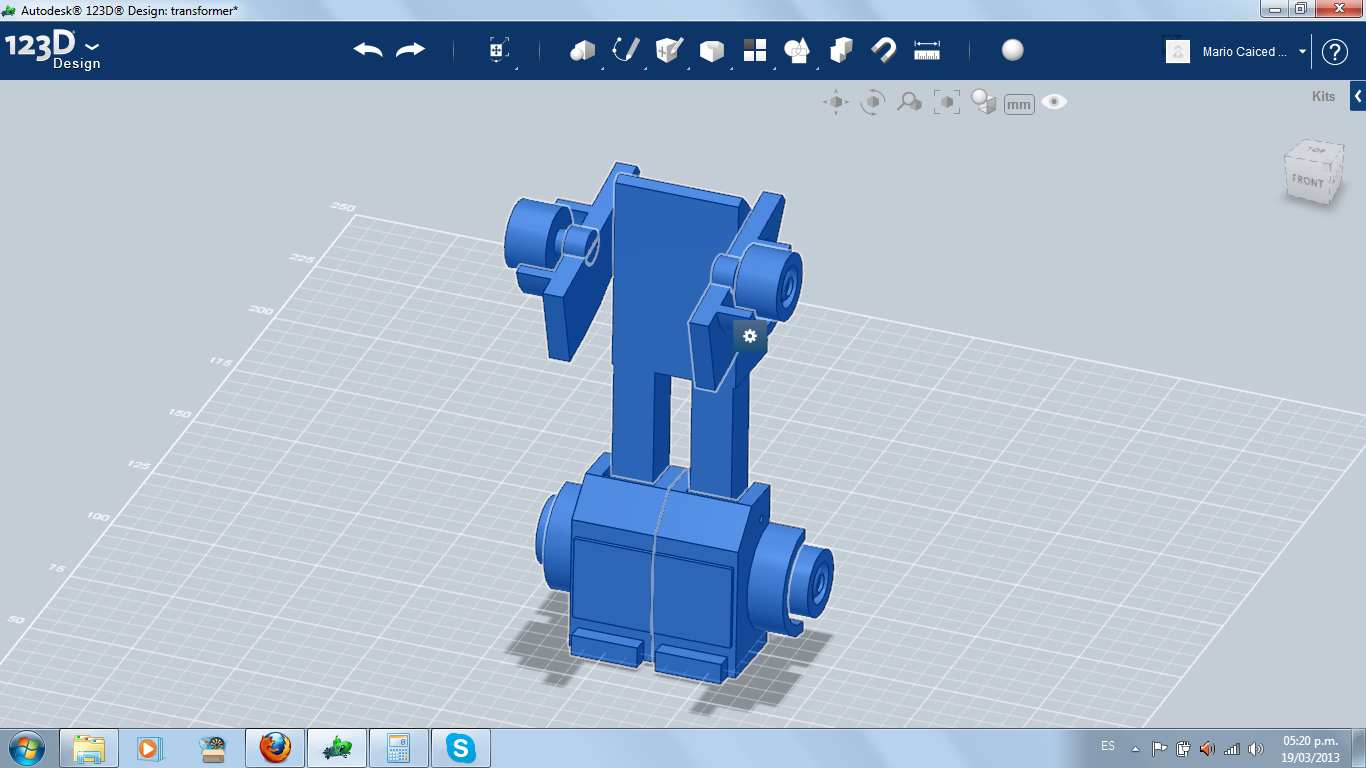
Before making the robot aesthetics, I played with the pieces, making the car-to-robot transformation. It worked!
Robot's Body Front
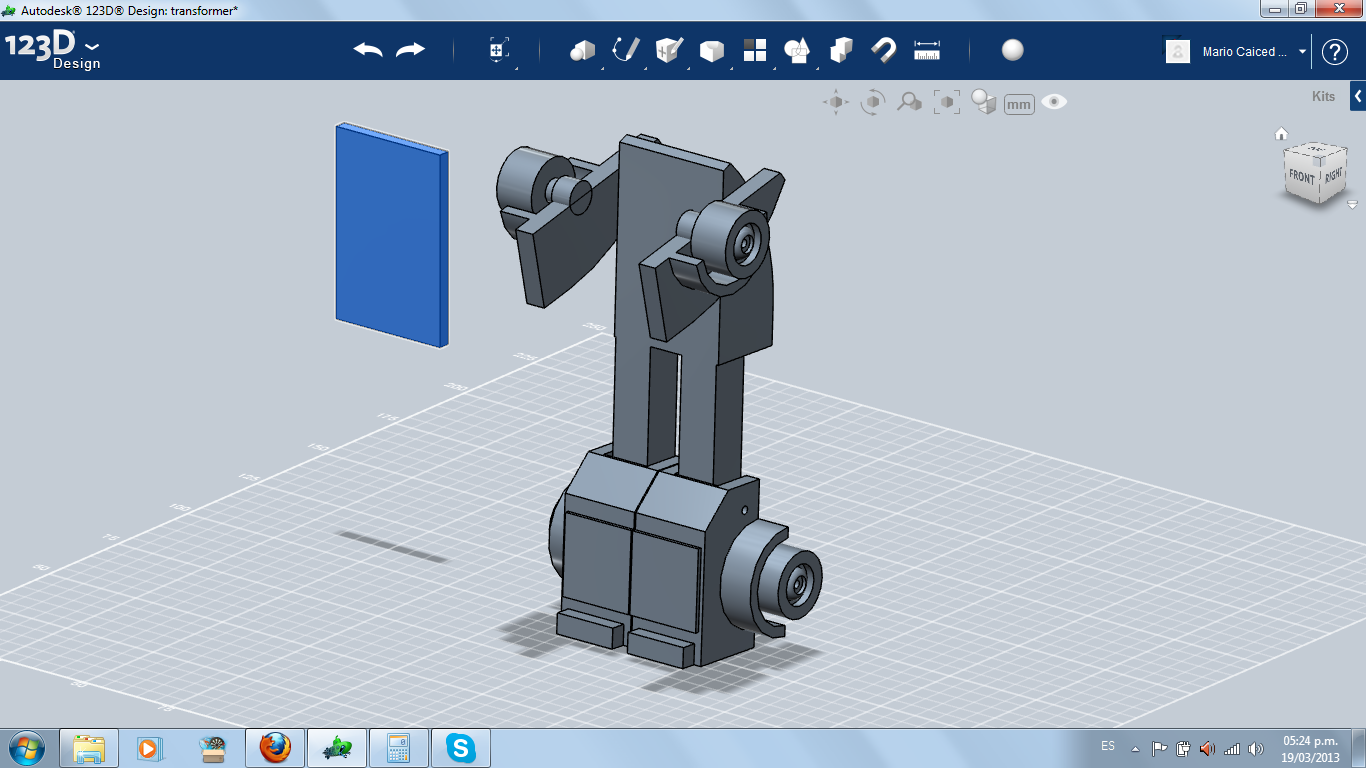
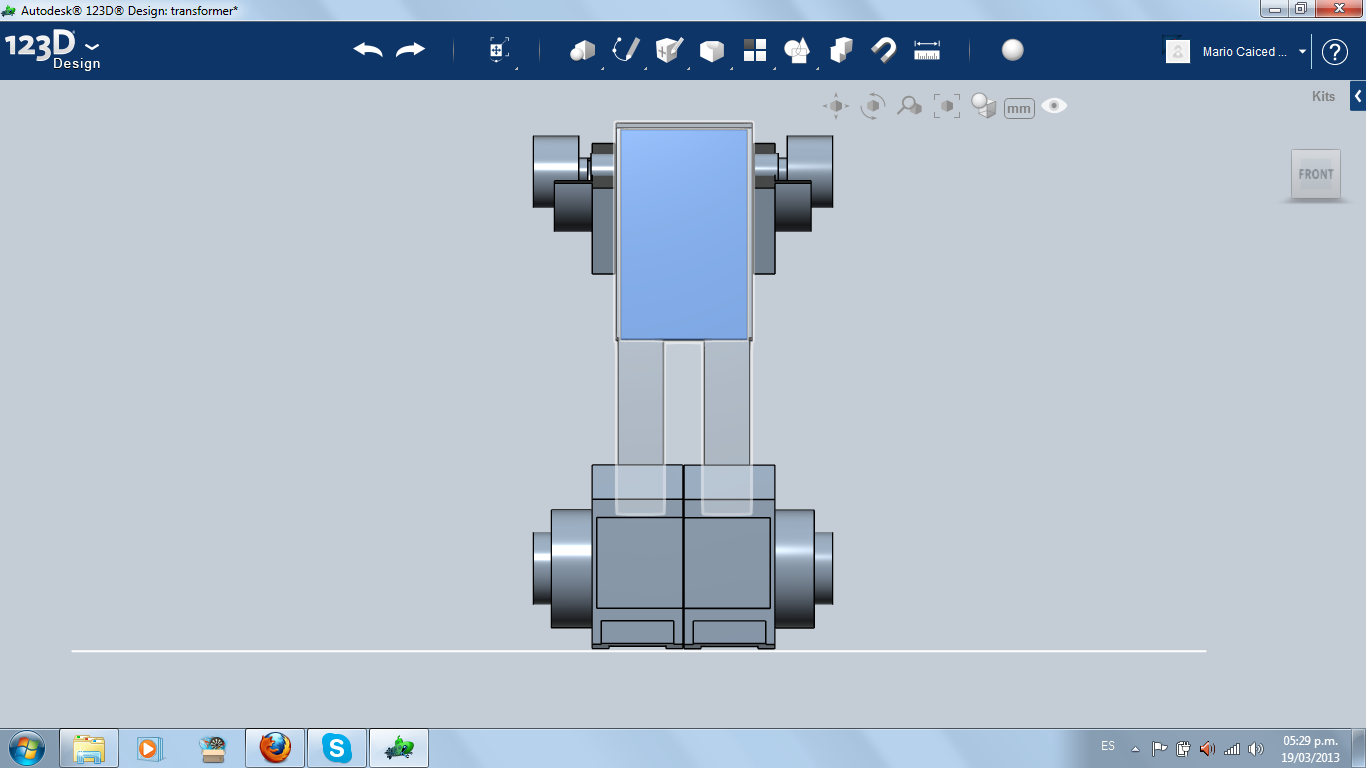
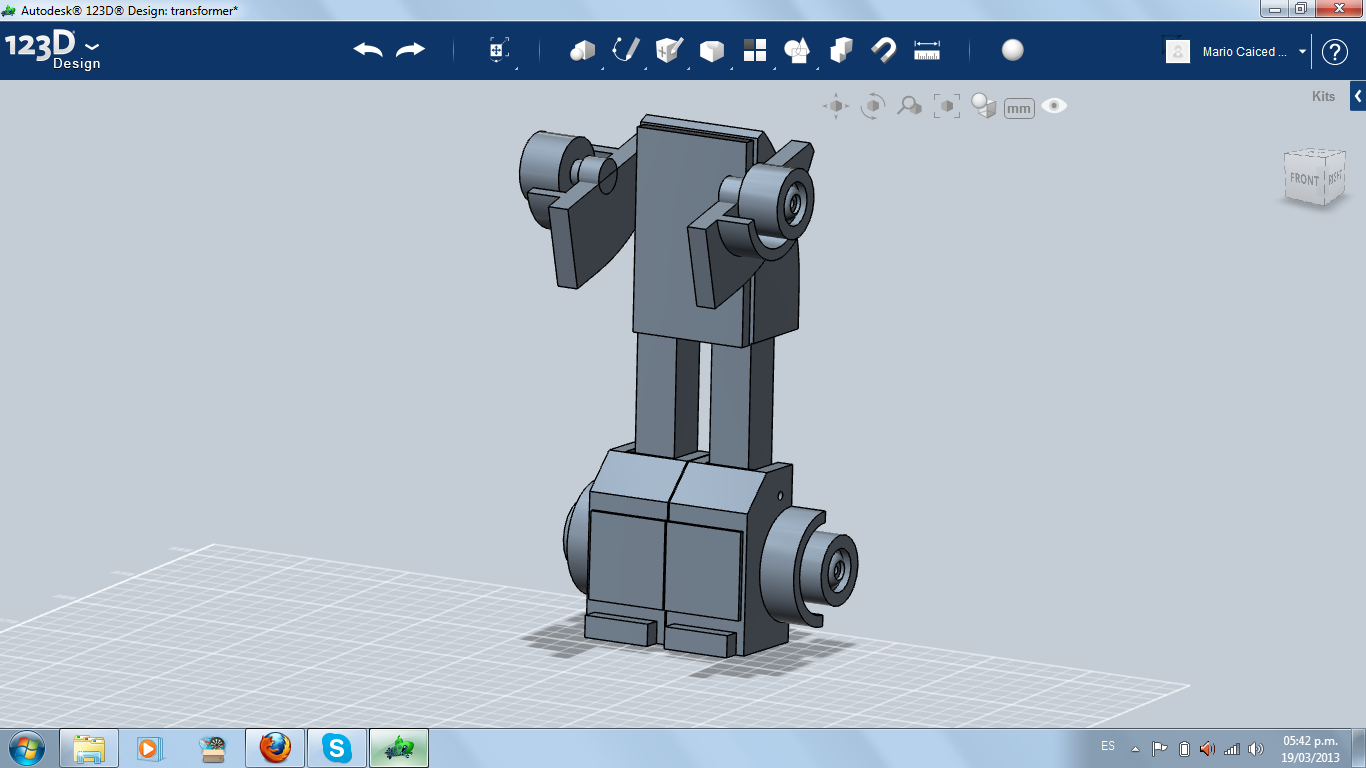
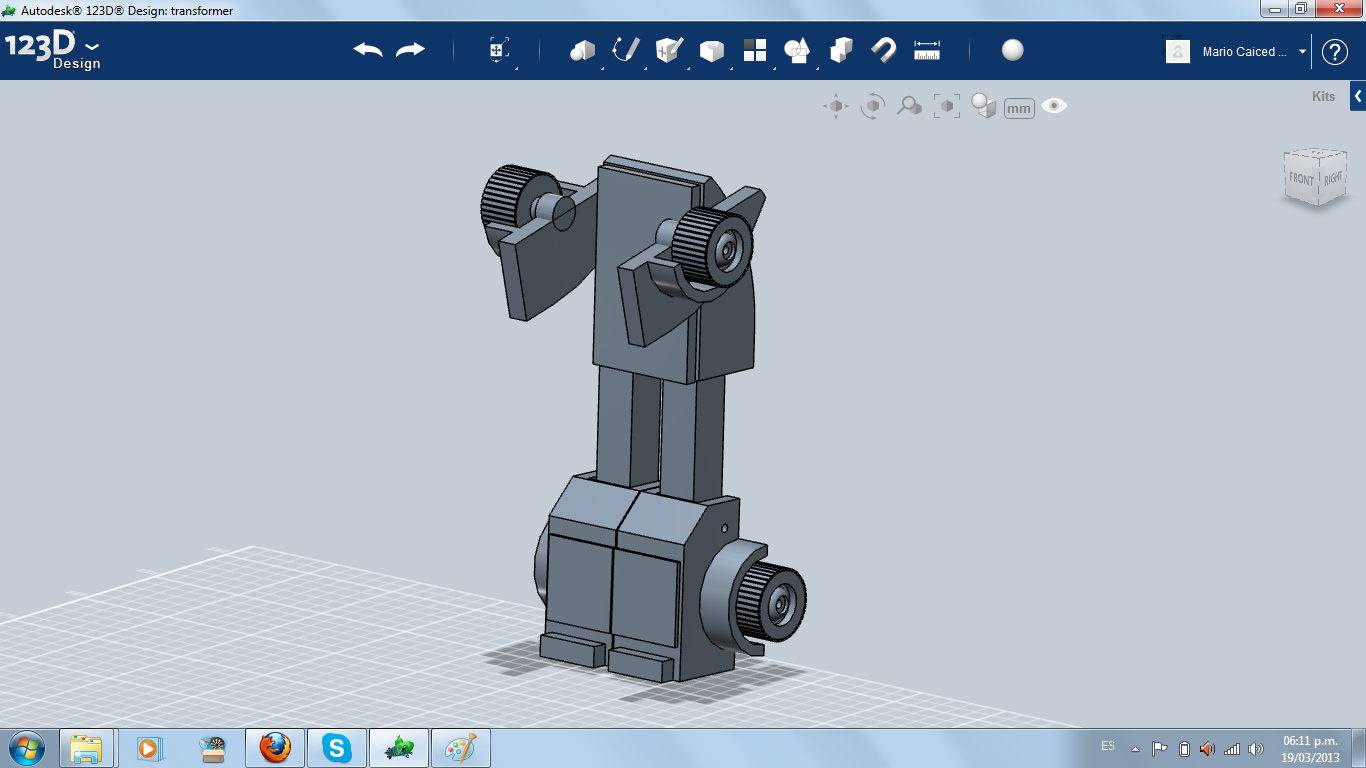
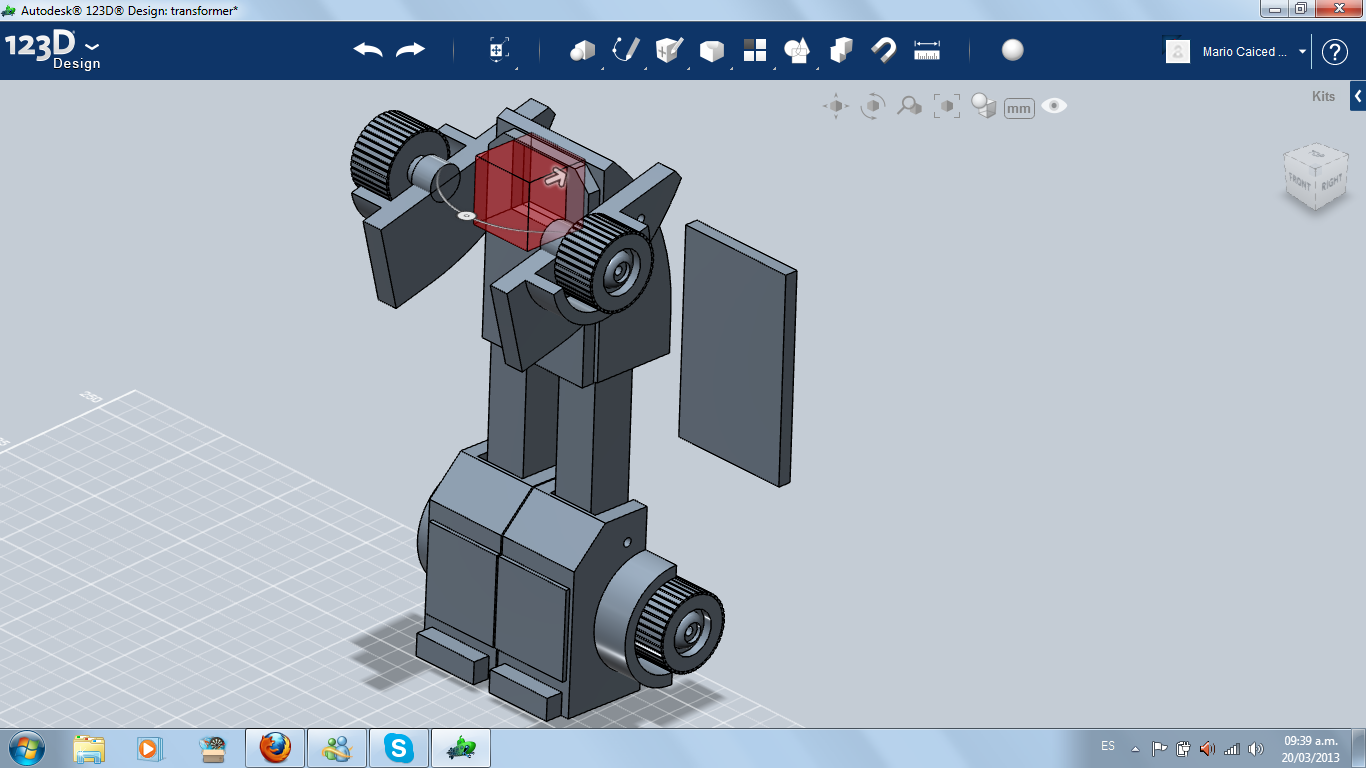
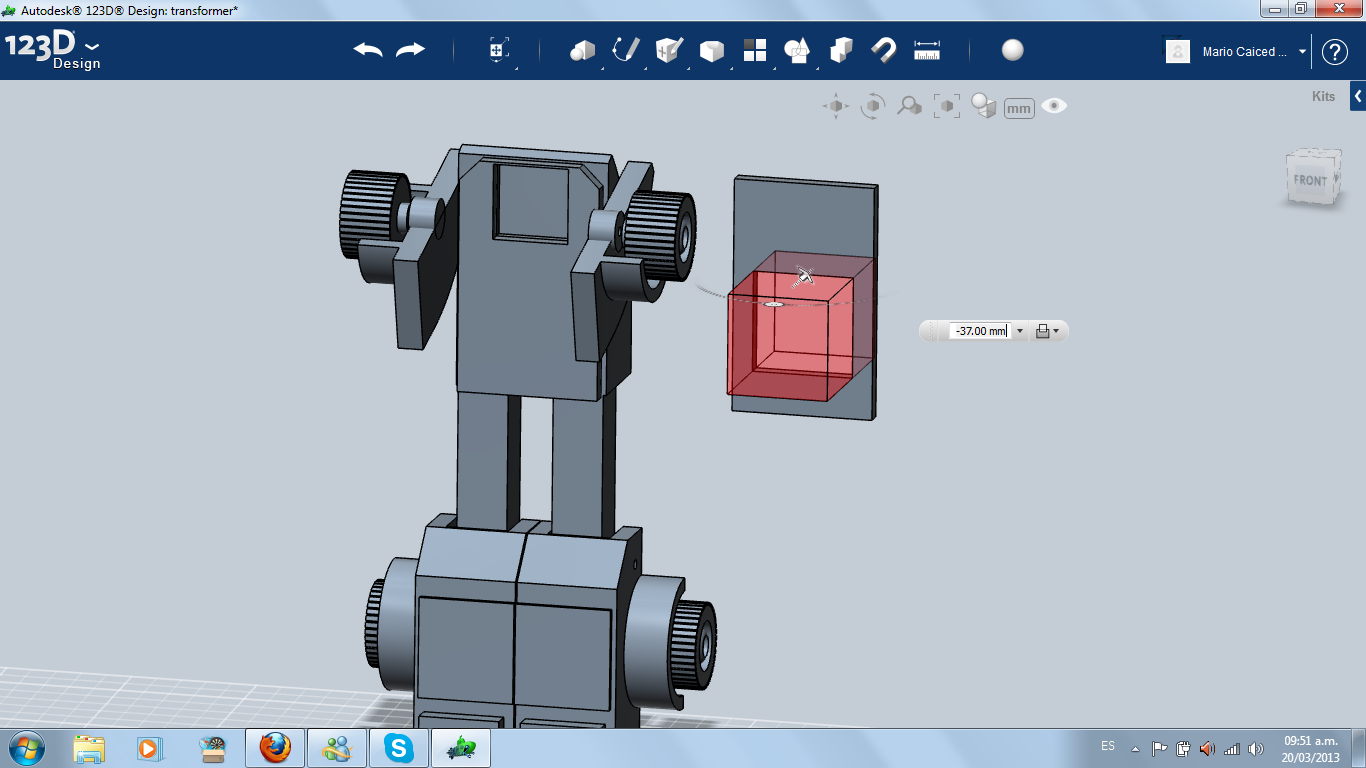
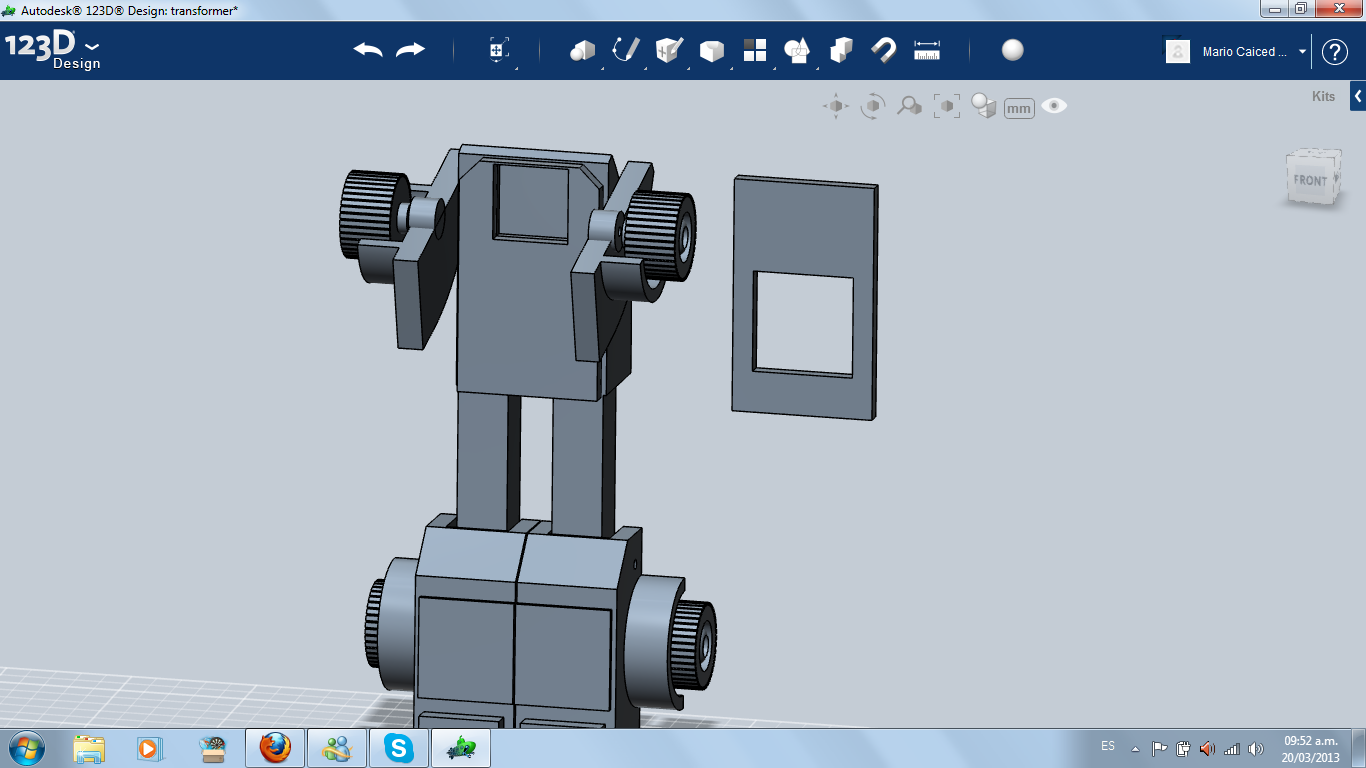
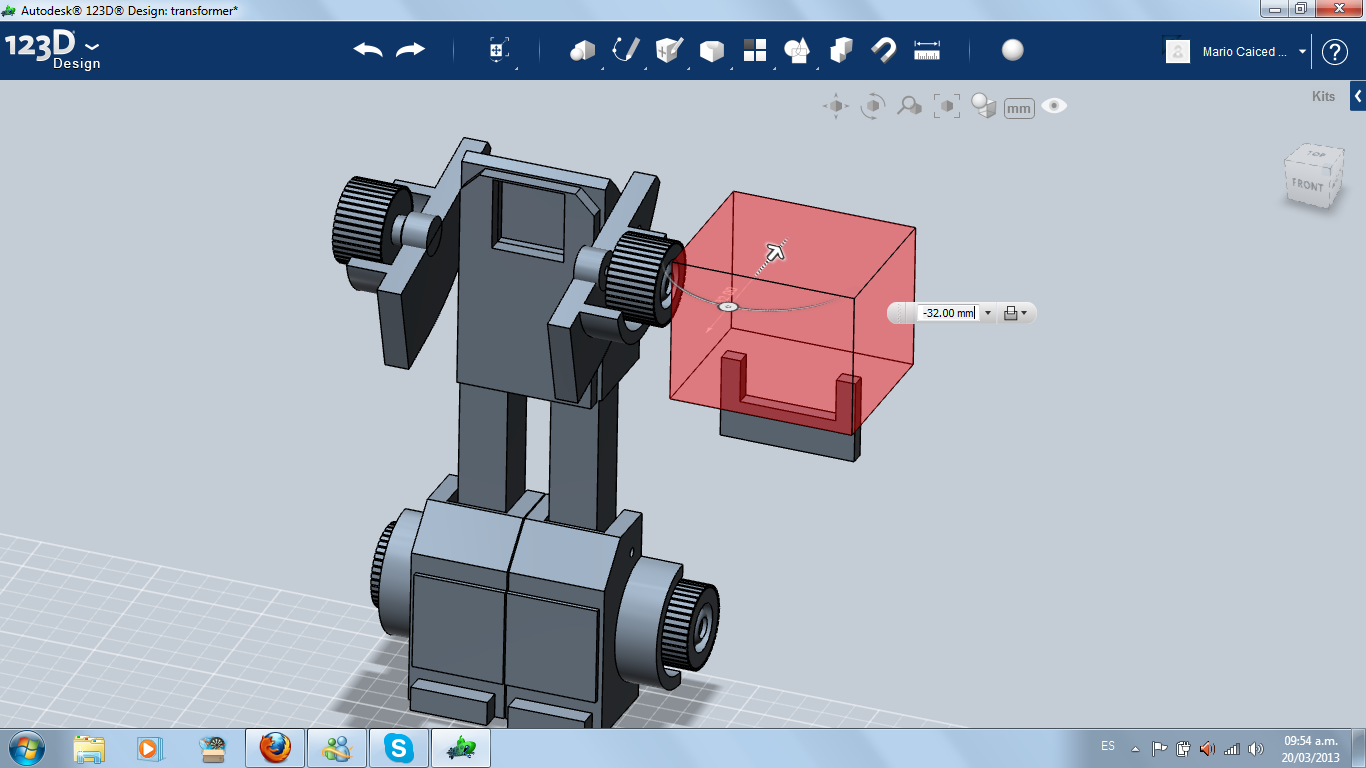
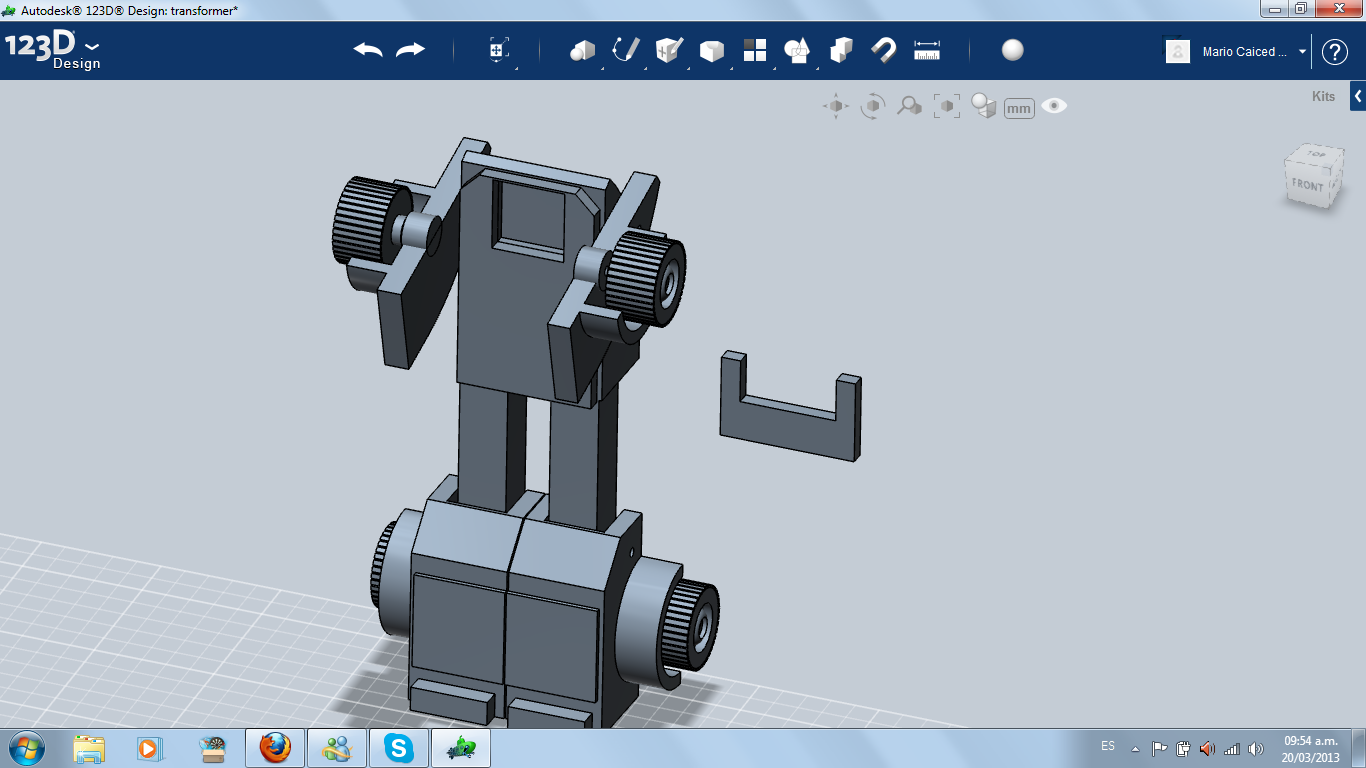
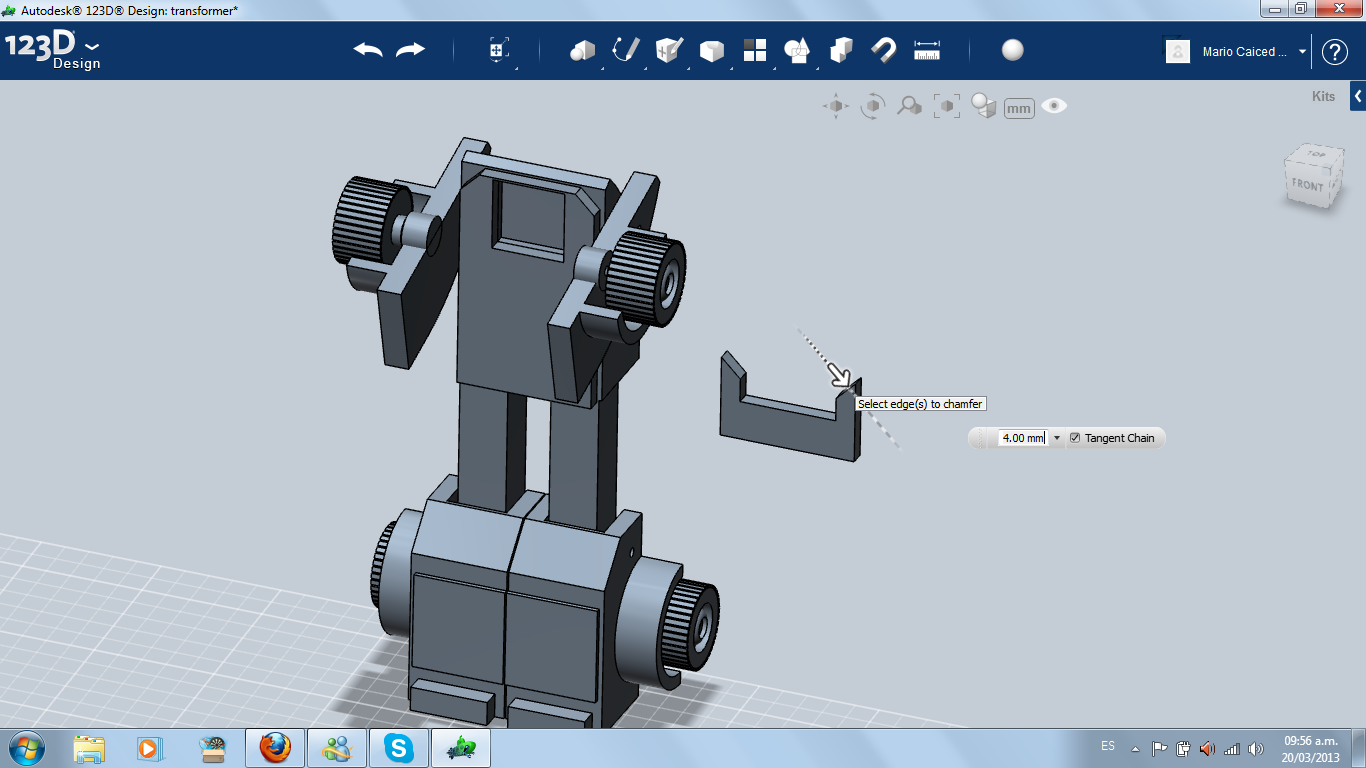
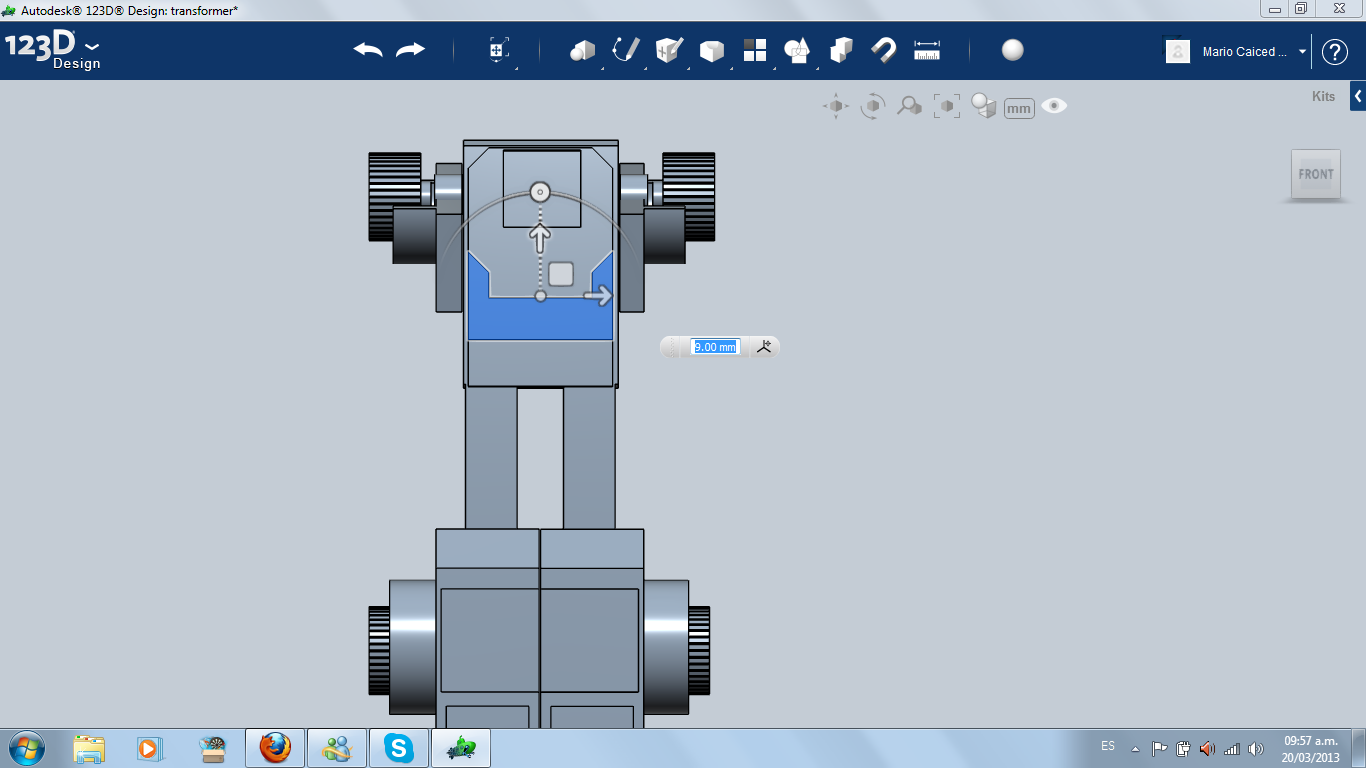
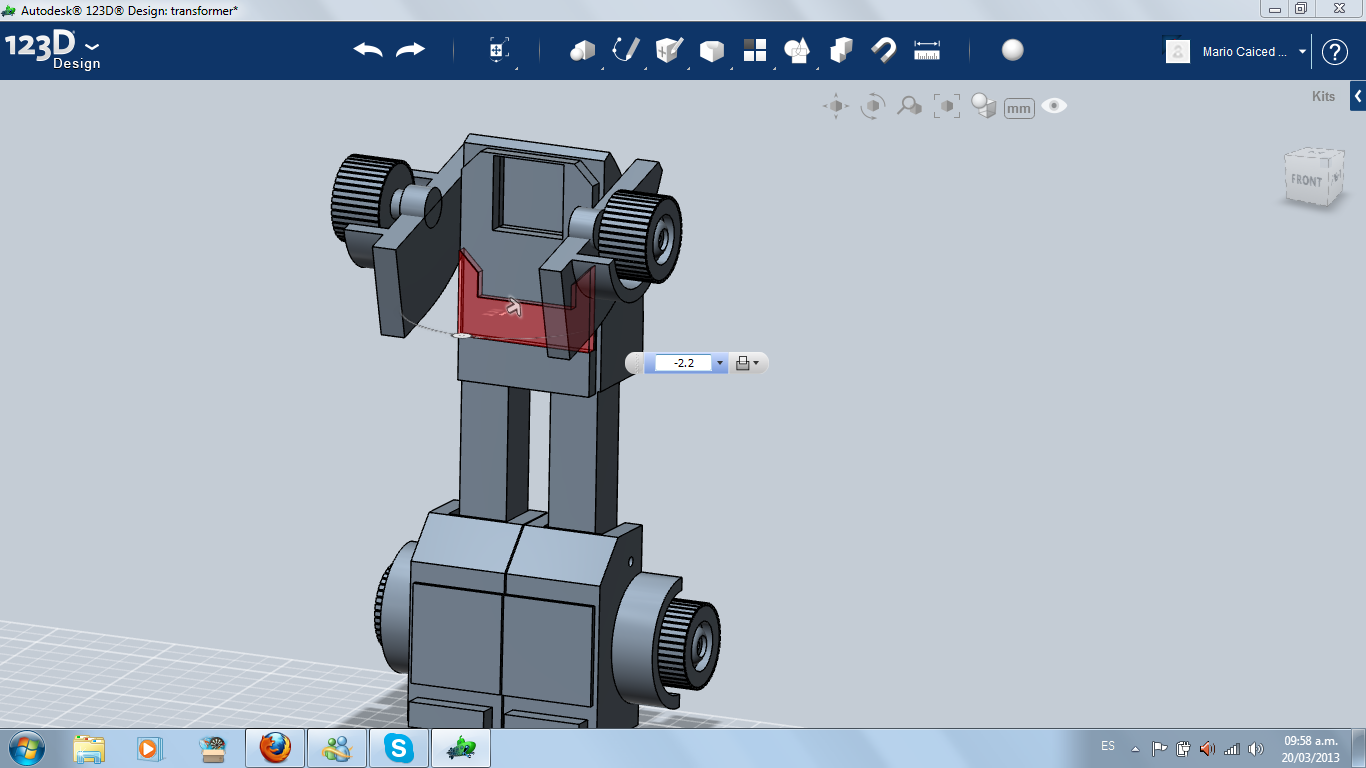
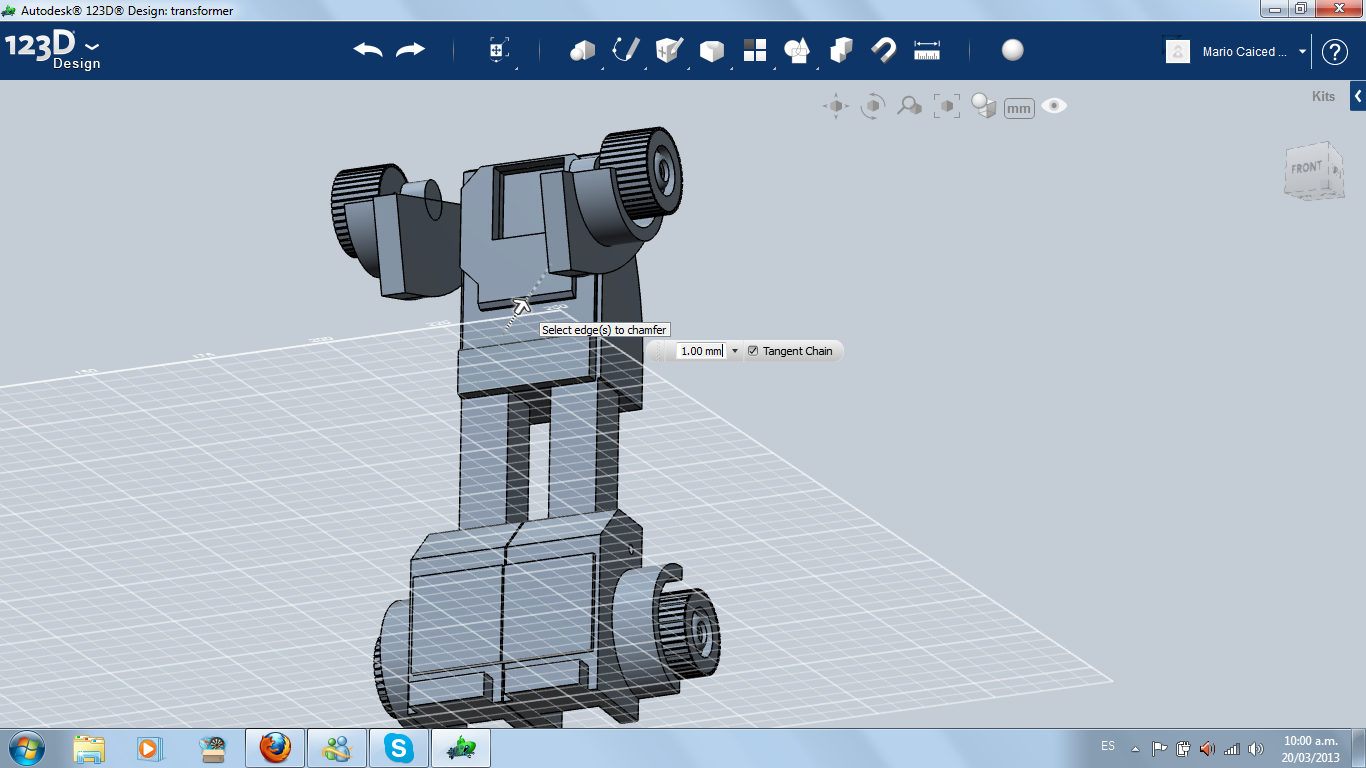
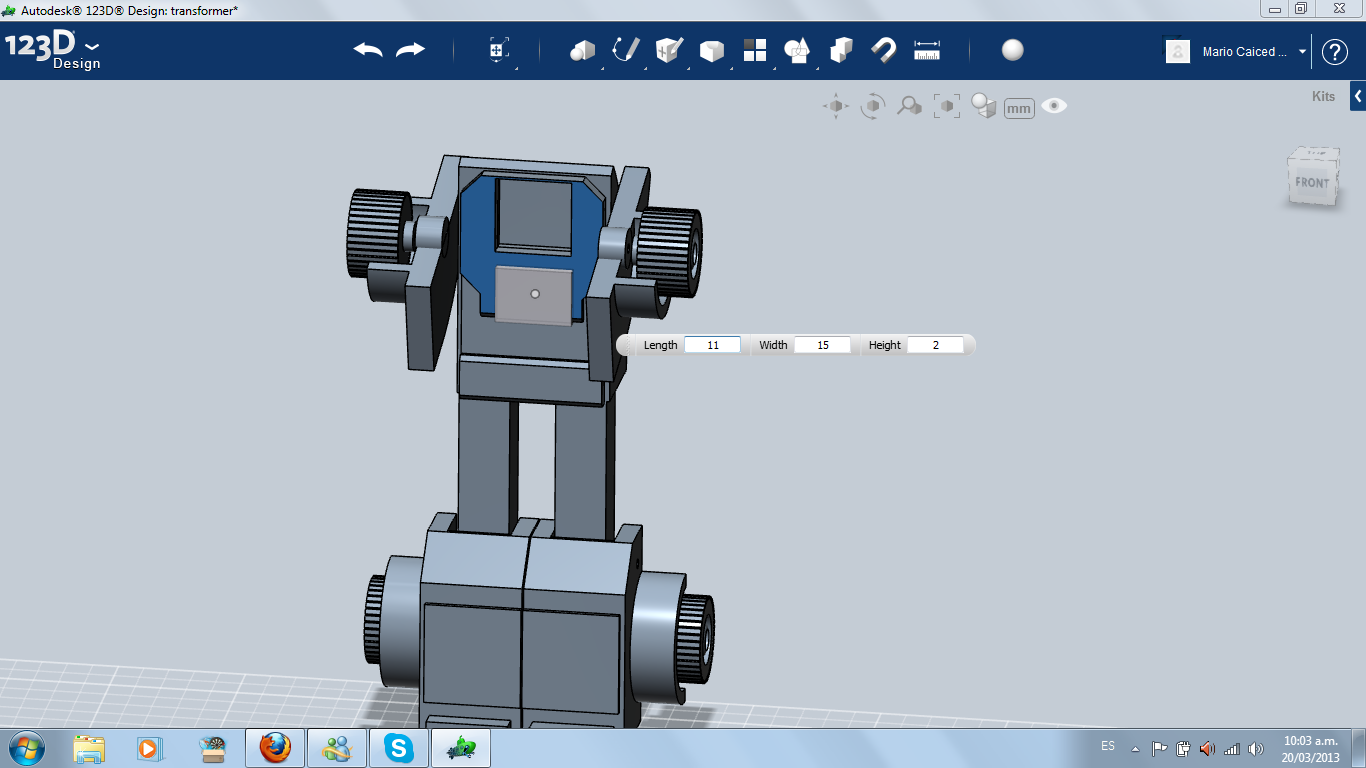
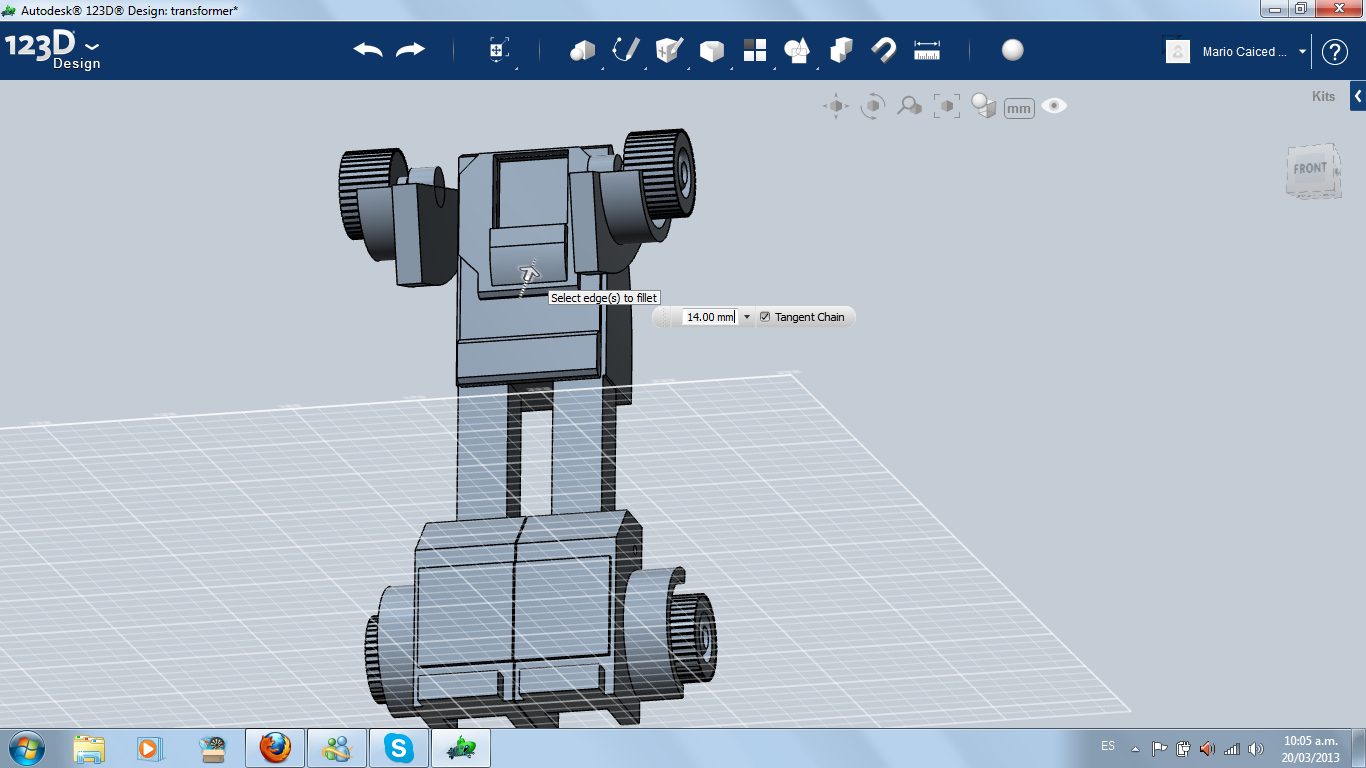
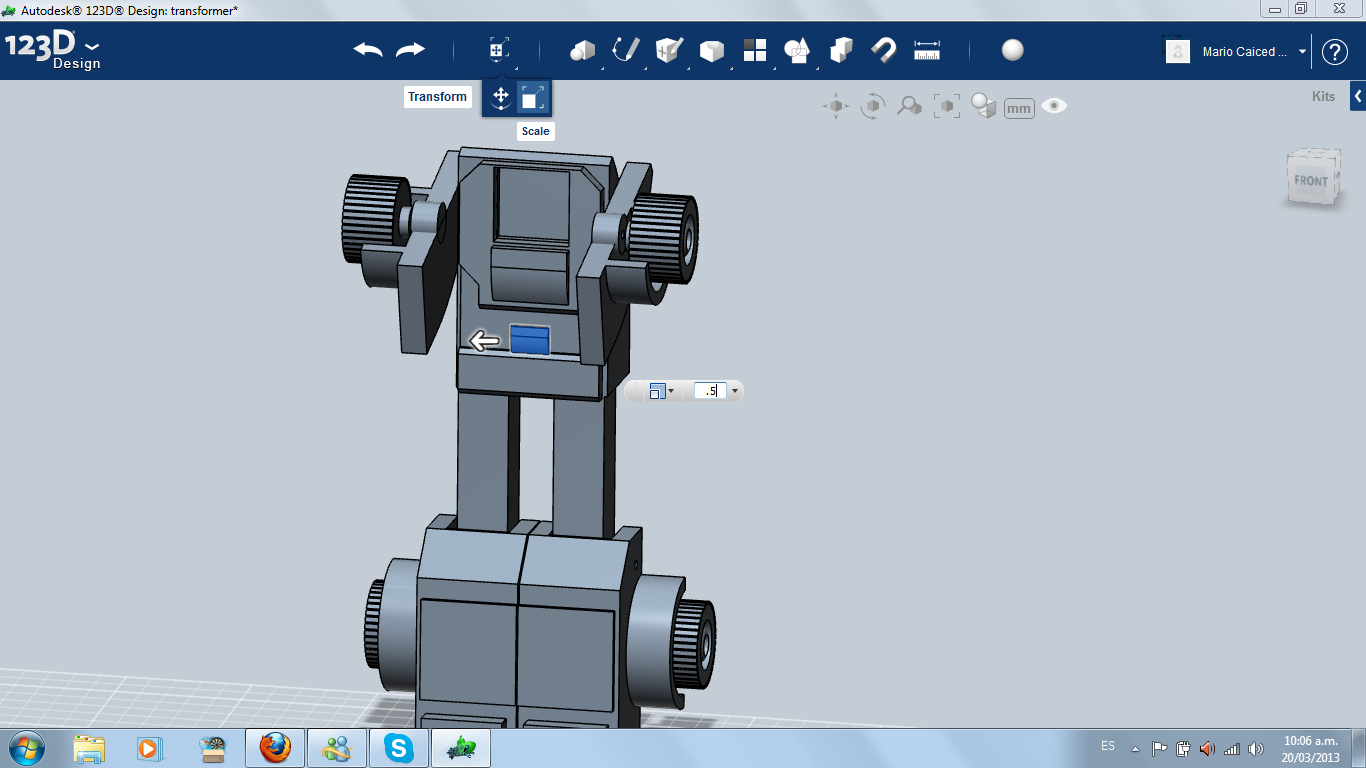
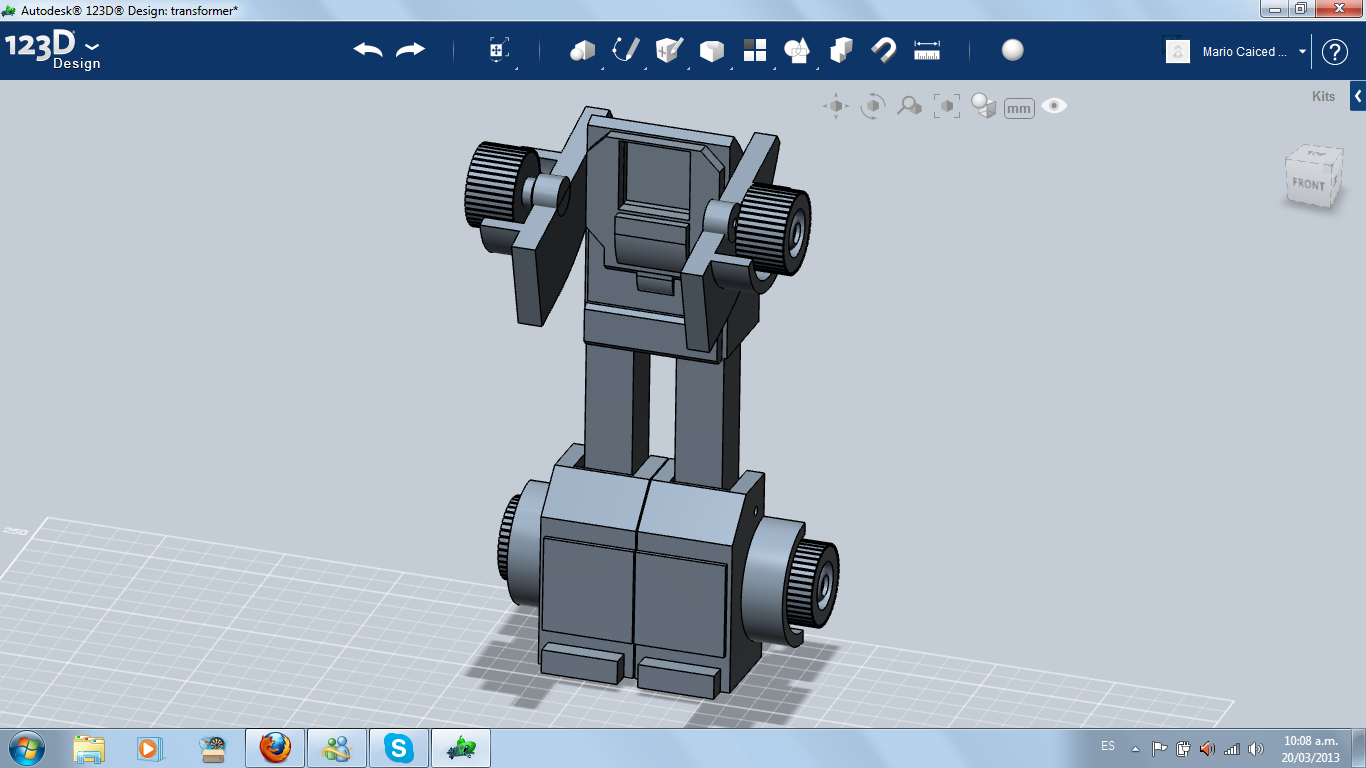
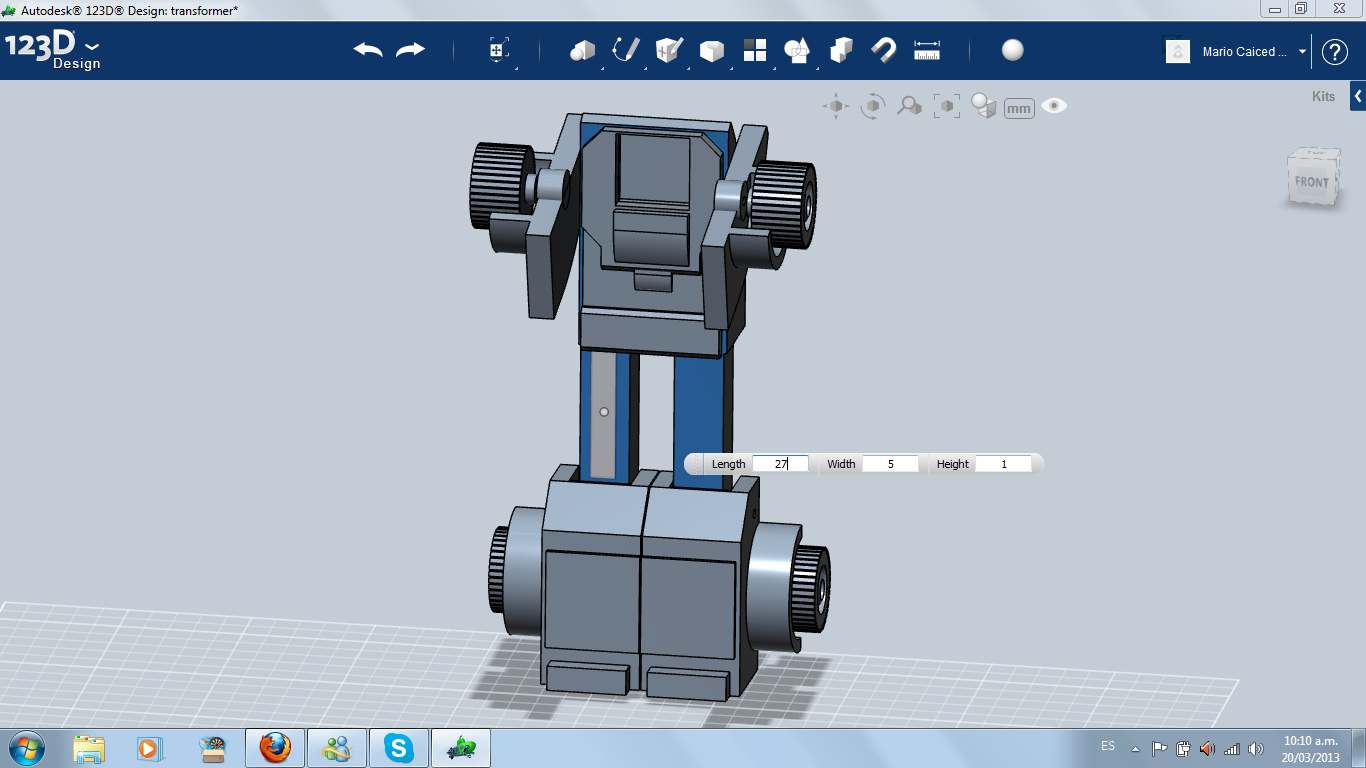
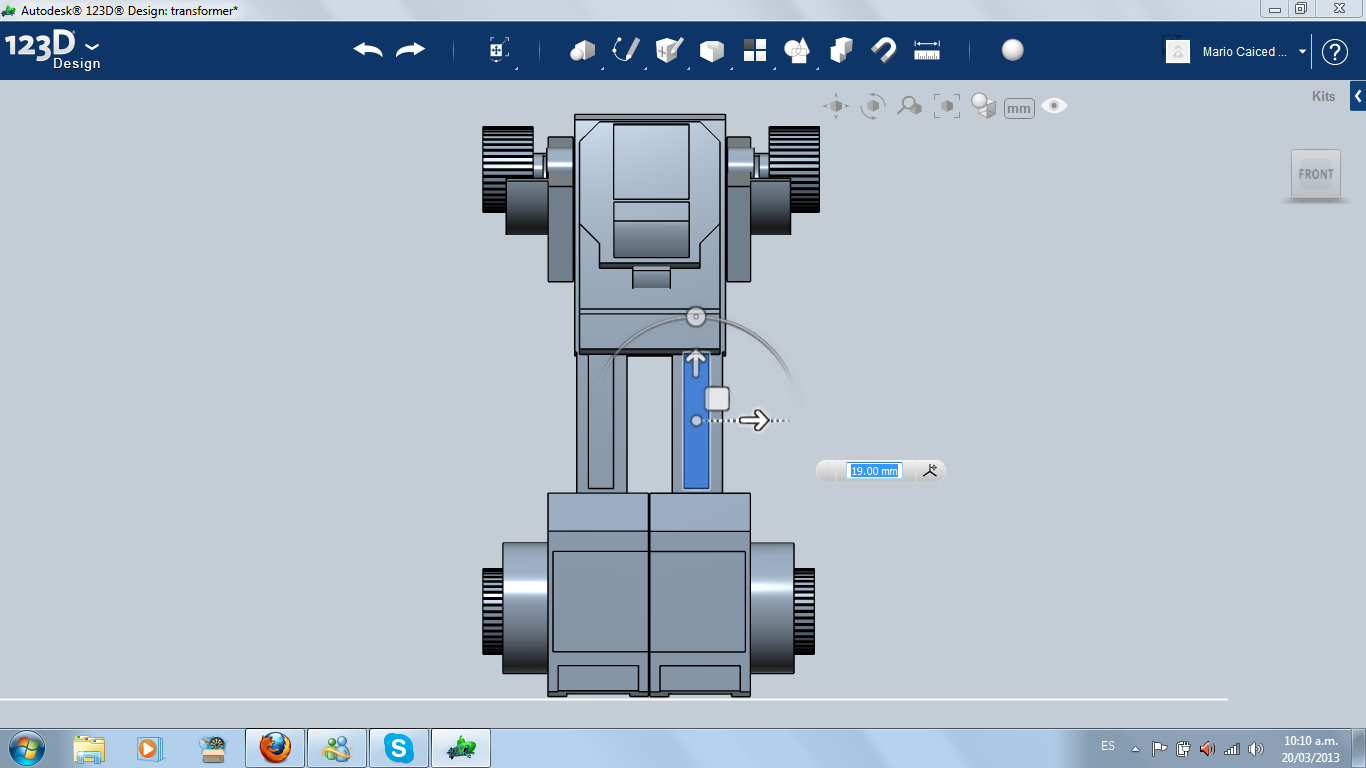
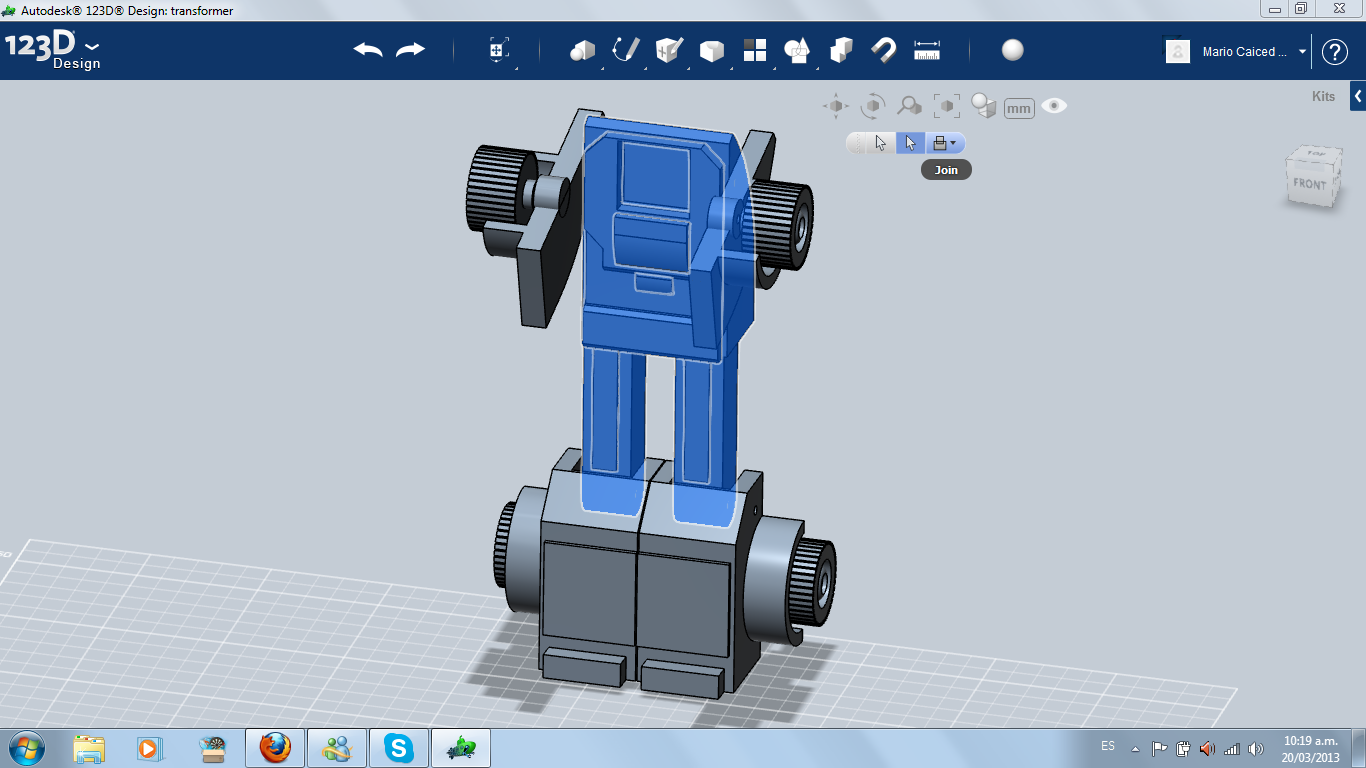
With the armed robot, I made some decorations using thin boxes, extrude, fillet and chamfer tools. I put a chest and I left some space for the face.
Face
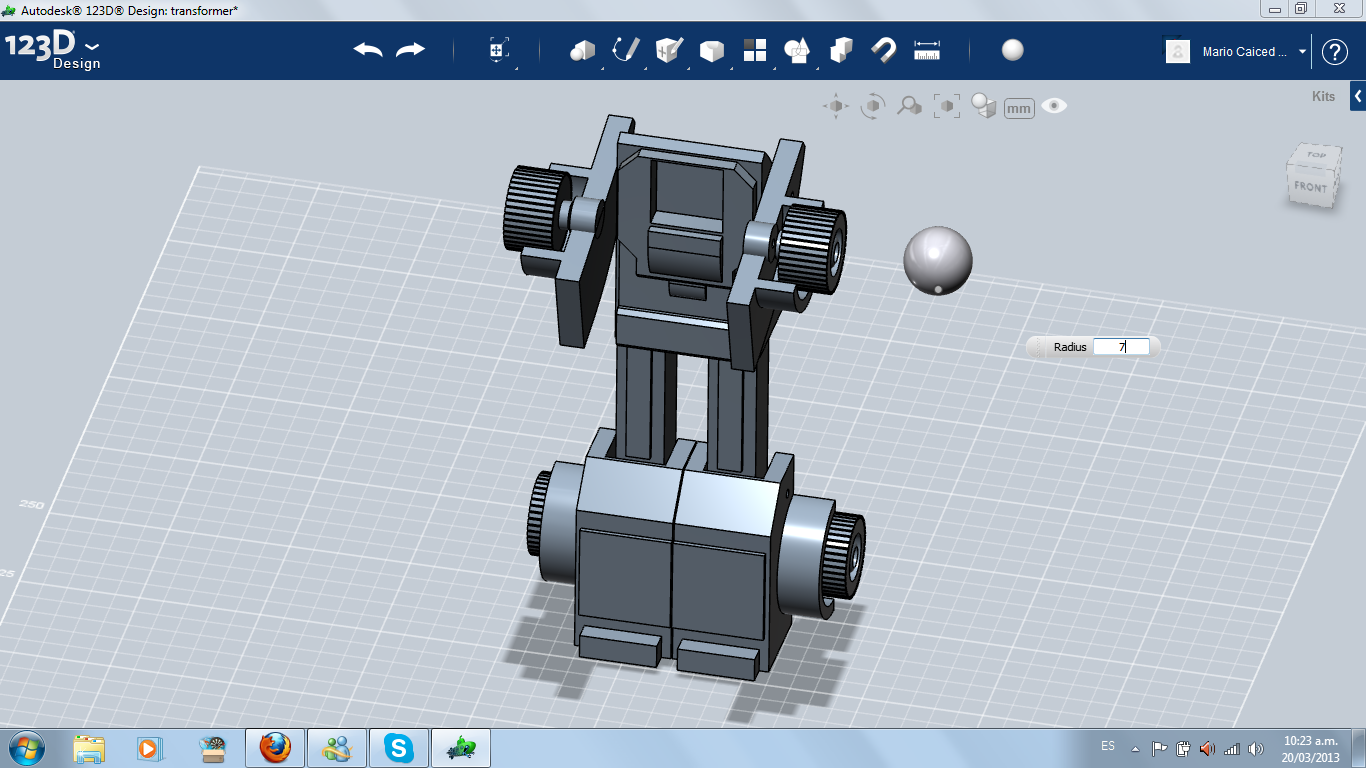
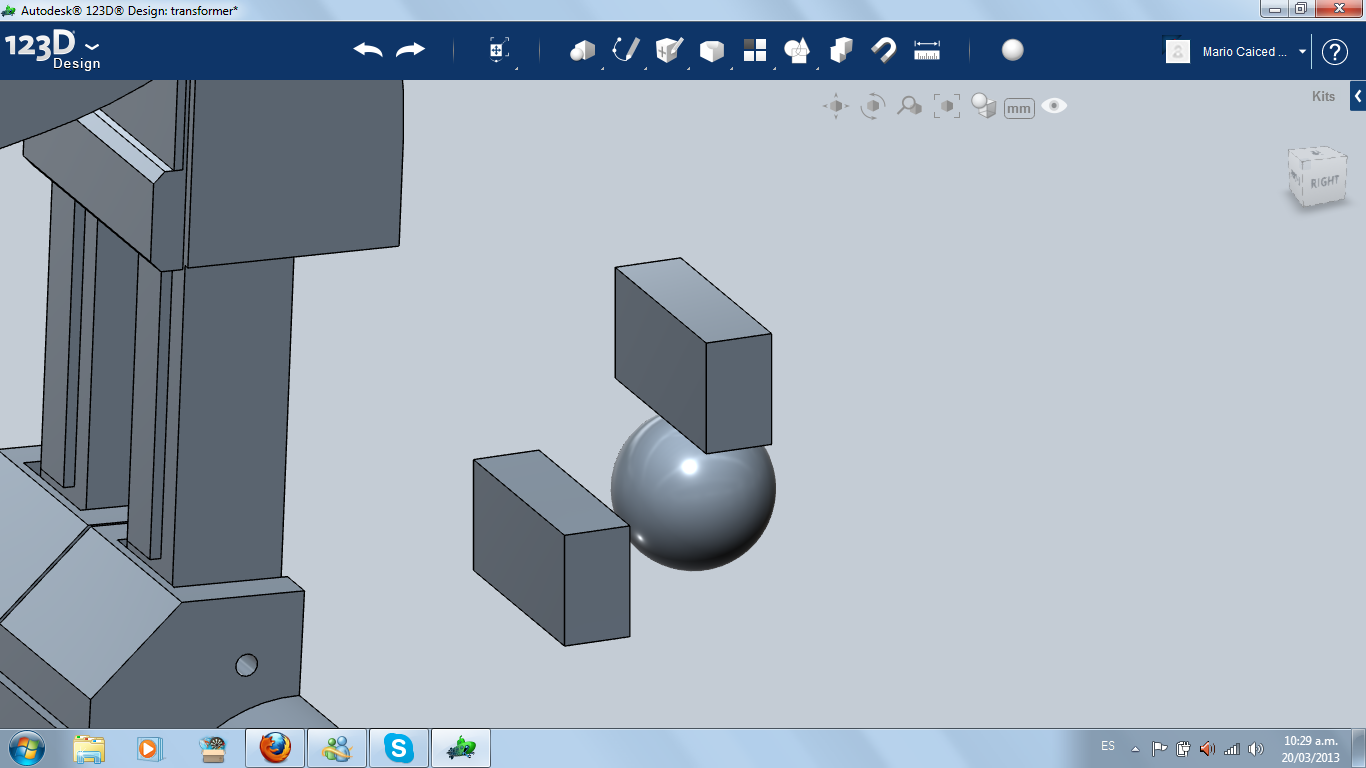
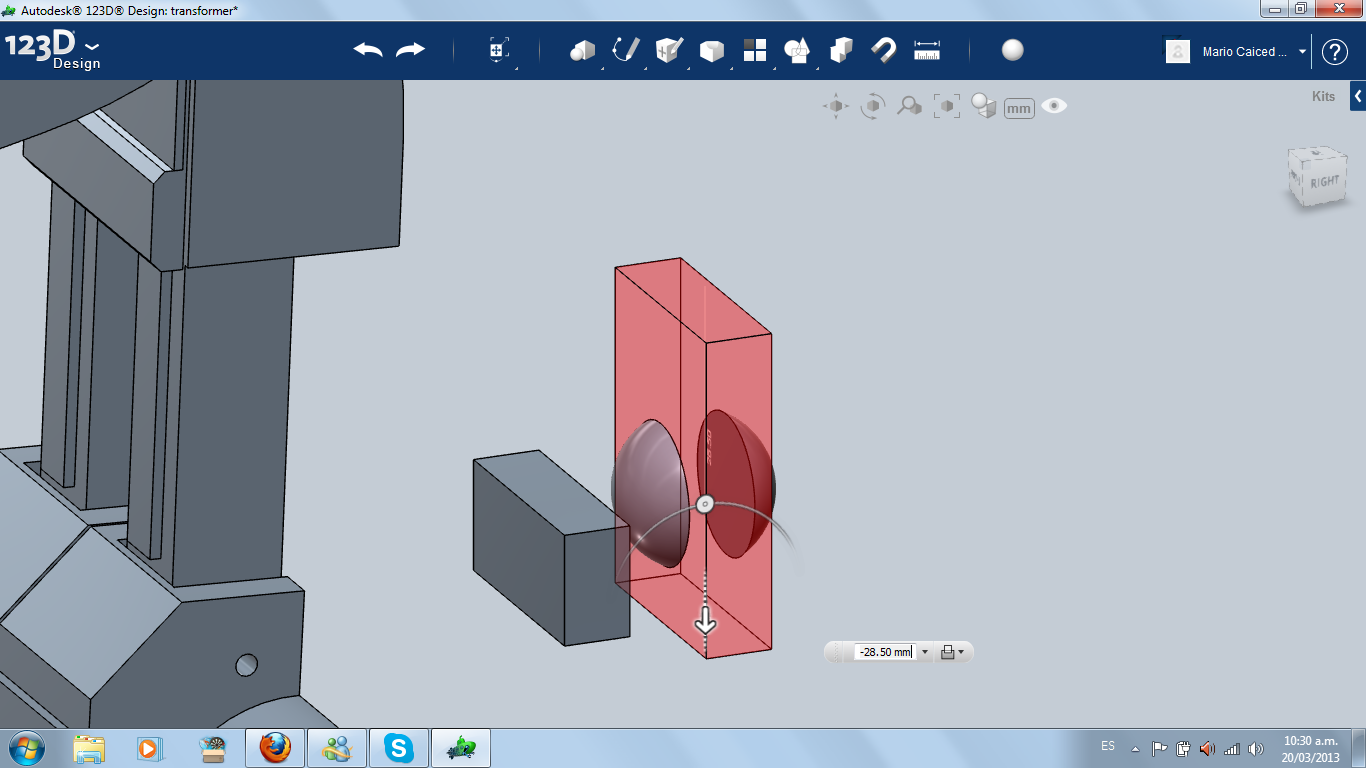
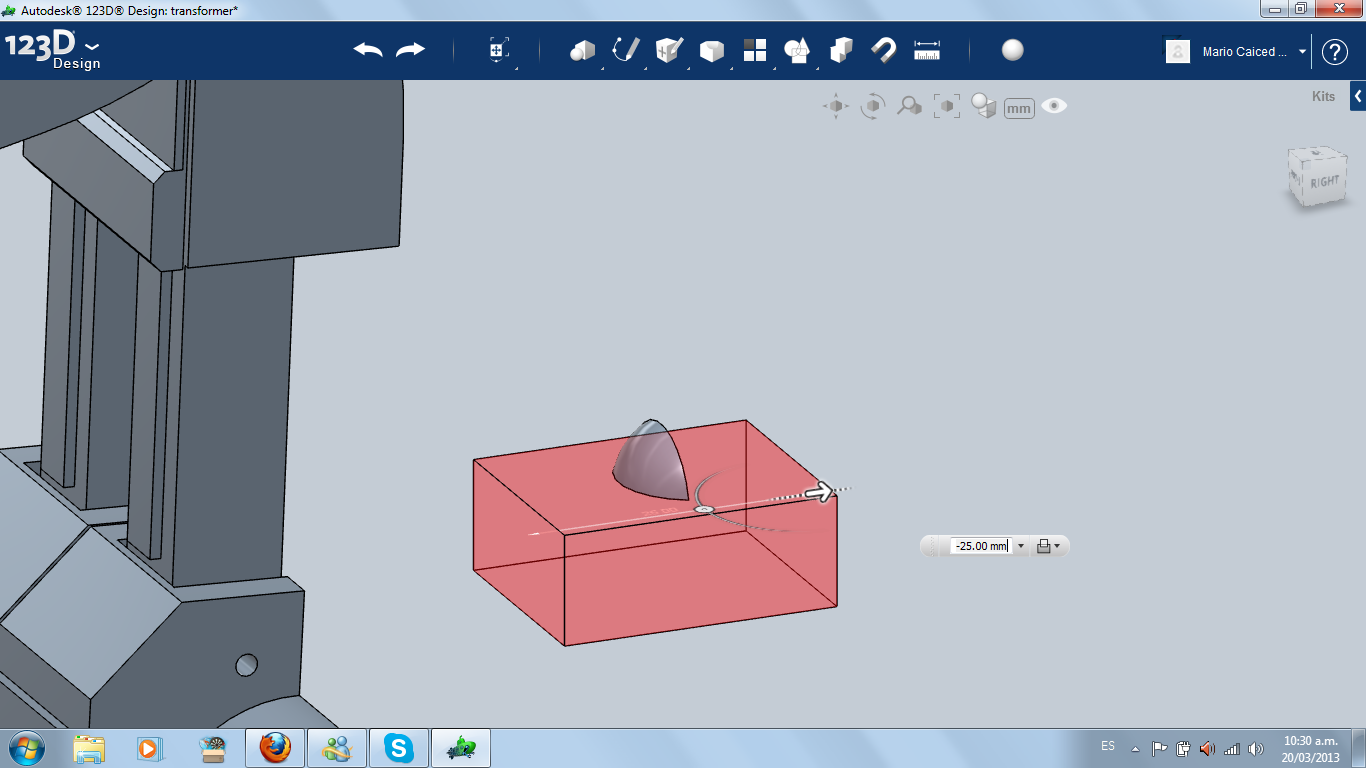
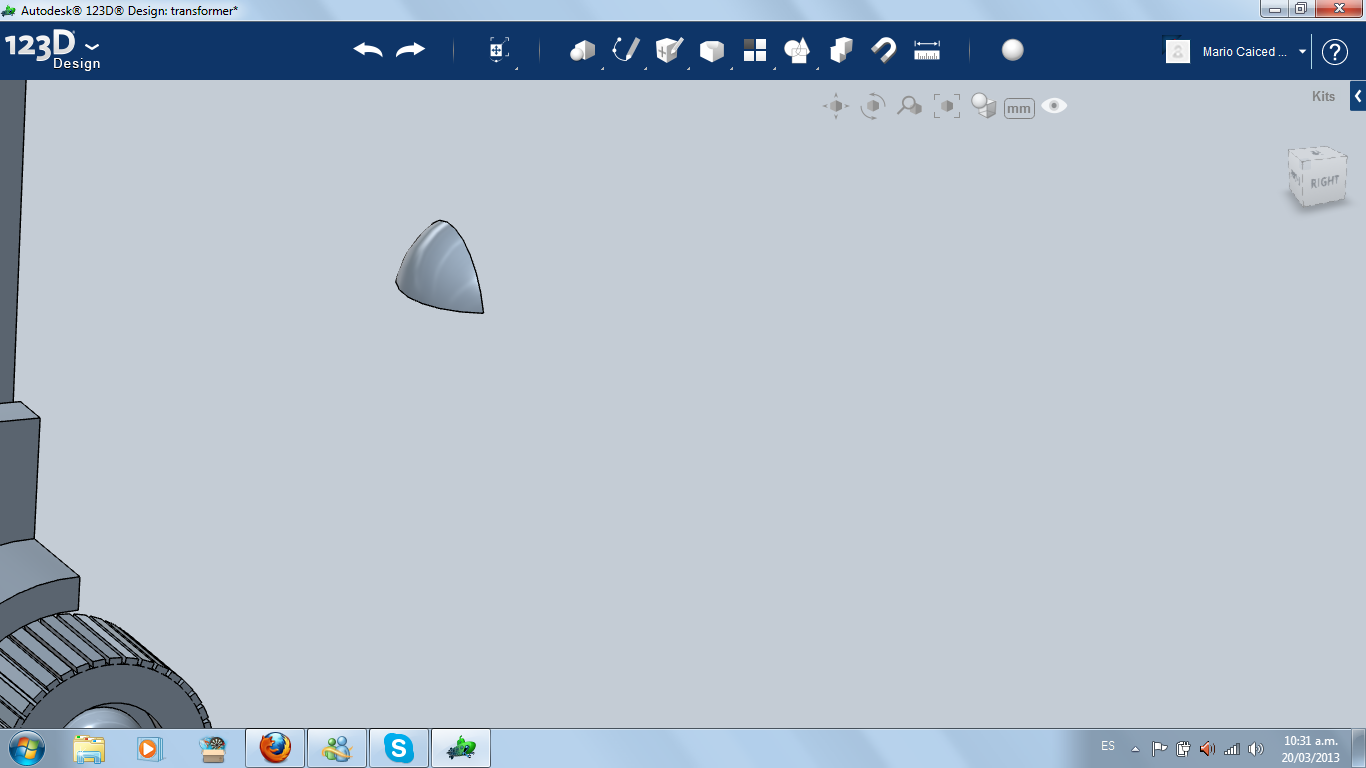
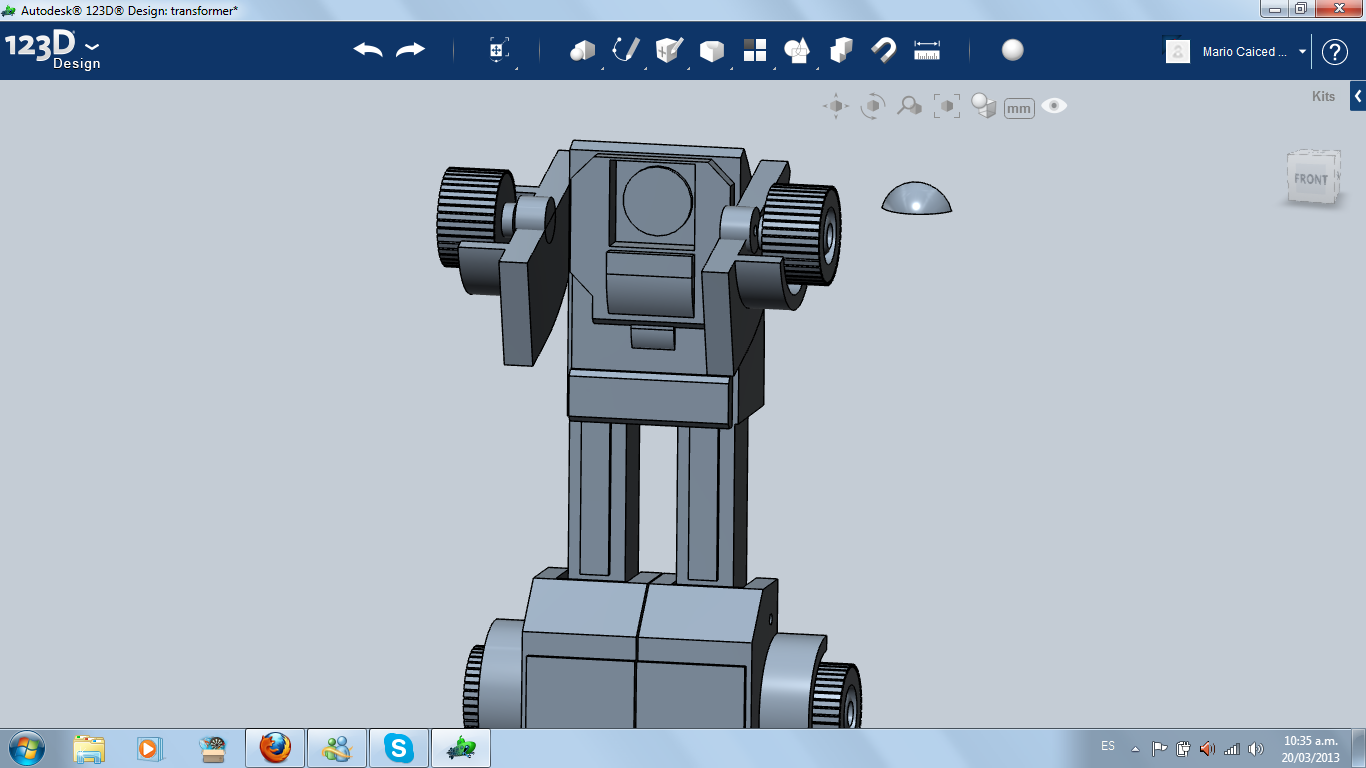
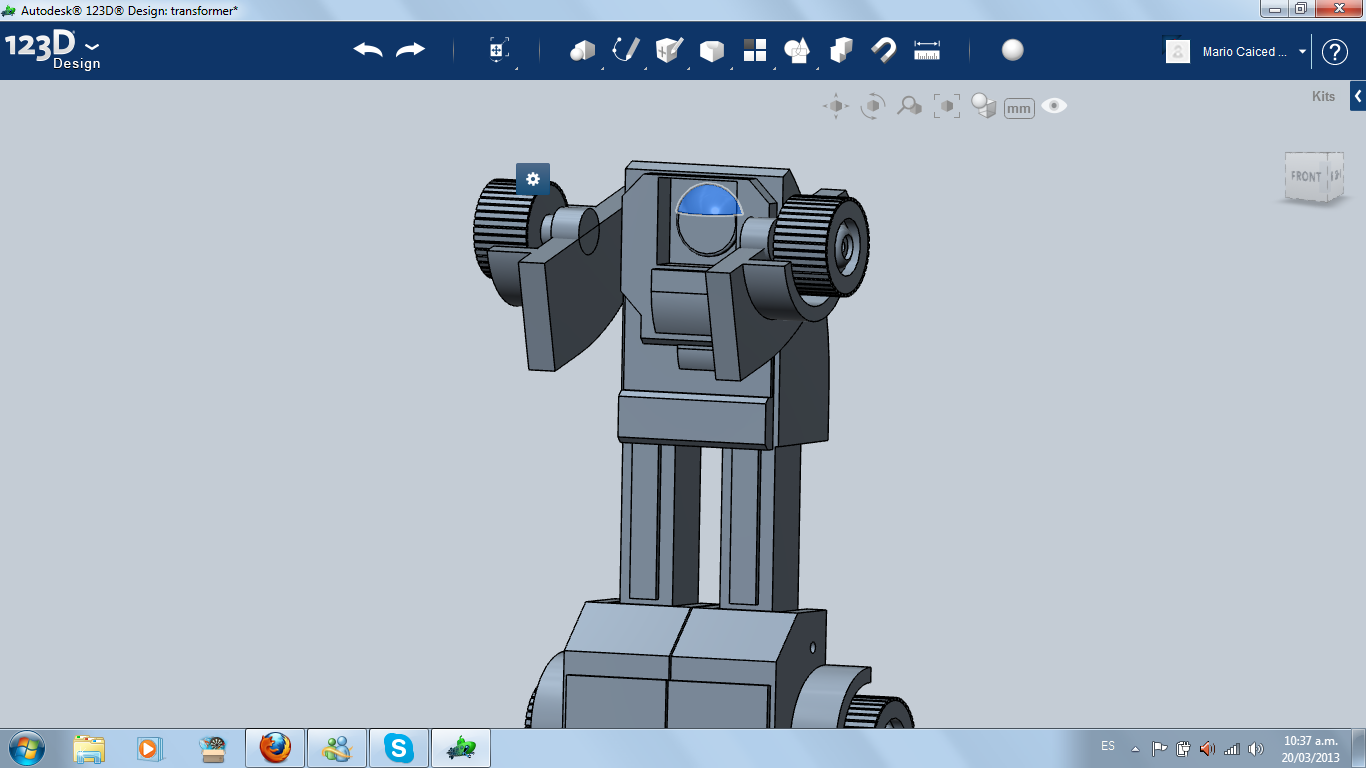
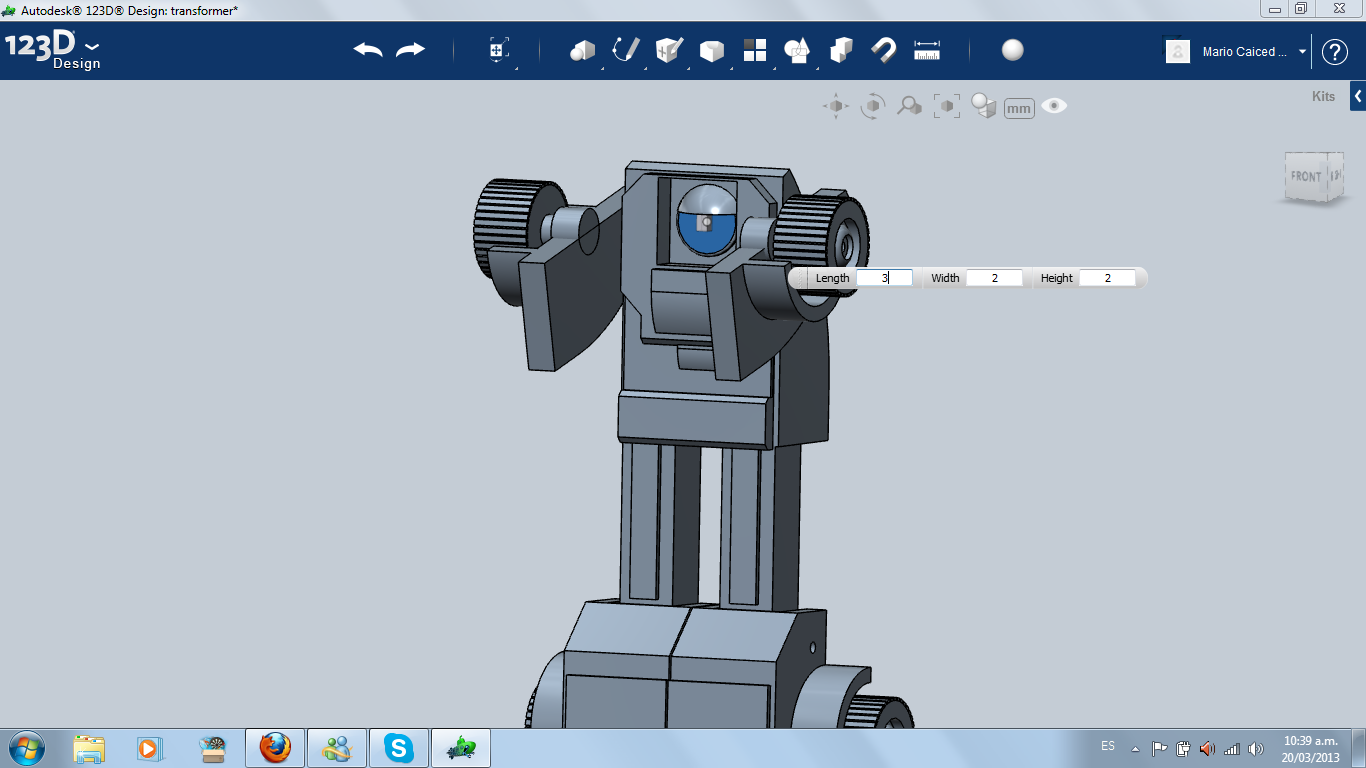
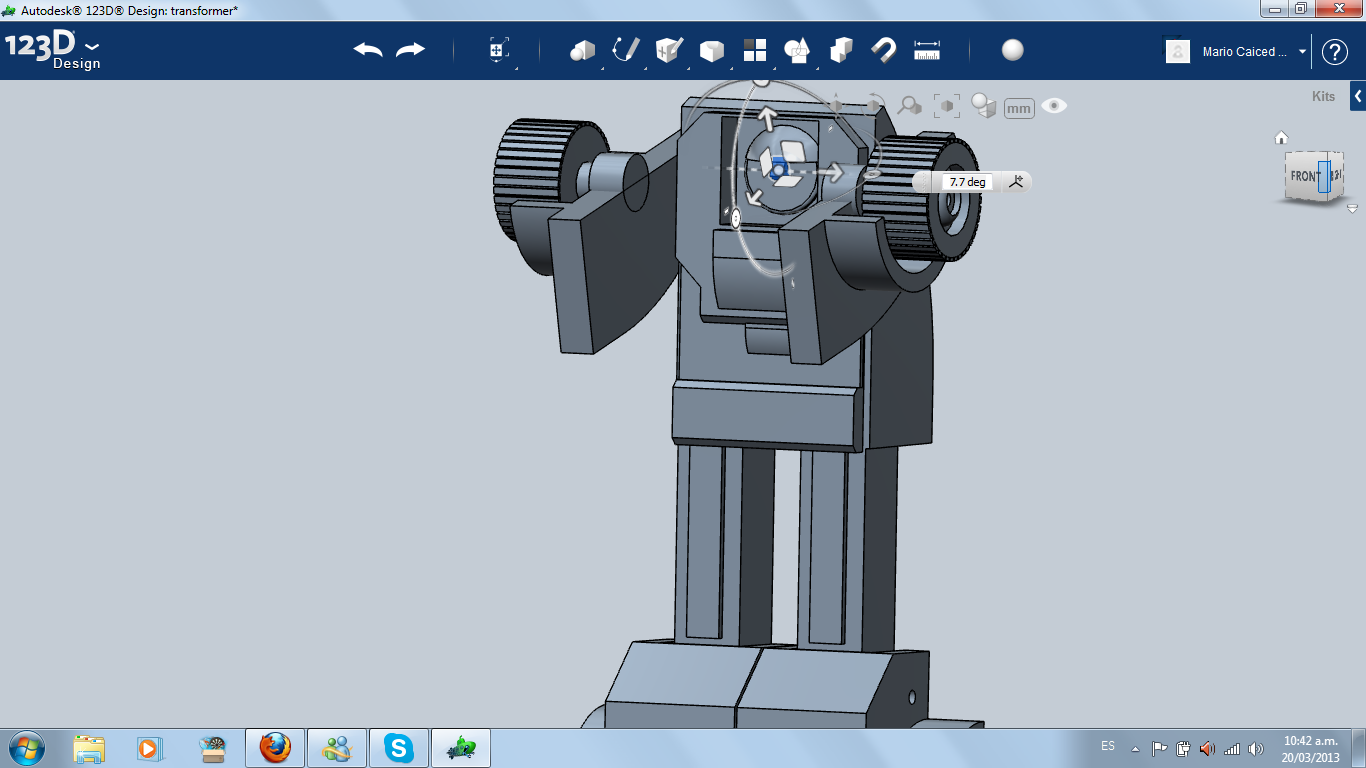
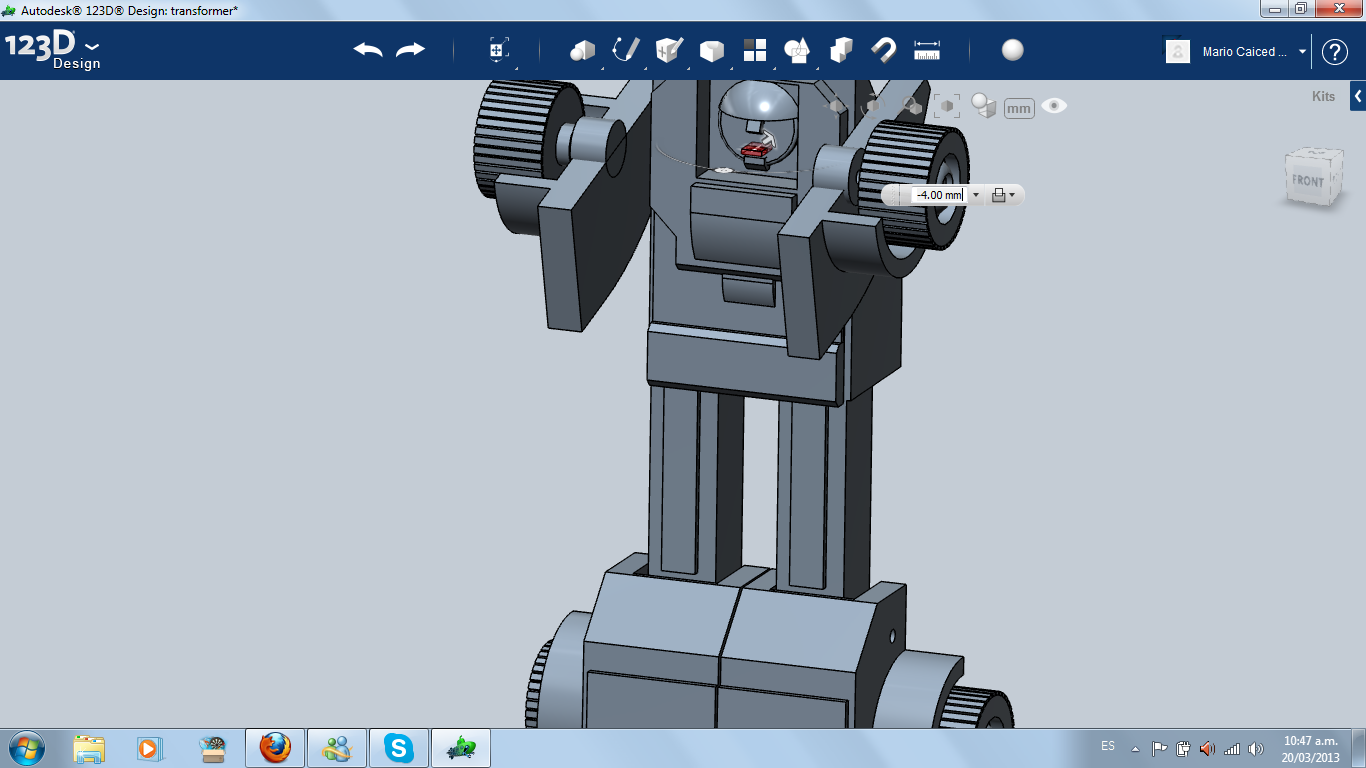
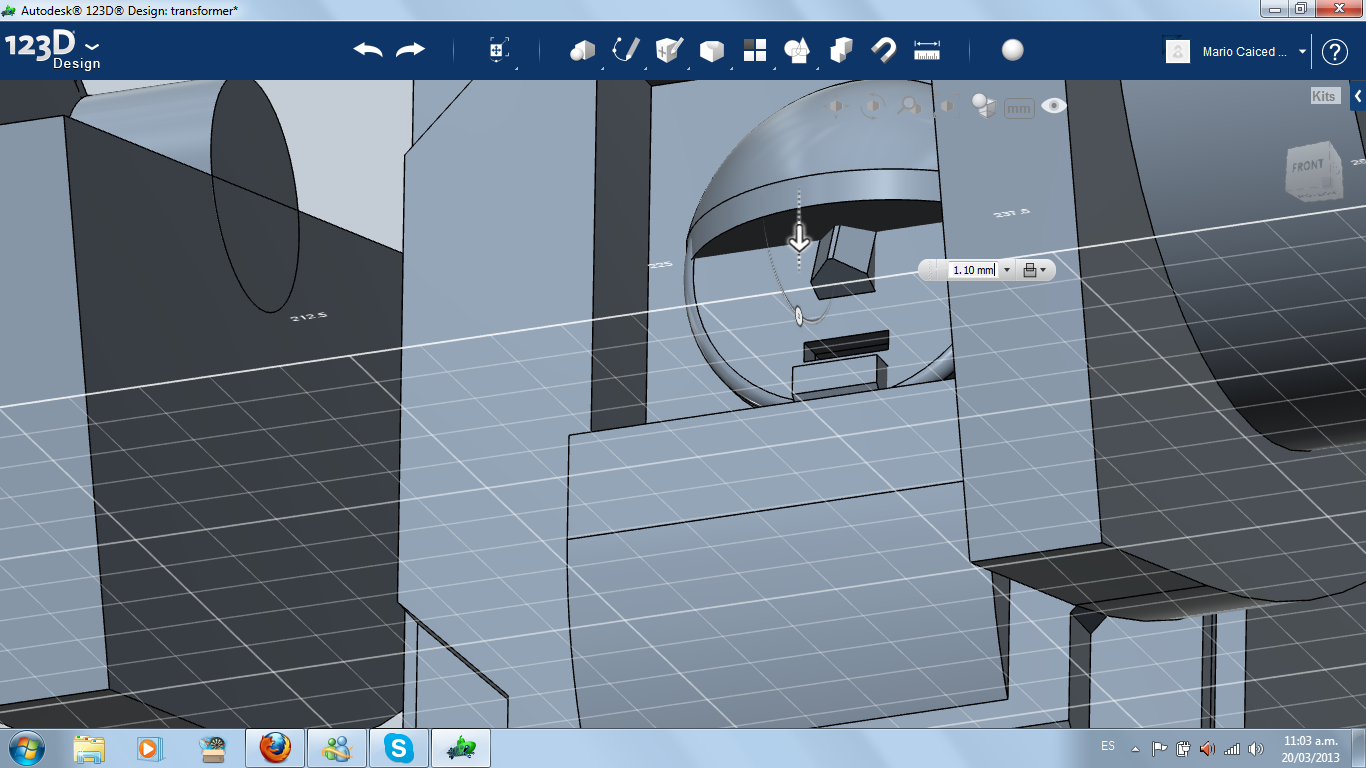
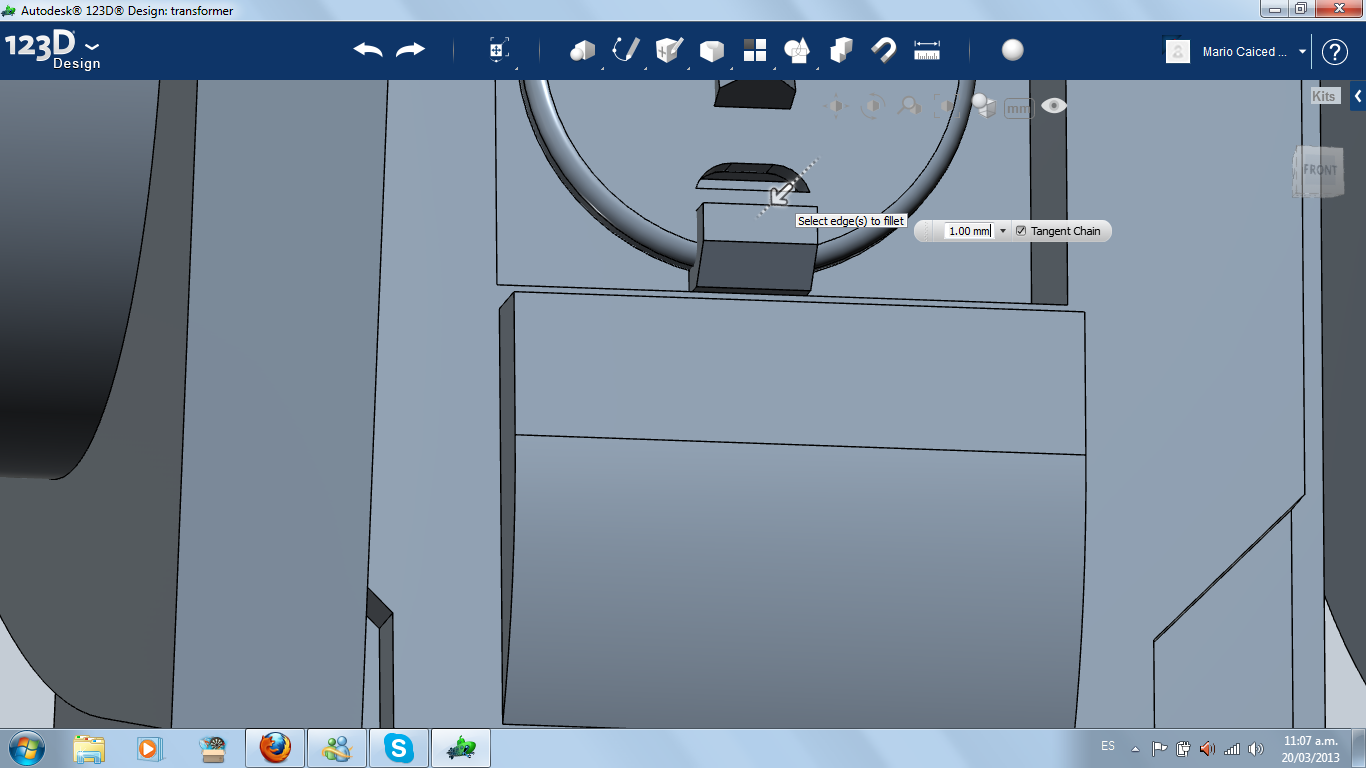
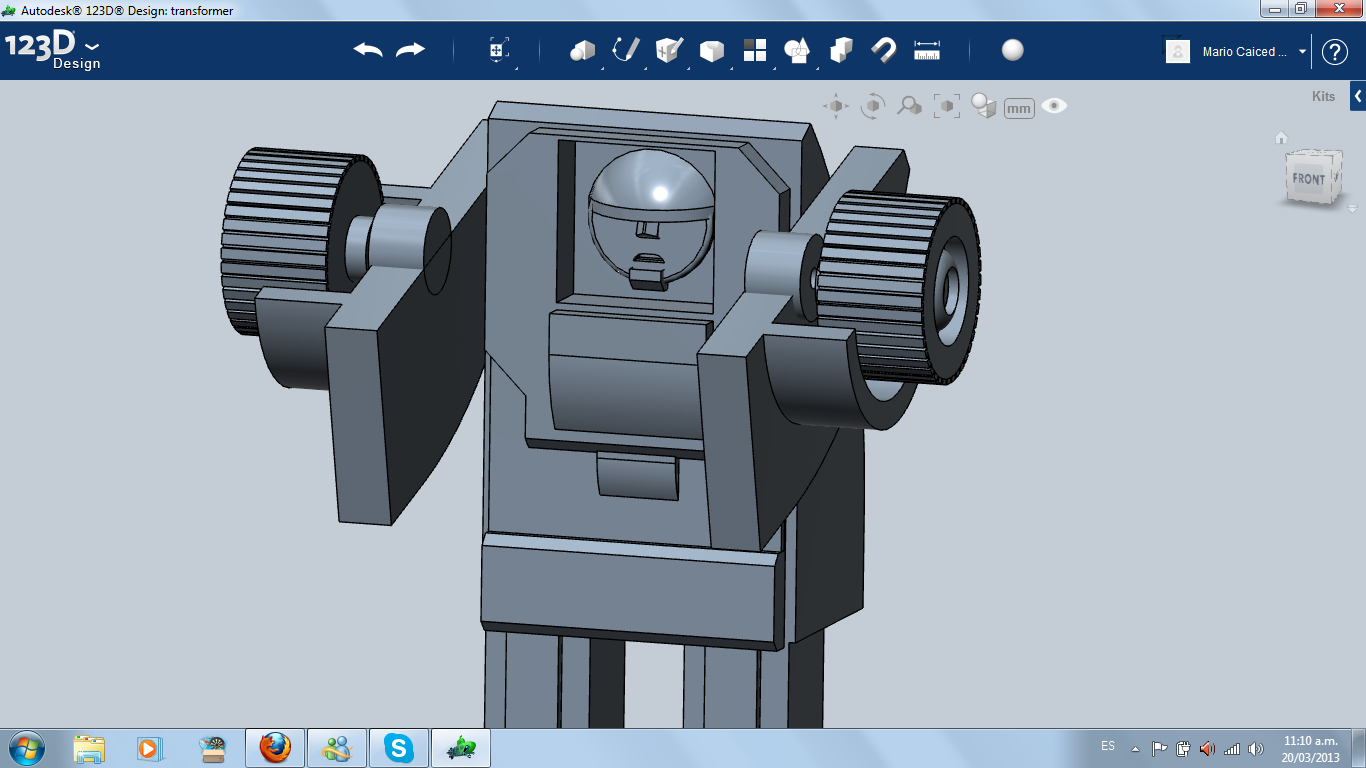
I made the face simple but with a personality. It has a visor, nose, mouth and chin, made with extruded solids.
Hands
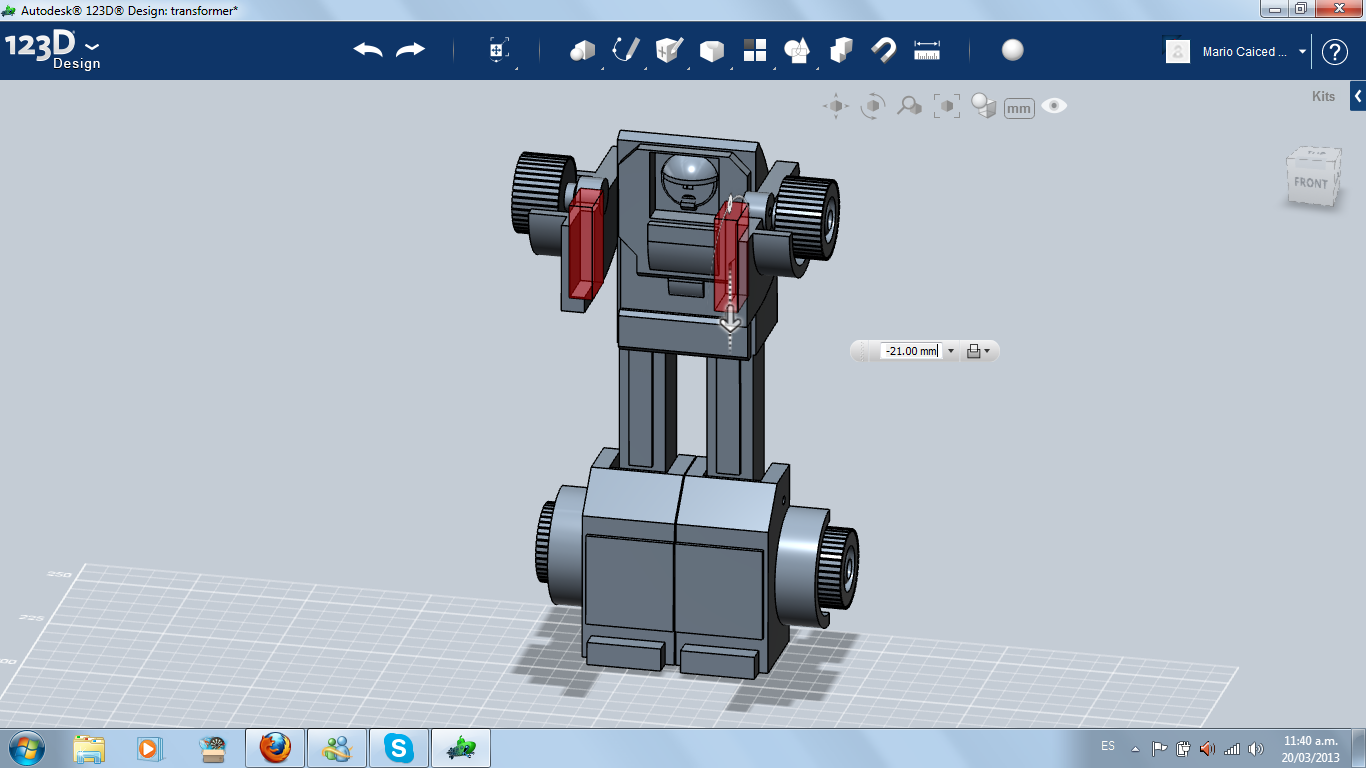
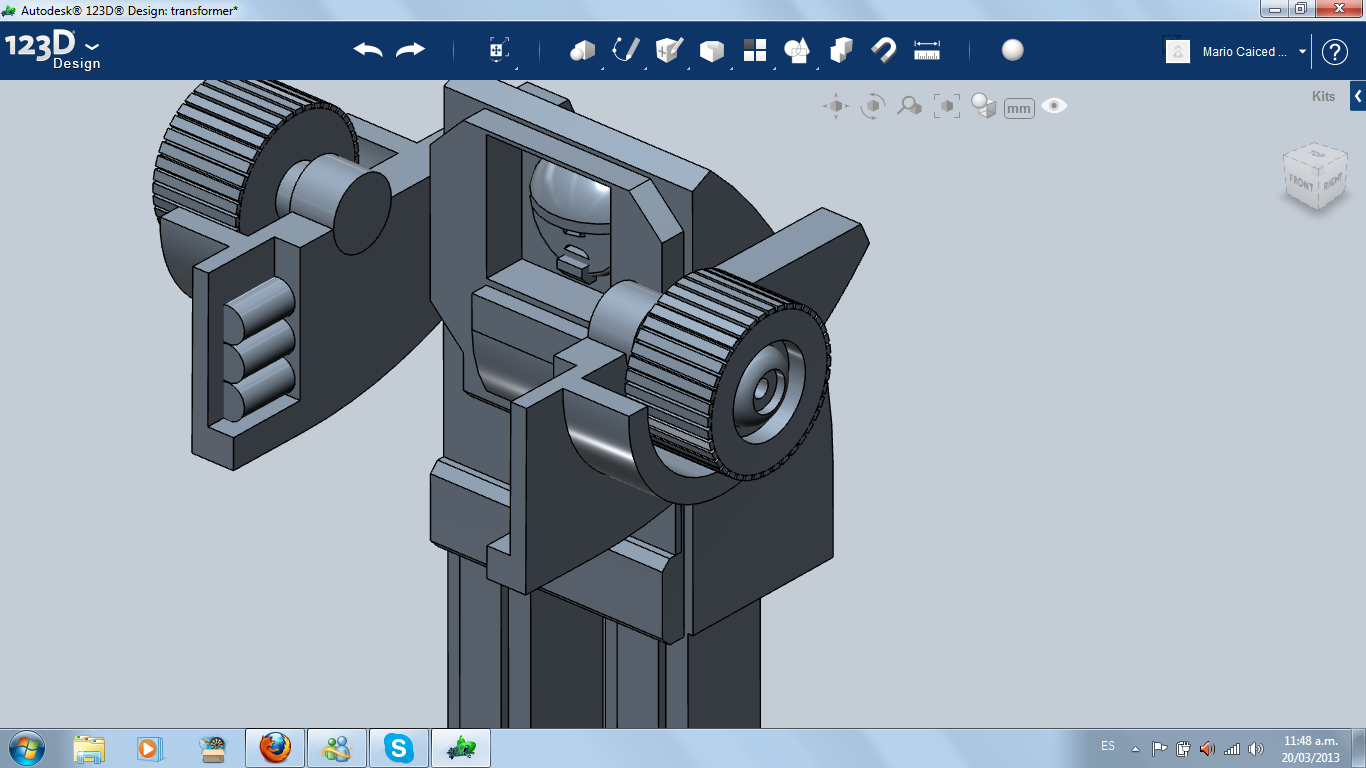
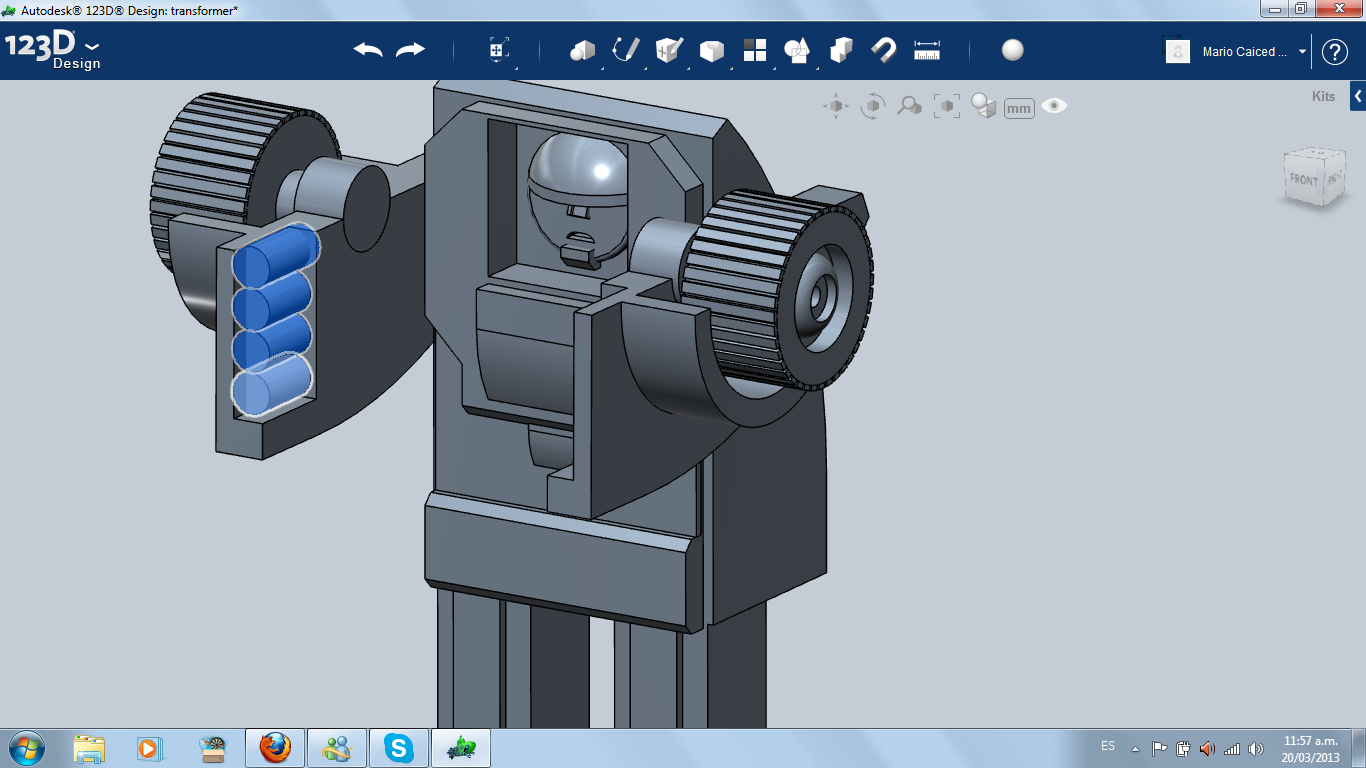
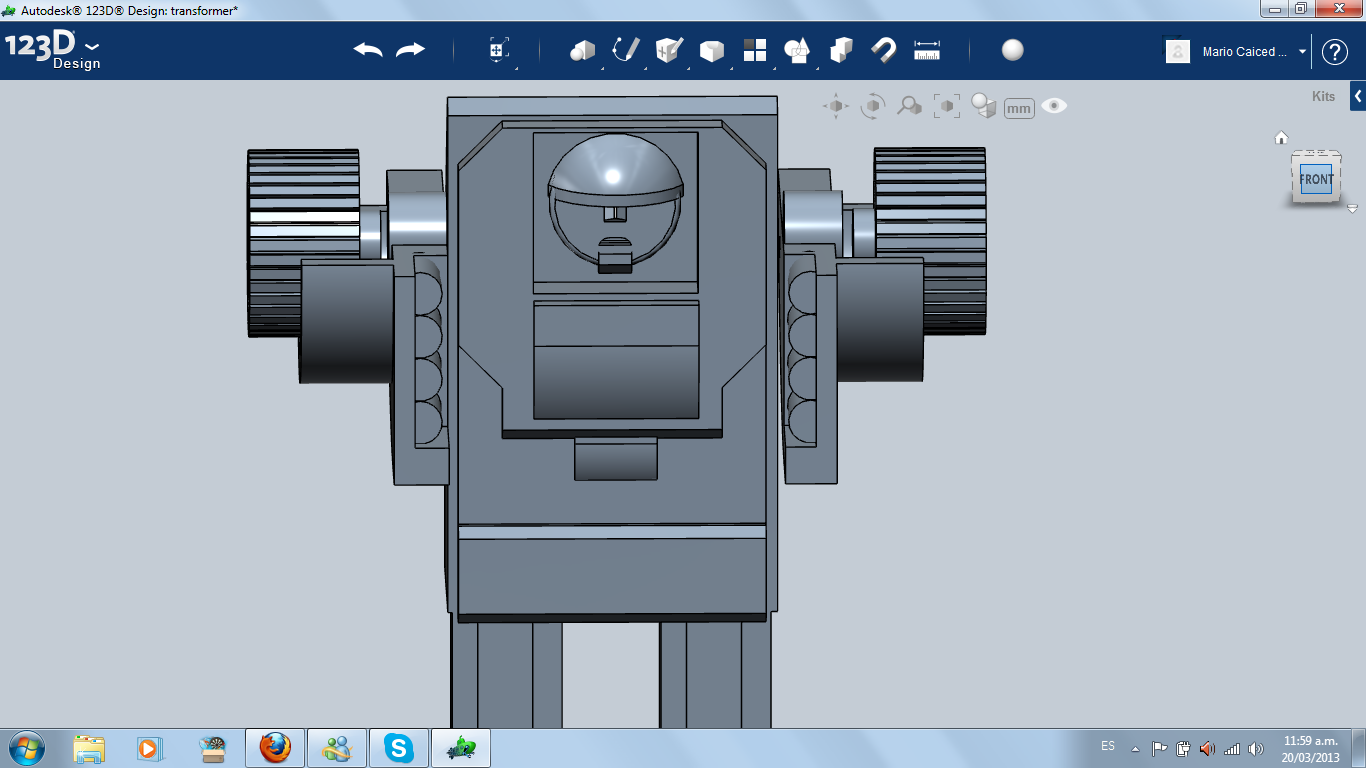
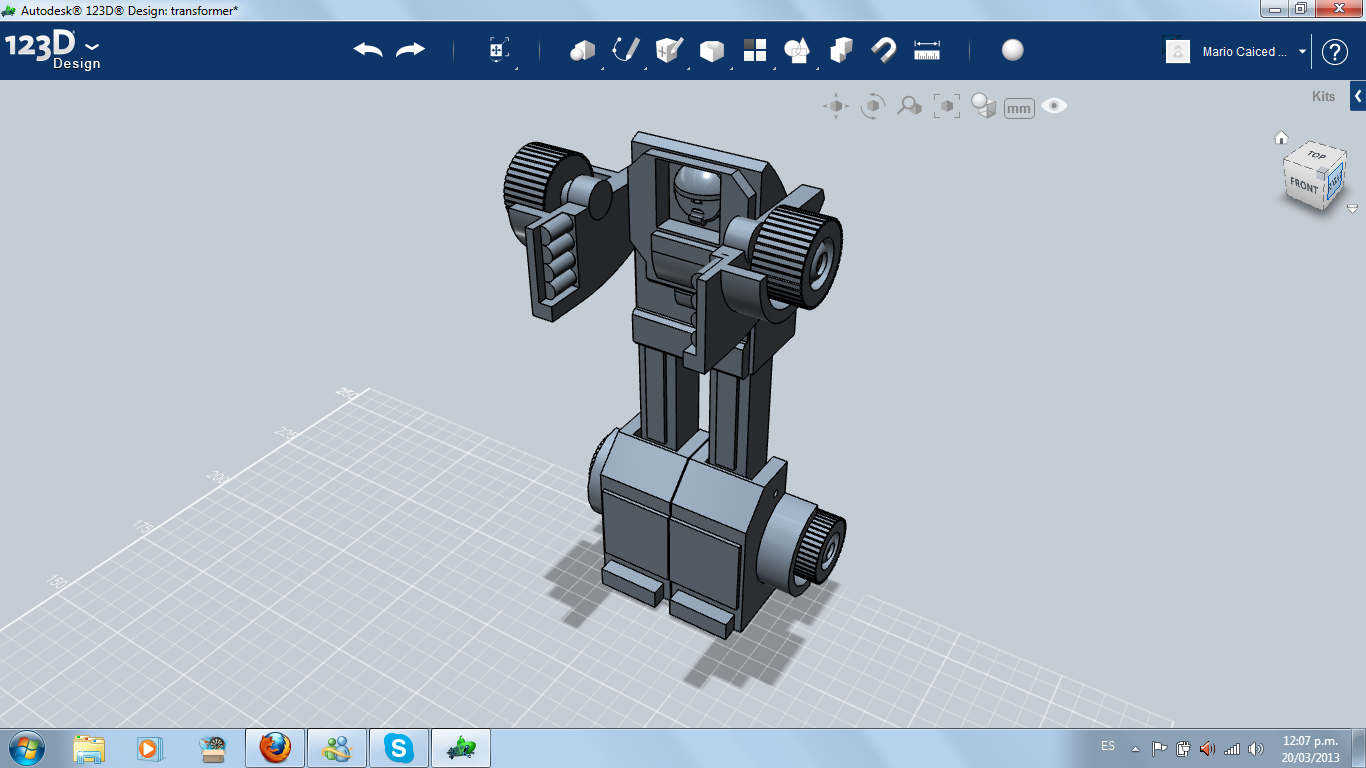
I extrude at the end of each arm and put some cylinders (fingers) in each one.
Pieces for 3D Printing
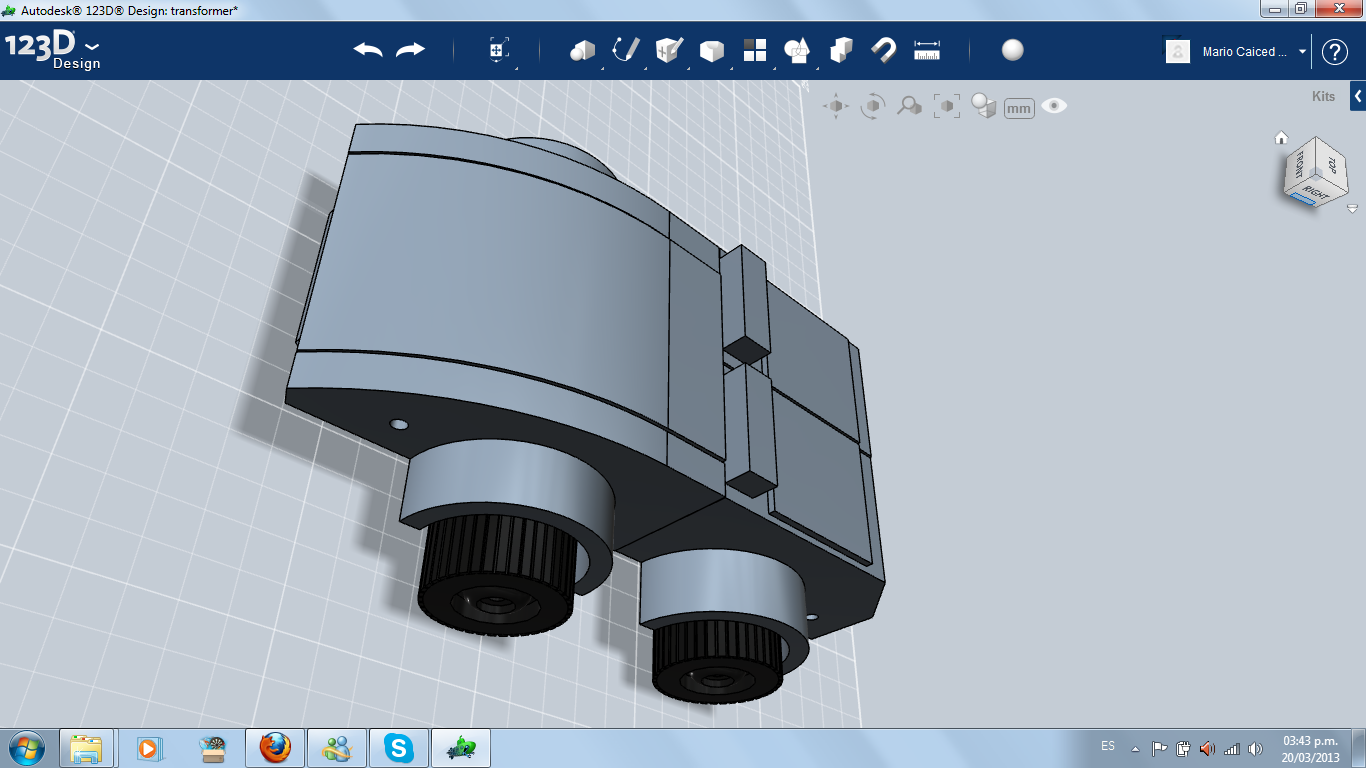
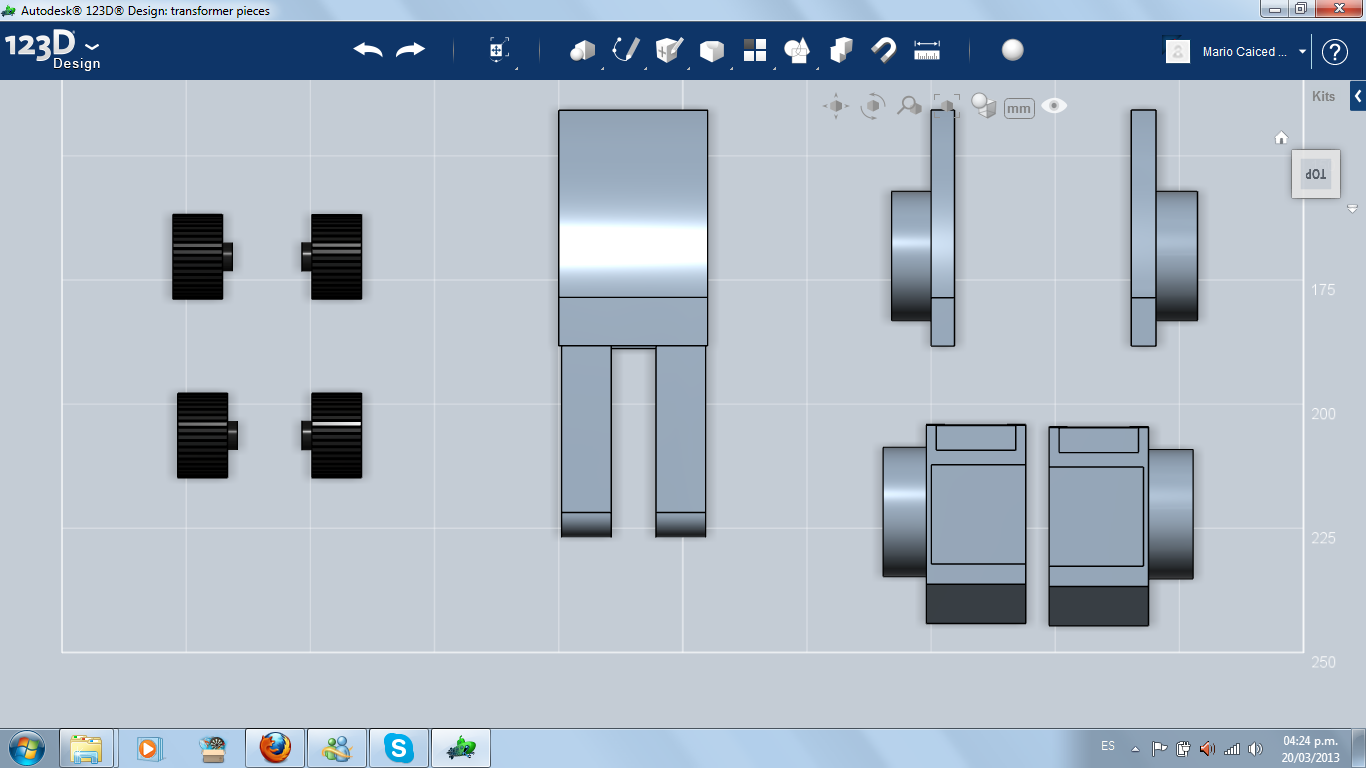
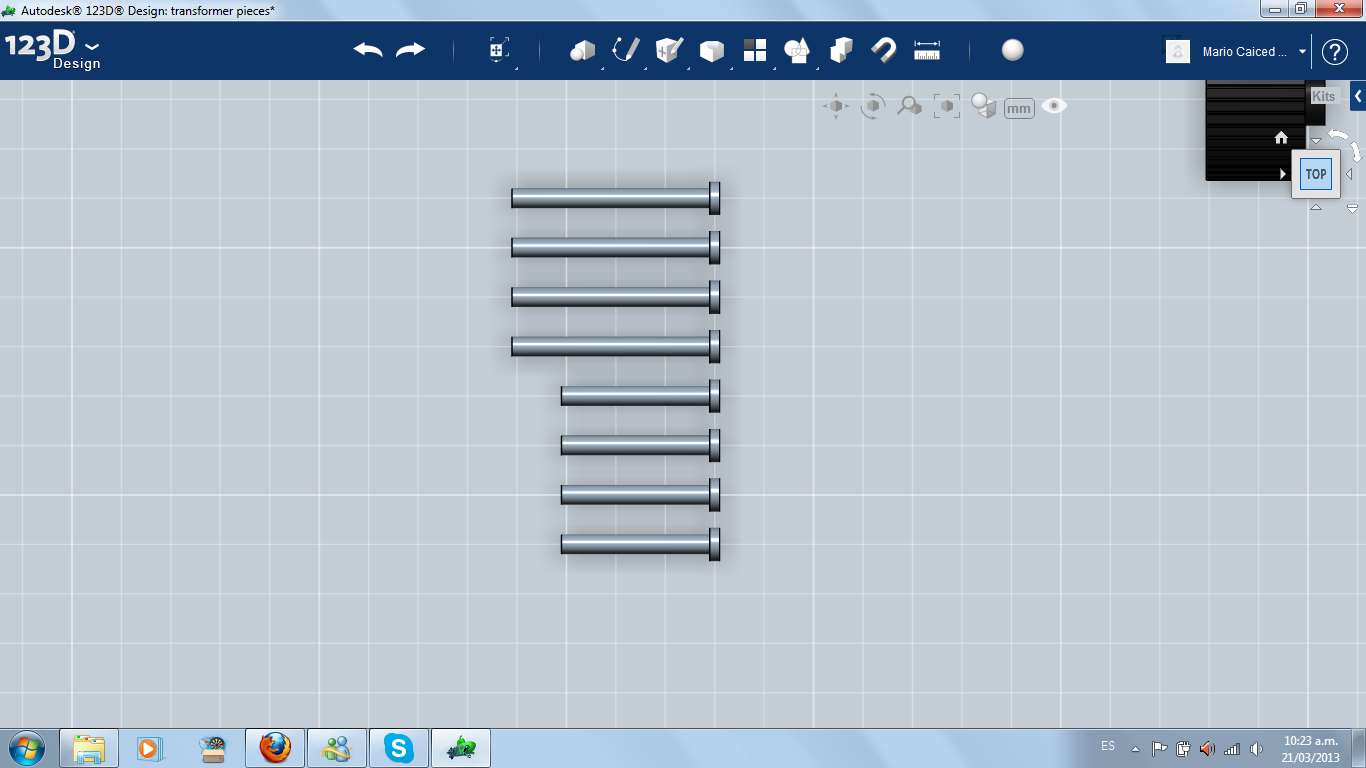
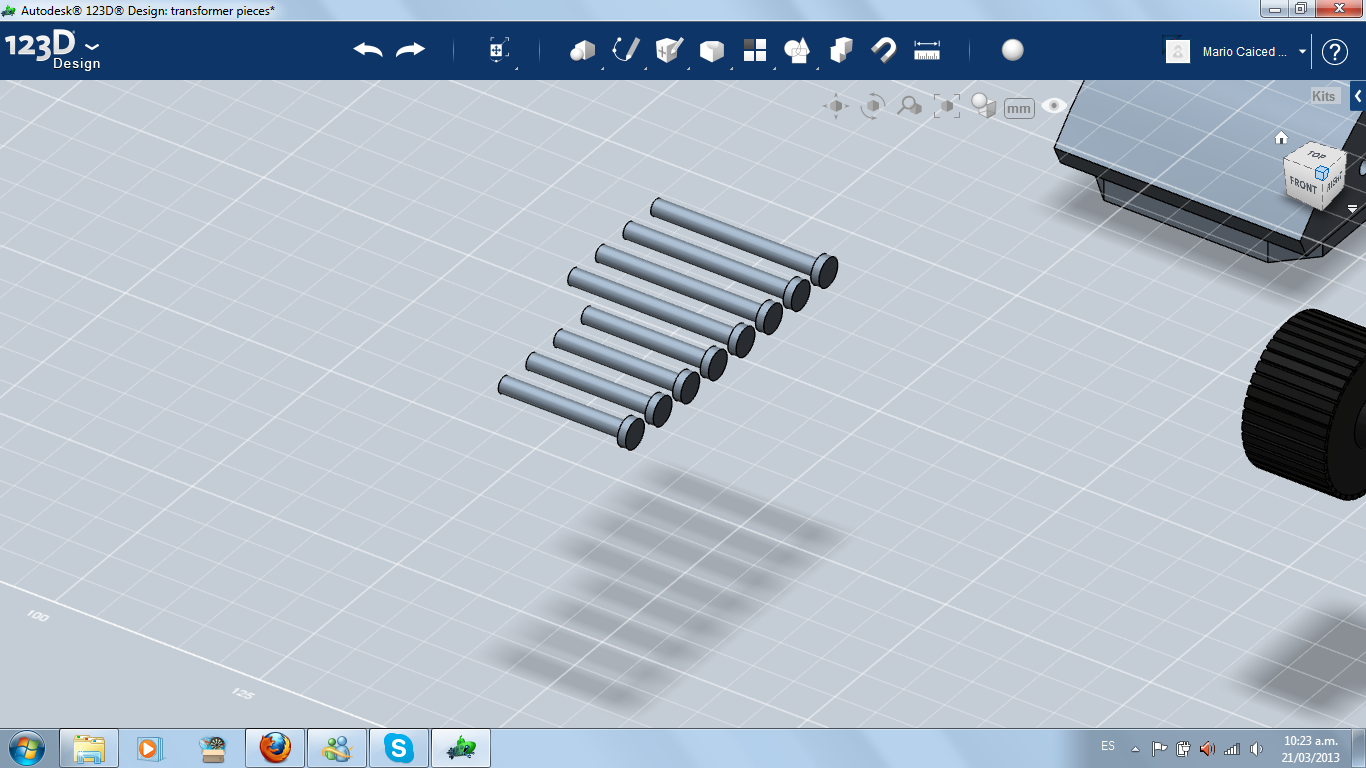
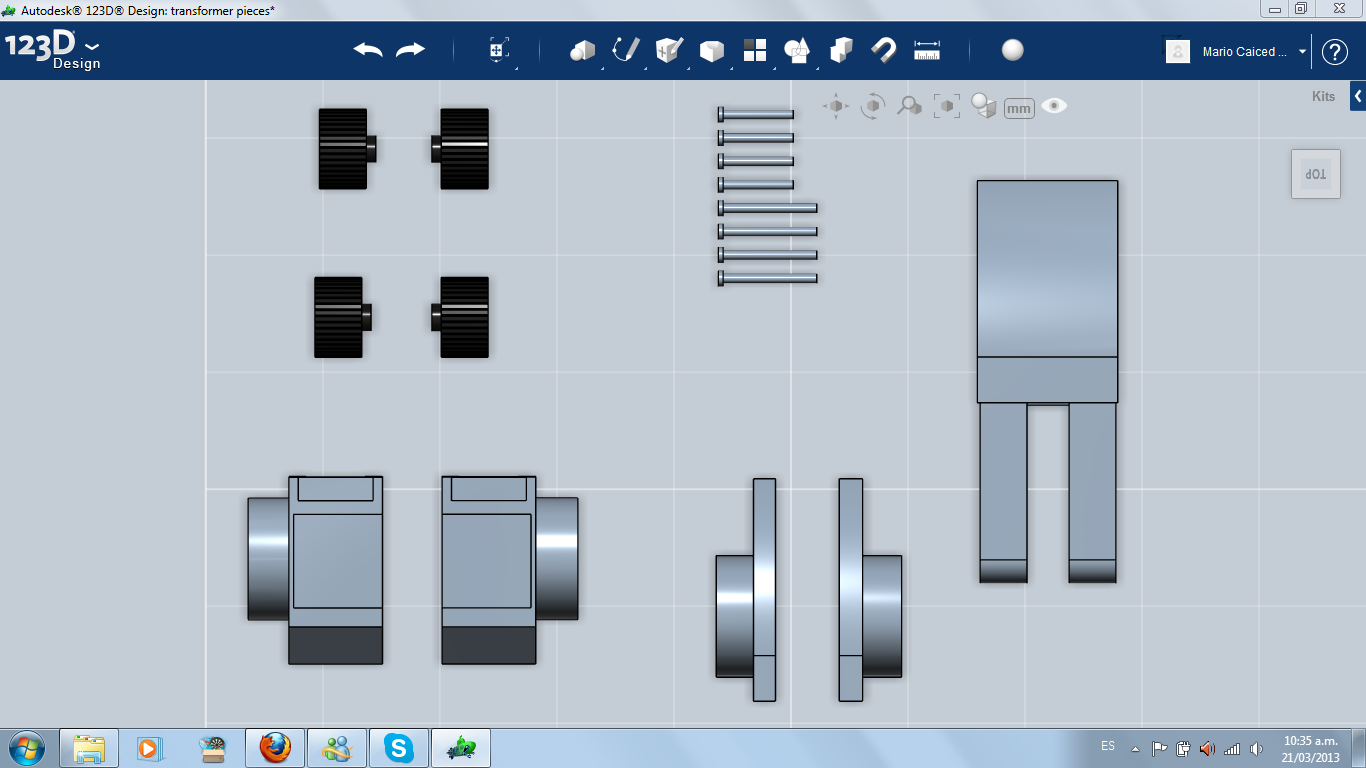
Before printing, I wanted to play with each piece, looking around for possible failures. I realized I need to make pivots, I corrected some axis troubles and combined free parts of each piece.
(Later I realized I can print the whole transformer without divide it in pieces, only with a few arrangements. I will keep it in mind for my next 123D project).
(Later I realized I can print the whole transformer without divide it in pieces, only with a few arrangements. I will keep it in mind for my next 123D project).
Printed Pieces and Cleaning
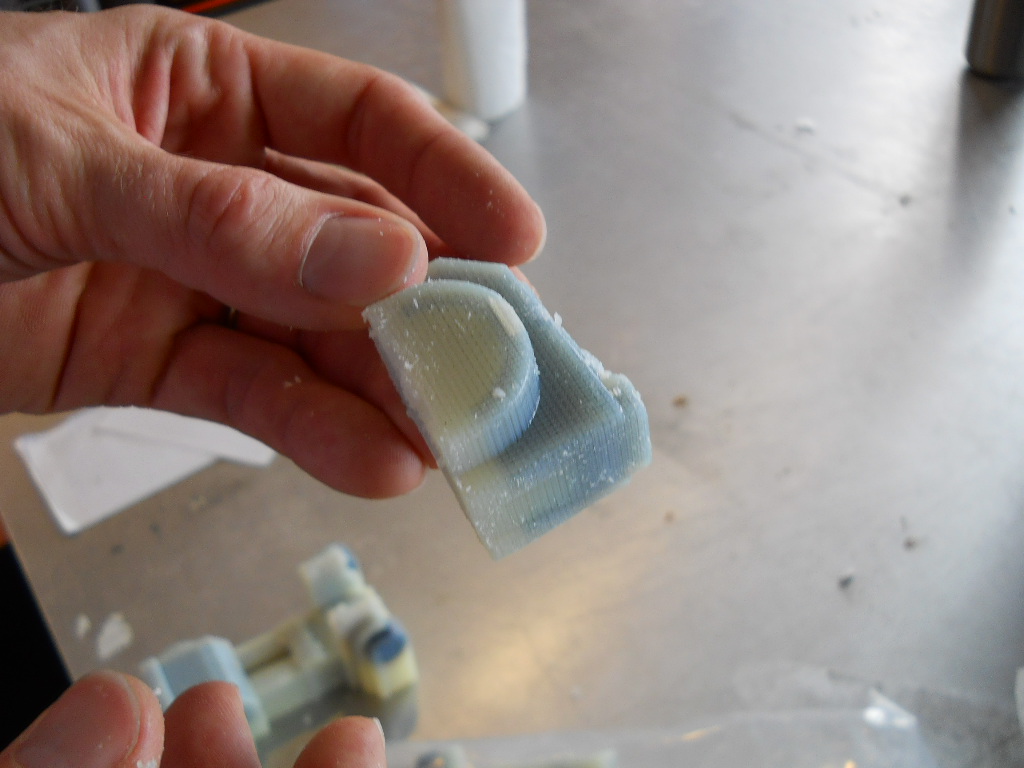
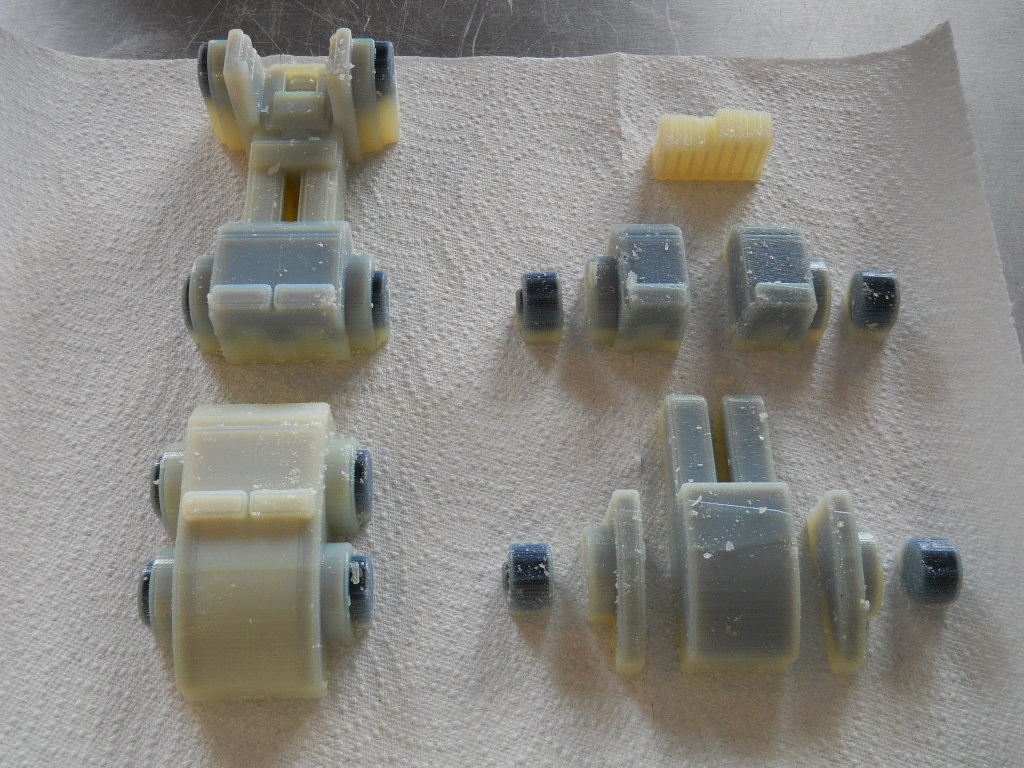
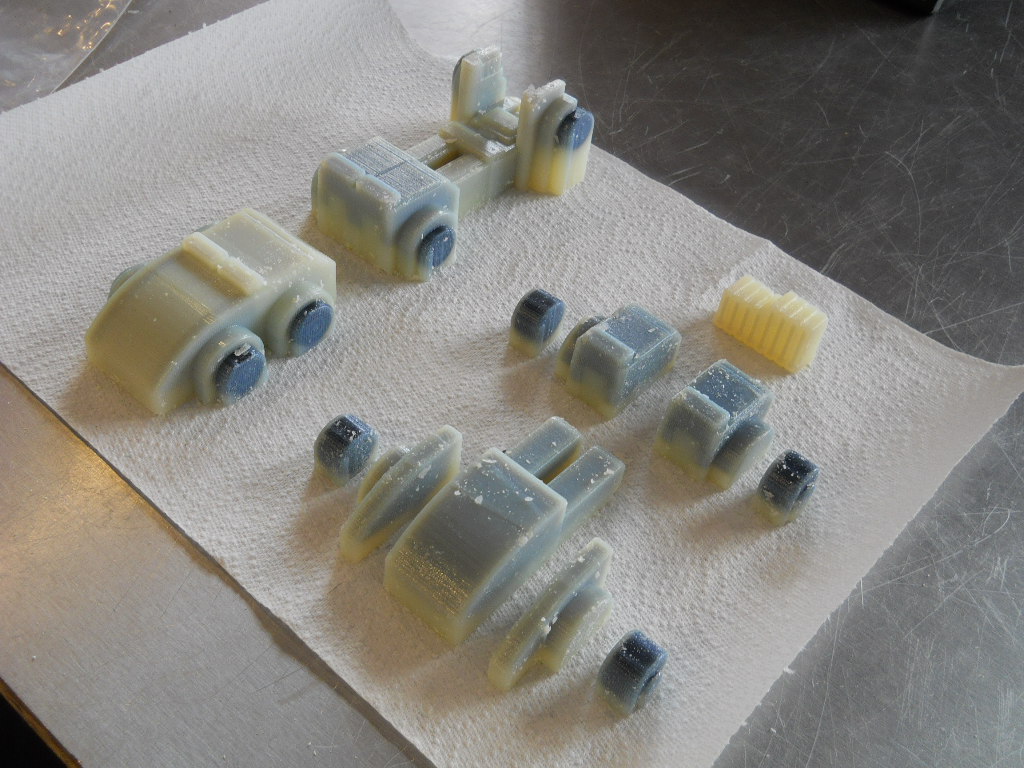
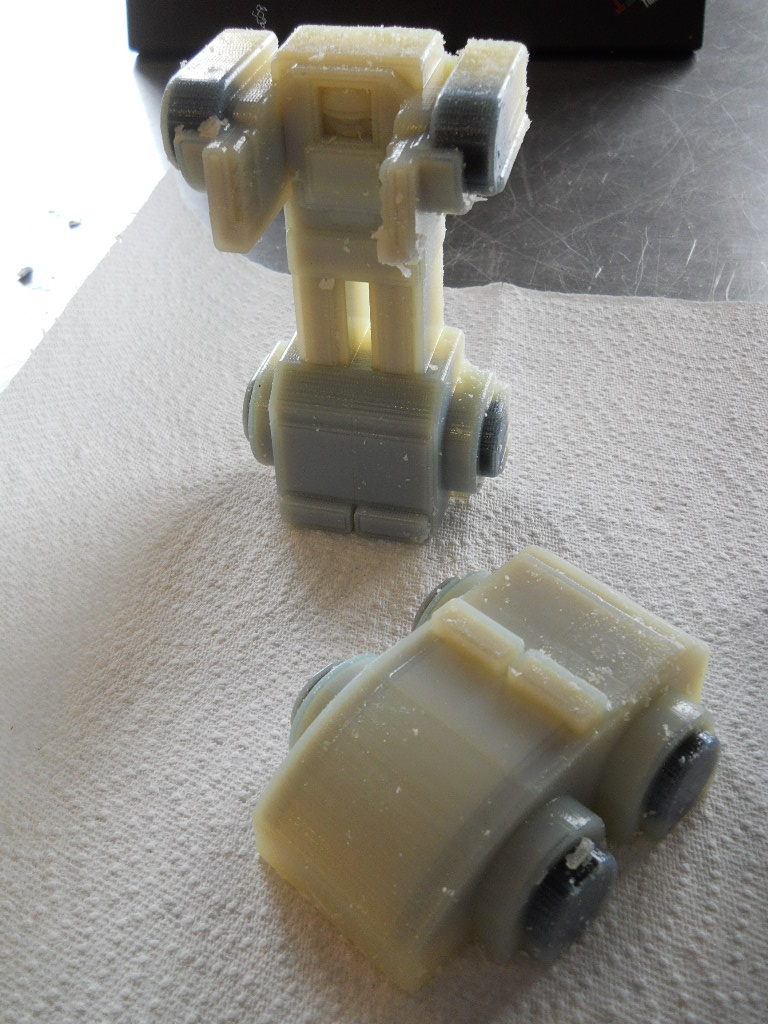
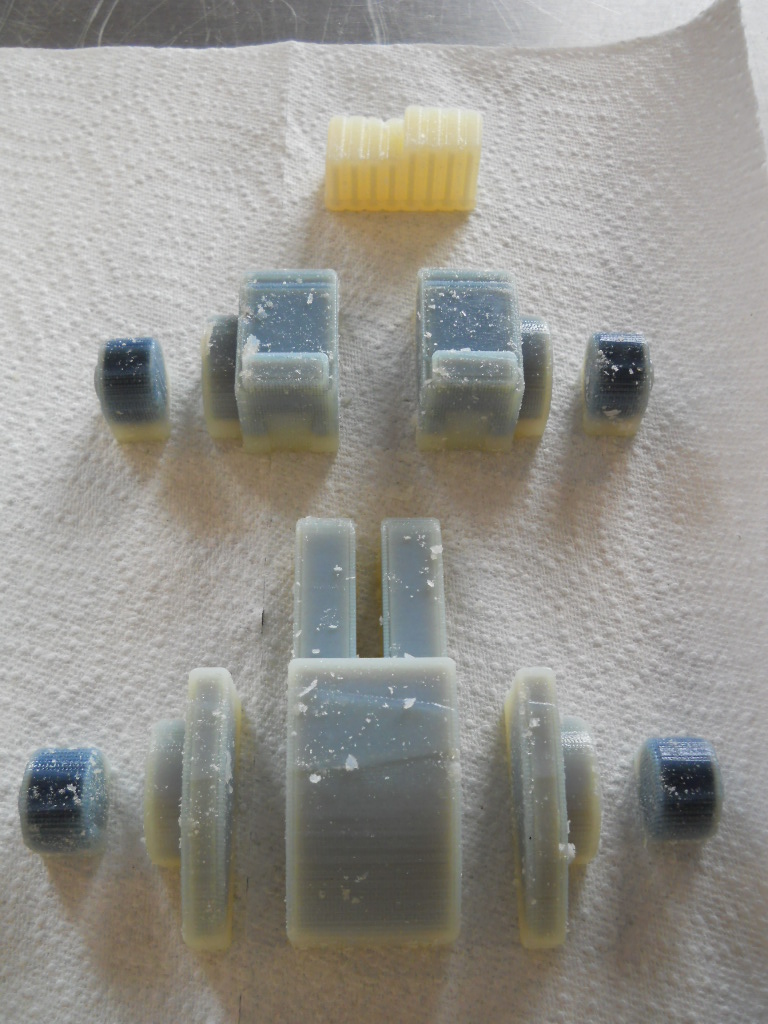
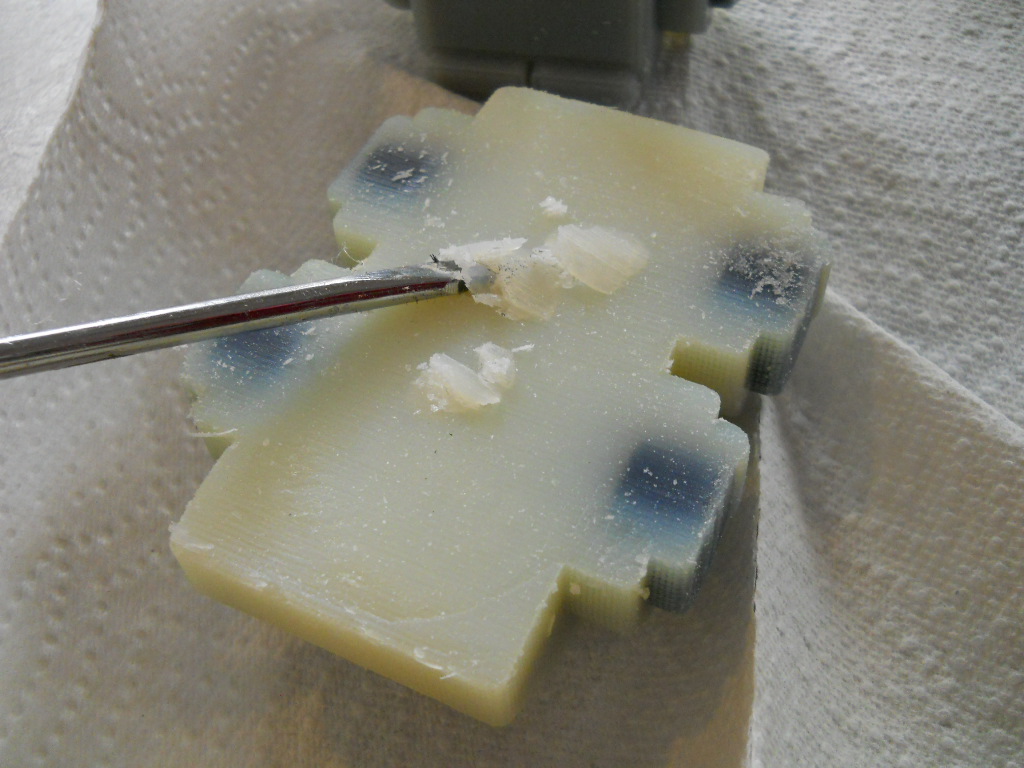
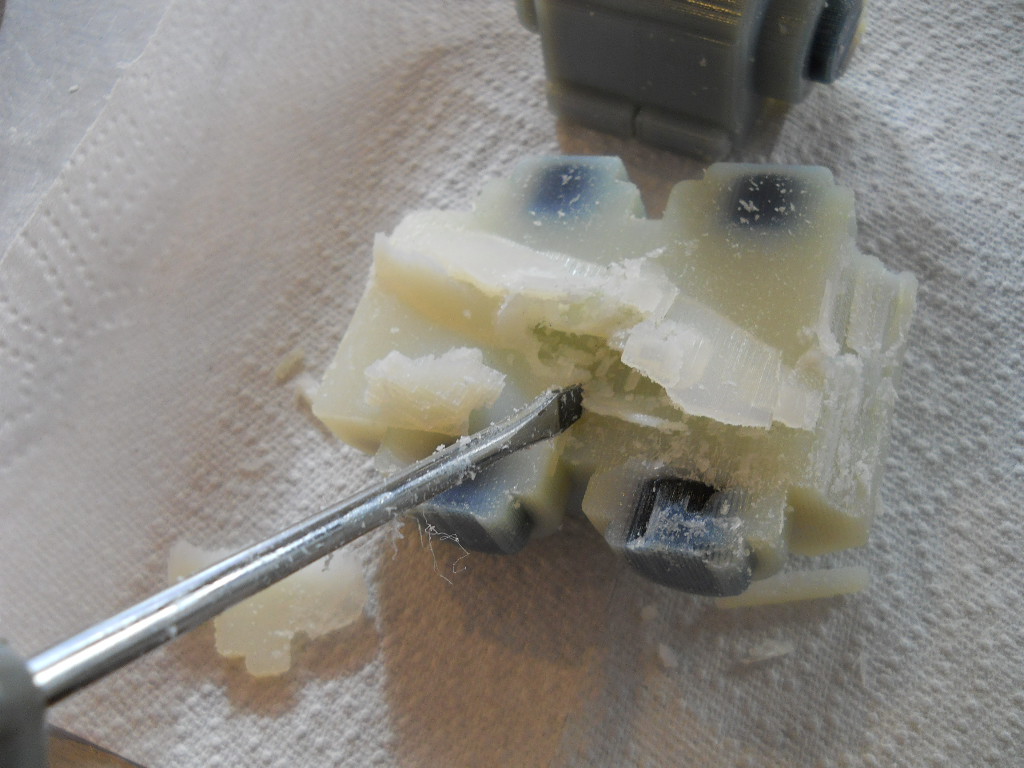
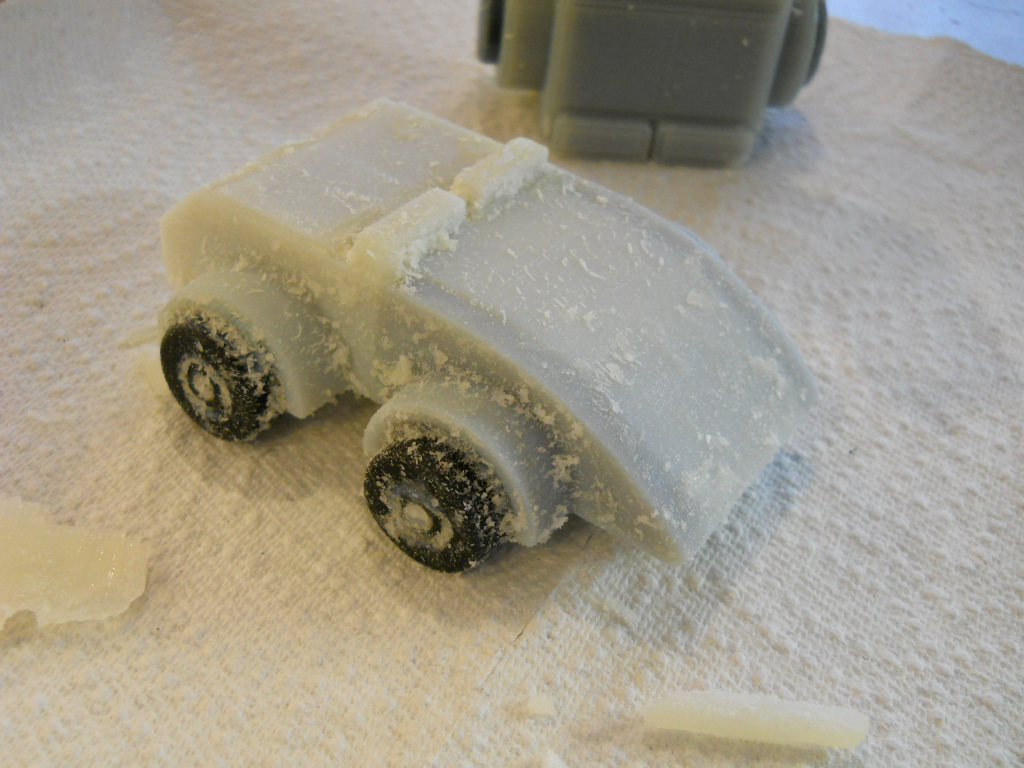
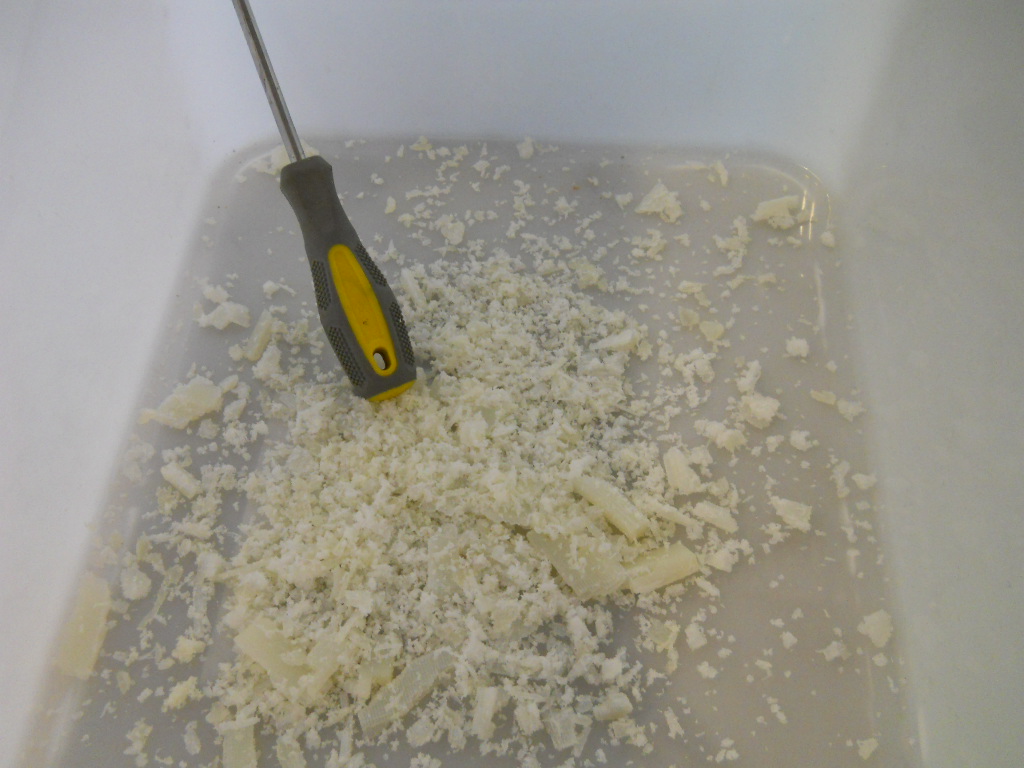
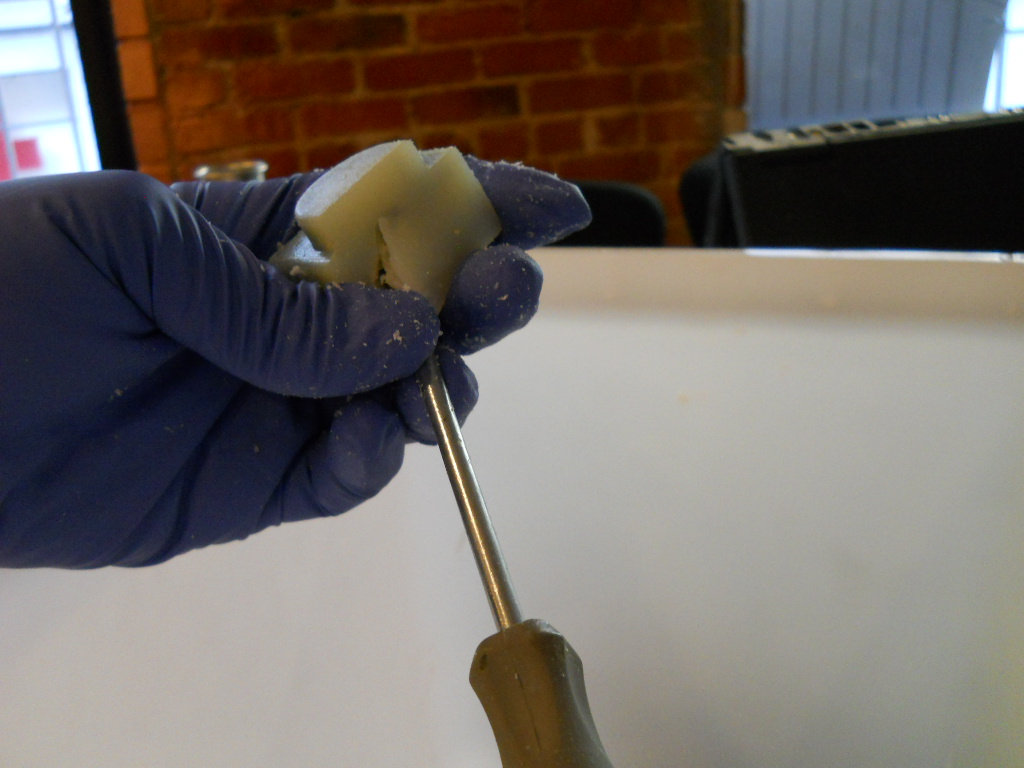
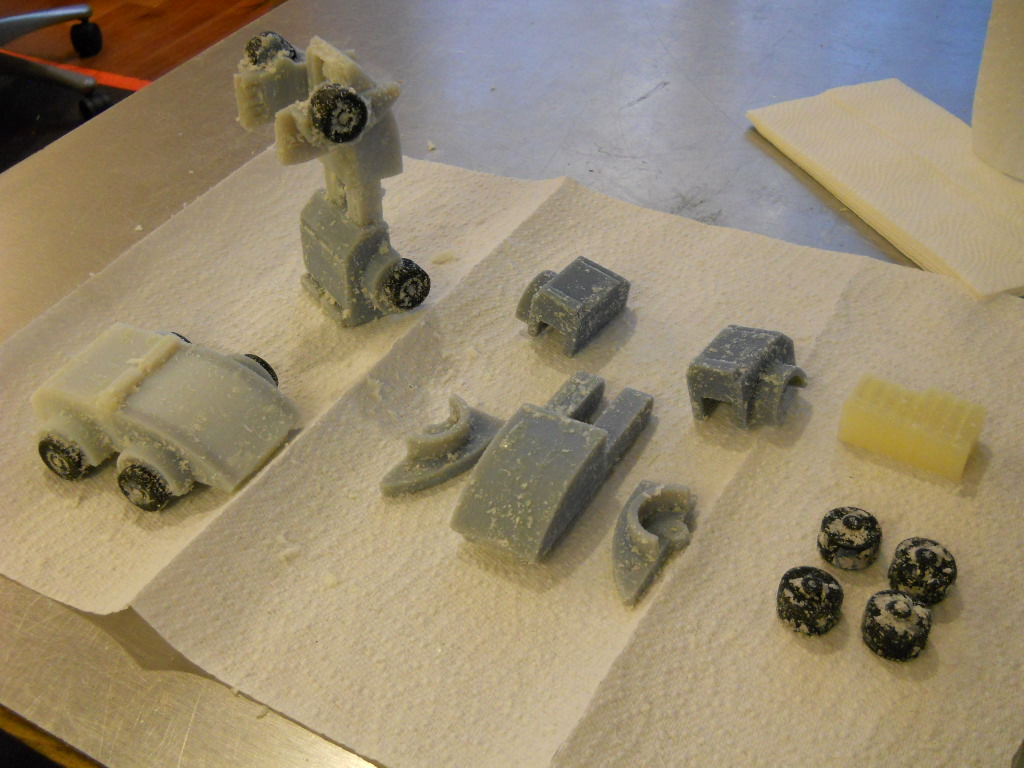
The time has come. The car model, the robot model and the pieces were 3D printed in the new Instructables Anex. Now is time for removing the support material and cleaning the pieces. The best is to use a pointy tool like and screwdriver, latex gloves and a box for disposing the leftover material. It must be done carefully. At the end, washing the hands and cleaning all the surfaces that made contact with the printed material are highly recomended.
Washing the Pieces
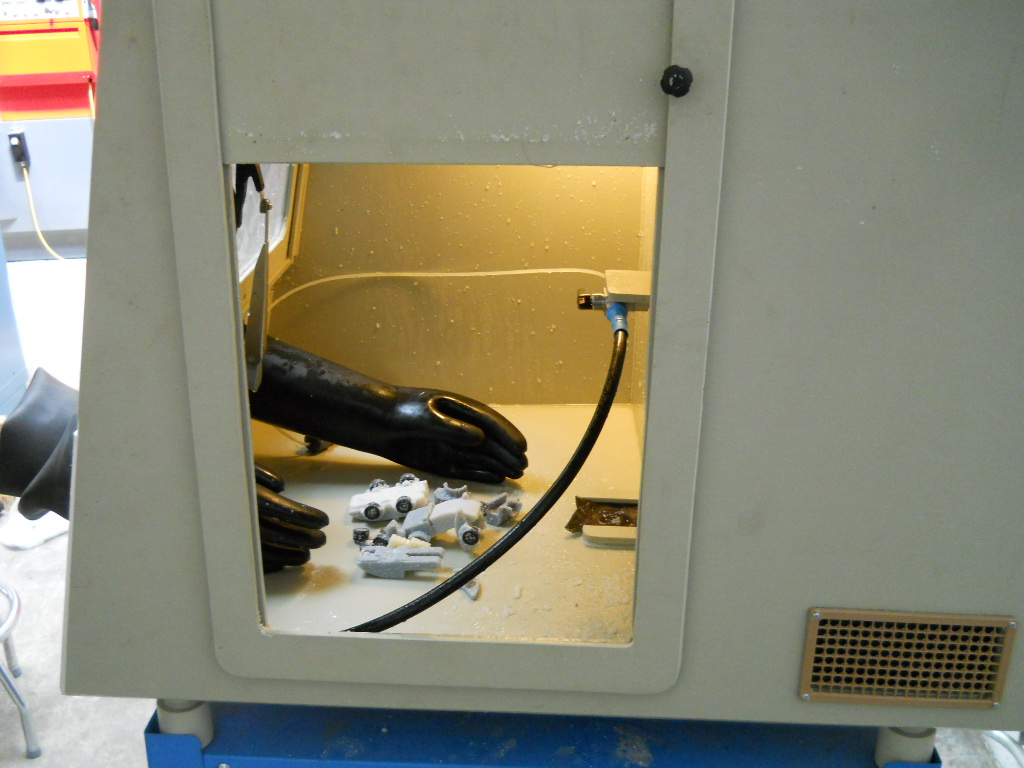
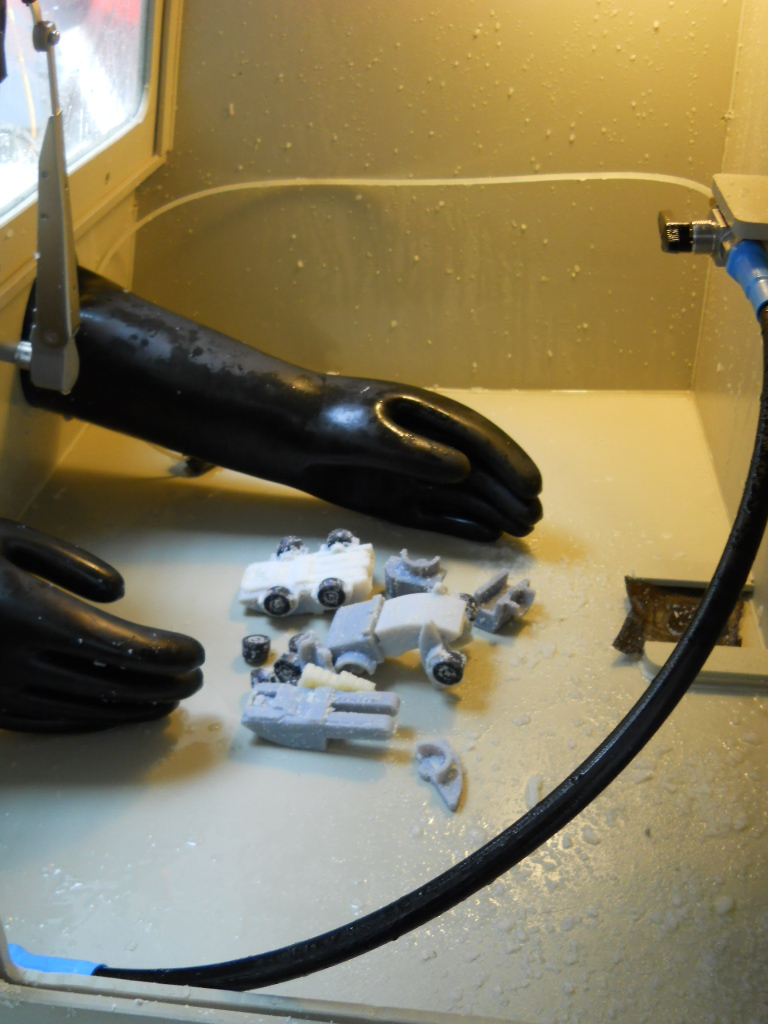
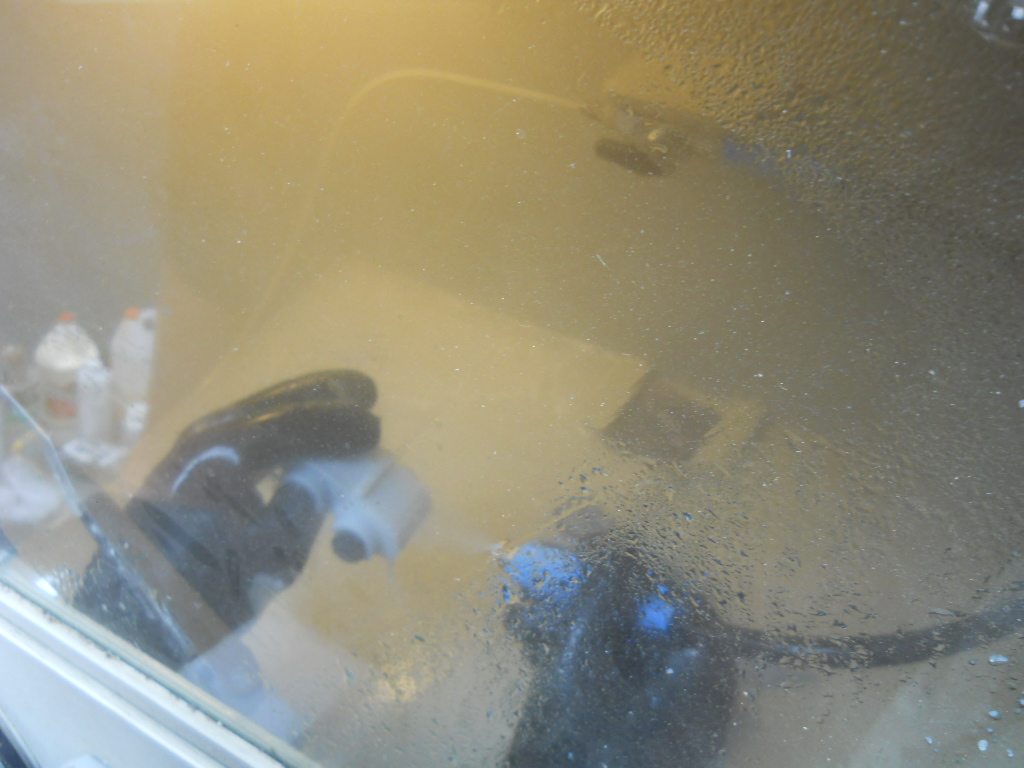
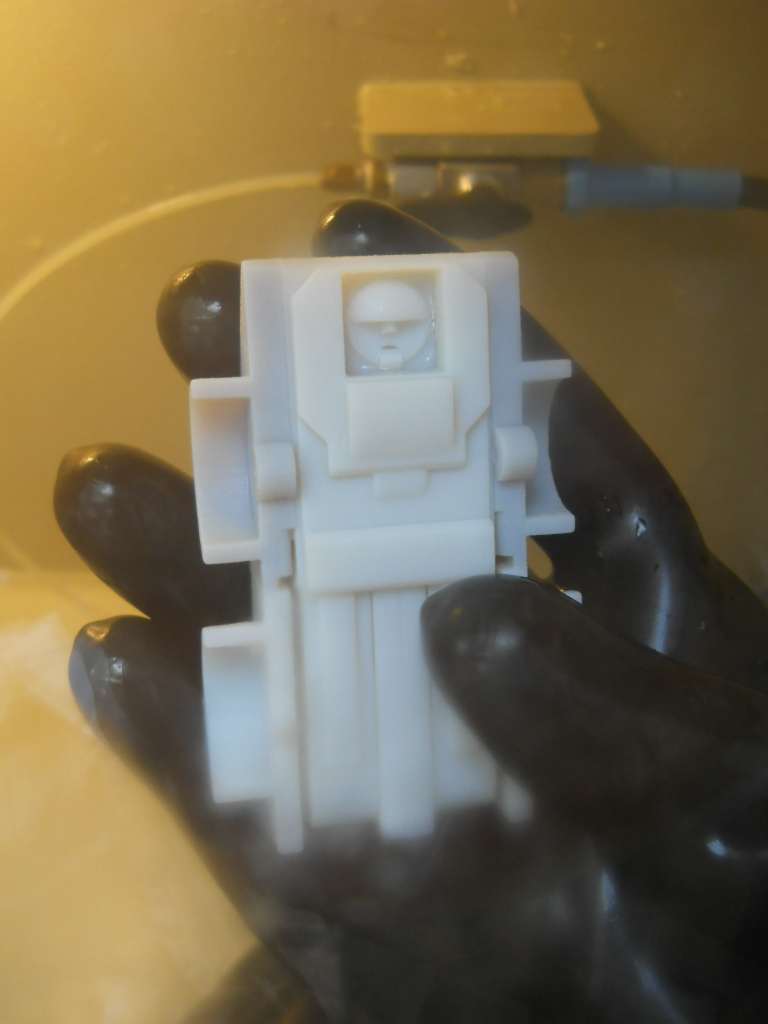
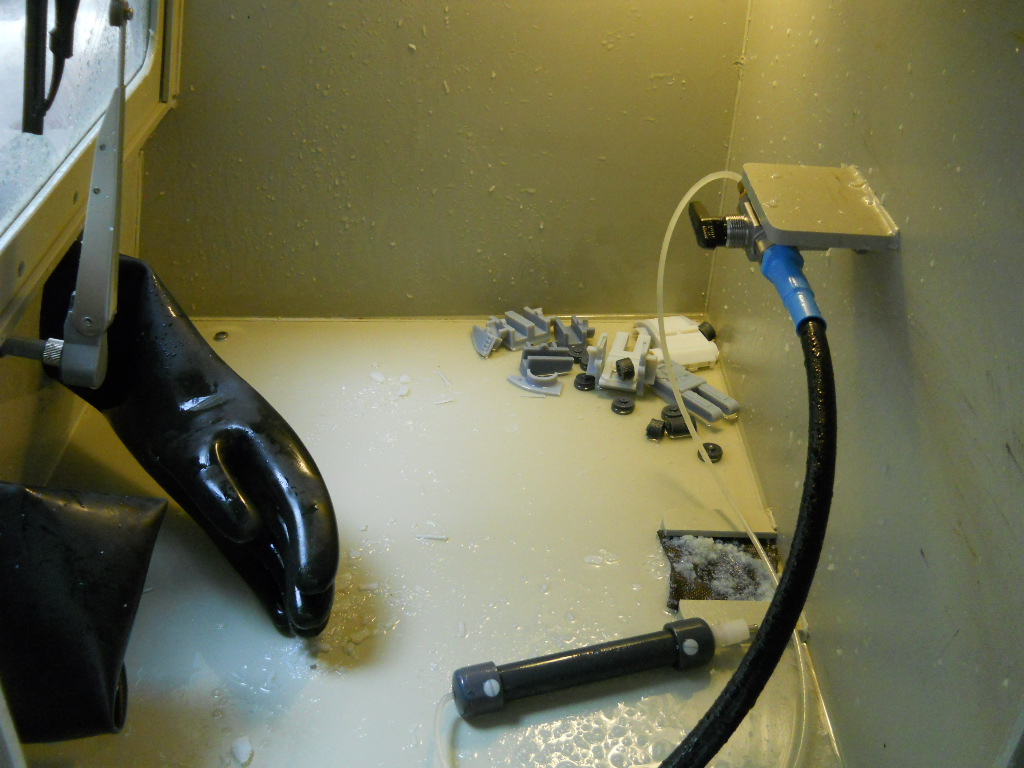
In the Instructables Anex on TechShop, I used the water jet (the one for cleaning, not the one for cutting metal) for removing the remaining support material.
Attaching the Pieces
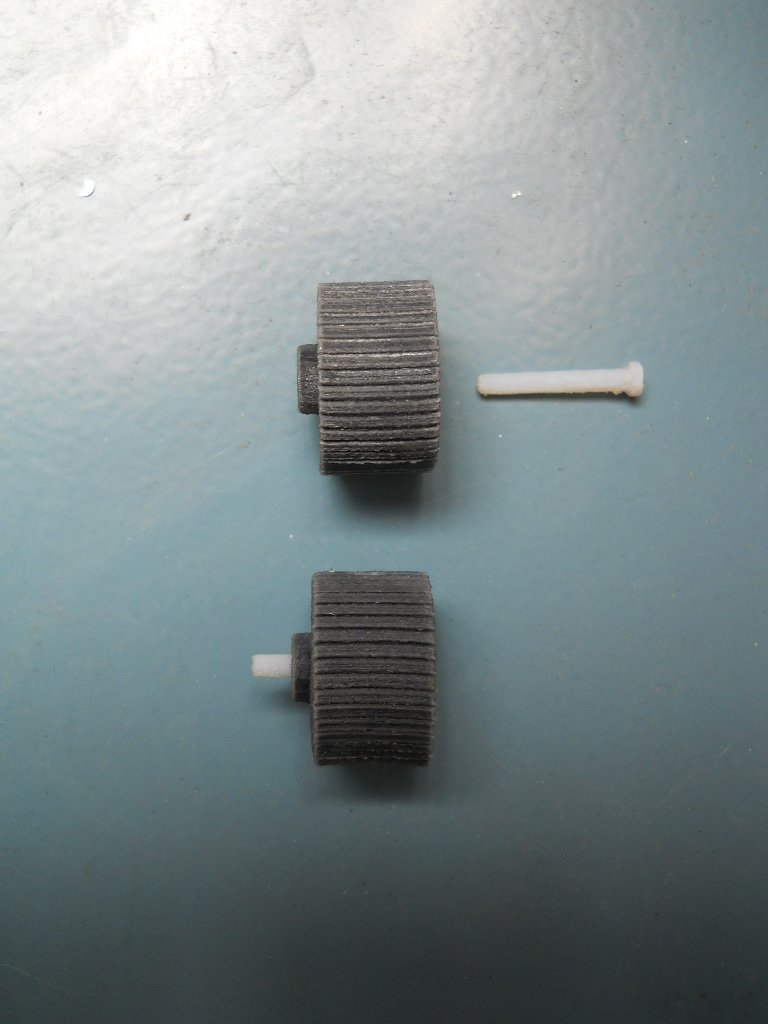
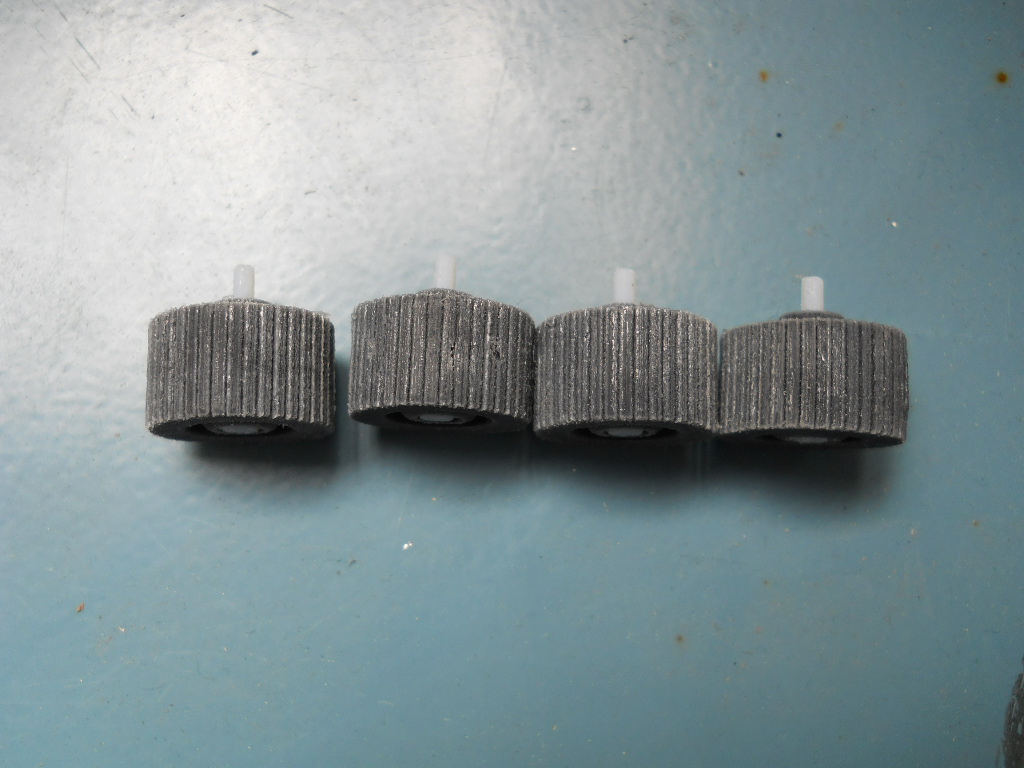
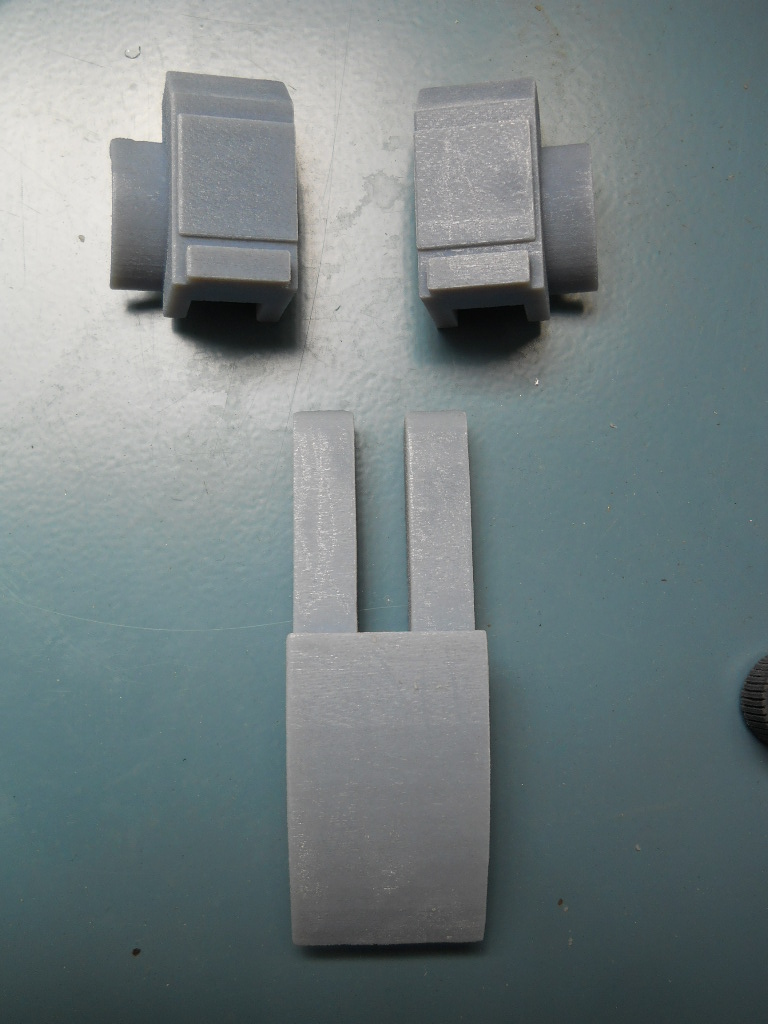
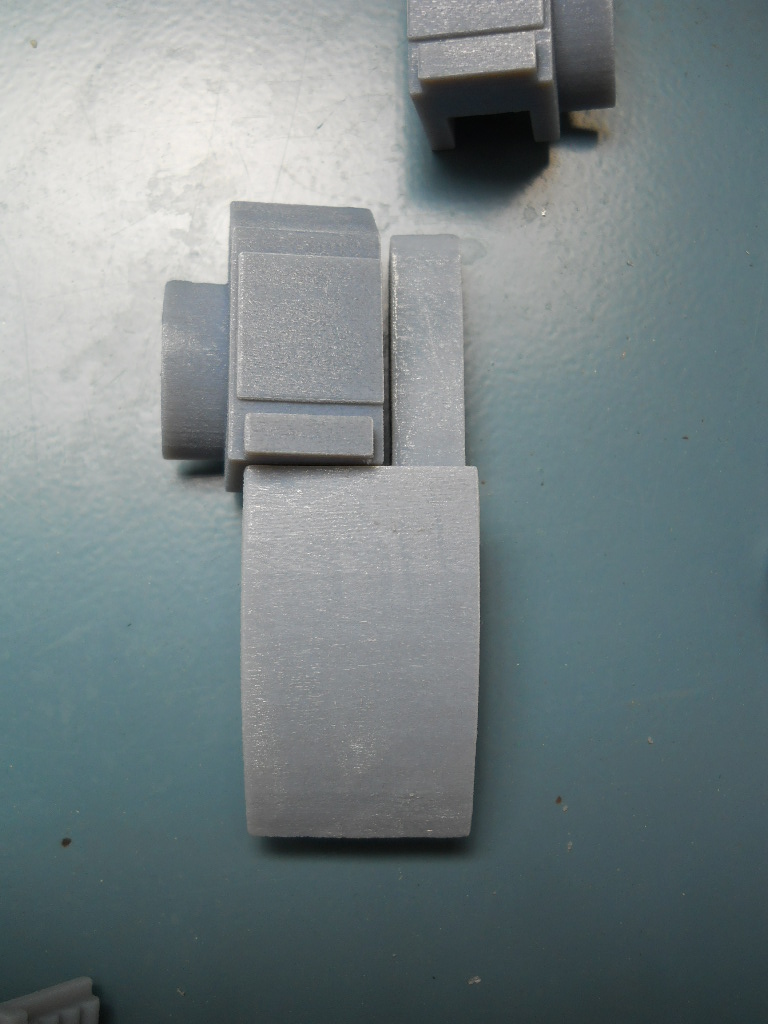
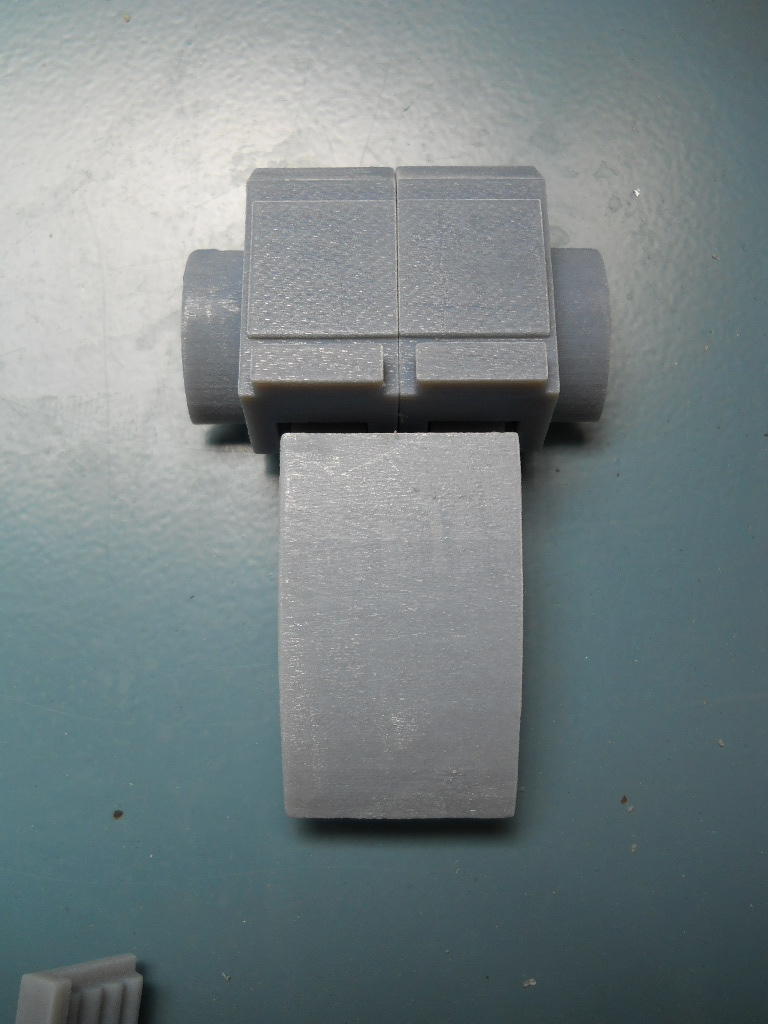
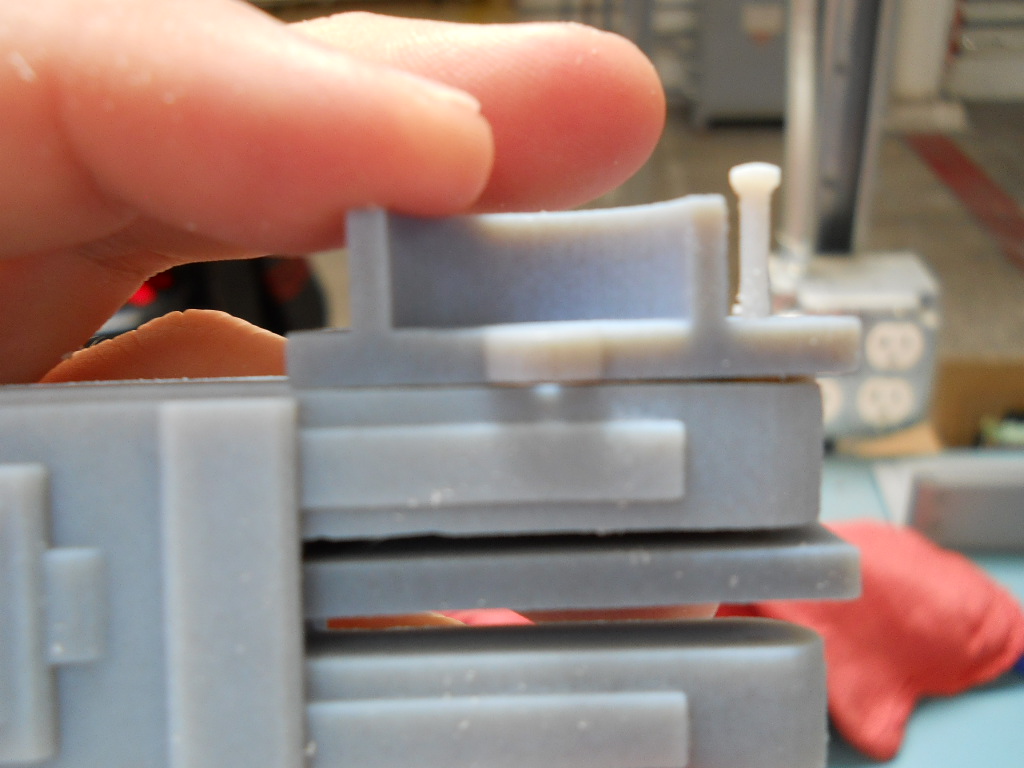
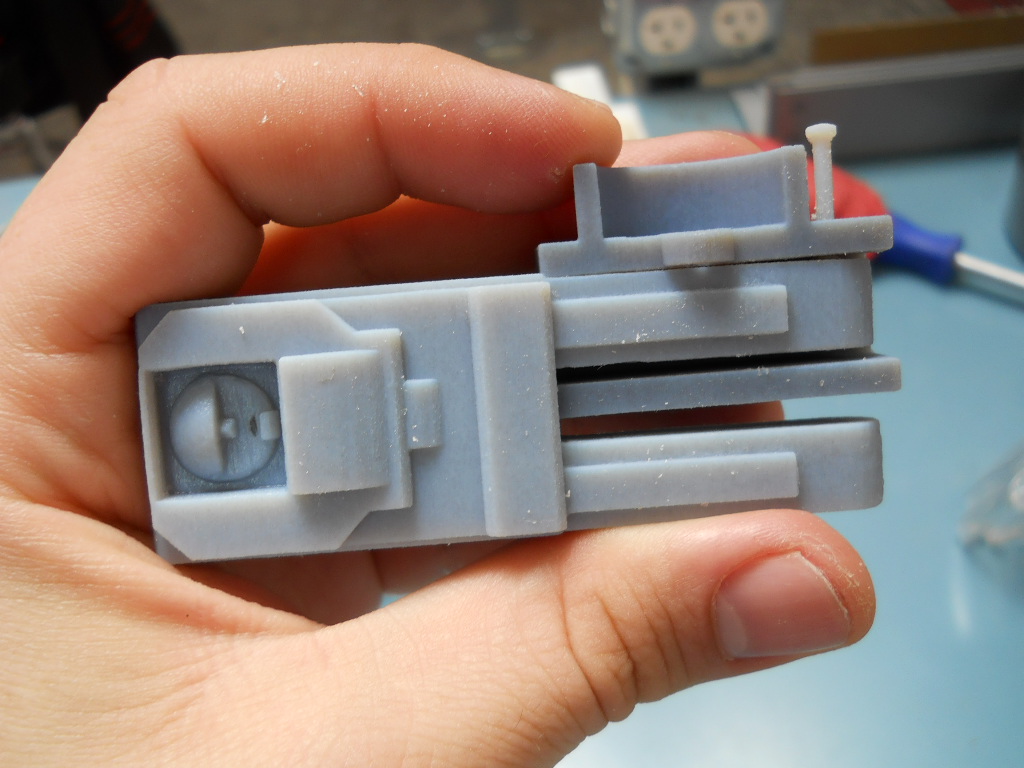
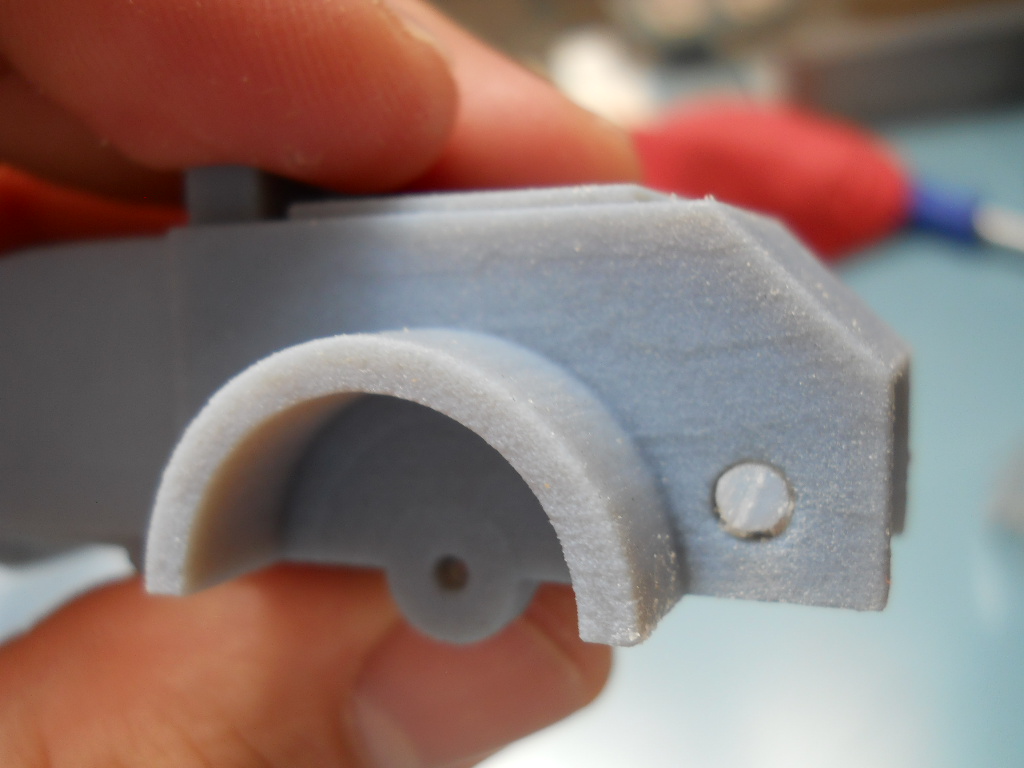
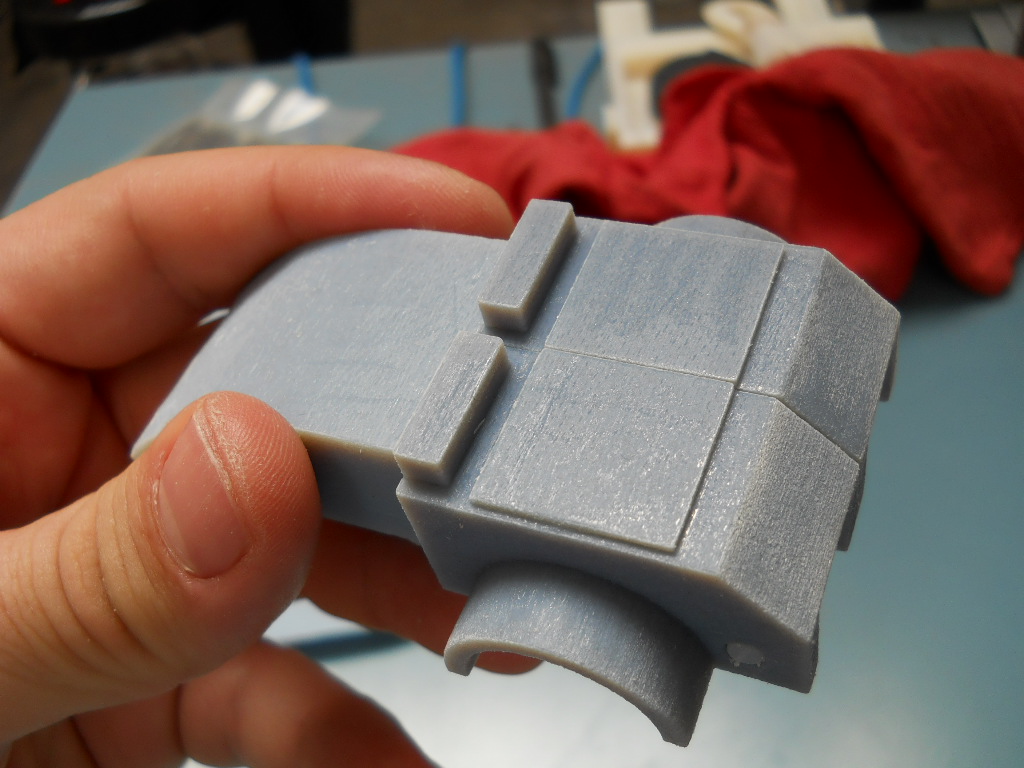
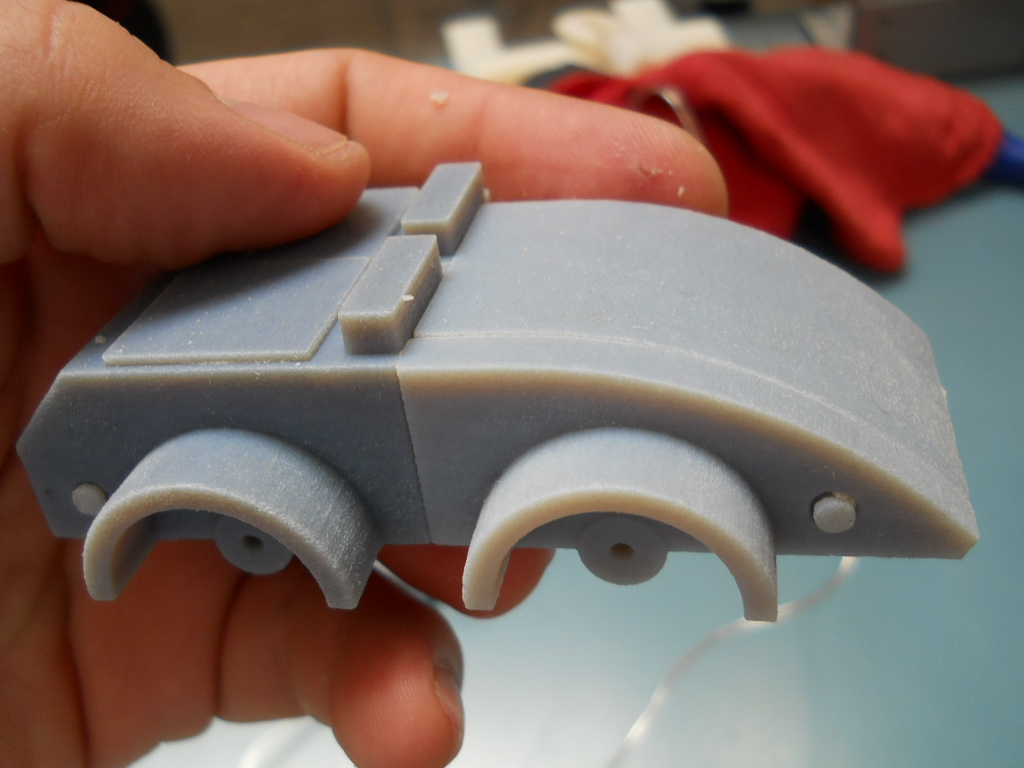
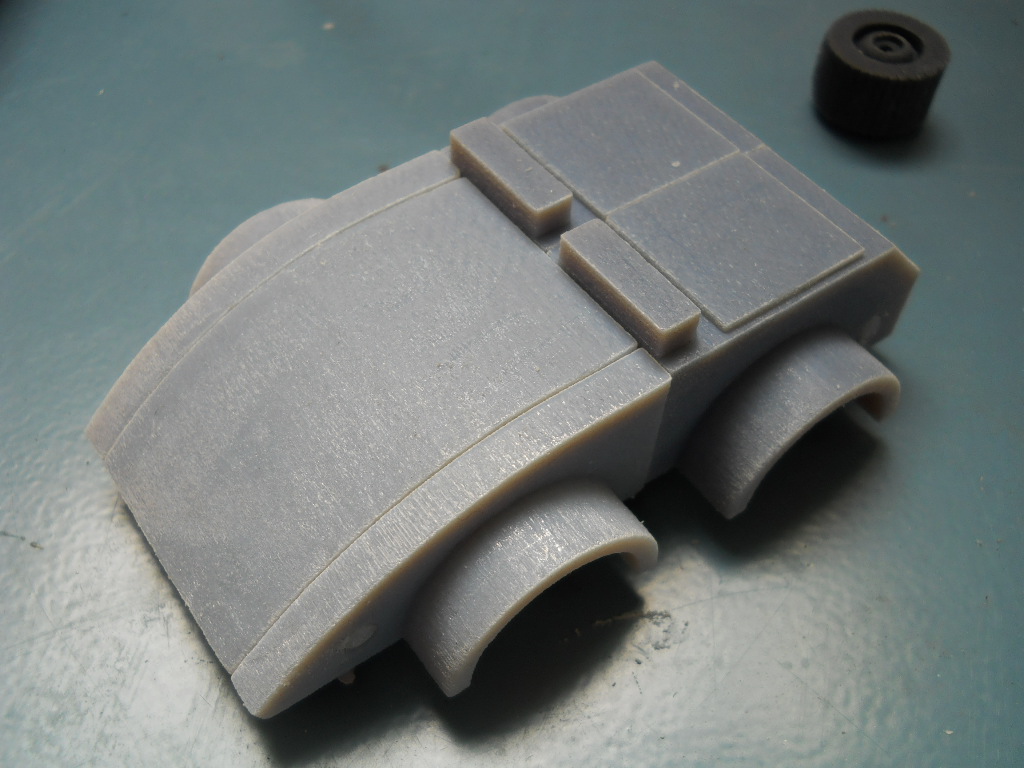
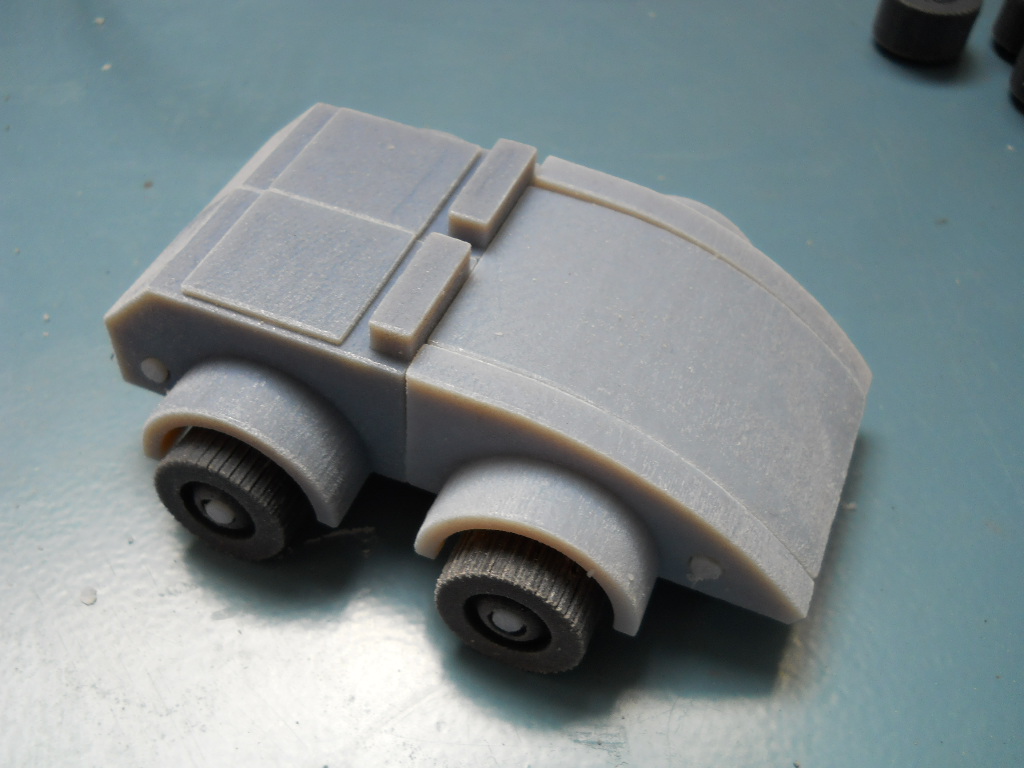
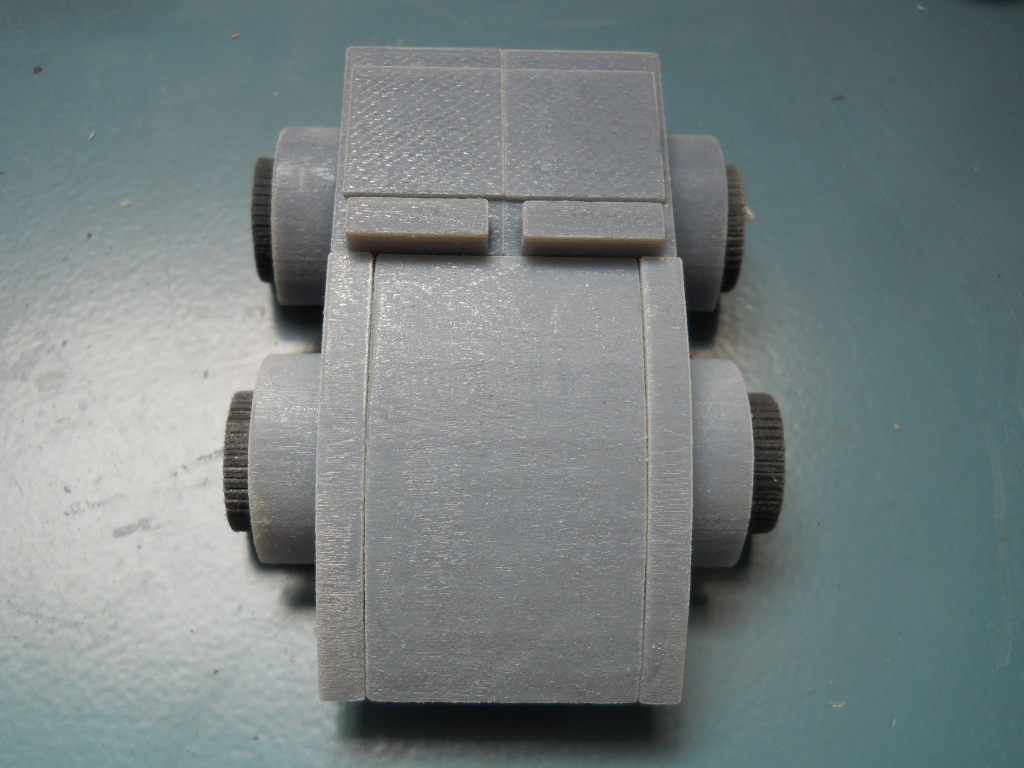
According to the 123D Design model, I attached the pieces.
Definitive Transform!
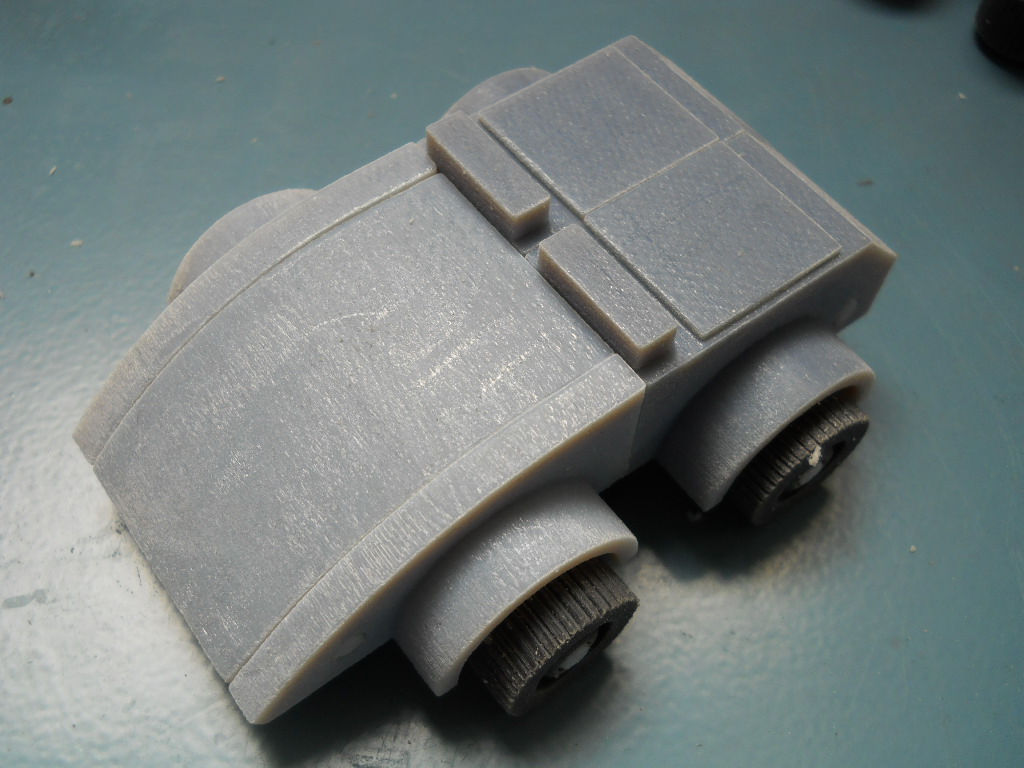
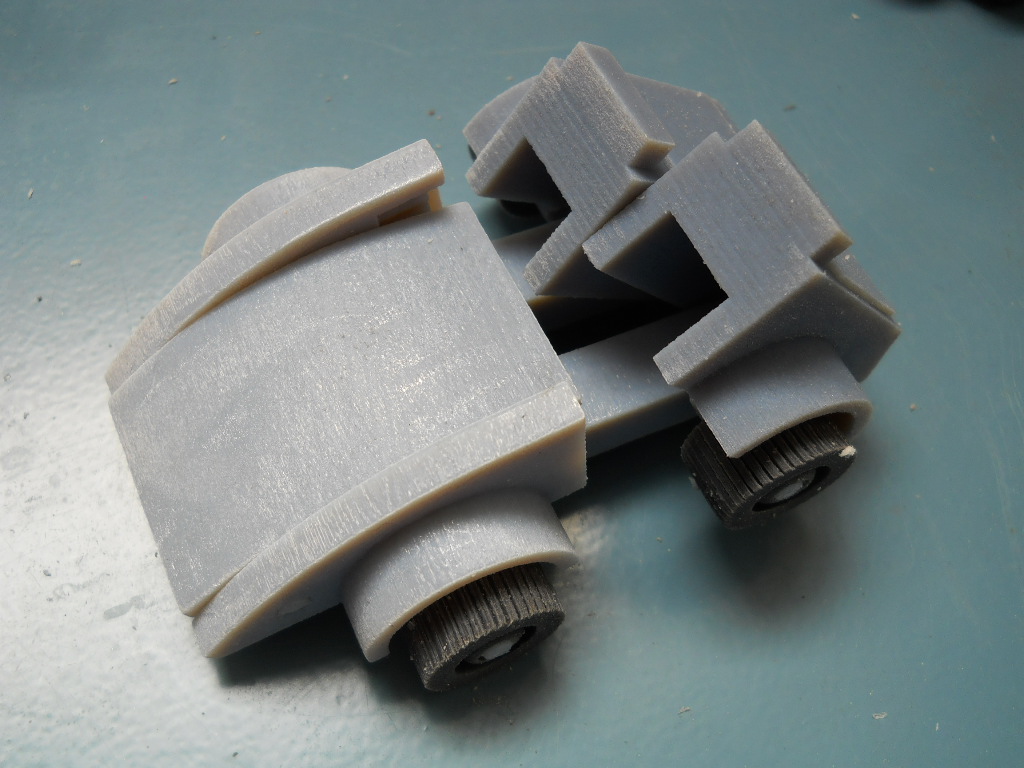
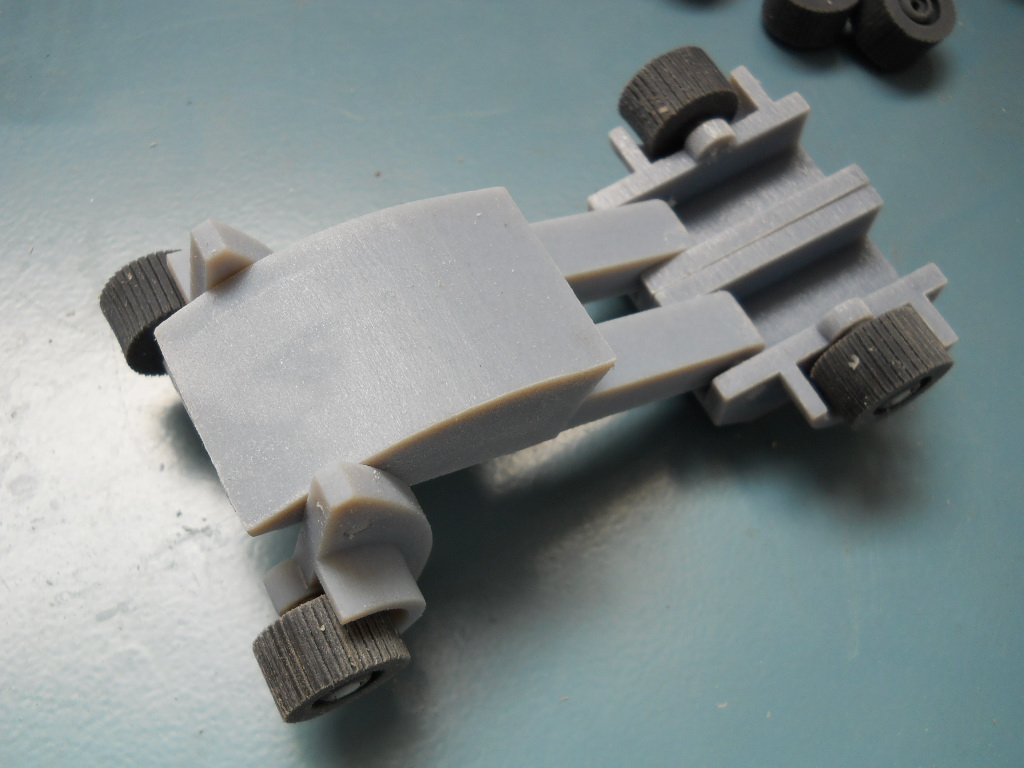
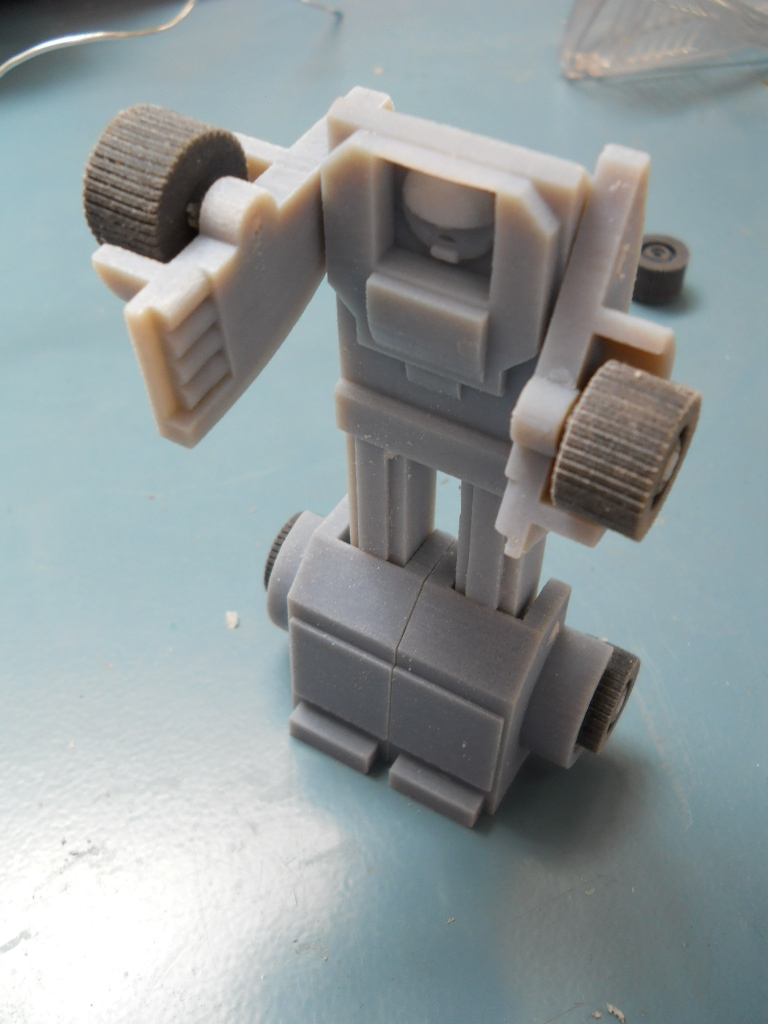
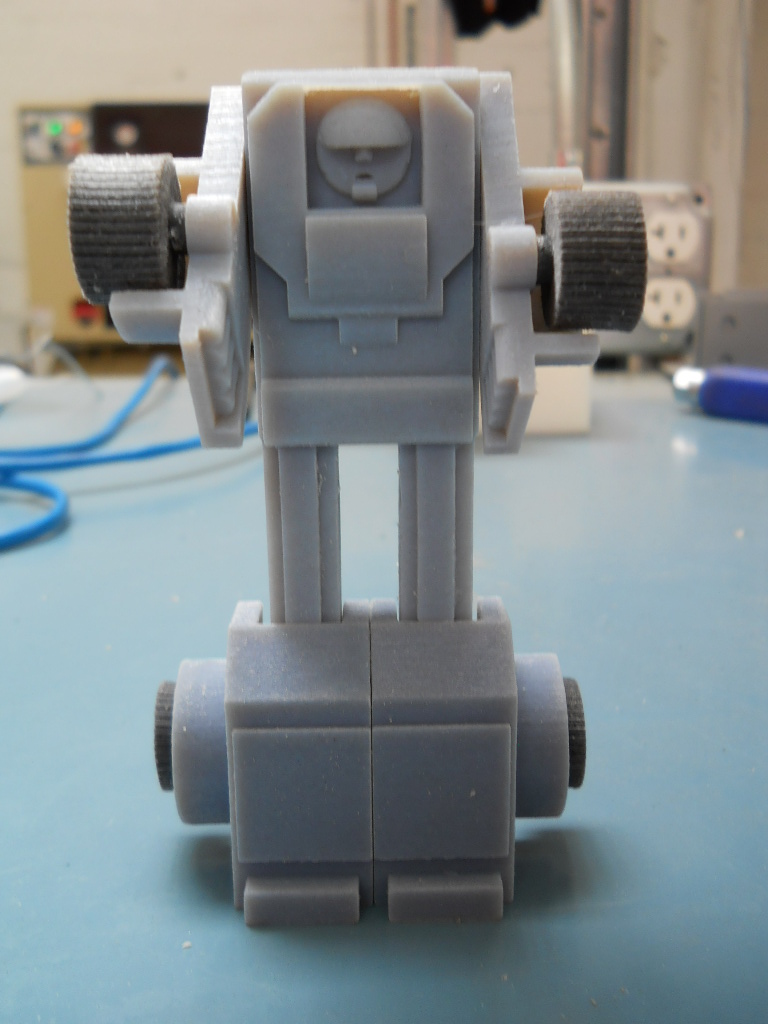
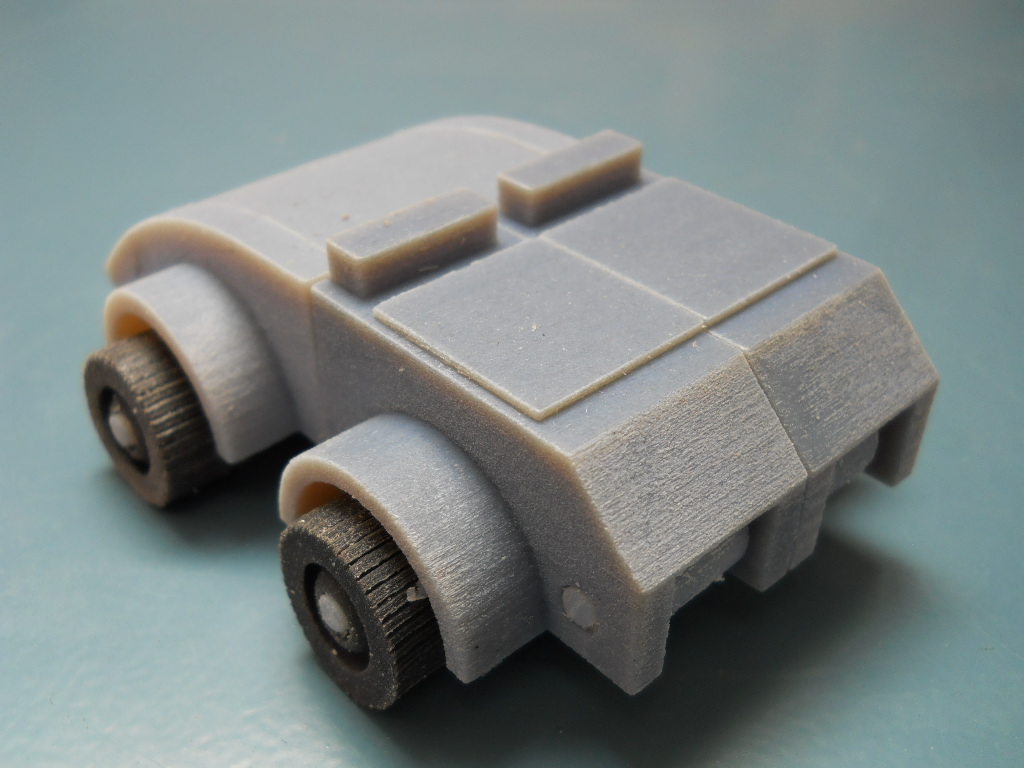
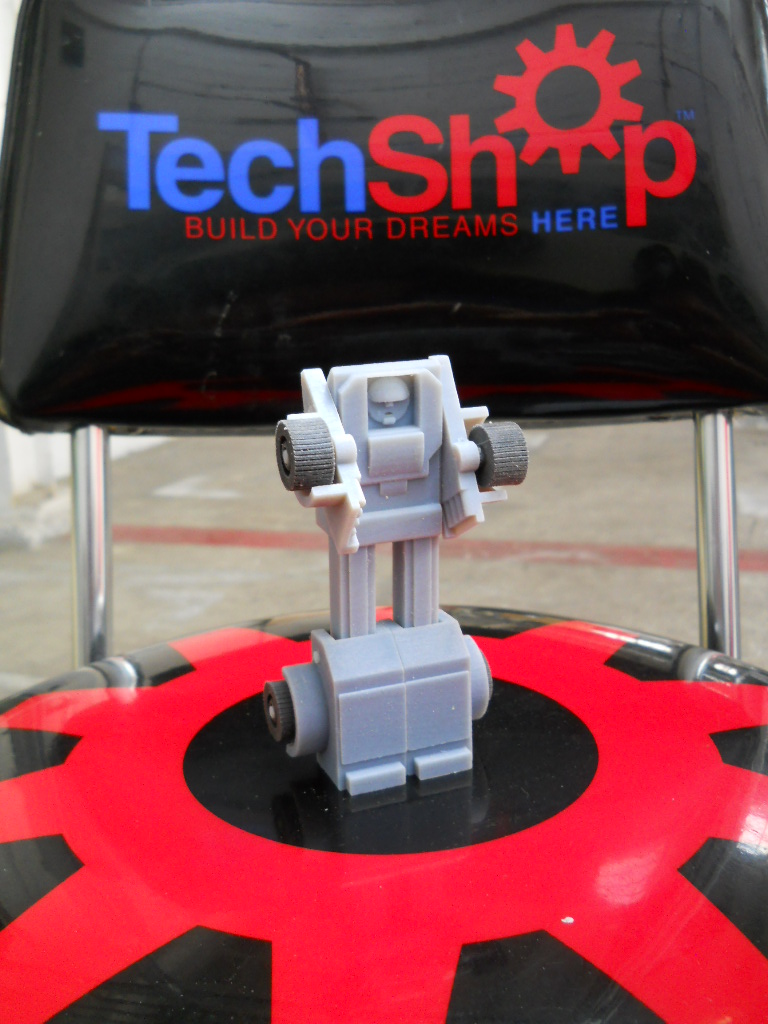
And now, our transformer is ready for action!