How to Make a Totally Sweet Jump.
14720 Views, 83 Favorites, 0 Comments
How to Make a Totally Sweet Jump.
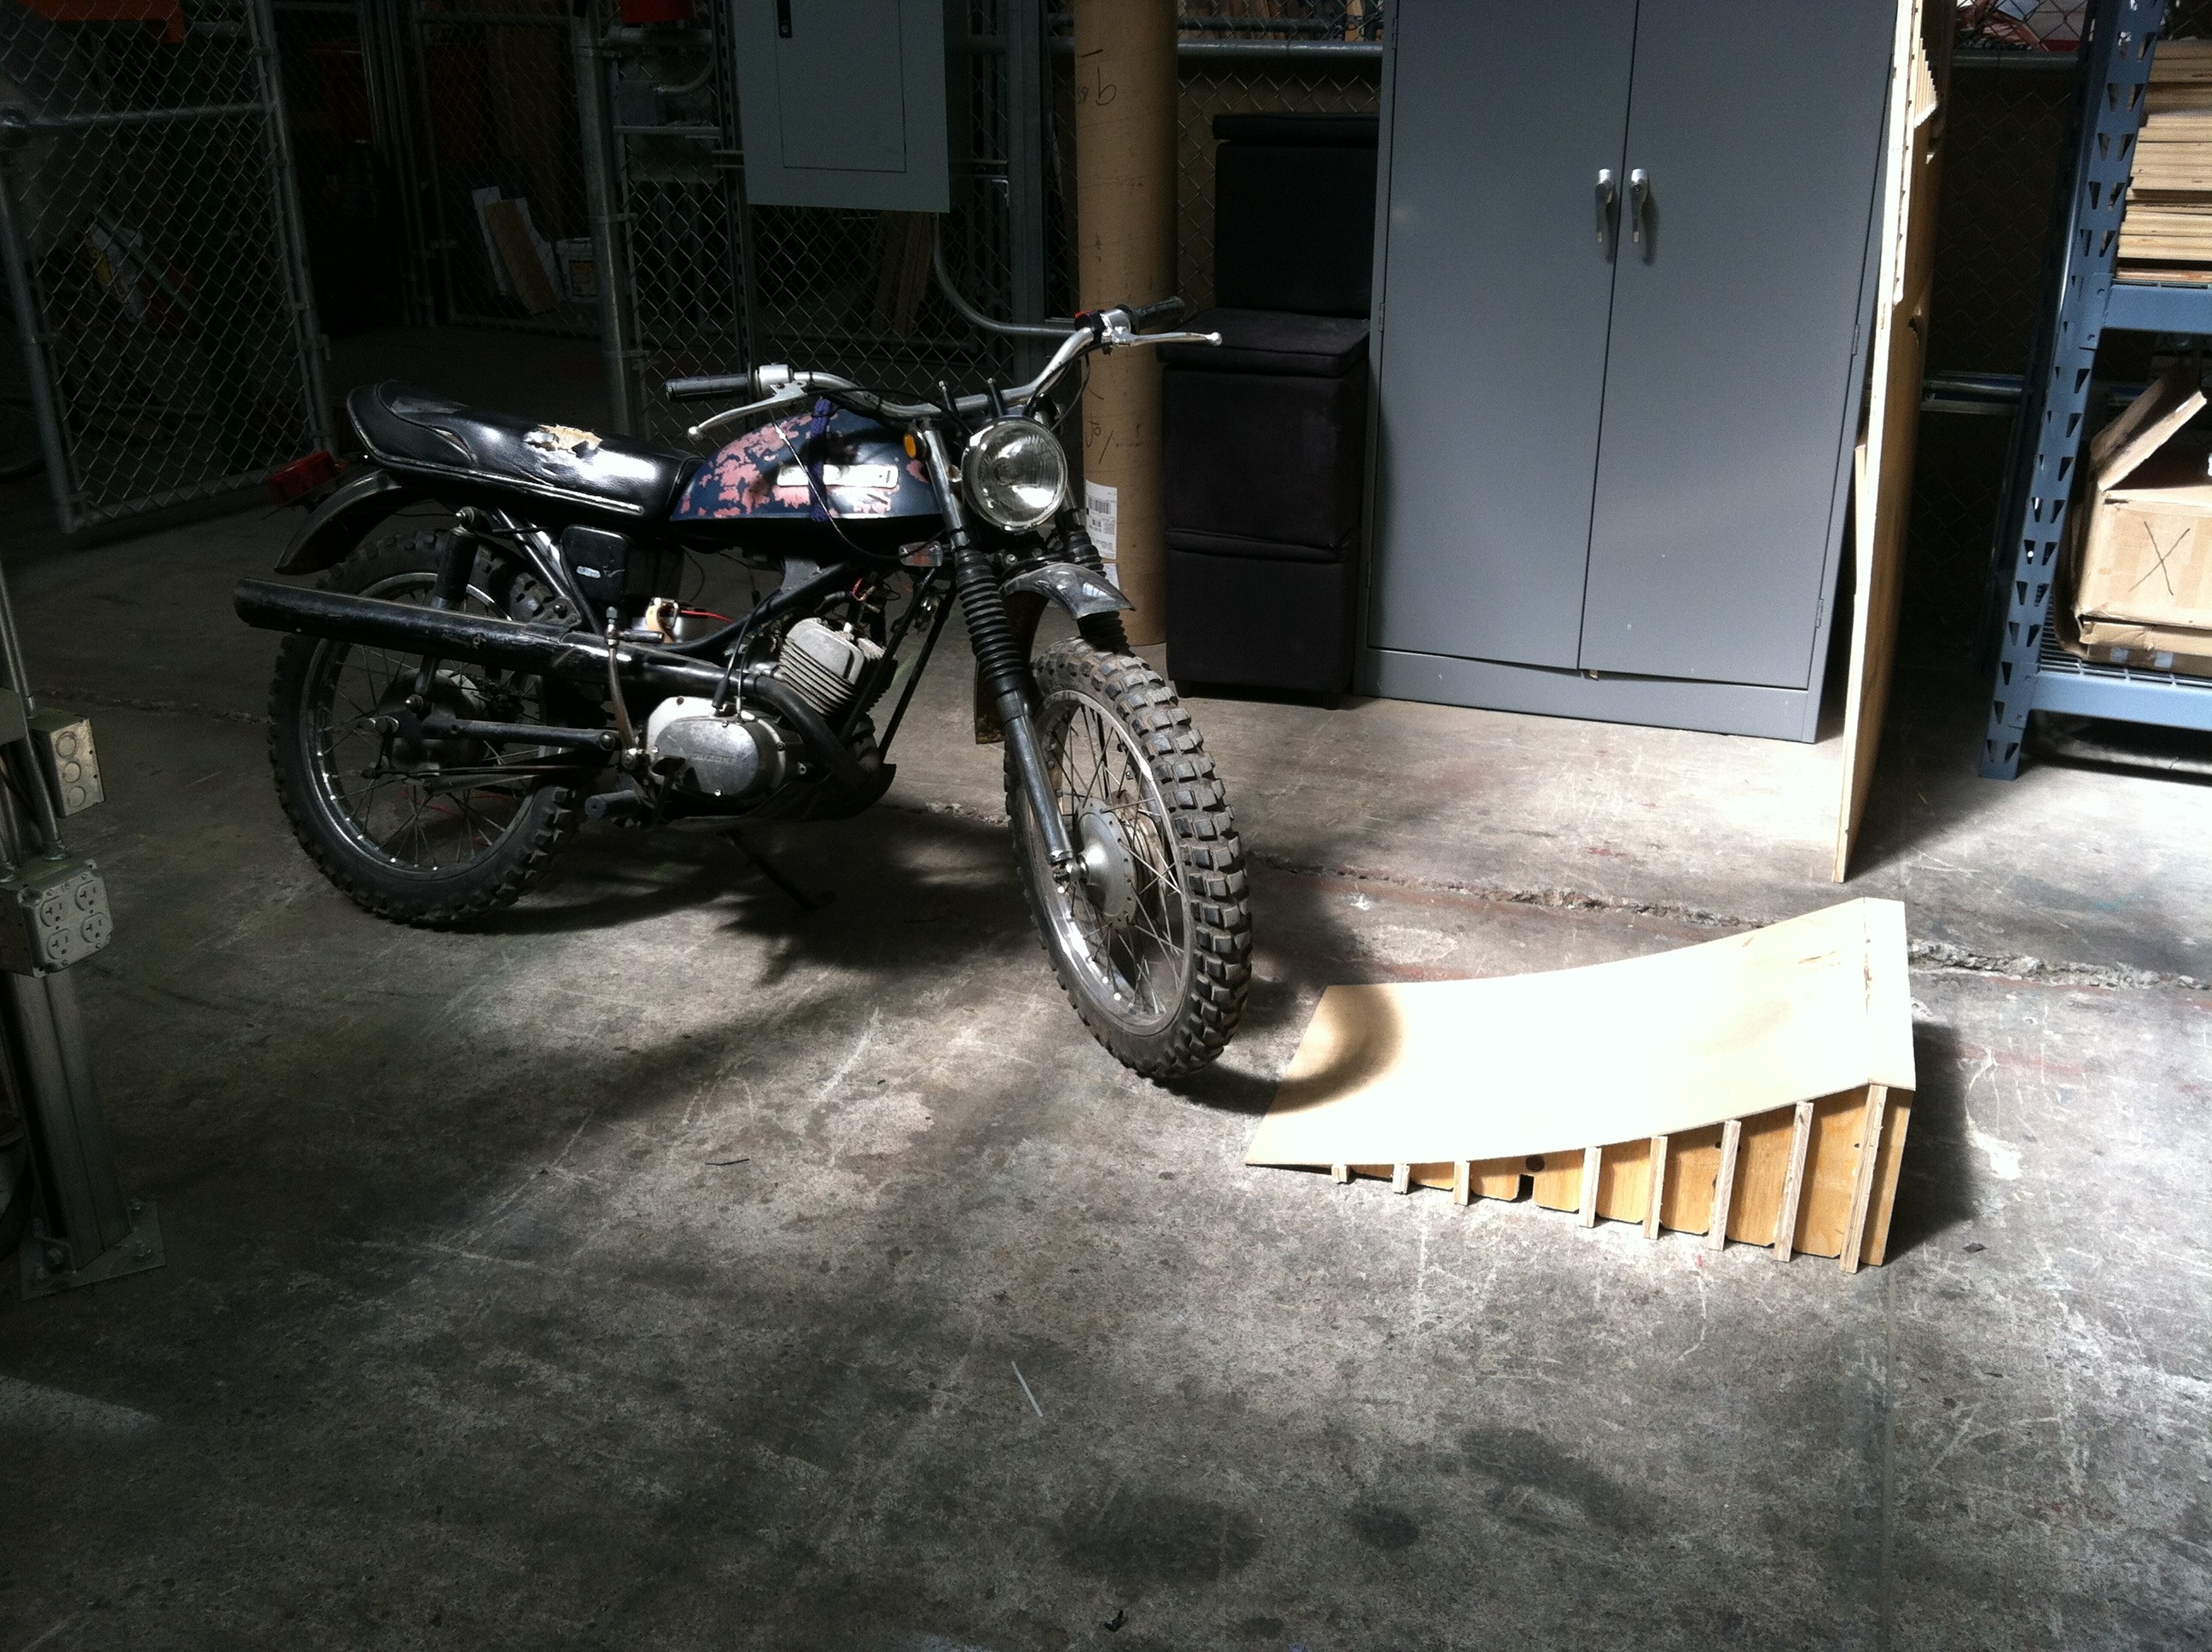
I want to take my little motorcycle off a sweet jump. This is a quasi-scientific (structurally sound, anyway) way to make a totally awesome ramp that you can launch off of with your bike or small motorcycle.
Leaning a piece of plywood on a milk crate is good and all, but as I am an adult with health insurance, a computer and access to CNC equipment, I want to make a solid launch that won't recreate the scene from Napoleon Dynamite.
I used Tinkercad to create a simple wedge ramp model that fit to particular dimensions that I wanted. I'm only a little redneck, so my jump is only going to be around 9" high.
Then you can take the model into 123D Make to create a cross-sectioned model that will glue together and be really really sturdy.
Materials needed:
3/4" plywood
3'x4' 1/8" masonite board
Wood glue
Draw It in Tinkercad.
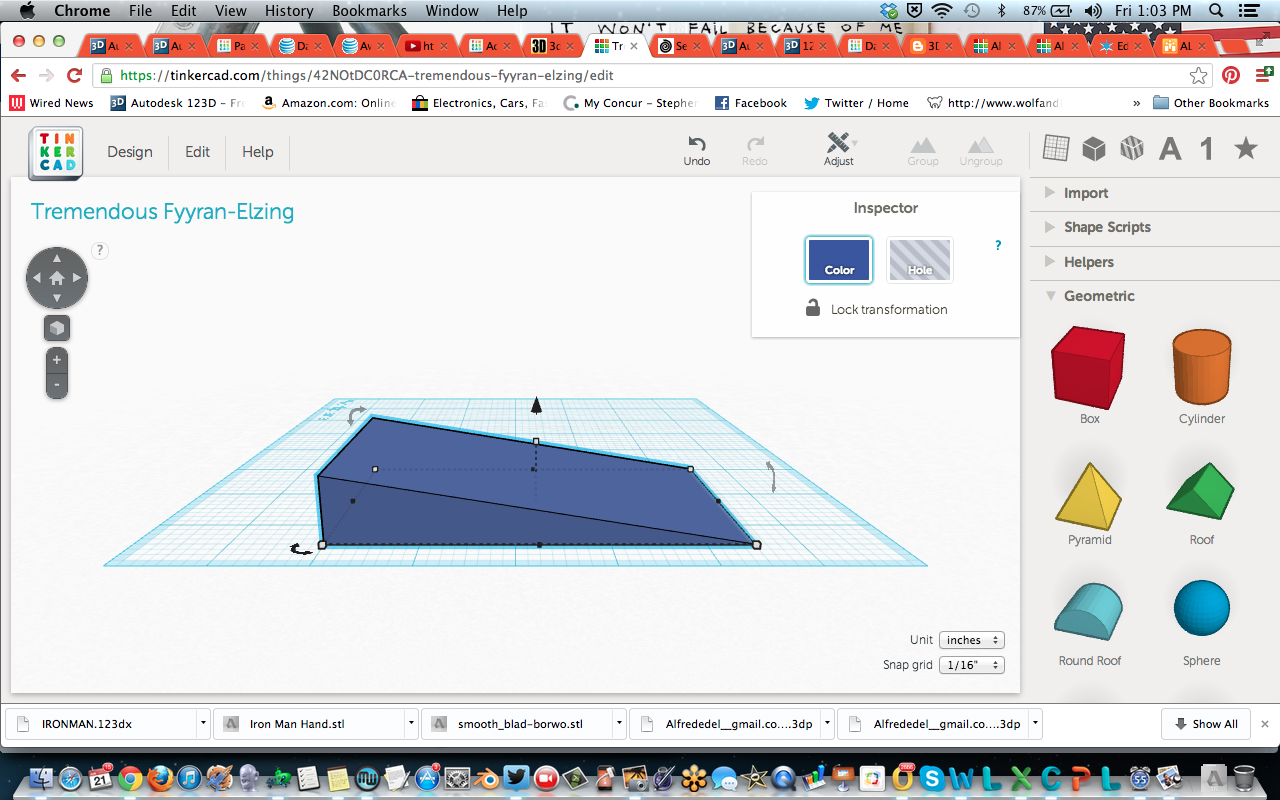
First, in Tinkercad, (tinkercad.com) you can create the ramp's two main dimensions - height and length - with a Wedge from the Geometrics dropdown on the right. I want a long, gentle ramp, rather than a short, drastic incline, so I'll start with 48" long by 9" high. For now, the Tinkercad build area is limited in size, so just scale it down to inches (1" = 1', or 1:12) I made the wedge's dimensions 48" long by 9" high and 30" wide (or4" x 3/4" x 2 1/2" at 1:12 scale).
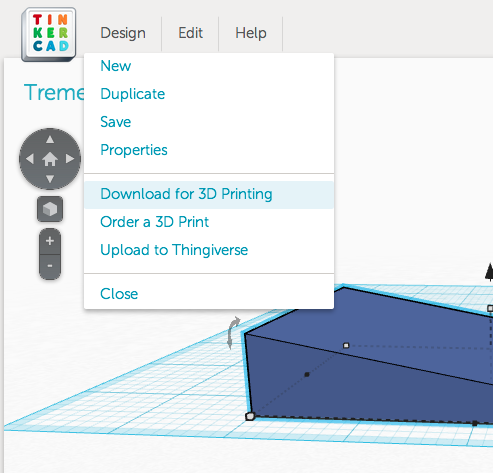
Now you have a solid model of your ramp. You can take it to 123D Make by downloading from Tinkercad
Under the Design menu, click Download for 3D Printing and save the file as an STL on your computer.
Now you have a solid model of your ramp. You can take it to 123D Make by downloading from Tinkercad
Under the Design menu, click Download for 3D Printing and save the file as an STL on your computer.
Get the Plans in 123D Make.
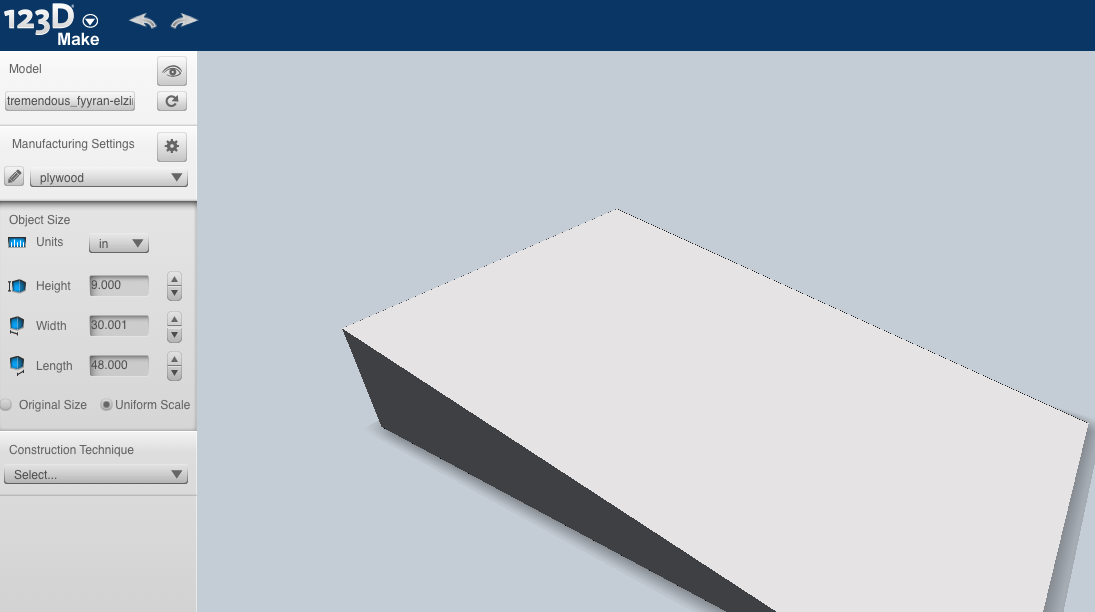
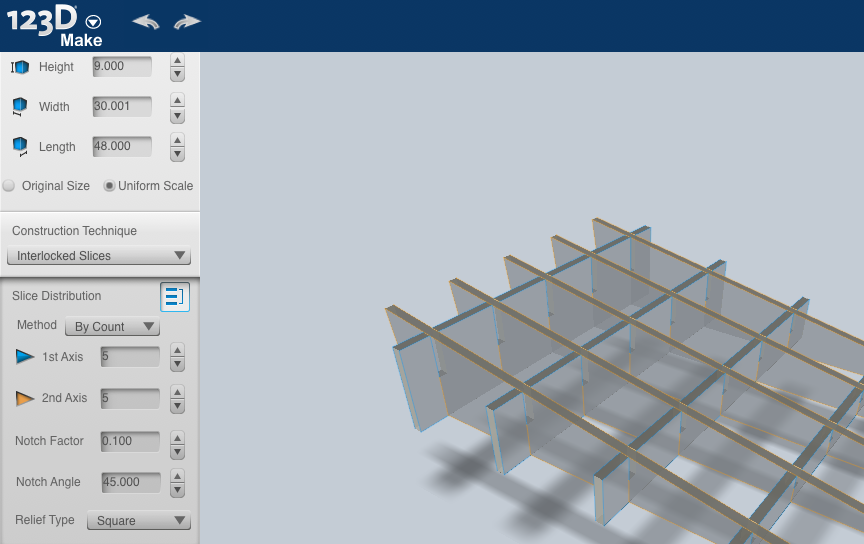
You will also have to redefine your model's size (remember, we scaled down) - just plug in one of your original, full size dimensions, while Uniform Scale is selected.
This part is kinda fun to play with. I made the ramp with interlocked slices for strength. You can set how many slices you want in either direction. I went with 5 crossed with 5. As you alter the object, you can see how much material you will use on the right side.
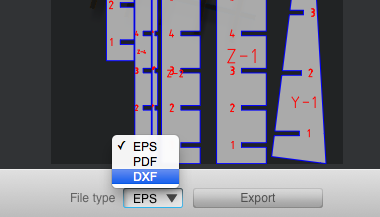
When you finish, click "Get Plans". That will allow you to export the plans as an EPS, PDF or DXF file.
Cut It Out.
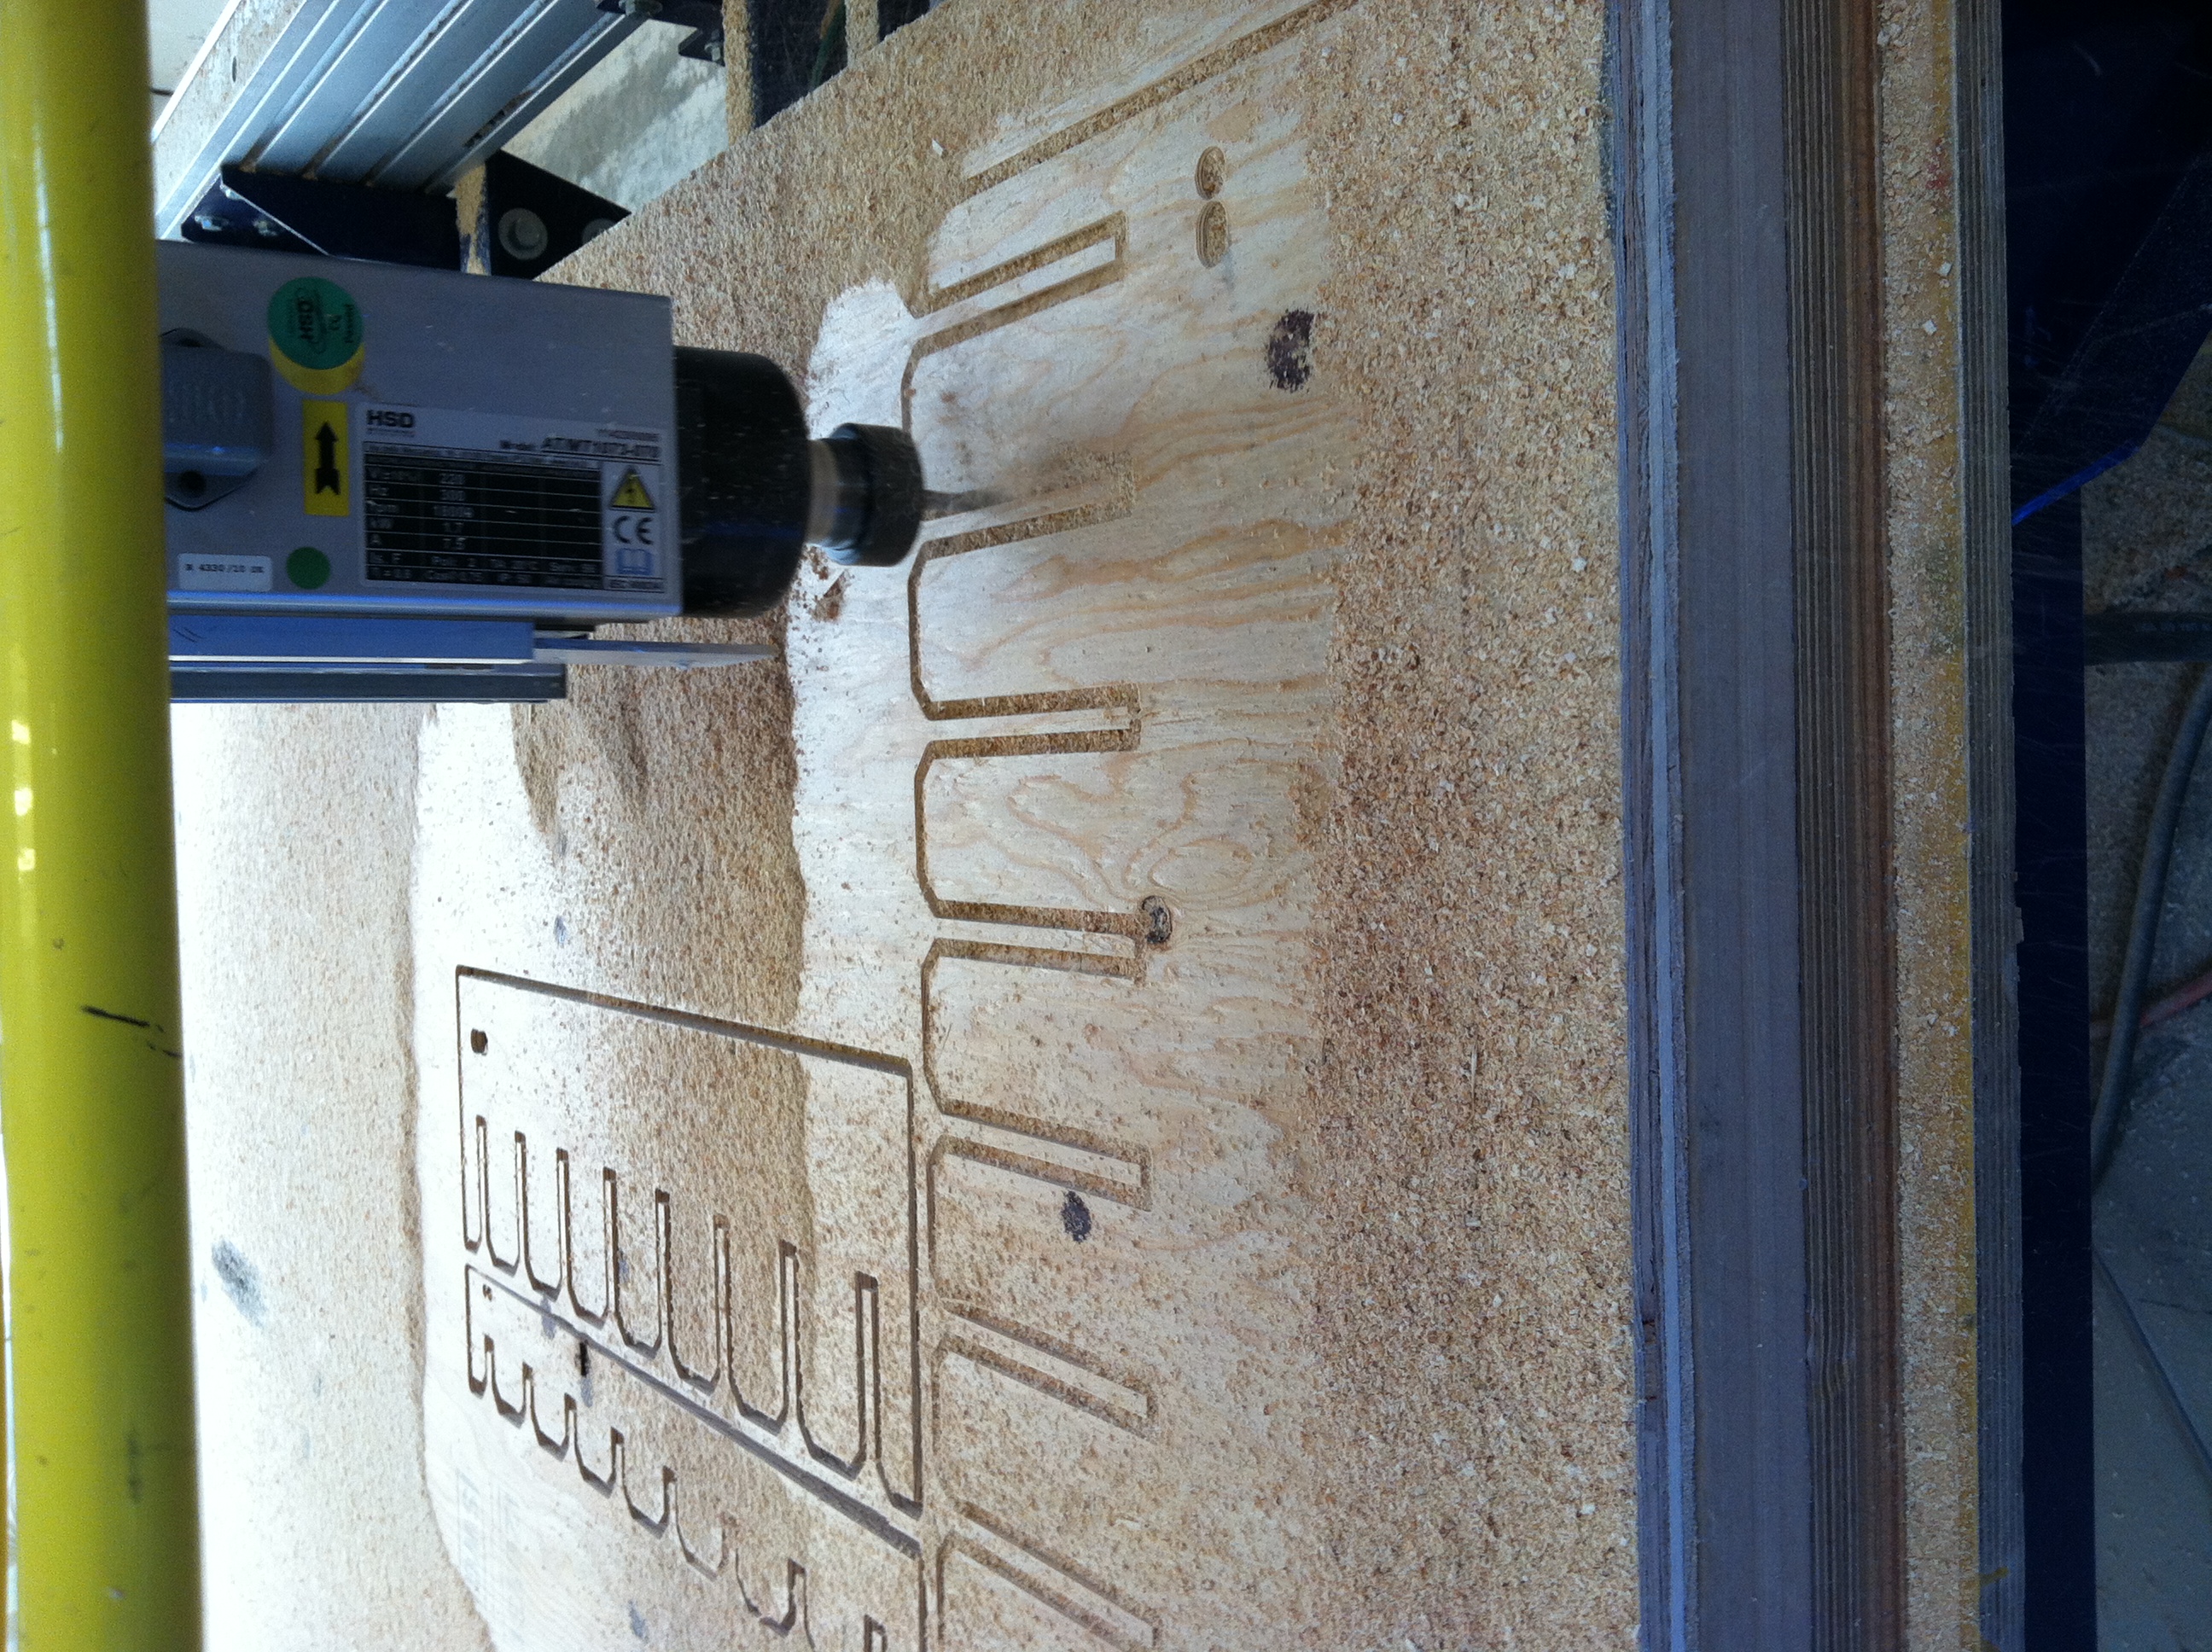
At this point,if you are fortunate to live near a TechShop you can reserve some time on their ShopBot and cut this out after some rework on the CAM side in V-carve. If you don't, check out 100K garages - it's a resource that hooks you up with other people who have CNC equipment.
Glue It Up.
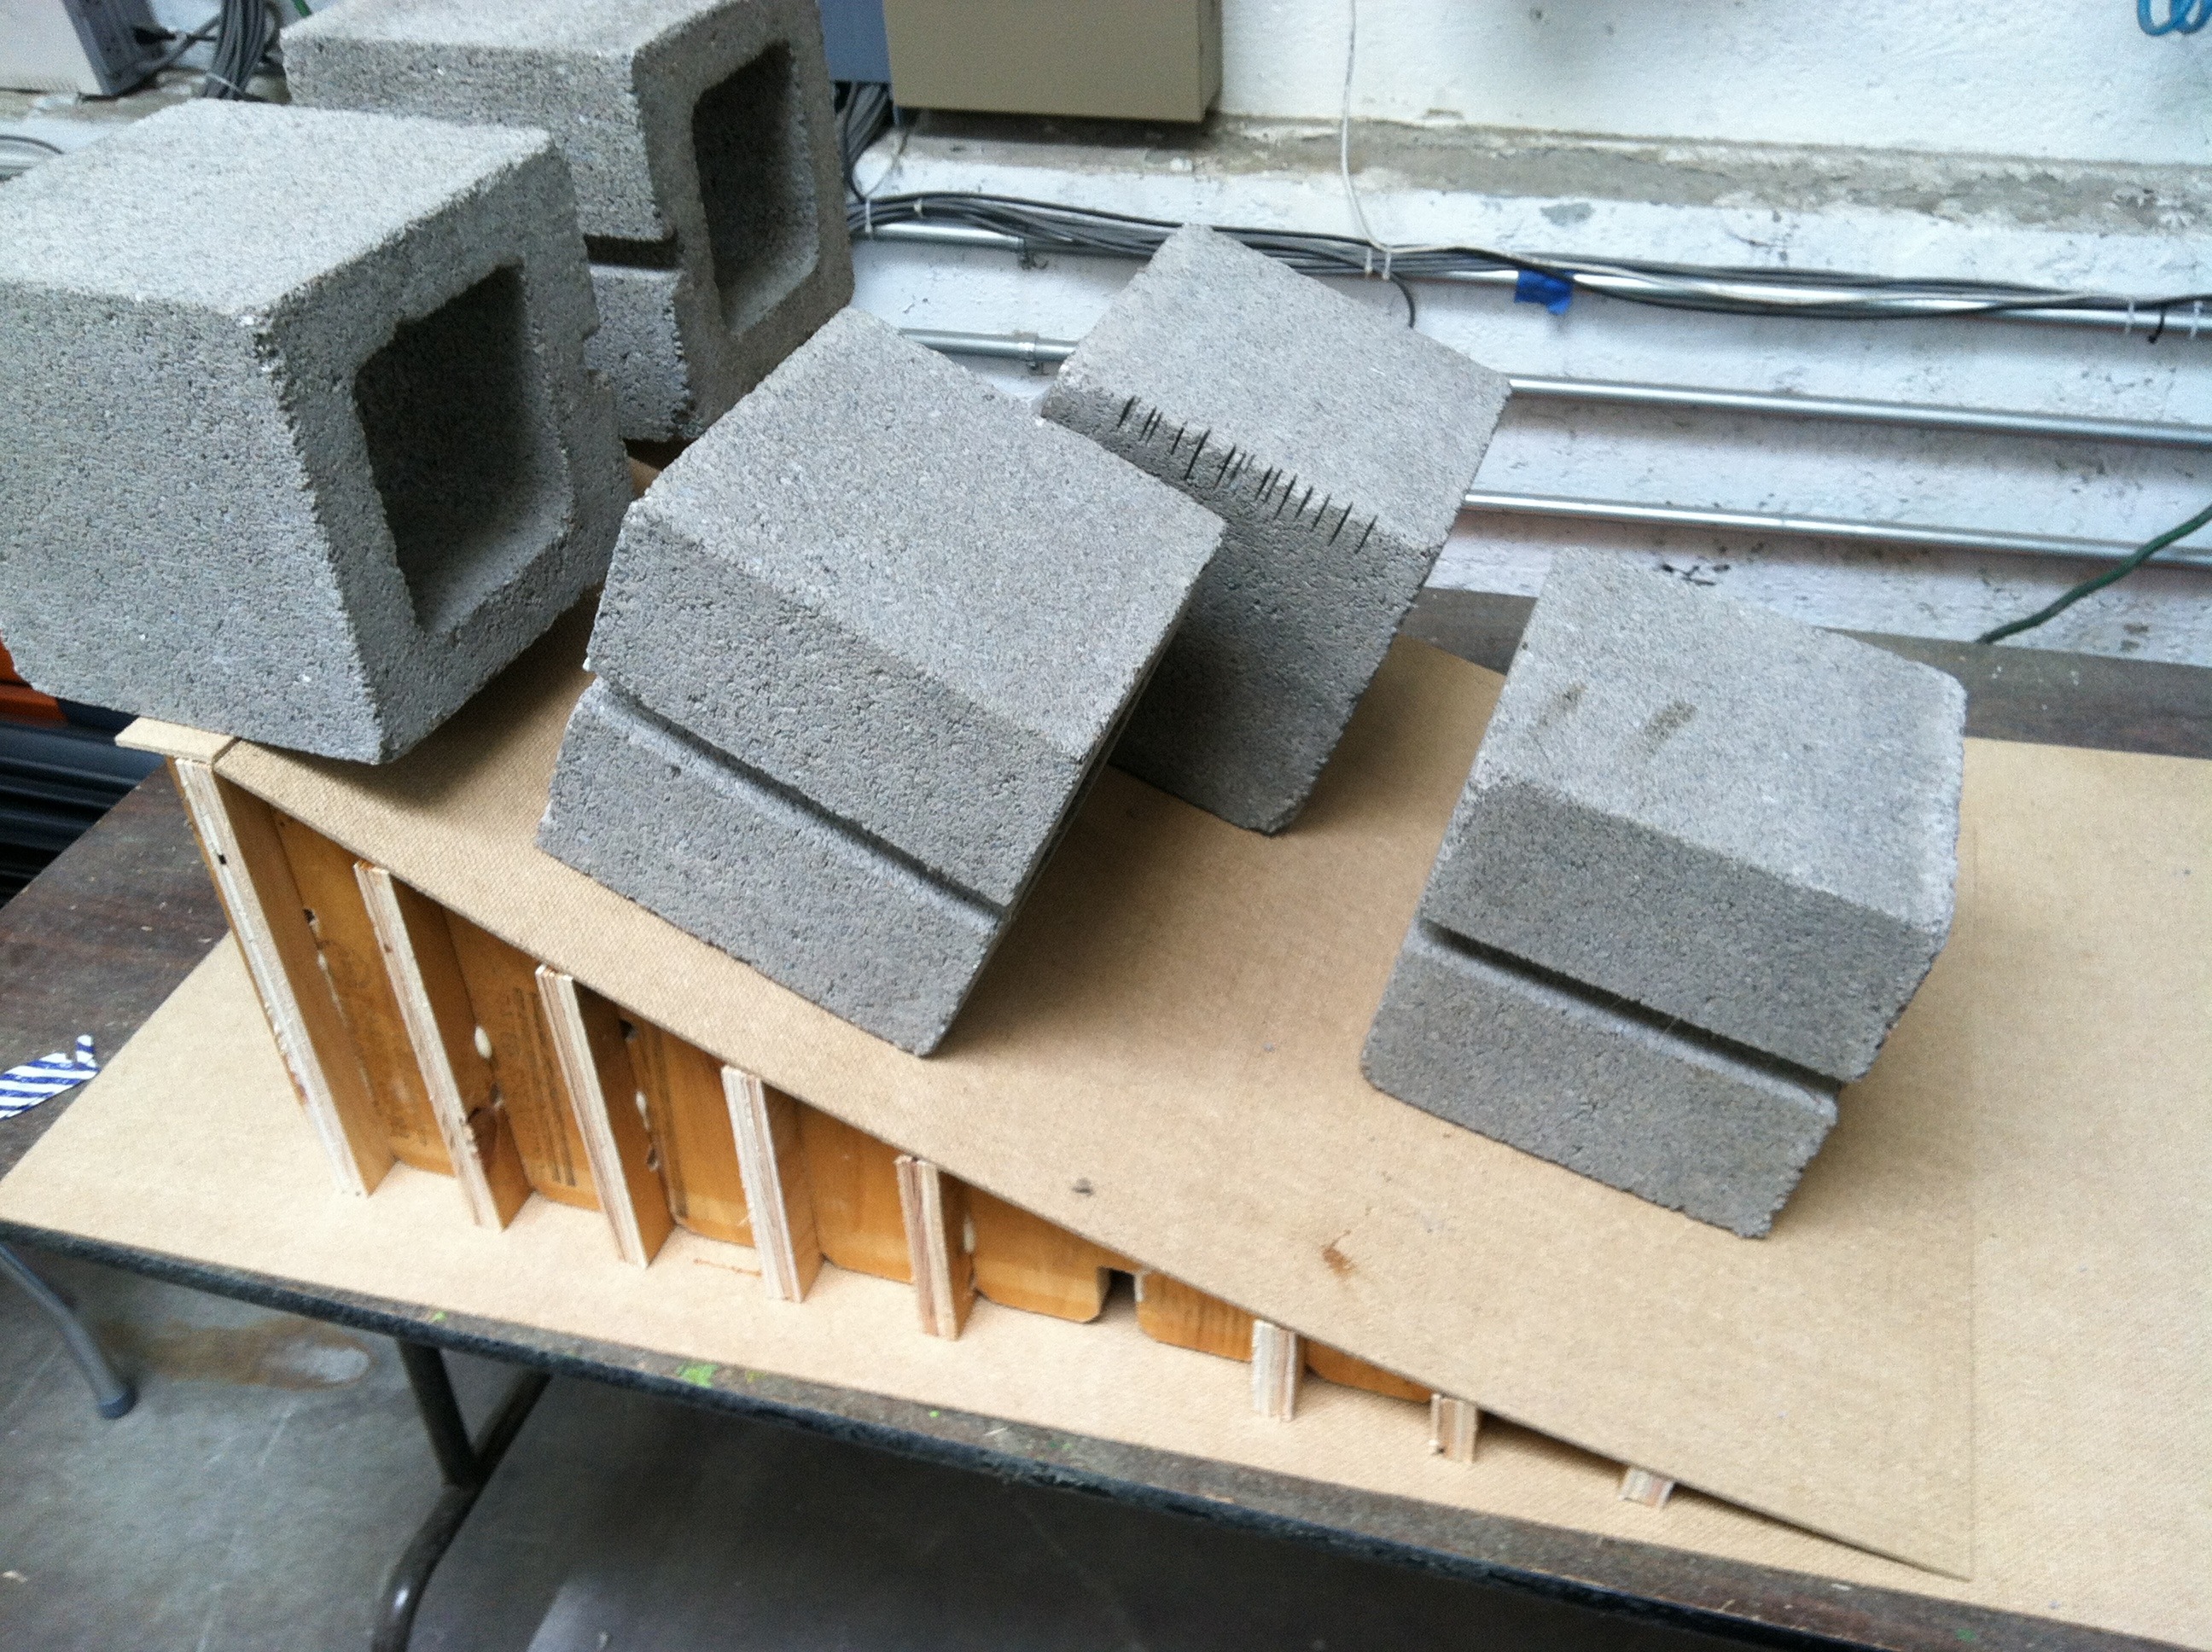
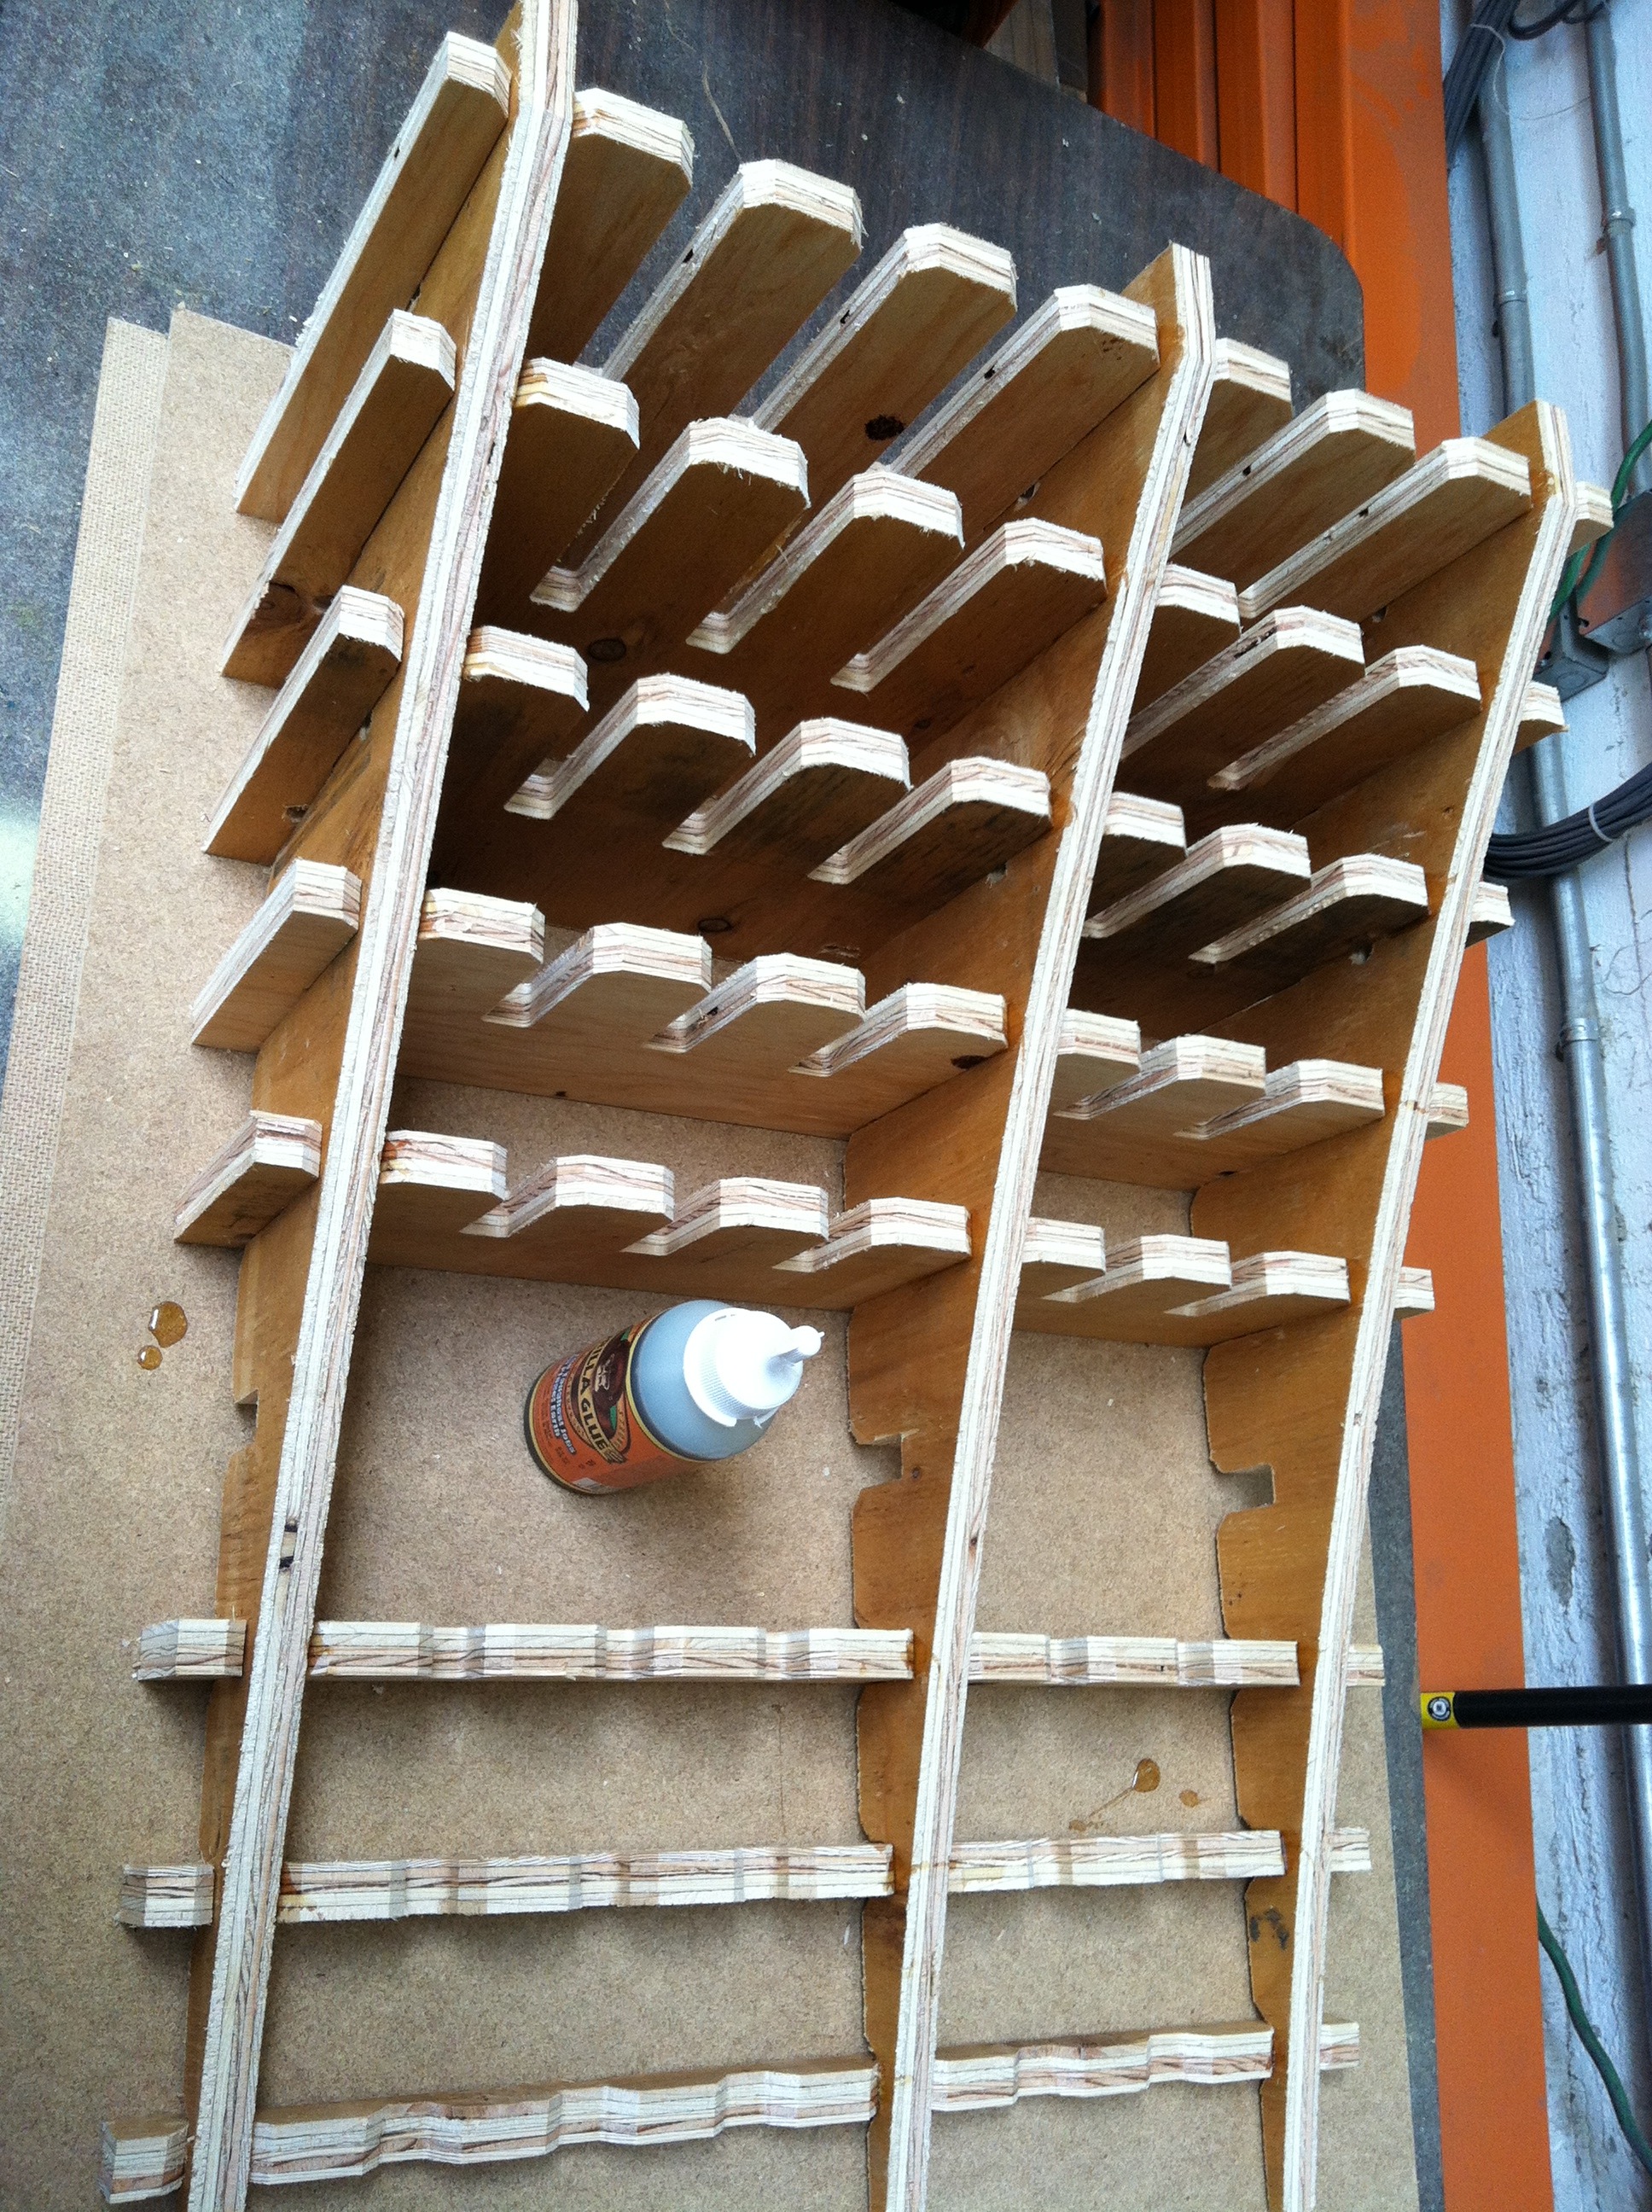
I used some Gorilla glue and cinder blocks then just let it sit overnight.
To finish, just cut your 3/16" masonite (hardboard) to the dims and glue it on. Remember to put the smooth side DOWN, so the tires won't slip.
Have fun, wear a helmet.
To finish, just cut your 3/16" masonite (hardboard) to the dims and glue it on. Remember to put the smooth side DOWN, so the tires won't slip.
Have fun, wear a helmet.