How to Make a Simple Two Color Vinyl Car Detail.
by mlachance91 in Workshop > CNC
24267 Views, 9 Favorites, 0 Comments
How to Make a Simple Two Color Vinyl Car Detail.
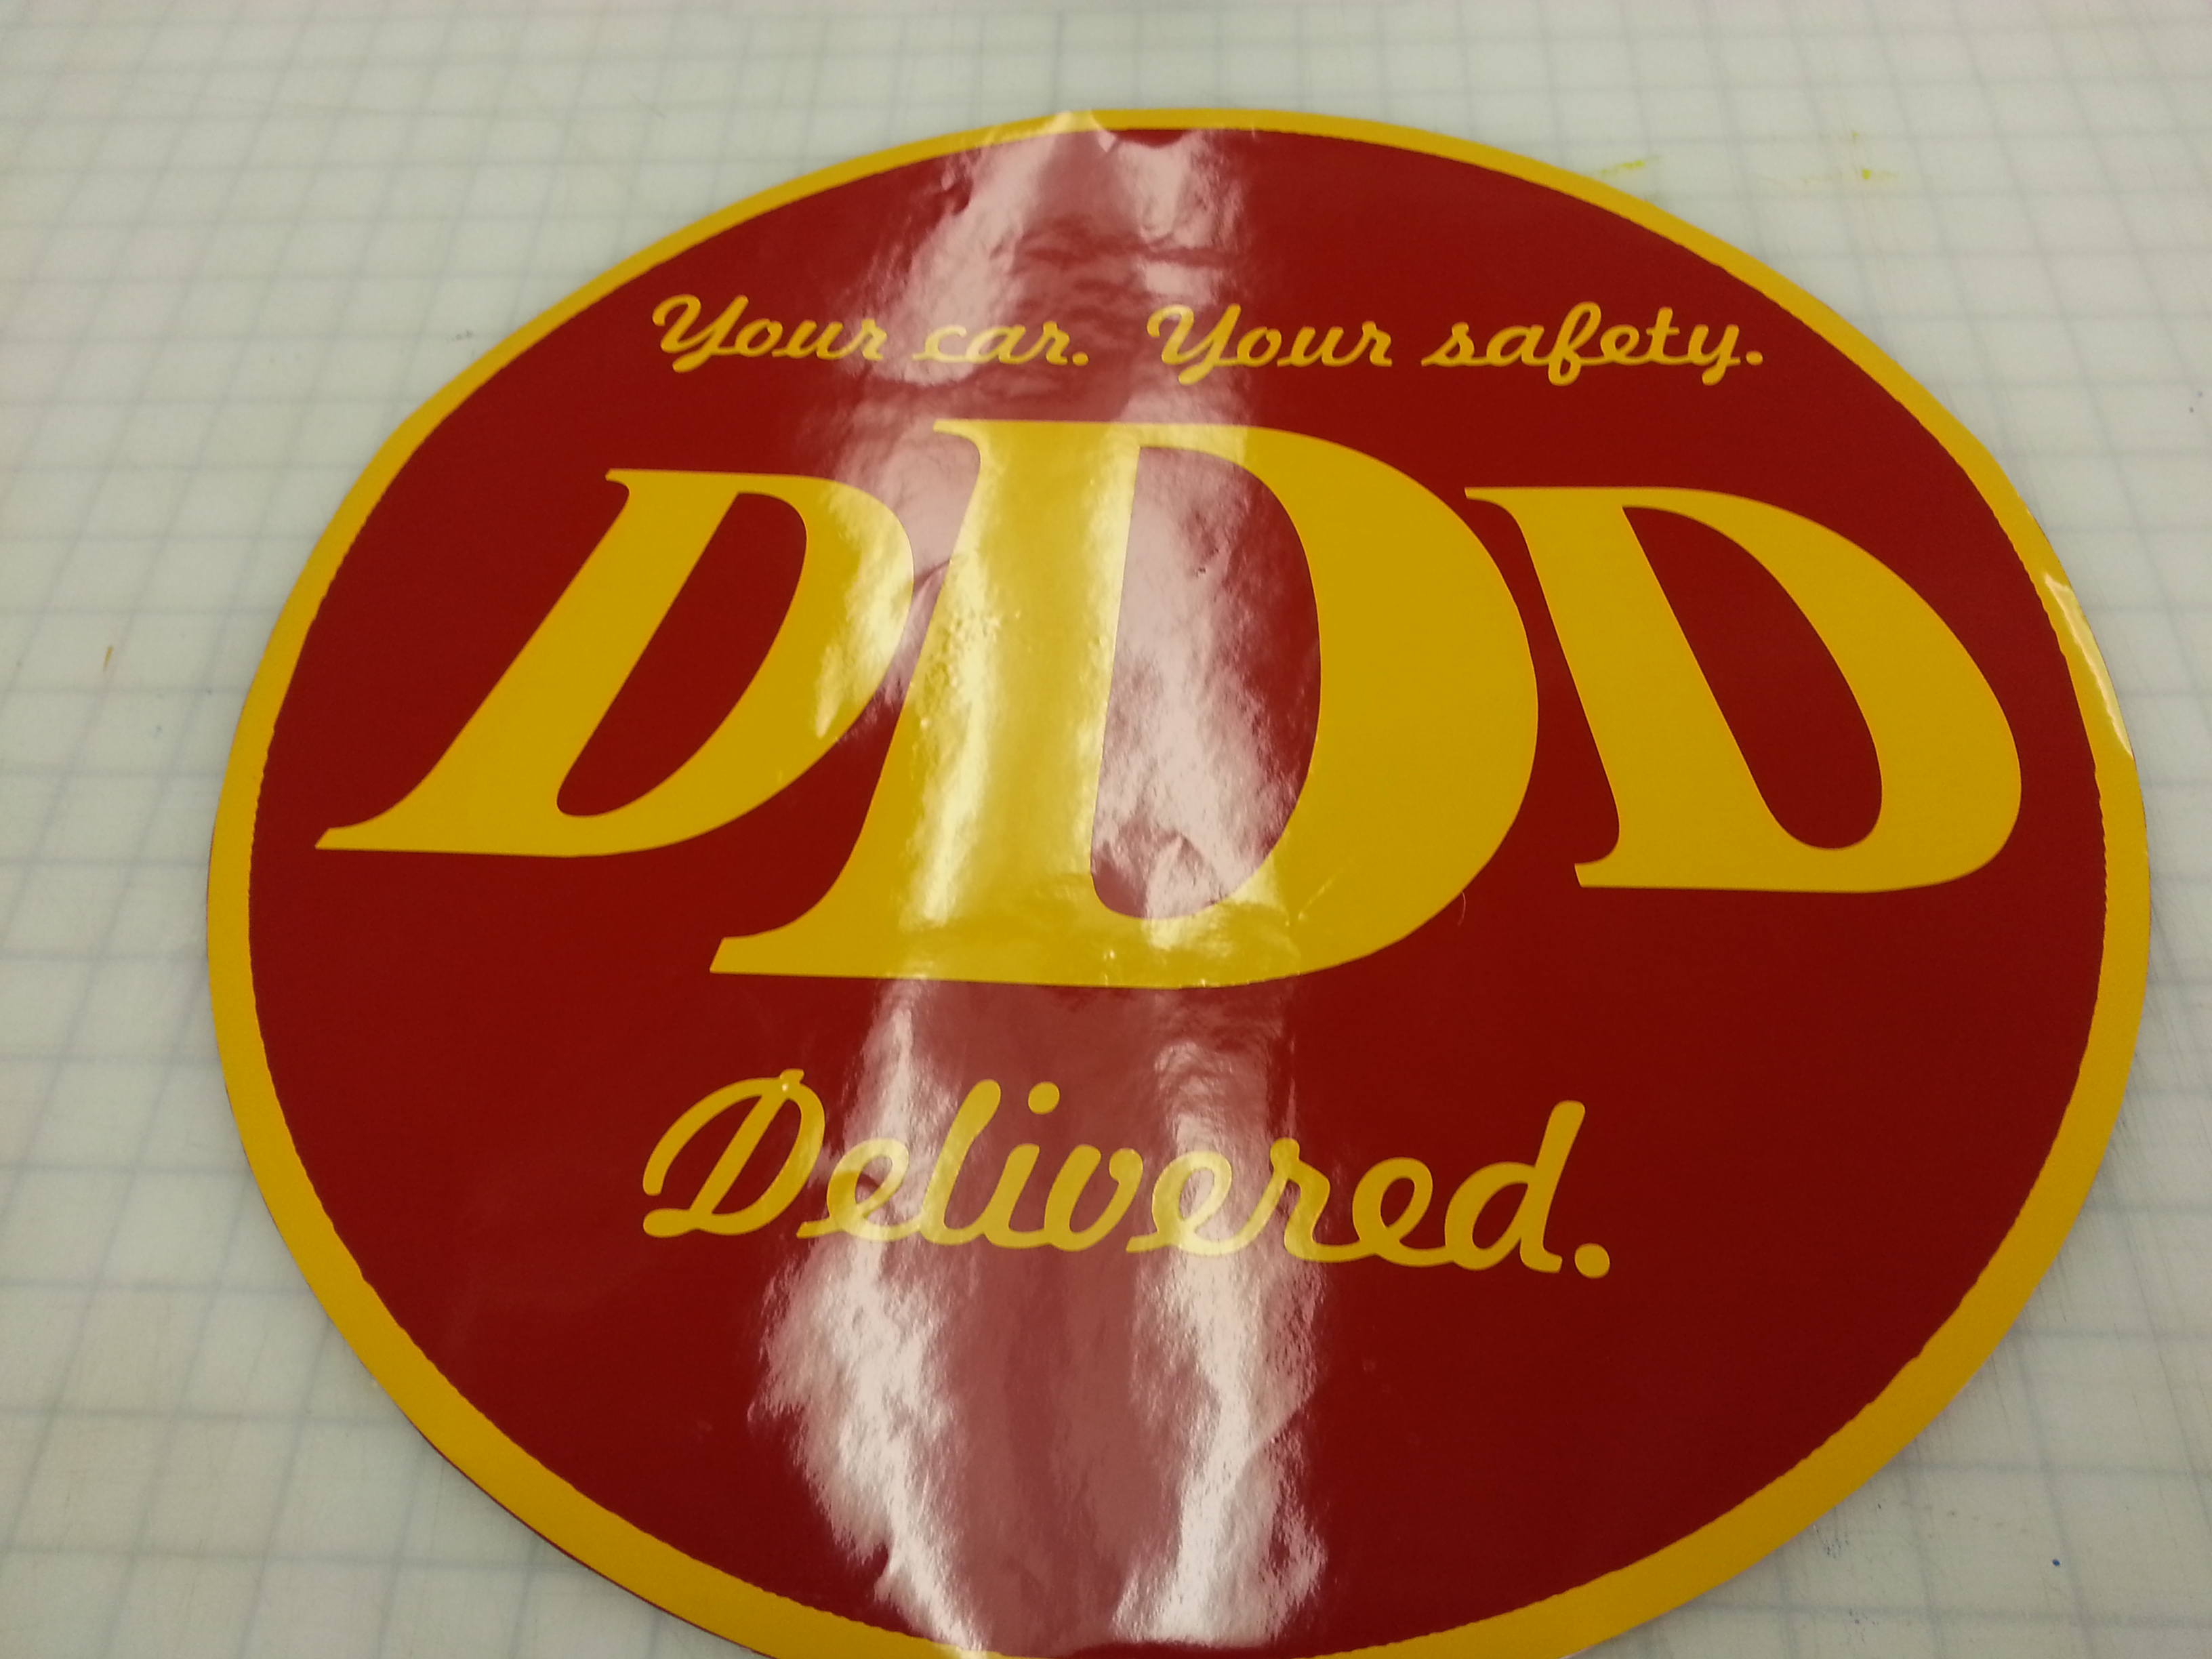
Hey there makers, here's how you make a simple two color vinyl car decal.
Ingredients:
- Vinyl, at least two colors
- Transfer paper
- Rapid Tac
Prepare your design in two parts- the "design" portion, which I have in yellow, and the background, which I have in red. The background is just a big circle.
Ingredients:
- Vinyl, at least two colors
- Transfer paper
- Rapid Tac
Prepare your design in two parts- the "design" portion, which I have in yellow, and the background, which I have in red. The background is just a big circle.
Cut Your Vinyl
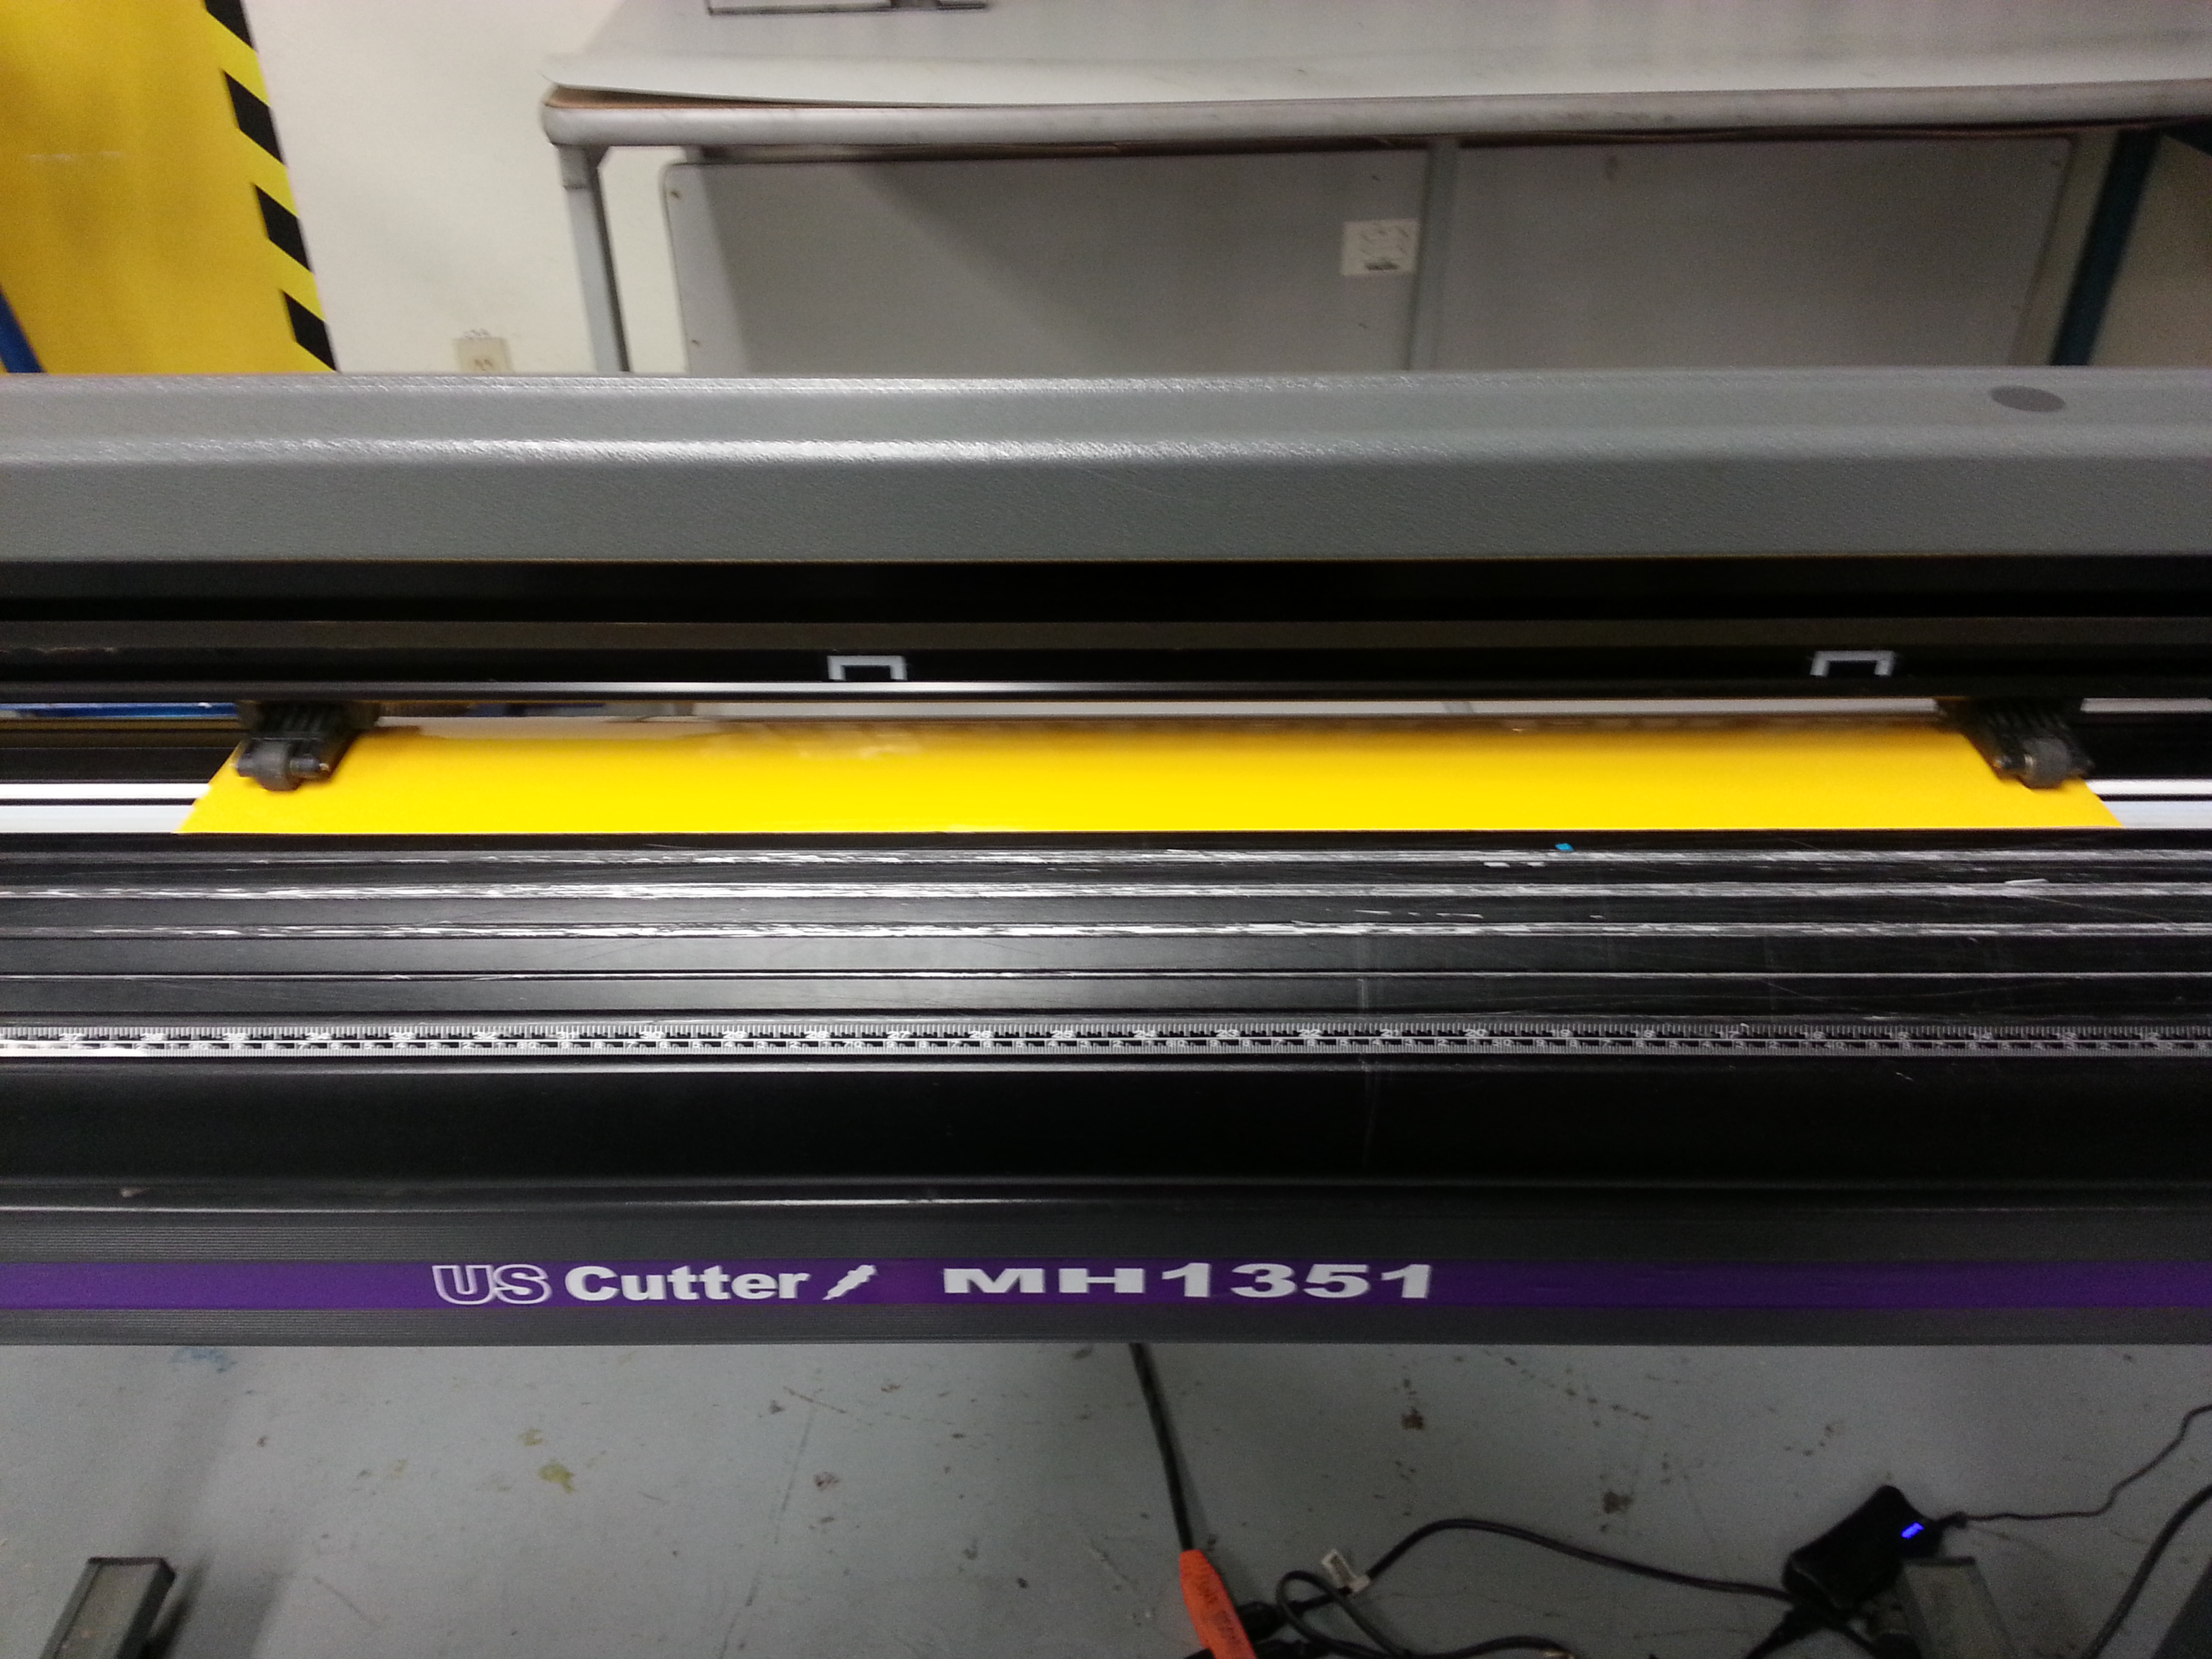
Load your vinyl:
I don't know about your vinyl cutter, but the one I have access to leaves little track marks where the rollers are, so position your rollers on both ends of your vinyl and no where else and position your origin so that your design falls between them. Be careful to watch your vinyl for puffing or moving around while it's cutting. You can also move it around in the "Offline/Pause" mode to see whether or not it'll move around too much.
If you don't have a vinyl cutter, go ahead and cut your design by hand.
Weed Your Design
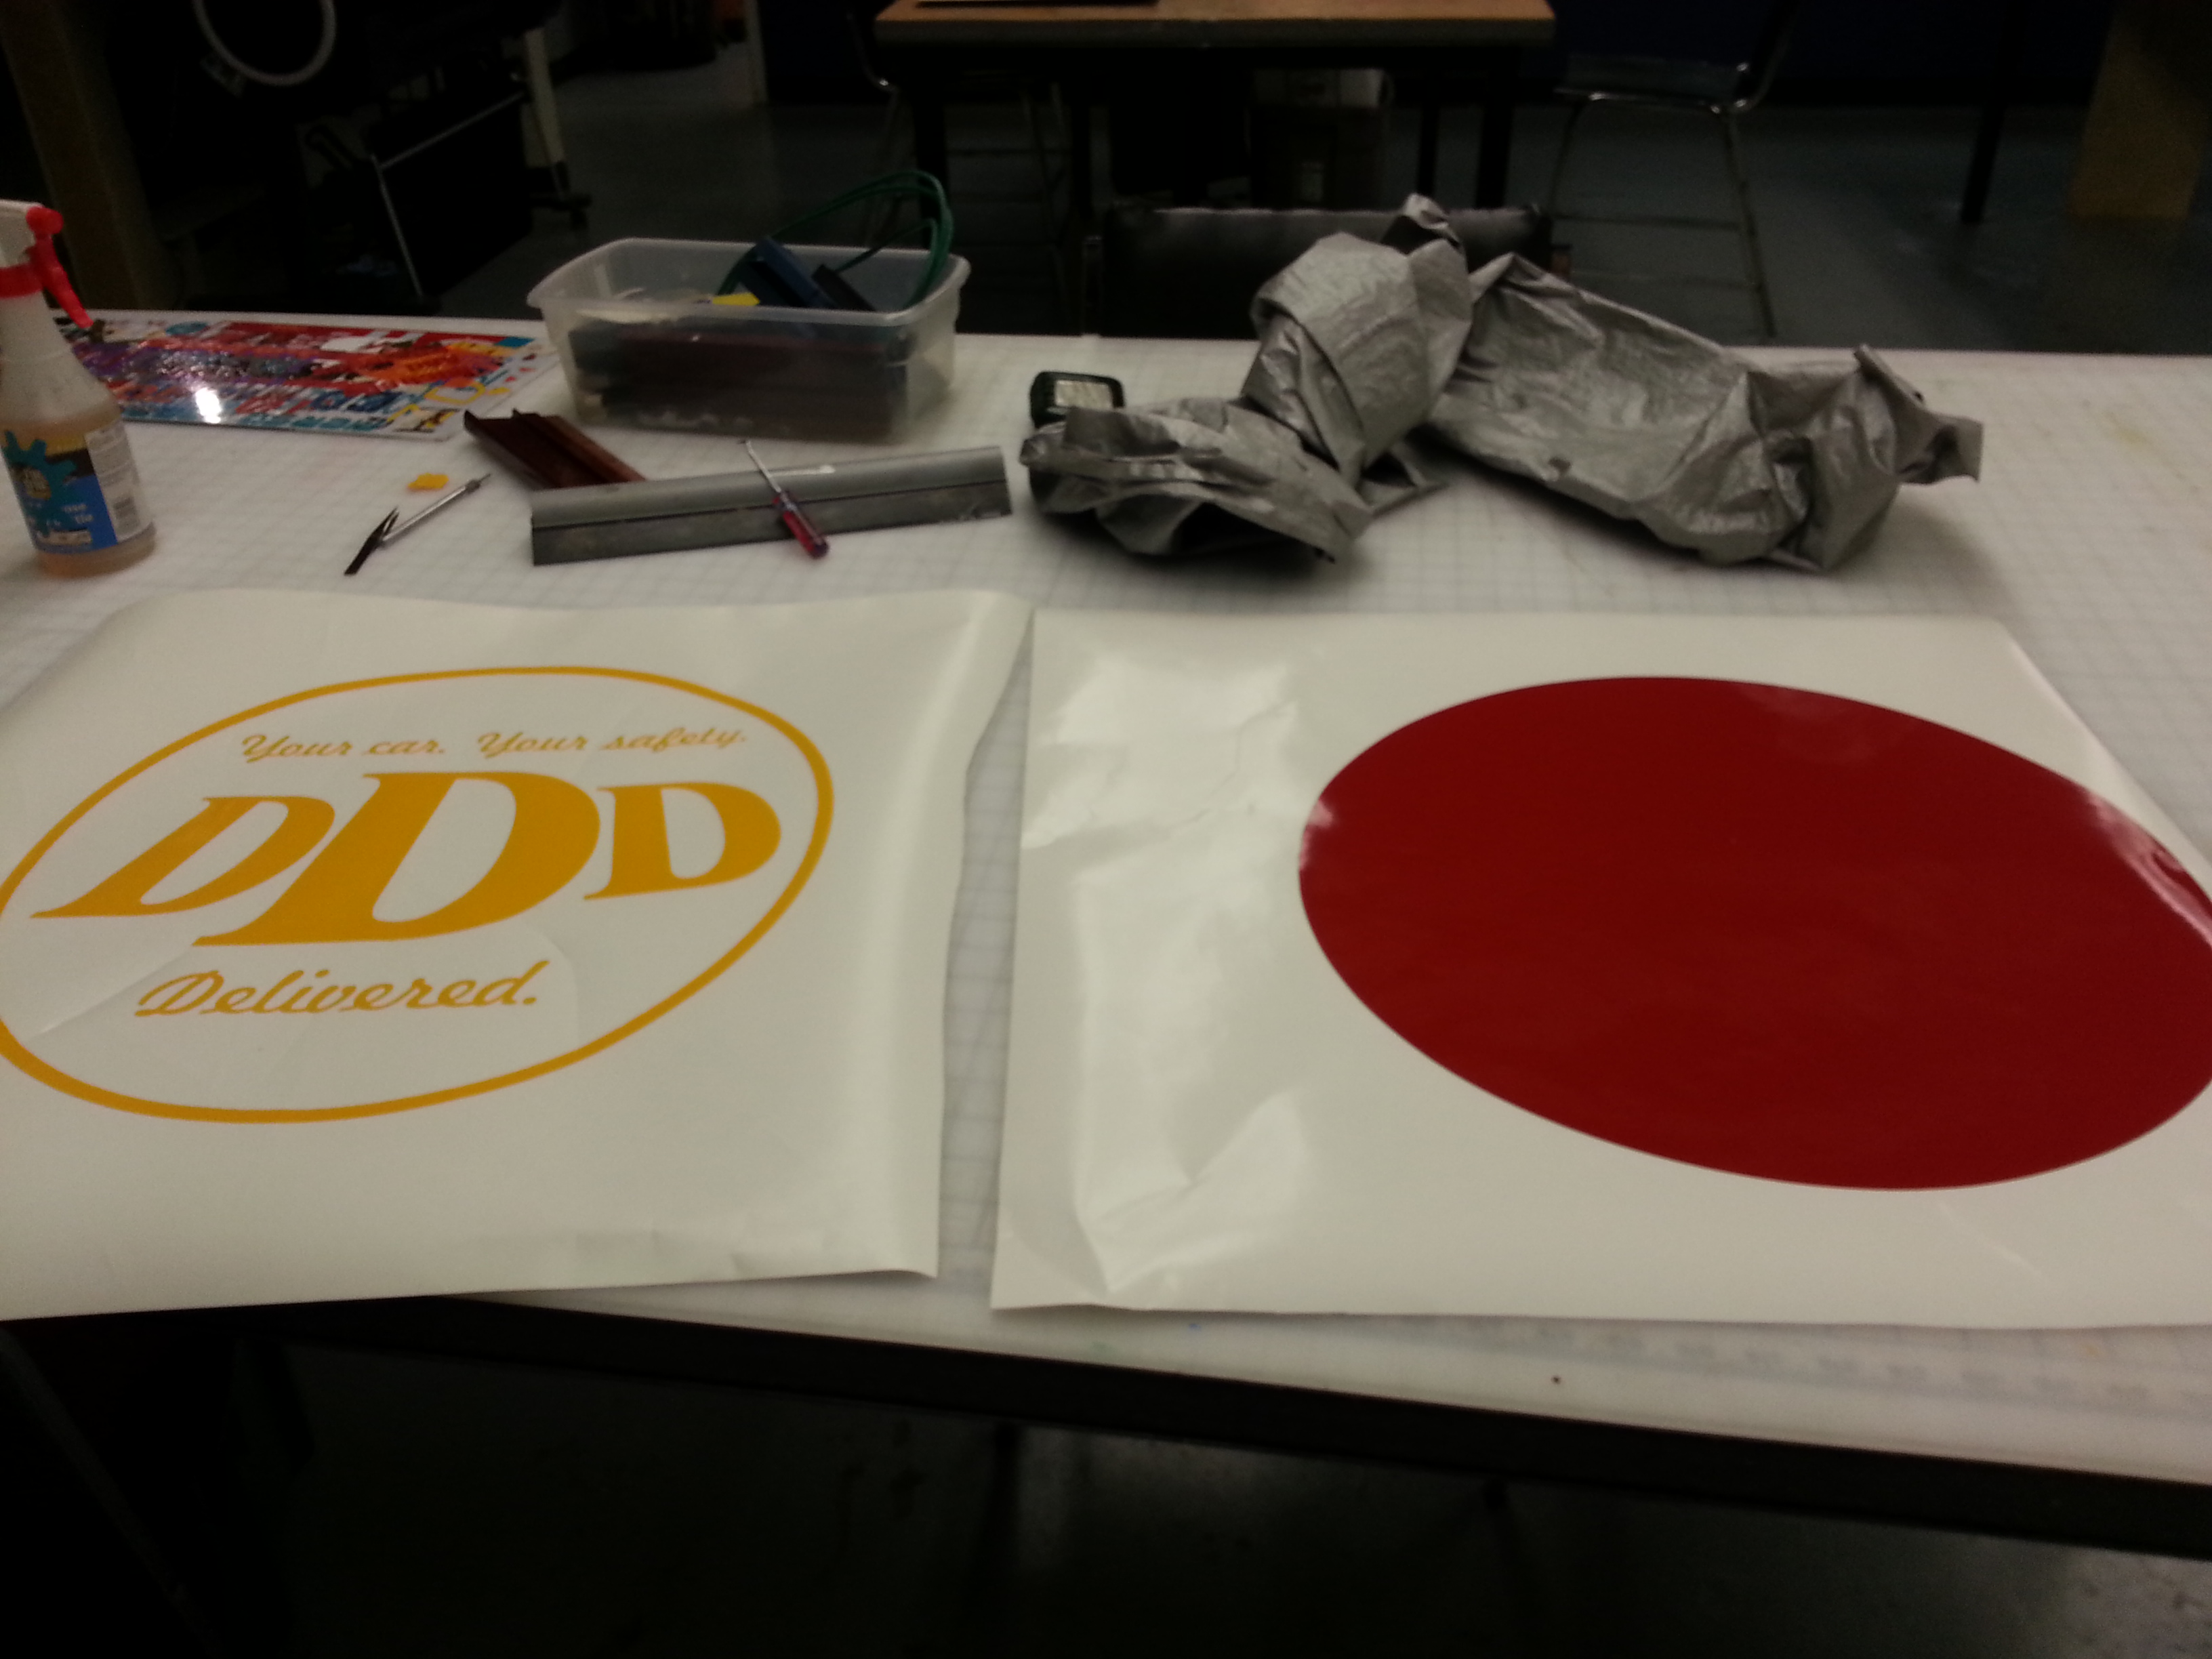
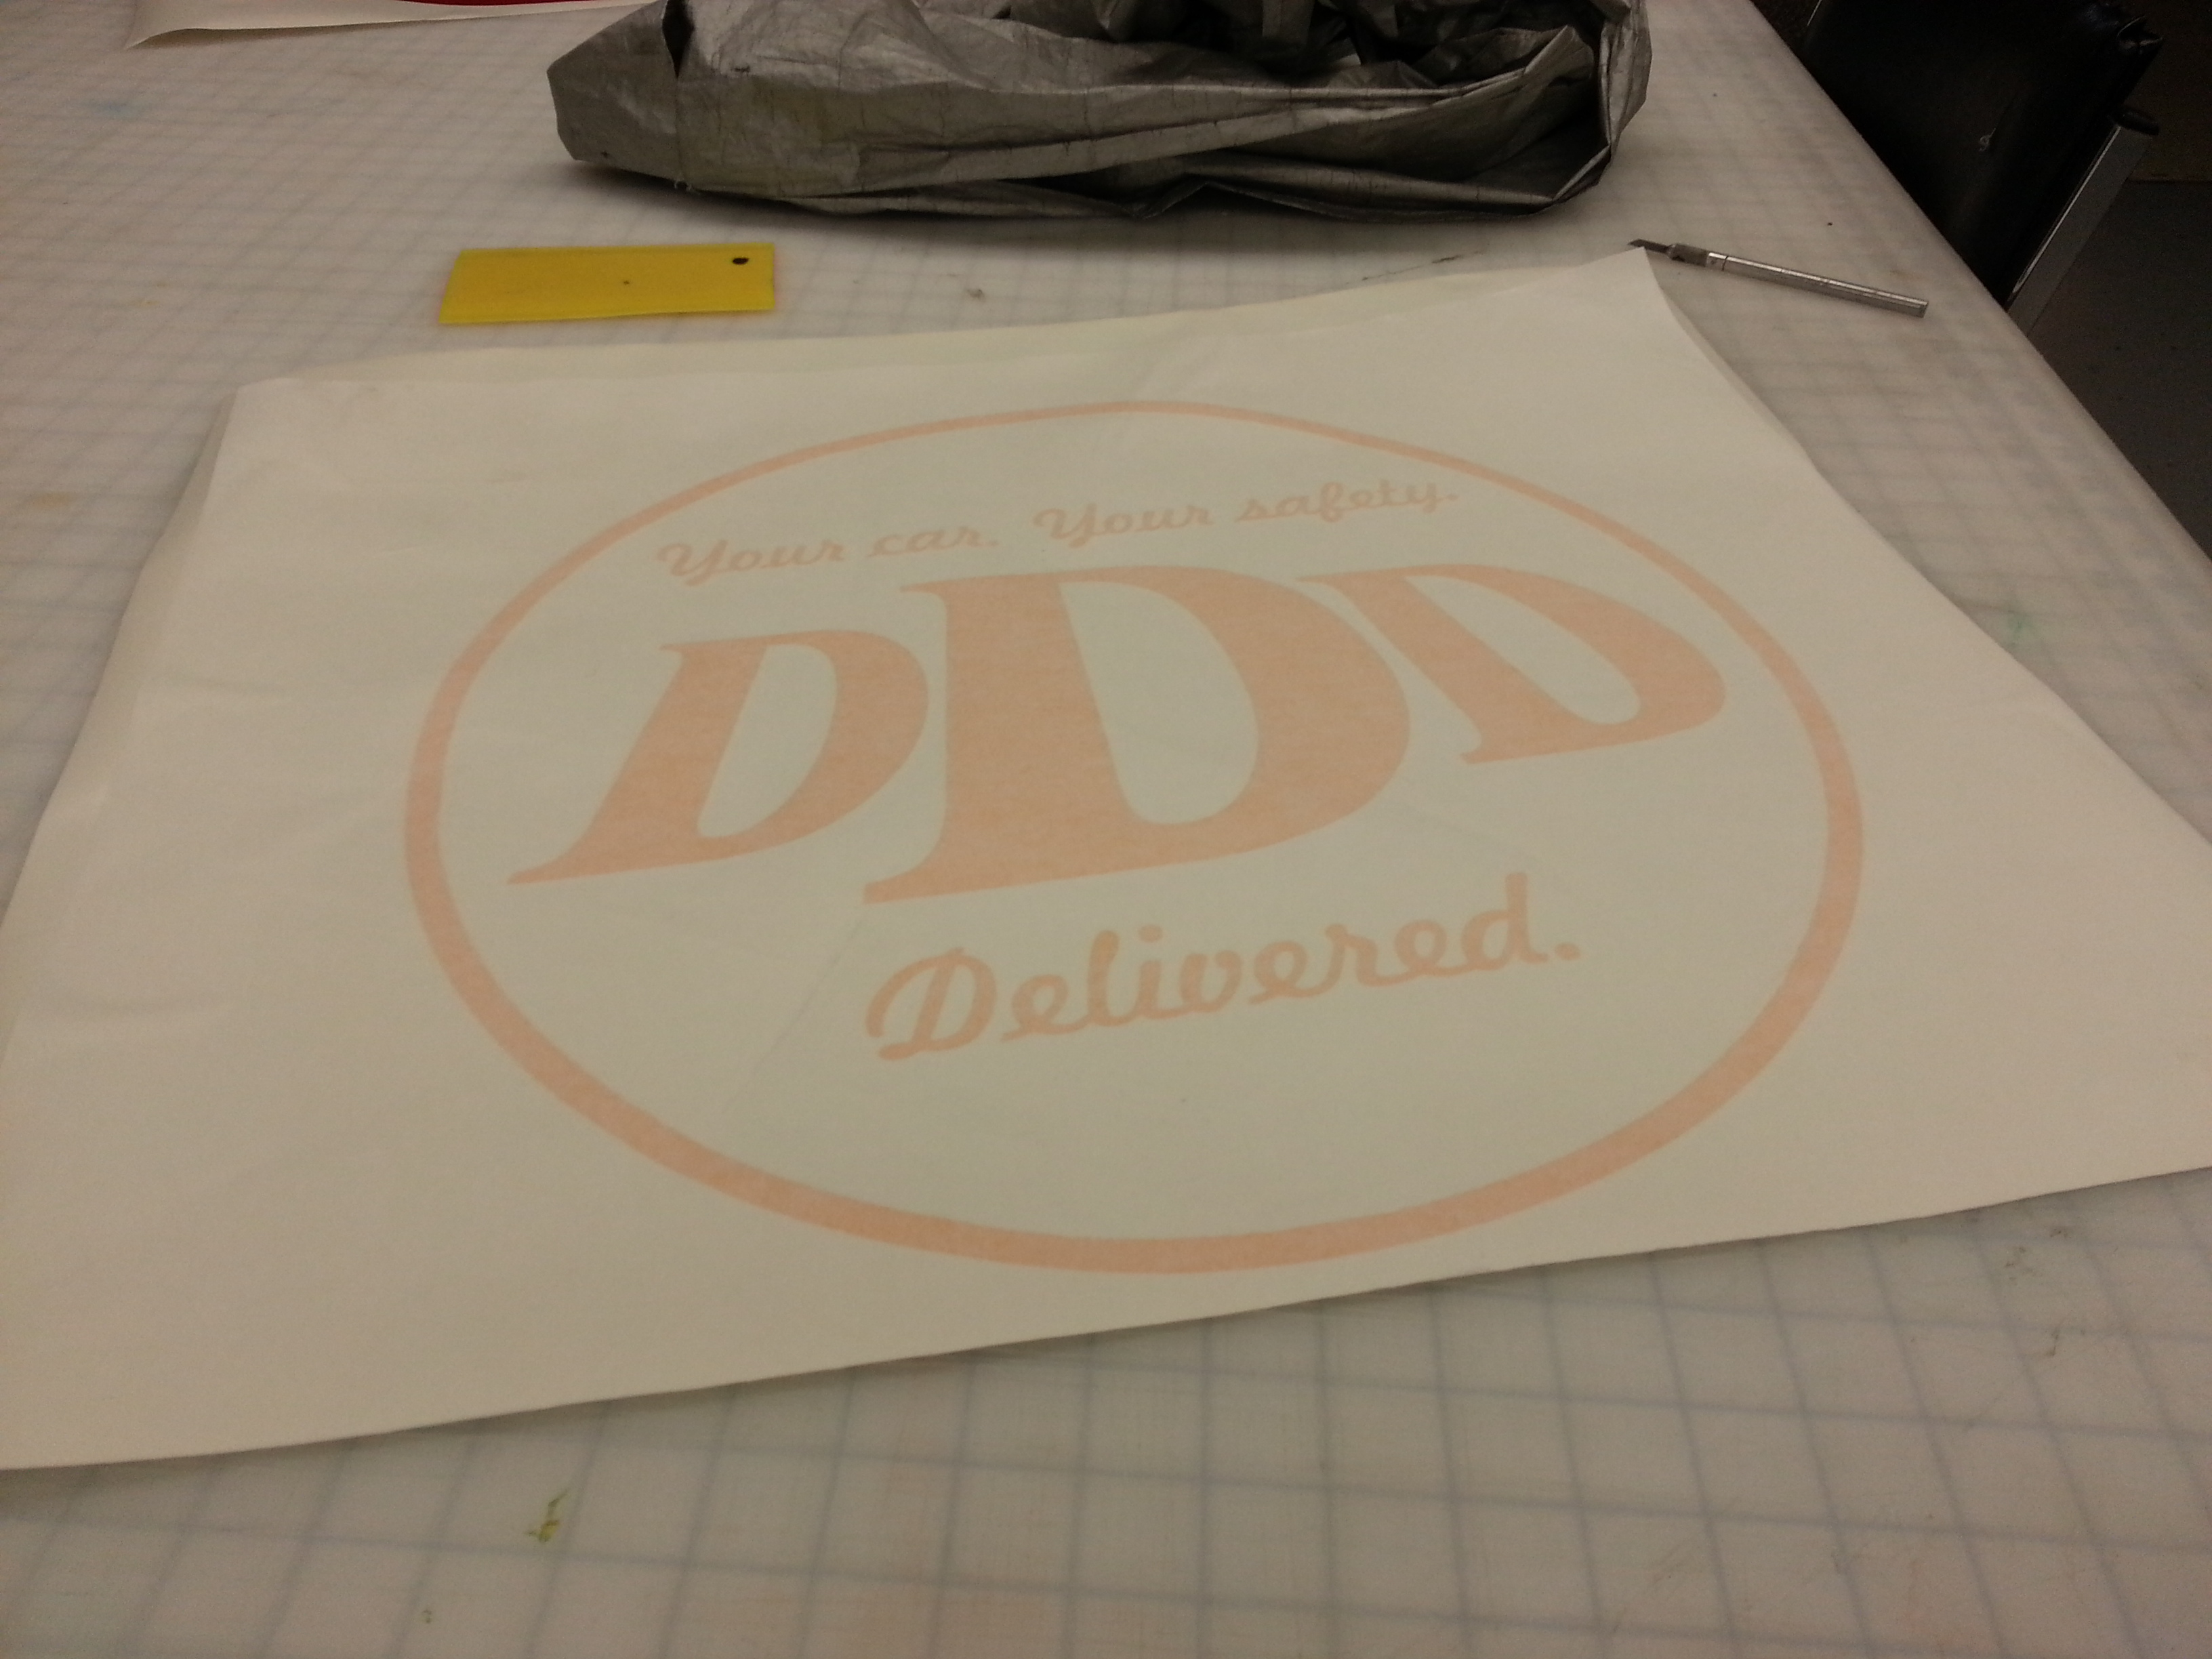
Weed your design, and then cover the top portion of the design (the yellow one, in this case) with transfer paper.
Spray Your Background Layer With Rapid Tac
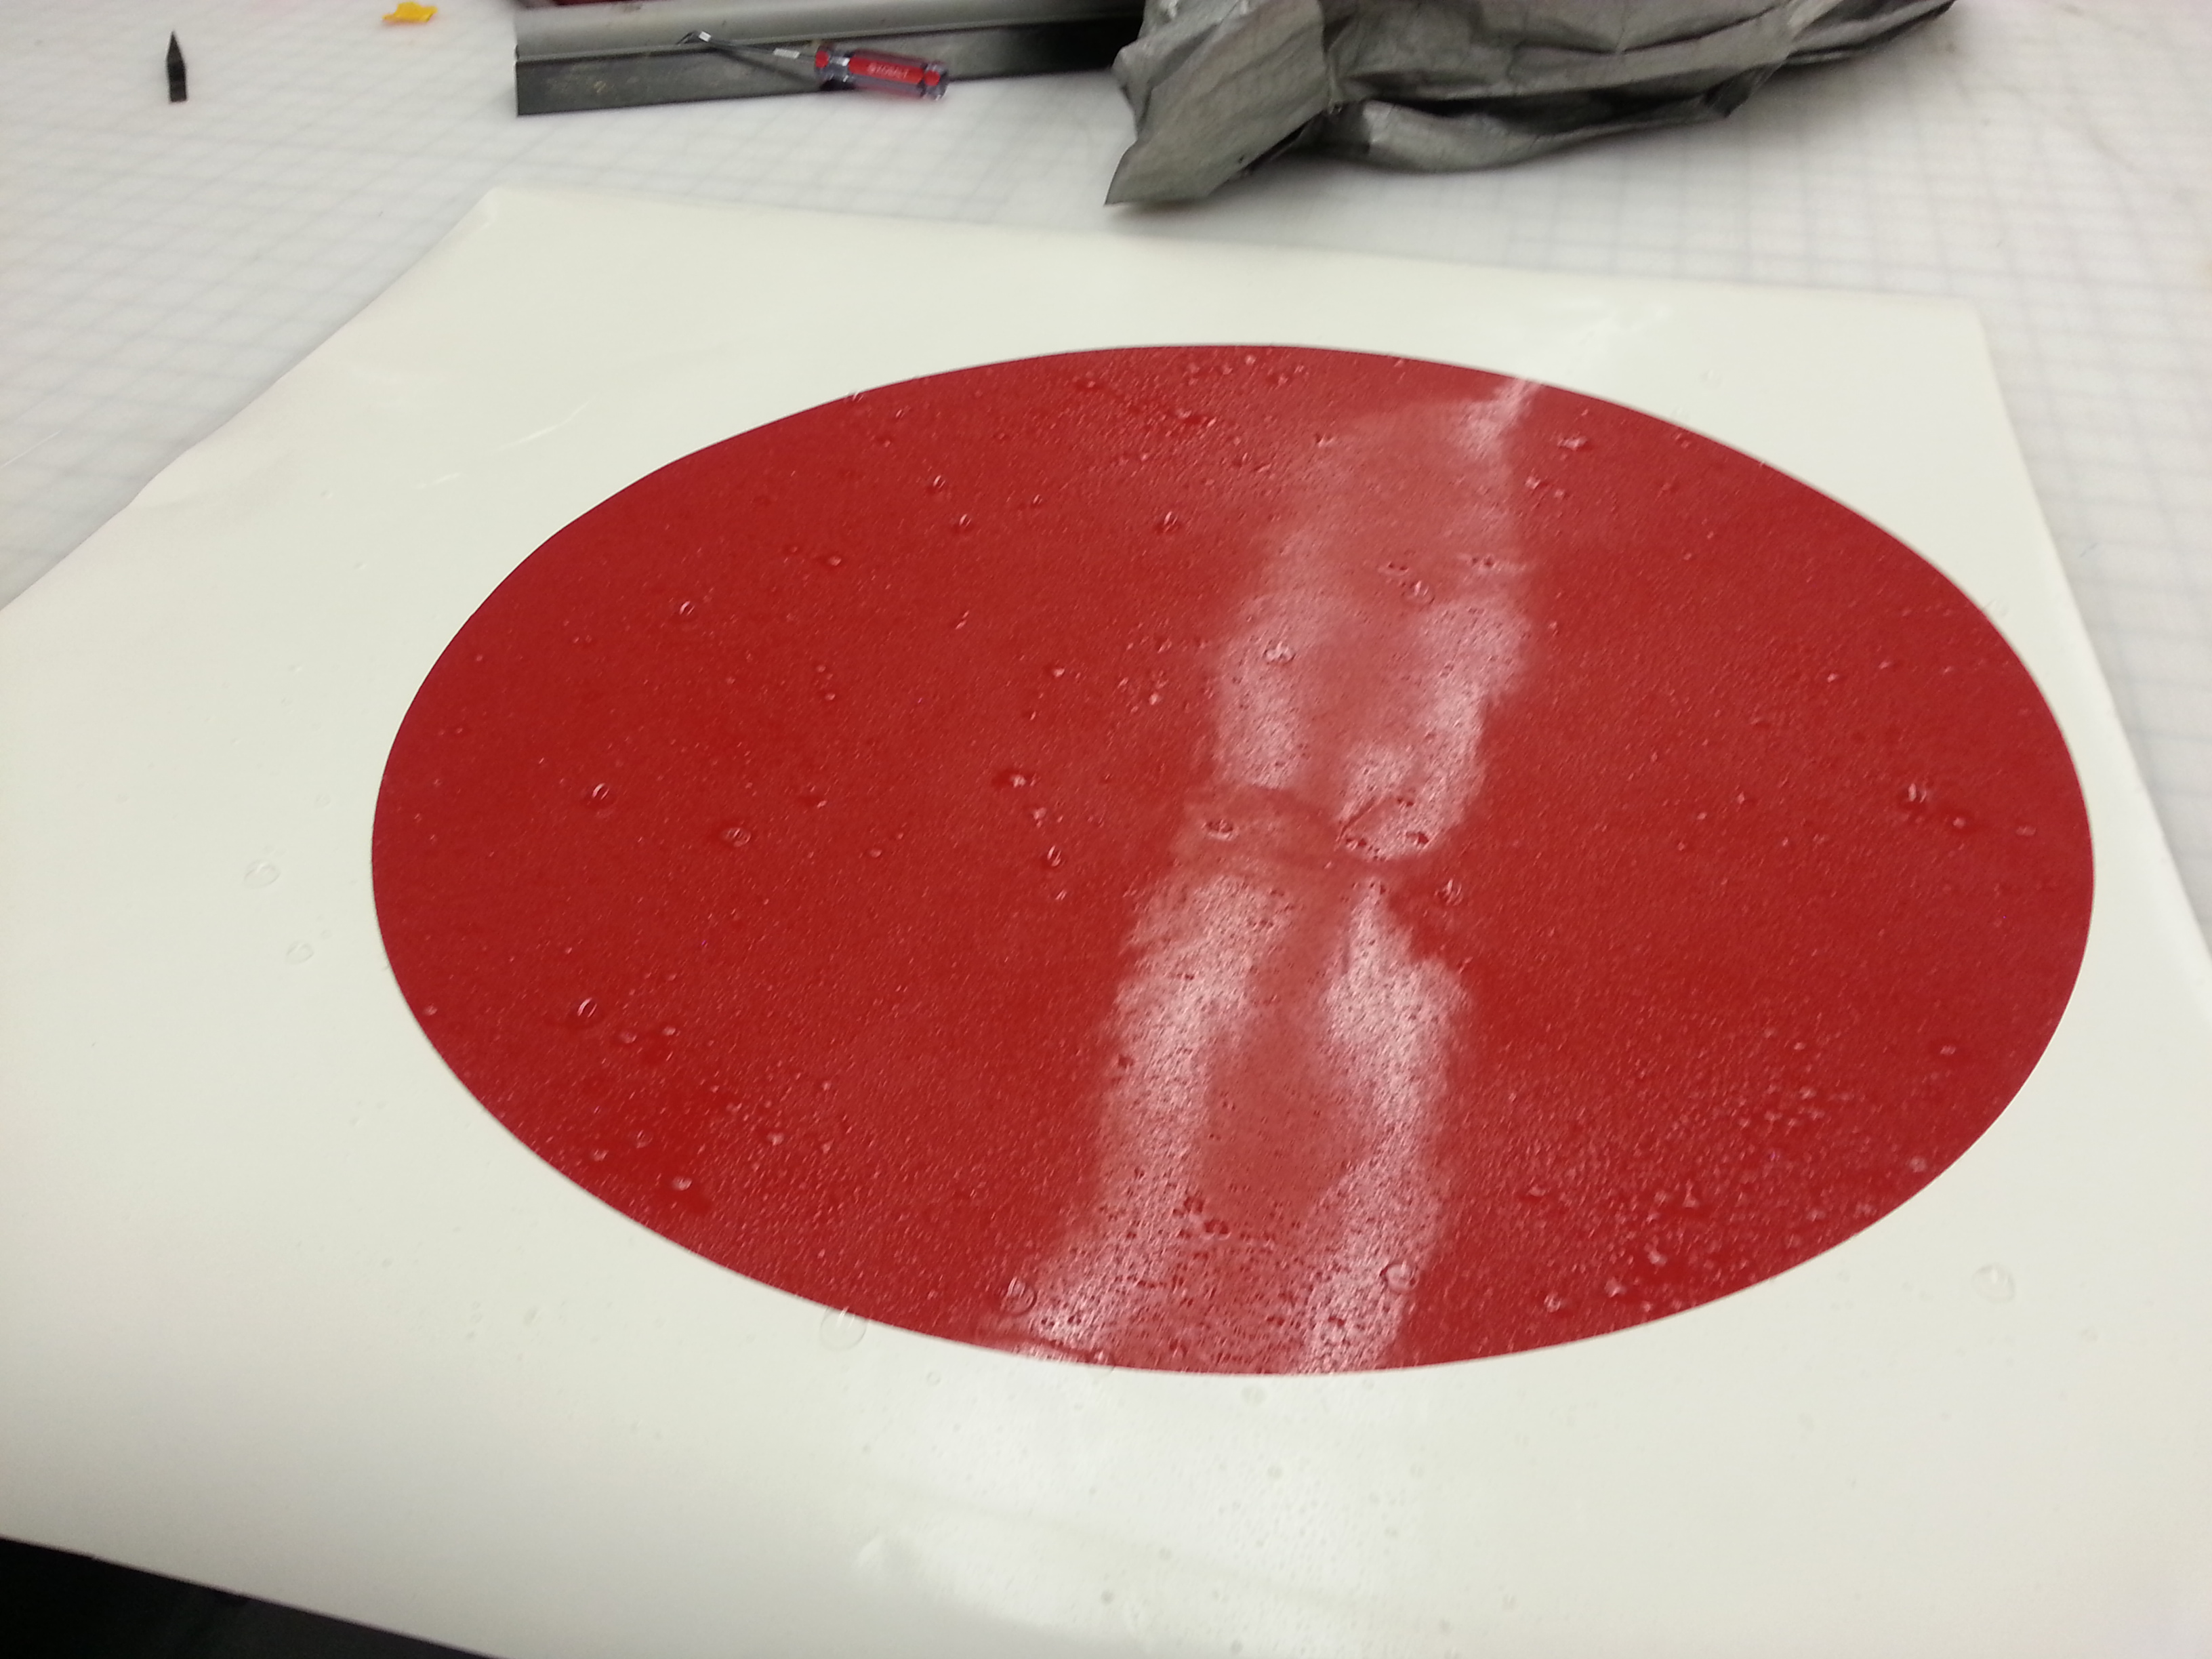
Exactly what it says. It doesn't need to be soaking wet, but there needs to be liquid all over the vinyl for it to work. This is what prevents your top layer from immediately sticking to the bottom layer.
Add Your Design Layer!
Peel off the backing and gently place your design layer on the background layer, and the Rapid Tac, if applied correctly, should allow you to move the design around so it's perfectly aligned. Once it's aligned, take a squeegee or some other device and moving from the center to the outside, press out any liquid. This will adhere your two pieces of vinyl together, and will no longer be adjustable.
Viola! You now have a car decal! I recommend keeping the transfer paper on until you're ready to put the decal on the car, then peeling off the backing and then placing it. Makes things a lot easier!
Viola! You now have a car decal! I recommend keeping the transfer paper on until you're ready to put the decal on the car, then peeling off the backing and then placing it. Makes things a lot easier!