How to Make a Robot
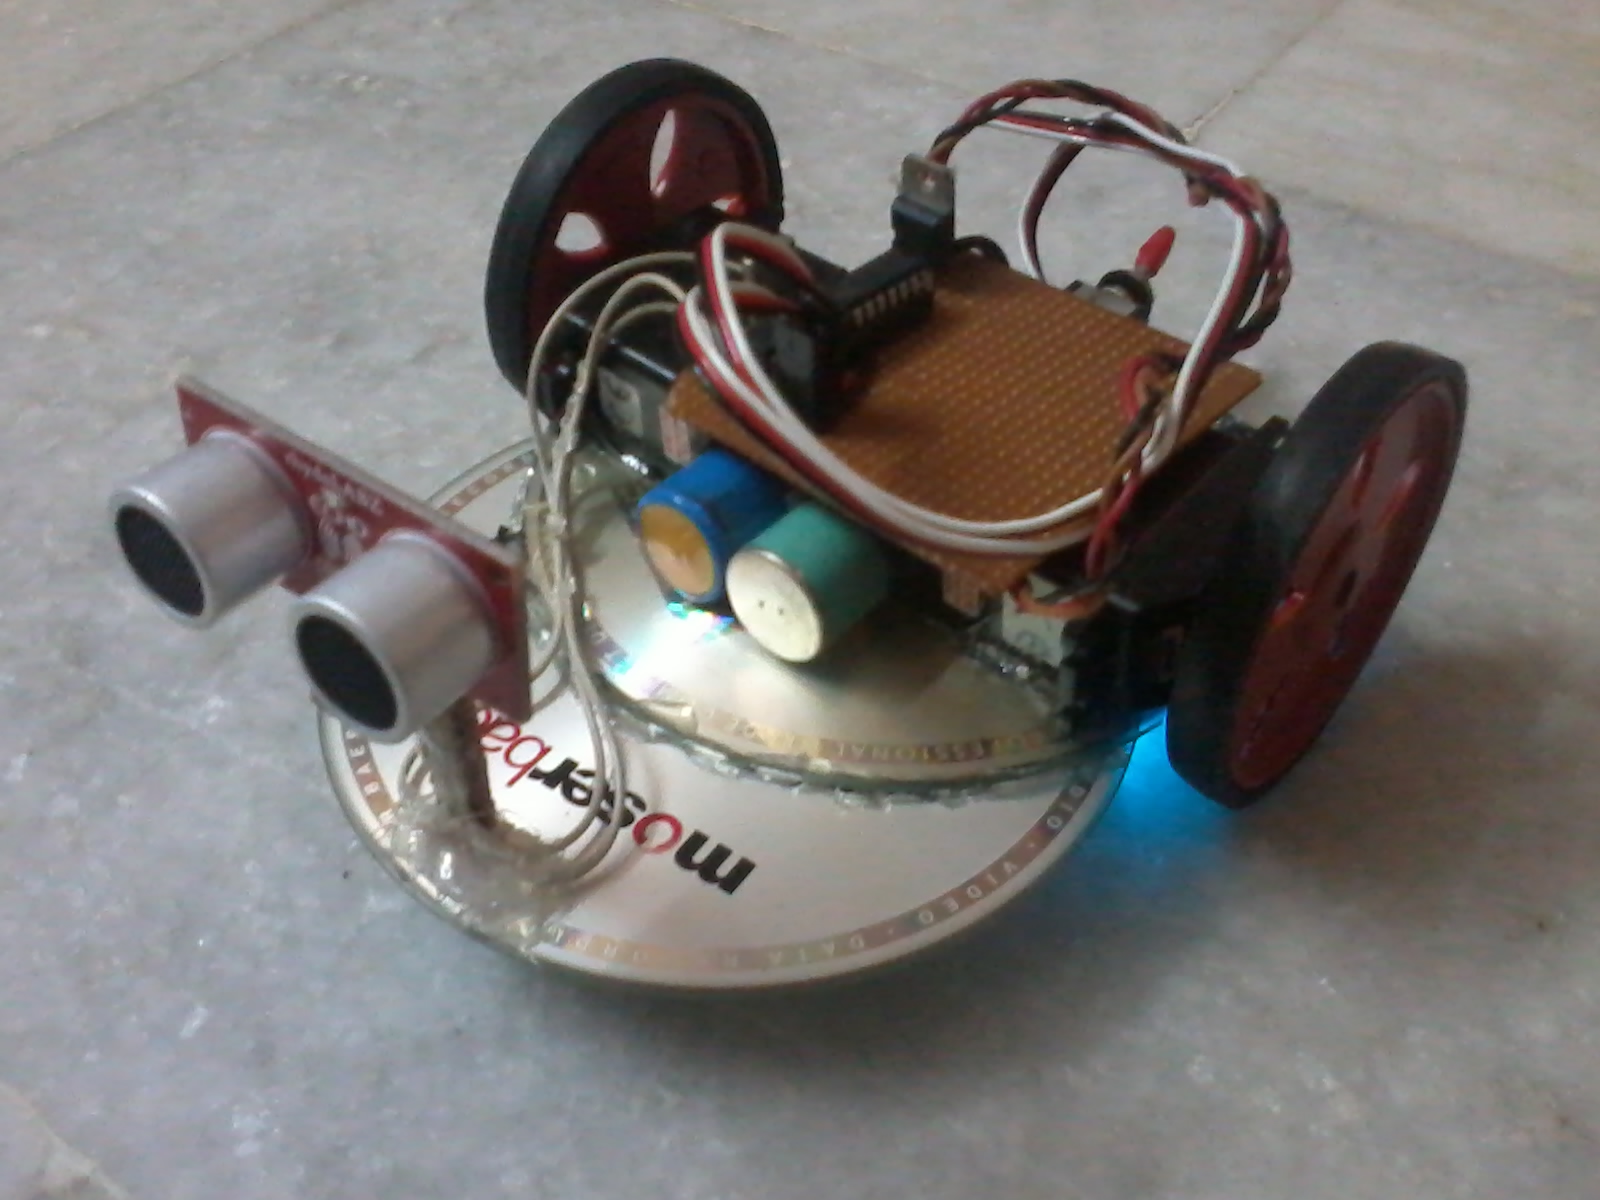
This instructable shows step by step instructions for making an obstacle avoiding robot using Arduino.
Source code is also included in the video for programming the bot !
So are you ready to build your electronic pet ? Lets begin..
We first start by detailing the parts required,then move on to actual step by step construction and finally code the arduino to bring our robot to life!
But first here's the video tutorial :
Materials Required
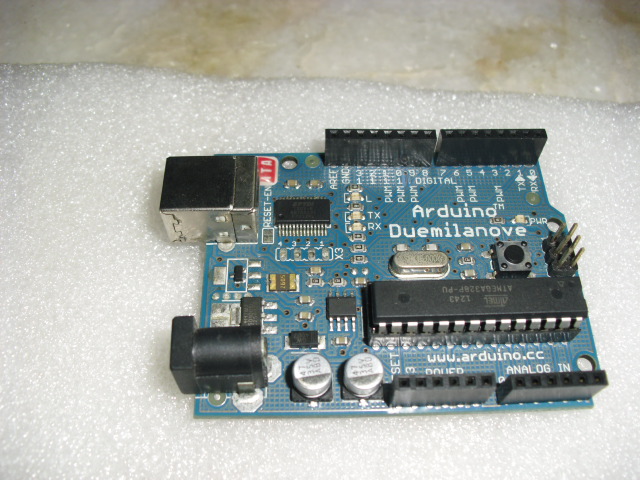
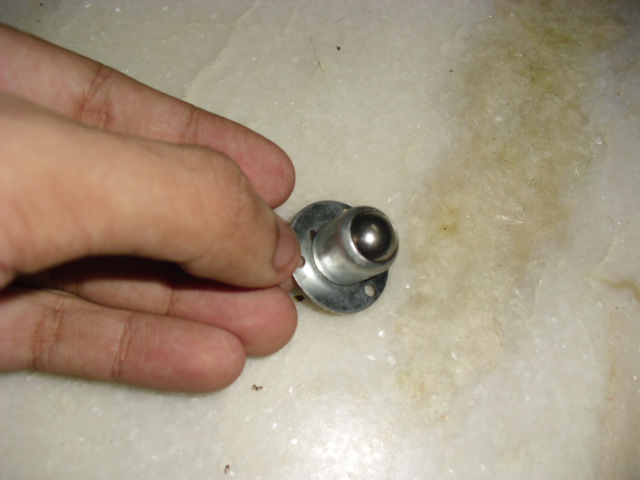
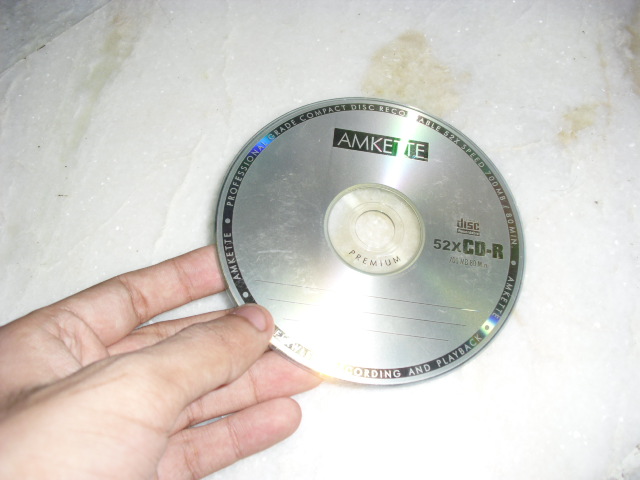
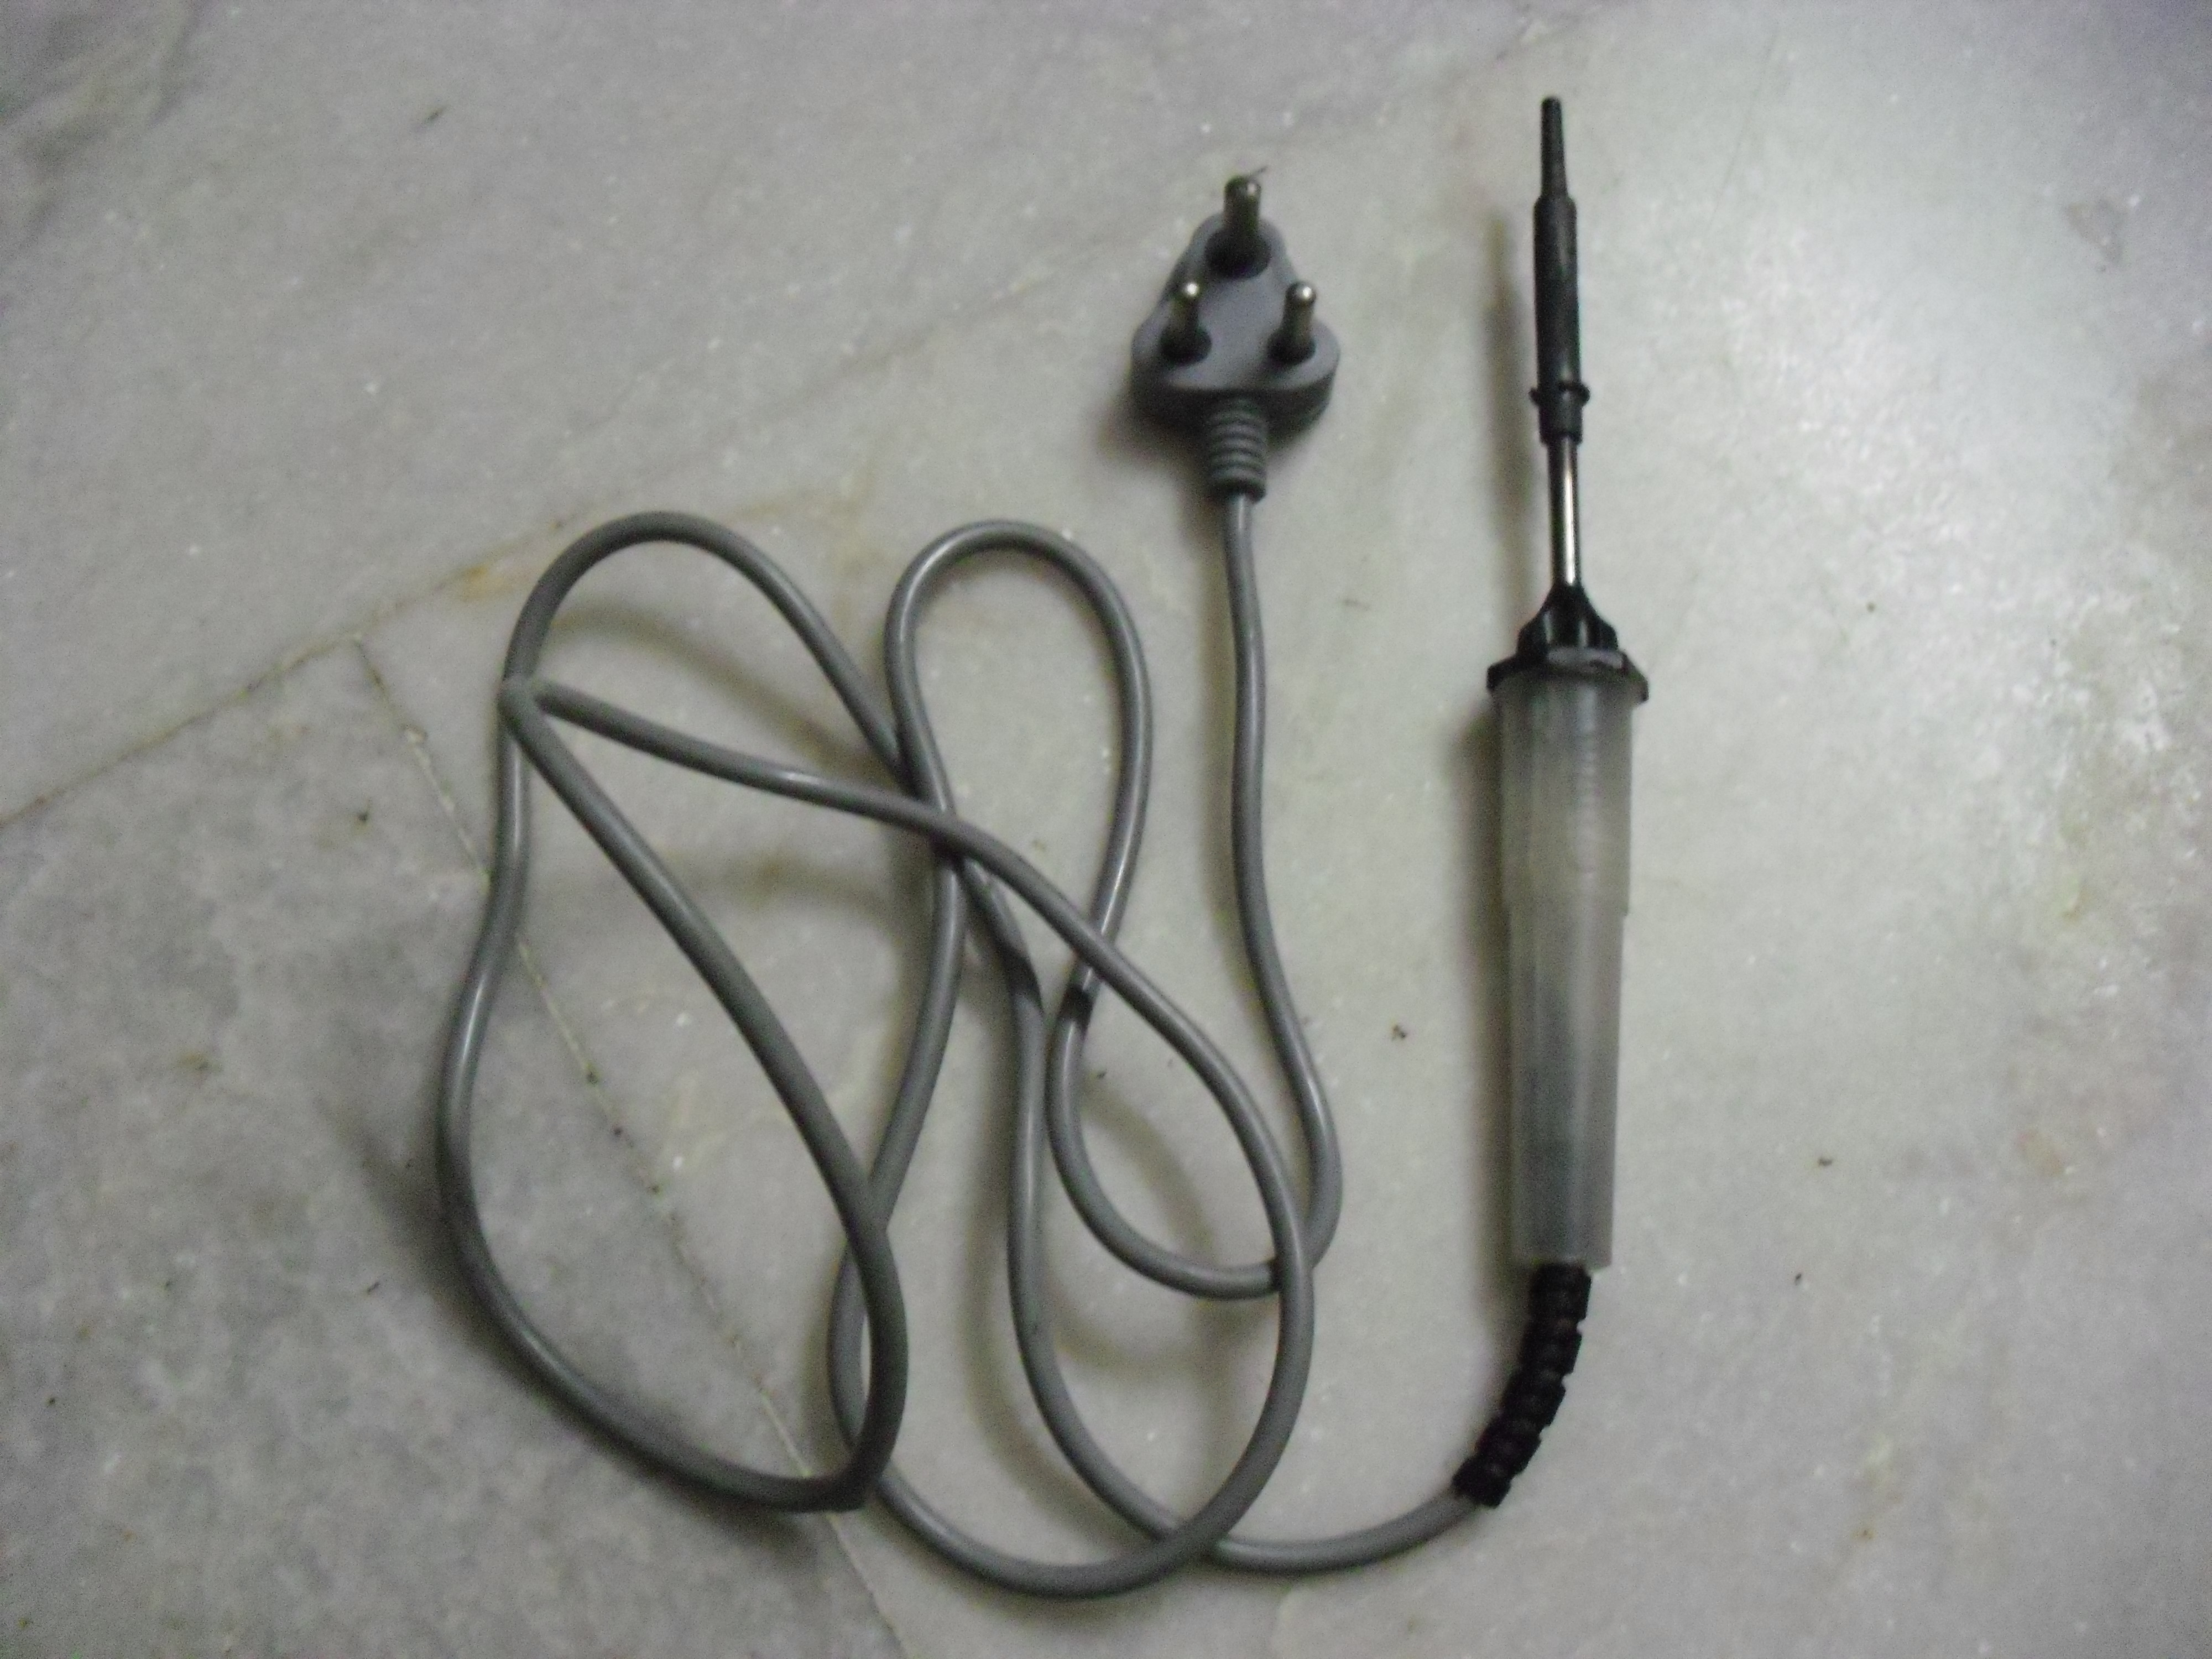
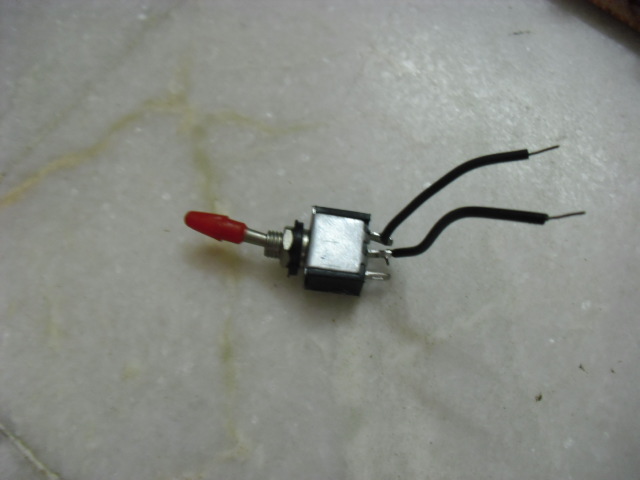
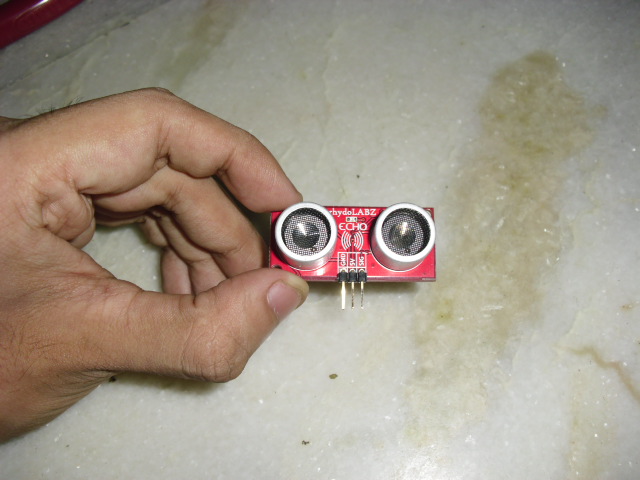
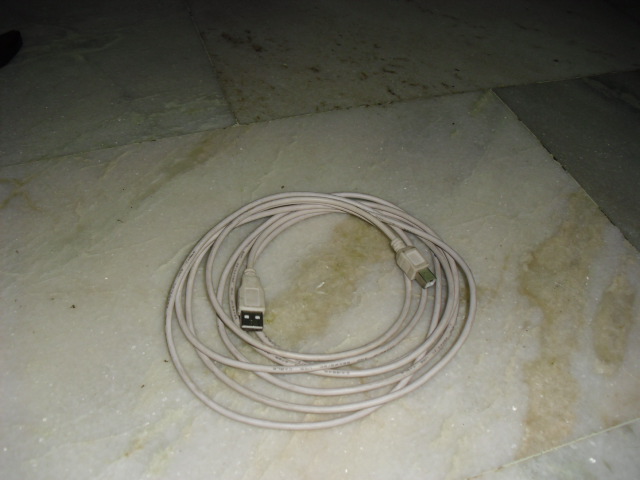
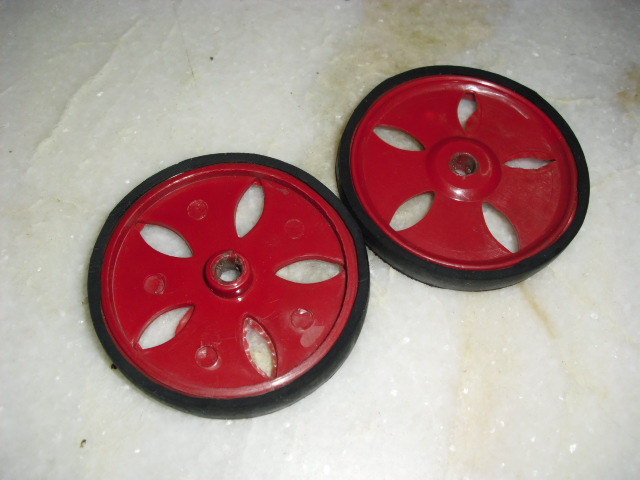
See video for voice explanation of all steps.
Here you'll find a text explanation only with some snaps.
So lets get started by listing the parts required.You will need :
Arduino (I used a Duemilanove,You can use another) -1 or Arduino clone
Castor wheel -1
Useless CD's -2
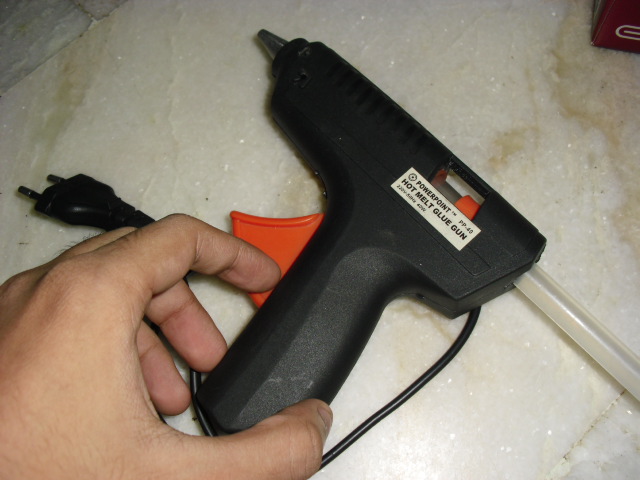
Hot glue gun and sticks -1
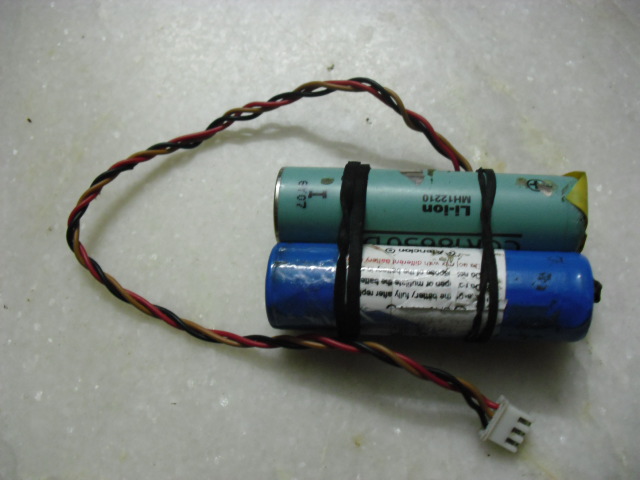
Li-Ion Battery Pack(I used 8.4V pack) or AA rechargeable cells (Total Voltage > 8V)
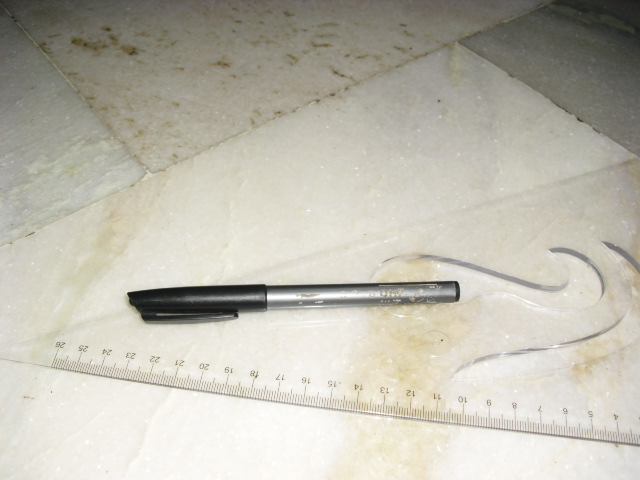
Marker ans Scale -1
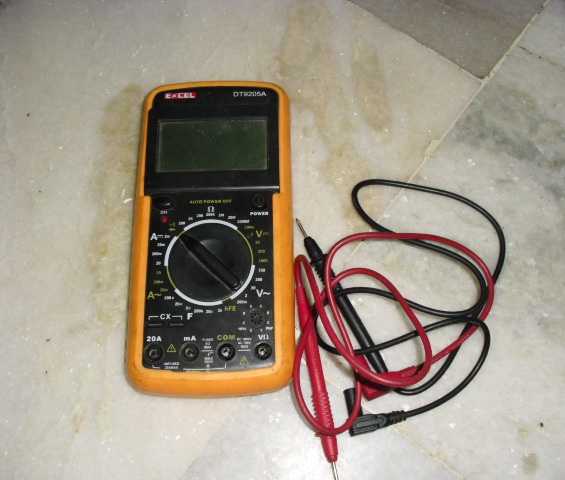
Multimeter -1
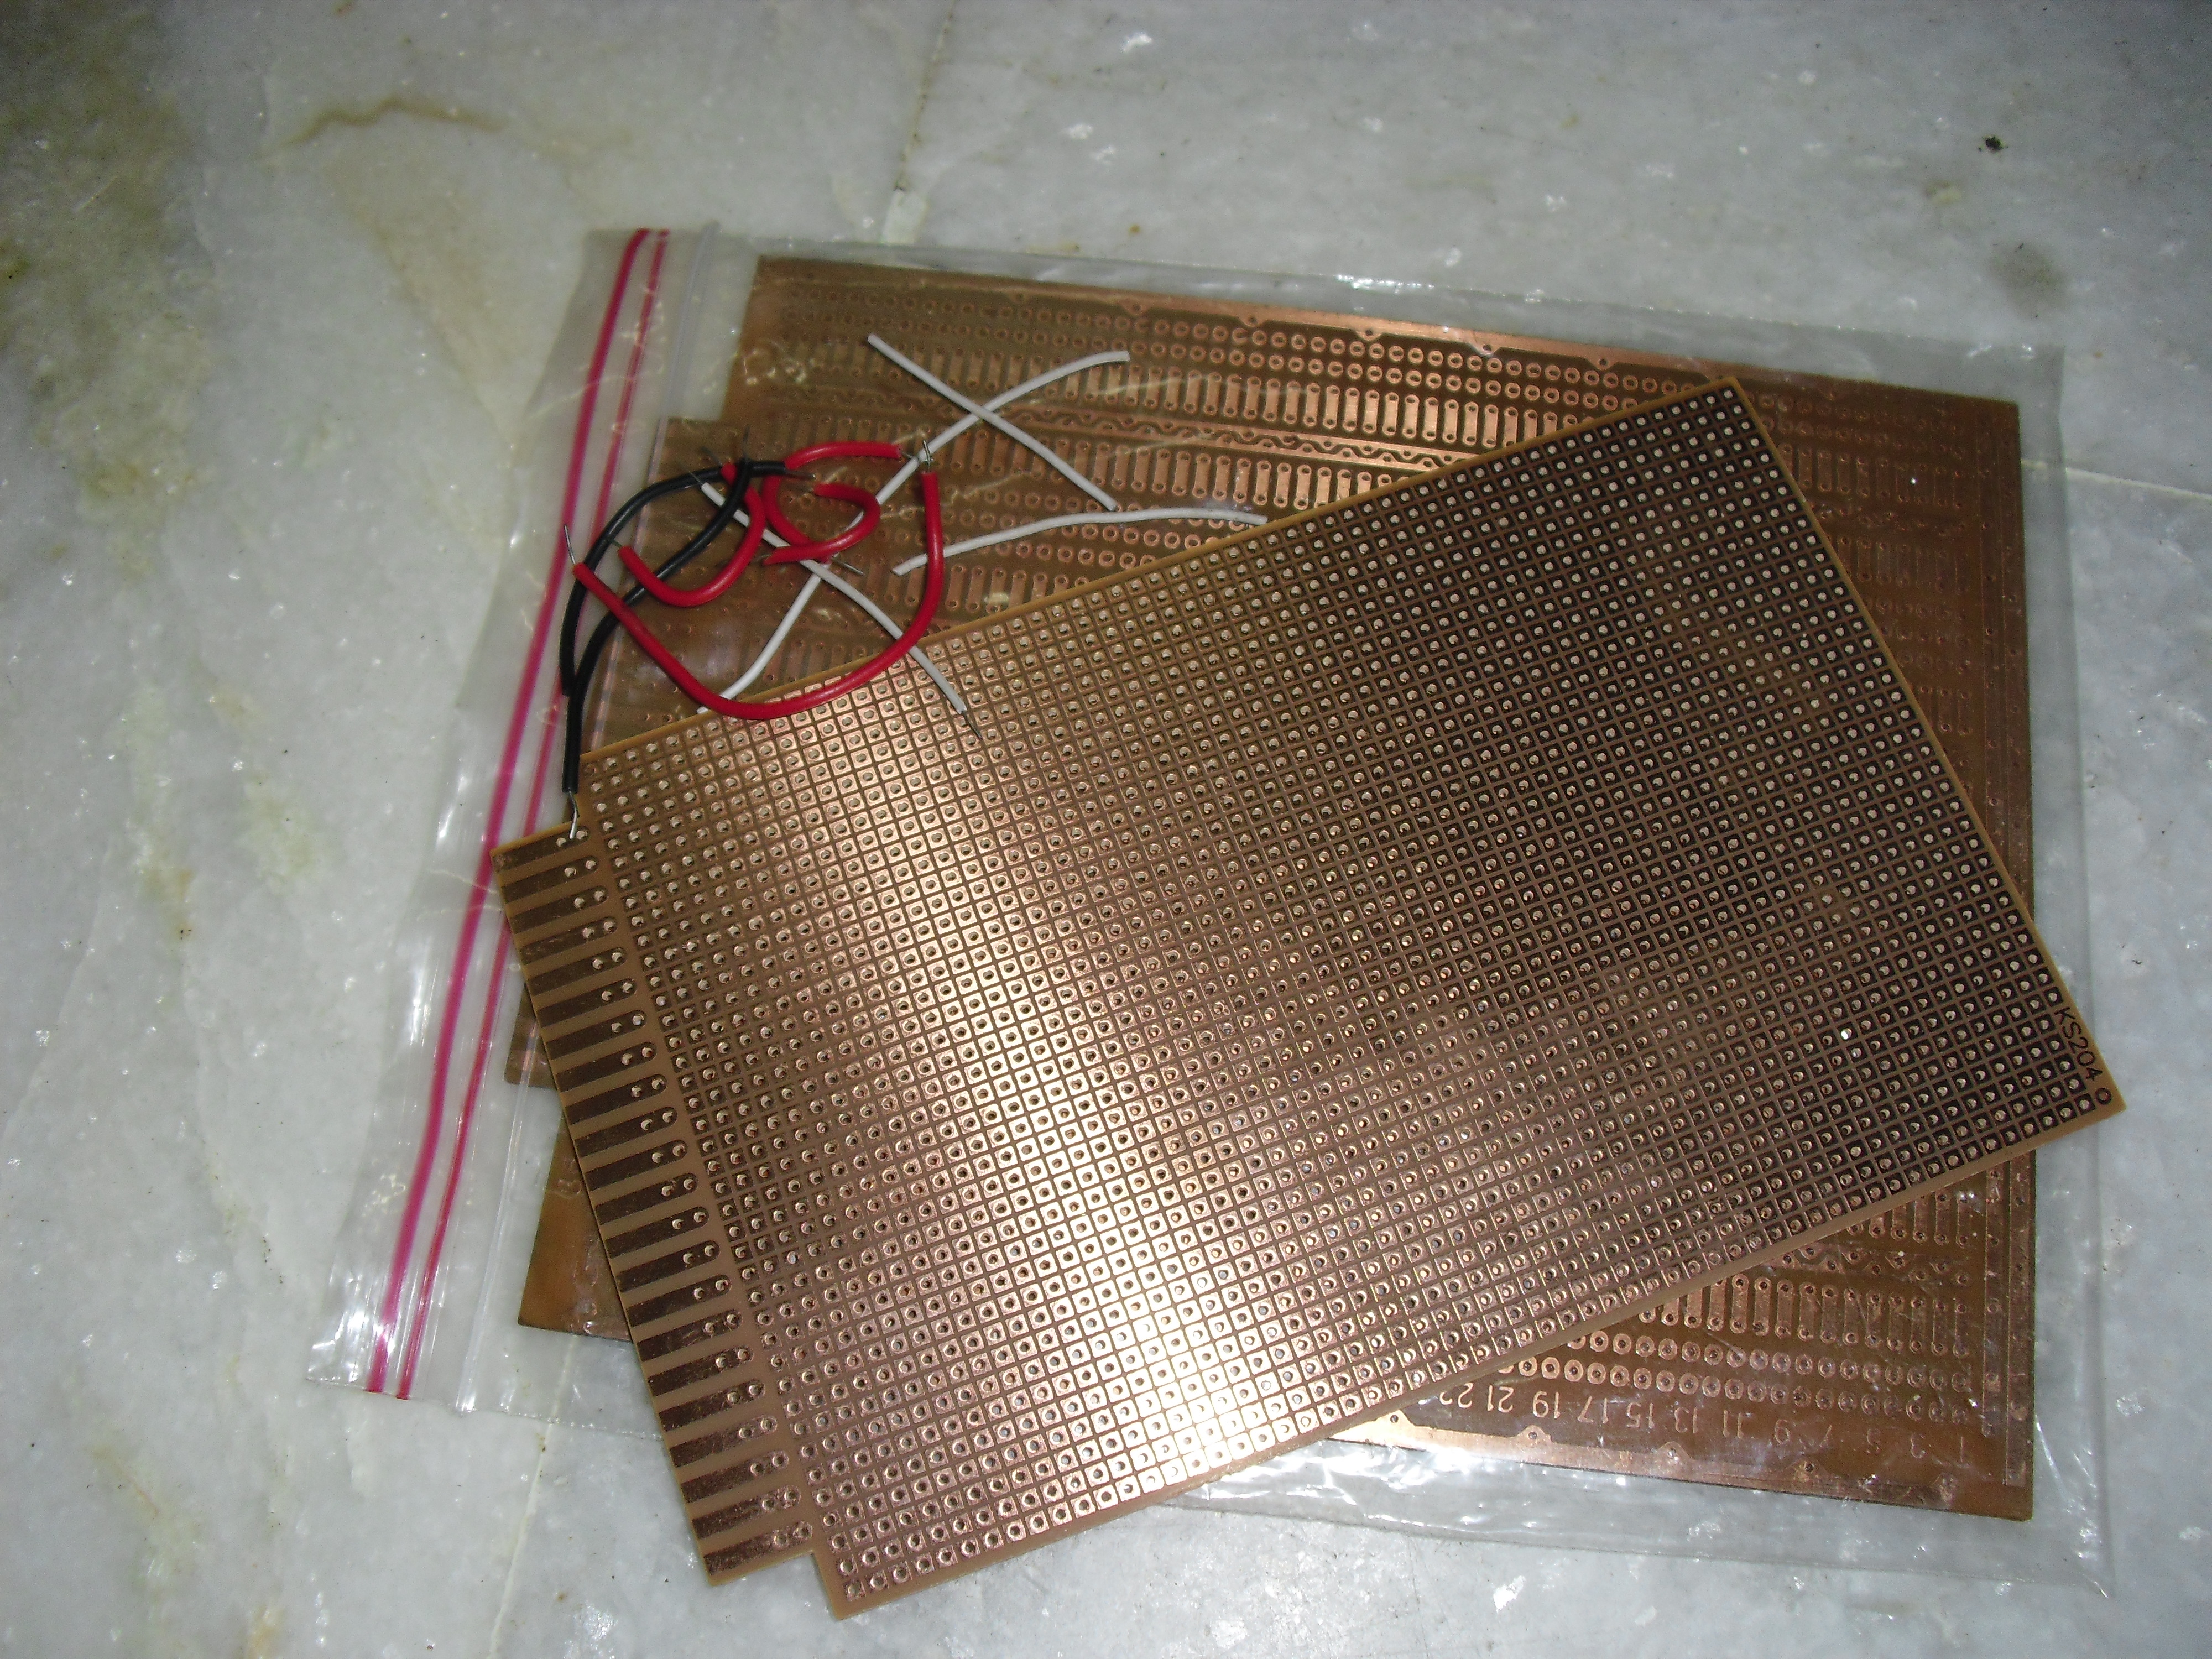
Perfboard -1
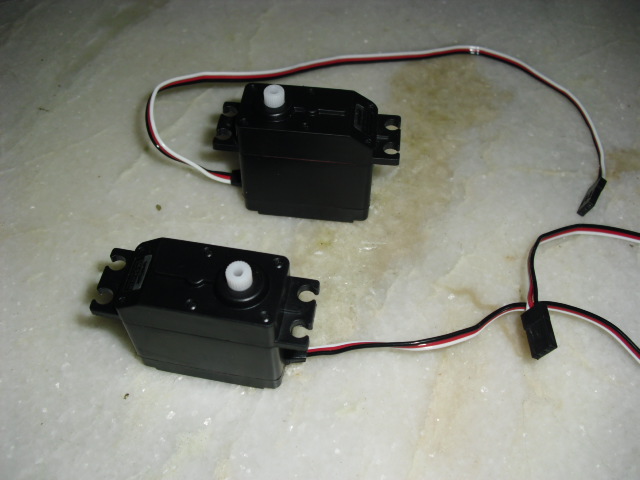
Continous rotation servos.(I used1.7Kg ones) -2
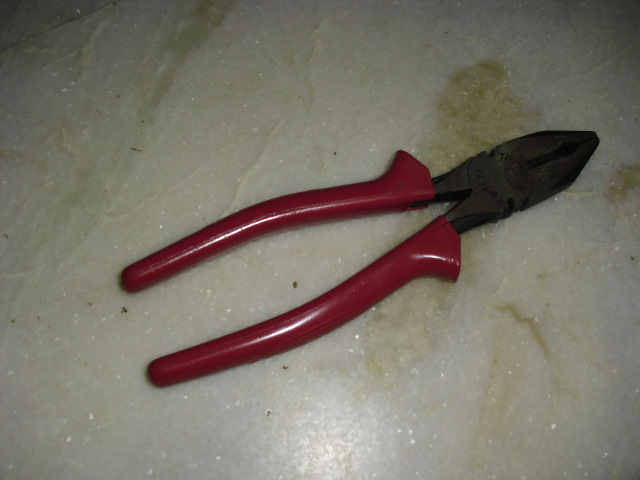
Plier -1
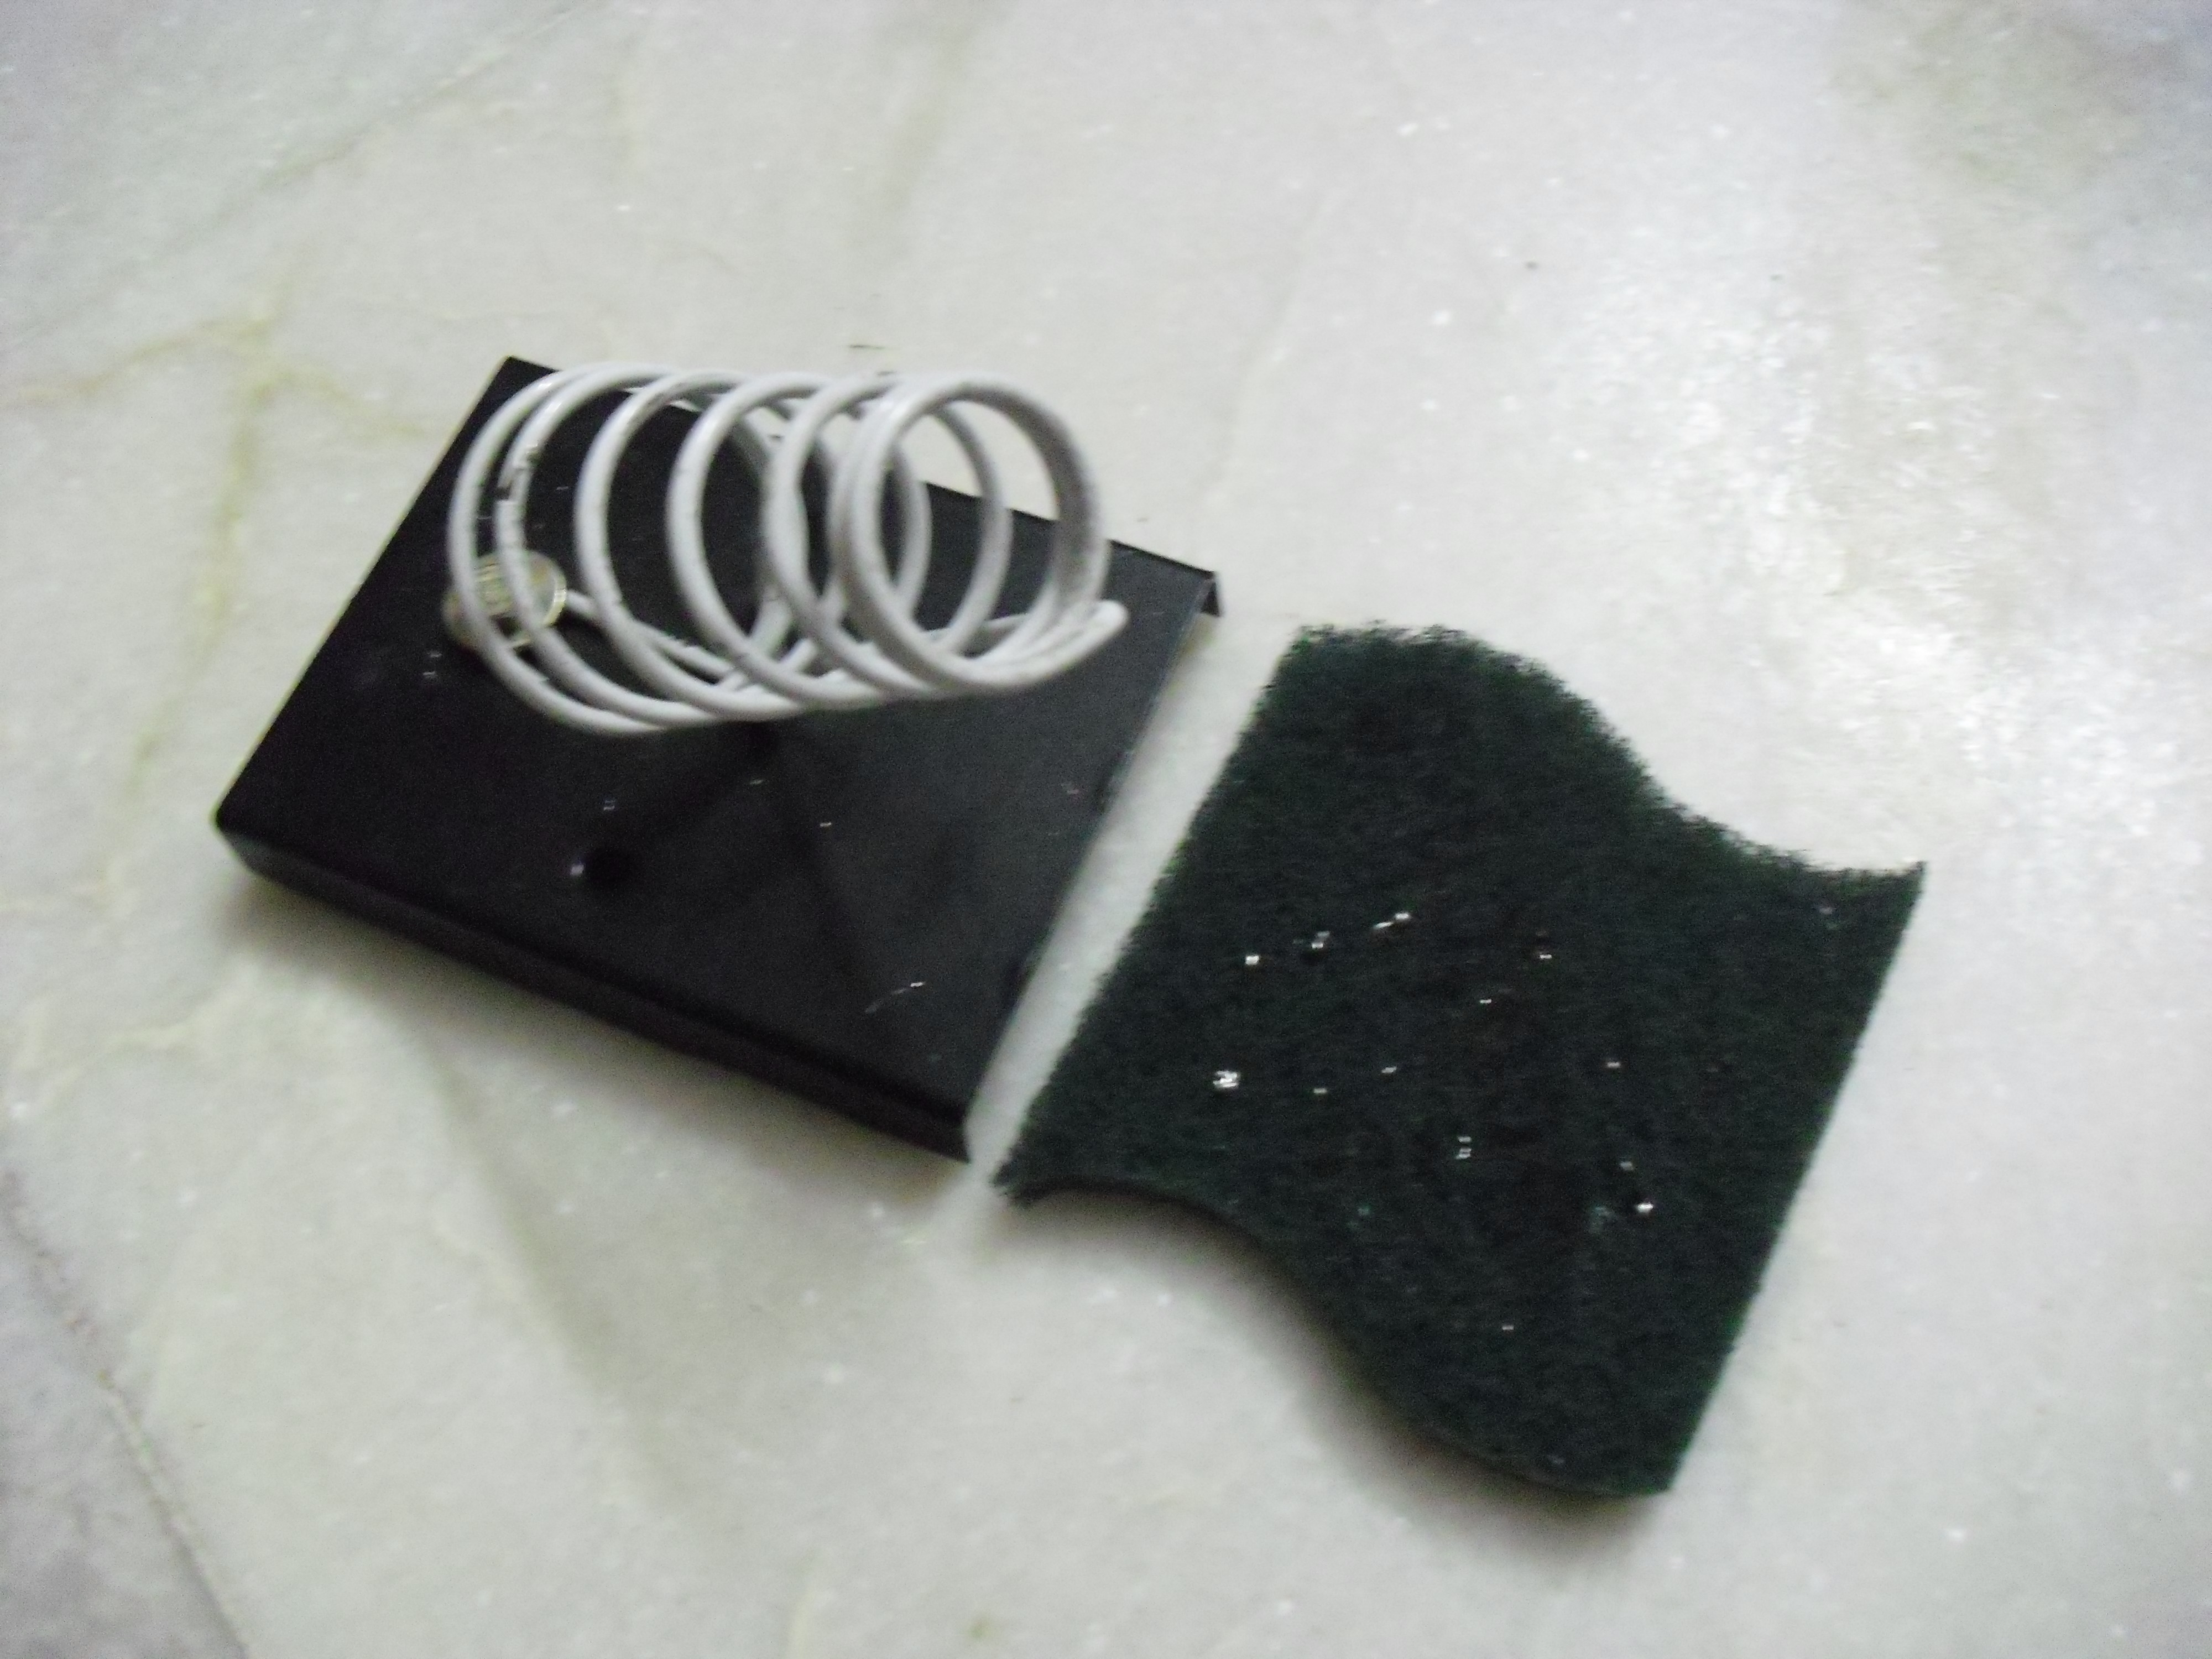
Soldering Iron (30W),solder reel and stand -1
Toggle Switch-1
Ultrasonic Distance Sensor (PWM O/P) -1
USB Cable -1
Wheels -2
and jumper wire
Oh,and also electronics(atmega 328,5v regulator,16 mhz crystal,22pf capacitors,header pins)..You get the idea.NEXT lets start construction.
Construction Step #1
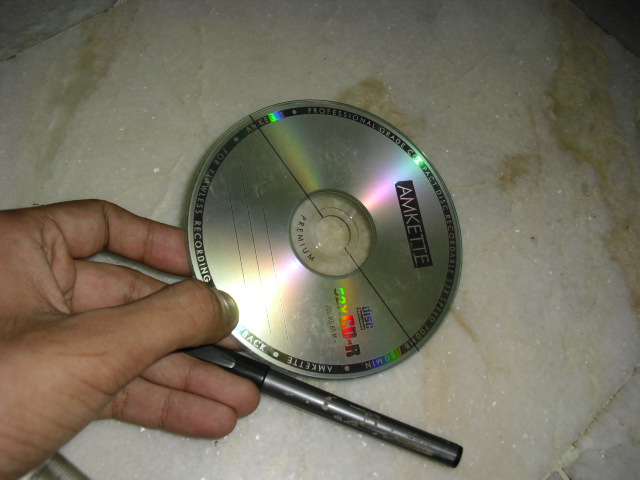
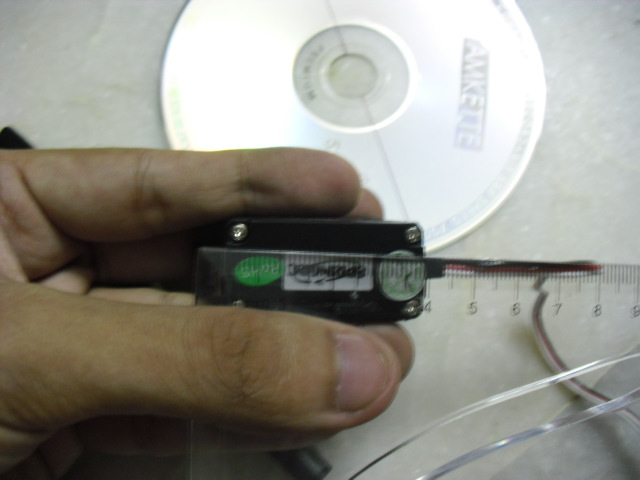
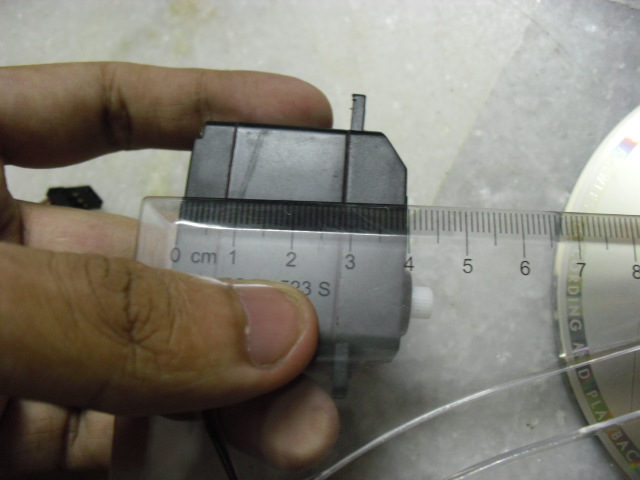
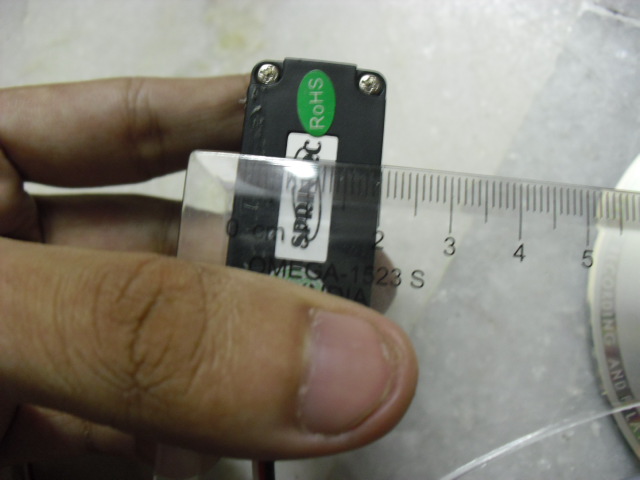
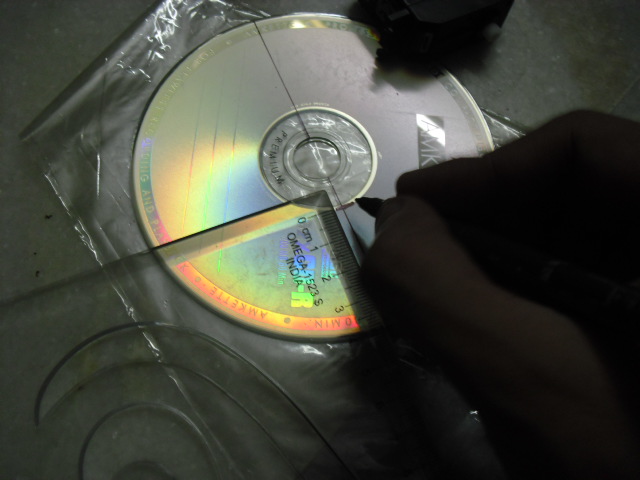
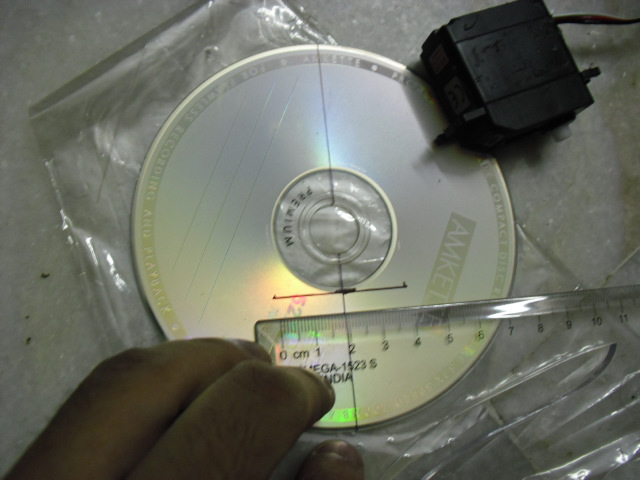
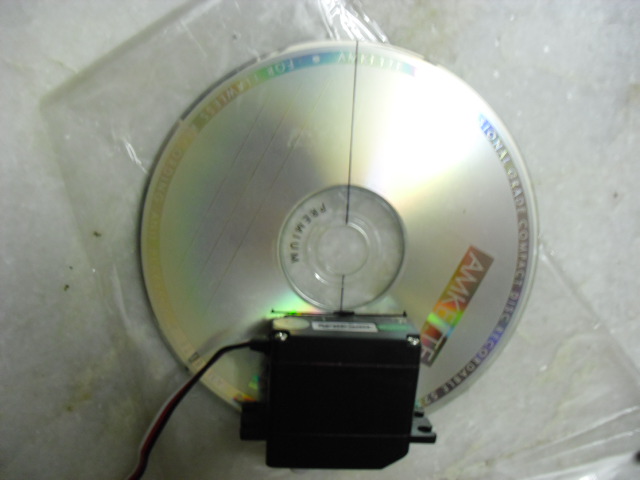
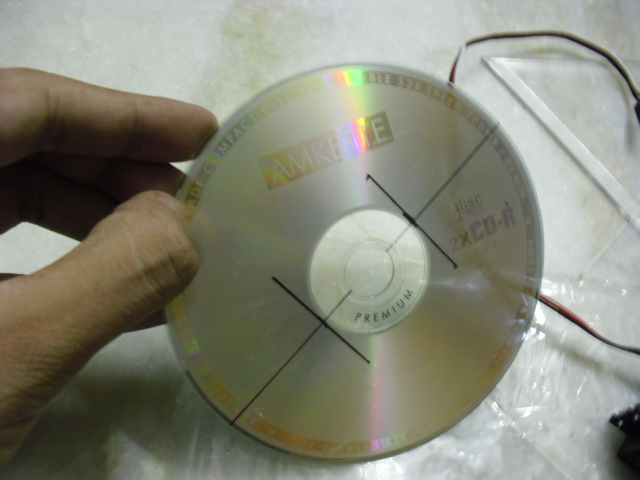
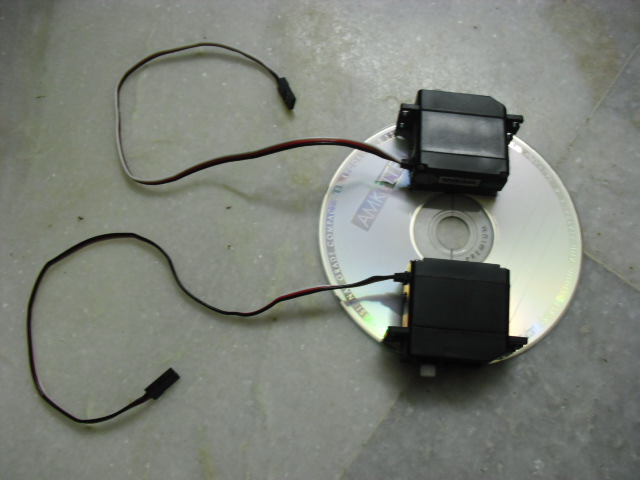
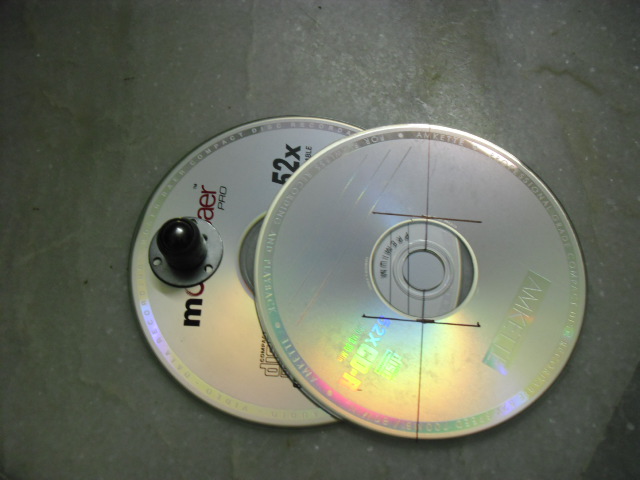
1)Make a line along the diameter of the CD(see pic).
2)Measure the dimensions of your servos(Length,width and height).
3)Make a notch on one end of the diameter according to height of the servo.We make a mark according to height because we will be laying the servos horizontally.
4)Extend the notch into a line according to width of the servo equally on both sides of the notch.
5)Place the servo on the CD to see if it fits perfectly.
6)Do the same process on the other side.
Construction Step #2
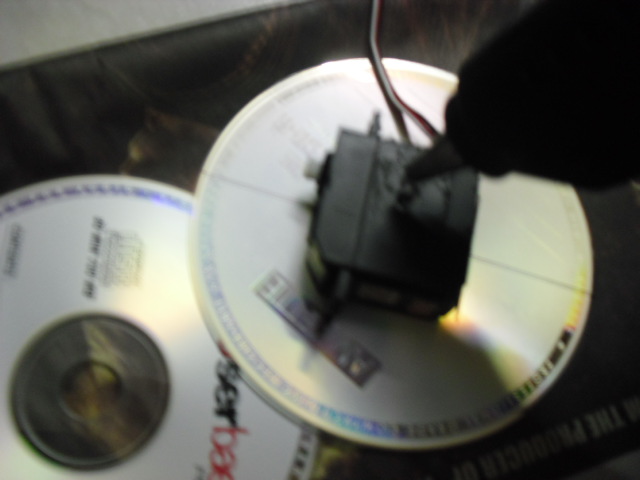
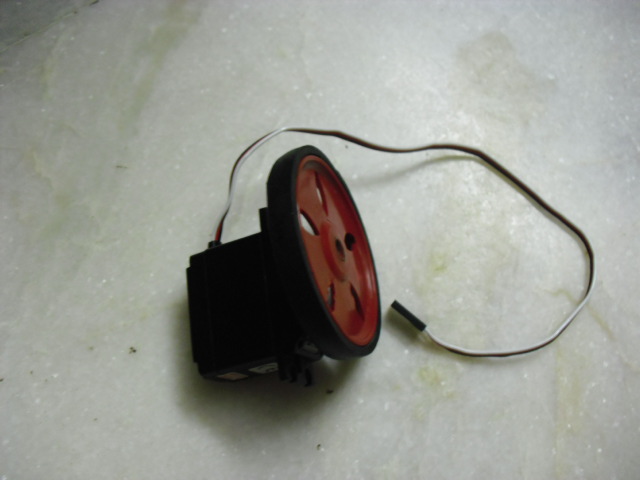
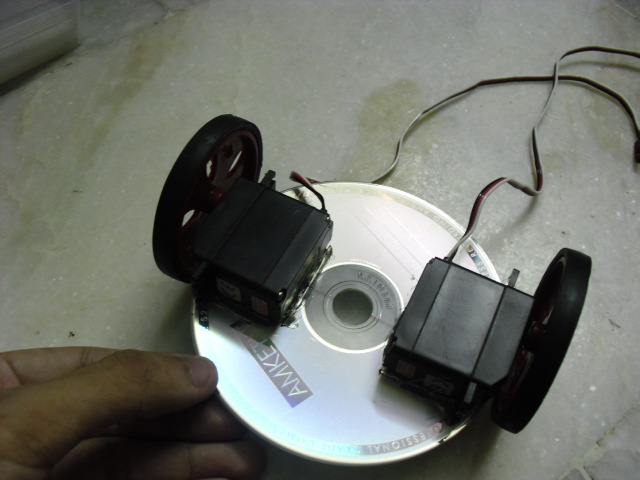
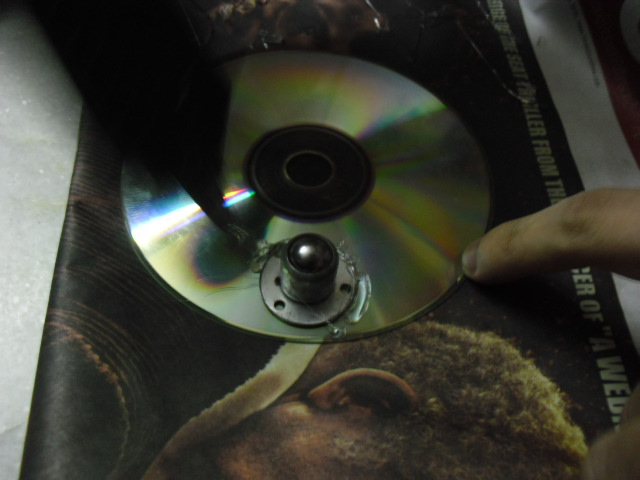
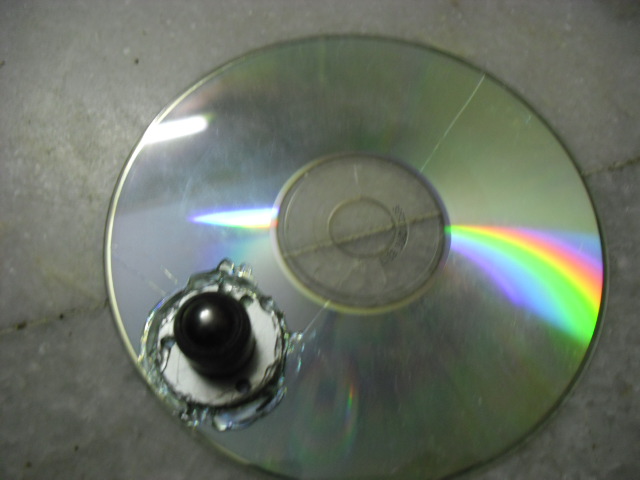
7) Insert the wheel into the servo axle to ensure a perfect fit. You can even use screws to tighten the wheels using the servo horn if needed.
8)Place the 2nd cd below the first and find a suitable place for the castor wheel.
9)Hot glue the 2 servos into marked location.
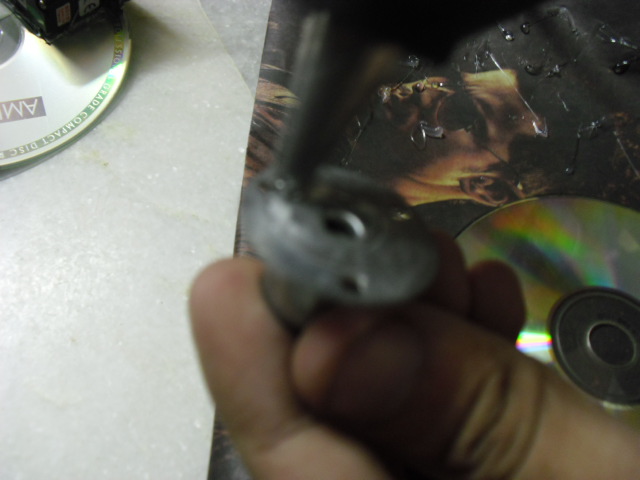
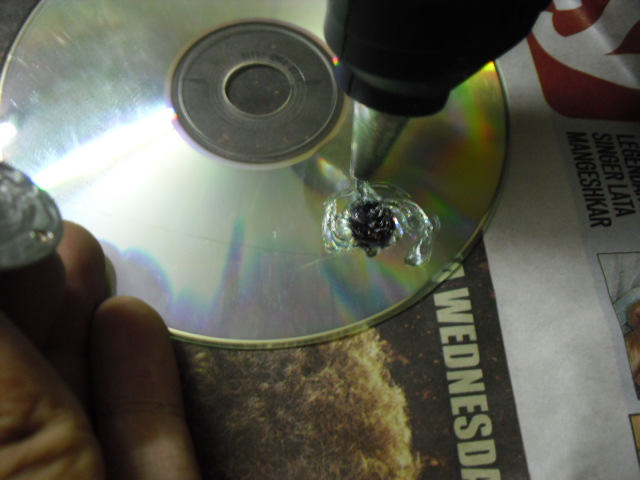
10)Next hot glue castor wheel into its marked place.
Reinforce the joint from the top with generous serving of more hot glue.
8)Place the 2nd cd below the first and find a suitable place for the castor wheel.
9)Hot glue the 2 servos into marked location.
10)Next hot glue castor wheel into its marked place.
Reinforce the joint from the top with generous serving of more hot glue.
Construction Step #3
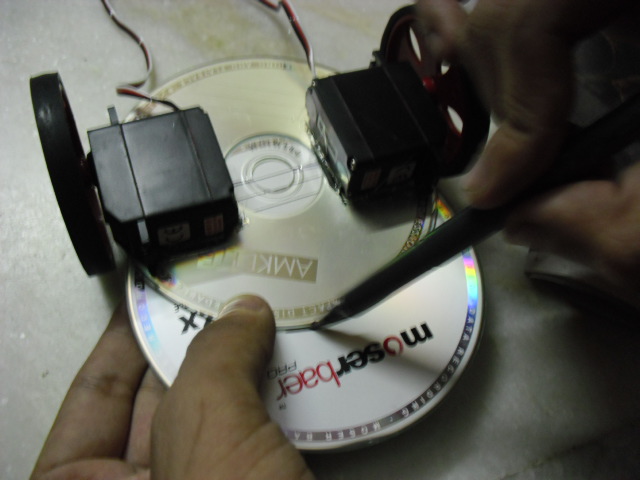

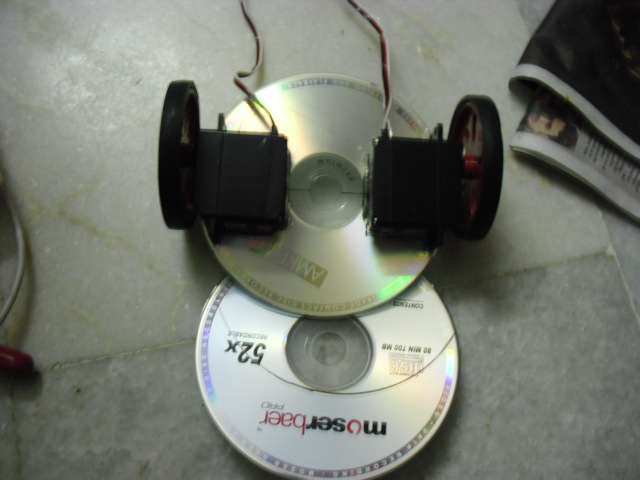
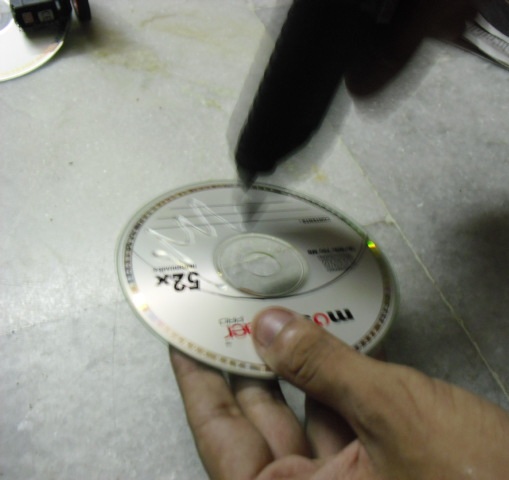
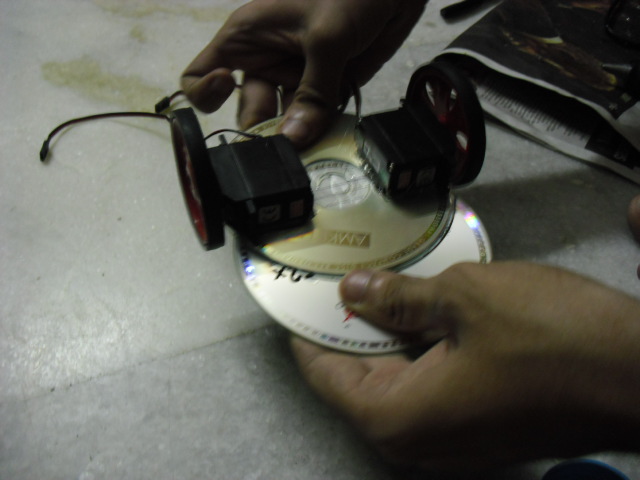
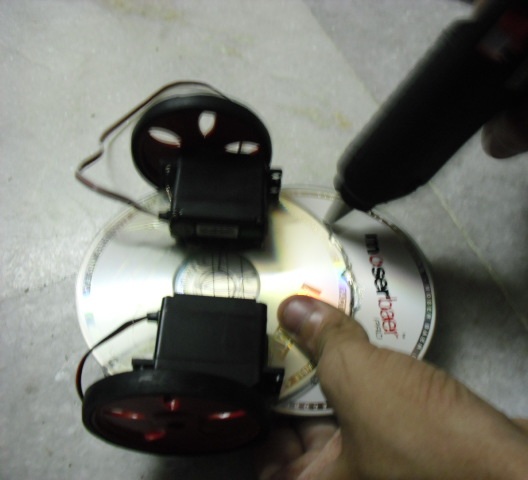
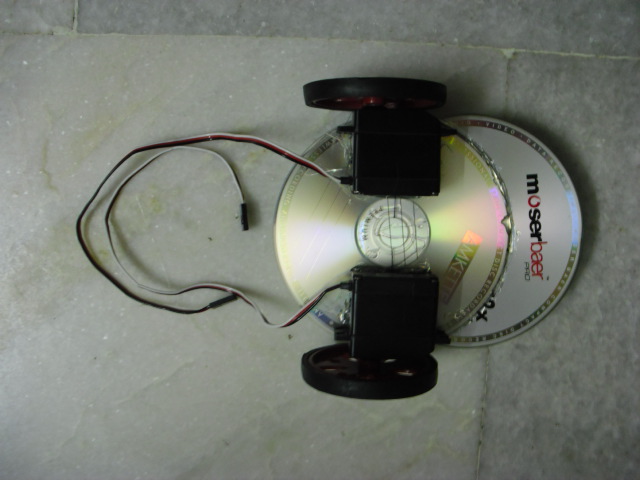
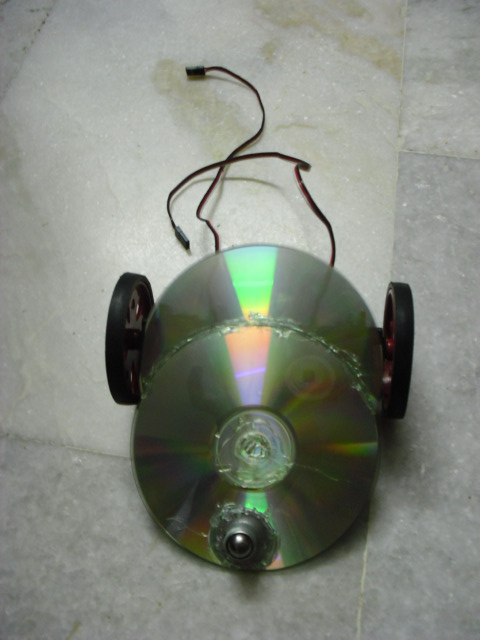
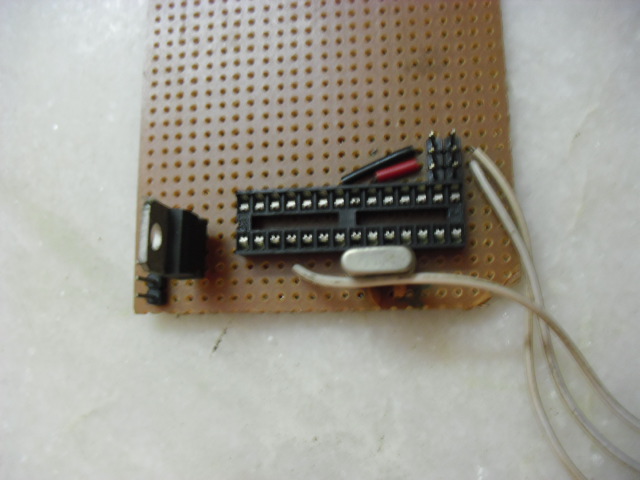
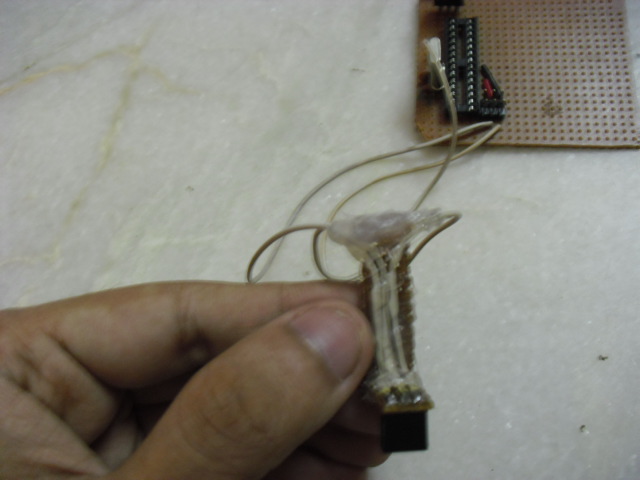
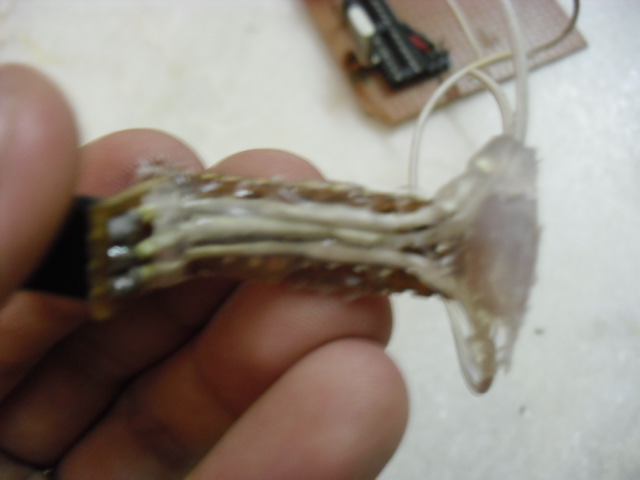
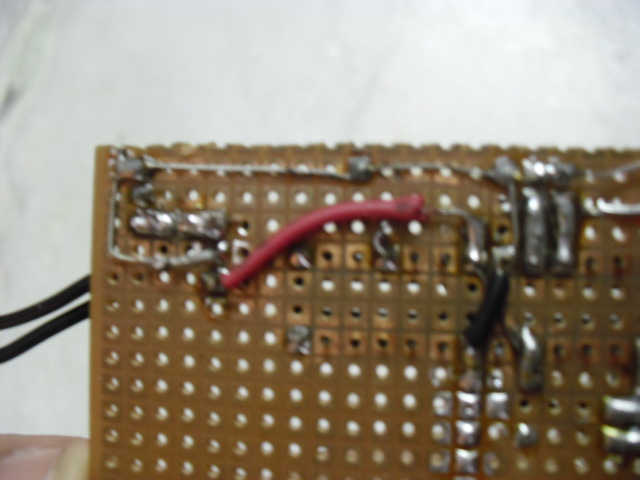
11)Next bring the two CD's together and mark the one to which the castor wheel is connected,a curved line according to where you want to connect the two CD's.Make sure you cover more that 1/2 of the CD's area.This step is critical so make sure you find a right balance between space you want to house your electronics and balance for your bot.
12)Hot glue the 2 CD's together.Reinforce the joint from the top with generous serving of more hot glue.
13)Top and bottom view of the bot are included(See pics below).Make sure your configuration looks similar.
14)Next build an arduino clone.You can find schematic for this easily on the web.This step is not required if you're using a original arduino.
15)I have built a custom mount to hold the Ultrasonic distance sensor into it's place.See Pic below.Find a suitable place to place your sensor or build a mount similar to mine;-)
16)All that remains now is to connect the pieces together.We'll start this amalgamation in the next step...
Construction Step #4
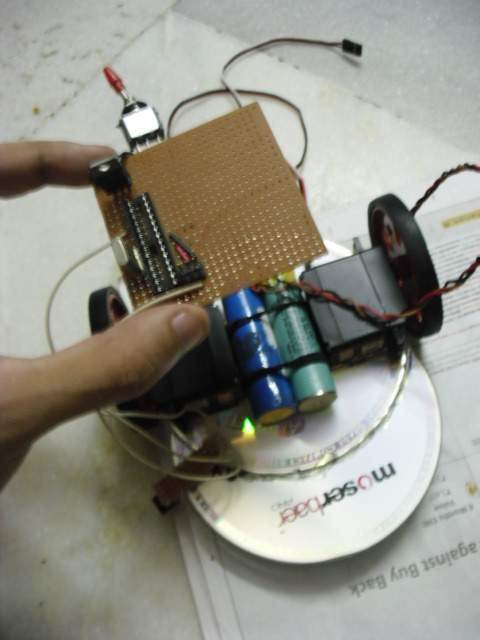
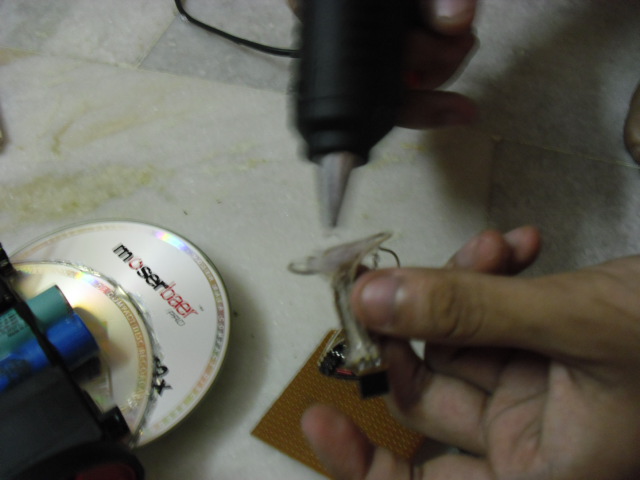
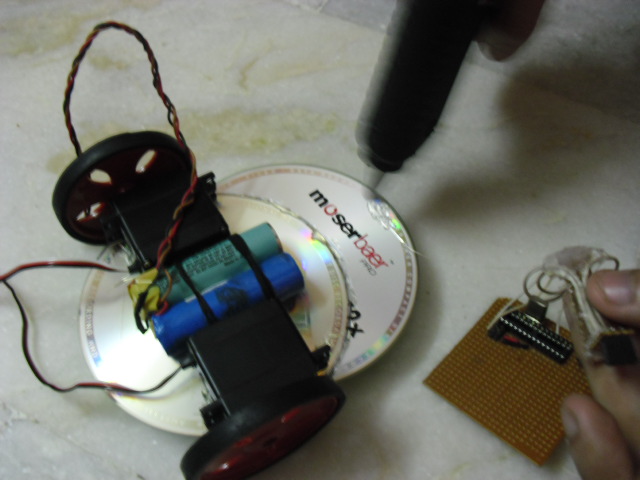
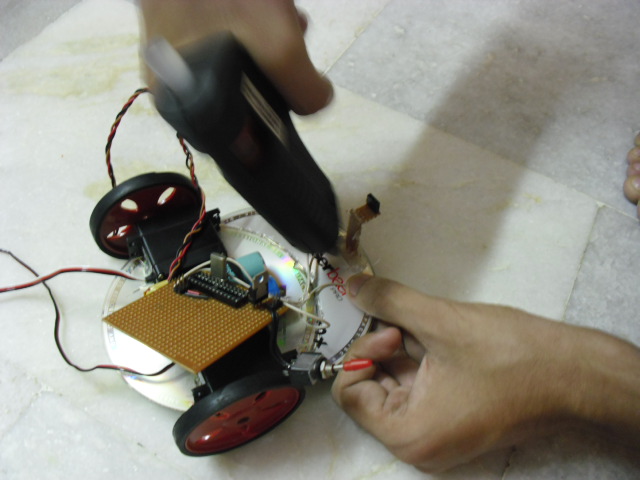
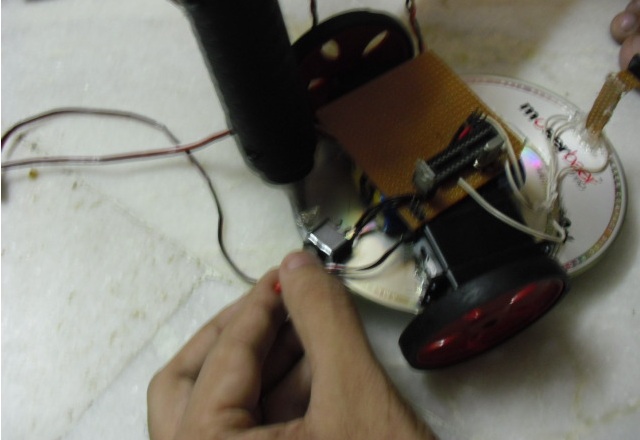
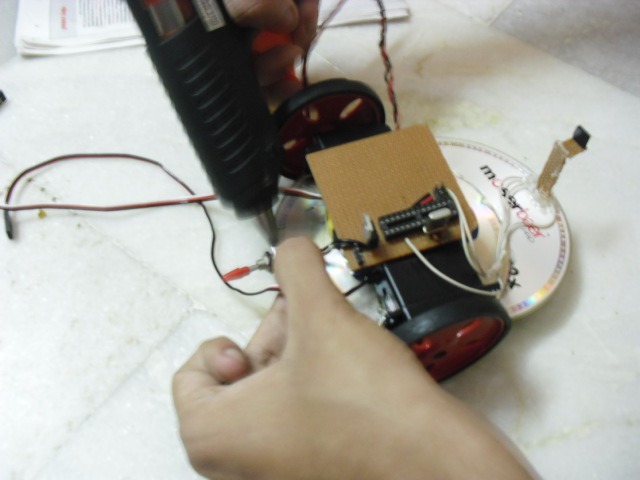
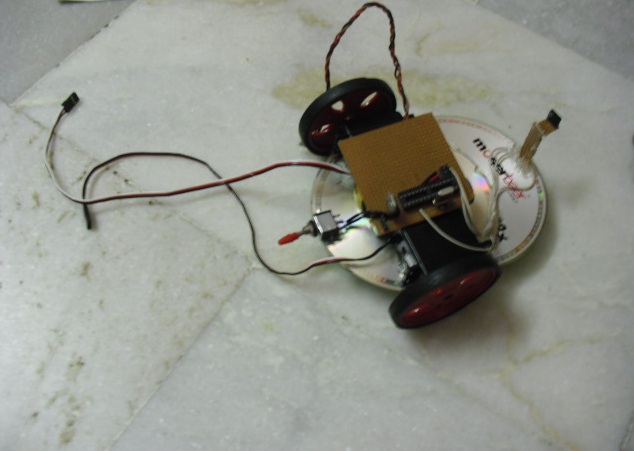
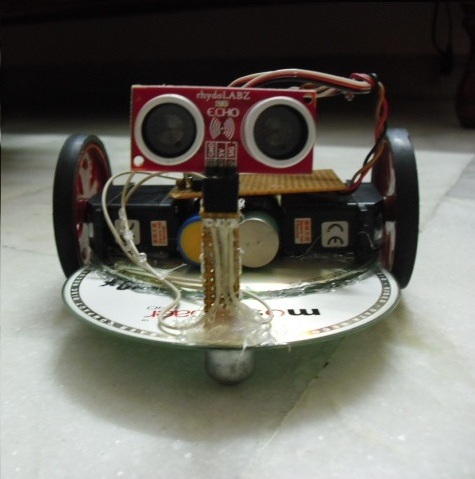
17)Hot glut the mount on the CD.Place battery onto the chassis.
18)Solder the toggle switch to the perfboard.
19)Hot glue it to the rear side of the bot.
20)Finally insert the ultrasonic distance sensor to the mount,plug in the battery. You're Done!Congratulations you've built the complete robot.(H/w side).
NOTE: You now need to program the robot.I've included the program code in the video.
You can use it to test the bot.
Have fun building!