How to Make a Photo Tell a Story.
by johnaobrien in Circuits > Cameras
2427 Views, 3 Favorites, 0 Comments
How to Make a Photo Tell a Story.
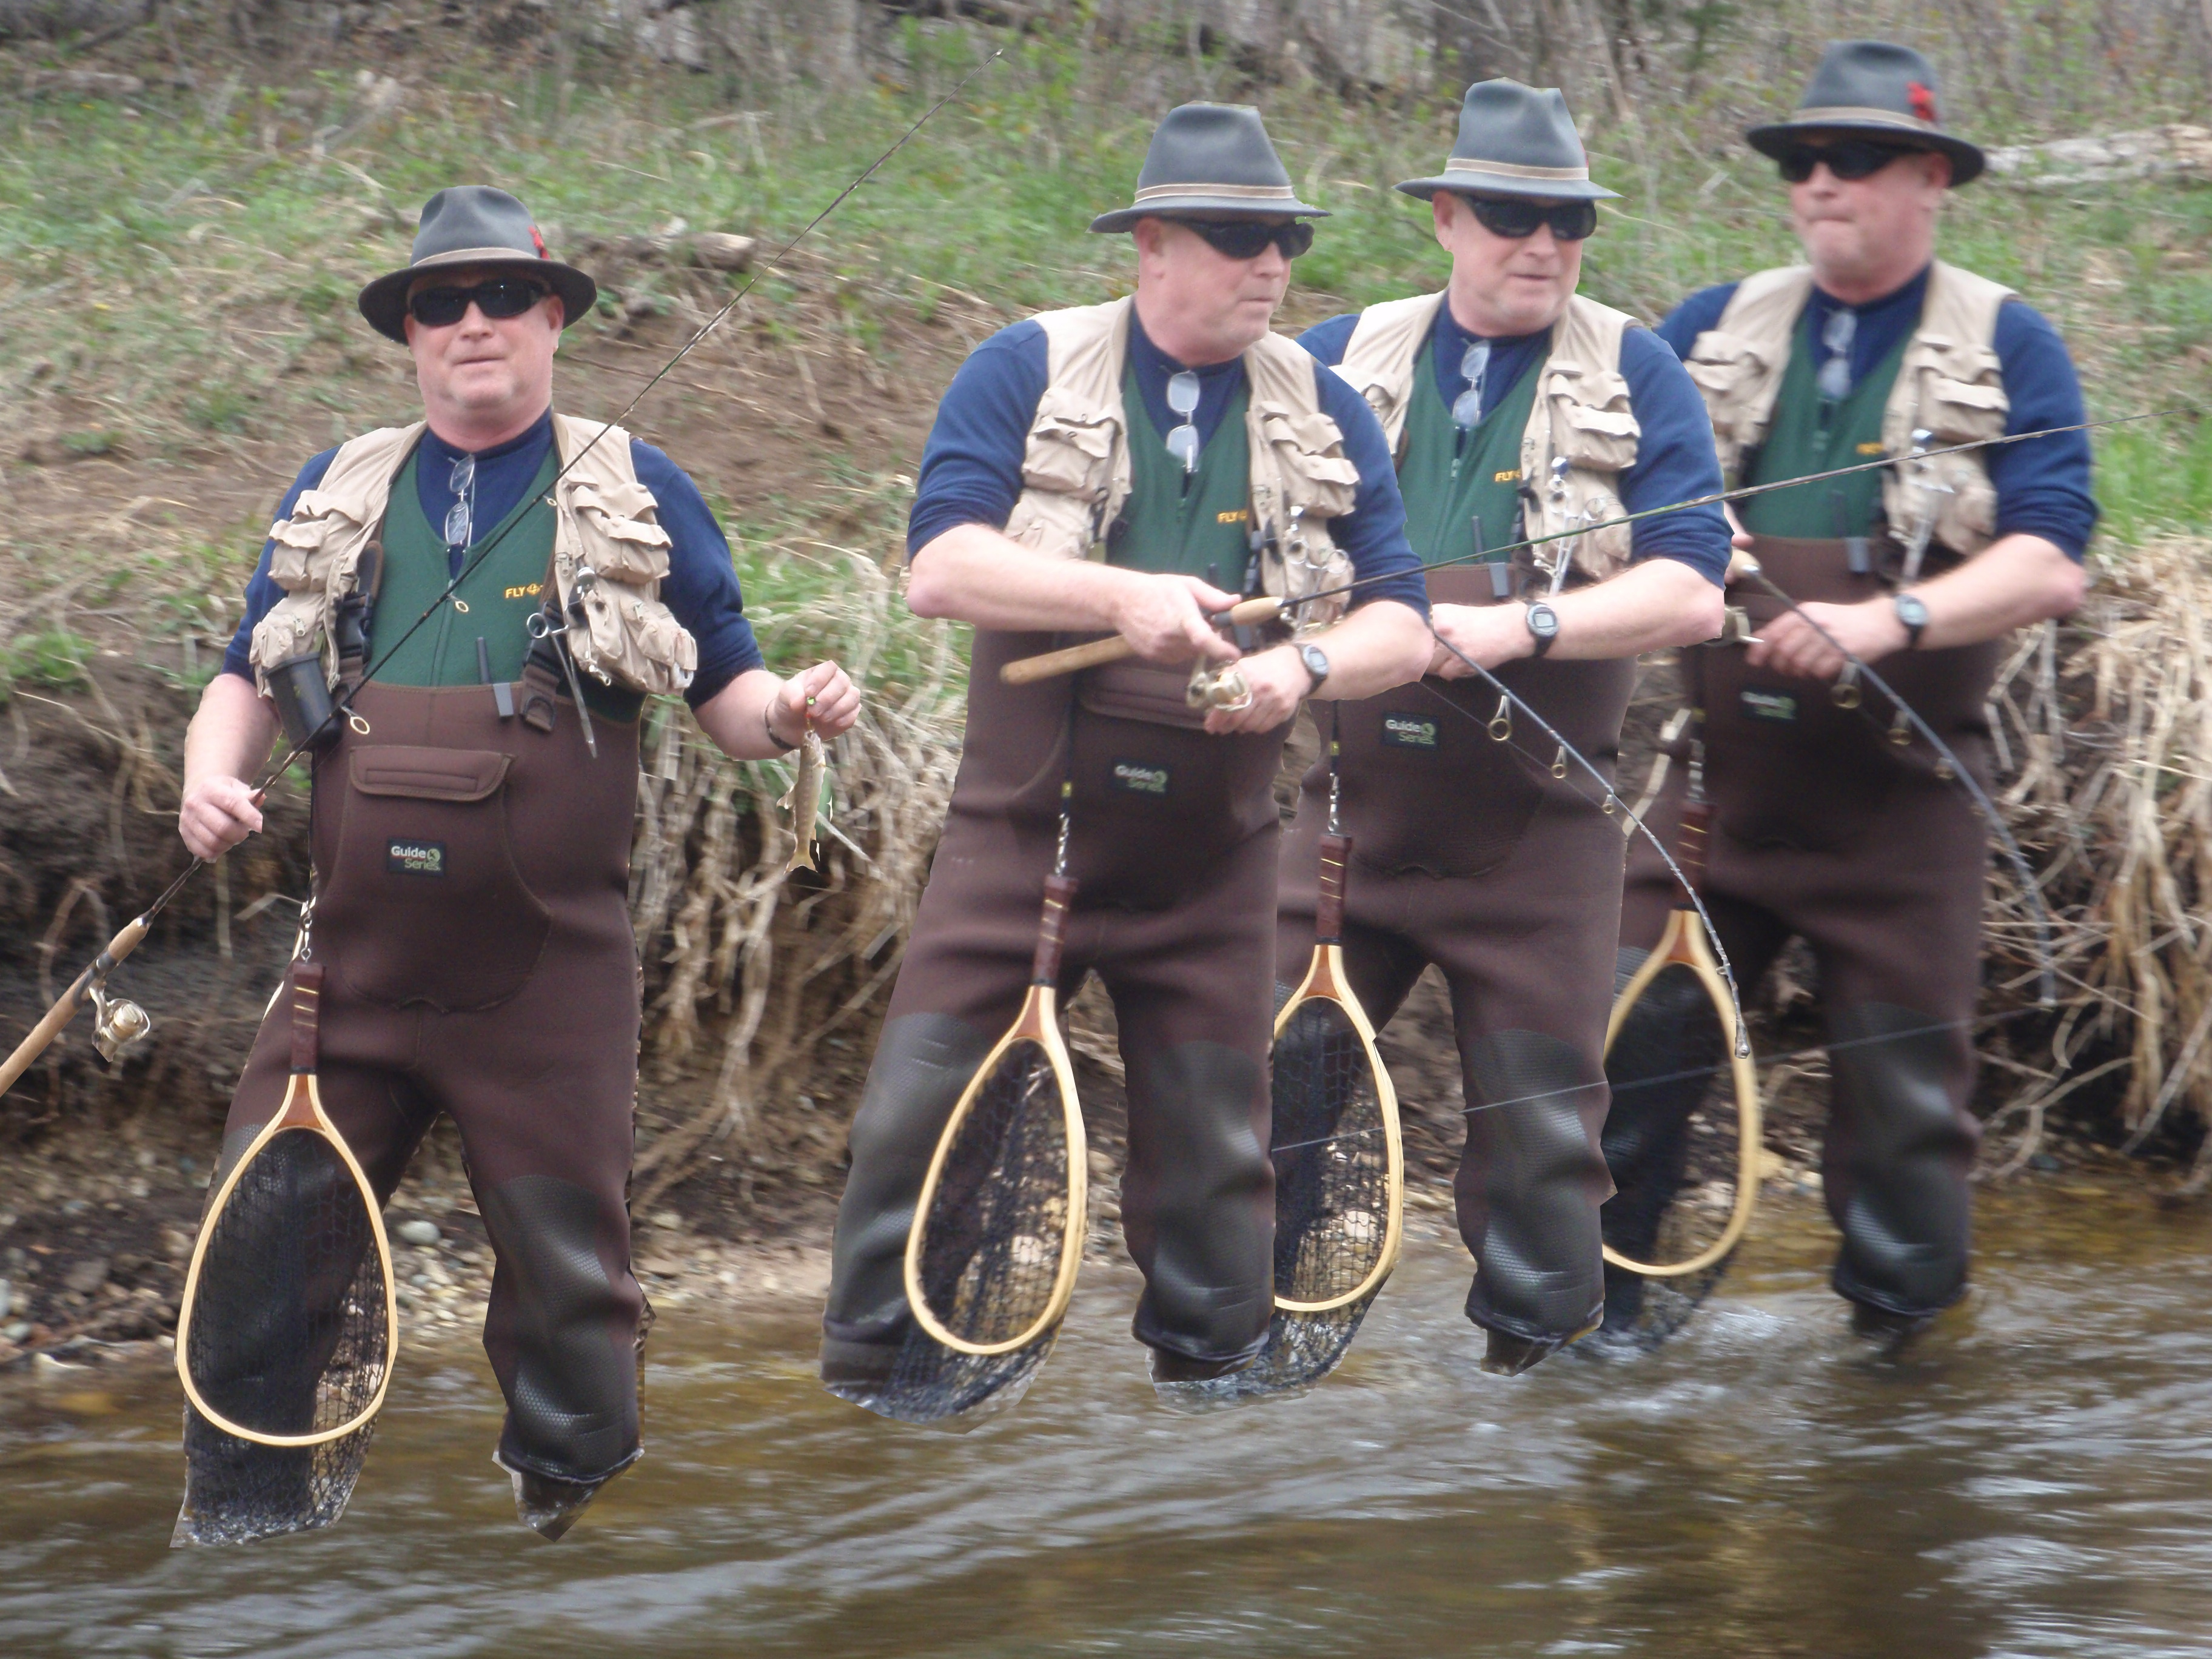
I am going to show you how to make a picture show movement by putting a few photo's together. In this way the photo will tell a story. And isn't that what photo's are supposed to do?
About the Back Ground.
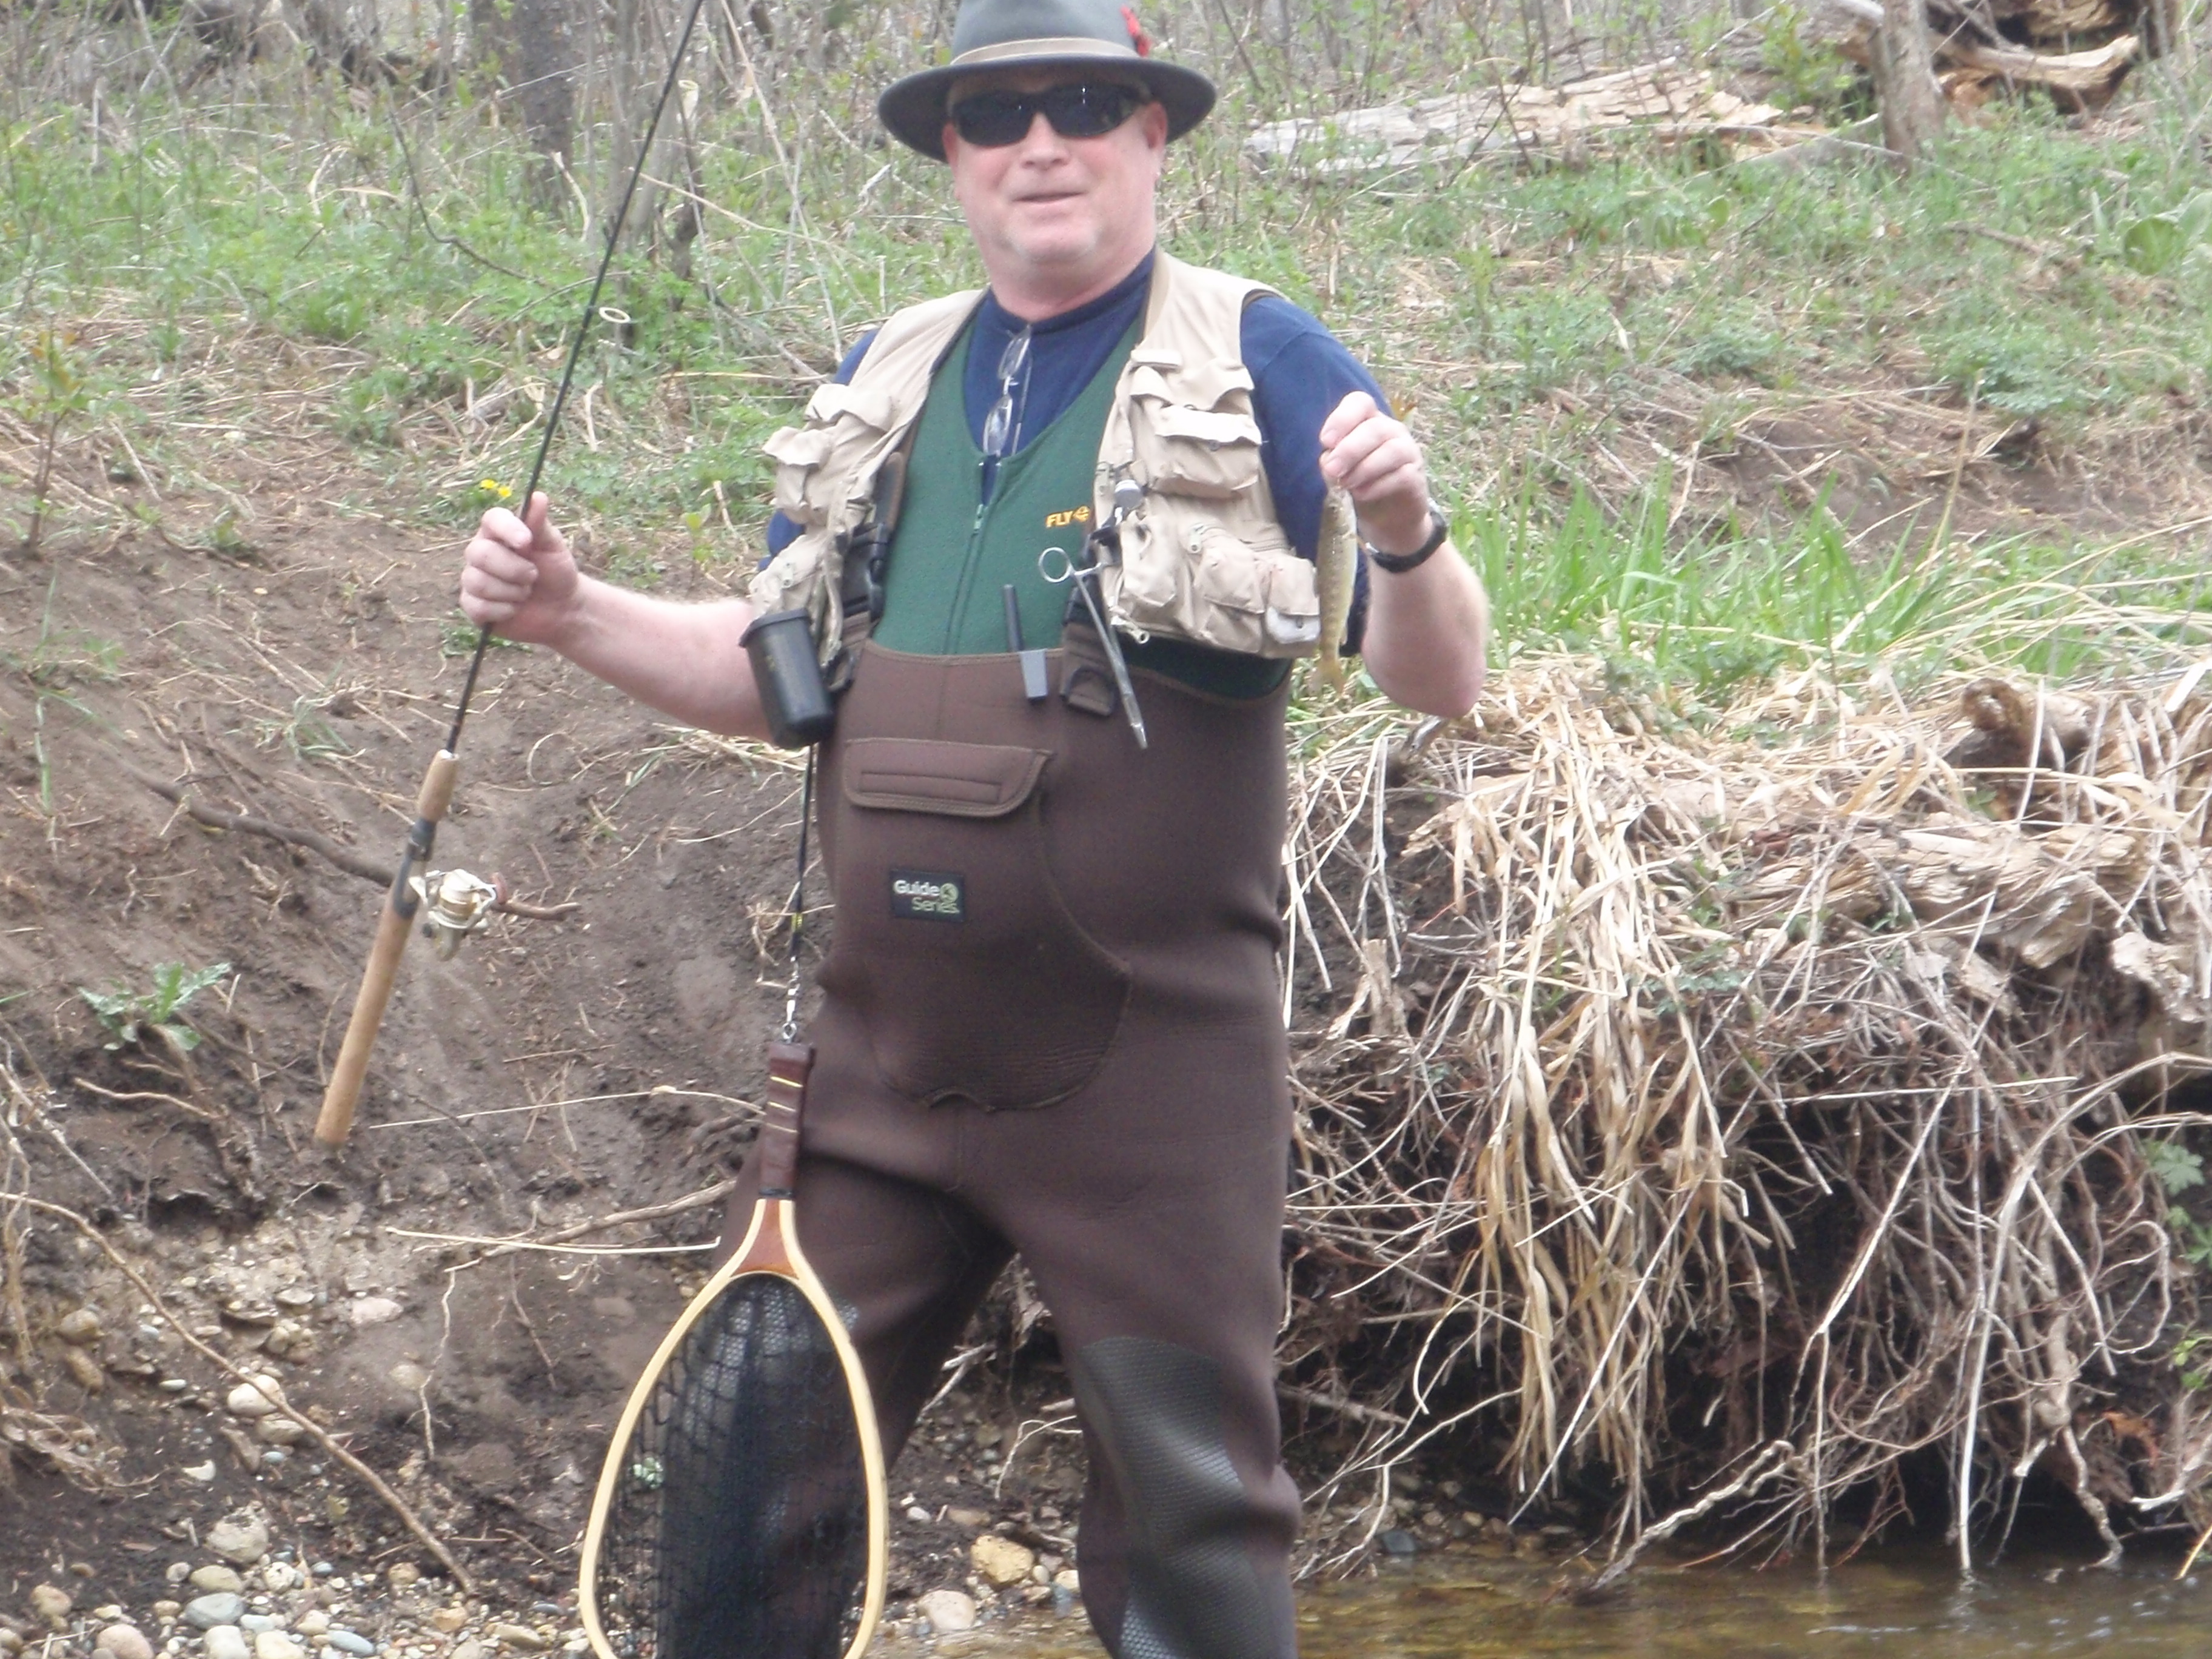
The first thing that you need is to take multiple photo's with the same back ground. You can always add pictures of things that have different backgrounds but if you use pictures with the same background it is much easier.
Setting Up the Camera.
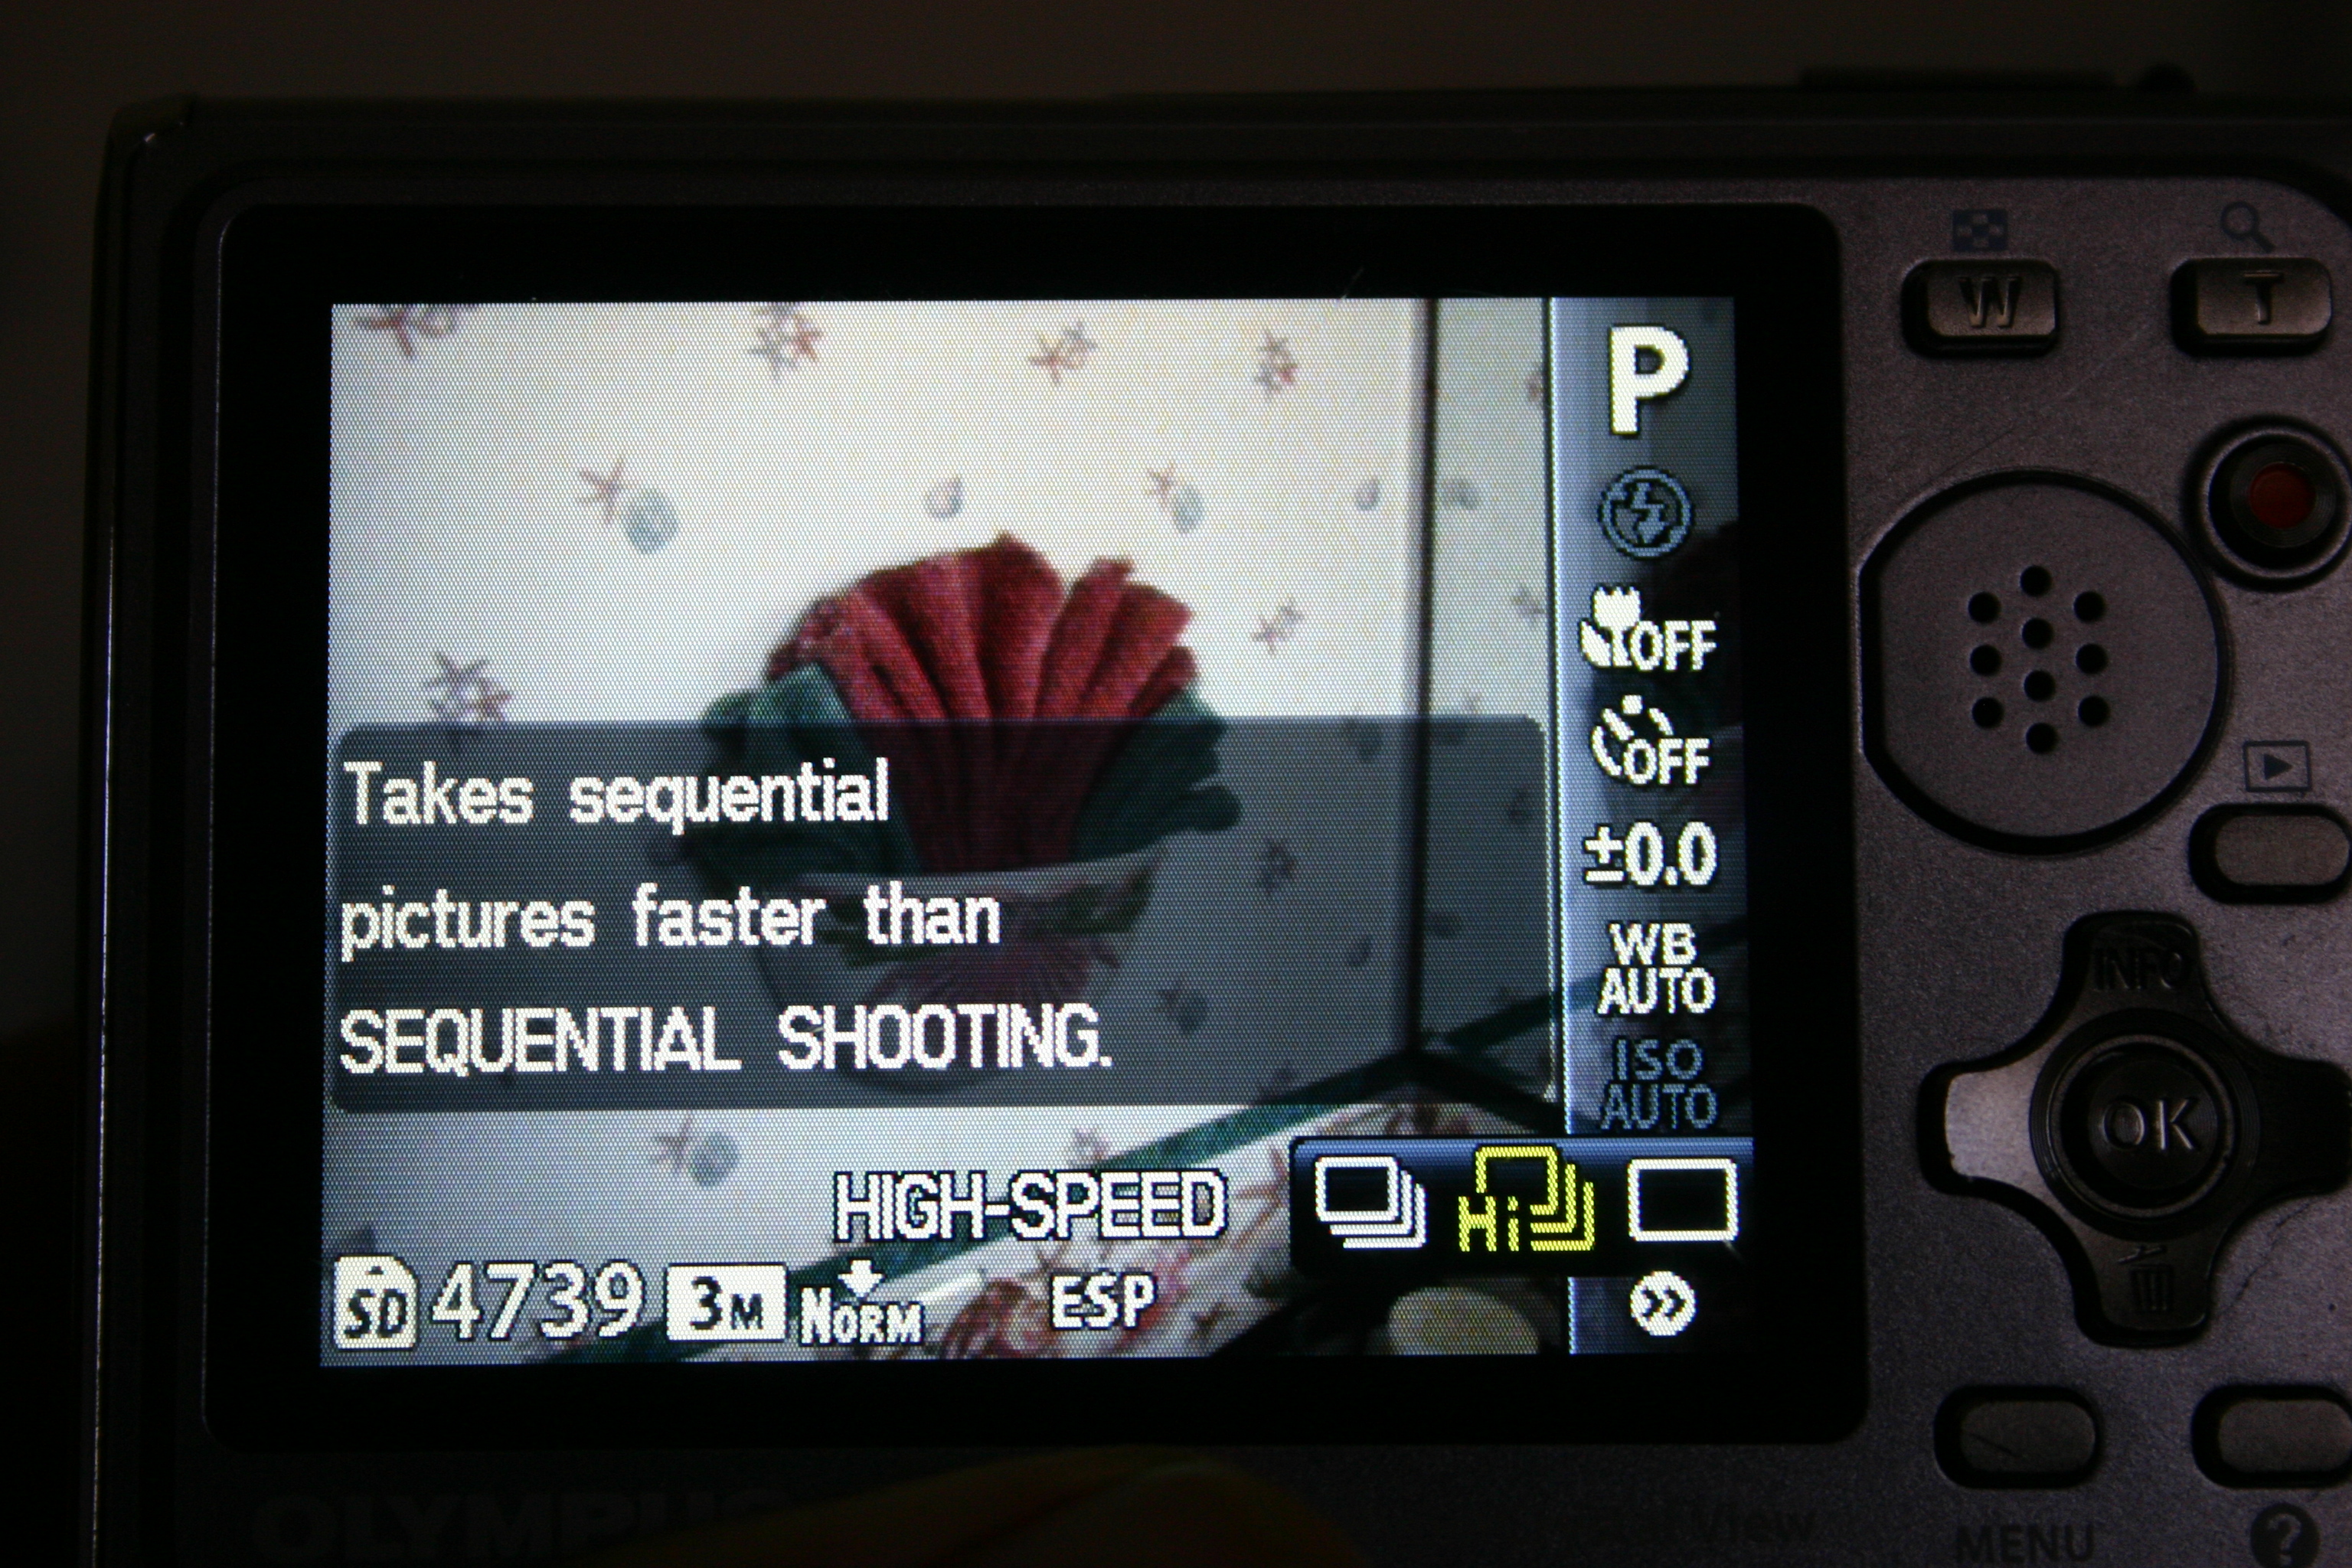
It is pretty easy to set up a camera so that it will take multiple shots if you hold down the shutter button. If your camera does this it will make it much easier to get multiples than to do it by pushing the shutter. Either way it will work one just takes a bit more patience.
Get at Least Four Shots.

I have found that a minimum of four shots makes for a really nice picture. You can try it with less or more and your results will differ. Import them all into your Photoshop program ( I use Photoshop Elements). As you can see at the bottom of the photo I have imported five pictures into this file.
Cut Out the Picture Parts to Be Added.
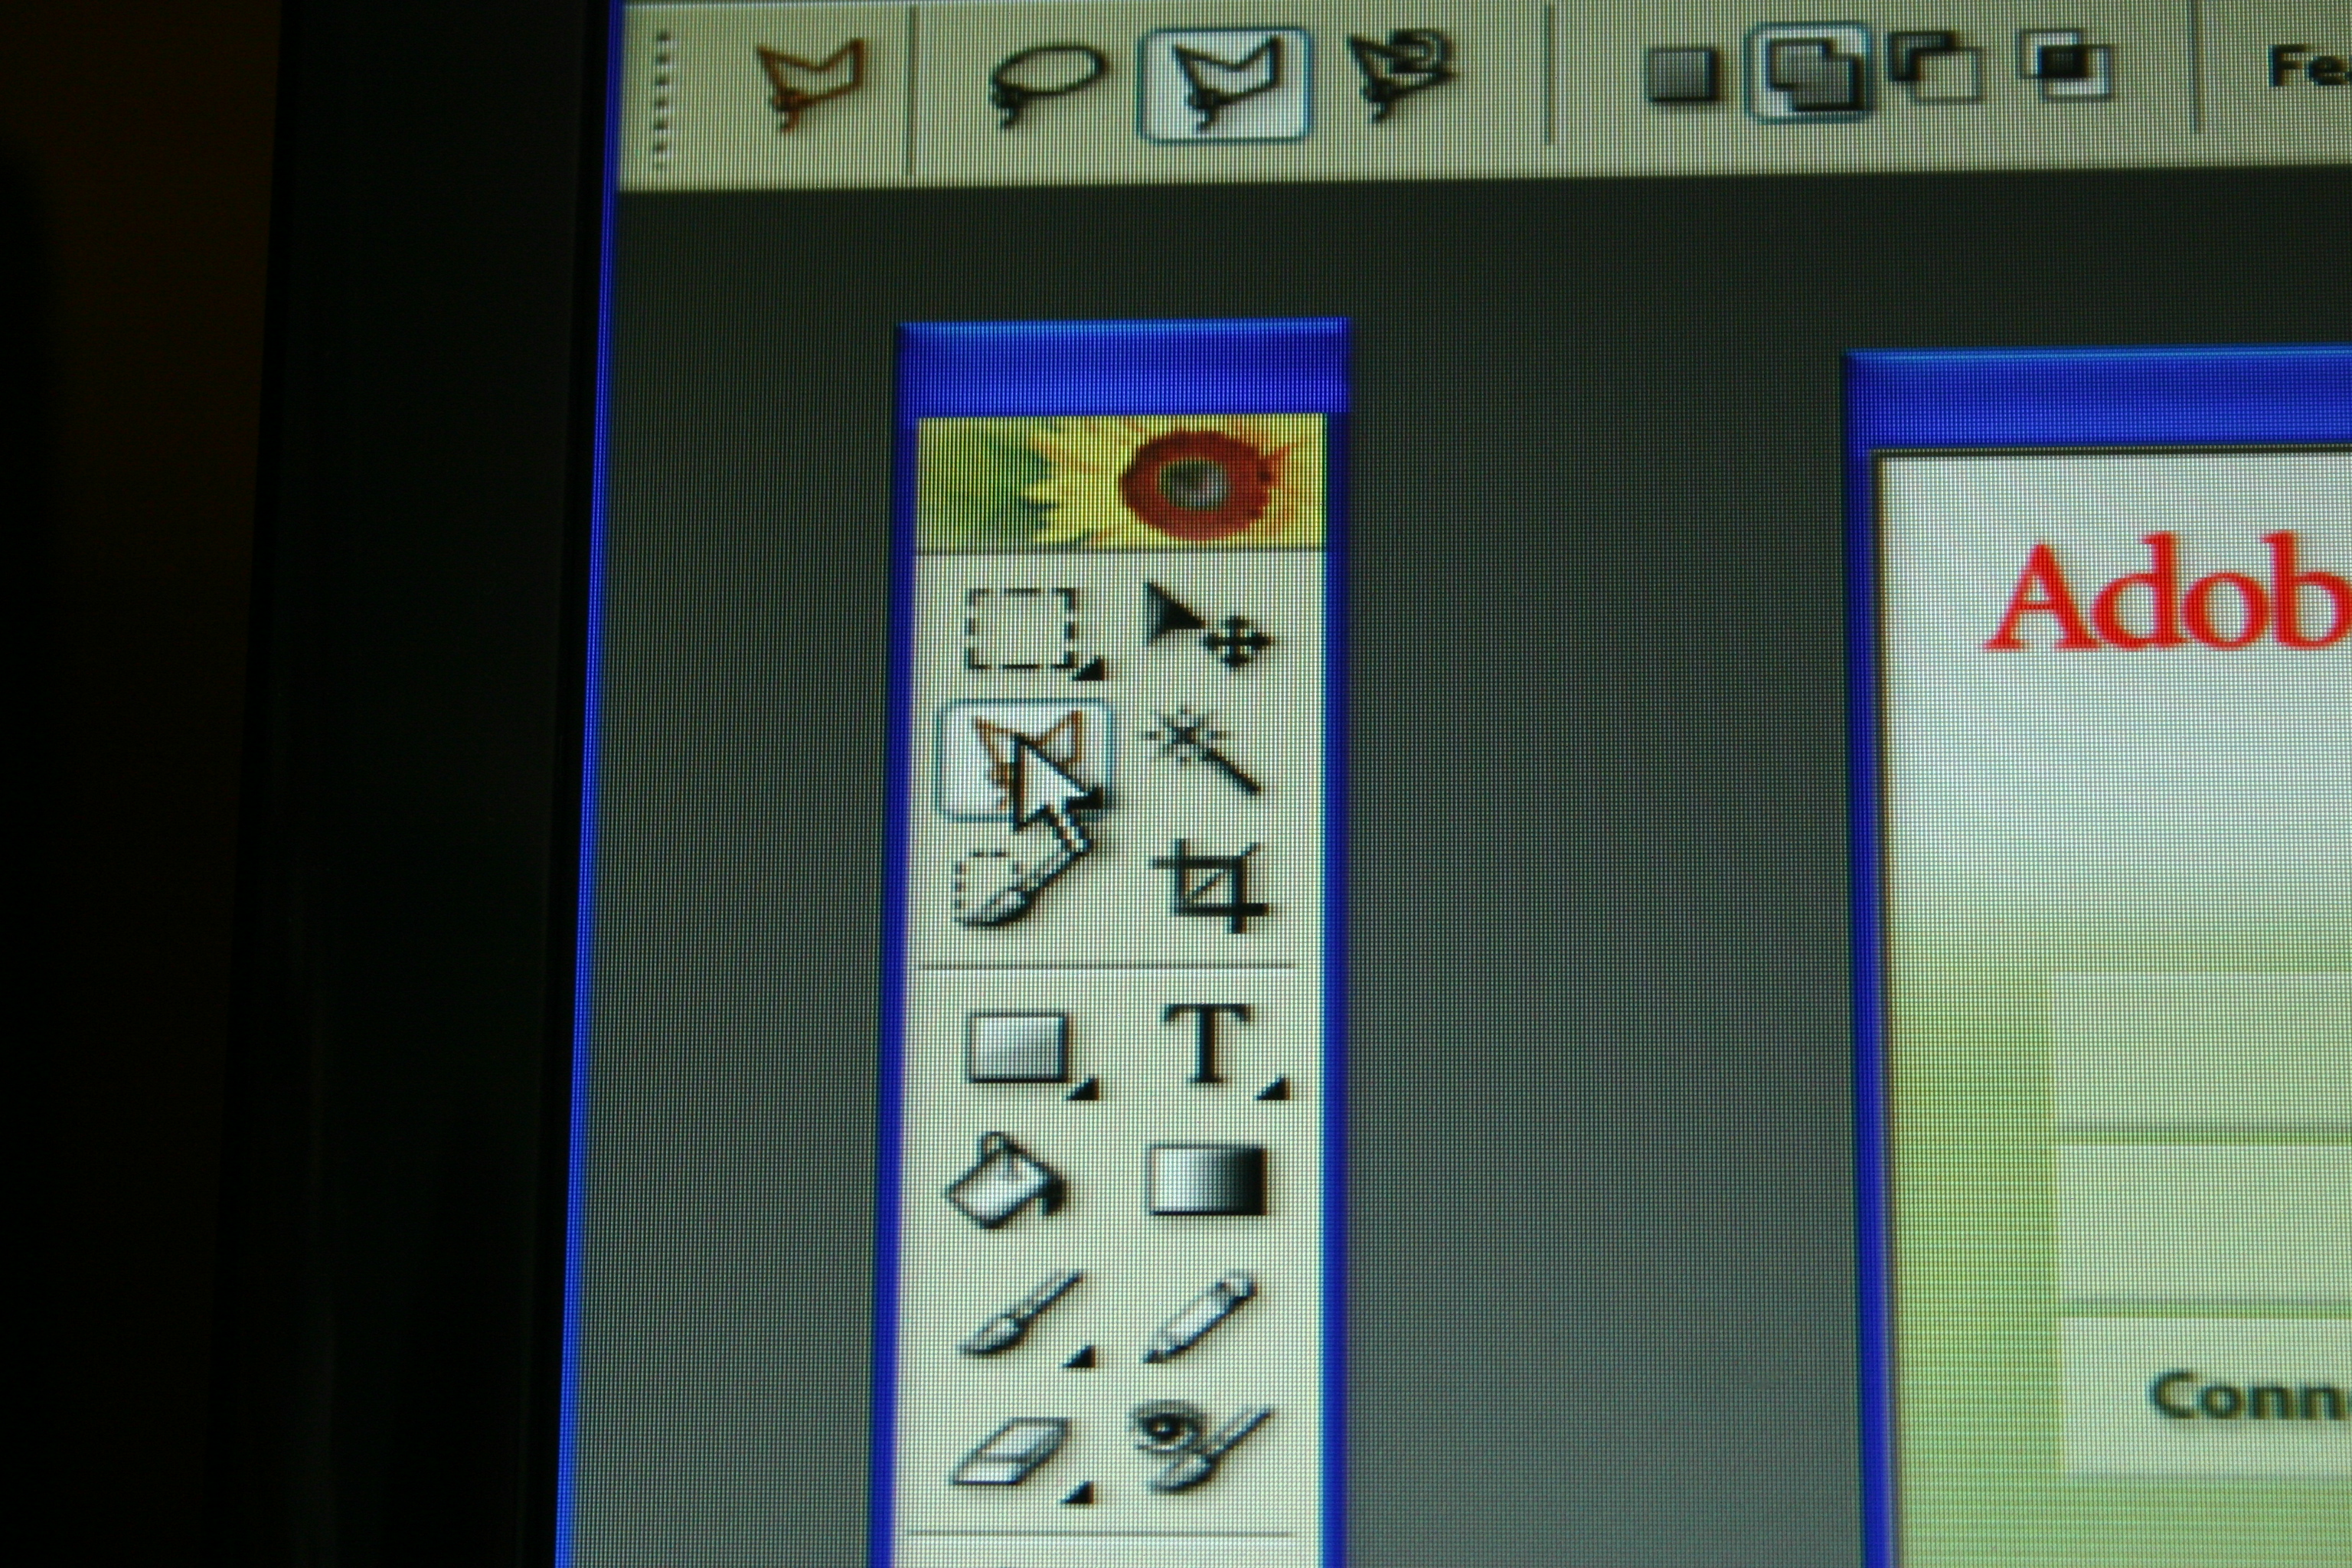
Now you are ready to go up and grab the "Magnetic Lasso". As you can see from the photo I will have to go up and pick the "Magnetic" lasso from the top of the program. The program on this machine is version #2.
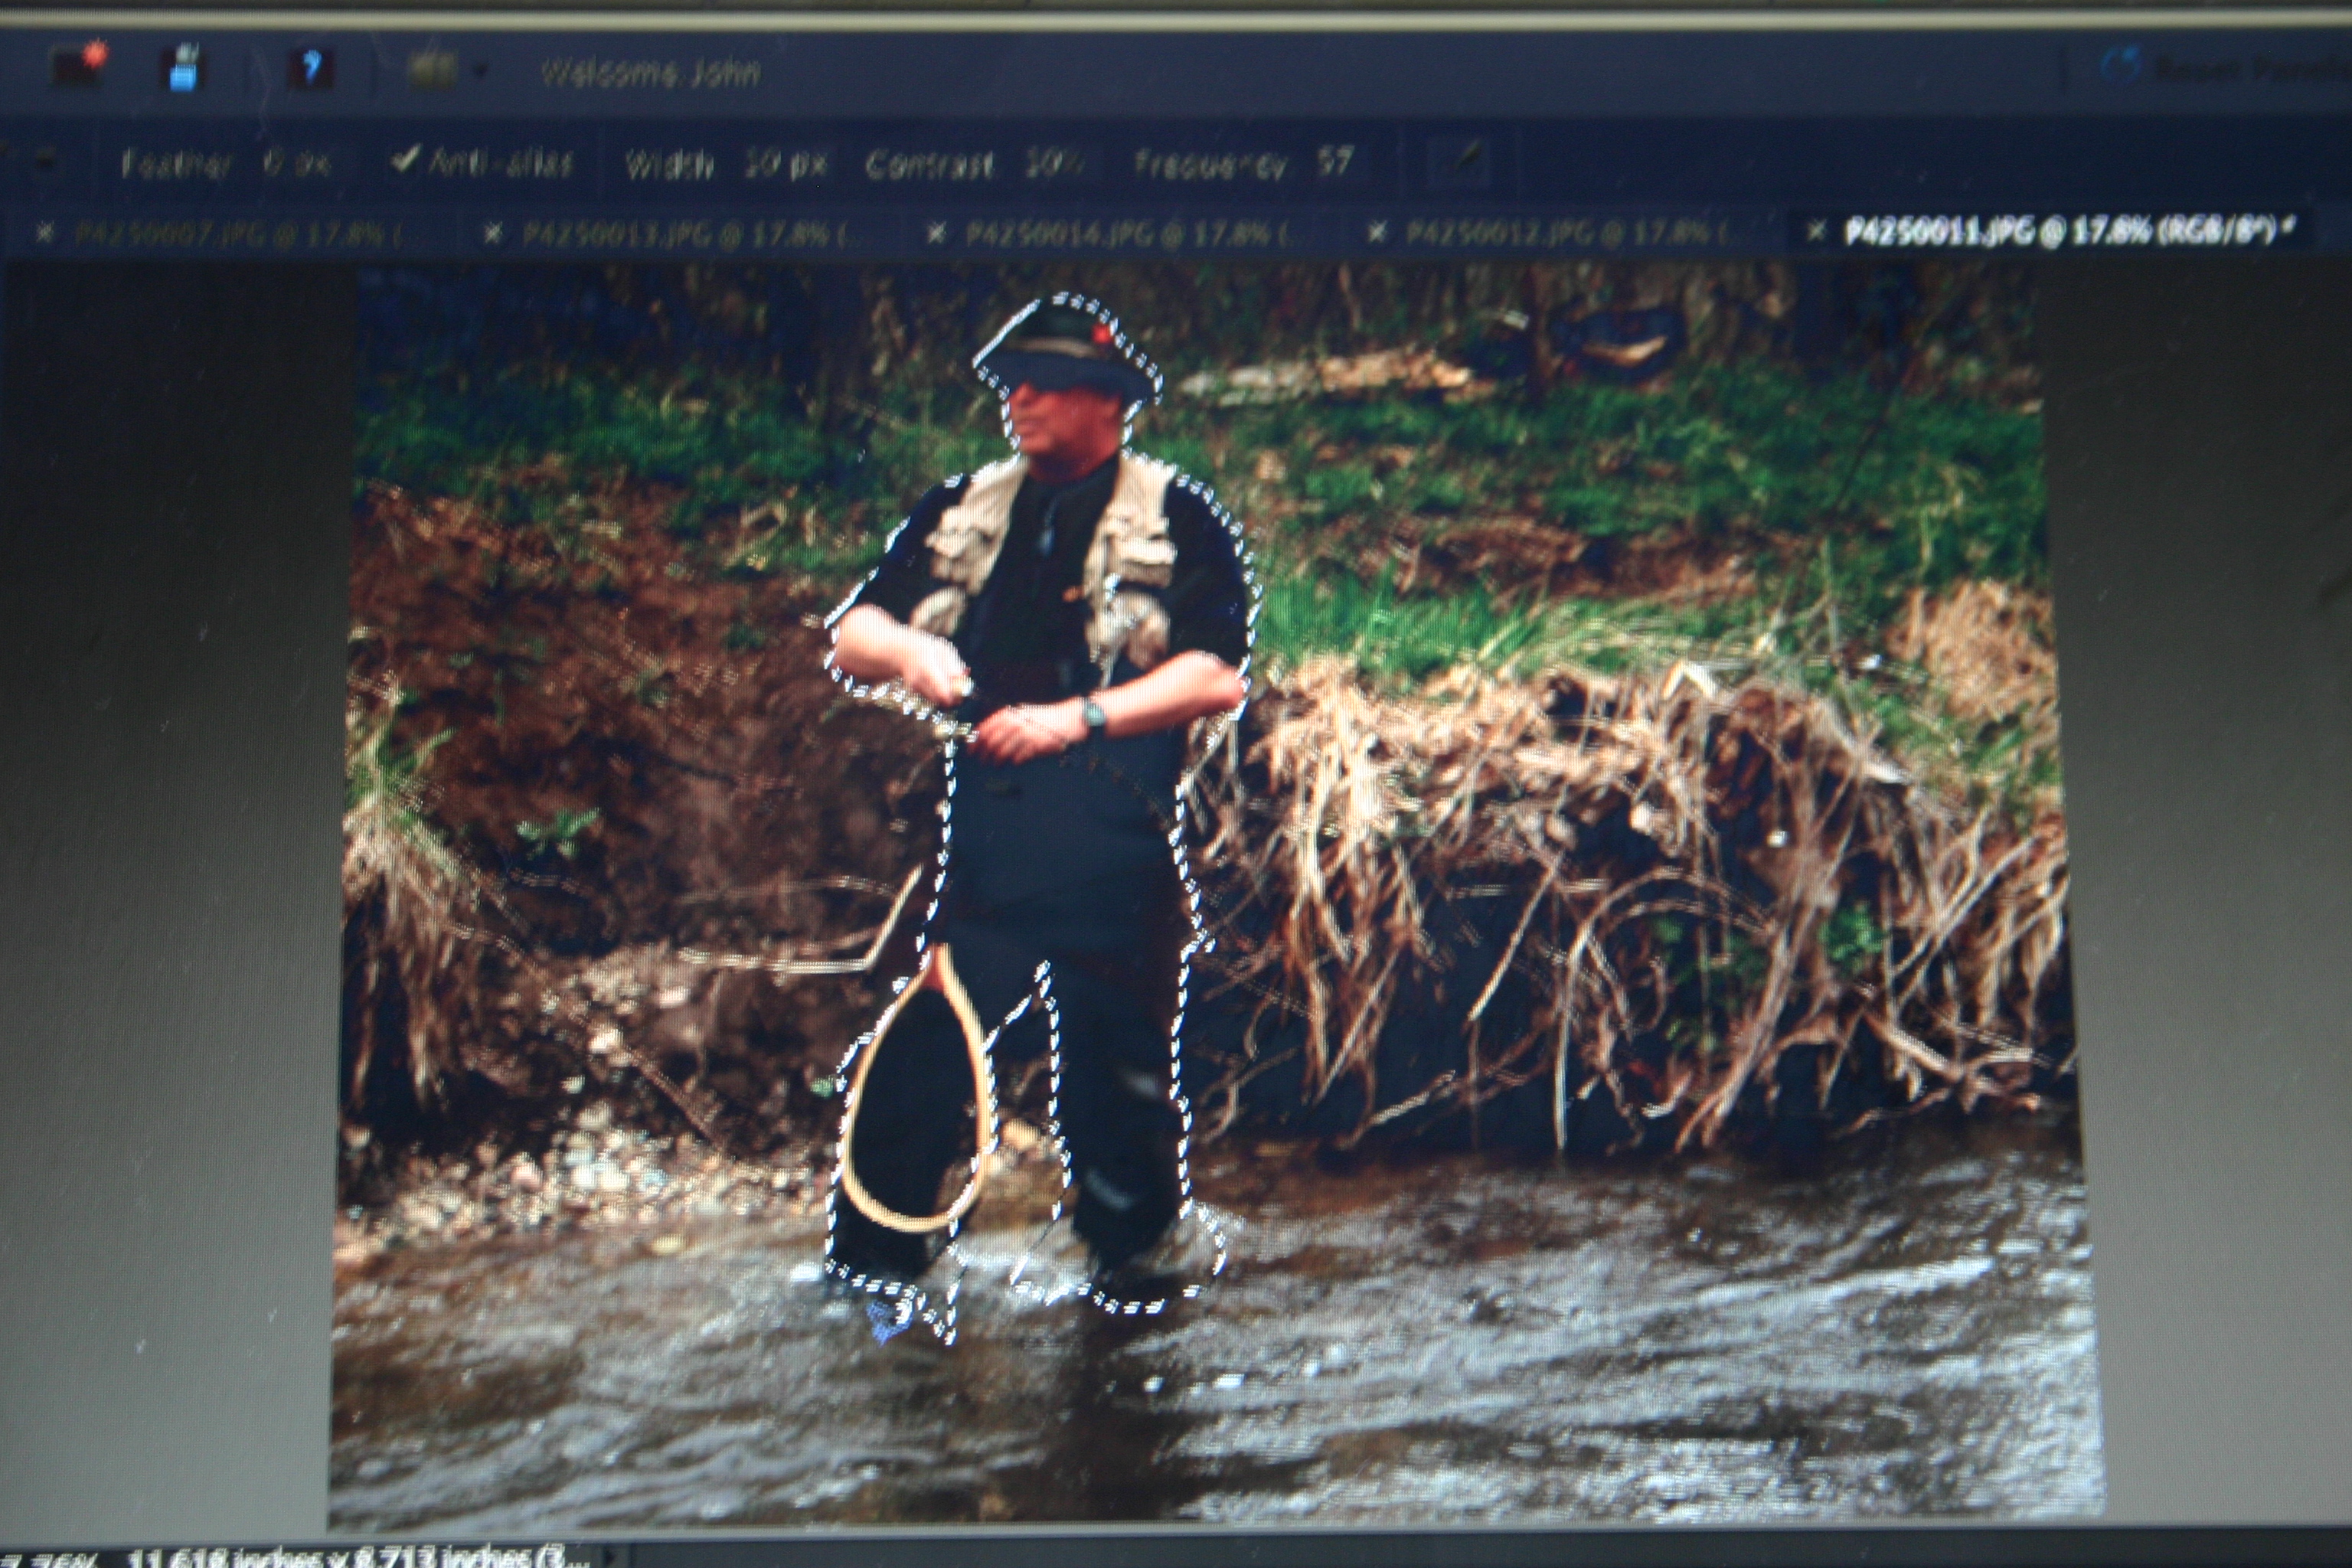
Start at somewhere that does not have a lot going on as this will also be the spot where the termination is done. When you have the cursor over the spot just left click it and then move the Lasso to where you would like it to go. The magnetic lasso will put down some anchor points as you move the cursor. If it places one where you don't want it to be you can push the delete button and the last anchor will be removed. To add additional anchor points you can hit the enter button or left click it. If you hit the left click or enter button twice the box will be closed. So when you get really close to where you want to be just double click it or click on the place you started. Either way you will have a block that you can now copy and paste onto a new pallet that you have added to the original. The easiest way to do this is to choose "Layer" and then "New" and then "Layer via Copy".
Go Up and Select the Copy Button.
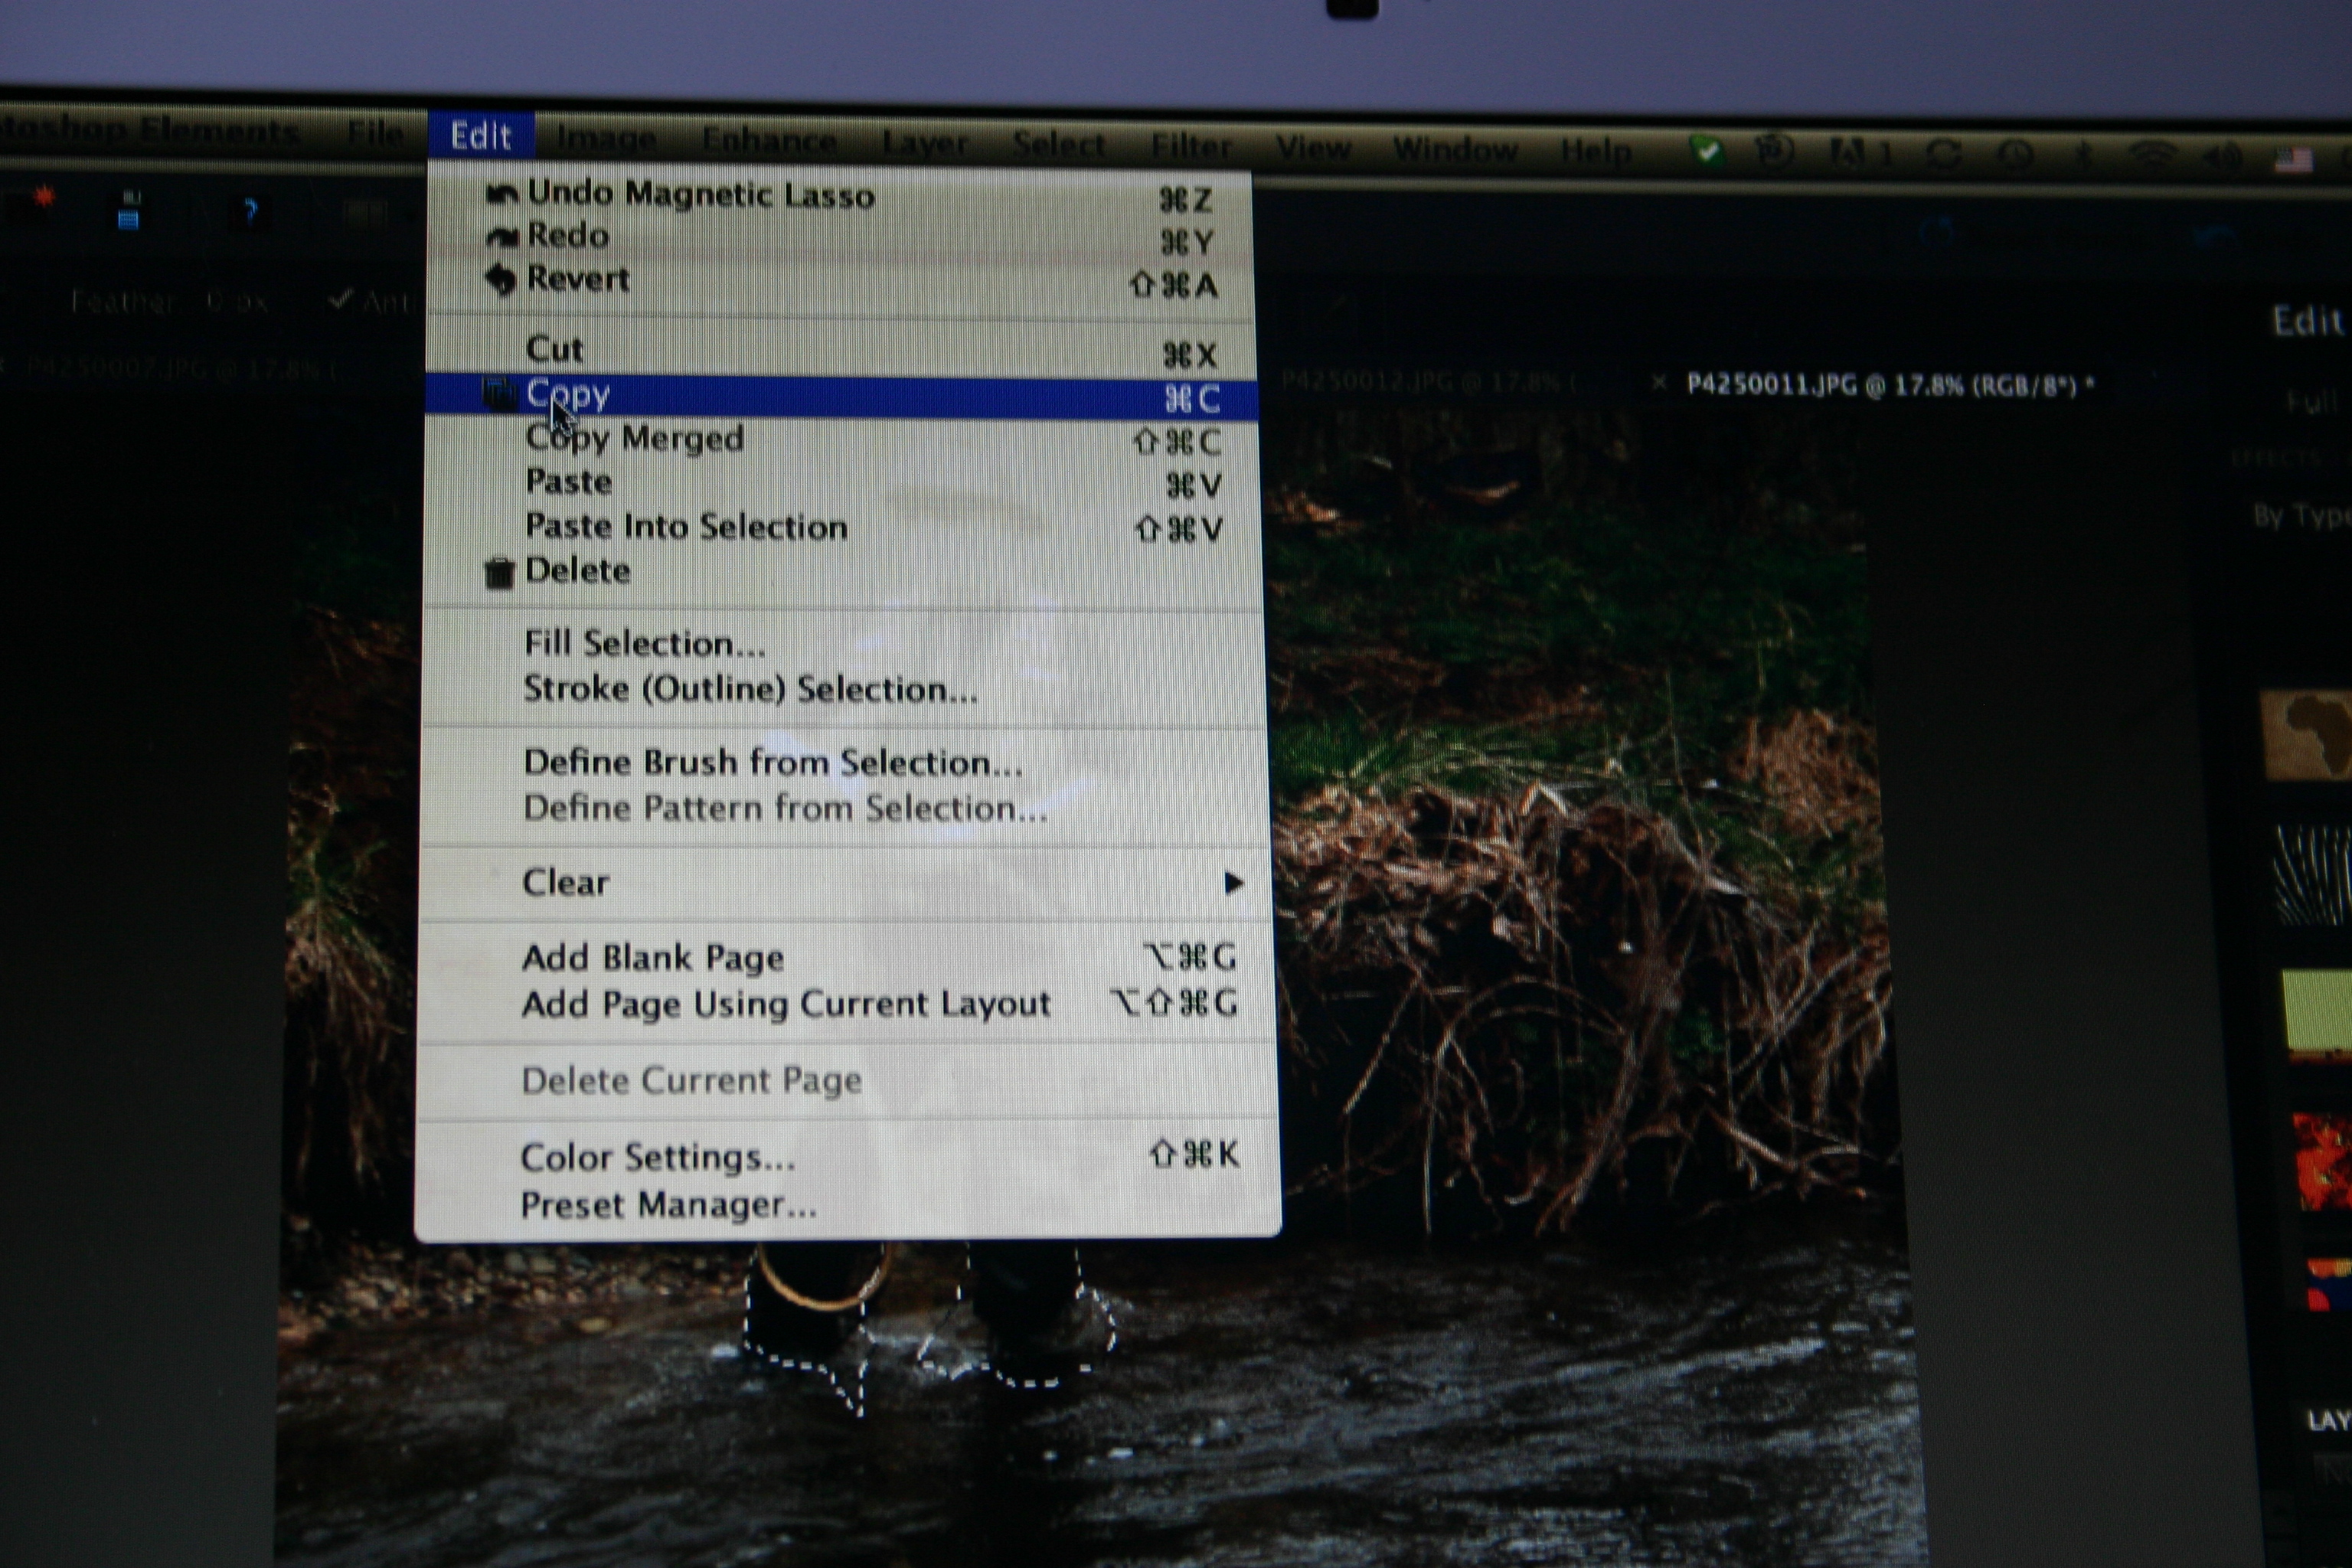
Under the edit button click copy. This will put all of the information onto the clip board.
Paste This Onto the Background.
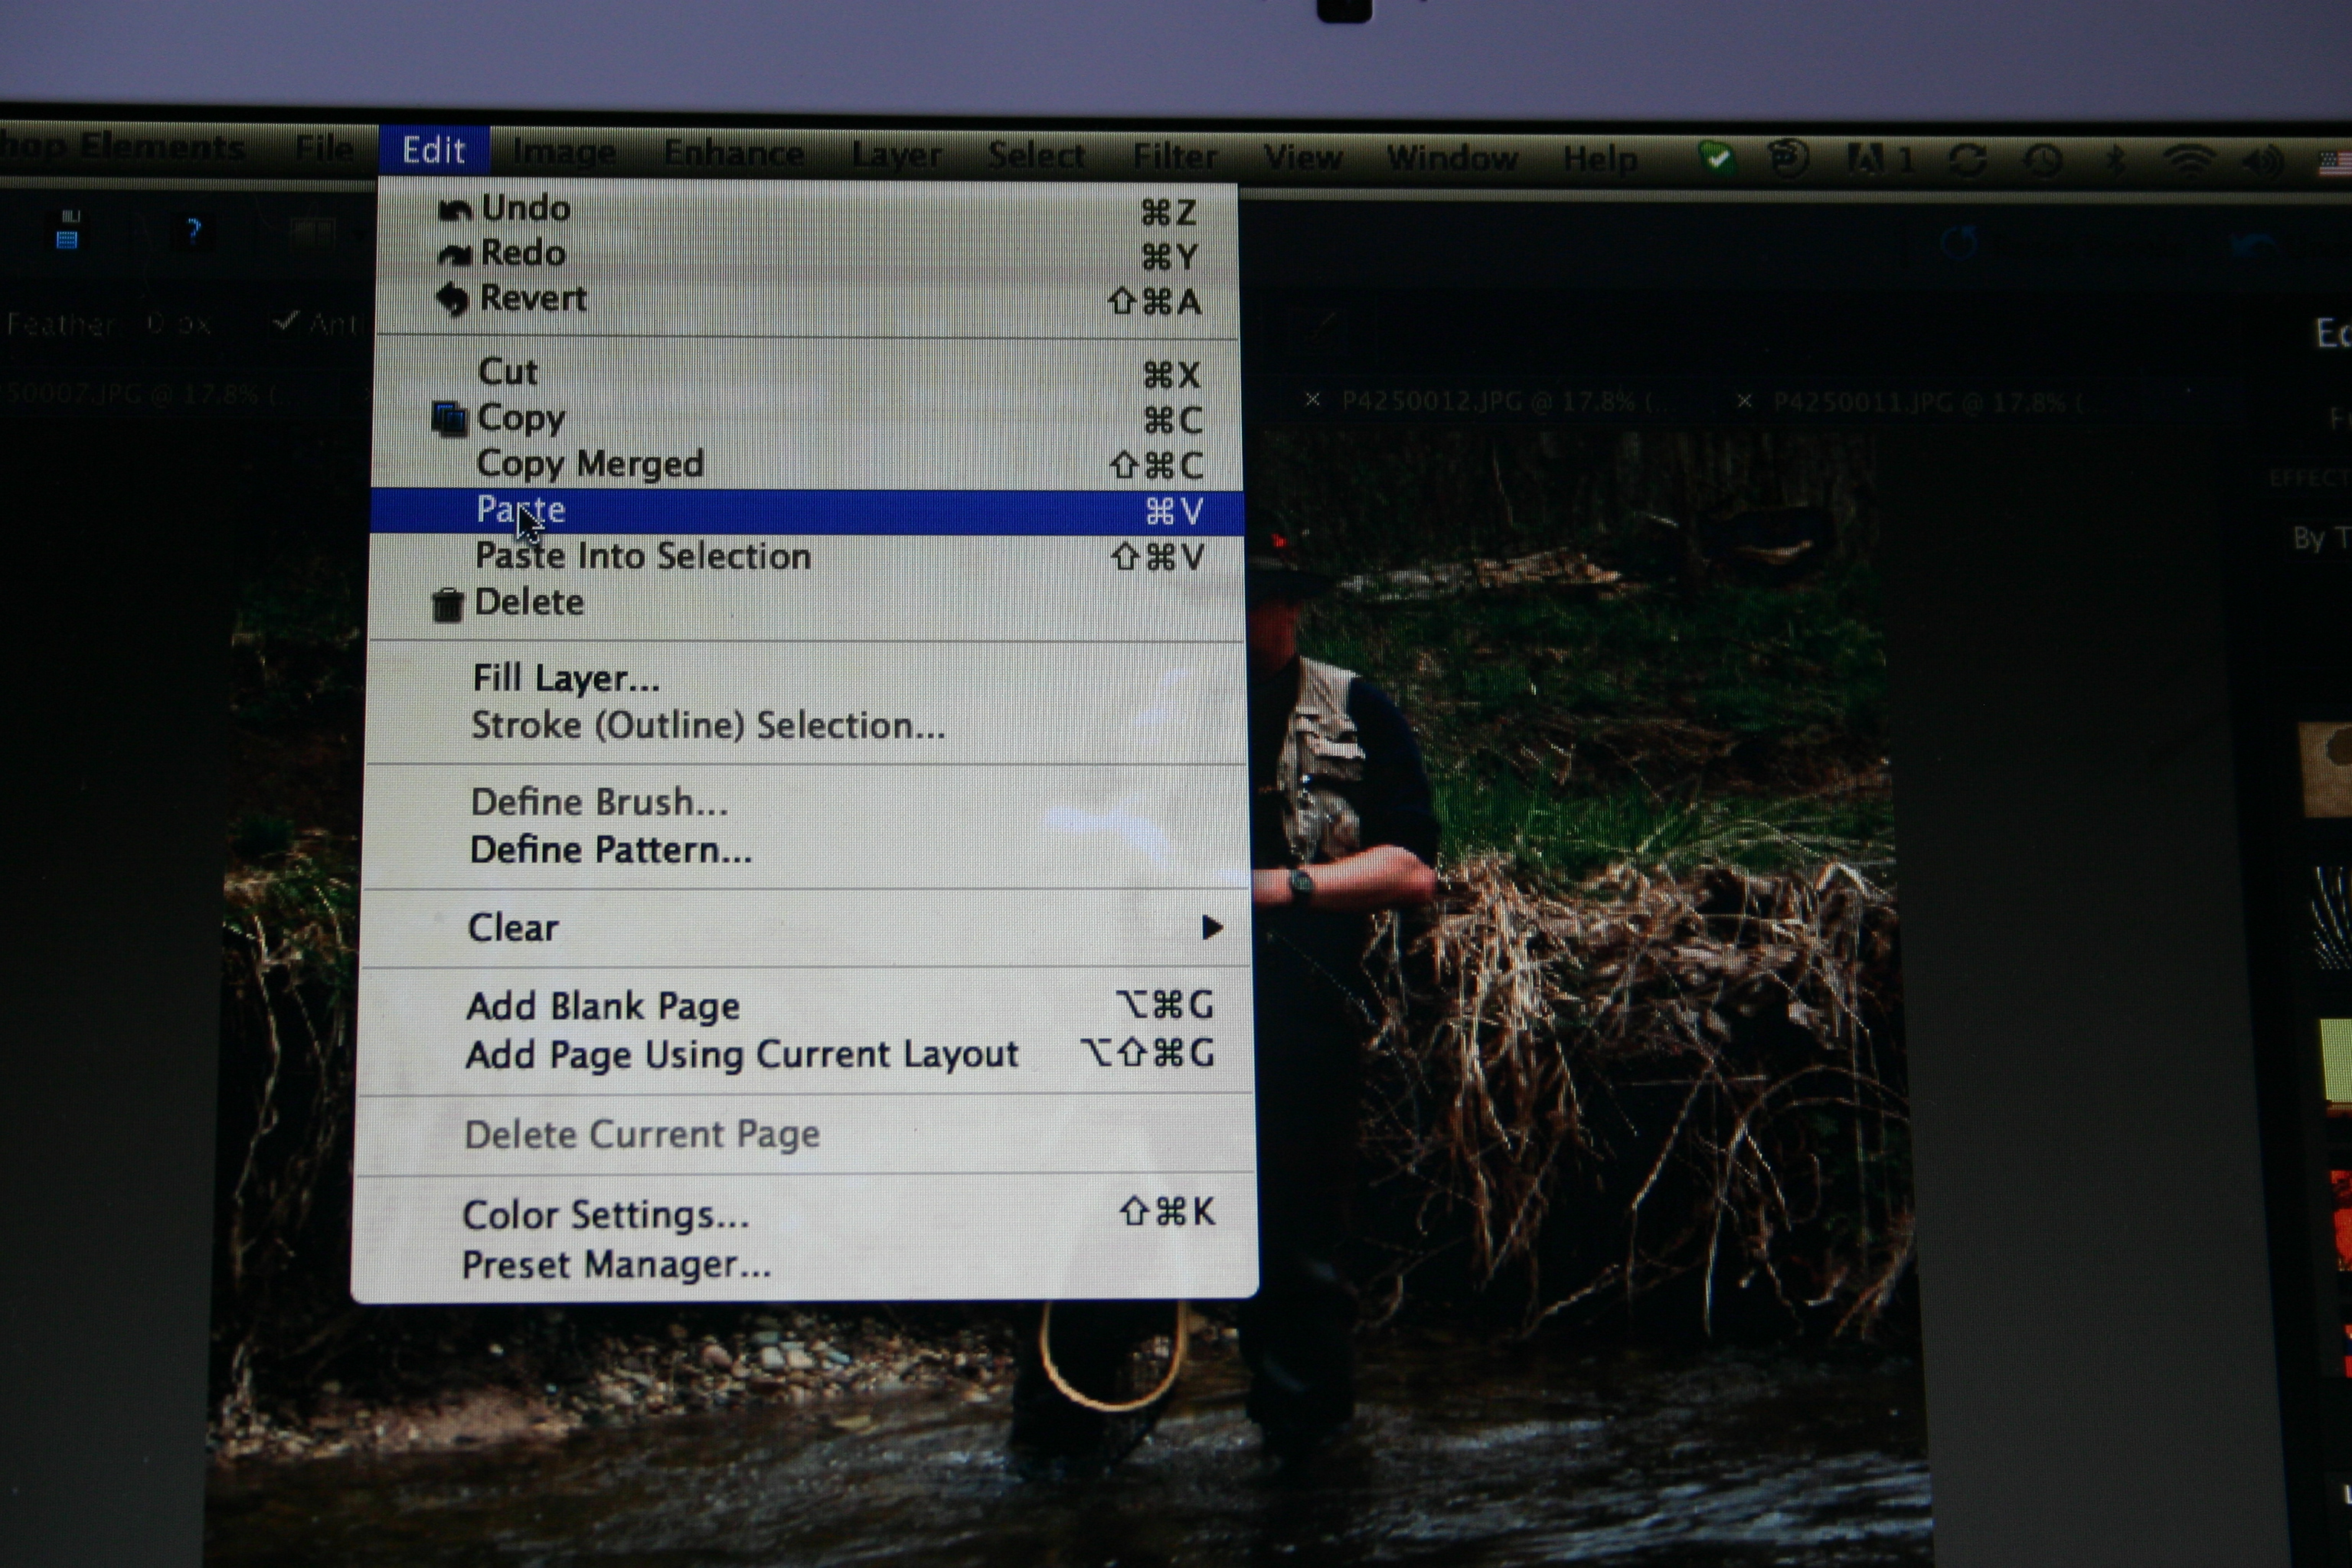
Go to the background file and hit the paste button.
Now You Have Two Pictures Put Together.
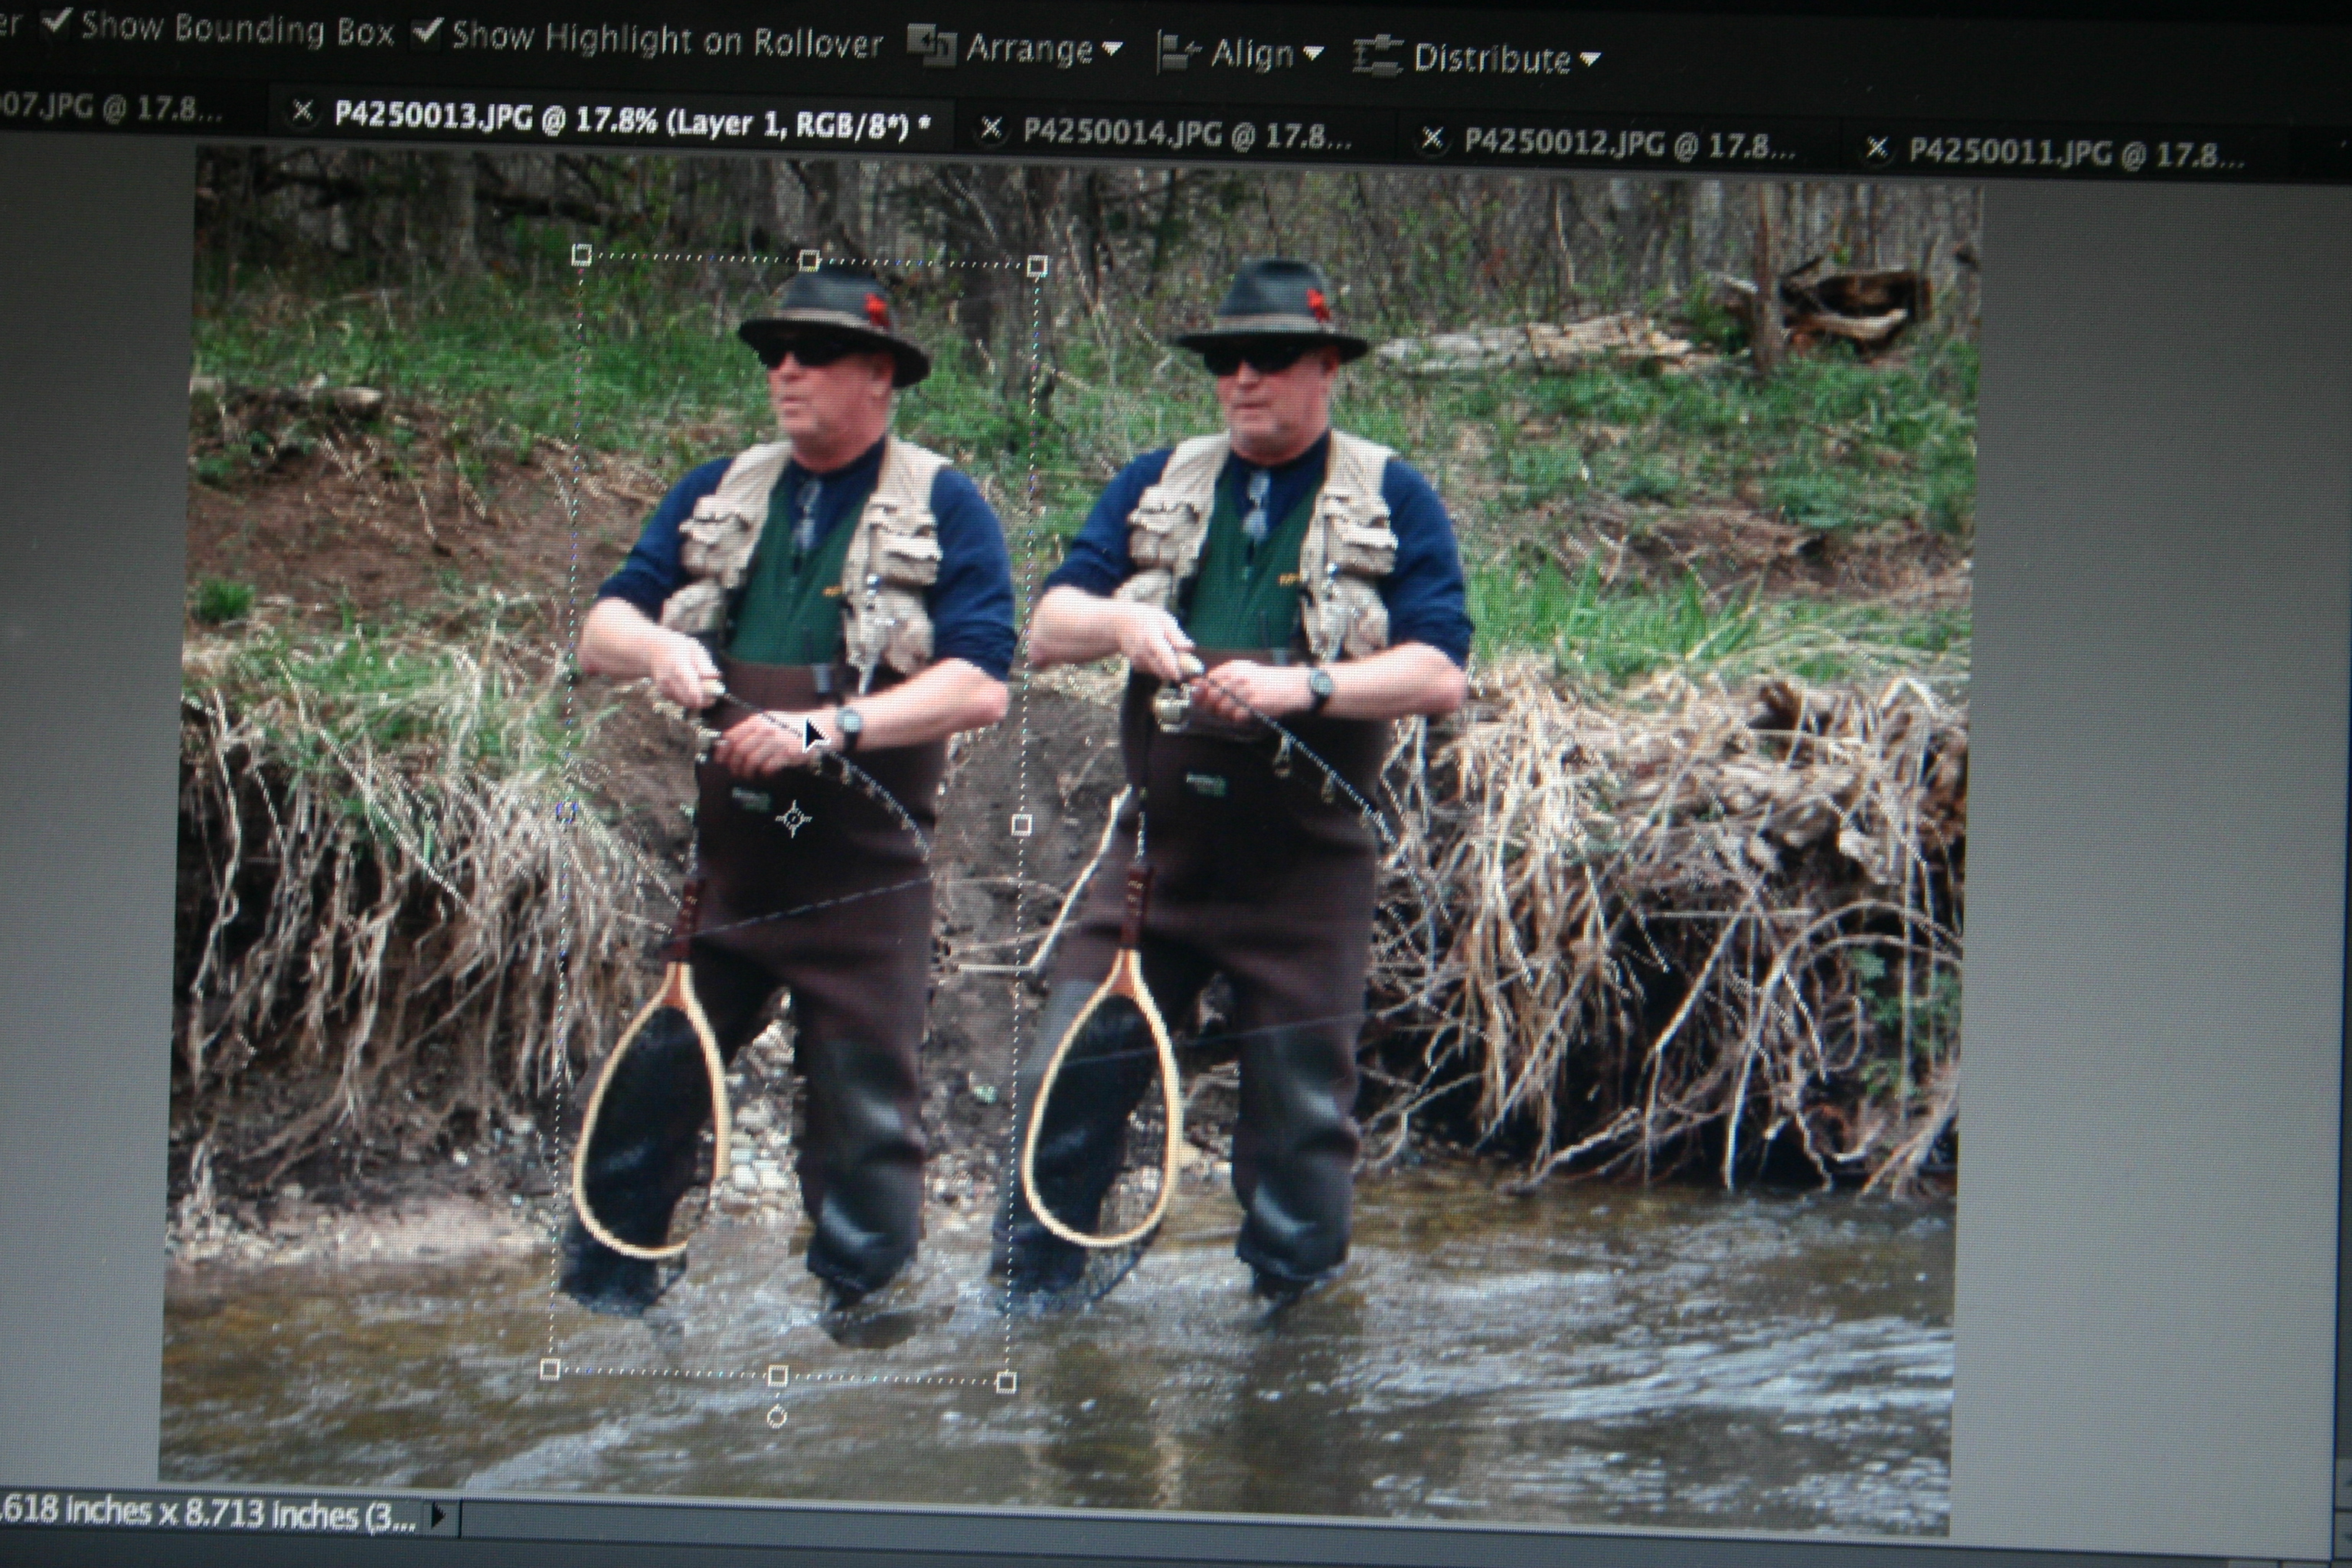
Now you have two pictures together. If you look at the picture here you now have the chance to move the pasted part of the picture. You can also adjust the size of the inserted photo to make it larger or smaller. In this photo I did nothing to the size of the pictures but this would be the place to get to this part of the program. You can also select each of the photo's and move them around from front to back etc. by choosing the order in the pallet box. The last photo will show up on top. The background will be covered over. You can also adjust the transparency if you want to add other effects here such as a ghost or what ever.
Continue Adding Photo's and Completion.

Continue to add photo's to your creation until you have all of the pictures how you want them. You can choose the picture and unchoose the ones you don't want to worry about and just work on the one you want to adjust. With this you can use the eraser and erase parts that you don't want to show. After all of this is done you need to flatten the image so that you can print it. I like to save my files as .JPG files as you can then print them out. The file can now be printed and sold or given as gifts.