How to Make a Notebook in Five Minutes
4991 Views, 65 Favorites, 0 Comments
How to Make a Notebook in Five Minutes
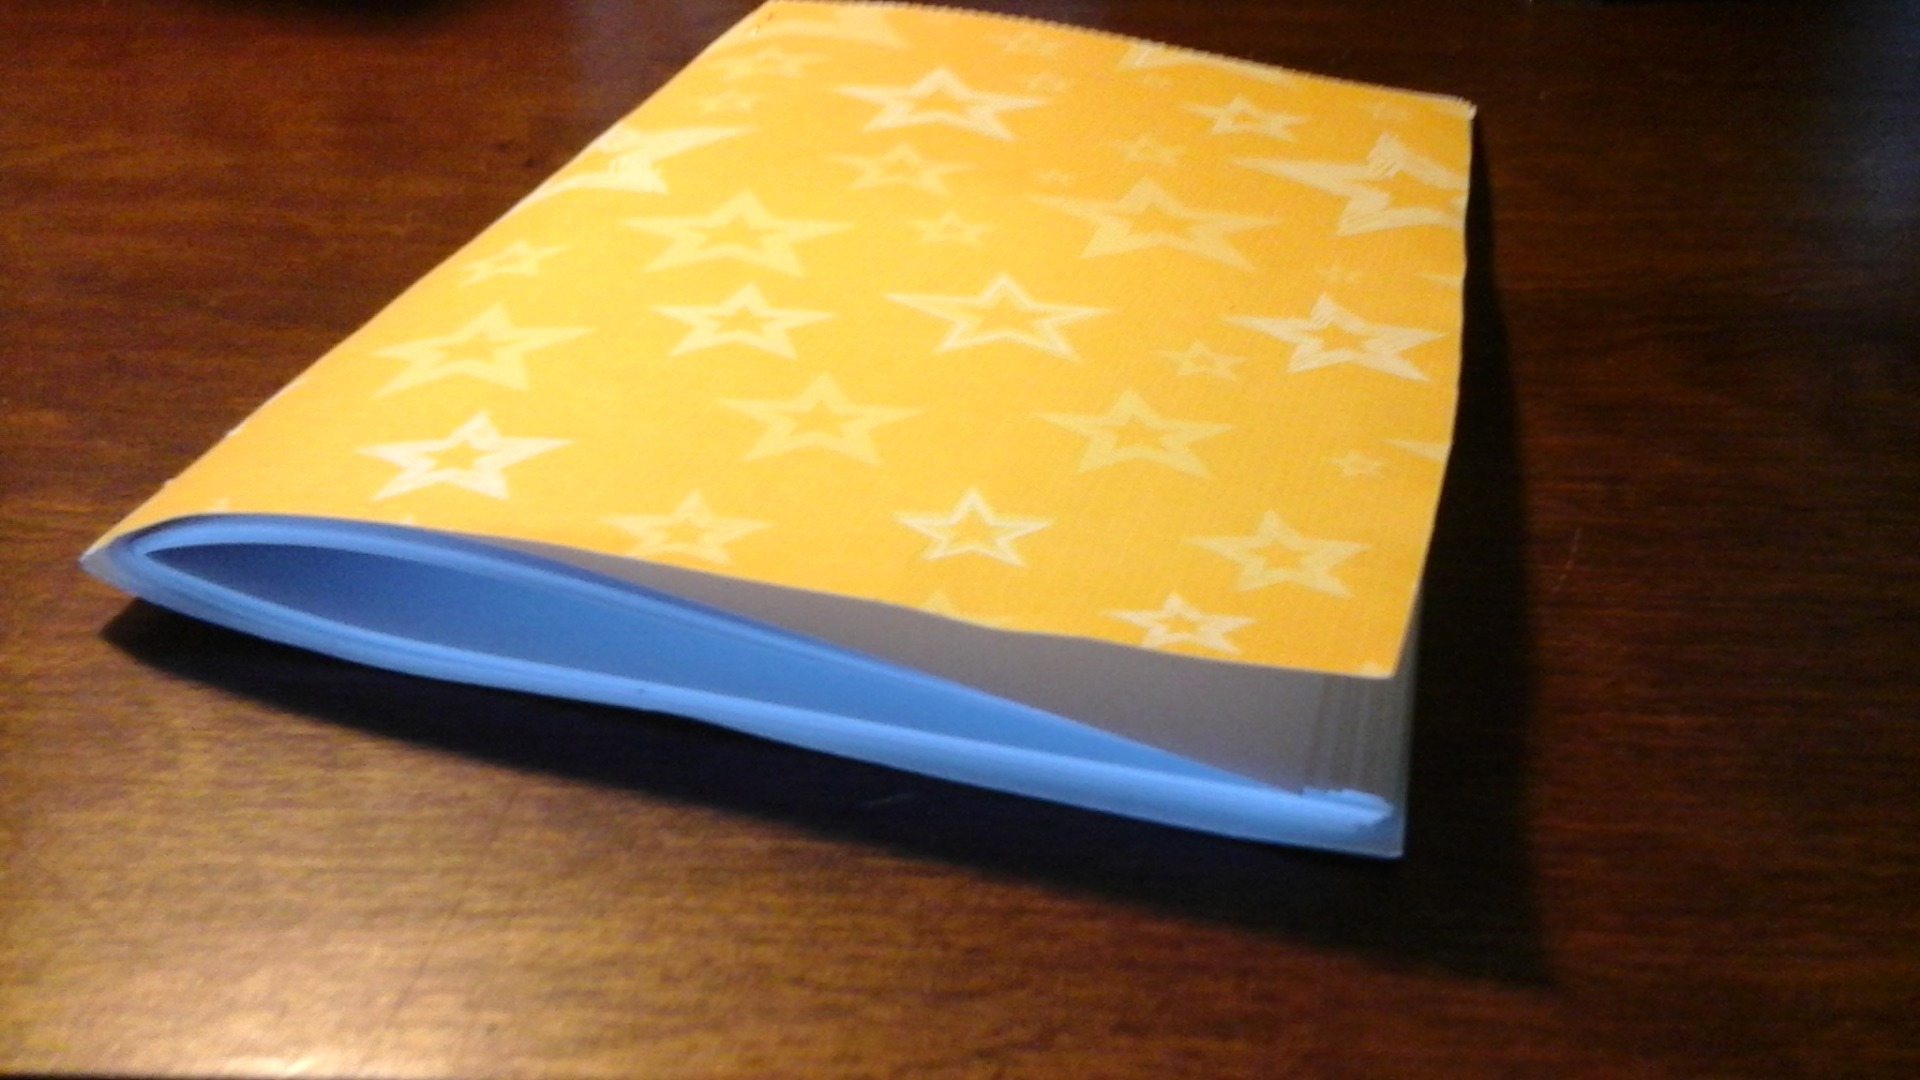
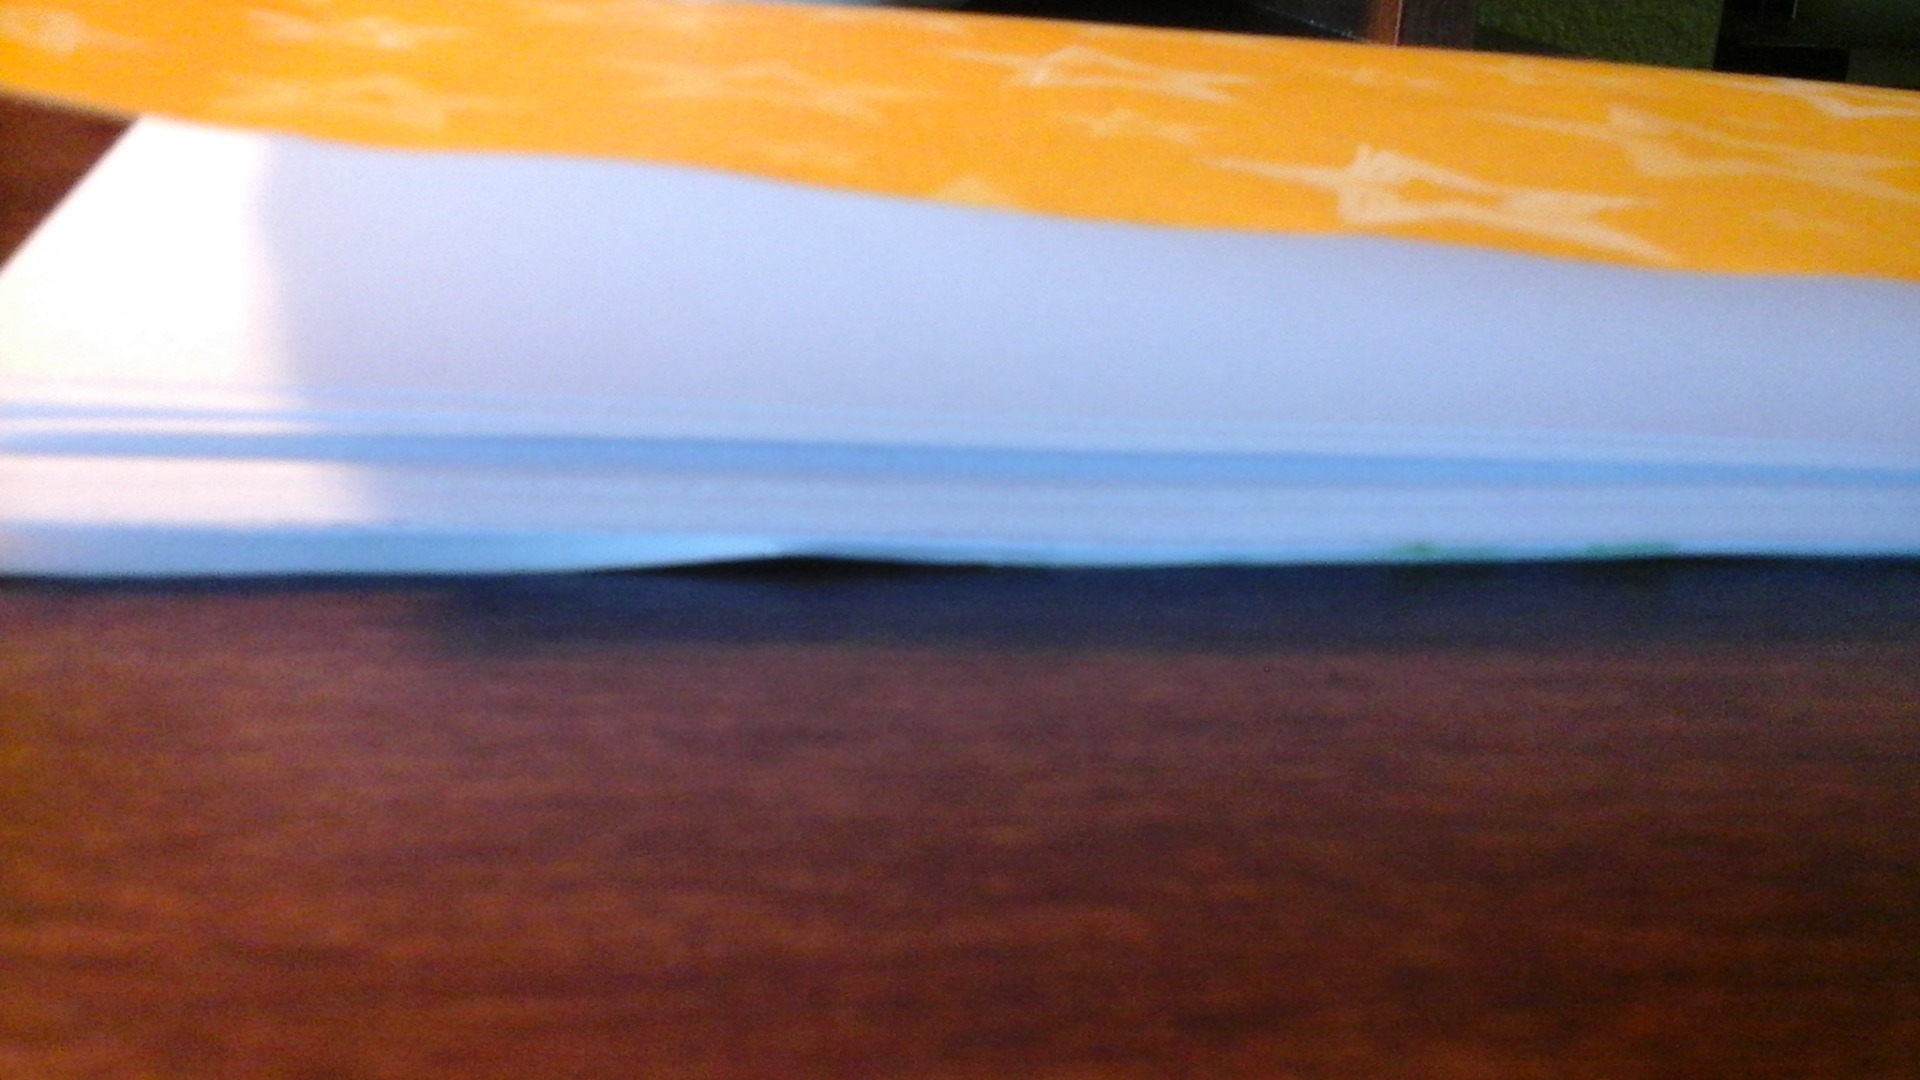
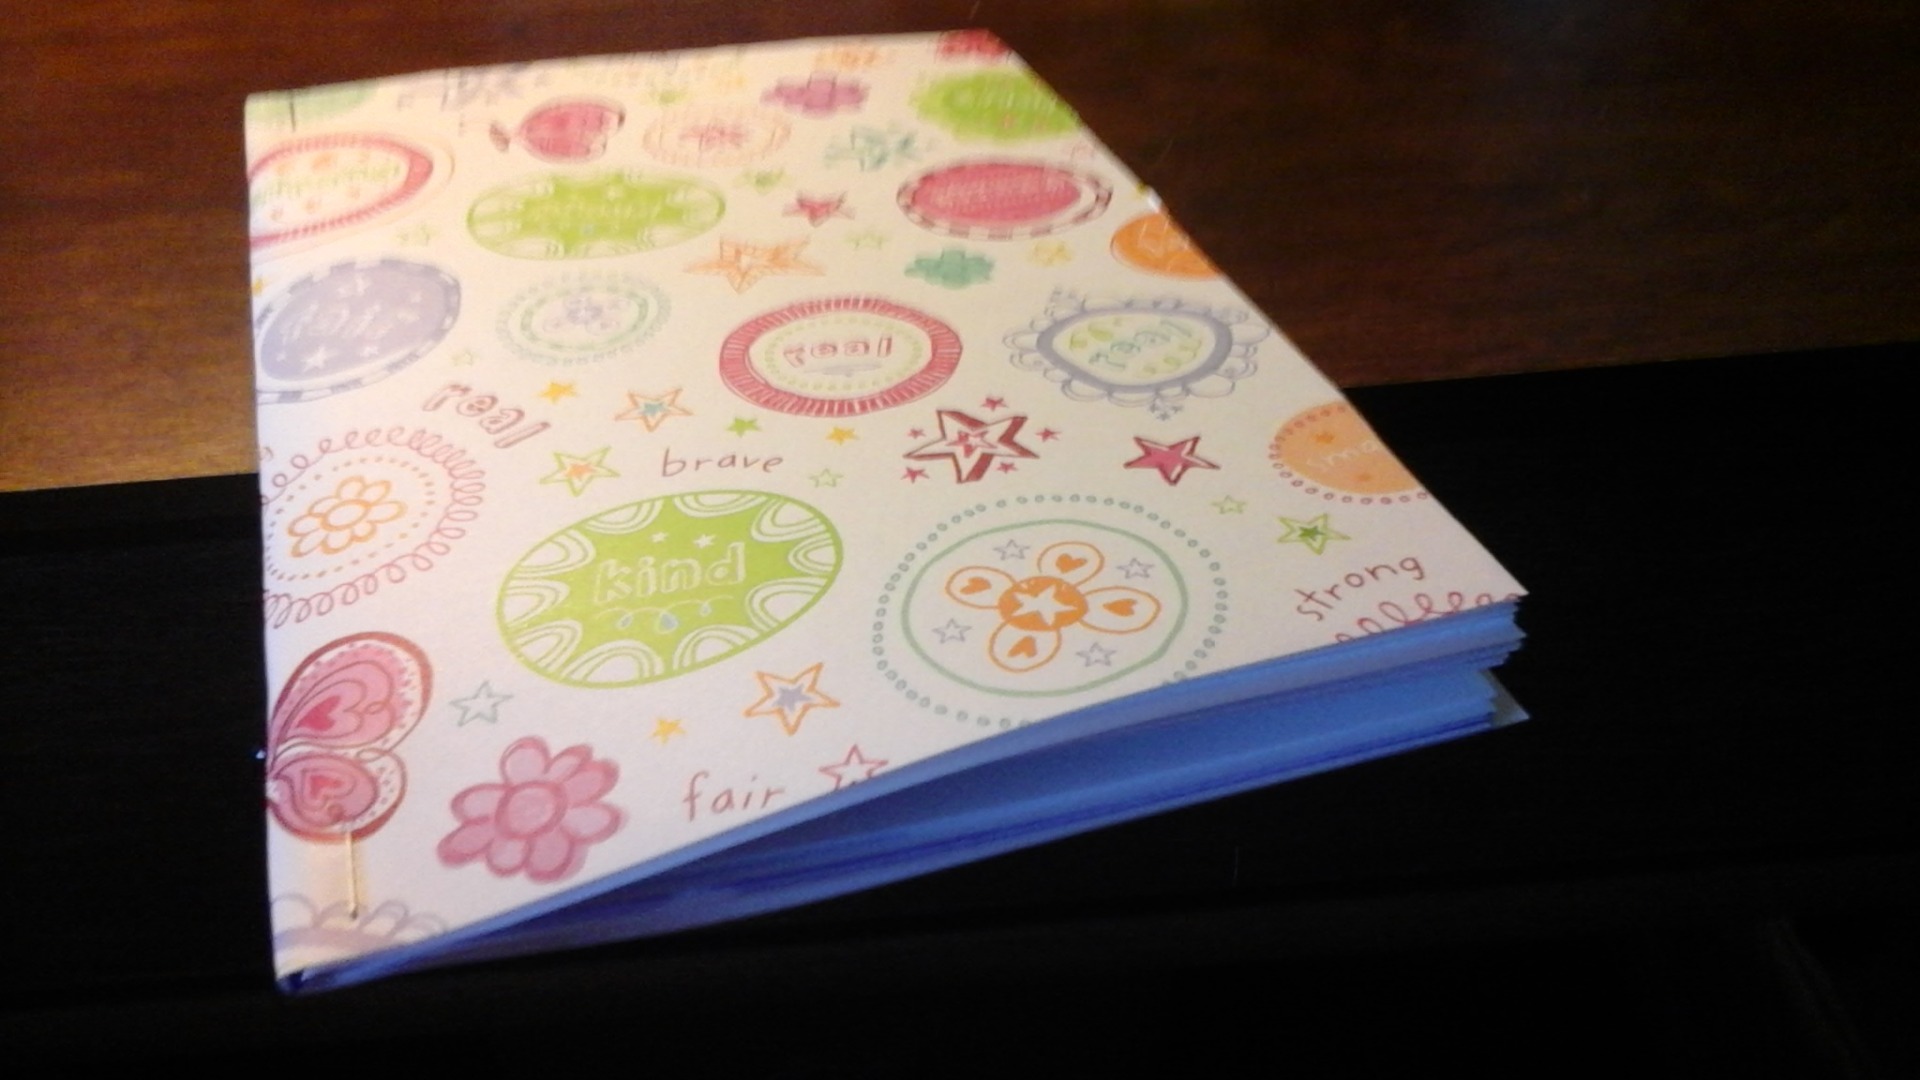
I love notebooks, but small ones cost way more than they should, considering you can make one with stuff from home for about $0.75.
So here's what you'll need:
- A paper to be the cover, this can be pre-printed, drawn, whatever.
- A stapler.
- Fifteen pieces of paper (This will make 30 half size pages).
- Scissors.
And that's it! So let's get started!
Step 1: Folding
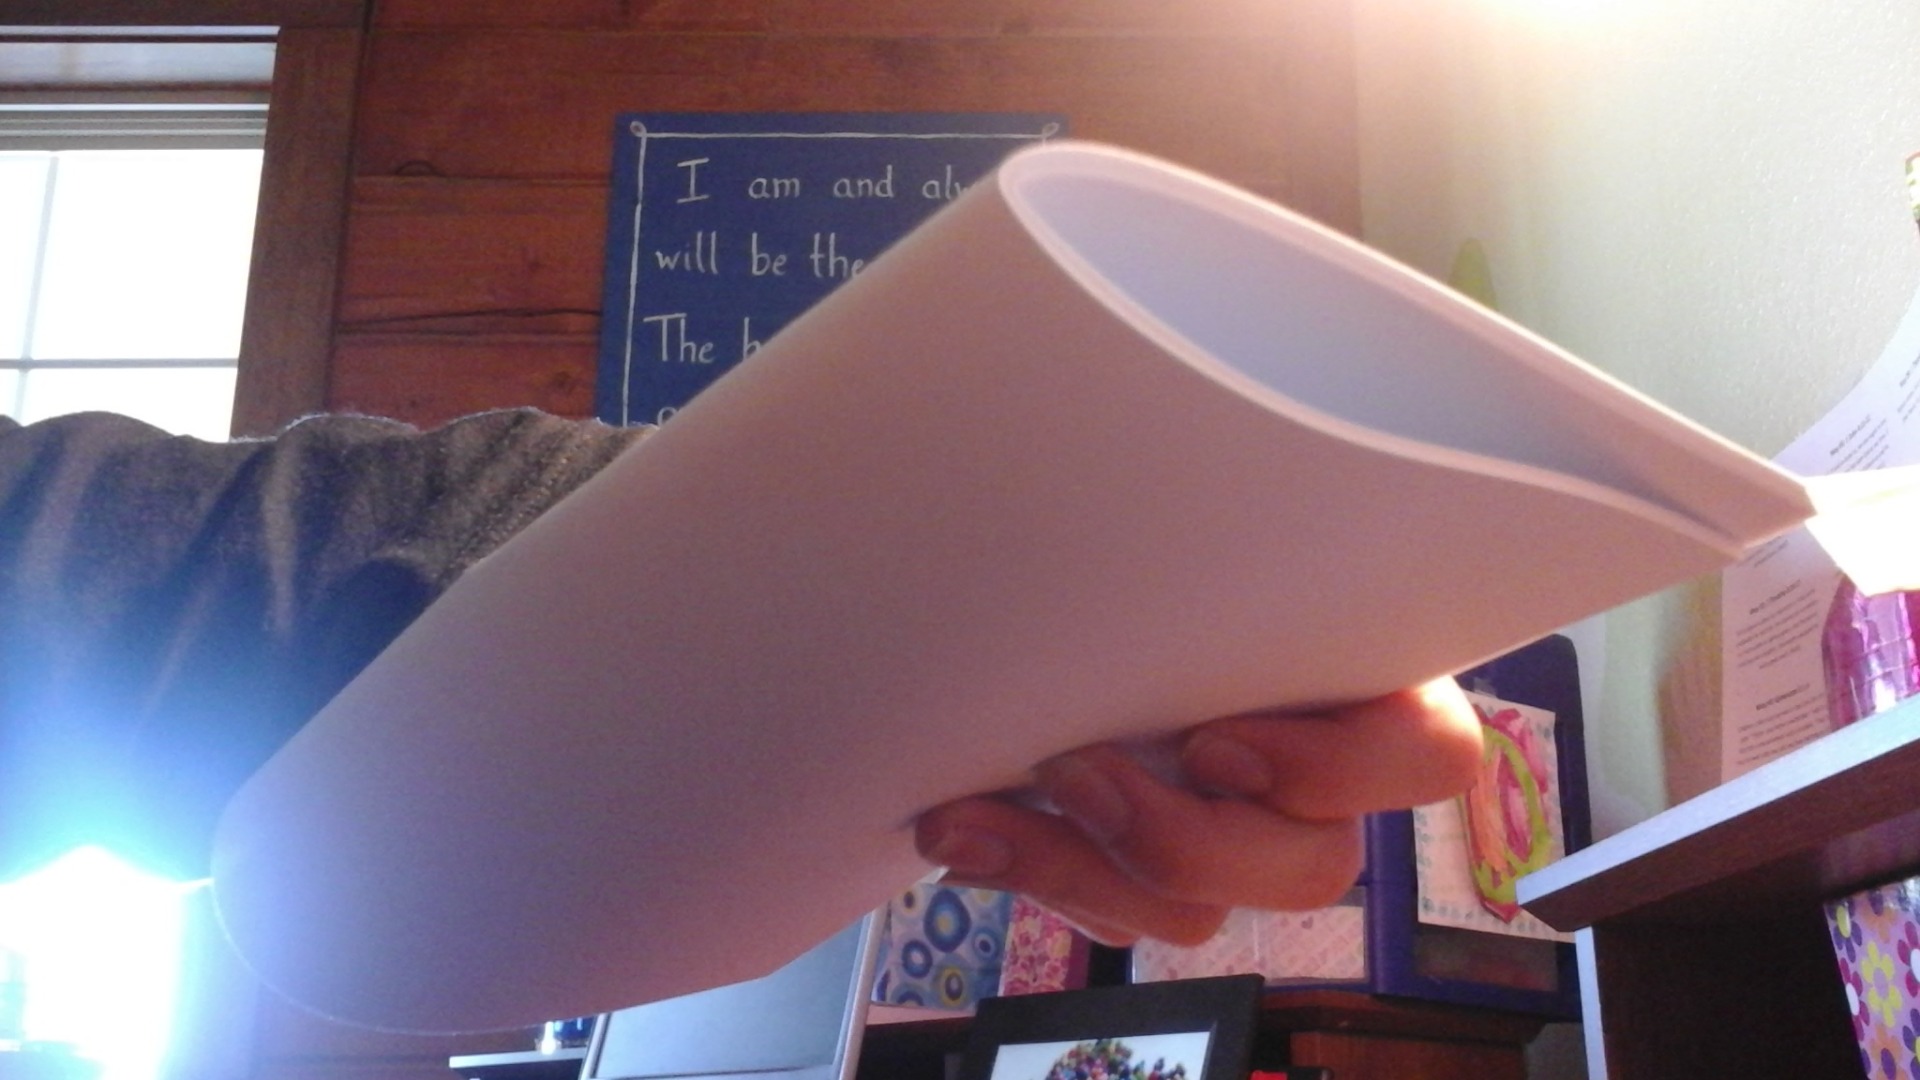
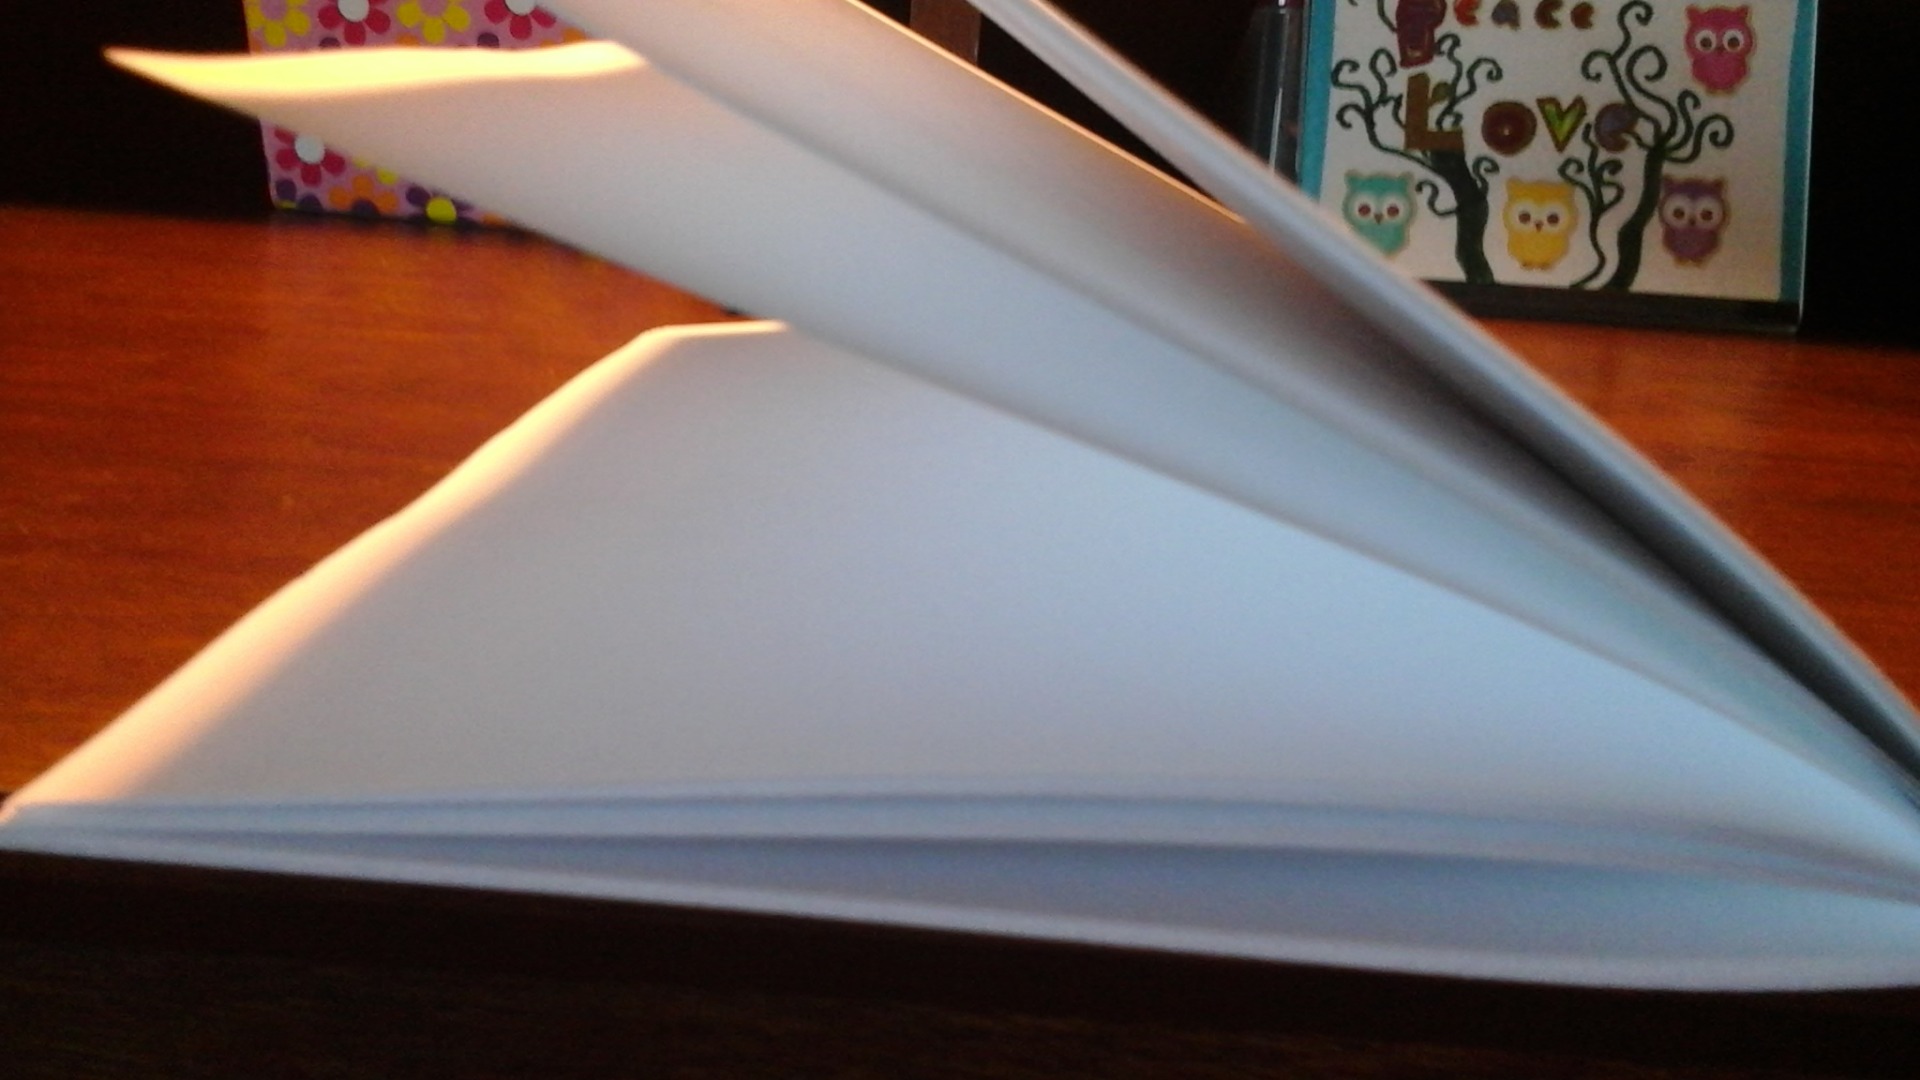
Take your fifteen pieces of paper, and fold them in half. Try to be as precise as possible, or your notebook might end up looking a little sloppy. On one side the pages might slant slightly, as long as it's not too much, it'll be fine.
Step 2: Preparing the Cover
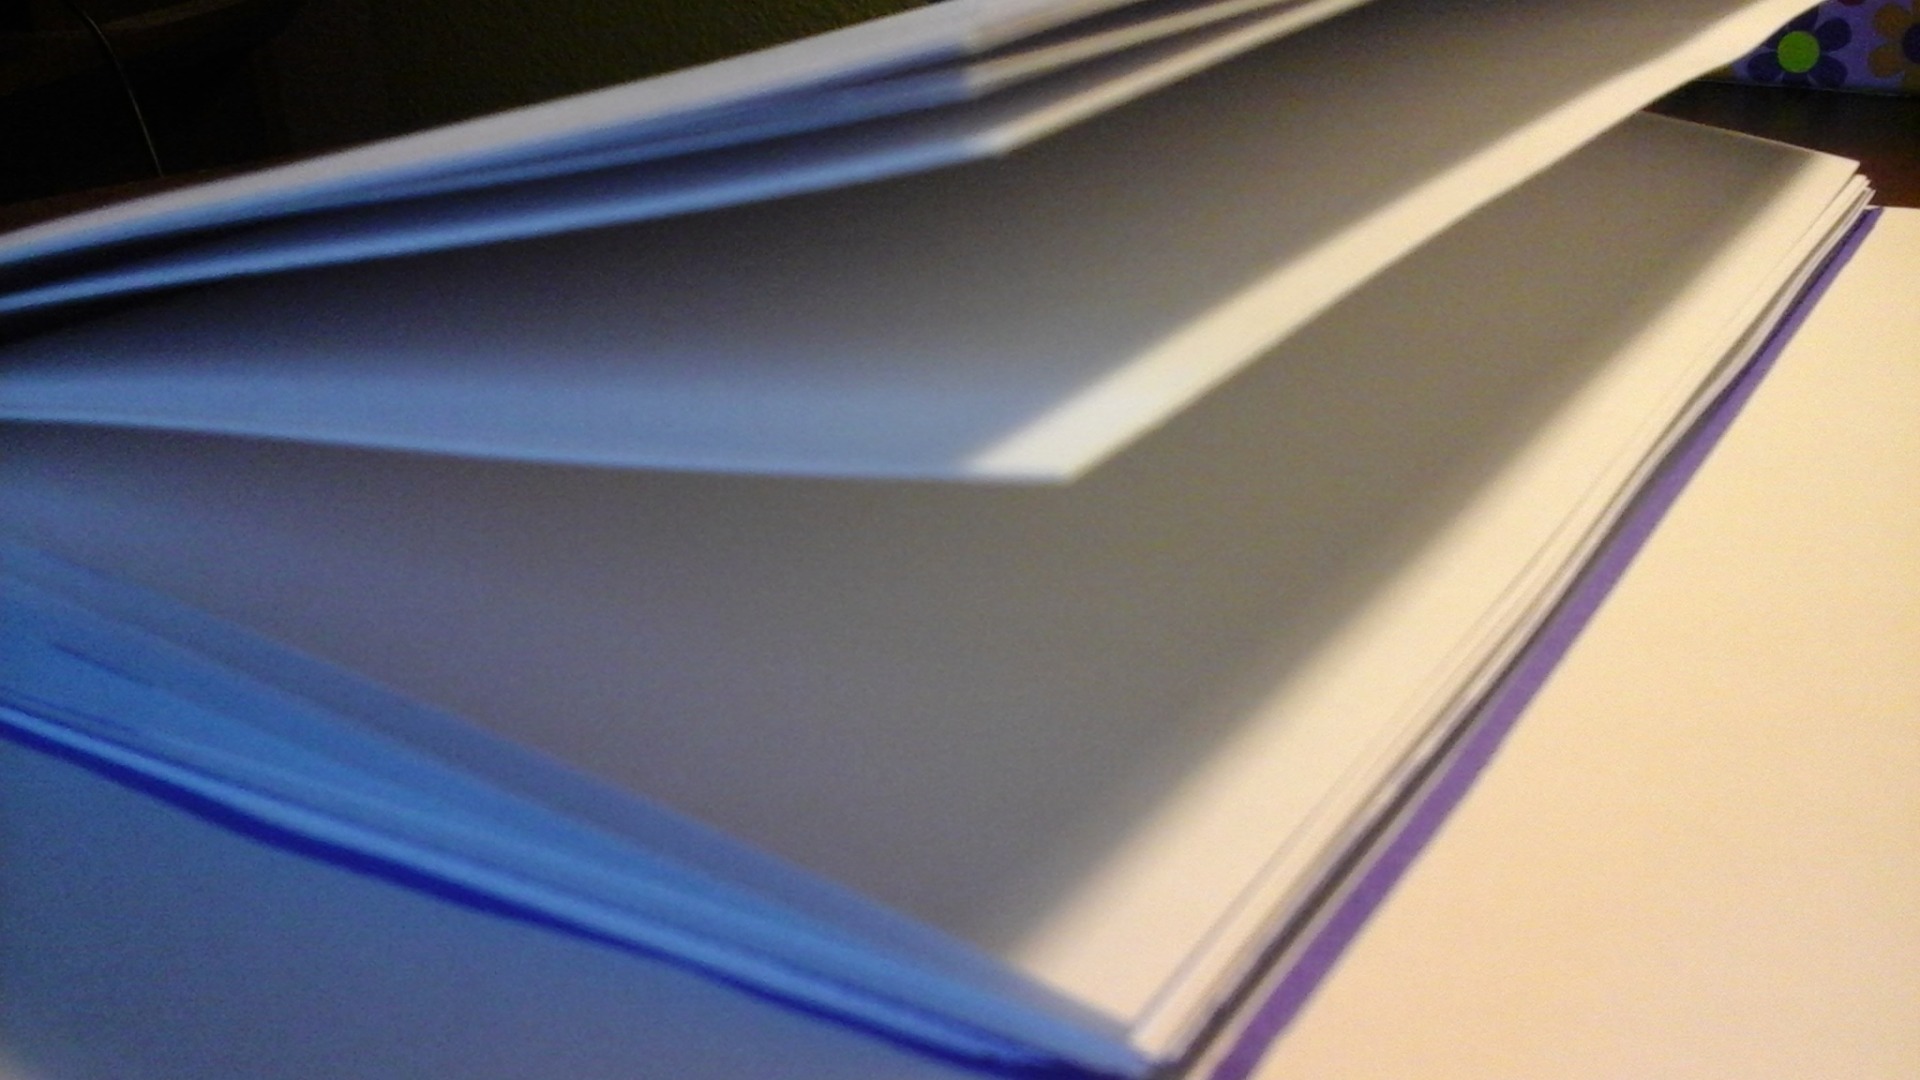
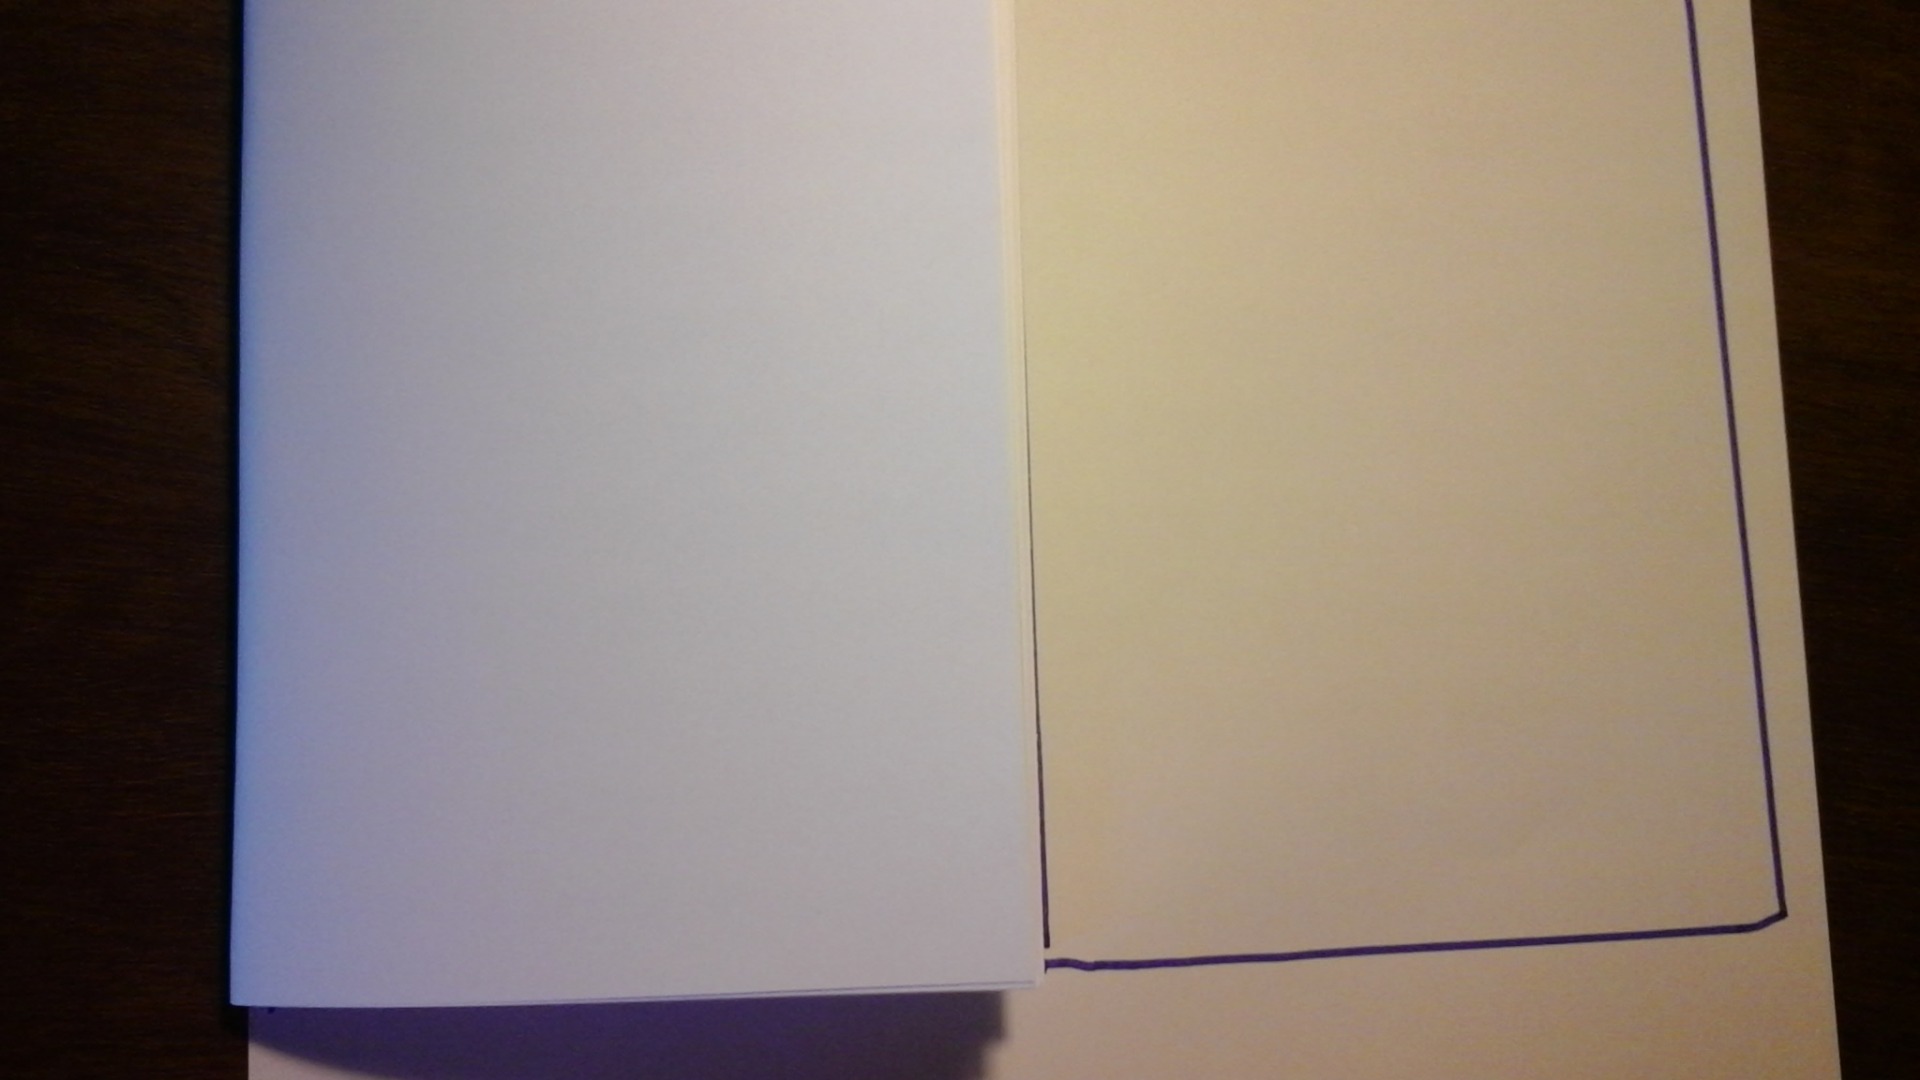

This is the most difficult part, if you're using a over sized piece of pre-printed paper.
Take your paper and the folded pages, place the folded pages onto the corner of the paper (Like a fourth of a square, except not proportioned correctly.). Trace around it with a pencil- I used a marker to make it more visible in the photo, this will get the edges of your pages colored however, so I do not recommend it- and remove. Then take the folded pages, making sure none of them are slipping out, and sit them beside the where you traced. Make sure they are aligned properly and trace for a second time, leaving a little extra space on the side.
Step 3: Cutting the Cover Out.
Cut out where you traced, following the lines as much as possible.
Step 4: Putting the Cover On, and Completing Your Book.
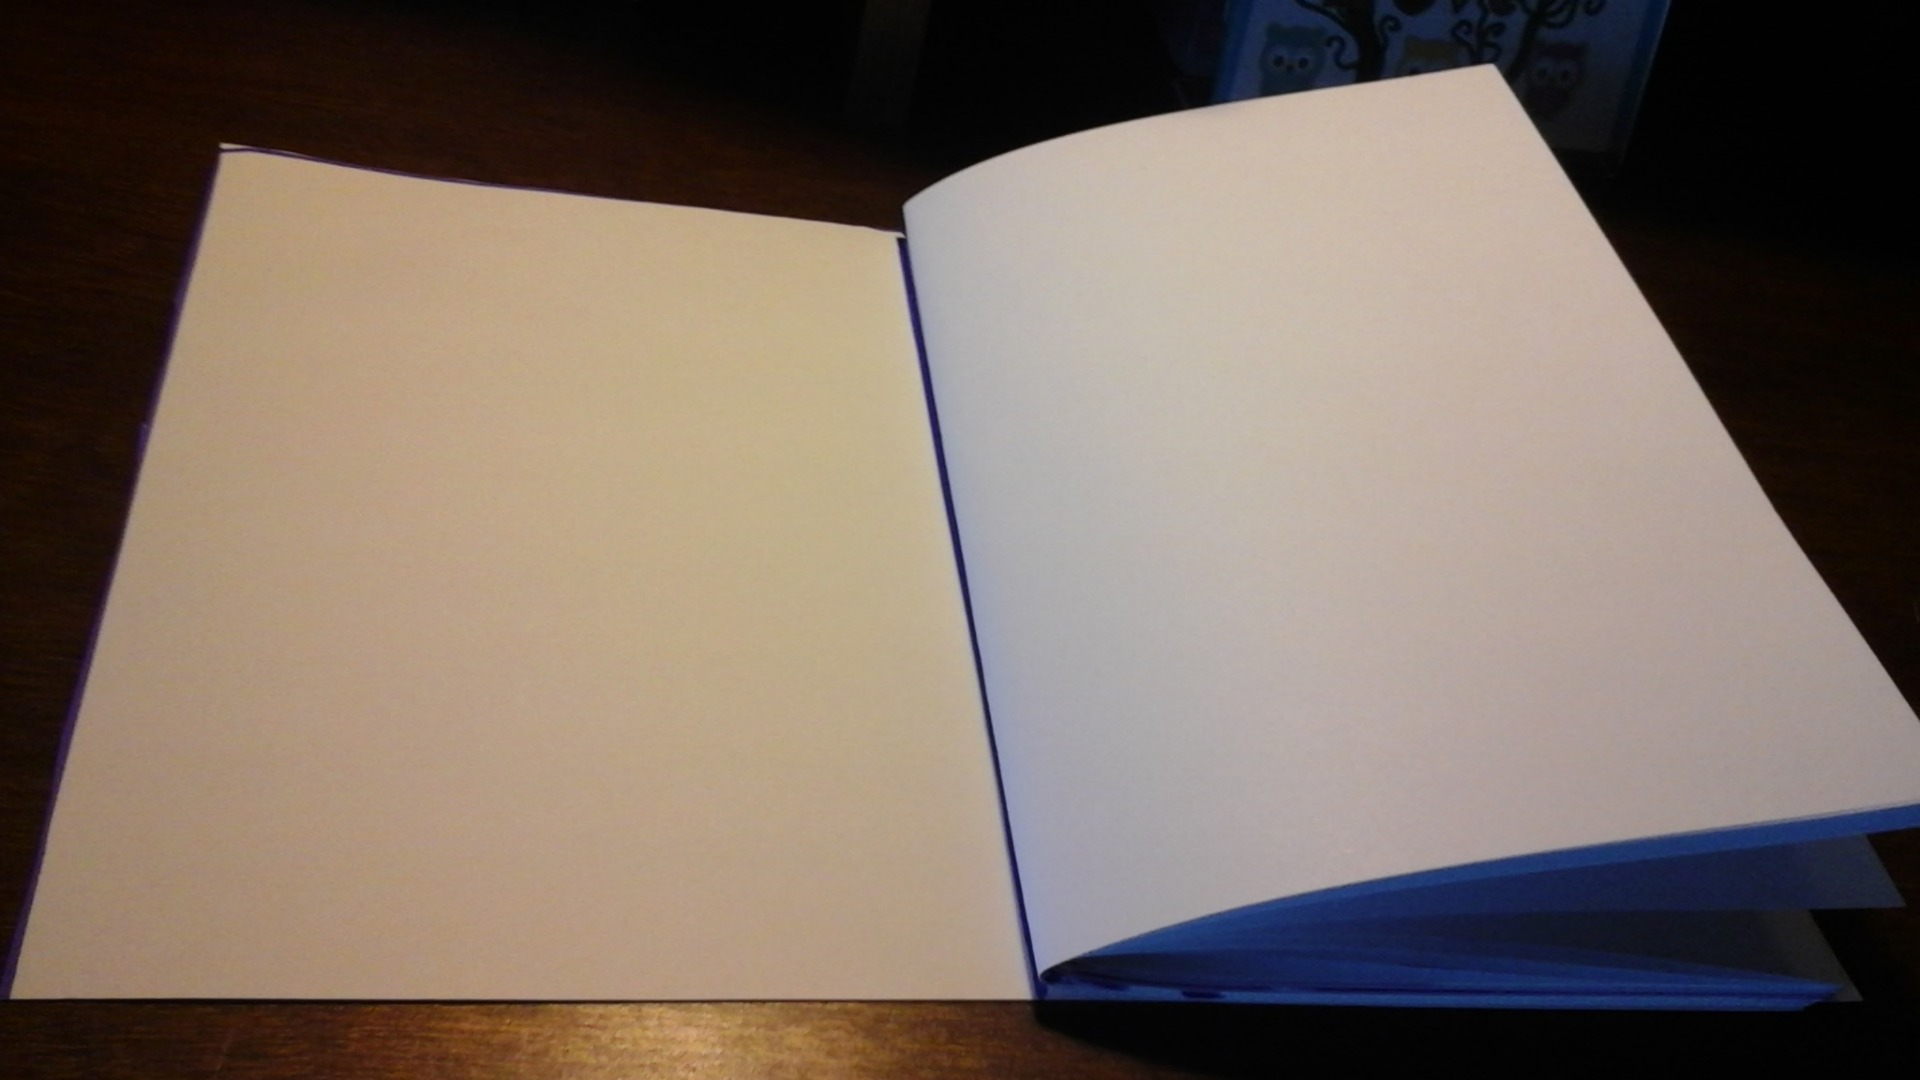
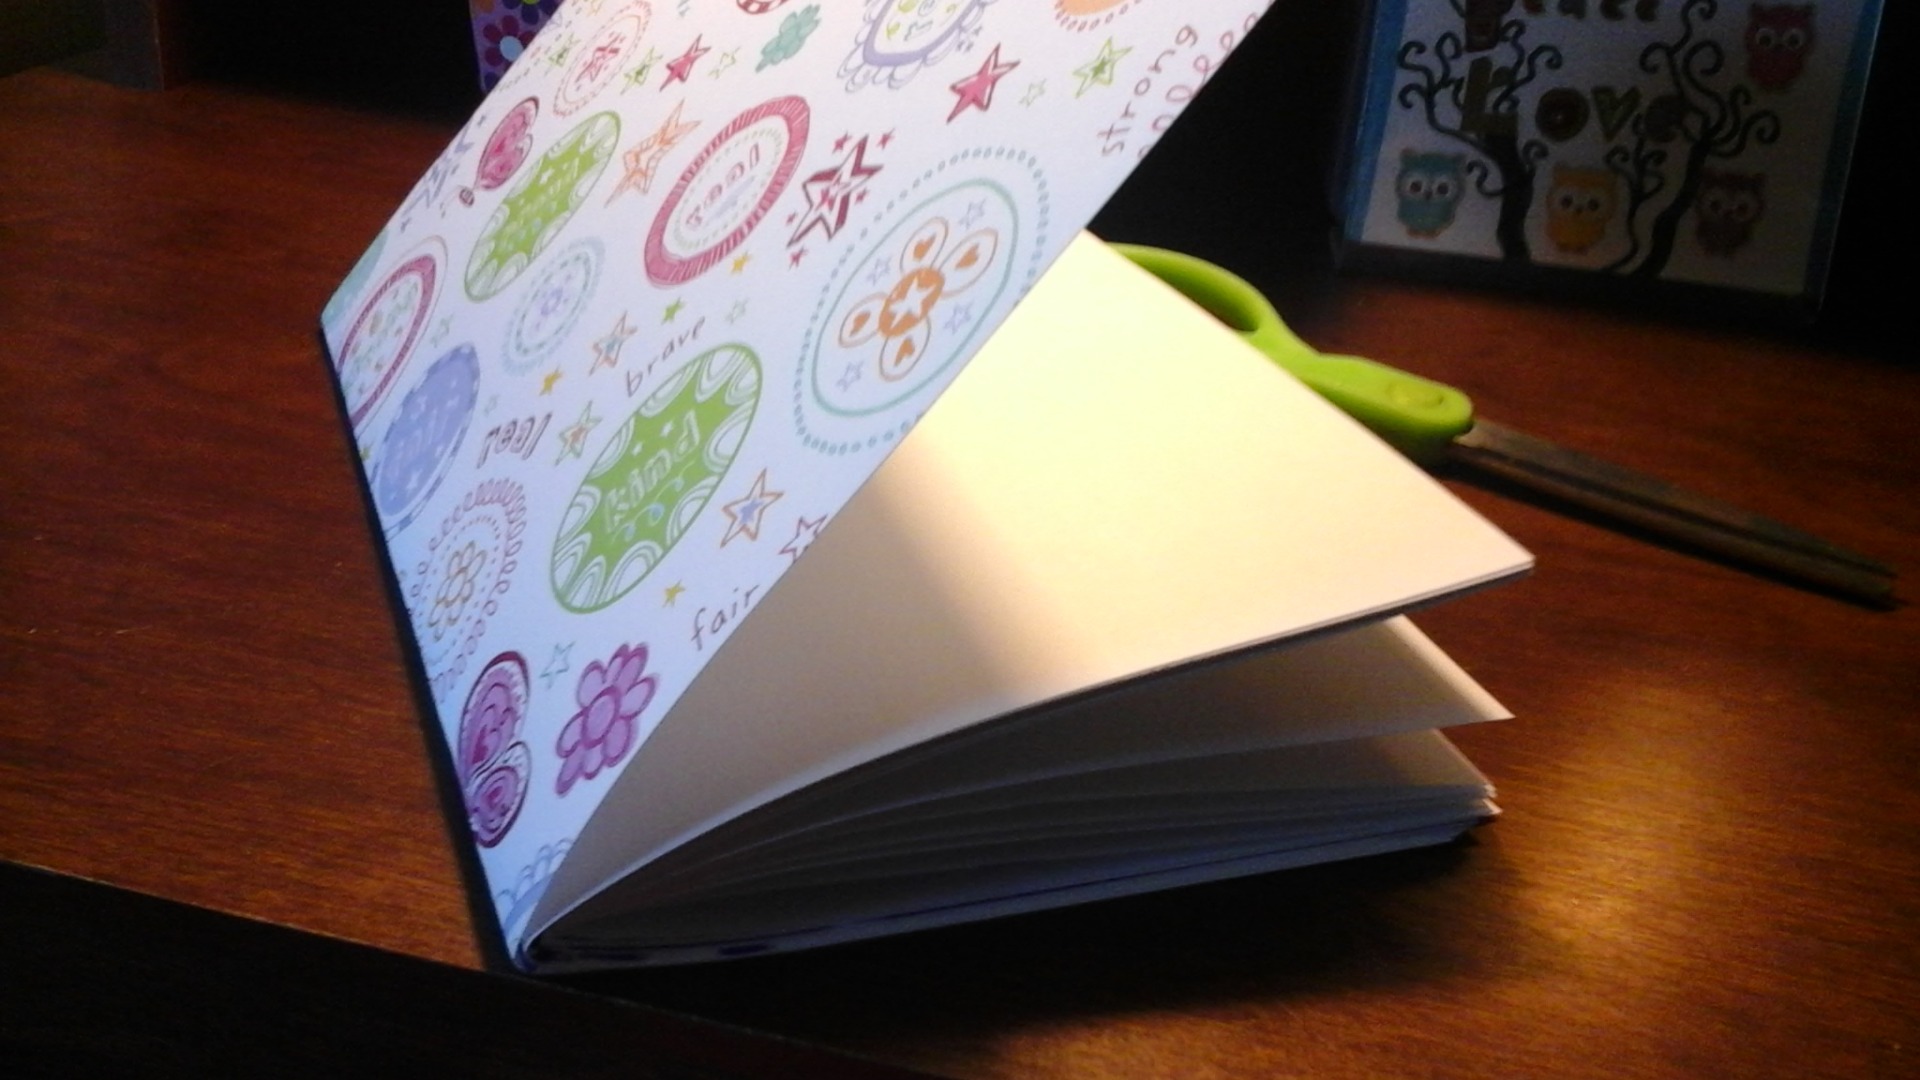

Now you'll take the pages, and lay them on the right hand side of the cover. Then fold the cover over, matching the sides up as best you can. Take your stapler and, making the you've got the fold of ALL the pages, staple it in the top and bottom left hand corners. Voila! You have a note-book! Congrats! You can also use libre-office impress and add lines, or small pictures in the corners. Hope your project went well!
Ta-Da!
