How to Make a Jig for the Epilog Laser Etcher/cutter.
by thor in Workshop > Laser Cutting
4987 Views, 6 Favorites, 0 Comments
How to Make a Jig for the Epilog Laser Etcher/cutter.
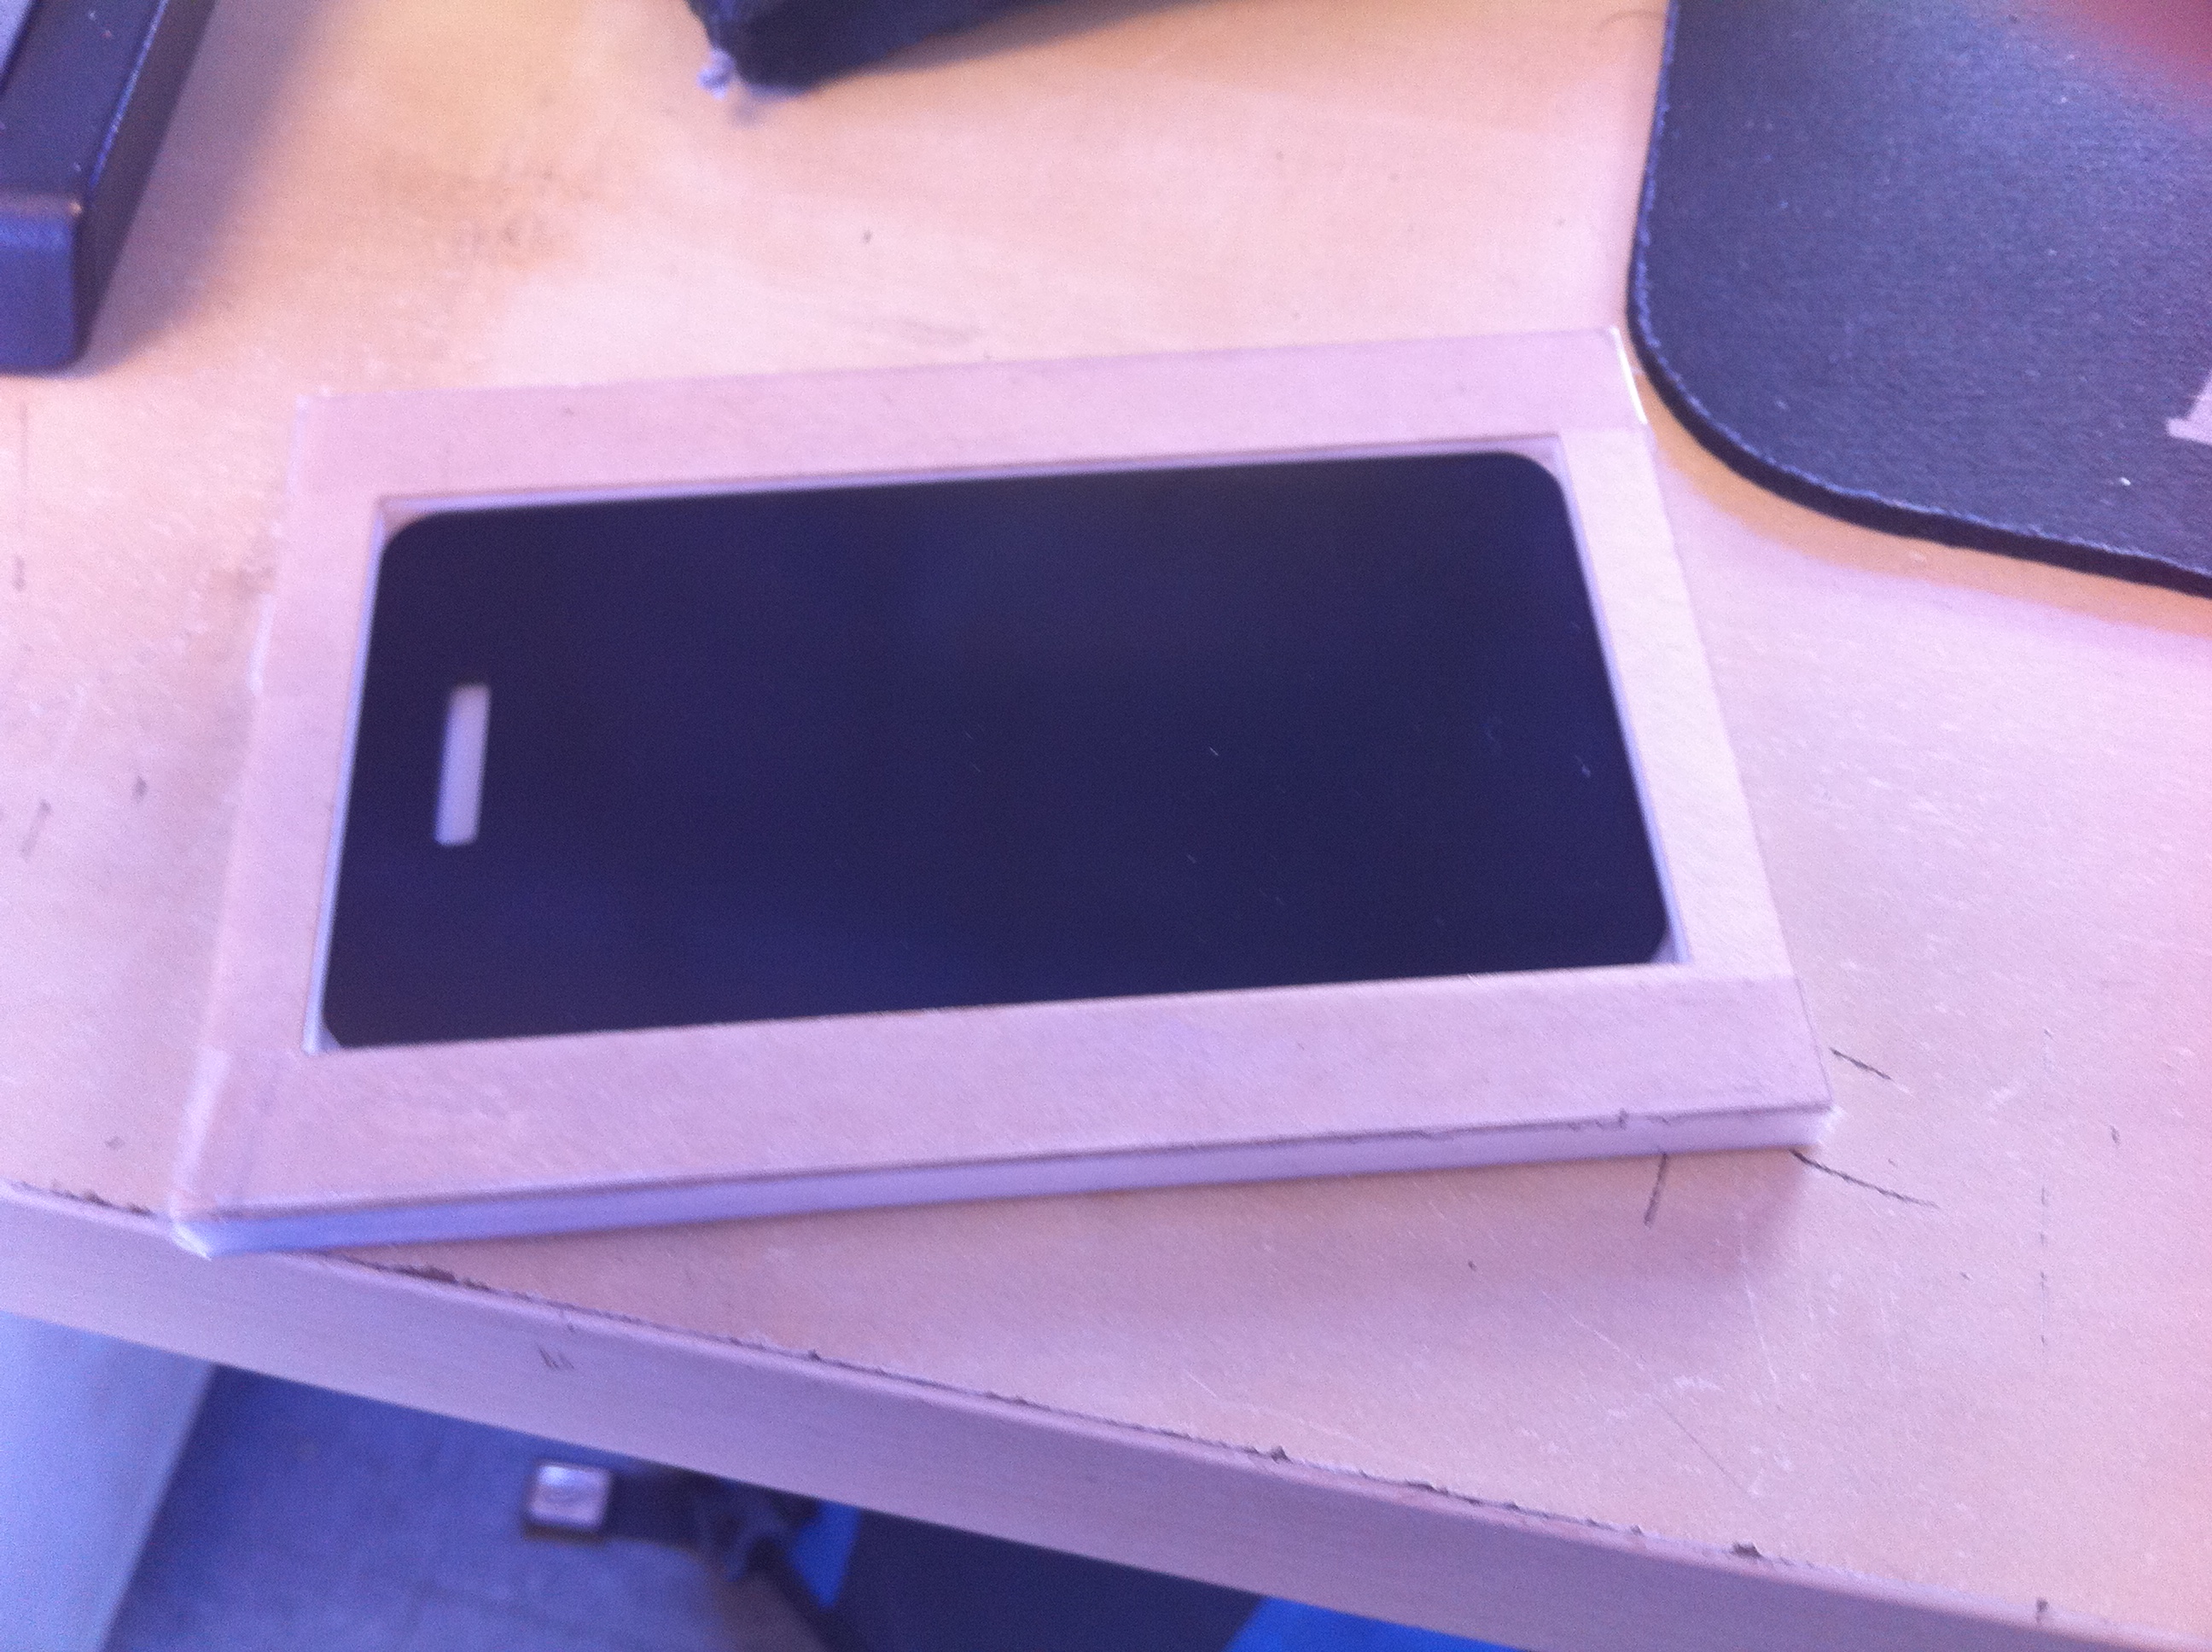
First, I am going to assume you have already have experience with using the Epilog laser etcher/cutter. In addition, I also assume you have some familiarity with Corel Draw X5 or are good with software in general. I made this at the TechShop in San Francisco. What this means to you is I'm not going over simple stuff like how to focus the beam, set home origin so I am assuming you already know these operations.
There are some items you might want to etch which are too small to place by themselves in the Epilog laser. The reason the small items can’t be placed in the machine without a jig is that the machine shakes slightly when it’s doing vector and a lot when it’s doing raster work. Another problem is that it you will need to align the piece perfectly perpendicular to the laser rail so that the art work is aligned properly.
The easiest way to print on small pieces is using a jig. Wikipedia ‘s definition of a jig is: “… a jig is a type of tool used to control the location and/or motion of another tool. A jig's primary purpose is to provide repeatability, accuracy, and interchangeability in the manufacturing of products.[1] “
So here is a quick way to make a jig. For this example I am going to make it for a luggage tag made of anodized aluminum.
The Corel Draw X5 File
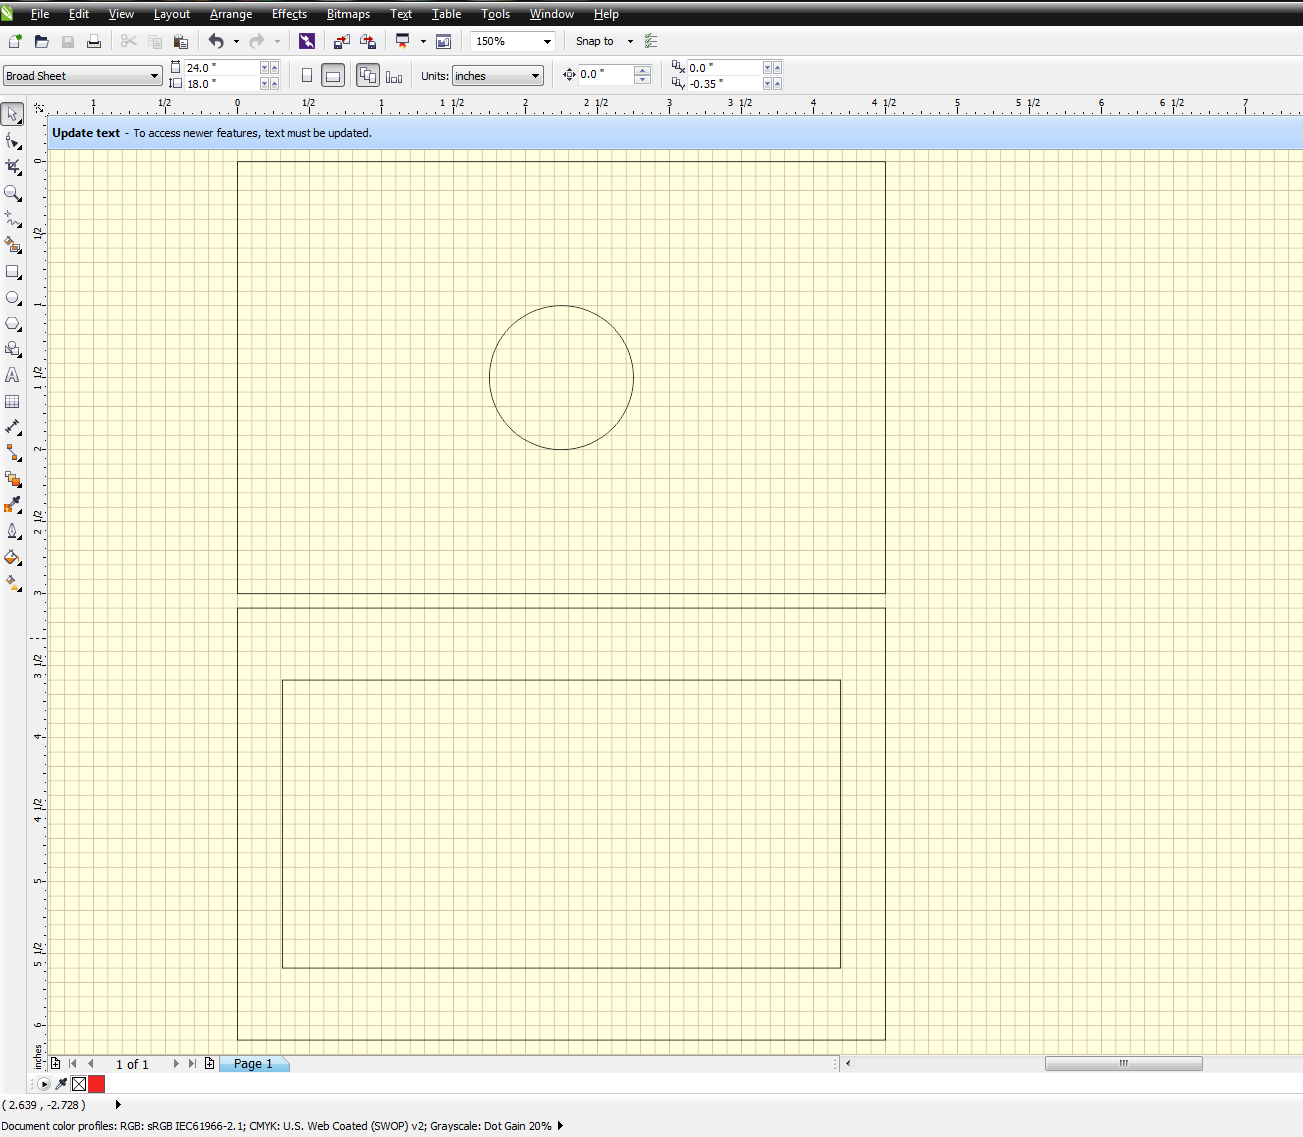
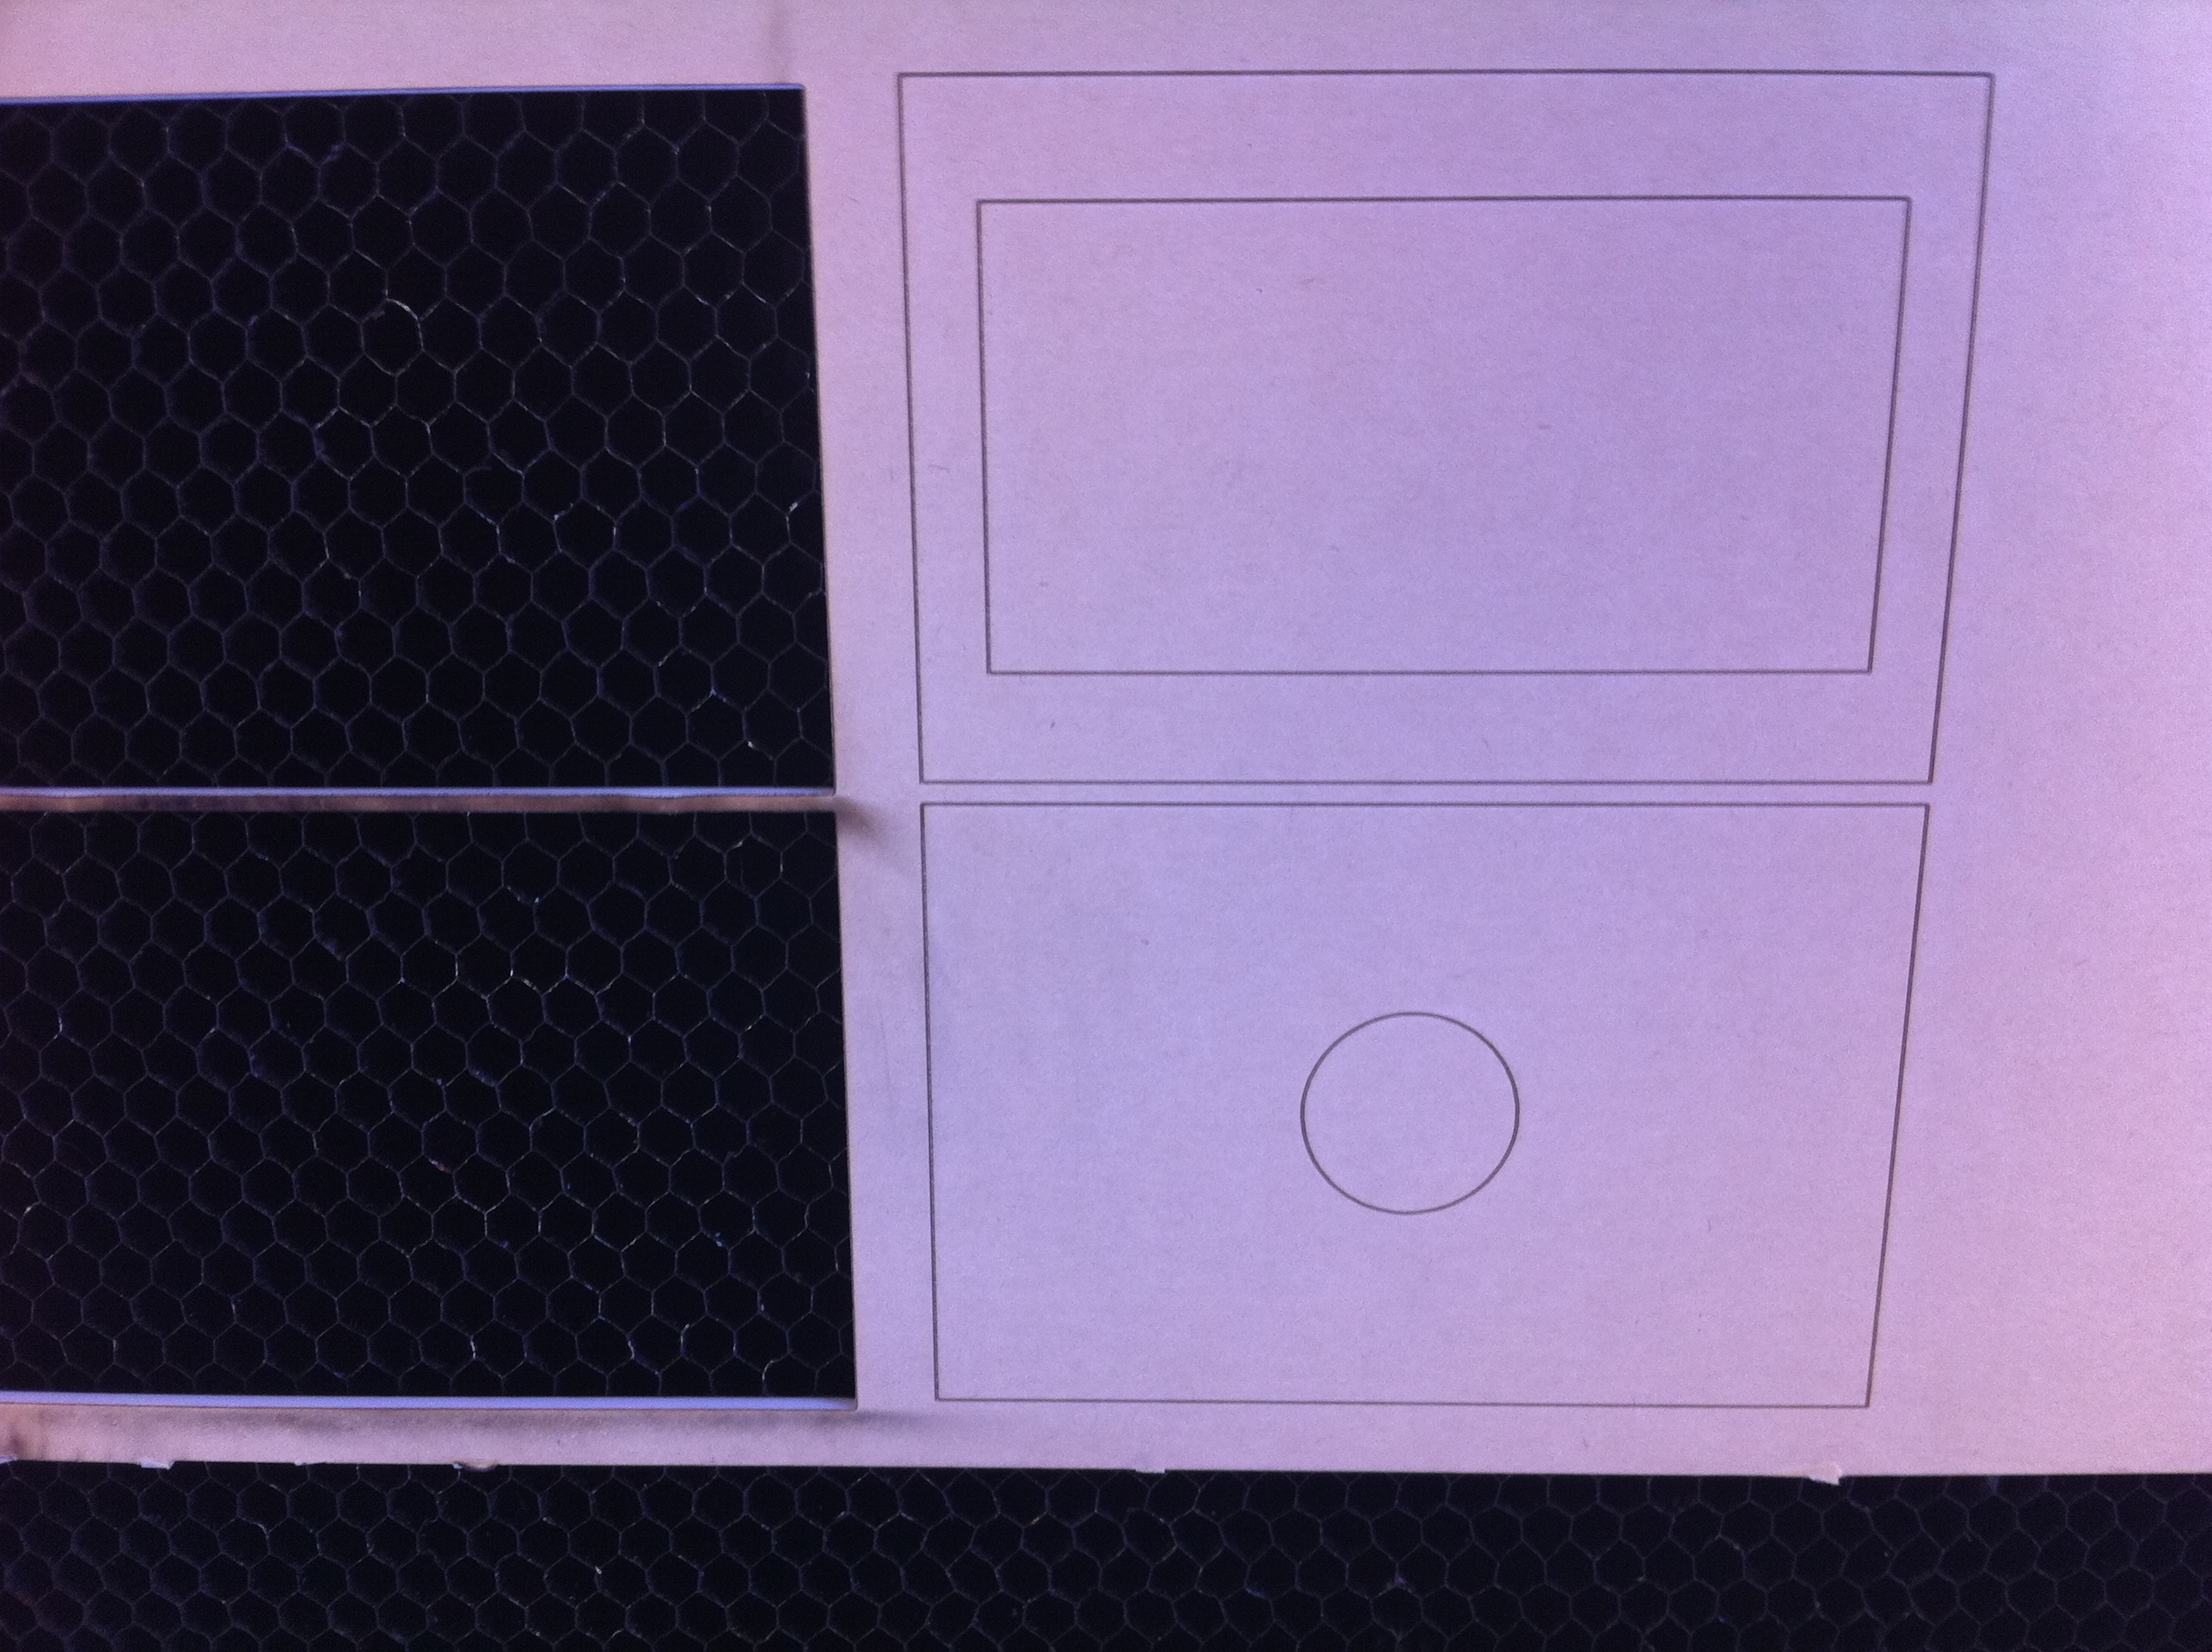
The luggage tag I am using for this example is 3.875 by 2 inches. We are going to cut the jig out of .125” thick laser approved acrylic that you can obtain at the Techshop or from online retailers such as laserbits.com. The jig is comprised of two pieces: The cut out layer and the backside. You will notice that the back has a hole in it to make it easy to pop out the luggage tag after you’re done.
The file for making the jig is included in CorelDraw X5. You’ll notice that all the lines are hairline and therefore correspond to cuts on the Epilog laser. You could add the name of your jig on the front or back and maybe your name in raster so you can keep track of it. Obviously, this is optional.
The file for making the jig is included in CorelDraw X5. You’ll notice that all the lines are hairline and therefore correspond to cuts on the Epilog laser. You could add the name of your jig on the front or back and maybe your name in raster so you can keep track of it. Obviously, this is optional.
Downloads
Test and Setting the Epilog Power Settings
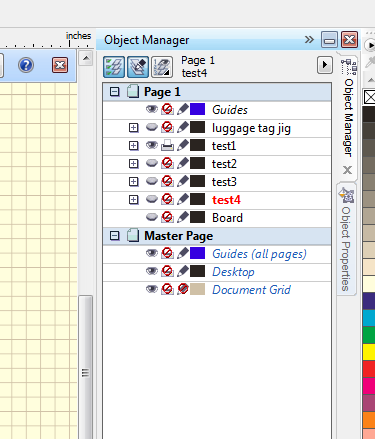
Also as part of all my files that I run on the Epilog laser, I like to start off with some test cuts to see how the unit is preforming and to fine tune my settings. You will see these under object properties and are called test1, test2, test3, and test4. They are just little squares that have some raster fonts on them and are then cut. I like to turn off all layers from printing and then one at a time turn on one of the test layers for seeing and printing and see how the machine does. Here is an example of just test square one set turned on:
Power and Speed Settings Continued
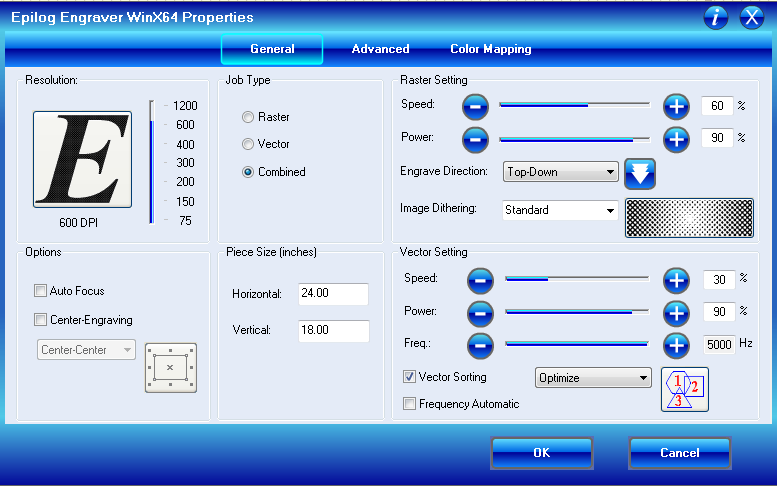
Under the preference panel , I used the following settings (see pic). Power is 90% for raster and etching. Speed is 60% for raster and 30% for vector. Frequency is 5000hz for vector. Your values may vary depending on the laser you are using so this is just a starting point. Once you are happy with how the machine is operating, turn off the test layers for seeing and printing and turn on the layer for the jig and send the file to the Epilog laser.
Assembling the Jig
.JPG)
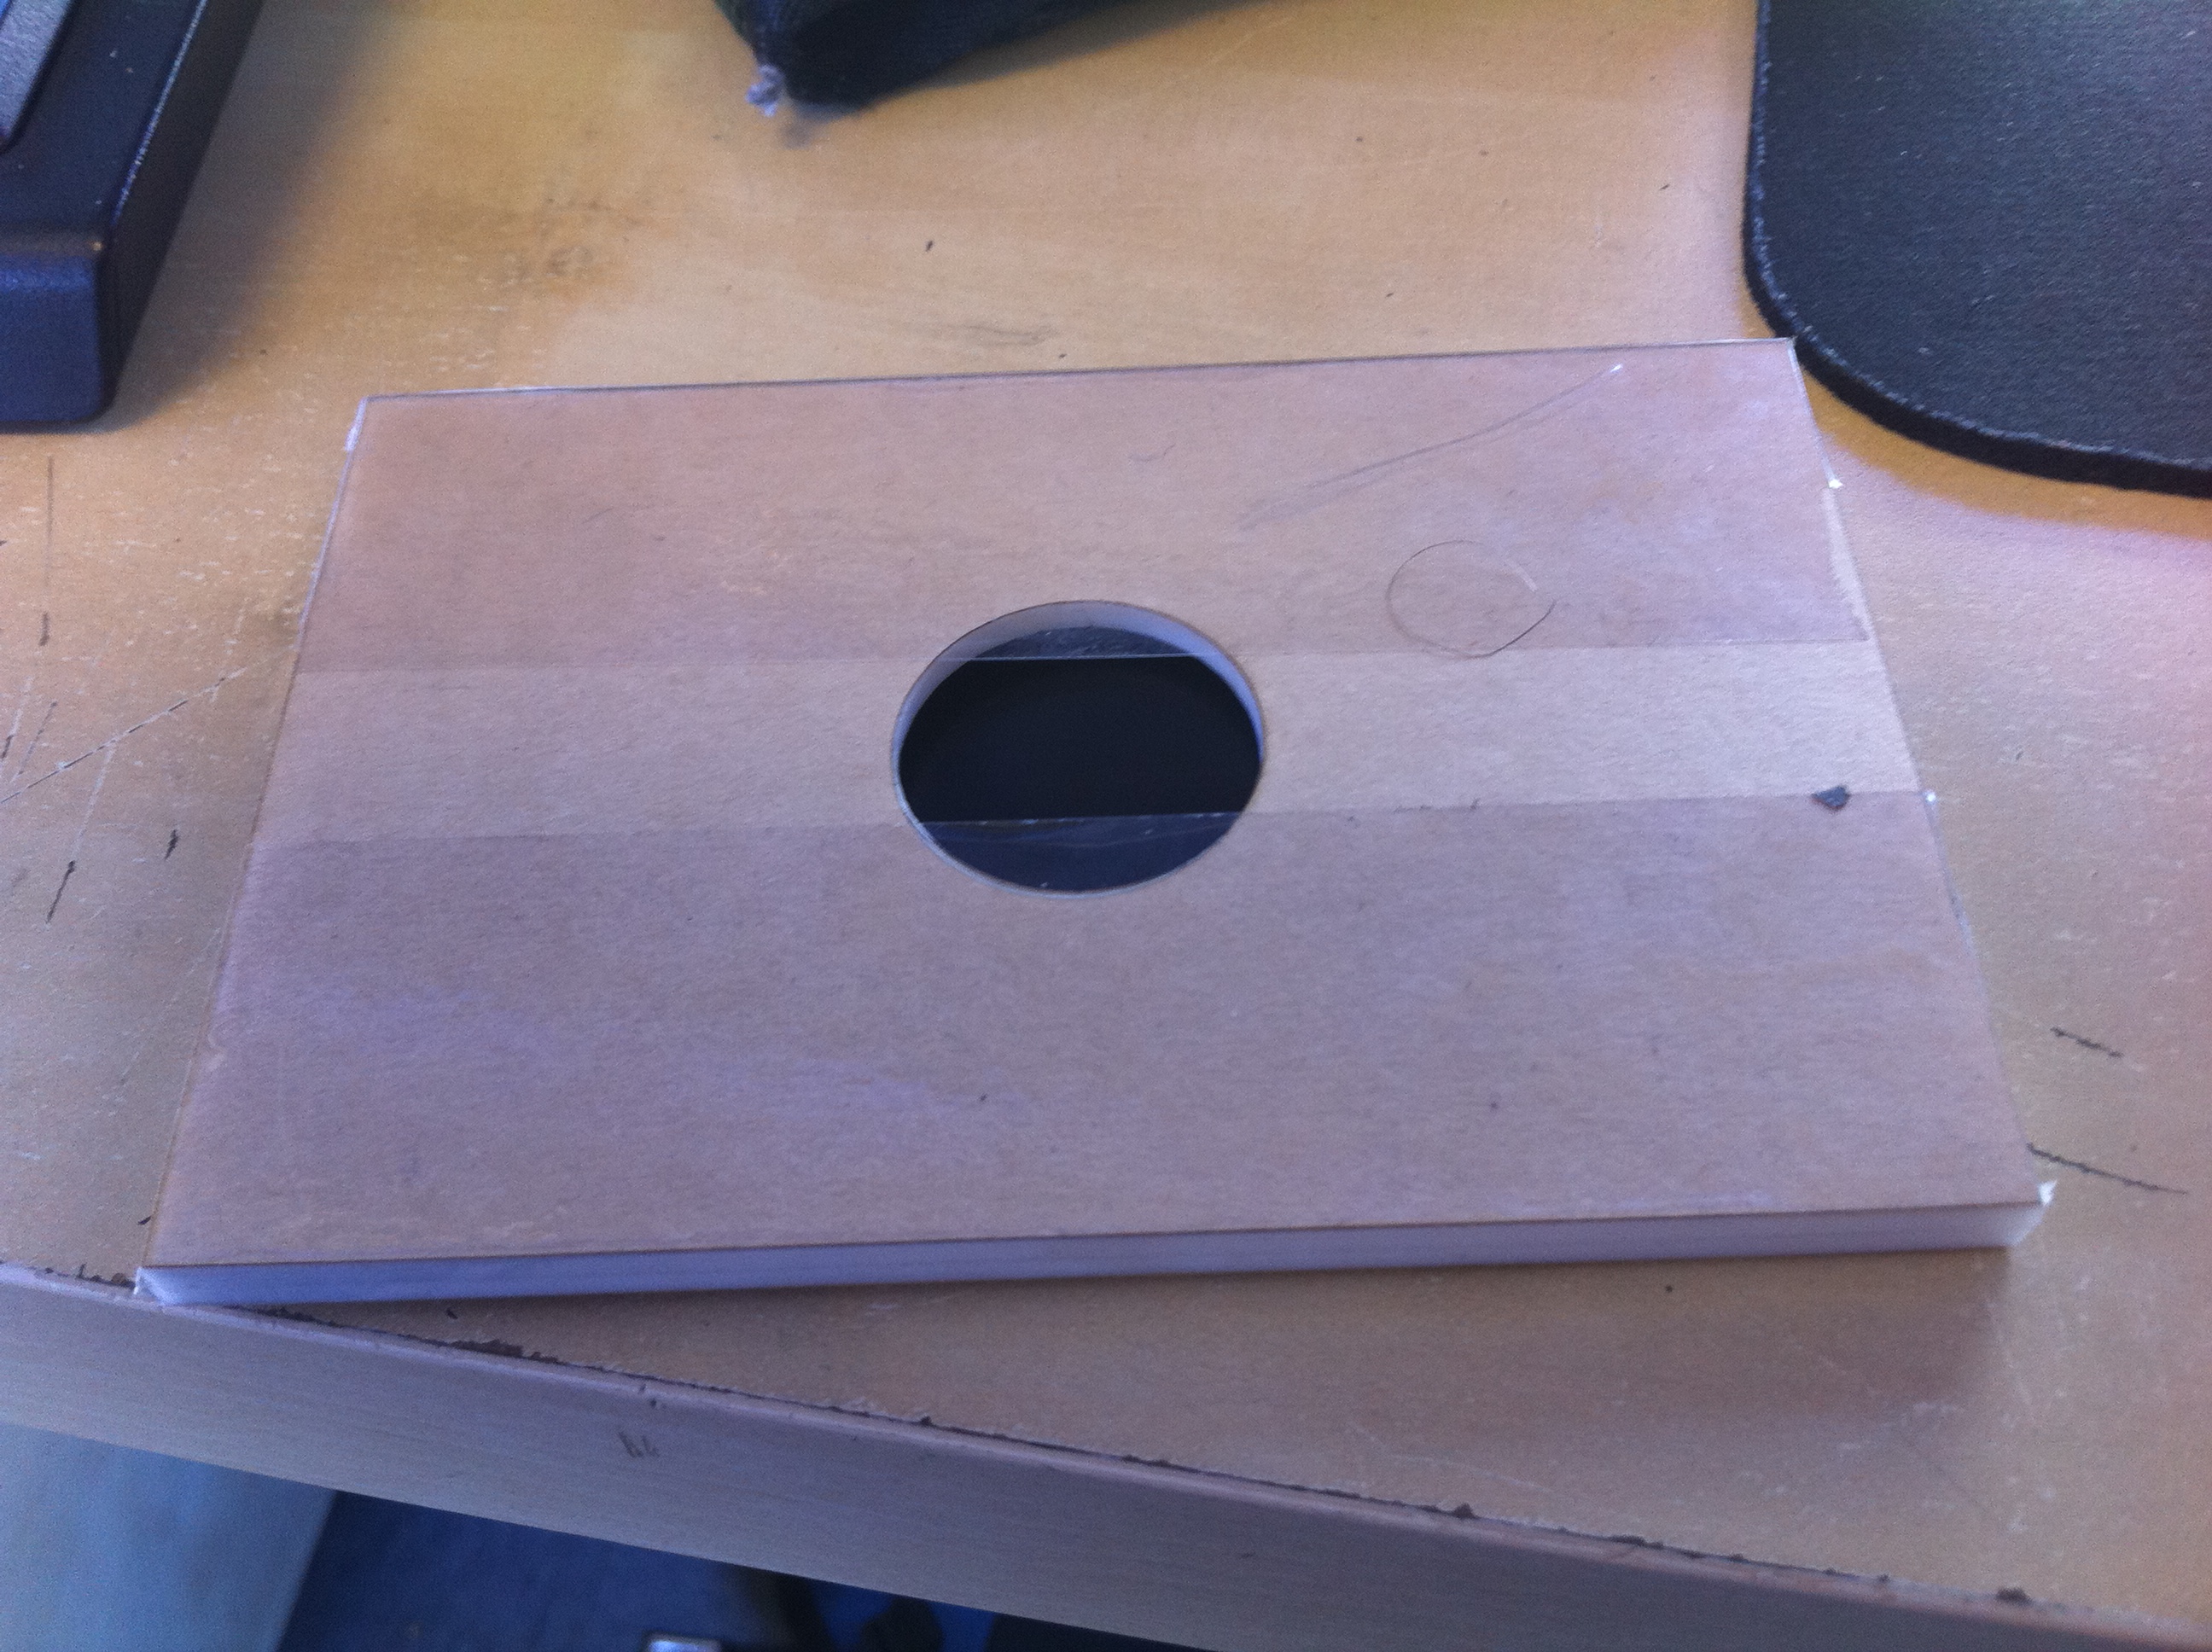
Once you’ve cut your two pieces of the jig, you have two ways to put them together. If you are in a hurry, you can use tape along the edges to carefully attach the pieces temporarily. If you wants something more permanent, I would suggest superglue and let it sit for a number of hours to cure. I would *not* suggest superglue and using it immediately as the fumes could be combustible or damage the laser. Please use tape if you are using the jig on the same day. What I did was make the jig and tape it and use it that day and then when I returned home and had time to spare, I superglued them. Here are some more pics.
In a future Instructable, I will show you how to use the jig to etch a luggage tag with a QRcode to help return your luggage in case it is misplaced.
In a future Instructable, I will show you how to use the jig to etch a luggage tag with a QRcode to help return your luggage in case it is misplaced.