How to Make a Logo

In this Instractable I will teach you how to make a logo using the program Photoshop.
Materials
a computer
a mouse (not needed but recommended)
Adobe Photoshop CC
Creativity and Imagination
Creating the Shape/logo
This Logo should be inspired by a wolf
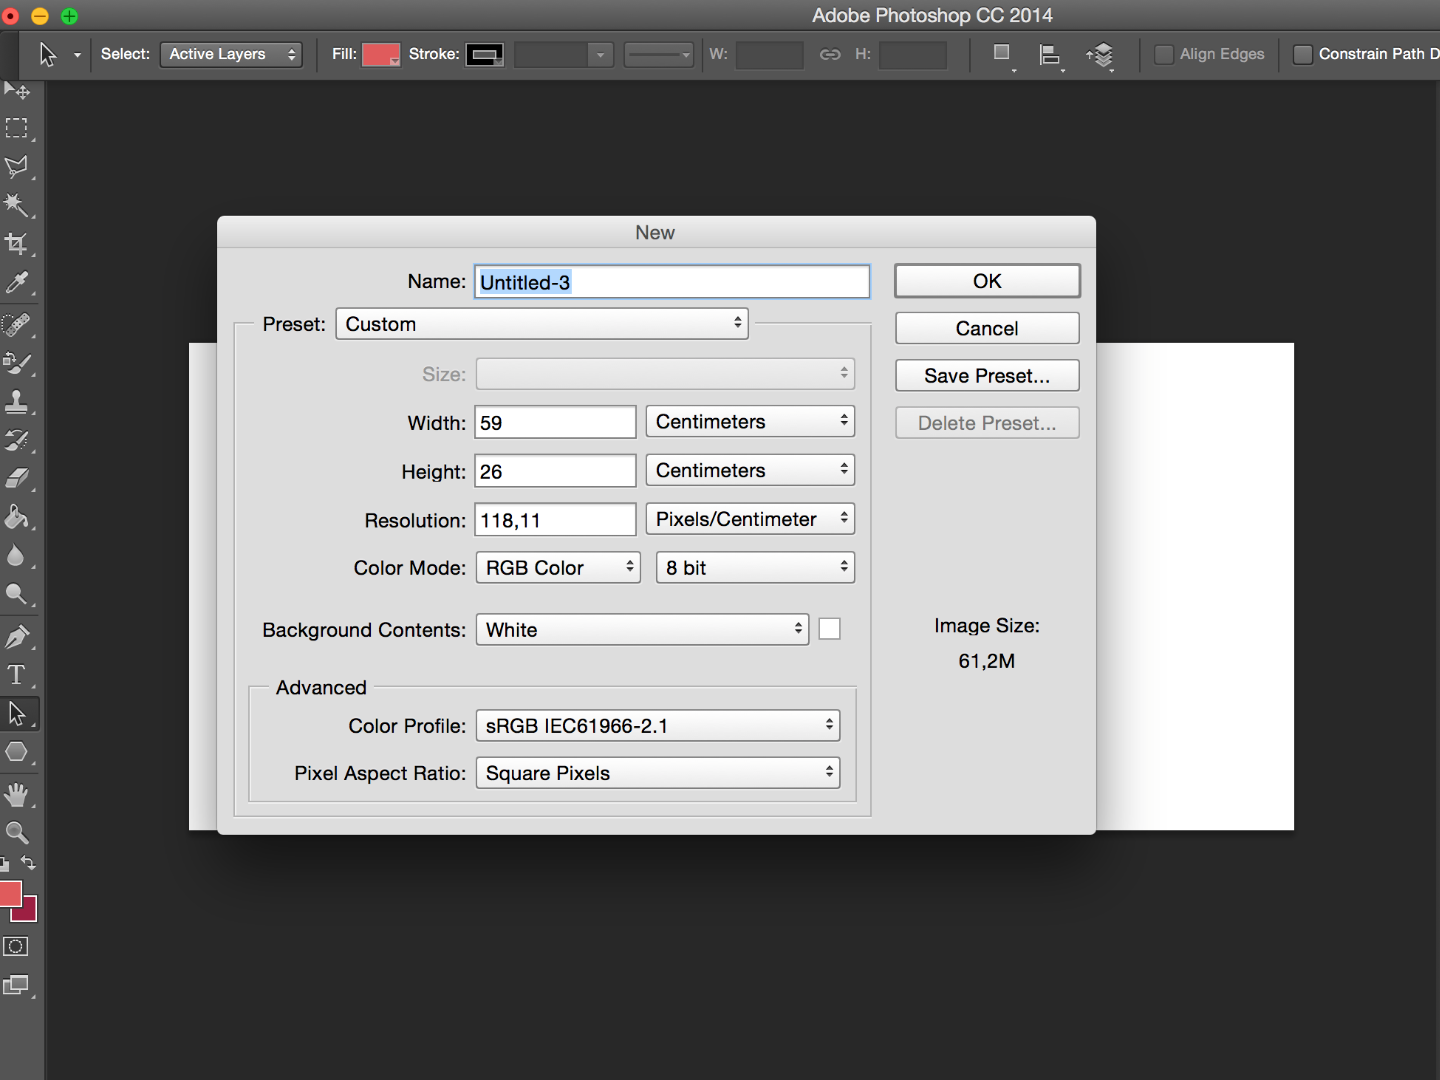
Create a project by opening Photoshop and clicking file—new
Select the size of your final picture (example:Height 30 cm length: 20cm)
First create a layer
Click on the layer
In the first layer I usually put the main part of the logo
For me its the one half of the wolf face
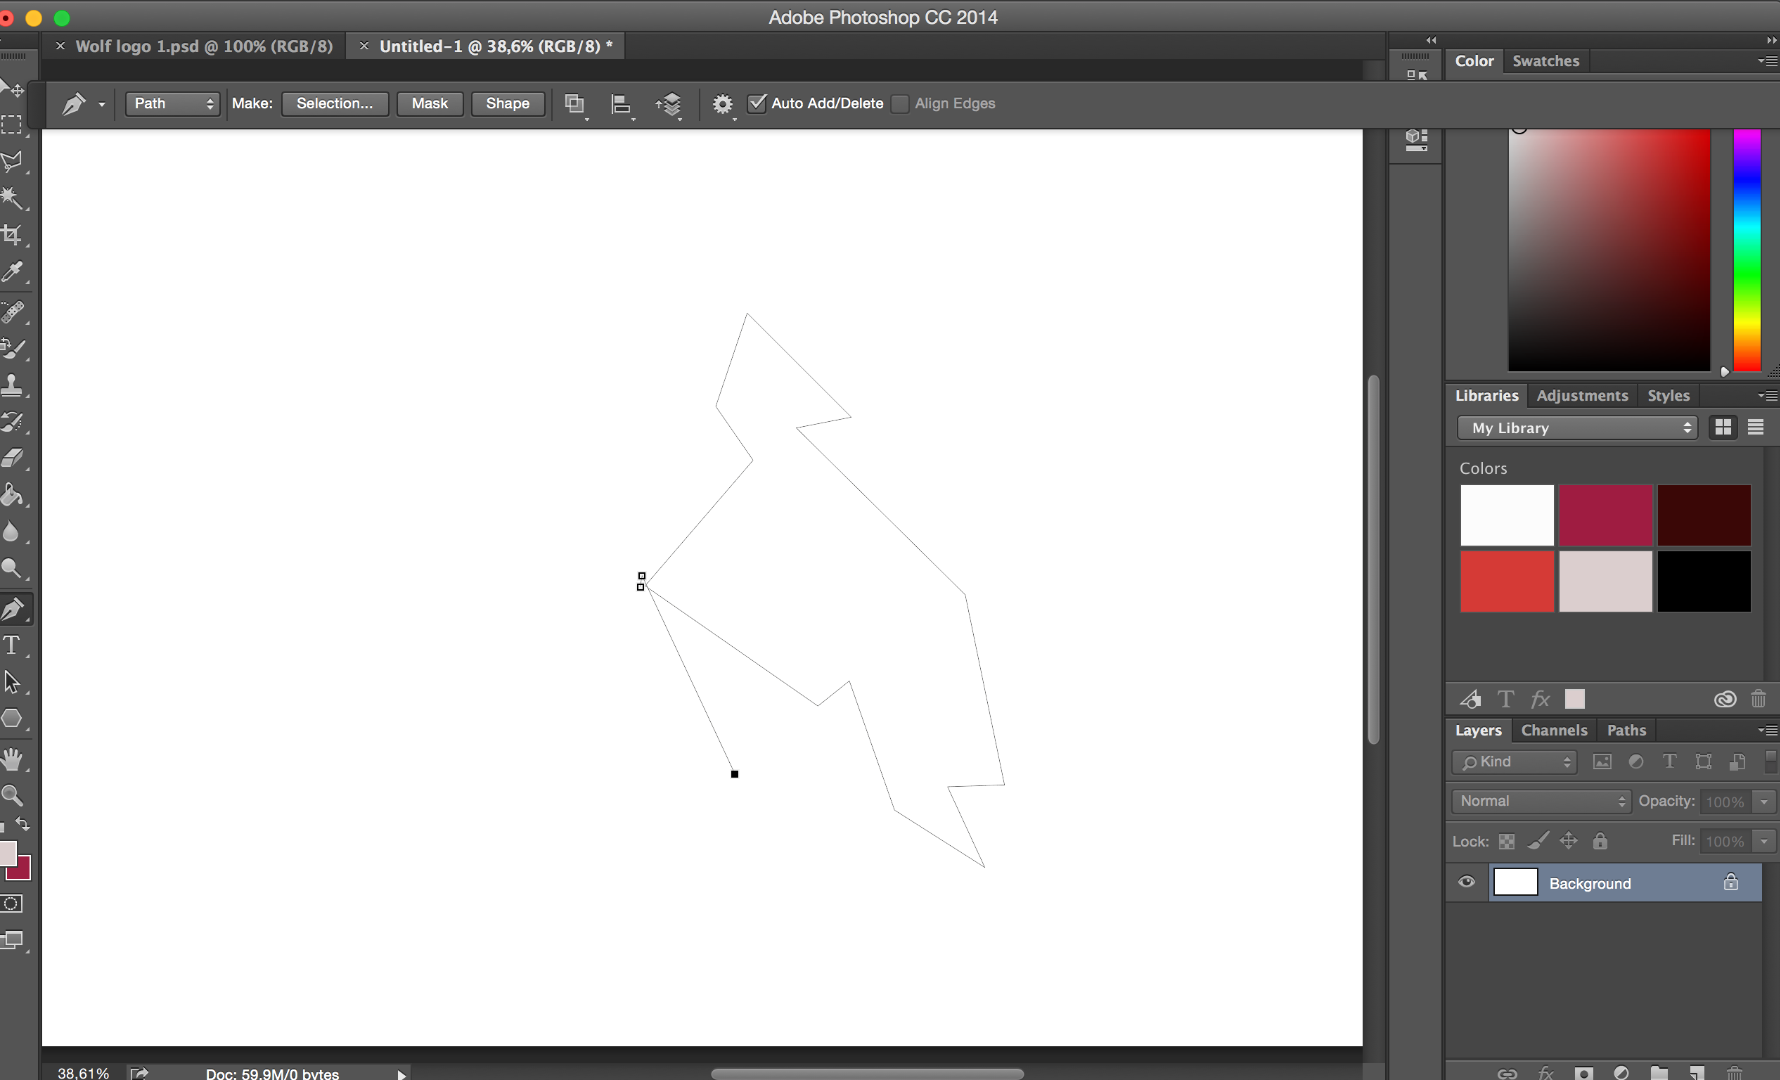
For making the shape use the pen tool
The pen tool is used to create lines and to connect these like one wants to just like a pen
(These lines are then are known as paths)
When connecting these one can form almost draw the shape that one wants or needs to
By clicking at a point one can curve the lines as wanted by stretching it (slide up down where ever wanted)
Then copy this shape by selecting it
Use the the path selection tool for moving and selecting the shape
Click command c
Create another layer and paste it in there (command v)
Then for any other shape that needs to be included one needs to create another layer
One layer for each shape/object
For putting the shapes together one uses the Move Tool, clicks and hold command, and click on the figure
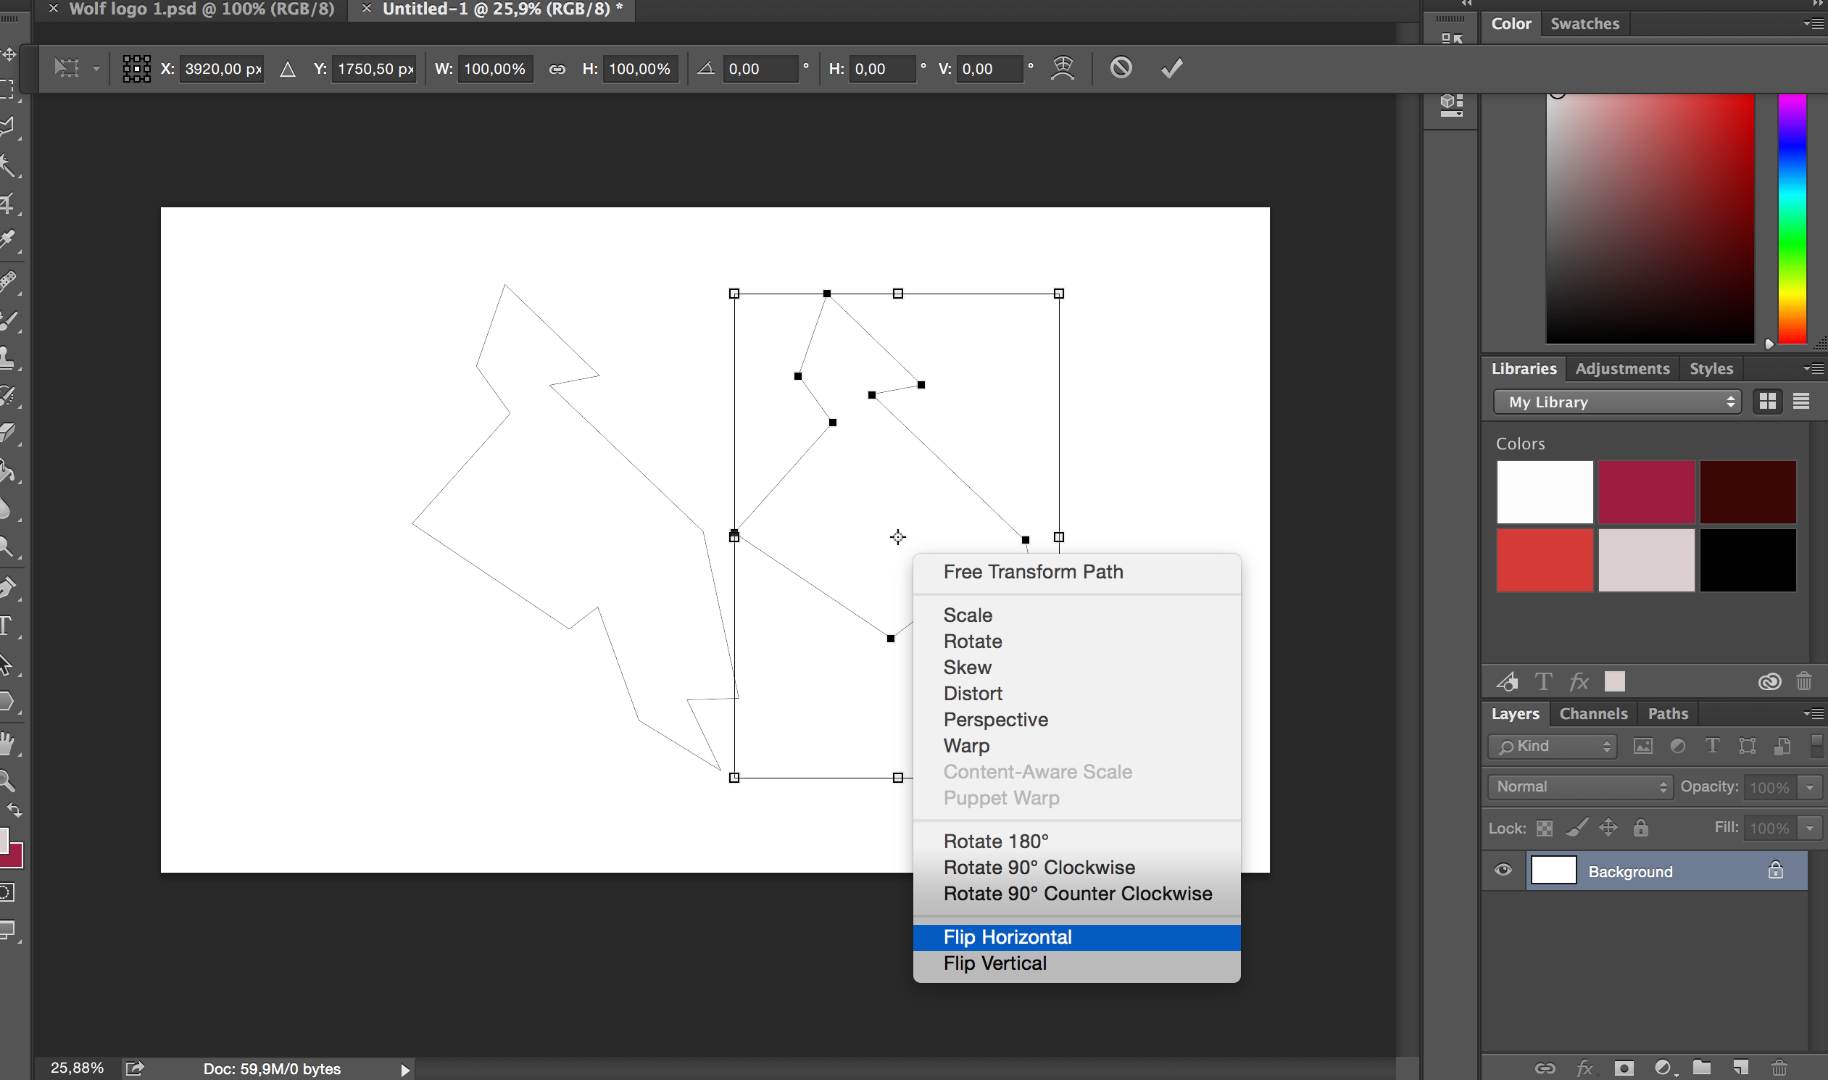
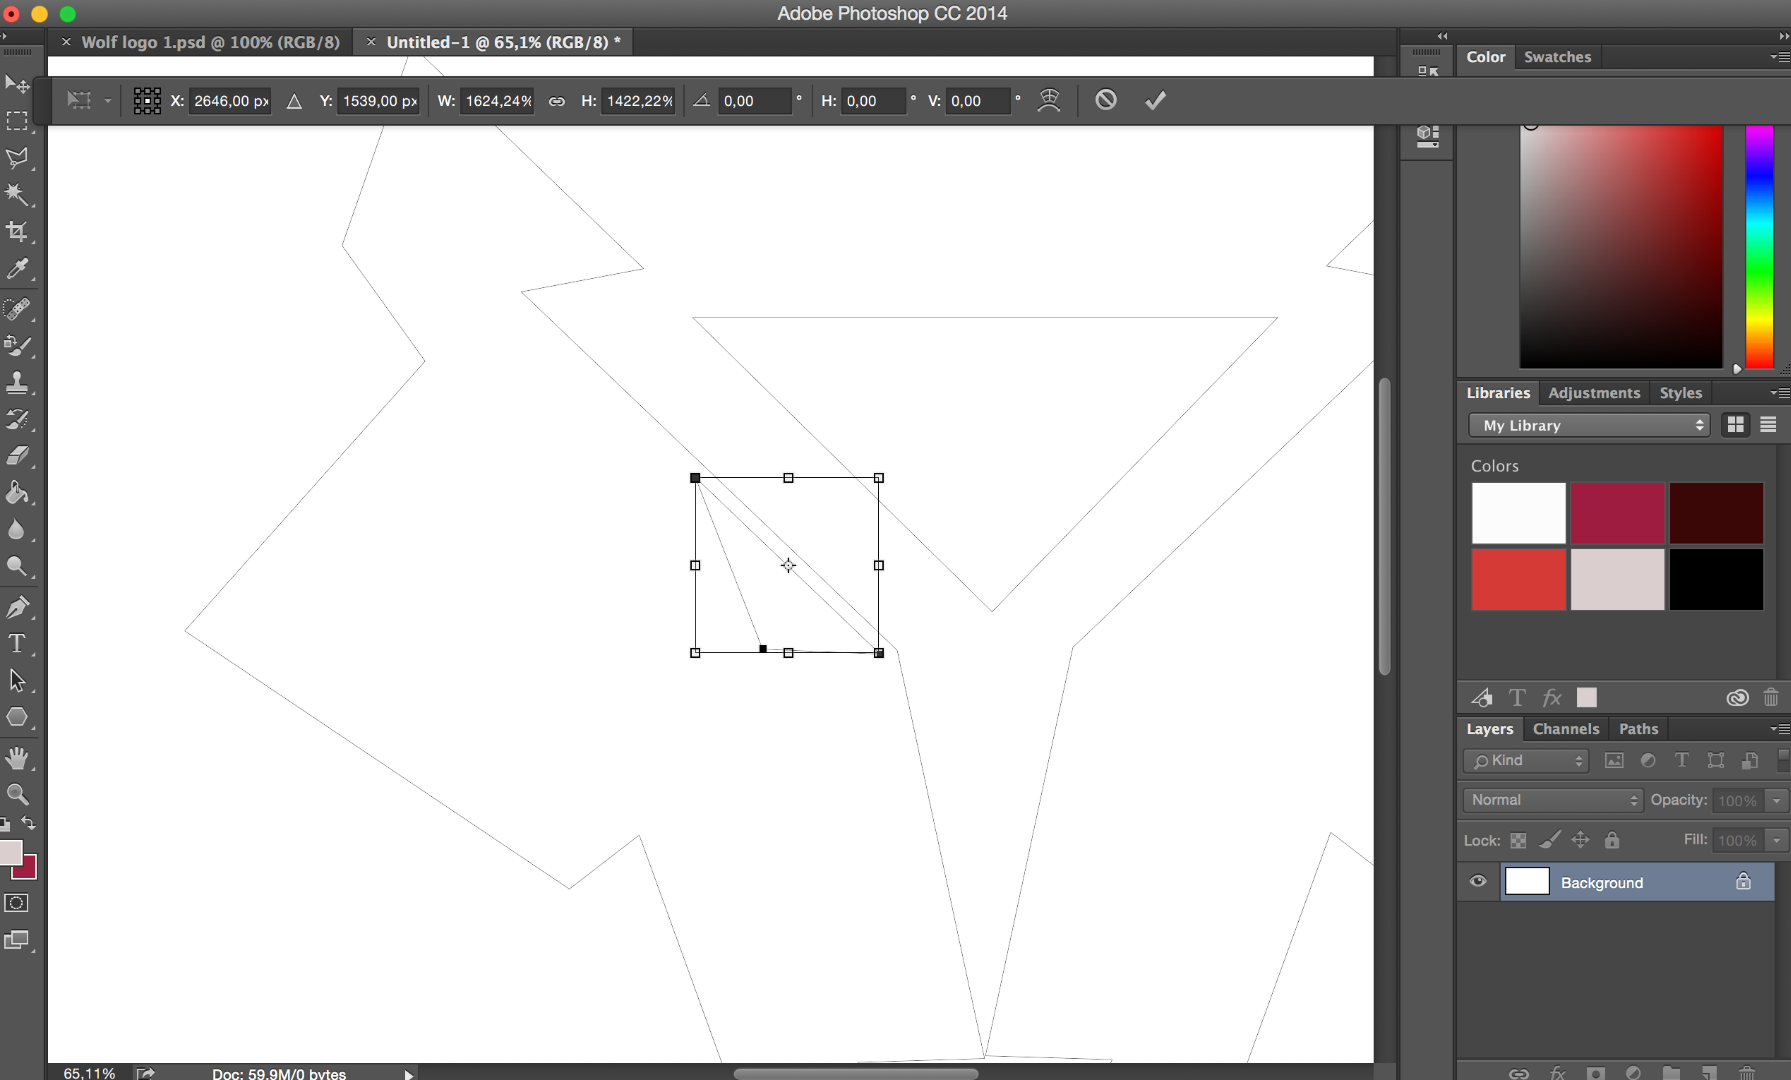
For changing the size or rotate the shape one clicks on the free transform tool and the selected shape
Lastly one selects the shapes using the quick selection tool and clicking on each shape
Colouring
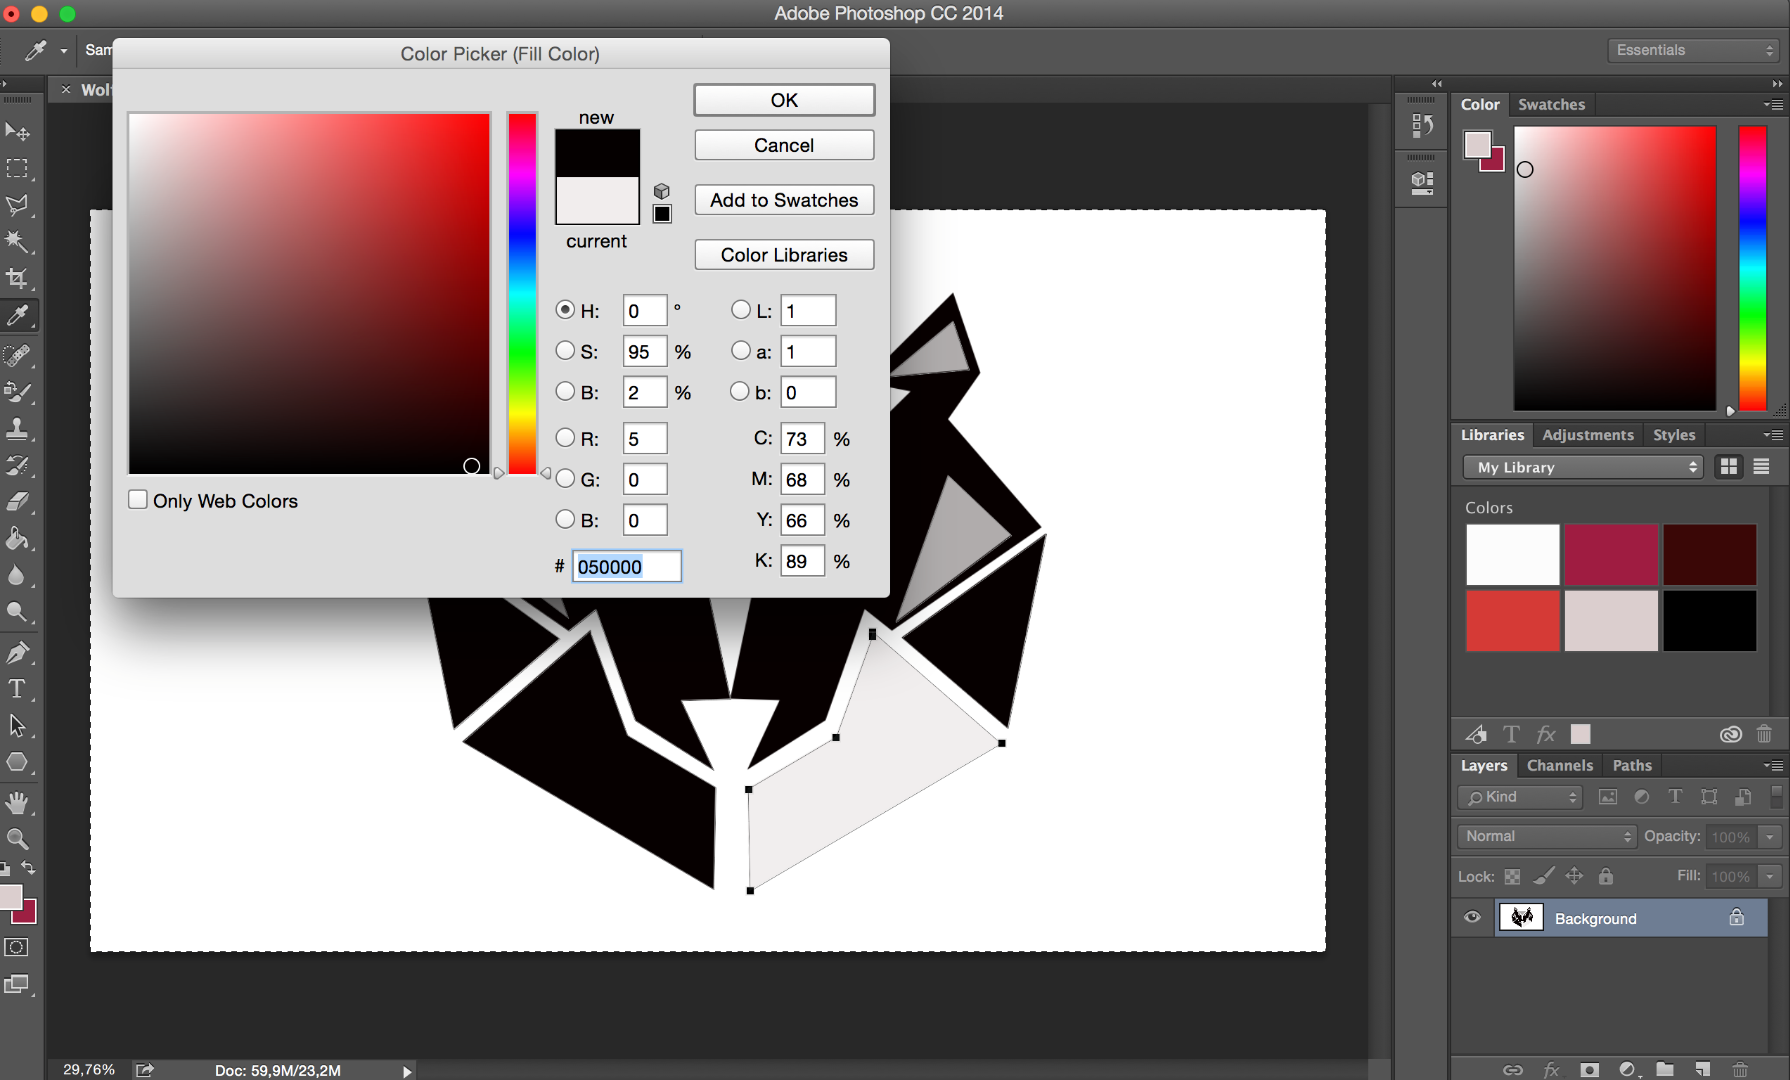
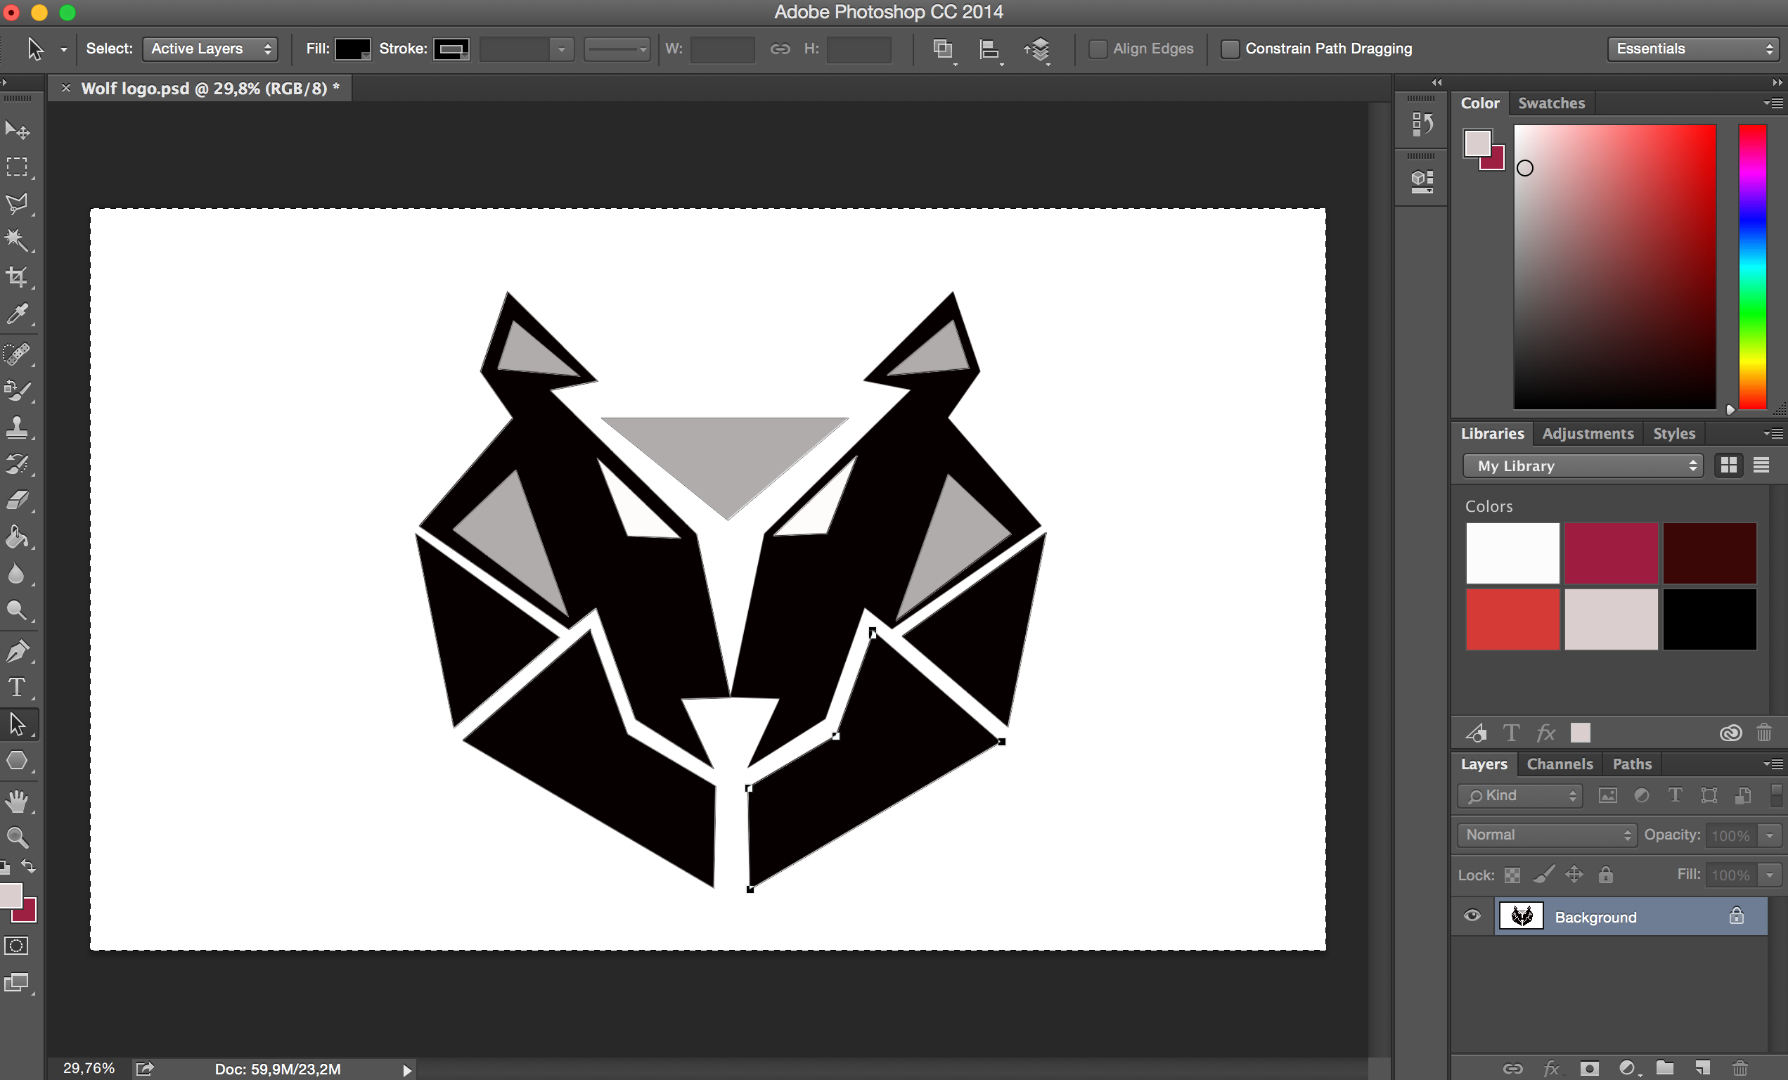
When one wants to color the selected shape one needs to click on the layer of the shape
After clicking that one uses the paint bucket tool and choses a color form the right corner
After selecting the color one clicks with it on the shape
This needs to be done with all shapes
If the background color needs to be changed than one needs to select the background and use the paint bucket tool
Then click on the background
Saving
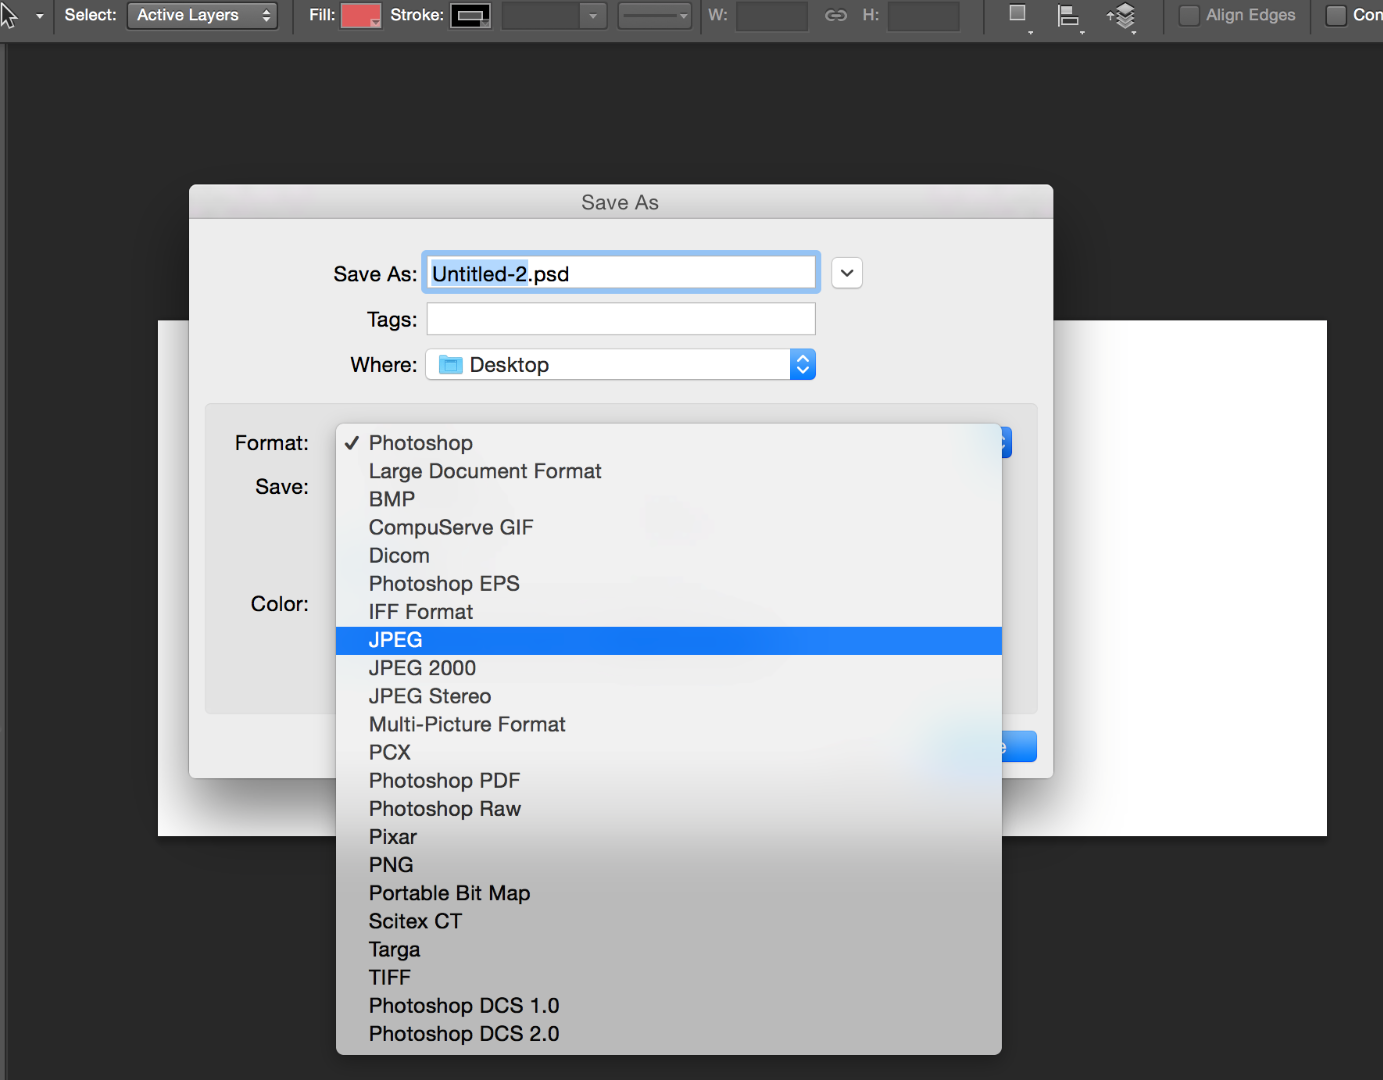
If everything is finished save the project as a photoshop file for editing anything if needed or save it as a picture and choose JPEG instead of Photoshop