How to Make a Lego Minecraft Pickaxe
by scistone in Living > LEGO & K'NEX
67862 Views, 92 Favorites, 0 Comments
How to Make a Lego Minecraft Pickaxe

If you realy like Minecraft and always think about it, build stuff from it, even dream about it, this is for you. I made it diamond and each lego brick is a pixel. I hope you like it.
Materials


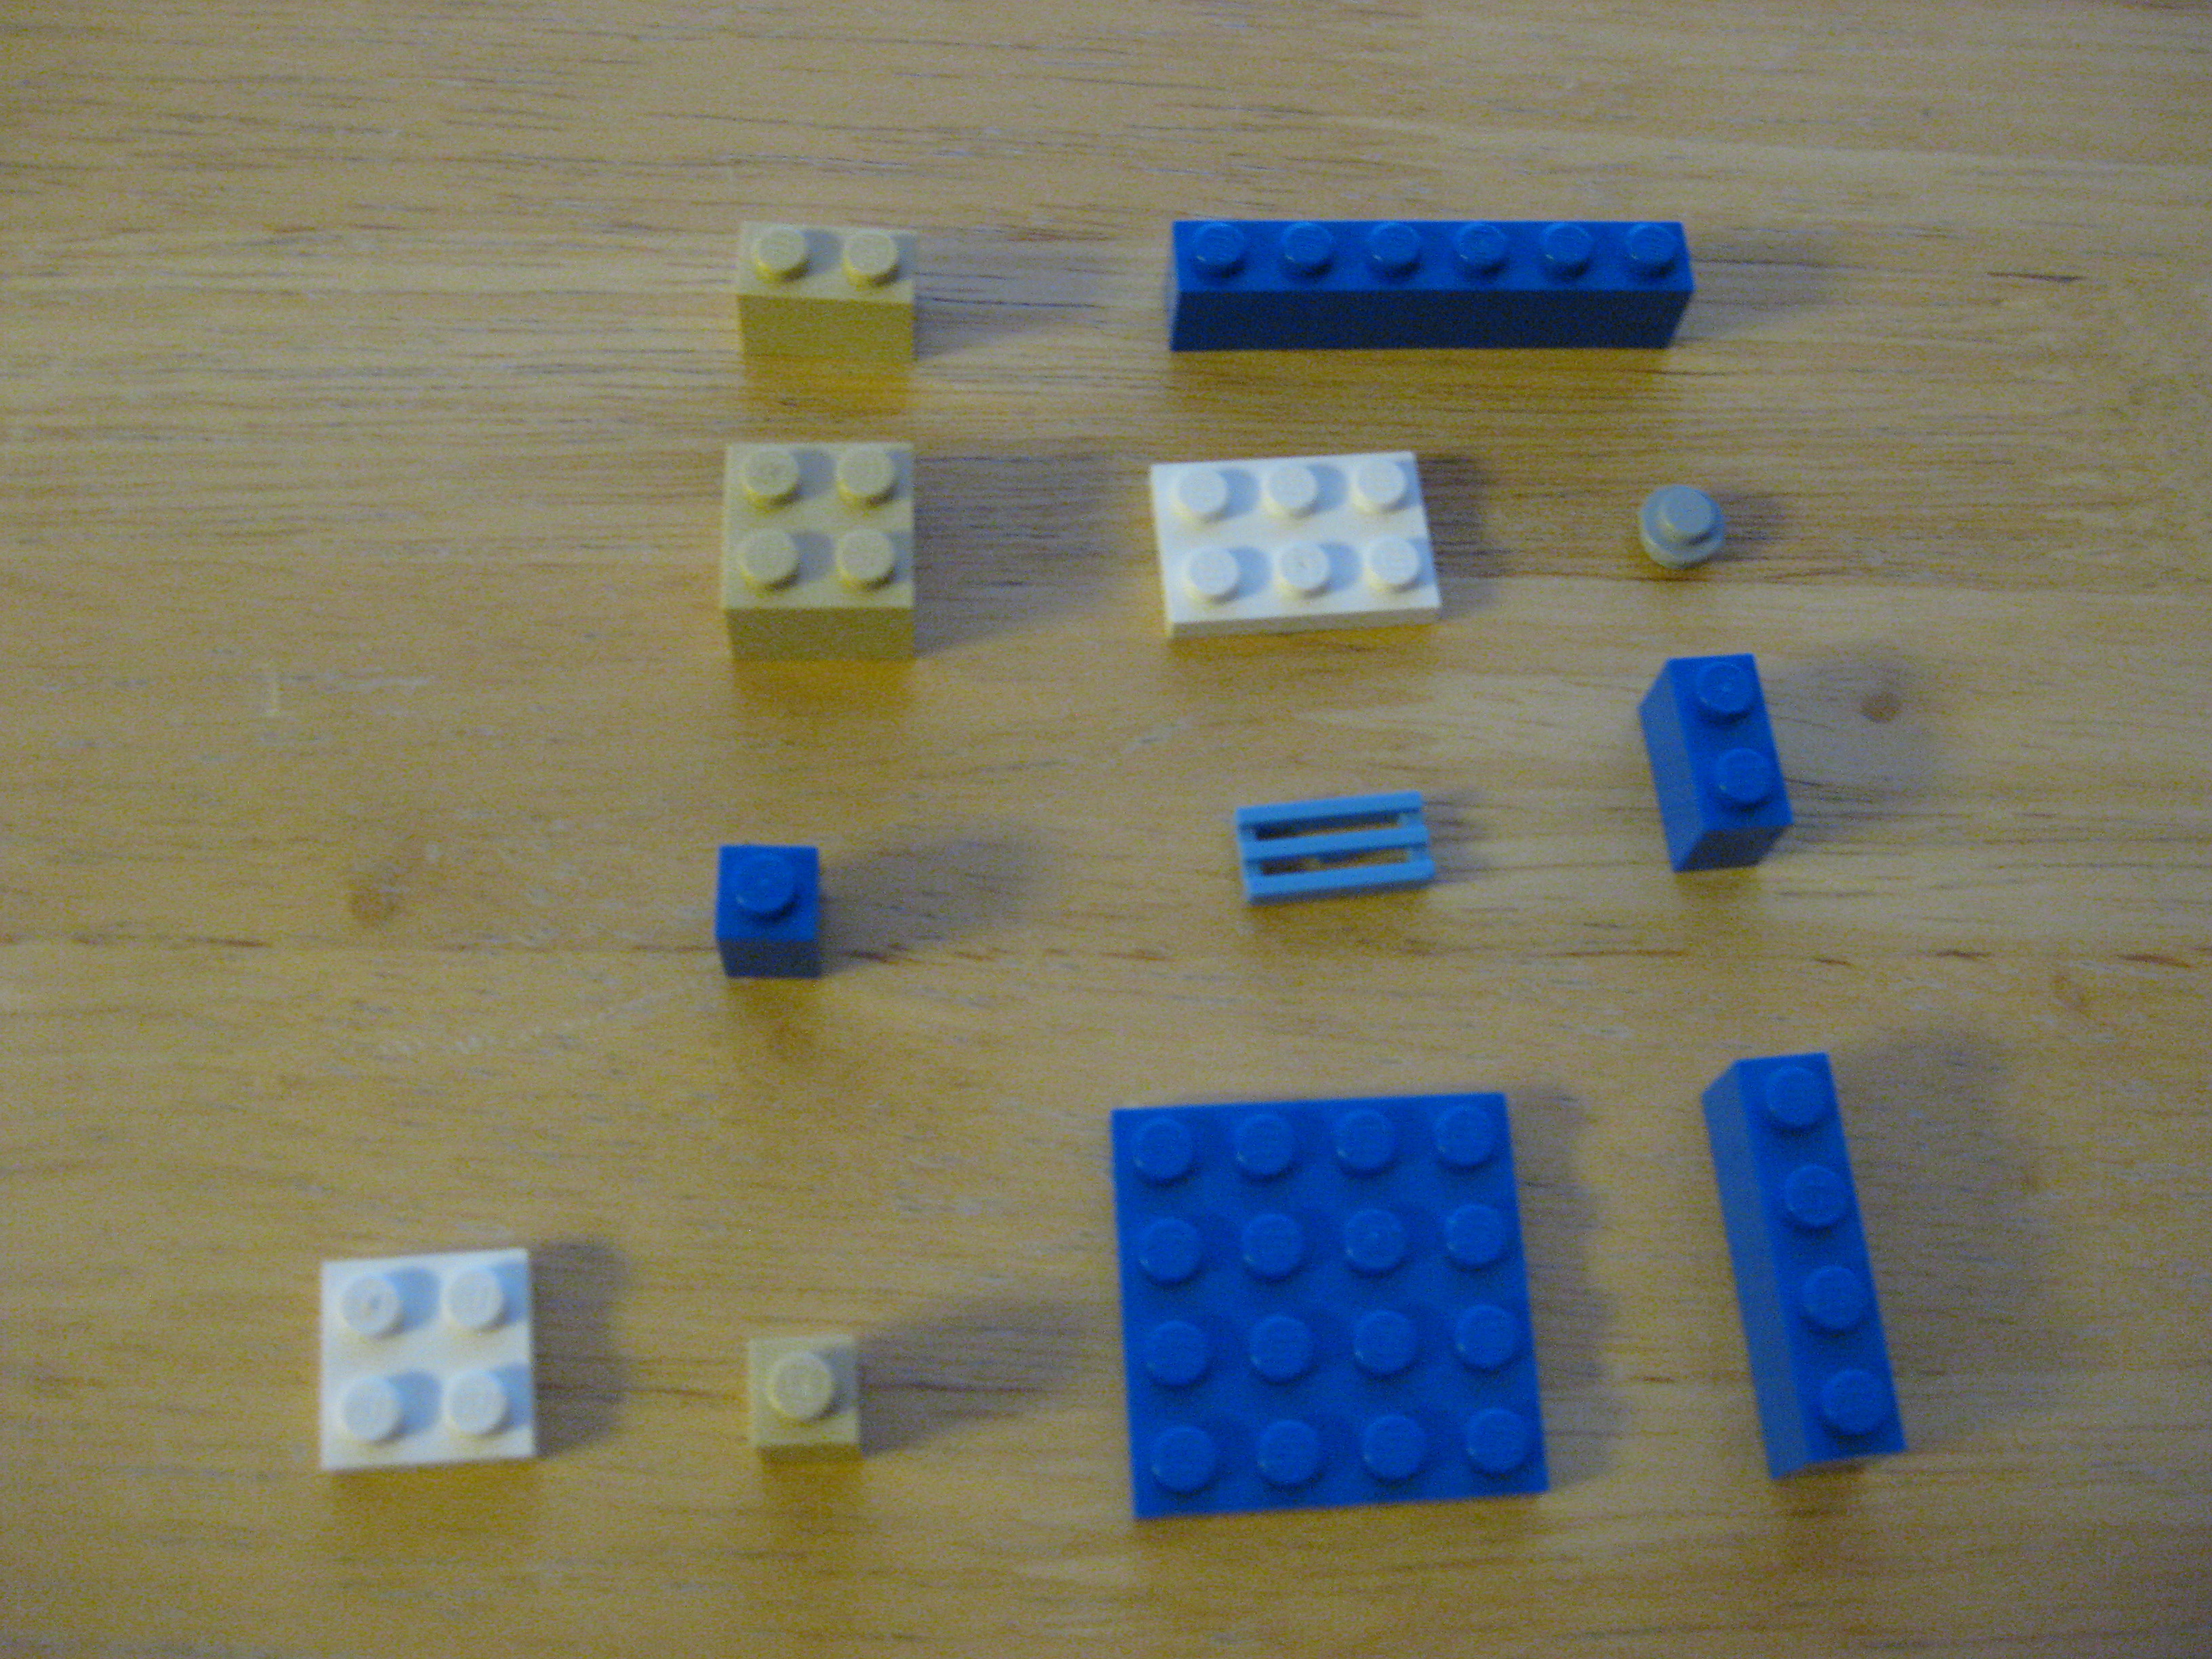
If you want to make a Minecraft pickaxe(this shows diamond) out of legos*, you will need**: 9 tan/brown 2*1s, 9 tan/brown 1*1s, 9 flat 2*2s, 1 tan/brown 2*2, 4 flat 2*3s, 2 blue 1*6s, 1 round gray/light blue 1*1, 6 gray/light blue vent 2*1s,4 blue 1*4s, 5 blue 1*1s, 2 blue 1*2s.
* blank color=any color, no "flat" =not flat (duh), "flat"=flat (duh), ect...
** may have exeptions(I used some different ones, these were just better)
* blank color=any color, no "flat" =not flat (duh), "flat"=flat (duh), ect...
** may have exeptions(I used some different ones, these were just better)
Making the Handle


This is a cool part of the pickaxe. The handle is slanted and made up of smaller sections, each the same.
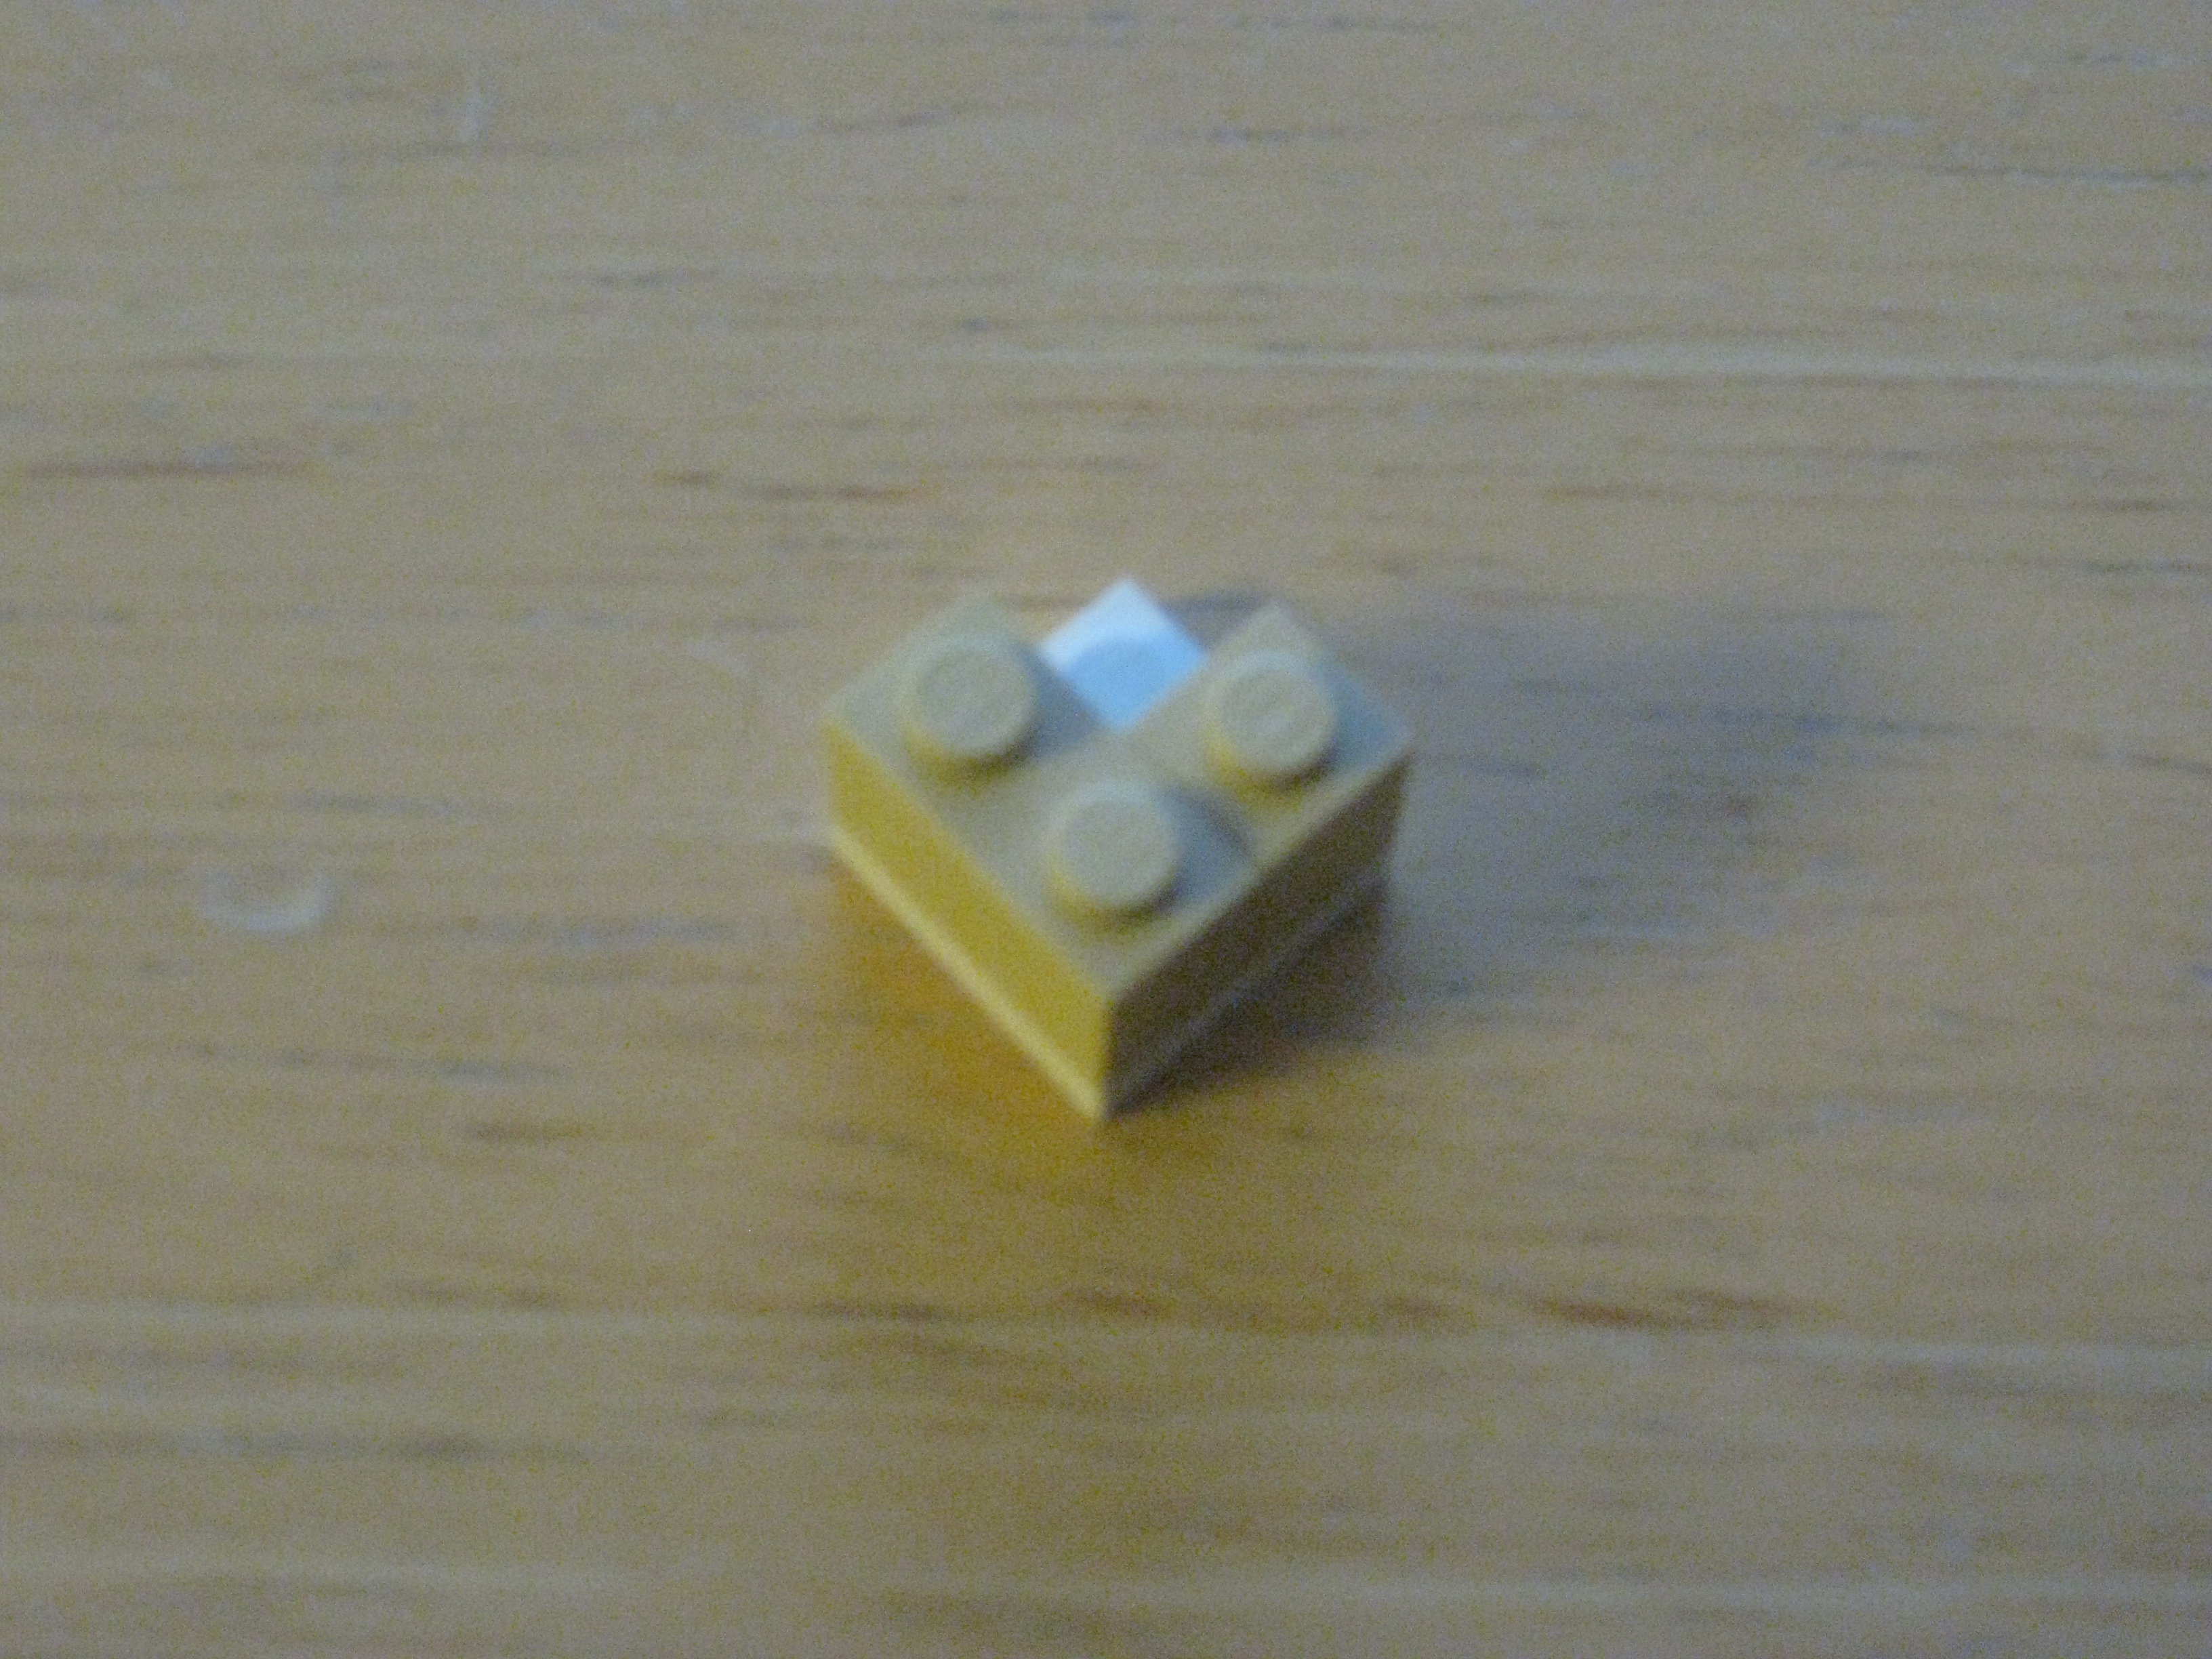
First, you make a section by taking a flat 2*2 and placing a tan 1*1 and tan 2*2 on it shown in pictures 1 and 2.
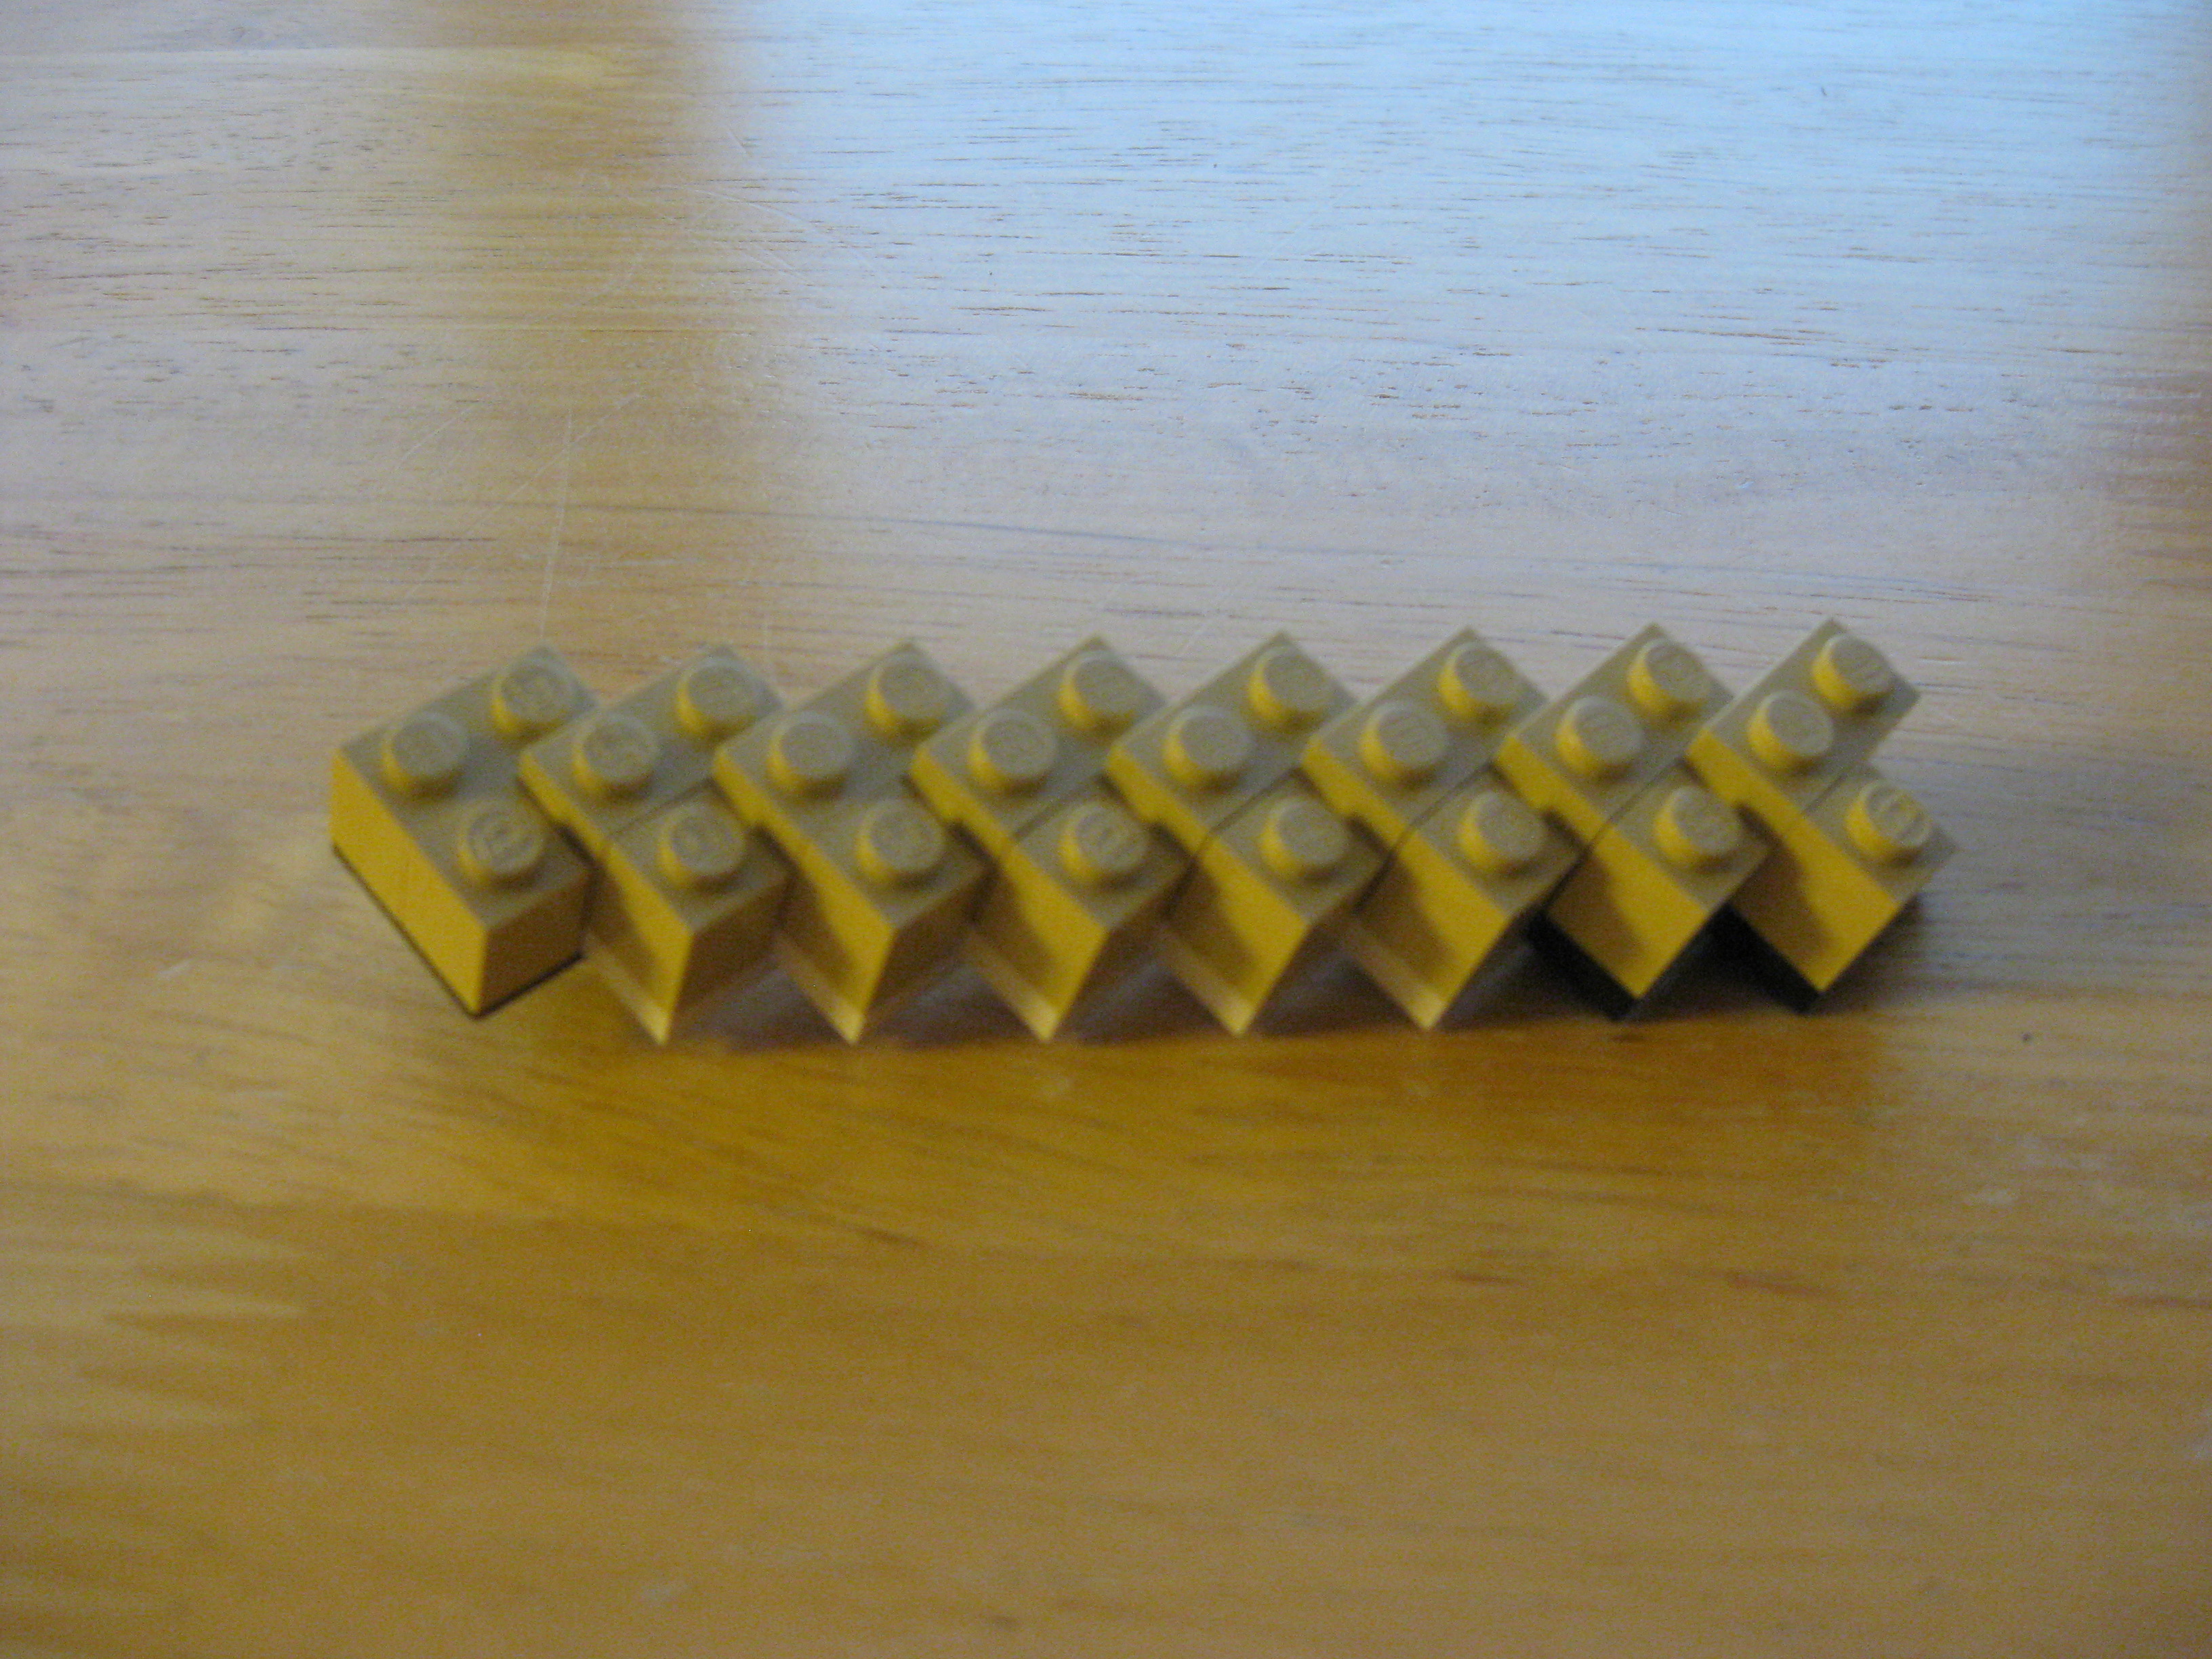
Make 8 of these. Place the peg on the flat 2*2 on the next section as shown in pictures 3 to 5.
First, you make a section by taking a flat 2*2 and placing a tan 1*1 and tan 2*2 on it shown in pictures 1 and 2.
Make 8 of these. Place the peg on the flat 2*2 on the next section as shown in pictures 3 to 5.
Making the Center


First, get the flat blue 4*4, the gray/blue 1*1 circle, tan 1*2, tan 1*1, 2 blue 2*1s, blue 1*1, tan 2*2, and flat 2*2. picture 1
Next, place the blue 2*1s and blue 1*1 in a "V" shape on the blue, flat, 4*4 as shown in picture 2.
Then, put the tan 1*2 and tan 1*1 in a smaller "V" shape like in picture 2.
Put the flat 2*2 under the tan 2*2 and place them on the flat, blue, 4*4 as in pictures 3 and 4.
Next, place the blue 2*1s and blue 1*1 in a "V" shape on the blue, flat, 4*4 as shown in picture 2.
Then, put the tan 1*2 and tan 1*1 in a smaller "V" shape like in picture 2.
Put the flat 2*2 under the tan 2*2 and place them on the flat, blue, 4*4 as in pictures 3 and 4.
Building the Blades


Get the items in picture 1.
Next, put the vents on the blue 1*6 and the blue 1*1, making them in an "L" shape. picture 2
Then, put the blue 1*1 and 1*4s on the sides as in picture 2.
Put the flat 2*3s underneath as in picture 3.
Make a mirror copy for the other blade.
Next, put the vents on the blue 1*6 and the blue 1*1, making them in an "L" shape. picture 2
Then, put the blue 1*1 and 1*4s on the sides as in picture 2.
Put the flat 2*3s underneath as in picture 3.
Make a mirror copy for the other blade.
Putting It All Together


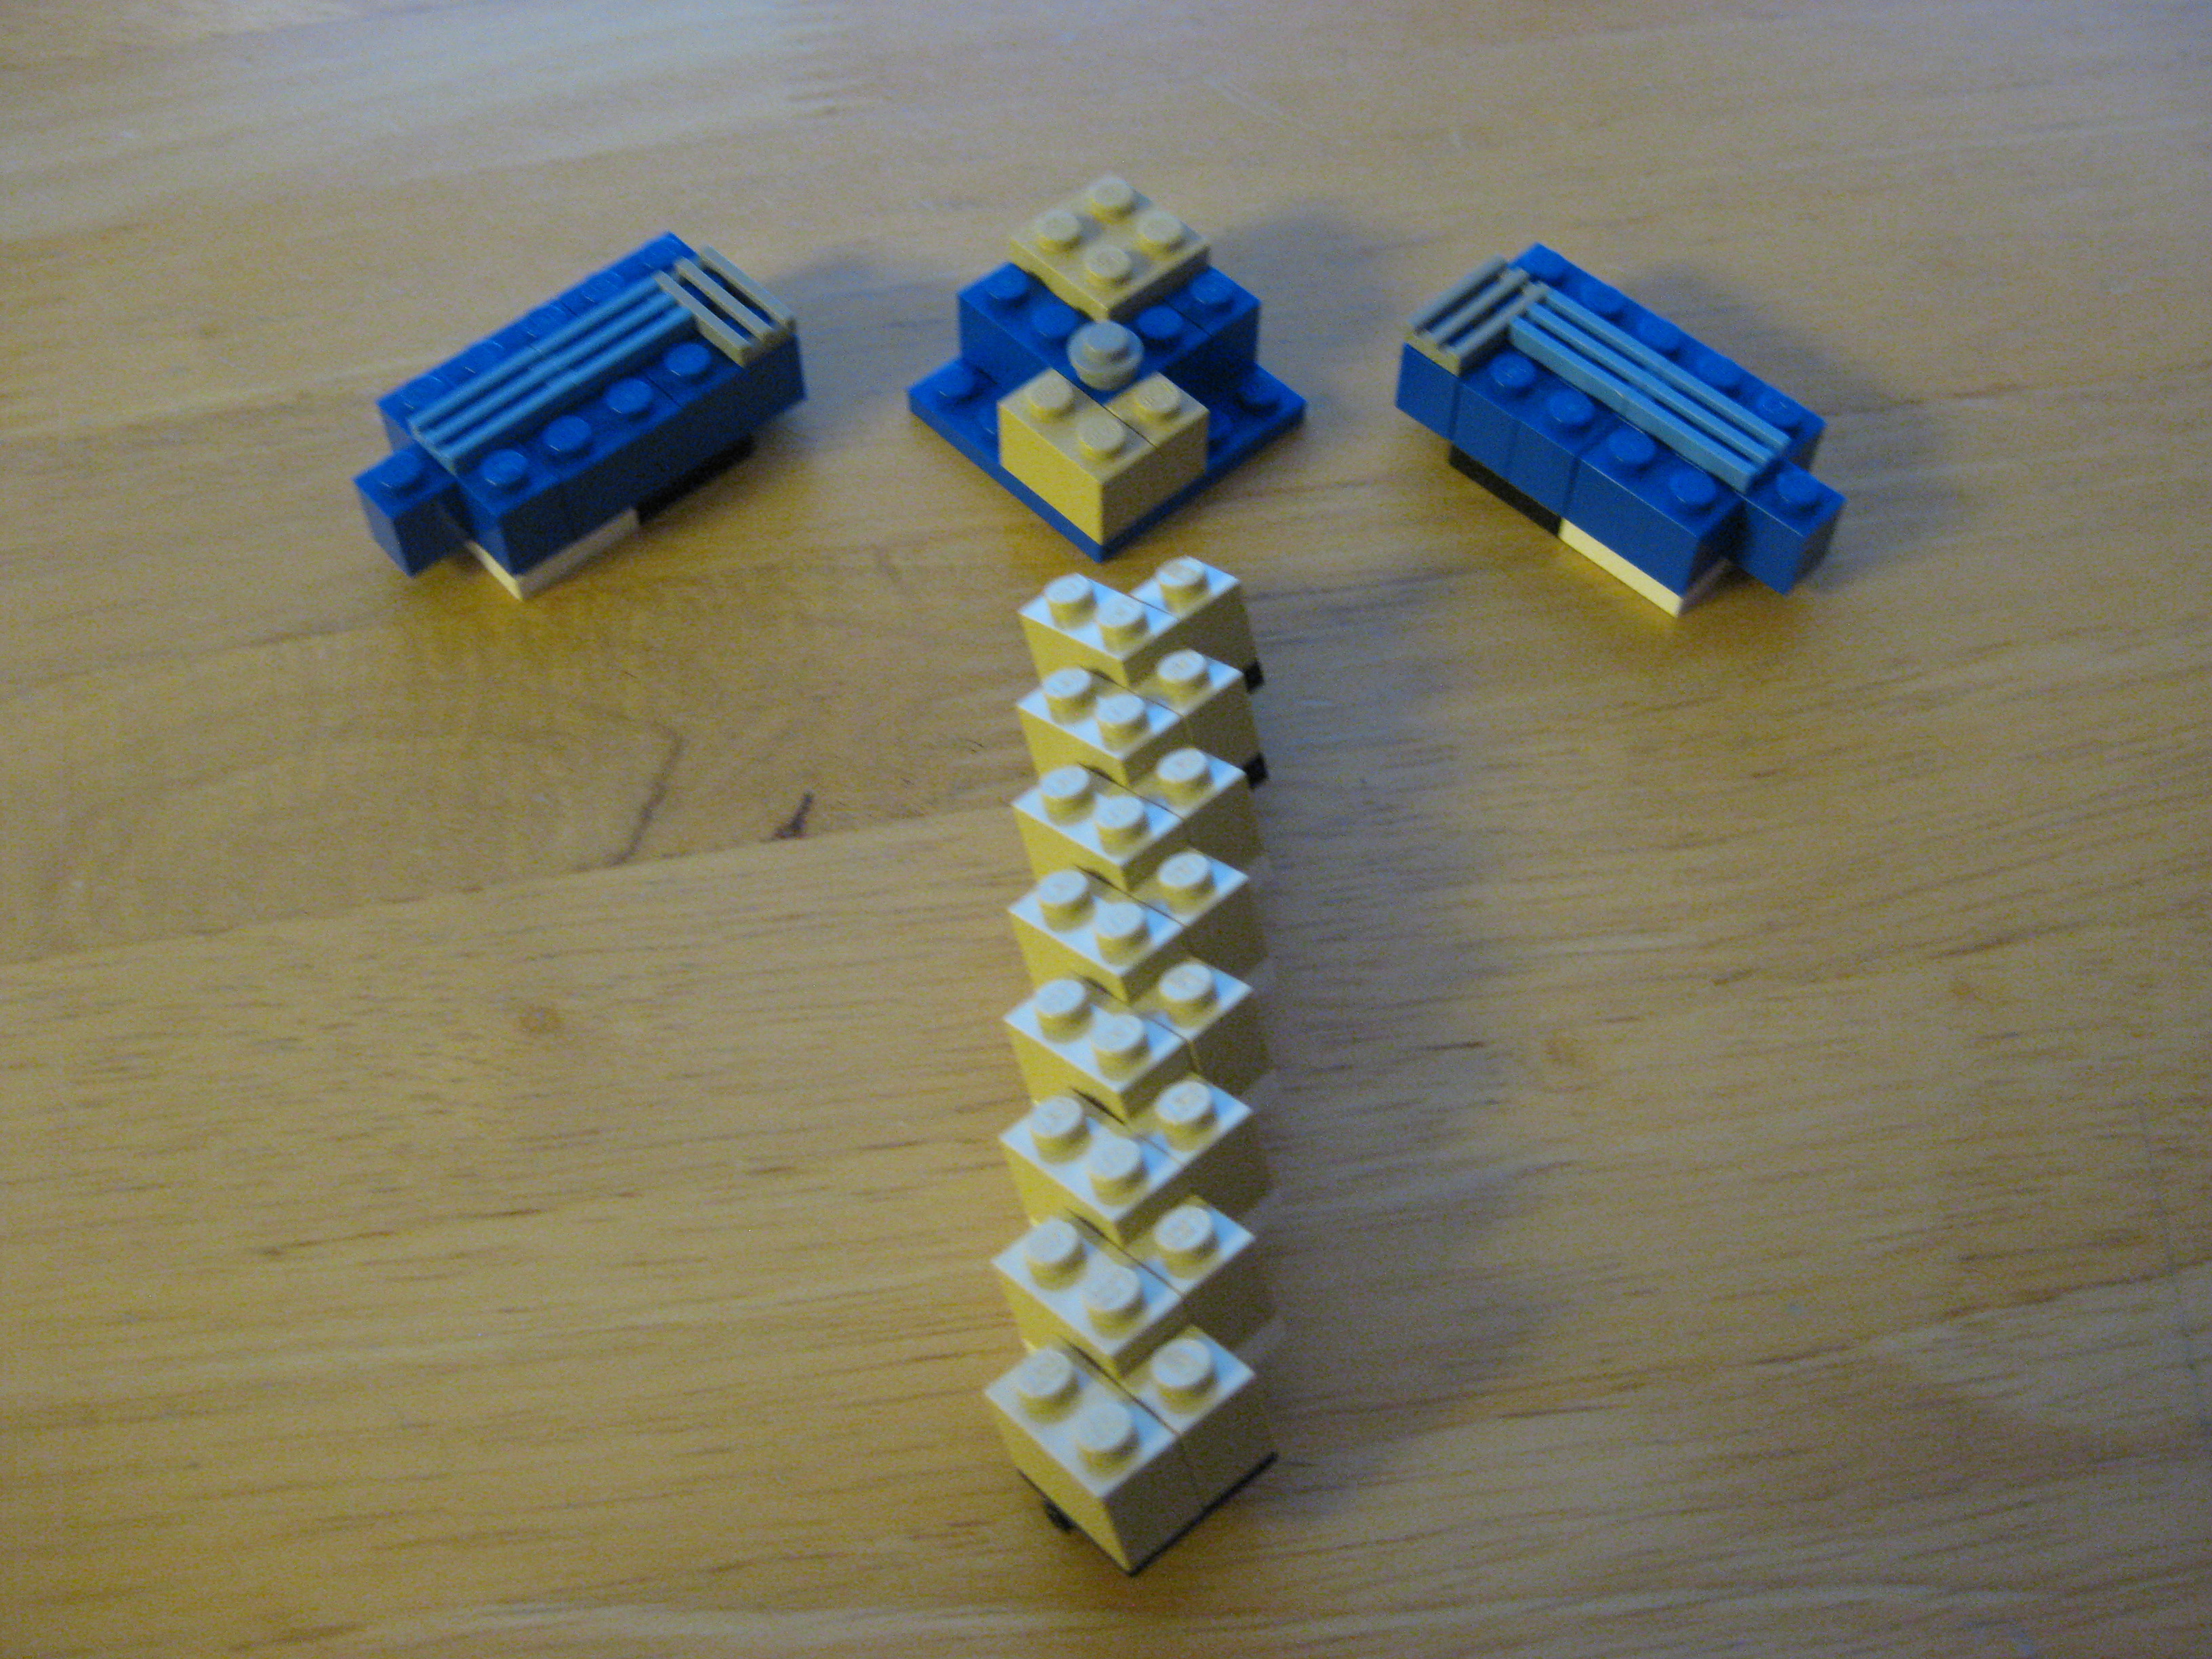
First put the handle on the bottom of the center. all pictures
Then put the blades on the sides. all pictures
YOUR DONE!
Then put the blades on the sides. all pictures
YOUR DONE!