How to Make a Fancy Chef Hat

I did say "fancy".
: D
~ The, er, fancy Hibachi restaurant up the street apparently encourages their Hibachi Chefs to let their inner fanciness come through, in not only their showmanship techniques, but also their hats. I got several commissions to make some Fancy ones.
Pattern


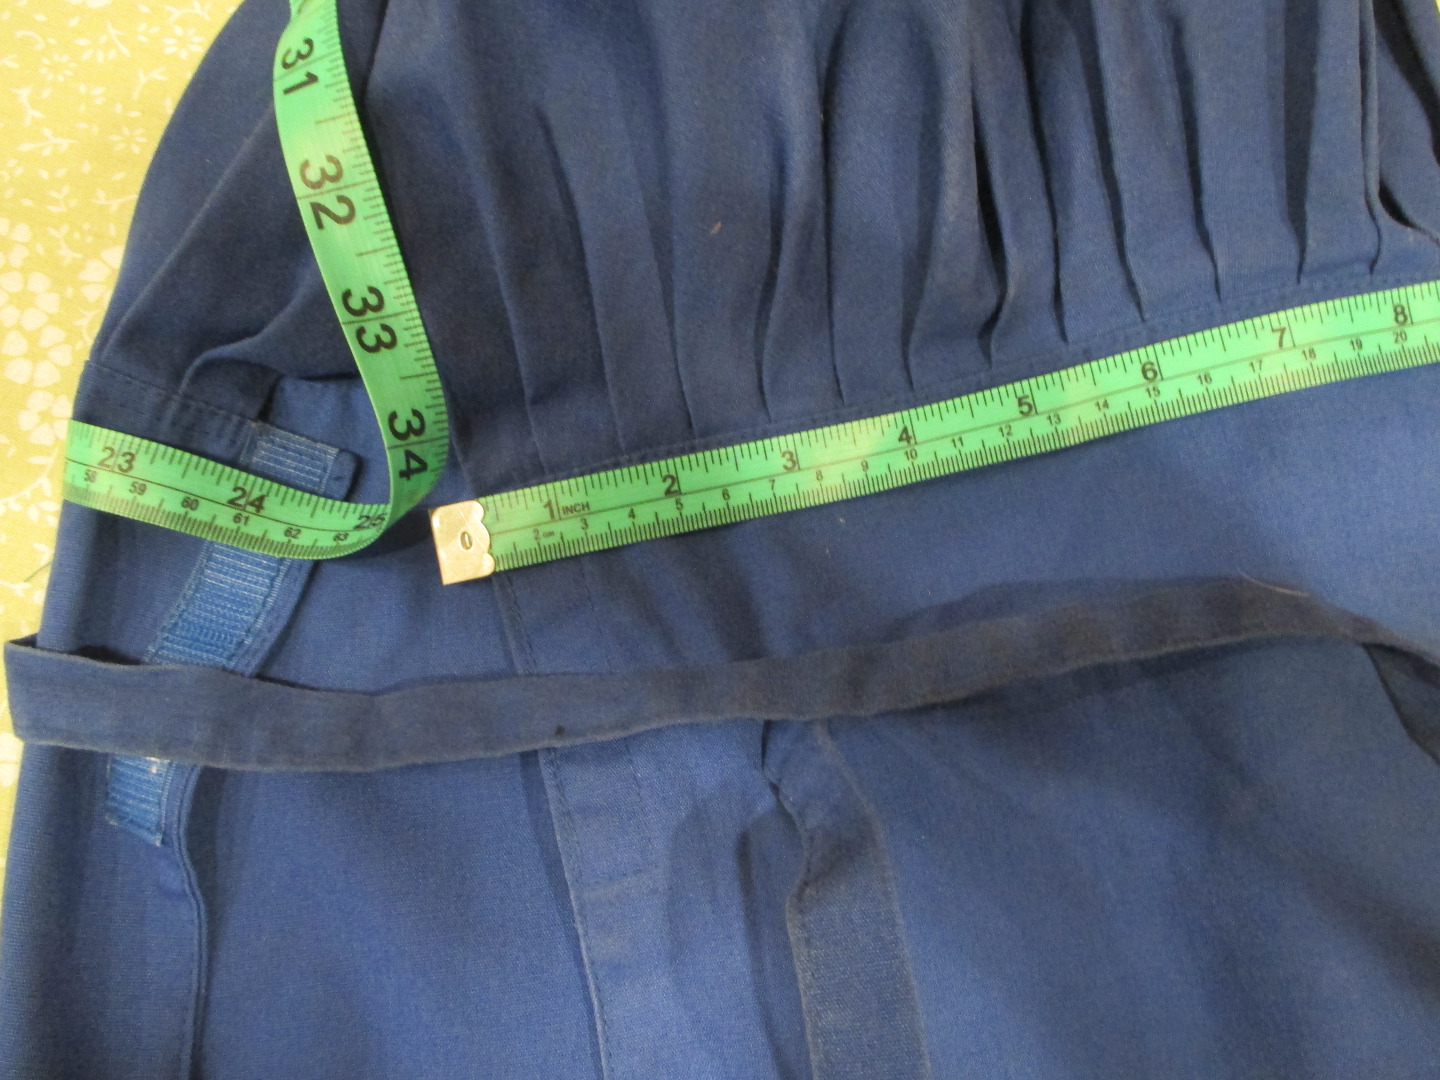


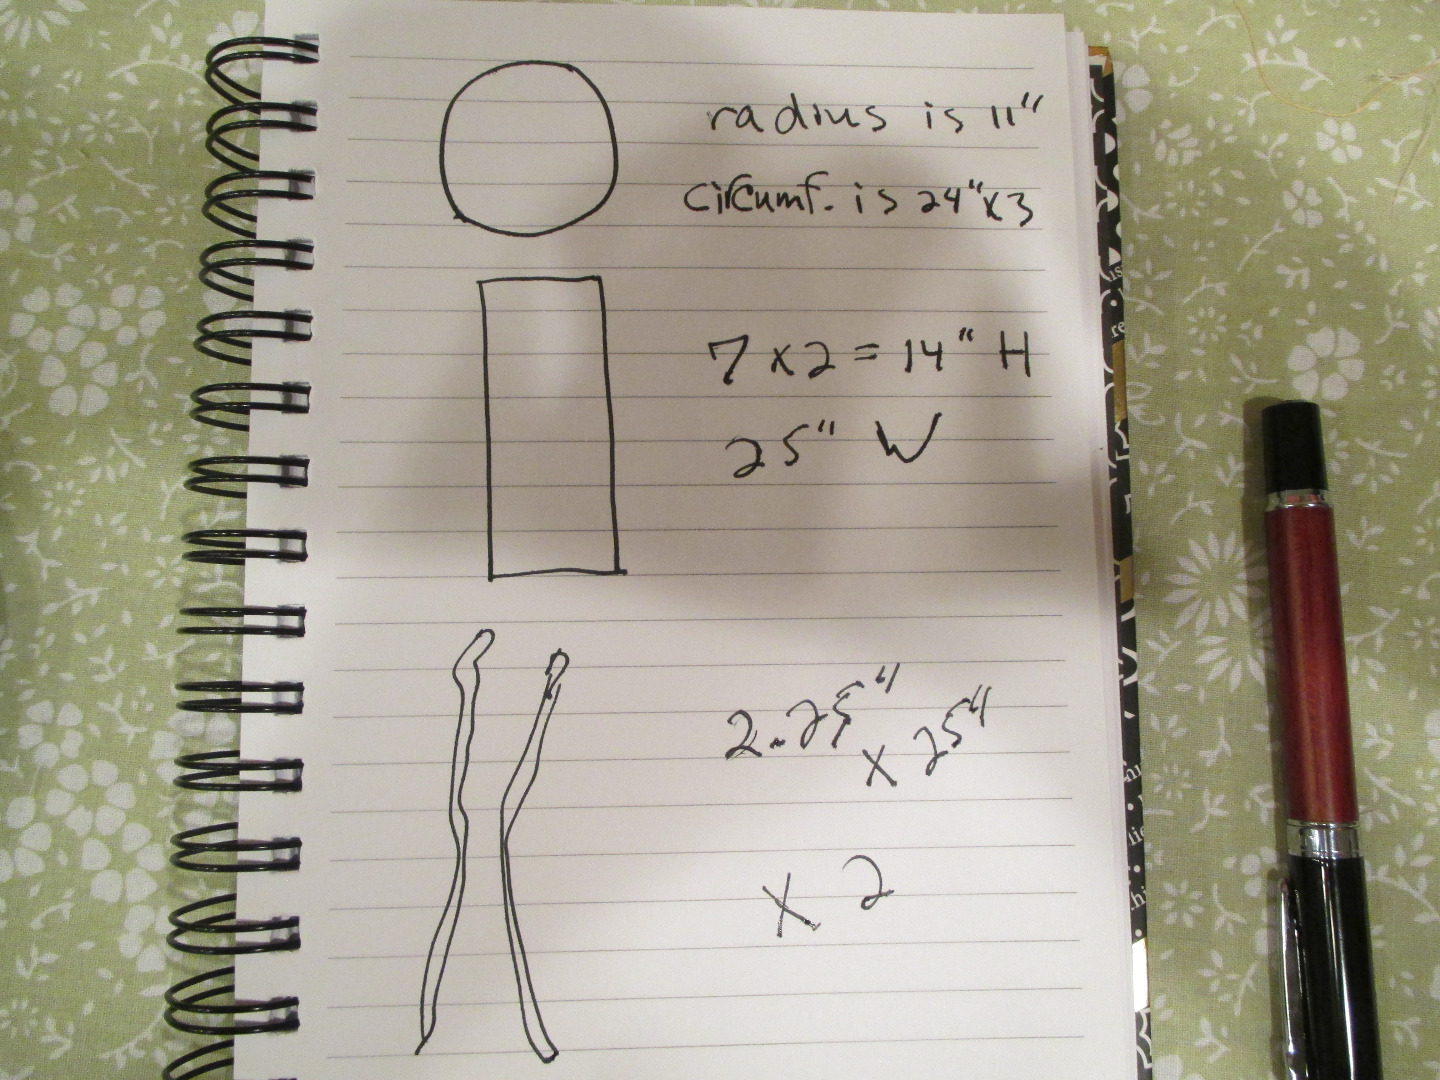
Fortunately, they provided me with a sample. I don't want to take it apart, so with a little math I think I can come pretty close to what the original pattern looks like.
Pi
The top part of the hat is a large circle. Looks like the diameter is 22", Using Pi gives me 69 and change, so let's go with 70".
(I used Pi, so I entered it in the Pi challenge. That's silly)
The band is (7" folded over) 14" x 25", and each tie is 2.25" x 25". The ties(and the scarf) I am going to make out of black fabric.
All of these measurements include the seam allowances.
Since these are basic geometric shapes, I'm not going to create a muslin pattern, just create the shapes right onto the Fancy fabric.
Prepare Fabric


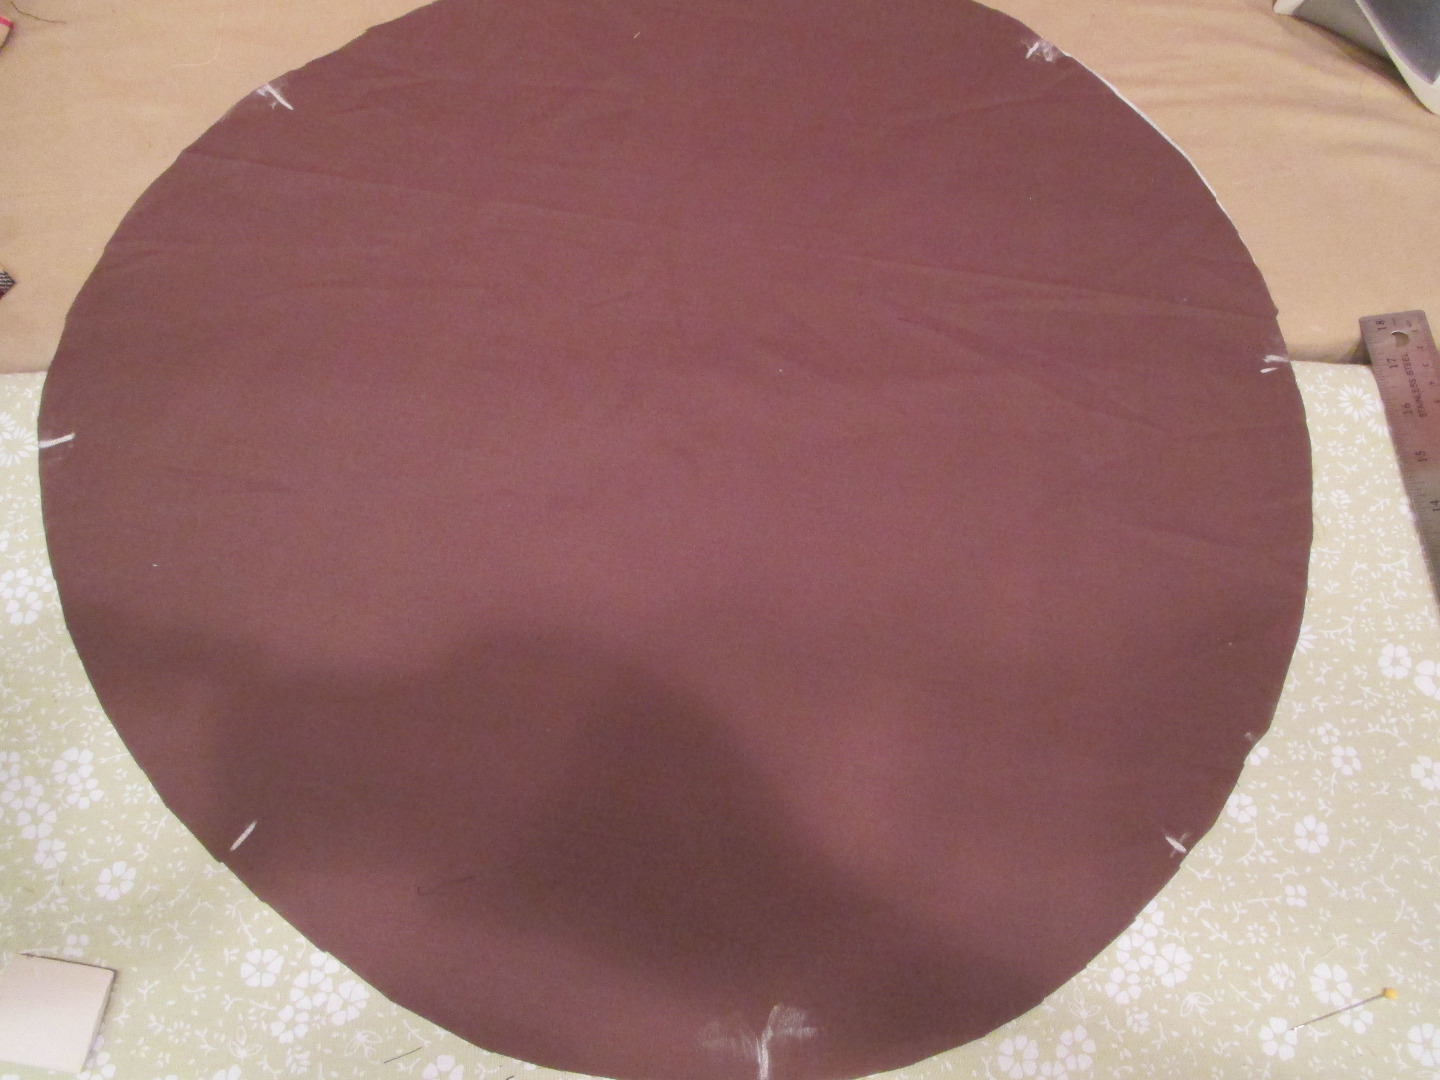
Press out fabric. This particular, Fancy fabric is pretty flimsy so it's needs to be stabilized. I'll wait until I have cut out my shapes before I interface them.
I'm making two Fancy hats, so I've doubled up the fabric.
I cut out the circle, then the band, and interface.
I'm thinking these boys are gonna wanna wash these Fancy hats. Of course, they can't. The fabric is some sort of cashmere blend. I suppose they could take them to the dry cleaners. Anyway, the reason I bring this up is that the wash/dry cycle will probably undo the interfacing at some point. I think I'll stitch down some stay lines.
The circle will have to be lined. I just use a basic cotton.
Pleating


They have special feet, rufflers, that automatically pleat these things. For these, I'm just gonna rough it.
The hat I'm copying has 5/8" pleats. I'm going to enlarge those a bit, and create pairs of pleats across each other and stop when I get the 24" circumference I need to fit the band.
After making 8 chalks, I used a ruler for quick, even pleats. I then made freehand pleats in between those. I'm going for quick here, not super precision. :-)
That gave me a circumference of 26", so I made a couple of the smaller pleats larger.
Ready to sew onto band!
Band


Fold band right sides together to make side seams. Stitch along edges. Press, turn right side out and press again.
Sew to Band
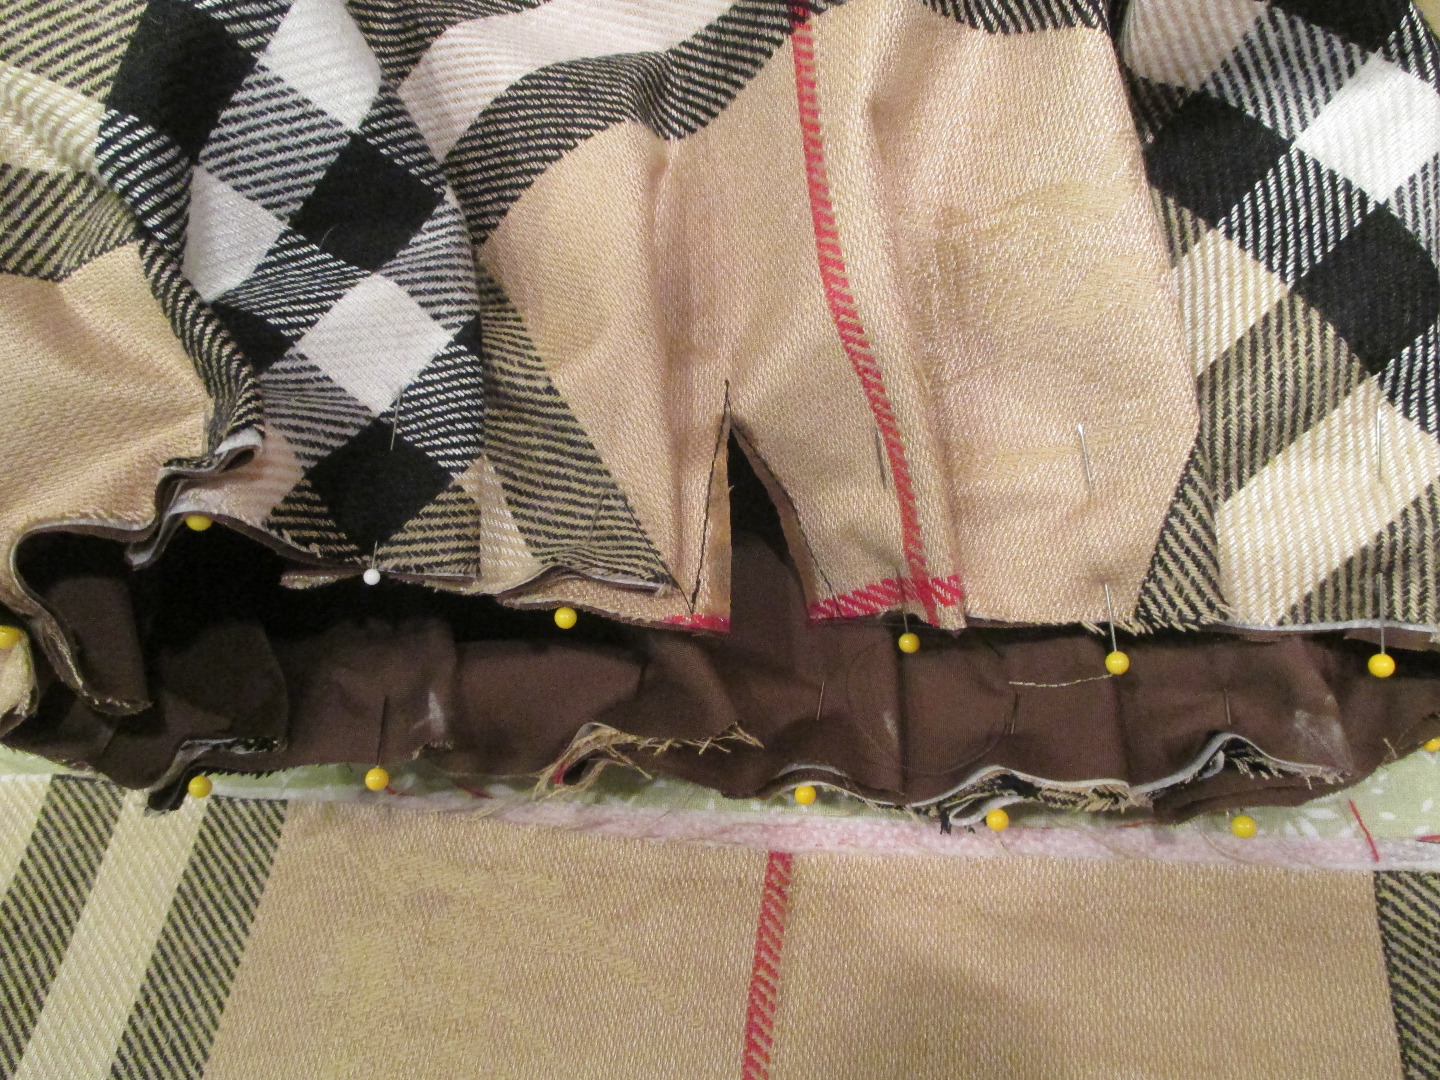
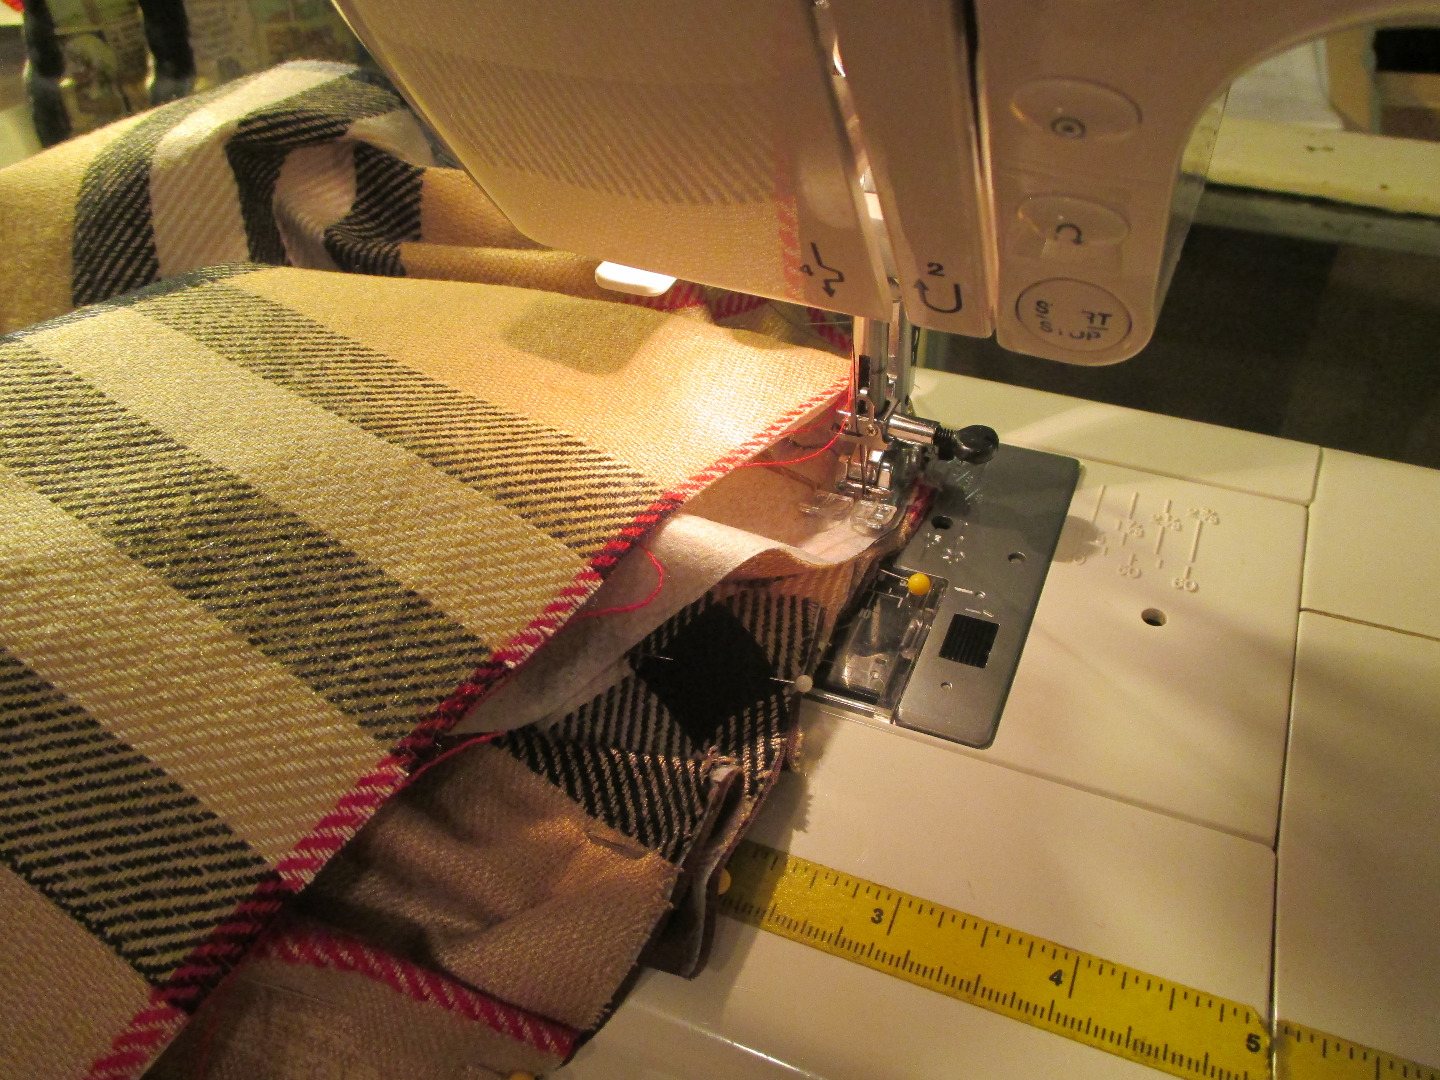
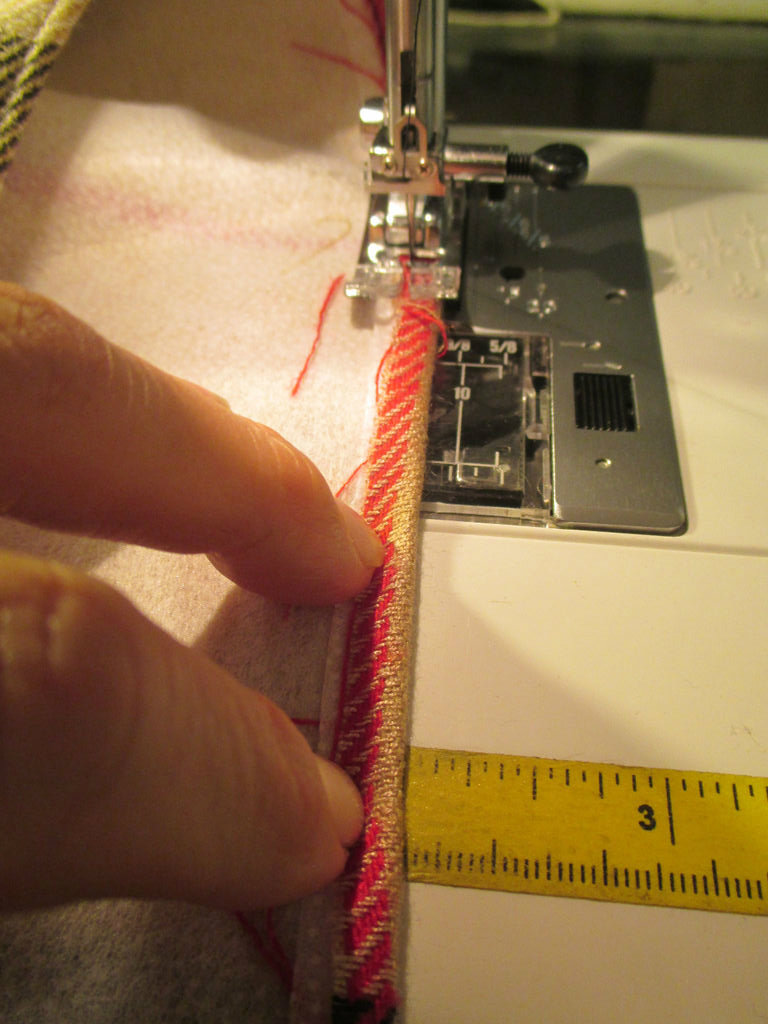
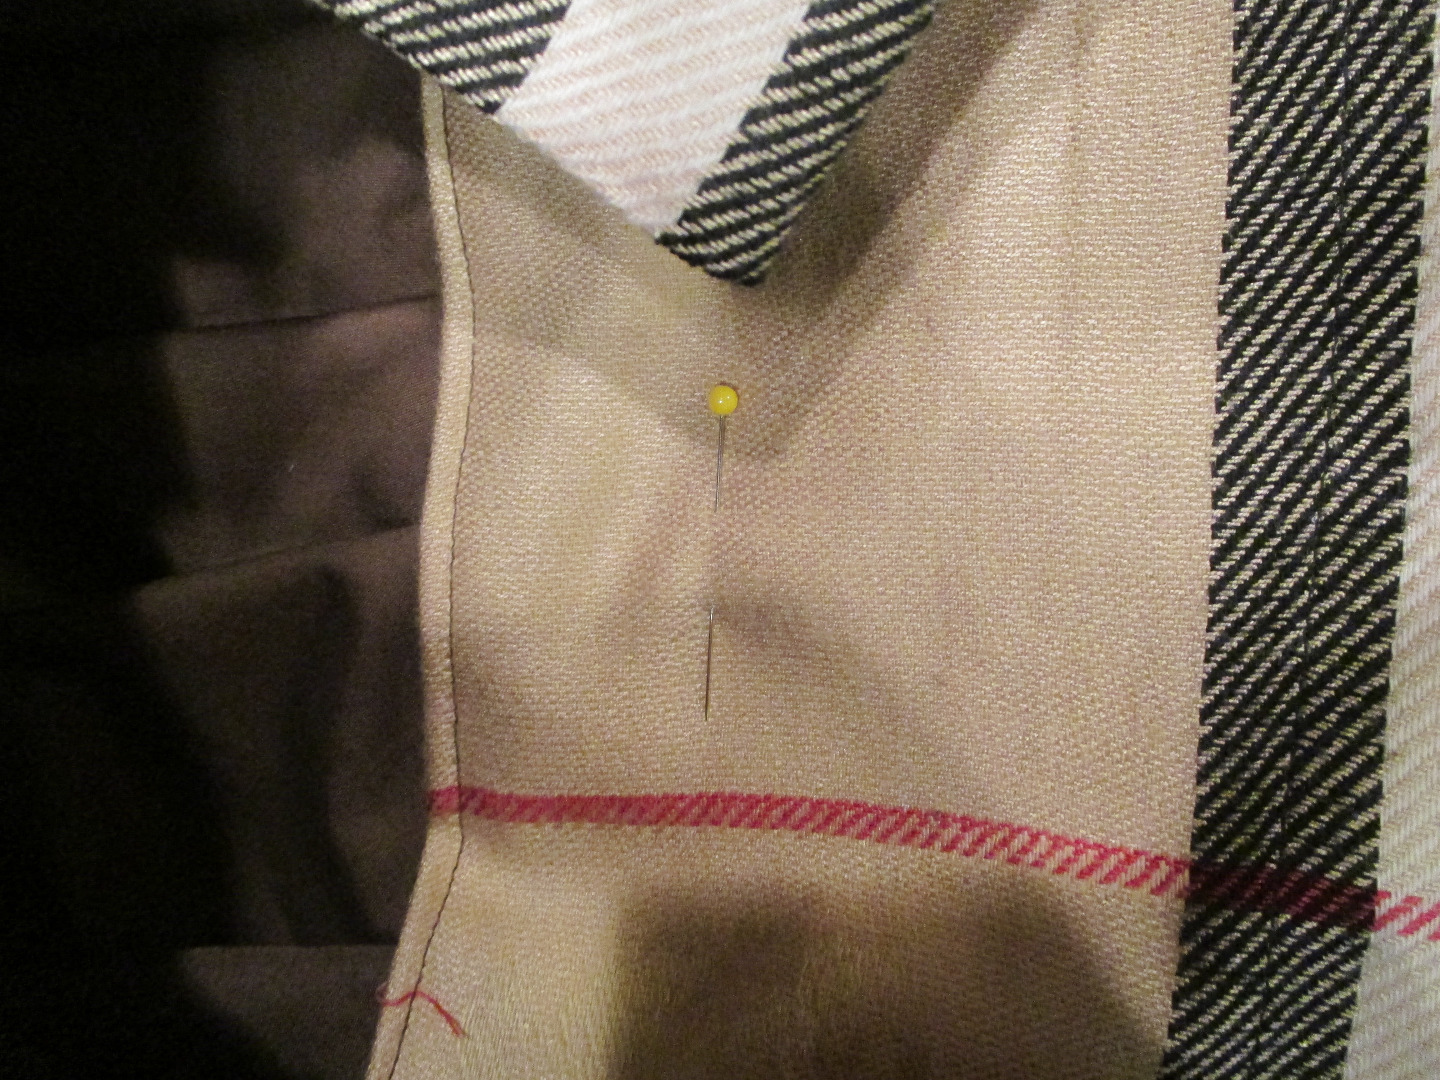
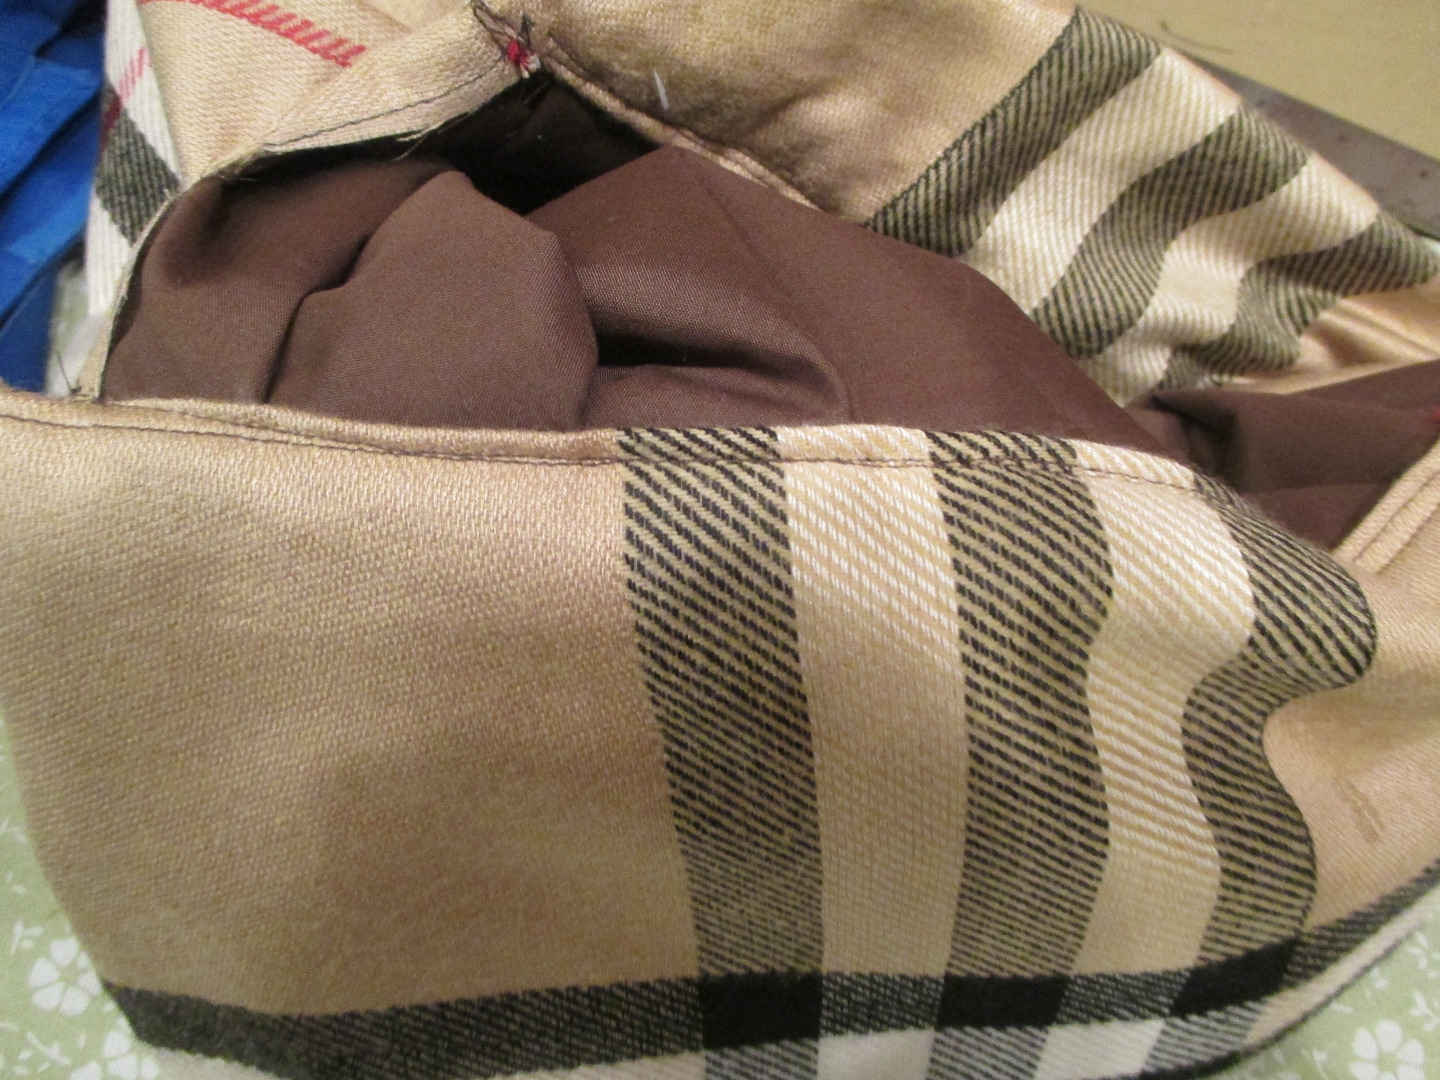

1. Sew a small triangle at hat circle edge, cut, apply fray check.
2. Sew front of band to hat circle, starting at slit(fold under to obscure raw edge), edges even. Start 1/2 into band, to allow for velcro overlap. Start sewing slowly, removing pins as you approach them. Seam allowance should be about 3/8", no more than 1/2".
3. Turn hat right-side out. Turn edge of inside of band over 1/4" and sew.
Stitch in the ditch
Pins band faces to each other to keep from shifting. Stitch in the ditch of the outside of the hat, where the circle meets the band. Keep checking to ensure that the inside of band will catch in the stitches. It should extend by a 1/4" beyond your stitch line on the inside.
Closures


We need two small strips of velcro to close the bands, and then two long ties.
Three inches of velcro is plenty. Stitch on, nice and lined up.
I have more ribbon than time, and I think the satin sheen makes it even more Fancy!
: D
Cut to length, stitch on, and ends hemmed.
Fancy Hat!

The hibachi hats are actually called Teppan. This isn't one. This much cuter. And way Fancy.