How to Make a 360 Degree Panorama in Hugin
by xilefakamot in Craft > Digital Graphics
48345 Views, 21 Favorites, 0 Comments
How to Make a 360 Degree Panorama in Hugin
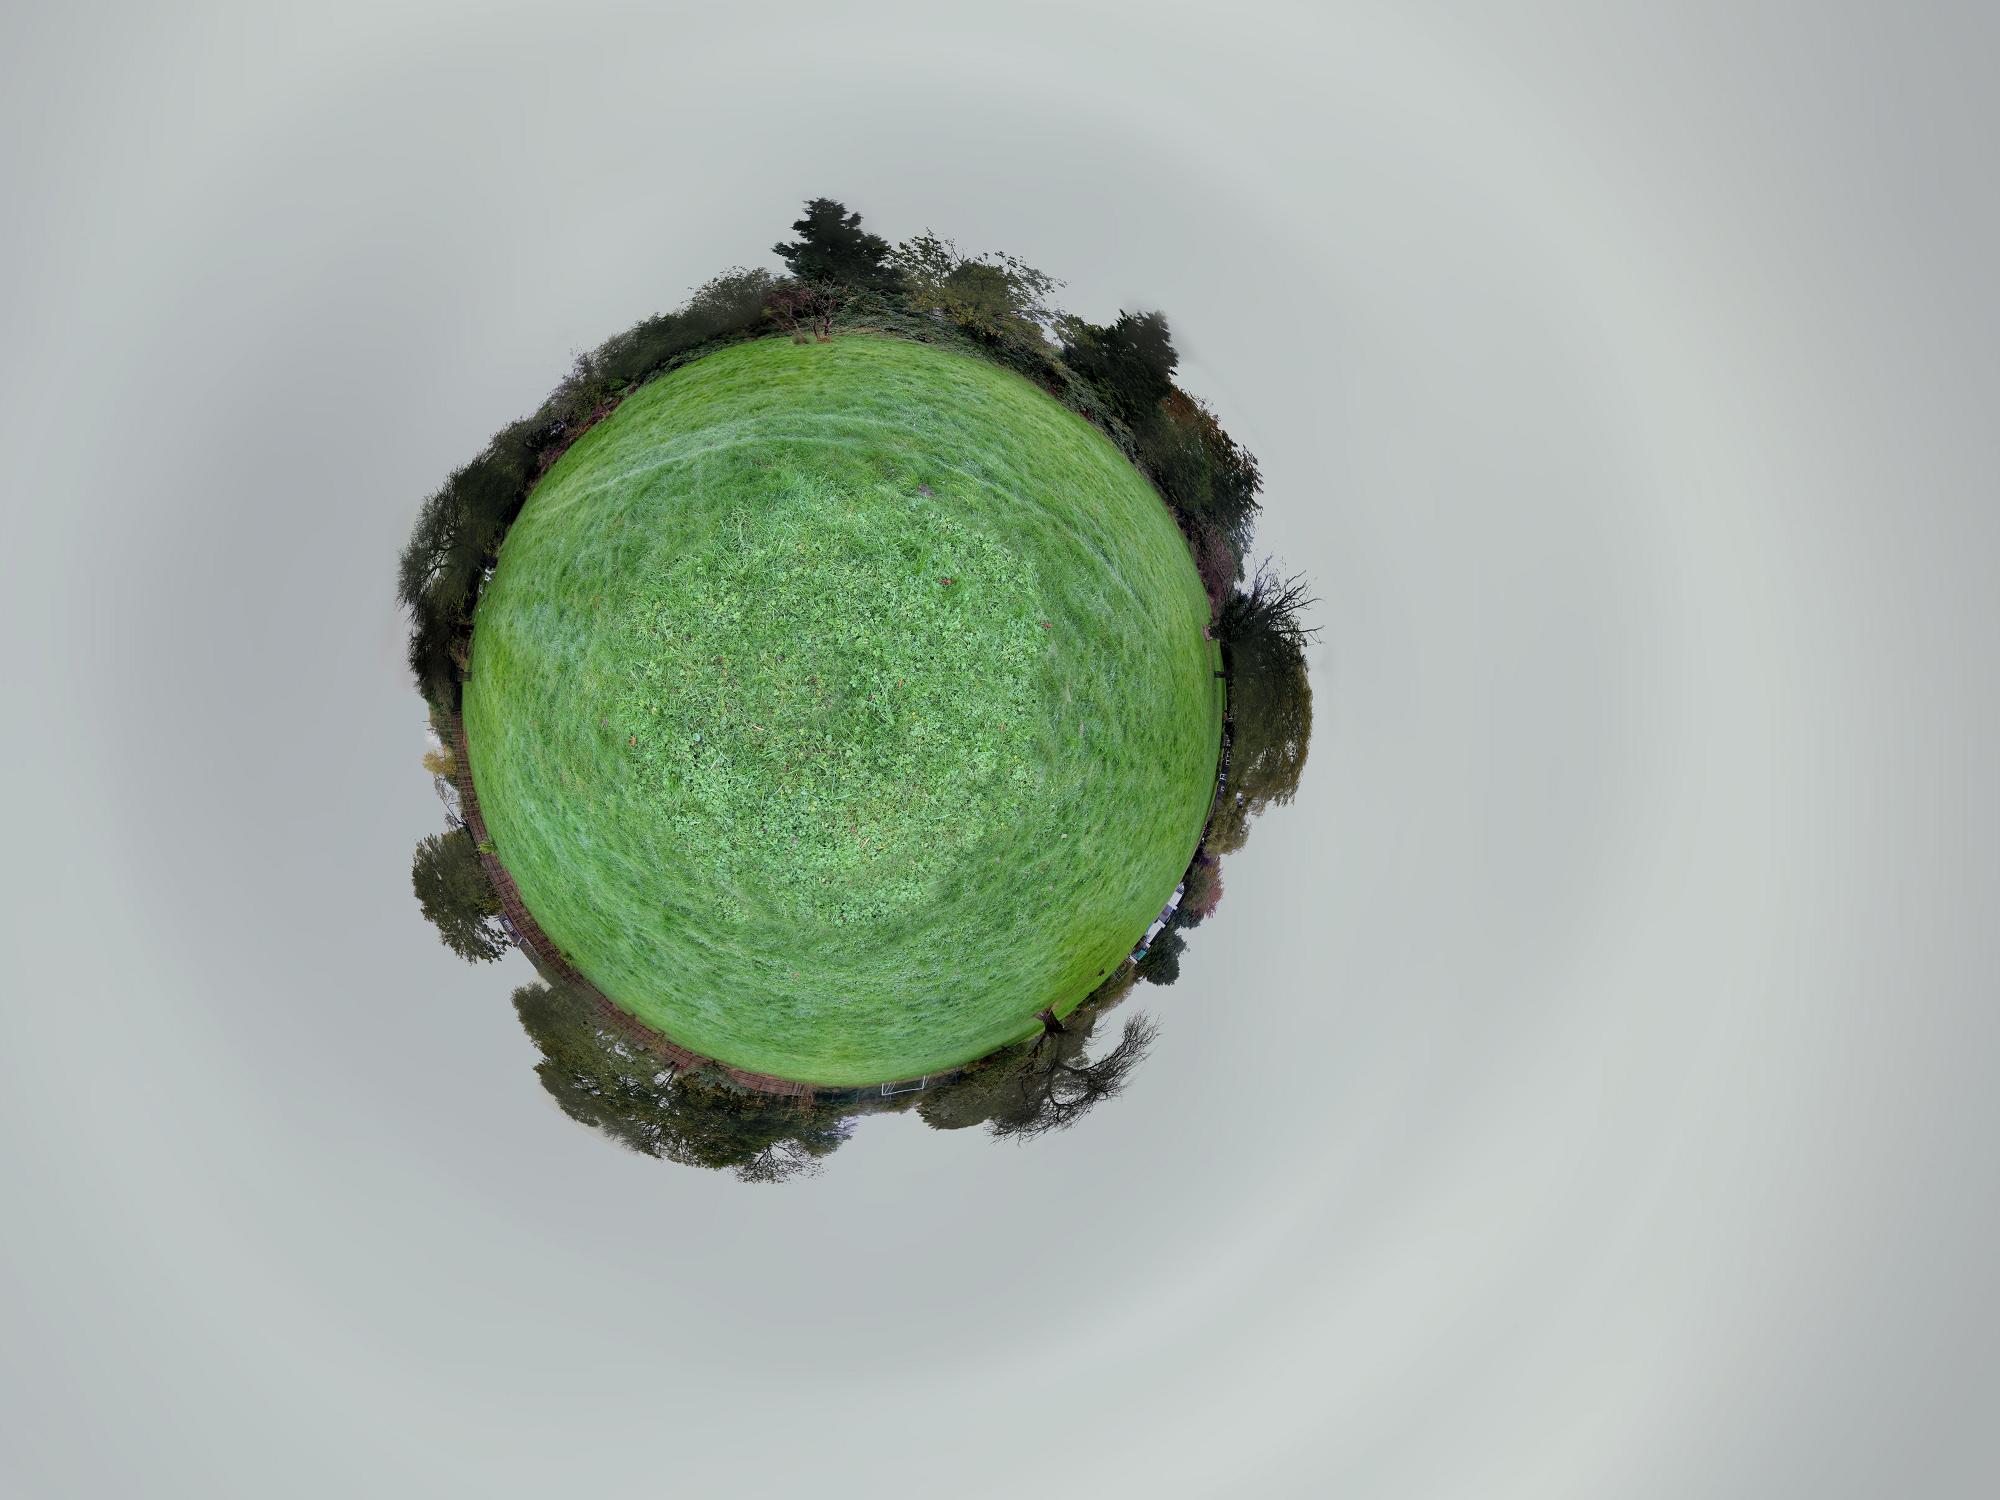
Panoramas are a great way of showing more than just an average photo, but most panoramas are just a horizontal view, not a full 360 degrees.
Using a simple program, you will be able to create panoramas to make a complete sphere of images, and be able to create the effect of a planet (see below)
You will need:
Using a simple program, you will be able to create panoramas to make a complete sphere of images, and be able to create the effect of a planet (see below)
You will need:
- A fairly good digital camera
- A Computer
- Hugin (download Here)
Taking the Photos (stage 1)
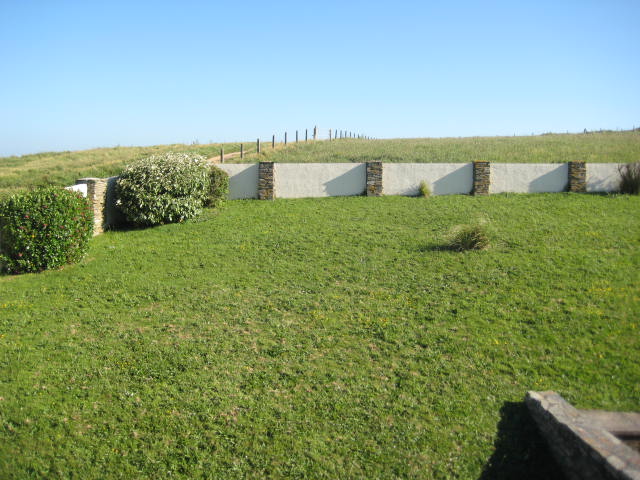
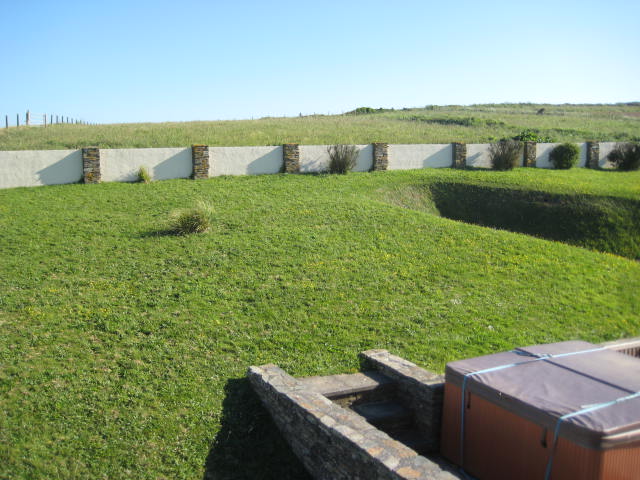
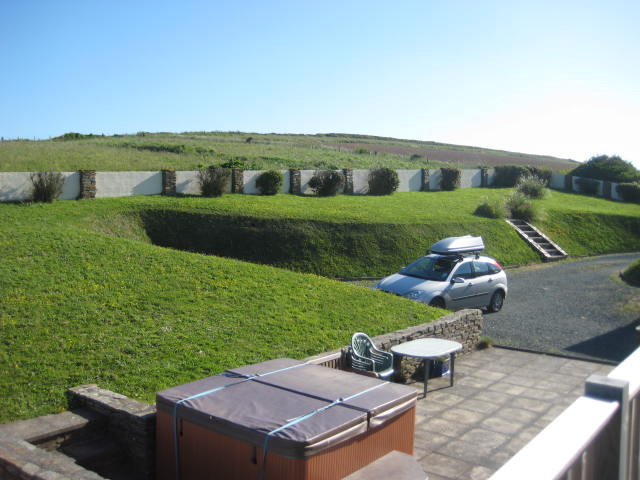
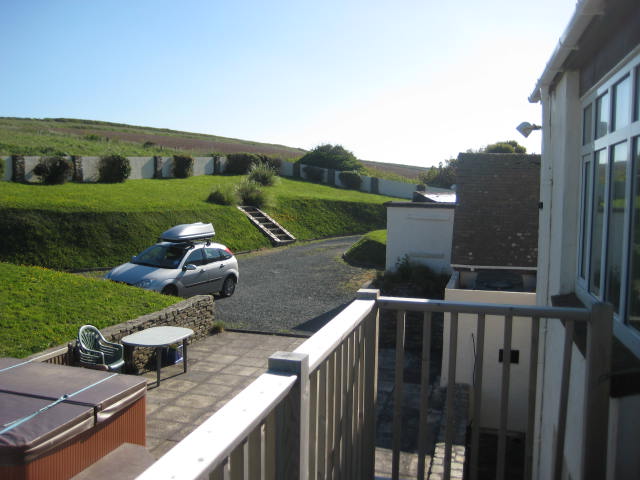
You will need to take lots of photos for this. For a reasonable panorama you will need at least 50, and maybe up to 150, if you choose to zoom.
I recommend taking photos along the horizon first. You should try to keep as level as possible ( it makes it easier). Make sure there is a good overlap between photos. This will make them easier to stitch (join) together, and will give a higher quality panorama.
Do this all the way around.
I recommend taking photos along the horizon first. You should try to keep as level as possible ( it makes it easier). Make sure there is a good overlap between photos. This will make them easier to stitch (join) together, and will give a higher quality panorama.
Do this all the way around.
Taking the Photos (stage 2)
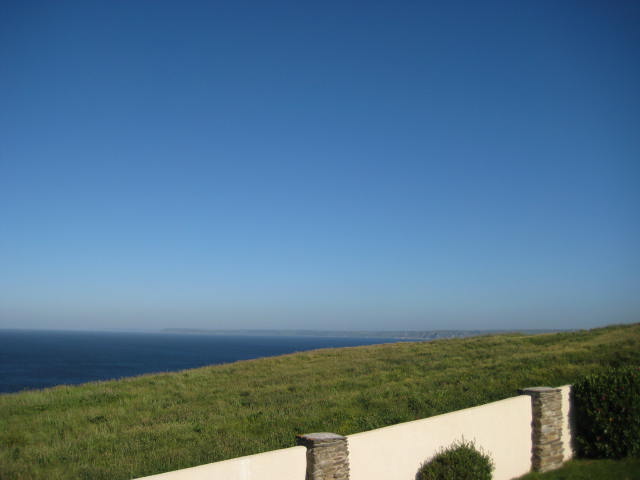
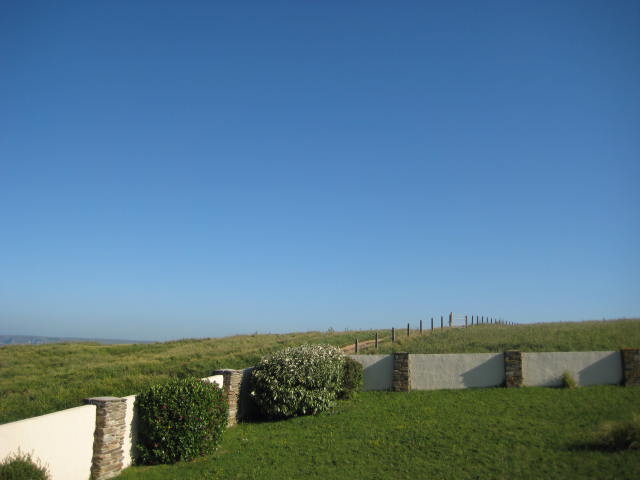
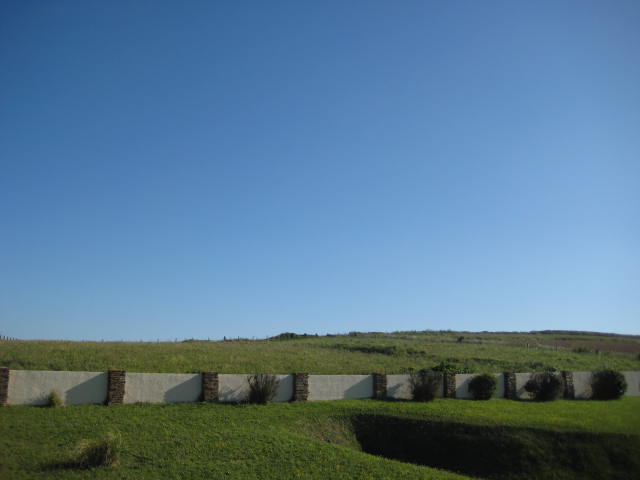
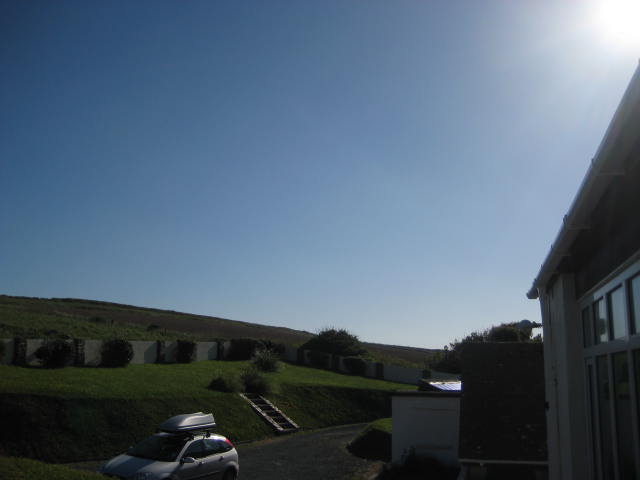
Next, take the next 'level' of photos up. Do exactly the same as before, but angle the camera up slightly. Make sure you have the overlap between the level below (see pictures).
Continue moving up levels, until you reach the zenith (directly up). As you get closer to the zenith, you will need less and less photos per level, but still make sure that you cover every bit of the sky.
Tip: it will be easier to stitch this if you do it on a slightly cloudy day, to give some points of reference in the sky.
When you have done this, do the same, but going down from the horizon until you reach Nadir (straight down). Make sure your feet are out of the way!
Upload and Import
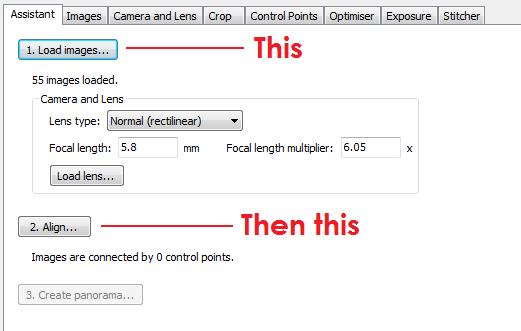
Copy all your photos into a folder on your computer and open up Hugin.
Create a new project and load up all your photos.
Now, press the 'Align' button under 'Load' and the computer will try to put together all of your photos. This may take a while, especially if you have a slow computer or lots of photos.
Now, if you are lucky, and have taken lots of good photos, the computer will have aligned them for you. Give yourself a pat on the back for your photography skills, and move onto Step 5.
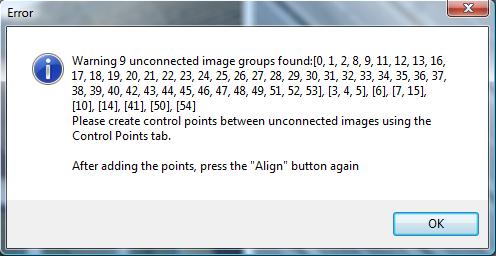
If you are not so lucky, a message (second picture) will pop up, in which case, you'll have to align the pictures manually (Step 4).
Creating Control Points

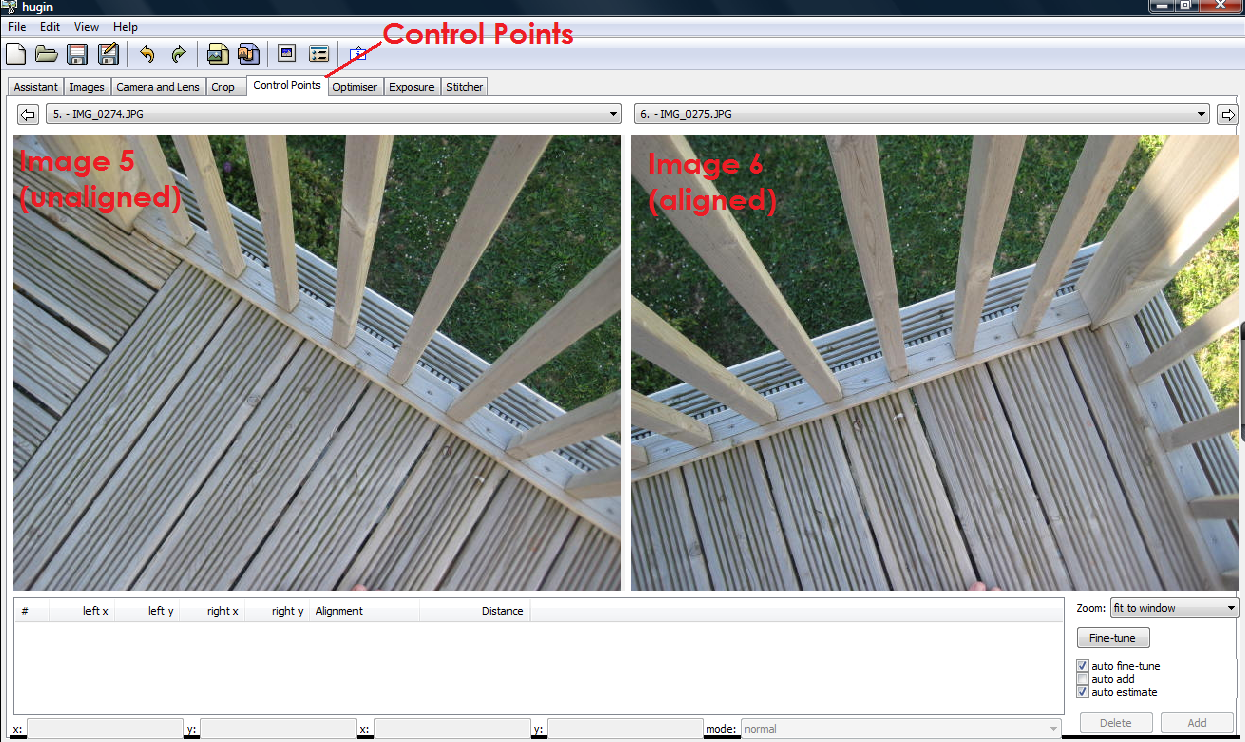
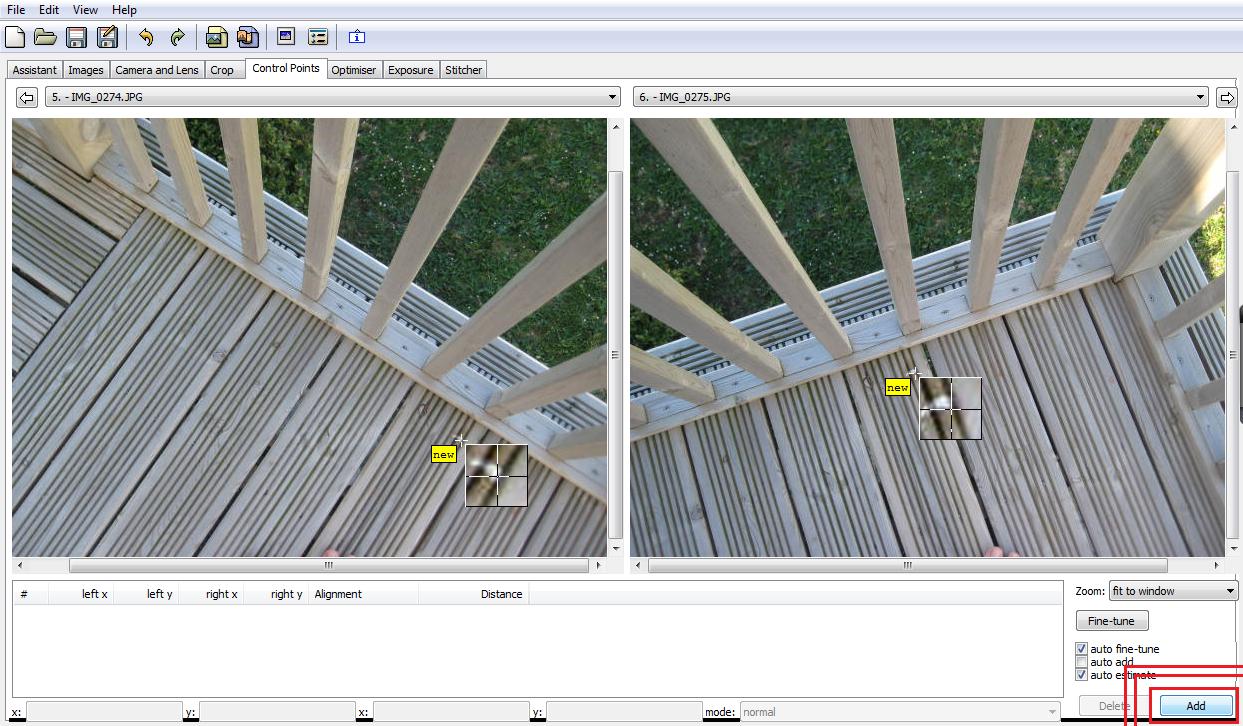
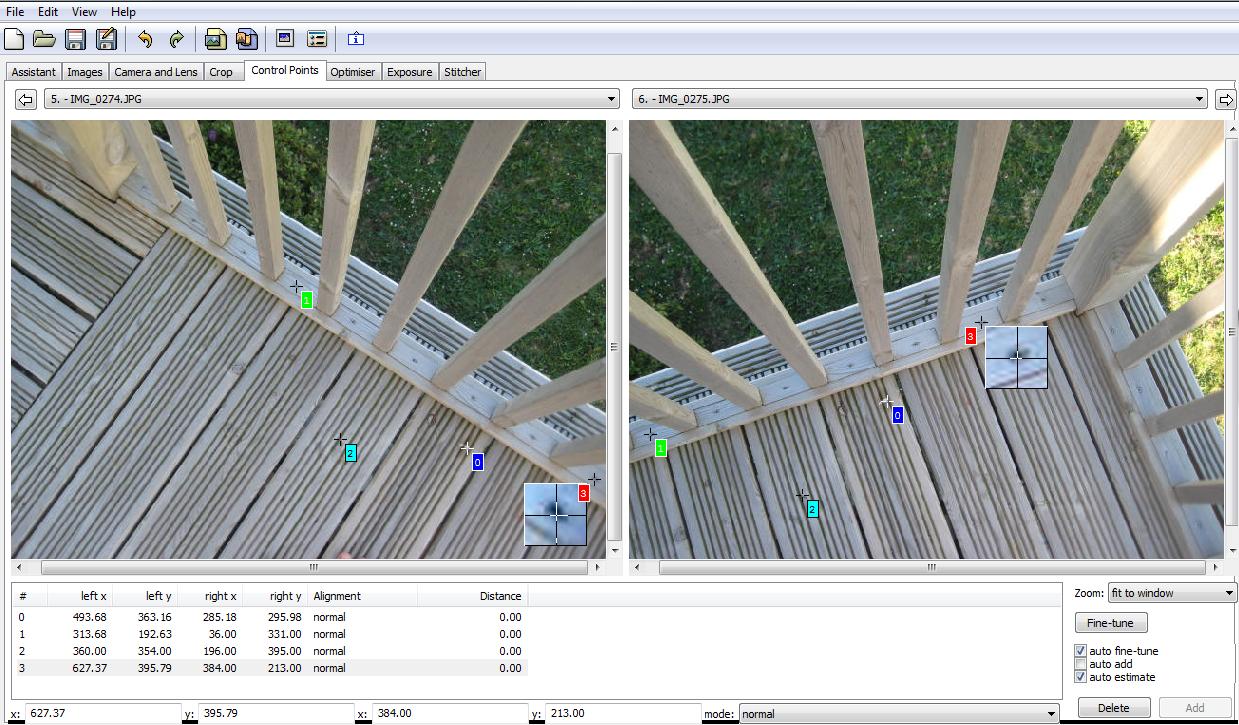
The idea of this step is to join all the photos together.
Look at your error message (it is a good idea to take a screenshot). You will see groups of numbers in brackets. One group enclosed is a group of photos that have been successfully joined together. The separate groups of numbers are groups that are not linked together.
Go to the 'Control Points' tab and open the images on the drop-down menus.
On the left side, open an image that is in one group, and on the right, choose an image from a different group that does match up with part of the left image.
You can see in the picture that I have chosen 5 (part of the 3, 4, 5 group) and 6 (part of the 0, 1, 2, 8, 9, 11, 12 etc. group).
Now we need to find some common points in the two photos.
The bird dropping on the planks is a good point that is easy to see.
Click it in one of the photos, and then click in the other. Each time you click, a crosshair with the word 'new' will pop up.
When you are sure this is in the right place, click 'add' in the bottom right corner.
Do this several times so that you have several points. I recommend three as a minimum, but the more you add, the better it will be.
Check Alignment
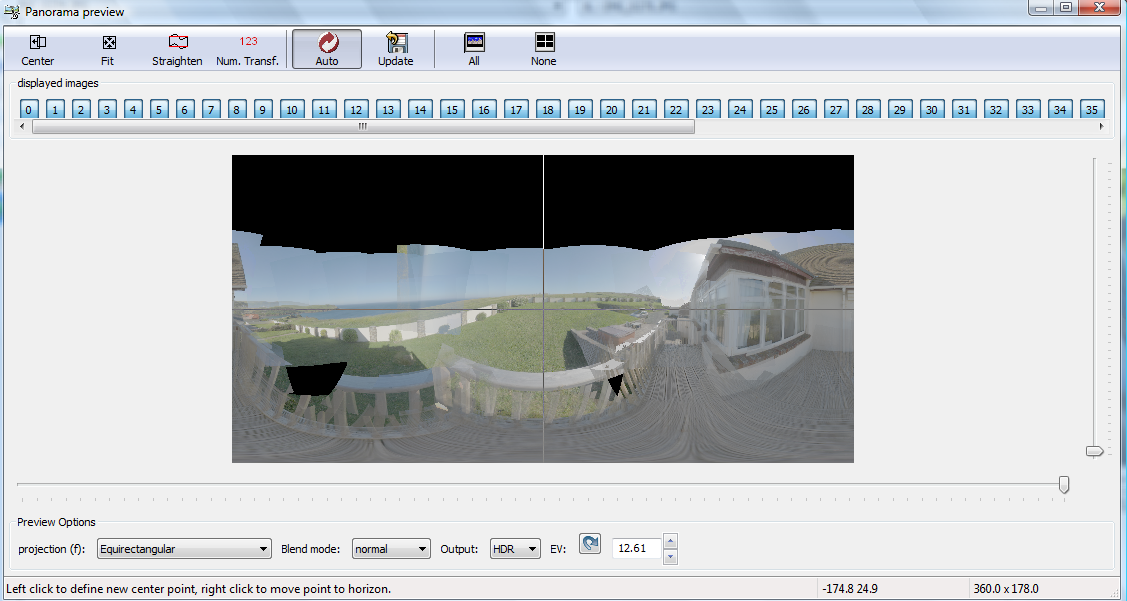
Once you are sure that all of your photos are aligned, you can press the align button again.
Hopefully, it will tell you that your images are aligned in one group.
If not, you will have to add more control points.
When it's all done, a window like this will pop up:
Hopefully, it will tell you that your images are aligned in one group.
If not, you will have to add more control points.
When it's all done, a window like this will pop up:
Planet-ising
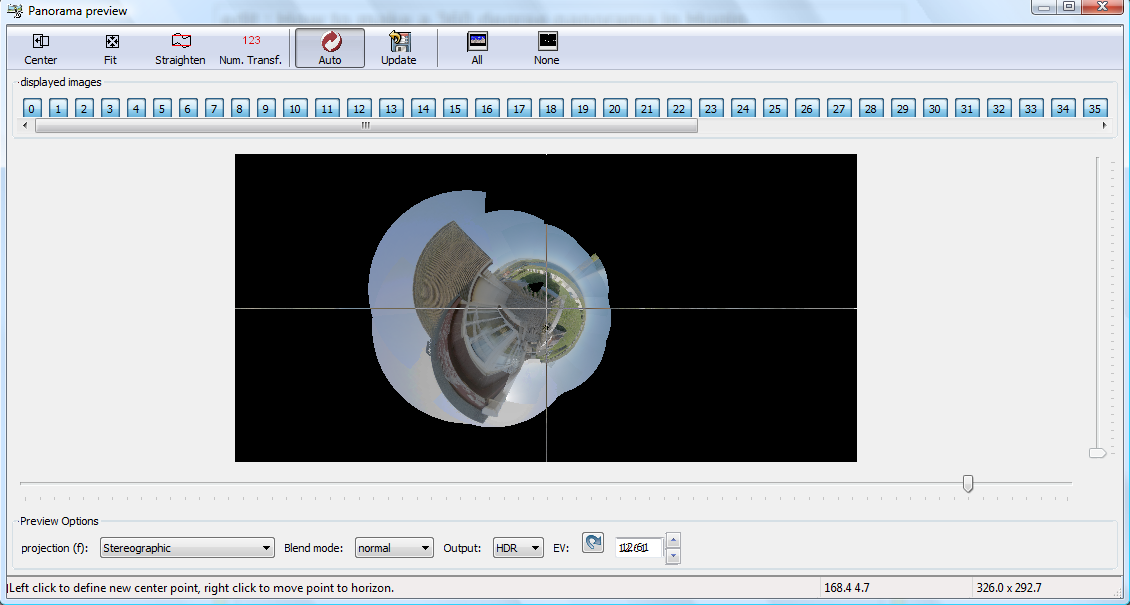
To make it look like a planet, we have to change the projection.
Click your Nadira point (straight down on your panorama)
Then, at the bottom the the preview window, click on the menu that says 'Equirectangular' and choose 'Stereographic'
Move the 'Horizontal field if view' slider about 5 spaces to the left, so that you can see your panorama. Are you happy with it?
Don't worry about the blurs, they disappear.
If there are large blank patches, you can go back and make sure you have enough control points, or if that doesn't work, take photos that will fill the gaps, and add them in.
If you are happy, close the preview window, and click 'Create panorama'
Finishing Off

And you're done!
Unless, of course, you are a perfectionist. If you want, you can use simple software, such as GIMP, to extend the image to make it look better (second picture).
Sorry that my example has big gaping holes in it - it was a bit rushed. I will add better examples at some point soon.
Happy panorama-ing!
Unless, of course, you are a perfectionist. If you want, you can use simple software, such as GIMP, to extend the image to make it look better (second picture).
Sorry that my example has big gaping holes in it - it was a bit rushed. I will add better examples at some point soon.
Happy panorama-ing!