How to Make Vista Look Like Mac
by J Man!!! in Circuits > Microsoft
7426 Views, 7 Favorites, 0 Comments
How to Make Vista Look Like Mac
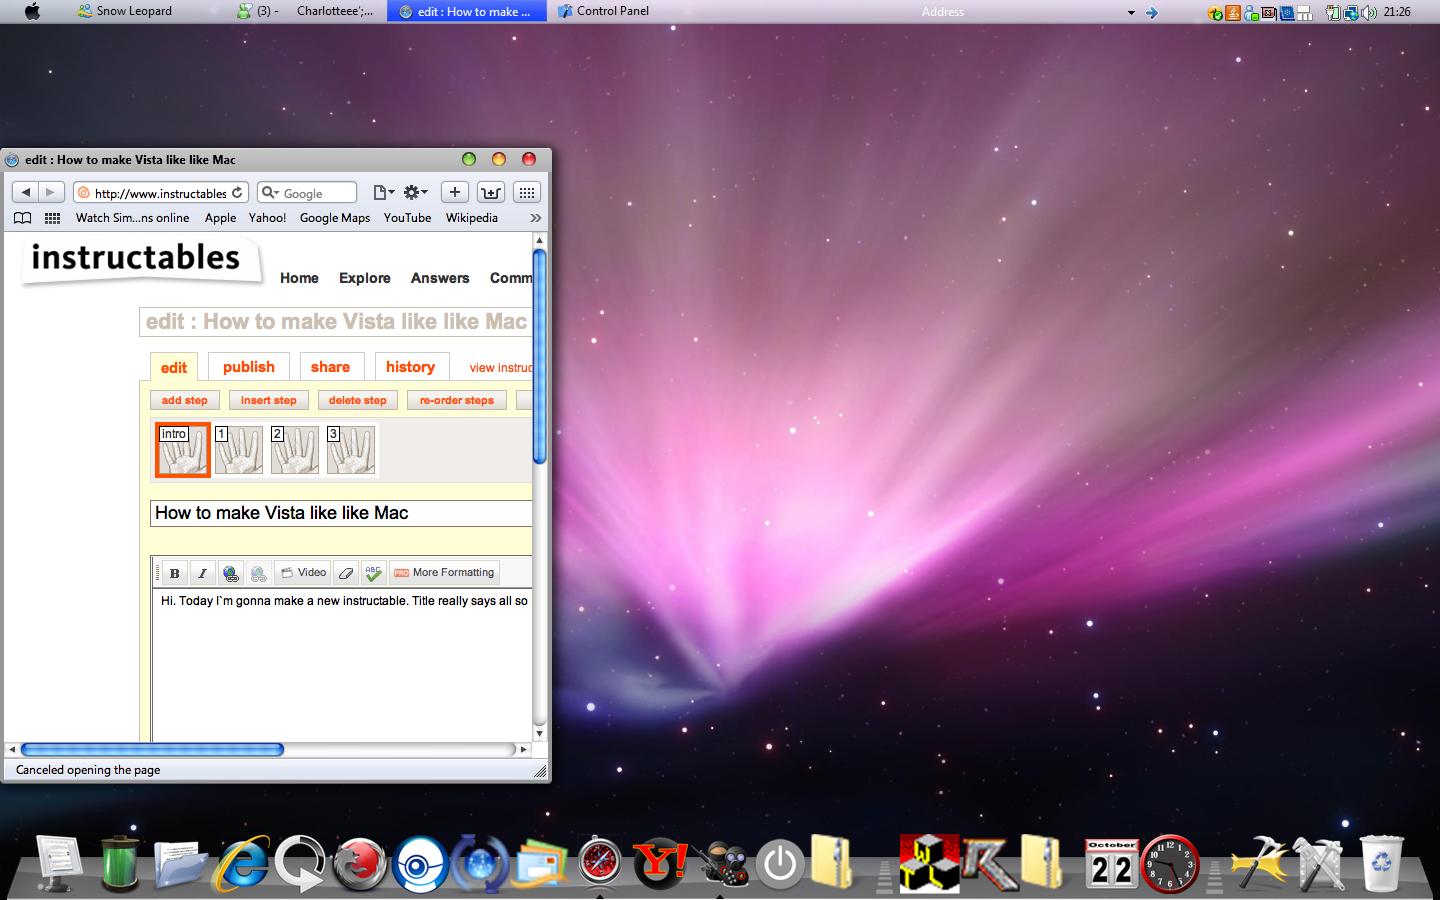
Hi. Today I`m gonna make a new instructable. Title really says all so I hope you enjoy this theme. It will look something like that. Comment and rate please and tell me if this helped you.
Step 1: the Dock (including Theme)

Go to http://www.rocketdock.com and install the latest version. Run RocketDock and click the hammer. (Dock Settings). Go on style and click on "Get more". Then search "Mac OS X" and click on the one you like. Once you downloaded it, open the zipped folder. There should be a folder in the zipped folder. Right click and Copy that then go to your C drive then double click programme files. Then scroll down to Rocketdock, double click that then double click the skins folder inside the Rocketdock folder then just paste it
Step 2: the Theme Patcher
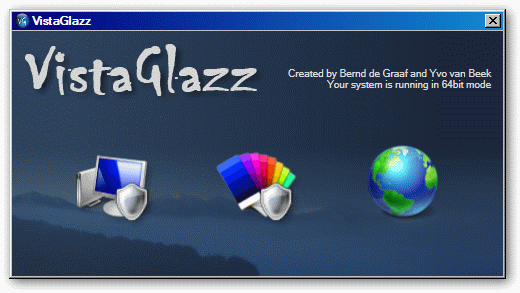
It`s called VistaGlazz. Search it on Google then click the 3rd result. Download that and open it once it`s downloaded. There should be three icons there. A computer, colour strips and a globe. Click the Computer then click patch files. Then you go back, click the colour strips then click patch style. You may need to restart your computer after patching them.
Step 3: the Theme
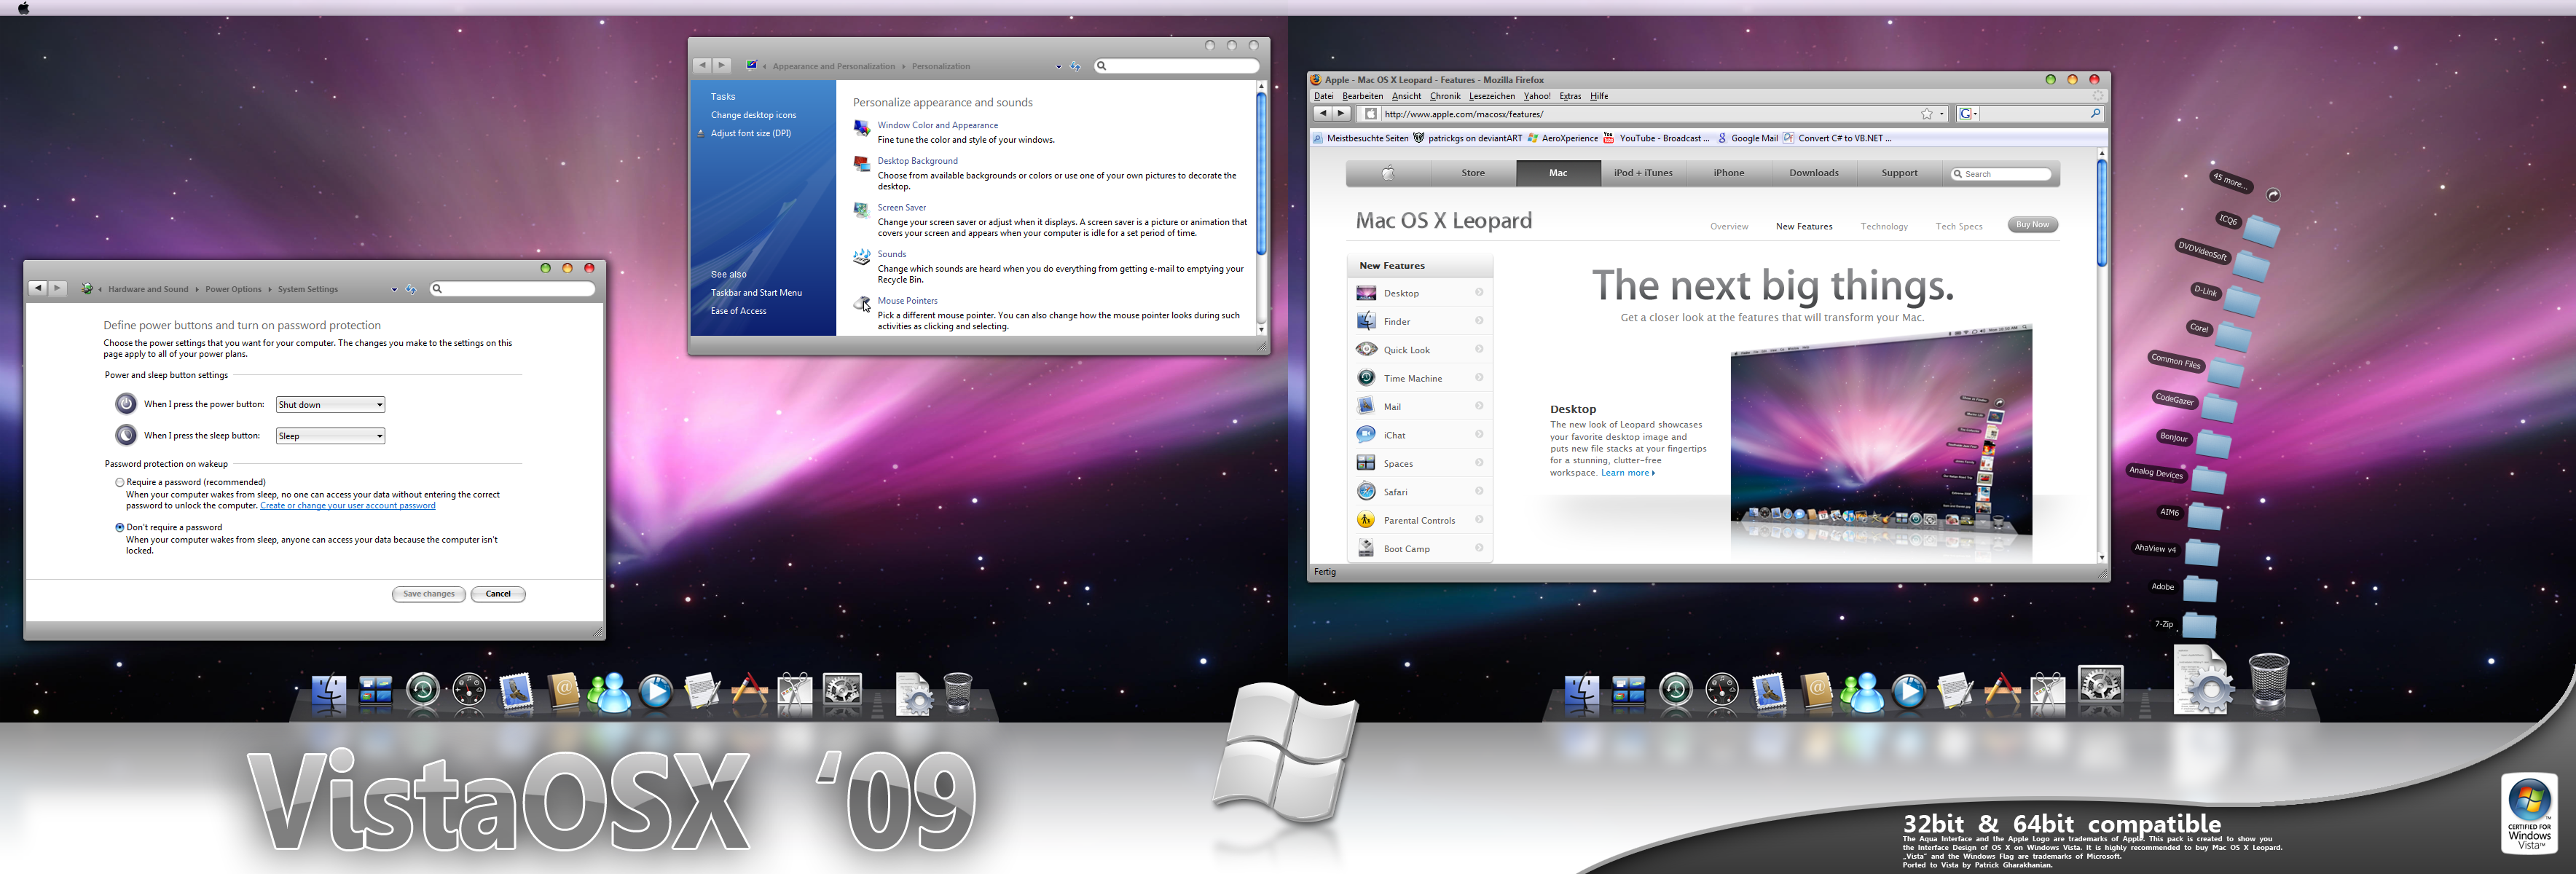
On deviantart.com, search Vista OS X '09 and download any visual style that looks like mac. I suggest downloading the one that has that picture. Once you downloaded it, open it and there should be a file folder. Right click it, then click copy. Go back to Computer, go on "Local disc C", go on WINDOWS, Resources, themes, then just paste it in. After you do that, go to Control Panel. Go to "Appearance and personalization" then click themes. Click on VistaOSX09. In the preview window, there should be something that looks quite like the Mac UI (User interface). Once you click VistaOSX09, click apply. You should have the Mac visual style now.
Step 4: the Mac Taskbar and the Leftsider
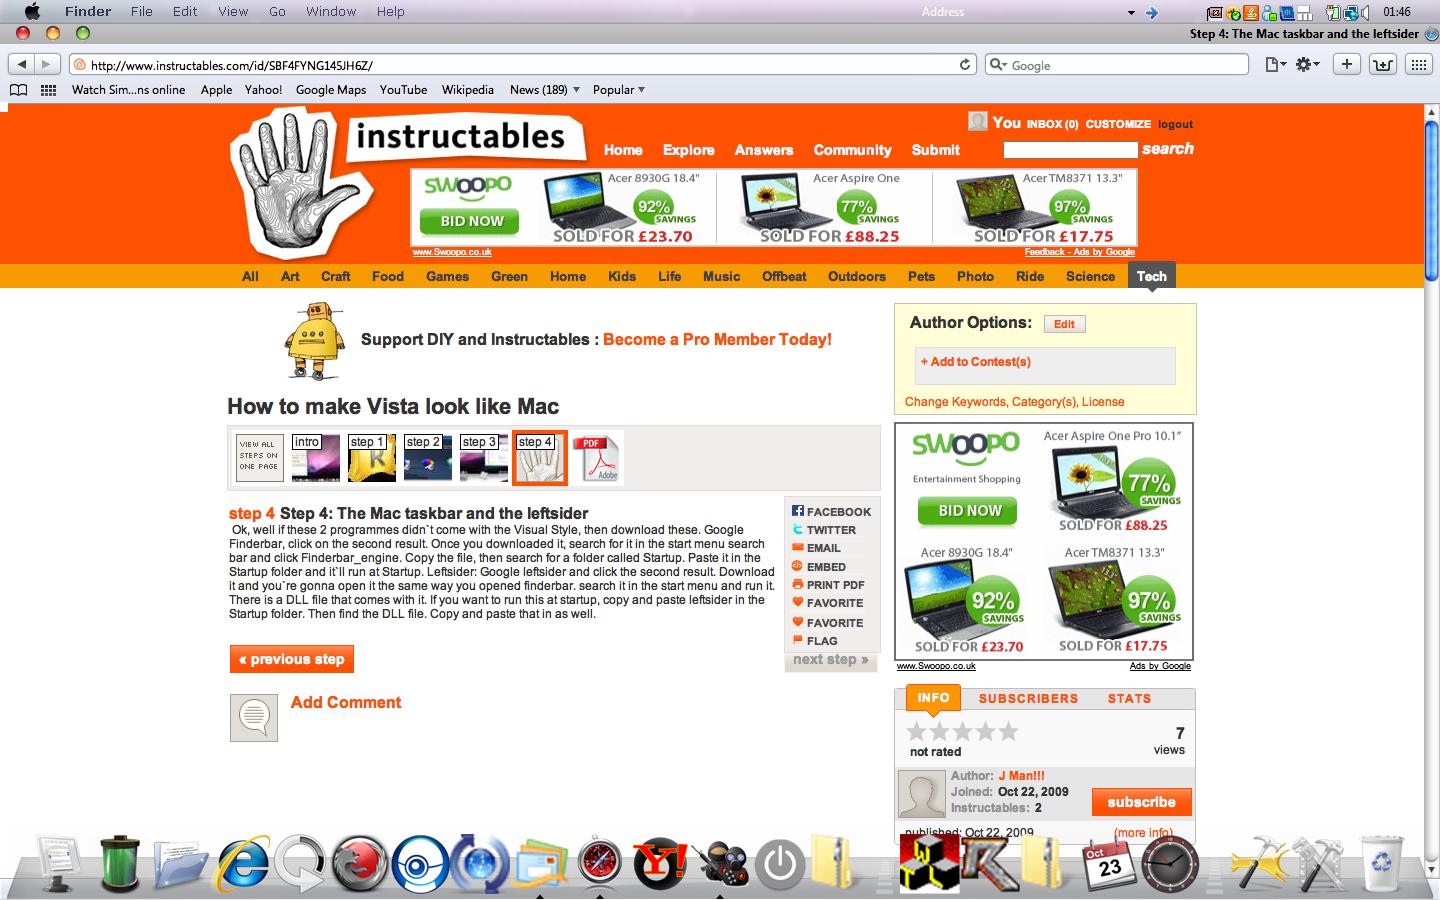
Ok, well if these 2 programmes didn`t come with the Visual Style, then download these. Google Finderbar, click on the second result. Once you downloaded it, search for it in the start menu search bar and click Finderbar_engine. Copy the file, then search for a folder called Startup. Paste it in the Startup folder and it`ll run at Startup. Leftsider: Google leftsider and click the second result. Download it and you`re gonna open it the same way you opened finderbar. Search it in the start menu and run it. There is a DLL file that comes with it. If you want to run this at startup, copy and paste leftsider in the Startup folder. Then find the DLL file. Copy and paste that in as well.
Step 5: Mac Mouse Pointers.
Open Control panel, search mouse, then click "Change how the mouse pointer looks". Click on any one there, then click browse. In the window that just popped up, in the drop down menu, go to "Local disk (C:)" then go on WINDOWS. Scroll down to resources, click themes, click VistaOSX09, go on "Sounds and cursors". Look at the name of the pointer you are browsing for in control panel, then go on the one in the sounds and cursors that has the same name. The picture is an example. Look at the picture if you do not understand this. Once you select the mouse pointer, click open. Do the same with the rest of the mouse pointers