How to Knit Close-fitting Fingerless Gloves
by plzsendchocolate in Craft > Knitting & Crochet
1104407 Views, 627 Favorites, 0 Comments
How to Knit Close-fitting Fingerless Gloves


I created this pattern for knit fingerless gloves after making many pairs using patterns out there, but finding none that "hug" your hand. By adding a thumb wrap and using a ribbing stitch for the top portion of the pattern, these really fit like a glove should!
The pattern can fit a woman's small thru large glove sized hand, and a man's small to medium glove size.
For gauge, my wrist is 6.75 inches and my hand about 5.5 inches across from thumb knuckle to pinky outside edge. I use 28 stitches across.
I hope you enjoy the pattern!
Gather Supplies
1 pair size 7 (4.5 mm) knitting needles. (Size 8 will also work)
1 skein Worsted Weight yarn, any color.
1 tapestry needle
All these supplies are available in the U.S. at JoAnn Fabrics stores and Michaels Craft stores. Total cost probably will not exceed $10.
I am an experienced knitter, and each glove takes me about 2-3 hours to make, depending on how many interruptions I get ;-)
Cast on 24 or 28 Stitches.
Row 1


The first four rows of this pattern are known as ribbing. This type of knitting lays nice and flat against your forearm, and won't roll up like other stitches when used on the edge of a pattern.
Instructions in this step are for the first row of ribbing.
**Knit one stitch.
Bring yarn from "back" to "front". First picture below shows yarn in back; second picture shows in front.
Purl one stitch.
Bring yarn from "front" to "back".
Repeat from ** all the way across to complete the row.
Check Your Work
Count the number of stitches from this row. Write the number down.
Did you end the first row with a knit stitch or a purl stitch? If you cast on an odd number of stitches, you may have ended the row with a knit stitch. In that case, ignore step 5 and proceed to step 6.
Otherwise, continue with step 5.
Rows 2-4 for Even Numbered Stitches

Repeat Step 3 three more times. When finished, your work should look similar to the picture below, but run farther across your knitting needle.
You should now have 4 rows of knitting and the same number of stitches across, in each row, as you wrote down in step 4.
Skip step 6 and proceed to step 7.
Rows 2-4 for Odd Numbered Stitches

You are here because you ended the first row with a knit stitch.
Row 2:
**Purl one stitch.
Bring yarn from front to back.
Knit one stitch.
Bring yarn from back to front.
Repeat from ** across to complete the row.
Row 3:
Repeat Step 3 in this Instructable.
Row 4:
Repeat Row 2, as described above.
You should now have 4 rows of knitting and the same number of stitches across, in each row, as you wrote down when you did step 4.
Your four rows should appear as shown in this picture, but there will be a higher number of stitches on your needle.
Rows 5 Through 27

The next group of rows will be done in stockinette stitch, alternating one row of knit, then one row of purl.
Row 5 - Knit all the way across.
Row 6 - Purl all the way across. Count the stitches of this row and make sure they match the number in step 4.
Rows 7-27: Repeat rows 5 and 6, ending with a row of knit. NOTE: Keep an eye on the number of stitches in each row. They should be the same number as you wrote down in step 4. If you accidentally add on more than three extra stitches by the time you finish row 27, your two finished gloves may be noticeably different in size. If you find you added more than three stitches, I suggest ripping down to the row that brought you over the three extra stitches and re-do from that row.
Your work should look like the picture for this step -- ribbing at the bottom, and stockinette above.
In the next several steps we will add to the number of stitches across and then reduce the number, so be sure you know how many stitches you have when you finish row 27.
Row 28


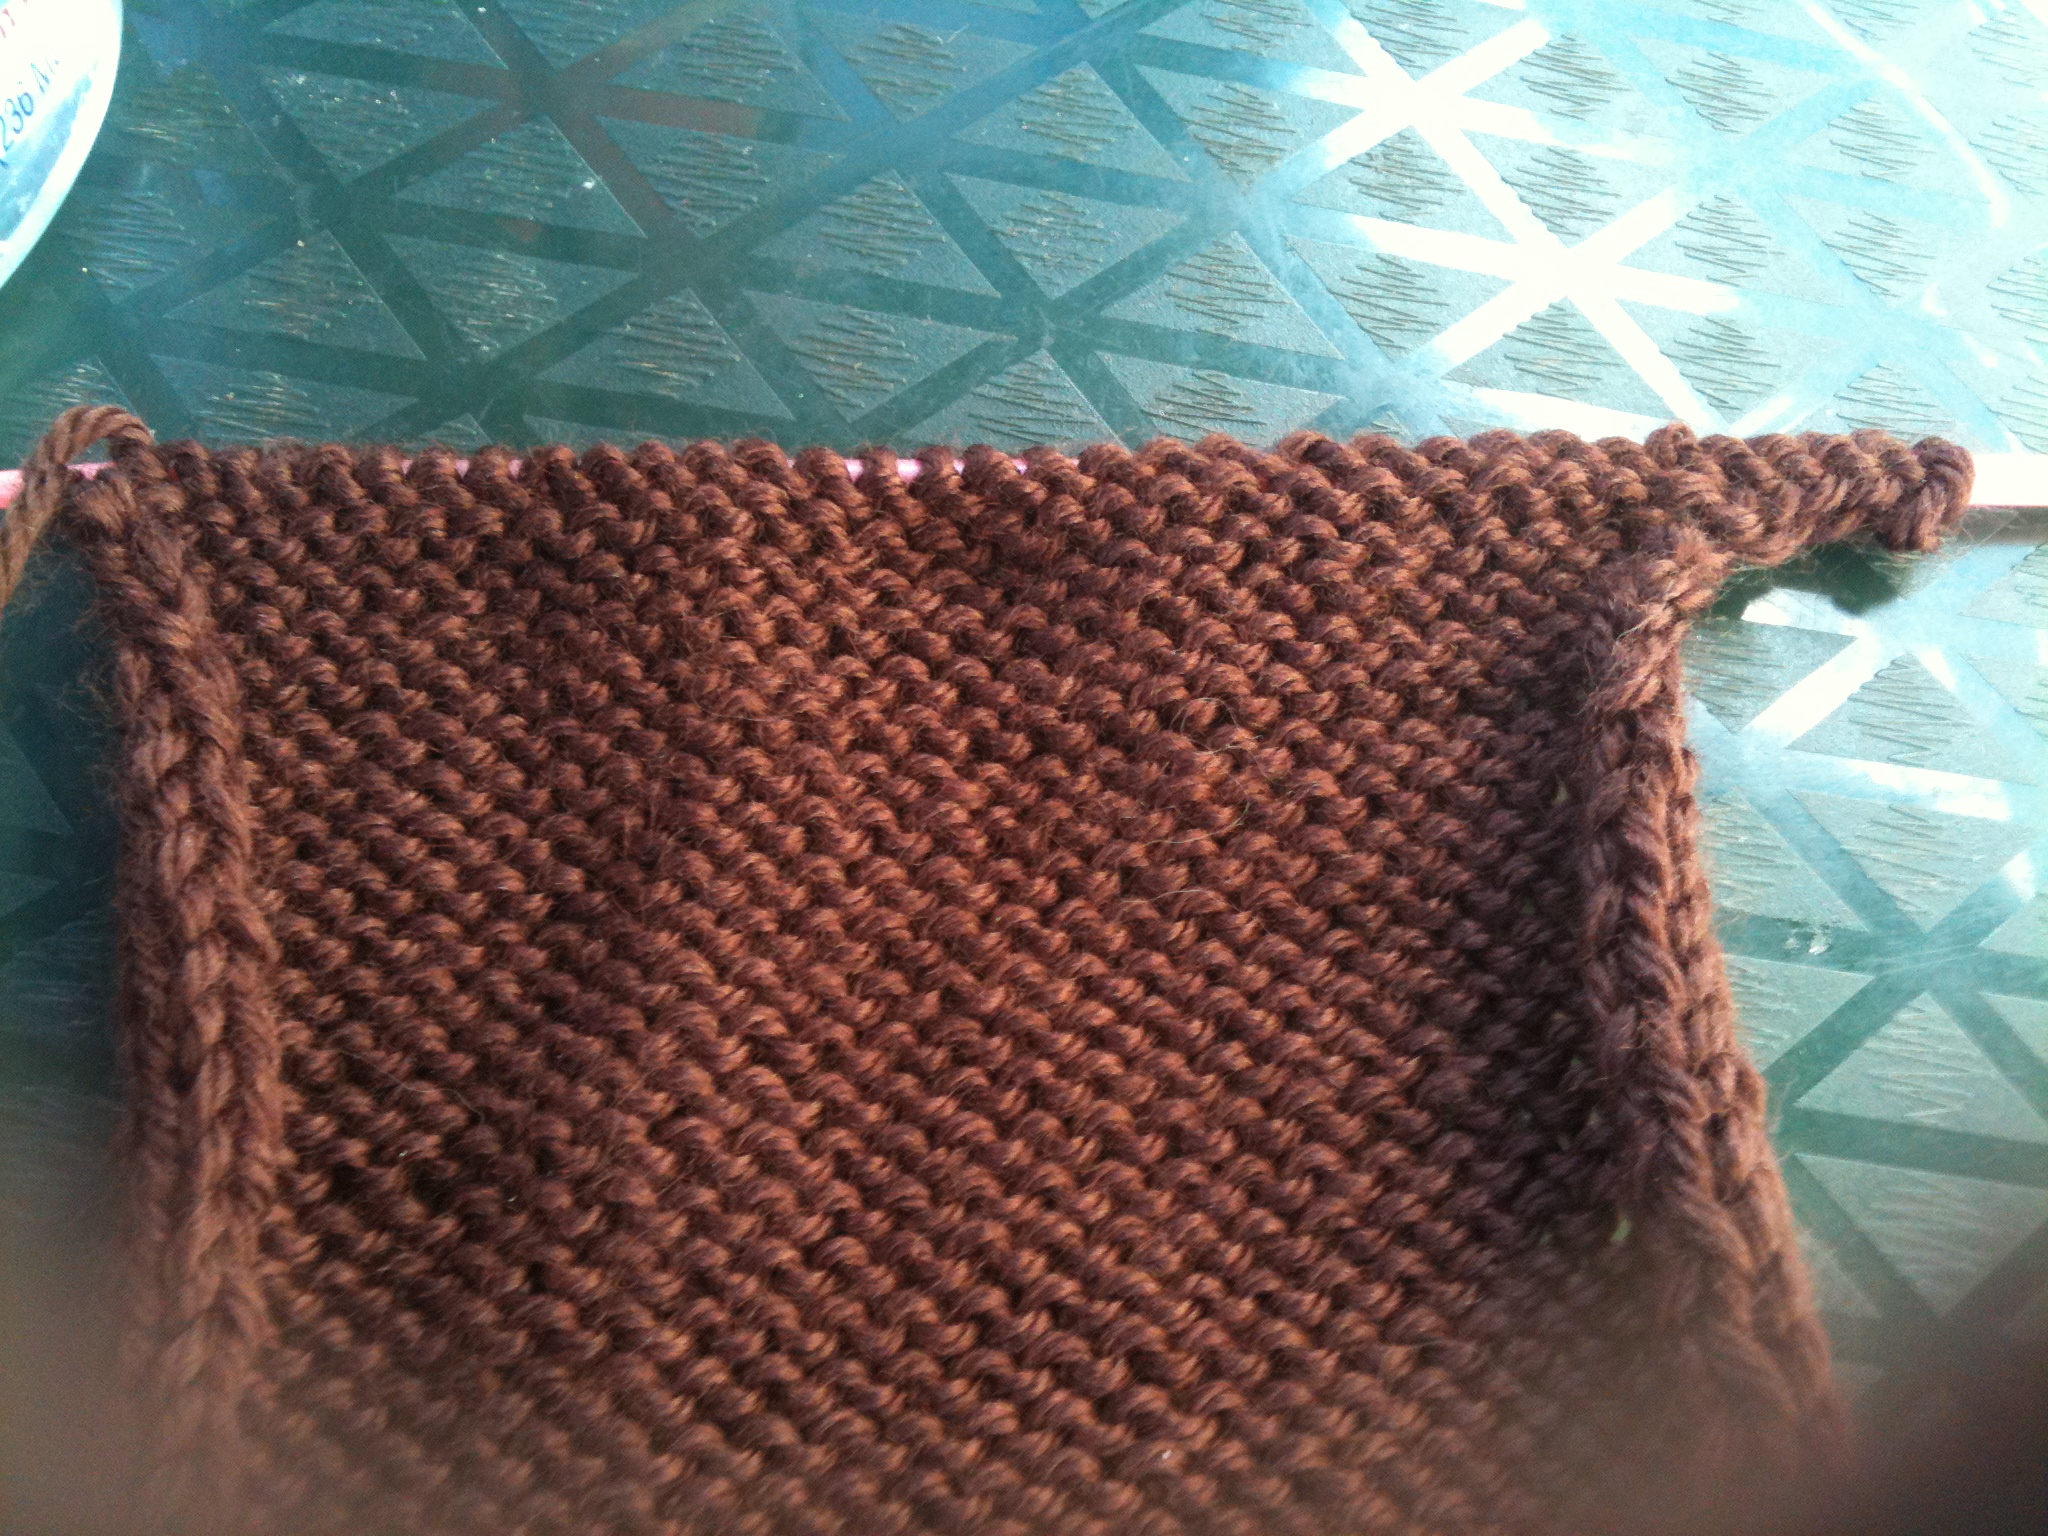
Purl all the way across.
At the end of the row, cast on 5 stitches (see screenshots showing casting on the first stitch and then what it looks like after all five are cast on).
Row 29

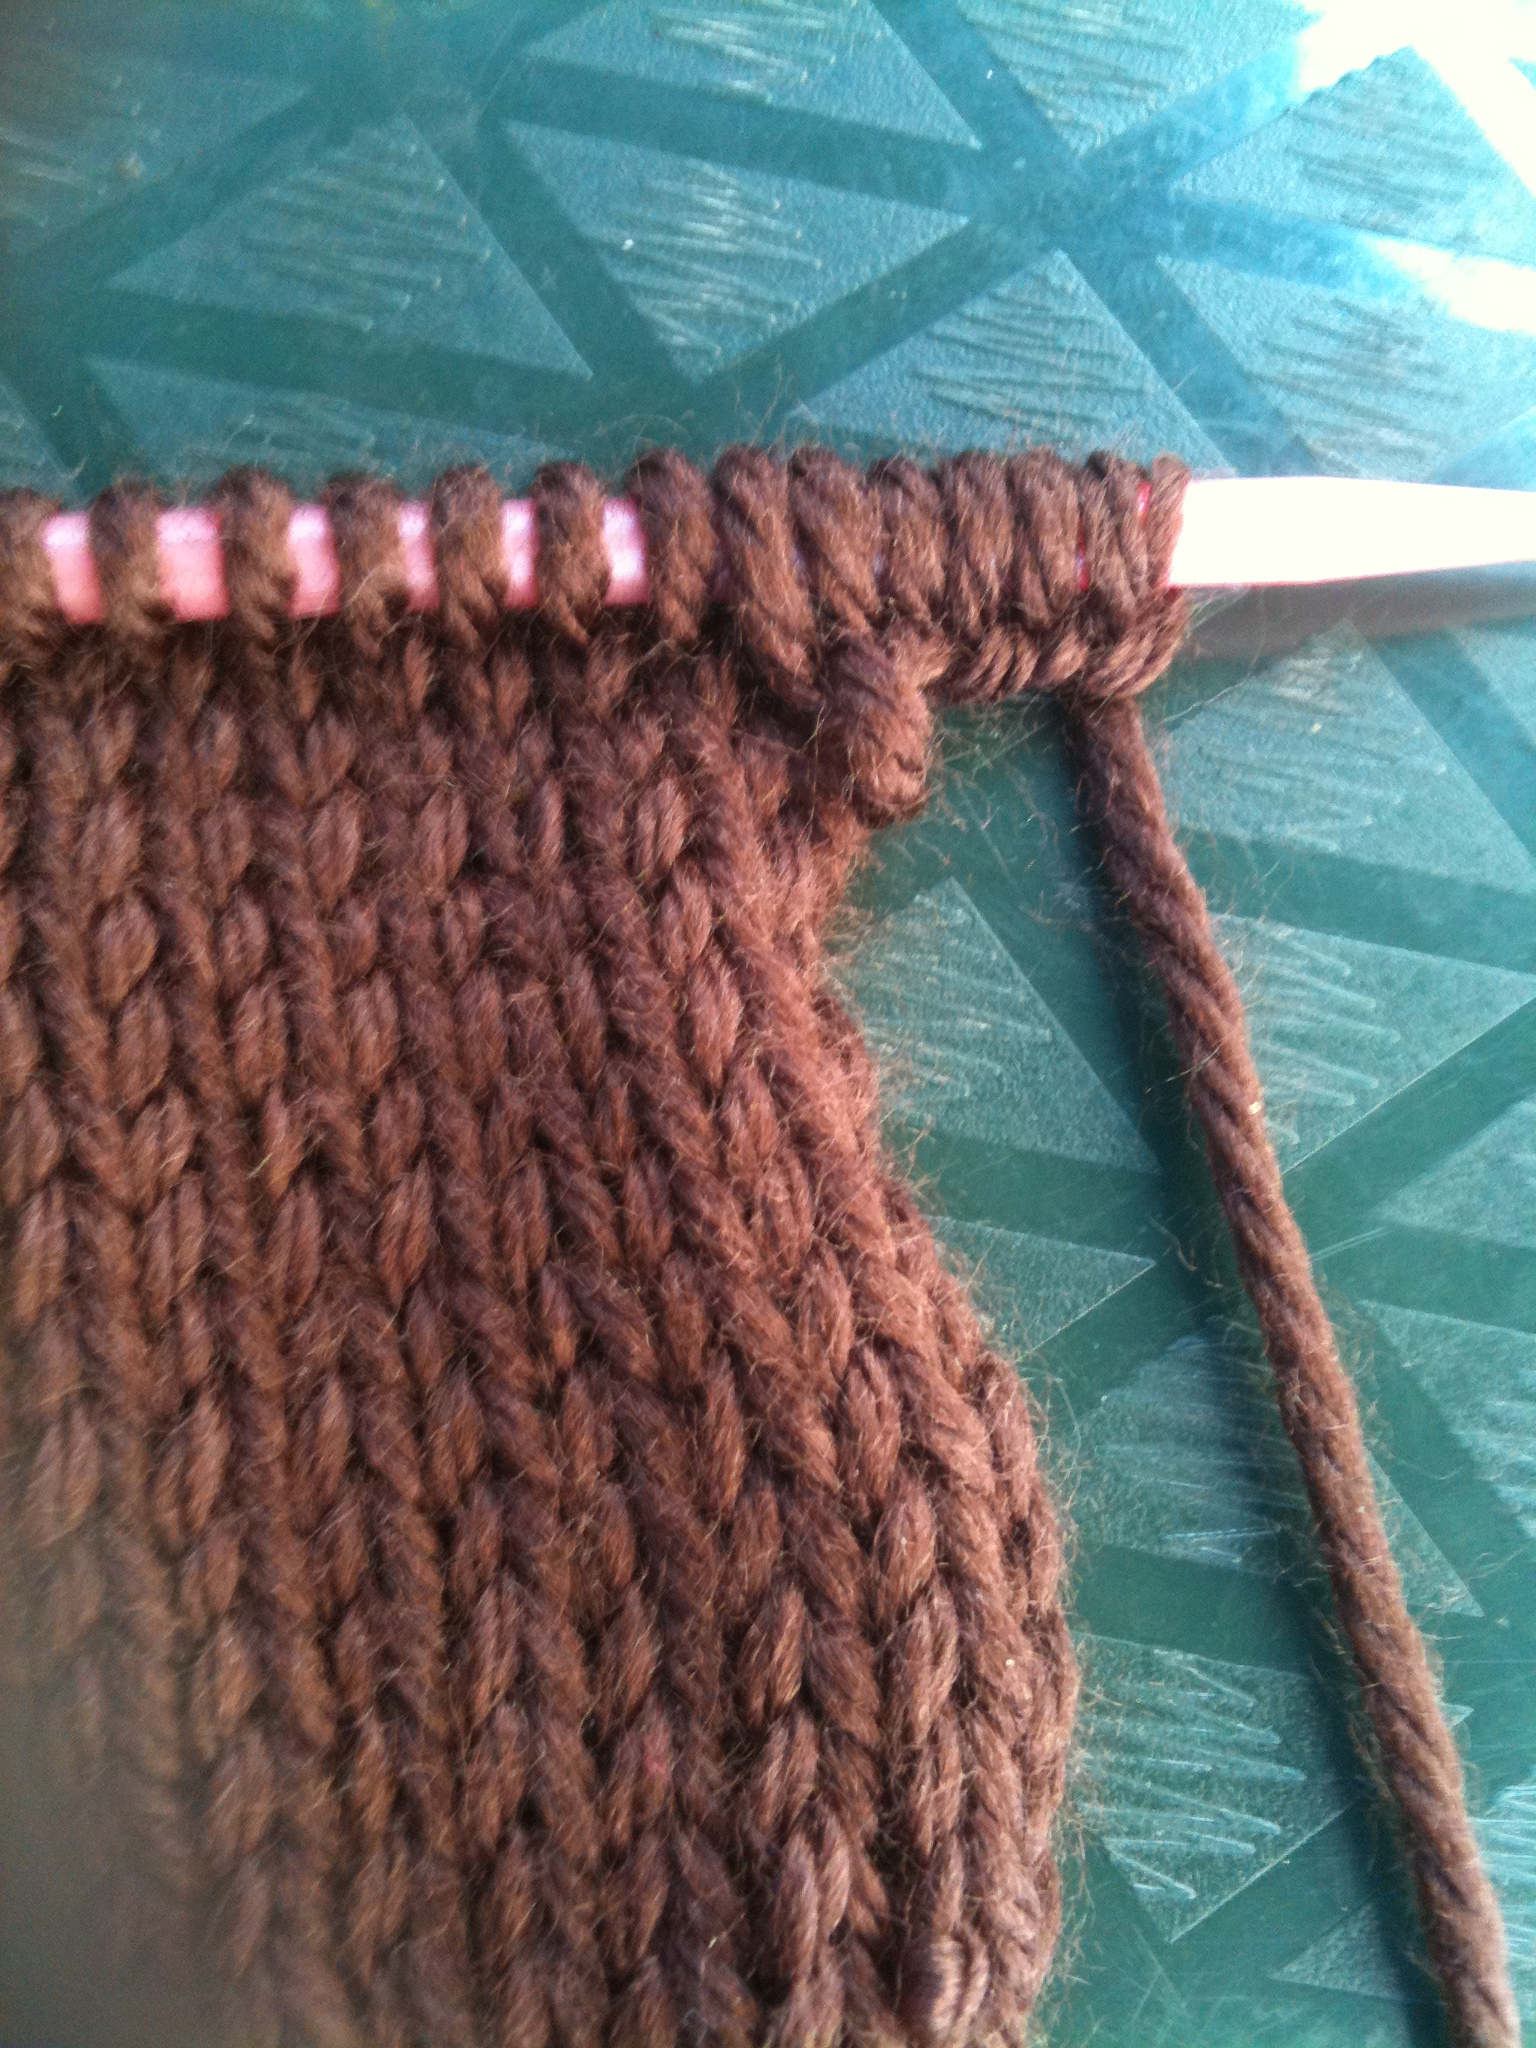
Knit all the way across.
At the end of the row, cast on 5 stitches (see screenshots showing casting on the first stitch and then what it looks like after all five are cast on).
Rows 30-33
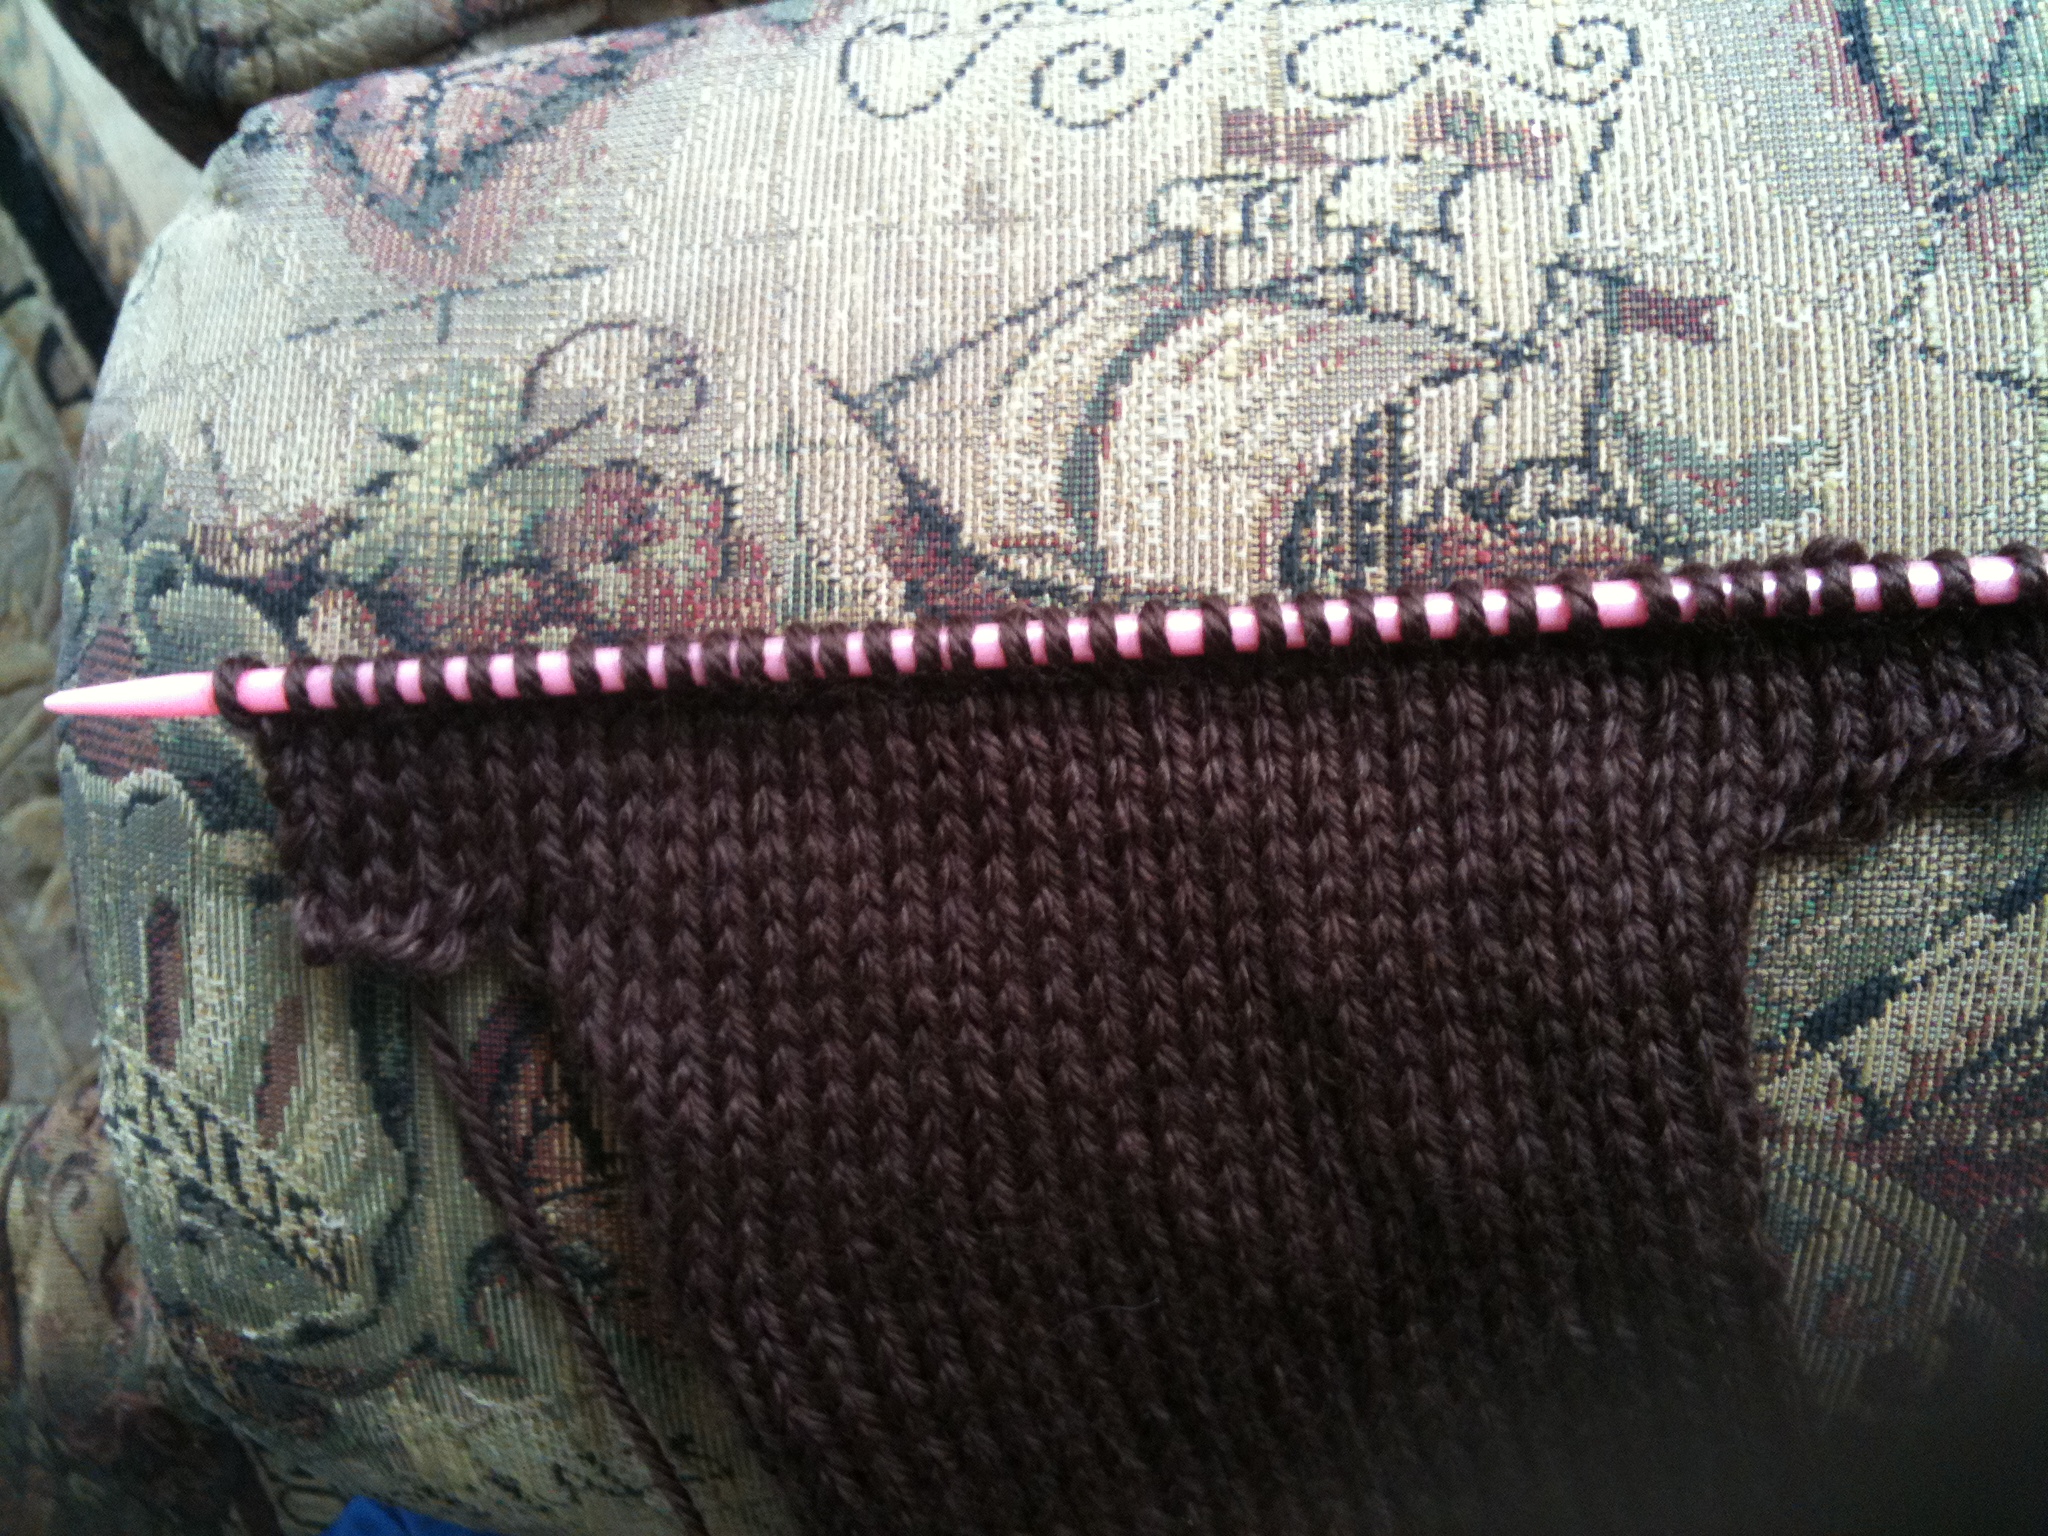
Row 30 - Purl all the way across.
Row 31 - Knit all the way across.
Row 32 - Purl all the way across.
Row 33 - Knit all the way across.
Row 34


Row 34 - Cast off the first five stitches. Purl all the way across.
See first picture.
Row 35
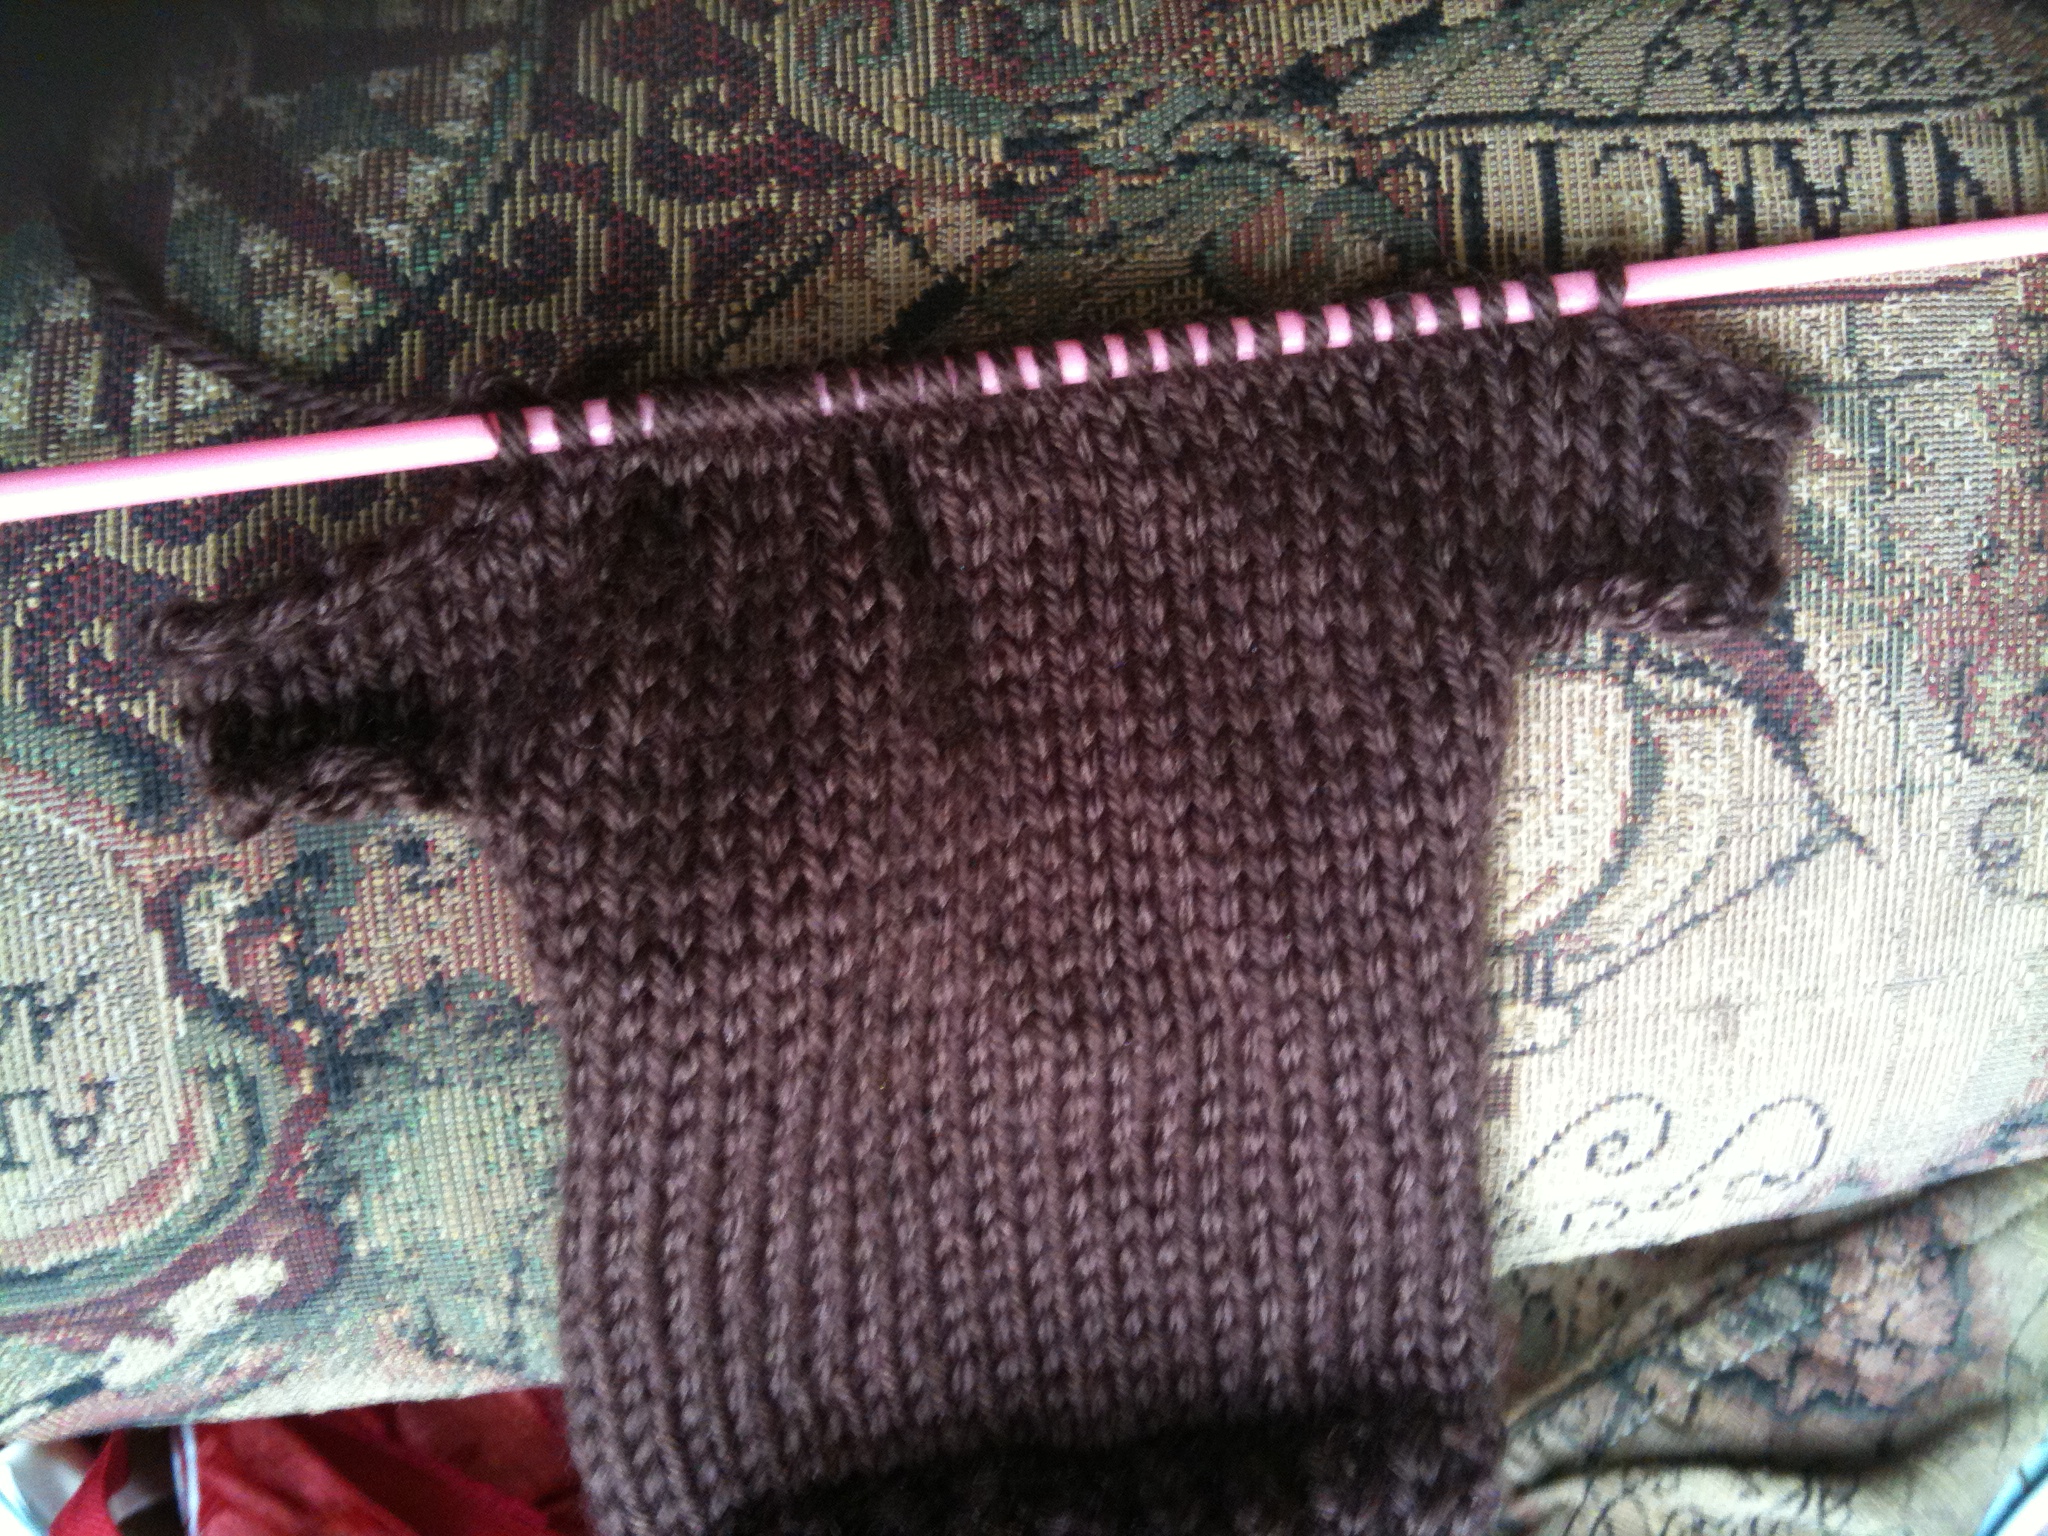
Rows 36-40
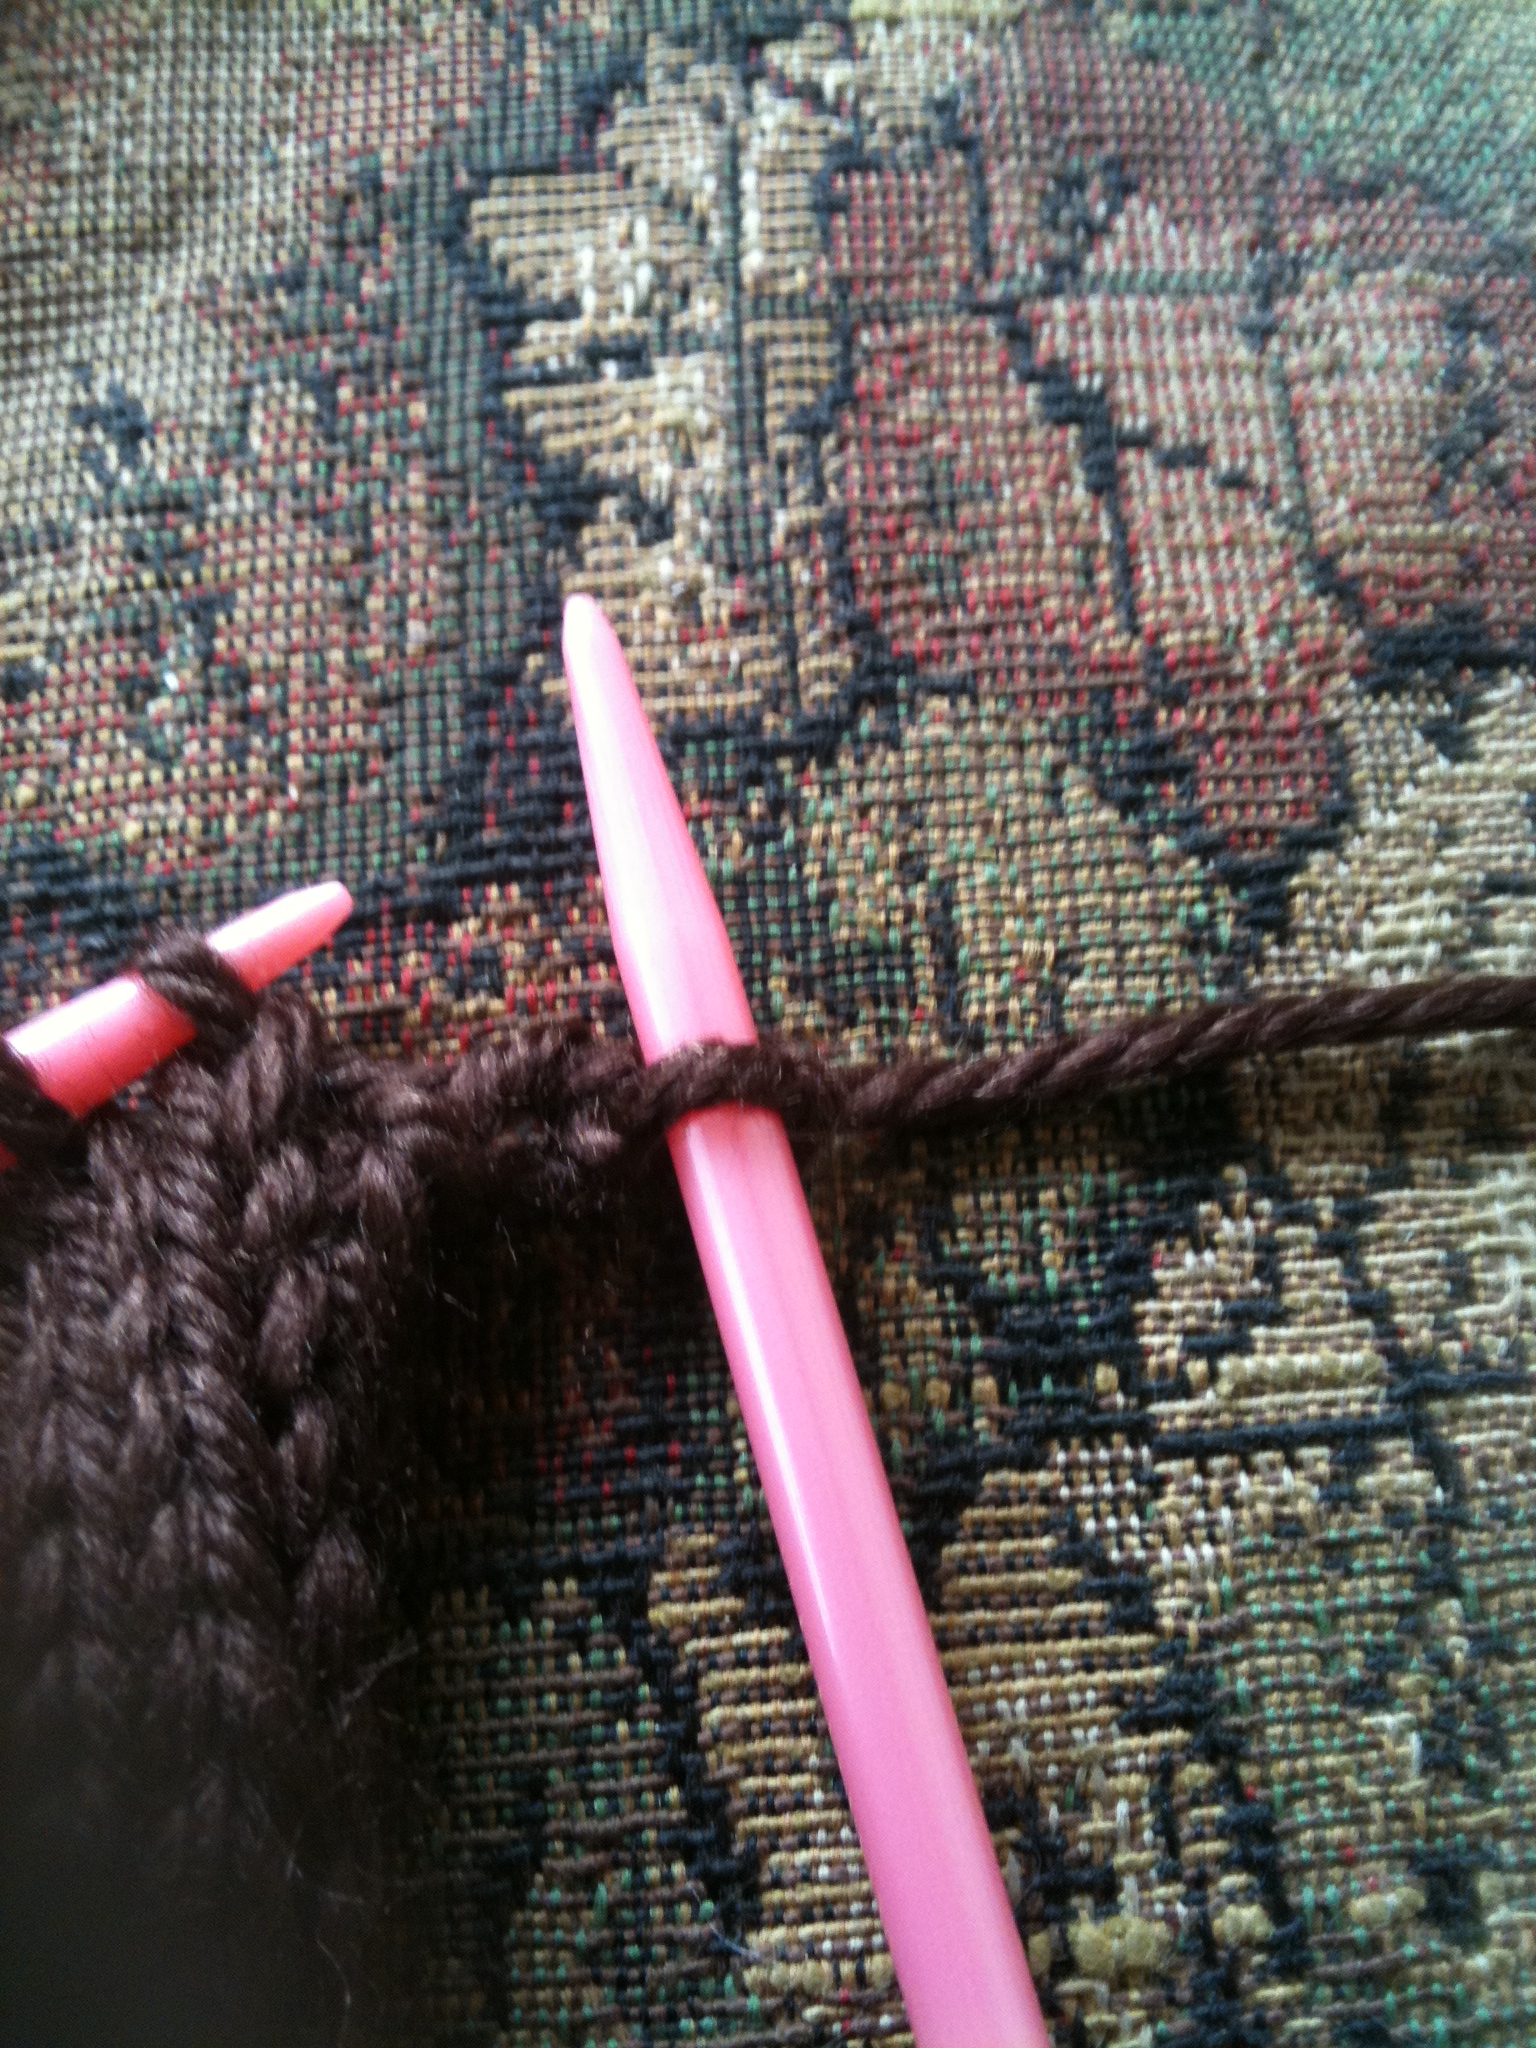
Row 37: Cast off one stitch. Knit all the way across.
Row 38: Repeat Row 36.
Row 39: Repeat Row 37.
Row 40: Purl all the way across.
Row 41

**Knit one stitch.
Bring yarn from "back" to "front". First picture below shows yarn in back; second picture shows in front.
Purl one stitch.
Bring yarn from "front" to "back".
Repeat from ** all the way across to complete the row.
If you have an odd number of stitches and ended this row with a knit stitch, skip step 15.
Rows 42-52 for Even Numbered Stitches

Skip step 16 and proceed to step 17.
Rows 42-52 for Odd Numbered Stitches

Row 42:
**Purl one stitch.
Bring yarn from front to back.
Knit one stitch.
Bring yarn from back to front.
Repeat from ** across to complete the row.
Row 43: Repeat Step 14 (row 41).
Row 44: Repeat this step (row 42)
Rows 45-52: Repeat row 43, then 44.
Bind Off

Here are instructions if you need them.
Prepare for Sewing

Because this glove fits so snugly, it has an odd appearance when it lays flat and unworn. However, you can clearly see the thumb sleeve now.
Fold the glove in half, lengthwise, lining up all edges.
As you sew, you want to keep the edges as closely aligned as possible.
Thread the tapestry needle with the thread from the tail.
Sew Edges Together
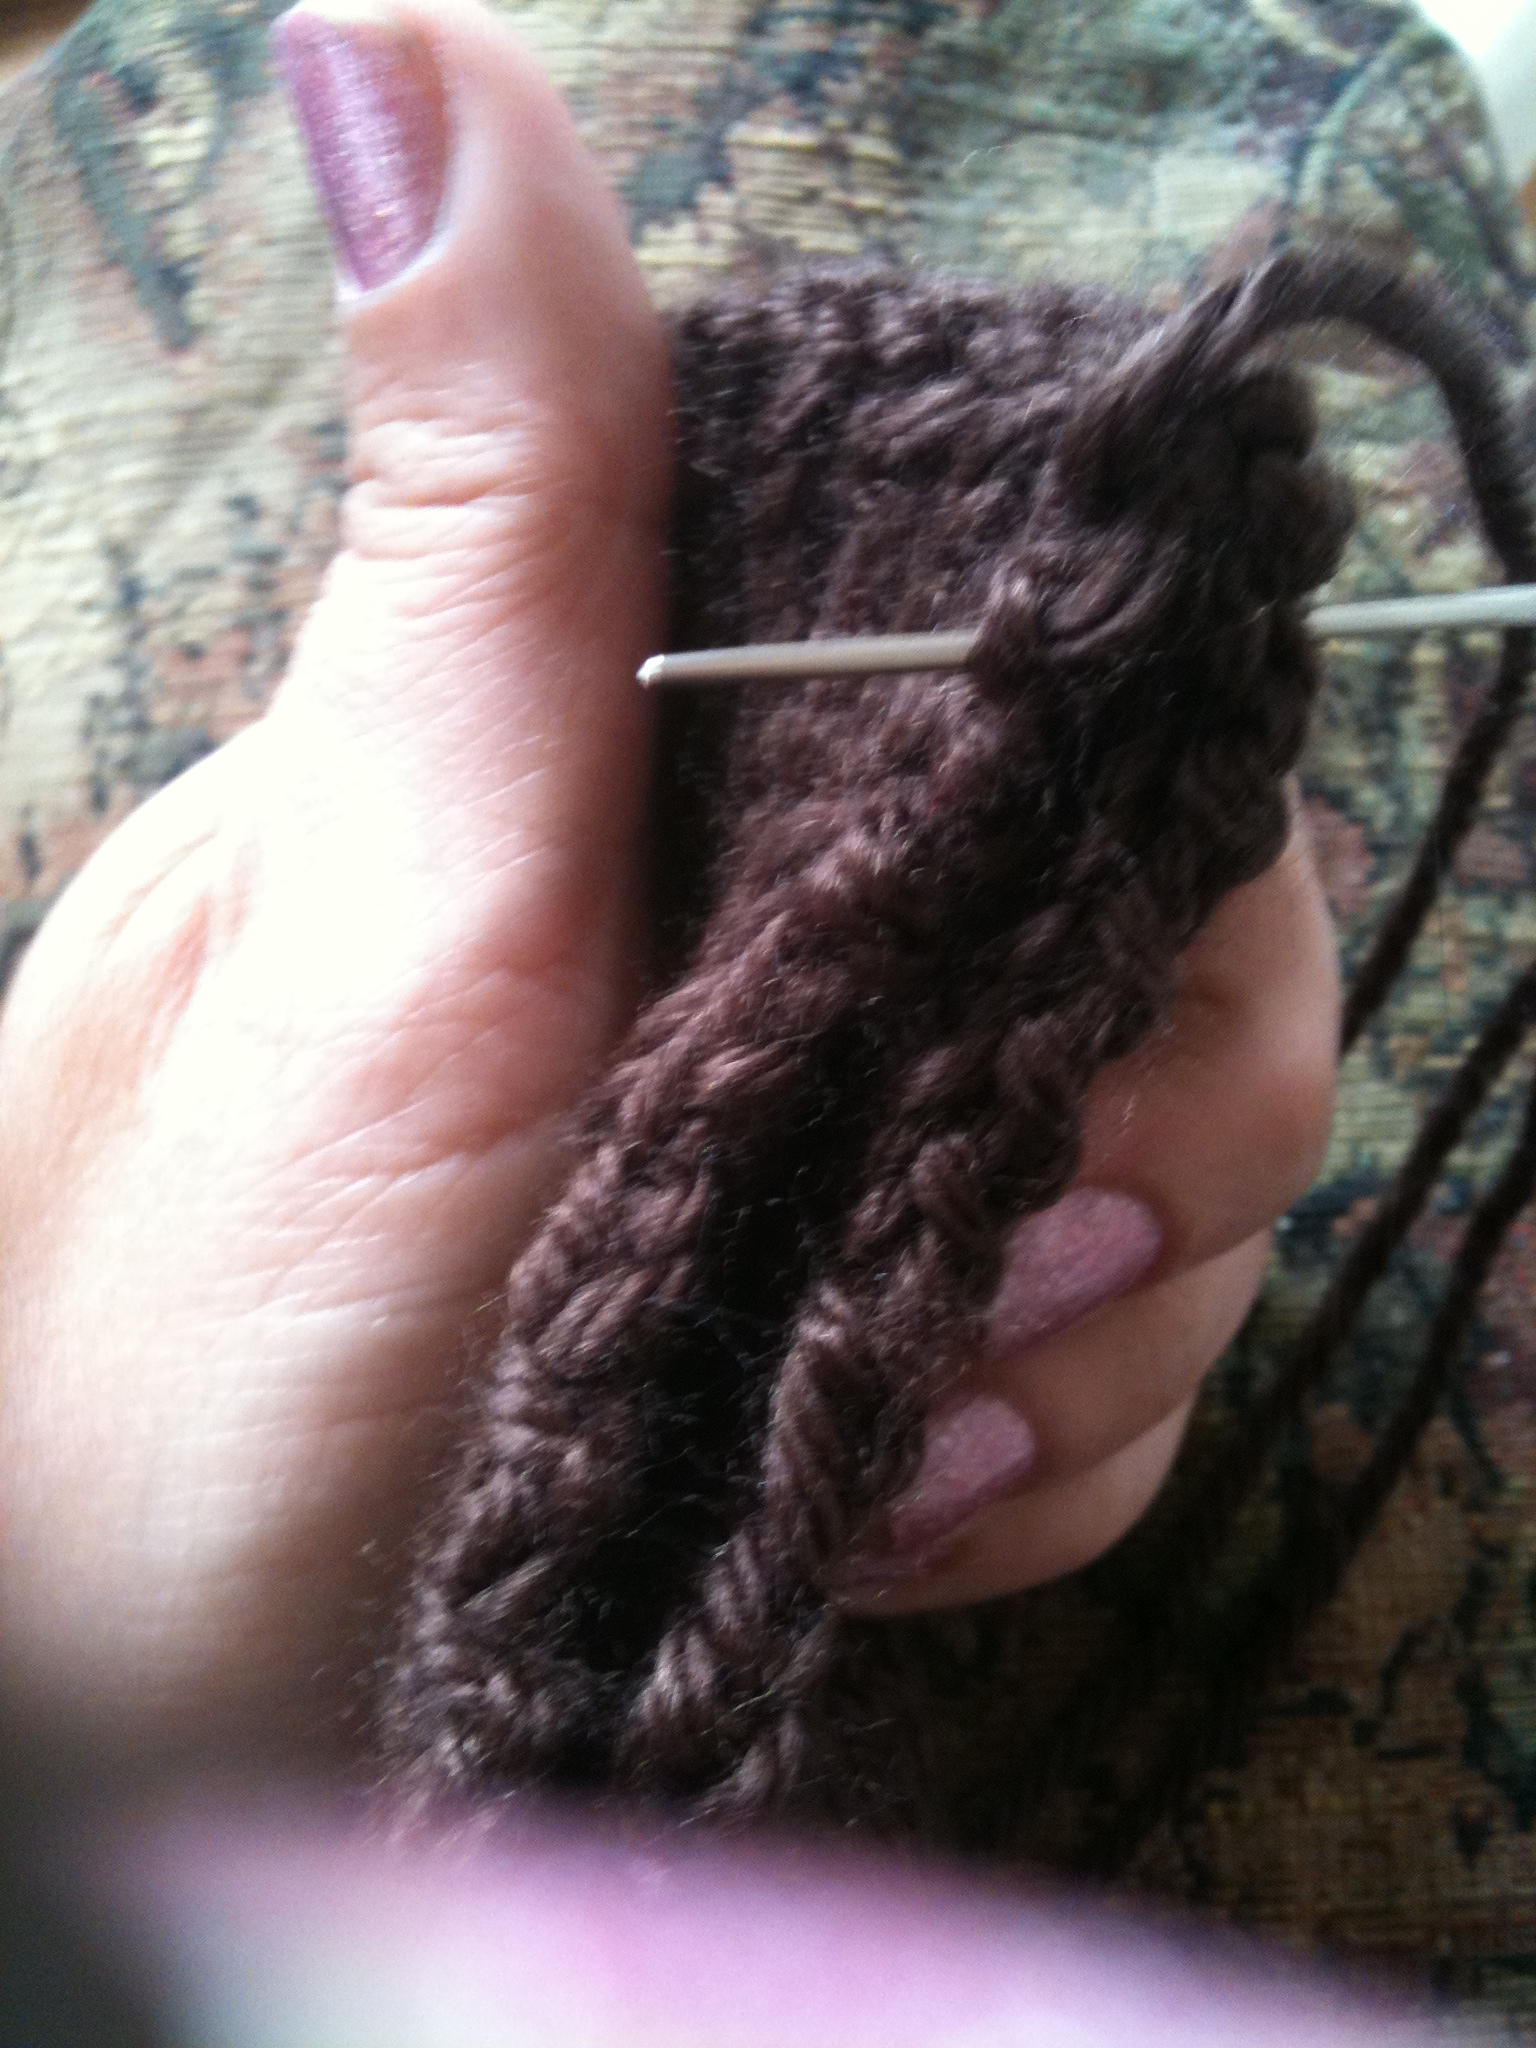
Insert the needle into the opposite edge of where the thread exits the glove. For example, if it is hanging on the left side of the glove, insert the needle into the right edge of the glove and bring it up through the left edge, performing a single whip stitch. Repeat this stitch (right to left or left to right) until you reach the edge of the thumb where your thumb will stick out.
In response to a comment below, I'm adding a suggestion here to check out this link for help with whip stitch.
https://rensfibreart.files.wordpress.com/2010/04/join-1.jpg
Weave Around Thumb Sleeve


You don't want to close off the opening of the thumb sleeve, so you will weave the yarn around it on only one side. Do NOT stitch both layers together.
If it helps you understand exactly where the thread should be woven, slip the glove on your hand and stick your thumb through the sleeve. Simply weave the needle through the stitches as shown in the picture, until you reach the next edges of the glove that should be sewn together. Also see the drawing if the picture does not help.
Continue whip stitching the rest of the glove edges, keeping them aligned, until complete. Weave the yarn back through about 3 inches of whip stitches to hide the end, then cut the thread.
You're Done!


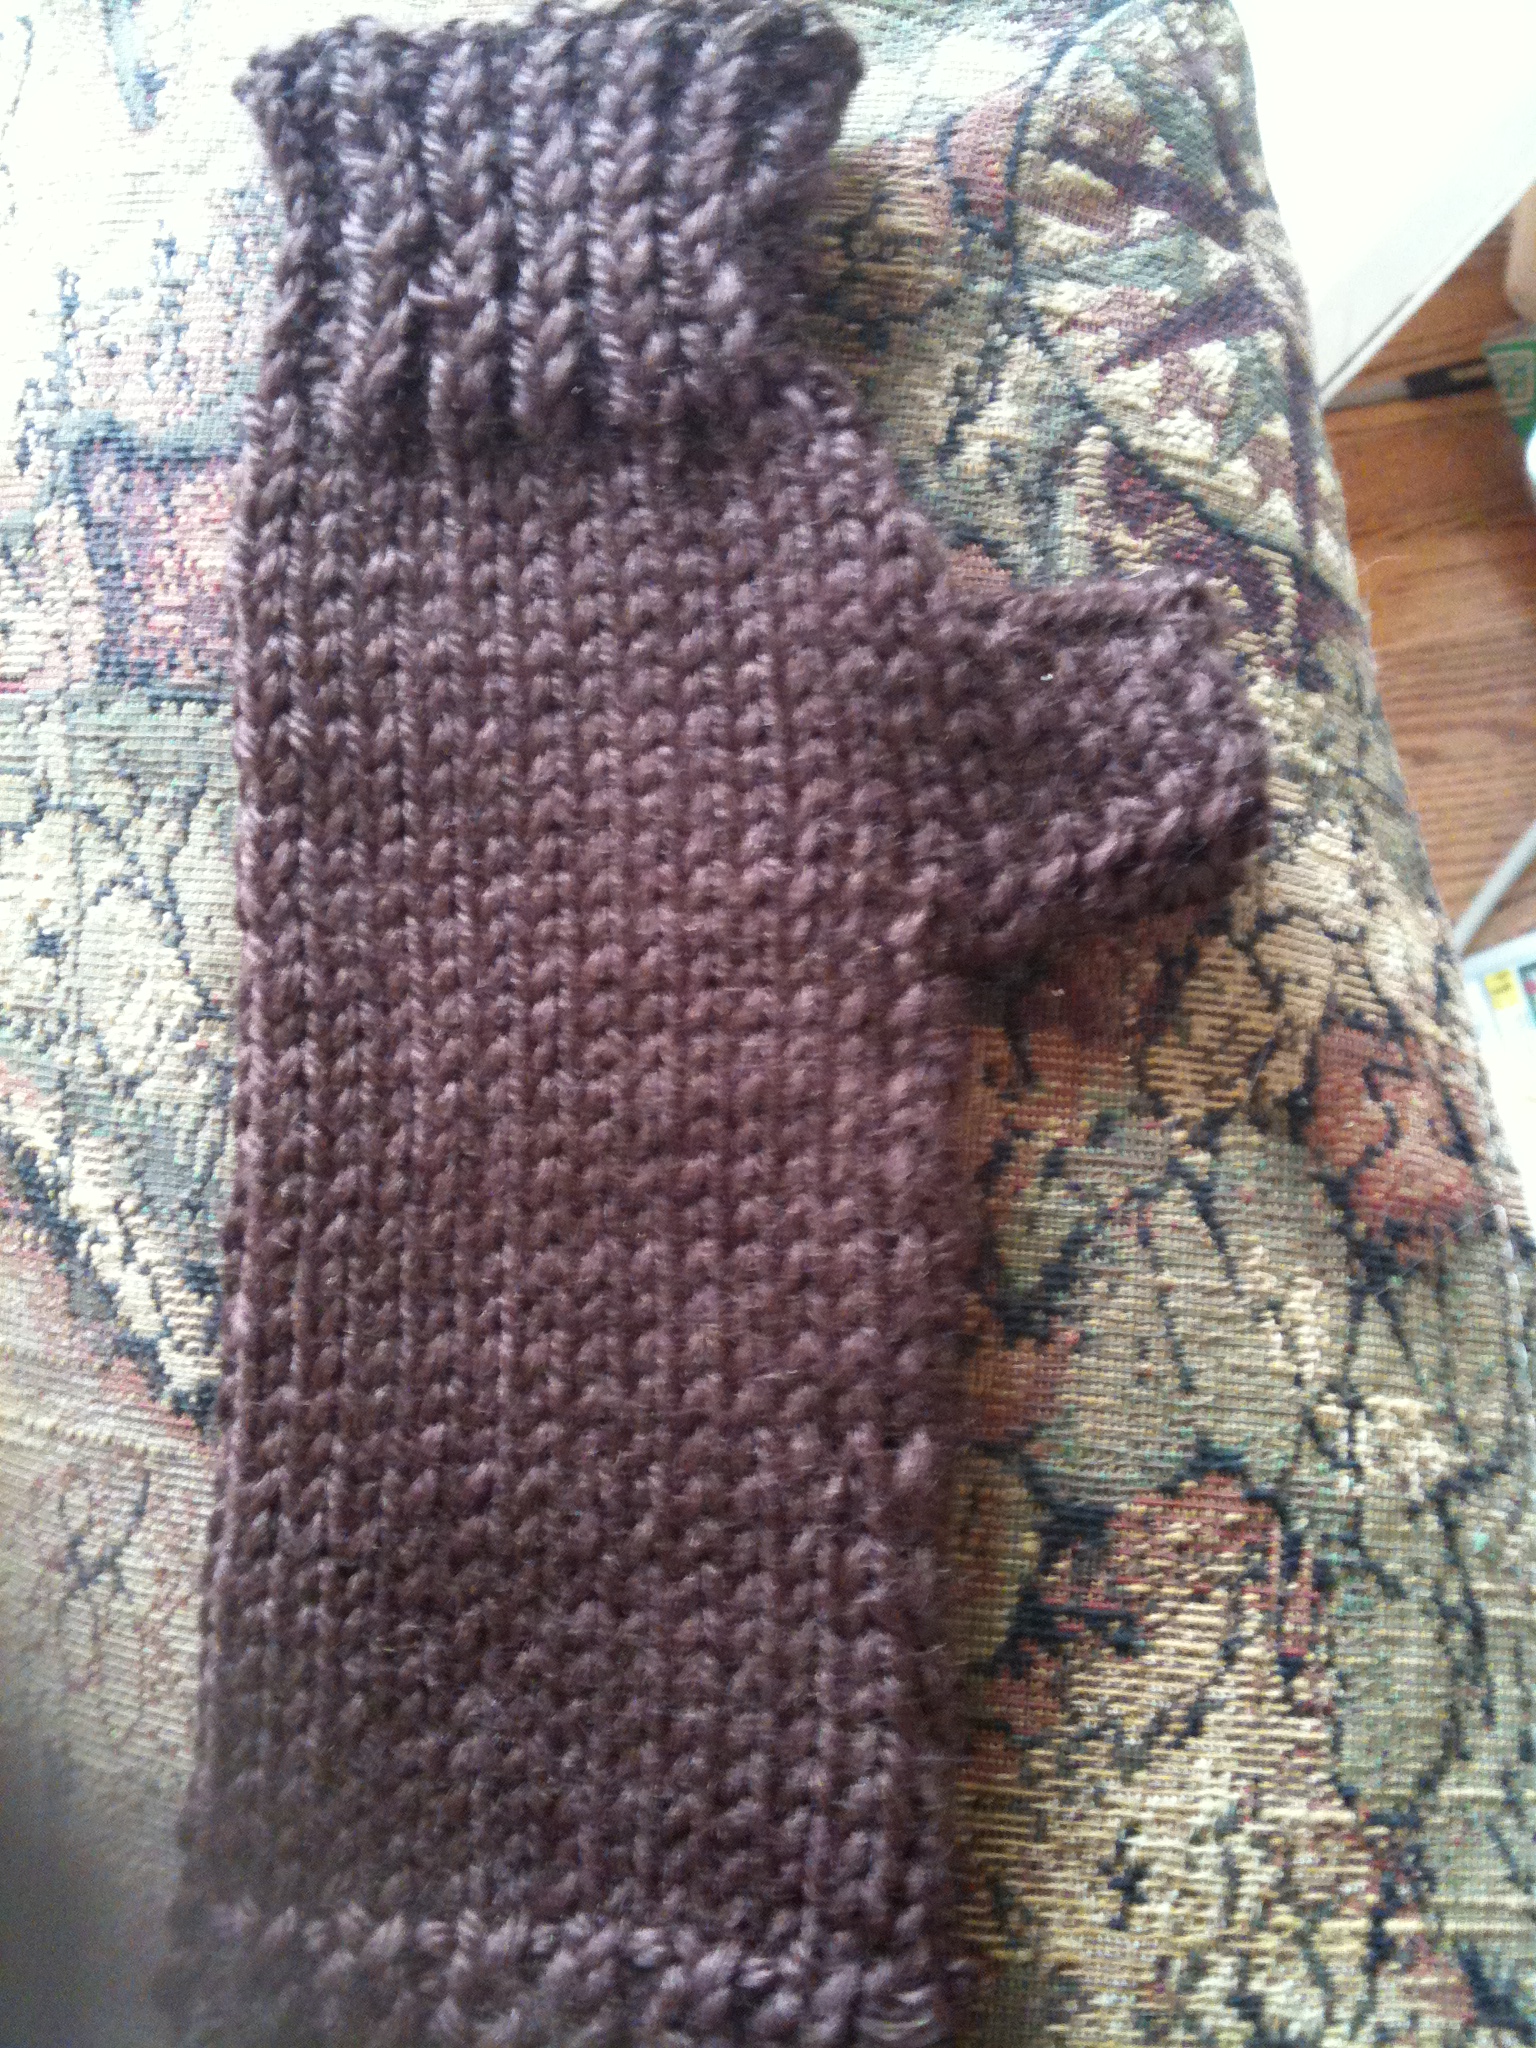
Try on your glove and revel in your accomplishment! Then, make one for your other hand. The glove can be worn on either hand, so the instructions are exactly the same for both hands. Enjoy!