How to Install a Web Development Enviornment on Localhost
by cvxdes in Design > Websites
20501 Views, 25 Favorites, 0 Comments
How to Install a Web Development Enviornment on Localhost
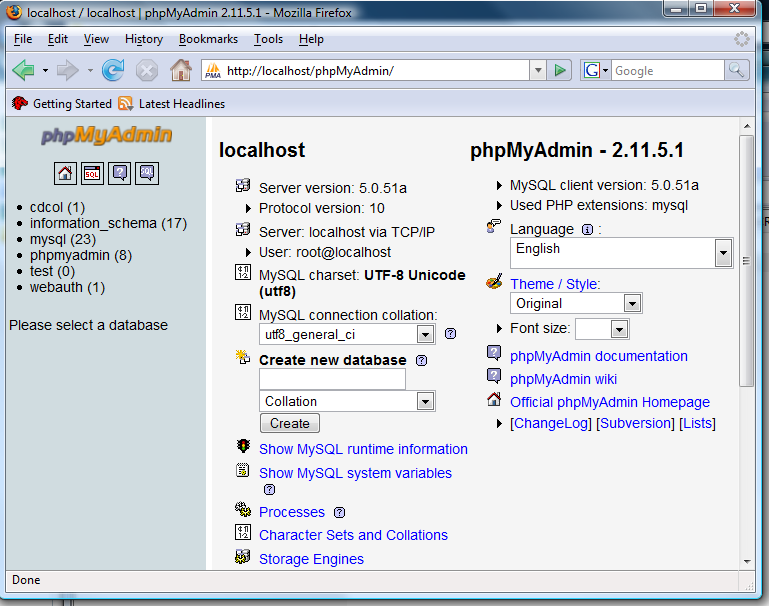
This instructable is to show you how to install Apache, PHP, MySQL on localhost.
Also how to set it up so that you have some cool network features, such as being able to load the root directory using the computer's name (http://desktop/index.php), being able to edit files on other computers, and access different computers through different ports while using a domain or IP.
For people who are just getting into web development, this will help you a bundle. I've been using this setup (or similar) for at least 2 years. You can code sites on localhost, and once it works perfectly, upload it onto a host.
Unfortunately, I am forced to do this on a Vista machine, since my laptop with XP is already set up, and this computer gives me ACPI errors when I install XP.
Configure Your Network Card
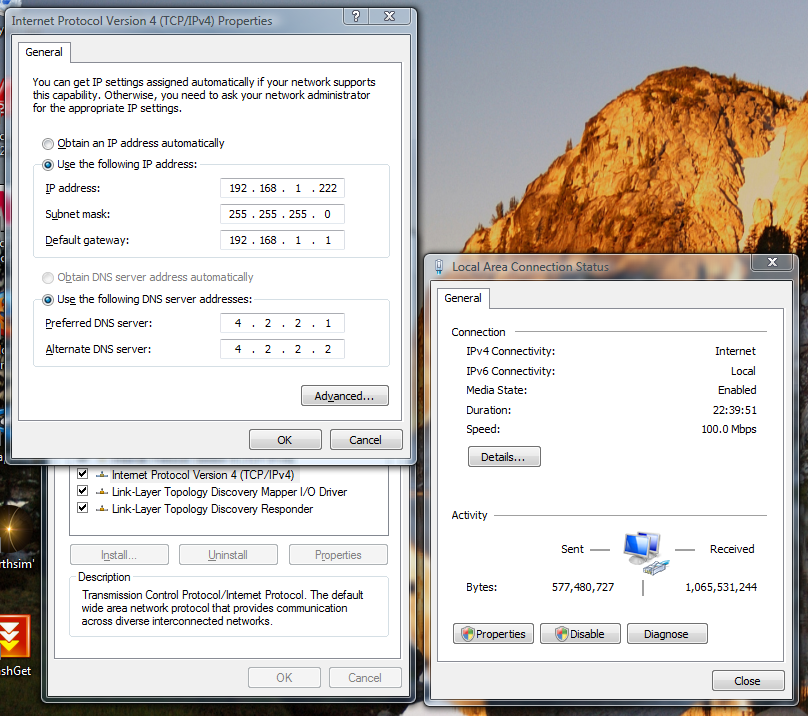
In order for you to be able to use this on computers outside your home network, (The internet) you will need this step.
This only work if you have a router.
Go into your control panel, Network and Sharing center. Where it says Connection, look to the far right. There should be a View Status button. Click on that.
Note down your IP address, (IPv4, if you see IPv6 too) your subnet mask, default gateway, and DNS servers.
Now press close, and in the "Local Area Connection Status" window, click on Properties.
Click on TCP/IPv4, then click on properties. Check off "Use the following IP address", and enter in all the information you just noted down.
Optionally, you can use 4.2.2.1 and 4.2.2.2 for your DNS servers. I find that they update really fast compared to other DNS servers.
This ensures your PC keeps the same local IP, and the DHCP doesn't re-assign you an IP whenever you restart.
Configure Your Router
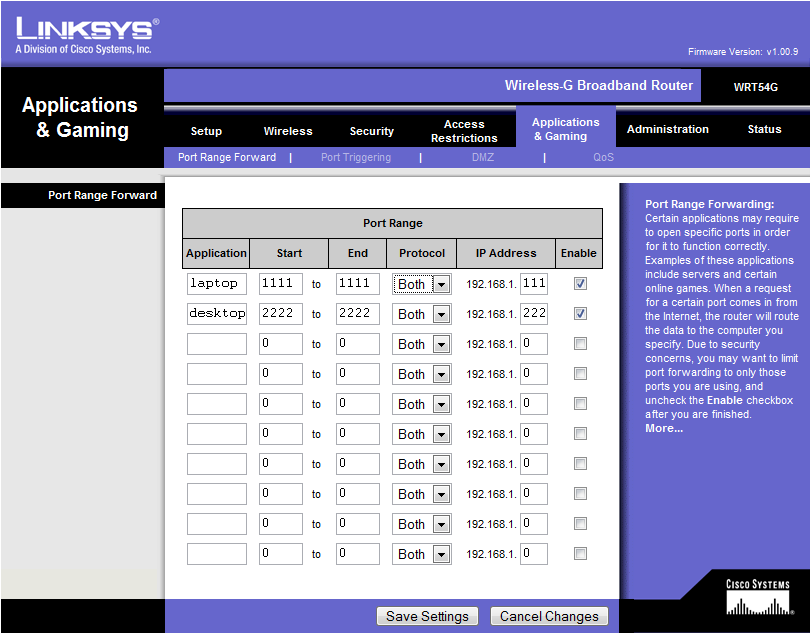
In your web browser, type in the Default Gateway IP from the previous step. It may ask for a password, it may not. It should be different for everybody, for me it's admin/admin - The default Linksys password. If that doesn't work, i suggest checking Google or a manual.
Once logged in, look for port forwarding. Enter in the IP address from the previous step, and a random port number. I wouldn't suggest port 21 or 80, as they are FTP and HTTP protocols default ports. You don't want random people being able to access this, so random numbers that only you know are the best. Make sure the protocol is set to both UDP and TCP.
This will be different for everybody, unless you have a WRT54G. You'll just have to search your settings for these.
Optional: Det Up DNS Fowarding
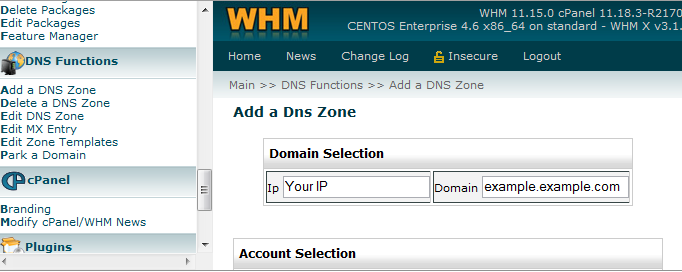
If you have hosting somewhere with a domain, or have an inactive domain that you would like to point to your computer, you can do that. You'll be able to access it through the port you set up last step. If not, you can access it from your IP.
If you wish to access it from your IP, then you're already all set. If not, read on.
First, you'll need to figure out what your IP is. Try going to DomainTool's IP Checker
If you have an existing hosting account, you can use a domain that's on that account to access your home's apache. These instructions are if your host uses cPanel, and if you have a WHM account, otherwise, you'll have to search for DNS settings. If you're looking for a good cPanel host, I'd recomend ASO Hosting. In WHM, go to the DNS Functions category, and click on add a DNS zone. Put in your IP, and type any subdomain of a domain you have on that account.
Now, once the software is installed, you'll be able to access everything from that subdomain, using the port that you've chosen.
Alternatively, you can use FreeDNS or other DNS services.
Get the Software
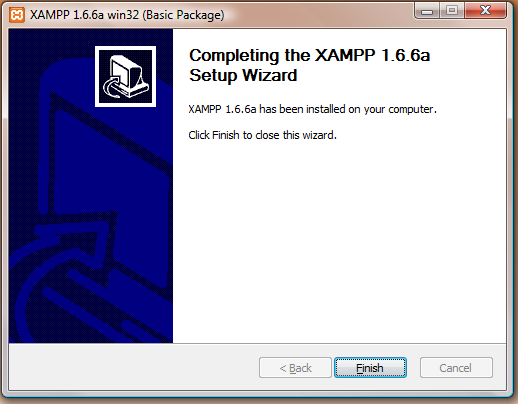
Download xampp from Apache friends.
Install it normally, and make sure to check off "Install Apache as service", and "Install MySQL as service"
When they're installed as a service, it saves you from using their control panel, and the 2 are on by default.
Make sure to allow connections through every firewall, and windows security center.
Configure Apache
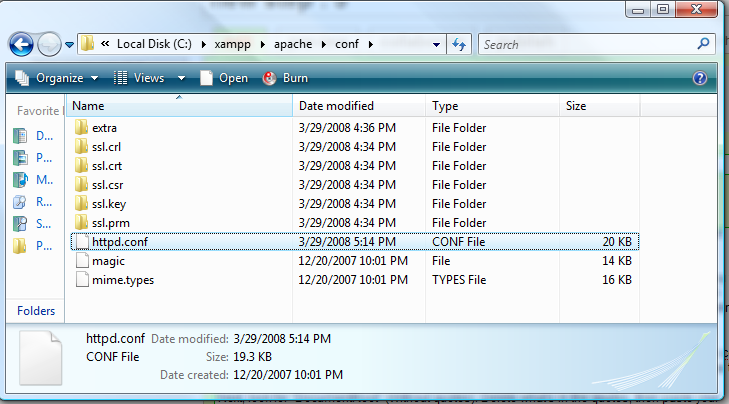
Apache now has to be configured so the web root directory is in My Documents, and it can be accessed through the appropriate port.
Start by going into your My Documents folder, and creating a new folder. Name it whatever you want. I choose web root, but there's always "www", or "public_html" if you want something different.
Open the folder, and click on the location address bar thing at the top. It should give you a definite location, for example, mine is C:\Web Root
Now, click out of there, and go up one folder. Right click on the folder you just created, and go into properties. Go into Security, then edit, then click add. Type in Everyone in the box, and press ok. Now, check off full control for Everyone, and press ok.
You'll want to copy this. Now, go to your xampp installation directory, go to apache, then go to conf.
Open httpd.conf in notepad, and find "Listen 80", (Without quotes) And add another line below that, saying Listen followed by the port number you chose in step 2.
Next, look for "DocumentRoot" (Without quotes). Delete what's in the quotes, then paste your location in them. You'll need to change any slashes to back slashes (\ should be changed to /)
Lastly, look for "<Directory "C:/xampp/htdocs">", substitute your install directory for c:/xampp
It should be around line 204. Replace what's in the quotes with your directory, once again, switching the slashes.
Now save the file.
Restart Your Computer, and Enjoy!
Restart your computer
You can now access your server in several ways
http://localhost/ (Local PC only)
http://computer name (Local network only)
http://your local ip (Local network only)
http://your external ip : yourport
http://your domain : yourport
I had to use bold, otherwise instructables automatically makes it a link.
You can use php, and mysql in any file that you put in the web root folder.