How to Install RAM in a Laptop PC (Asus G60-JX)
by pjahern in Circuits > Computers
55460 Views, 18 Favorites, 0 Comments
How to Install RAM in a Laptop PC (Asus G60-JX)
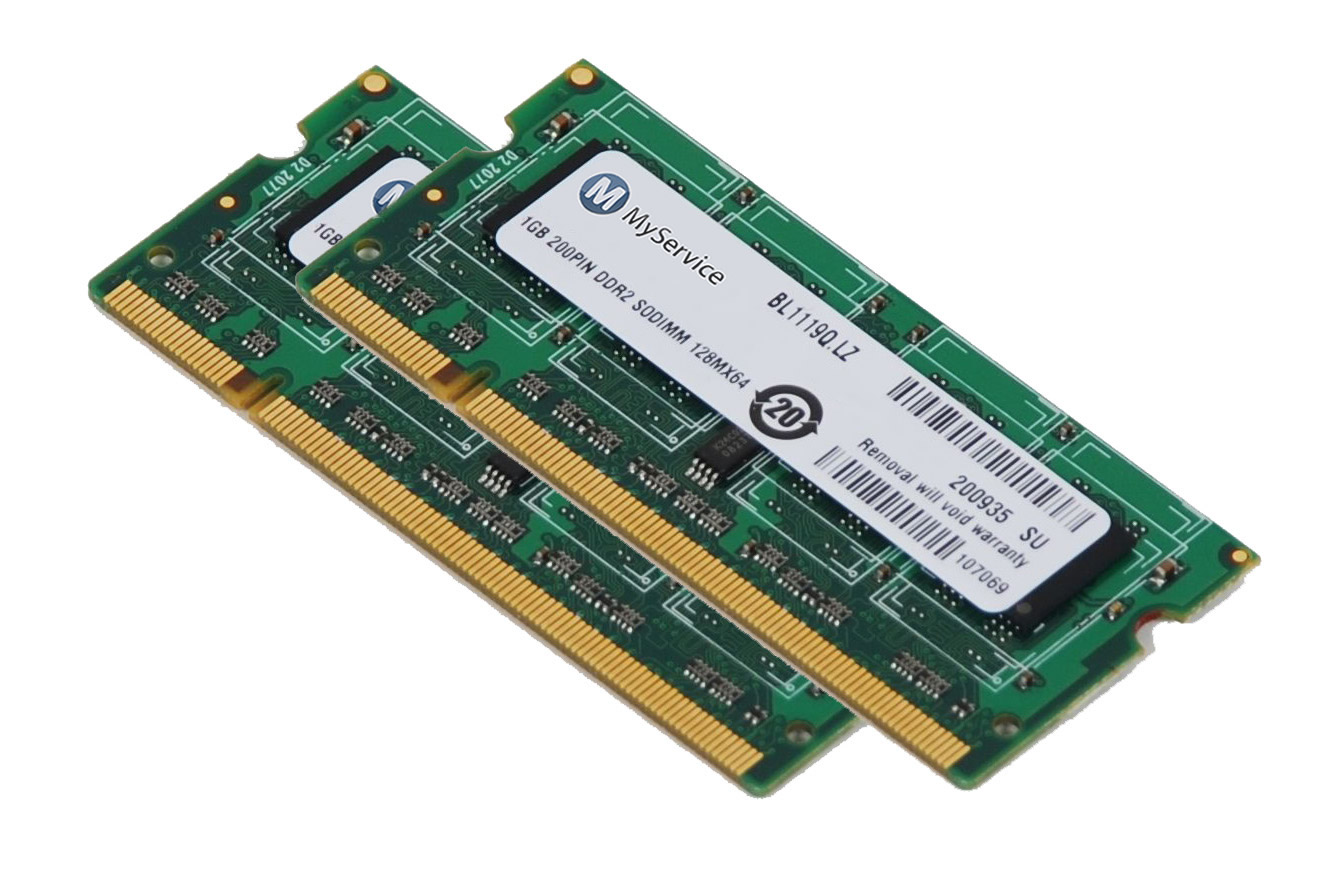
This is a basic overview on how to access, uninstall, and install RAM (Random Access Memory) cards in a laptop PC. RAM is used as a form of "temporary" memory in your computer. Basically, more RAM = more memory for programs to use = better multitasking and higher productivity. For this instructable I will be using my own laptop, an ASUS G60-JX. This will be useful for anyone looking to fix or upgrade the RAM in their laptop PC.
Remove Your Battery or Other Power Source

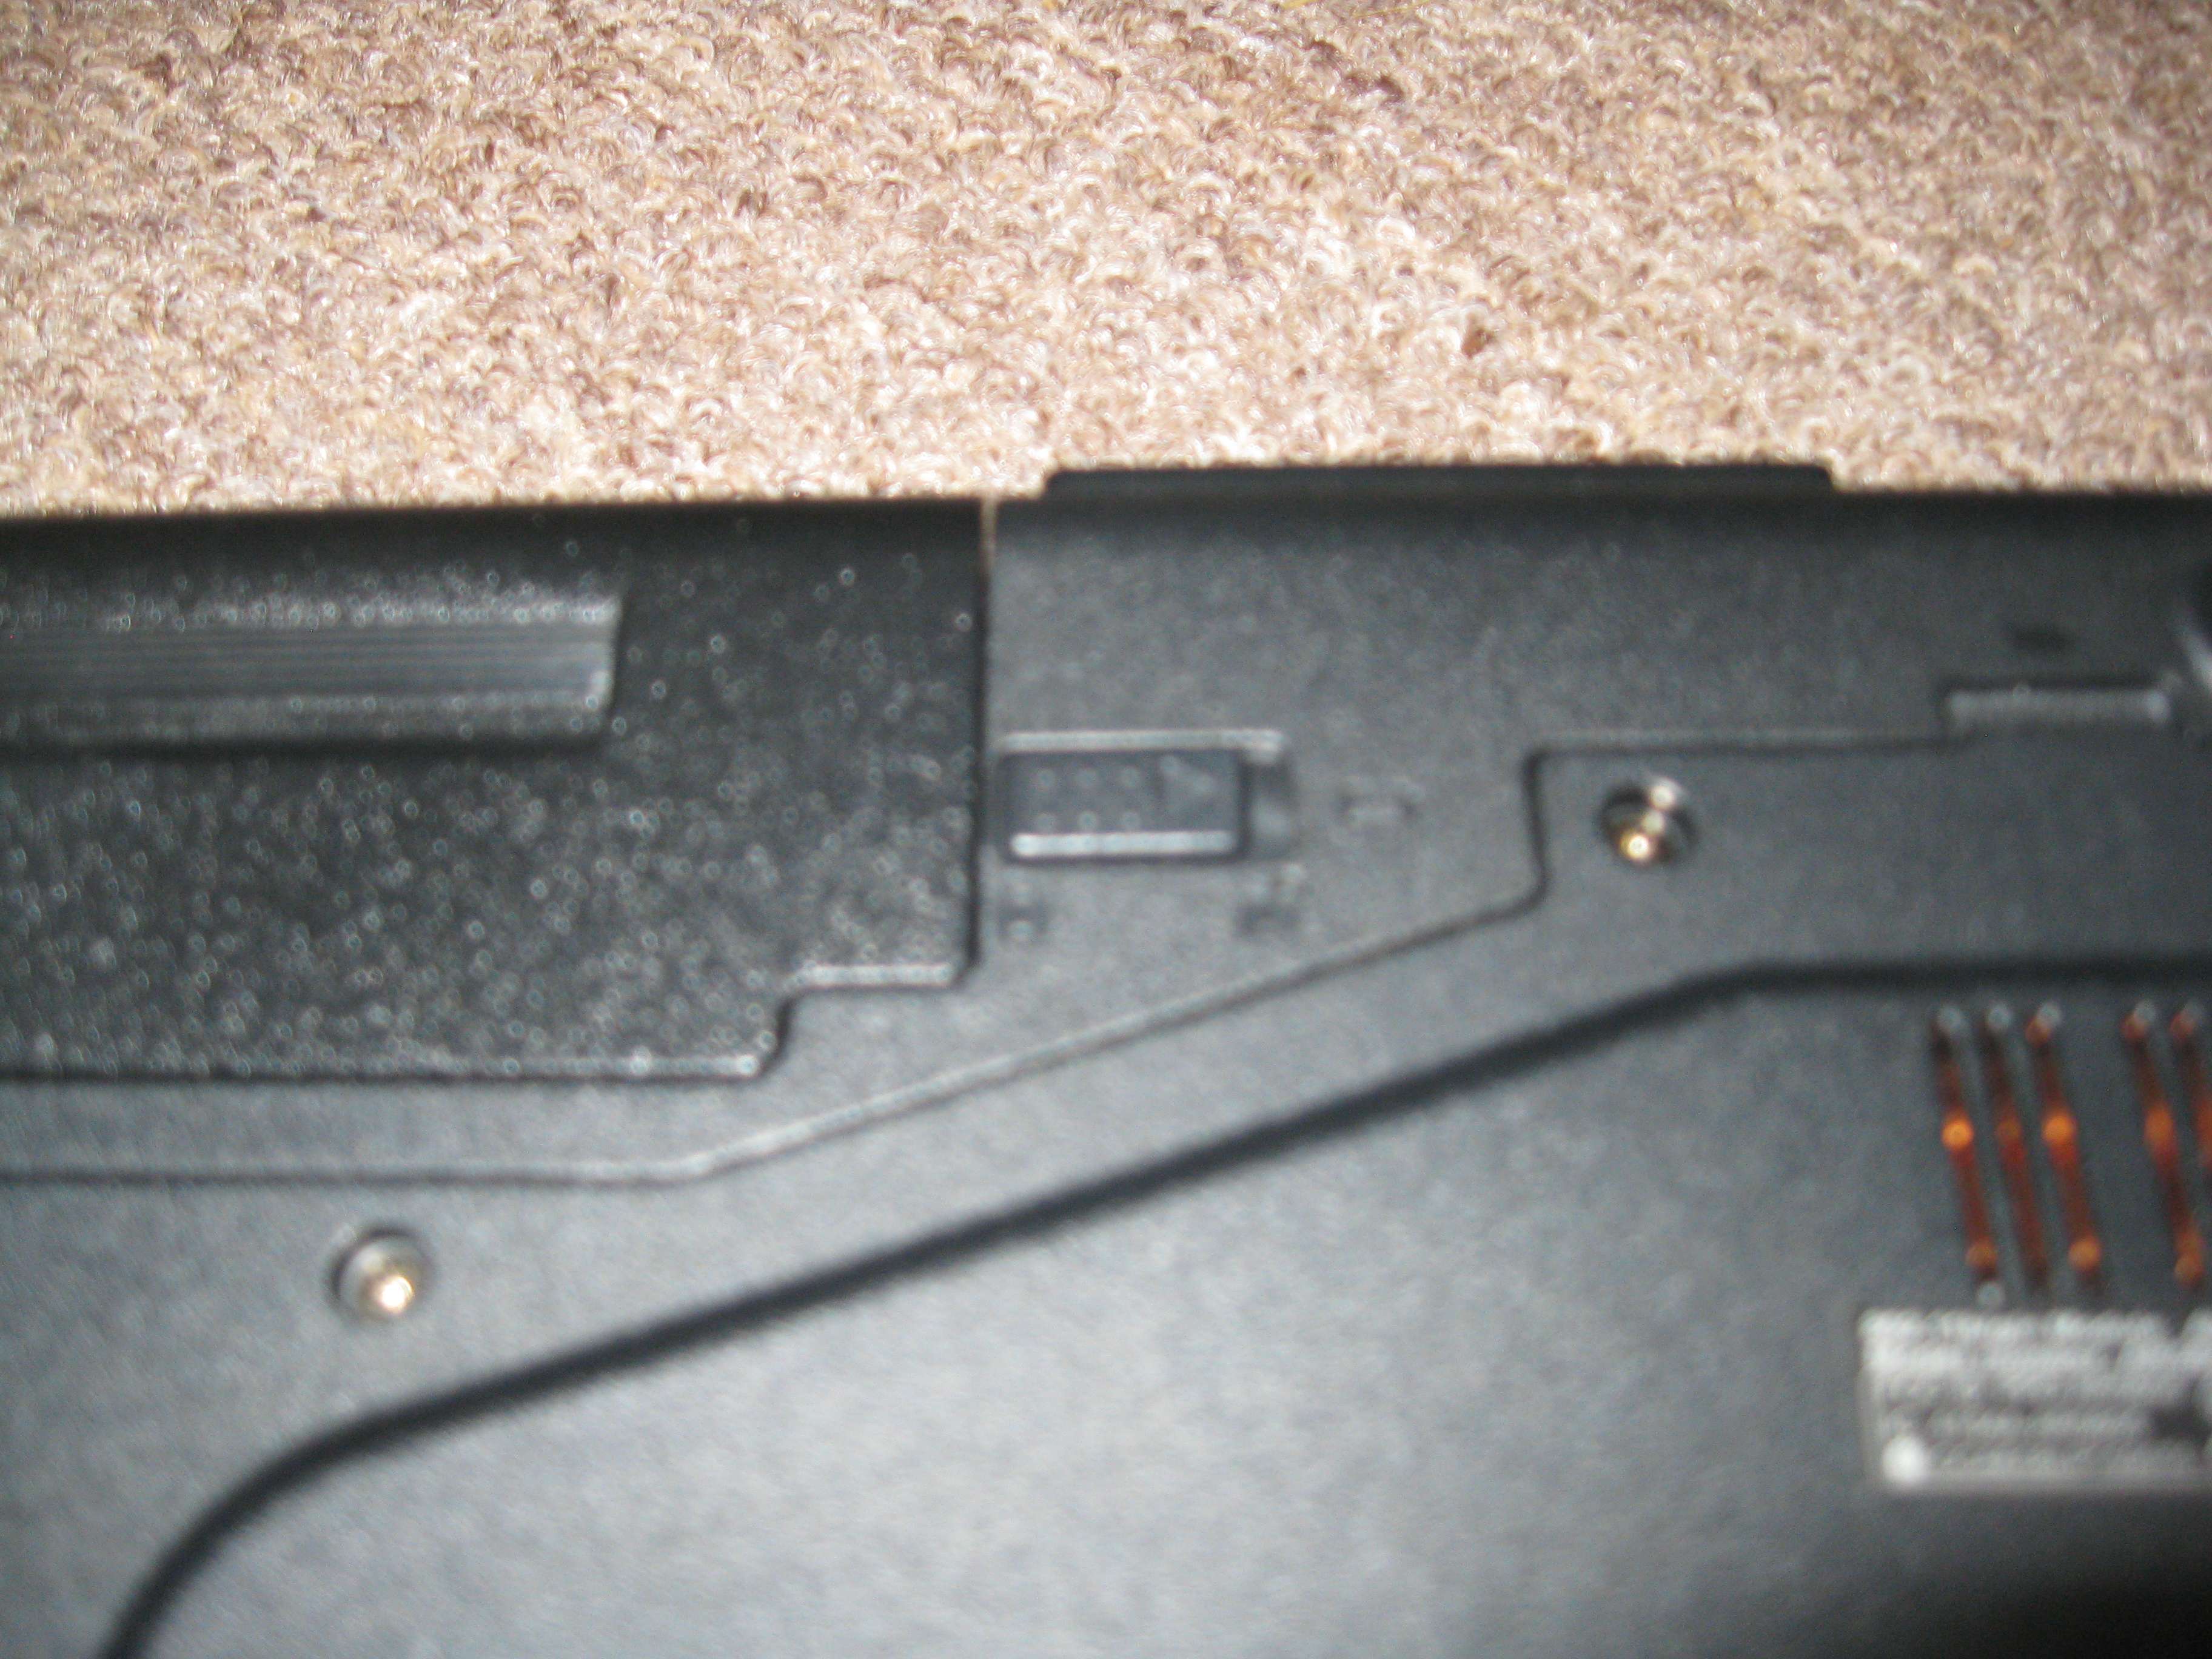
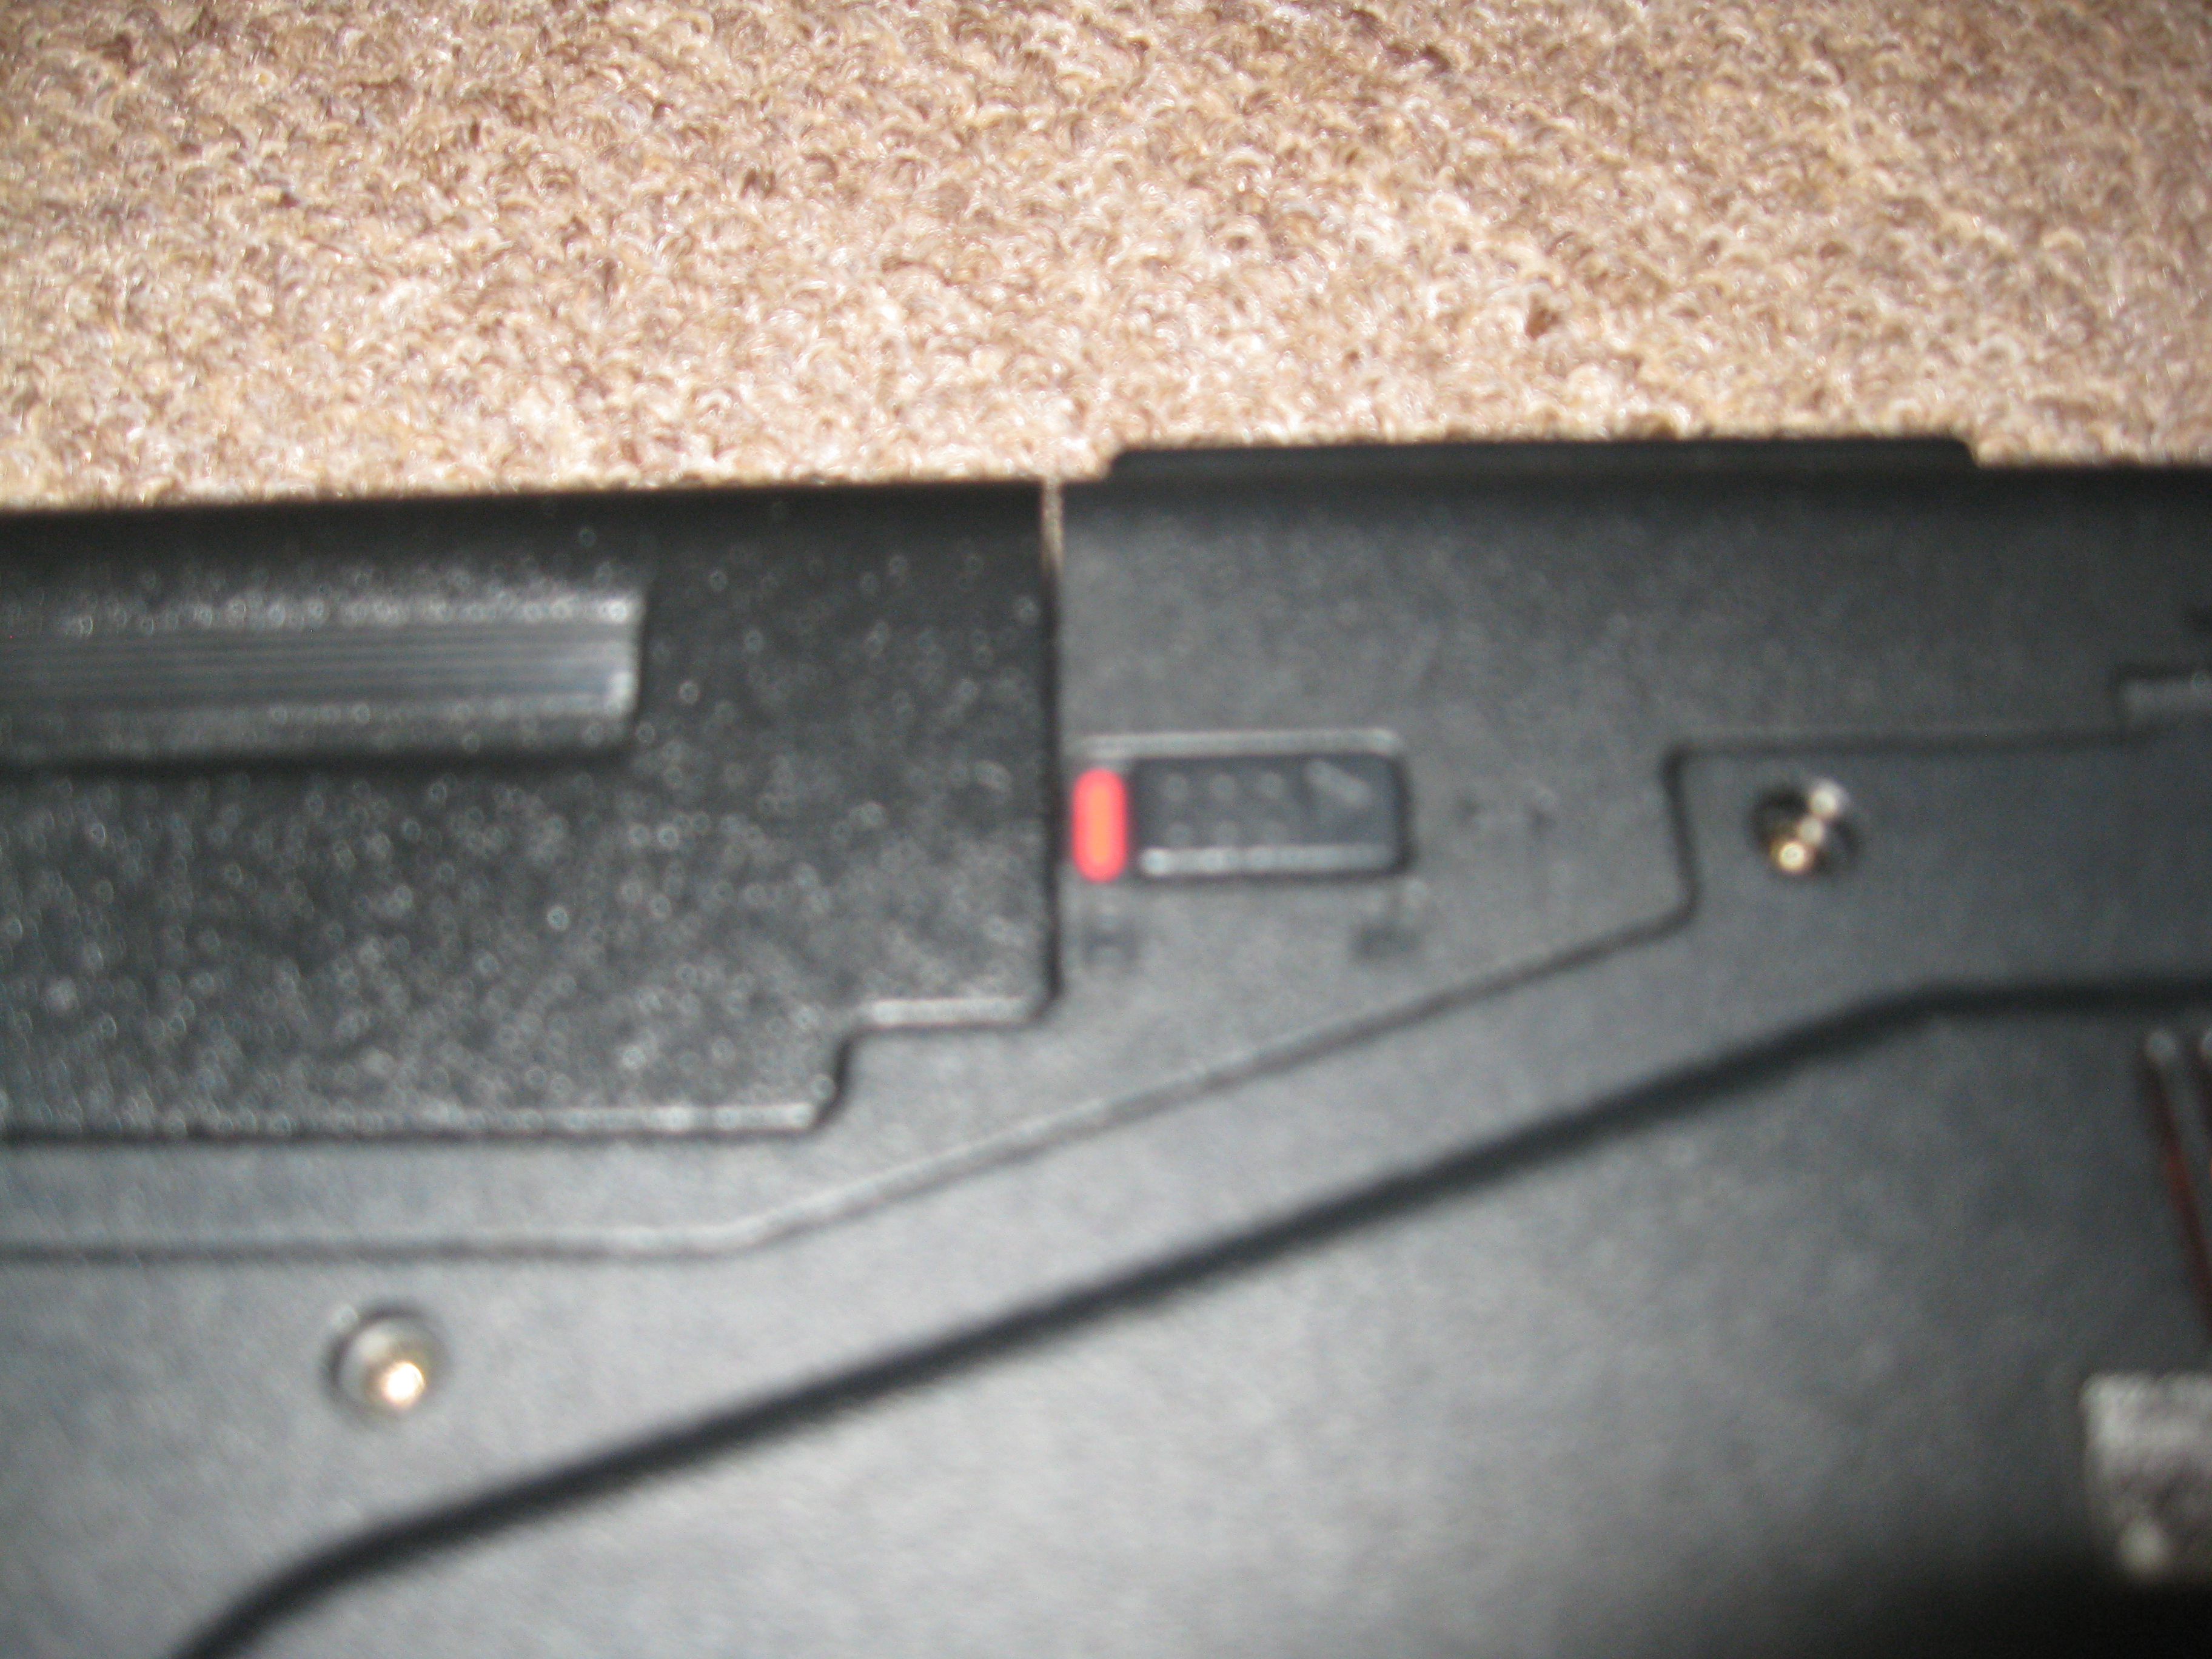
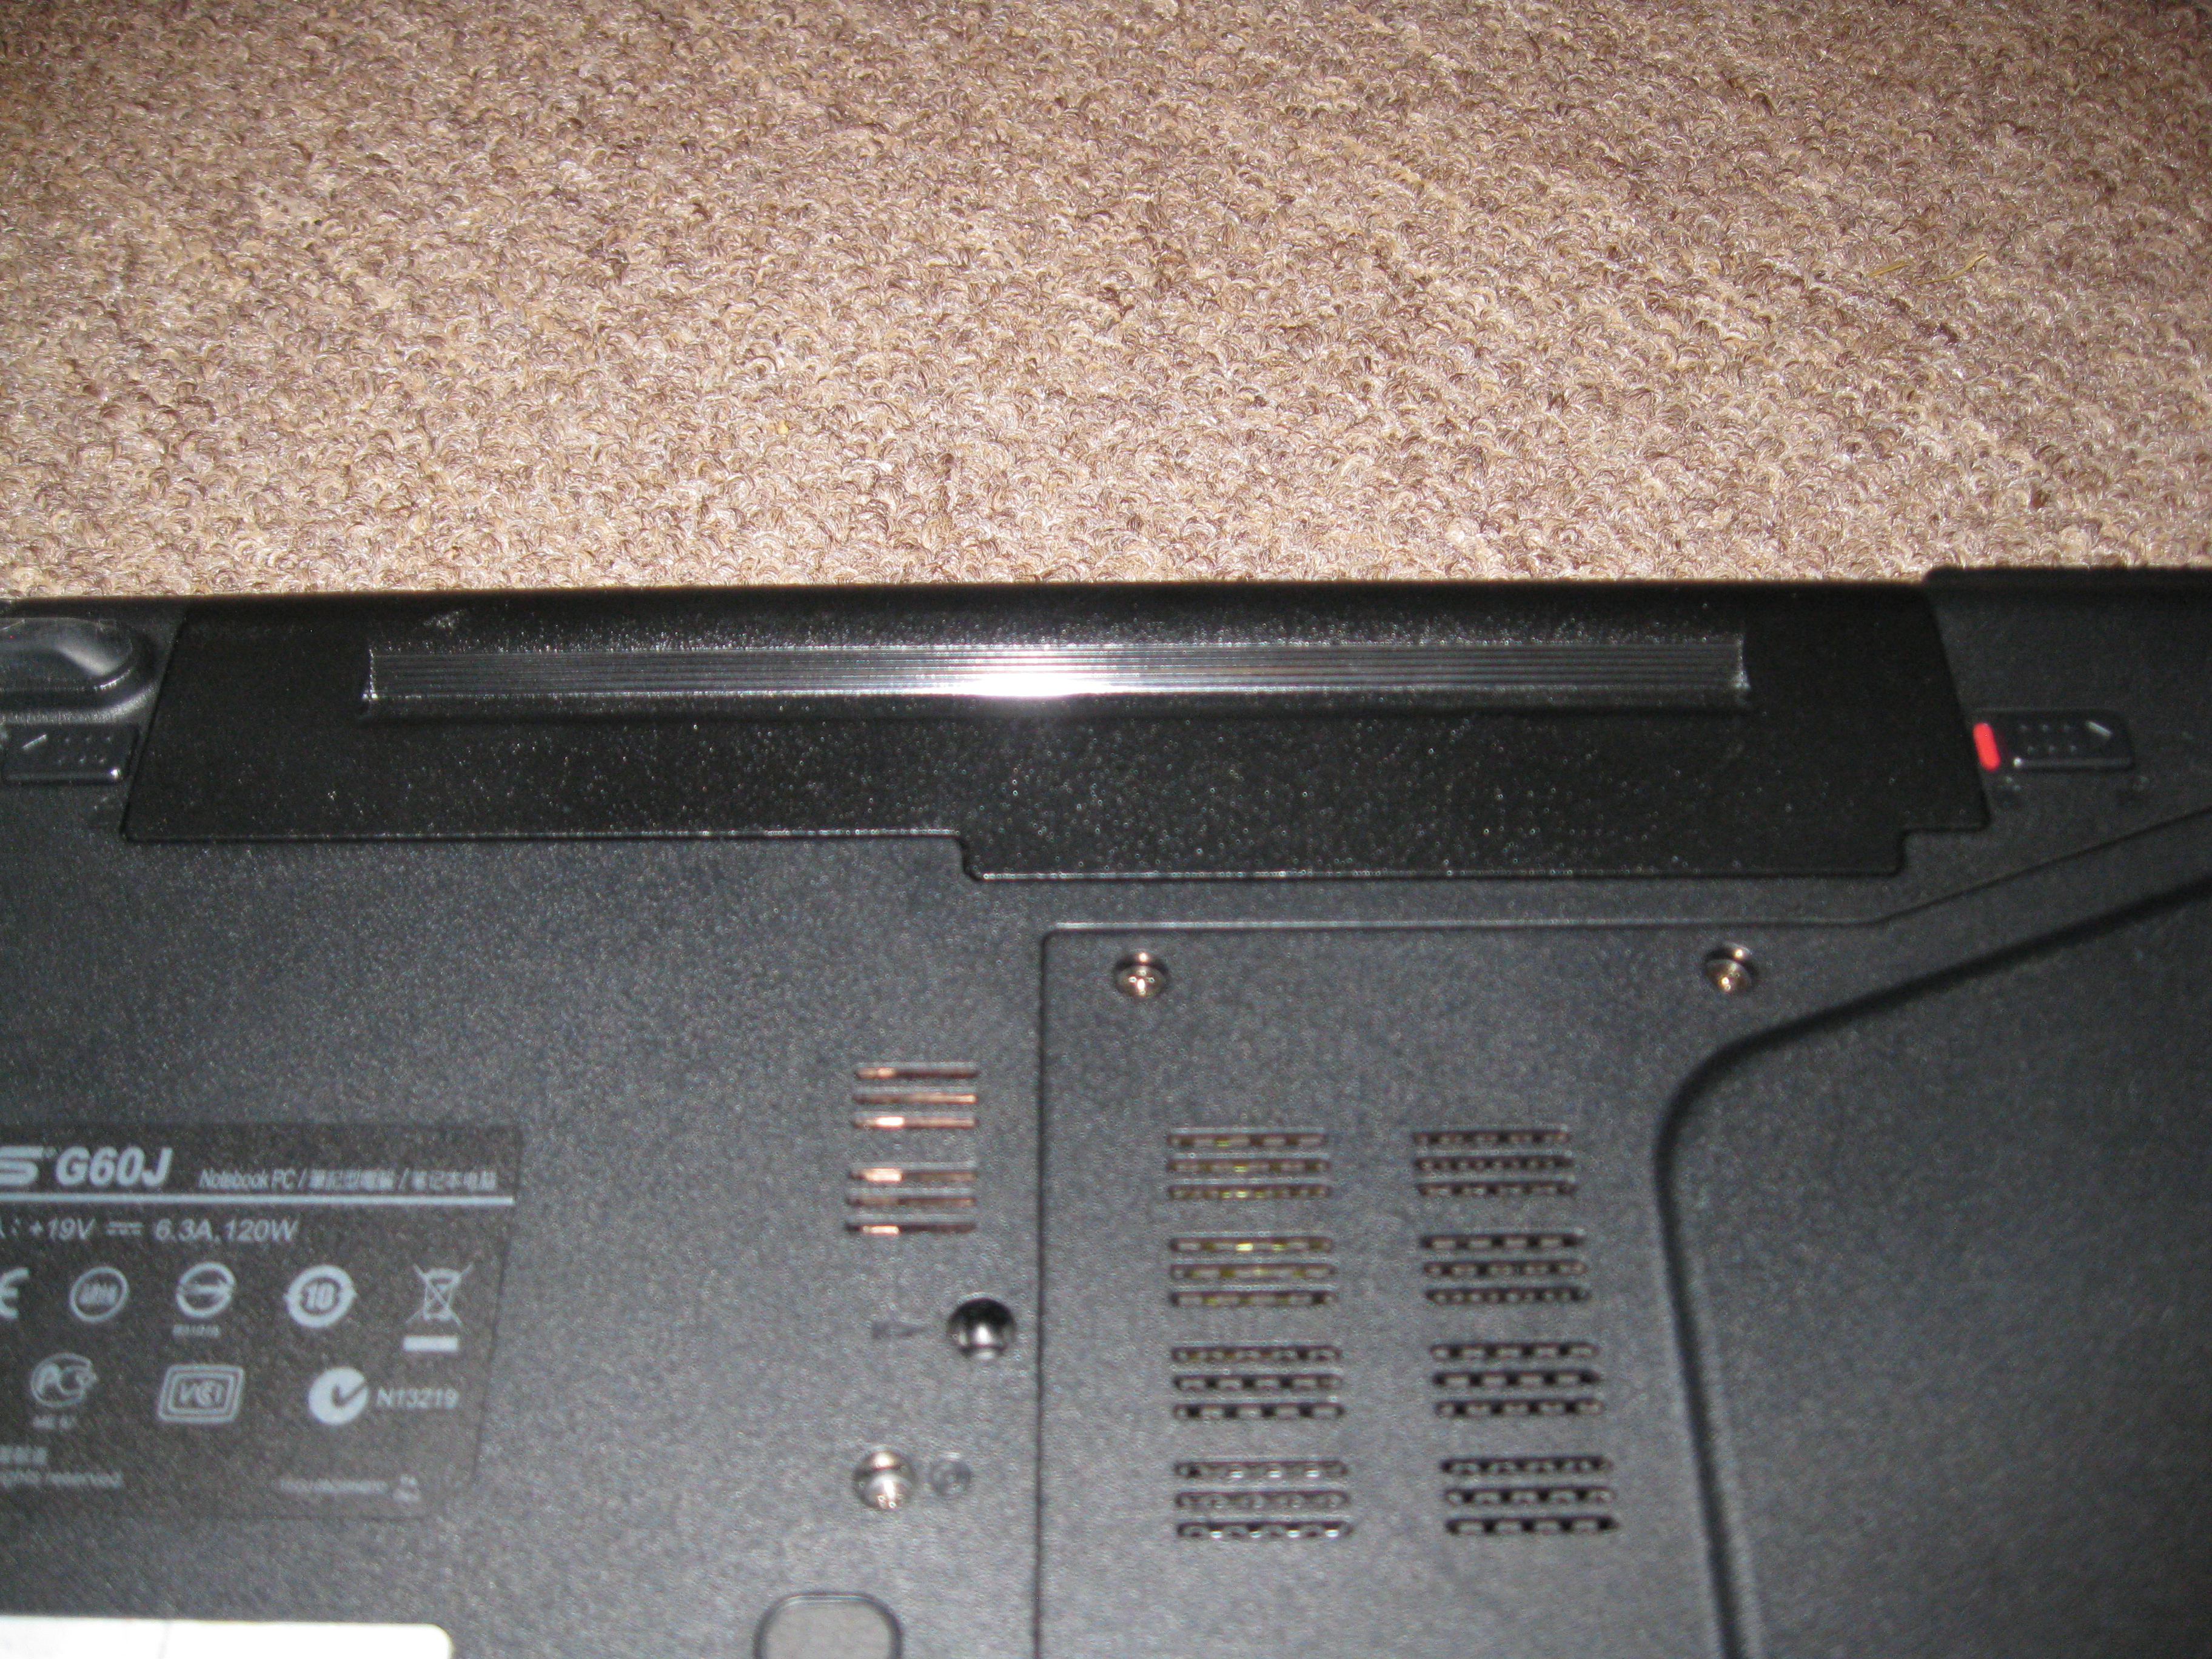
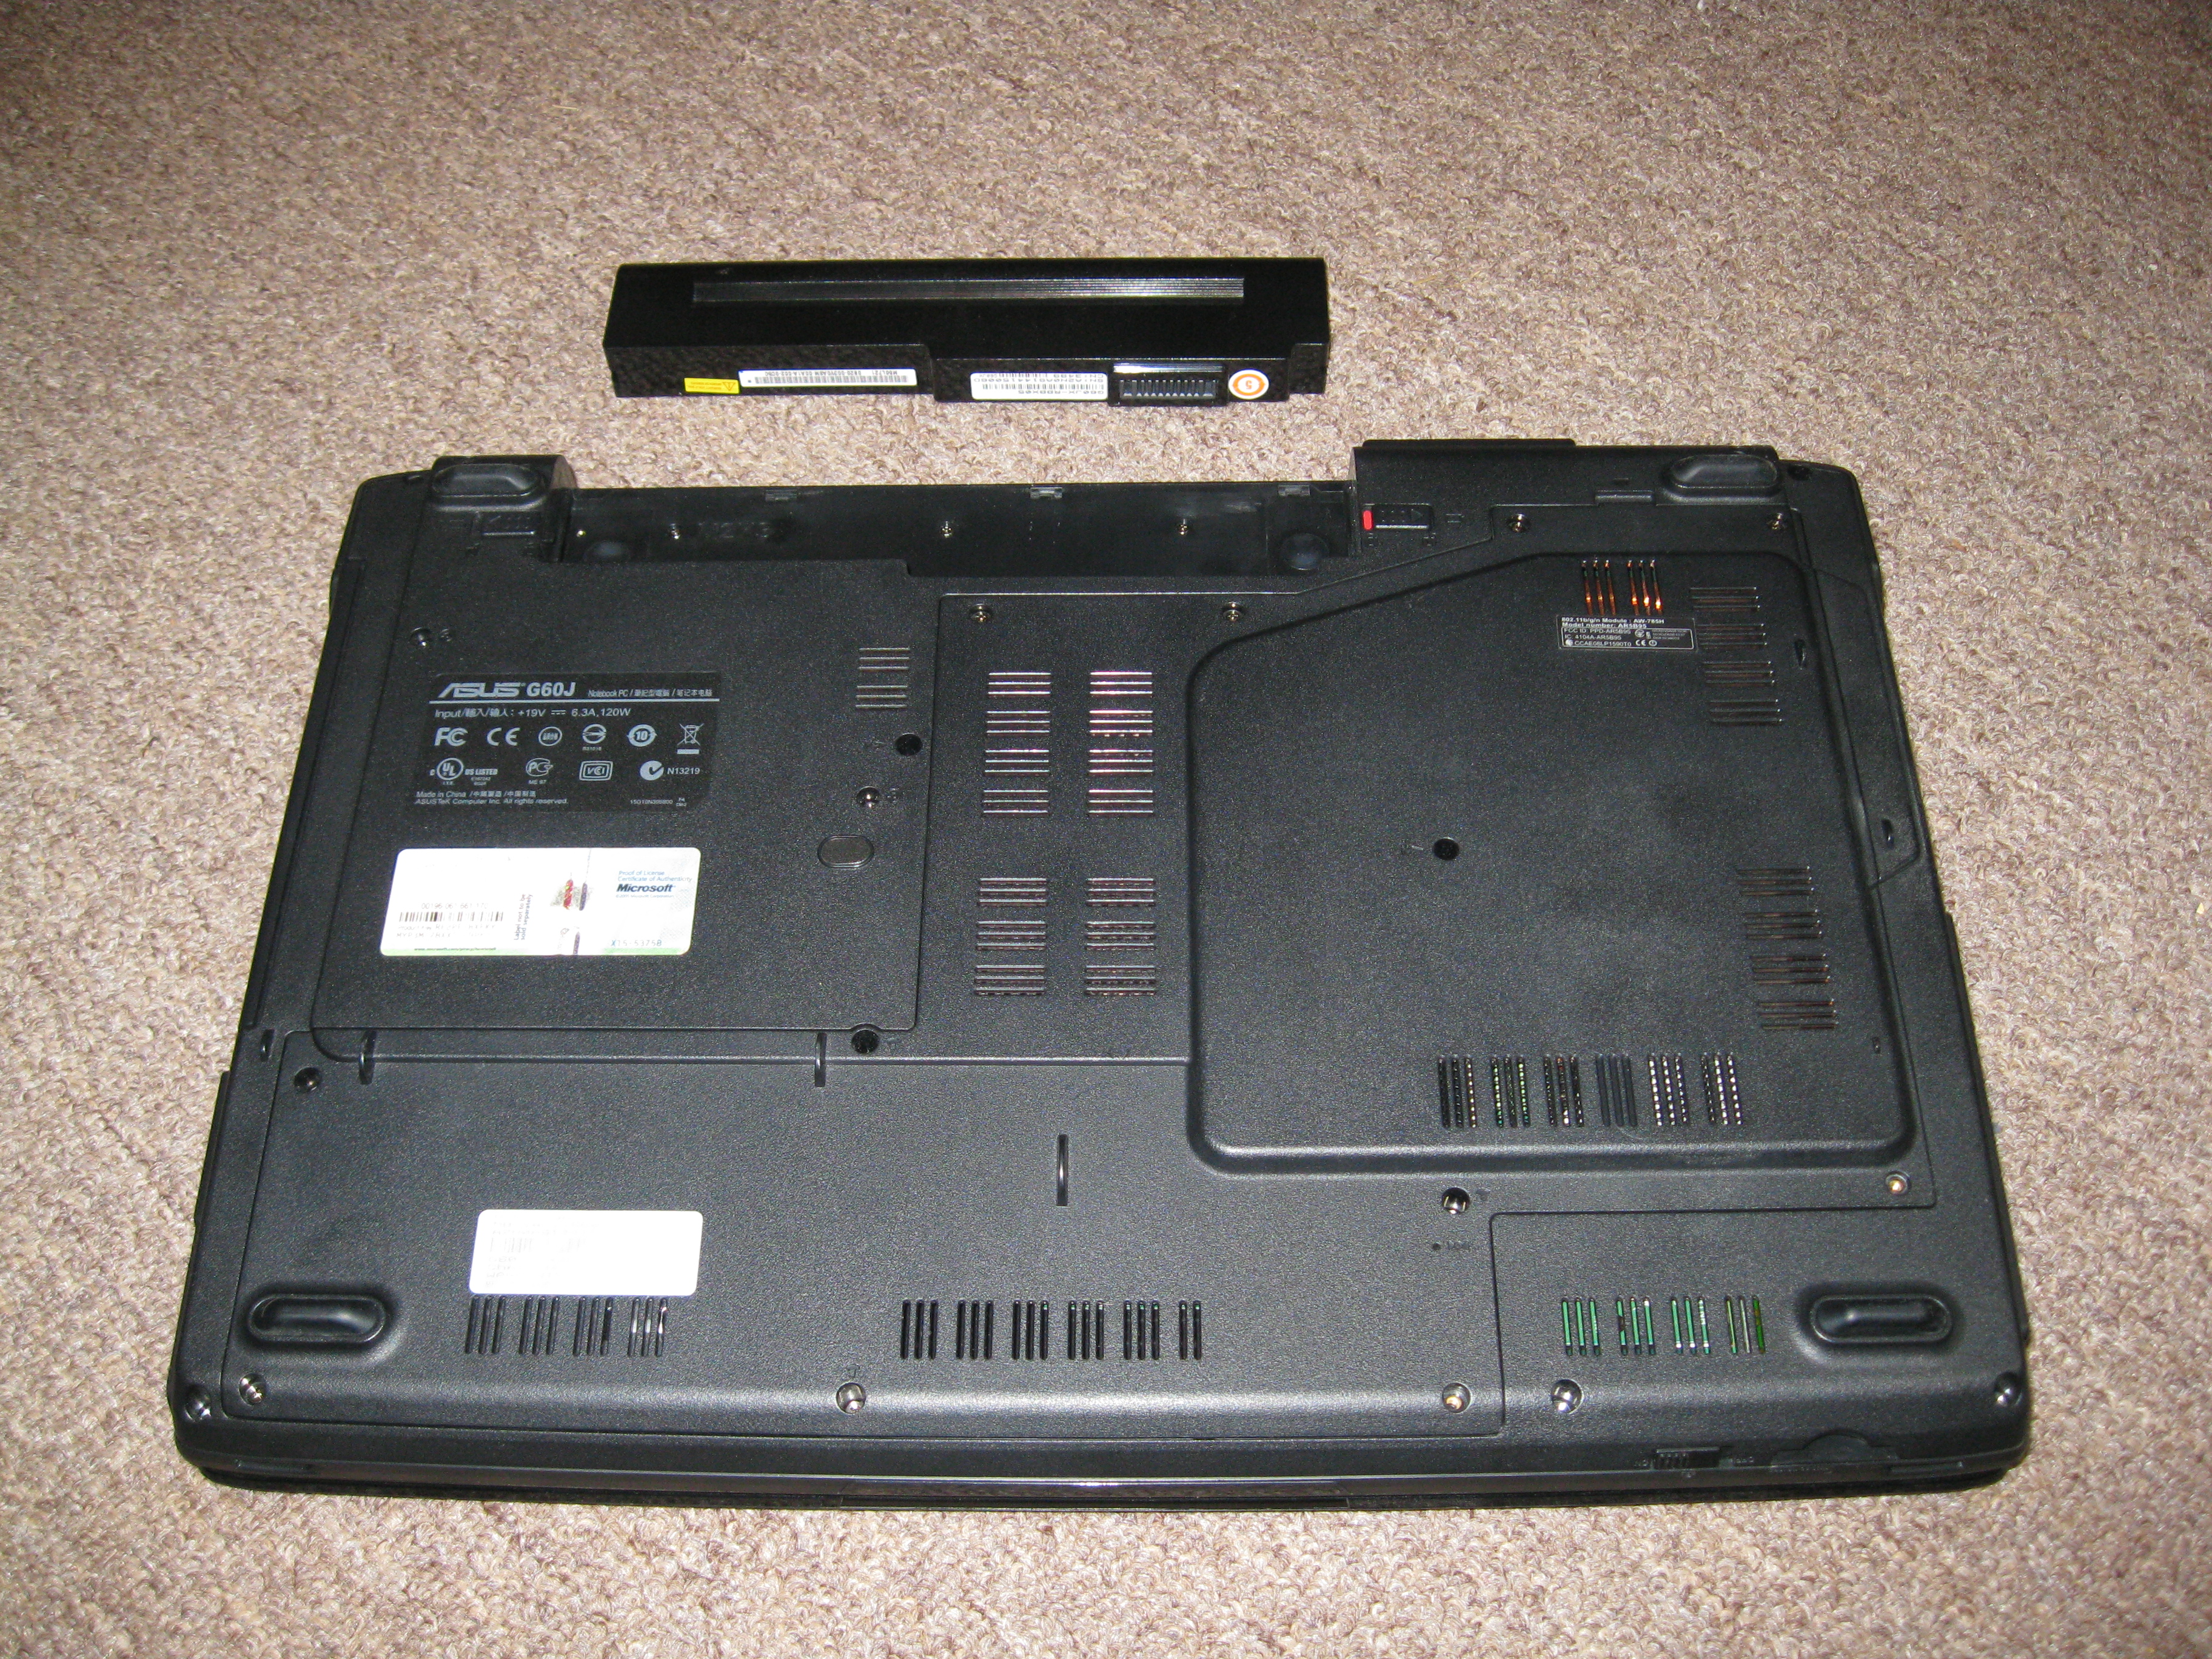
This is always the first step when doing any kind of work to a computer. To completely power down my laptop, it requires the battery to be removed. This is very simple as the battery simply slides out once a switch is moved from the "locked" to "unlocked" position. Most PC laptops will have a similar easy removal for the battery.
WARNING: If the computer is powered up and the RAM cards are changed, the RAM could short out and will never work again!
WARNING: If the computer is powered up and the RAM cards are changed, the RAM could short out and will never work again!
Unscrew the Rear Plate of the Laptop
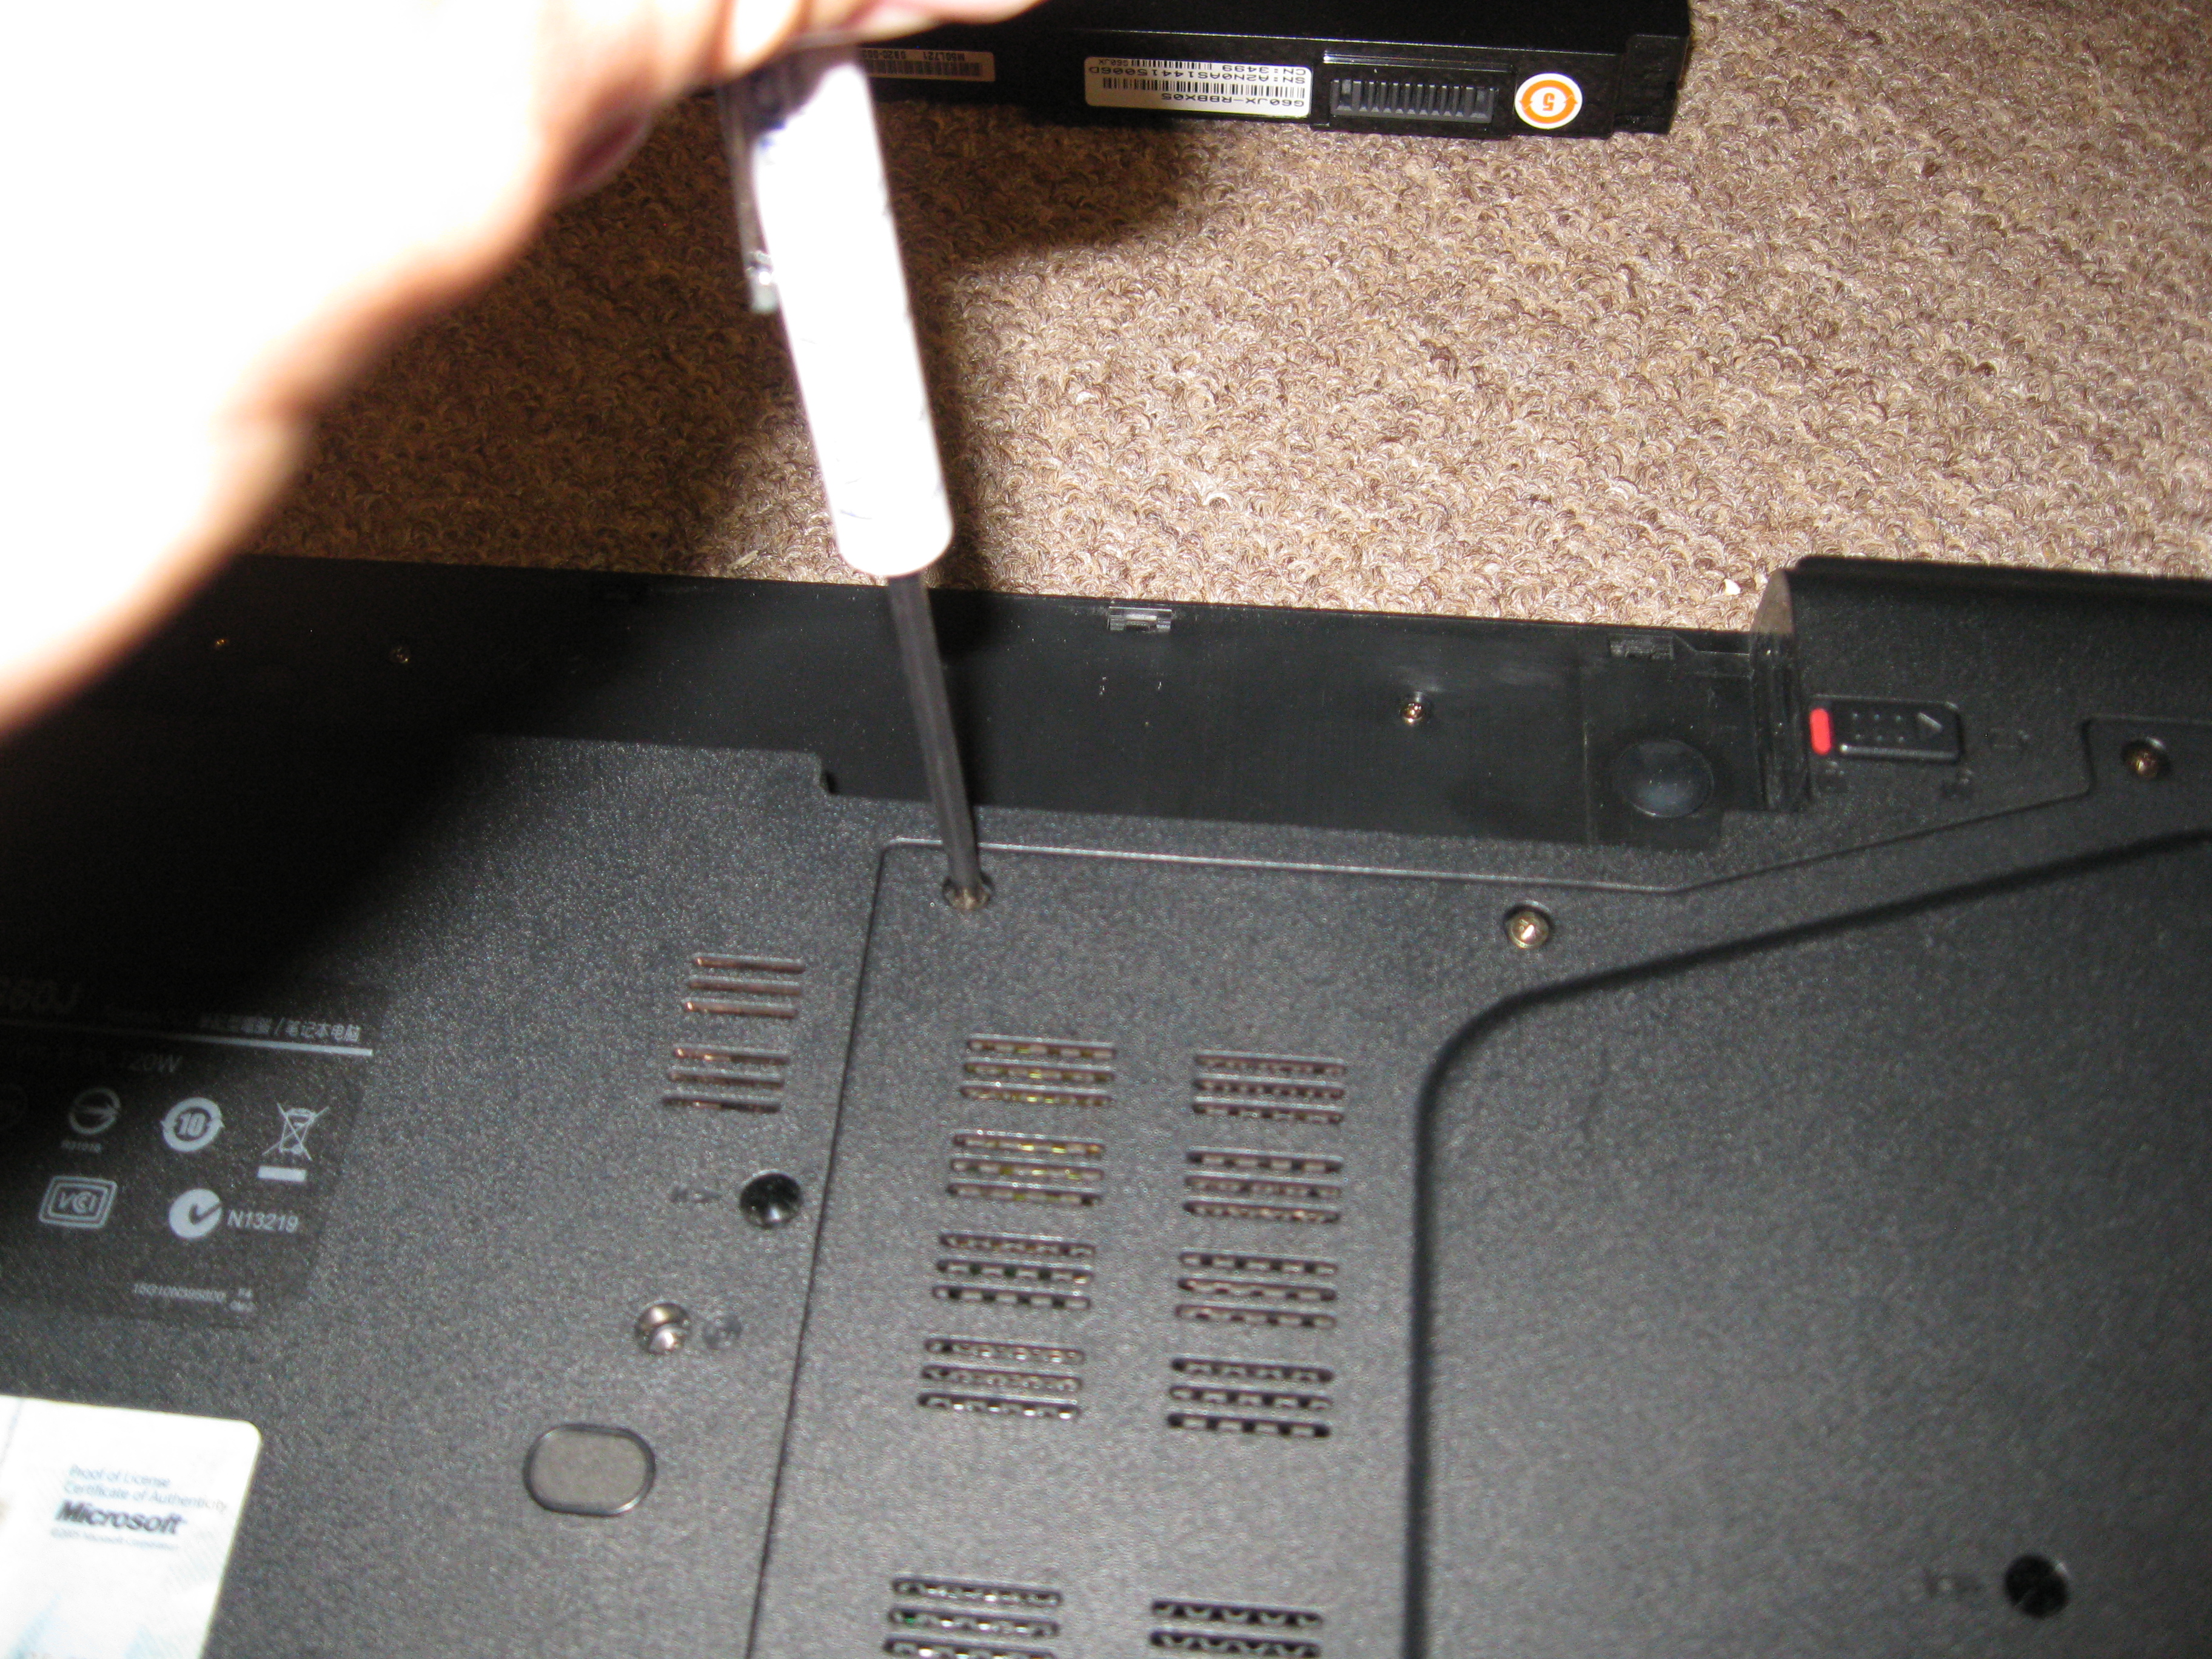
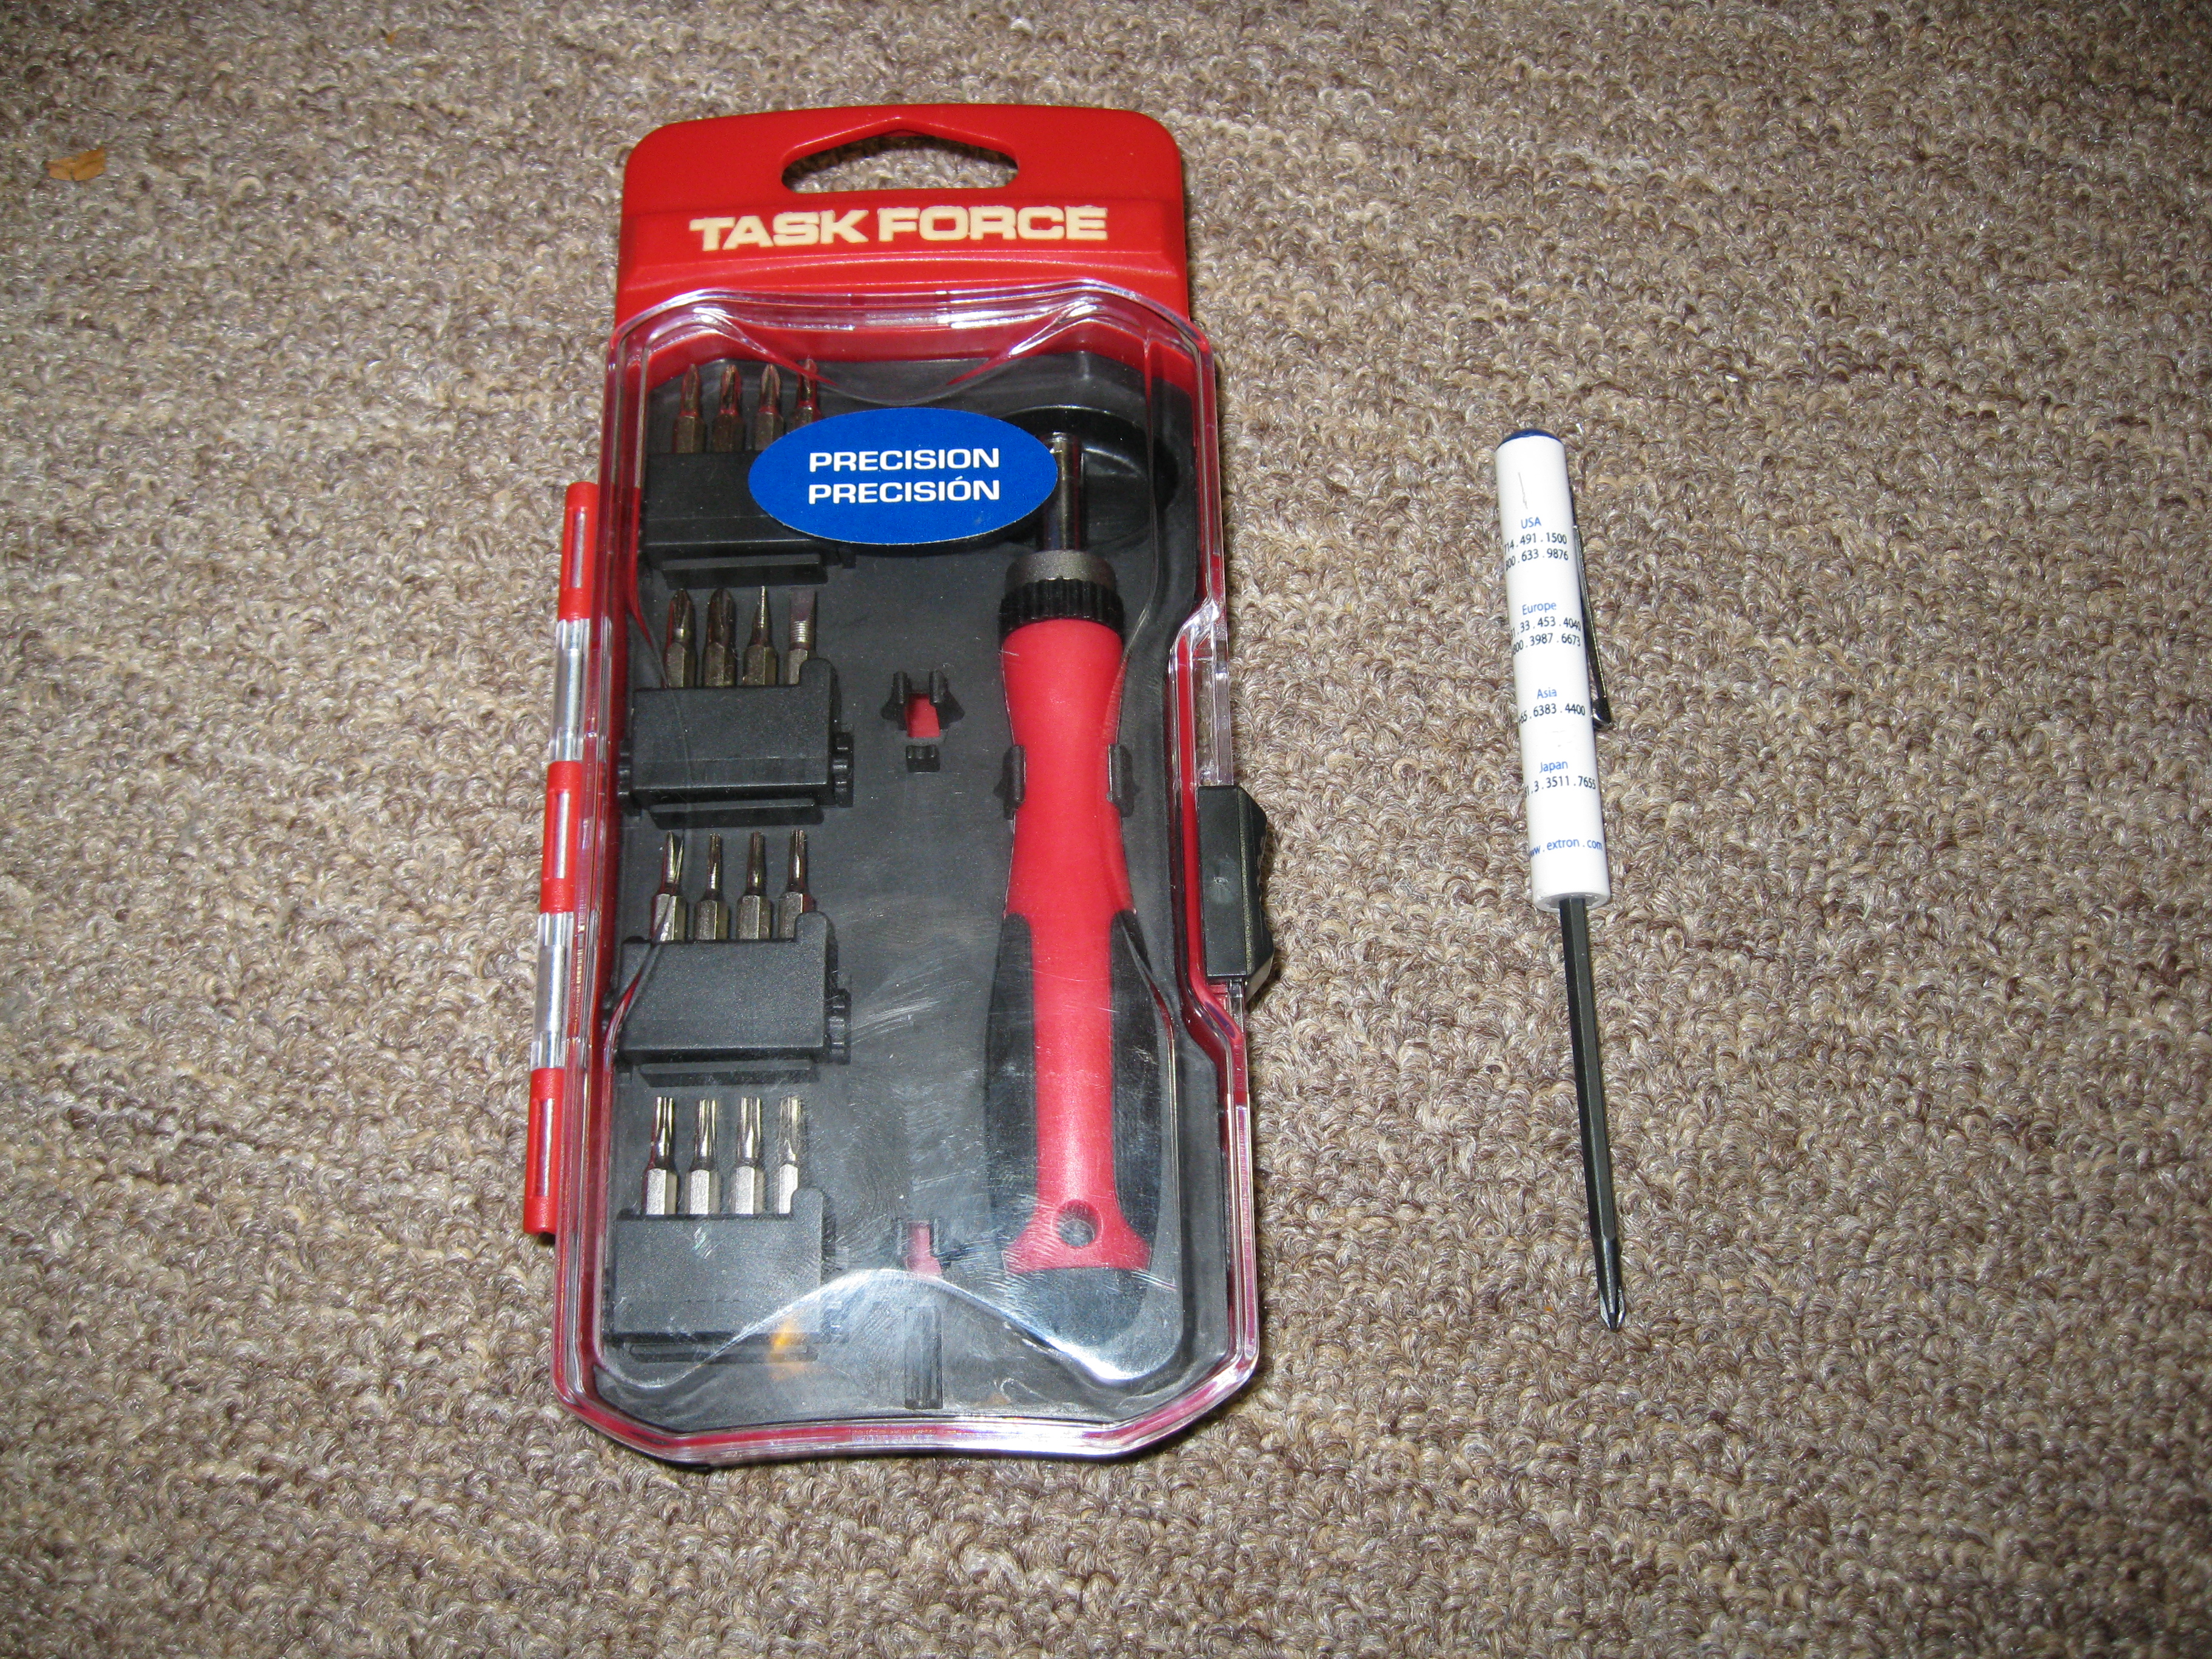
To access the interior of the laptop, the rear plate must be removed. To do this, use either a precision or an electronics screwdriver to unscrew the small screws located around the removable plate on the rear of the laptop.
Remove the Back Plate of the Laptop
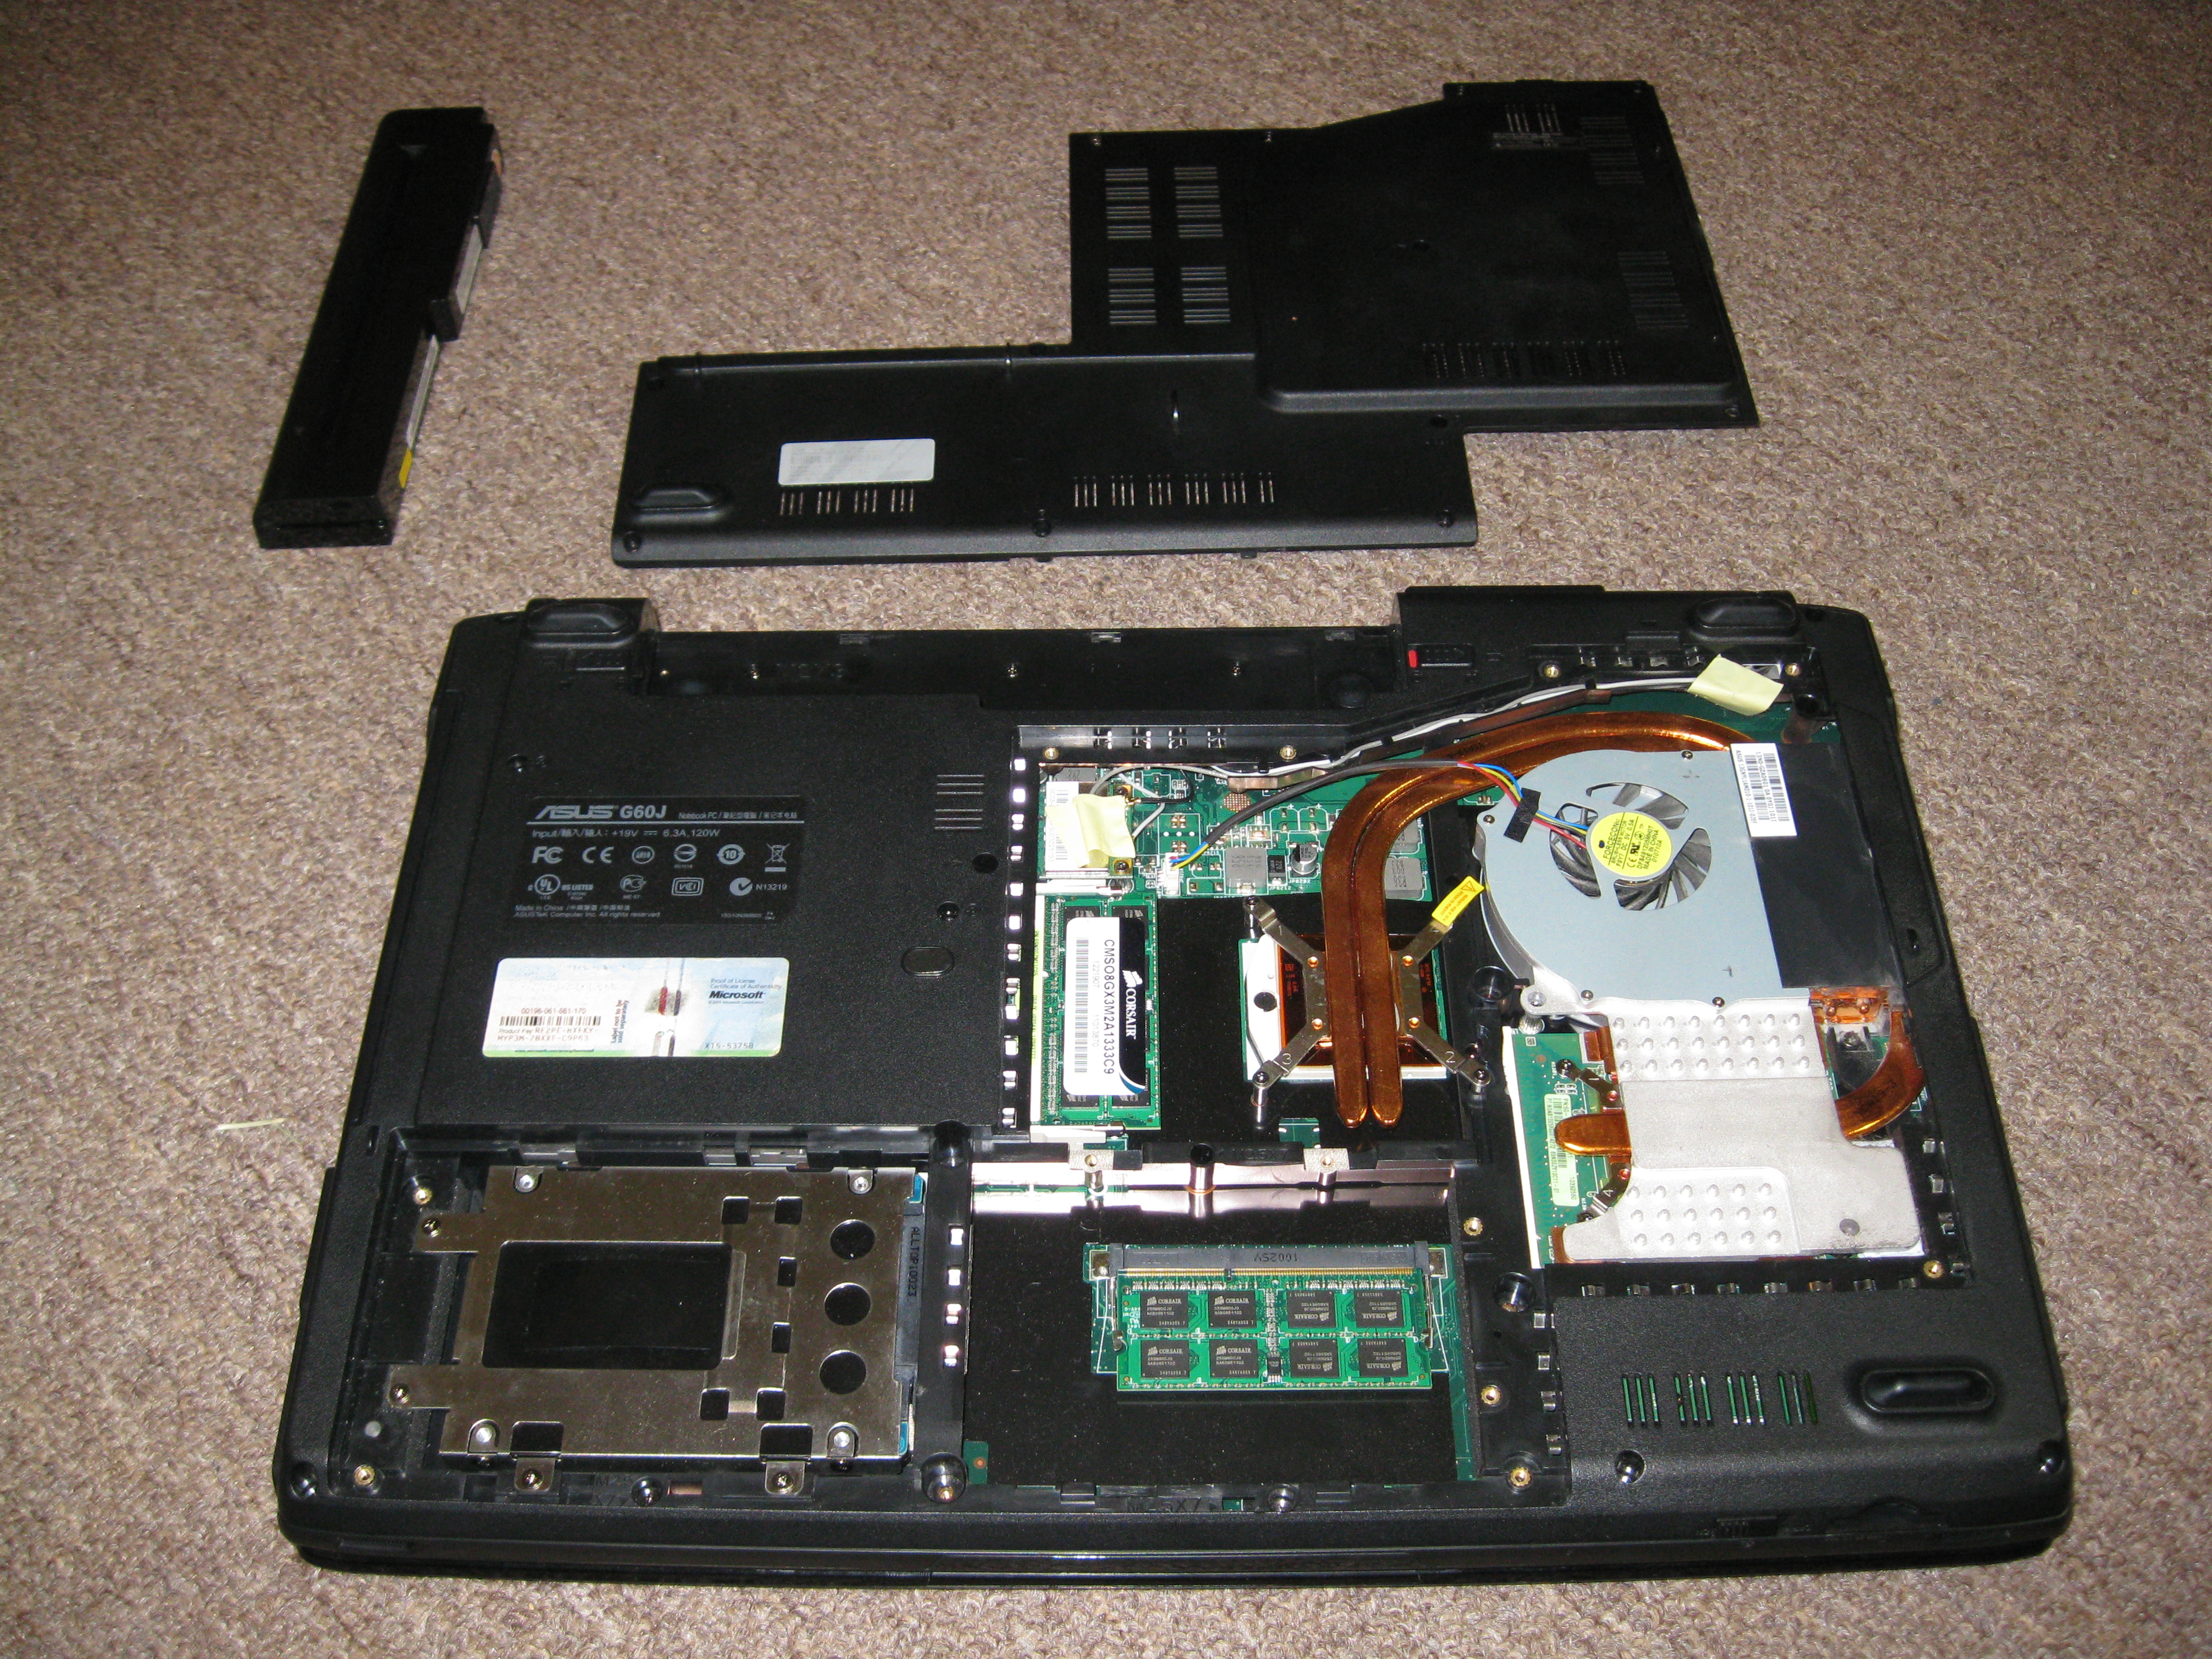
The next step is to take the back plate off of the laptop, revealing the inner components as seen above.
PRO TIP: Use a flat head screwdriver as a wedge to apply some "motivation" to gently pop off the back plate of the laptop.
PRO TIP: Use a flat head screwdriver as a wedge to apply some "motivation" to gently pop off the back plate of the laptop.
Find the RAM Card(s)
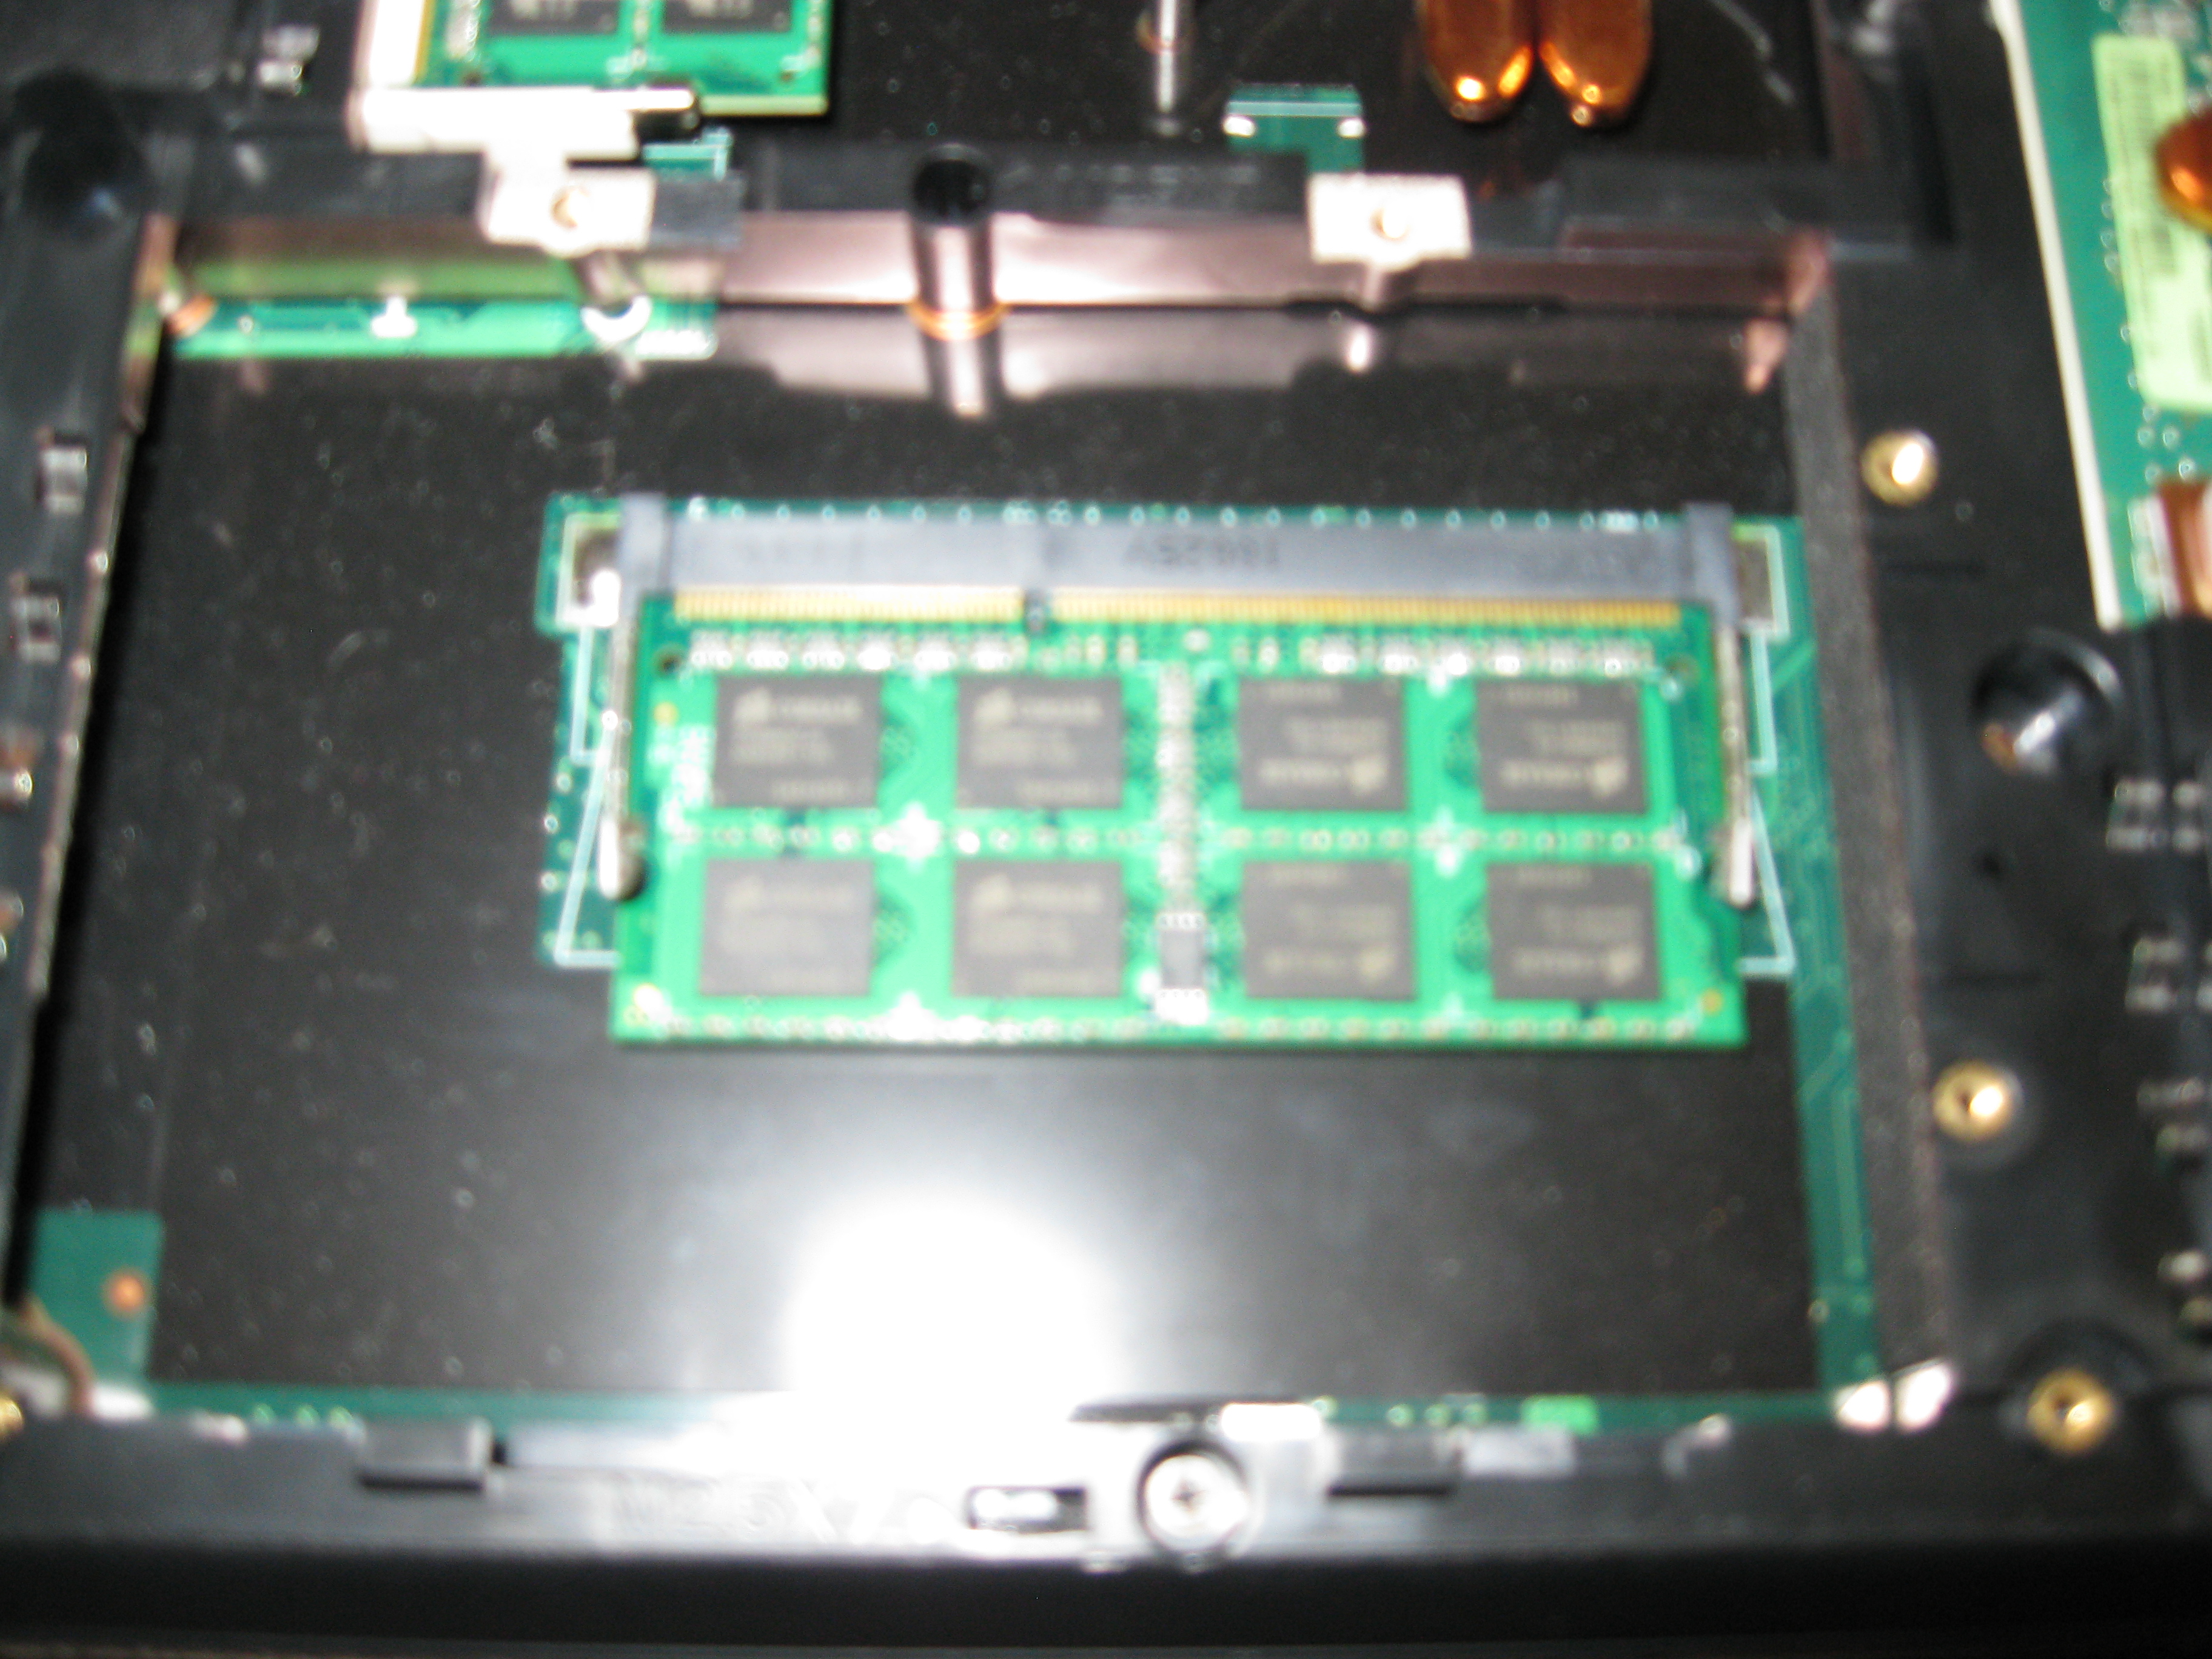
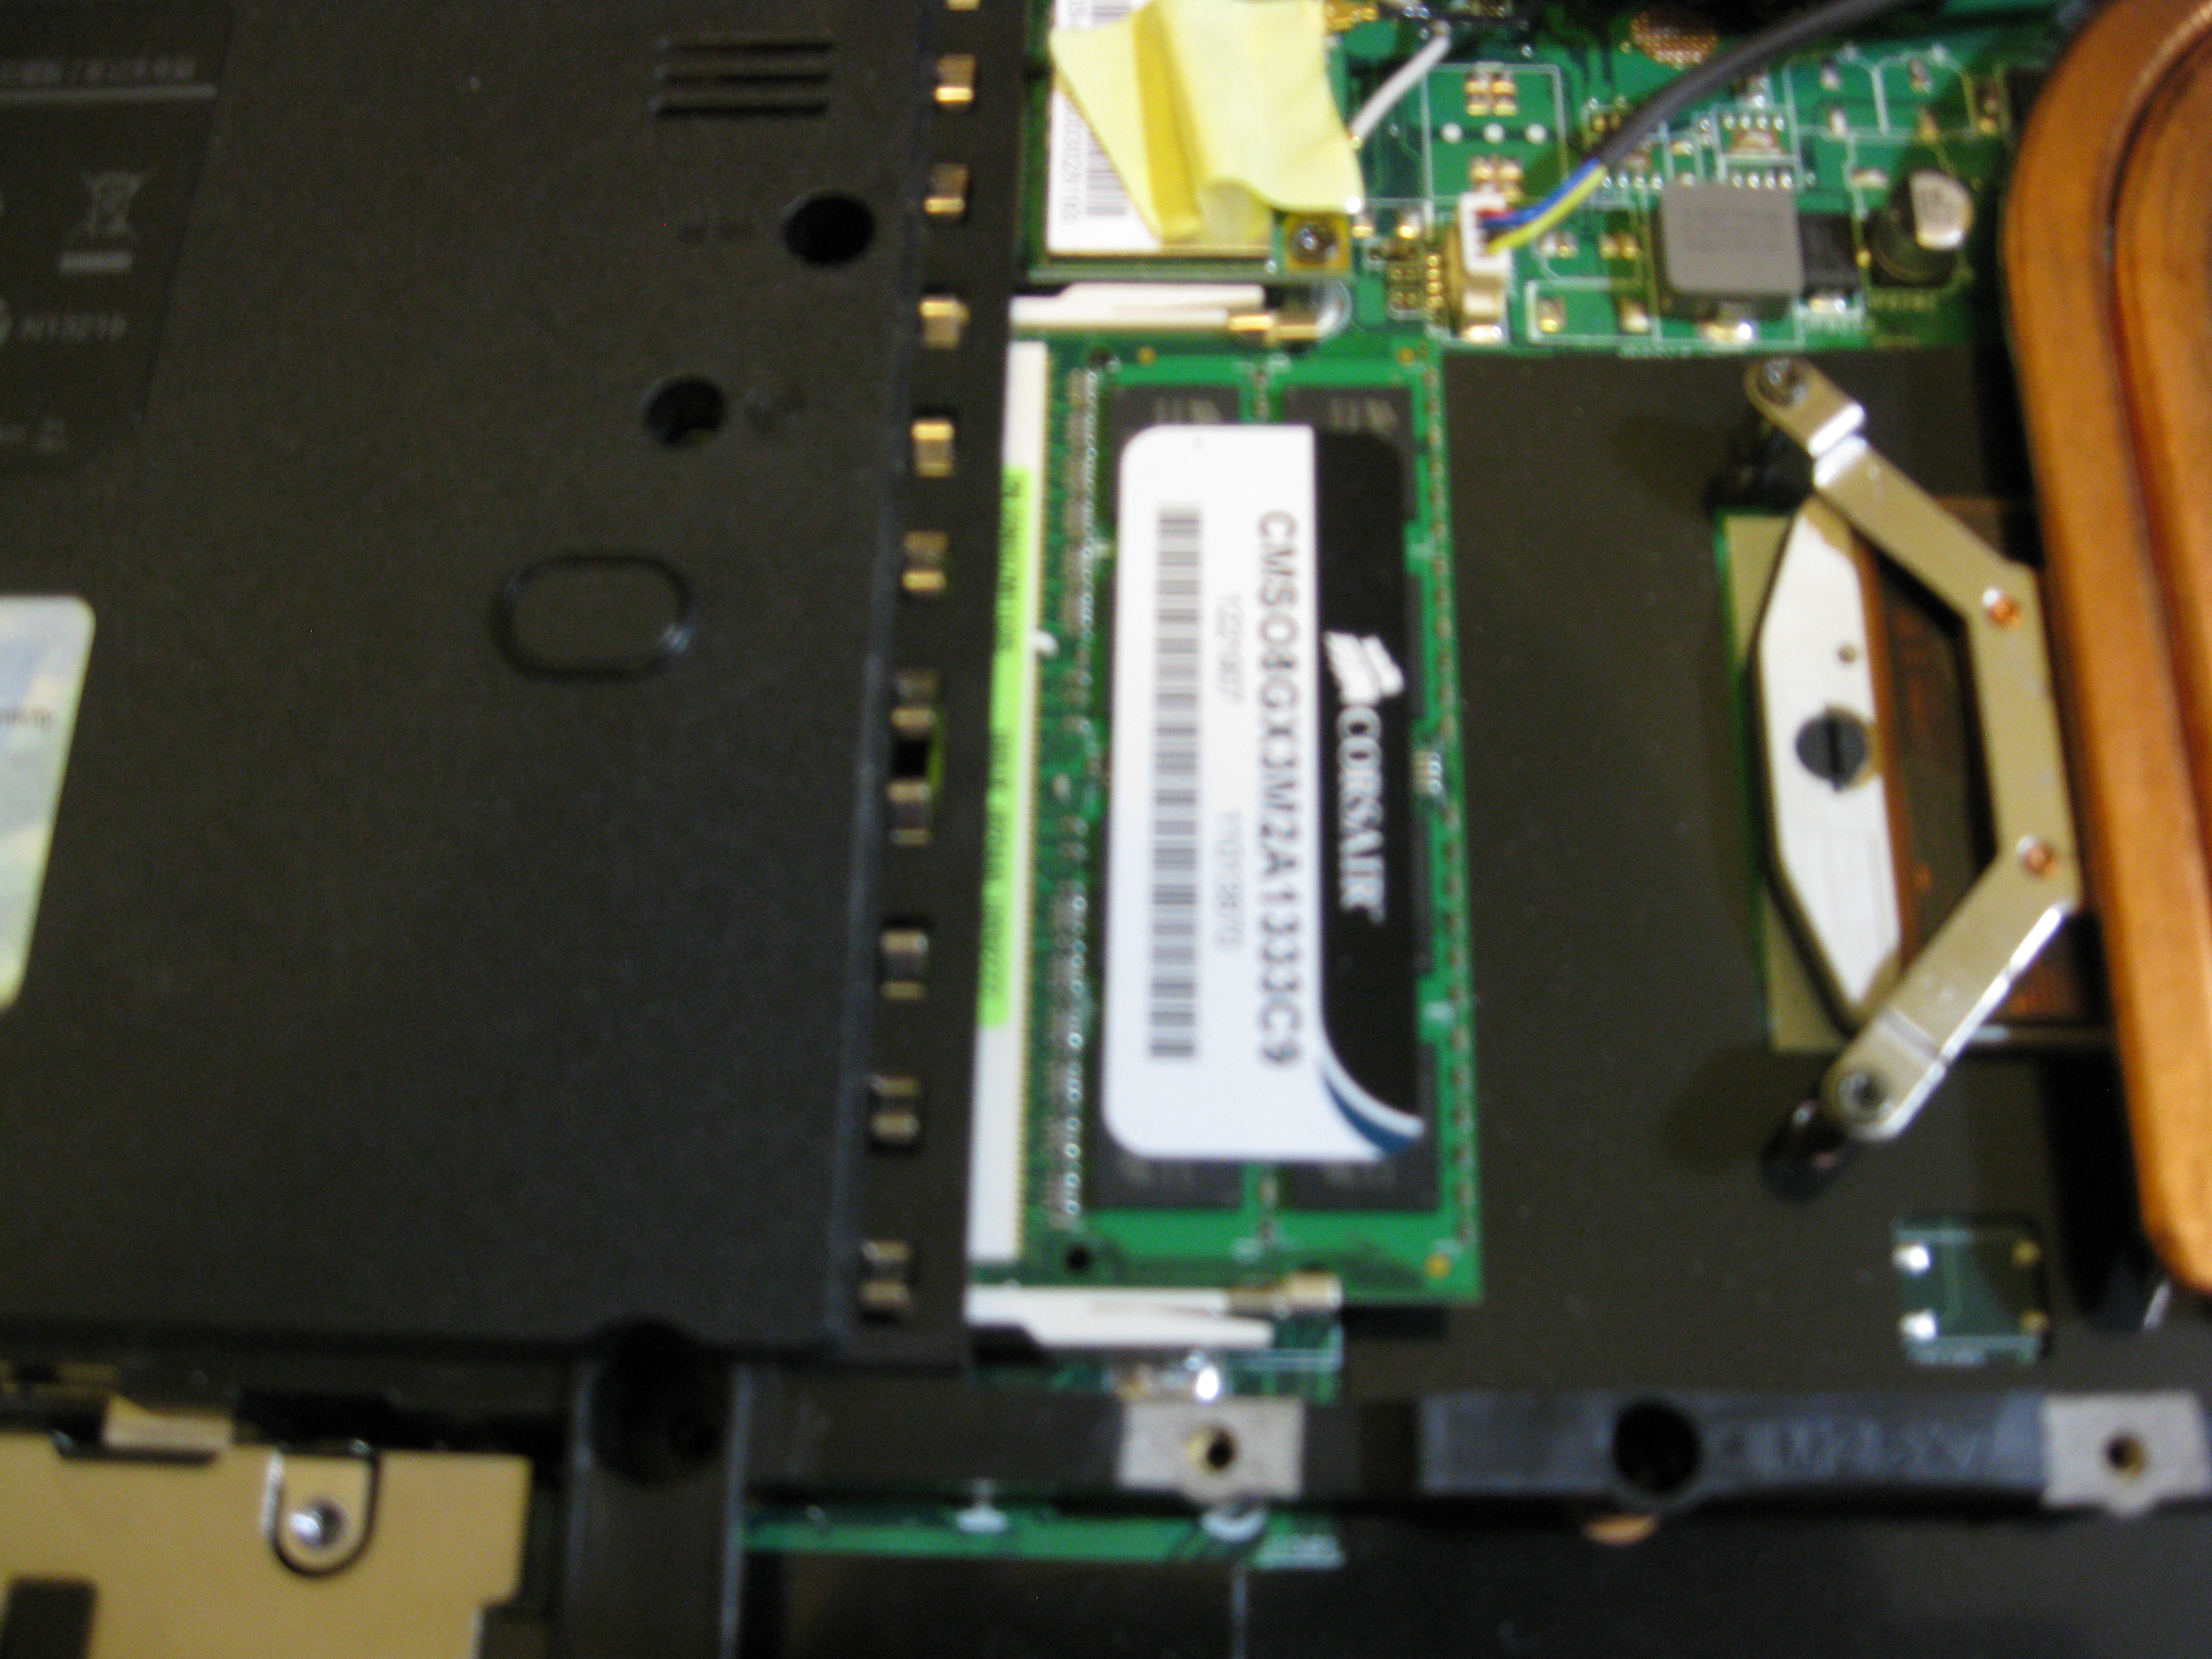
Now you have to find the actual RAM cards located inside your computer. They are usually easily visible as rectangular green chips with black rectangular nodes on them. They may also have some ink or a sticker marking them as the RAM cards.
Remove the Existing RAM
Install the New RAM
Put Back Plate Back On
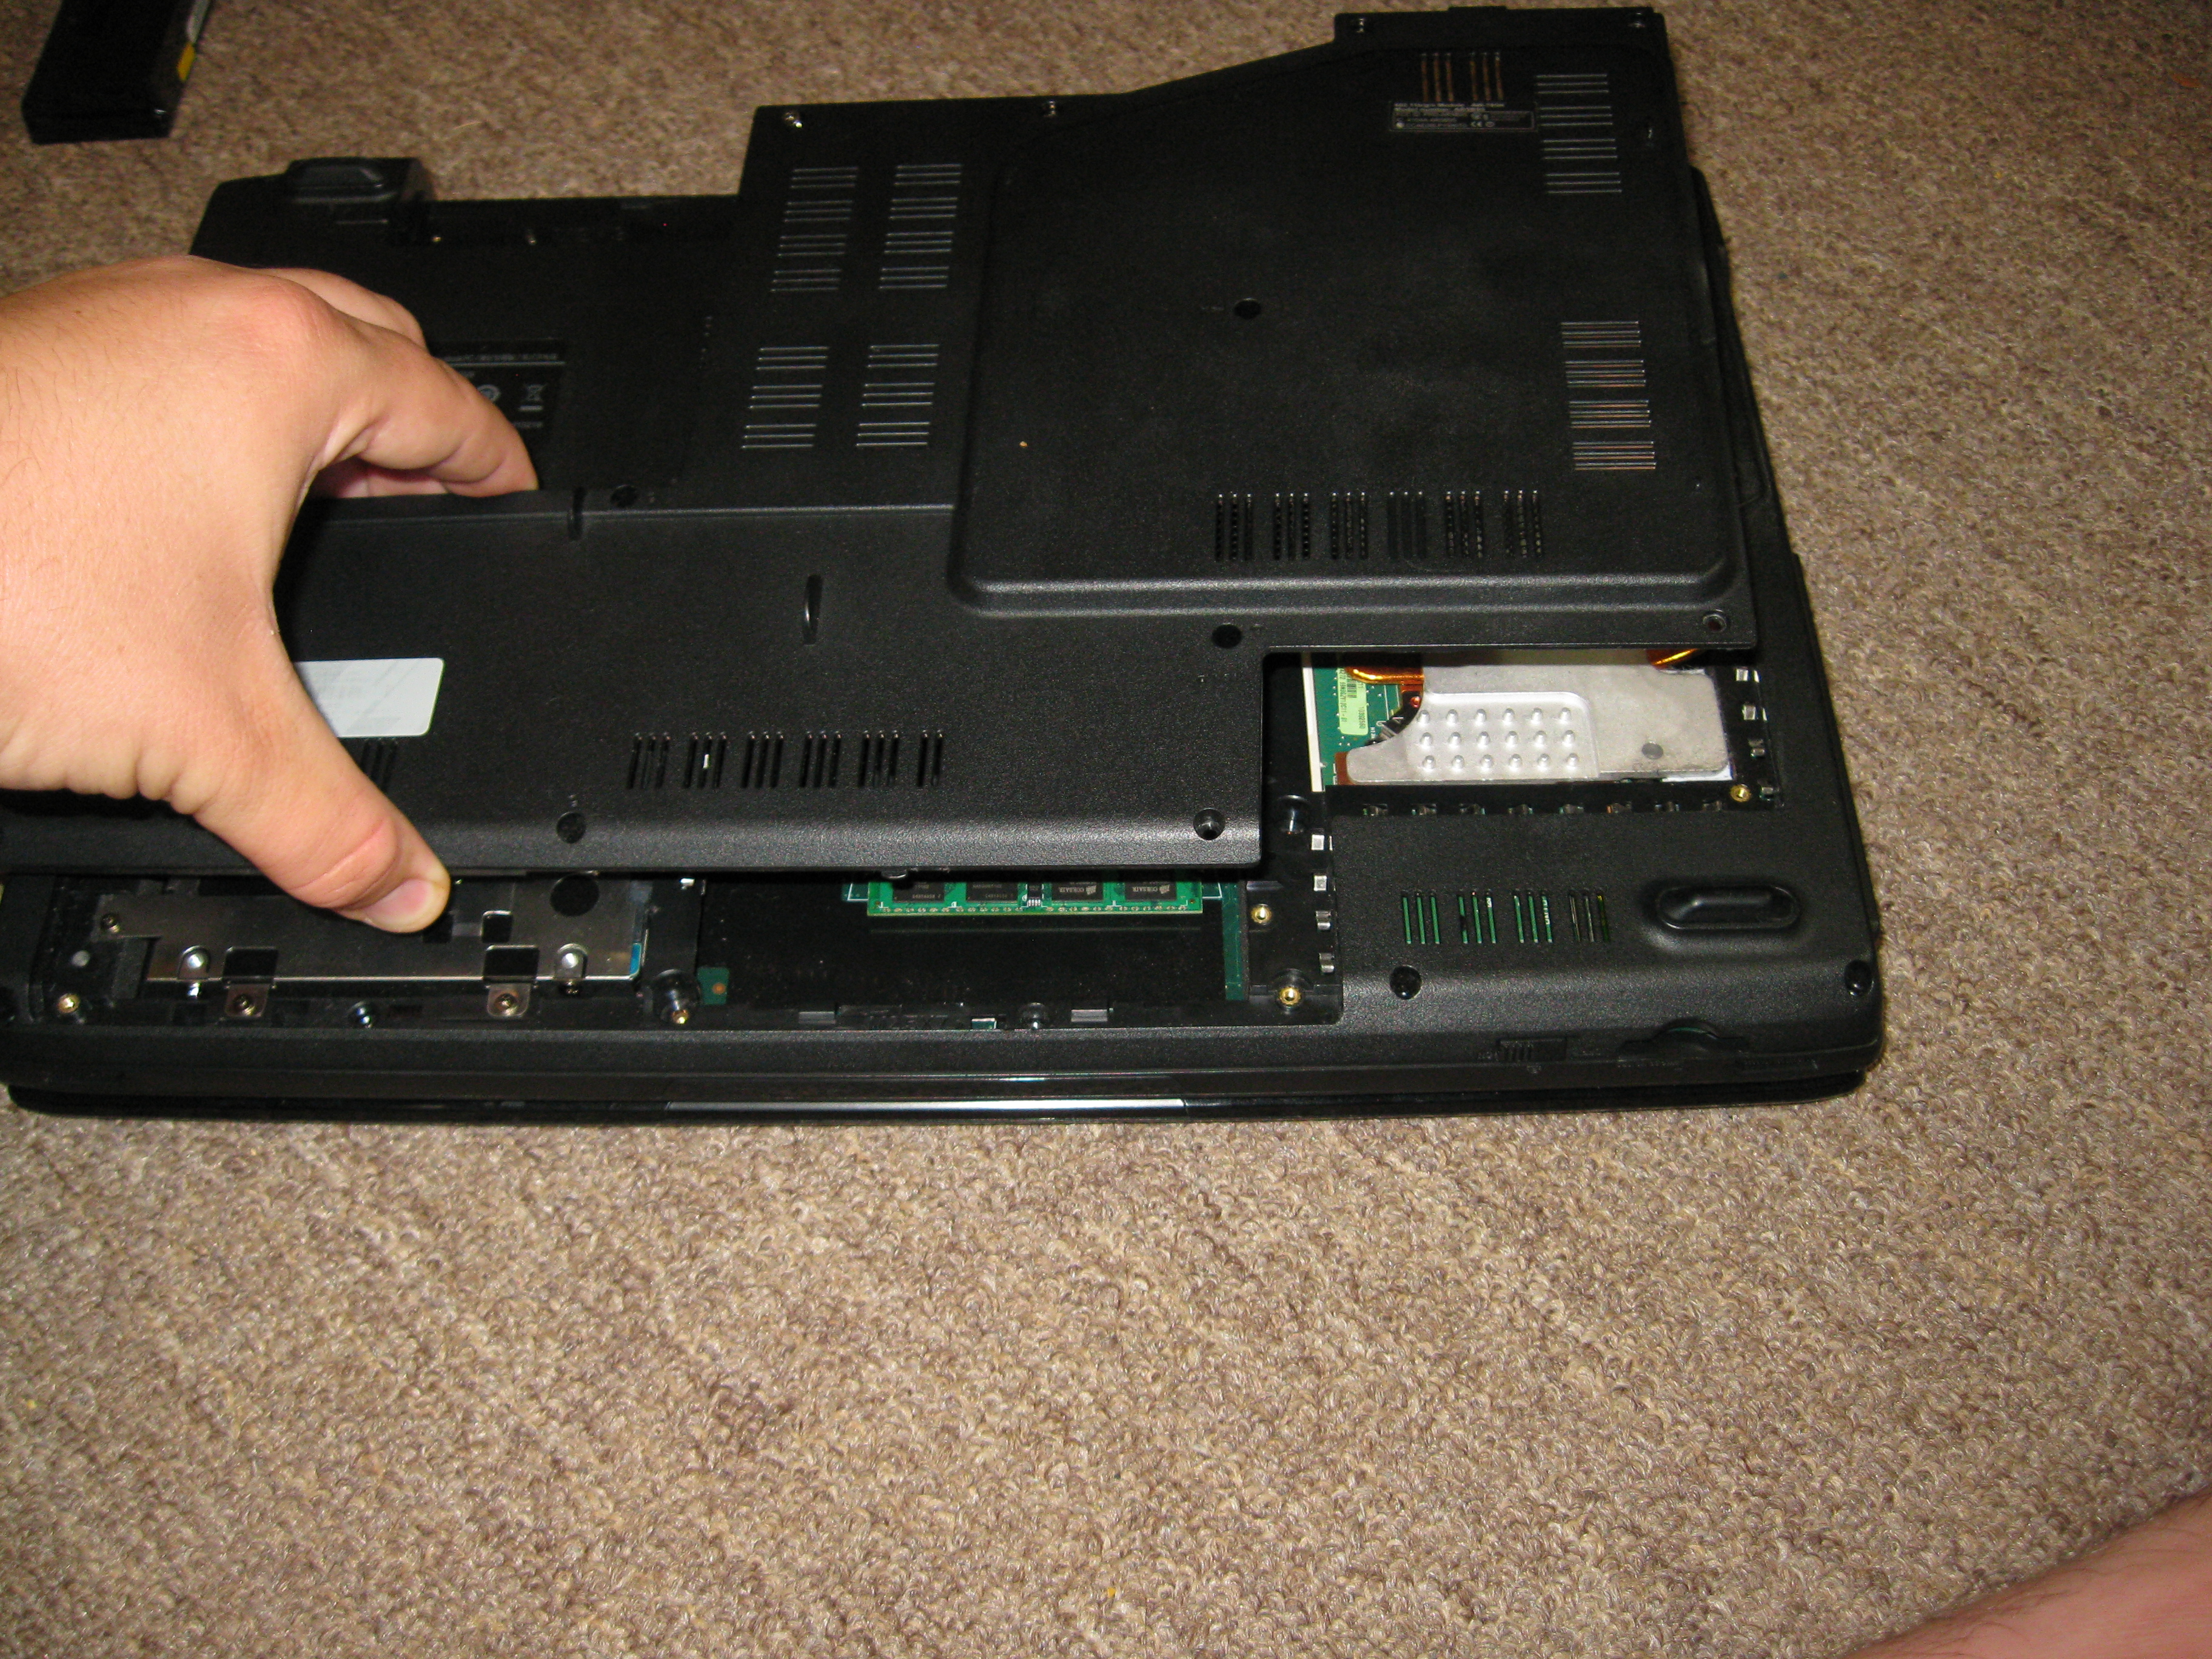
Once the RAM has been reinstalled, The rear plate of the laptop needs to be put back on. When the edges of the plate are flush with the rest of the case, that means the plate is back in its proper place.
Make sure to put the plate back on in the same orientation as when you took it off. And try to make the screw holes line up as best as you can!
Make sure to put the plate back on in the same orientation as when you took it off. And try to make the screw holes line up as best as you can!
Reattach the Back Plate
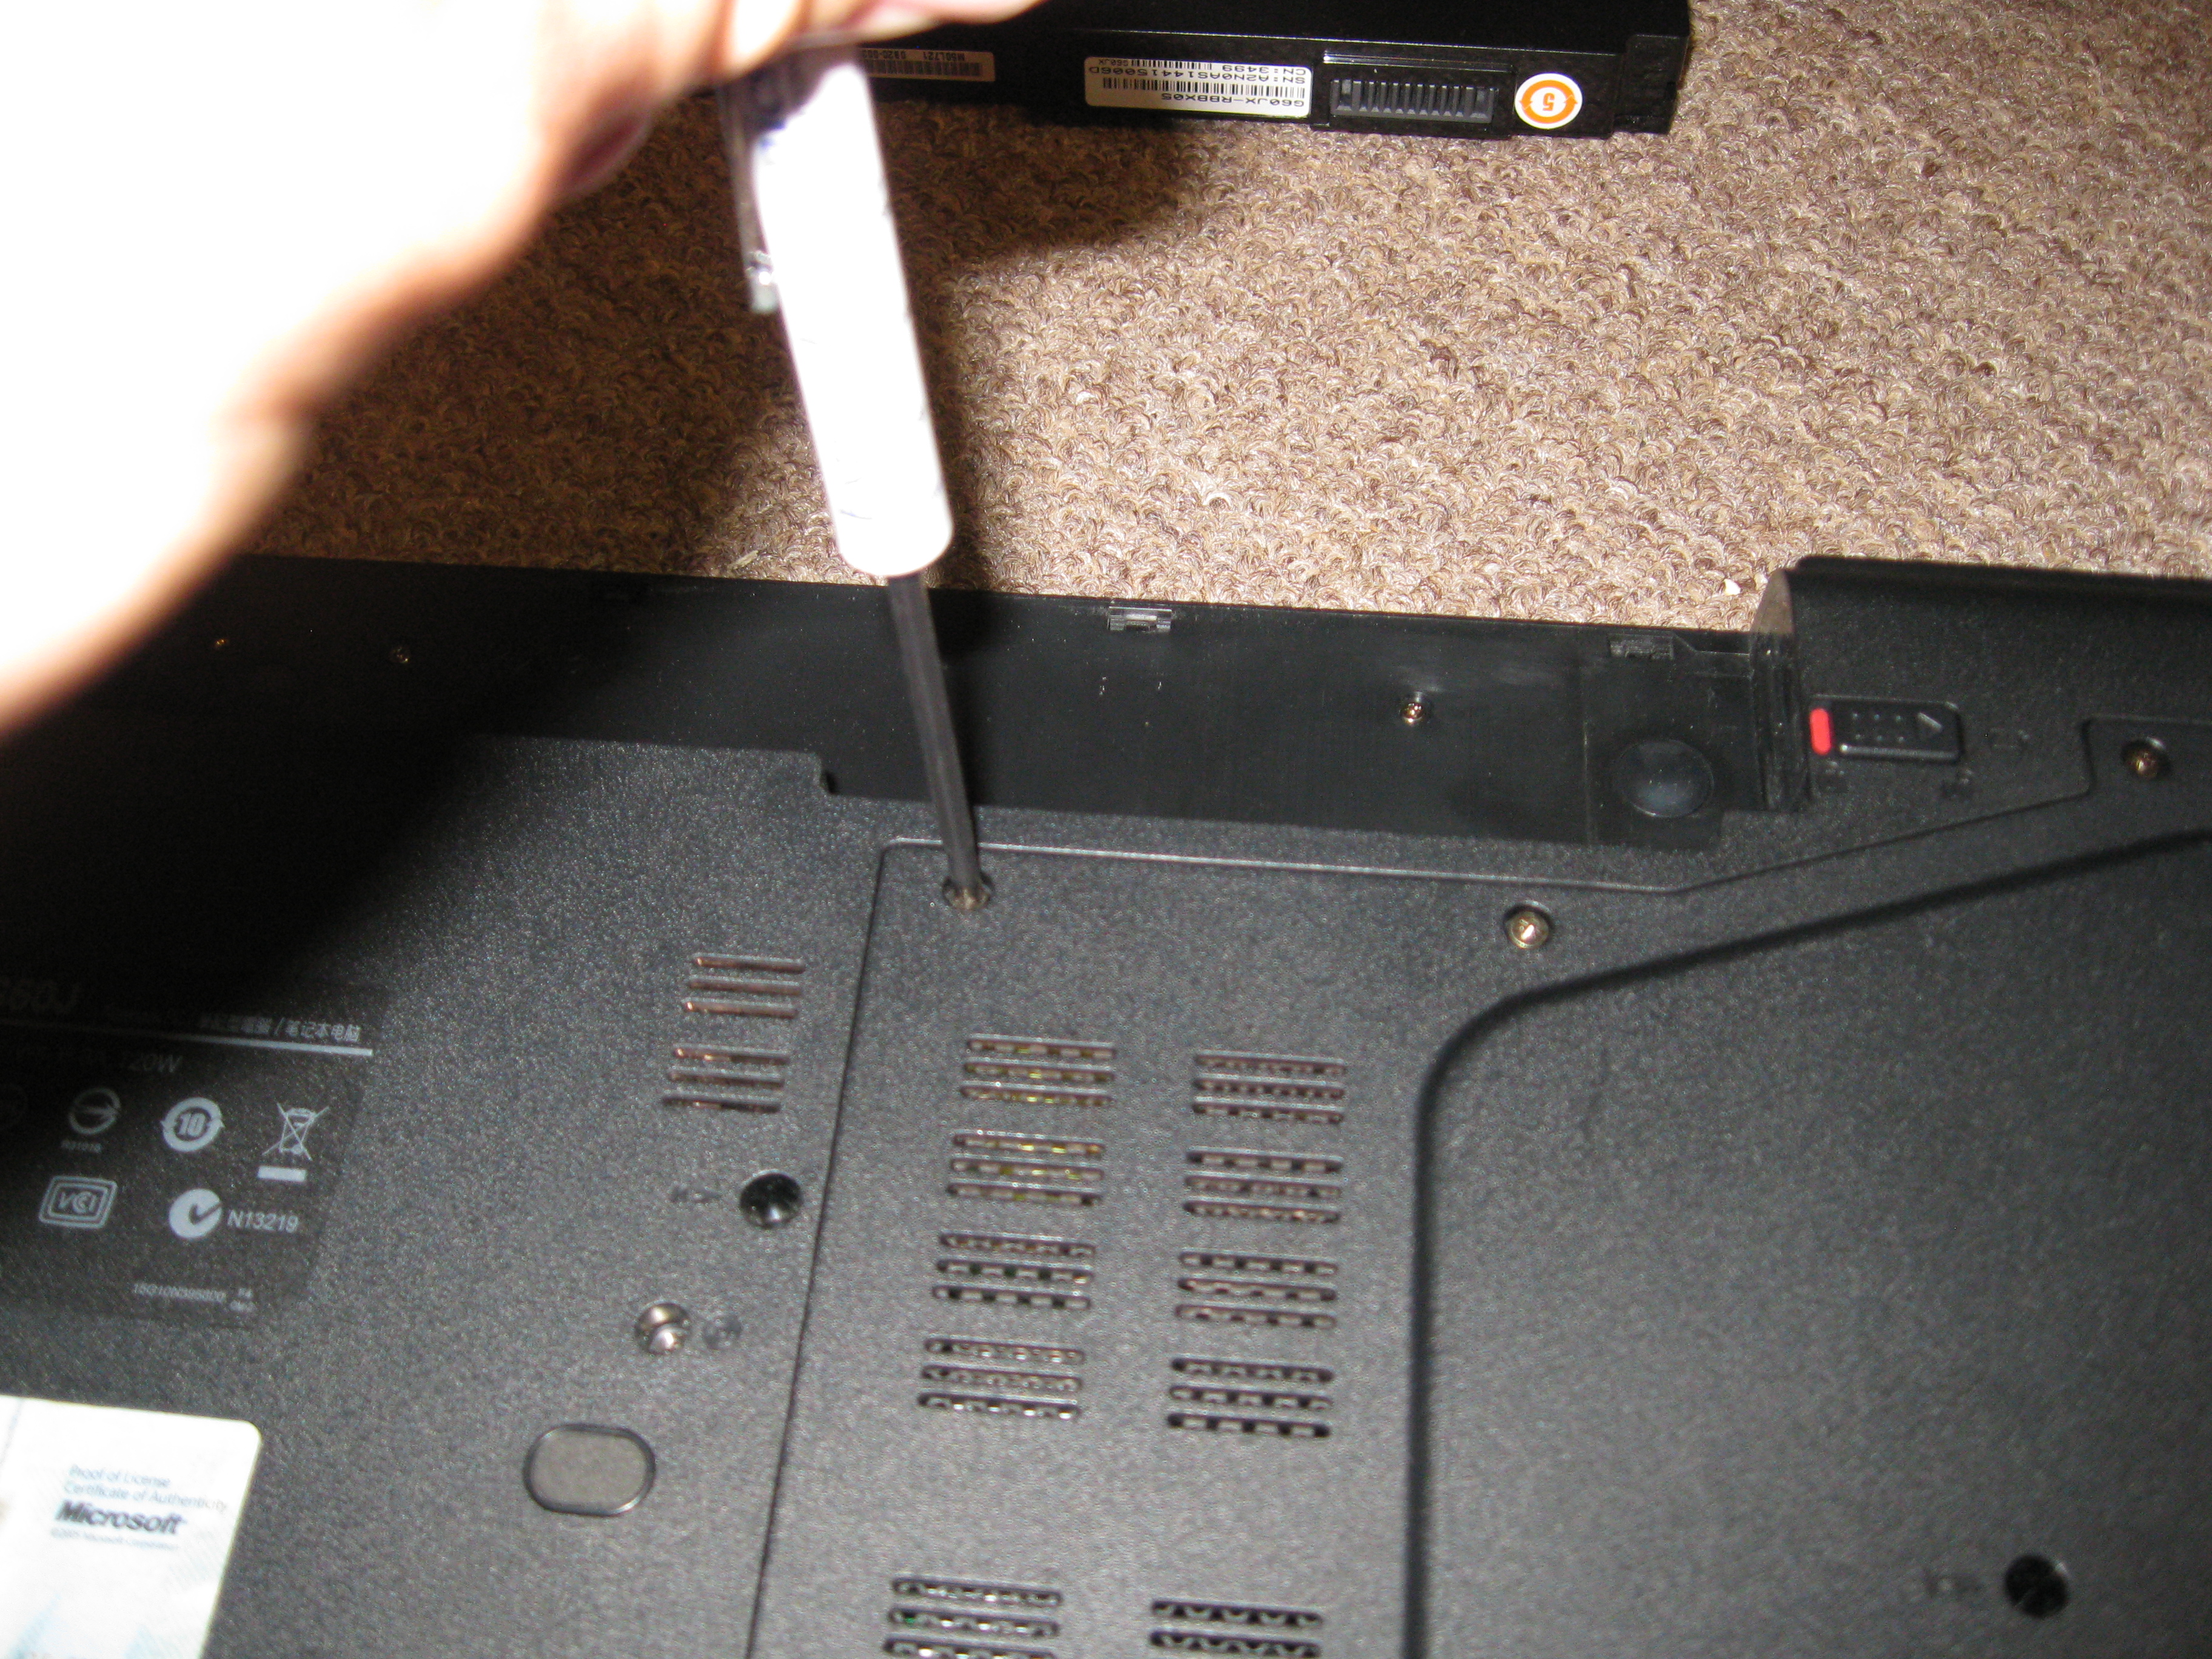
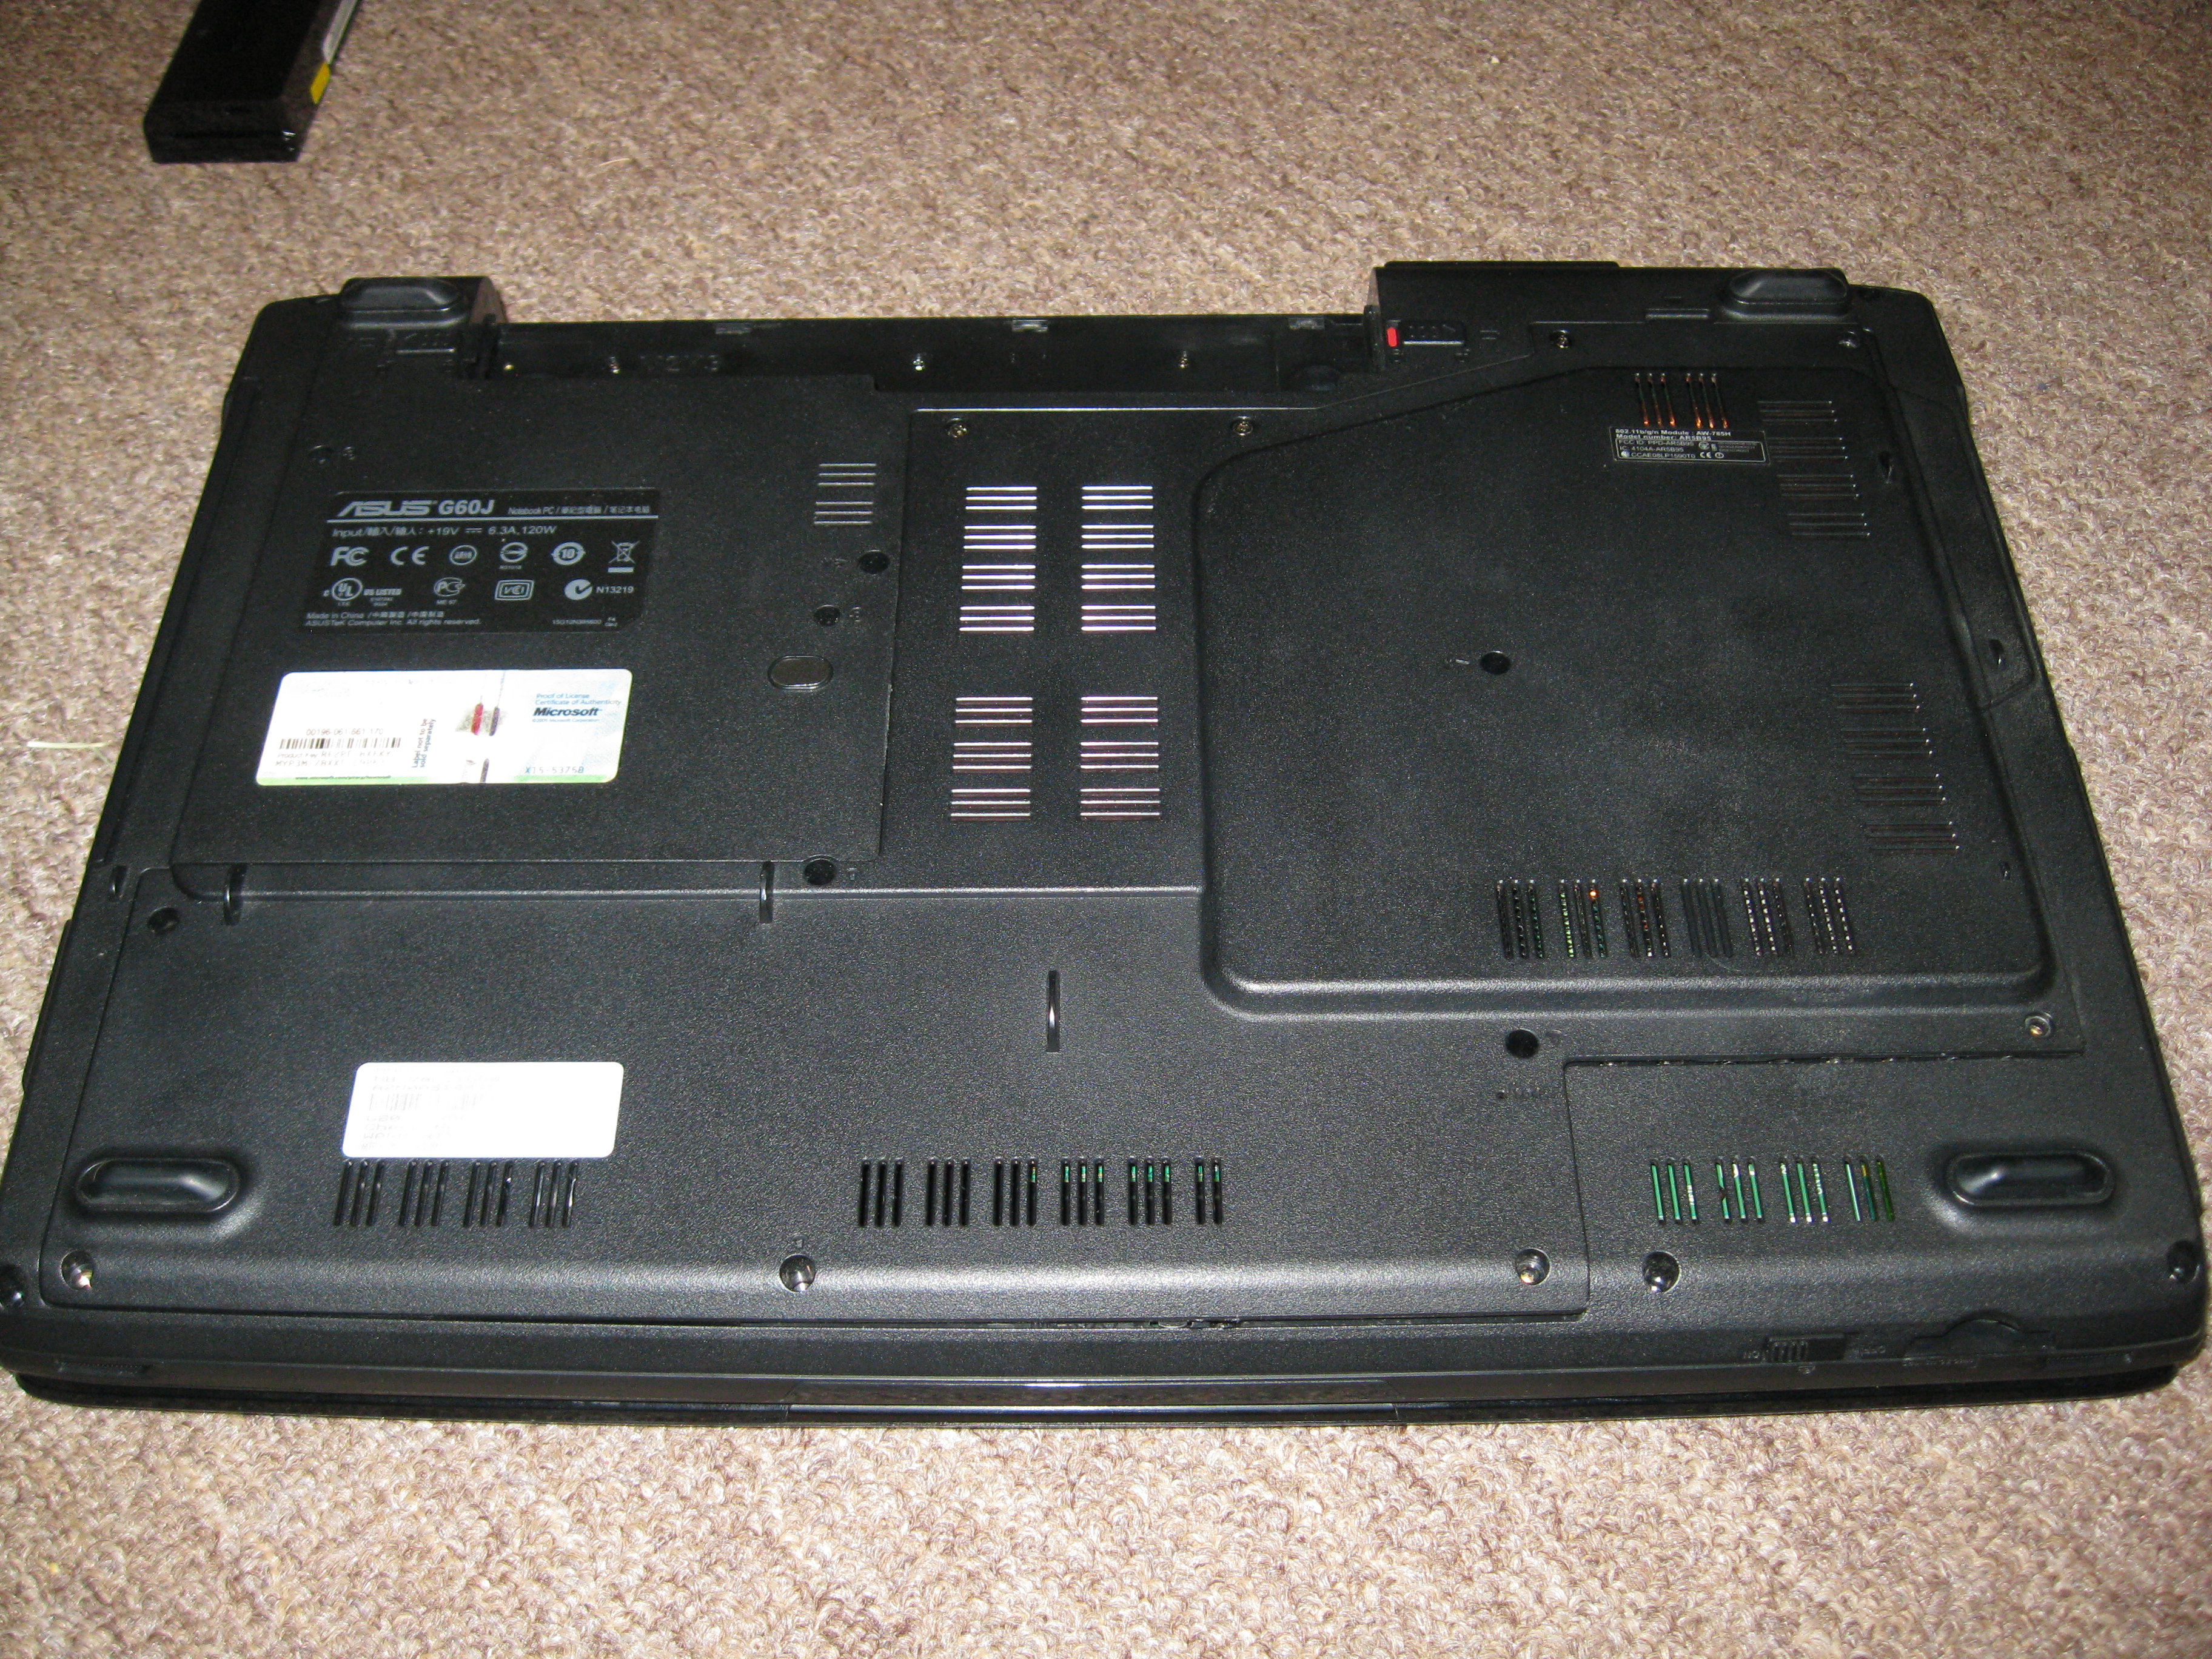
Using all the screws you pulled out earlier, reattach the back plate to the laptop.
Make sure you don't forget any screws! They're small and almost impossible to find if you lose them.
Make sure you don't forget any screws! They're small and almost impossible to find if you lose them.
Reinstall Battery
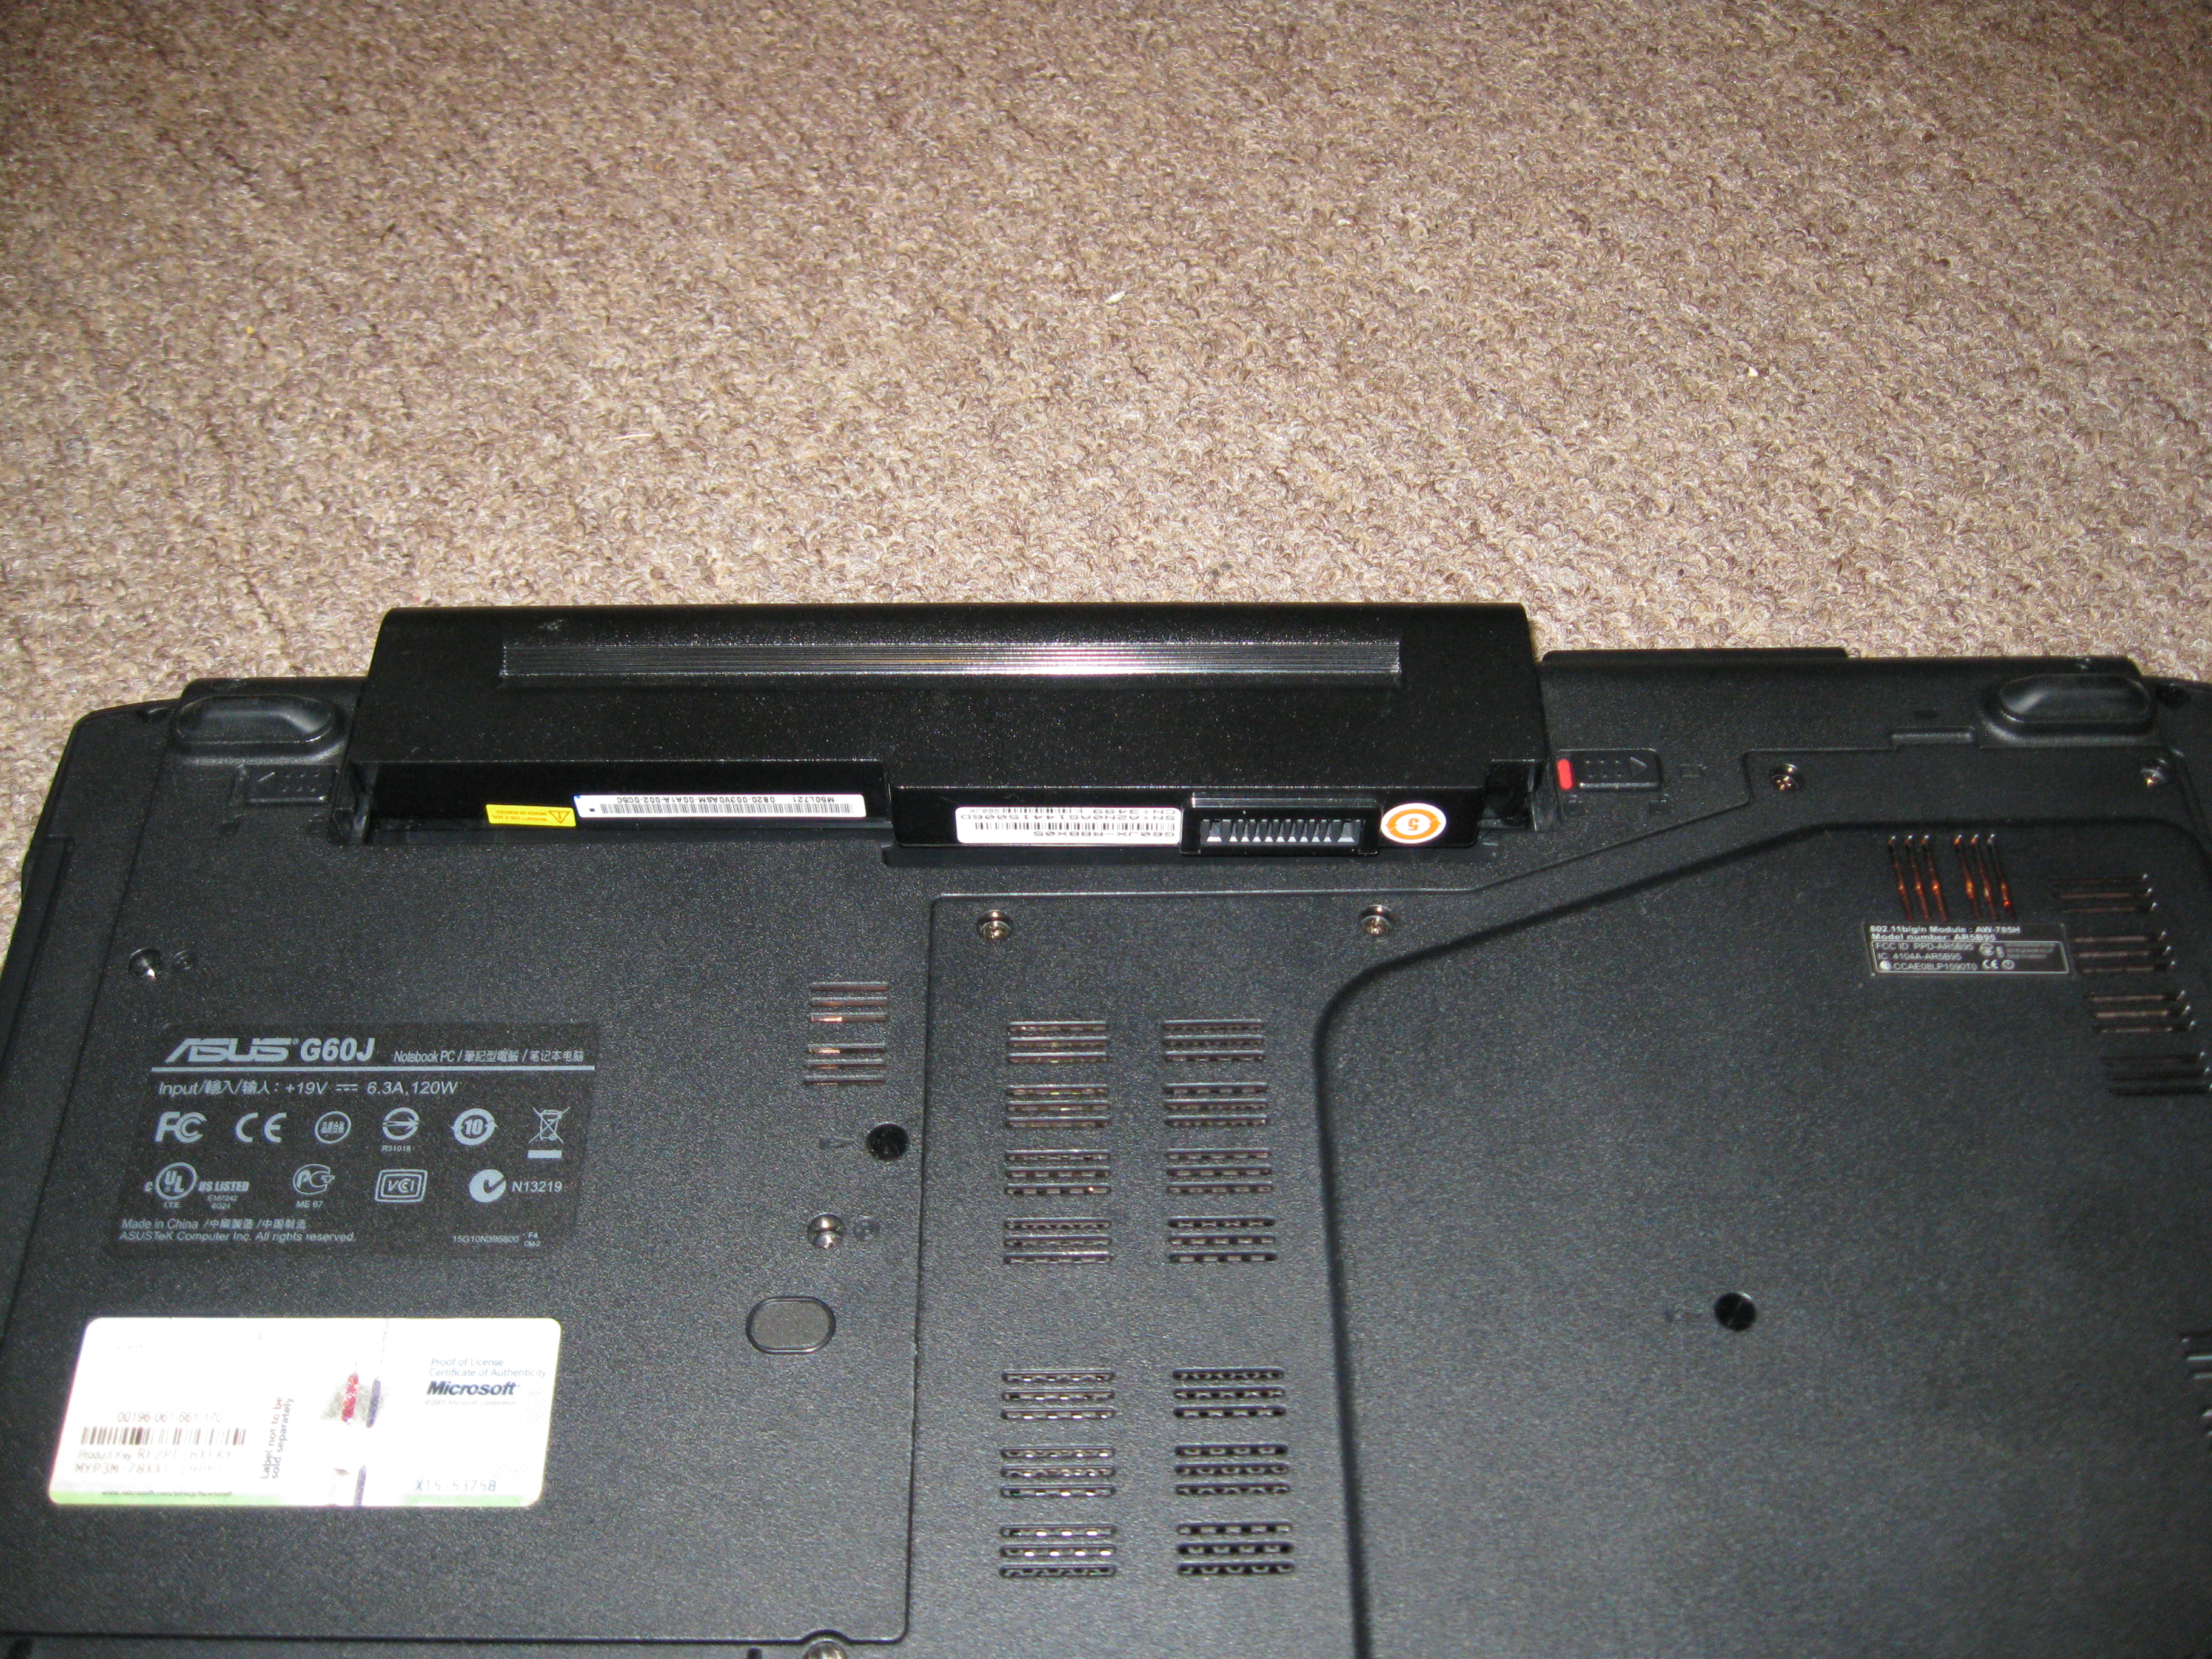
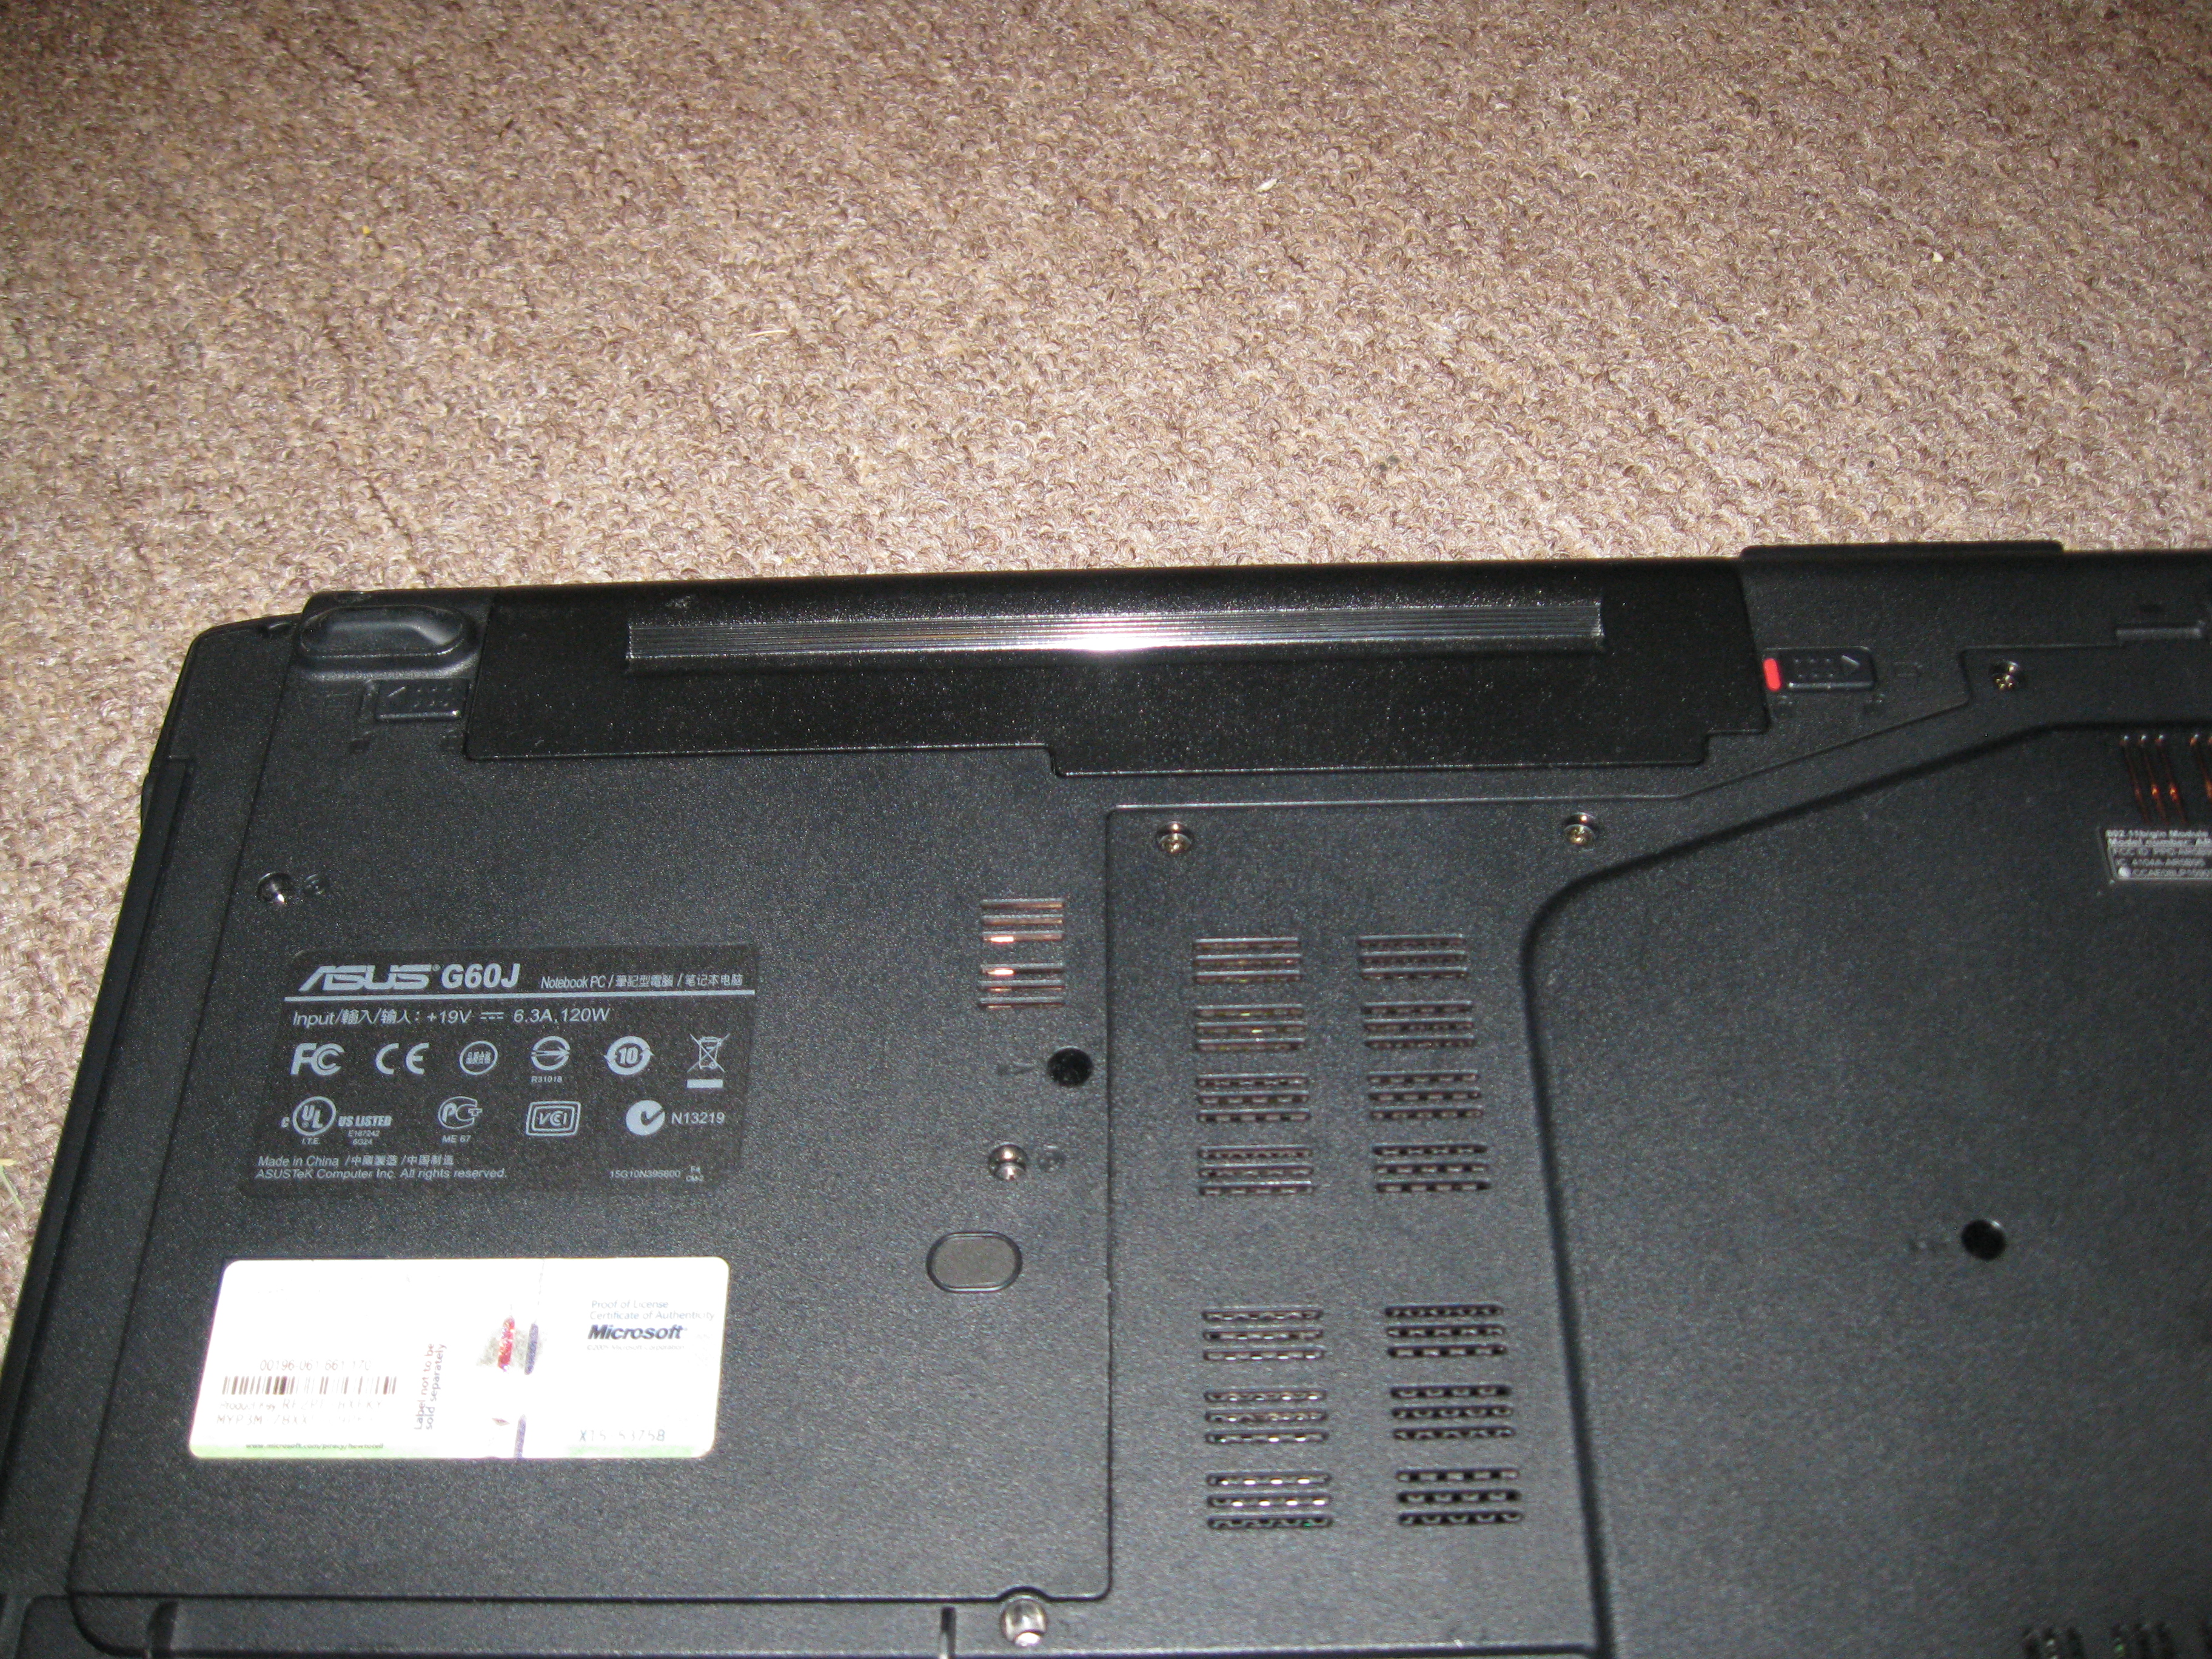
Now that everything is reassembled, the last step is to reconnect the power source. In my case, this involves simply sliding the battery back into it's designated slot in the rear of the laptop.
Power Up Laptop
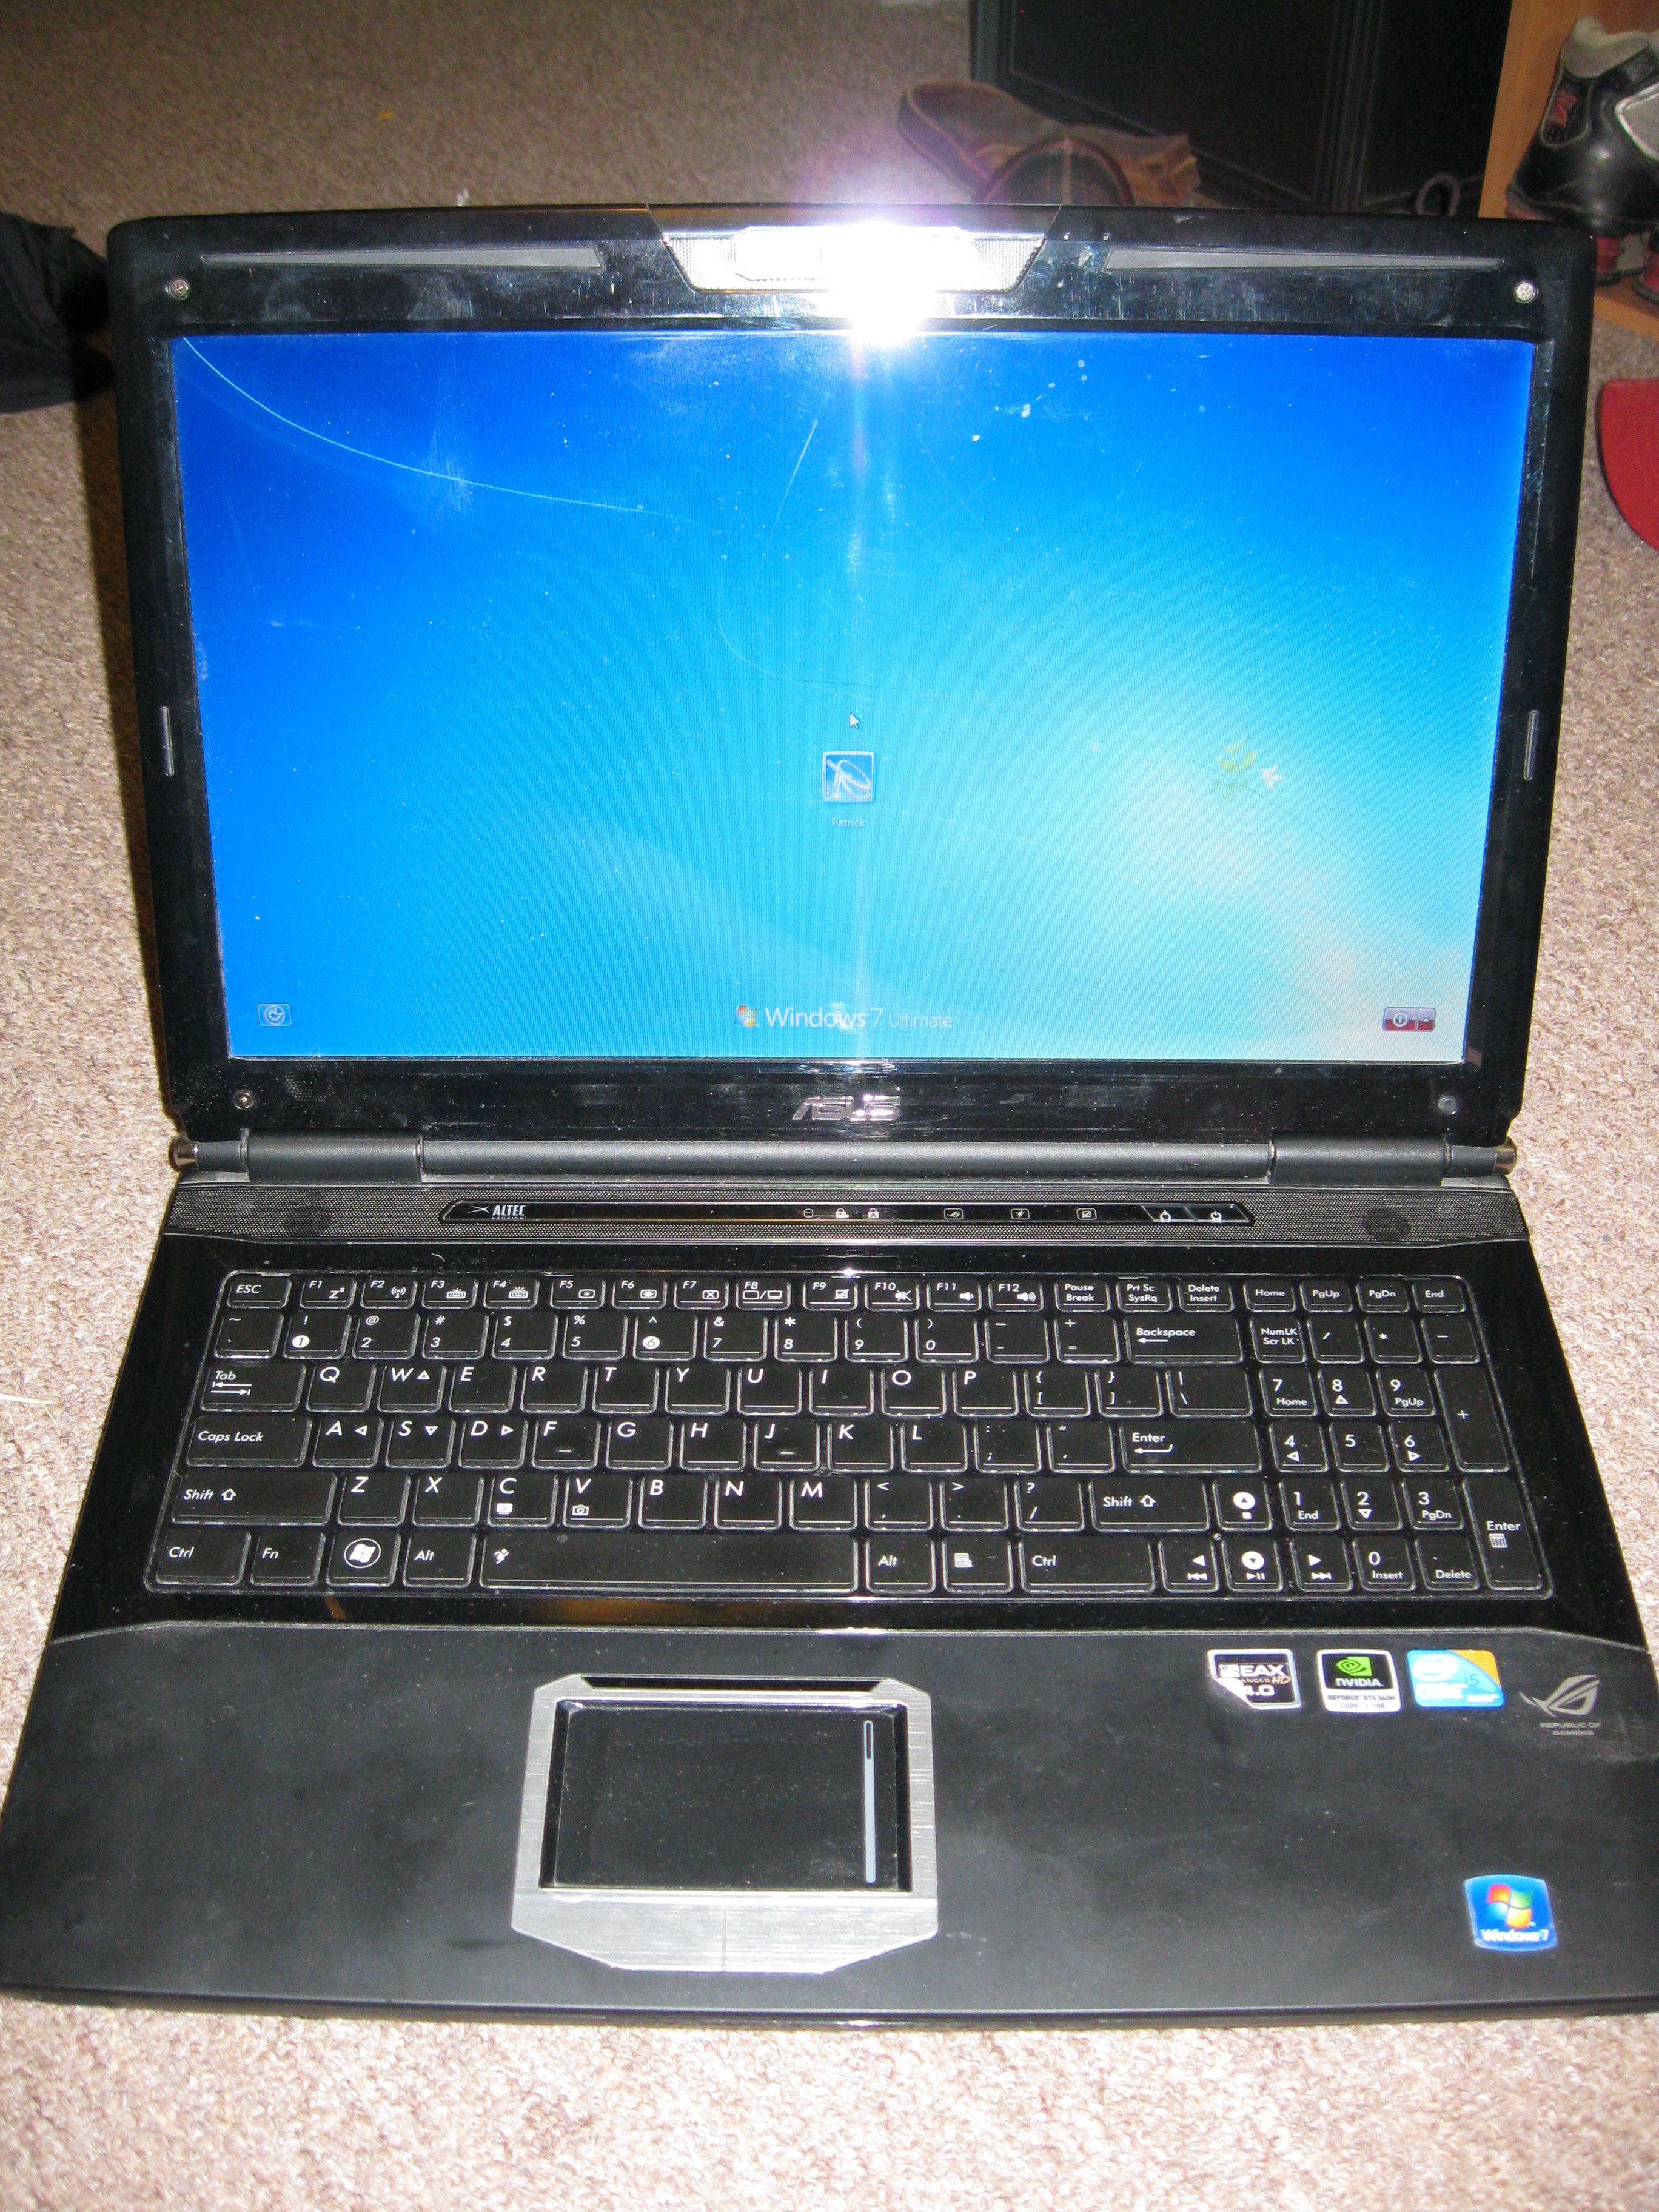
Once the power has been reconnected, power up the laptop and make sure your operating system (Windows 7 Ultimate for me) boots up properly.
NOTE: Your computer should automatically recognize when new RAM has been installed, eliminating need to go into the BIOS and manually setting up the new RAM. It makes things much easier!
If your computer successfully restarts... Congratulations! You have successfully swapped out your RAM!
NOTE: Your computer should automatically recognize when new RAM has been installed, eliminating need to go into the BIOS and manually setting up the new RAM. It makes things much easier!
If your computer successfully restarts... Congratulations! You have successfully swapped out your RAM!