How to Implement Embedded Mqtt Client Using W5500 IC.
by 보현방 in Circuits > Remote Control
15508 Views, 13 Favorites, 0 Comments
How to Implement Embedded Mqtt Client Using W5500 IC.
How to implement embedded Mqtt Client using W5500 IC.
Stuffs That You Have to Prepare.
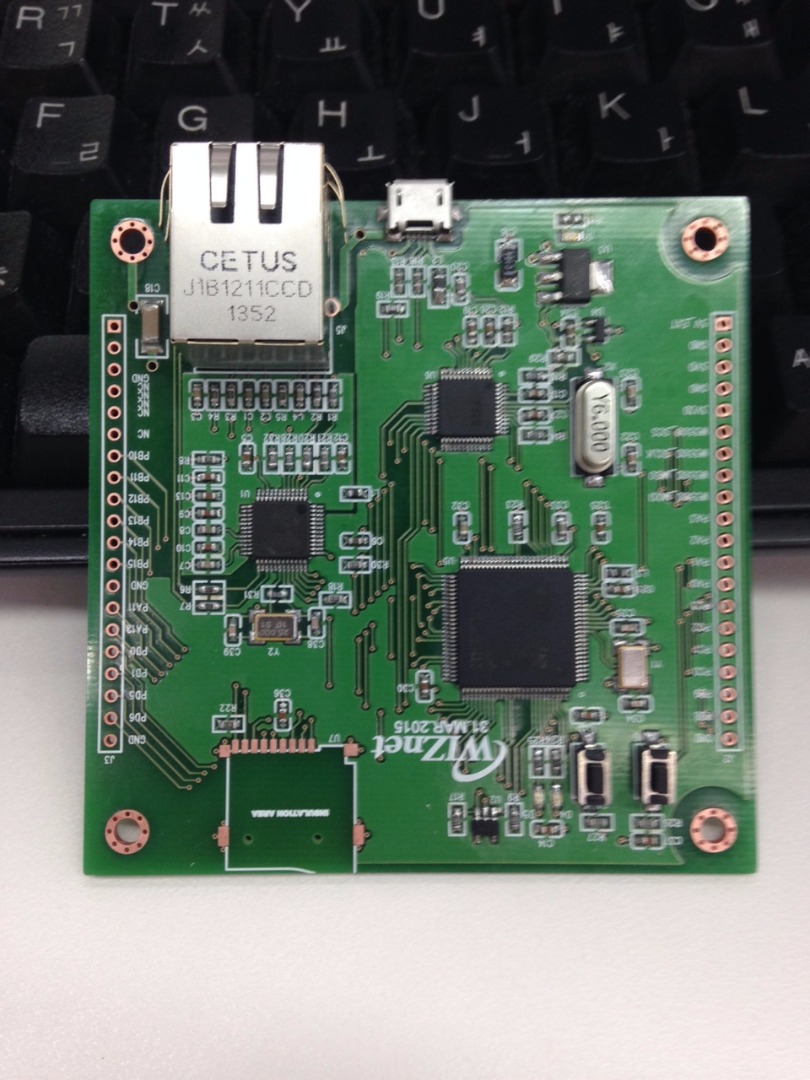
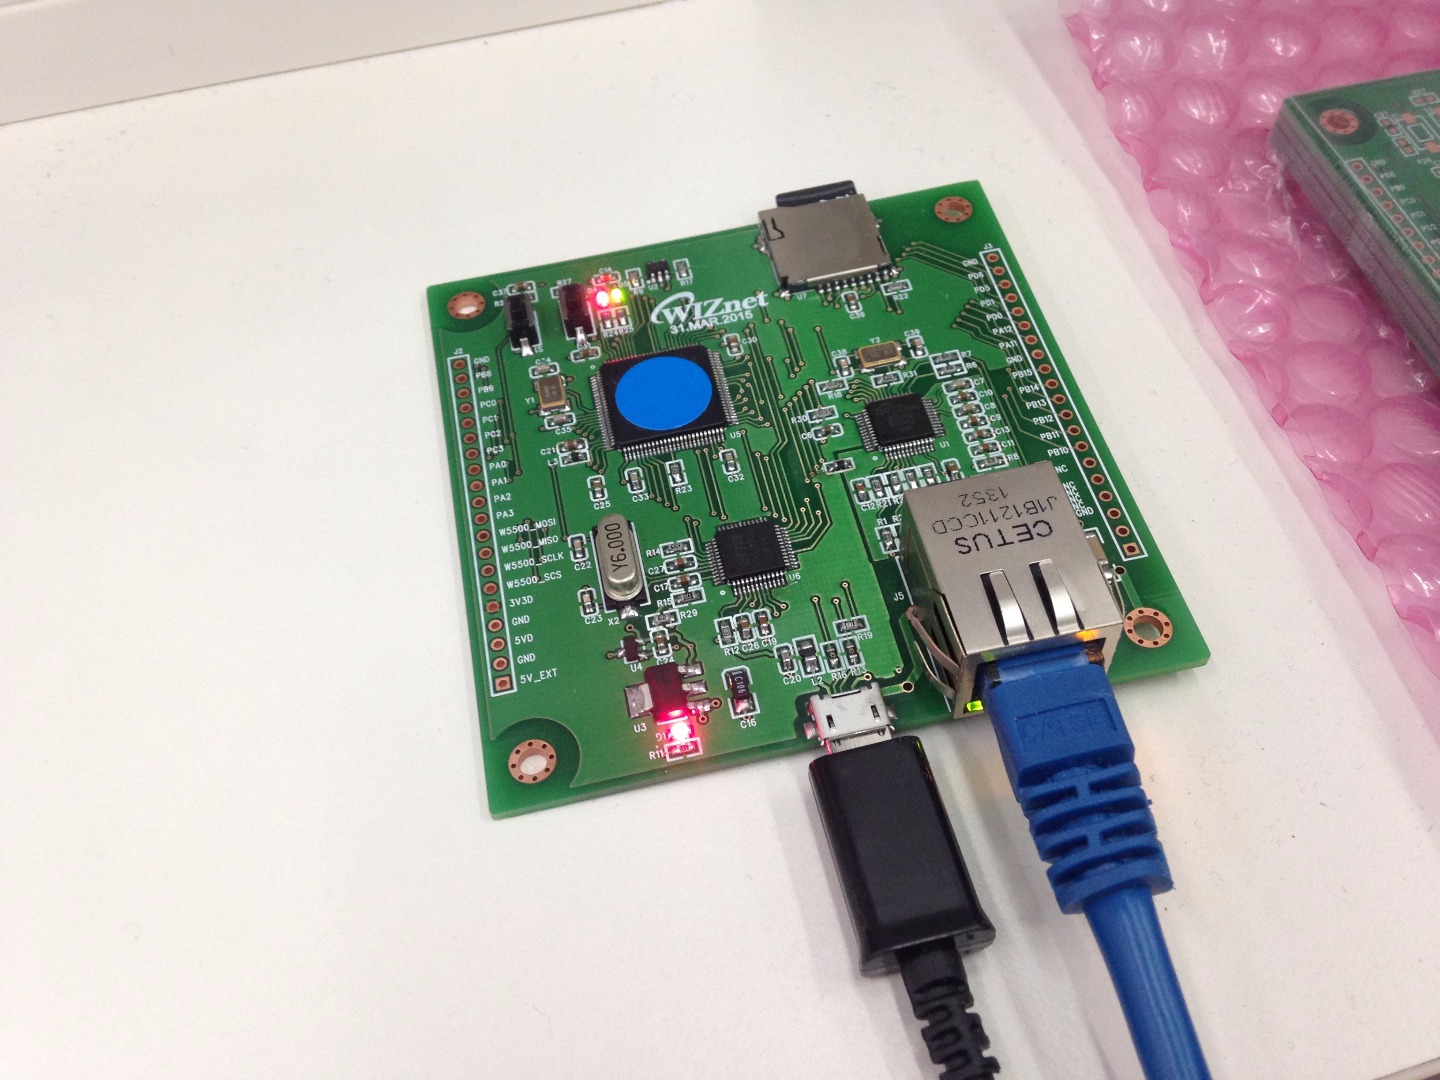
1. W5500 Embedded Ethernet Board.
- W5500 with Cortex M Series recommended. I used my custom board. My custom ethernet board includes W5500 and stm32f103vc(ST's cortex M3).
2. IDE.
- Whatever you want. I used CoIDE(with gcc).
3. Broker Server.
- A. Use Cloud Services, such as CloudMQTT. - Recommended.
- B. Make you own broker server using cloud server service, such as google cloud or aws.
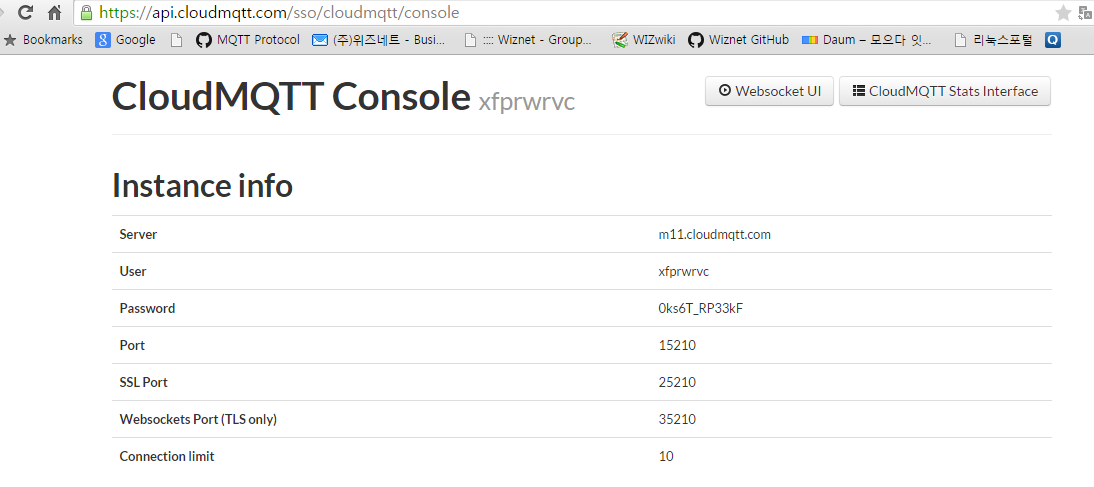
Preparing Broker Server - CloudMQTT
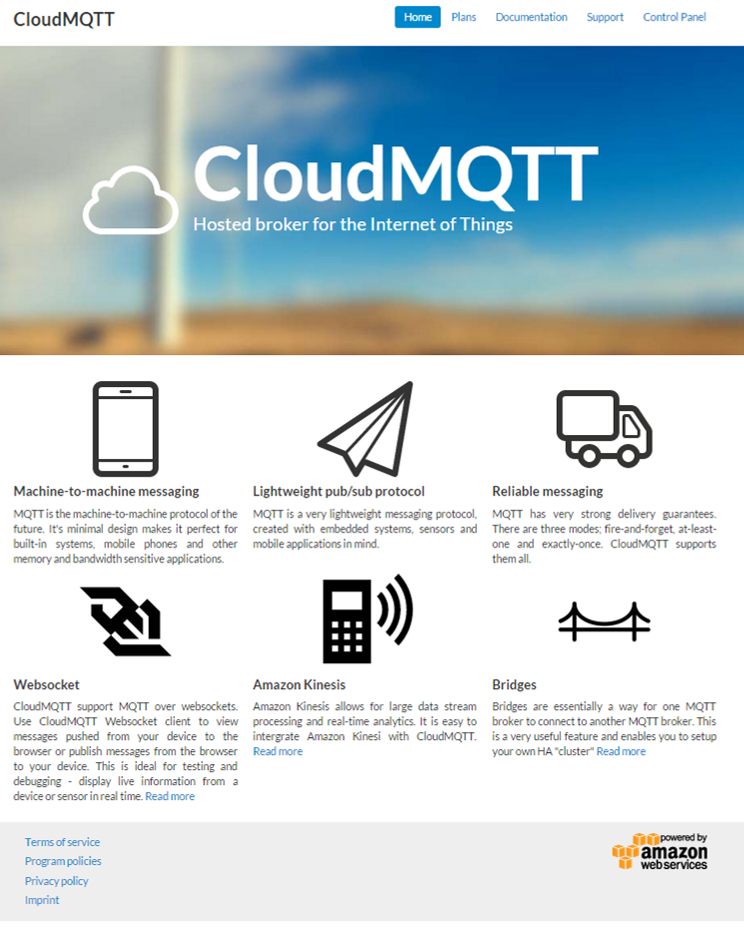
1. Visit the http://www.cloudmqtt.com/
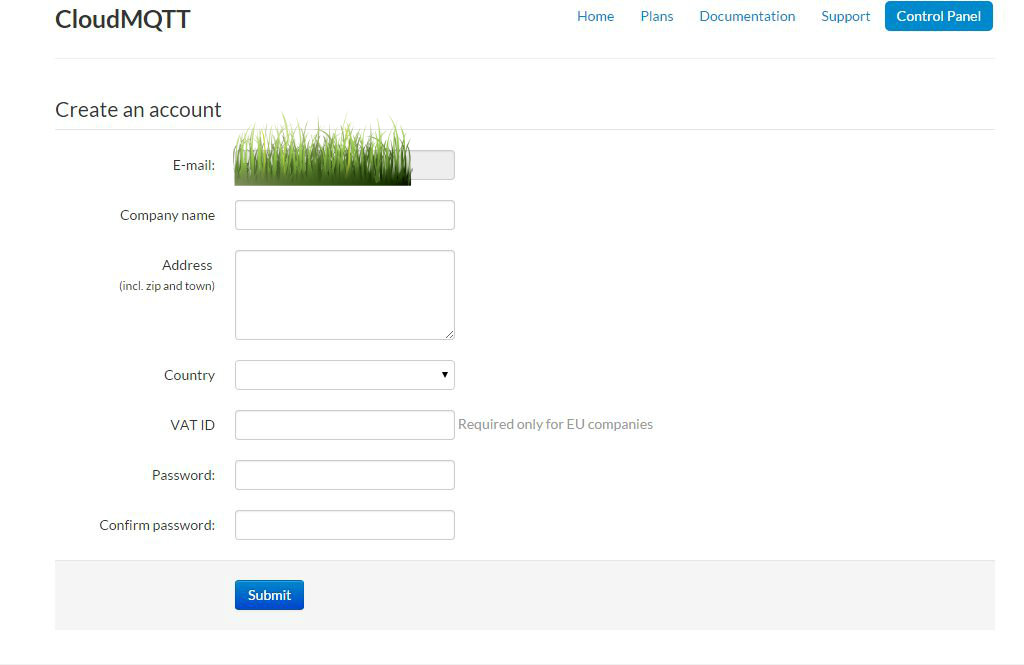
2. Sign up with your e-mail and login.
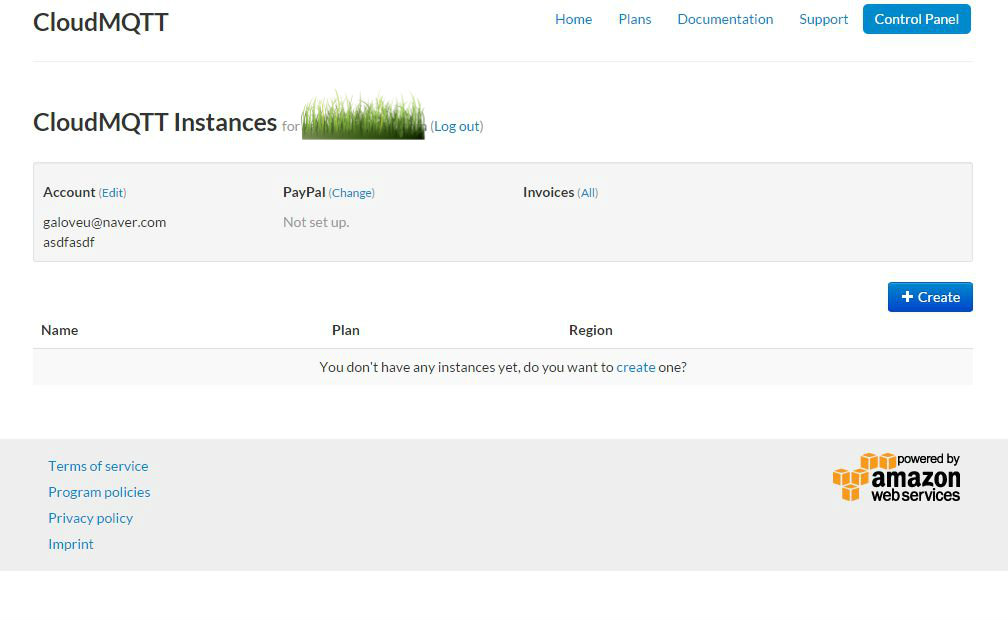
3. Create CloudMQTT Instance.
4. Complete.
Paho Mqtt Library Download and Import.
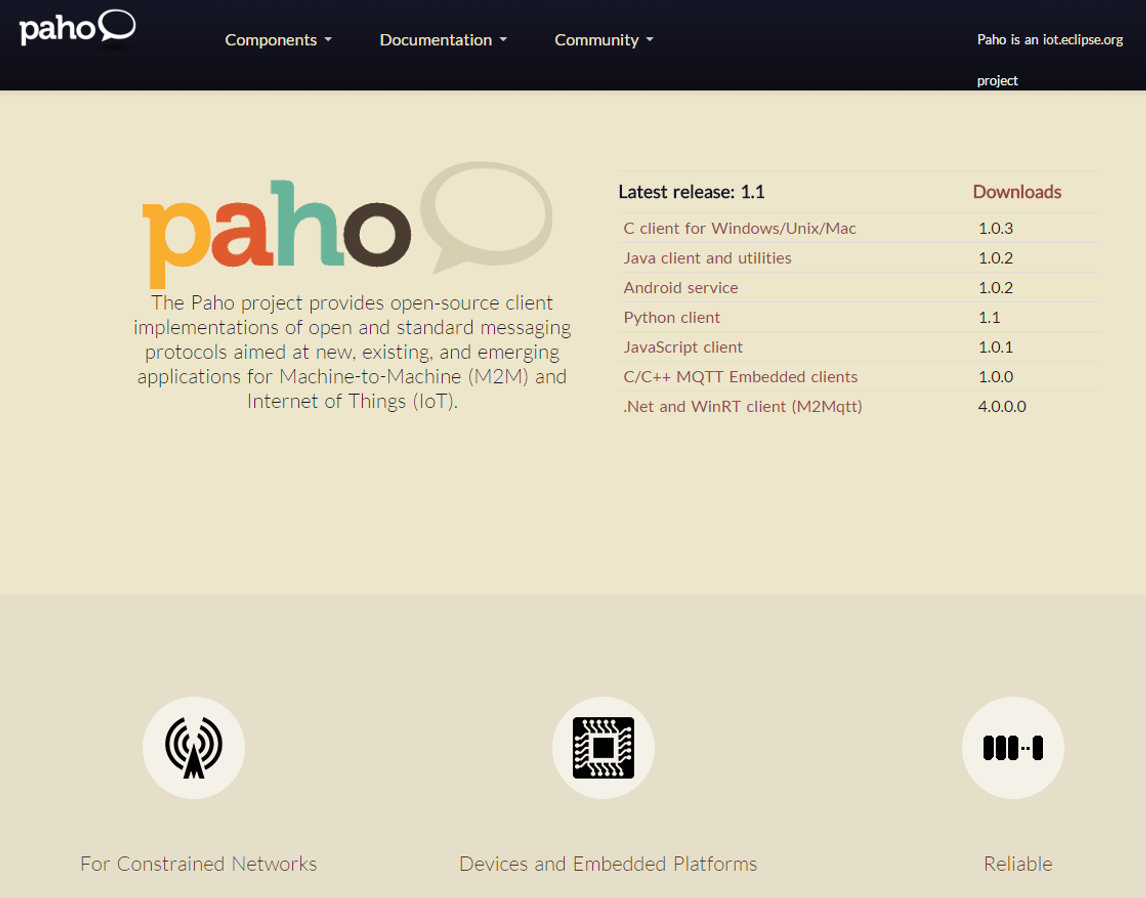
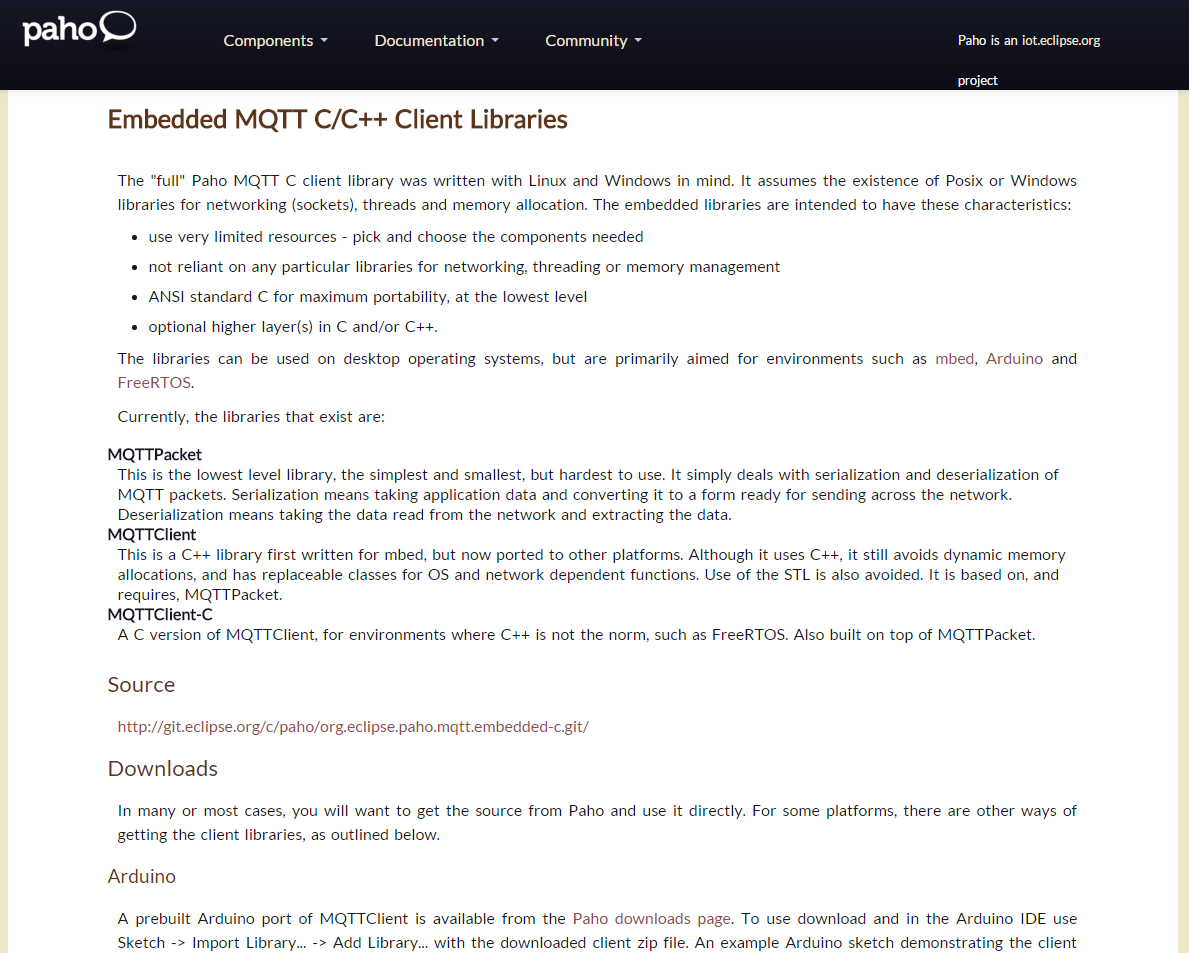
1. Visit the https://eclipse.org/paho/
2. Download C/C++ MQTT Embedded clients and unzip.
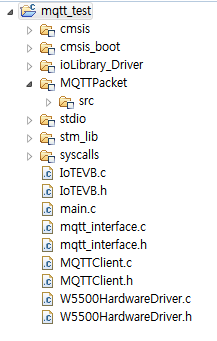
3. Import MQTT library(You have to import 1 Folder & 2 Files)
A. Folder: c:\your downdload path\org.eclipse.paho.mqtt.embedded-c-1.0.0\MQTTPacket\src
B. Files: c:\your downdload path\org.eclipse.paho.mqtt.embedded-c-1.0.0\MQTTClient-C\src MQTTClient.c & .h files.
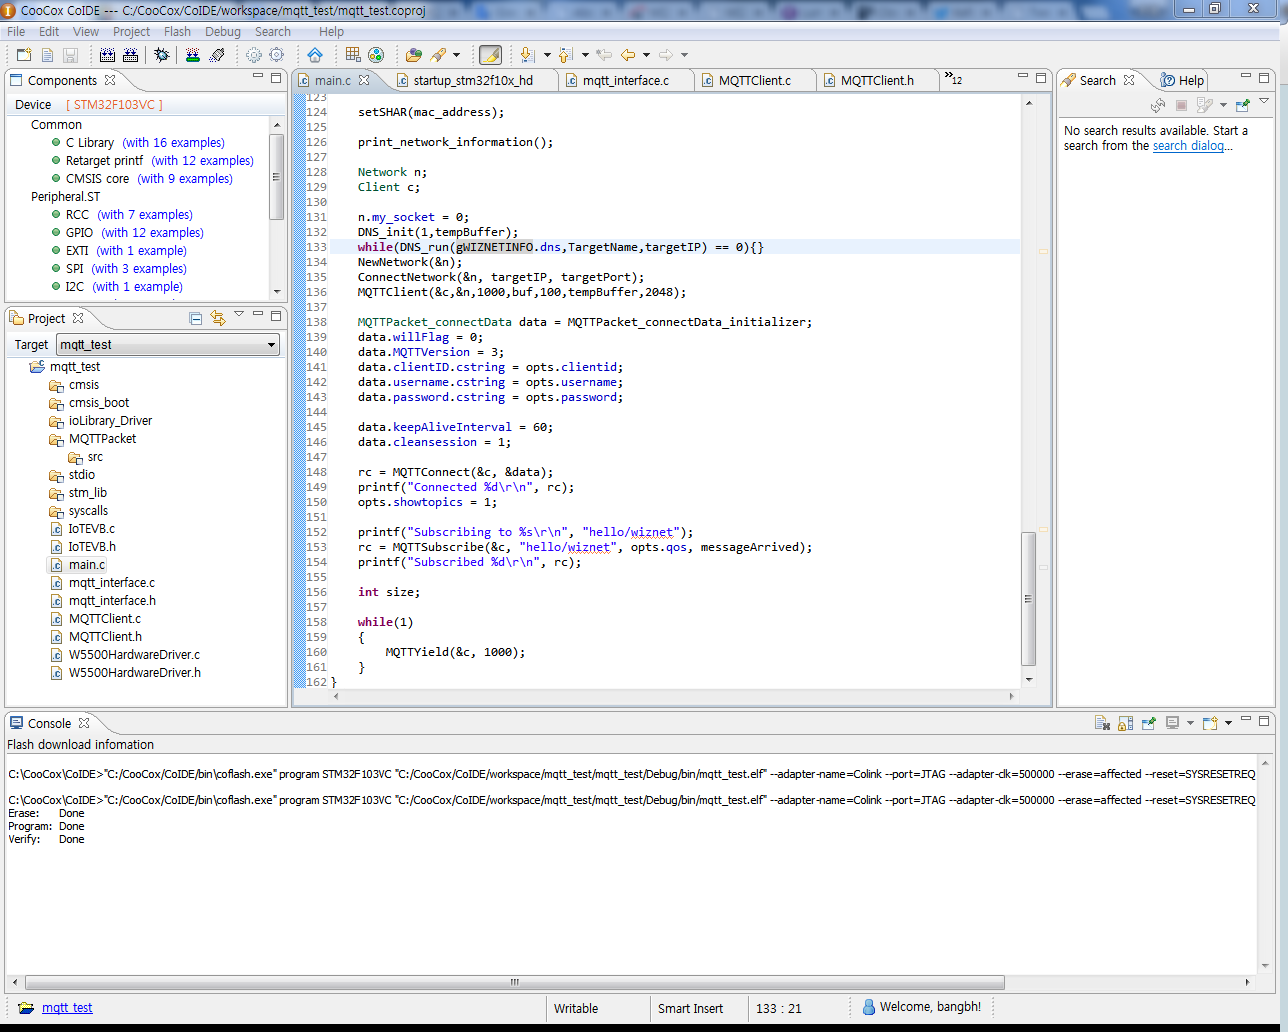
MQTT Library Porting.
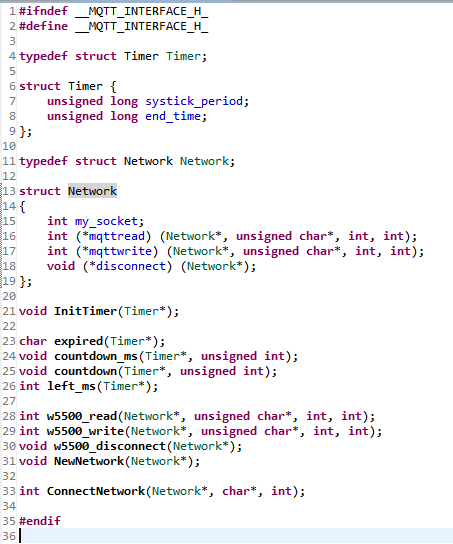
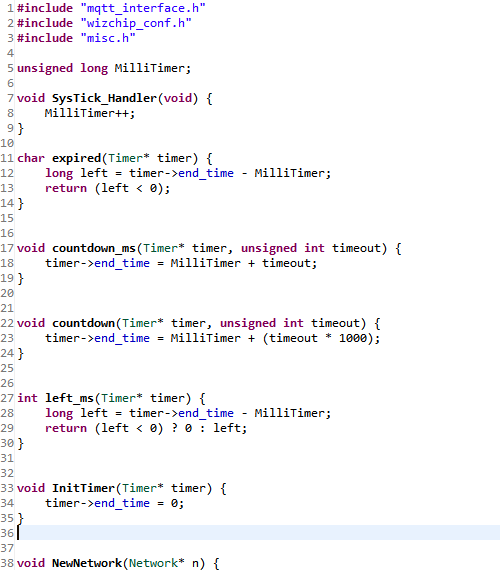
1. Create new file. MQTTInterface.c & MQTTInterface.h (File name is not important.)
2. Define the functions and structures.
3. coding Main() using MQTT library.
You can download full source code from my github: https://github.com/bangbh81/paho-mqtt-subscribe-example
Test
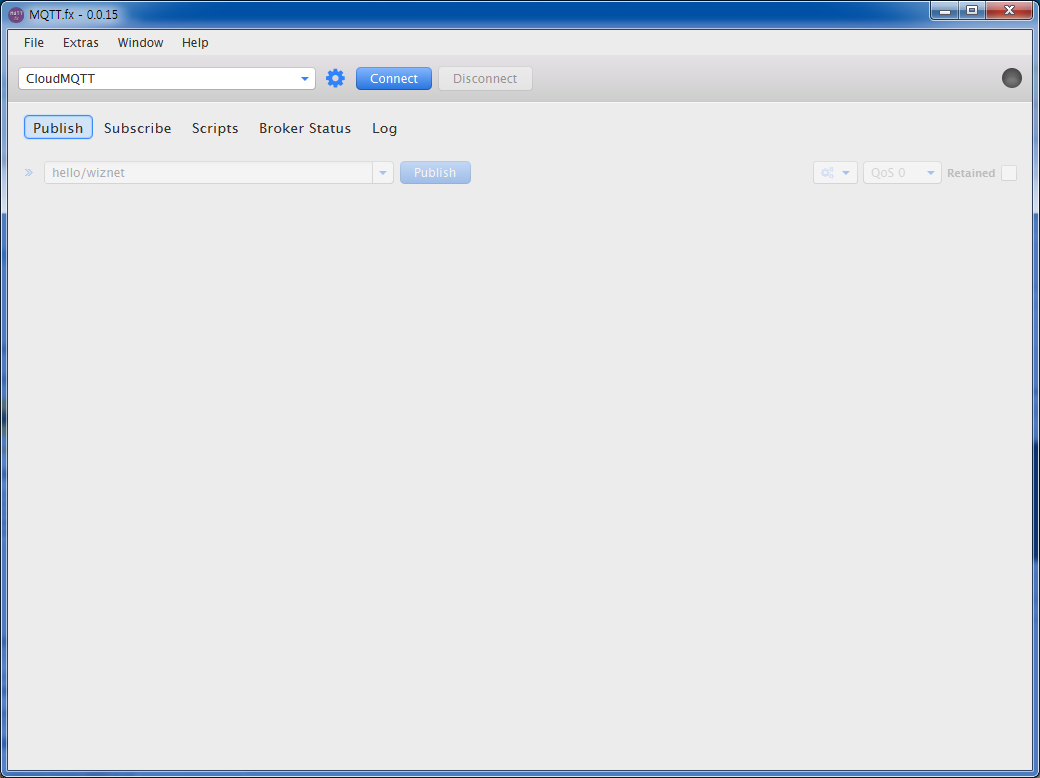
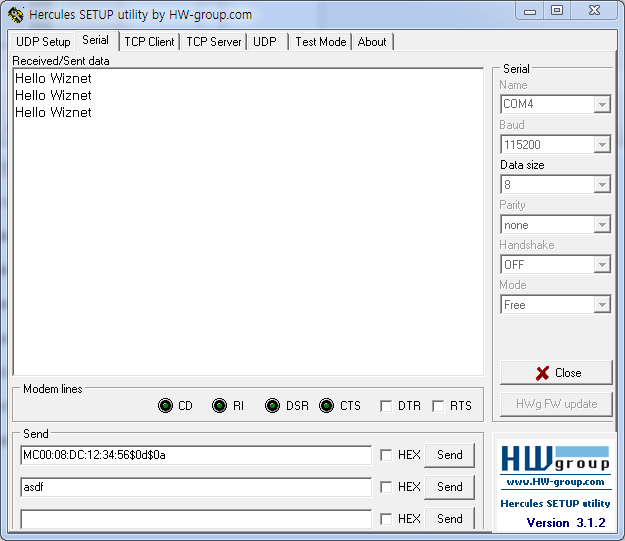
1. MQTT FX(mqtt pc client software from http://mqttfx.jfx4ee.org/
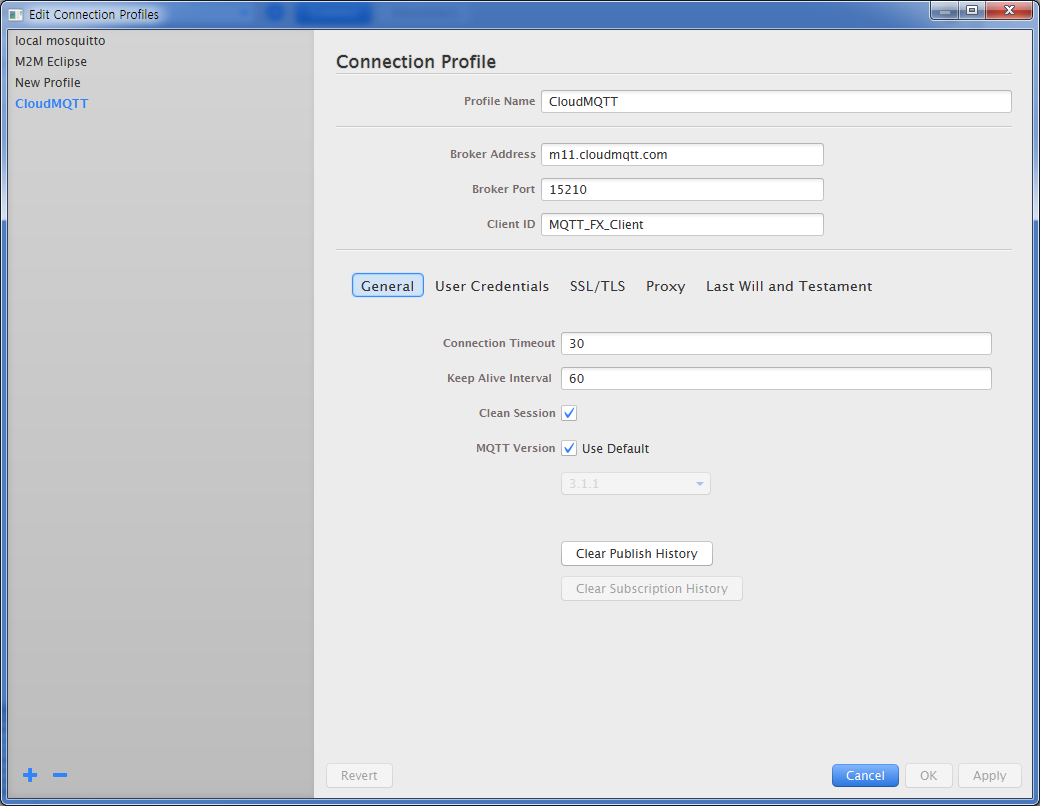
2. make a connection propile using CloudMQTT Instance info.
A. Broker Server Address
B. Broker Port
C. User Name
D. Password
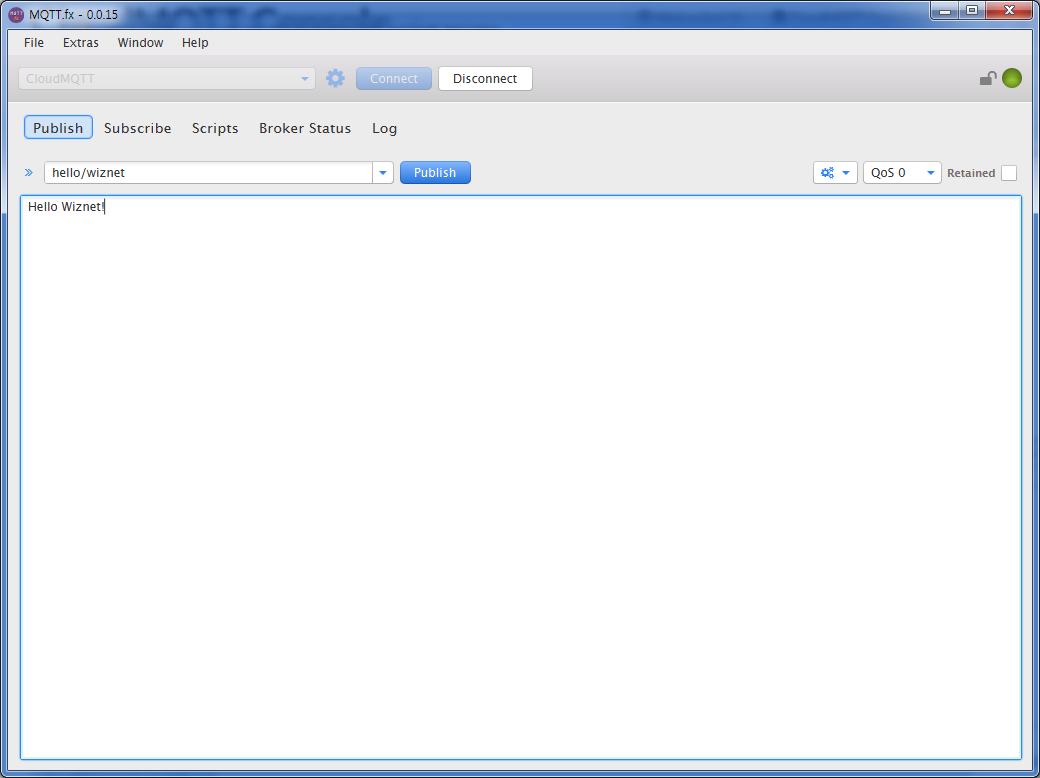
3. Connect and Write a topic & data.
4. Click publish.
5. Check the mqtt client works well.