How to Host Your Own Wordpress Blog
by Dascooby in Circuits > Websites
66889 Views, 23 Favorites, 0 Comments
How to Host Your Own Wordpress Blog

Installing Wordpress on your own server gives you more control over your blog. This Instructable is a step-by-step guide on how to do it, completely free and no coding skills required.
Get Hosted
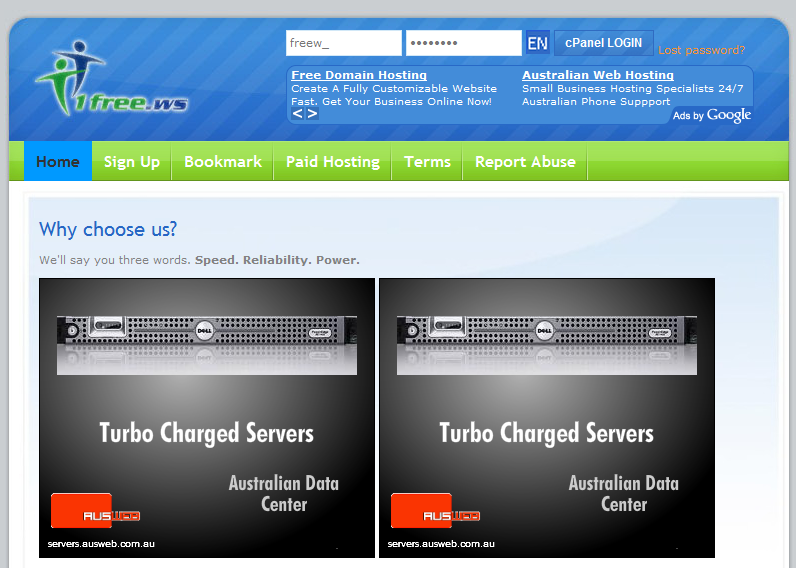
First off, you'll need a server to upload all of your files. We need a host that supports MySQL, and FTP would make the process alot easier, but most web hosts support those 2 features anyway. If you already have a web host that supports MySQL and FTP, then go to the next step. For this Instructable, i'll be using http://www.1free.ws/, which is a free web host, but you can choose one from the list below, or find your own.
http://www.0fees.net/
http://xtreemhost.com/
http://www.free-space.net/
http://www.emenace.com/
http://www.sitegoz.com/
http://www.freewebhostx.com/
http://www.heliohost.org/home/
http://www.awardspace.com/web_hosting.html
http://www.agilityhoster.com/
http://www.byethost.com/
http://dhost.info/
http://summerhost.info/
http://www.batcave.net/
http://www.tekcities.com/
http://www.freehostpro.com/
http://www.vistahosting.cn/
http://stonerocket.net/freehost.php
Create a MySQL Database
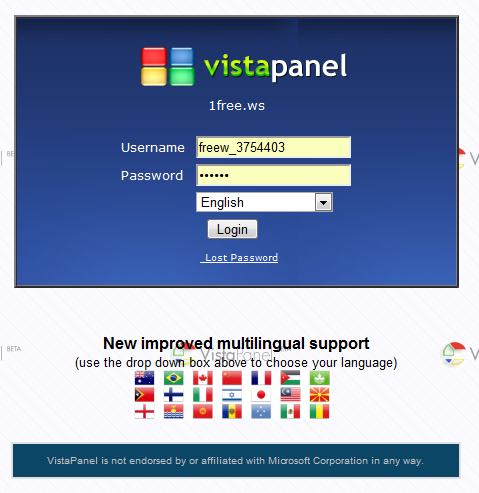
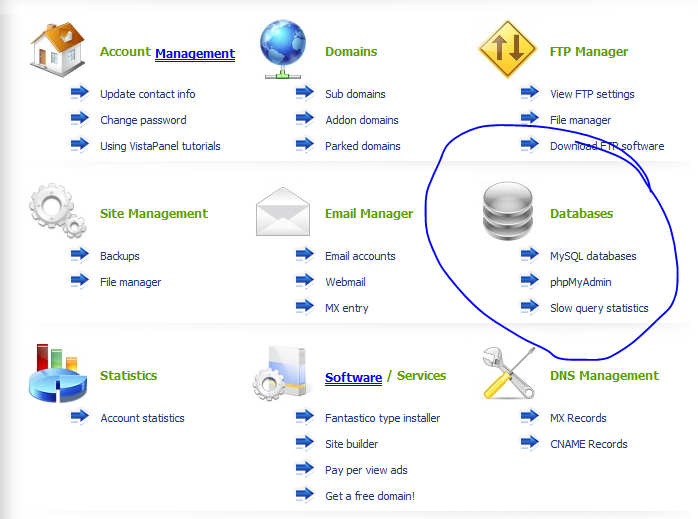
Now, log into your web hosting account, and see if you can find a 'MySQL' option or 'database' option. From there you can create a database. Call it something memorable and relevant to the blog you're creating, e.g. 'blog'.
Depending on the web host, you may have to create a username and password. Again, just make the username memorable and relevant, and make the password hard to guess.
Depending on the web host, you may have to create a username and password. Again, just make the username memorable and relevant, and make the password hard to guess.
Download Wordpress
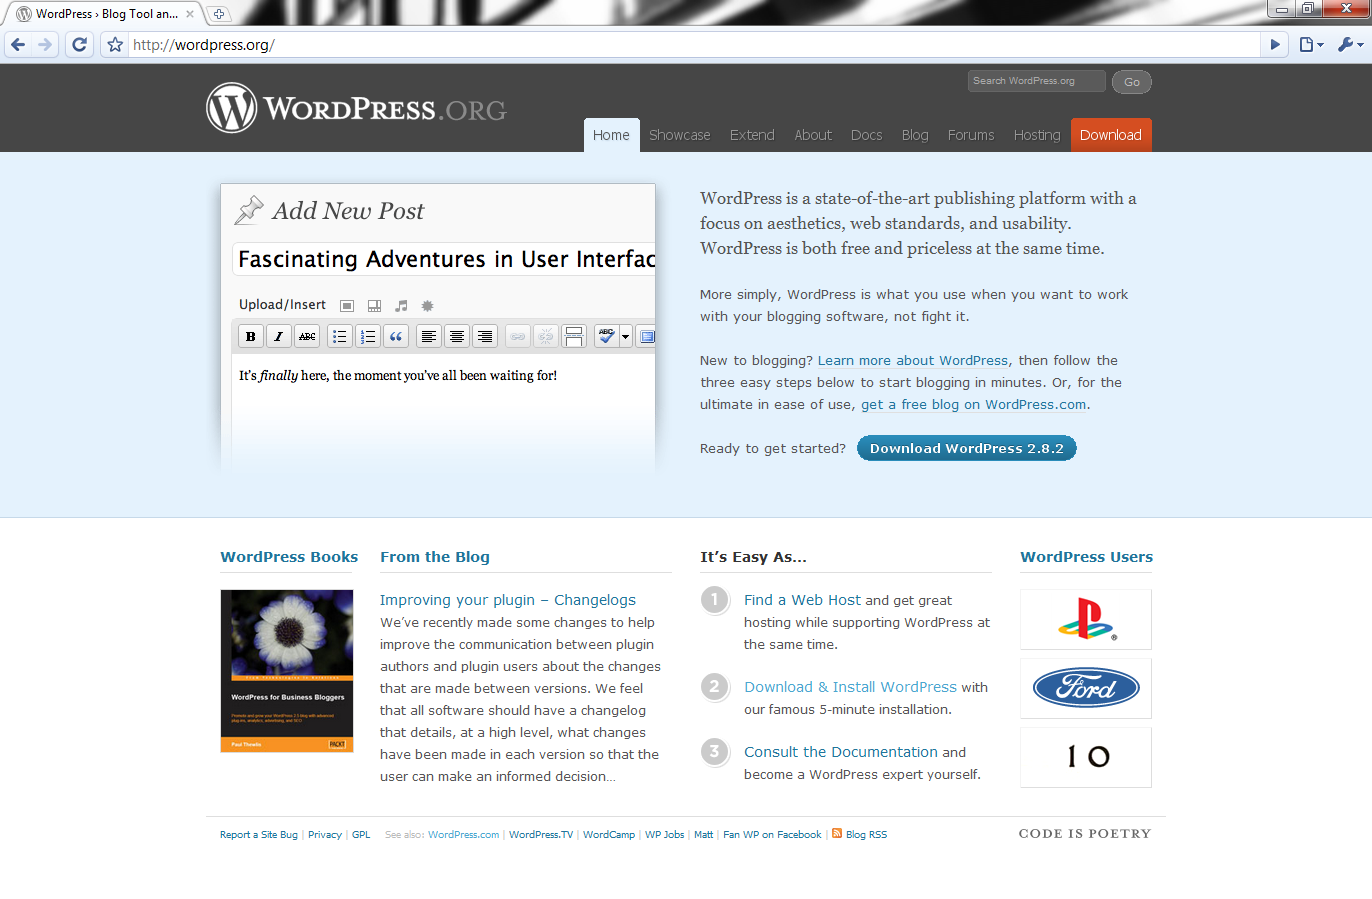
Go to www.wordpress.org and download Wordpress to your computer. Extract it all to a folder, then open the folder. Inside you'll find a bunch of files and folders. Find 'wp-config-sample.php' and rename it to 'wp-config.php'. Open it with Notepad.
Now, in this file you'll have to enter your details. Under 'database name' just enter your webhost username with an underscore, followed by the name of your database.
For example, if my webhost username was freew_3754403 and my database name was 'blog', I would put 'freew_3754403_blog' without the quotes of course.
Same goes for the username, but not the password. The host should stay as 'localhost' unless your webhost has a custom one.
Save and close the file.
Download FileZilla


To upload all the Wordpress files manually would take hours, which is where FTP comes in. First find out your webhosts FTP details. These are usually listed in the control panel of your account.
Then download an FTP client. I recommend FileZilla, which you can download here: http://filezilla-project.org/
Install and open up FileZilla.
Then enter your FTP host, username and password and press connect. This should noyl take a couple of seconds to connect.
Then download an FTP client. I recommend FileZilla, which you can download here: http://filezilla-project.org/
Install and open up FileZilla.
Then enter your FTP host, username and password and press connect. This should noyl take a couple of seconds to connect.
Upload Wordpress Files
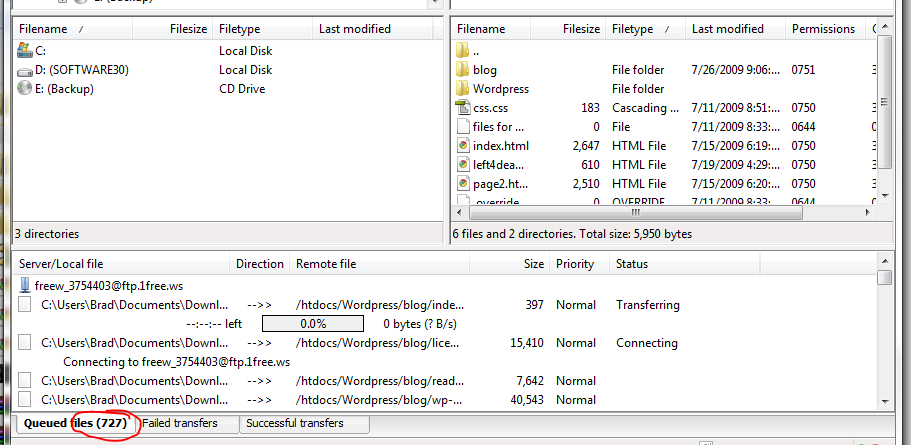
Once FileZilla has connected to your FTP host, navigate to 'HTDOCS' if there is one (though FileZilla). This is where you can upload the files. Simply drag and drop the wordpress folder to the 'HTDOCS' folder and wait for it to complete.
Configure Wordpress
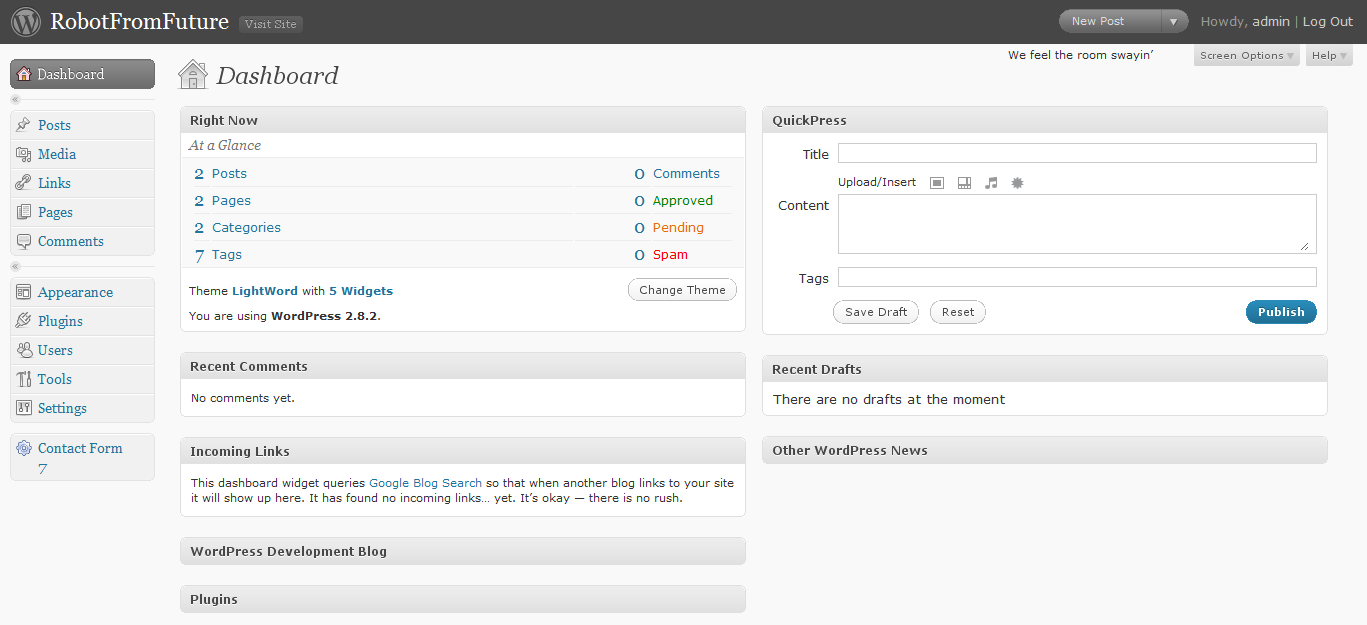
Once FileZilla has uploaded all your files, on your web browser go to http://yourweb.host/wordpress/ and follow the steps.
After that you'll be taken to the dashboard. I recommend you change your wordpress admin password because the one it generated for you is too hard to remember.
That's it! You're done. Post away.
After that you'll be taken to the dashboard. I recommend you change your wordpress admin password because the one it generated for you is too hard to remember.
That's it! You're done. Post away.